Full Length Mirror Sliding Beauty Storage Cabinet
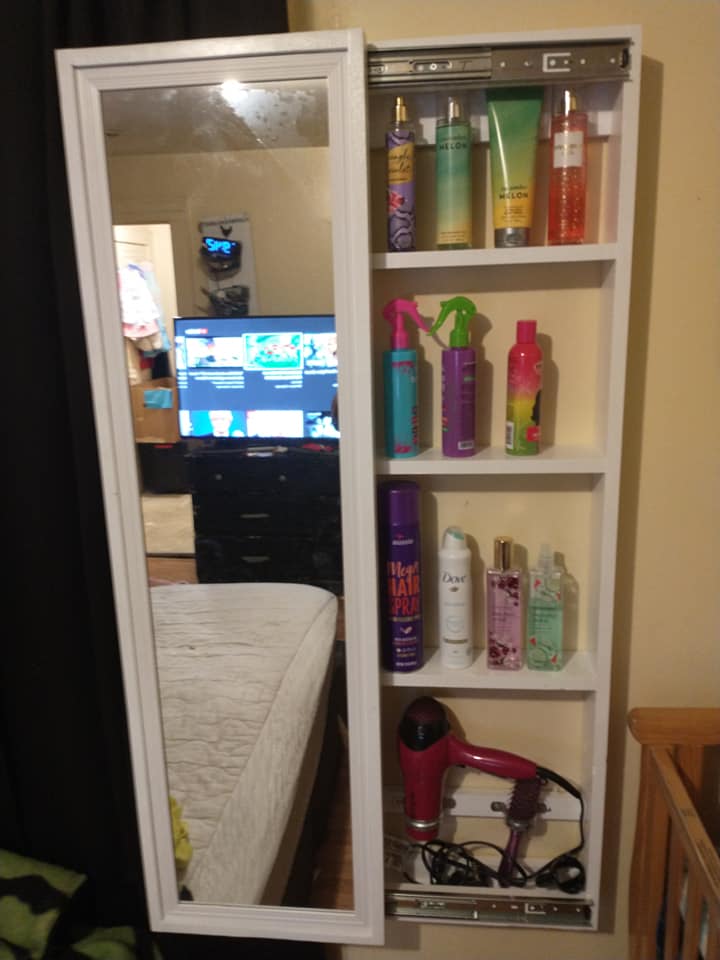
Great idea being my wife is not a hair person she really loves it.
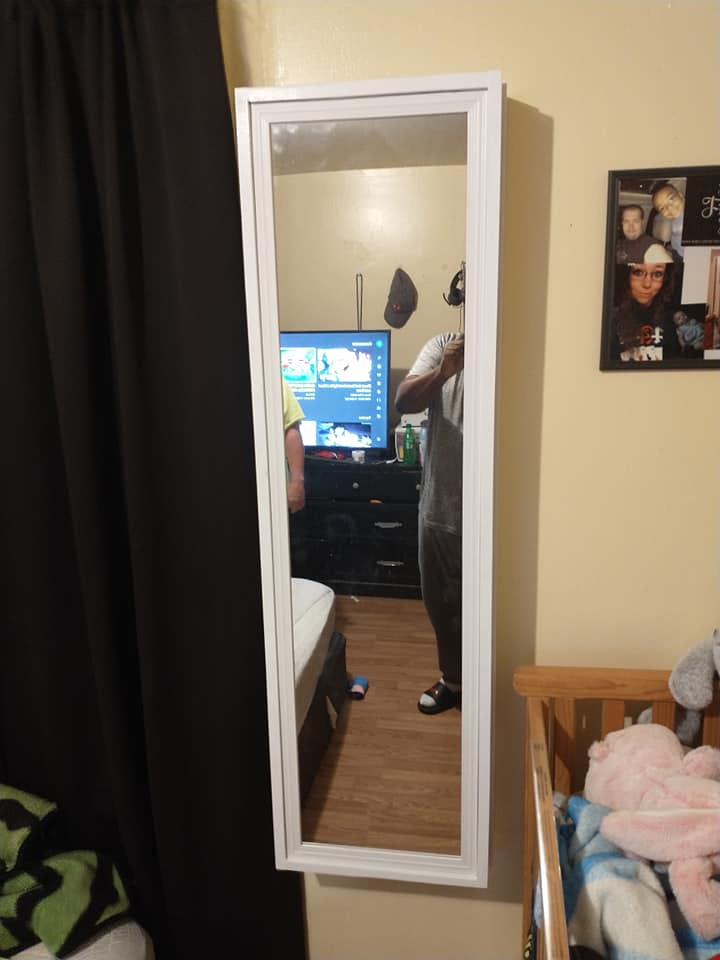

Great idea being my wife is not a hair person she really loves it.

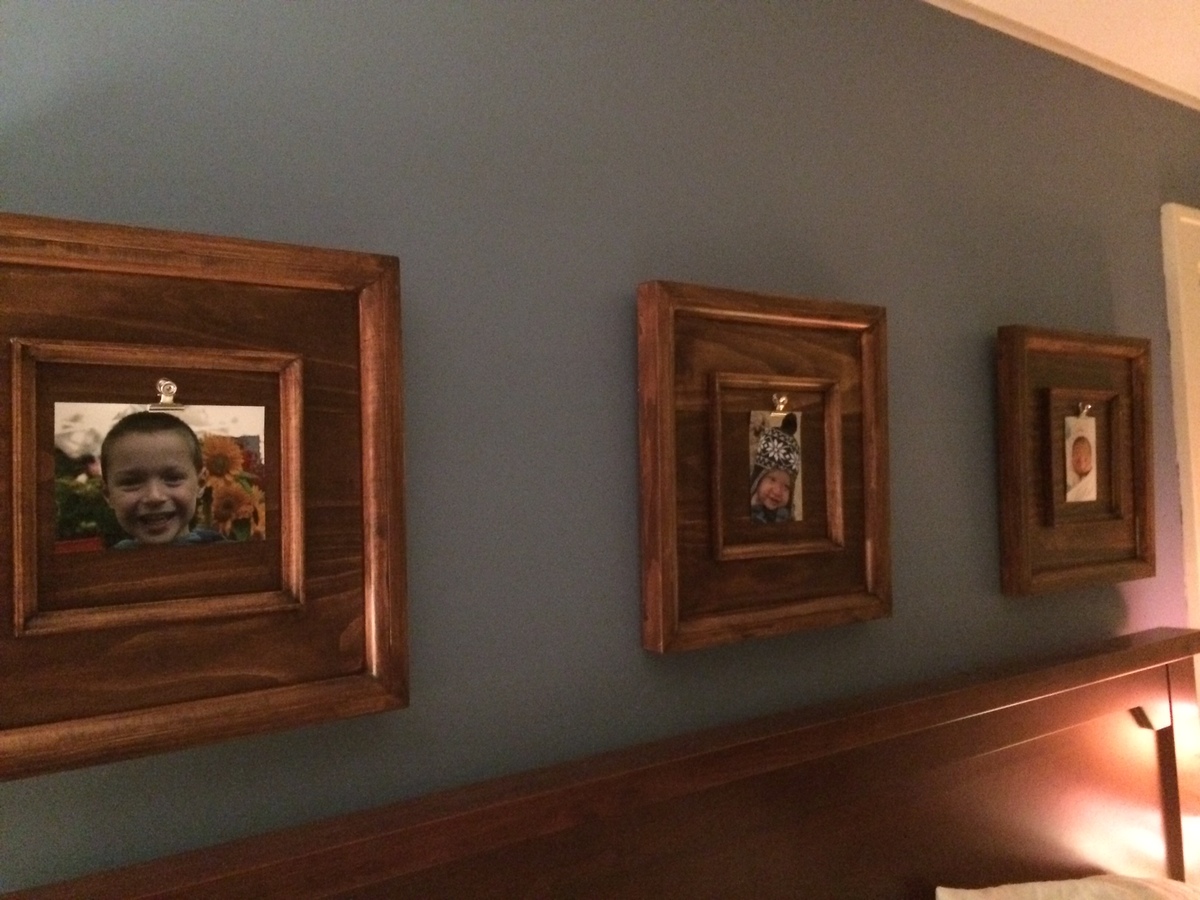
I made these from select Pine, they were super easy to do, look great and I love that I can change the pictures up easily.
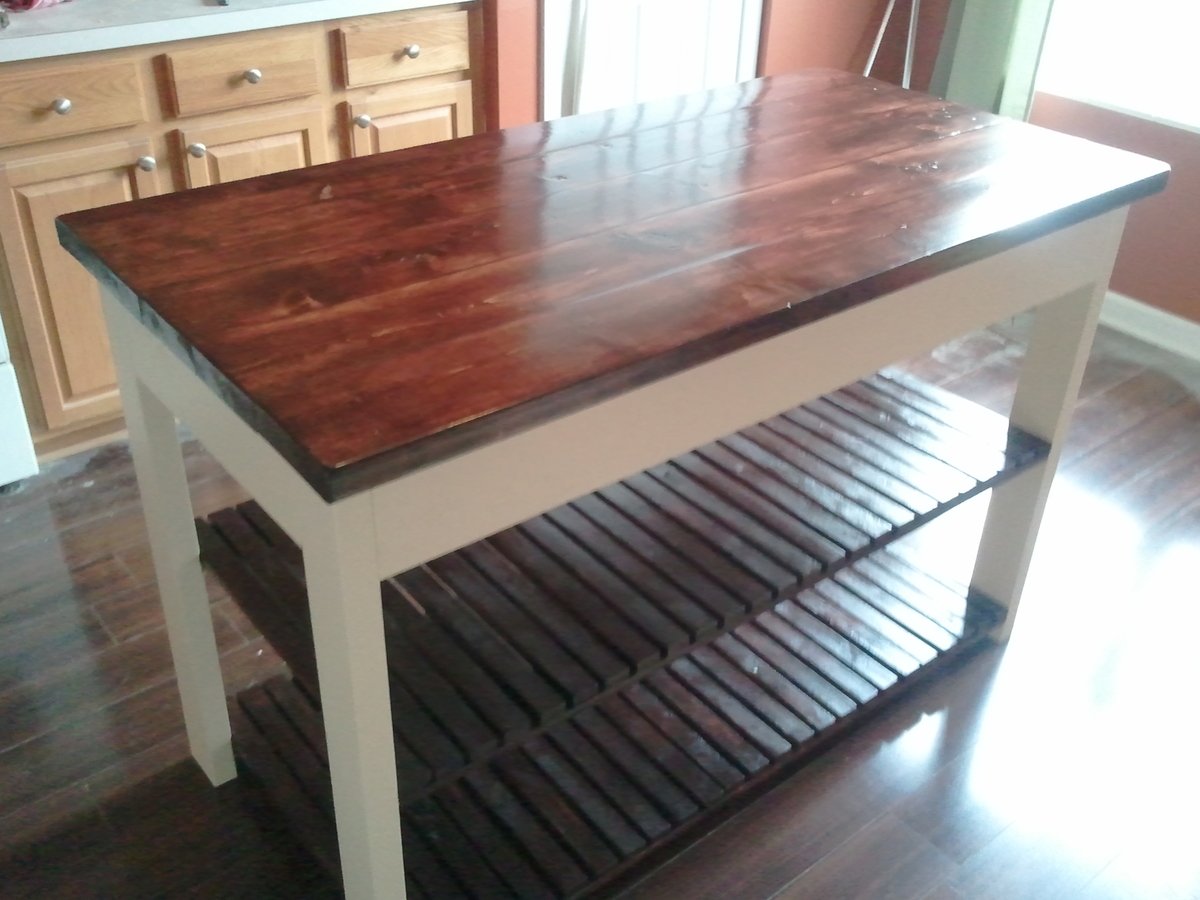
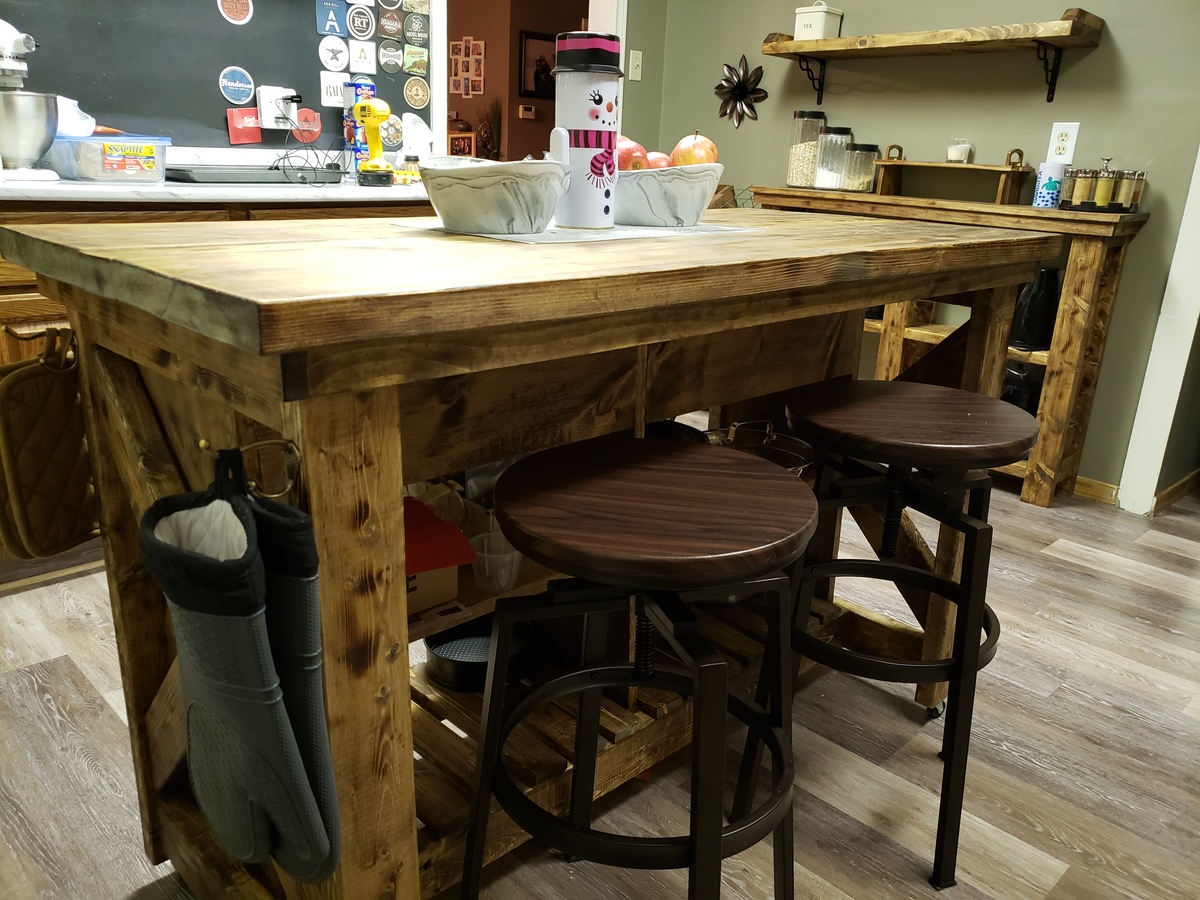
Needed a kitchen island and loved this plan when I found it on your website. I have tools to cut the lumber but thought I would let Lowes cut the lumber to save me some time. Ha! Made small corrections with what you need like just 2 2x4s to make the 4 legs. Like Ana said, it's all about math. Thank you for the plans. Friends already wanting me to make one for them, ha. Ps...my dad is sold now on the kreg jig!
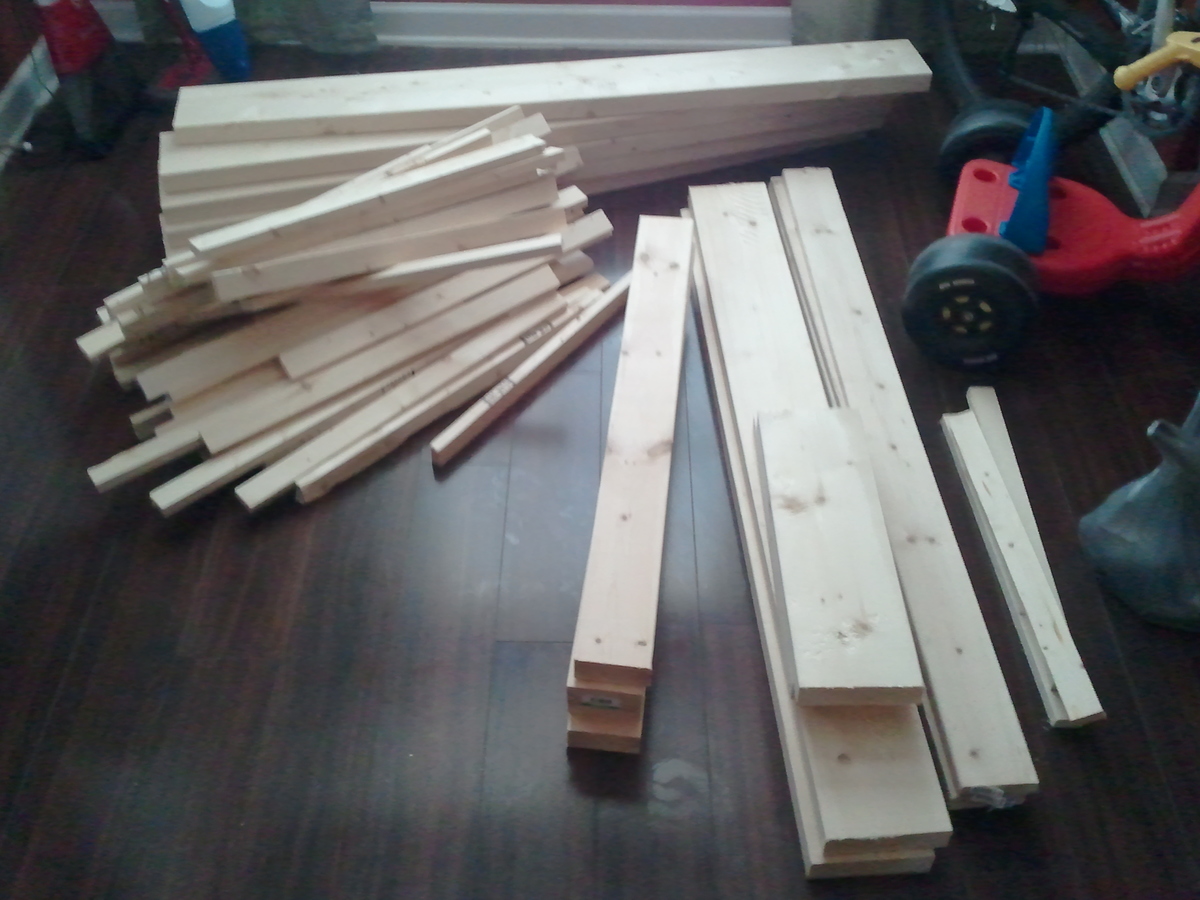
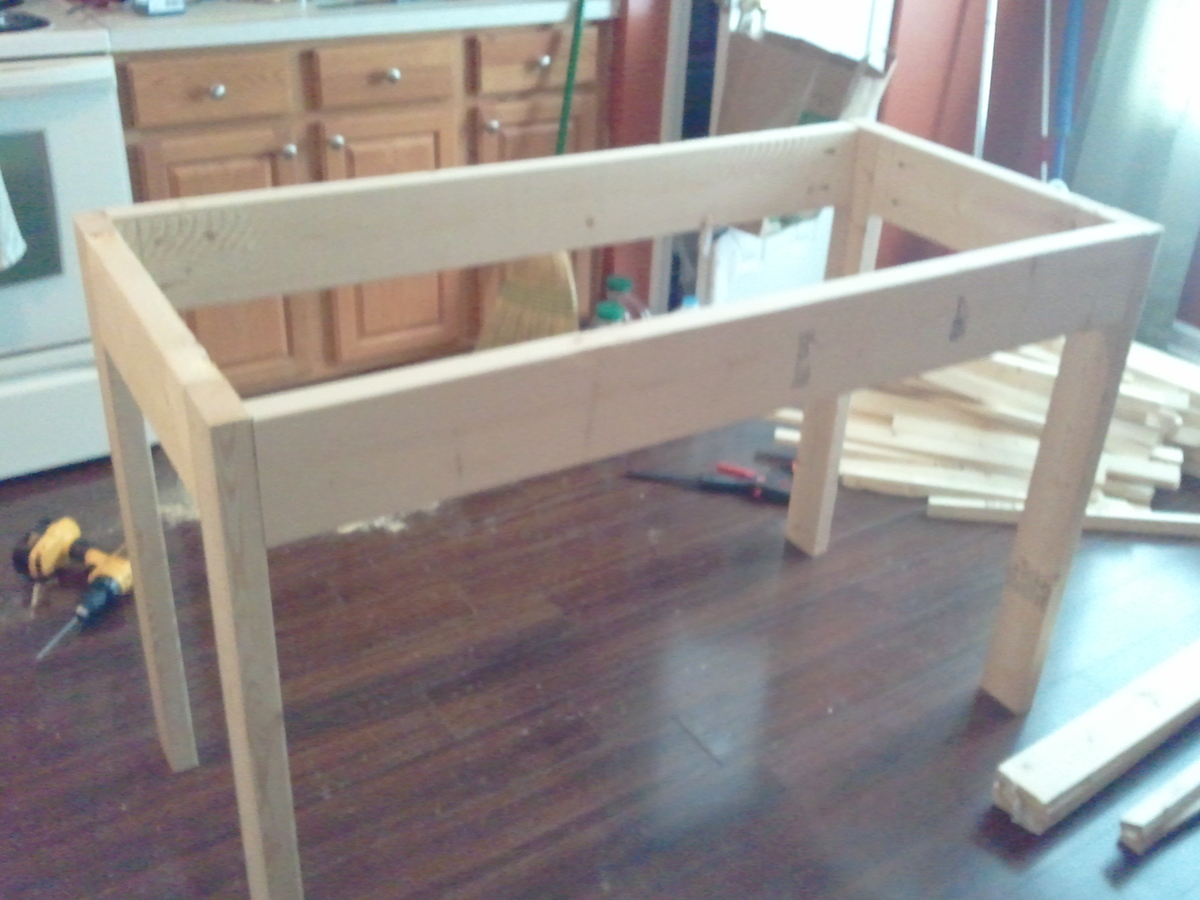
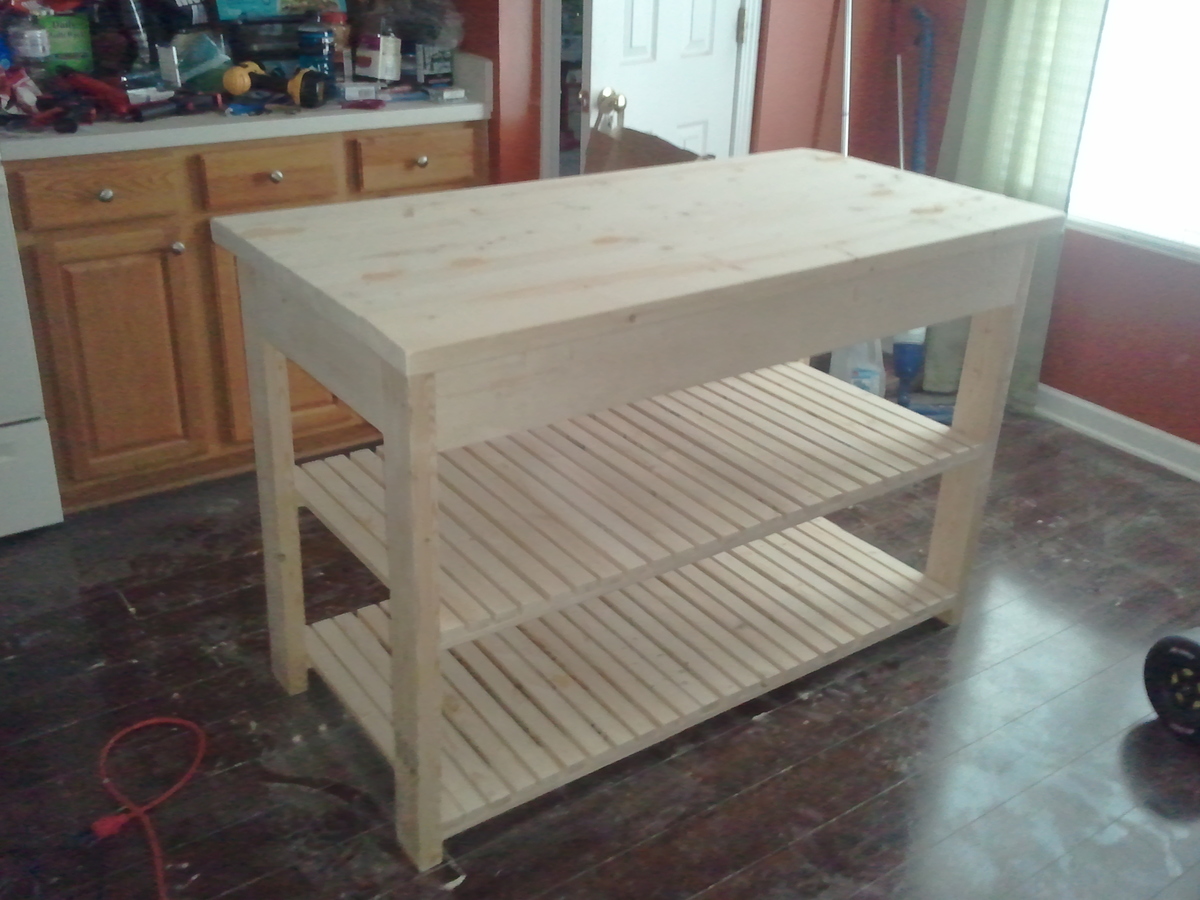
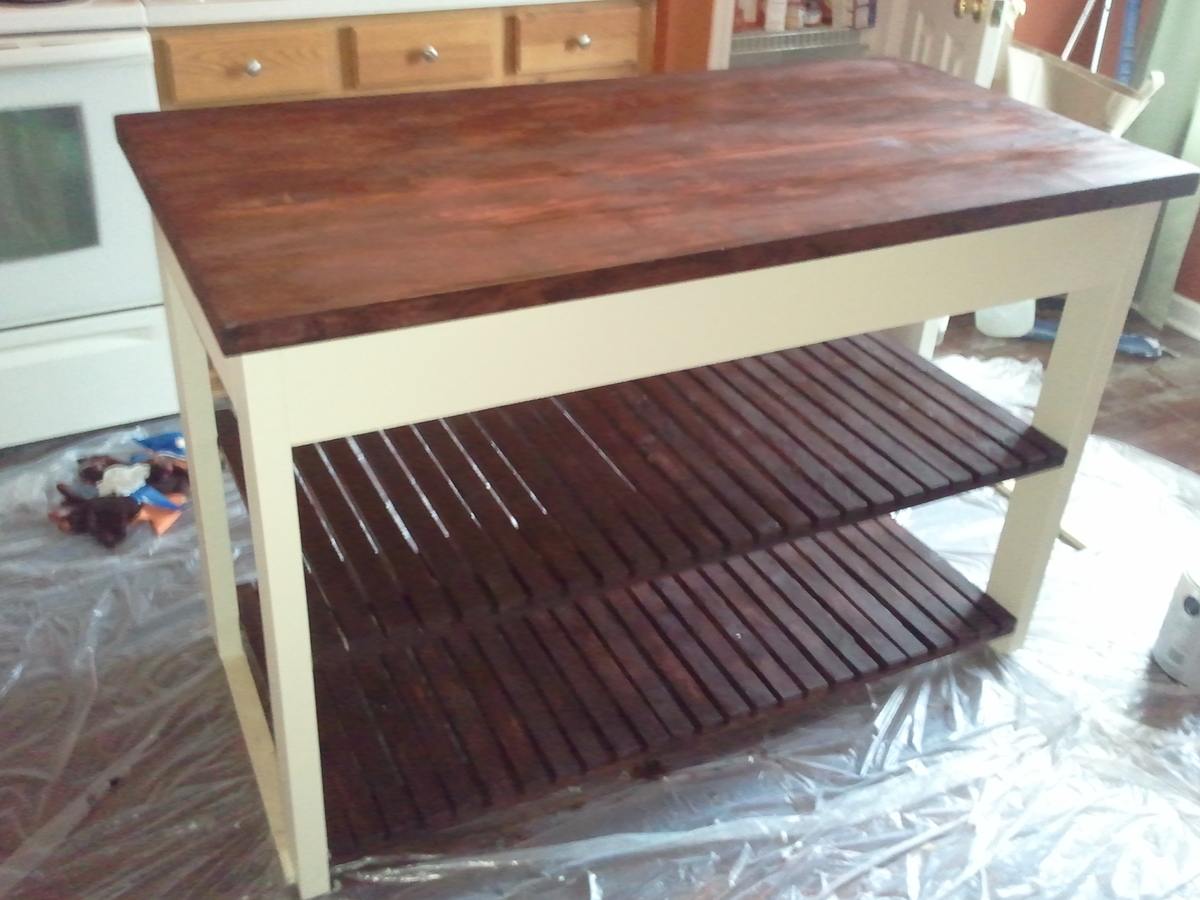
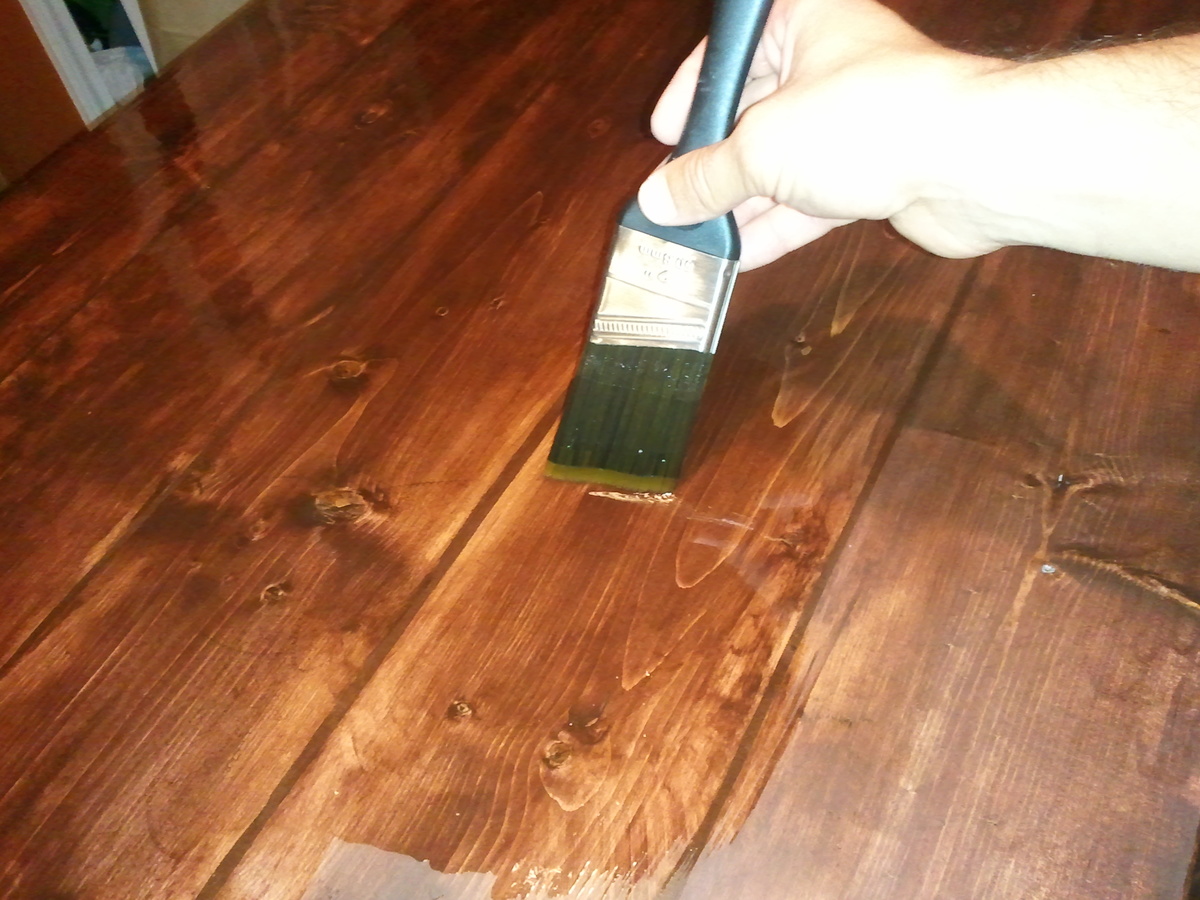
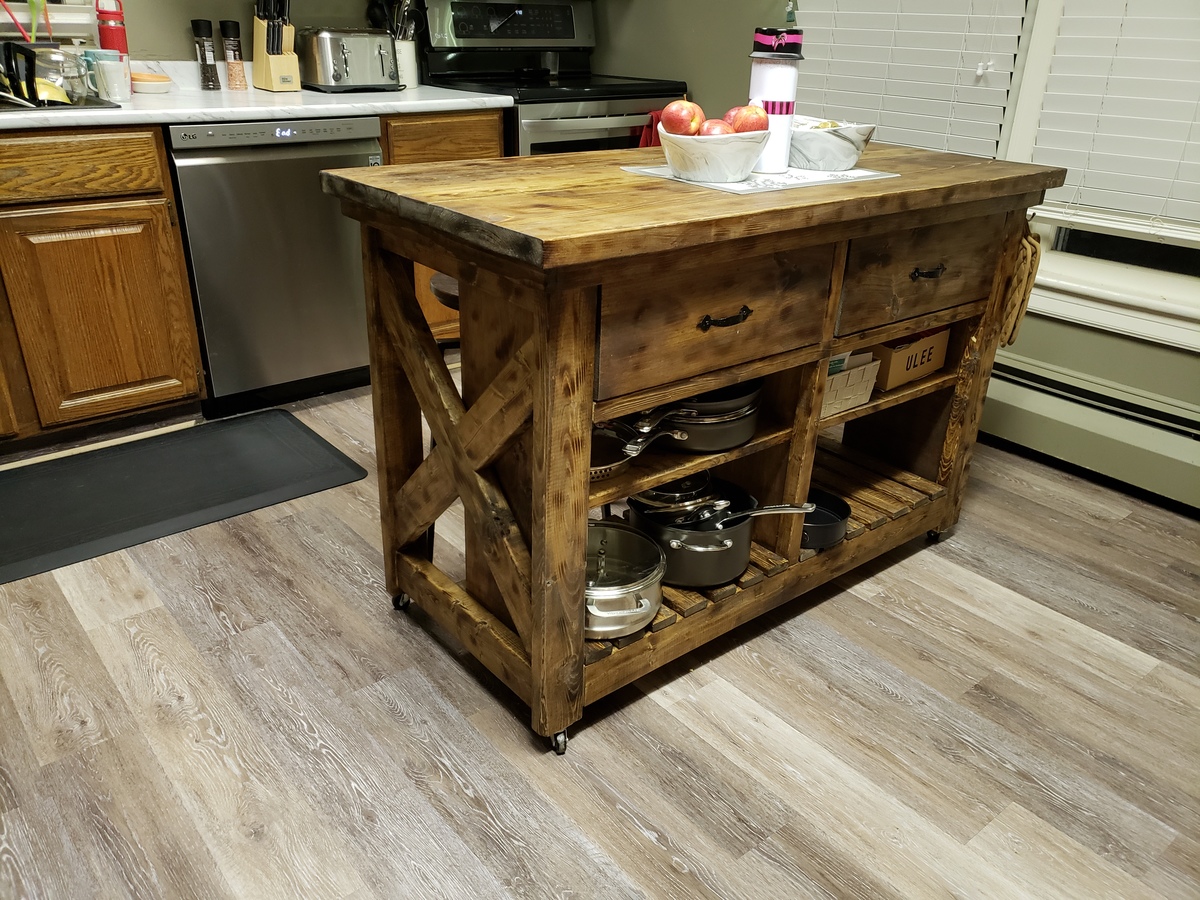
I followed the plans except for the top, I used a 2x12, 2x4 and 2x12 pocket holes together.
Burnt the wood with a torch and stained over.
Thanks for the plans!
Questions? [email protected]
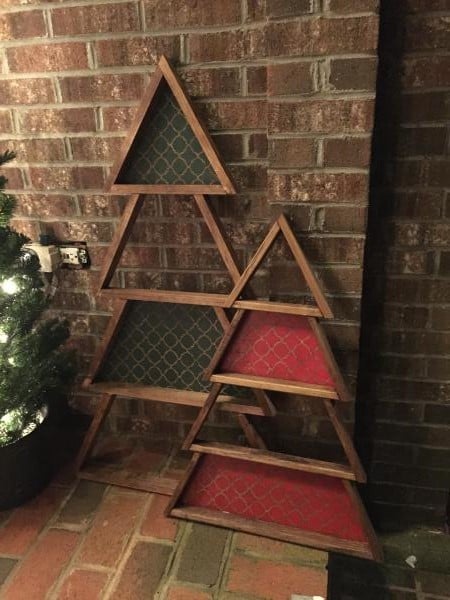
I used 1x2 boards for this project. The smaller tree is the size according to plans (minus the coat rack). For the larger tree, I added 3.5 inches to each piece. 1/4 plywood on the back and used a stencil for the design. I love the way it turned out.

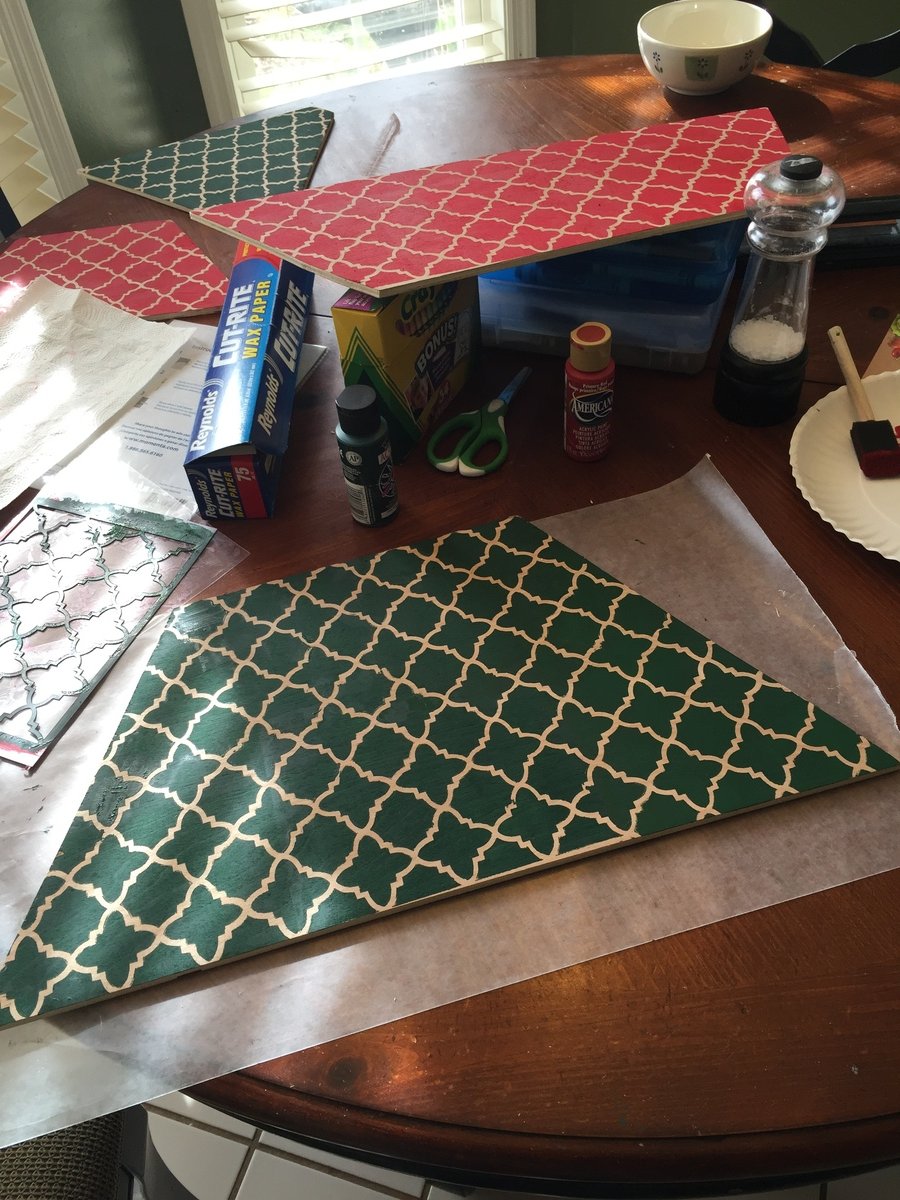
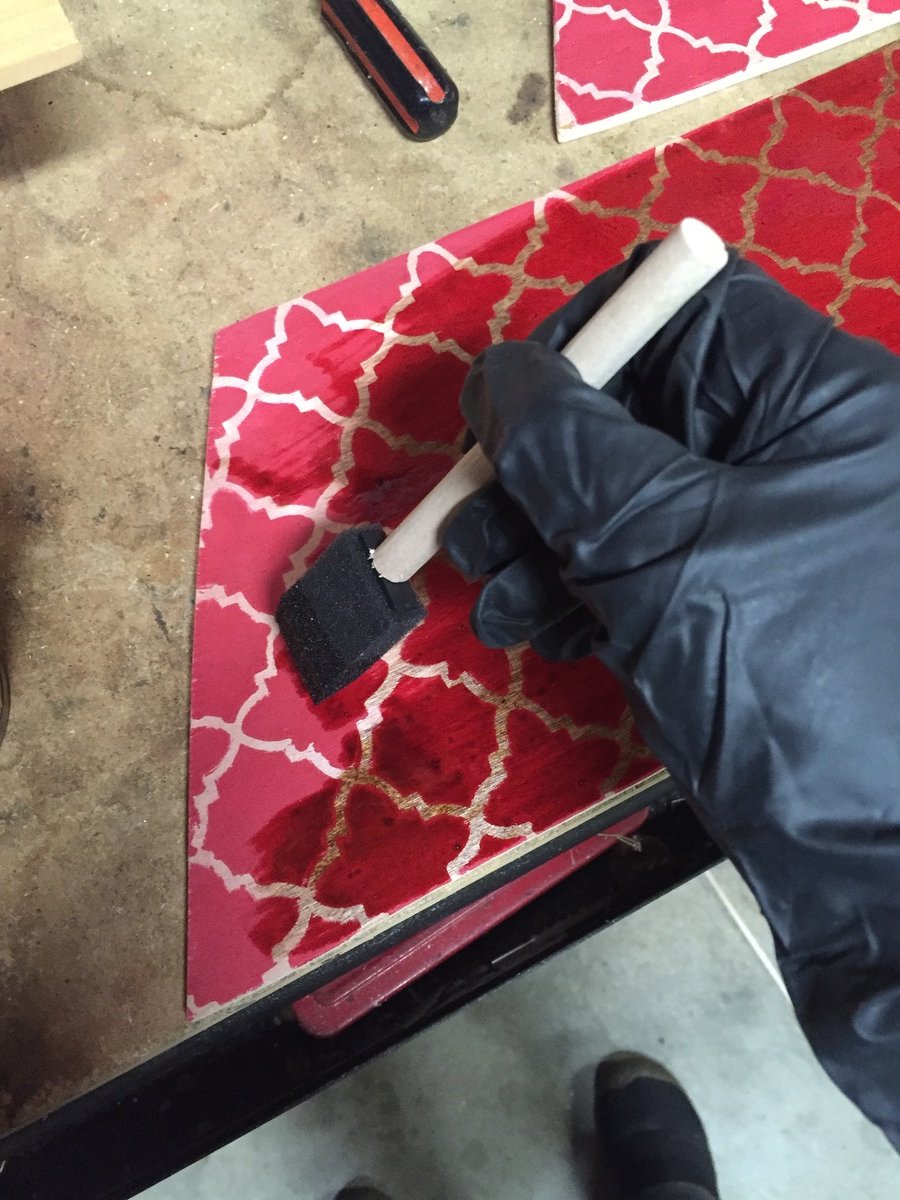
I liked Sausha's original design of the washer and dryer pedestals, but I wanted to add a few little personalized touches to it.
First, rather than using MDF, I went with plywood because of cost and weight. Also, I chose not to fill in the imperfections of the surface of the plywood. The top piece will be covered by the washer and dryer, and the bottom piece will be covered by baskets, etc. I like the look of the imperfections, as well.
Lastly, I spent an extra $10 on some additional cap molding for the base and the top, just to give it a more finished look. My wife chose white over black to fit the room better.
This was my first project and I am excited to build more!
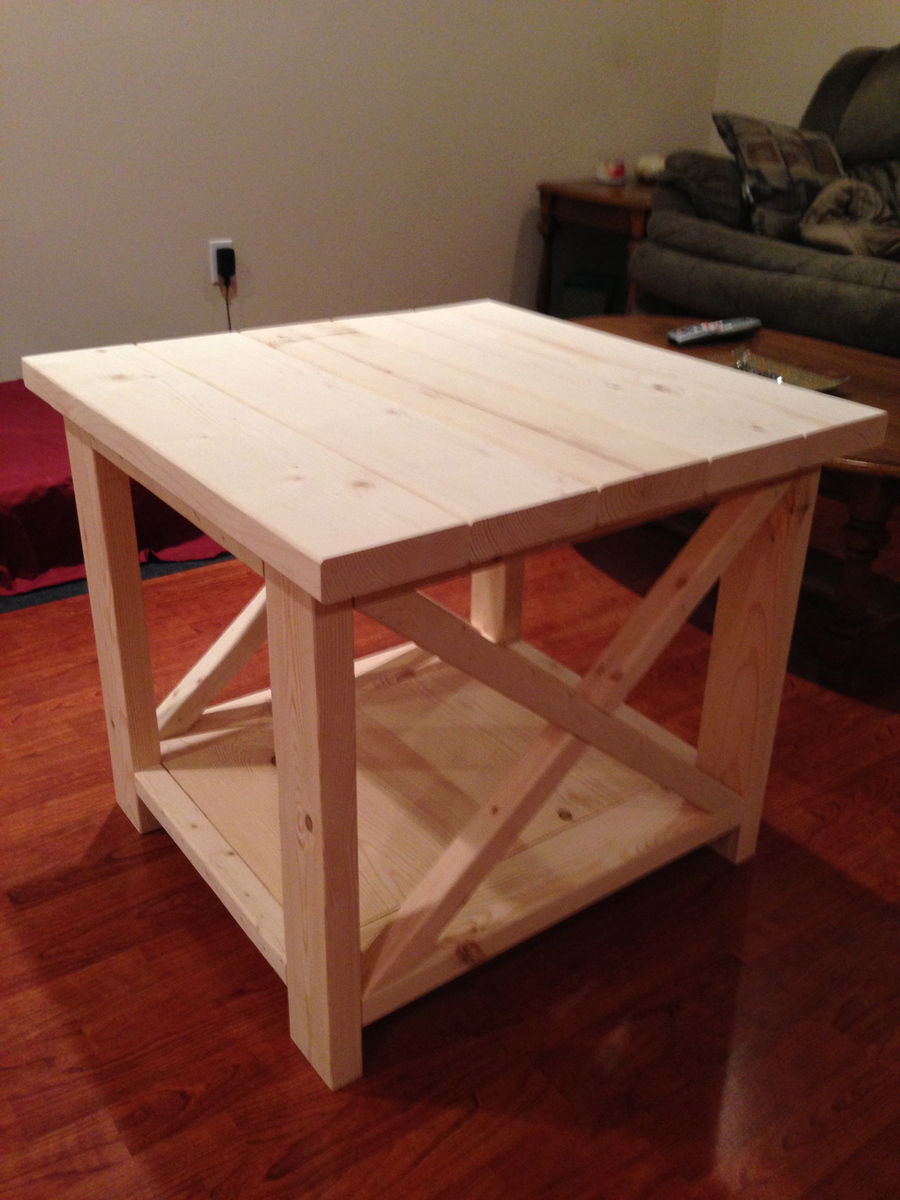
have not put a stain on this yet, waiting to make a pair before doing that
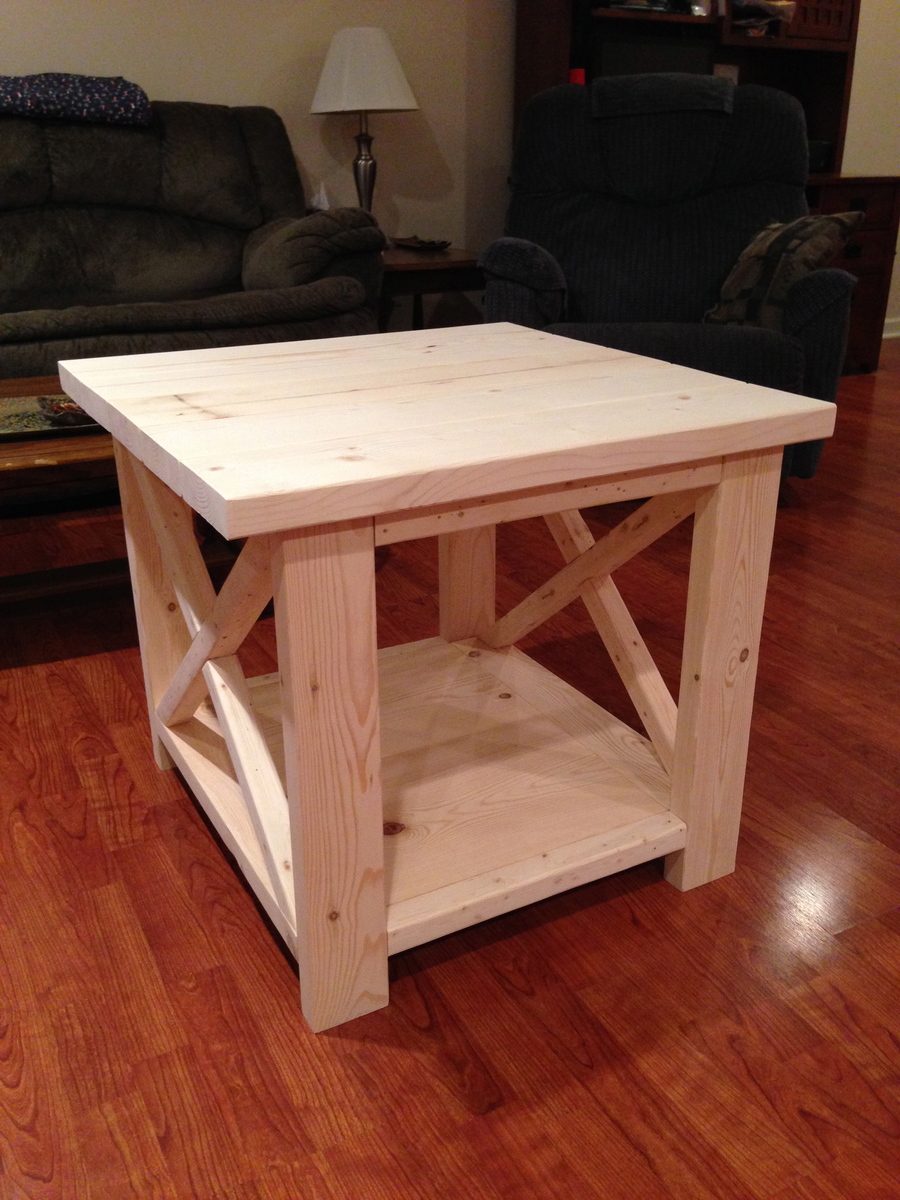
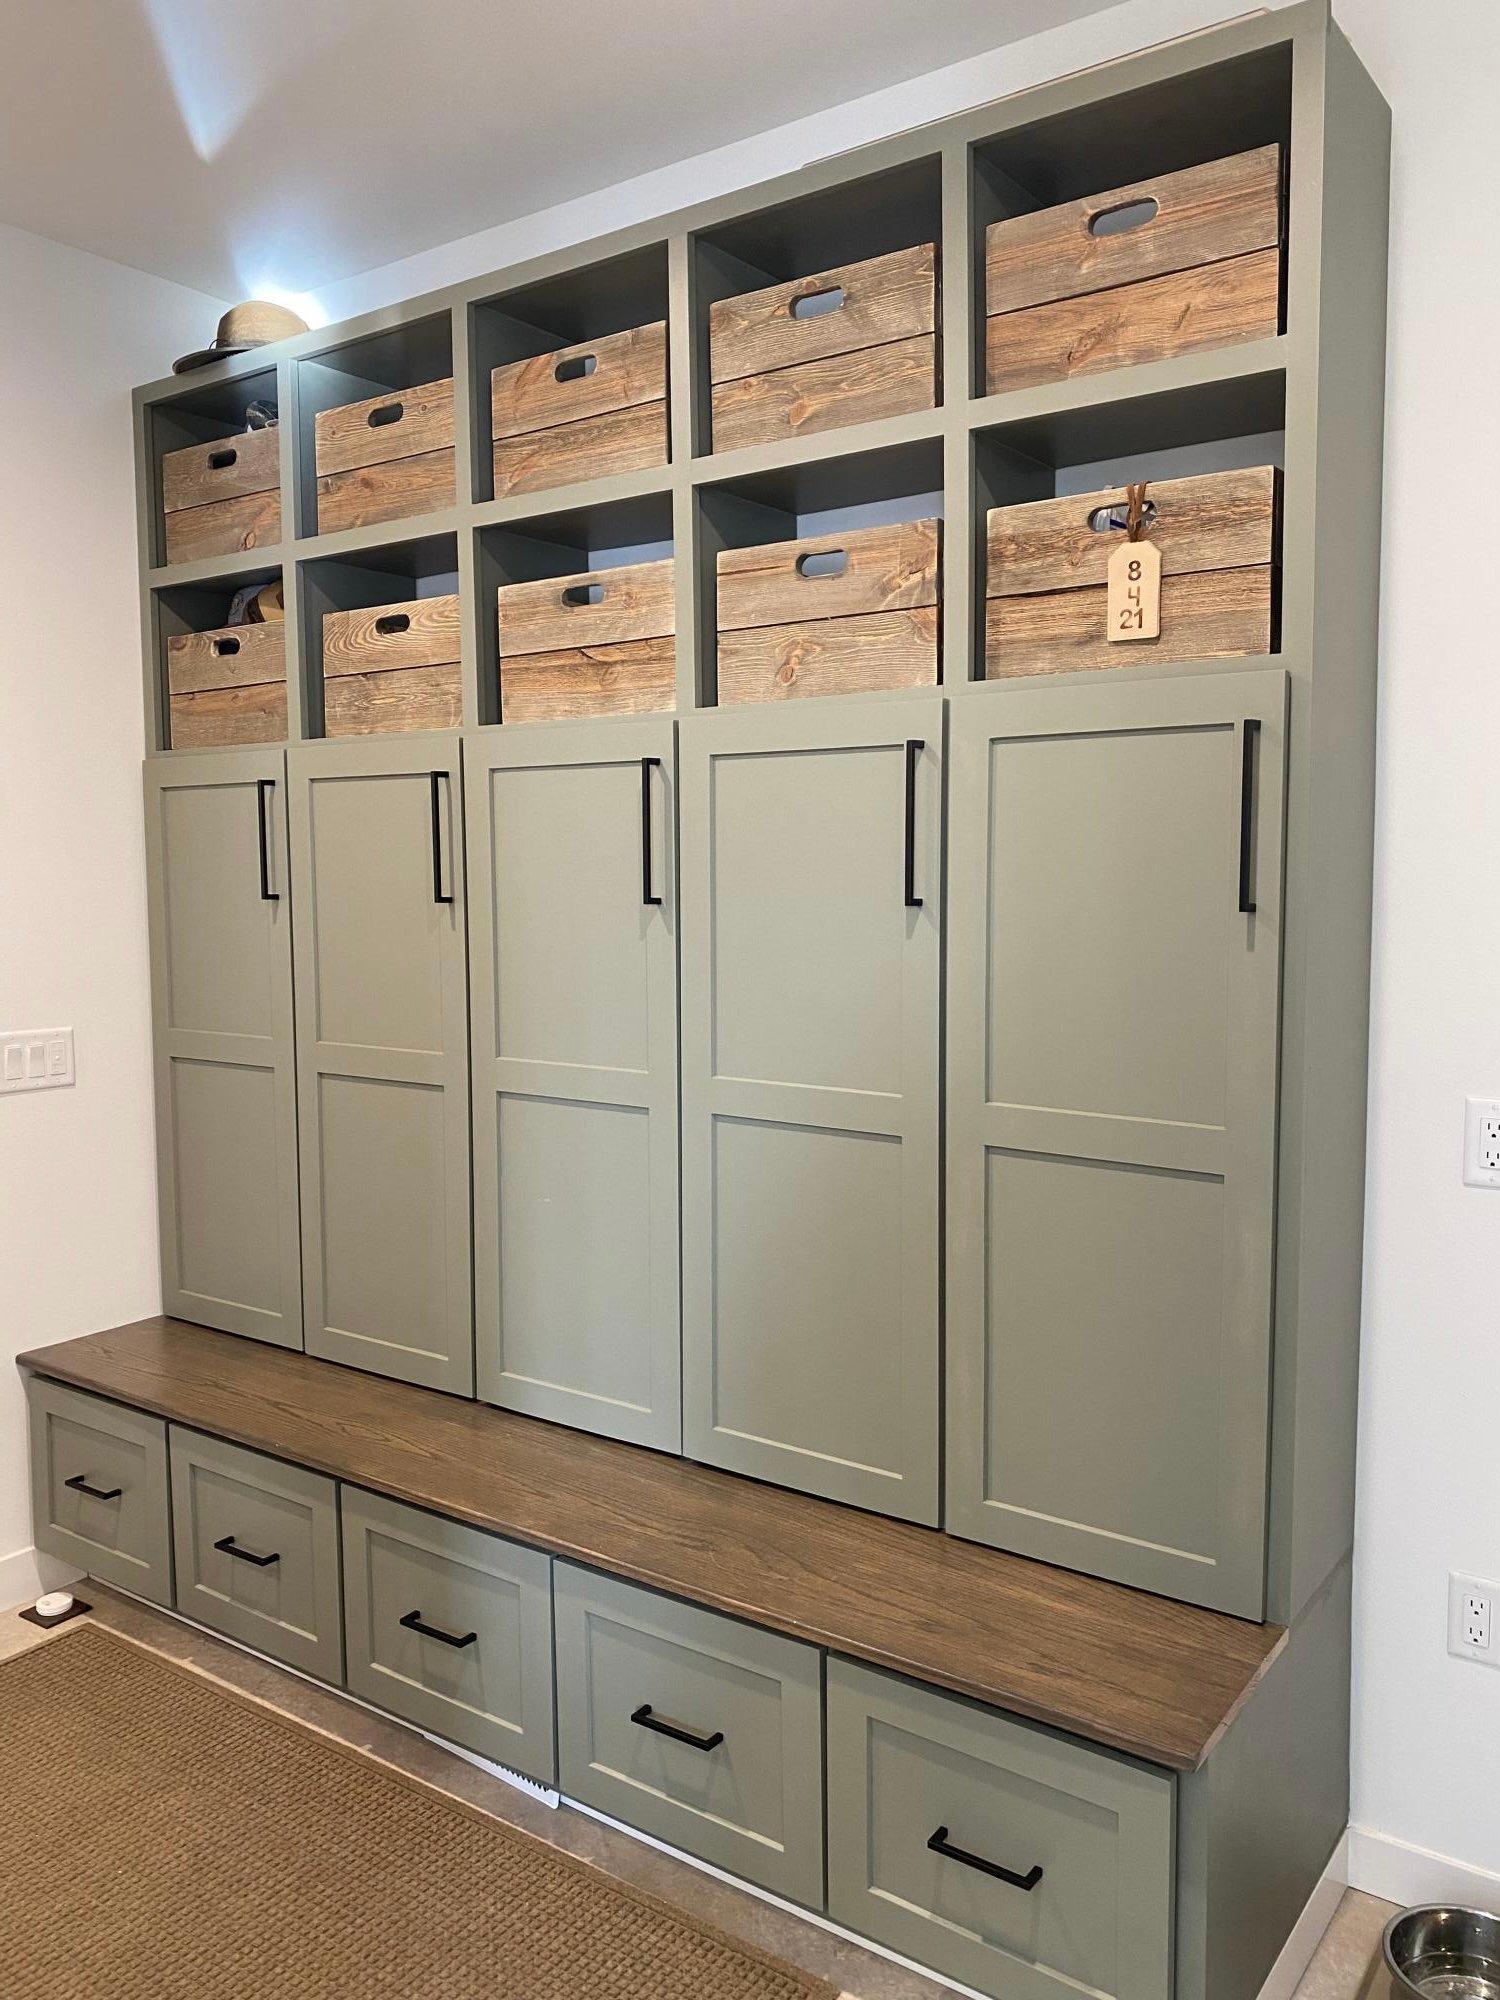
Thanks to Ana White we learned how to make these cubbies. The wood for the stained bench is from trees milled from my husband’s family farm.
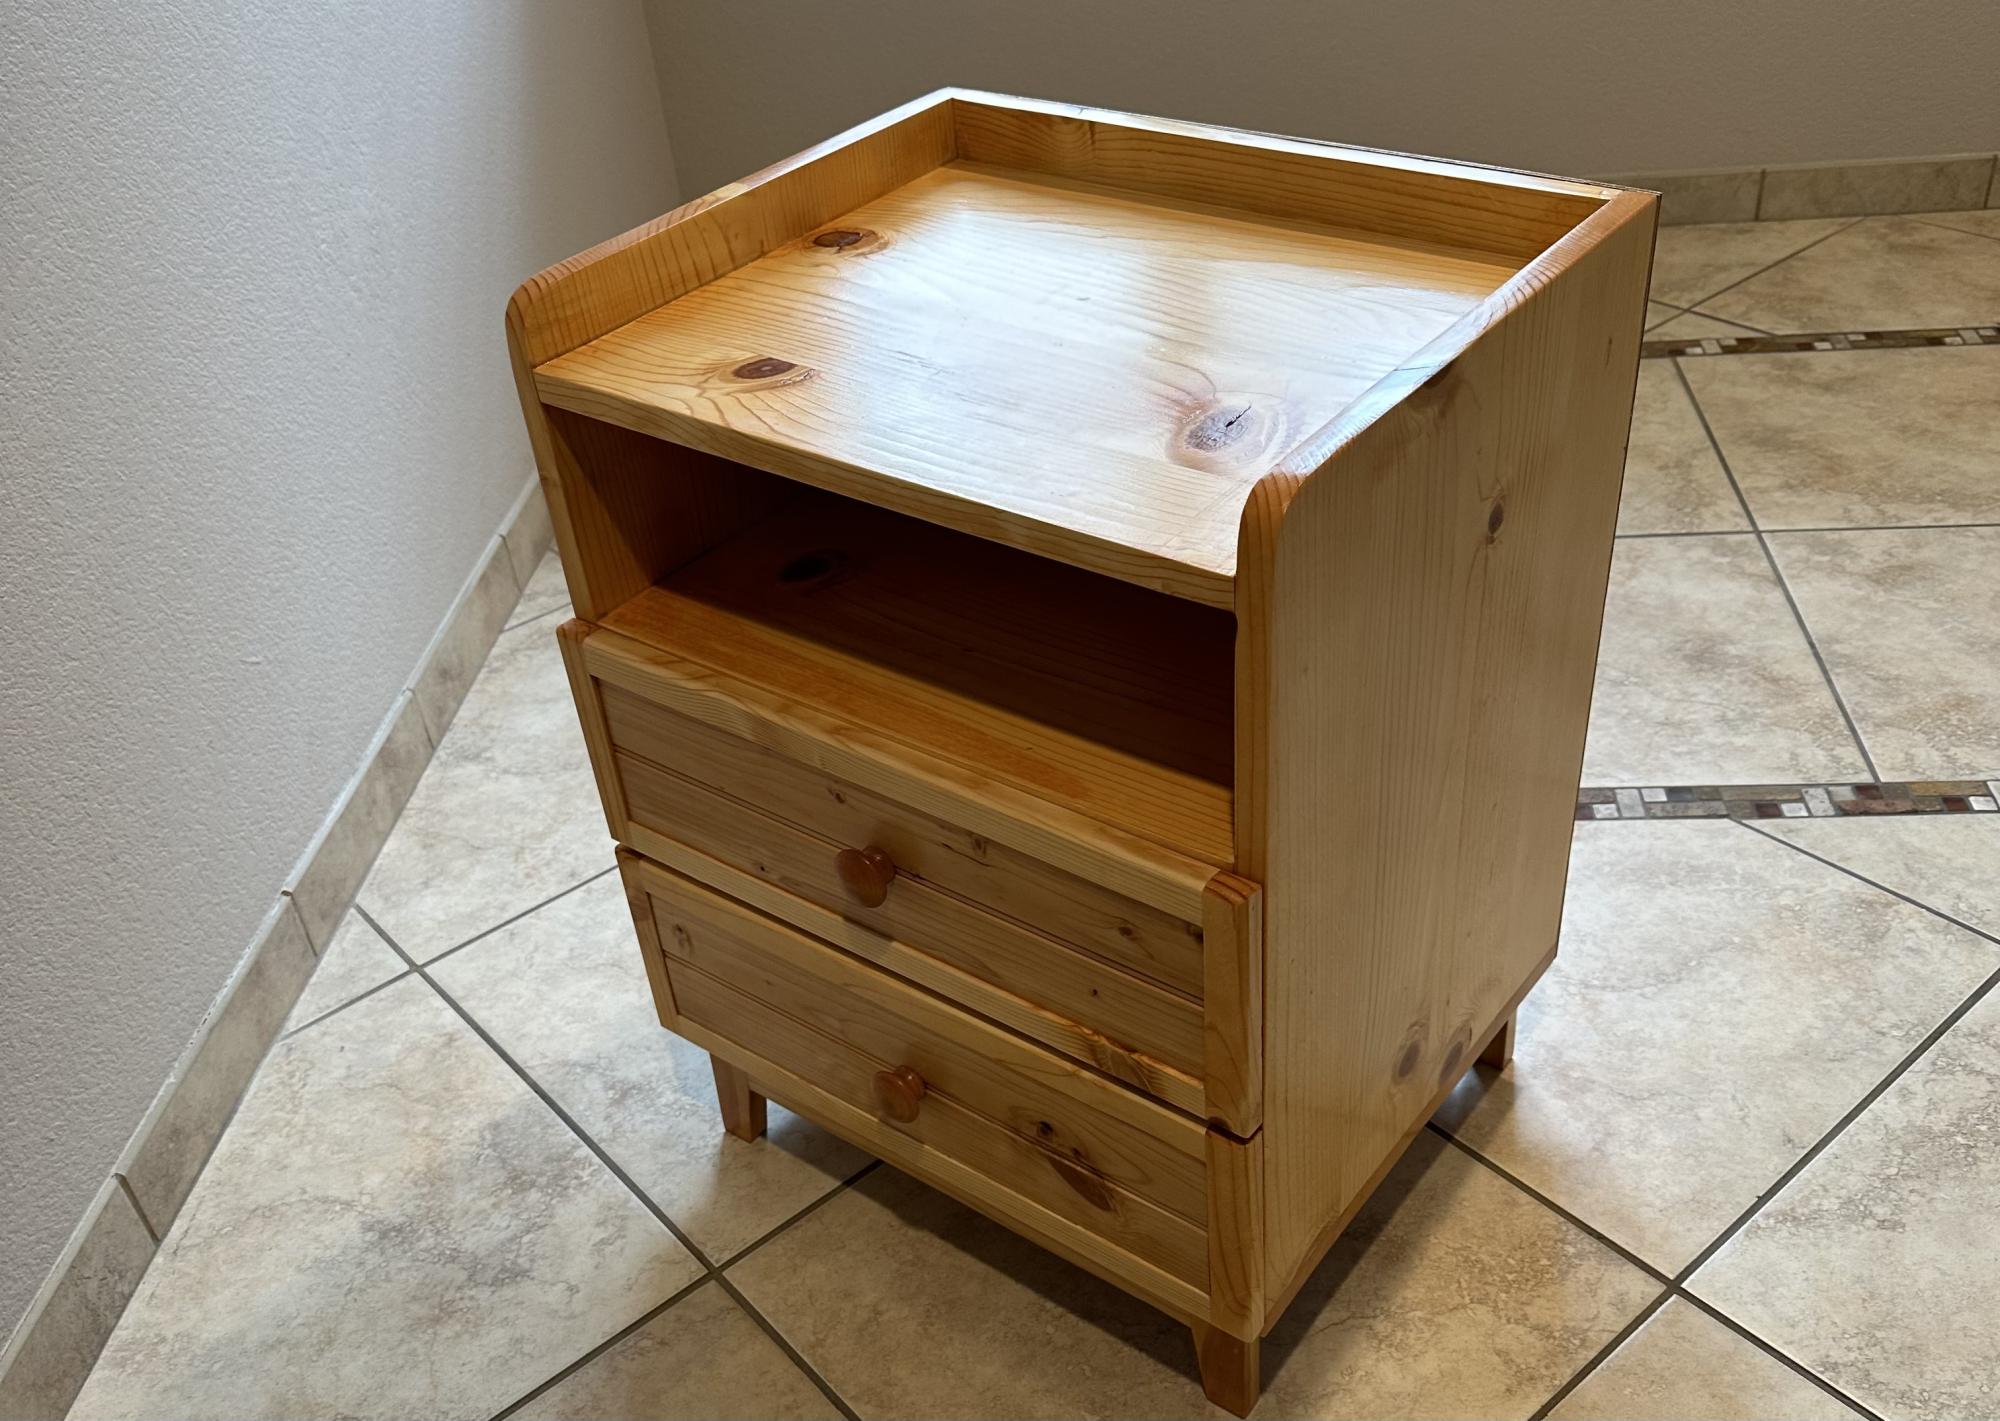
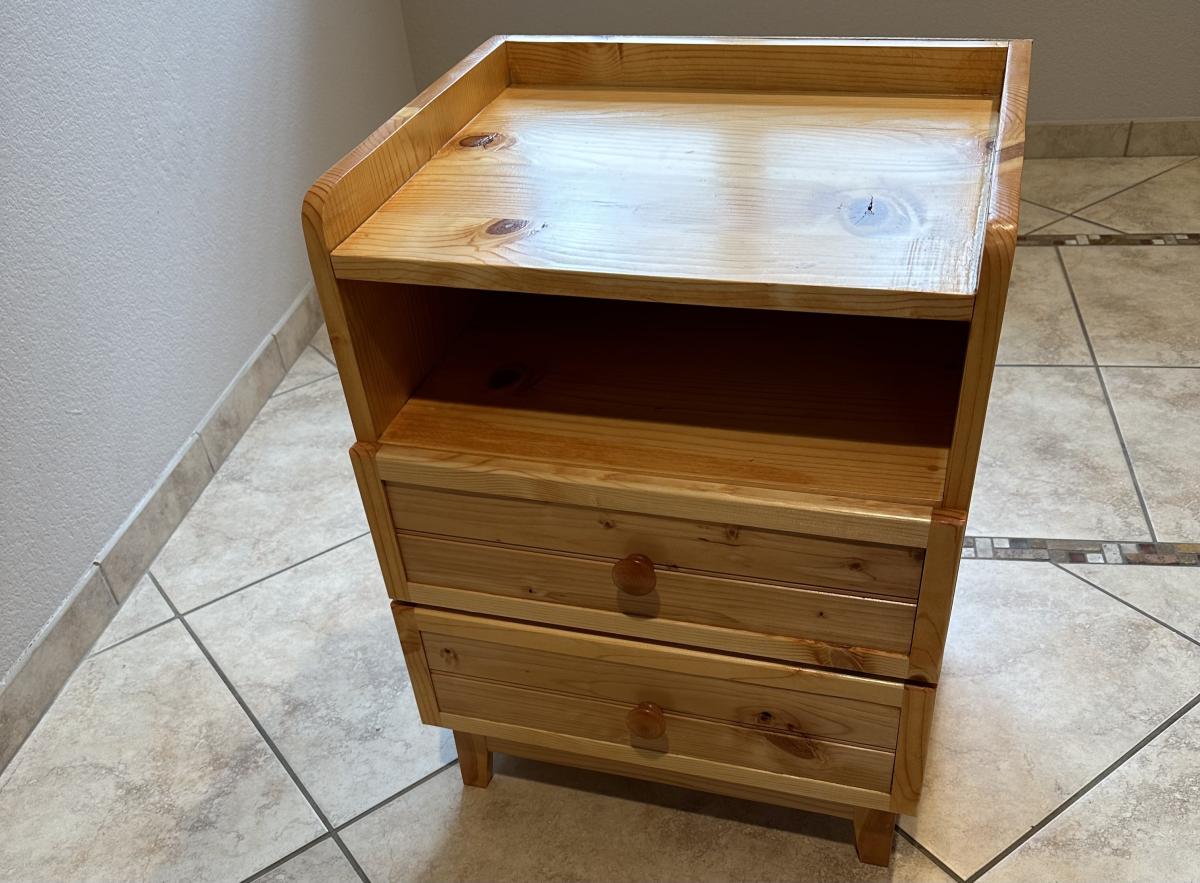
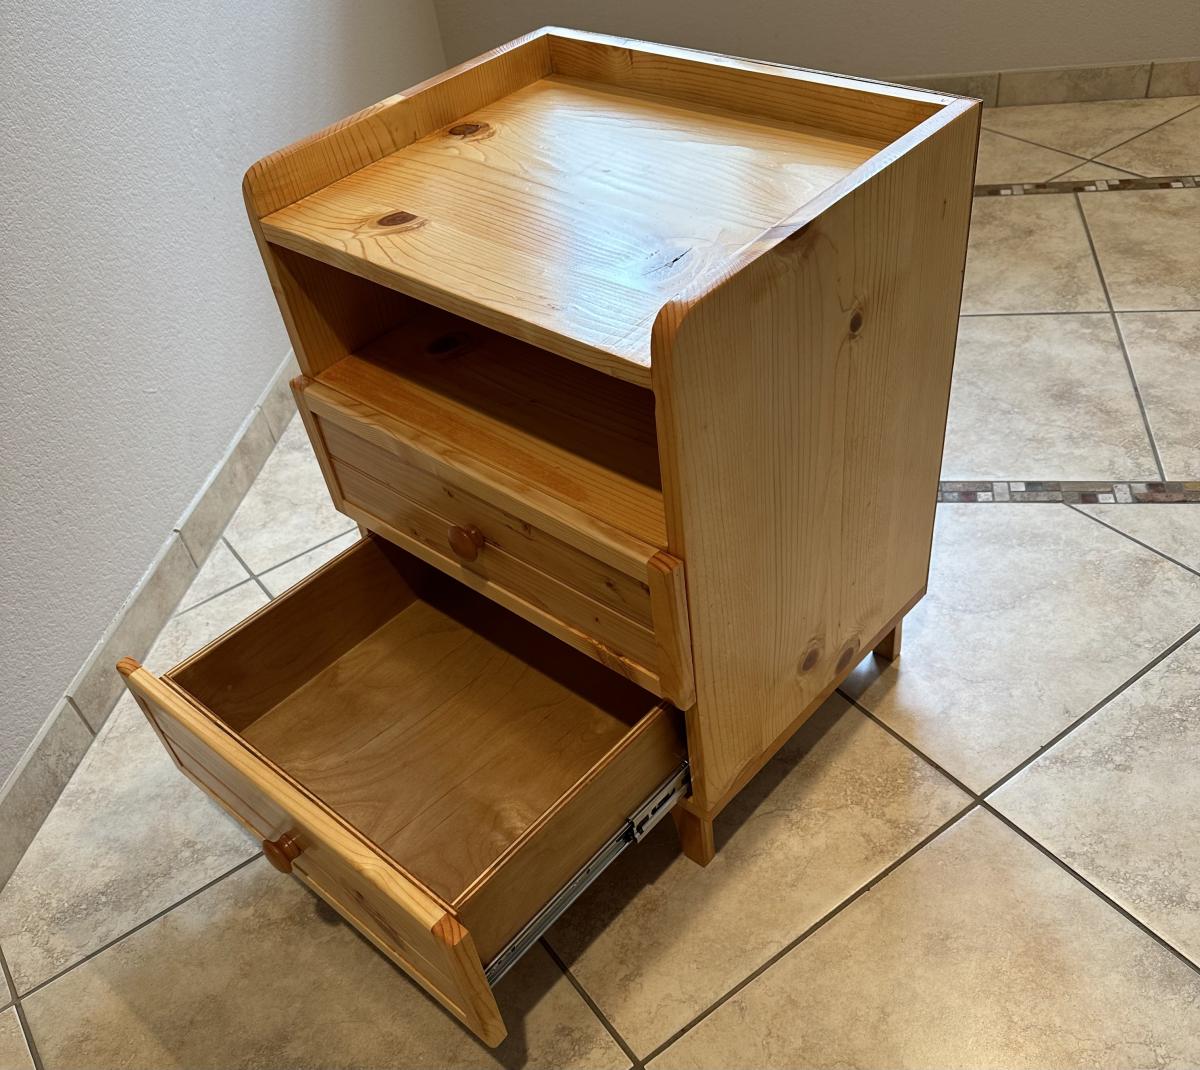
Thank you so much for your plan. I made some small changes. I used pine wood for the box sides and dividers, I moved the drawer faces to the outside and used 1/2 inch plywood for the drawer boxes to add some more space. The drawer faces have an inlaid to match my farmhouse bedroom I am currently building. The final product was stained with Minwax Golden Pecan and clear coated with warm semi-gloss.
Thu, 06/01/2023 - 09:15
Great job on this build, love the finish choice! Thank you for sharing.
DIY Small console to fit an alcove with floating shelves by thrifyandchicdecor on Instagram
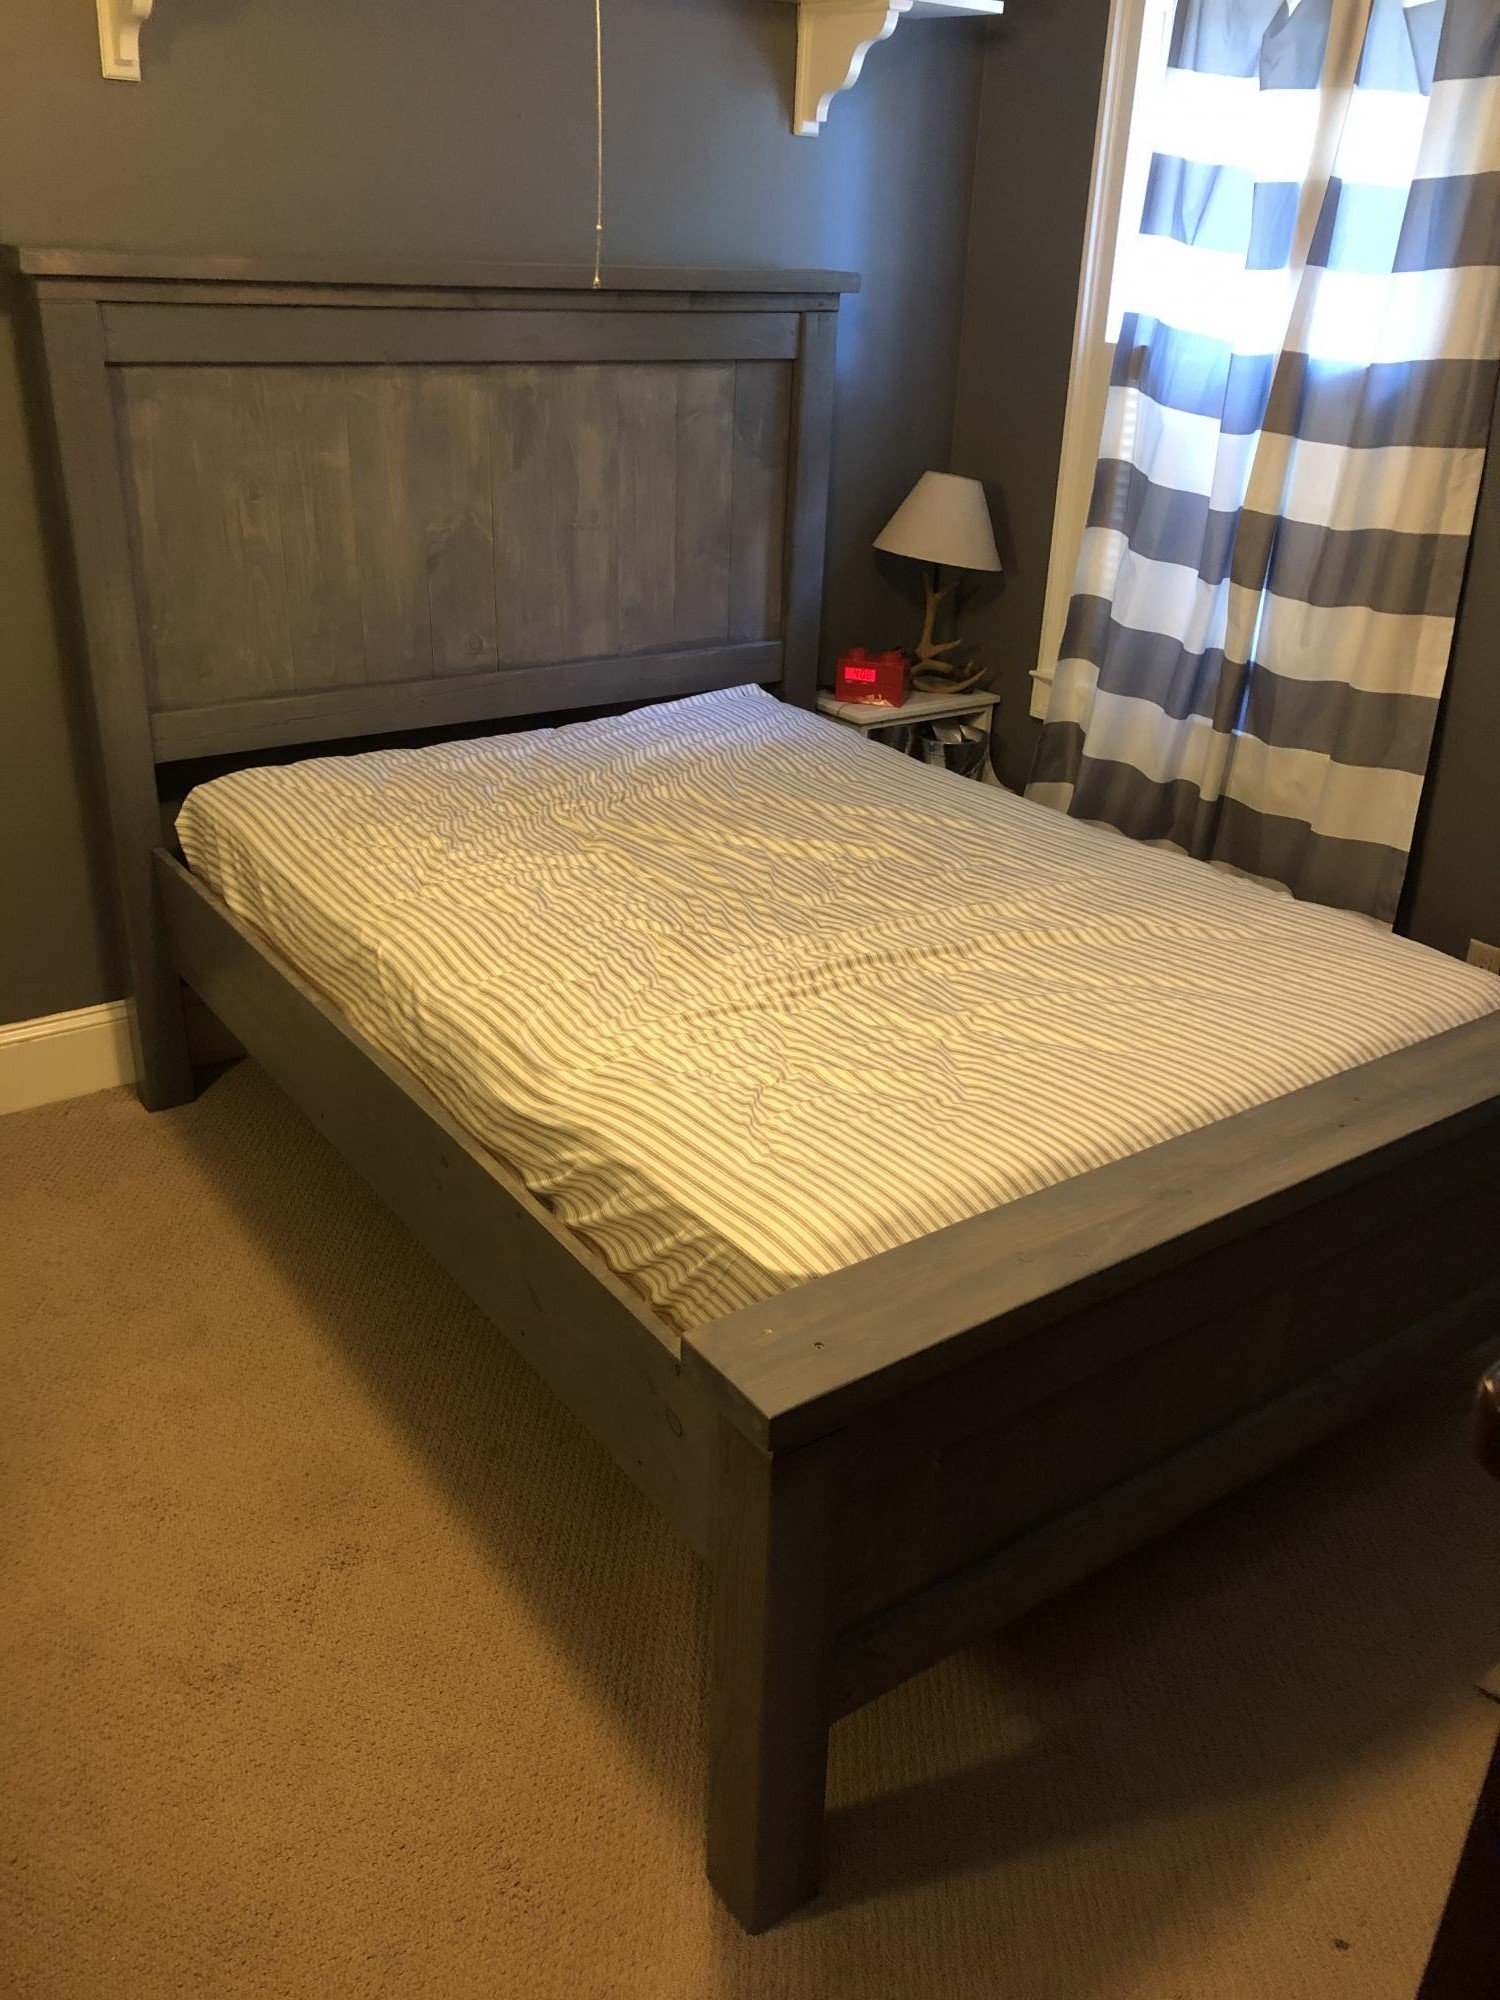
We built the full sized Farmhouse bed and stained it with gray stain. Are building a trundle to put under later this week. We added 3 inches to the height to be able to add the trundle.
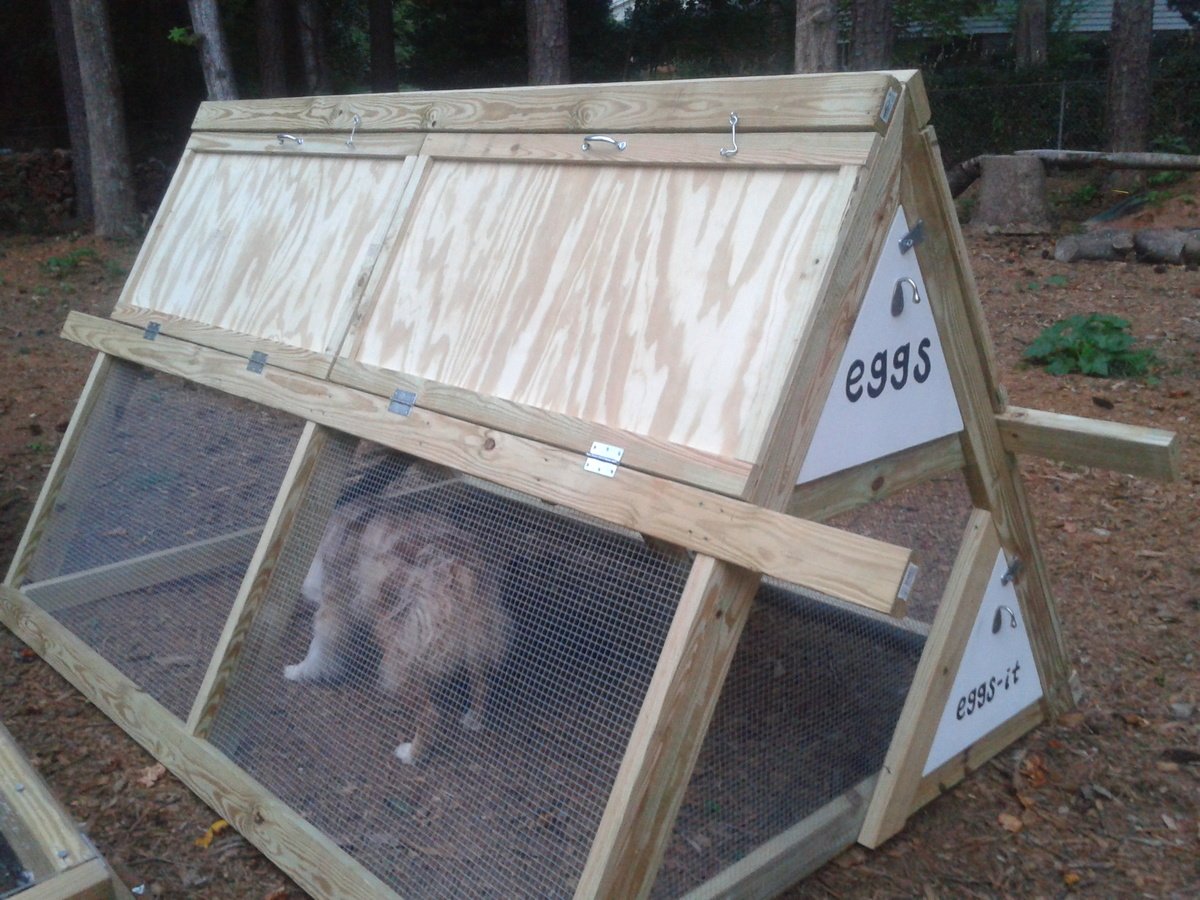
We followed the plans for the A-frame chicken coop very closely, and then modified it a bit at the end.
1. Trim was added to two doors on each side, as suggested. They are secured with latches at the top, more to keep them from falling open than to keep critters from getting in. We used 2x4x10's instead of 2x4x8's on the middle horizontal rail, giving us foot-long handles on each side. My husband and I are able to move the coop about 15 feet at a time, which is pretty good considering it is STURDY!
2. We used 1/2" galvanized hardware cloth instead of chicken wire, as suggested by one commenter (and lots of others in blogland).
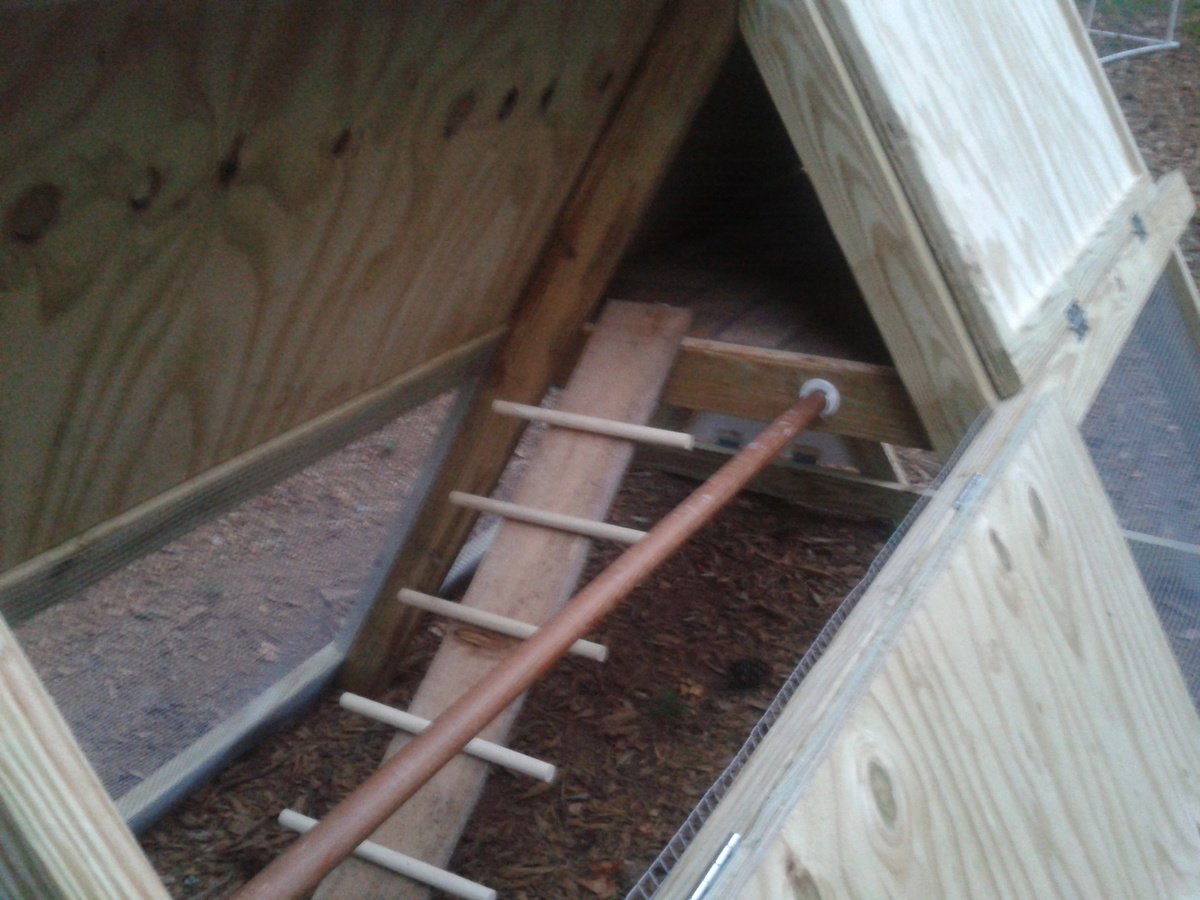
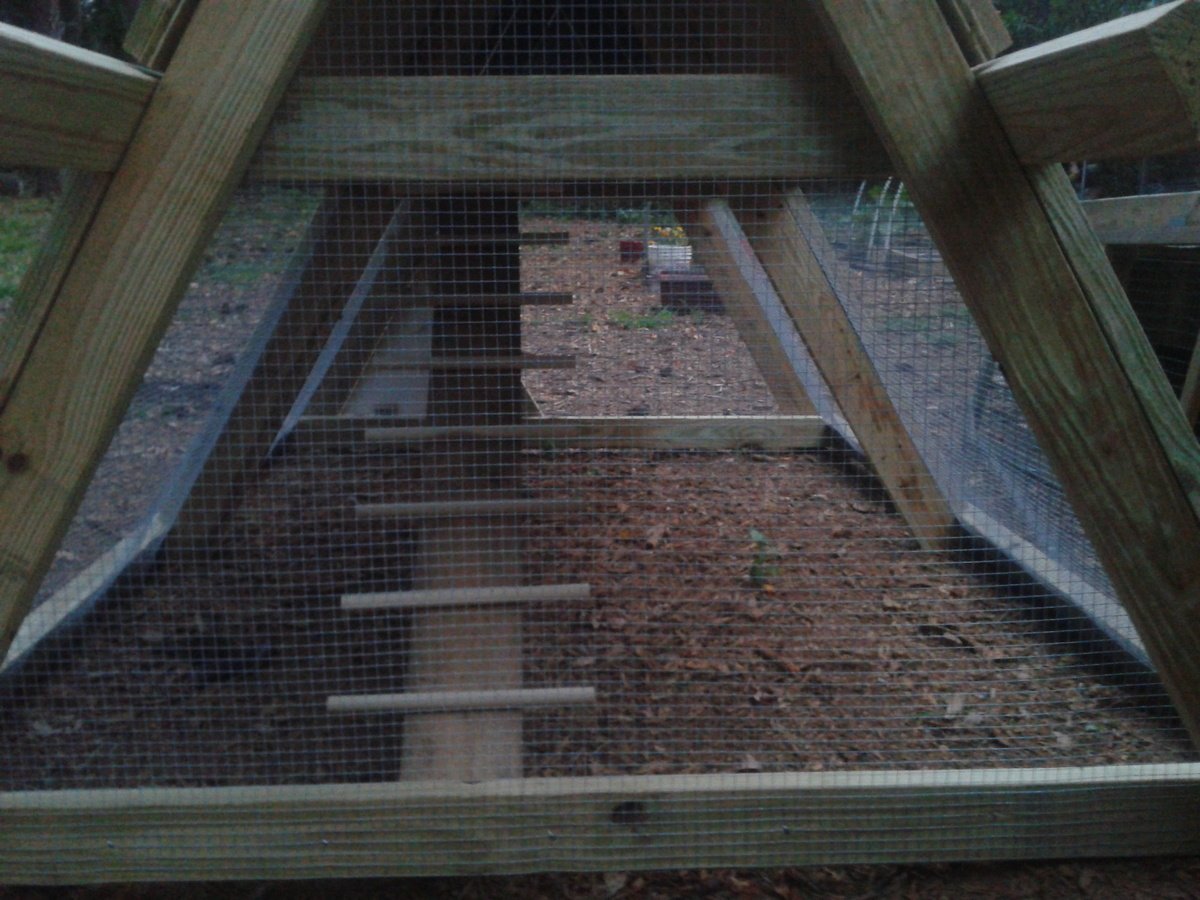
3. I cut 1/4" plywood to fit the loft space and coated it with vinyl stick-on tile. This should make it easier to clean. We didn't screw down the plywood, so if we have to, we can remove it to hose it off/scrub it.
4. I cut a triangle of plywood to make an egg door at the end of the roost. It hinges at the bottom (with a 2x4 ripped into a 1x4 to cover the hardware cloth and provide a mounting spot for hinges) and latches at the top. I plan to use cotter pins or something to secure the latch. There is also a piece of untreated 1x4 held in place with tabs at the egg door to prevent bedding from falling out once it's converted to the nesting box (I'm planning to get pullets, not ready to lay yet, so they won't even have a tempting nest box)
5. There was no bottom door in the plans (to allow free-ranging), so I cut a piece of 2x4 to make a triangle against the bottom (same size as the egg door). It folds out (just like the egg door) and will allow the chickens easy access to the yard. We do have hawks in our neighborhood so free time will always be supervised. We also have a dog (who I coaxed into the coop for the main picture, haha!) who will need supervising. She's been around chickens before but you never know what will make her turn on them!
6. There was also no roost in the plans (although if you look at Ana's coop, there is a 2x4 across the middle of the side walls). I had a leftover closet rod, so I mounted that in the covered section parallel to the ladder. The ladder was shifted to the side. For the ladder, I just used a piece of cedar fencing and cut 2 48" dowels into 4 pieces each, and secured those with screws from the underside. I hope my chickens will be able to get up the ladder!
7. I also made a tube feeder from PVC and a dog bowl, and am working on a nipple waterer. Will update post when those are finished!
Now I just have to get some hens! I've been searching craigslist and can't wait!
Thu, 09/20/2012 - 19:31
I really like the addition of the roosting bar and how you made the ladder. Your little chickens will be so happy! Good luck!
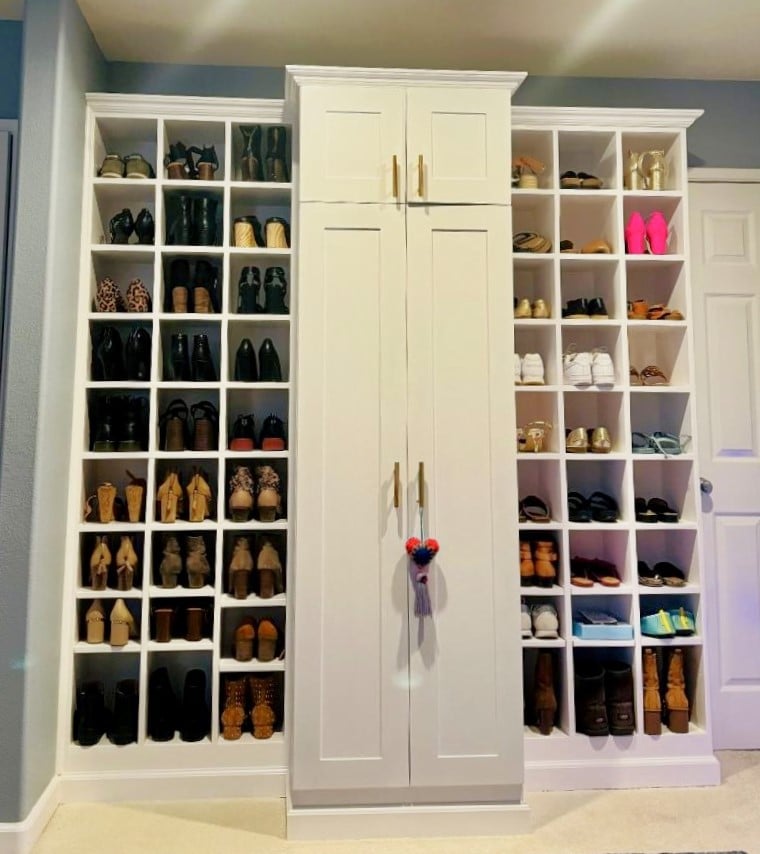
I made 2 shoe shrines then decided to add a cabinet between them for long dresses . Was going to put cabinet doors on the shoe shrines but decided it looked good displaying her shoes. I followed the shoe shrine plans from Ana's web site I found the plans easy to follow although once I was finished I realized it would have been much easy to make the outside frames first and then square them rather then build the insides and then put the outsides on last. It's challenging to keep them square when following the plans . The whole project was allot more work then I anticipated I used my sprayer to paint it I filled all the pocket holes and used wood filler to make the cubbies all one seamless look. Then added crown molding to the top. The doors are the faker shaker doors . I have made real shaker doors on other projects I cant tell the difference between the fakers and the real shakers . Happy with how it came out.
Mark DePonzi
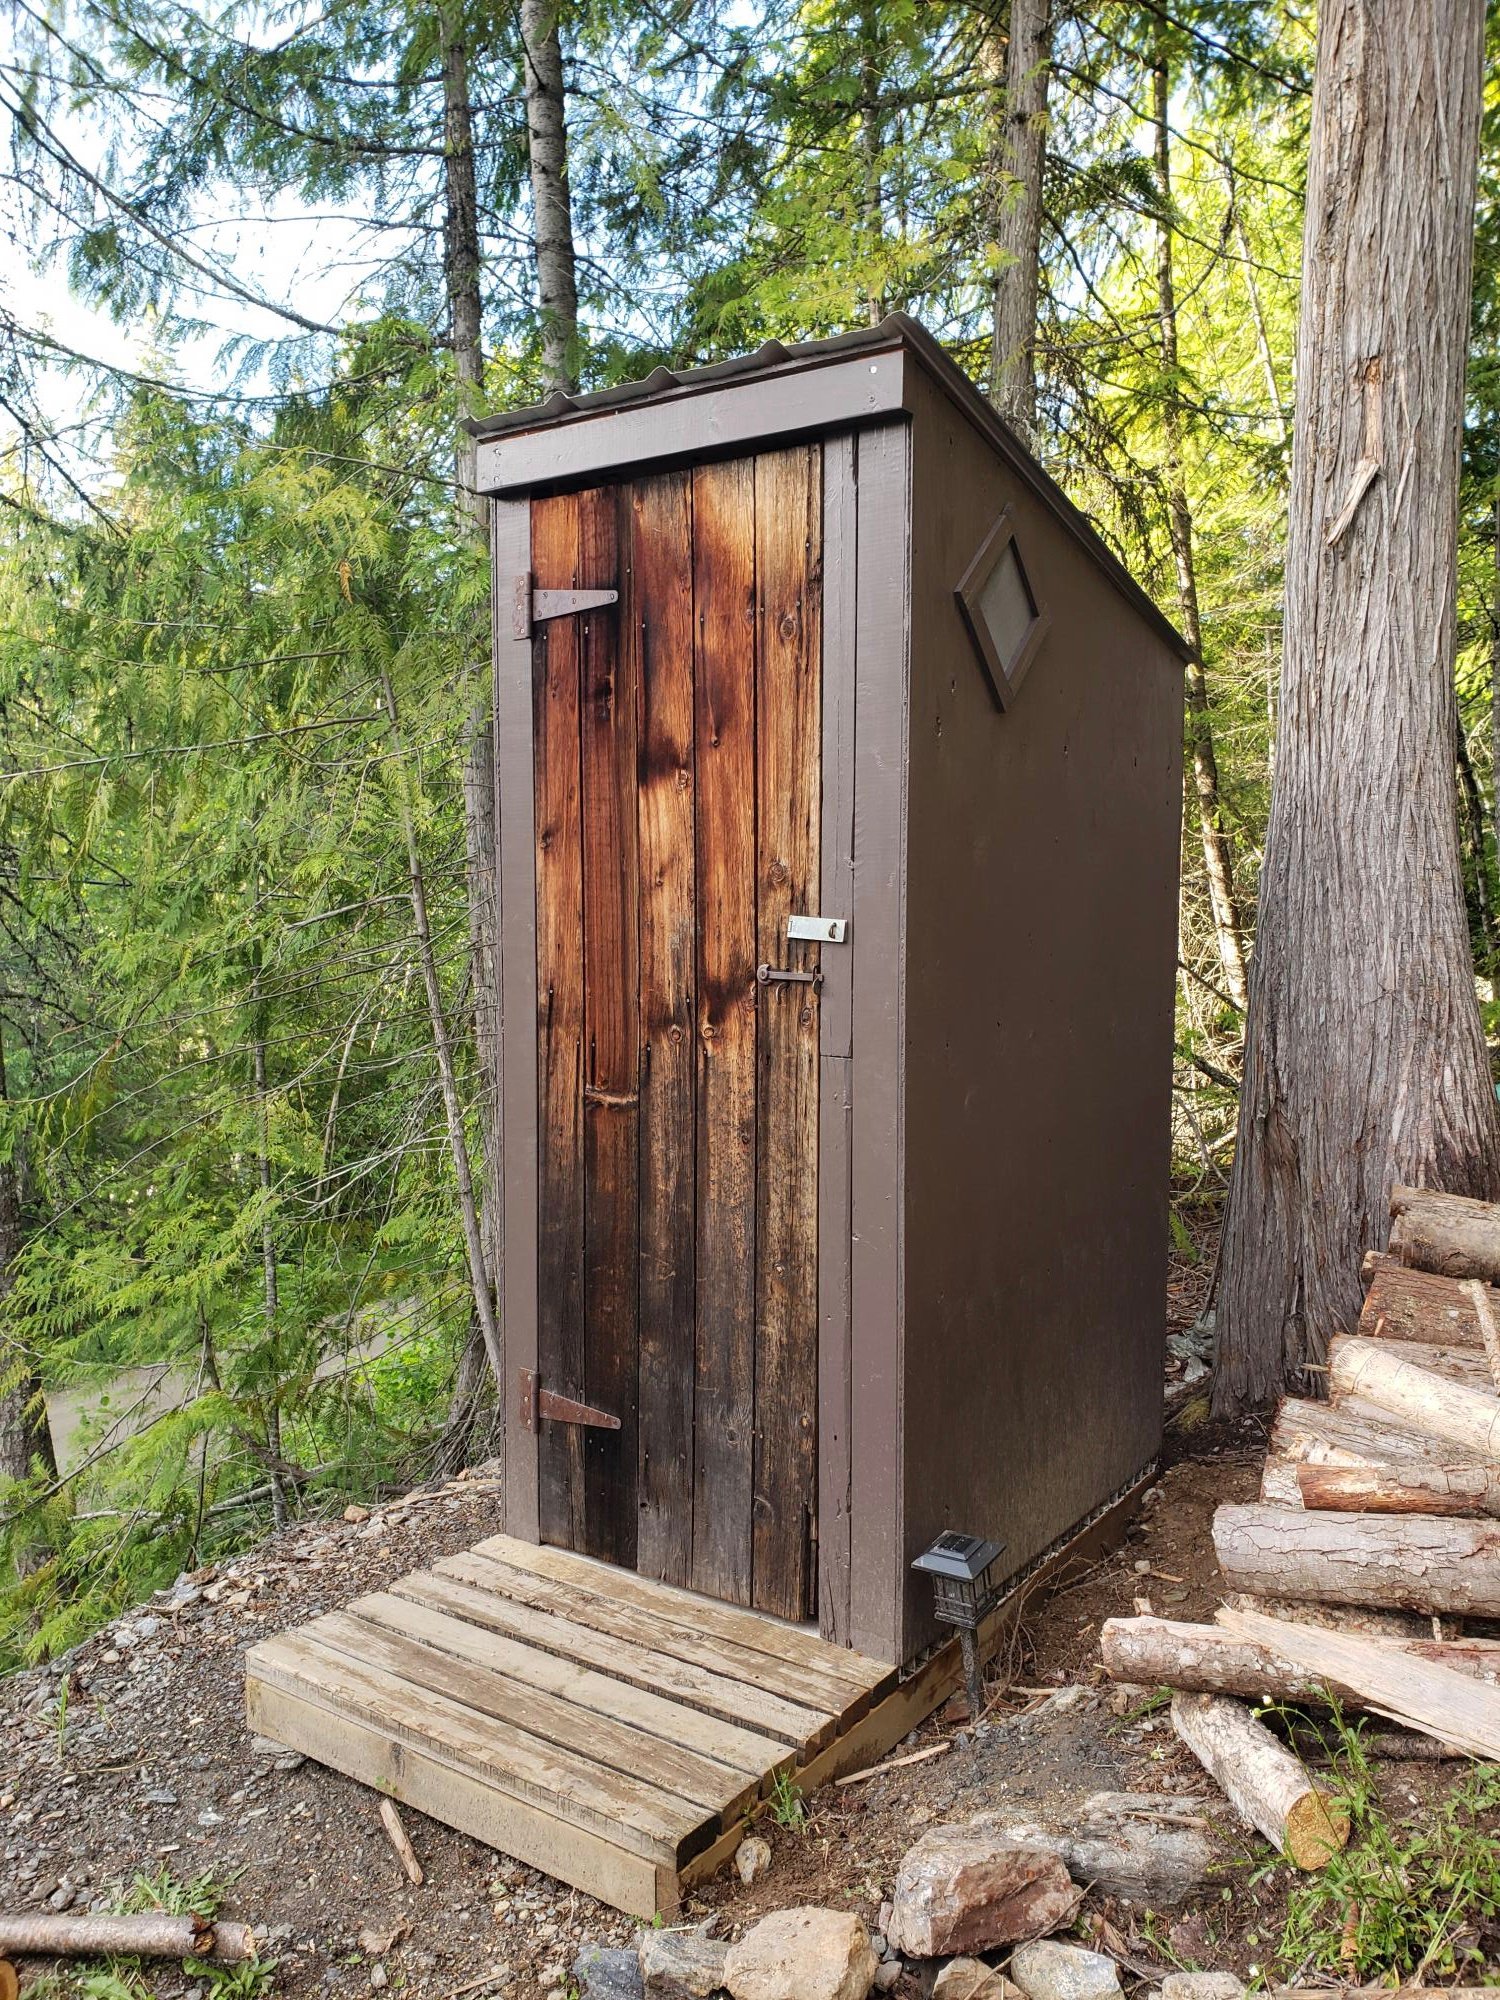
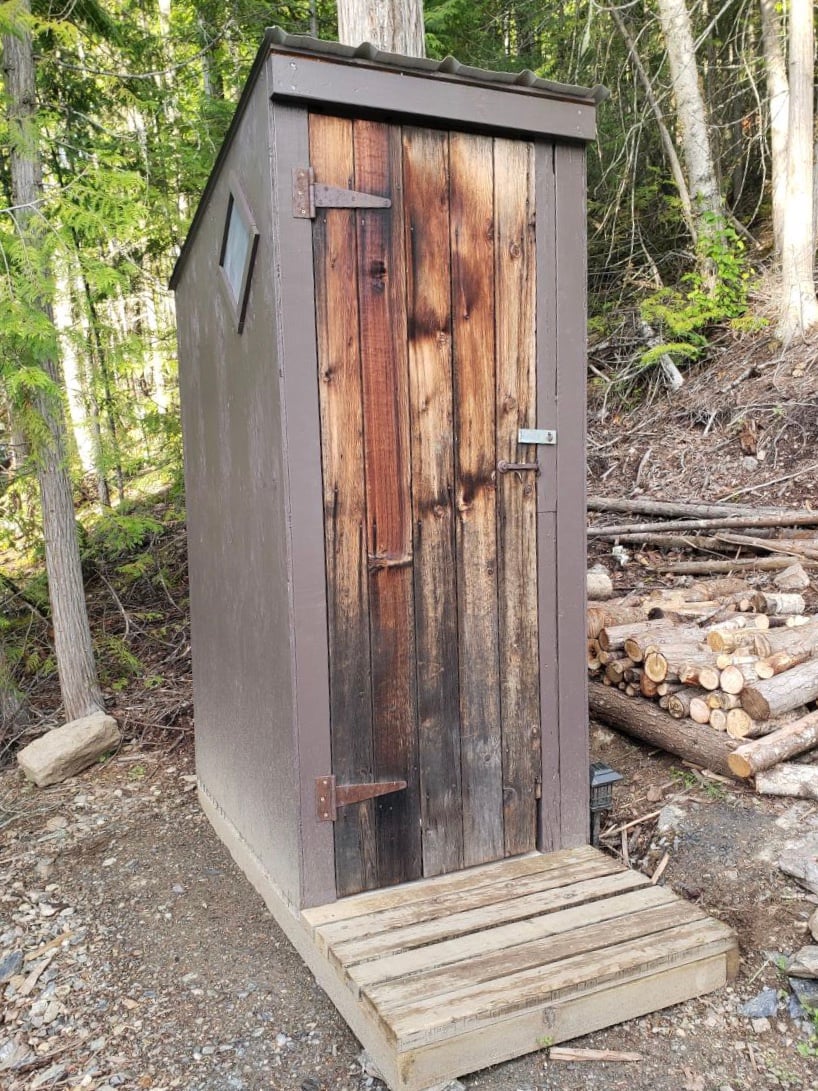
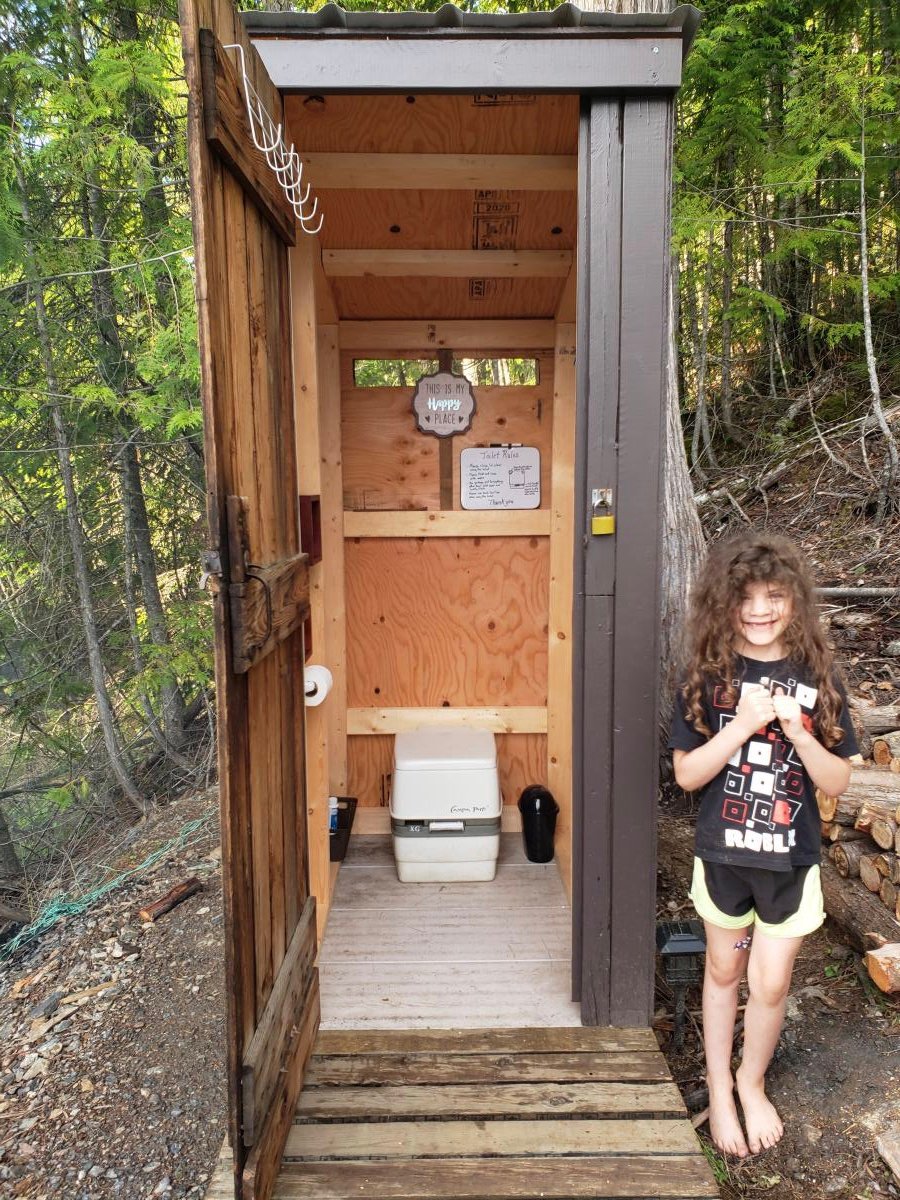
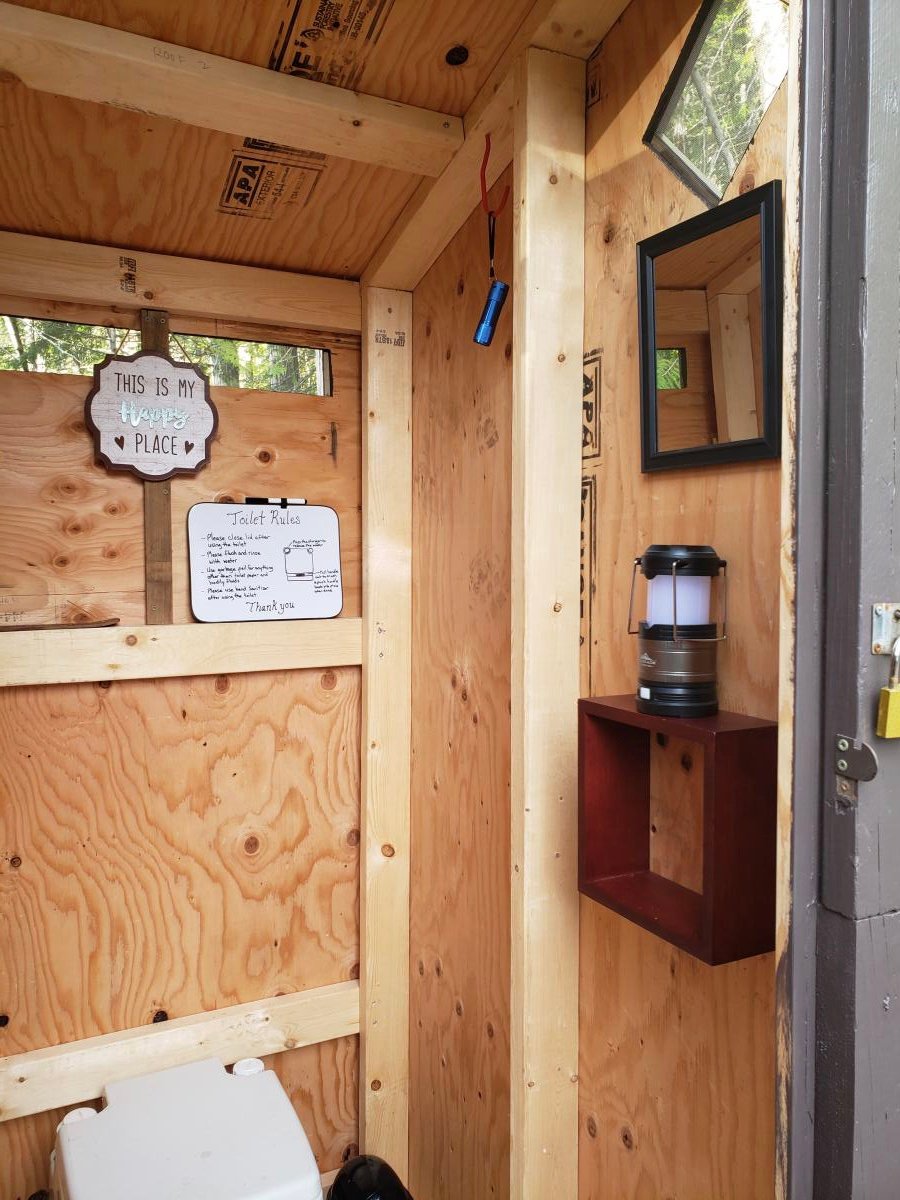
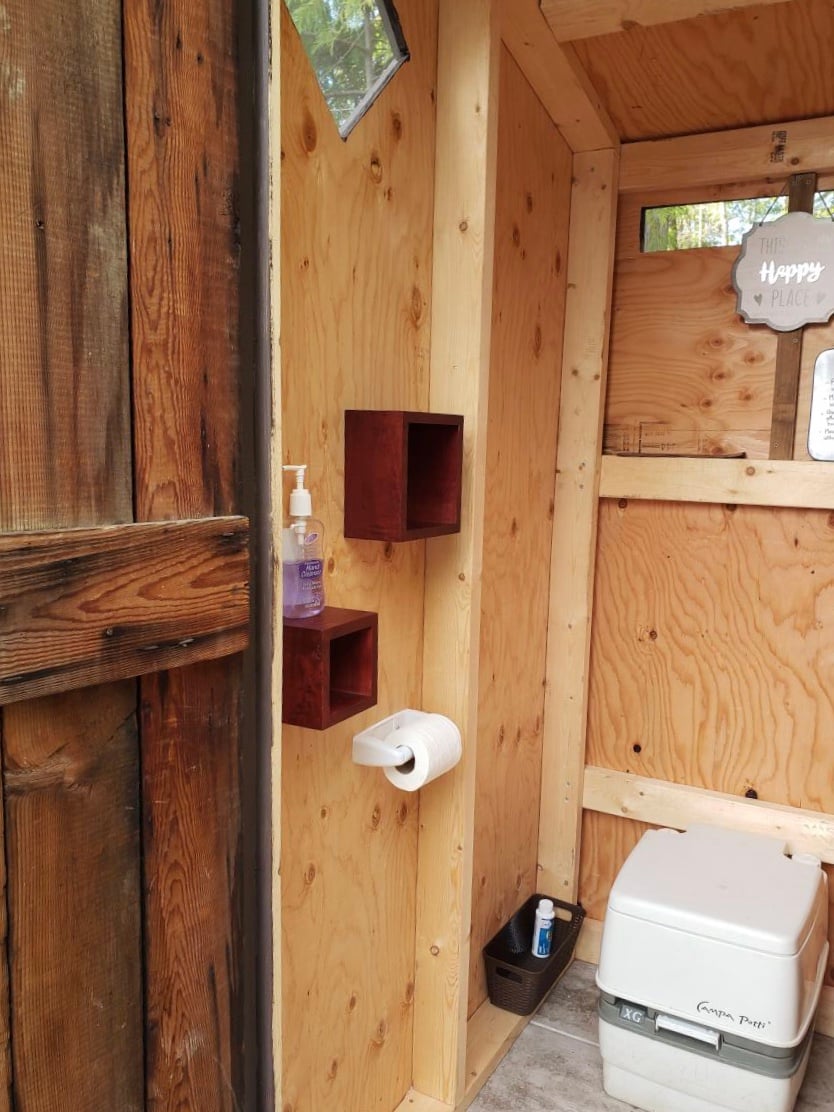
We used the plans from the Simple Outhouse to make a space to hold our porta potty. The door is a repurposed barn door and I think it looks amazing! These plans were perfect for us as we were able to build it in panels and reassemble on our property by the lake. Some screened windows to allow for ventilation and light were the finishing touches. Thanks Anna for the simple to follow plans!
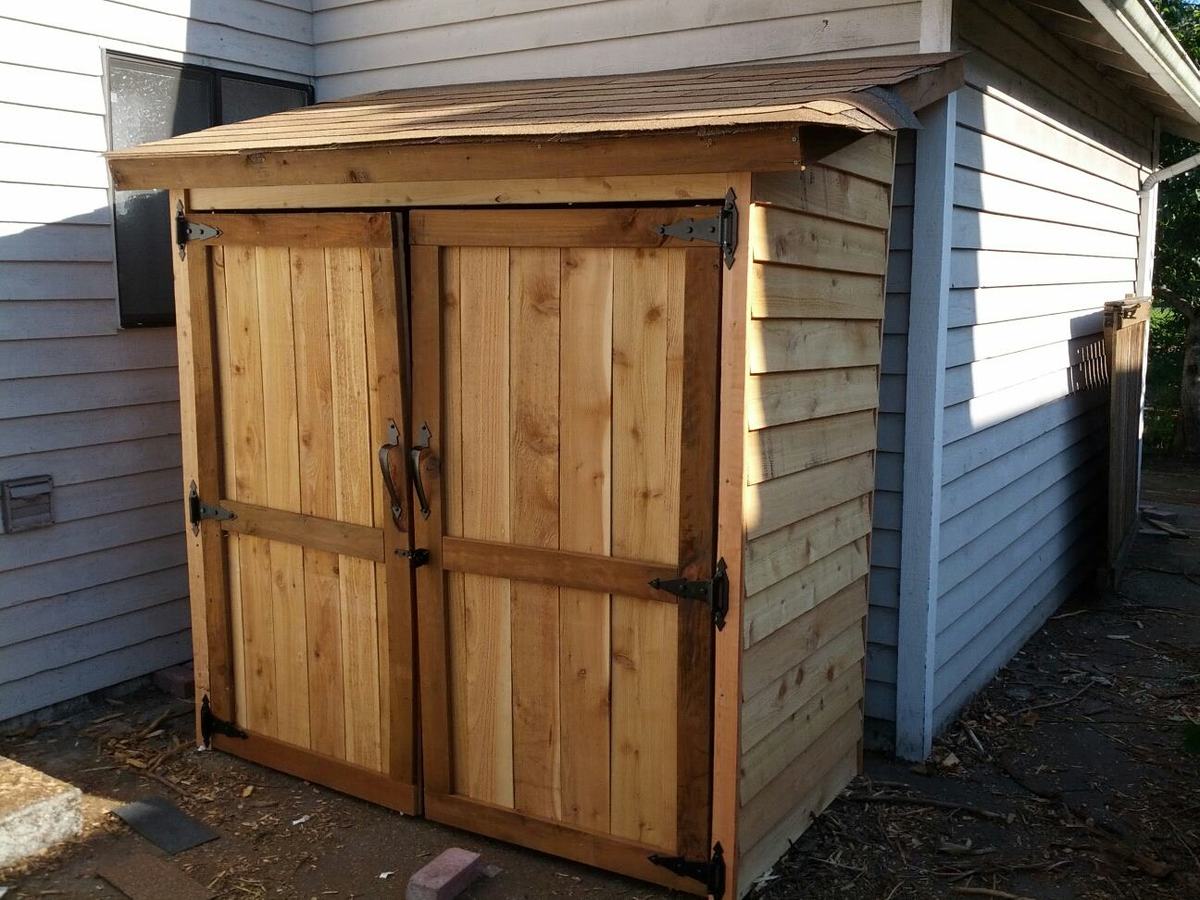
I have been dreaming about building so many things featured on this website, and I finally buckled down and built something. I figured that an outside garden shed would be a bit more forgiving than a project requiring a bit more precision, and from the picture, you can see that it's not perfect! I'm still working on trimming the shingles and I still have to stain/seal it. I've got to admit, when I first picked up the wood for the project at the store, I wondered what I had gotten myself into. But I just jumped in, and here it is.
Thu, 10/11/2012 - 10:45
What a perfect spot for it as well! Really good job with your first project.
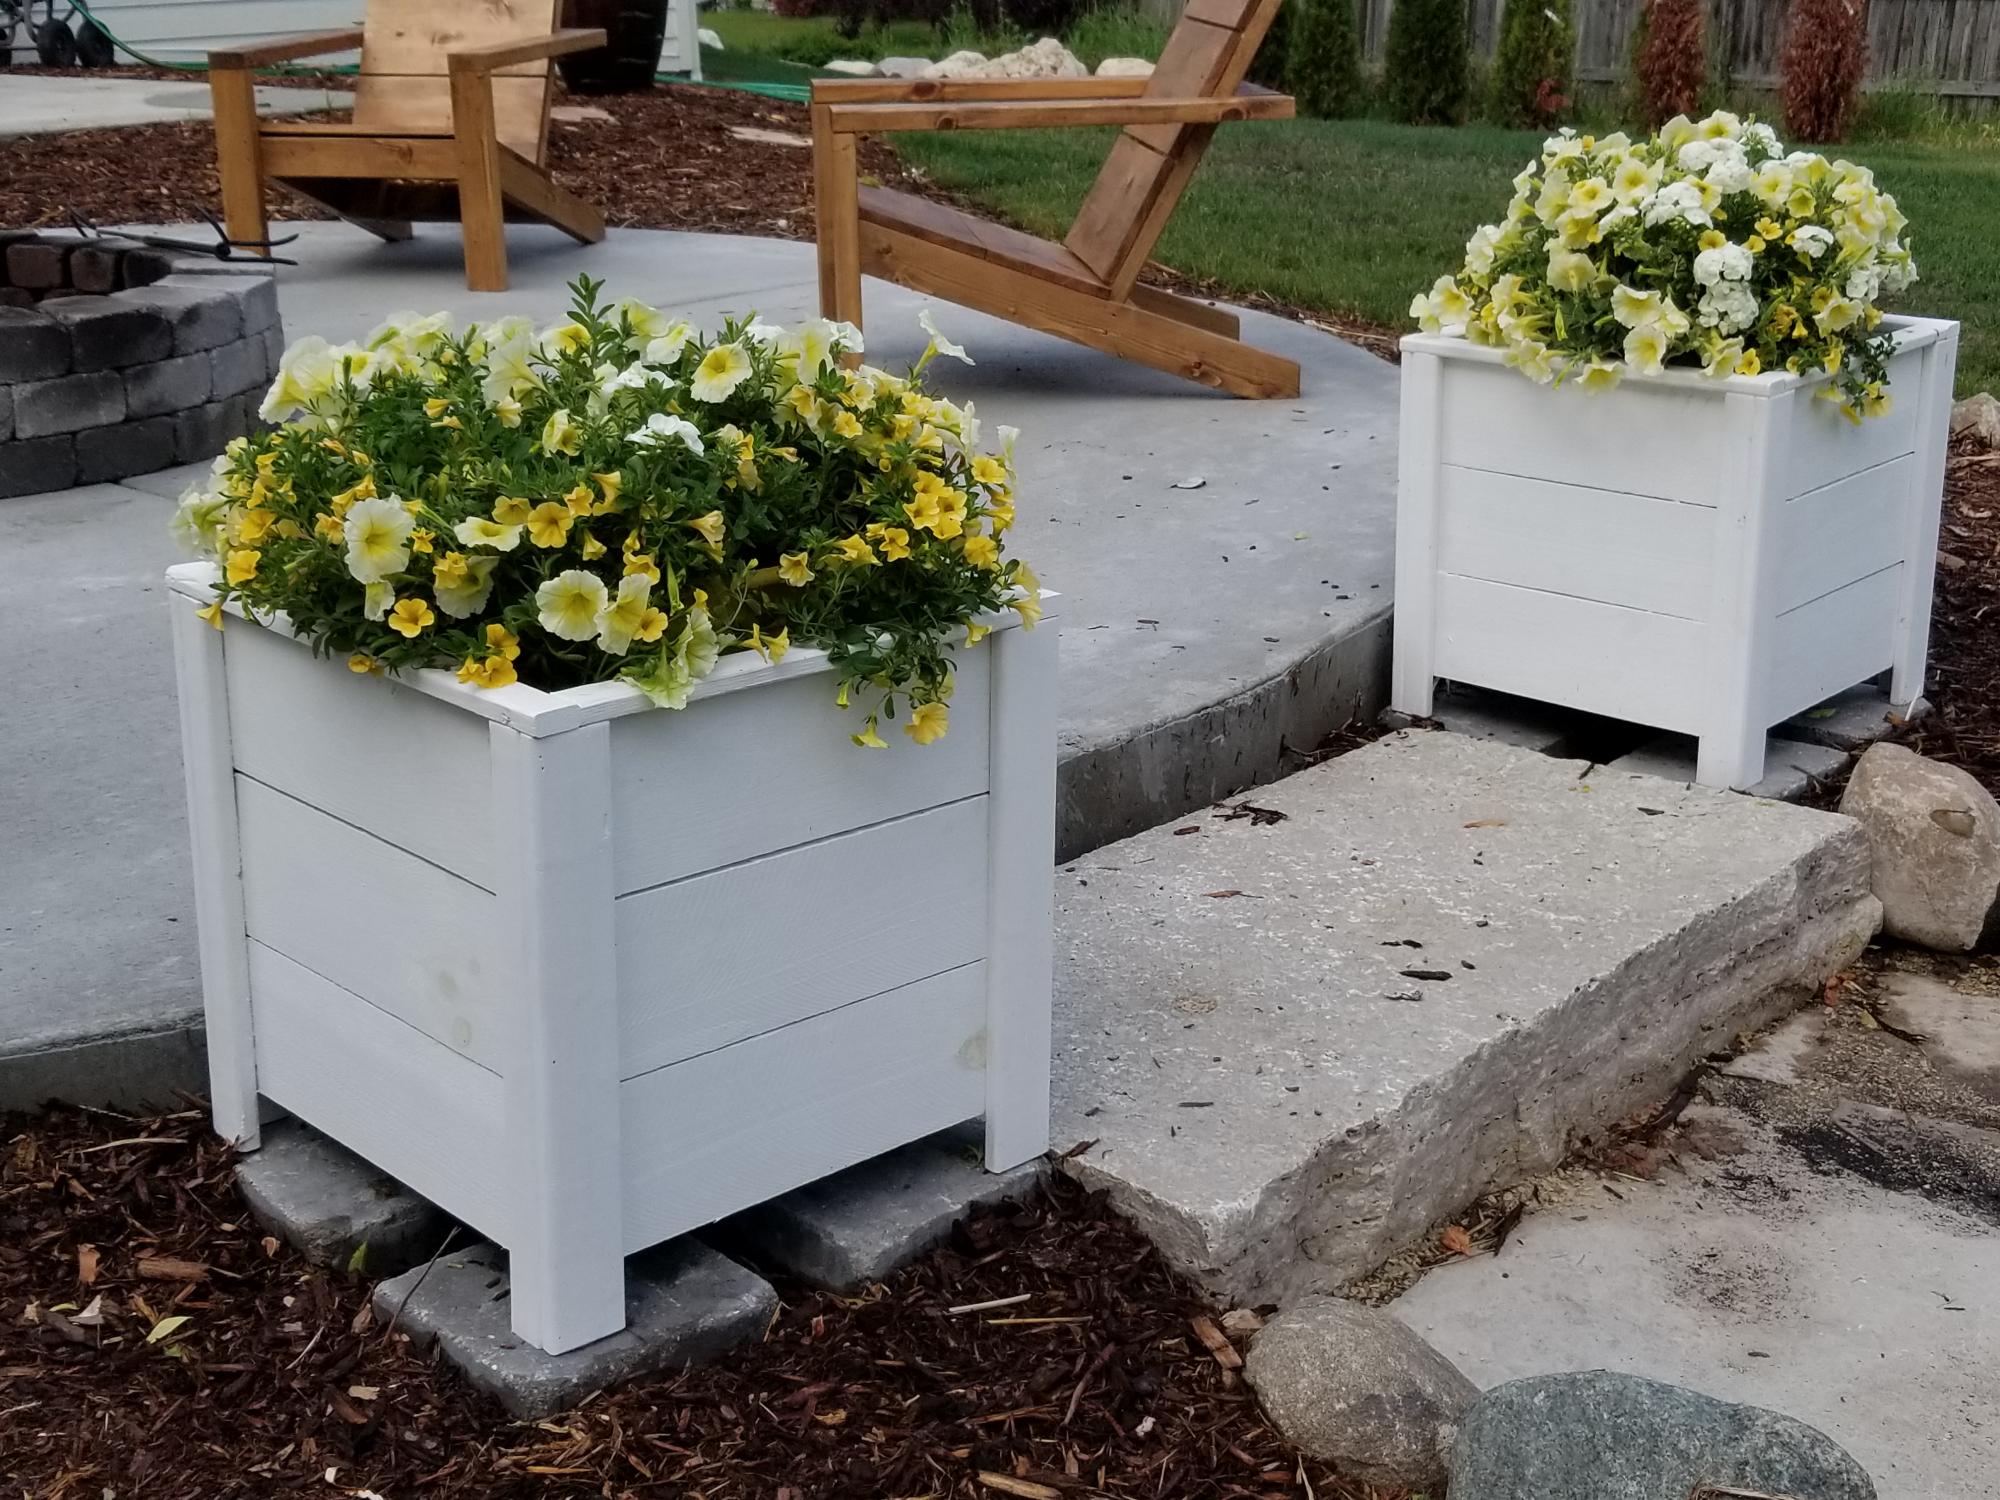
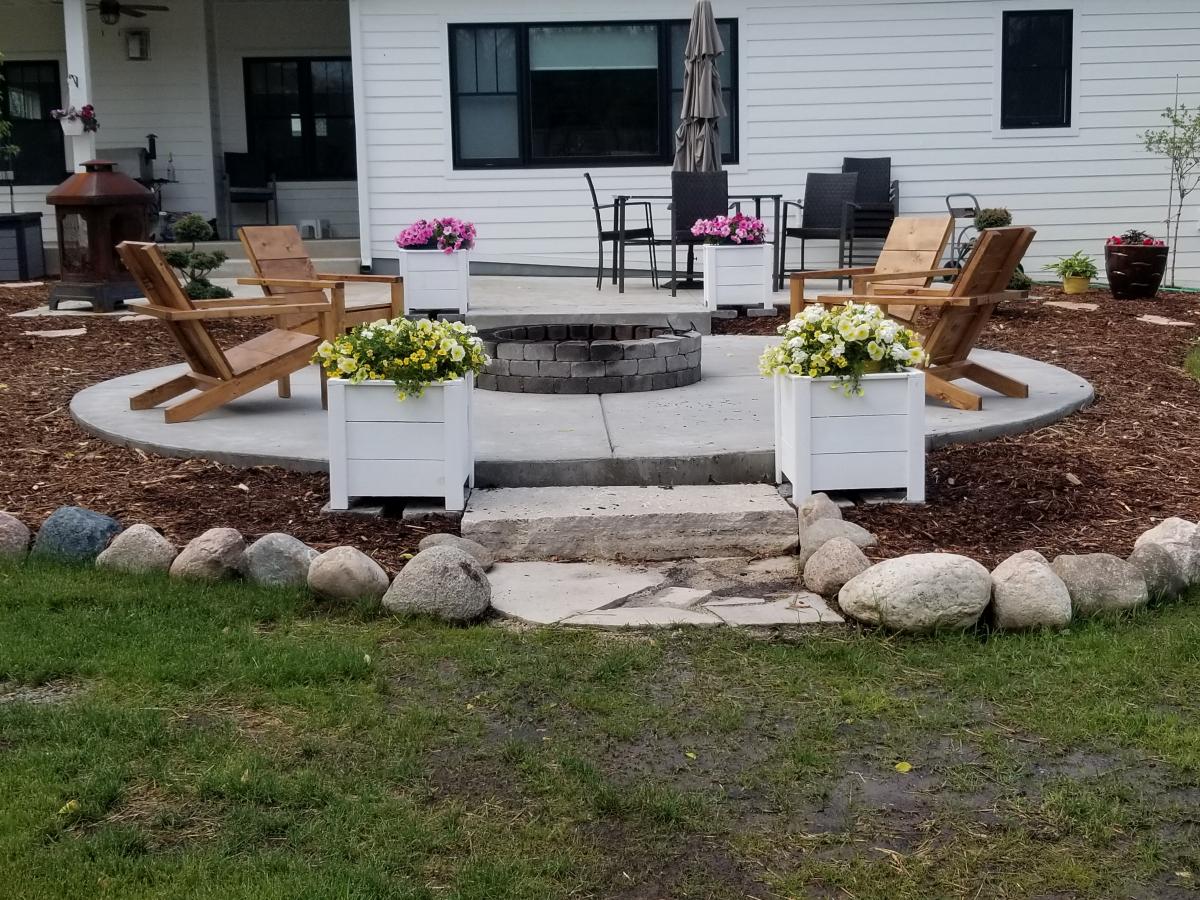
I followed the plan exactly including the suggestion of the fence paint (2 coats). This was a very easy build. It took much longer to paint than it did to build. These boxes are the perfect accent on our new patio/firepit.
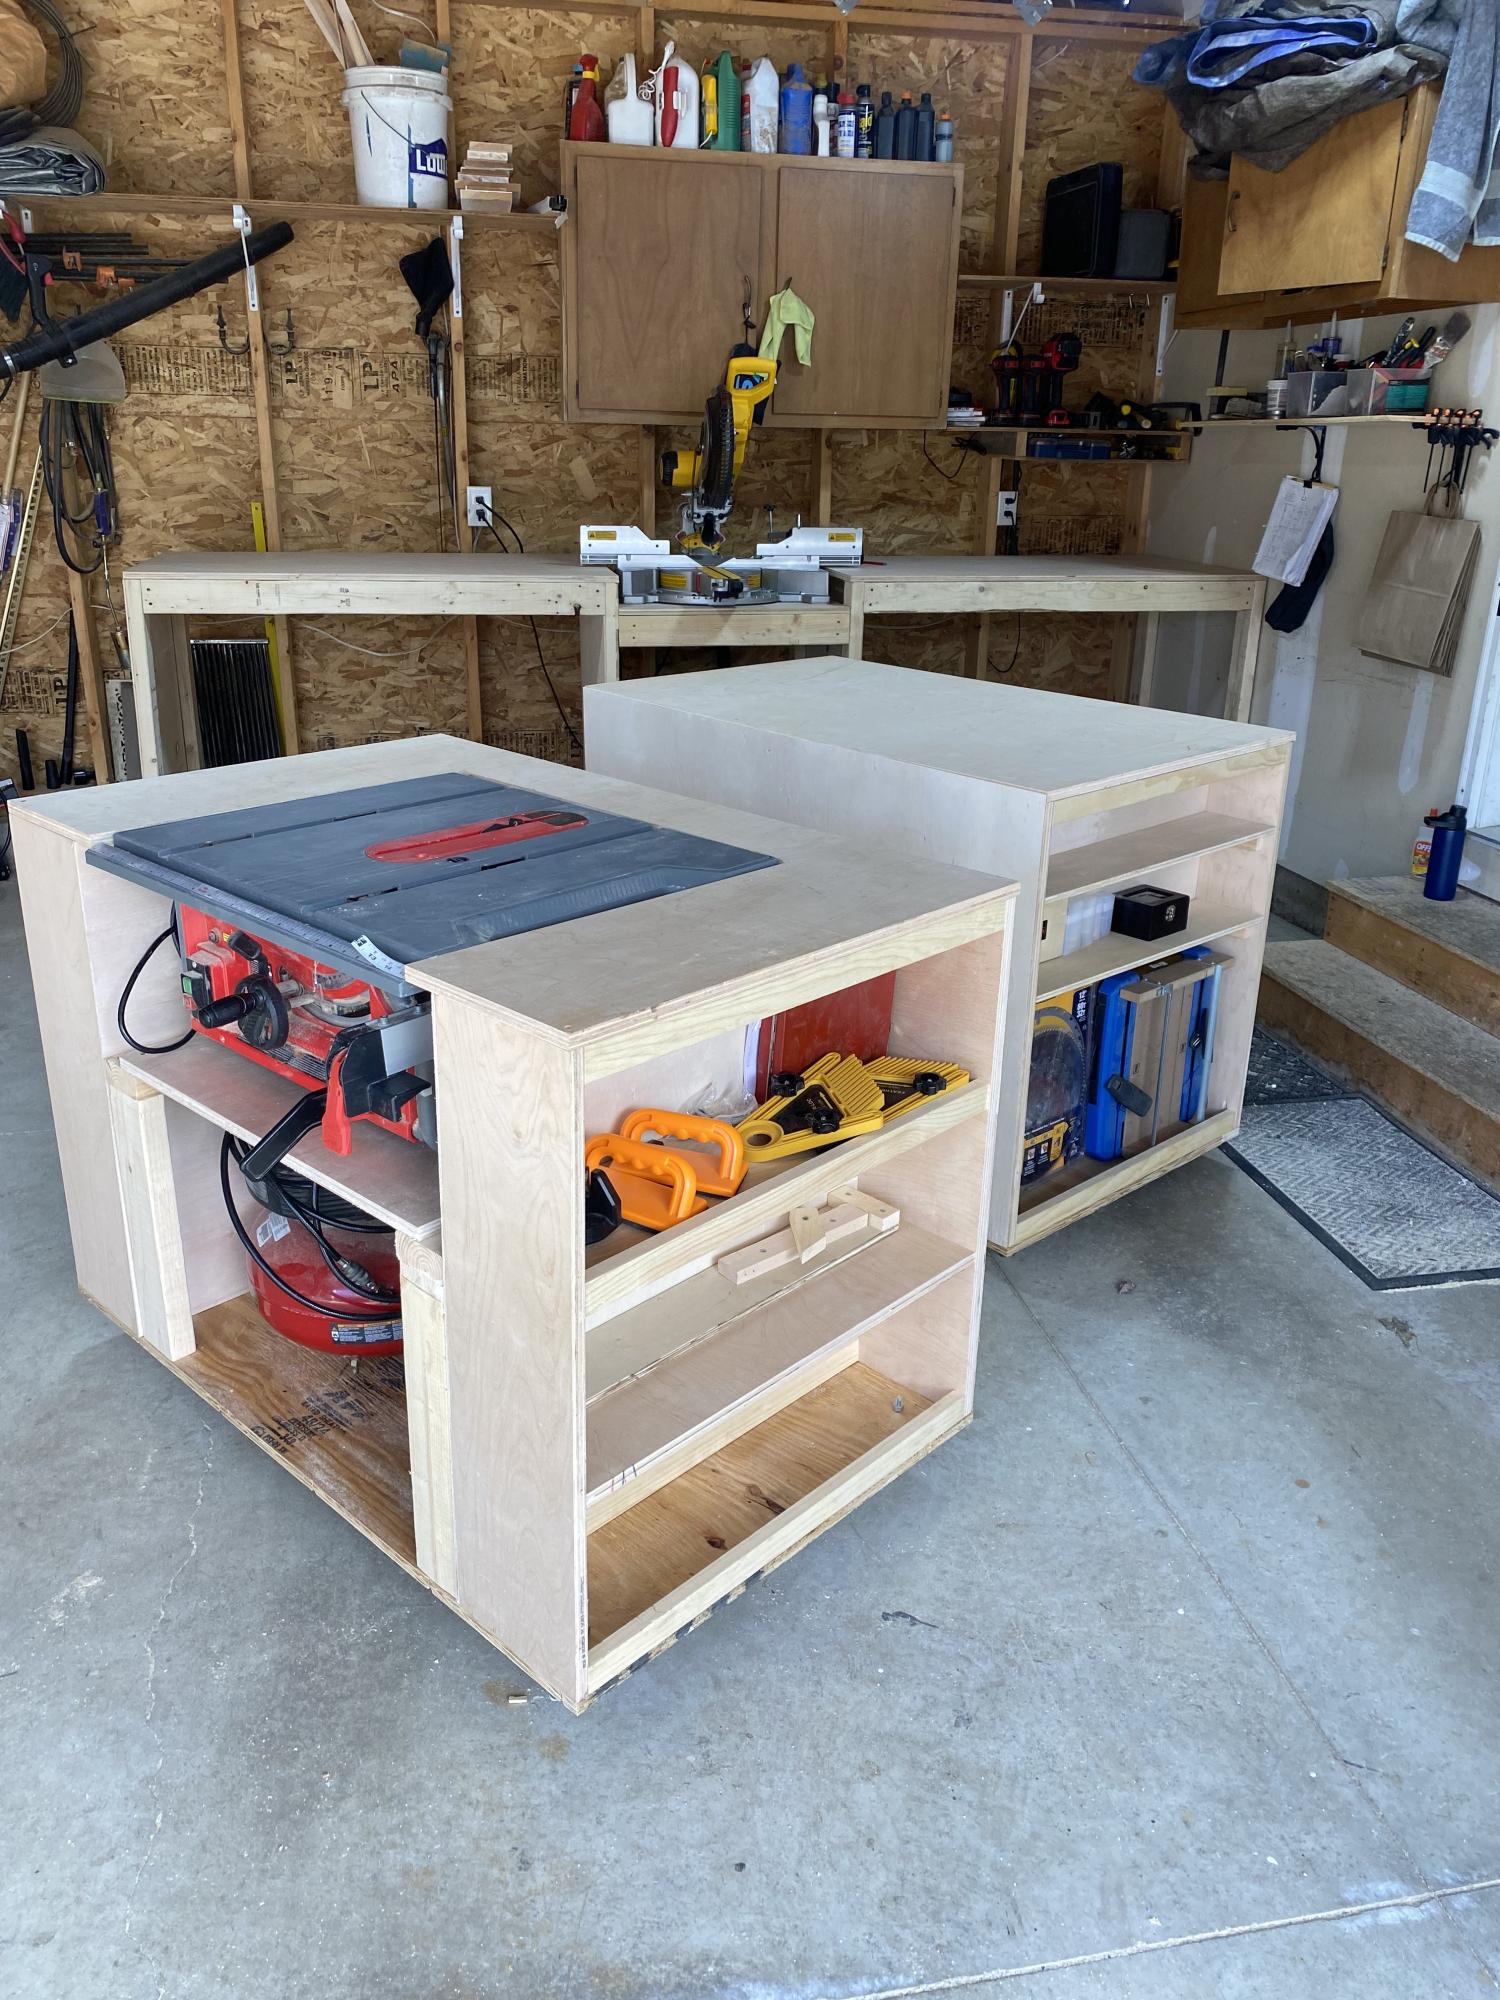
Modified these plans slightly for my needs. I kept the table saw open for easier dust collection and only had one side of shelving on the other bench to allow for storing larger items. I can’t get over how much storage in a small space you get with these and how multi functional they are.
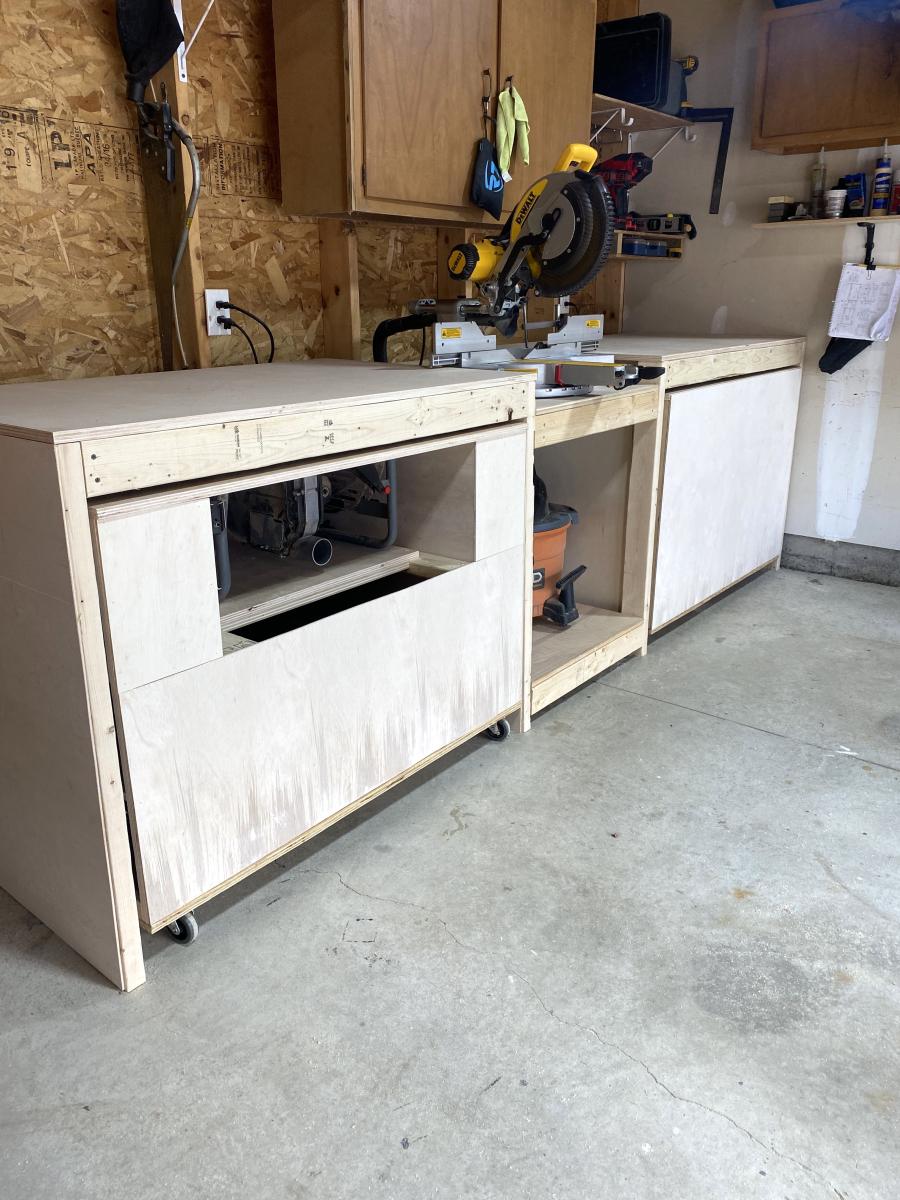
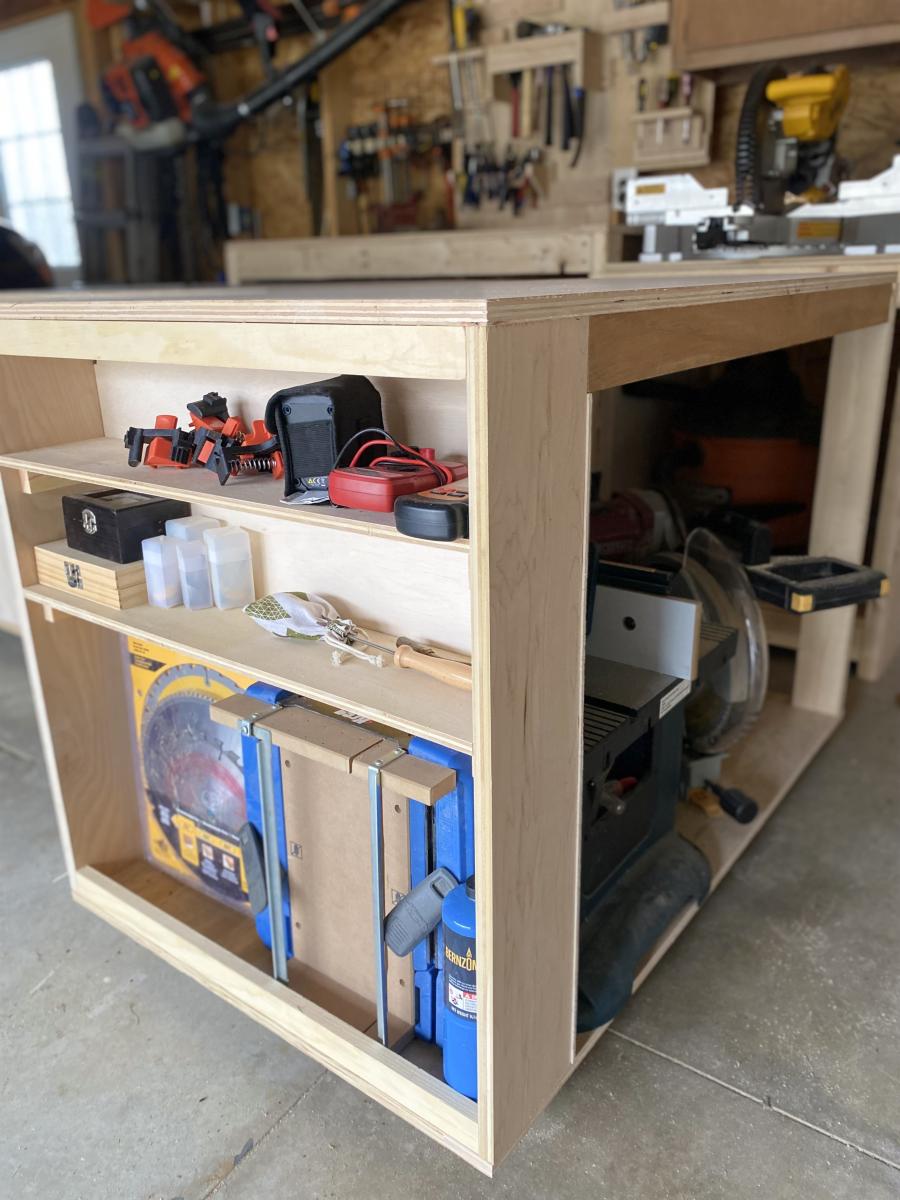
easy
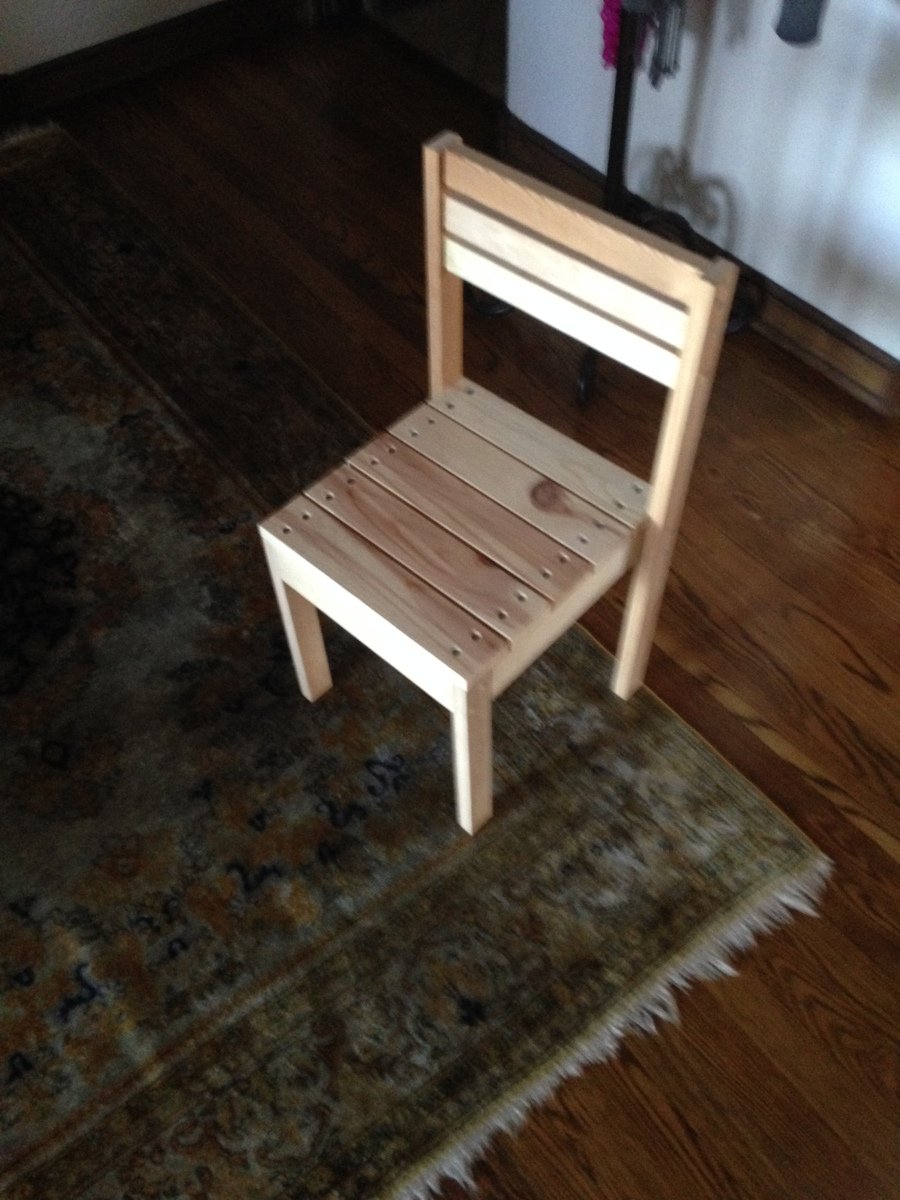
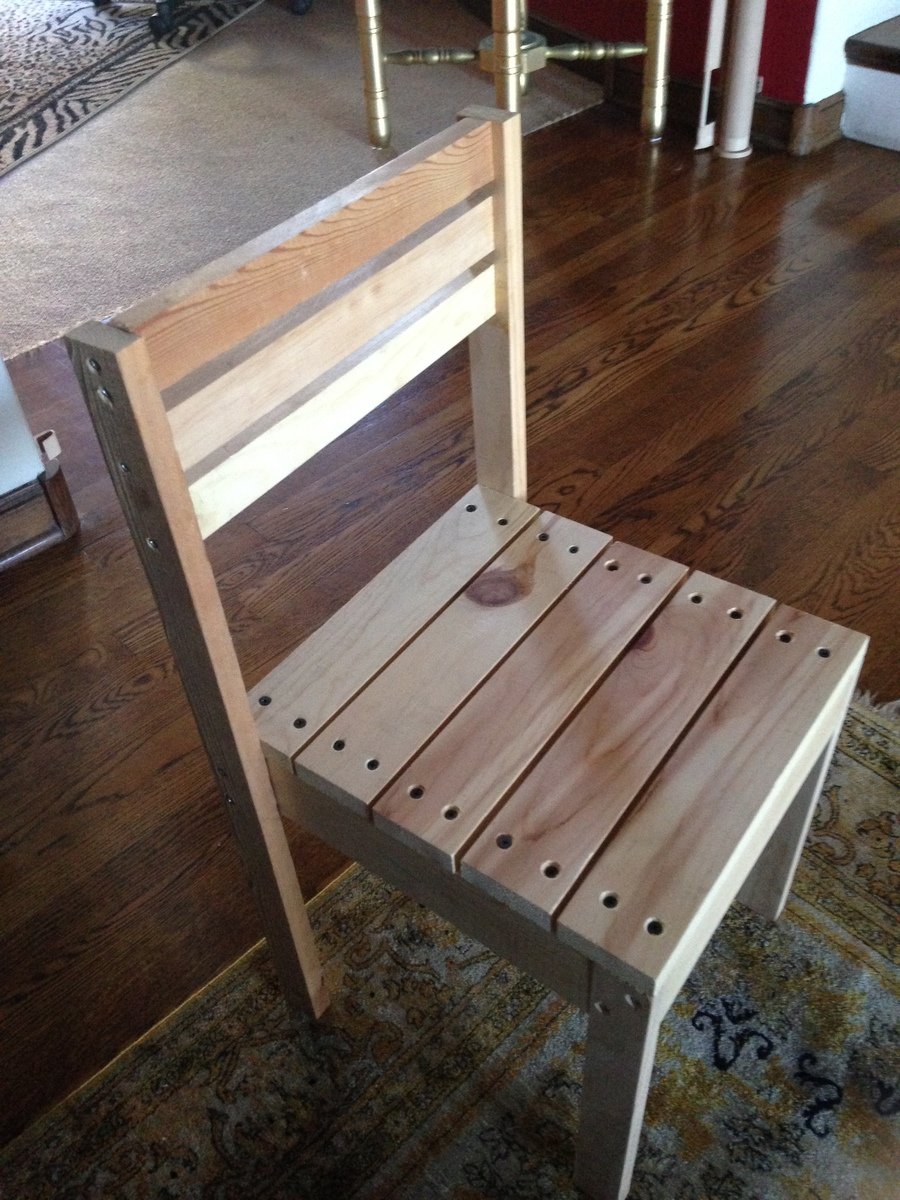
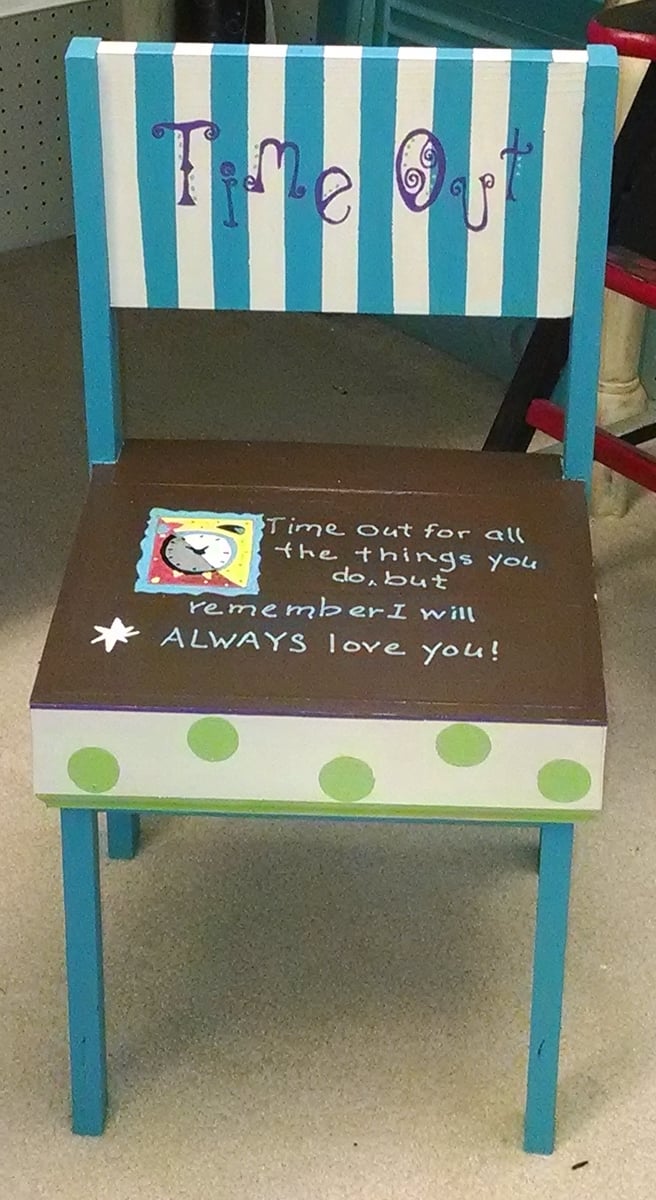
Kids stuff usually sells pretty good for us. Considering in our area, to buy kid size chairs are about $25 we looked for another option. This stackable chair fit the bill perfectly and was so inexpensive and easy to build!! Made the back part solid so I could paint on it and added some moulding on the side. Going to get my grandson who is being homeschooled, busy building some more as part of his wood shop class.
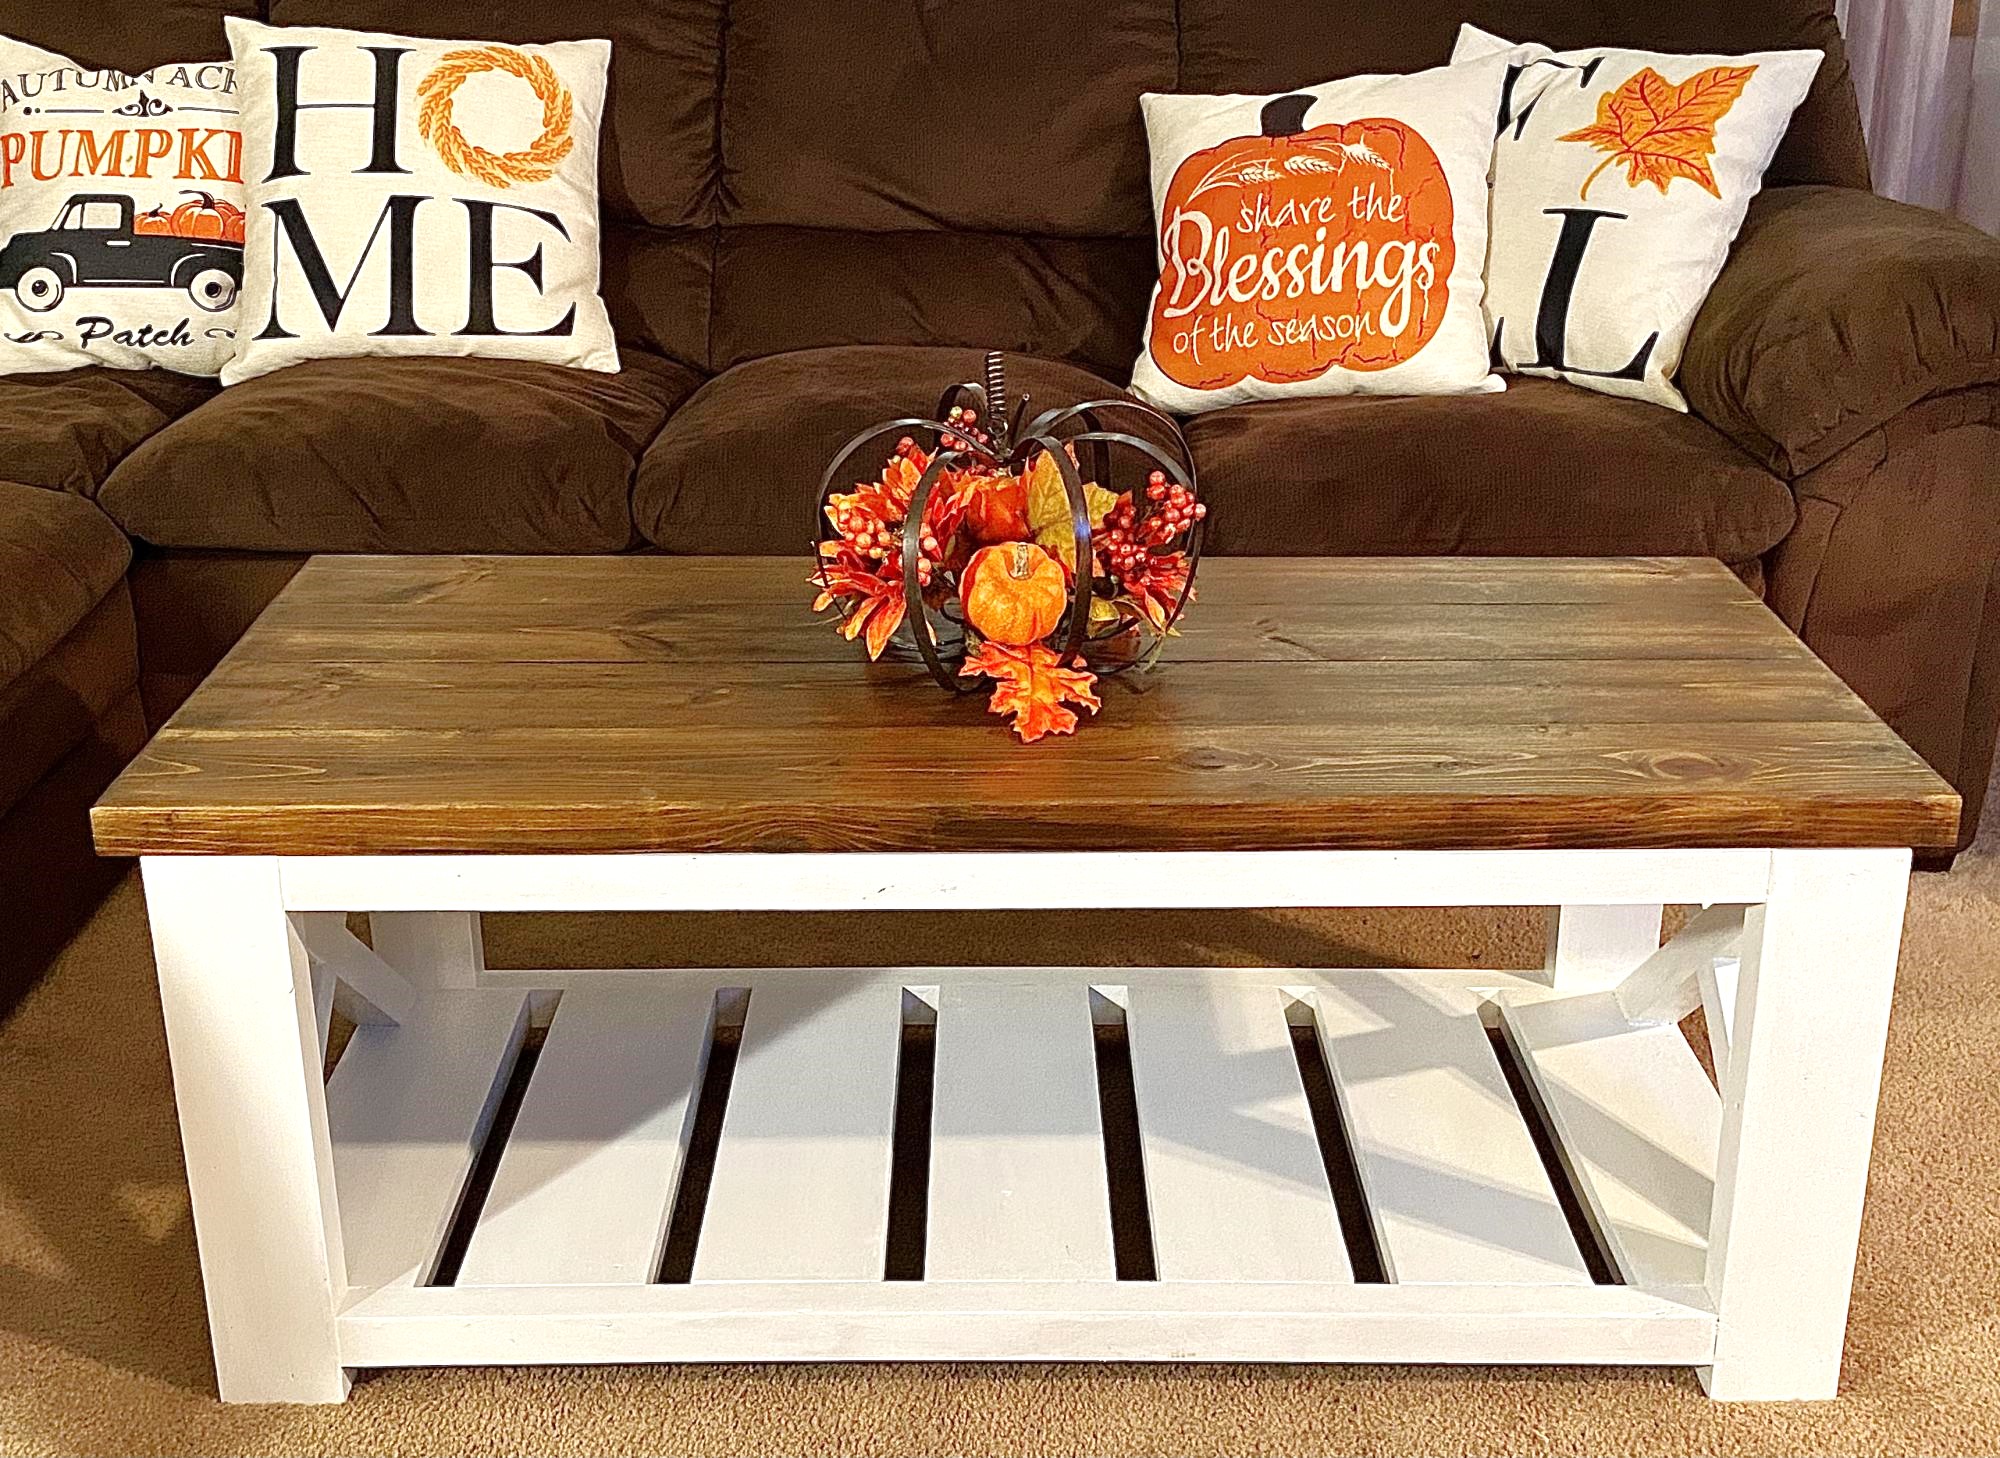
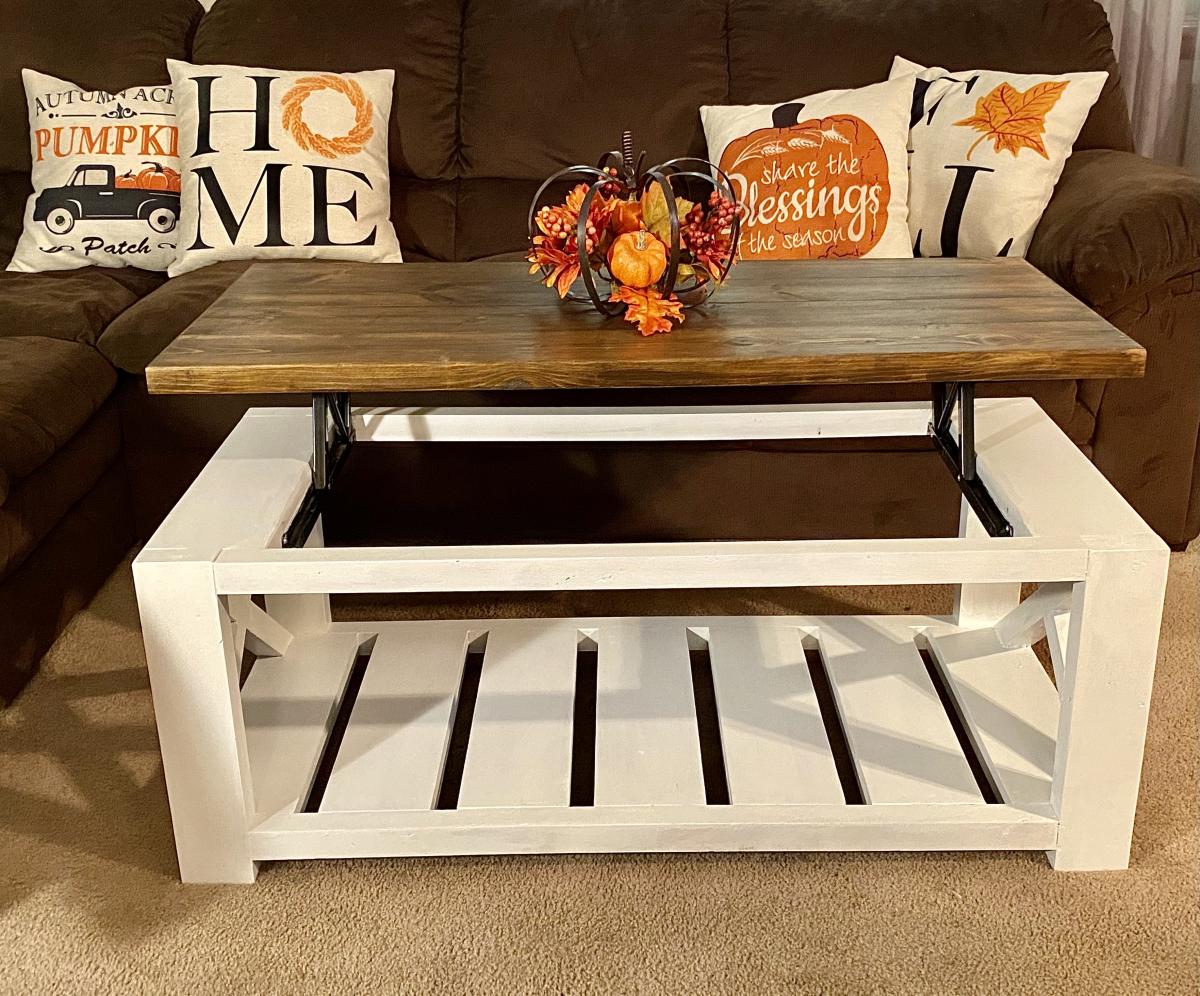
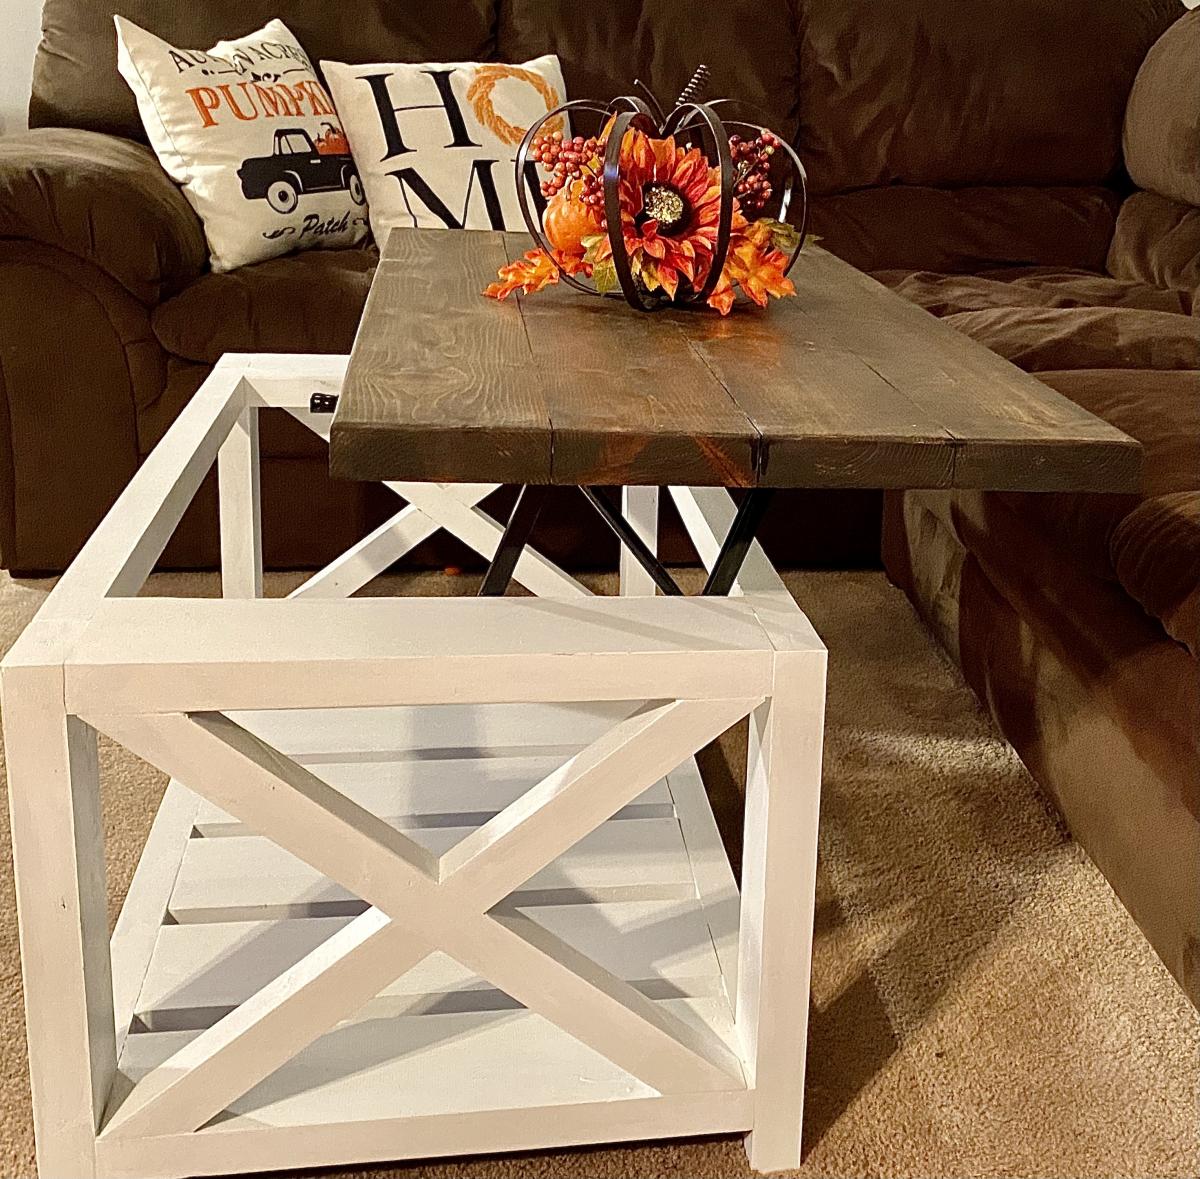
My fiancé seen the rustic x one and loved it but has always wanted a lift top one. I decided to combine the two and it turned out well.
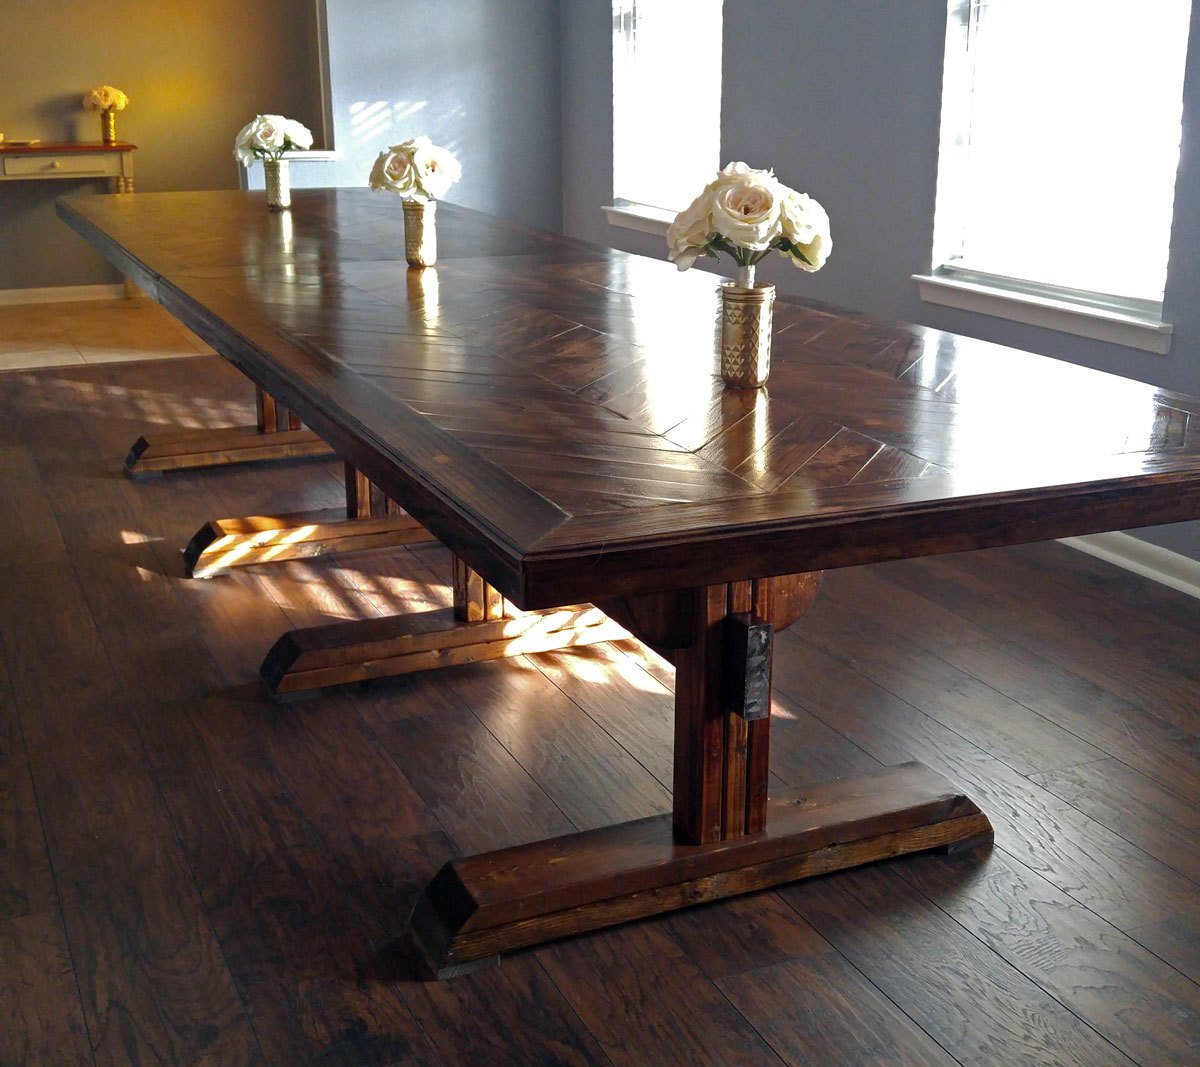
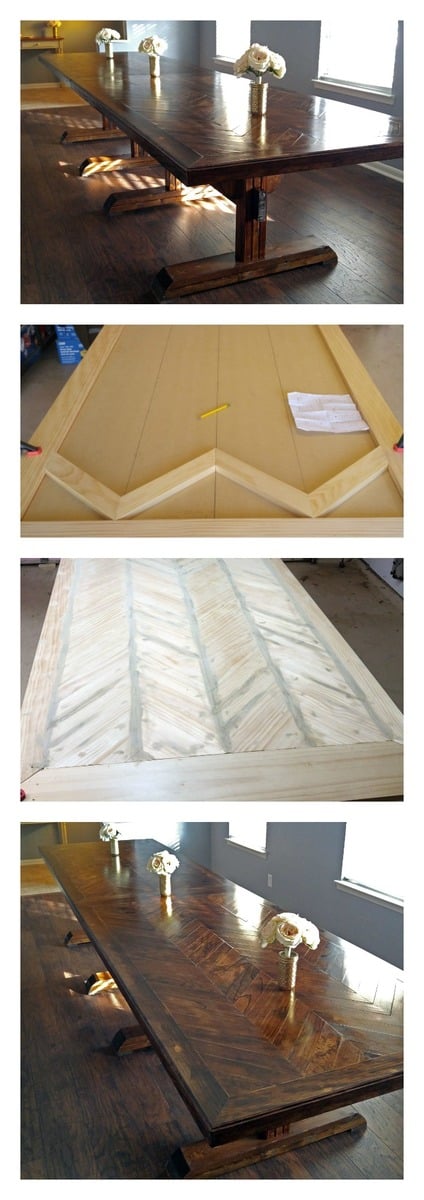
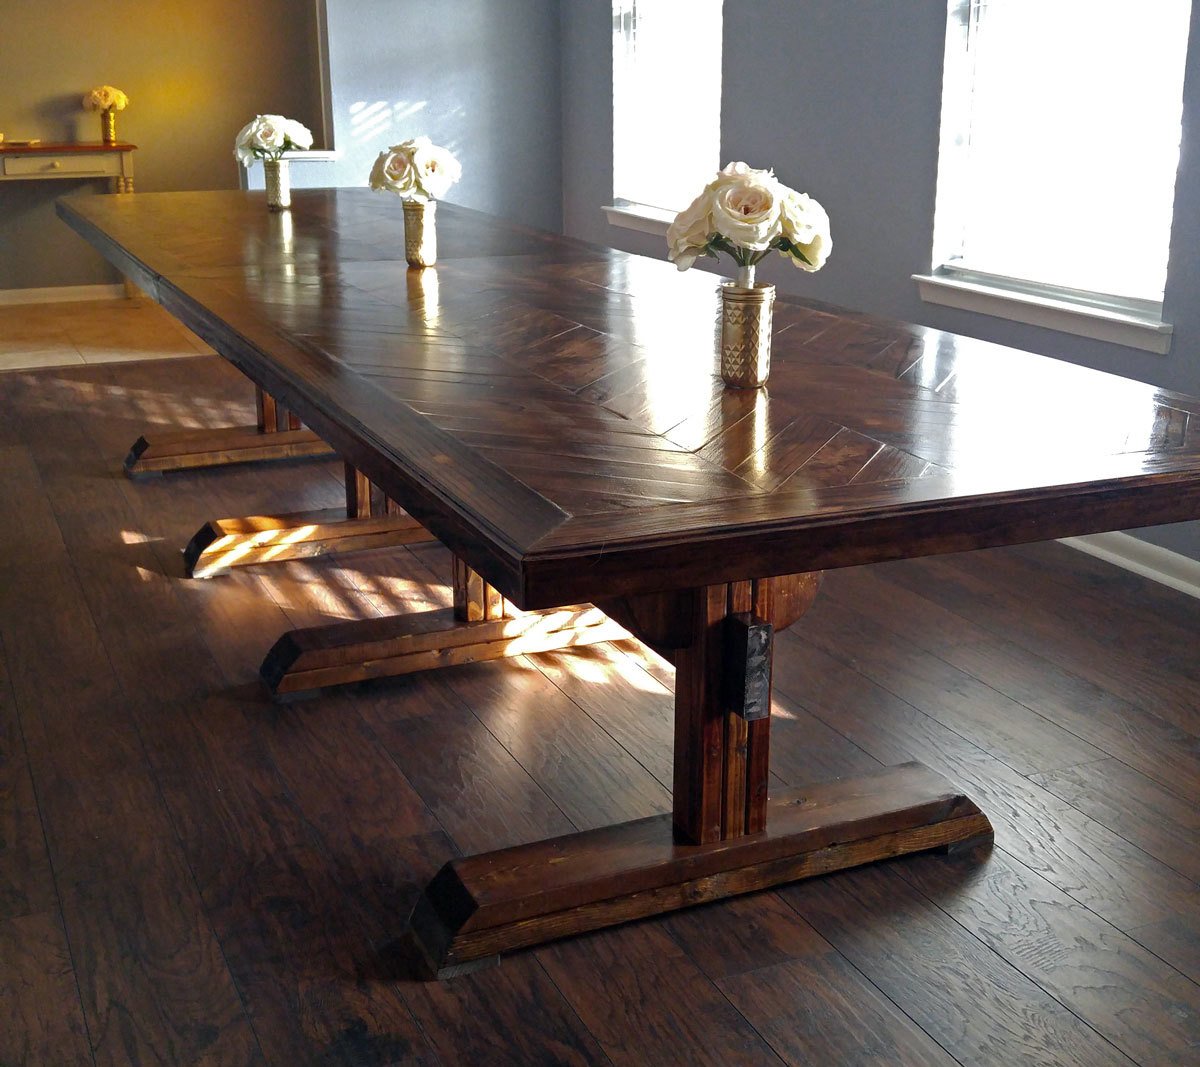
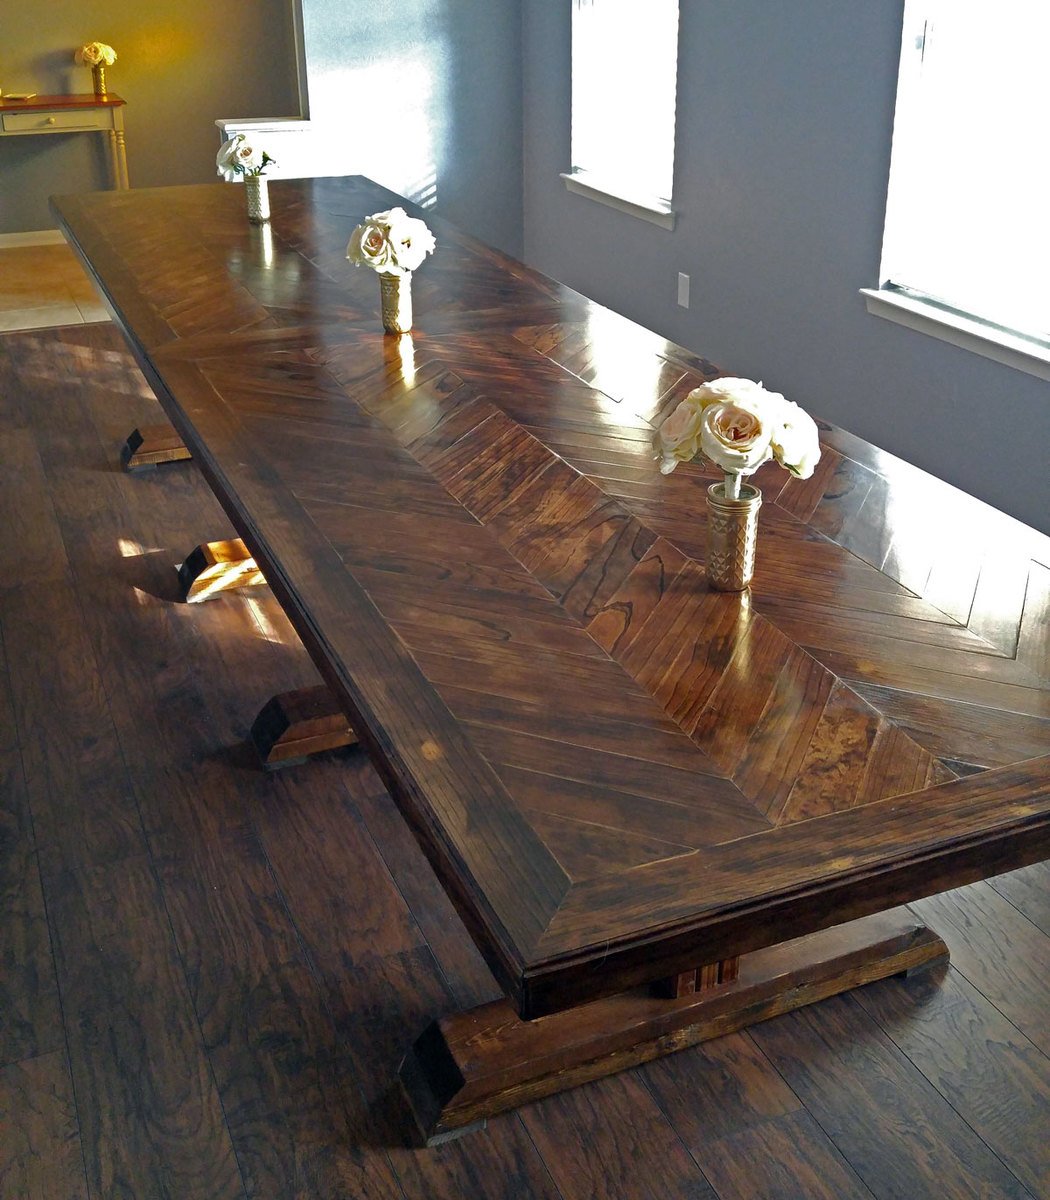
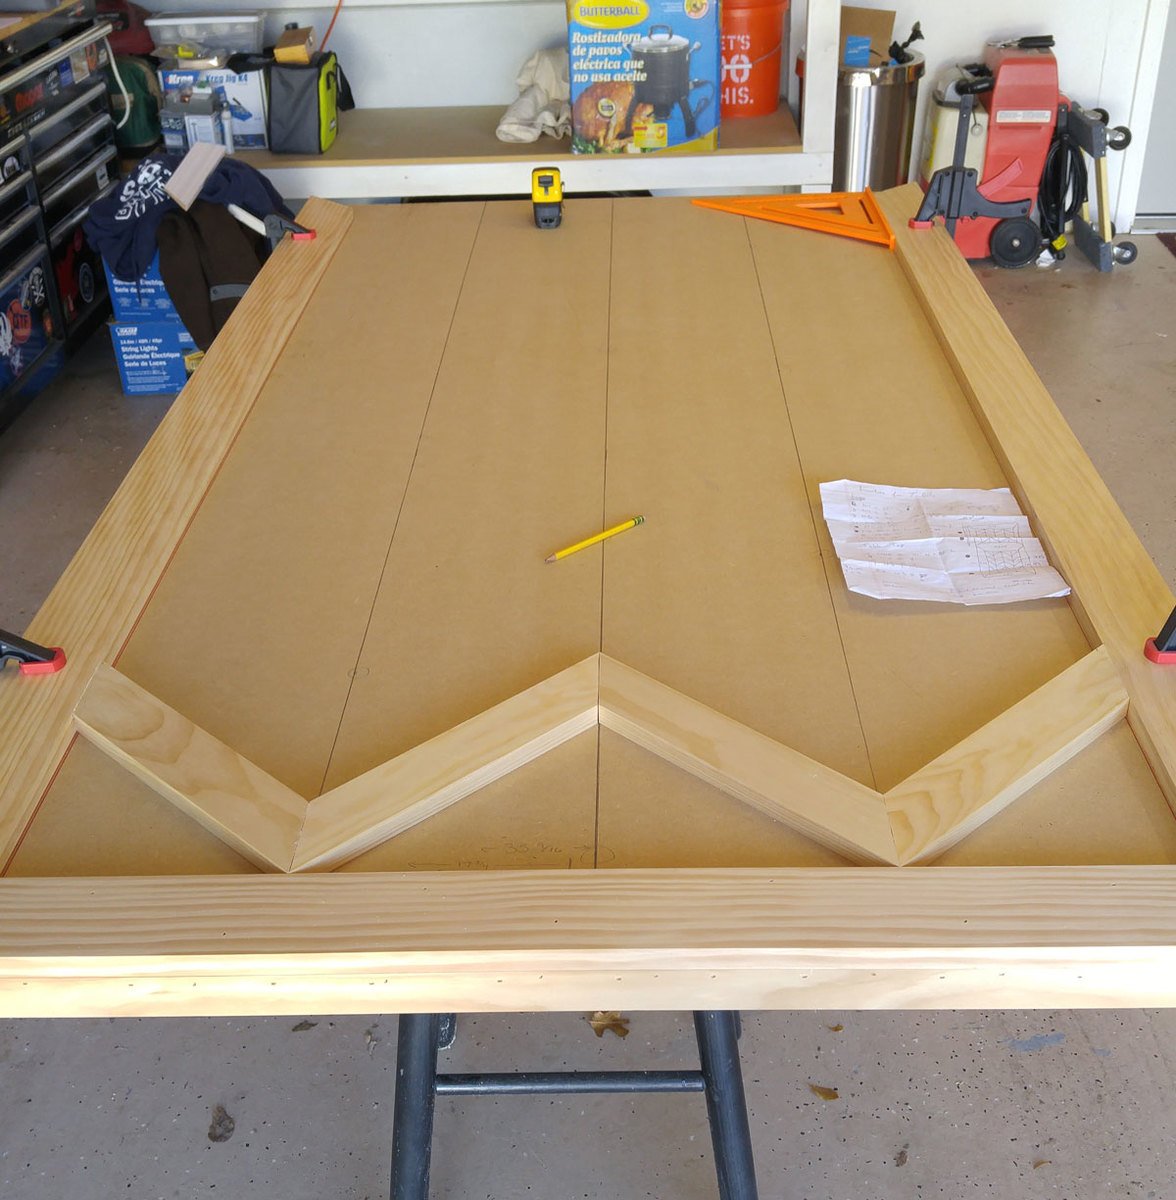
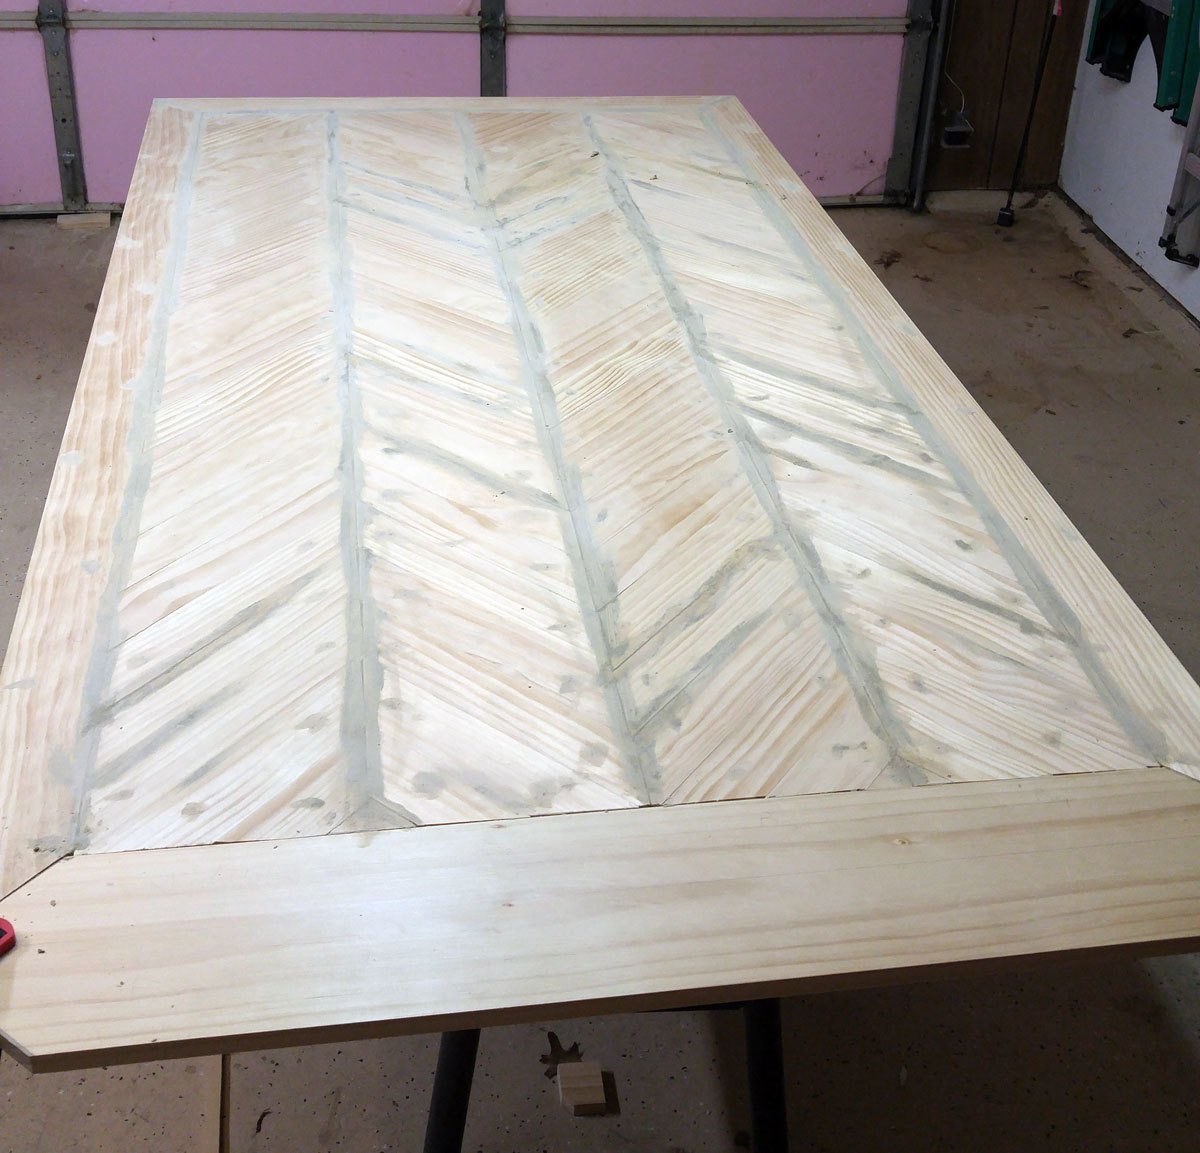
Thanks for the wonderful plans! This is my 2nd Ana White build (traditional turned leg, pottery barn desk). I used the legs from this build and then leveraged some tips from another blog for the herringbone top using 2 sheets of MDF as a base (http://www.southernrevivals.com/2014/06/tile-top-herringbone-table-make…). My herringbone table took some planning, as it is over 13' long. Now all of my family can eat together when we get together!
Wed, 04/29/2020 - 16:56
This is absolutely gorgeous! I love the unique top you did with the herringbone pattern. I've been debating on trying something similar myself 😁
Comments
Ana White Admin
Wed, 07/21/2021 - 14:23
Awesome!
Thanks for sharing, it looks great!