Community Brag Posts

DIY bench for beginners - Happier homemaker bench

Submitted by birgitta on Thu, 06/20/2019 - 14:33

This was a really good starter project! I loved building this and have gotten tons of compliments on it! I spent about 5 hours on it, from when I came home with the wood, until the paint was drying. Including a coffee break! Estimated cost for wood + paint was 300 SEK which is about 47 dollars with todays currency. I have written down more info on how I did it and more images on my blog post. Thanks Ana for this great design!

Estimated Cost
47
Estimated Time Investment
Afternoon Project (3-6 Hours)
Finish Used
Semi matte white
Recommended Skill Level
Starter Project

Comments

Hybrid Hall Tree

Submitted by jfloyd on Fri, 06/19/2020 - 08:17

We utilized Ana's rustic x bench to fit our hall tree design. Love the bench.

Built from Plan(s)
Estimated Cost
$50
Estimated Time Investment
Day Project (6-9 Hours)
Finish Used
Shellac, clear; leftover white paint
Recommended Skill Level
Beginner

Comments

Teen loft bed

Submitted by Anonymous (not verified) on Mon, 06/22/2020 - 20:34

Combined two plans found on this wonderful site with our own revisions to provide a larger desk work area (20" deep). I also added a small shelf to allow for setting a book, water, whatever on it without getting out of the bed. As my first "indoor" project there were several lessons learned - one is to buy the higher grade lumber for the primary components including legs and beams. I did not do this and I had to spend more time than I should've finding good square, straight wood. Another lesson was that staining and polyurethane coating are a skill that requires a lot of practice and time. I and my daughter are thrilled with the final result but choosing to stain/poly it likely doubled the overall build time. Still no regrets, though. My 12 yo daughter just loves her new bed and thanks to this site for the spectacular ideas.

Estimated Cost
$600?
Estimated Time Investment
Week Long Project (20 Hours or More)
Finish Used
I used Minwax Cherrywood gel stain (2 coats) and Minwax Fast Drying Polyurethane (3 coats). For the gel stain, apply with cotton rag and do NOT let it sit on the wood for more than 10 minutes before wiping it off. Before applying first coat, vacuum the wood especially the knots, wipe all with white cloth, wipe with cloth dampened with mineral spirits and let dry, then wipe with tack cloth, then apply stain. AFTER the first coat and between all subsequent stain coats, let fully dry and wipe with tack cloth before applying poly. For the first poly coat, wipe with white cloth, then wipe with tack cloth, and apply poly using a china brush (specific for finishing). Submerge your brush in mineral spirits and press down to eliminate bubbles, then wipe it along newspaper until mineral spirits are nearly gone from the brush. Cut the first coat of poly 25% with mineral spirits and brush on in even strokes. AFTER the first coat, sand lightly with 220 or 320 sand paper, vacuum all dust, wipe with white cloth, then with cloth dampened with mineral spirits and let wood dry, then wipe with tack cloth, then apply second coat with full strength poly using the same process of first eliminating the bubbles from the brush. Repeat that process for all subsequent coats. Then let dry for several days before assembling the bed.
Recommended Skill Level
Intermediate

Dog Crate / End Table

Submitted by kristine on Sun, 08/26/2012 - 15:46

The husband and I have been very inspired by the awesome women (and men) on this site that have created their own pieces of furniture. They all look so amazing! So the husband wanted to give it a shot and try creating this dog crate / end table as his first ever project. Now mind you, he hasn't done any sort of woodworking since wood shop class in high school... and that was at least a decade ago.

I have to say that I'm quite proud of the hubby's first finished project! Although, he did mess up a bit with the table top being an inch too short width wise. I really didn't want him to create another one because that would mean I would have to stain another one and I really REALLY do not want to stain again! So we compromised and ended up gluing a thin wood trim on the side end of the table top to cover up the mistake.

Built from Plan(s)
Estimated Time Investment
Weekend Project (10-20 Hours)
Finish Used
minwax stain in mission oak, behr semi-gloss paint in a light grey color, and wax
Recommended Skill Level
Starter Project

Comments

Cedar Street Number Planter

I was looking for a way to give our house some better curb appeal and decided our stree numbers could use a facelift.  The majority of money spent on this project was for the numbers since I had enough spare cedar laying around.

house number planter

Estimated Time Investment
An Hour or Two (0-2 Hours)
Finish Used
Sedona Red
Recommended Skill Level
Starter Project

Comments

Fancy X Farmhouse Table and Benches

Submitted by JustJ on Tue, 07/07/2020 - 07:44

Modified the size of the Fancy X Farmhouse table, down to 34-1/2" x 60", and the benches to fit fully under the table.

The only thing I wish I could change with these plans is how you attach the tabletop. Because you are stacking wood for the base, and there are no aprons, you have to attach the top by going through the table top. But wood filler and stain hides them well enough, but I'm never the biggest fan of going from the top. I prefer to hide the screws on the underside.

Other than that, I love building this table.

Finish Used
Varathane Carbon Gray Stain for the tops
Glidden Ultra Bright White for the bases
Recommended Skill Level
Intermediate

Easy Workbench

Submitted by Anonymous (not verified) on Tue, 05/07/2024 - 07:44

Easy to put together and quick! A great set of plans which produced a very sturdy bench. Some adjustments were made, as we had spare 1x3s which we used to expand the bottom shelf.

We pre-cut everything to specification. We only needed 6 2x4x8s. We only broke into the 7th because our cuts for the cross bars on top came up short once it was together and we had to recut. Just save the 12 inch boards to cut when you need to add them to ensure the measurements are accurate. The top was glued and nailed together with brads, a bottom layer of 1 inch pine with a top layer of 1/4 oak plywood on top. It was what we had on hand and it provides the strength needed with girth yet the hard exterior of the hardwood ply.

S Walker

Built from Plan(s)

Hamilton Park Home DIY Adirondack Chairs

Submitted by Anonymous (not verified) on Wed, 07/15/2020 - 08:23

I am long overdue to share these Adirondack chairs that I made last fall. I followed the exact plans for Ana’s Adirondack Chair to make my own. These chairs have such a simple, clean, modern style that I love. Adirondack chairs, no matter what style, are just an all-around classic!

Built from Plan(s)
Finish Used
Stain
Recommended Skill Level
Beginner

Comments

Seasonal And Holiday

Garden table

Submitted by Anonymous (not verified) on Sat, 08/08/2020 - 21:44

This was an amazing first project for us. Thank you for the plans and the step by step instructions

Built from Plan(s)
Estimated Cost
100.00
Estimated Time Investment
Afternoon Project (3-6 Hours)
Recommended Skill Level
Starter Project

Console Table

Submitted by kcragun on Sat, 08/16/2014 - 21:36

The Tryde Console table was the inspiration piece. Used kreg jig to join the top boards and connect the legs and aprons. The bottom stretchers were similar to the Farmhouse table plans. I plan on using this outside for a grilling table. I am not going to apply a finish - I want to see how the wood changes when exposed to the elements - hopefully it gets a nice Restoration Hardware-type finish.

Estimated Time Investment
Weekend Project (10-20 Hours)
Finish Used
No finish
Recommended Skill Level
Intermediate

Washer and Dryer Pedestal

Submitted by terrikness on Sun, 11/11/2012 - 15:49

Got this idea from your website! My father in law was in town for the week so he built it for me! I love it!

Estimated Cost
$150
Estimated Time Investment
Week Long Project (20 Hours or More)
Finish Used
Painted white
Recommended Skill Level
Intermediate

Braxtens bed

My son loves his new bed. It was his favorite part of Christmas. He now has his own little sanctuary to hide out in.

Built from Plan(s)
Estimated Cost
$500
Estimated Time Investment
Week Long Project (20 Hours or More)
Finish Used
Special walnut
Lots of sanding and pre stain
Recommended Skill Level
Intermediate

Barn Greenhouse with Entryway

Submitted by MikeMc100 on Sun, 11/09/2014 - 19:46

This was built mainly as a place to bring our pond plants in for the winter. After looking at various kits we decided this was the best option for us and much cheaper.

The size was increased to 12 X 12 and the walls/ceiling were increased another 15" in height over the original plans. An entryway was added to block the cold wind as our original barnstyle door wasn't tight enough and ended up being too drafty. Also added an RV type autoswitching propane system and blue flame heater for backup. For the winter months we insulated the lower portion of the interior walls with spun fiberglass and 6 mil film stapled over it. 

This is a very utilitarian version that serves our needs well. Great original plans and easy to build.

Built from Plan(s)
Estimated Cost
$1200
Estimated Time Investment
Week Long Project (20 Hours or More)
Recommended Skill Level
Beginner

Comments

cmswebster

Mon, 11/10/2014 - 09:57

Did you have to change the angles for the roof beams?  If so, what angle did you use?  

Ana White

Tue, 11/11/2014 - 16:04

Wow, this looks awesome!  I love the arctic entryway (thats what we call them up here in Alaska) and all the mods!  Thanks so much for sharing!

Modern Outdoor Chairs (modified for 24in cushions)

Submitted by Anonymous (not verified) on Wed, 11/25/2020 - 18:25

I built two of Ana's "Modern Outdoor Chairs" and adjusted the plans to accommodate 24" in cushions. We're pleased with how they turned out and have gotten great use out of them. Thanks for the plans, Ana!

Estimated Cost
~$60 per chair (not including the cushions)
Estimated Time Investment
Weekend Project (10-20 Hours)
Finish Used
I used the exact finish that Ana recommended.
Recommended Skill Level
Starter Project
Seasonal And Holiday

Beds for my girls

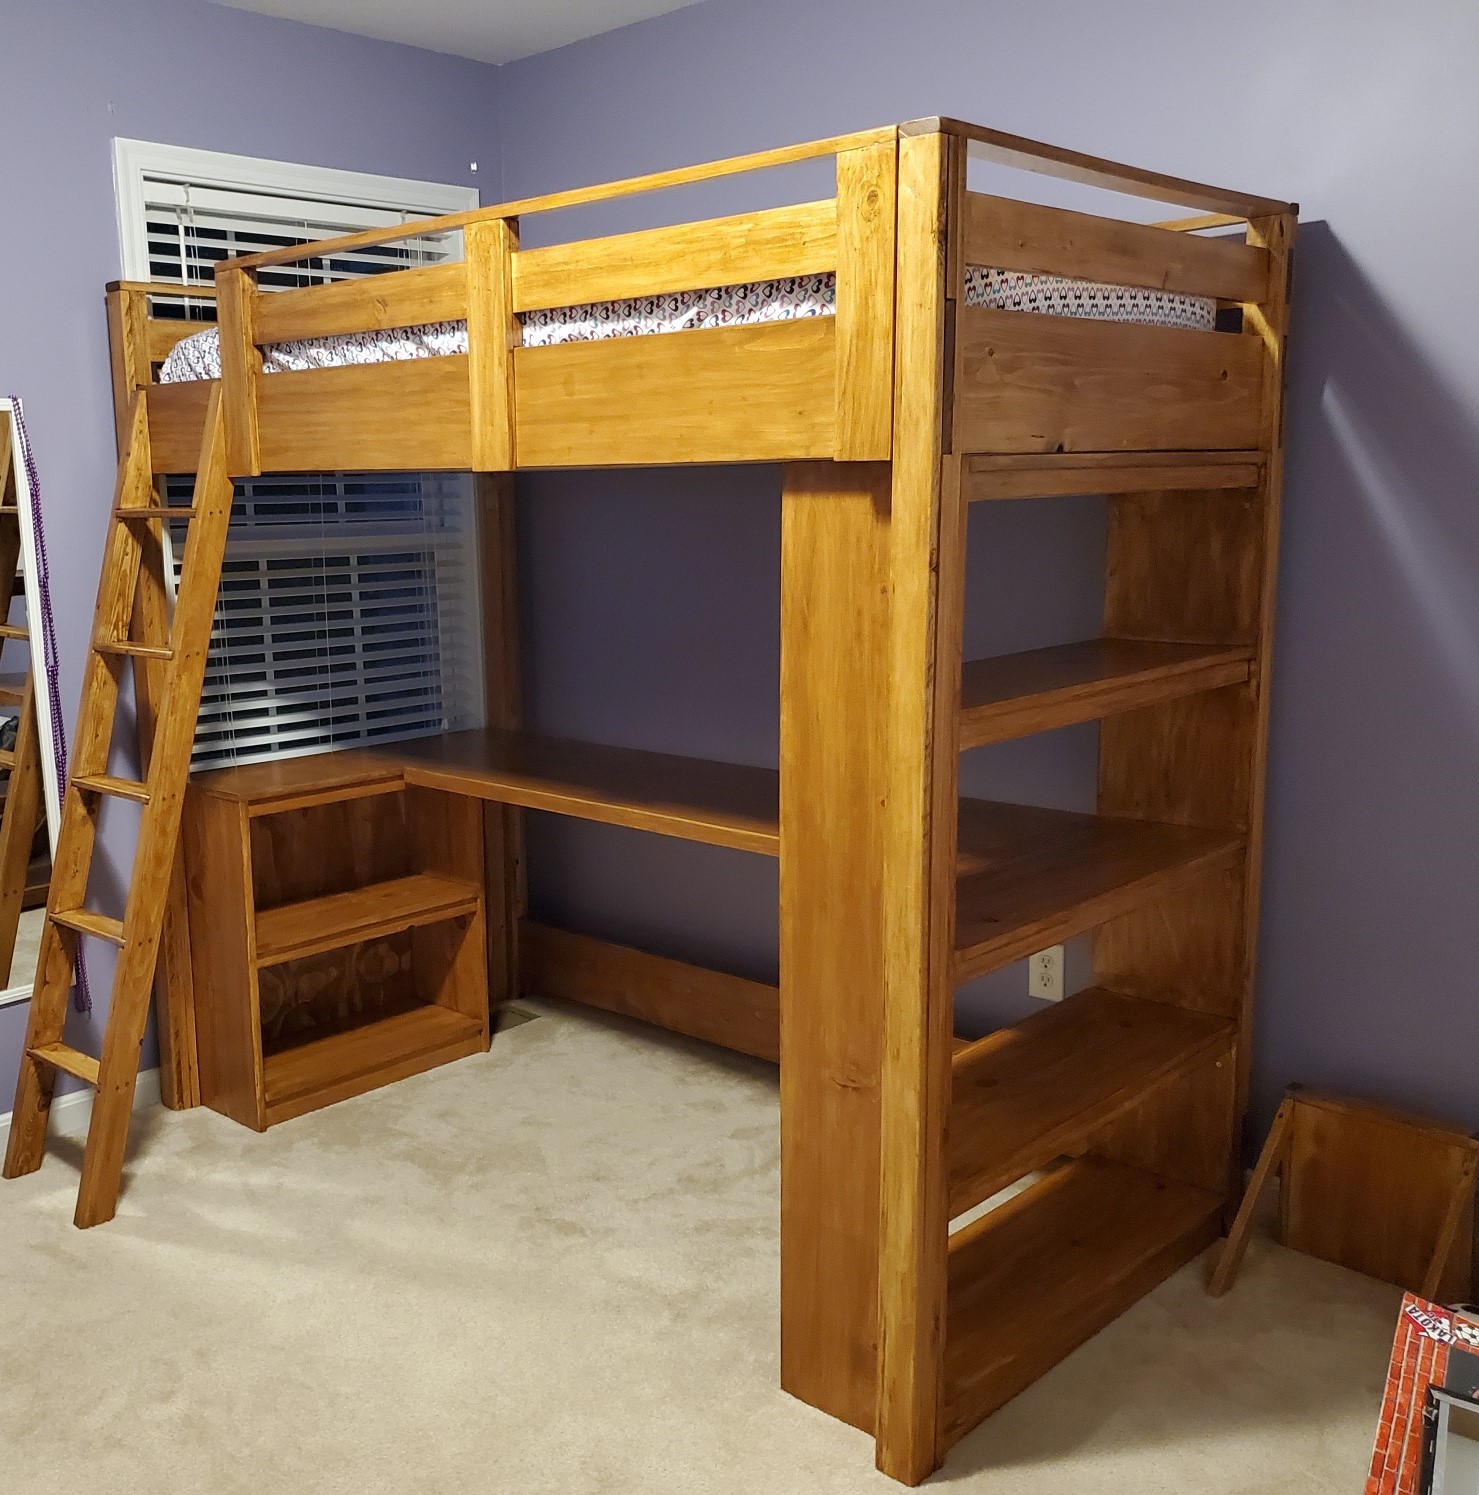
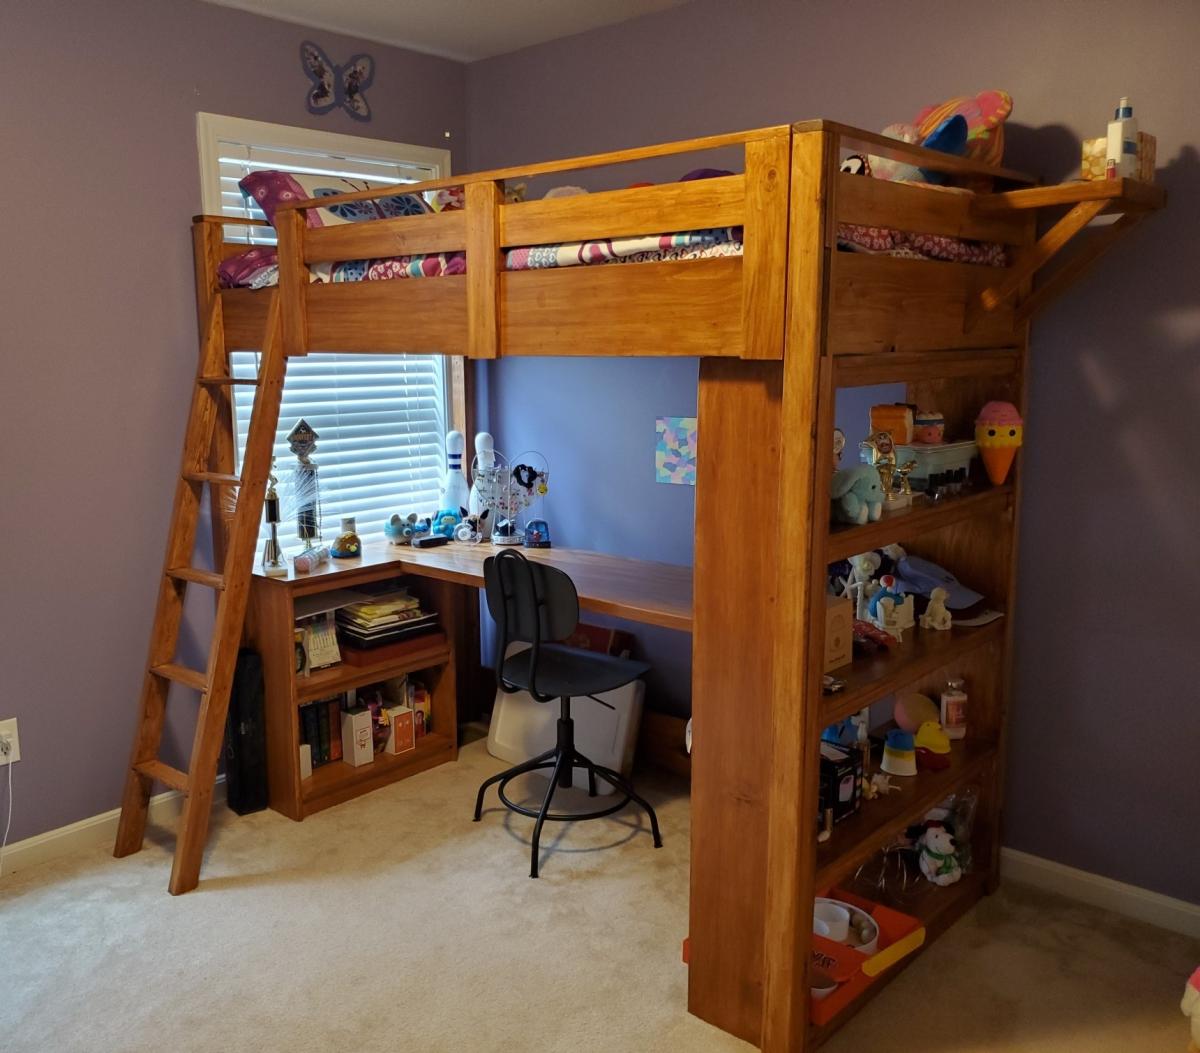
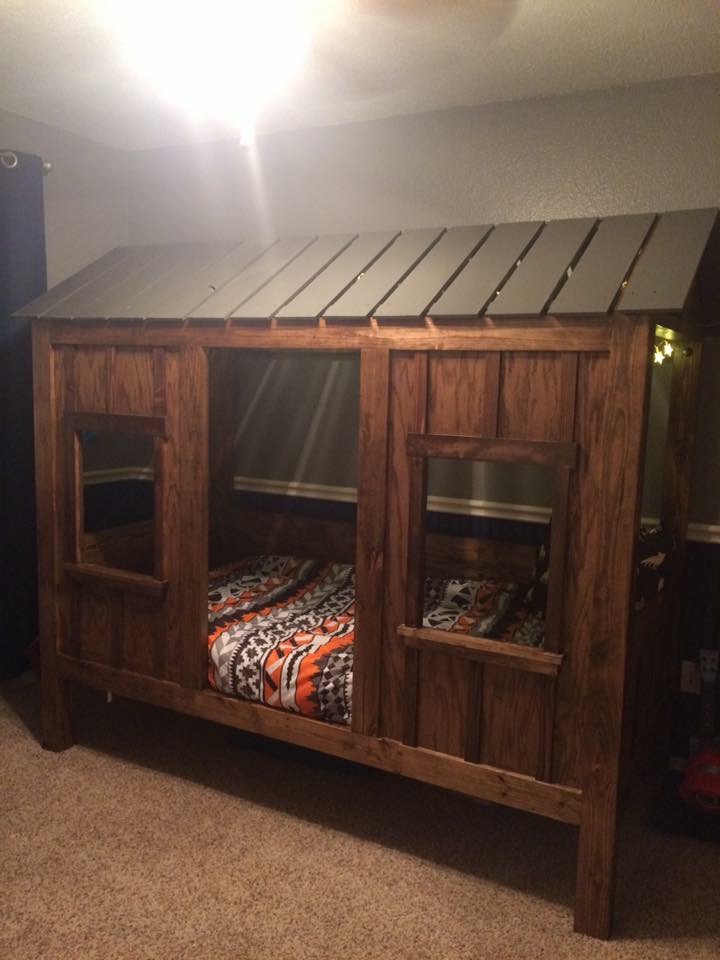
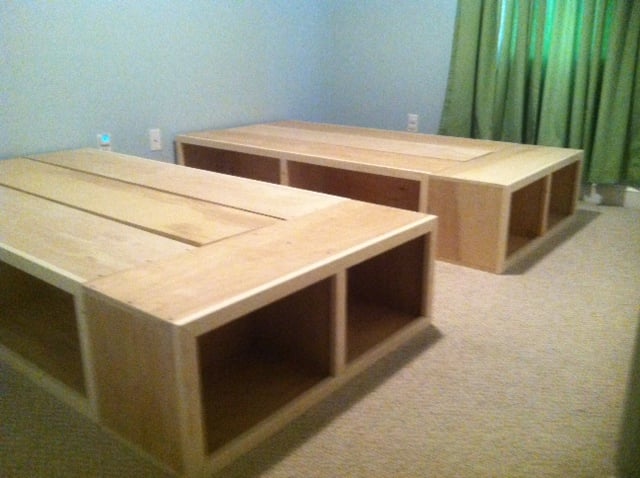
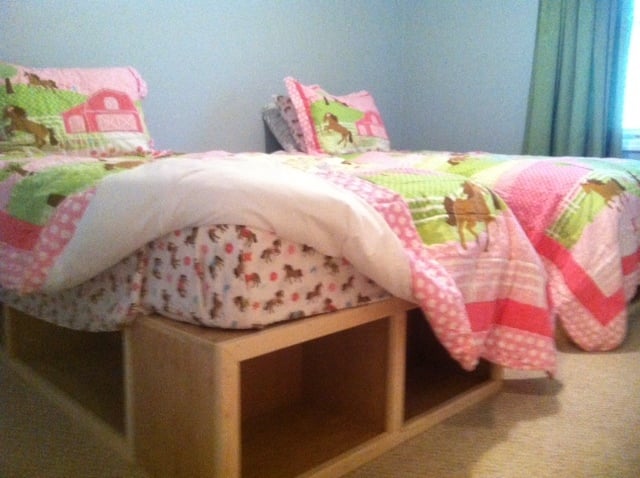
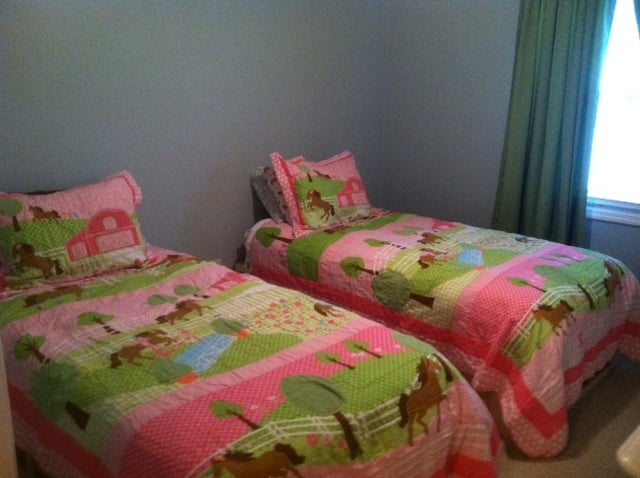
Rather than buying beds for two of our daughters, I wanted to take the opportunity to build them. I really had a great time doing. I used the plans from the Captains Storage beds, but modified it a little.

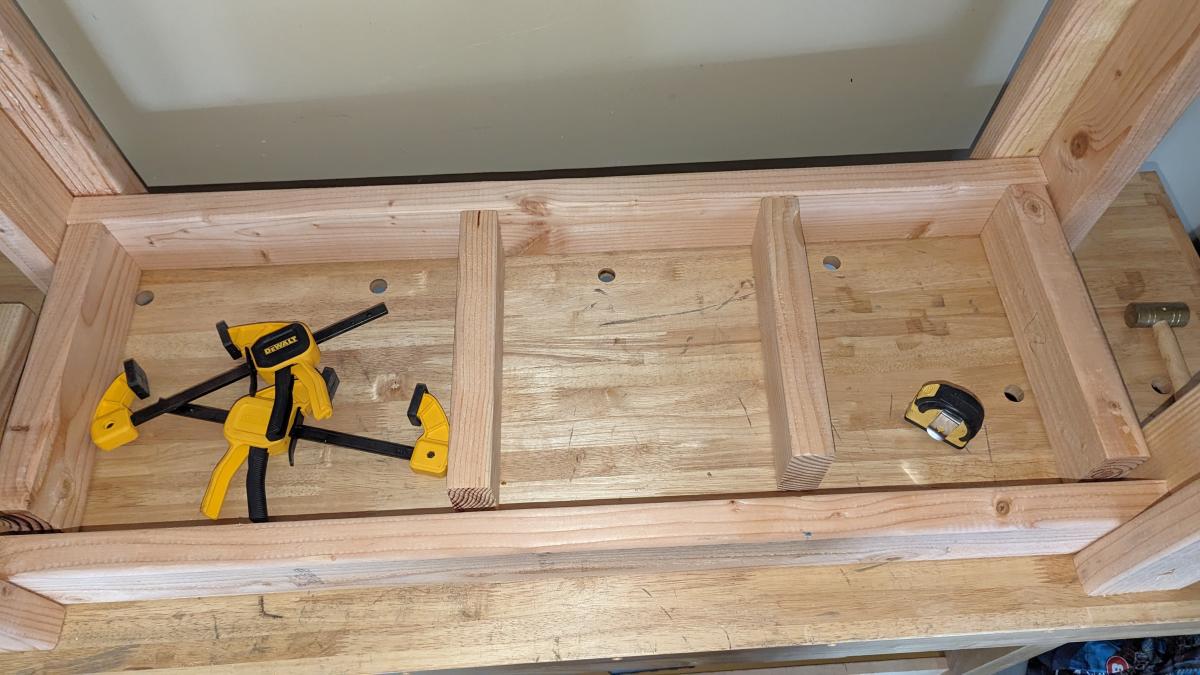
We ripped two 3/4 inch finished ply into 12in pieces.
That gave us all the sides, ends, and dividers.
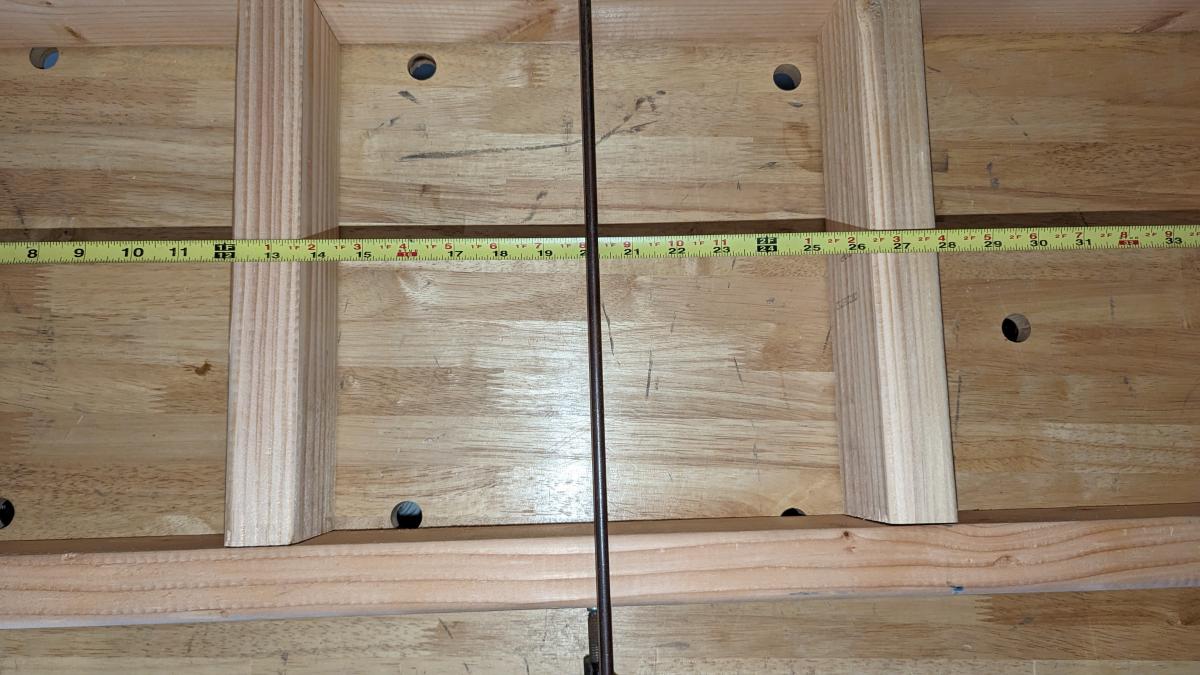
The platforms are 12x12 3/4x
The ends are the same only sorter.

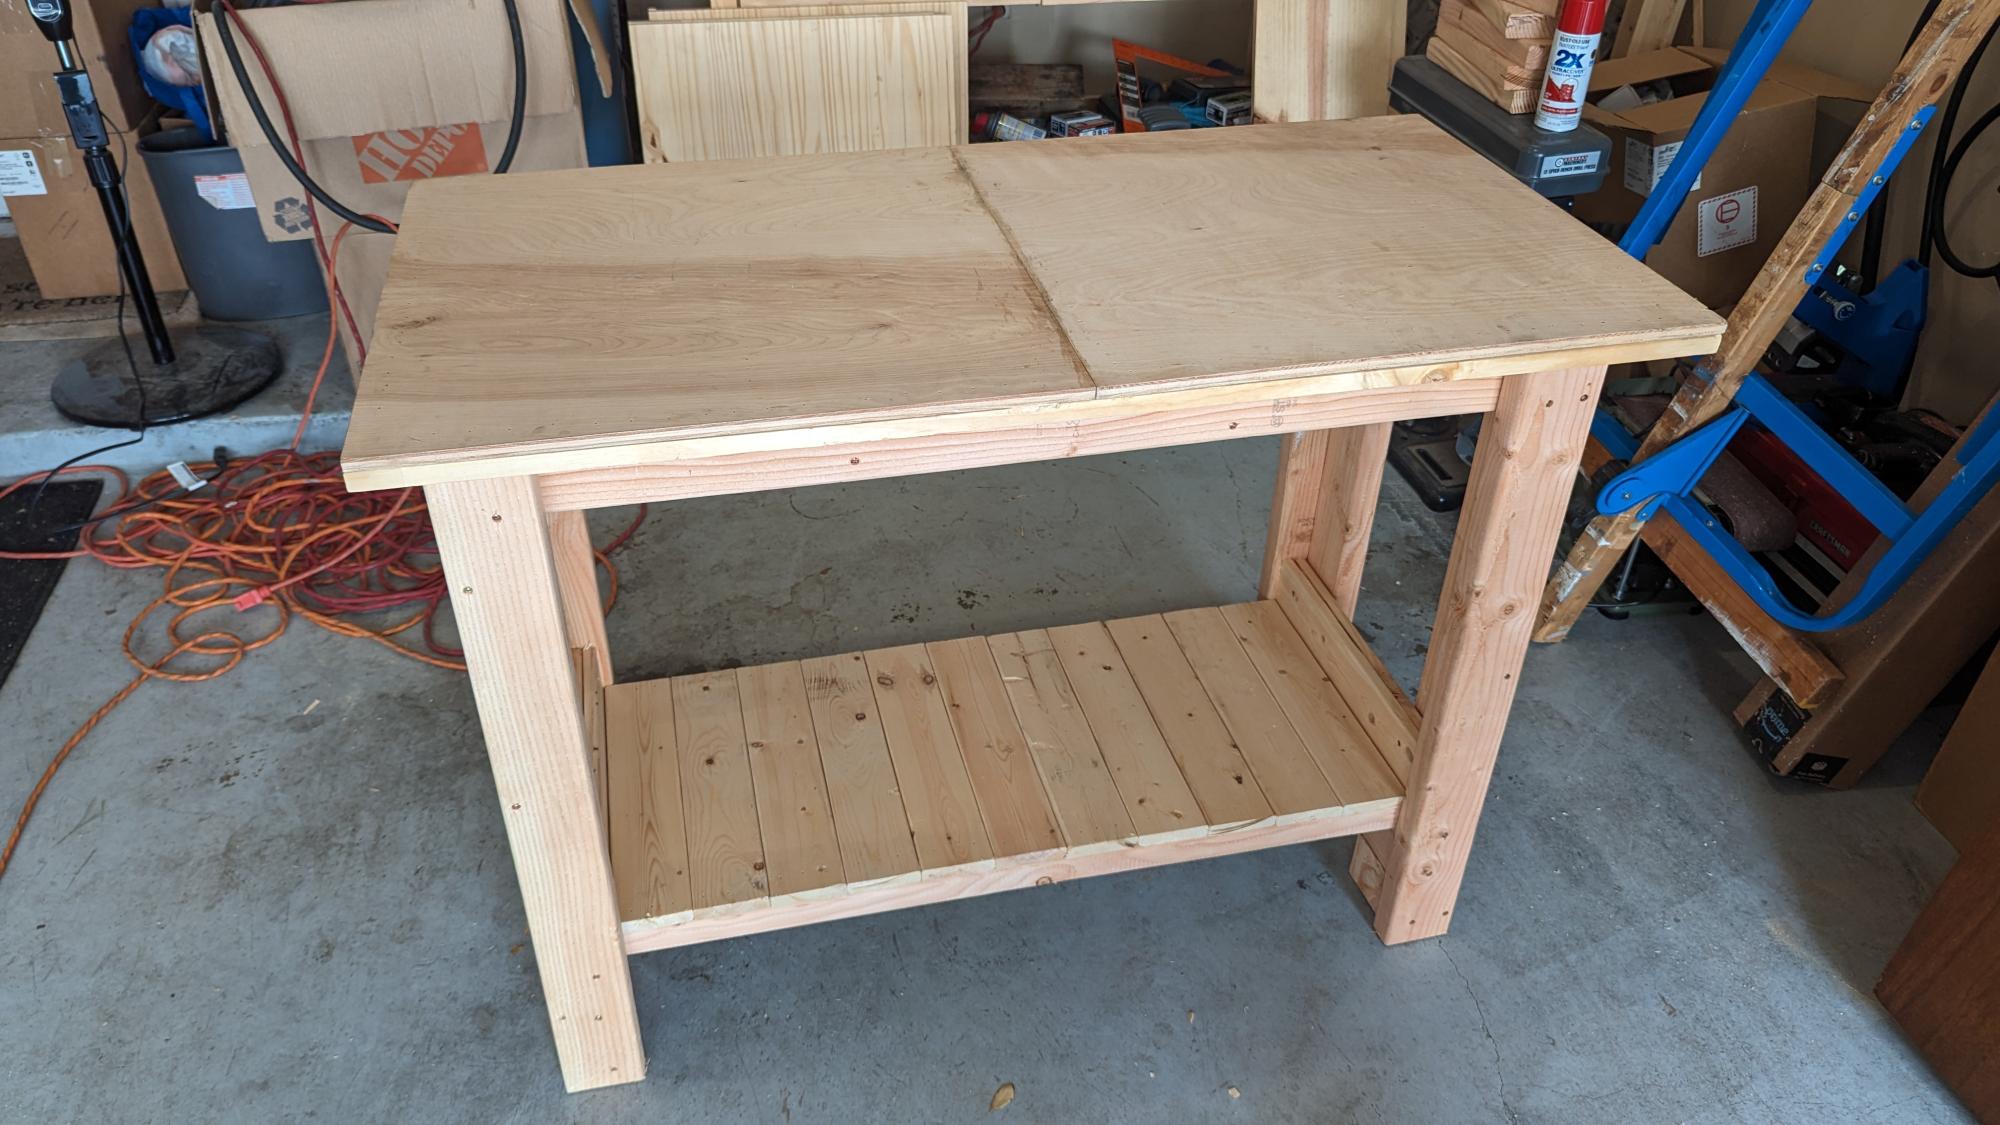
Rather than using slats for the middle support I just used the remain ply.
We finished the front with 6ft sections of 1x2 inch furring strips. A good sanding and clean up, and we are good to go!

Thanks for posting the plans! We really enjoyed building the beds and our girls love them!

Built from Plan(s)
Estimated Time Investment
Weekend Project (10-20 Hours)
Finish Used
unfinished wood
Recommended Skill Level
Beginner

Comments

sulu293

Fri, 09/20/2013 - 13:14

LOVE this! was looking for something other than the slats that would TRULY hold my polynesian kids, thank you for sharing! :-)

Guest Room Addition

Submitted by AKMan279 on Wed, 12/16/2020 - 09:36

This project took me a couple weekends and turned out great.

Estimated Time Investment
Week Long Project (20 Hours or More)
Recommended Skill Level
Intermediate

Comments

Back