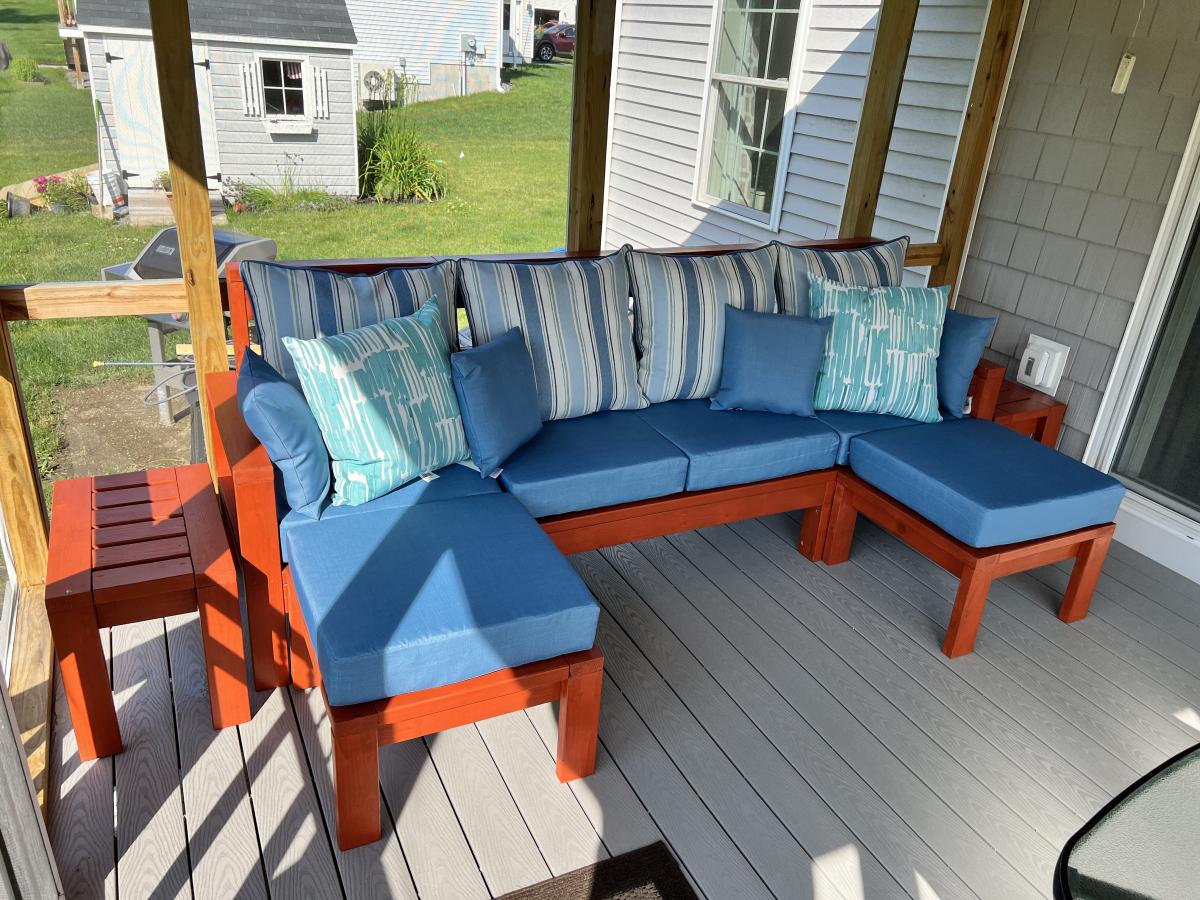
Outdoor Sofa and Table Set
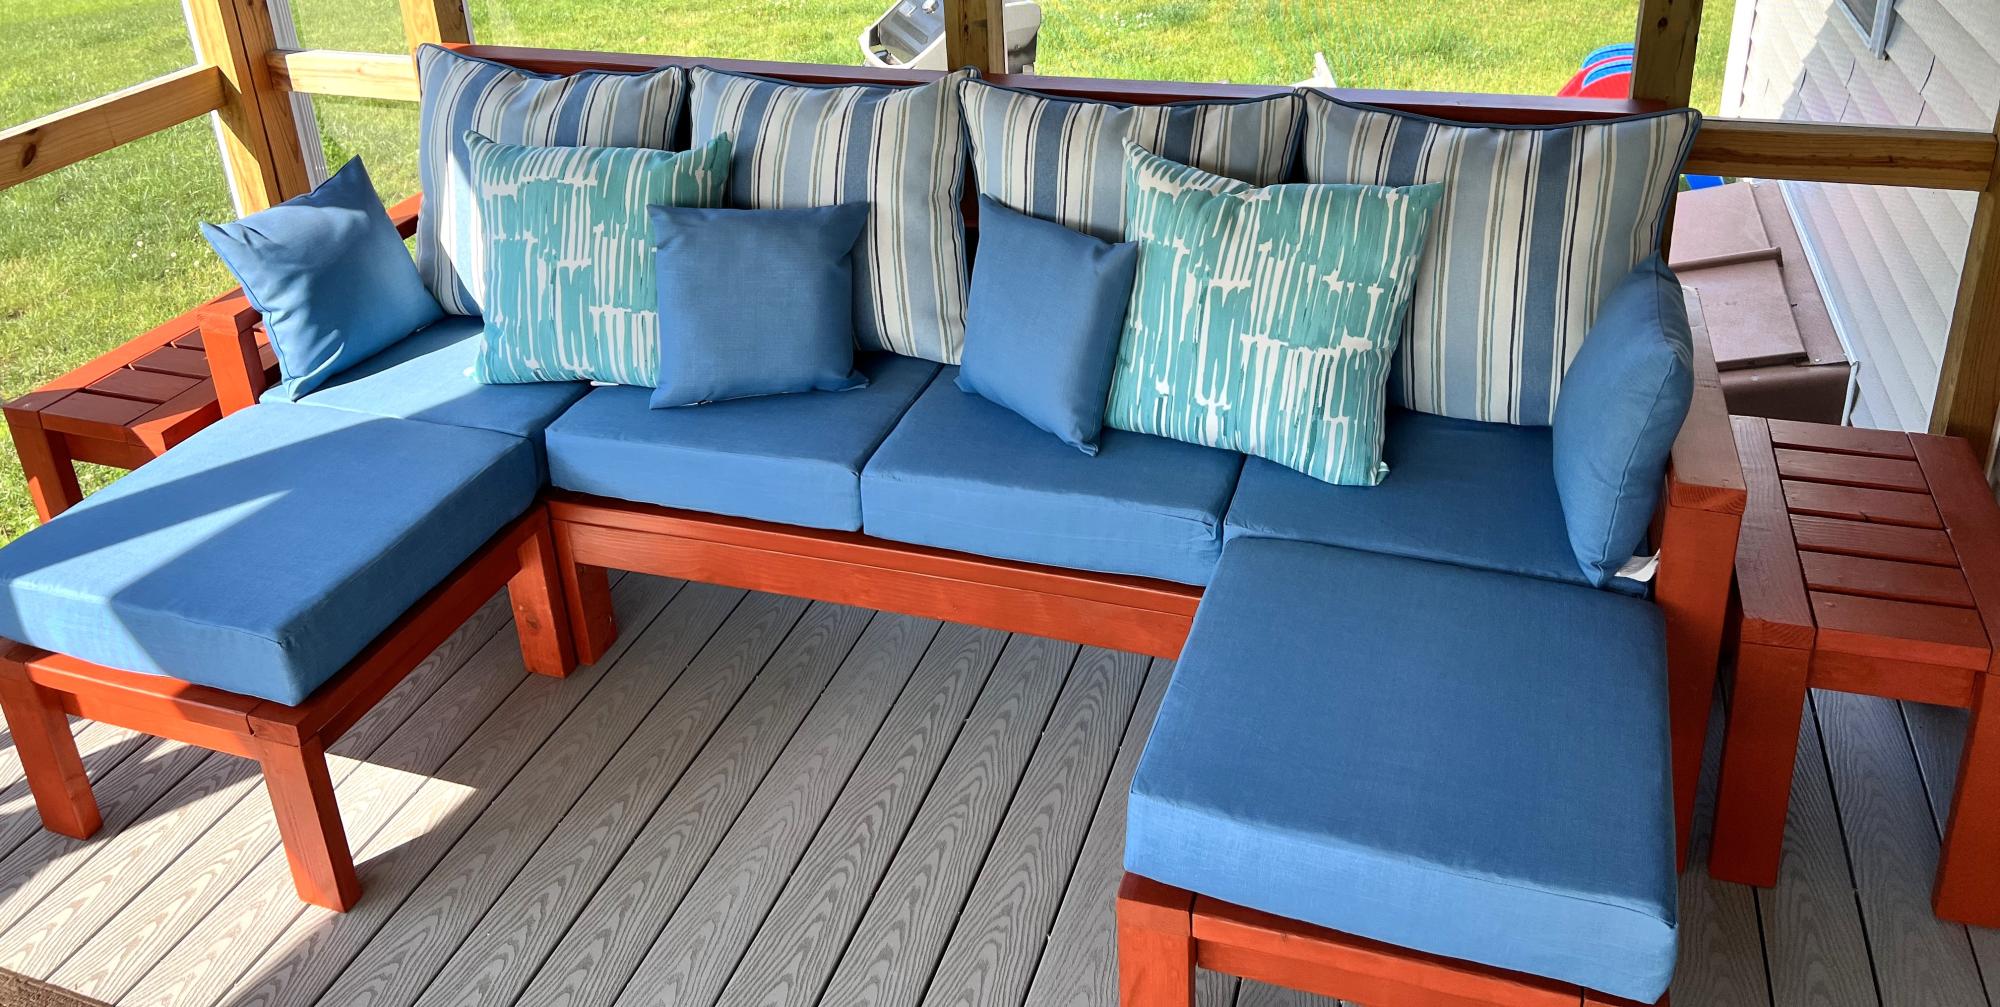
Sofa with 2 ottomans and 2 side tables.
Vinny M
Built from Plan(s)
Sofa with 2 ottomans and 2 side tables.
Vinny M
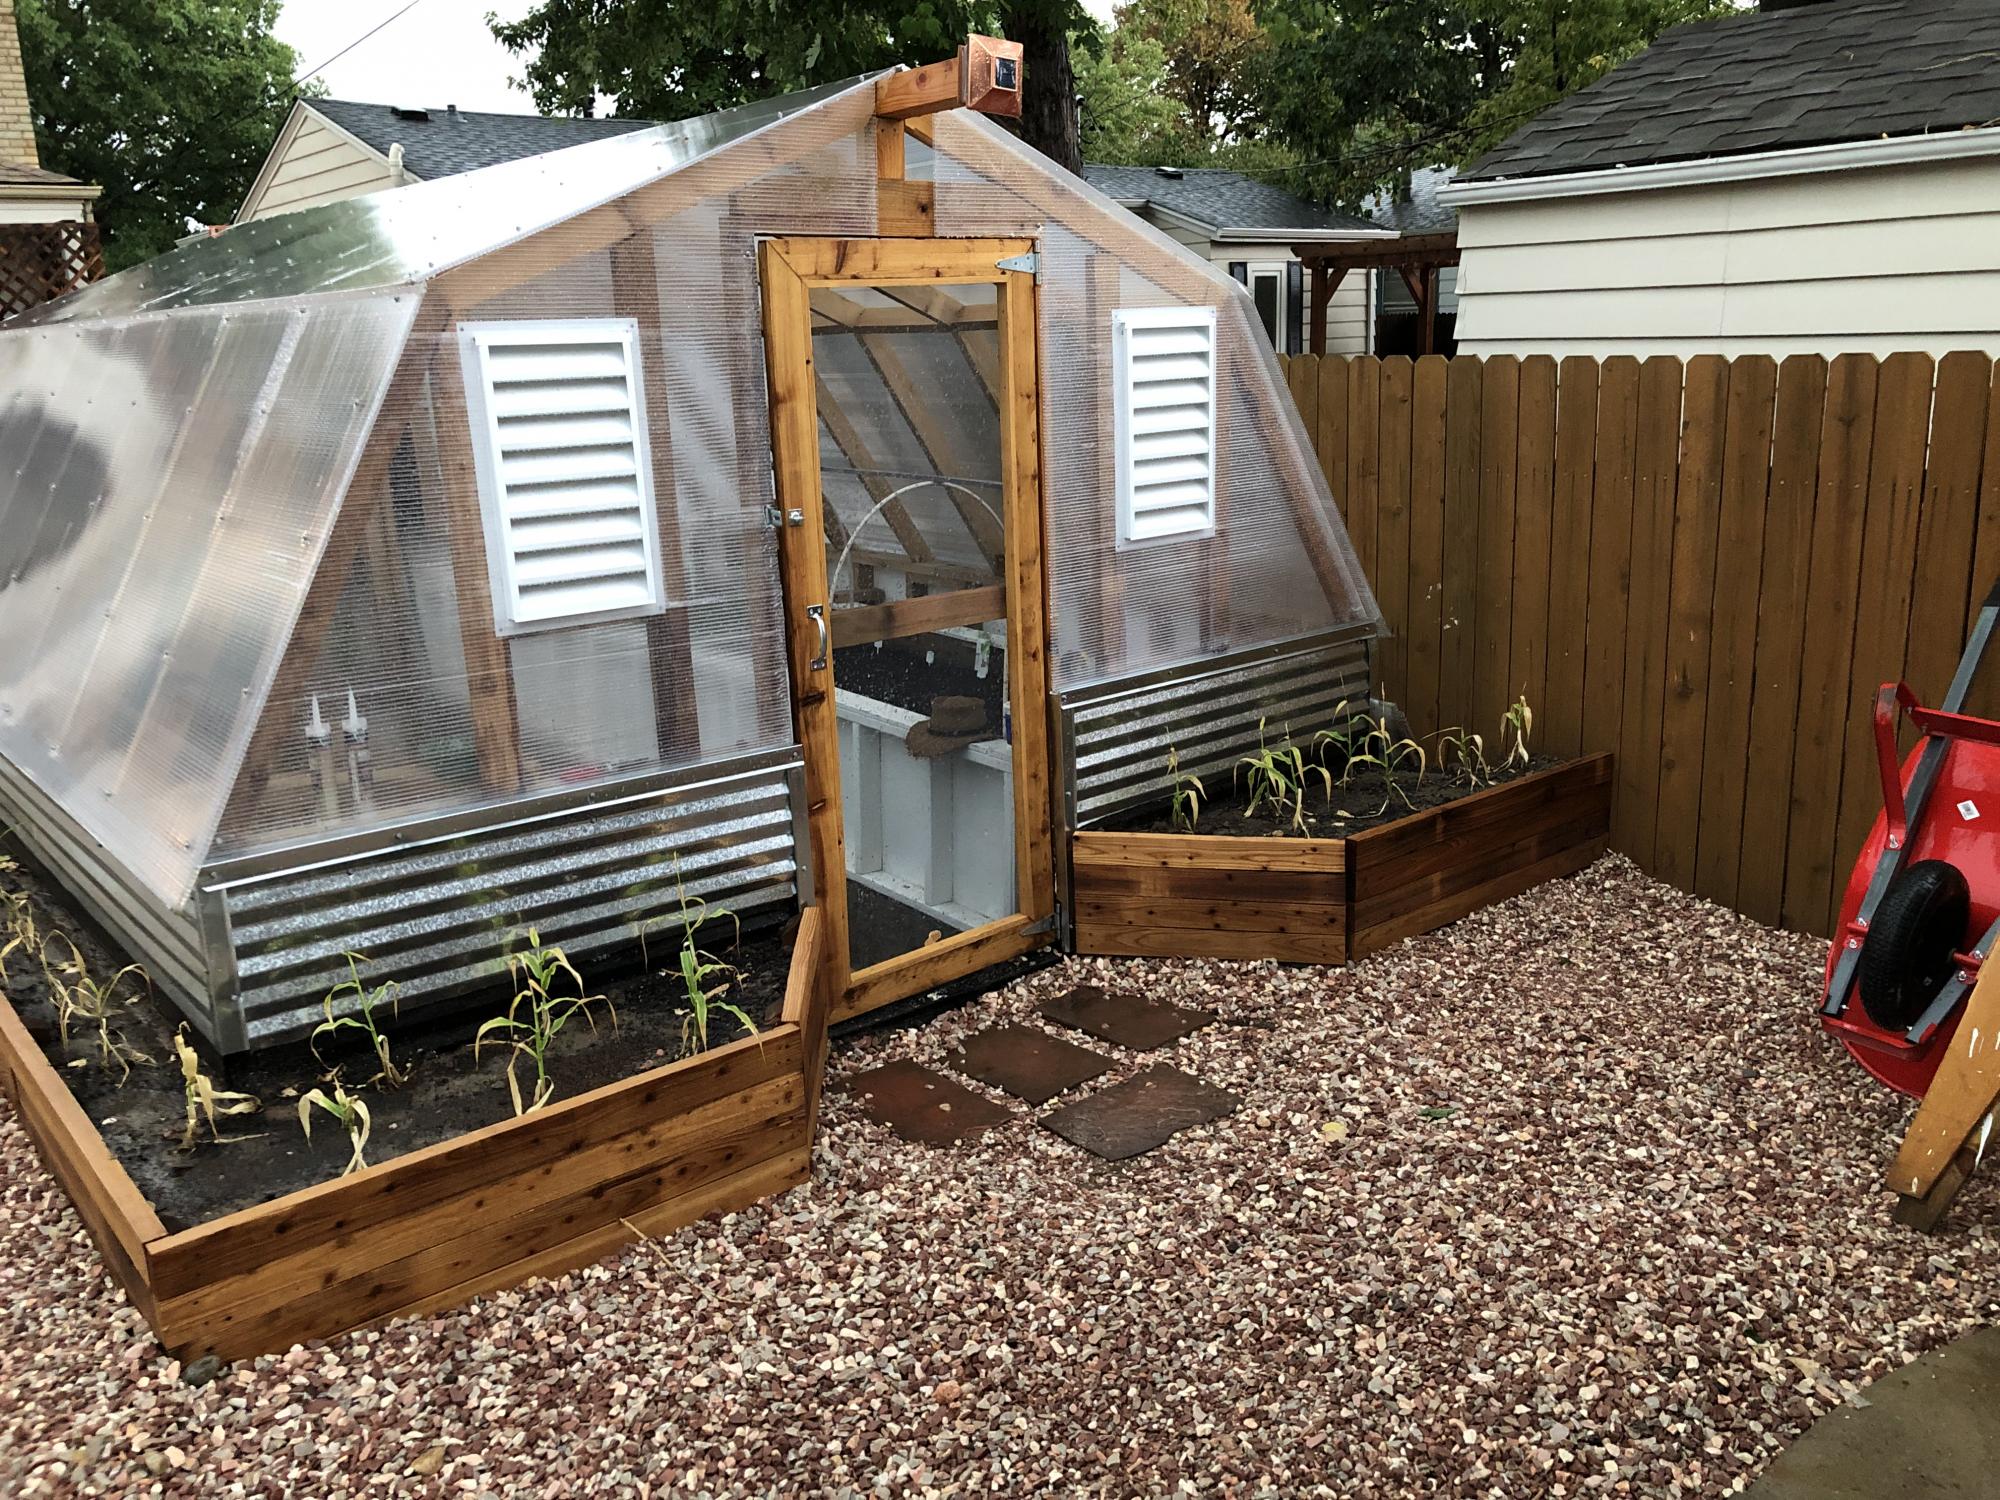
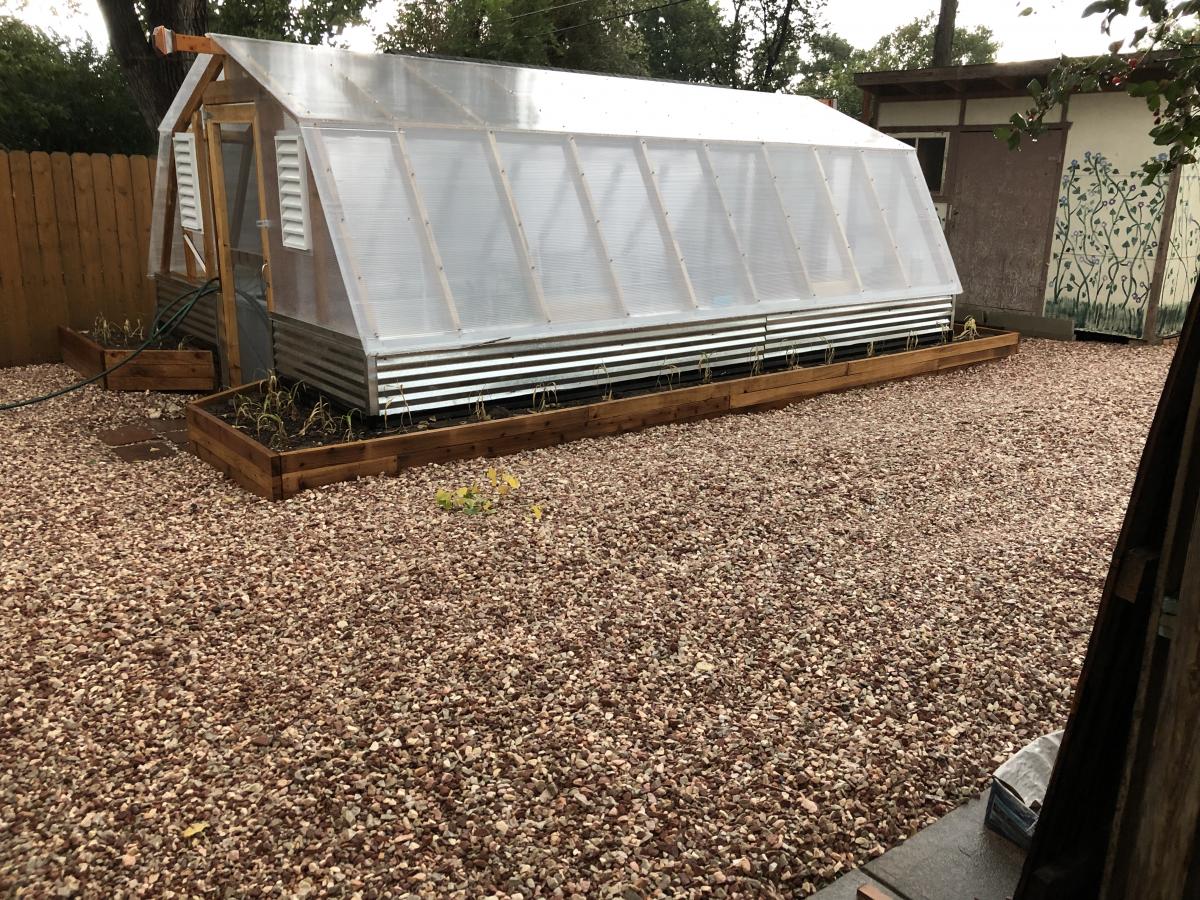
My Annawhite design with geothermal improvements. It will also have a 1000 gallon Aquaponics system inside!
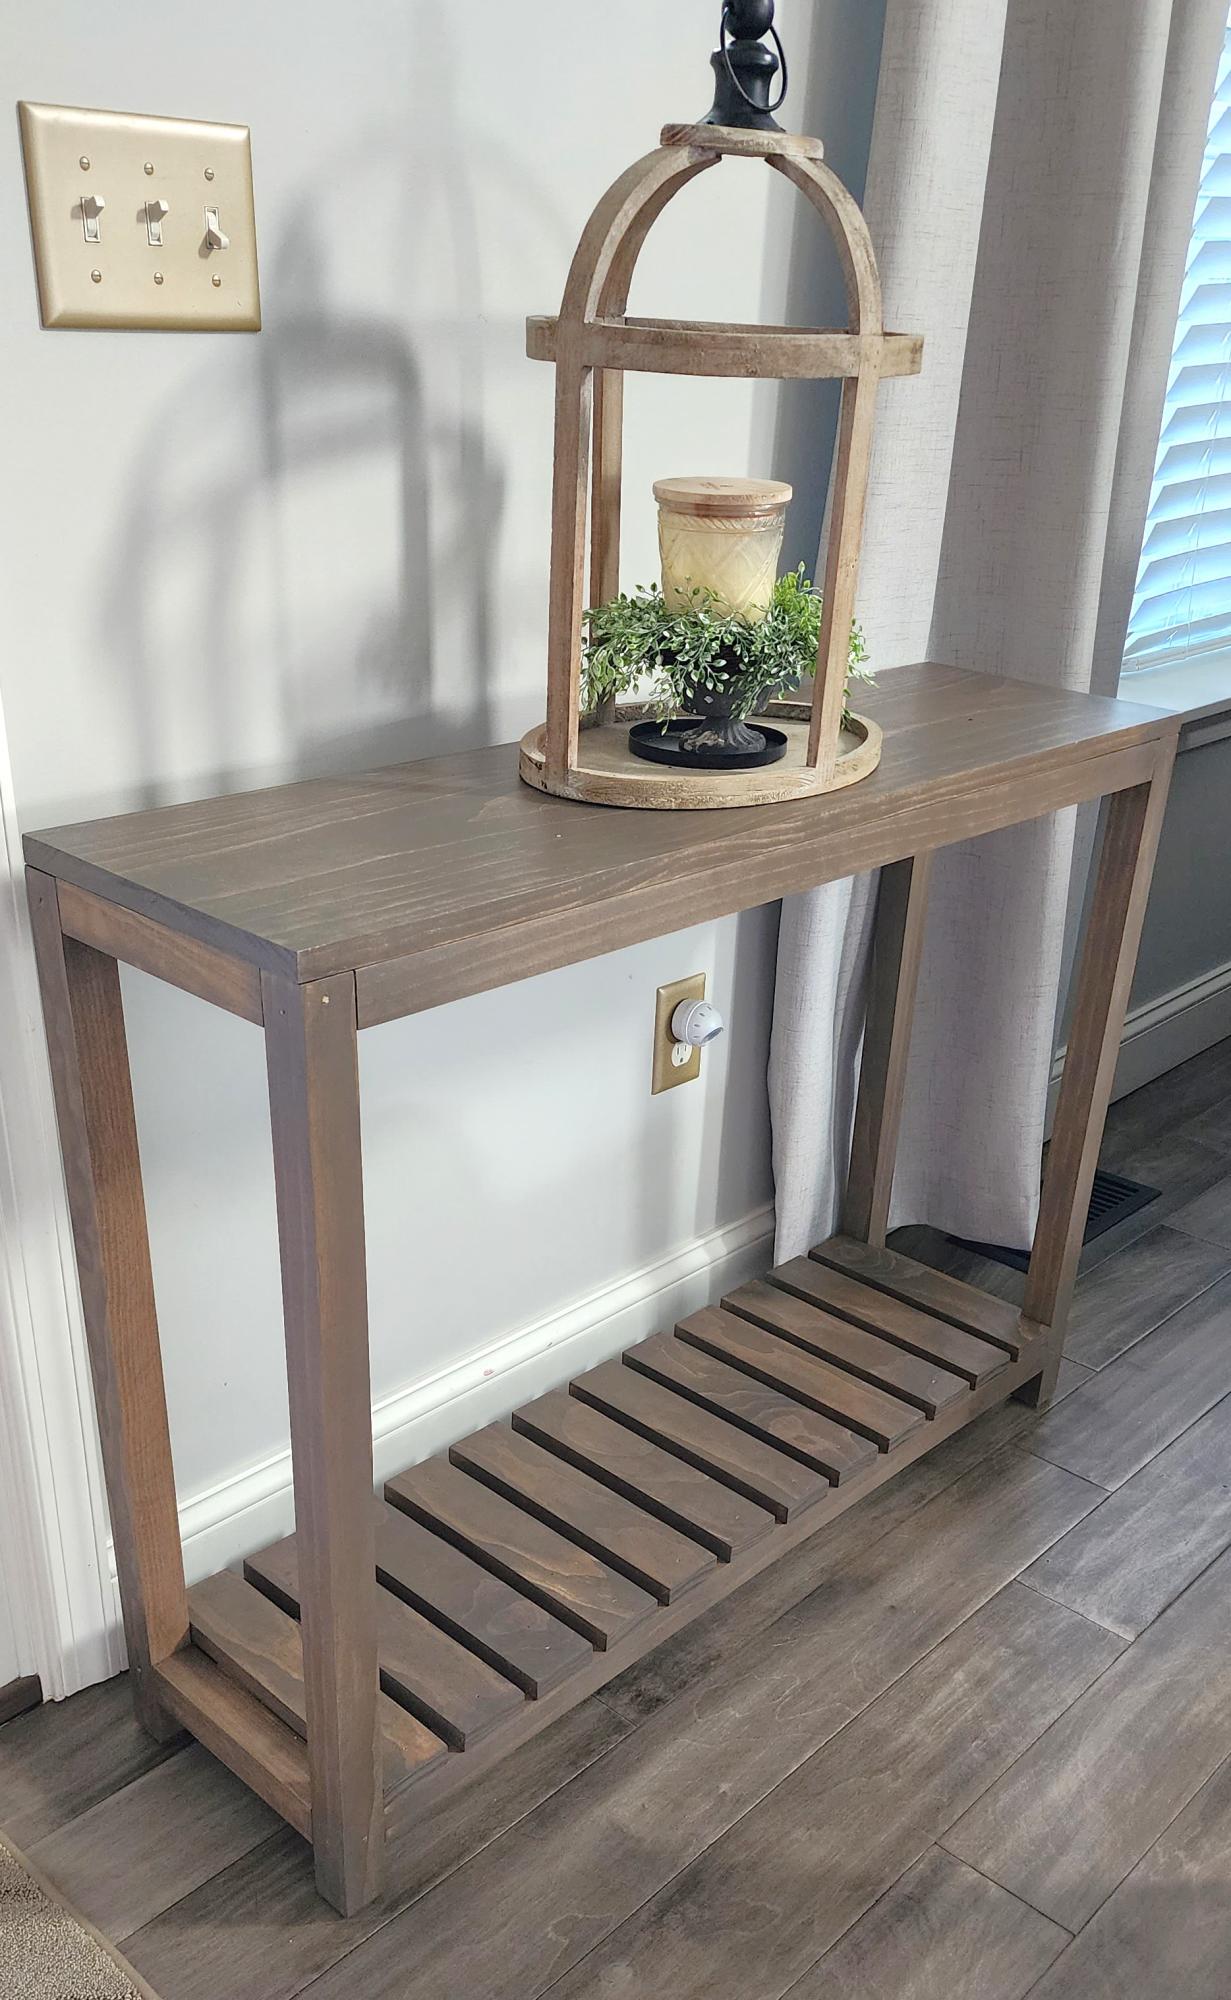
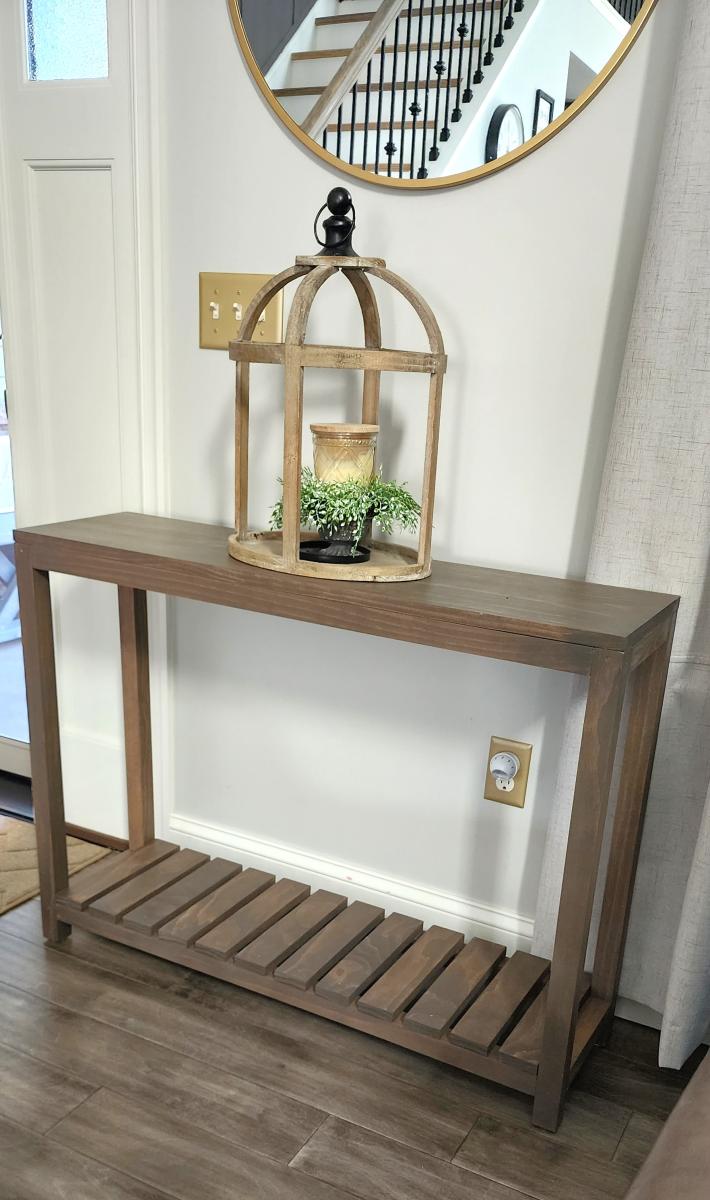
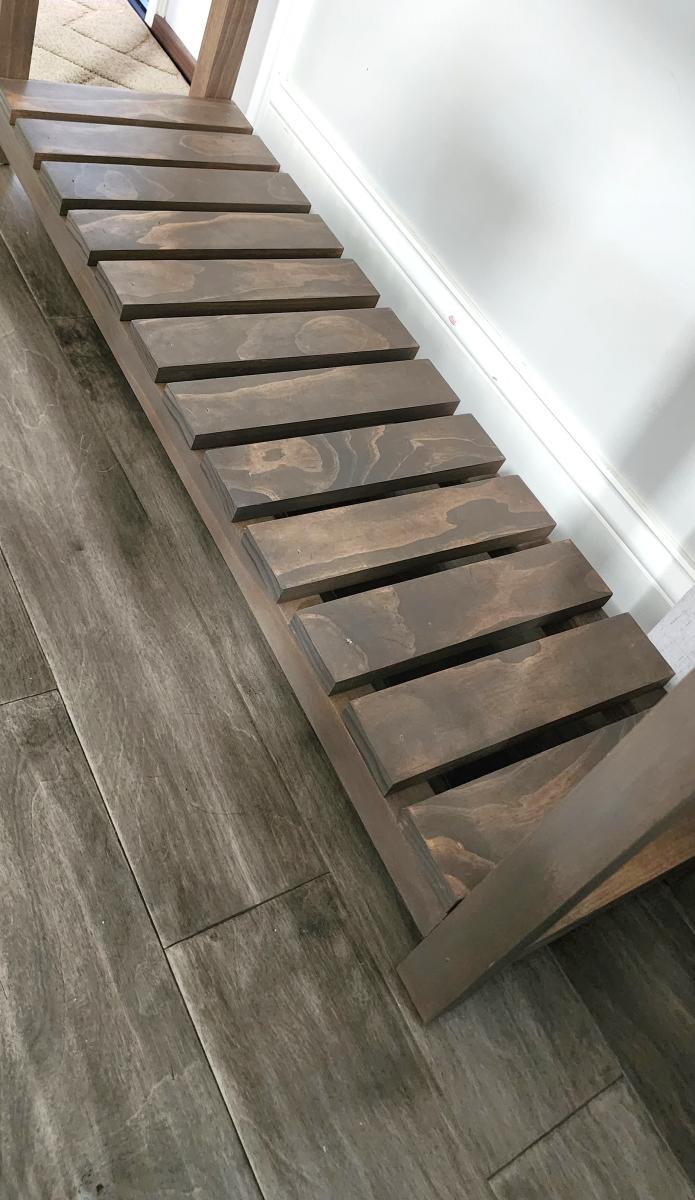
Entry Way Table with Slatted Bottom!

Mon, 07/24/2023 - 20:19
So perfect with the bottom shelf! Love this! Thank you so much for sharing a photo!
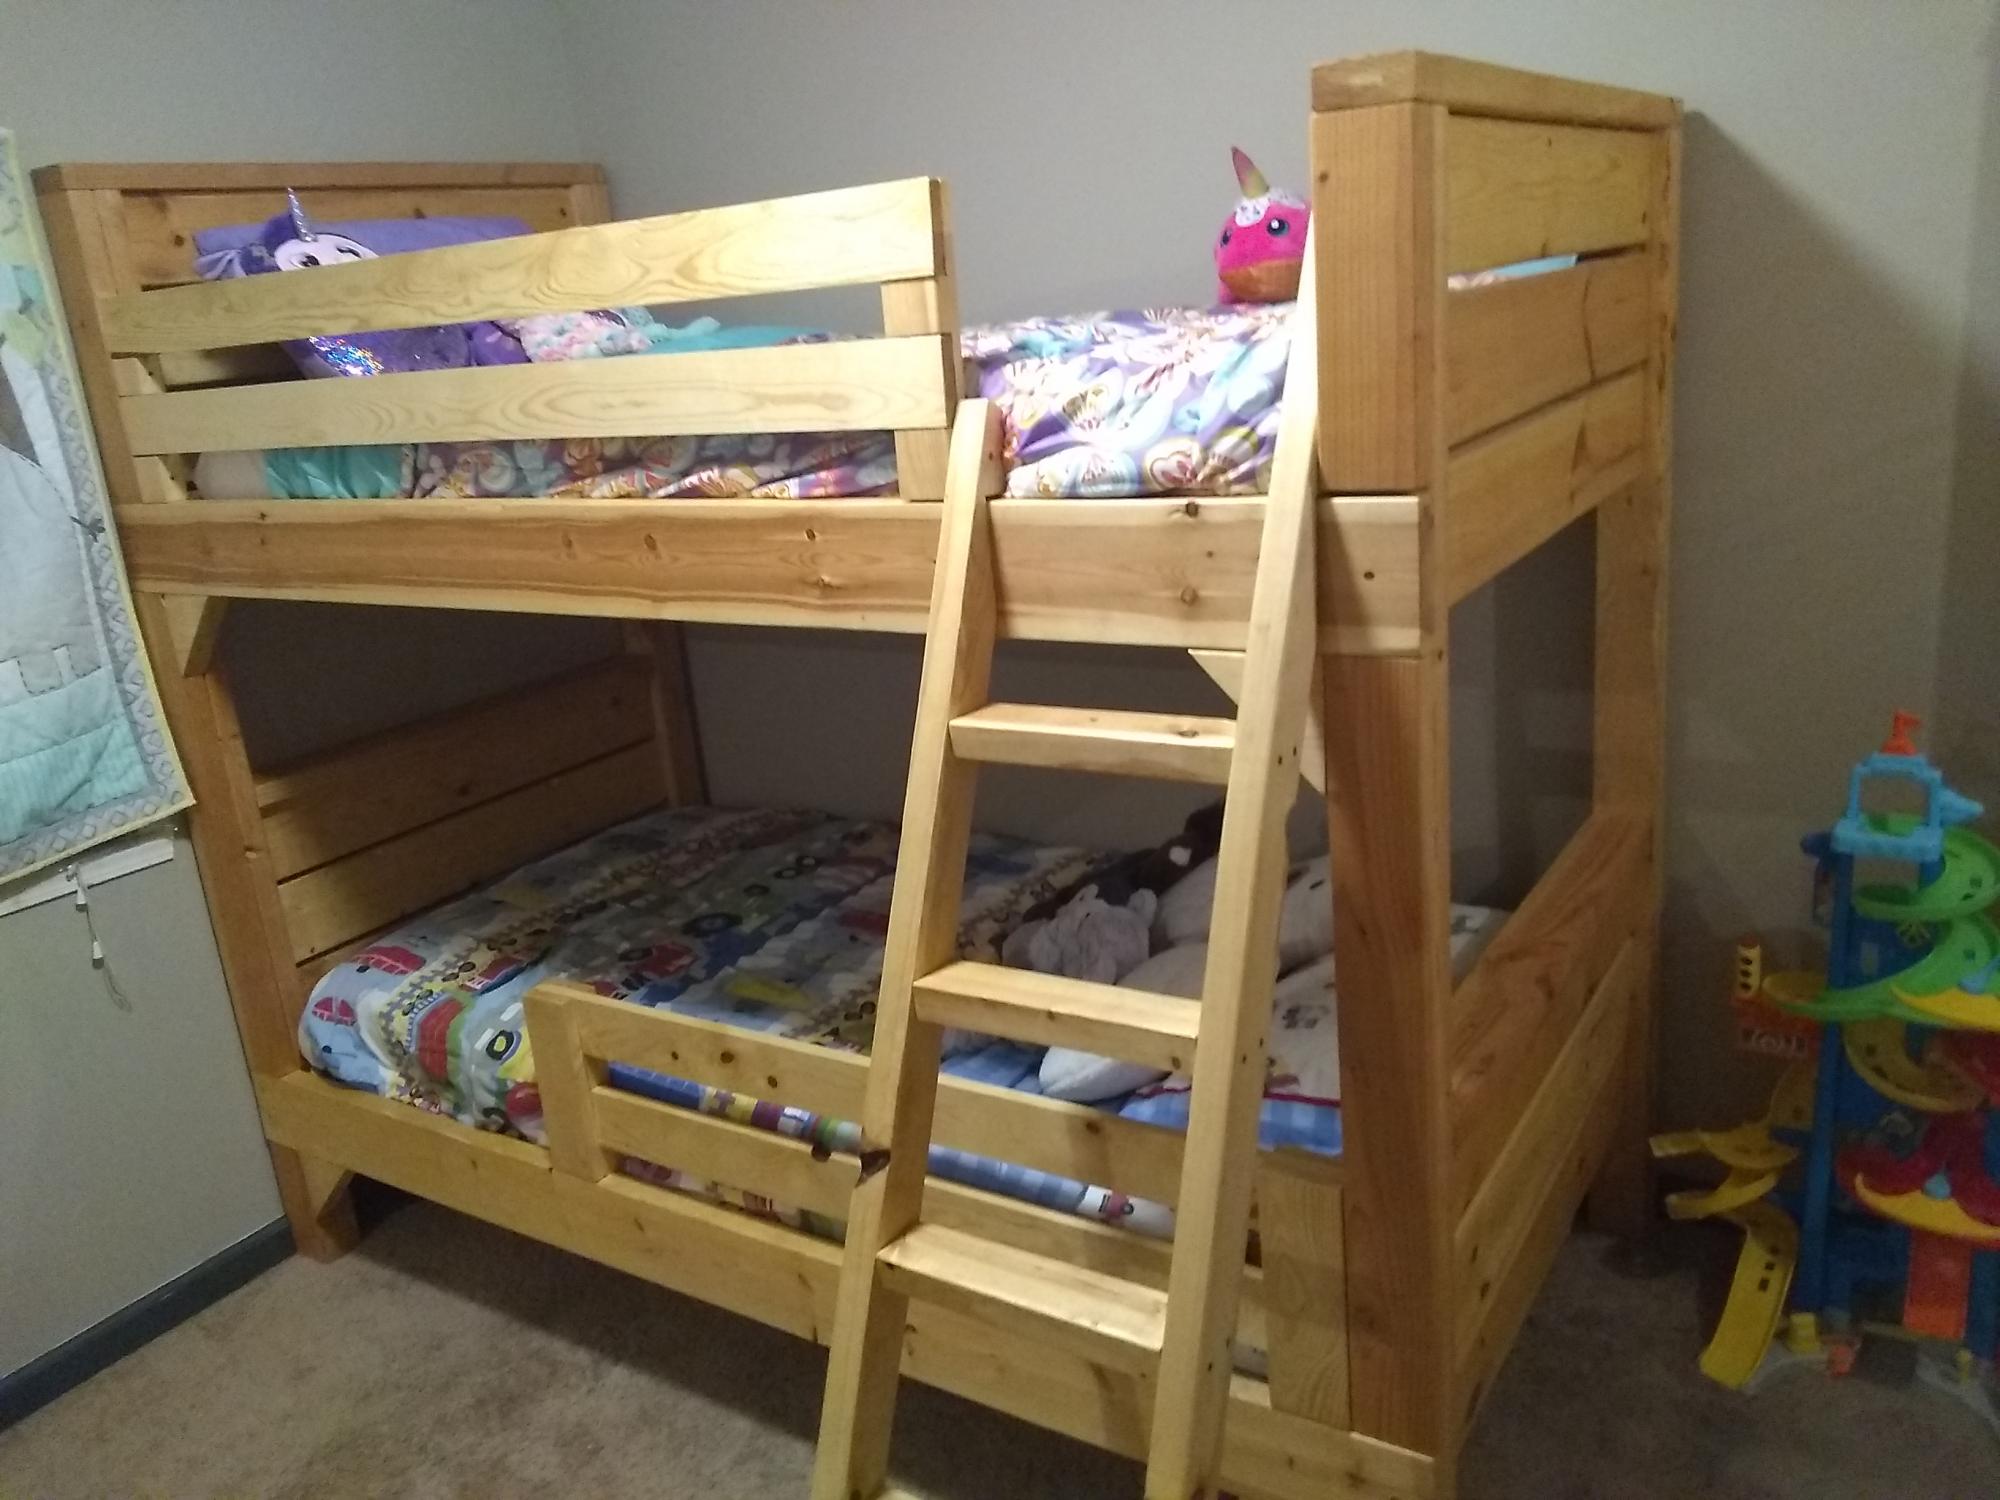
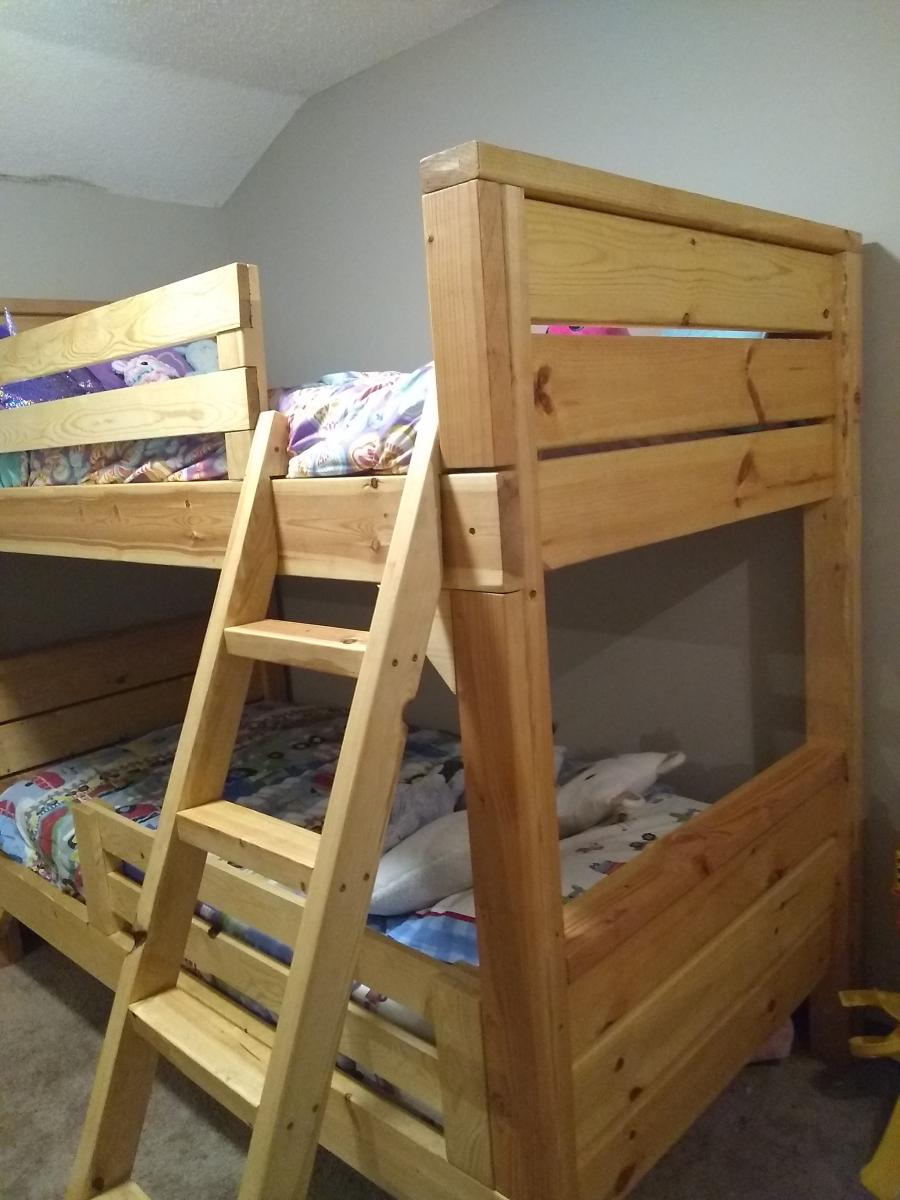
I built this bunk bed from the plans here on Anna white, I love this site. I think it came out really good. It took a little longer than expected because I sanded every piece down, every corner, every side, every end, because it's for my kids.
I devised the ladder myself for my situation and modified the rails I found as well.
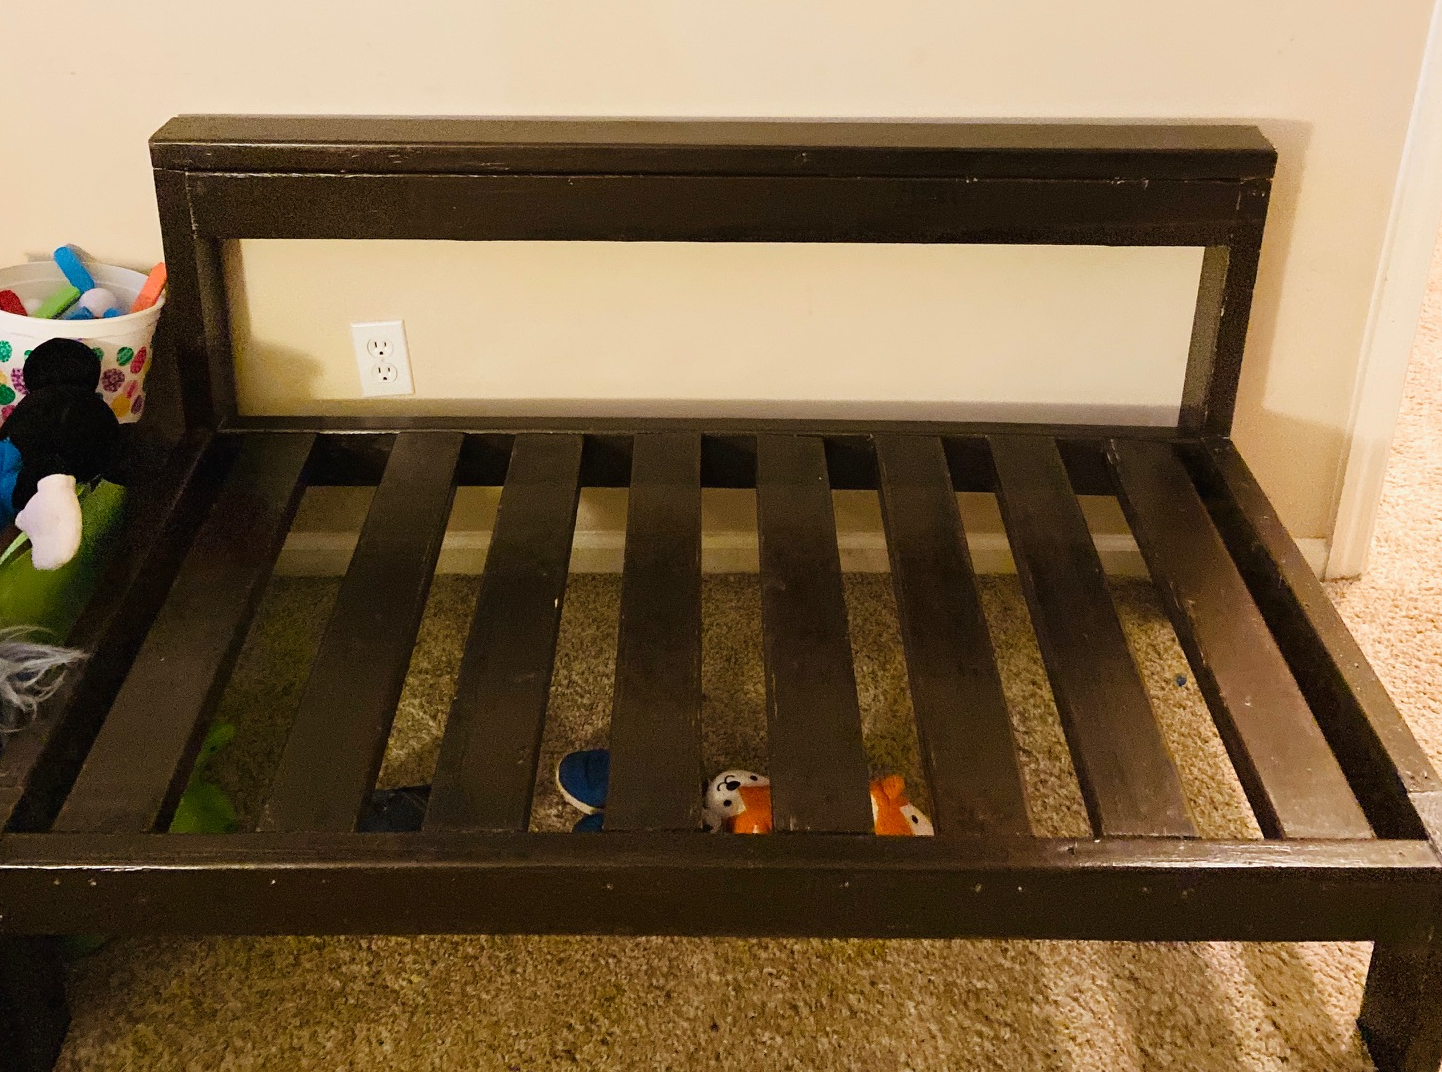
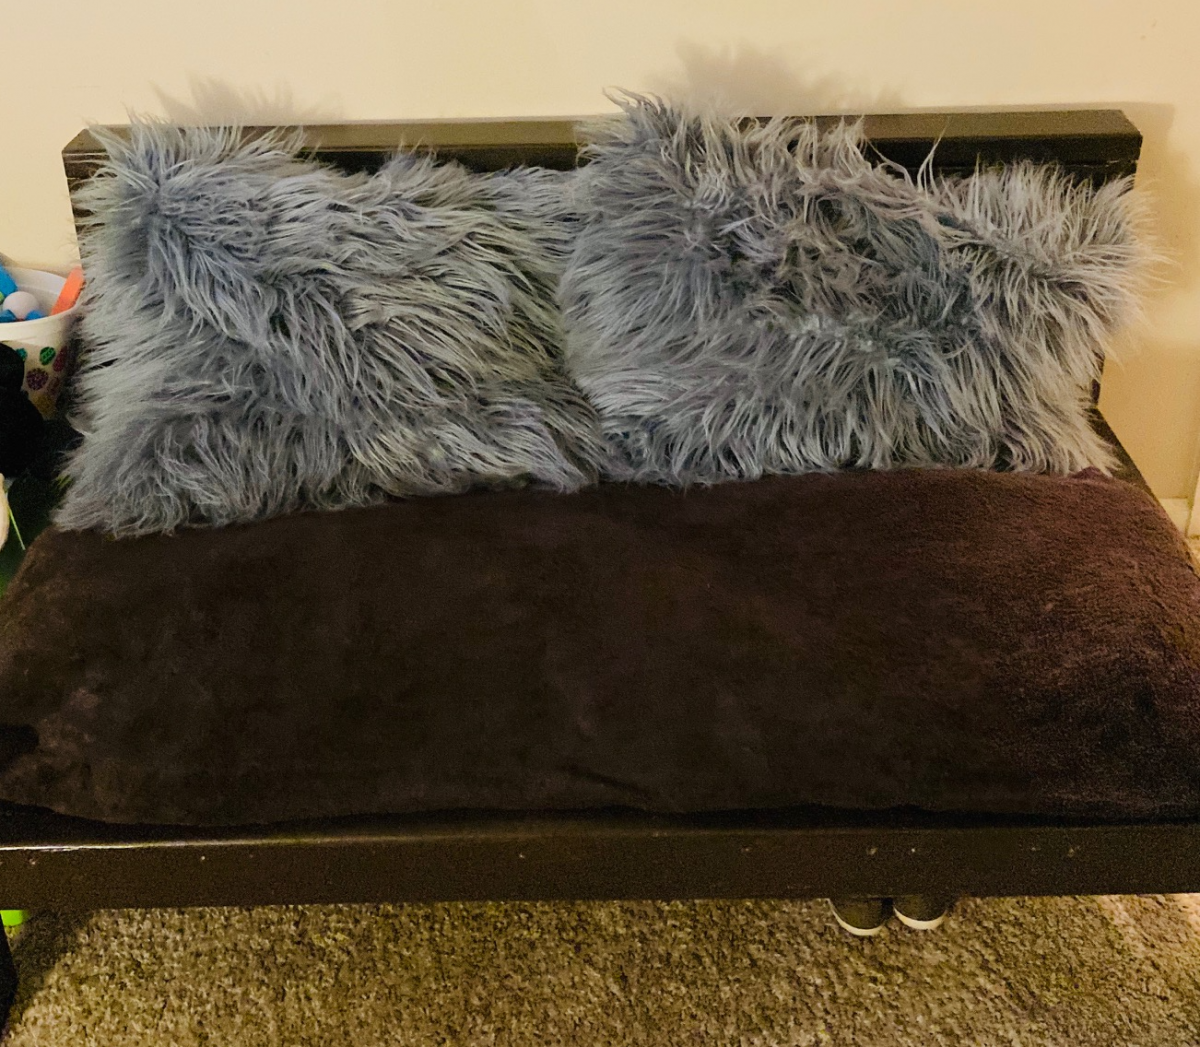
I had some wood laying around with all the new home construction around us and needed a reading seat for my 3 & 7 year old. I took the sectional plans and whipped this together pretty quick (as you can tell as I still need to put in wood filler for the screws...). It's perfect and we all can sit on there while reading books for night time (and he can keep all his little shoes under there for easy storing). Takes a few hours to come together for s novice like me. Paining took the longest. I need to remember to paint first but tend to get so excited to build, painting comes after. Thank you for the plans!
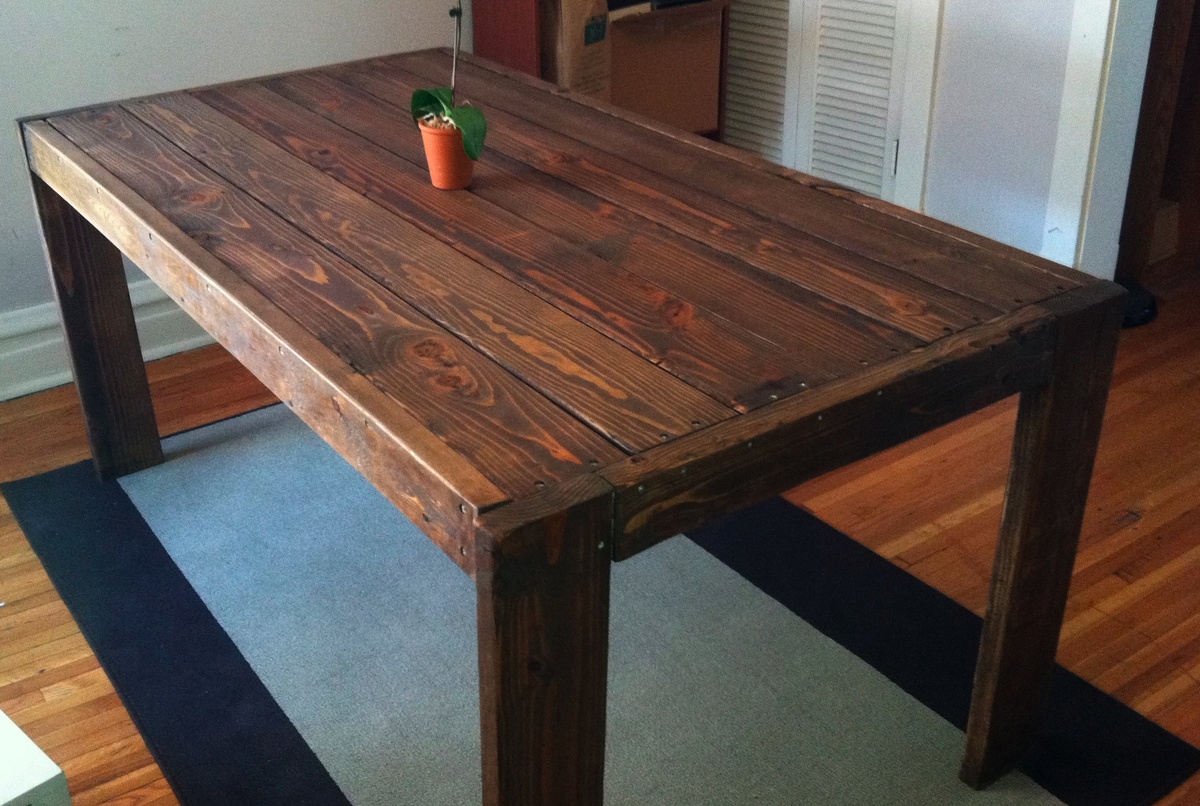
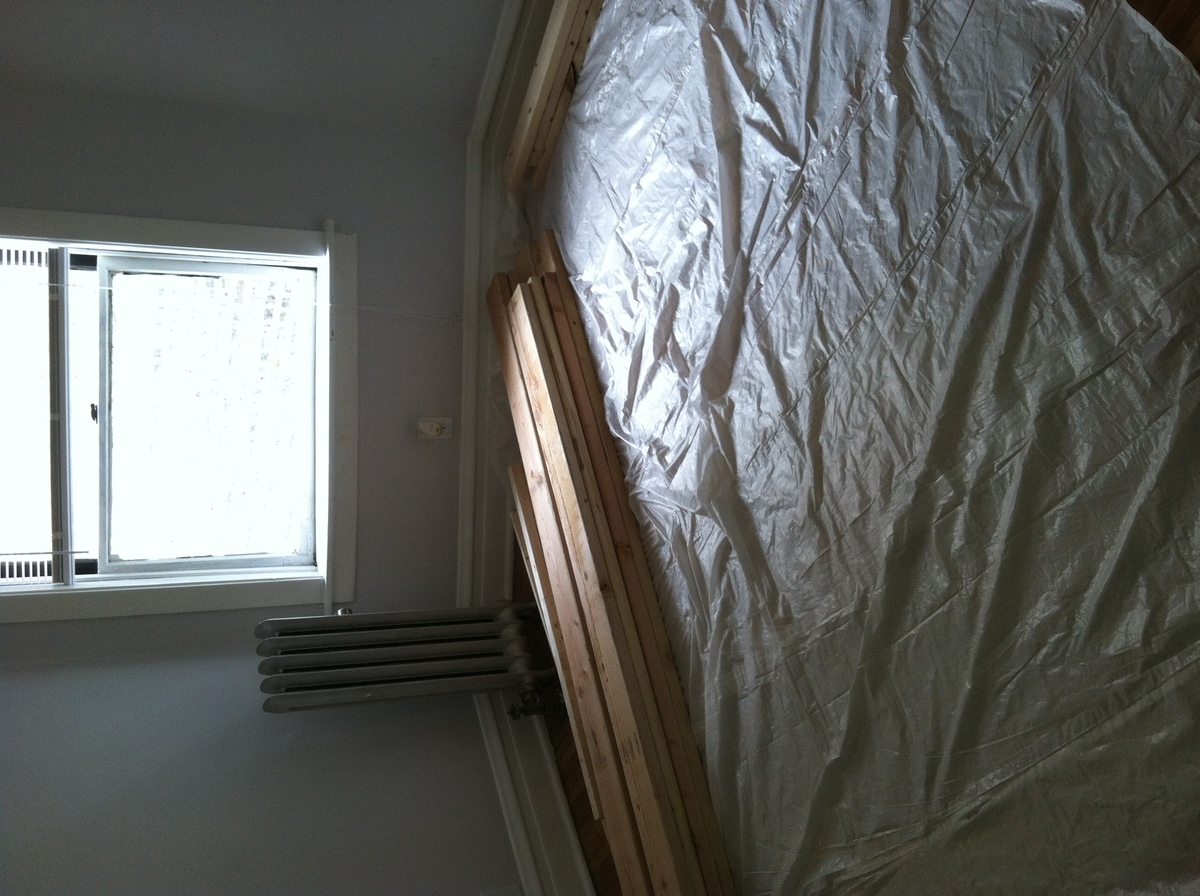
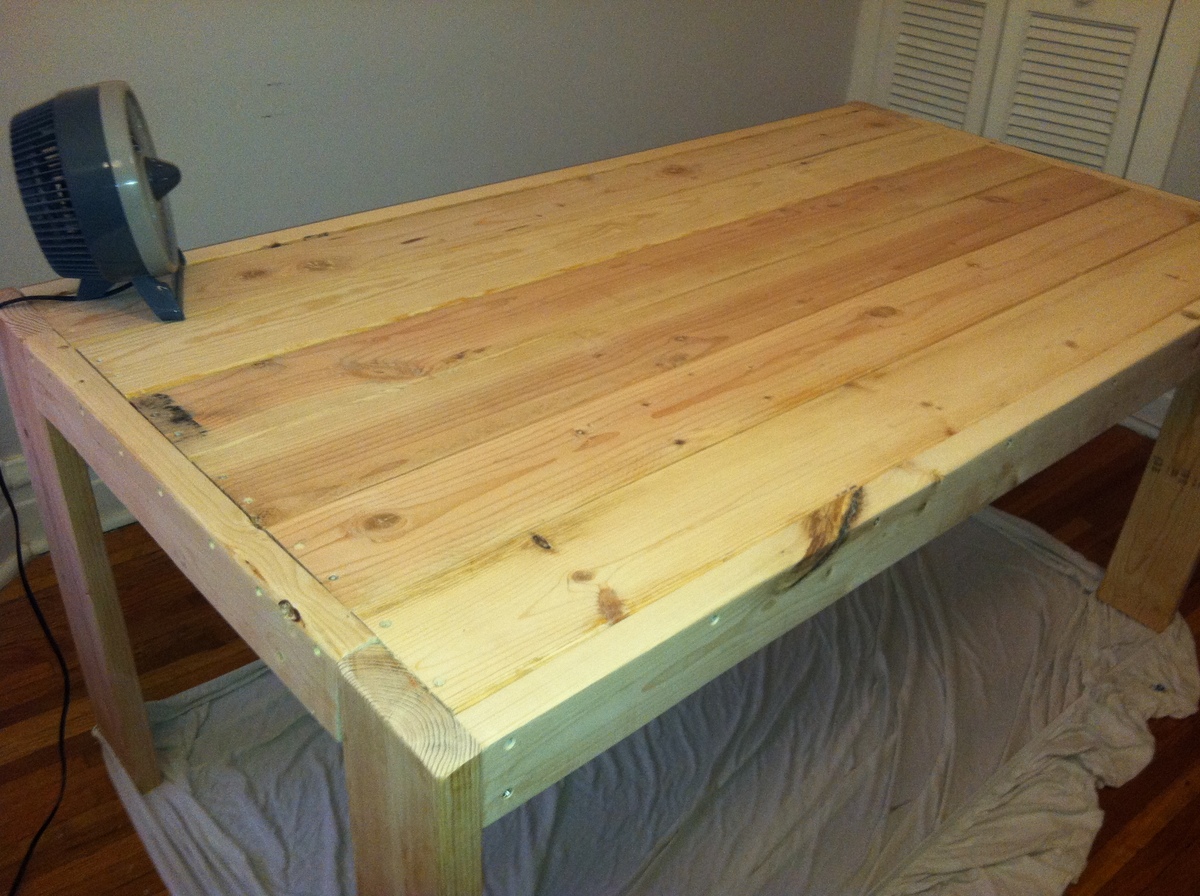
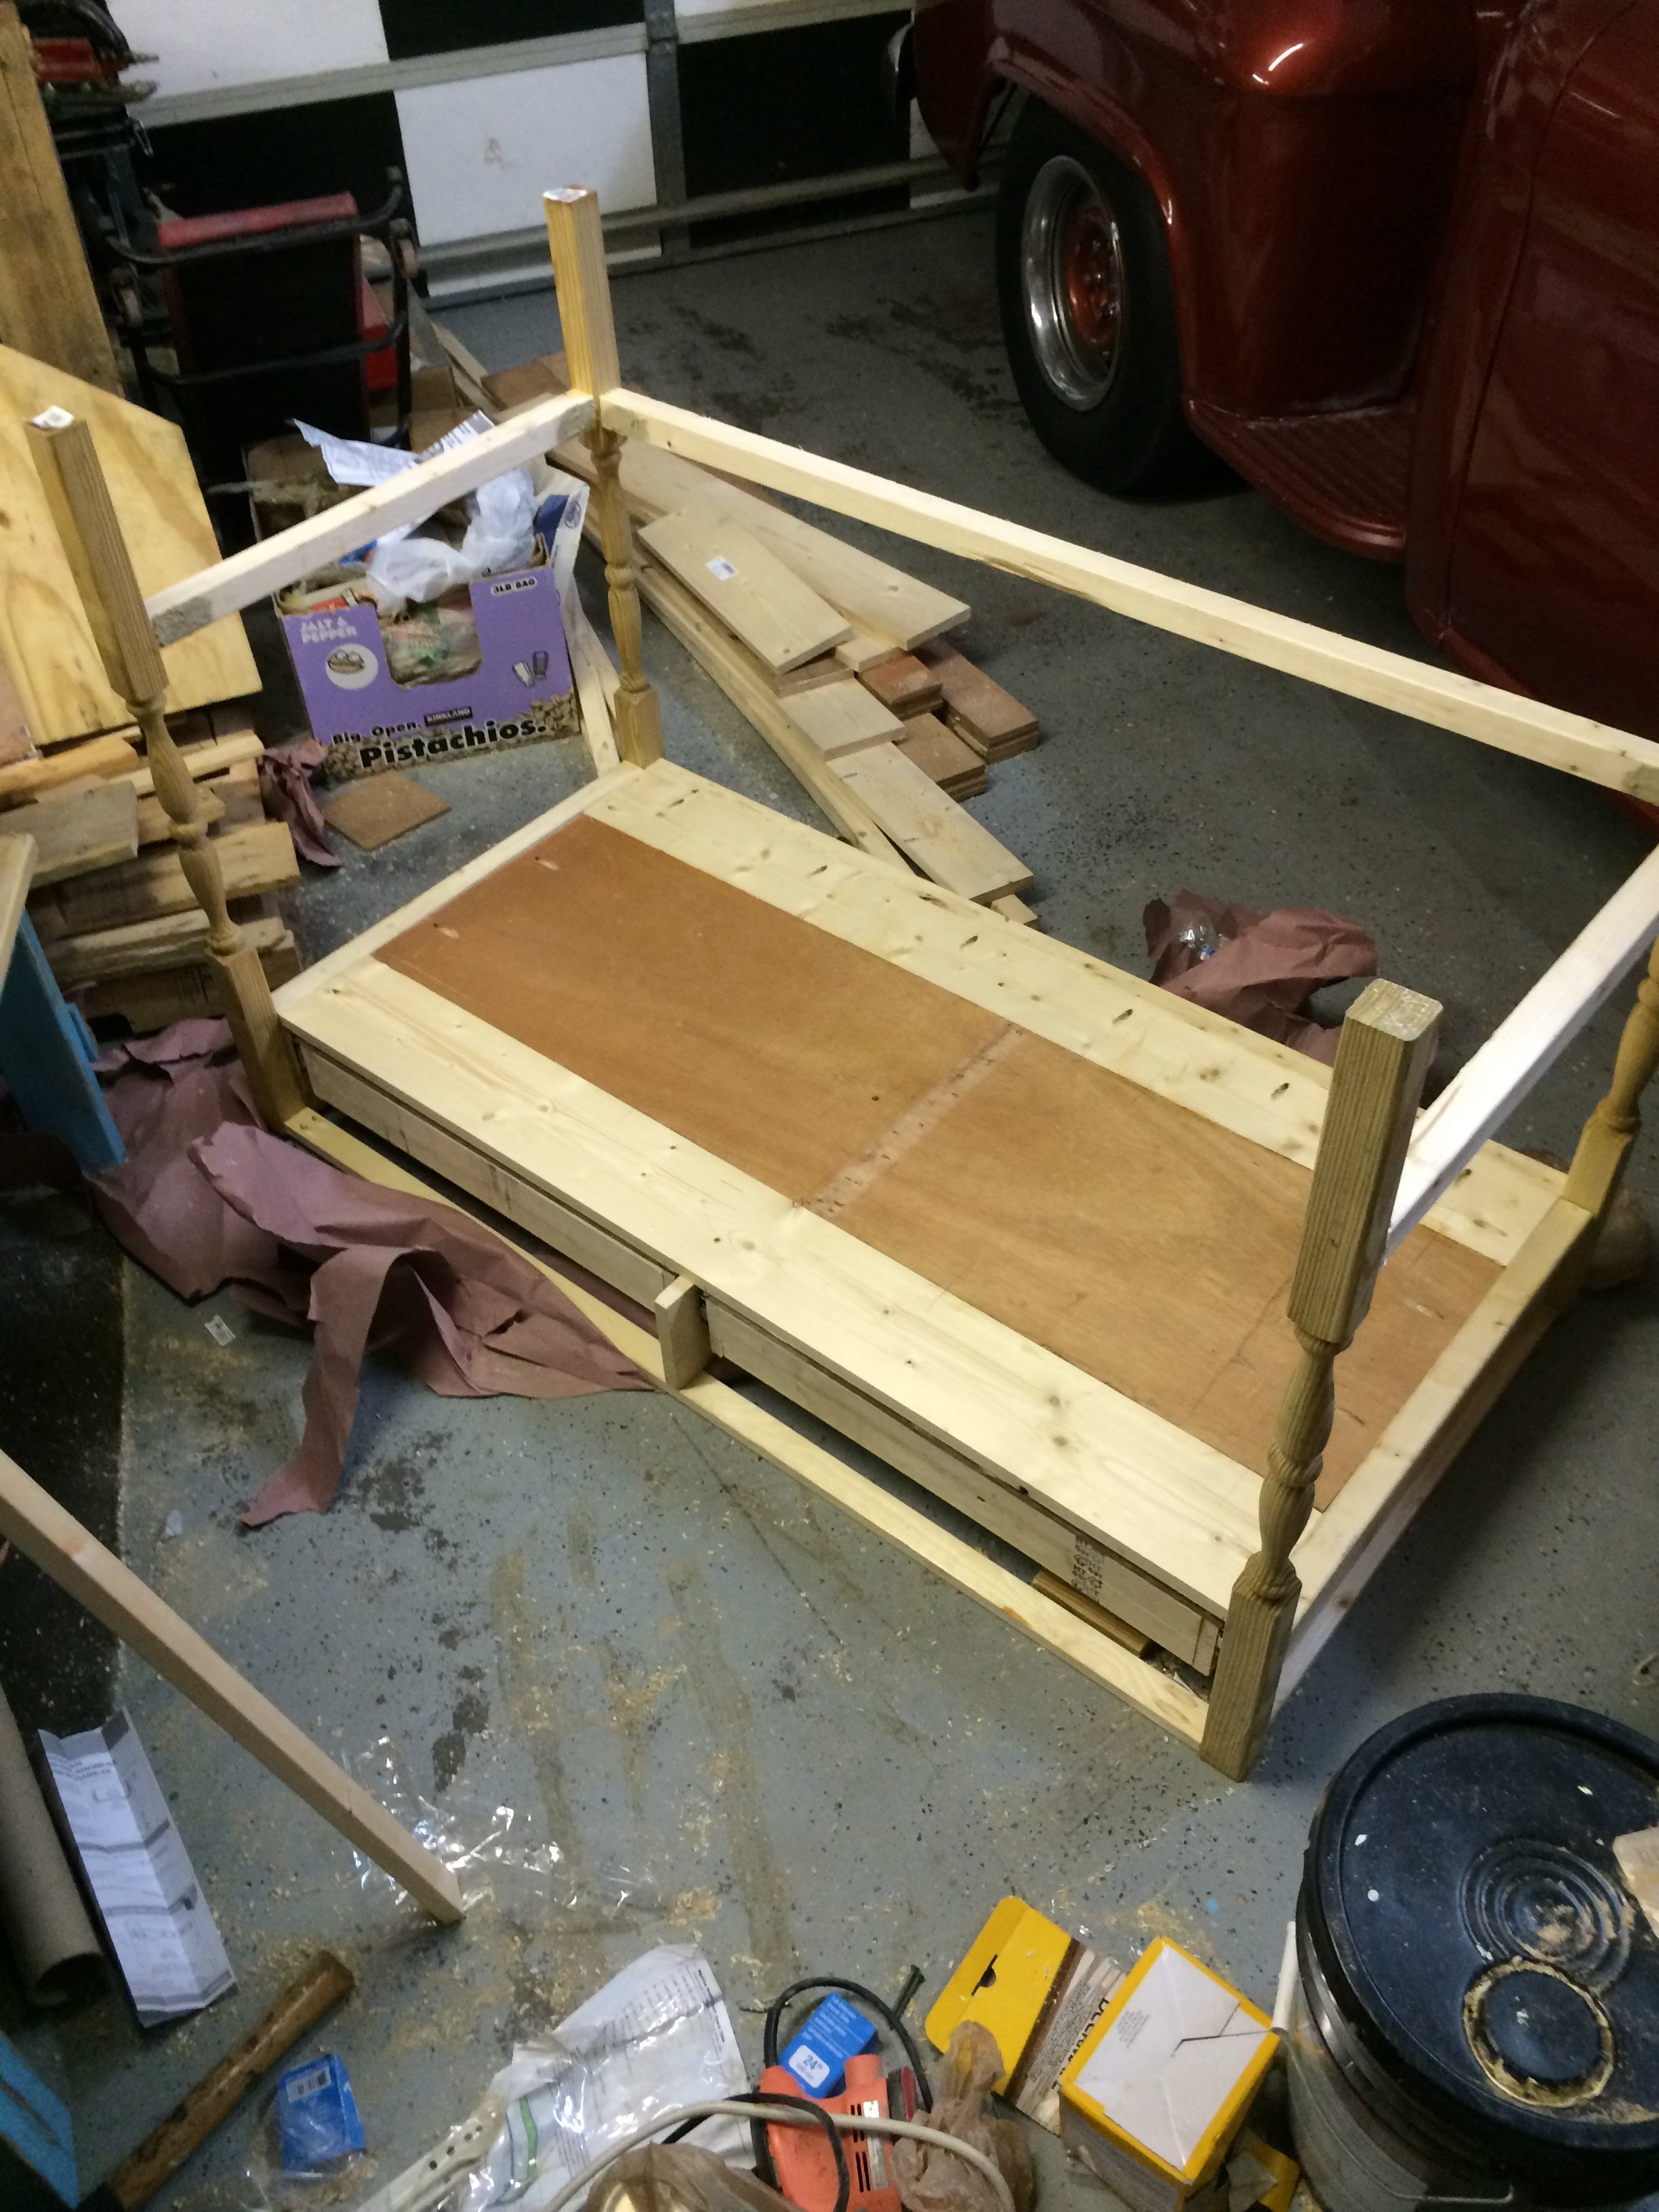
After spending weeks lurking on the site, I decided to go for it. I have no real experience doing this sort of thing, so everything was a learning experience. I had to invest in a lot of tools but the materials only cost about $100 ($50 in pine from local home store + ~$50 in other materials).
I live in a small apartment, so my workplace was less than ideal. I did a lot of sawing and sanding in the space you see so I made a HUGE mess, but I didn't really have any other choice.
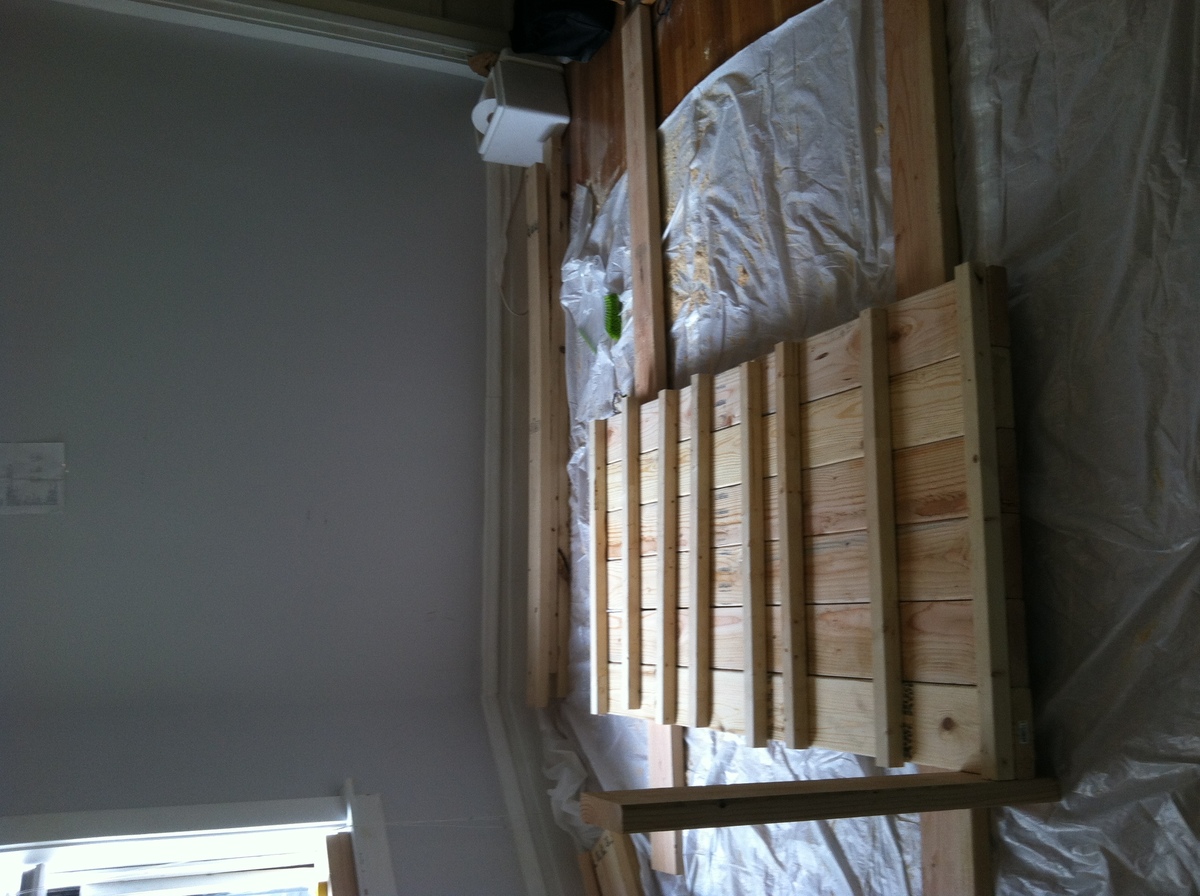
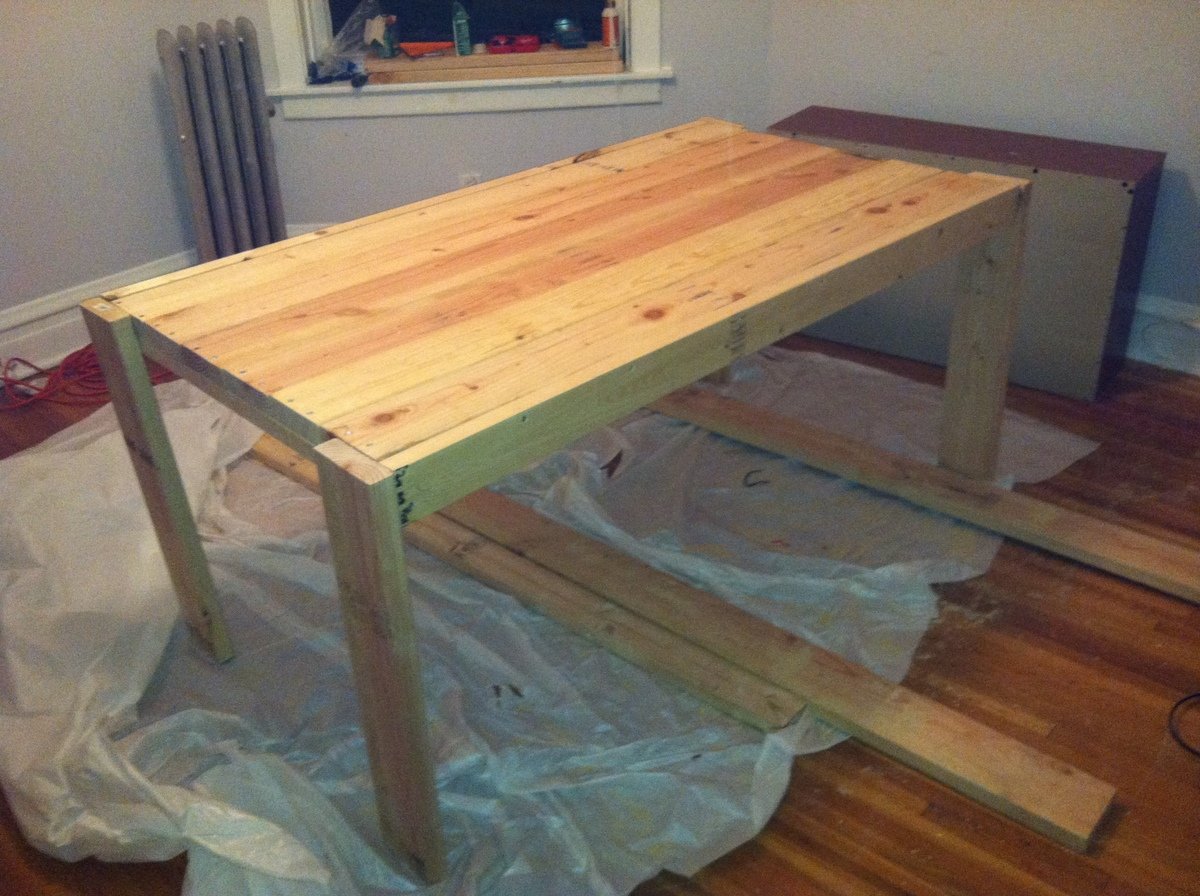
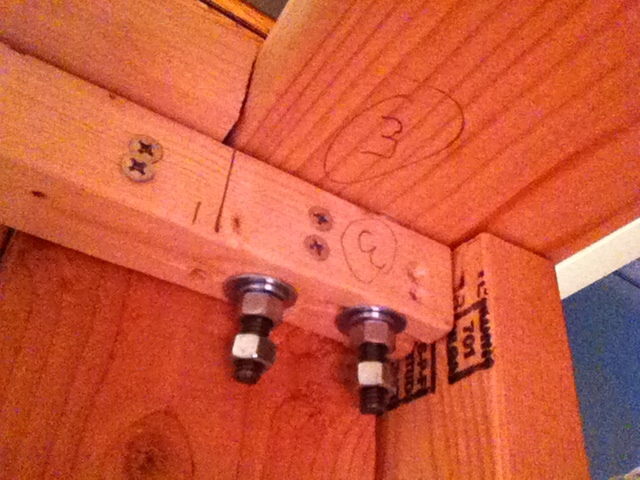
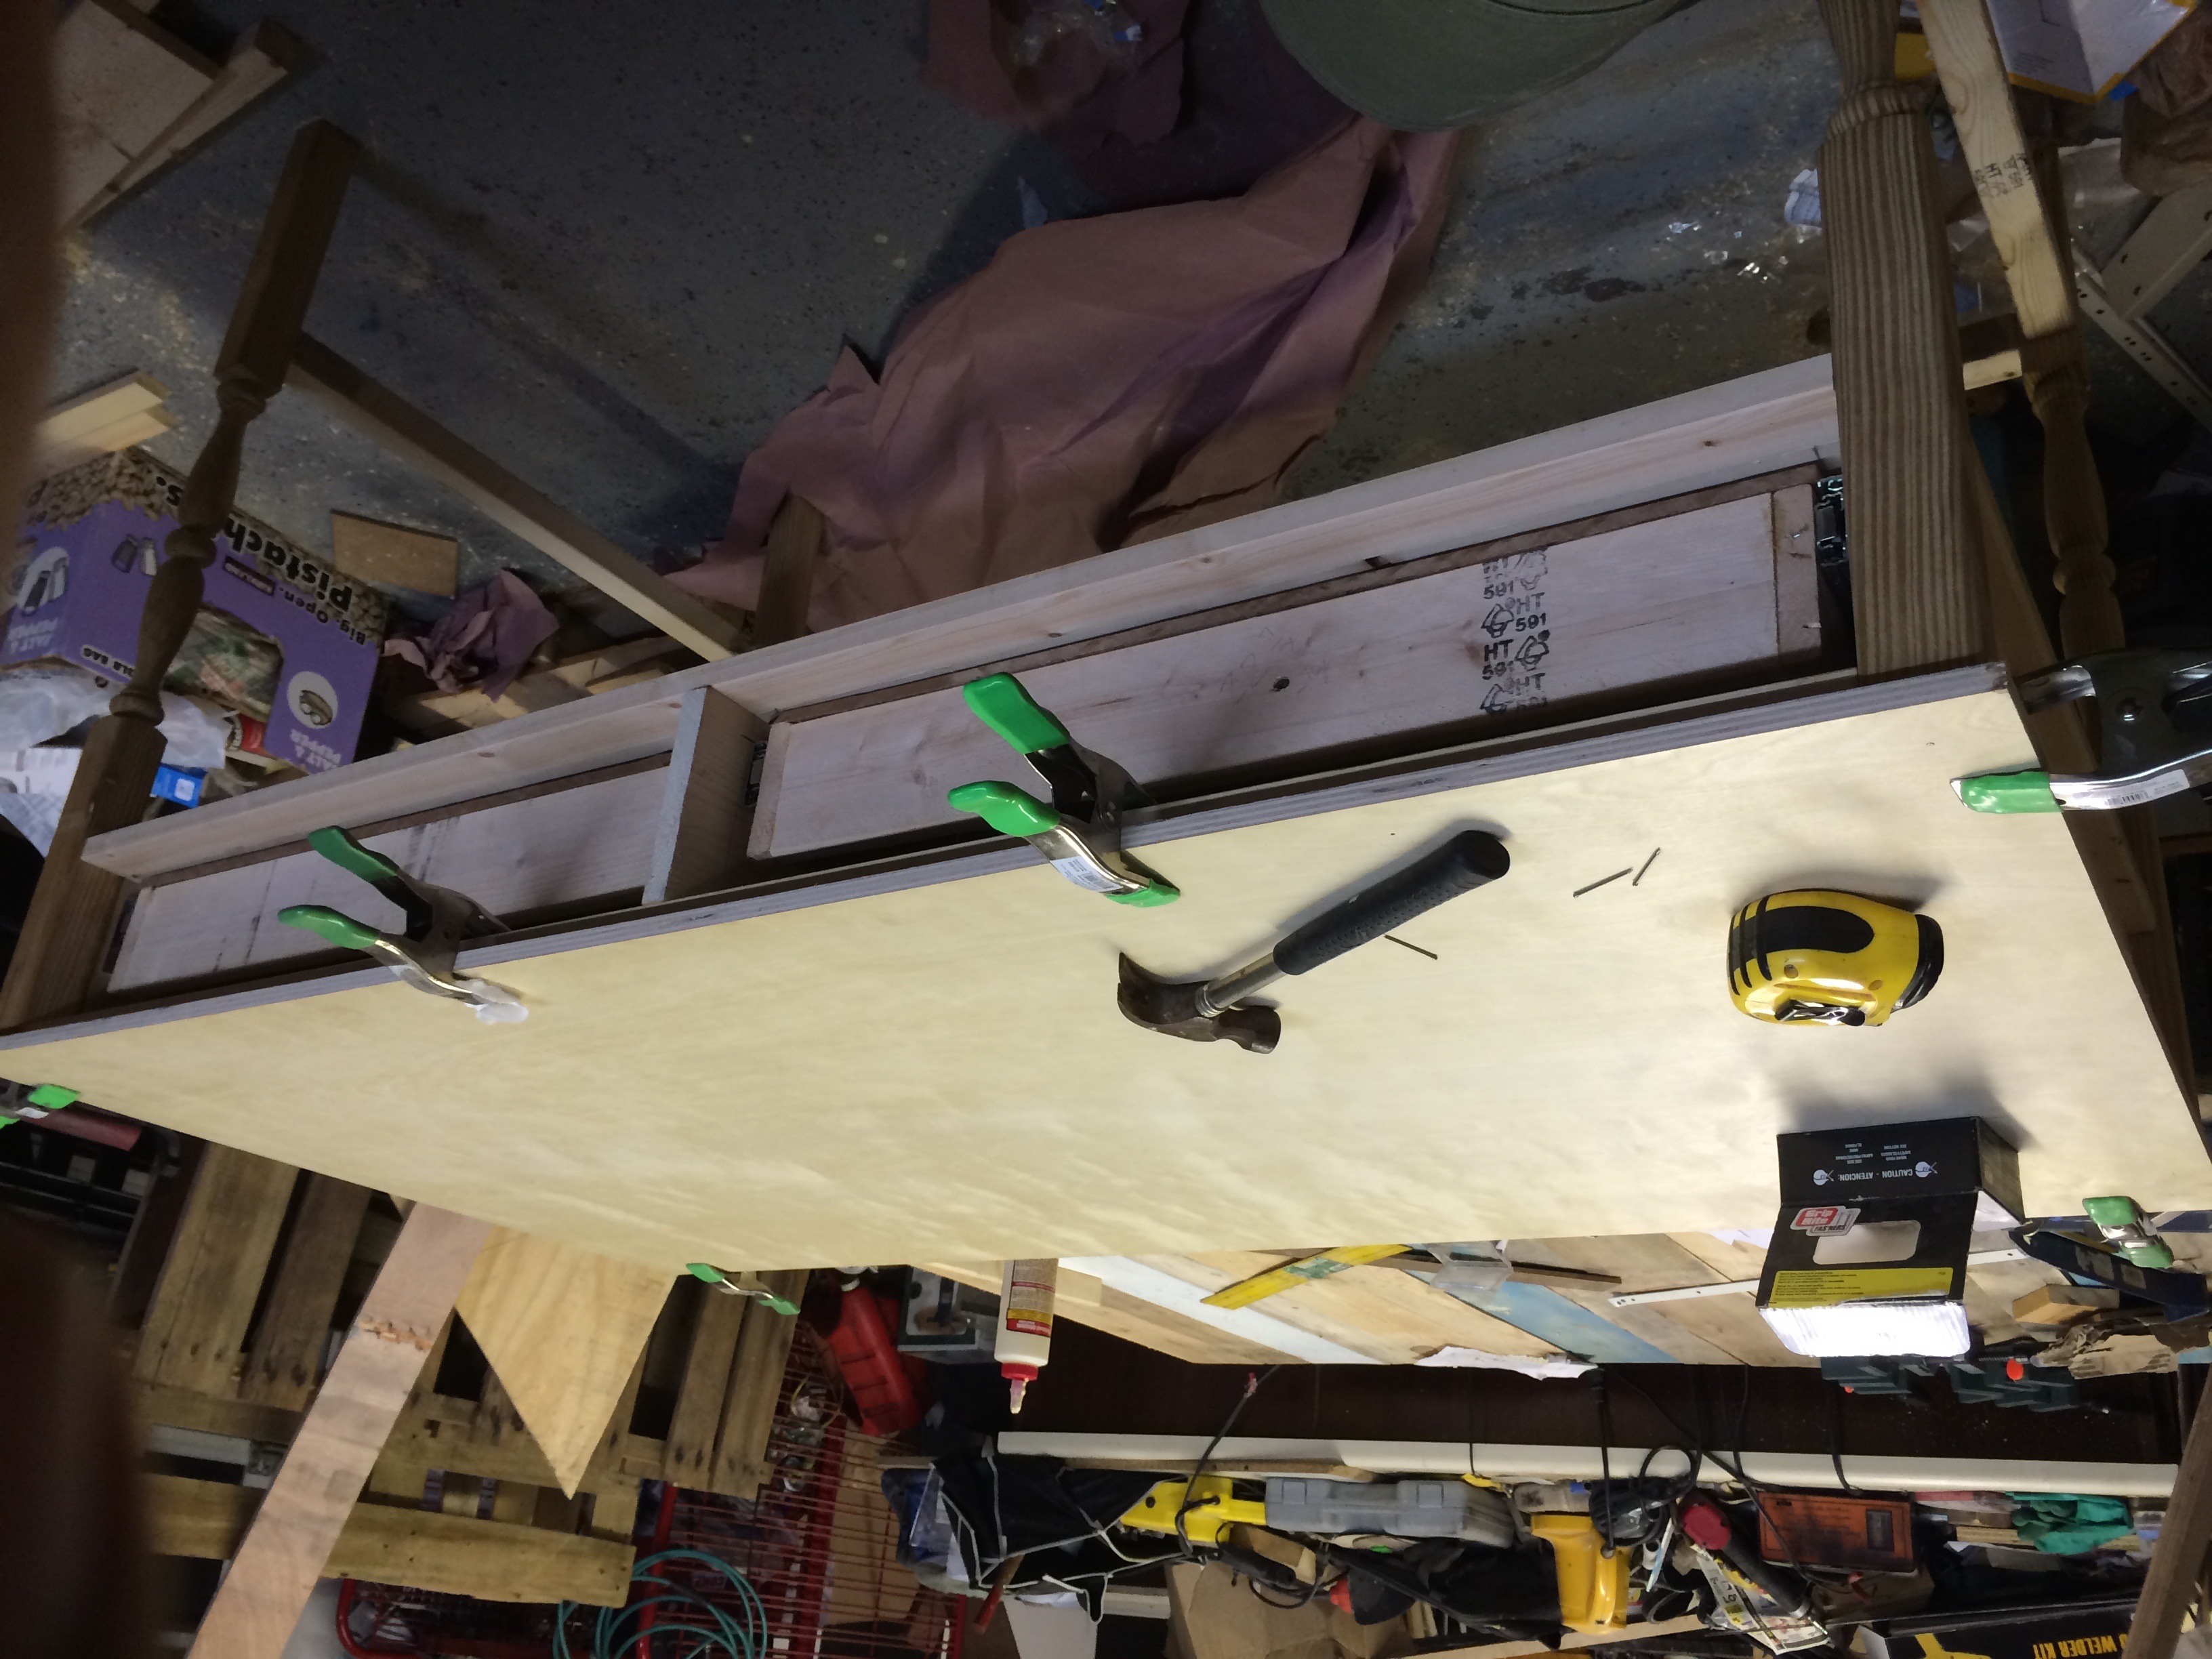
I'm really pleased with the outcome. It isn't perfect, but it doesn't have to be. There are gaps in the planks on the table top, but I can live with it. I didn't follow the plans exactly in order. I built the table top first which allowed me to add removable legs for when it comes time to move. Instead of screwing the legs, I hung hanger bolts and did a nut/bolt setup (as I type this, I realize this was not a necessary step - I could have bolted the legs instead of screwing them in per the stepwise instructions, which would have been easier. Alas, what's done is done!). The picture shows two sets of nuts per bolt, but this is only because I had extra bolts and this ensure that I don't lose them.
I plan on finishing with a polyurethane and building the benches but that will be in the future. My advice to anyone on the fence is to just do it. It's easier than you think and if it doesn't turn out exactly perfect, no big deal. My project goes to show that even with a tiny Chicago apartment, as long as you're willing to make a mess, it can be done. Good luck, thanks for reading!
*sorry my photos are aren't right-side-up - just tilit your head :)
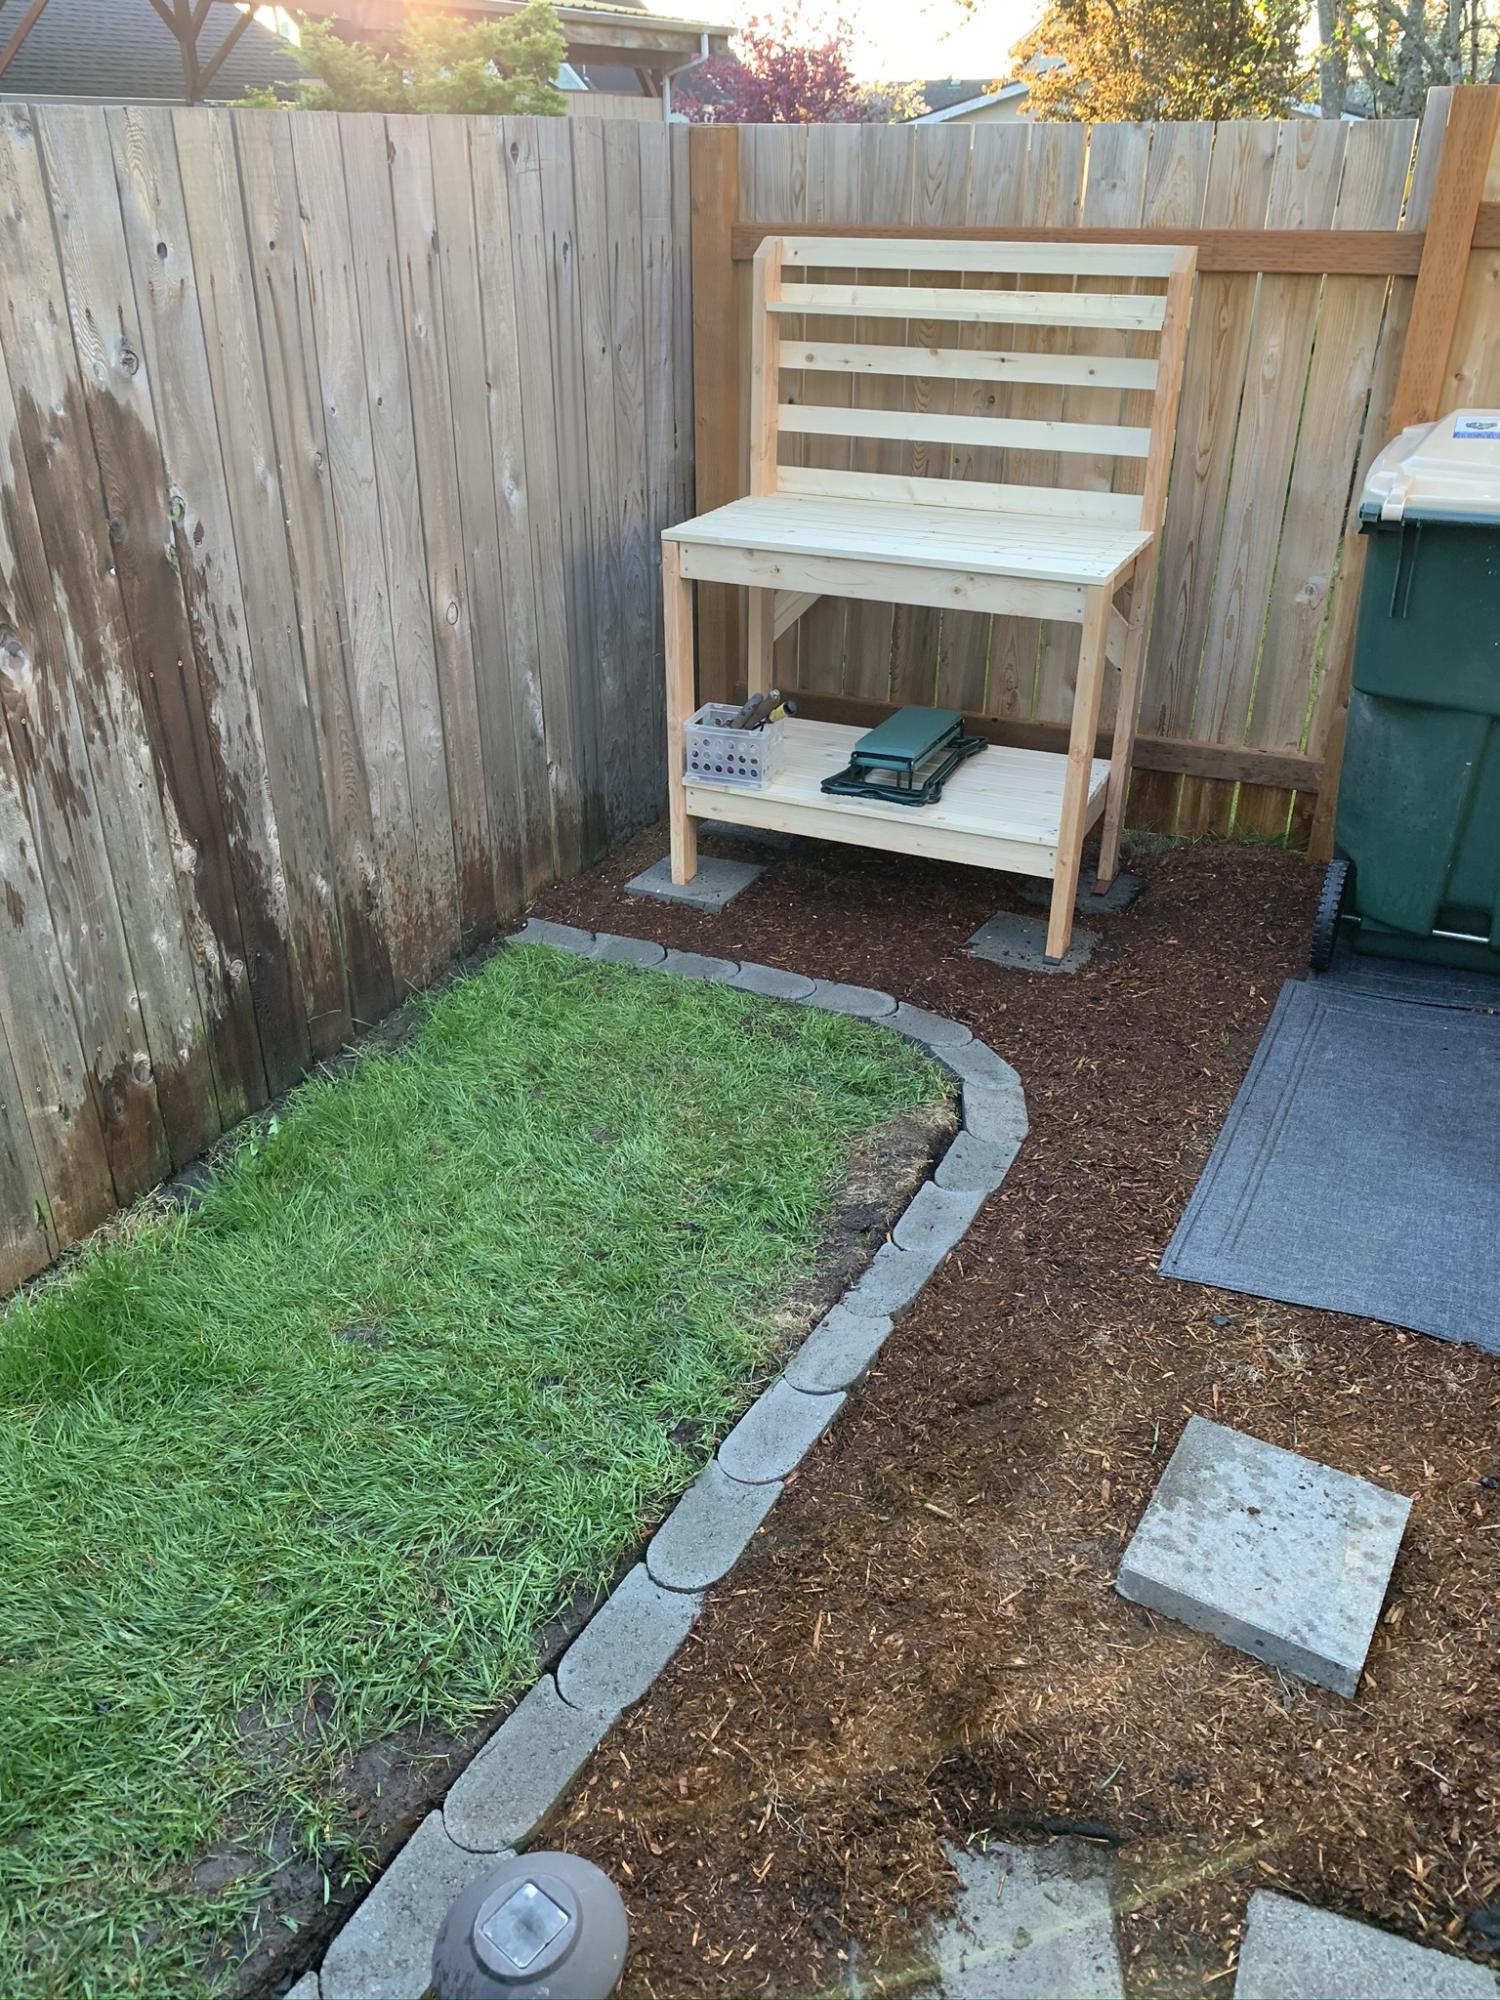
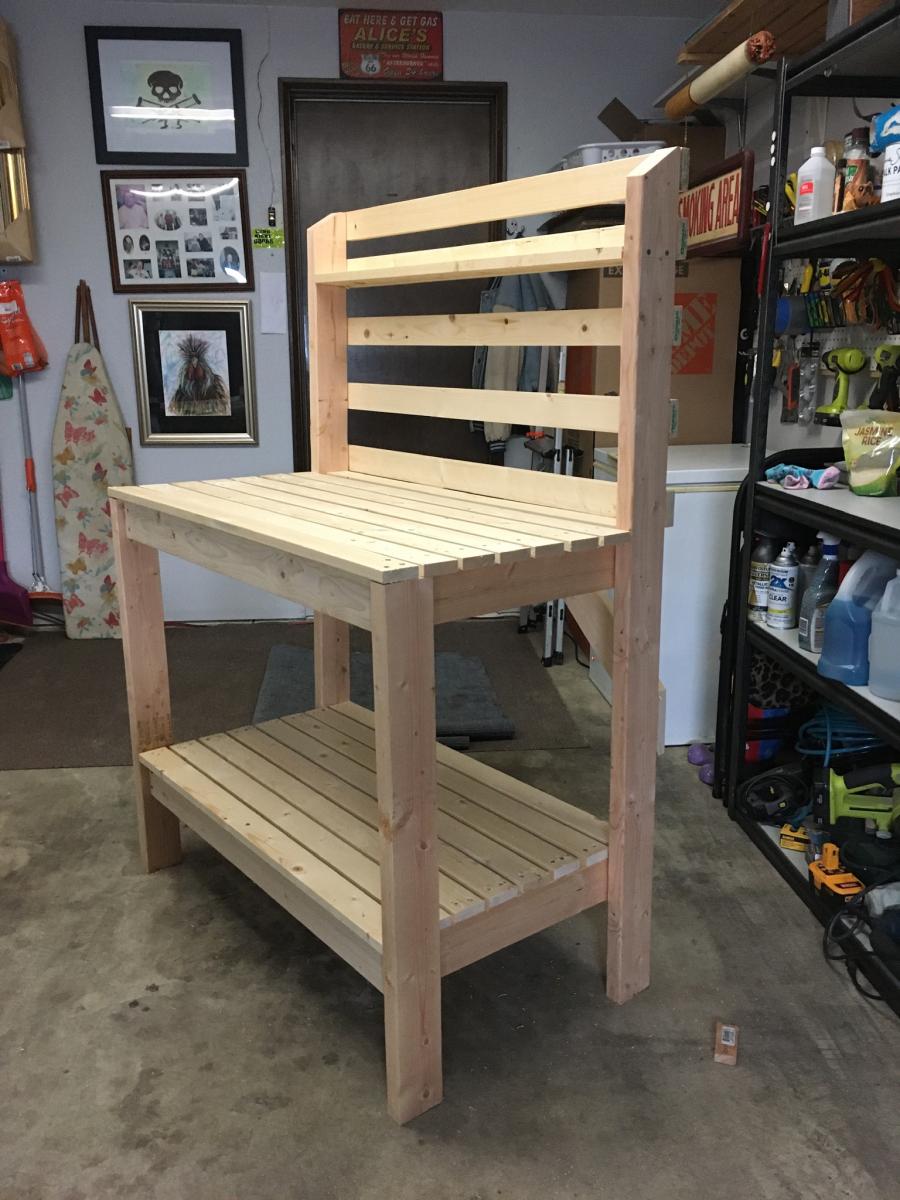
Great easy to follow plans, I cut both front and back legs from one 2x4x8’ by having the back leg 1” shorter than plan. Also bought 1x4x39” slats at less cost than buying the 8’ ones.
Great unit would be perfect for near the BBQ and any place needing storage and work bench
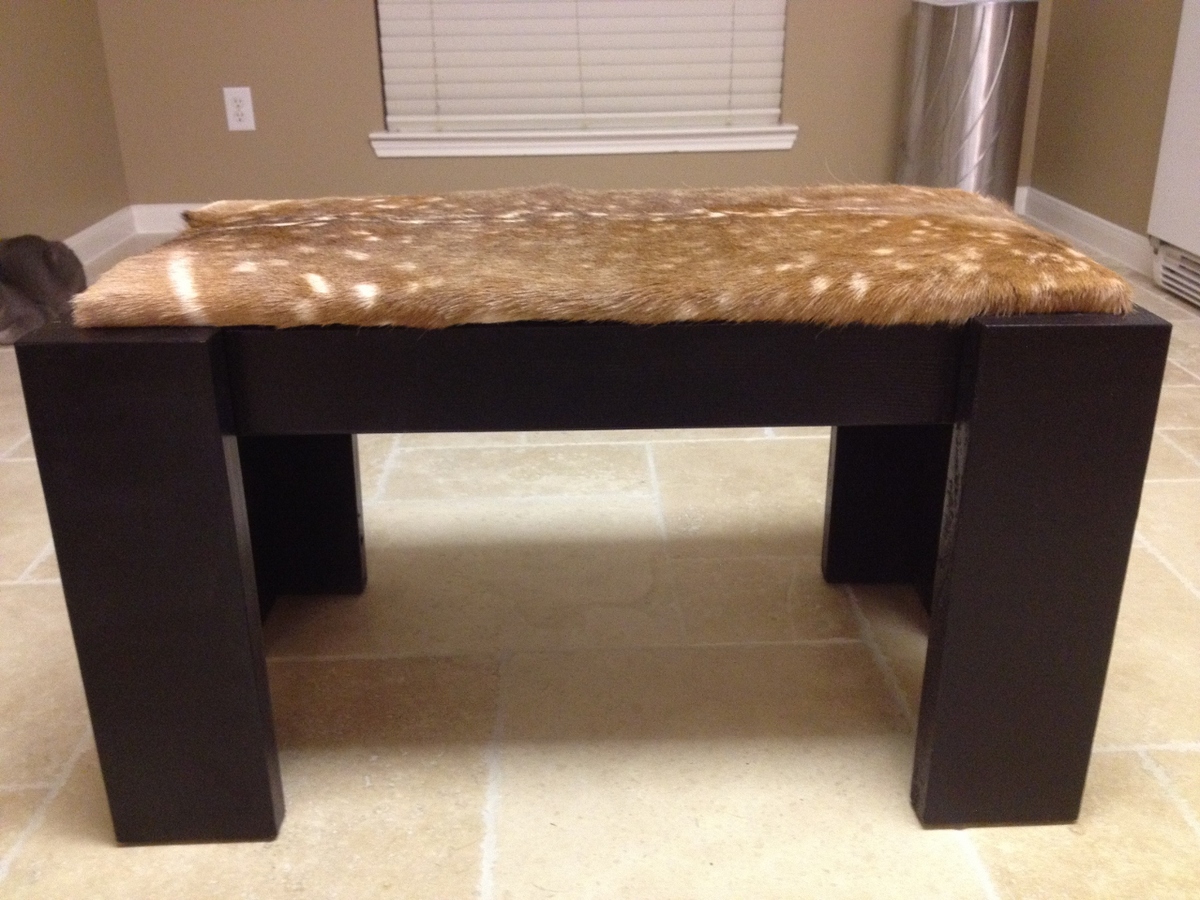
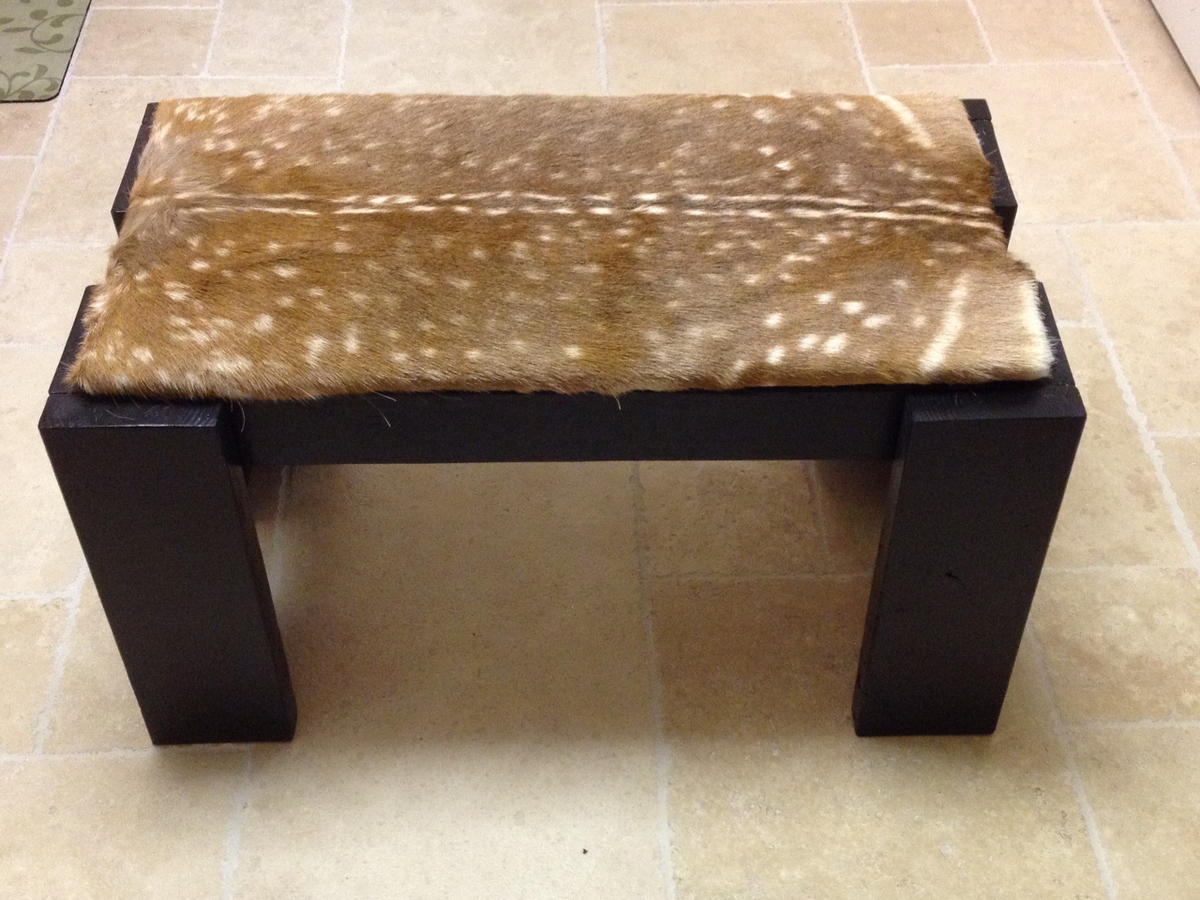
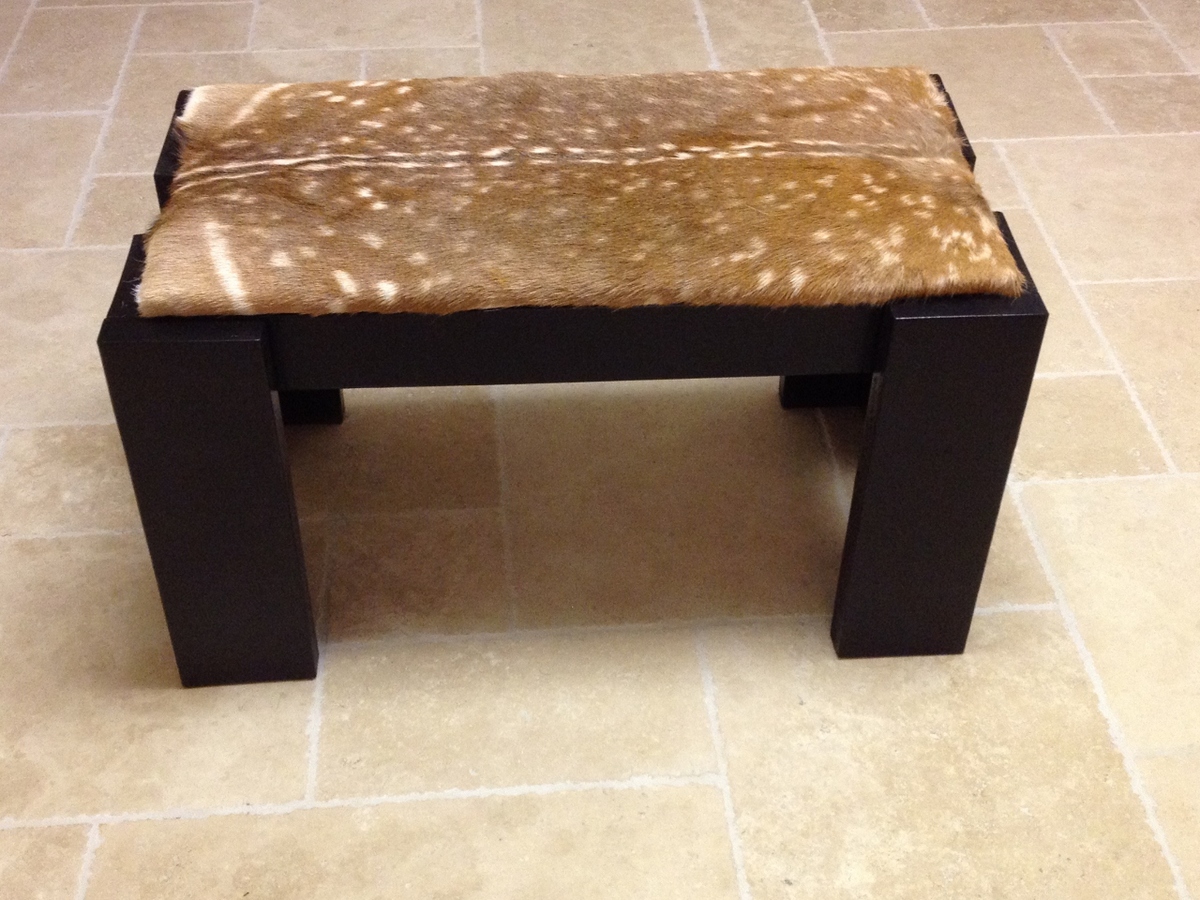
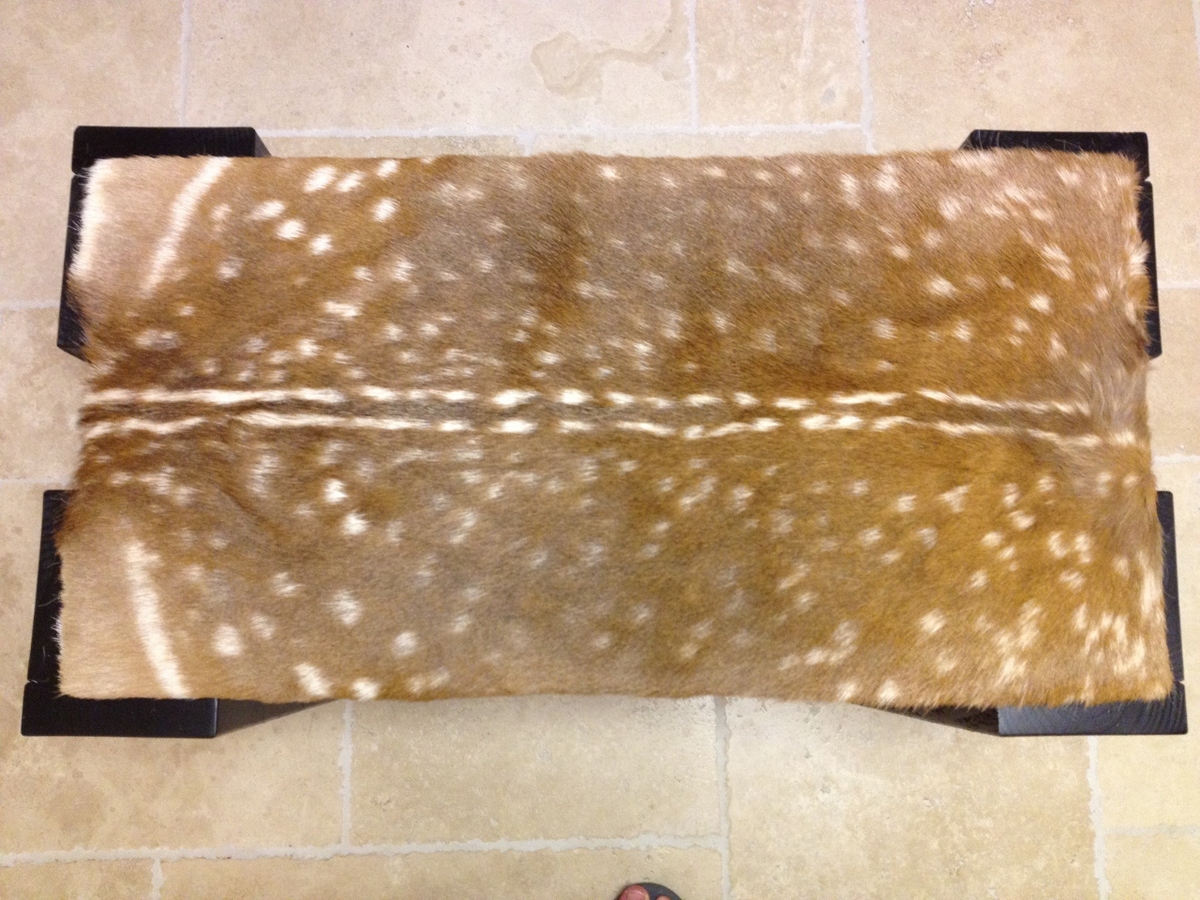
I am new to furniture making and my neighbor and Friend showed me this website. I wanted a piece a bit more modern looking with a rustic flair so I picked this bench for the ease. I did however change the dimension of the bench to accommodate a Fallow that I shot last year and had tanned. I look forward to building the next piece.
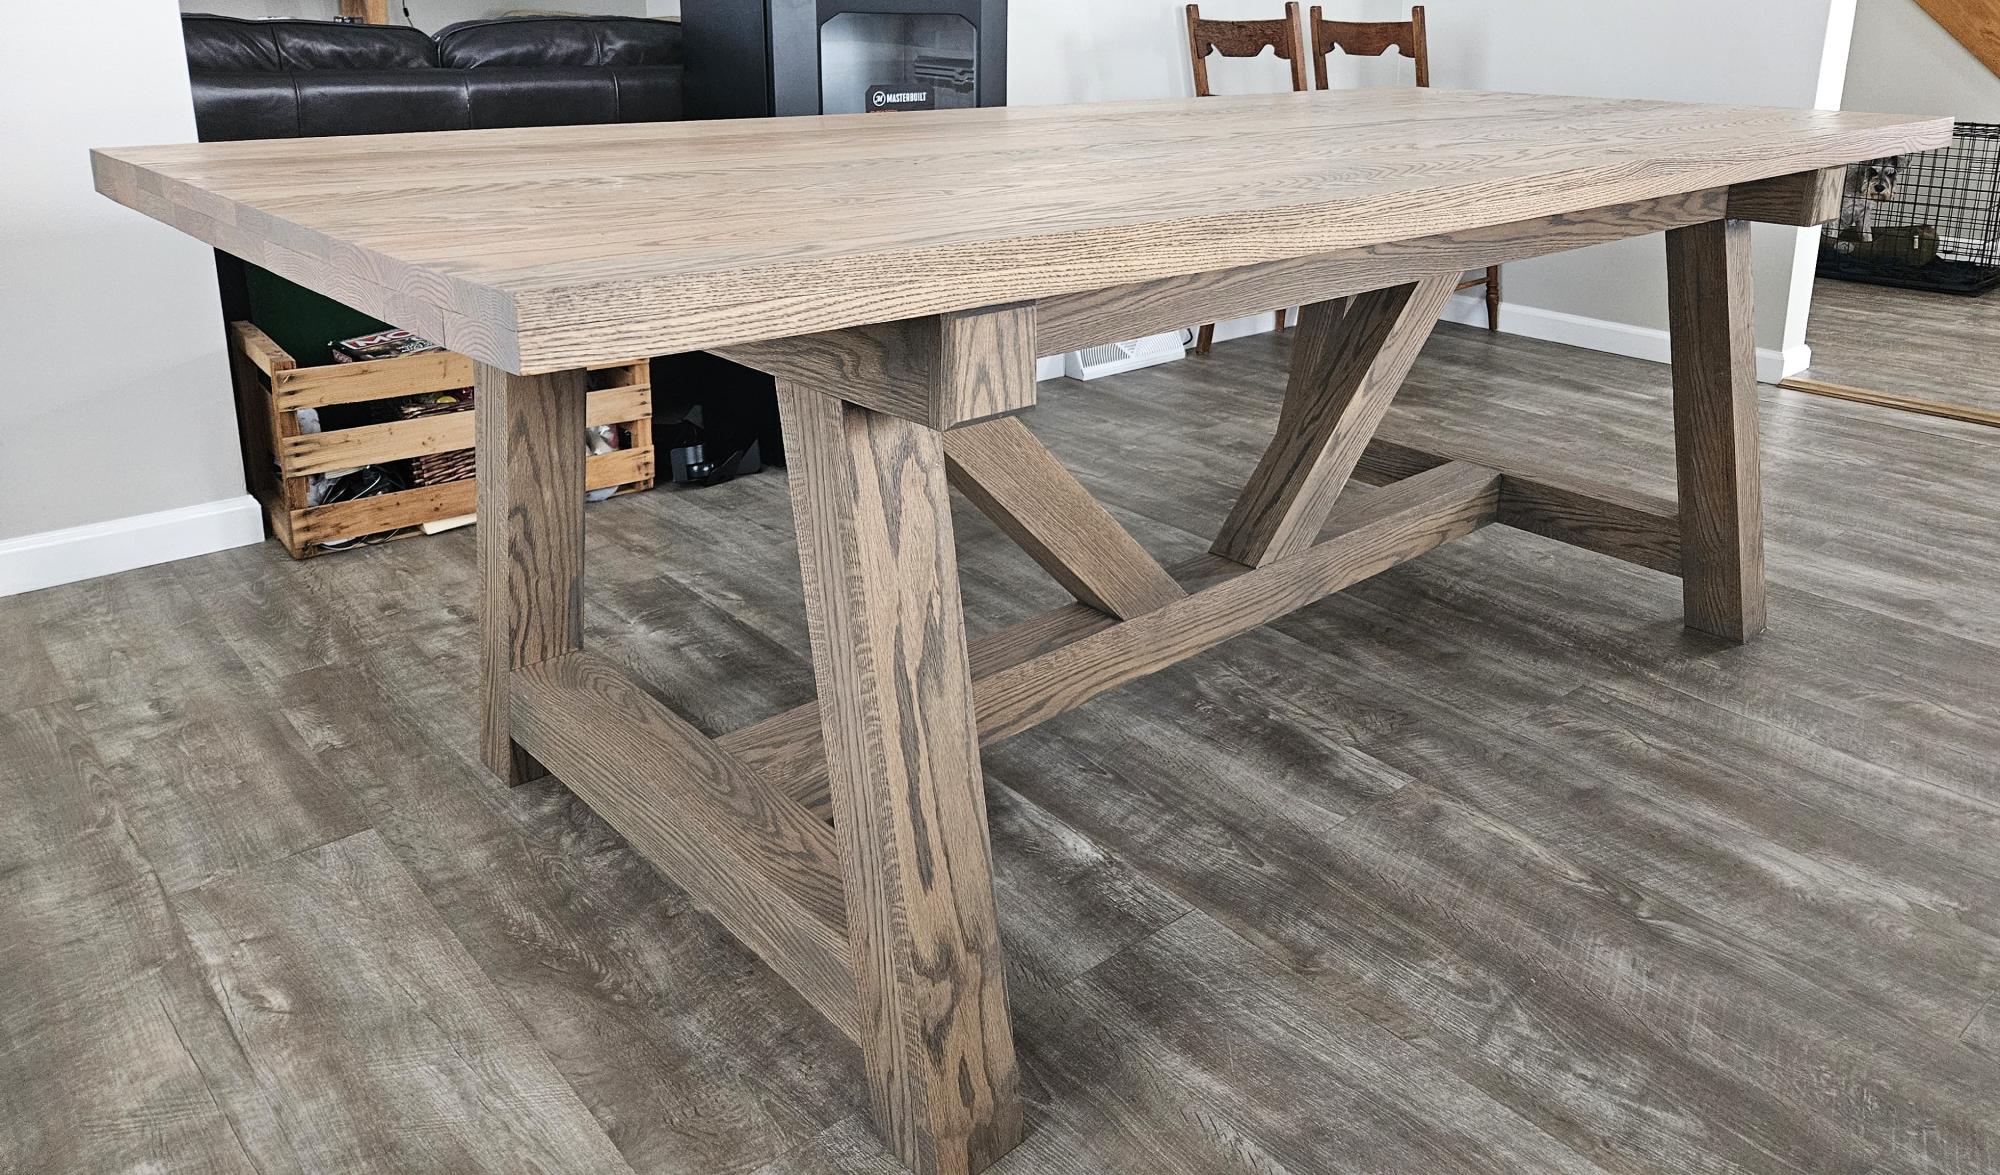
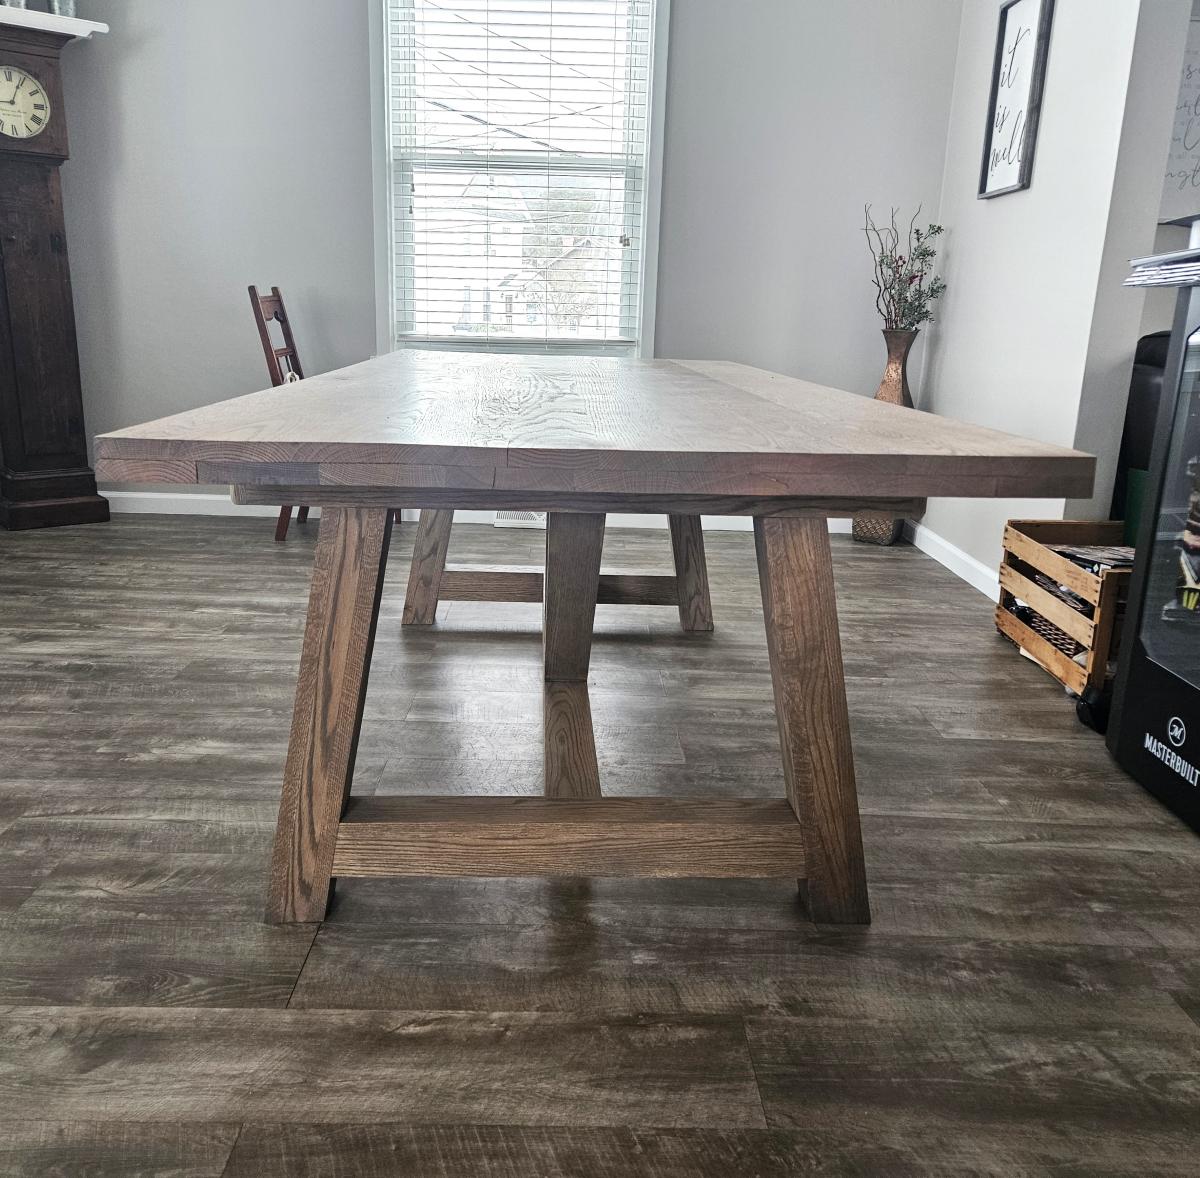
Used red oak lumber with ash grey rubio monocoat. The tabletop is 90"x40" and I made the base 64" long in order to place a chair at each end of the table.
Ashely Shook
Great outdoor builds!
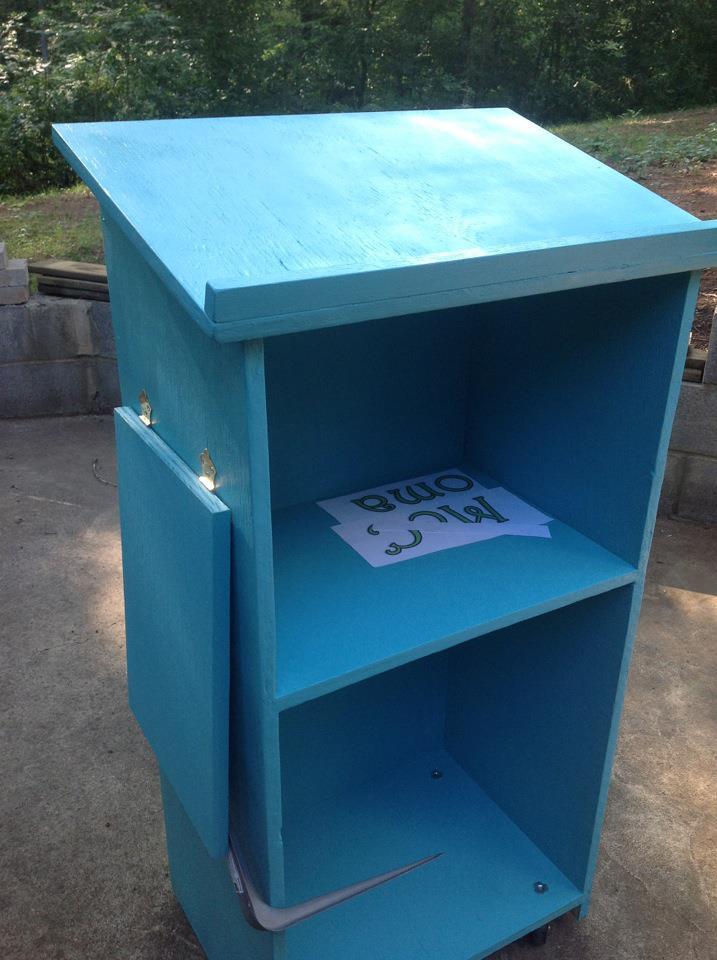
by Dennis
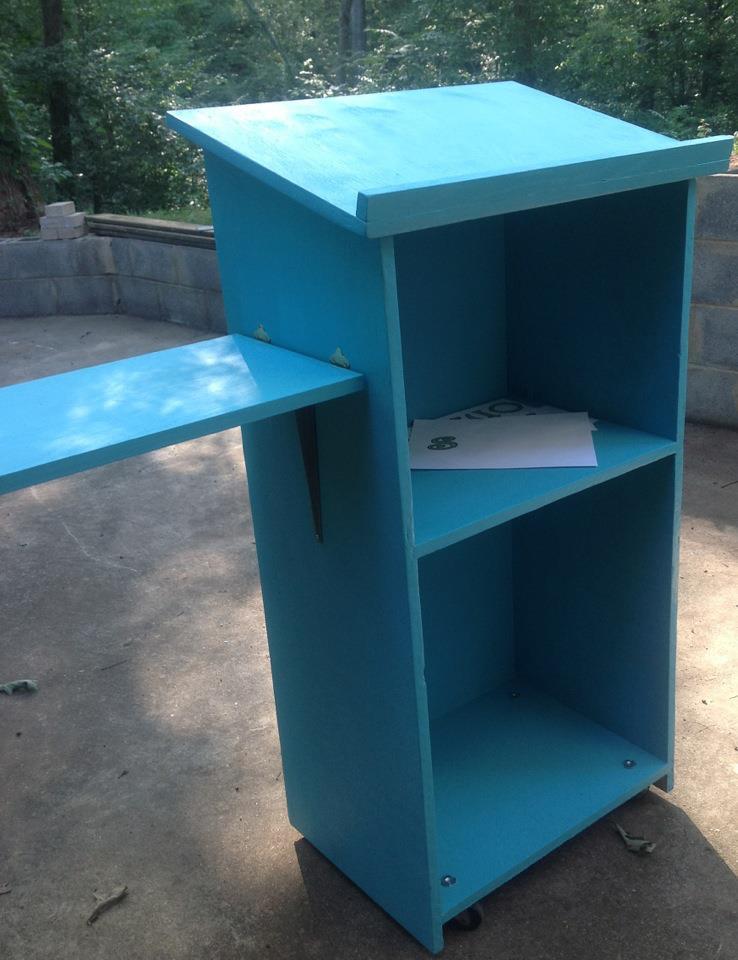
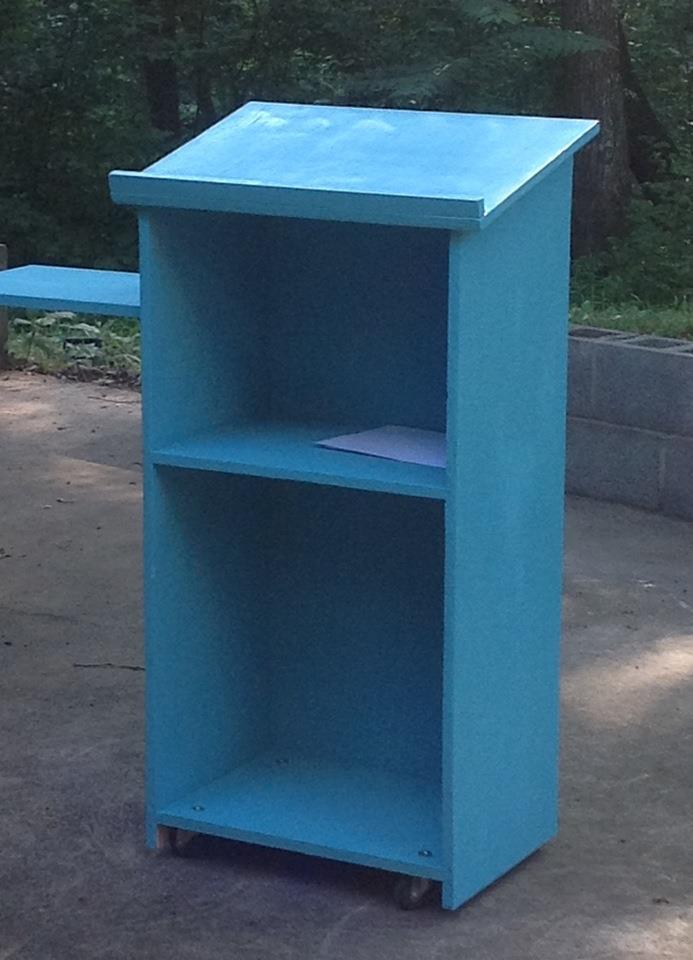
I recently landed my first teaching position, and unfortunately my predecessor left quite a blank canvas for my classroom. I will be teaching math and definitely needed a lectern to hold my book as reference for examples during instructional time. However, I was completely unable to fork over $200 for a lectern...so of course I turned to Ana White! I saw the Podium Plan that another had submitted, and used it as a guide with some changes:
1) My dimensions are 15" wide by 21" long by 43" tall (I'm shorter than your average bear).
2) Used the table saw set at 45 degrees to create mitered joint edges with my plywood
3) Inset the shelves into the frame for added stability using a router.
4) Added casters to the base for maneuverability
5) Added an easily-removable laptop shelf for the side for easy hook-up to the Promethean Board in the classroom.
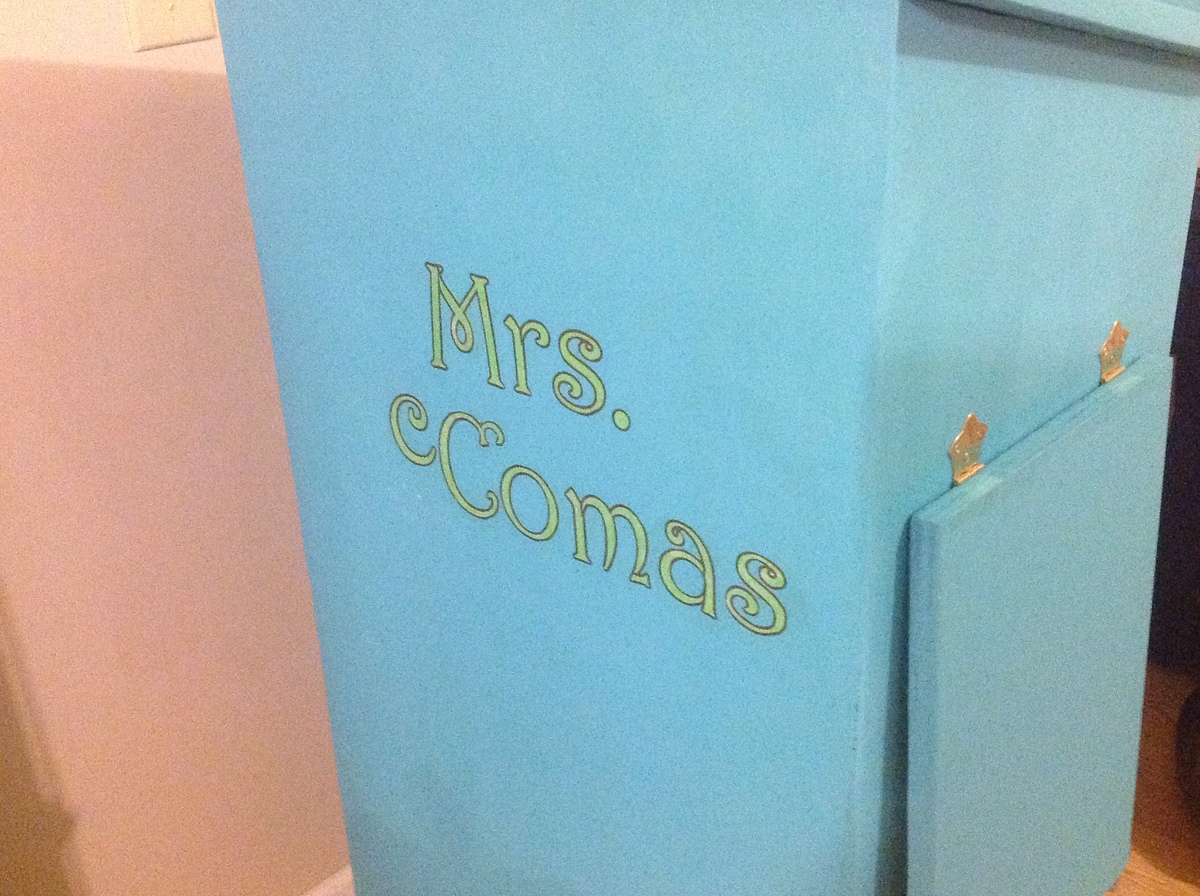
6) Decoupaging my name to the front for some visual interest...(and of course to claim ownership...:) )
My room is painted yellow, and all of my accessories are teal, lime green, and brown. This is gonna look GREAT in there, and best of all, it's attractive AND functional!

Sat, 07/28/2012 - 22:23
I don't remember having ANY teachers with anything this cool and personal in their classroom (except maybe woodshop, har-de-har-har). All the other teachers will be jealous!
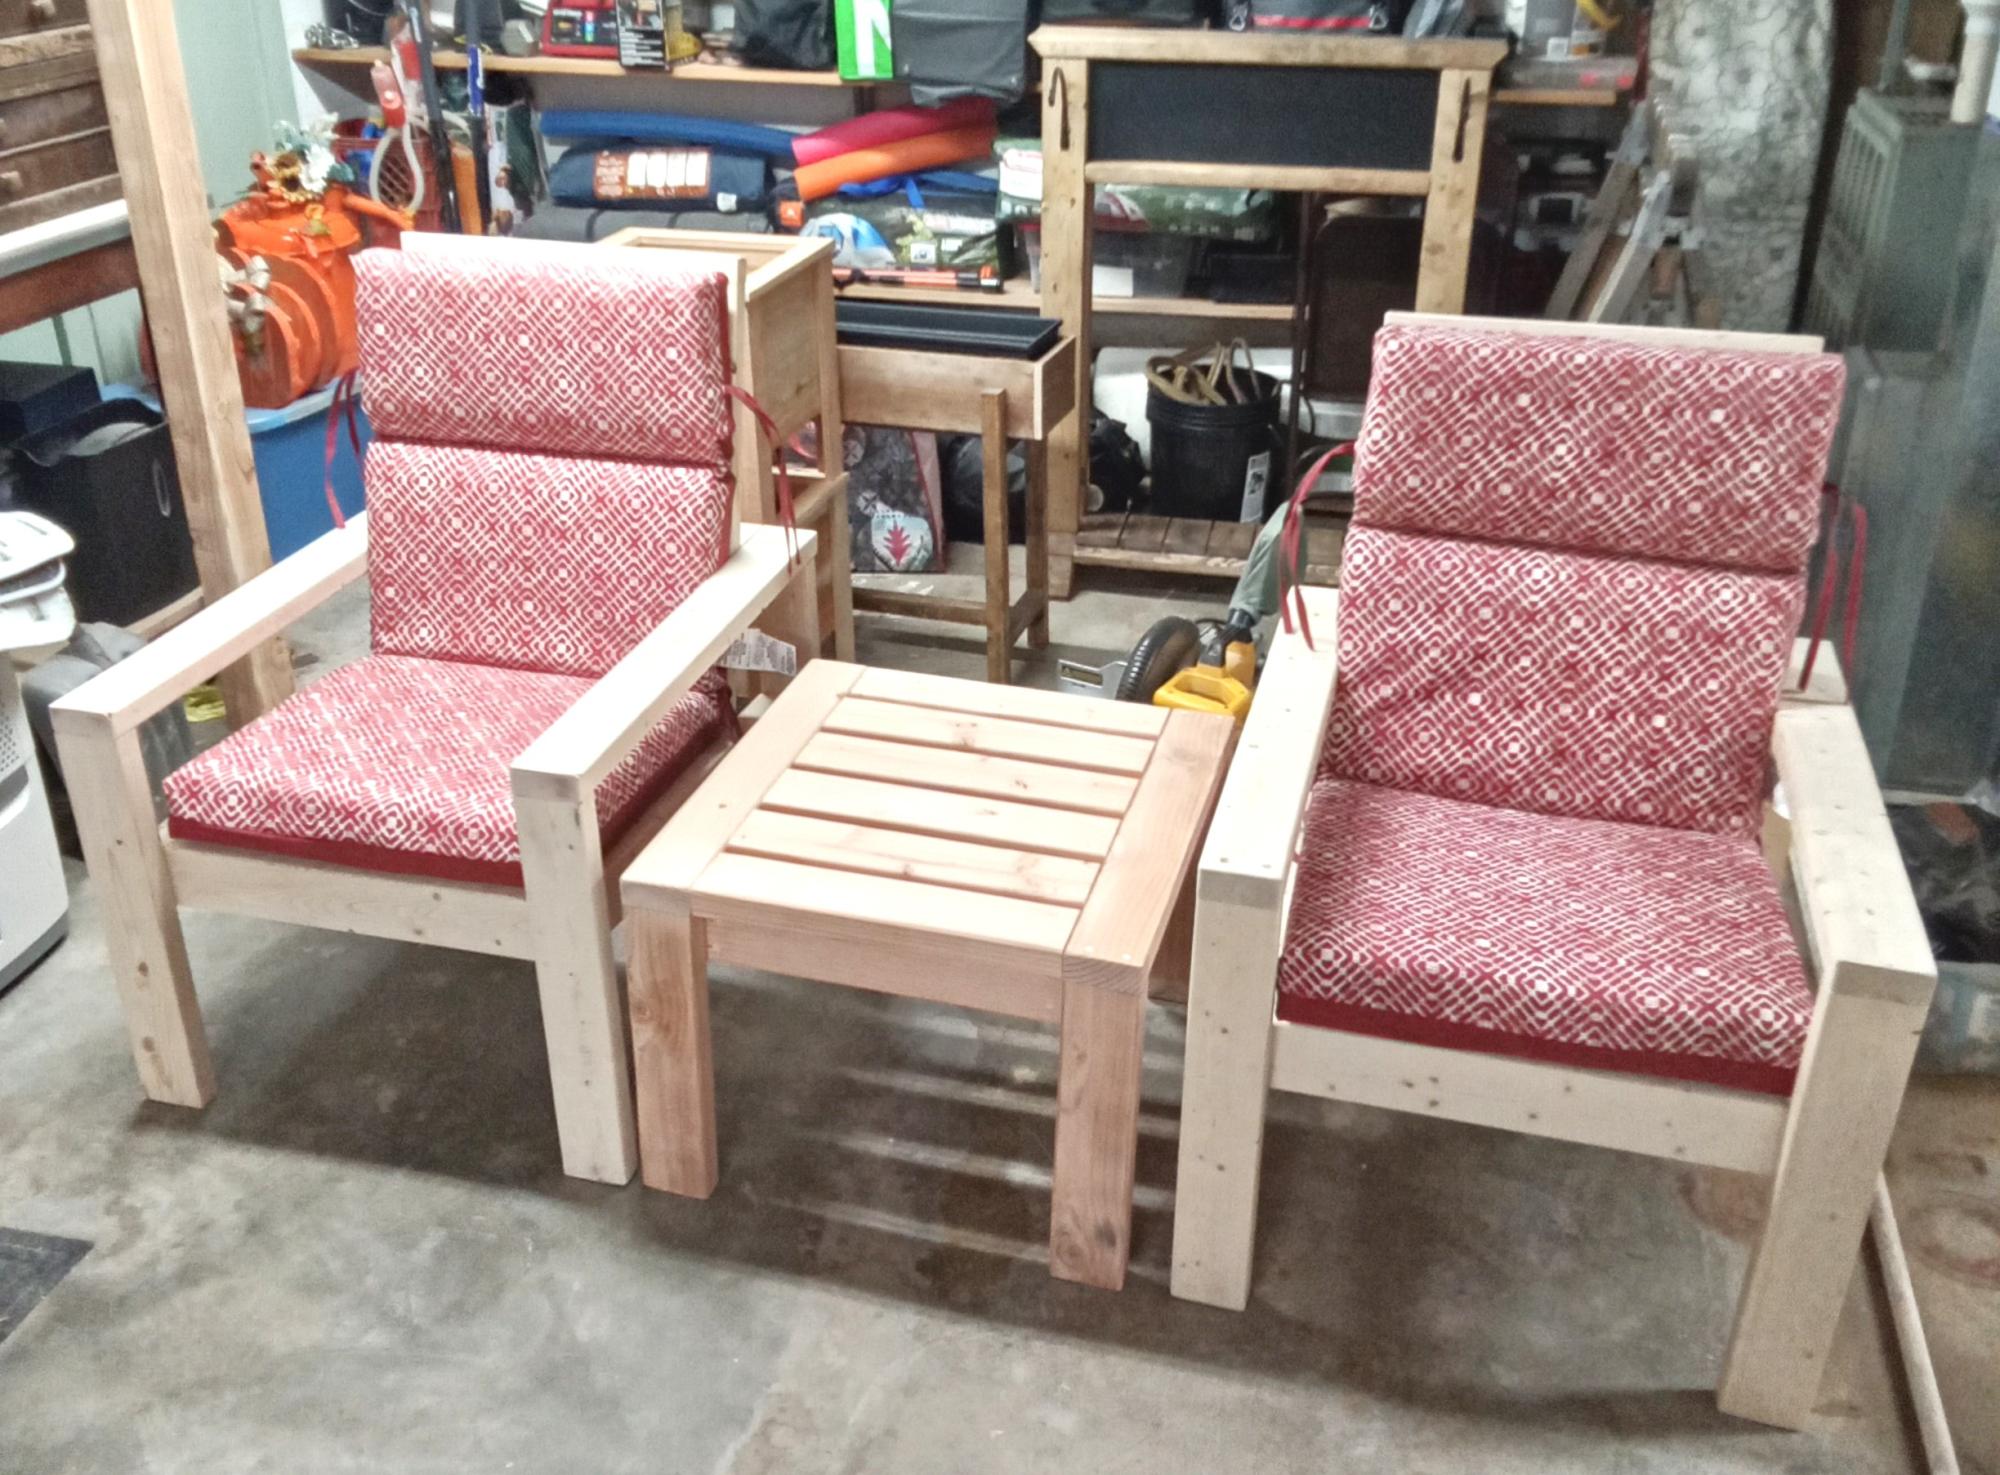
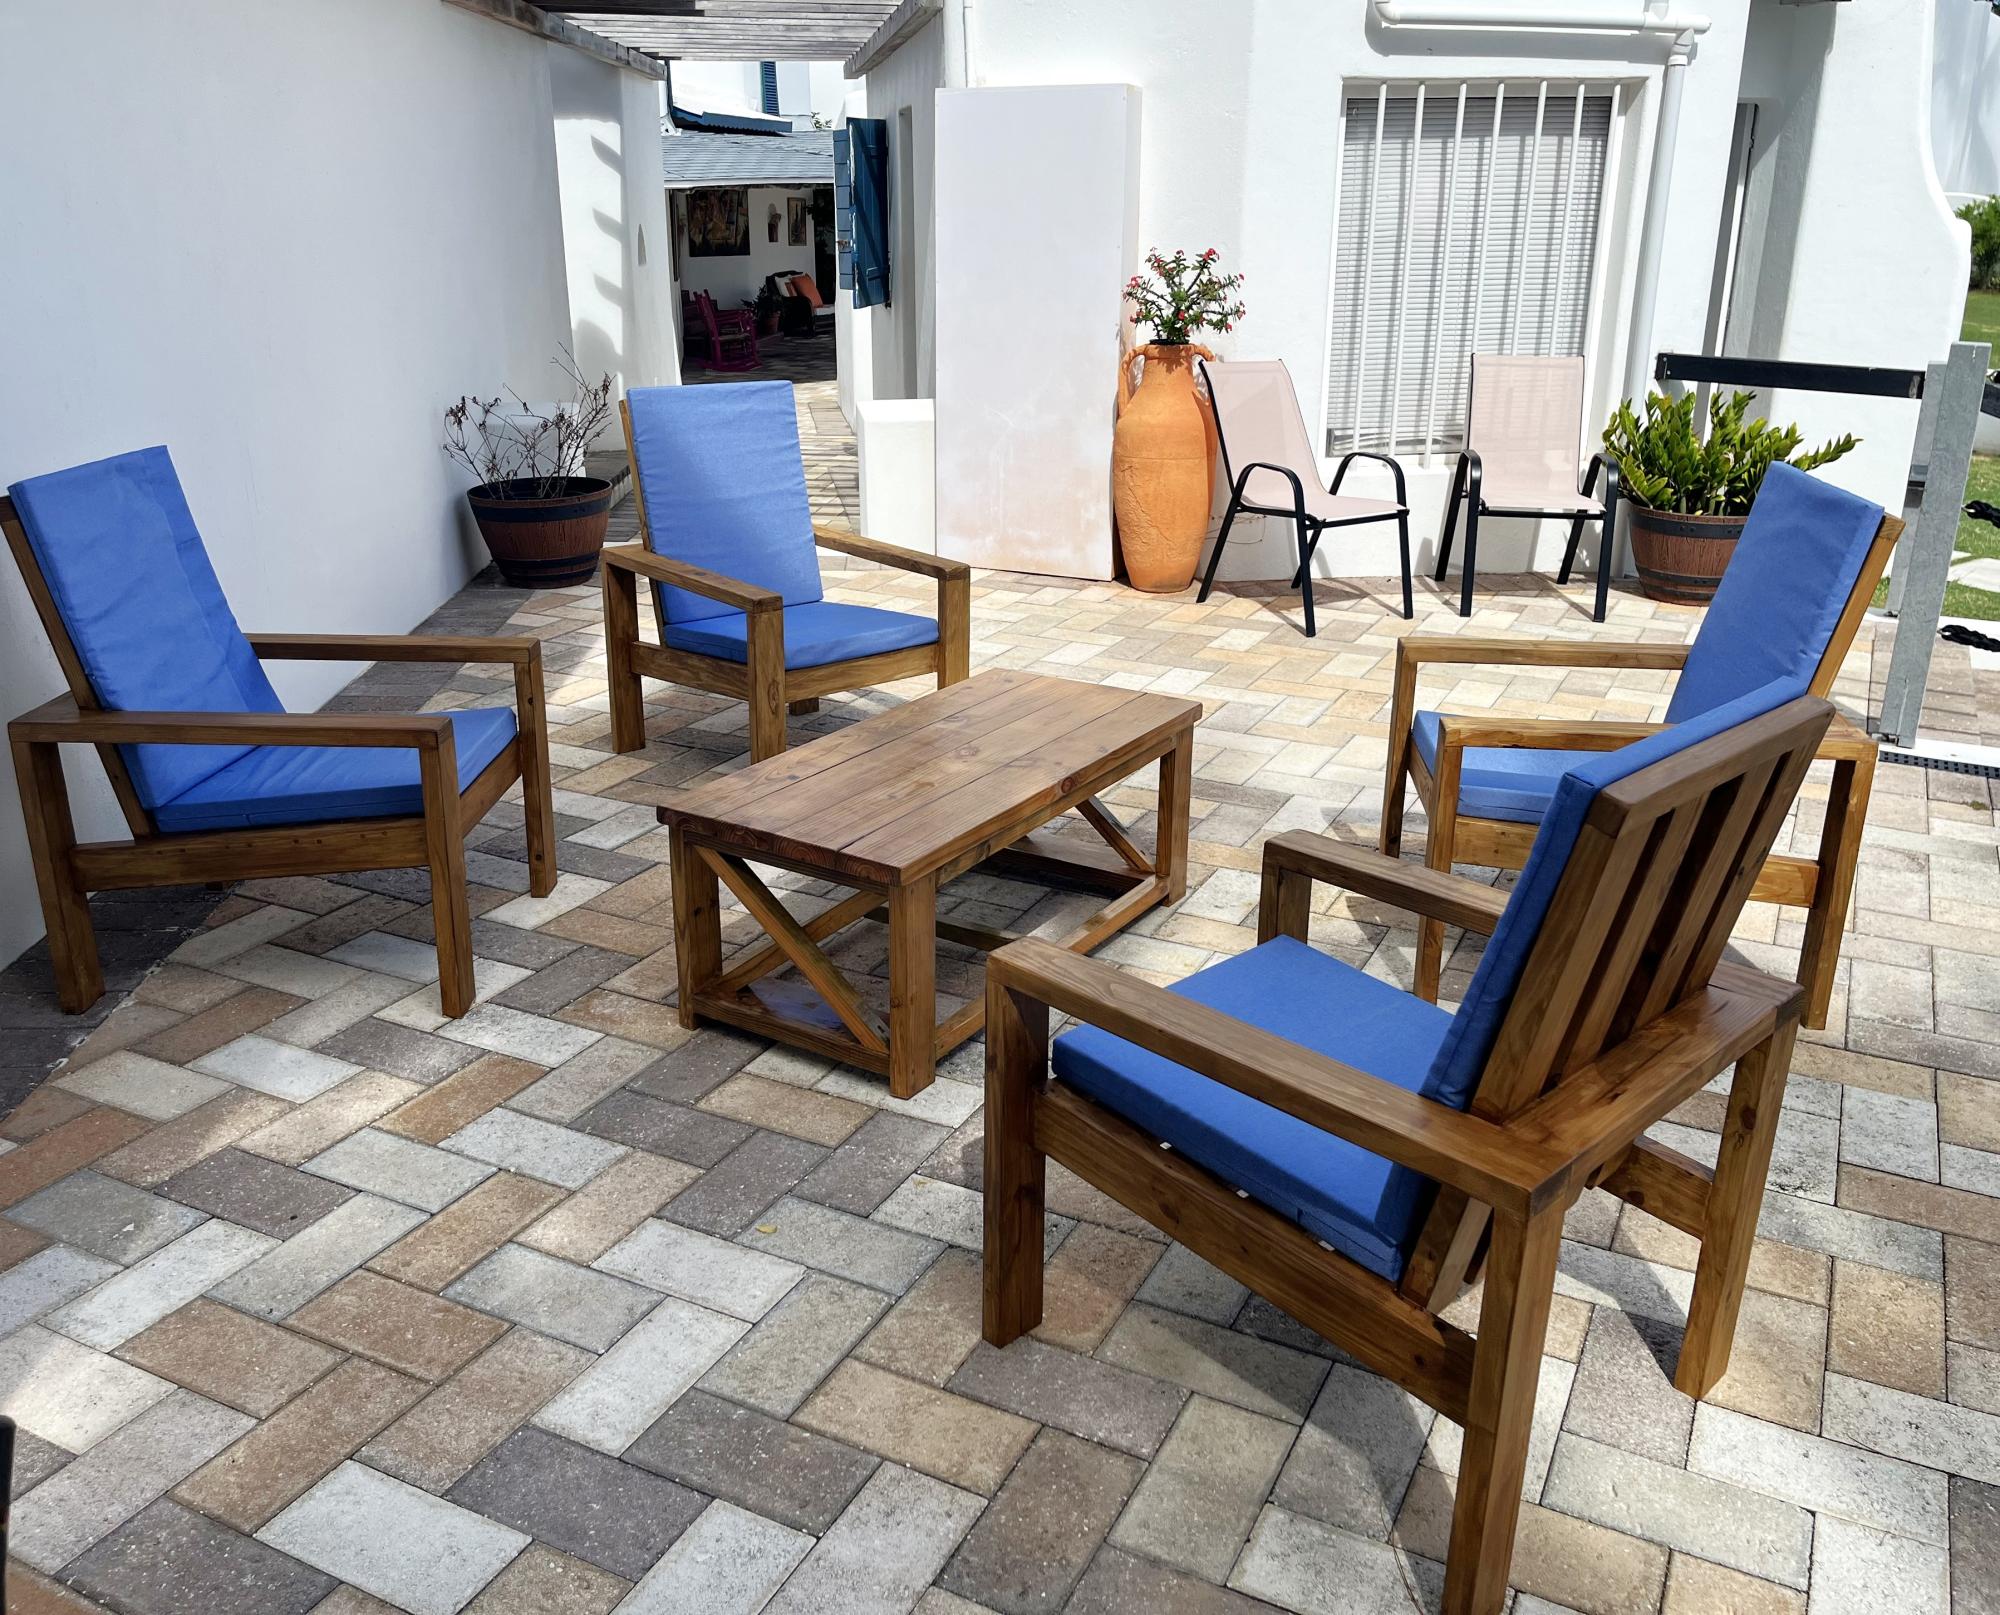
Done the 2x4 chair and table, I think it turned out well. Bought the cushions at Lowes.
Ray and Sandy

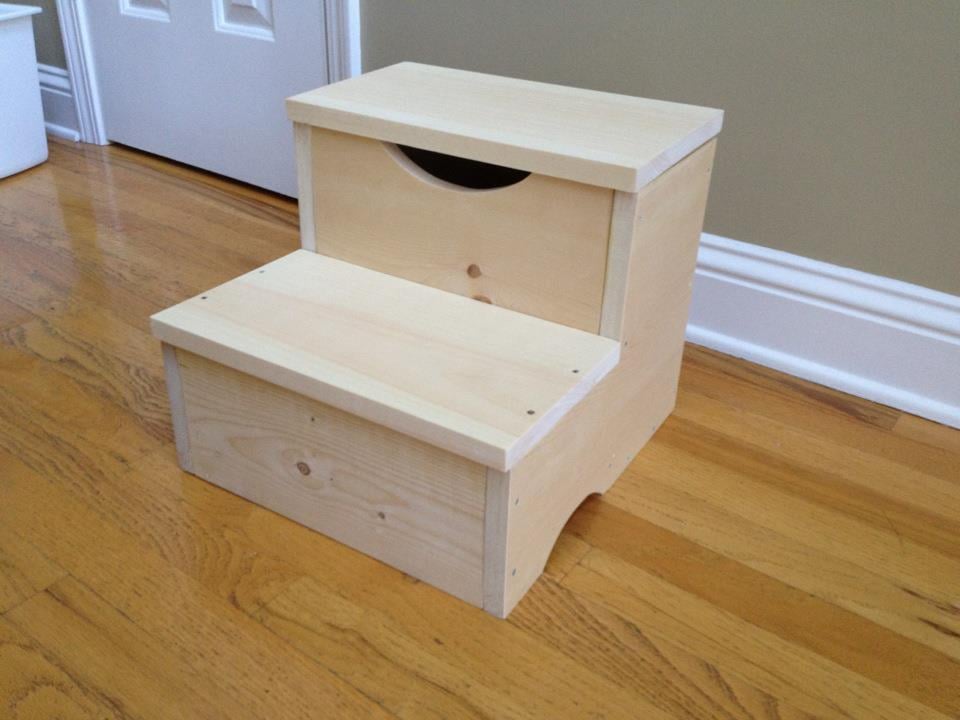
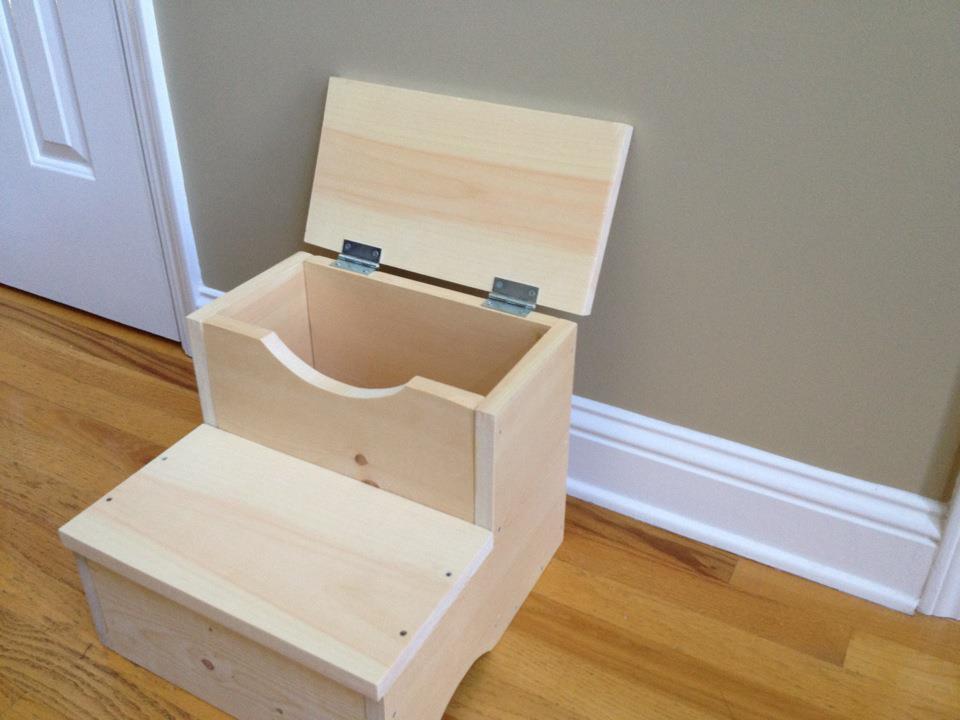
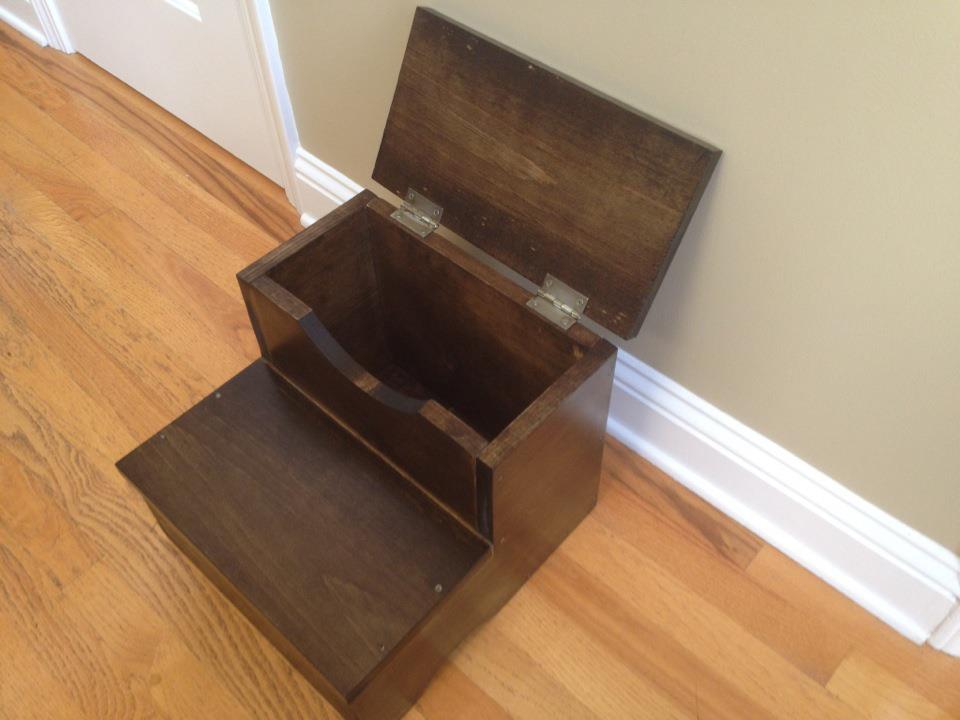
We moved my 3 year old son into his big boy room with a queen bed; it was a little tall for him so it was difficult for him to get in the bed so I set out to find a step stool. They were between $60-$80 and there was no way I was going to spend that kind of cash…..so that is how I found Ana’s site!
I built this with no problem and even got to know my jig saw a bit better.
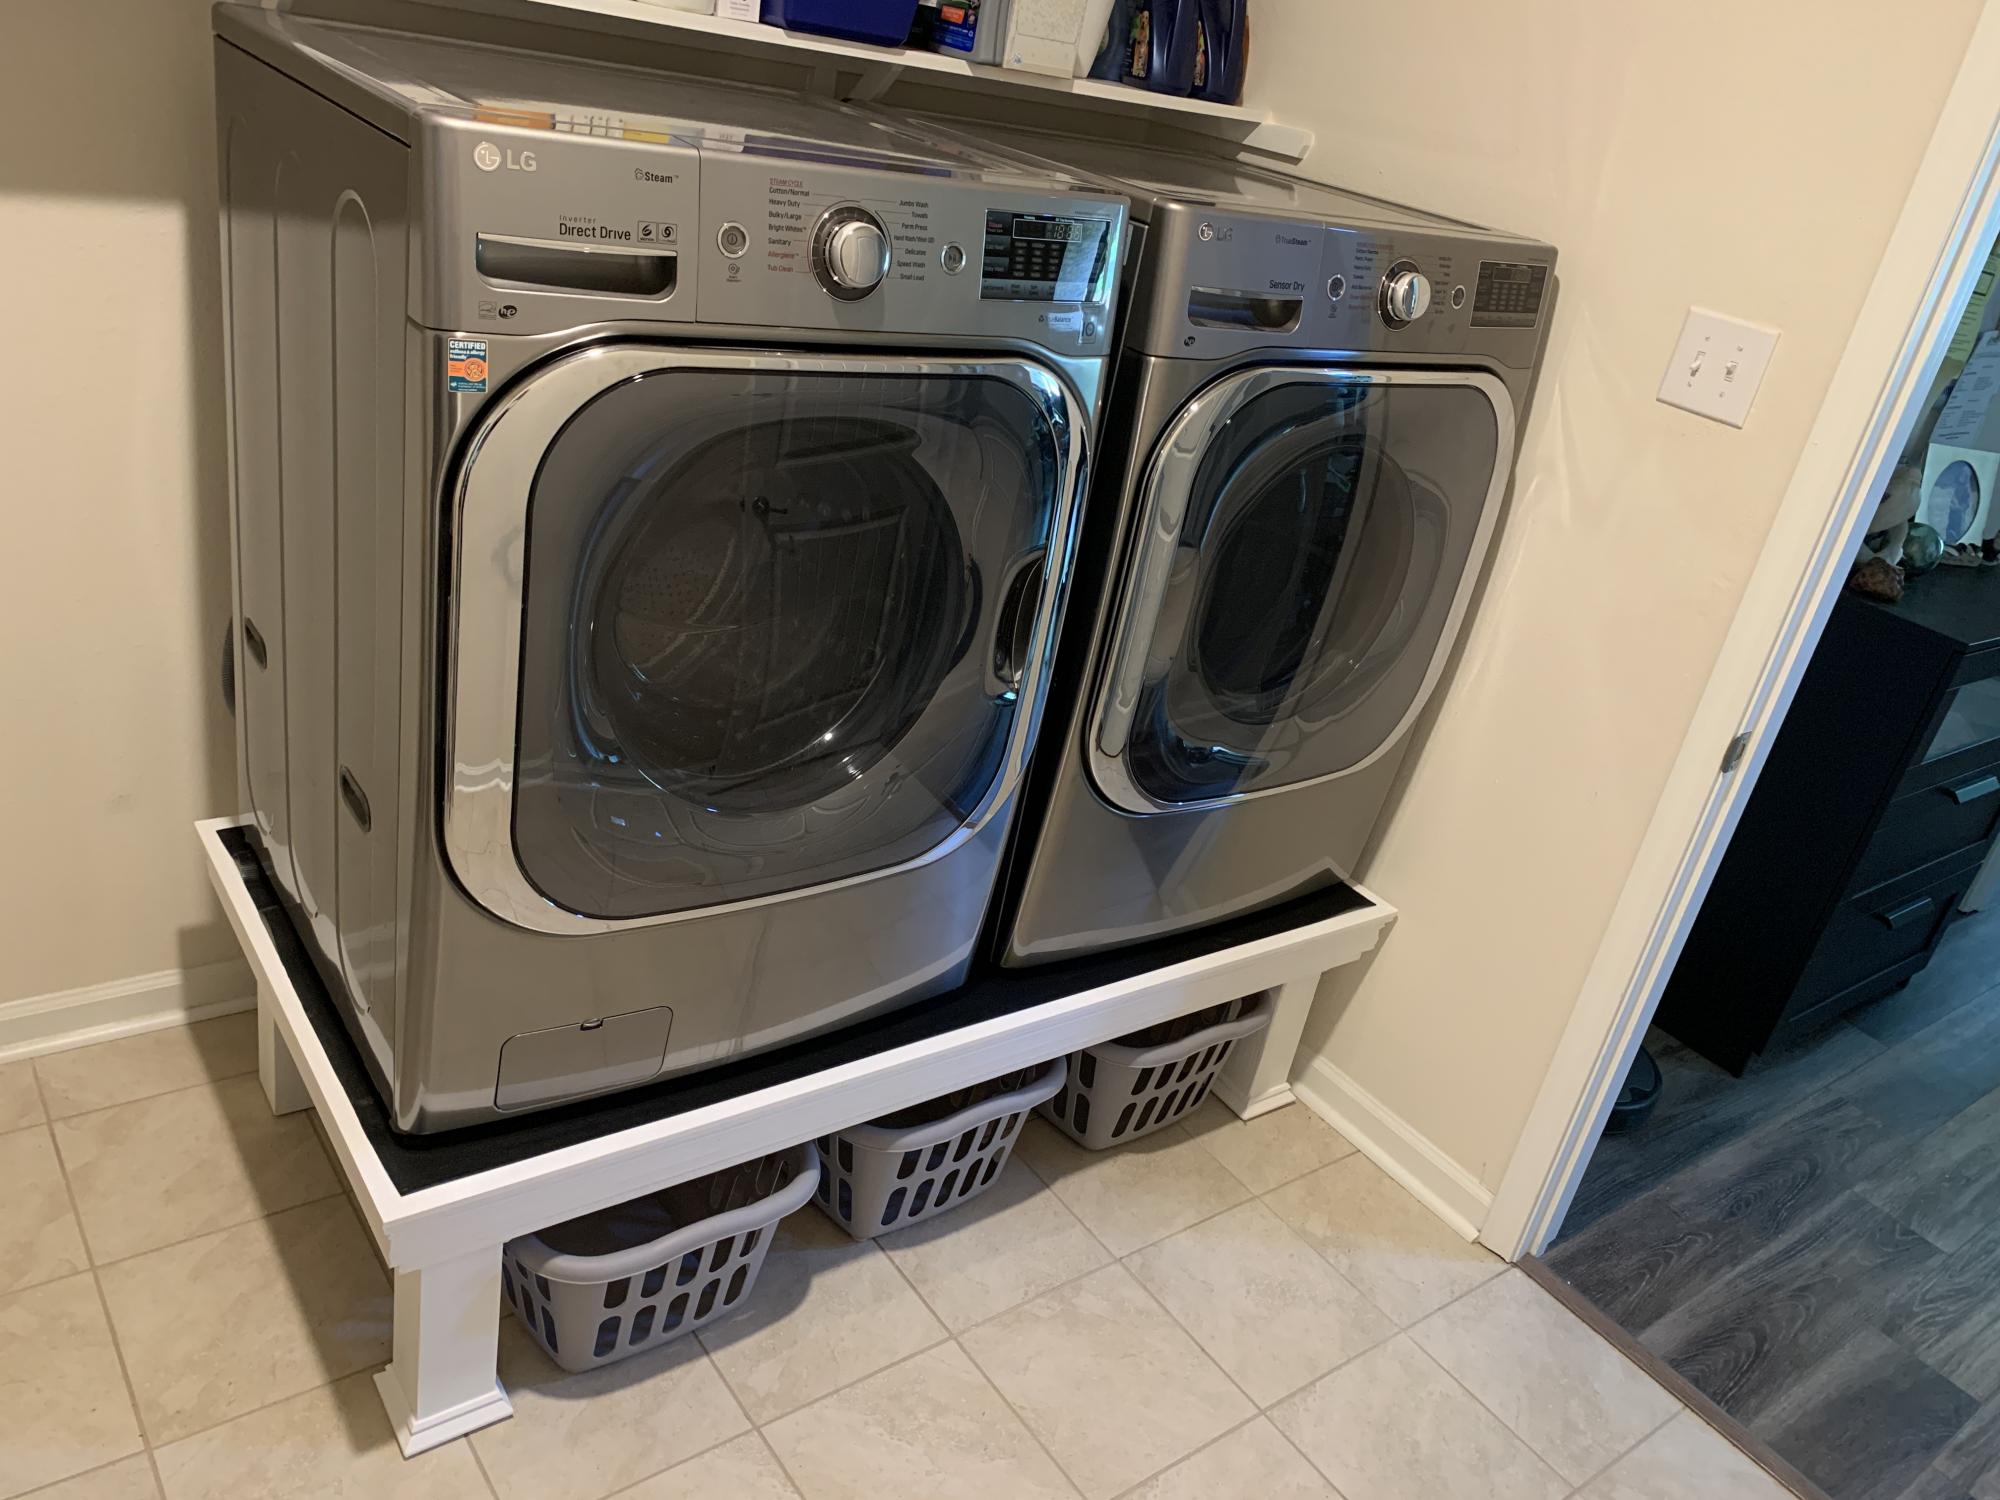
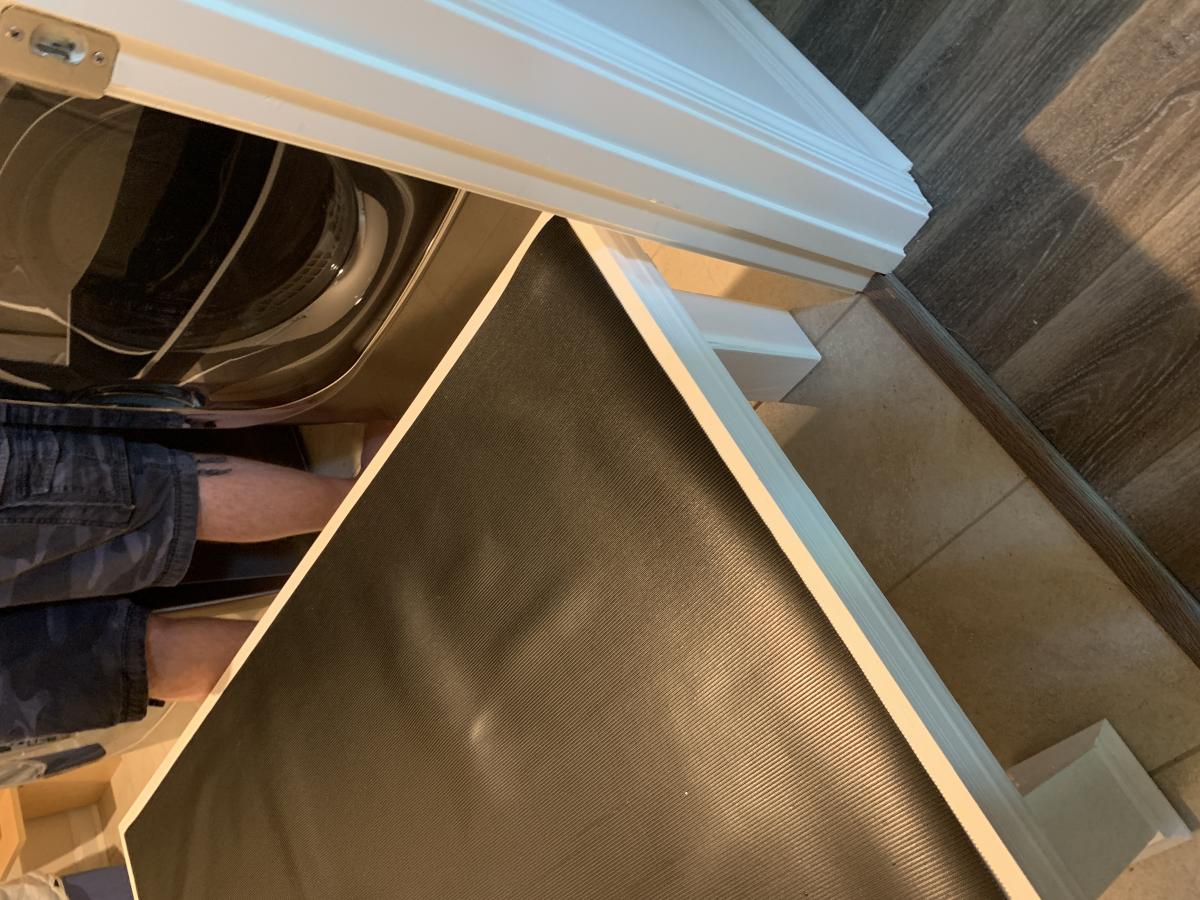
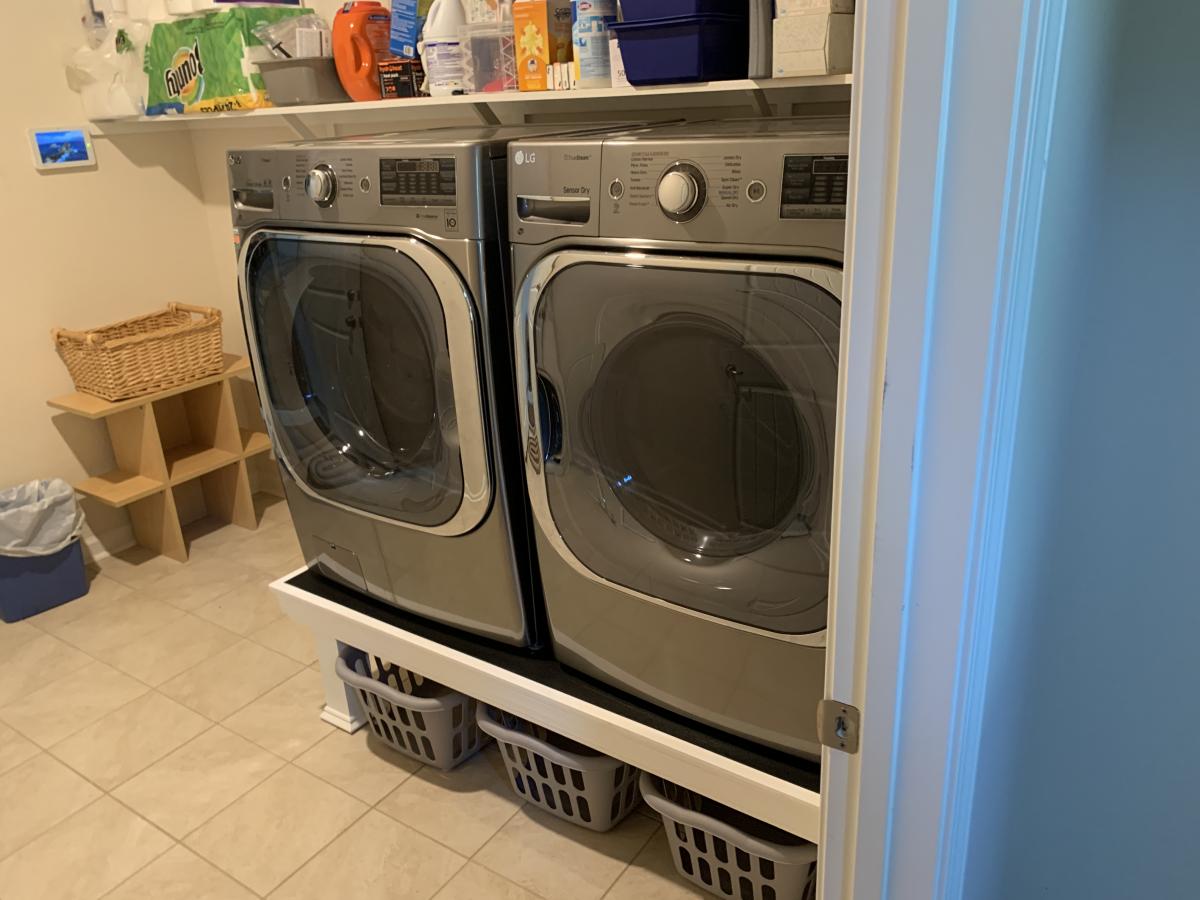
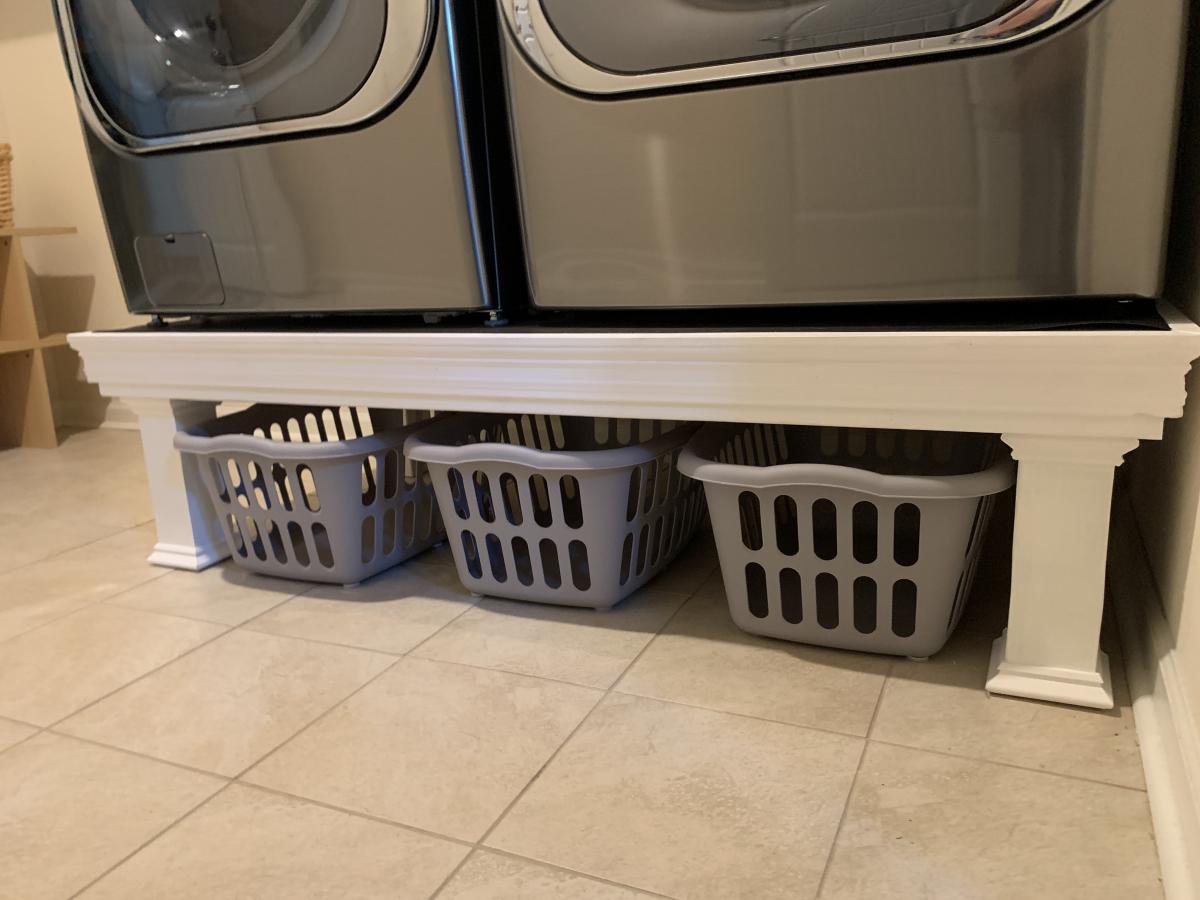
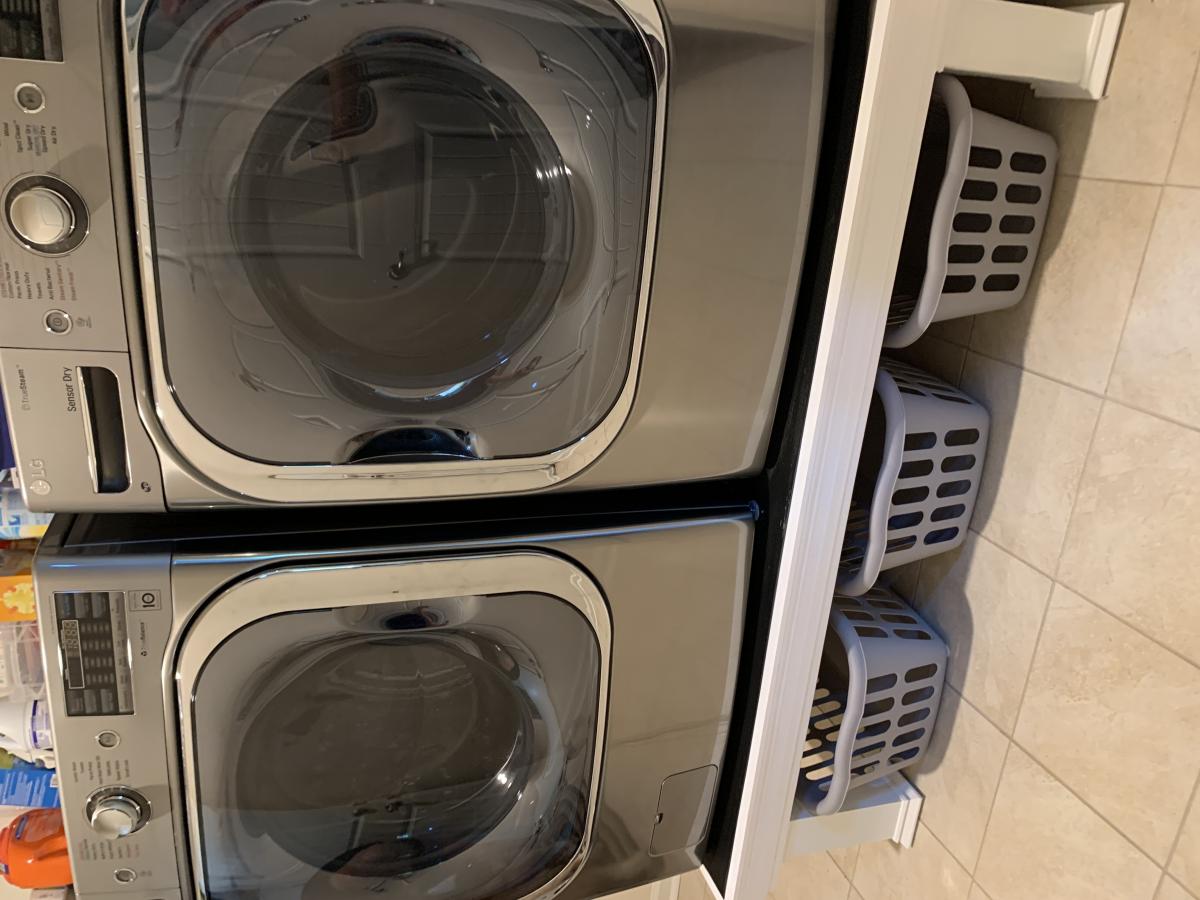
This was quick build. First time for us using trim, so we wasted a few feet getting the angles right. We attached the legs directly to the frame, and did not use the metal brackets. We also did not build the floor frame. We measured how high/wide the laundry baskets ($3/piece at Target!) were, and made it to fit them. We added a piece of rubber mat to the top (bought at Lowe's). A few weeks later we helped our daughter and son in law build one for their new house!

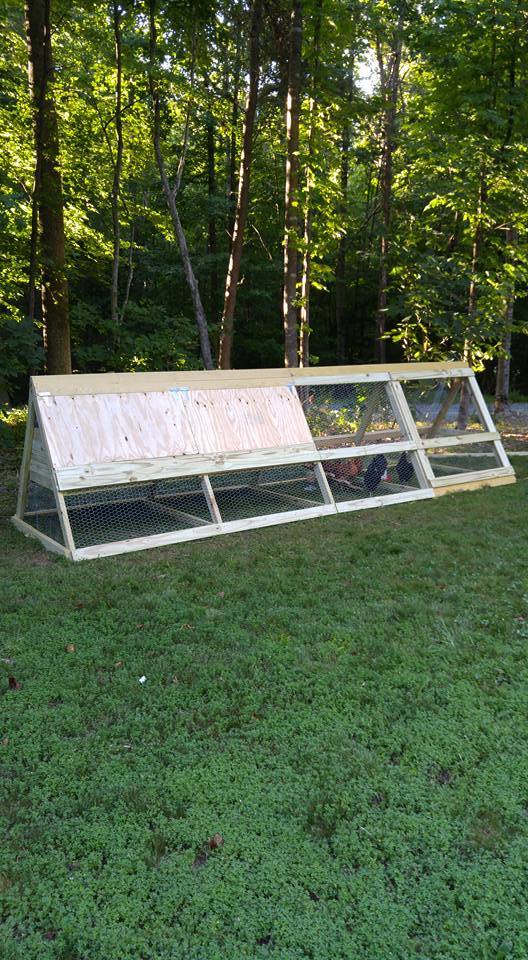
We wanted our chickens to have plenty of room for when we ere not home and could not let them free range in the yard. One of the six was a rooster-- and long story-- but we don't have him any more-- so 5 chickens now enjoy this coop/run. It cost about $300 in supplies. It is 16 feet long.

Well, I started with one chair and finished with a full set. Not bad for a first timer. Definitely room to improve. Little tip if you're going to make this amazing set... raise the backs as they are too low with thicker cushions. I built a casing to go on top after the fact. Pretty happy with how it all turned out. Thanks Ana for the plans... now onto the next project!


Fri, 04/28/2023 - 08:41
Very nice workmanship. I'm curious as to how comfortable they are with the straight 90* backs? Let me know please at [email protected]. Again nice workmanship.
Fri, 04/28/2023 - 08:41
Very nice workmanship. I'm curious as to how comfortable they are with the straight 90* backs? Let me know please at [email protected]. Again nice workmanship.
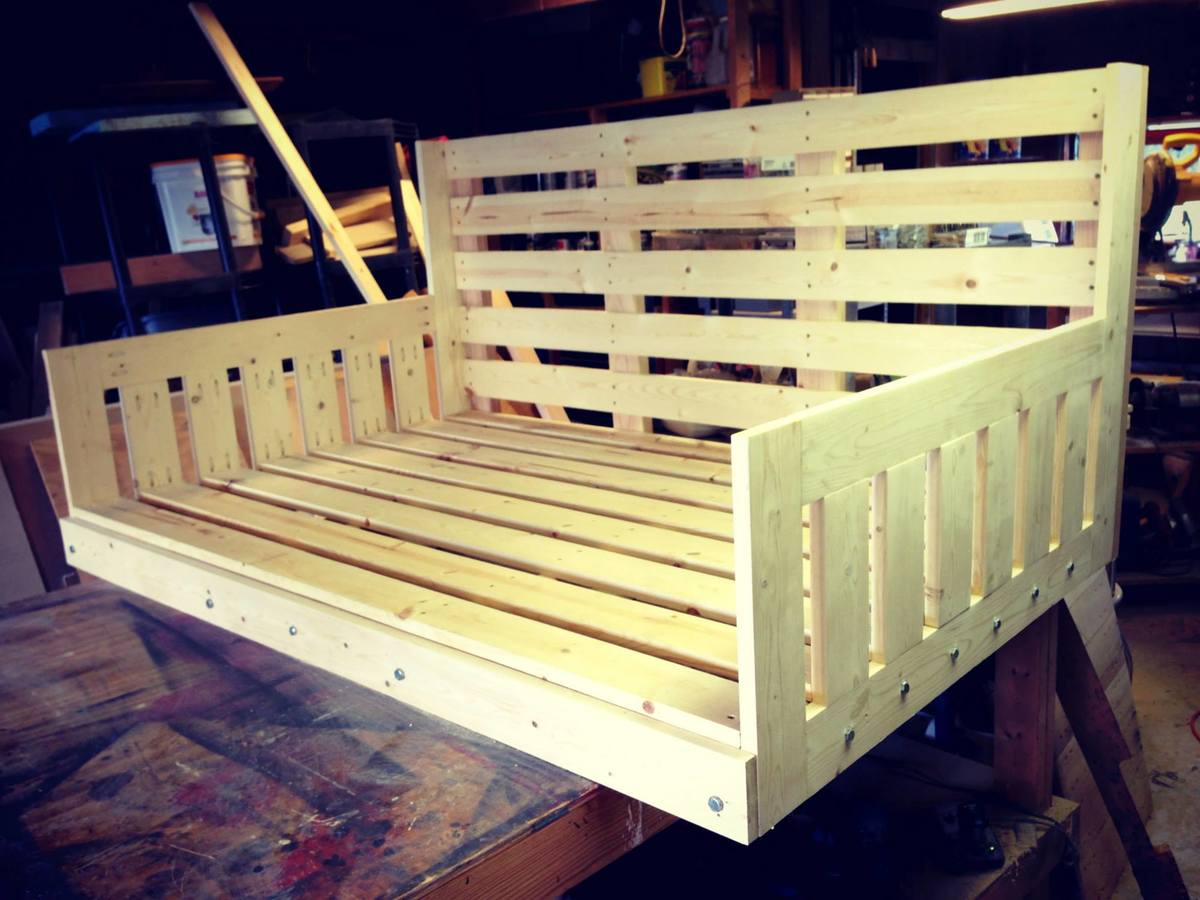
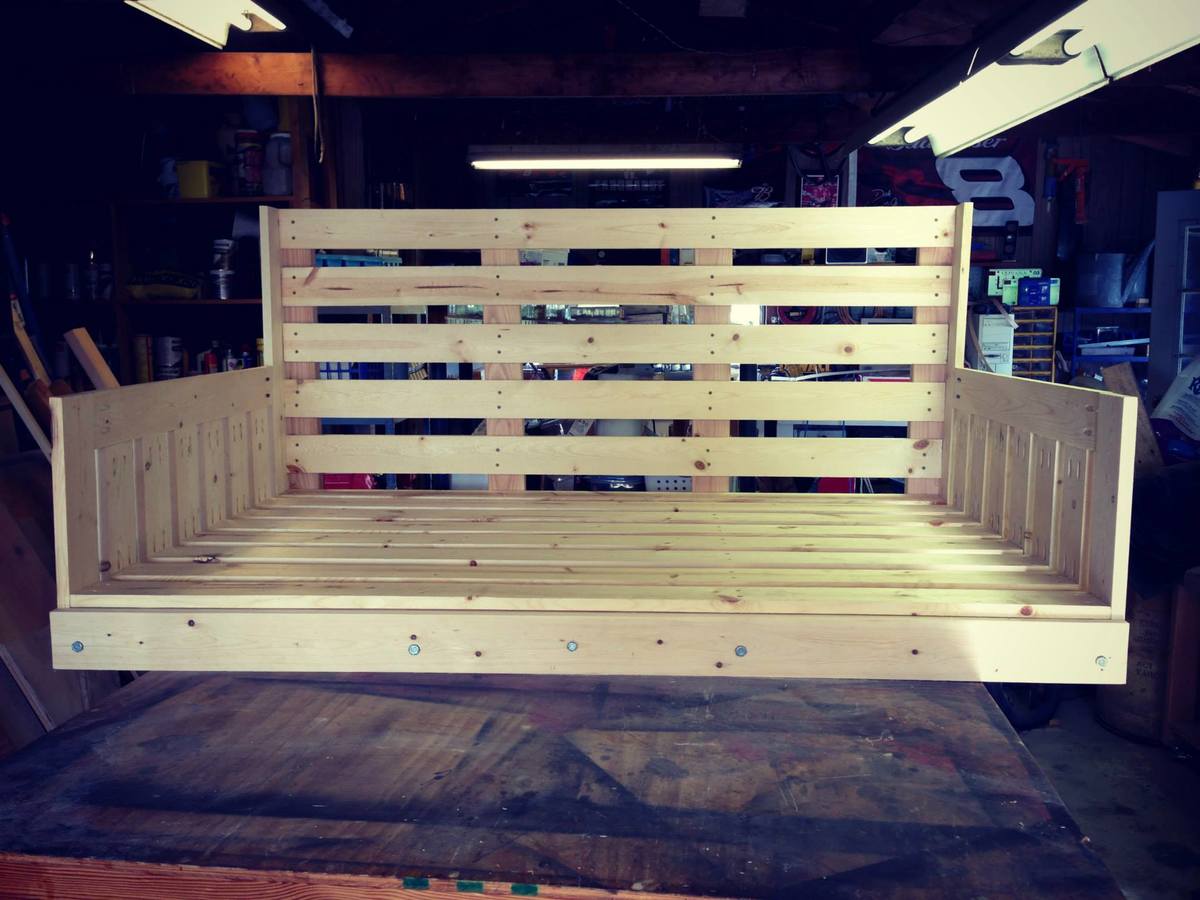
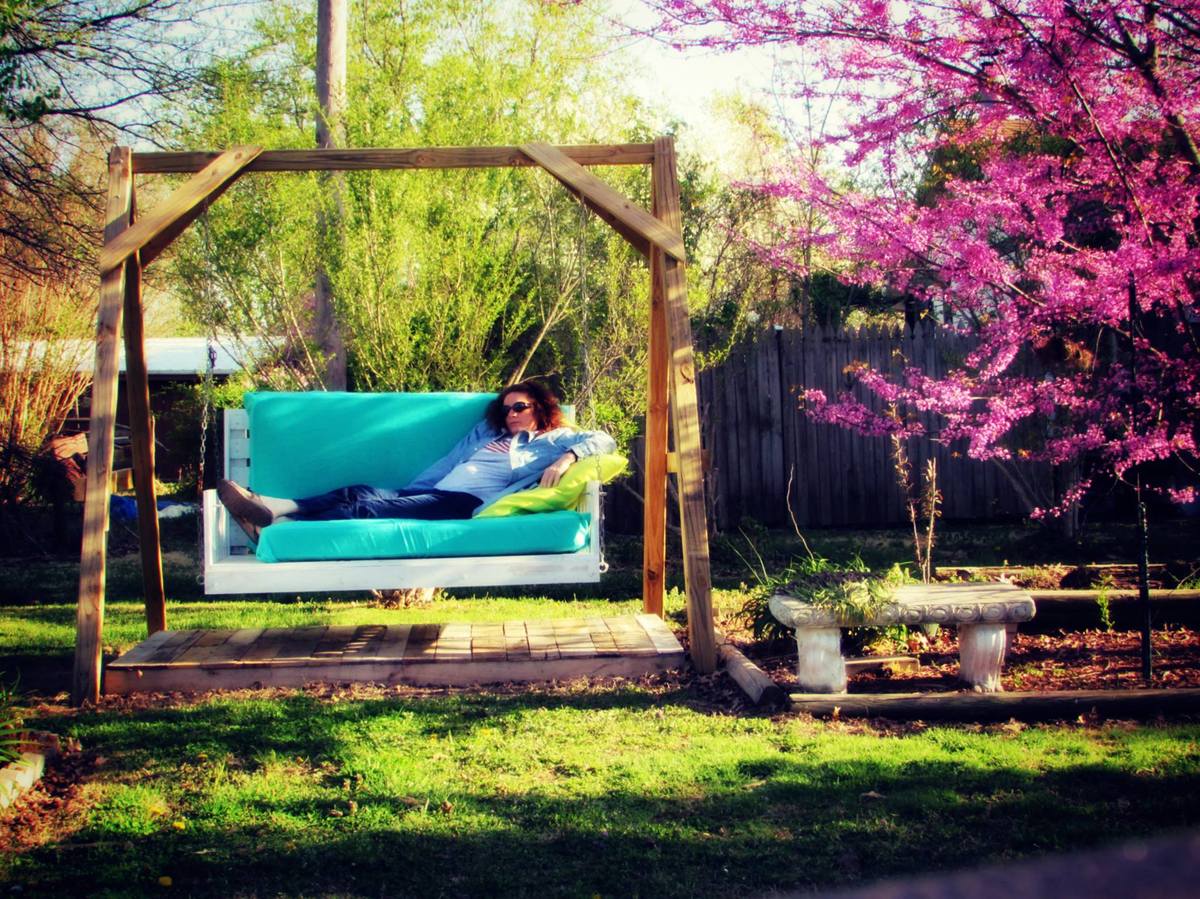
Don't get in this bed swing unless you have time for a nap. This is a modified version of the "large modern porch swing". Very comfortable to lie down and swing. The mattresses are 2 baby crib mattresses that I found really cheap at a yard sale and on Craig's list. I probably should have shortened it several inches to fit the crib mattresses, had I known in the beginning that was what I was going to use. I made the swing myself, but had help with the A-frame. My friends are envious.
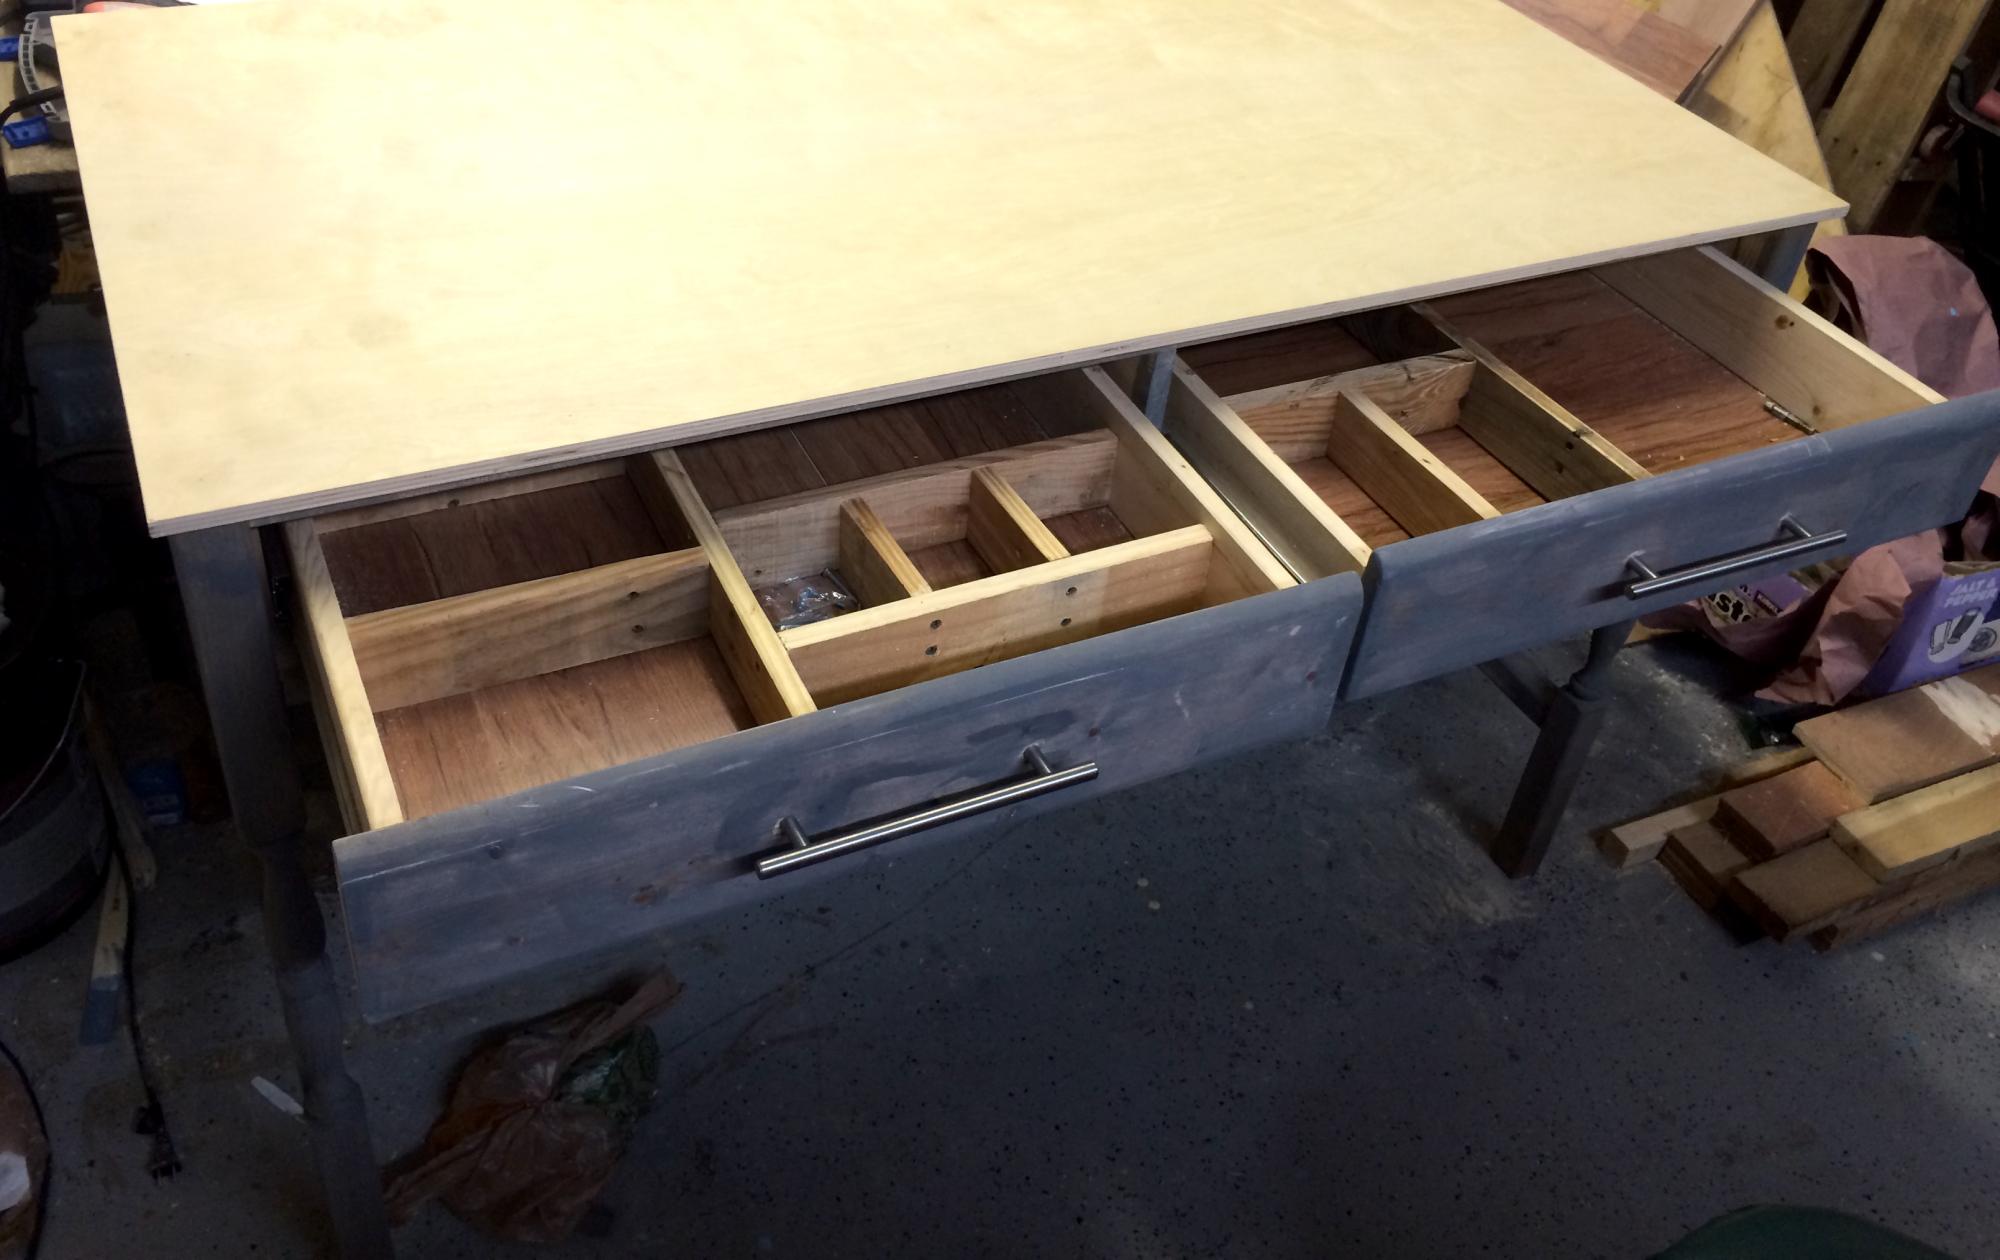
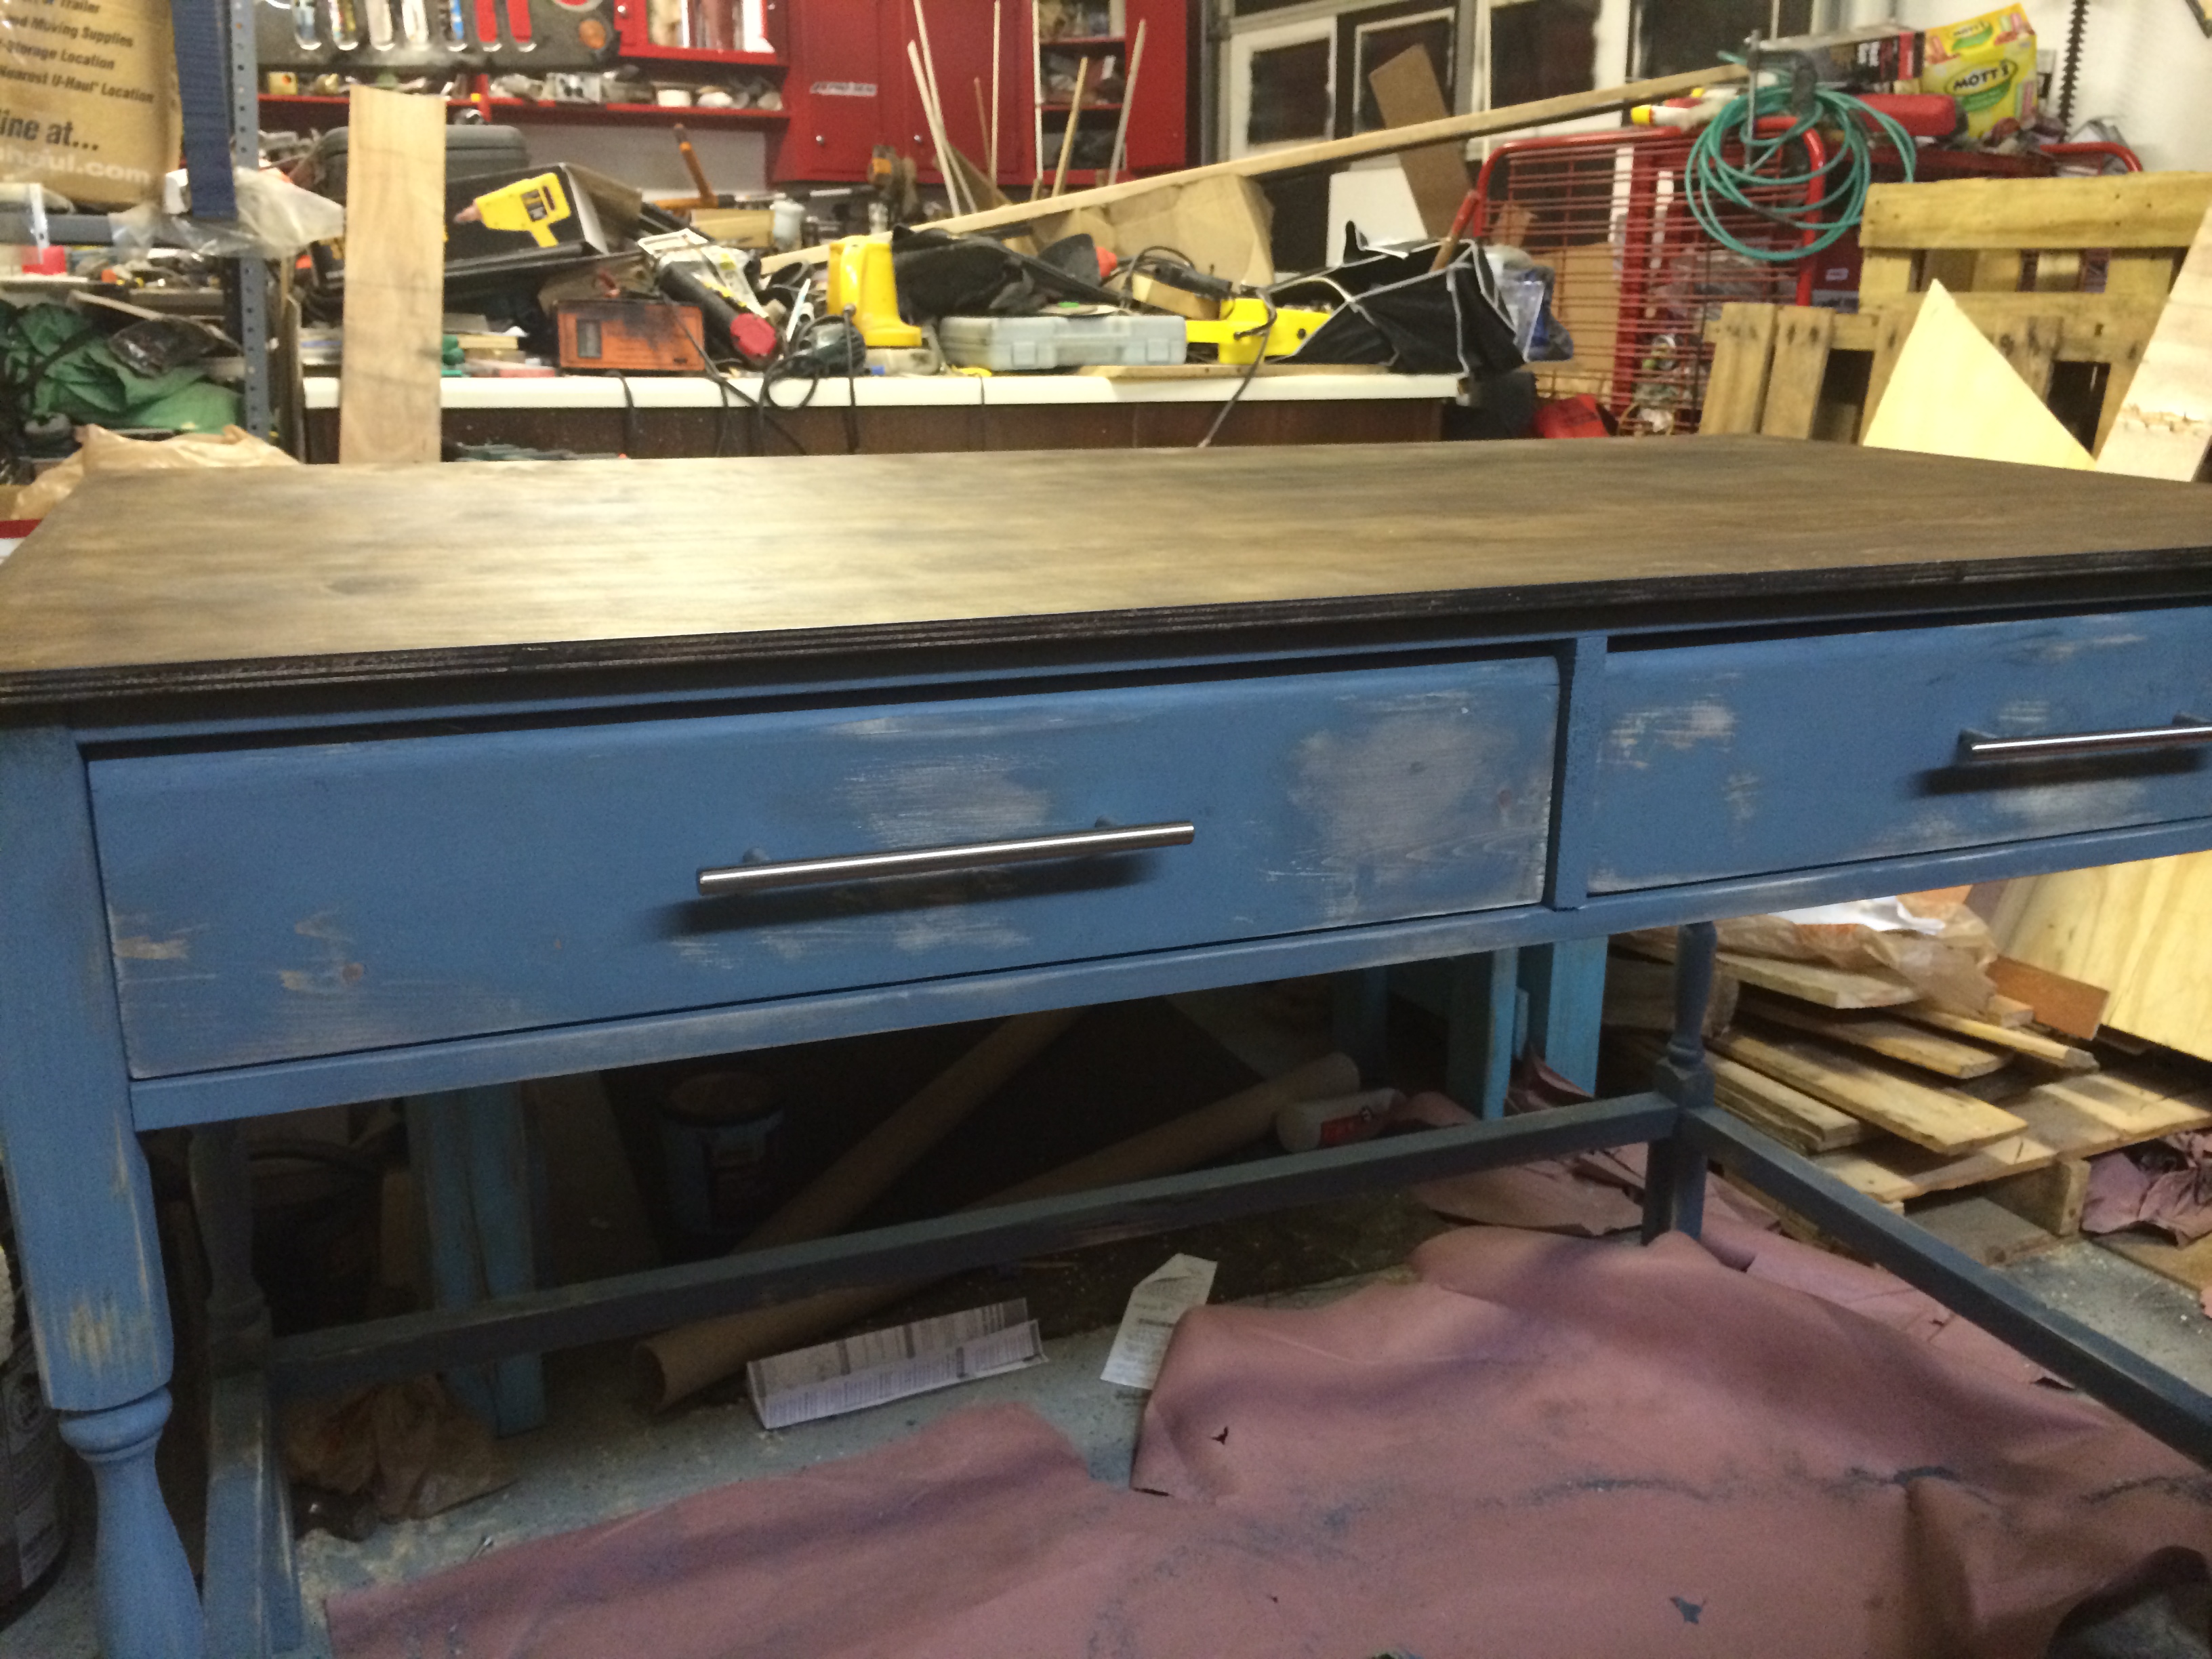
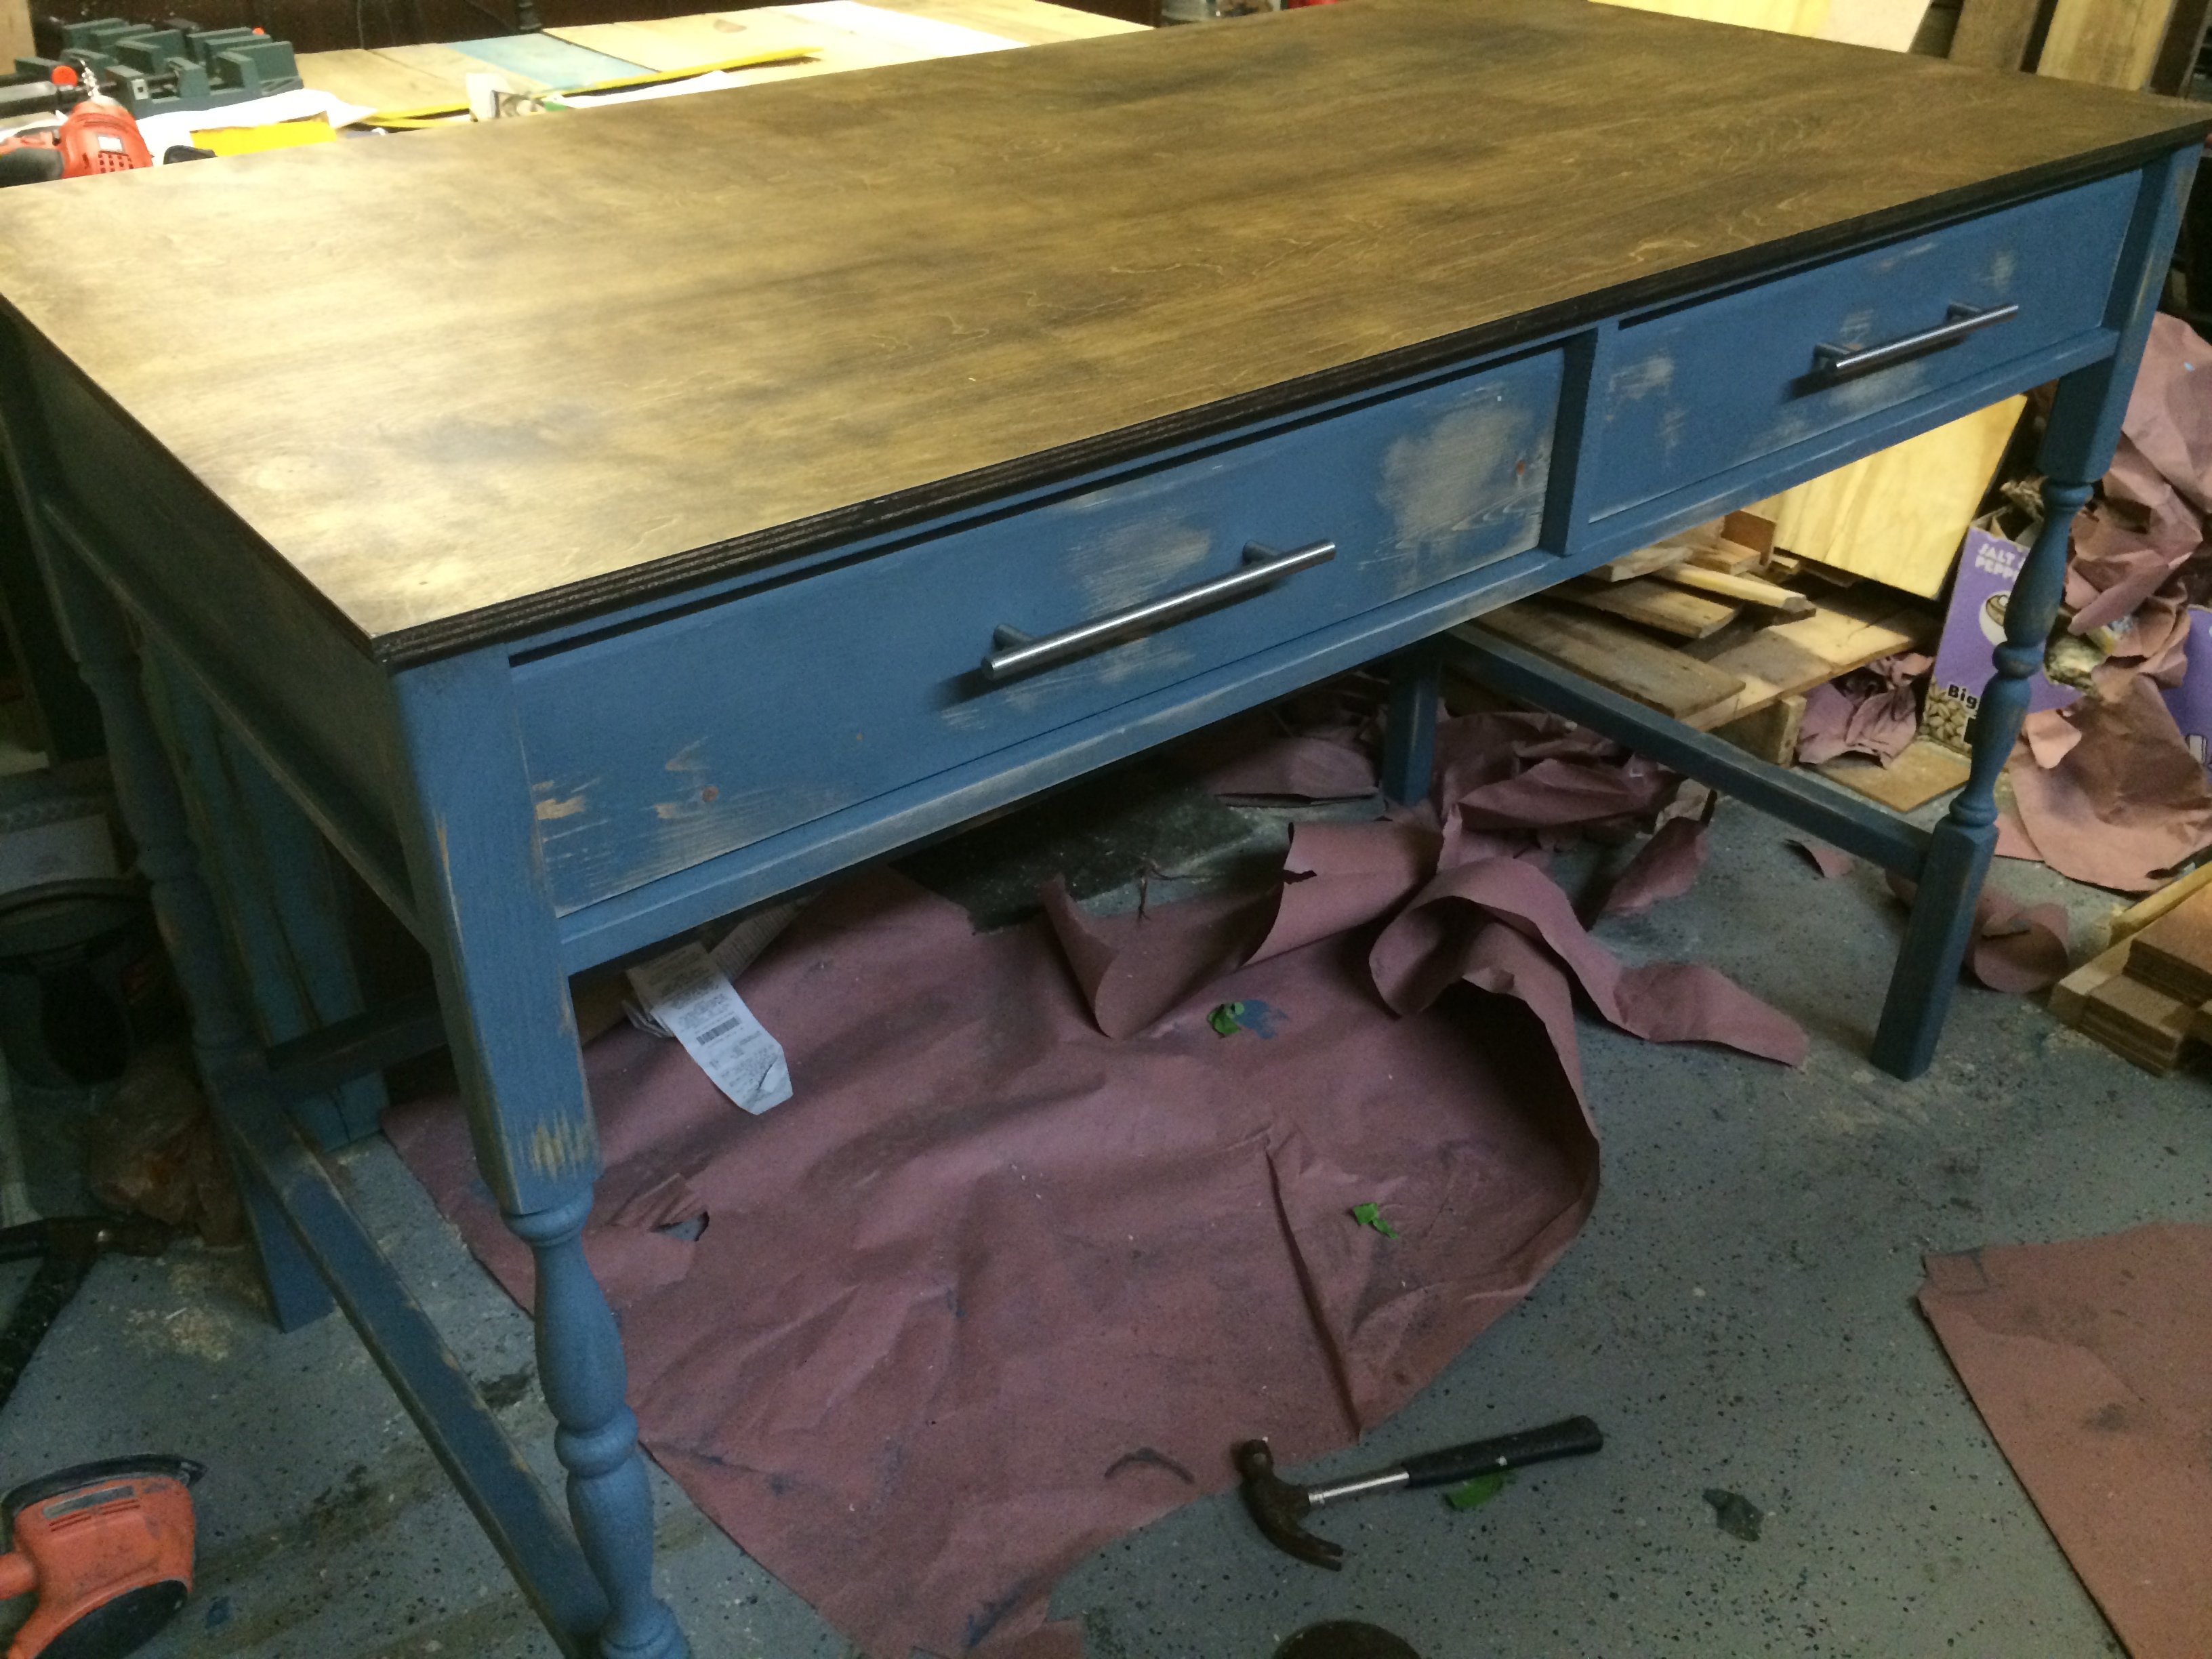
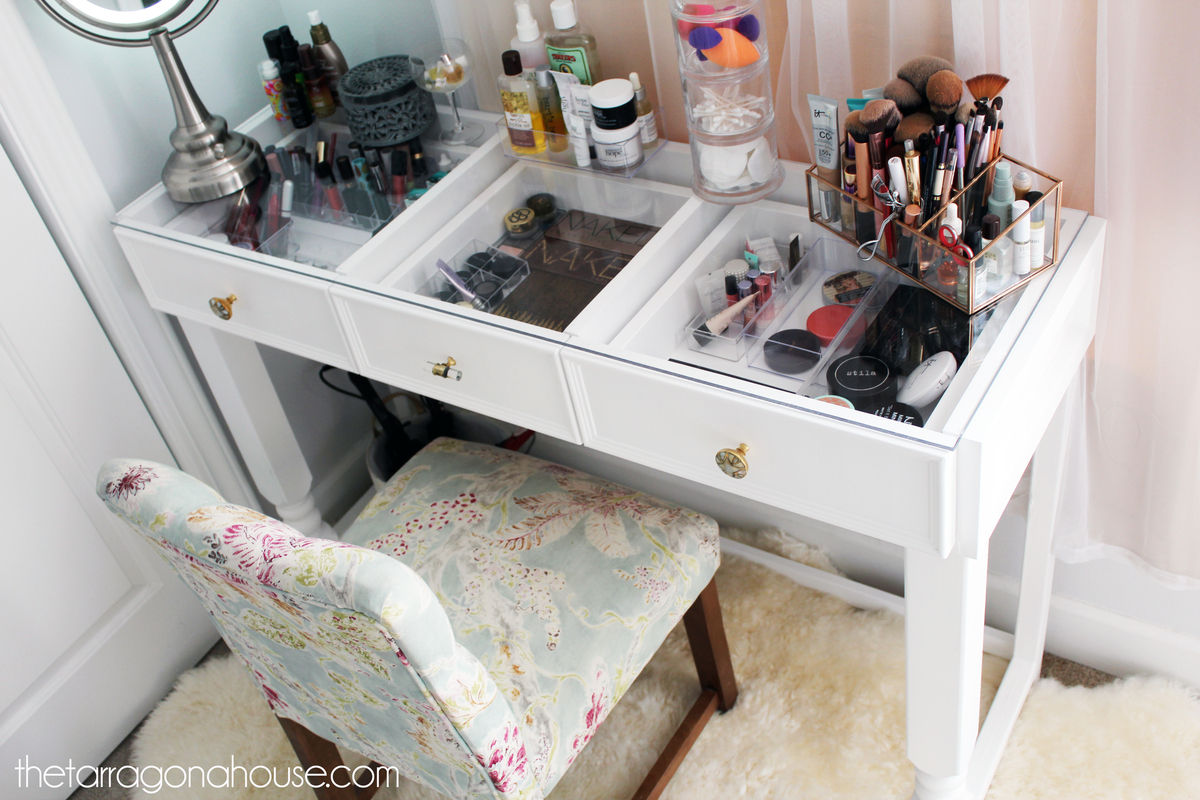
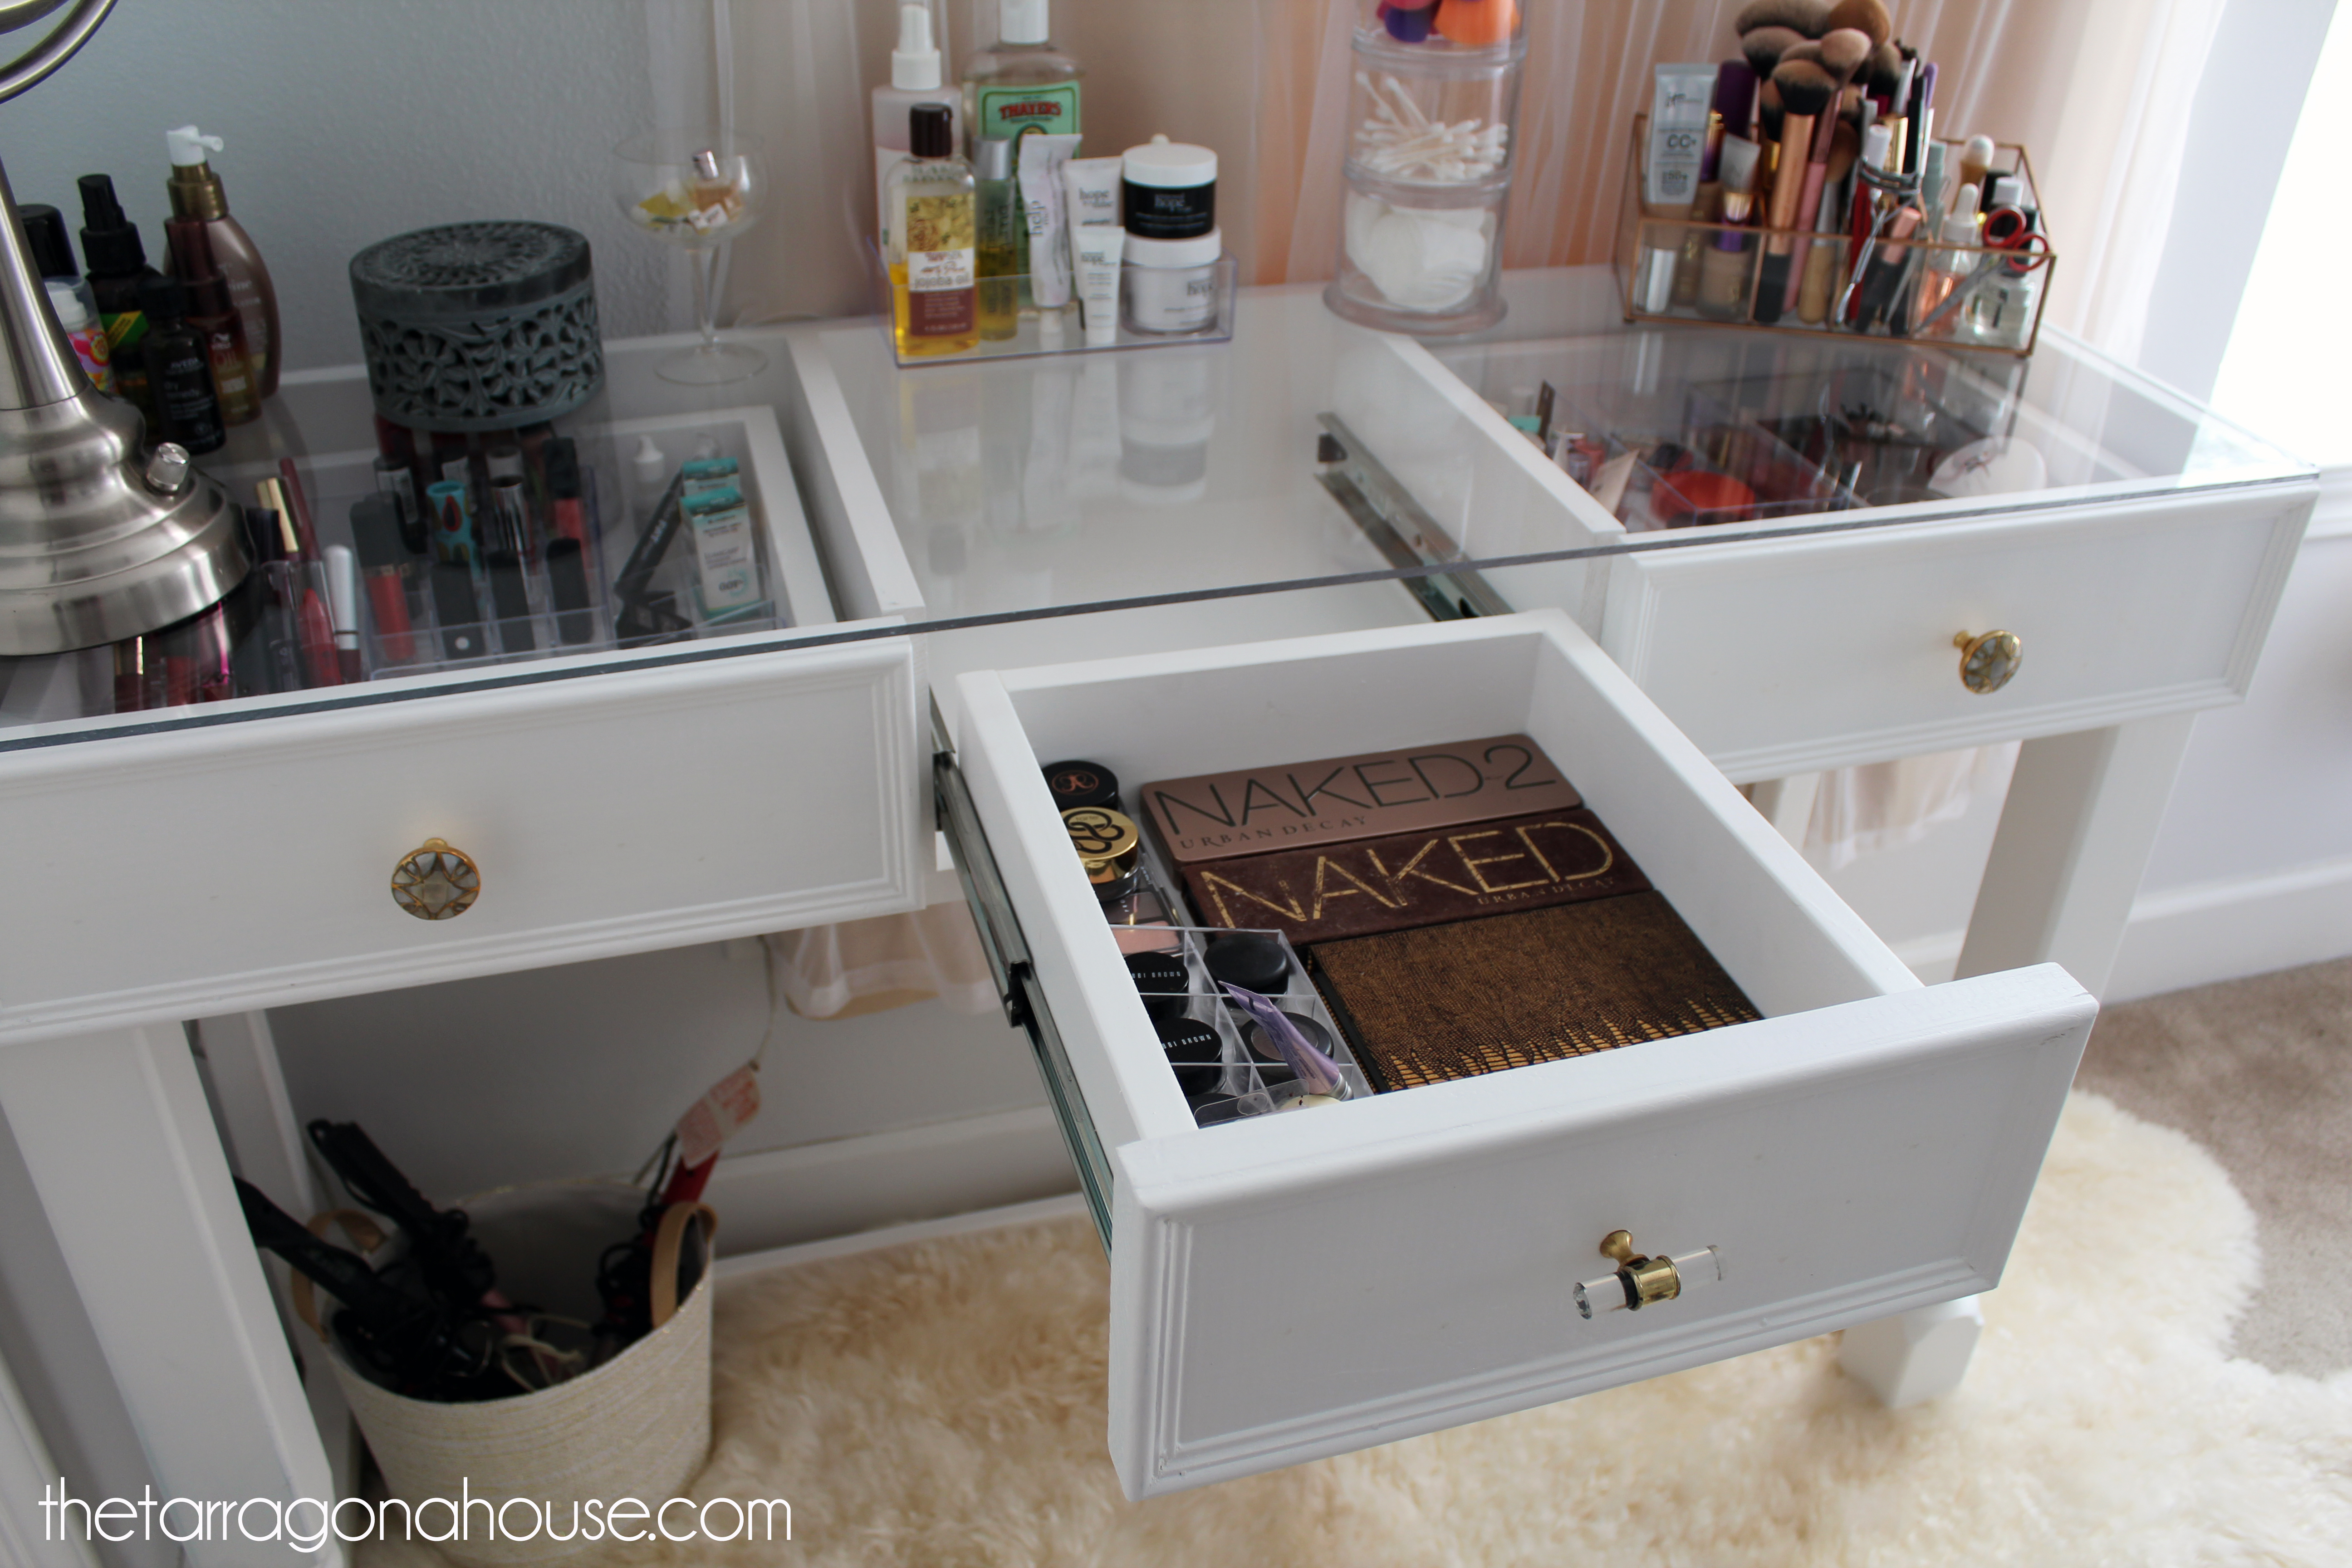
I just started wood-working and found this to be a really nice build. I did, however, adjust the height of the desk legs from 31 inches to 36 inches, because I am 6'6" and felt I needed the leg room. I used 4 Severe Weather 2 1/4in x 2 1/4in x 36in Colonial Treated Deck Spindles from Lowes at $2.88 each for the legs. I also, added the drawer dividers to help organize the storage space. Otherwise, I stuck to the plans.
Severe Weather 2-1/4-in x 2-1/4-in x 36-in Colonial Treated Deck Spindle http://www.lowes.com/pd_7954-432S2236T15N_4294610196__productId=3185415&Ns=p_product_qty_sales_dollar|1&pl=1¤tURL=%3FNs%3Dp_product_qty_sales_dollar%7C1&facetInfo=
Stainless Steel Drawer Pulls http://www.homedepot.com/p/Liberty-8-5-6-in-Steel-Bar-Cabinet-Hardware-Appliance-Pull-117060-0/202023671?MERCH=REC-_-NavPLPHorizontal1-4-_-NA-_-202023671-_-N
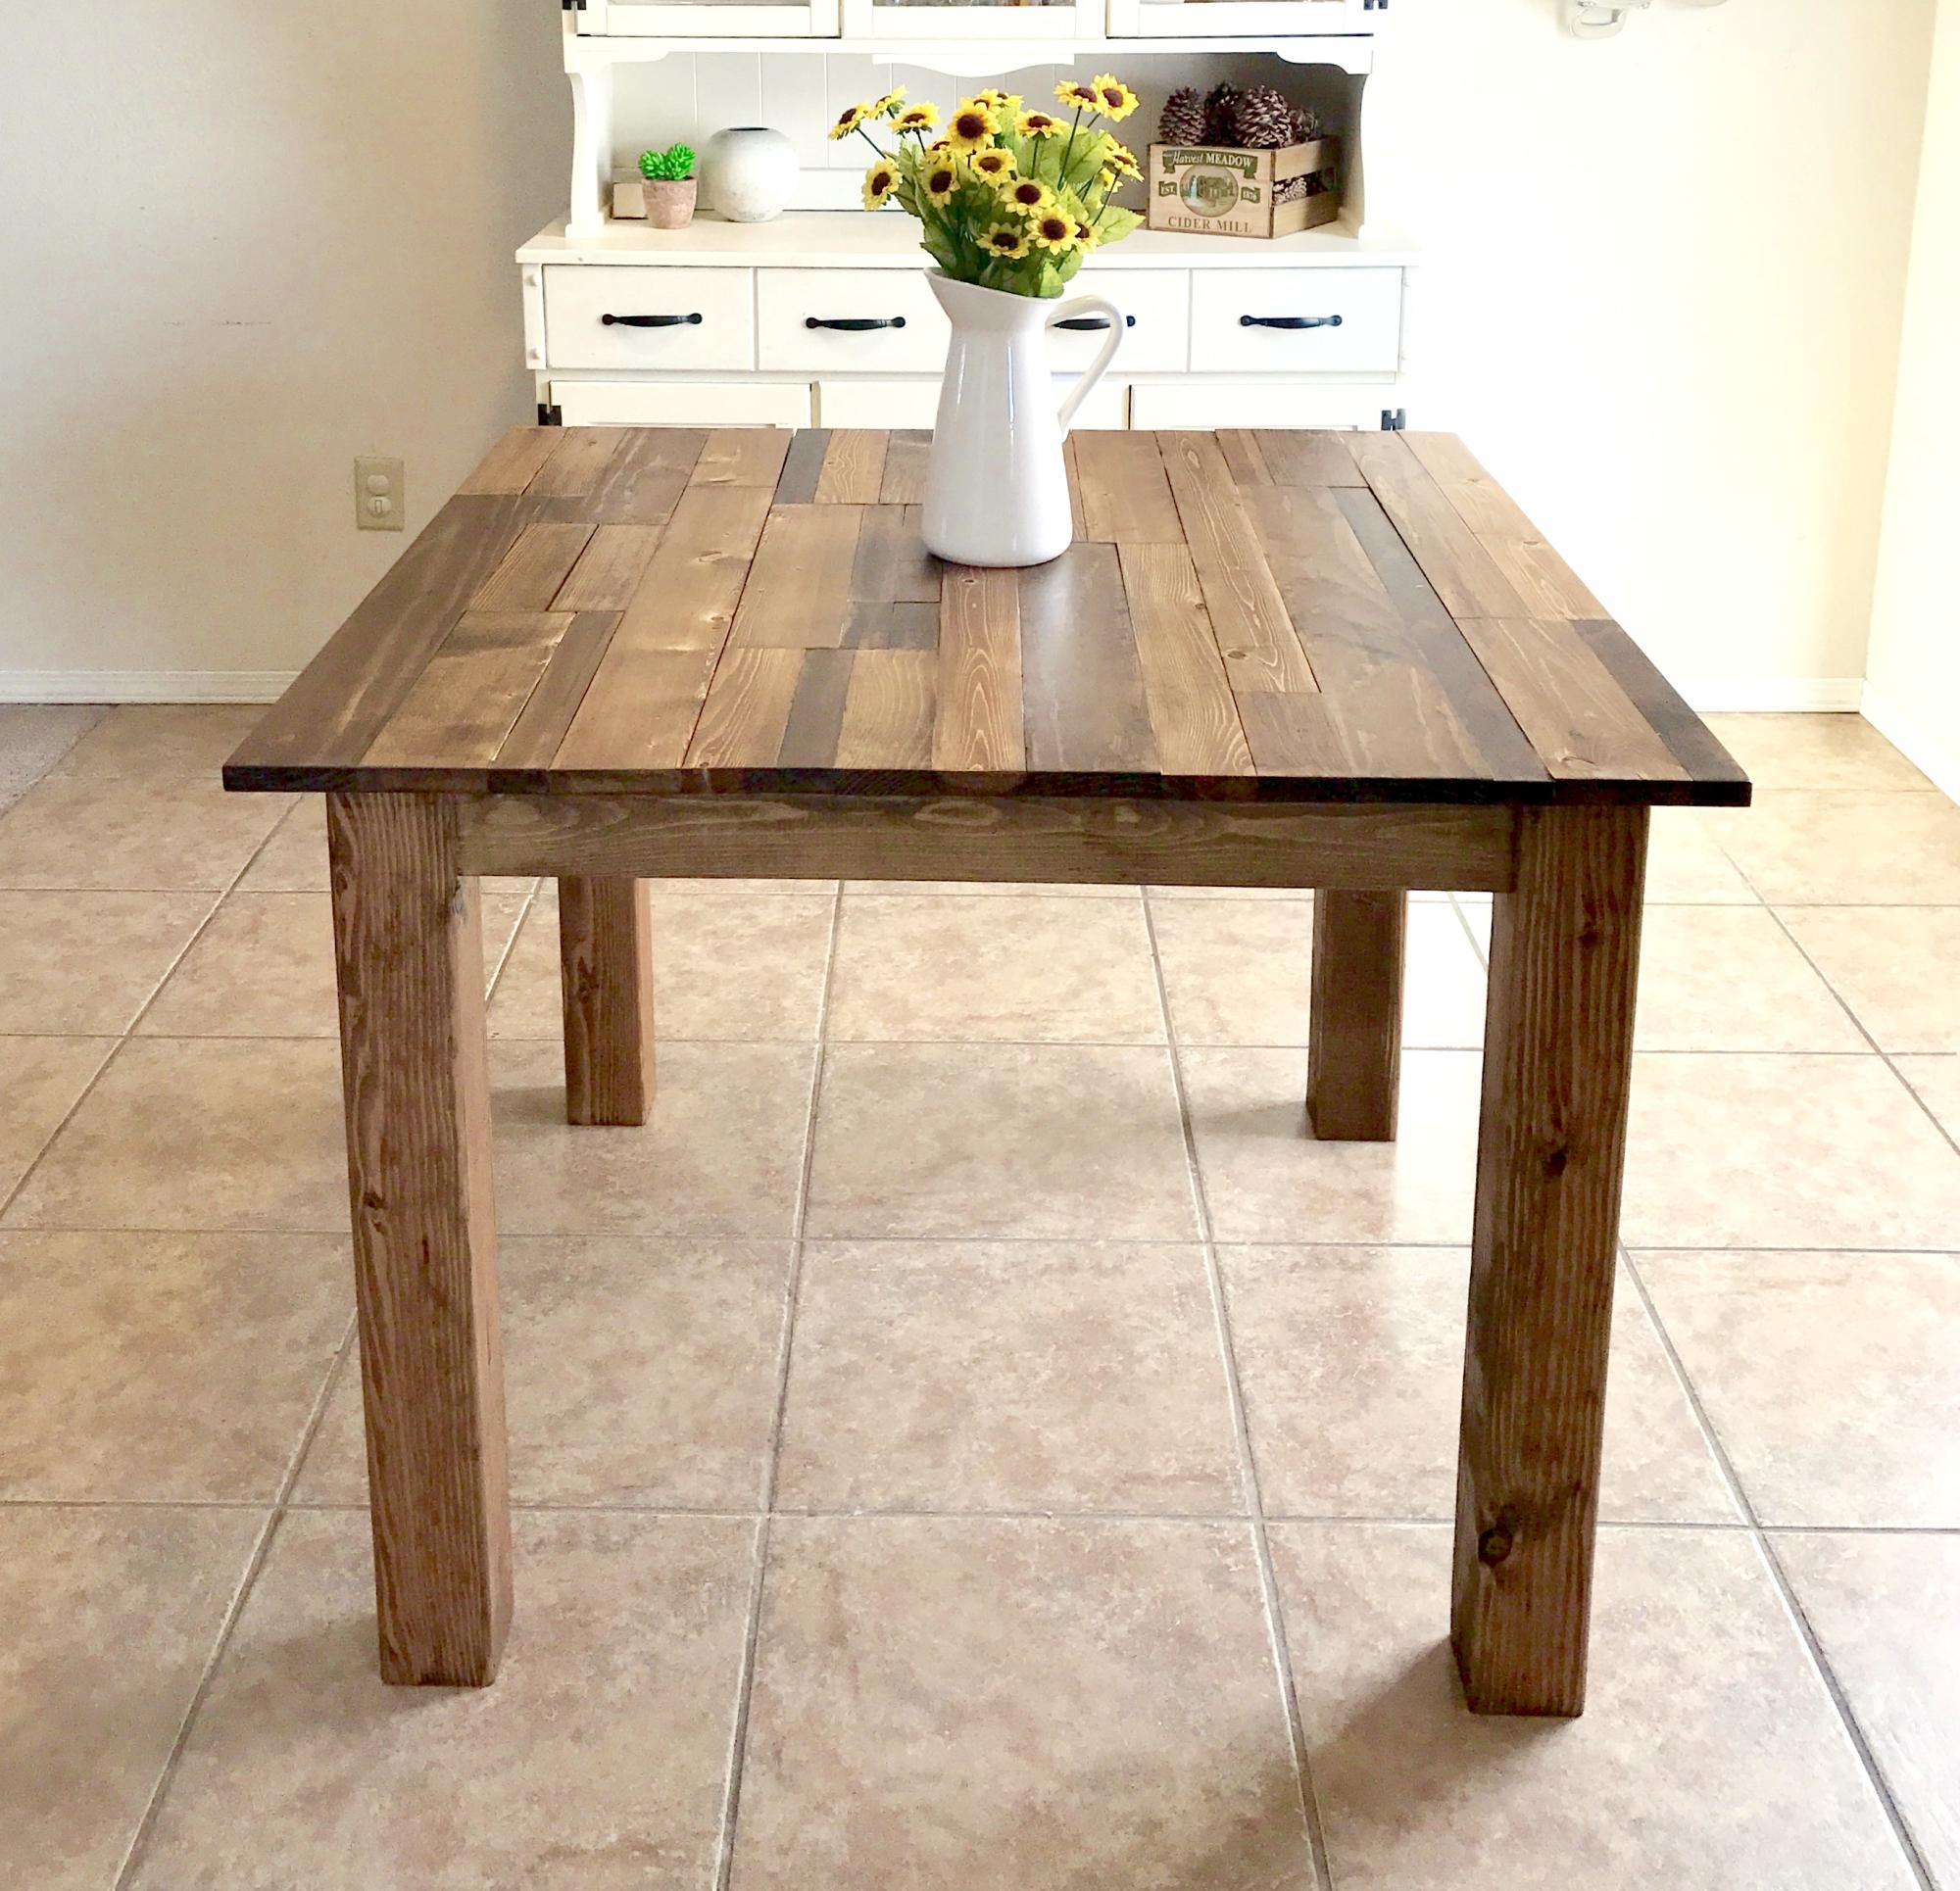
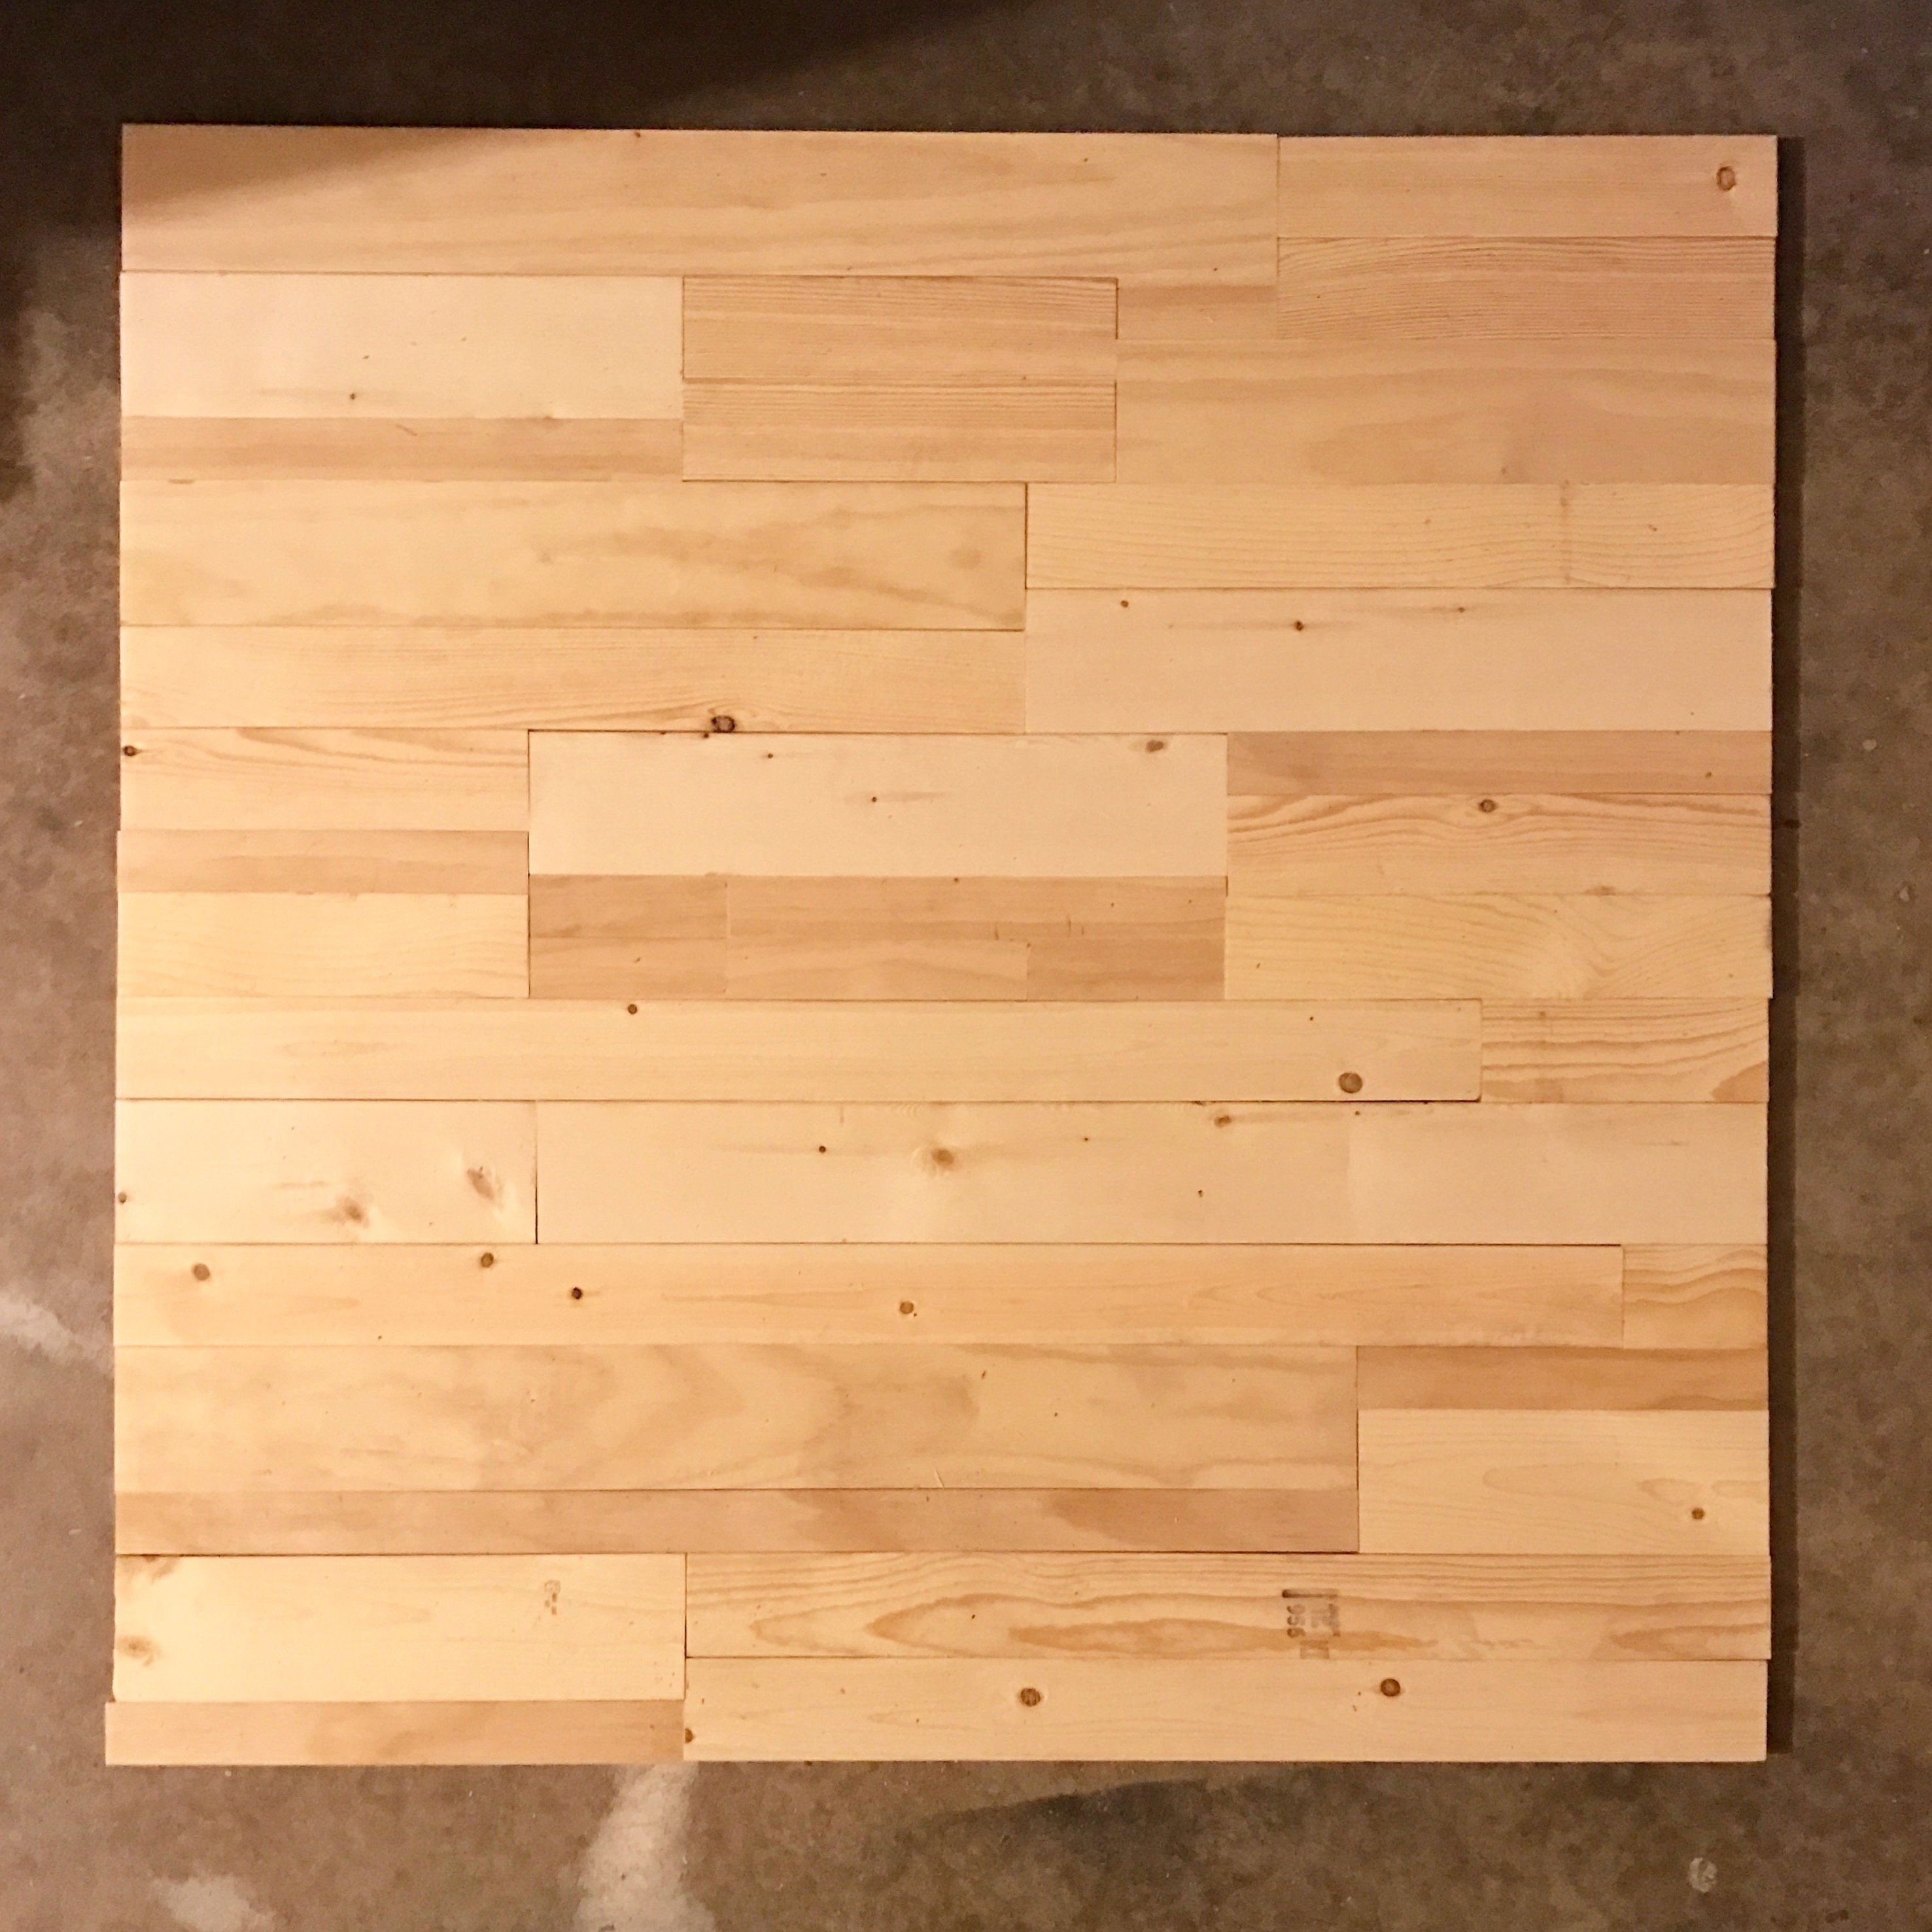
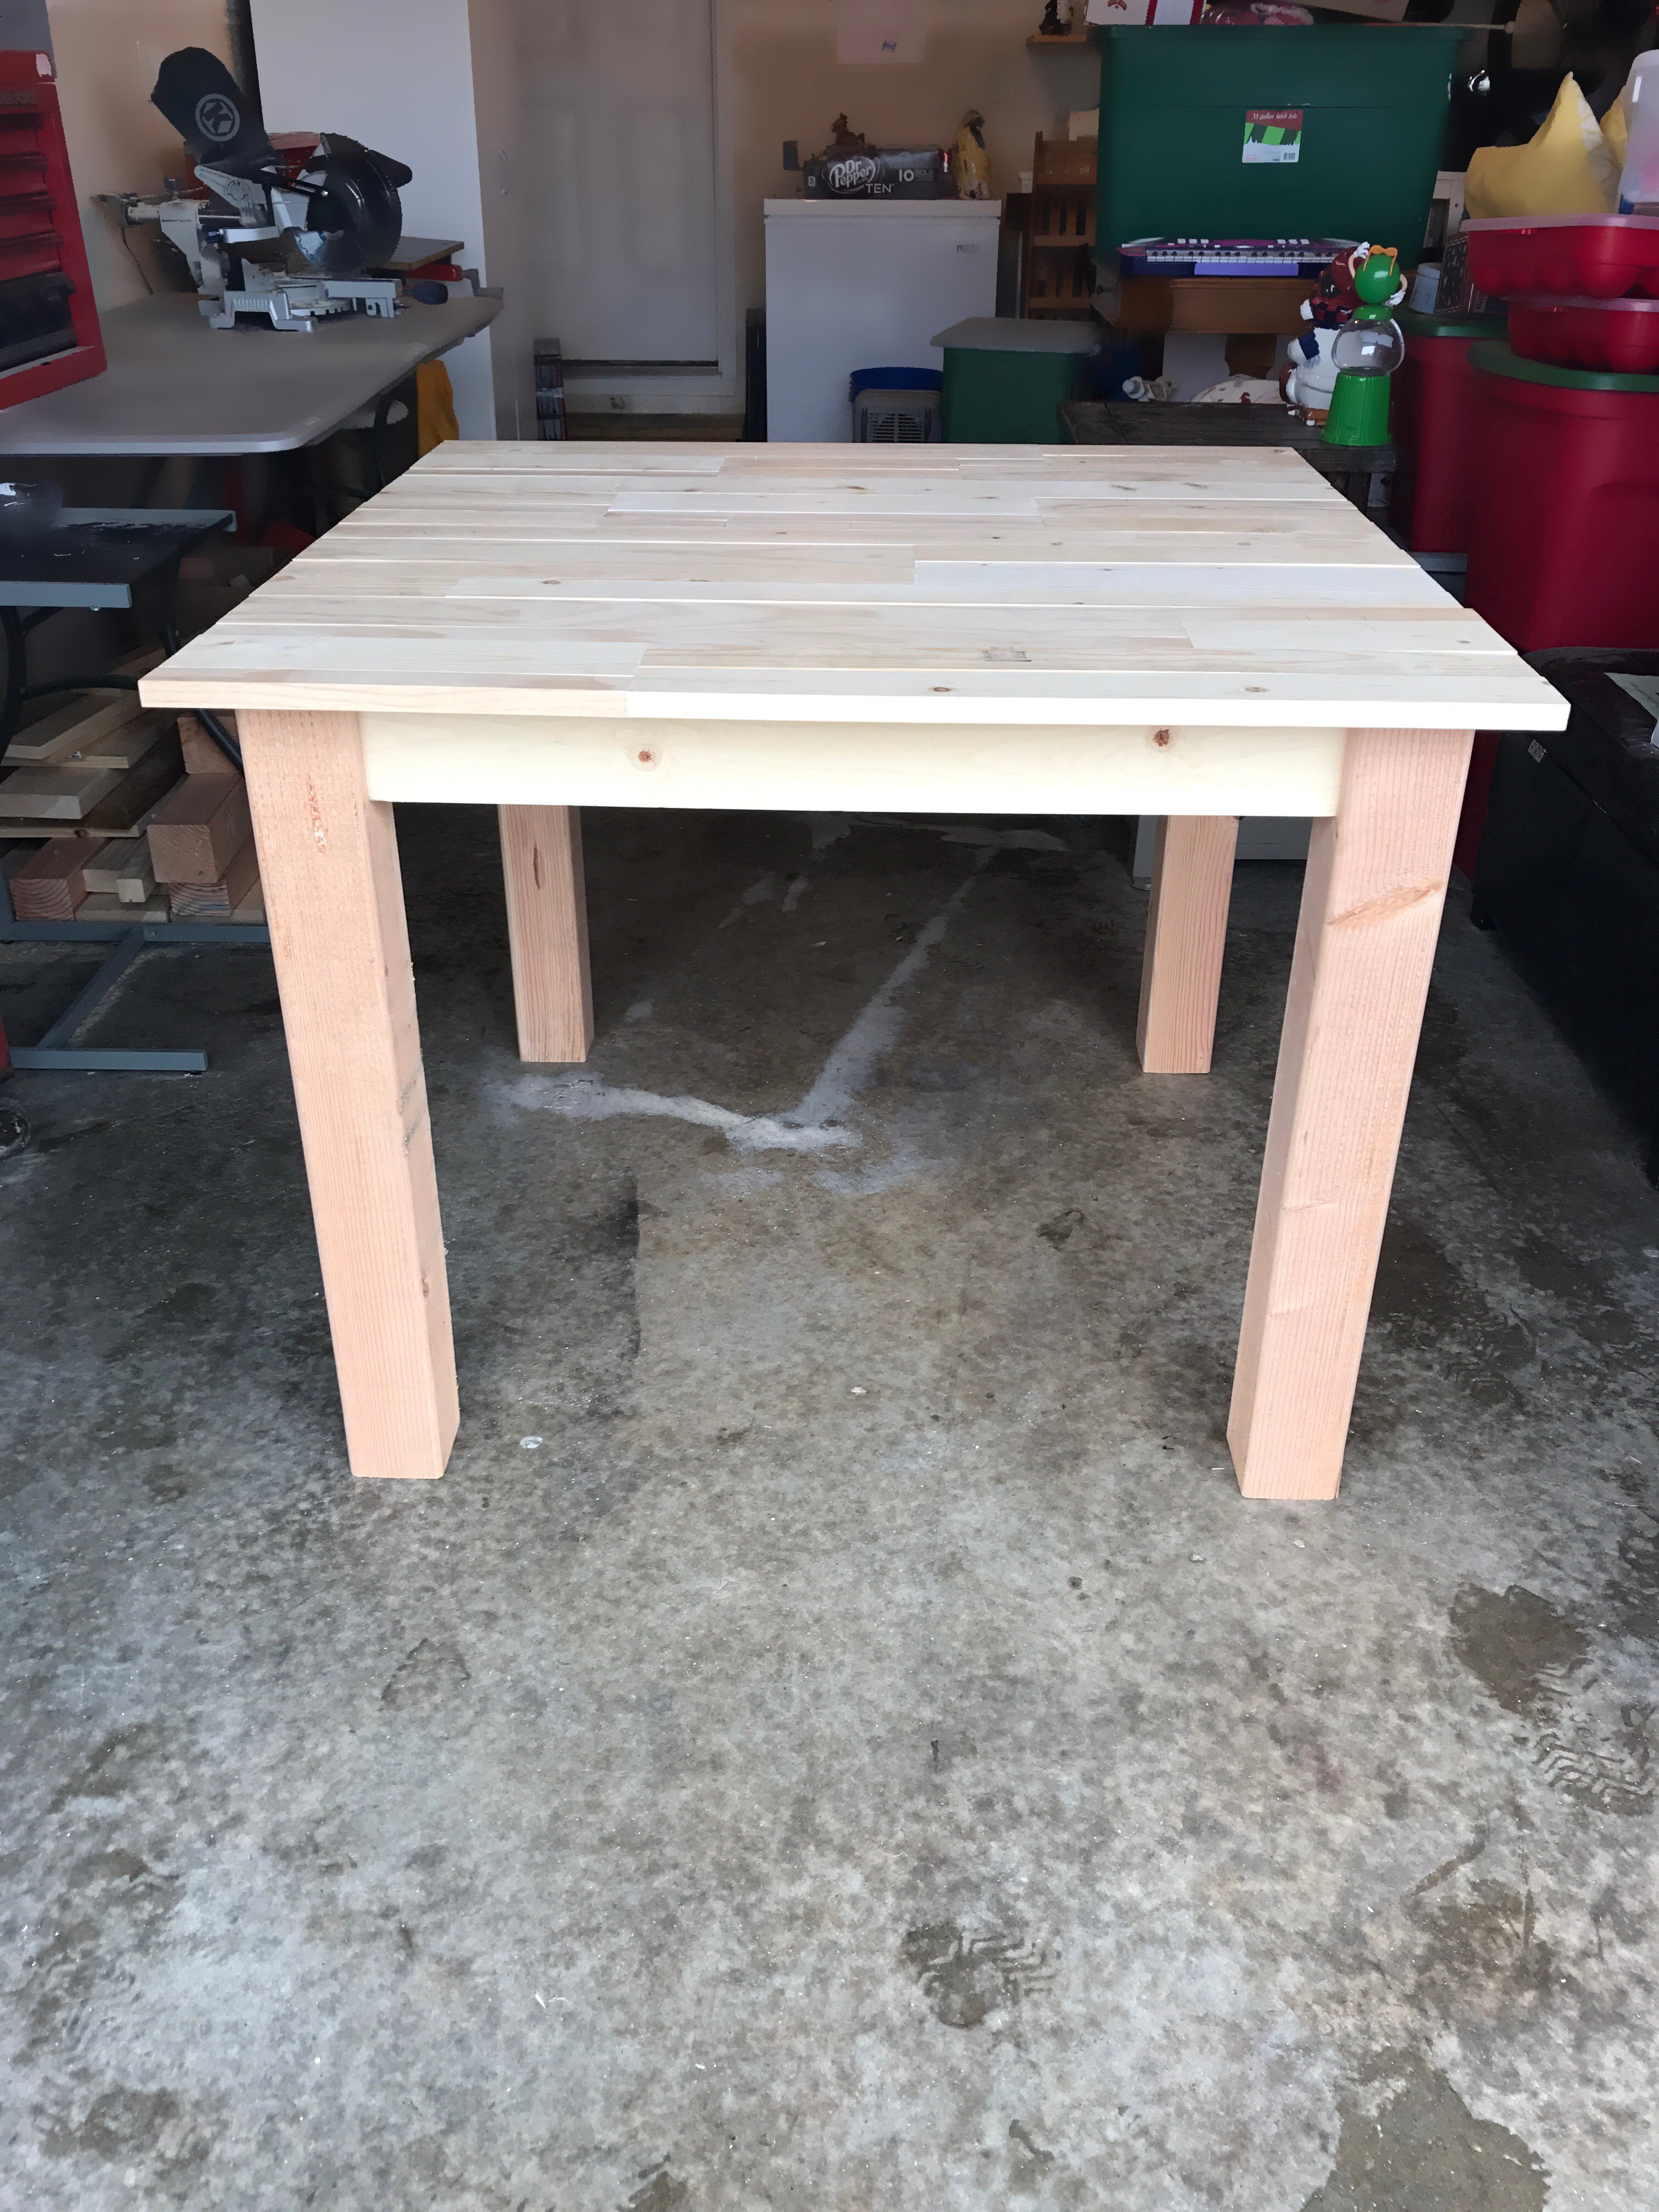
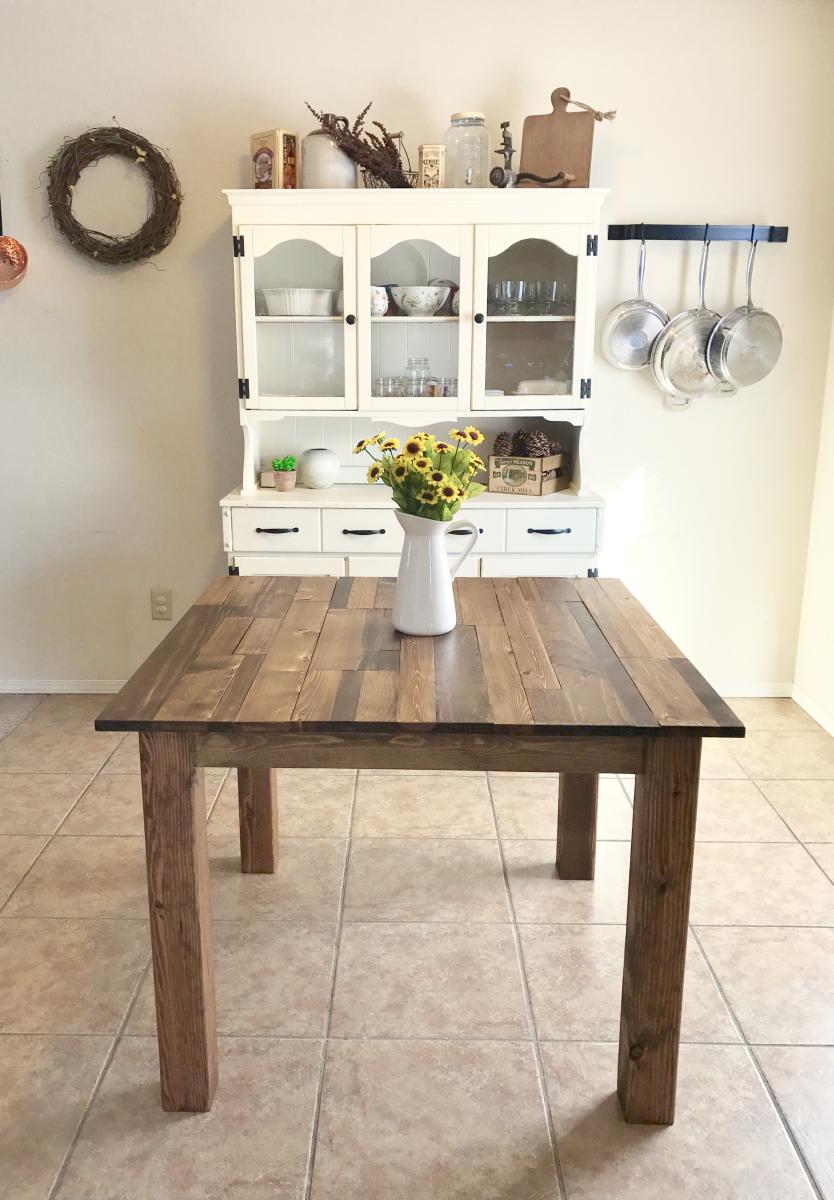
I built this table for a friend who wanted a rustic, plank-top kitchen table. She wanted a square table with 4x4 legs. Since I don't have clamps, I used pocket holes and wood glue for the table top. Also, I only have a 7&1/4" miter saw, which means the 4x4s were too thick to cut. So I made one cut in the legs, then flipped them and made another. It worked! :) I sanded down the sides of the table top with 80 grit. They needed to be evened up since some of the planks were a little longer than others. I back braced underneathe the top with (3) 1x3s. Then, I sanded all over with 120, vacuumed, then wiped it down with a damp towel. Fun build!!
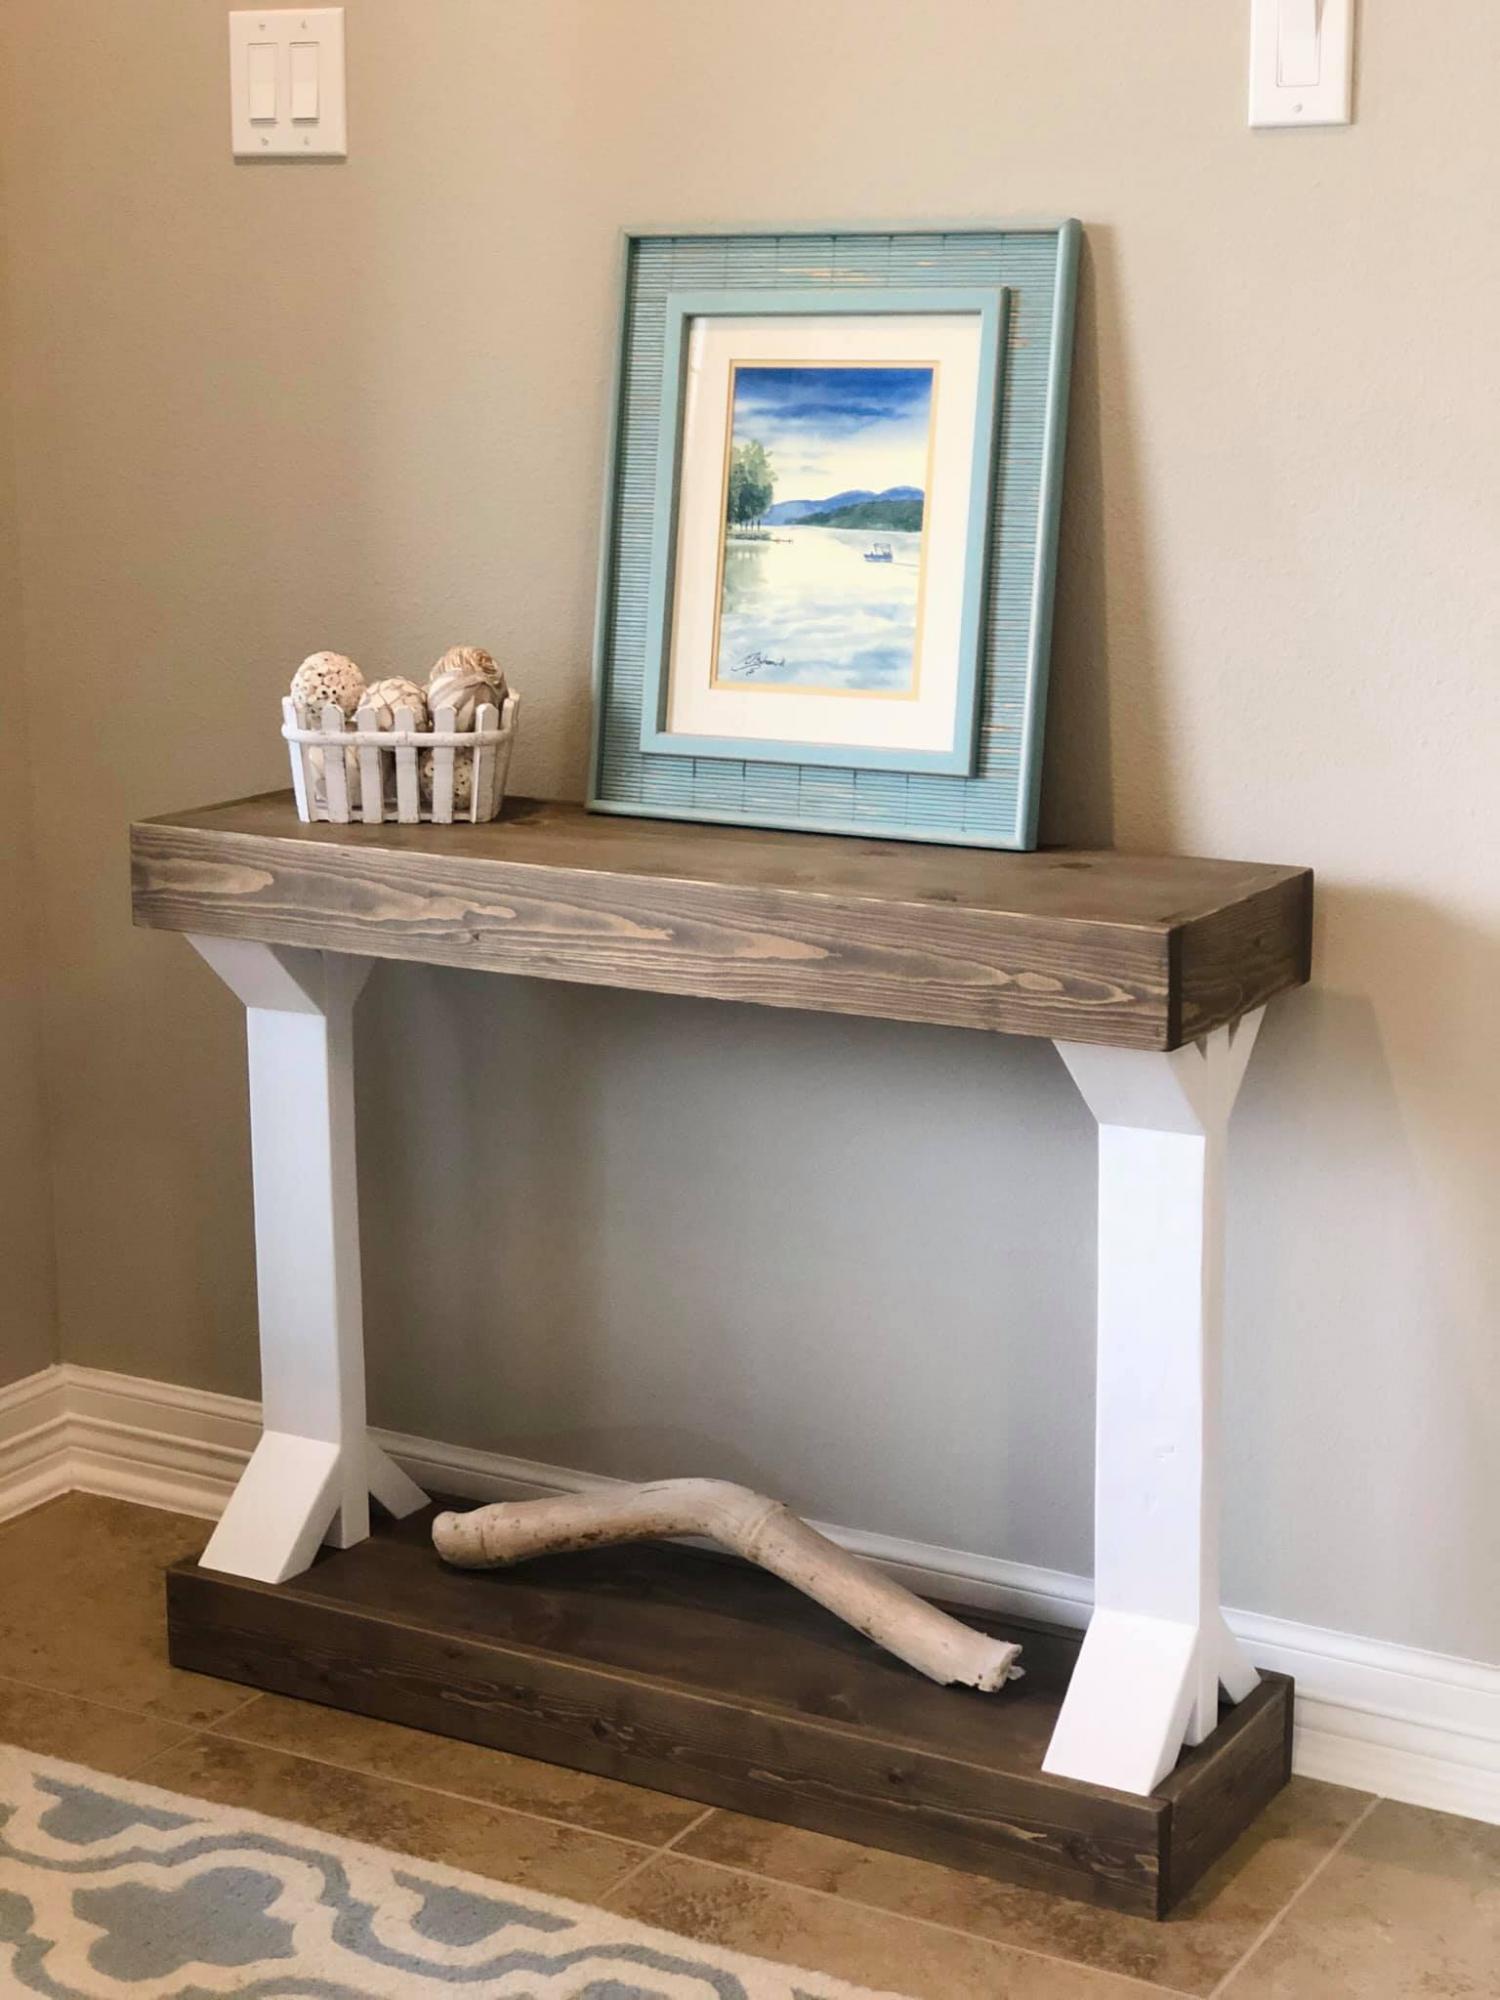
New table for my entryway!

For anyone who is interested in building their own glass-top vanity with pull-out drawers :)
Sun, 11/29/2020 - 01:27
Hi Ana, where can I find the instructions for this project?
