Community Brag Posts

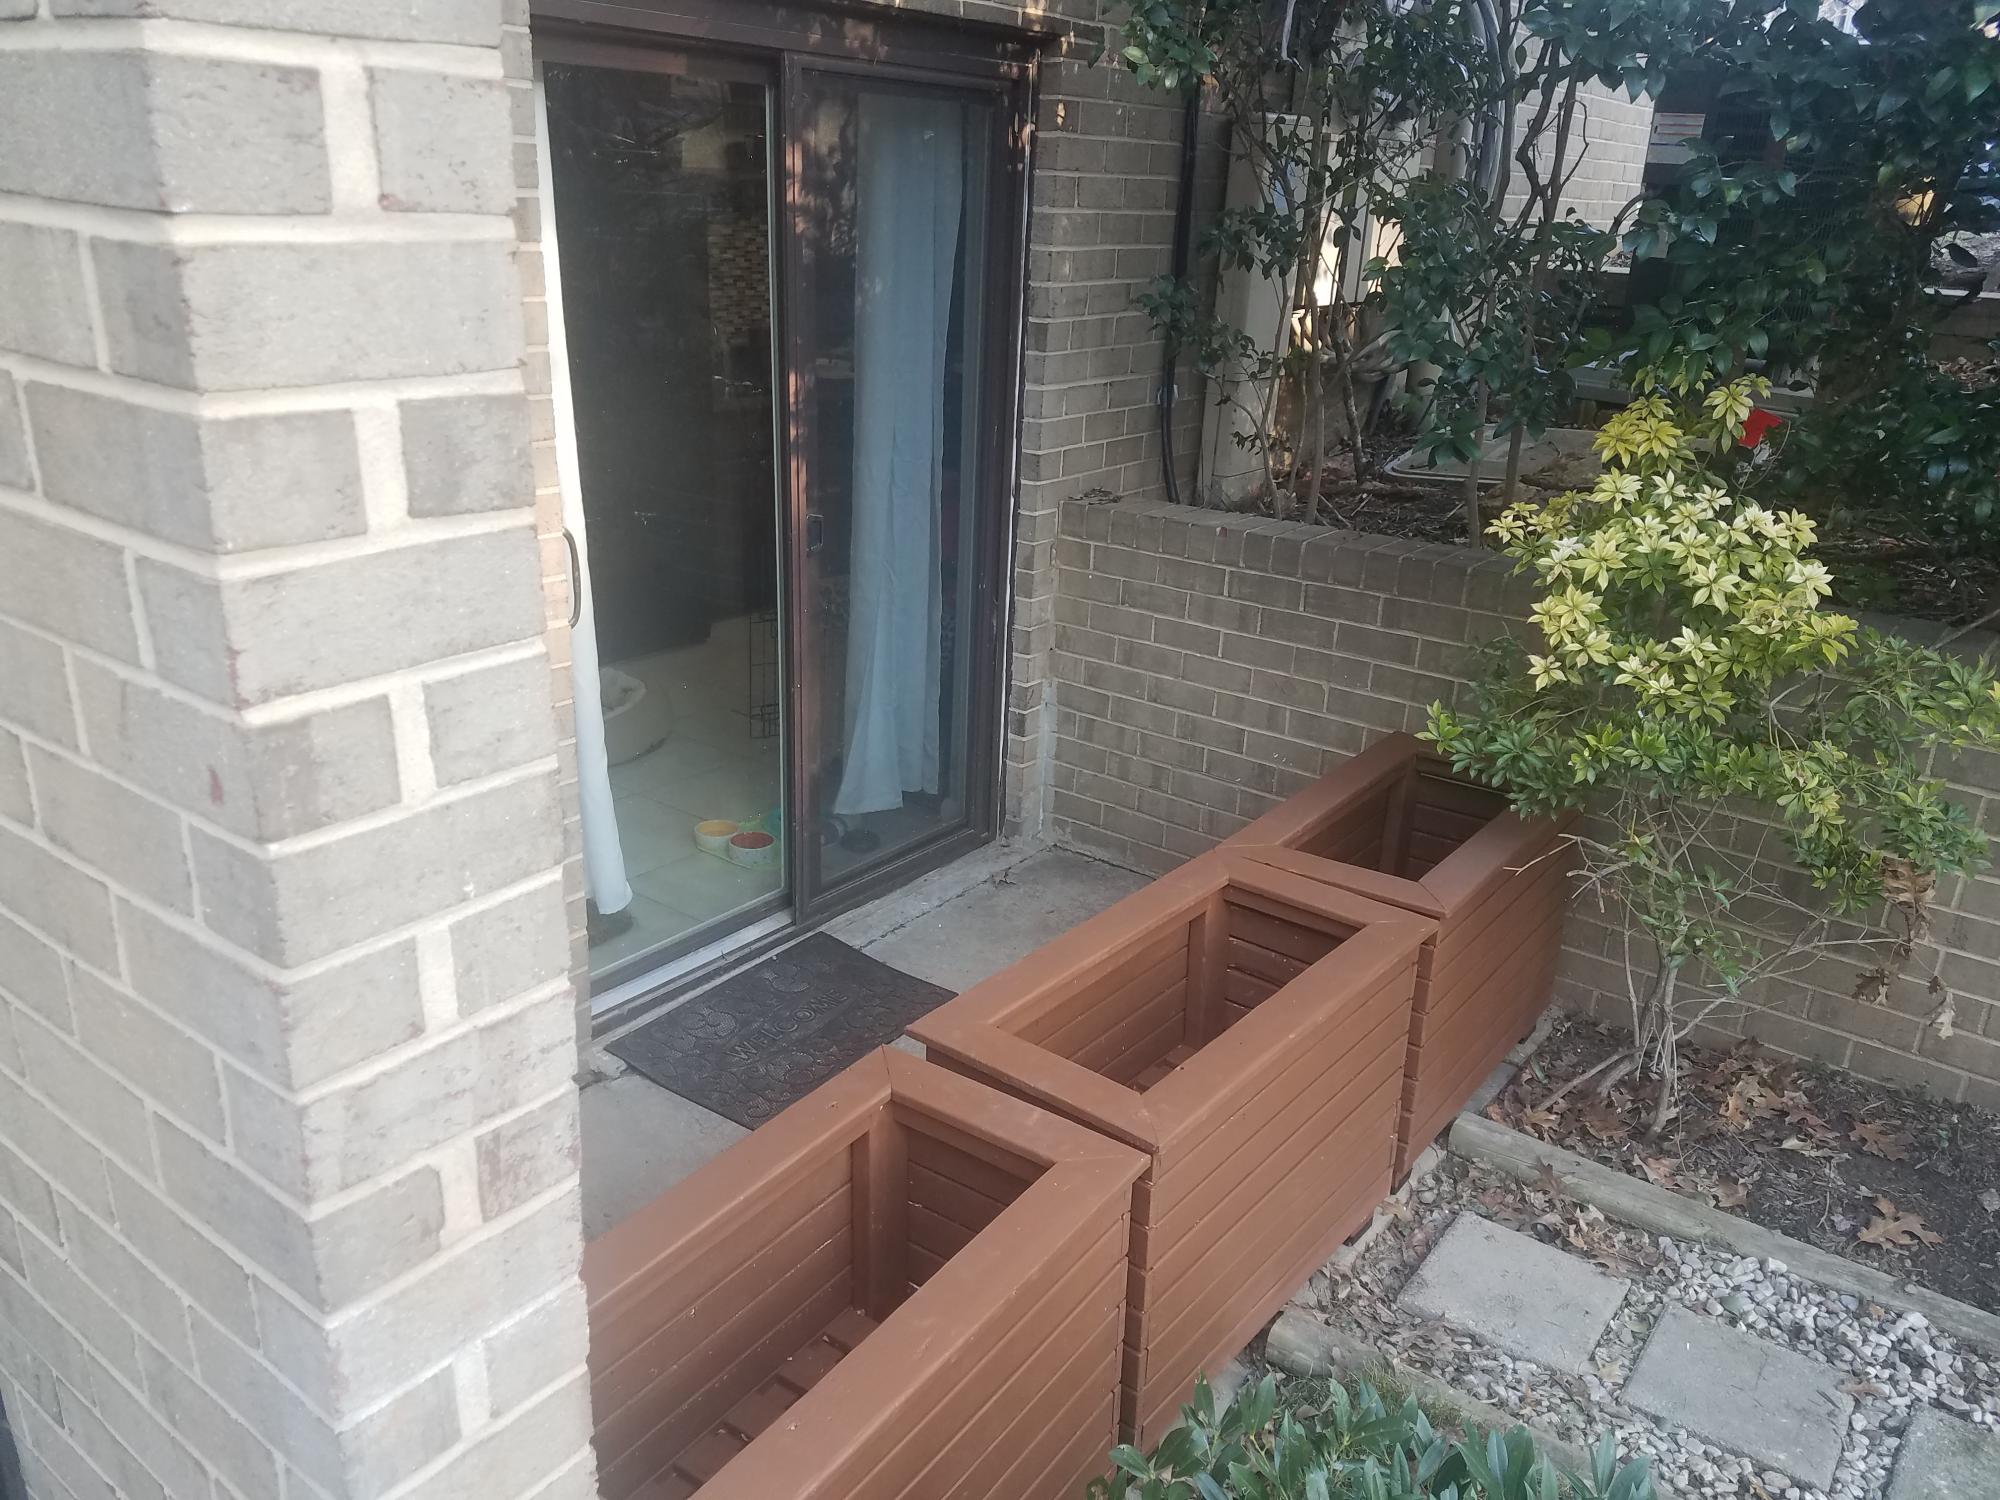
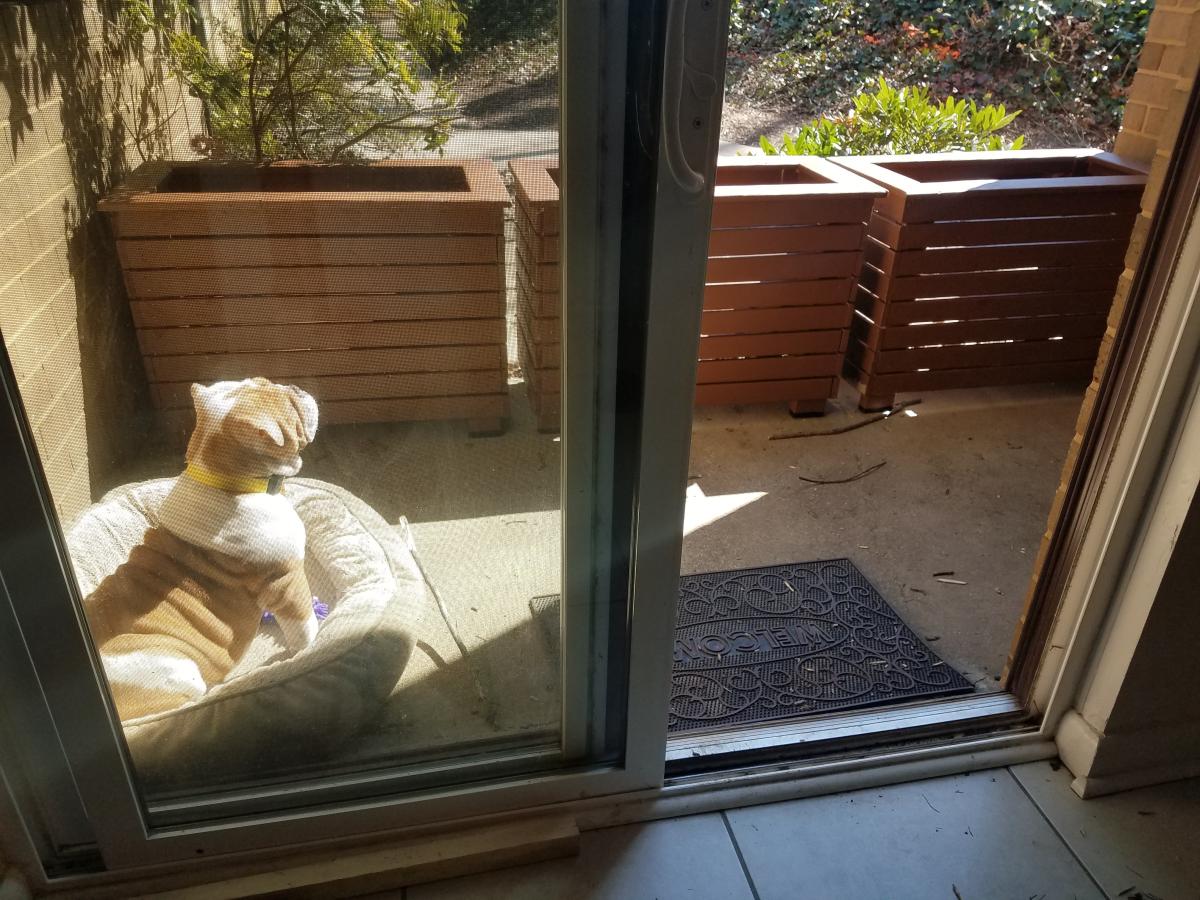
Planters- modified

Submitted by Anonymous (not verified) on Mon, 03/07/2022 - 06:14

Used your youtube instructions for the square planters and revised them to create these! Thank you so much for your video it helped me so much. I was trying to make a small backyard for my dog at my condo without breaking any rules not to have a fence. Gary loves it!

Comments

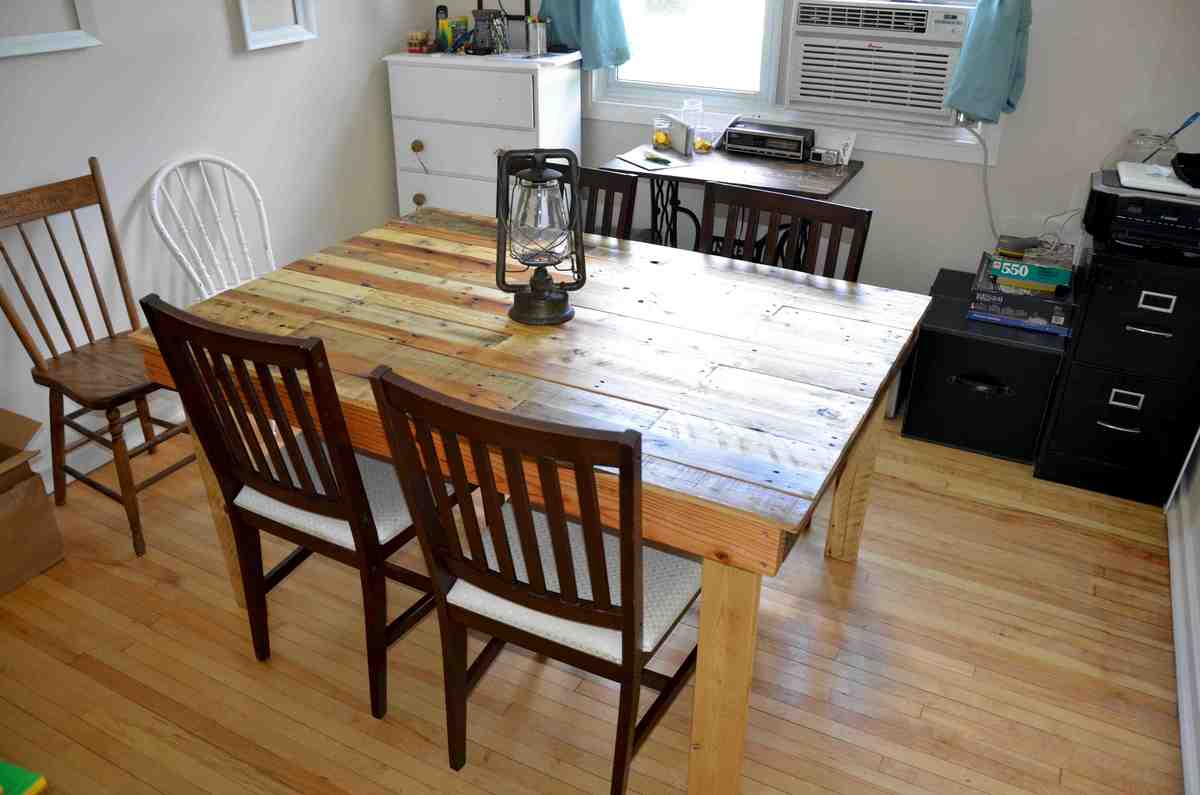
The Shipping Pallet Dining Table

Submitted by worrow on Mon, 07/29/2013 - 05:57

Table measures * 41" wide x 57 1/4" long x 30" tall.
We kept the measurement at 26" from floor to bottom of table.

Here is a list of what we used:

2 1/2" decking screws
2" finishing nails
8 pallets
Table Saw
Corded drill
Reciprocating saw
Bar clamps
1/2" plywood scraps

I wish I was thinking about taking some pictures along the way but here is a brief explanation.

We started with building the frame for the top.

2 - 2x4 @ 55"
2 - 2x4 @ 37 1/2"
3 - 2x3 @ 37 1/2" (we ripped the 2x3's on table saw from other lumber lying around)

Instructions are simple for the frame. Attach the 55" 2x4's to the 37 1/2" 2x4 and note the 37 1/2" ones go in between the long ones not on the end of them.

Next step is to run the 3 2x3 supports. 1 in the middle then the others go in the middle of the next gaps roughly.

*Note*
We did not do the pocket hole screws or try and hide the screws in any way. We screwed the entire frame together from the outside.

So now onto the more challenging step. So the top we have no guide for. We used
our reciprocating saw to get the boards off the skids. Then we had to de-nail the materials. Took approx 8 skids worth. Next was to run them all through the table saw to clean up the edges and remove any crowning or bowing? In a nutshell make all the board edges flush and straight.

After that long process we then started to do our dry fit so we would know which boards we wanted to use and how long we wanted each one to be. Then proceeded to cut them to the lengths and keep them in their respective groups as there were many varying widths as we wanted the top to be very different.

The next step was simple start laying them in place and attaching them to the frame.

During this process we had to bust out the clamps as we had a few troublesome boards that had to be pulled in flush. We used the 2" finishing nails to attach all the boards. After they are all attached this is the ideal time to sand the top.

*Note*
Decide what you want your overhang to be all around during the dry fit process. That will also be the time where you can play with ripping some thinner to make it unique.

So now we have all the boards attached it was time to counter sink ann the finishing nails. After we completed this we wanted to make secure everything just a bit more so we added 1/2" plywood to the bottom of the table in between the support sections.

After this was done it was simply time to cut the legs. We cut our legs @ 28"
We sanded these before attaching them.

*Note*
For the legs we had to assemble the legs in the room as the table is simply too large to bring through a door assembled. Keep this in mind if you decide to use a different design for the legs. We attached the legs with 4 - 2 1/2" screws which was perfect.

After that was done all that was left was to get it finished the way we like it. We used Minwax Antique Protective Oil Finish

If you used my notes to get by hopefully you have something beautiful in your dining room.

Thank you for visiting.

We would like to thank Ann from
http://littlepaths.wordpress.com/2012/08/26/the-shipping-pallet-dining-… for providing us with their design that inspired us.
Estimated Cost
$20
Estimated Time Investment
Weekend Project (10-20 Hours)
Finish Used
Minwax Antique Protective Oil Finish - We followed the directions on the can and applied 3 coats.
Recommended Skill Level
Intermediate

4 Bright Little Adirondack chairs

These 4 little chairs did not take very long to put together. But they did take me a while to sand, prime and paint. I hate that part of building-haha-so it always seems like it takes forever to get through with that and on to the fun part. They are very easy to make and inexpensive. My grandkids and others who have driven by and seen them out front have loved them!!

Built from Plan(s)
Estimated Cost
About 22.00 per chair(the spray paint was the majority of the cost). I think the chairs without finishing would be only about 10.00 apiece.
Estimated Time Investment
Afternoon Project (3-6 Hours)
Finish Used
I used Valspar indoor/outdoor gloss spray paint. Definitely use a primer and paint or stain before putting together.
Recommended Skill Level
Beginner

Comments

tonjacoy101

Fri, 07/22/2011 - 05:52

What a cute little guy and cute chairs too! I bet the grandkids love them :)

Chaise Lounge

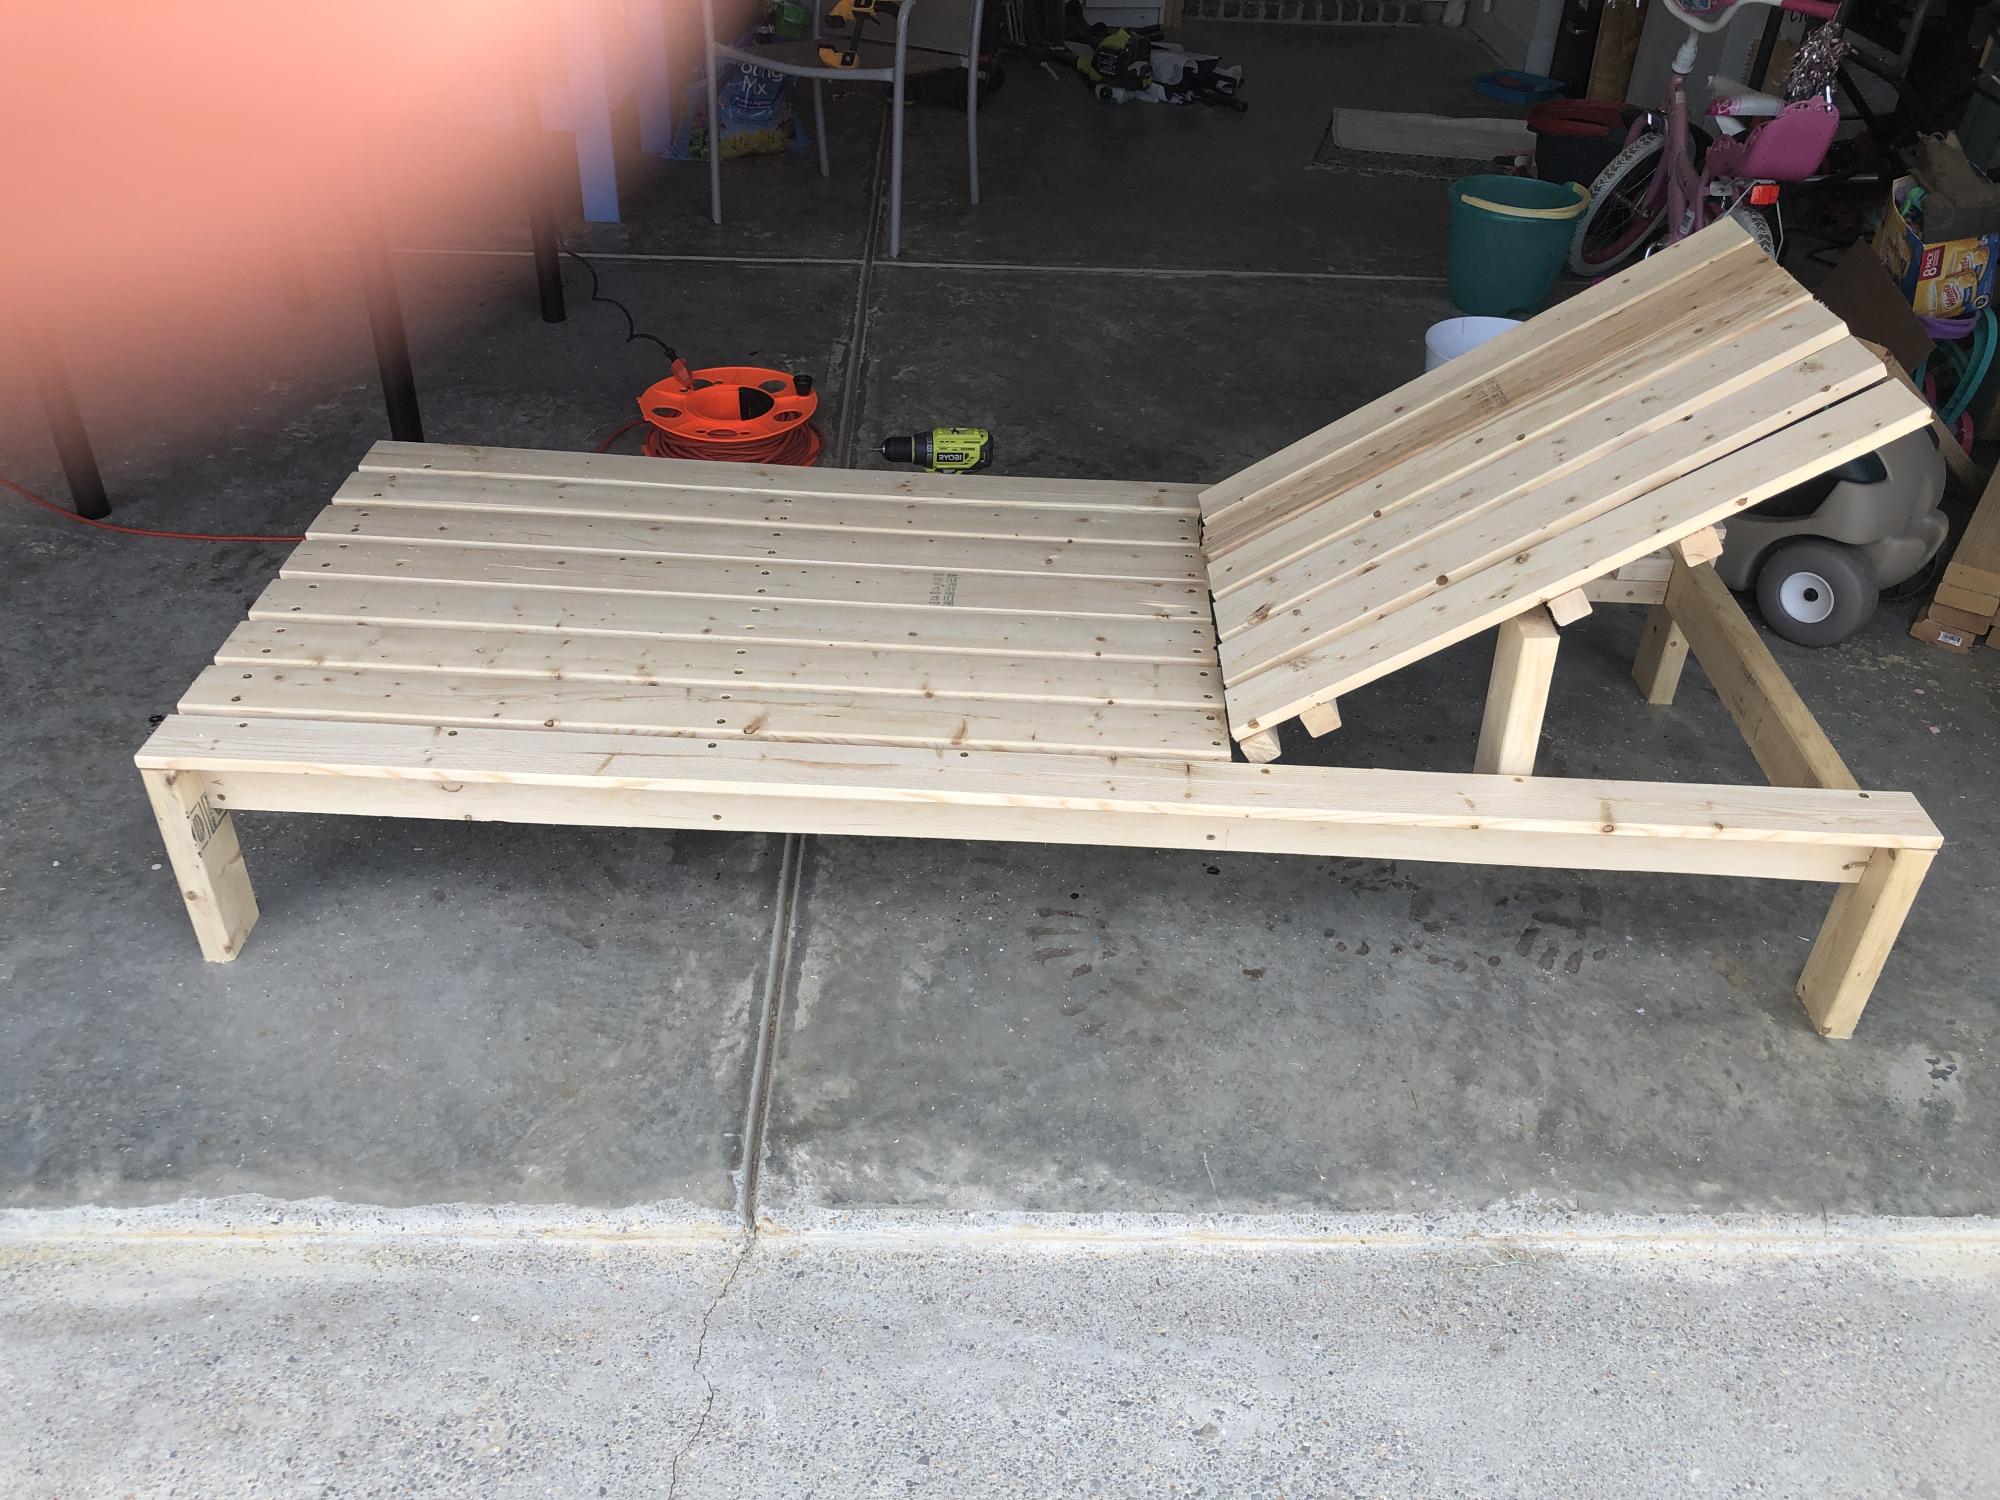
I built this chaise lounge for my daughter from your plans. She will paint it tomorrow. Thanks!!!

Comments

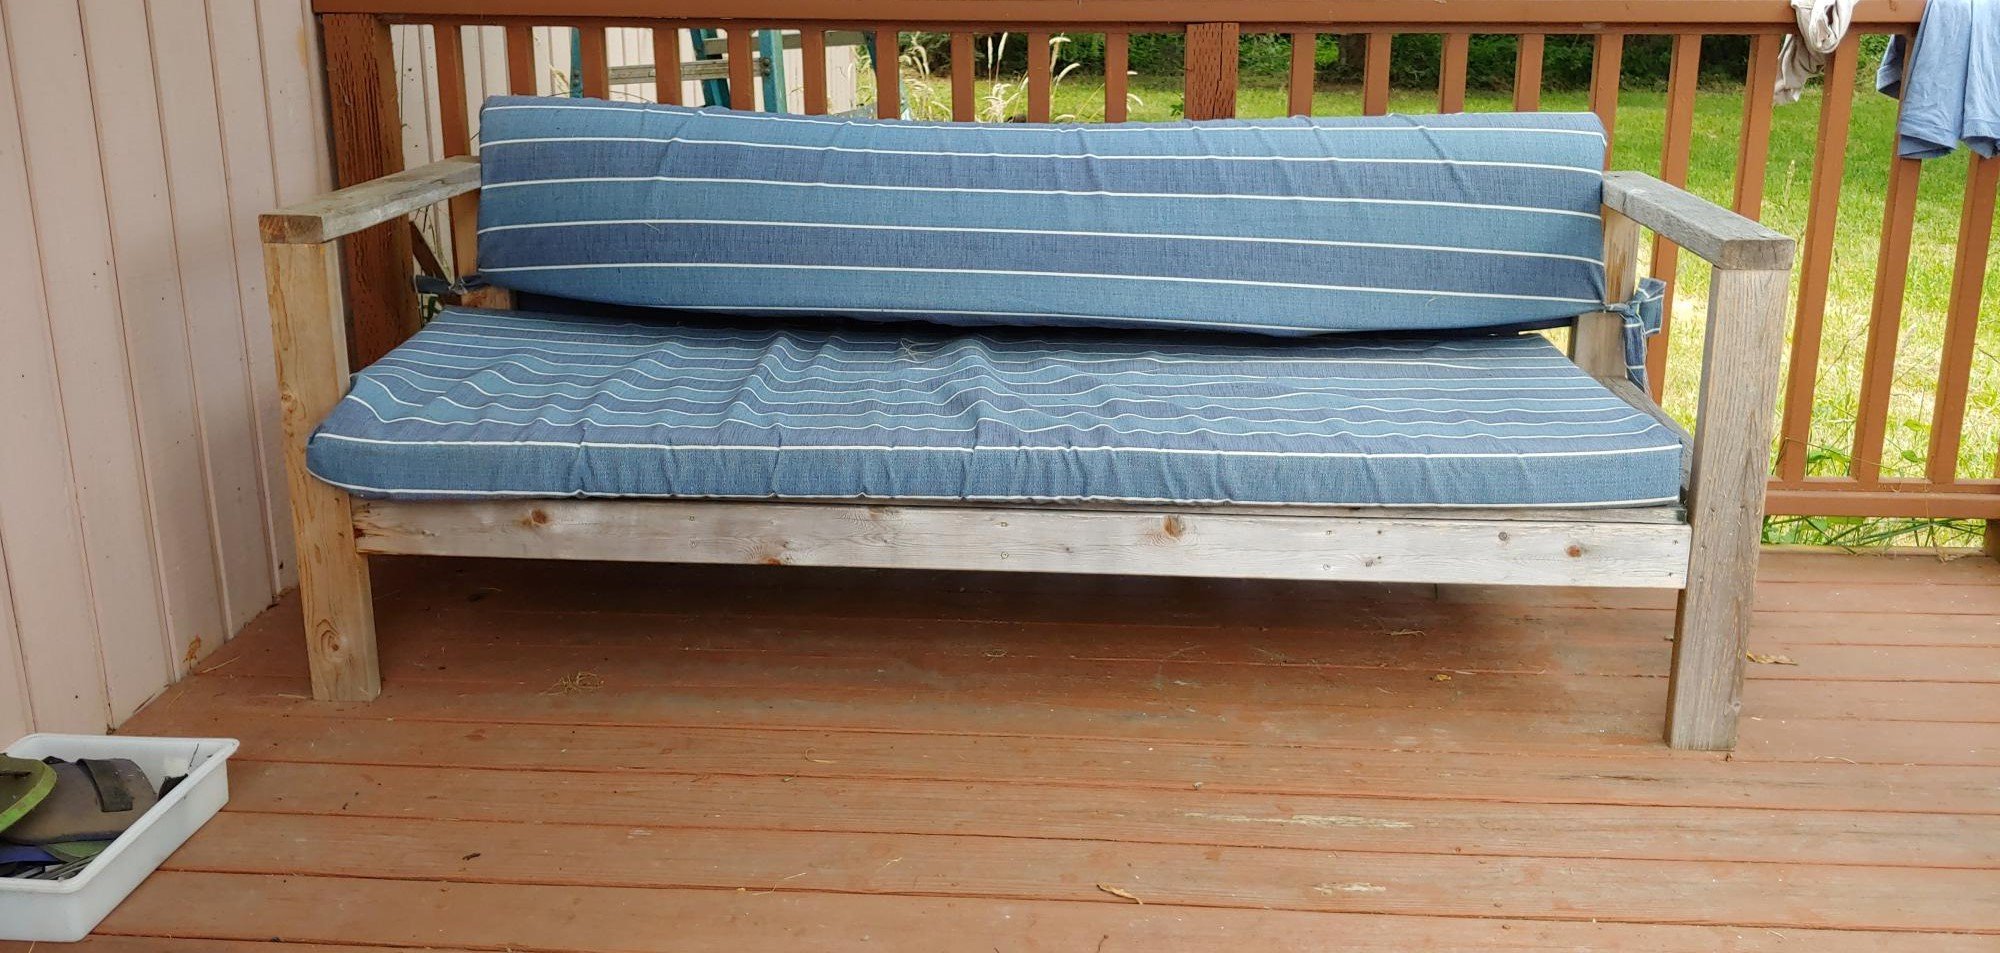
Well loved outdoor sofa

Submitted by Anonymous (not verified) on Sat, 07/16/2022 - 17:51

This sofa has been in constant use for three years. Sturdy and comfortable, we have to compete with the cats for a nap or rest. Even on the winter, when we remove the cushoins, it gets used as a bench or a kitty hiding place while they wait to come in.

Built from Plan(s)

Comments

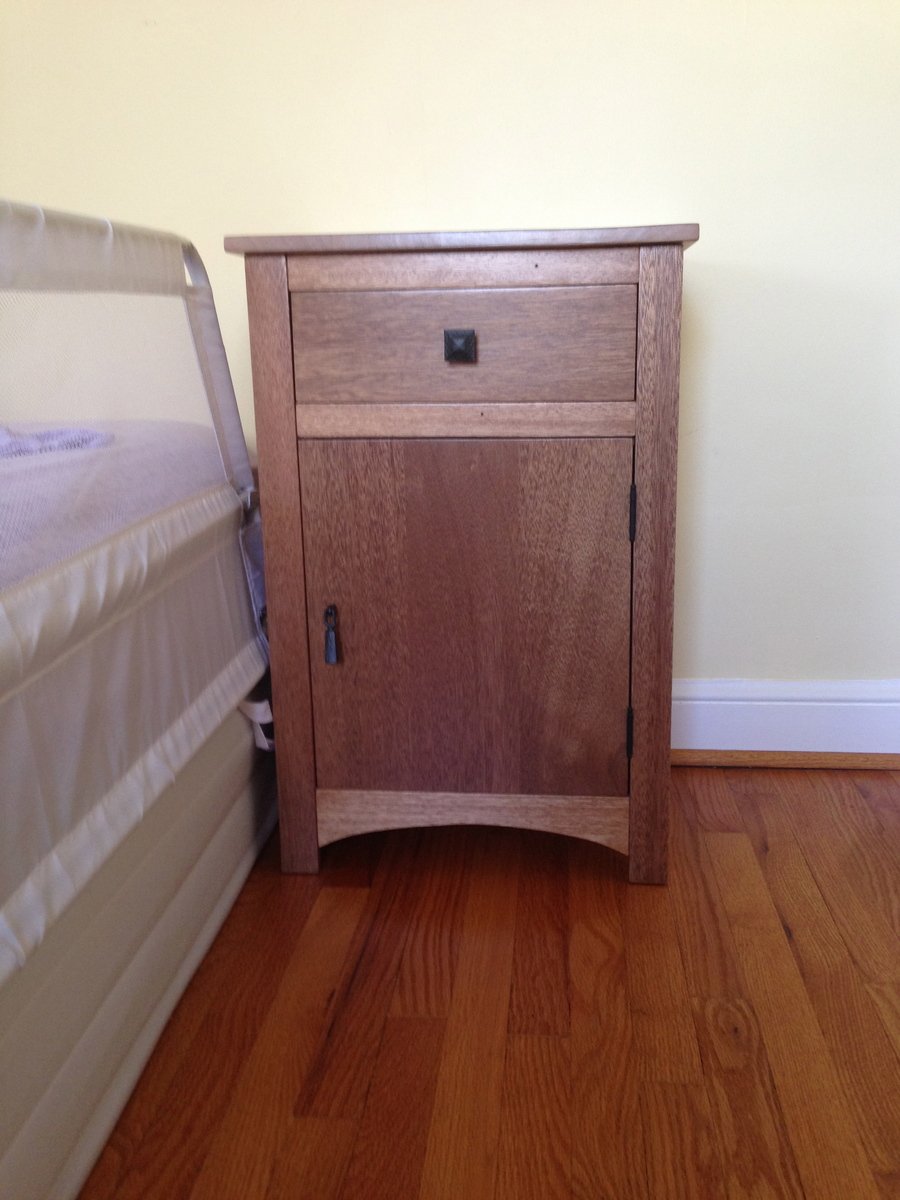
Inspired by Julia Nightstand

Submitted by kirst1230 on Mon, 09/02/2013 - 10:03

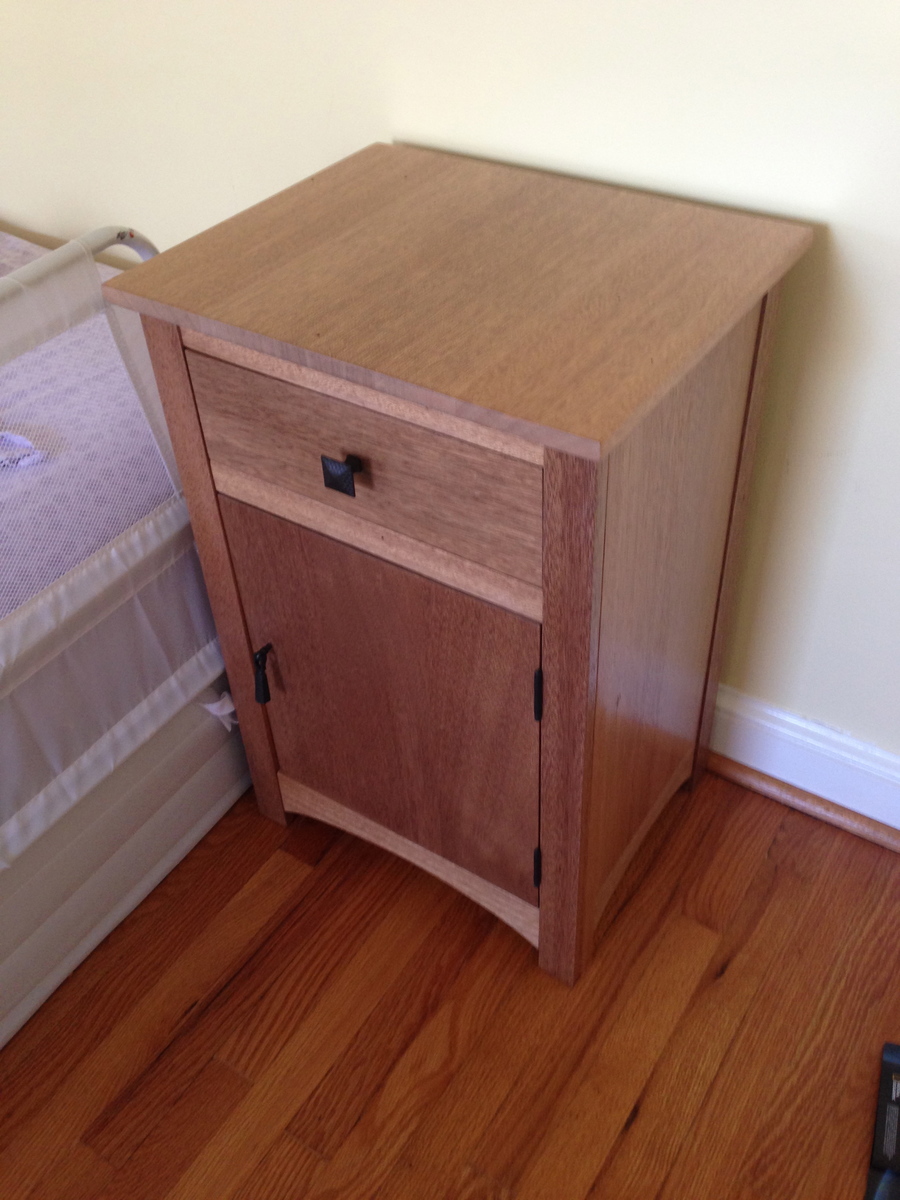
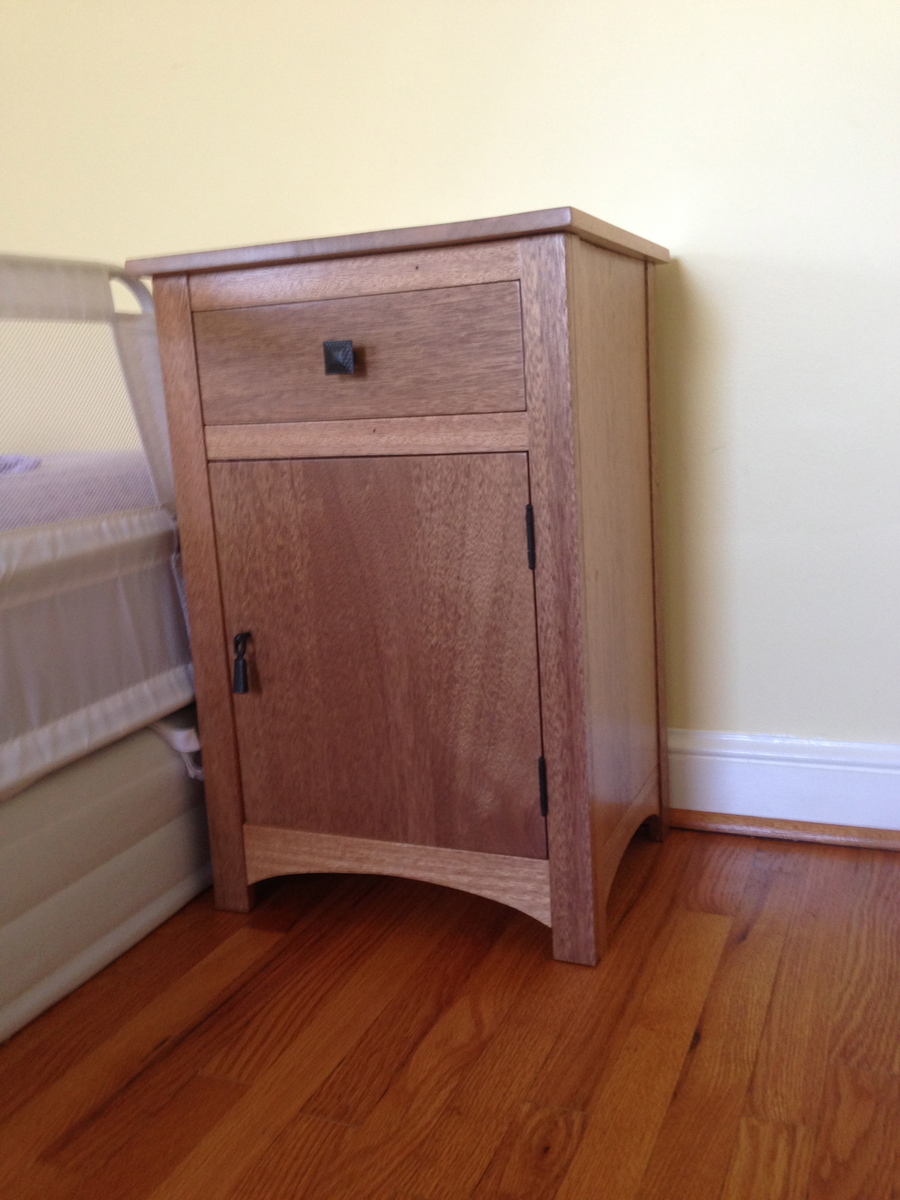
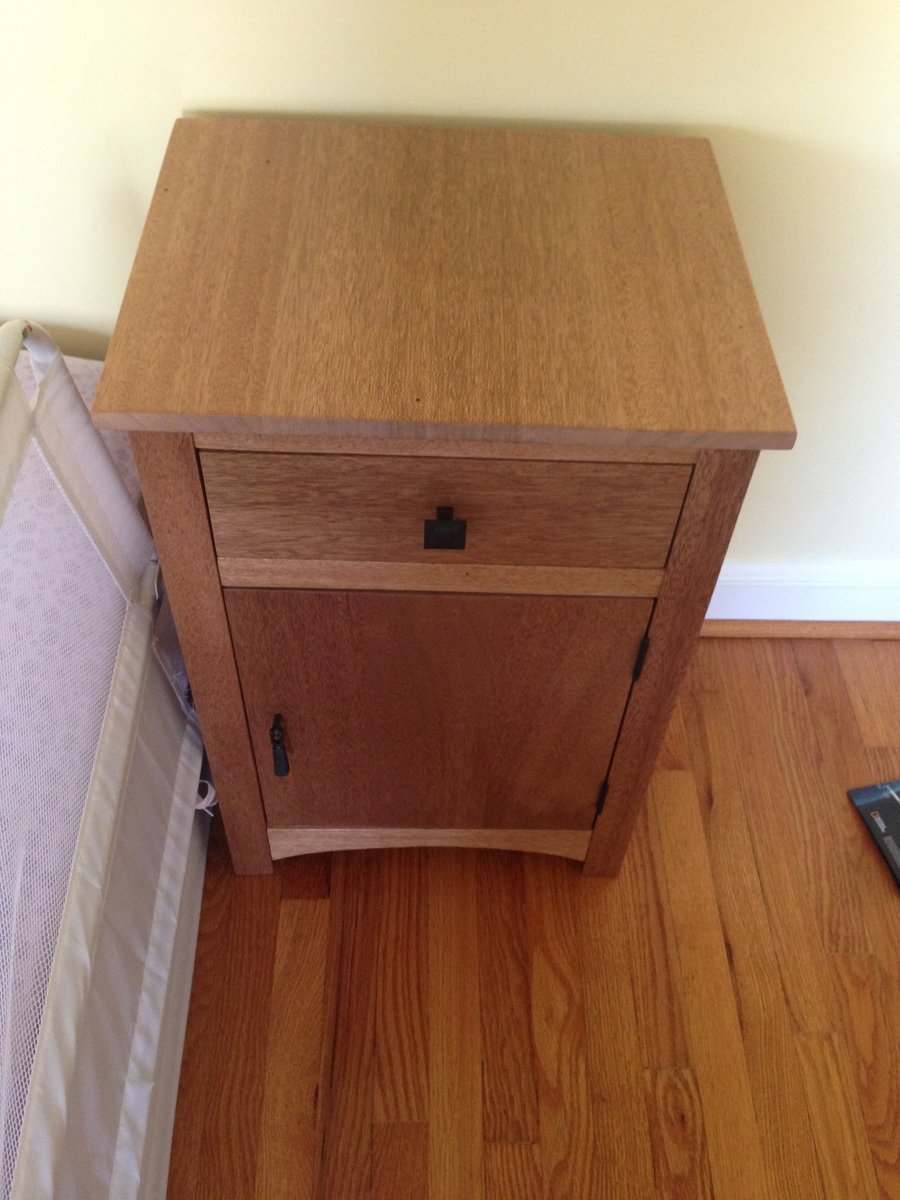
This nightstand was inspired by the Julia Nightstand. I changed a few of the measurements and added a door. The entire piece is built out of wood I salvaged when I tore out the wall paneling in my basement. The old nail holes add nice character and the color of the wood and grain are really nice. This piece does not have any stain - this is the natural color of the wood. I finished it with water based polyurethane.

Built from Plan(s)
Estimated Cost
$25
Estimated Time Investment
Week Long Project (20 Hours or More)
Finish Used
Water based polyurethane painted with synthetic hair brush. I did not use any stain. The water based polyurethane raises the grain so I sanded between the first two coats. Total of 4 coats. No odor and very easy cleanup (soap and water).
Recommended Skill Level
Intermediate

Comments

Best Lounger Ever

Submitted by teeninyg on Sun, 08/21/2011 - 13:37

This was my second project from the site. I wanted somewhere to read my book on the back deck. This chair is perfect. When I get tired of reading I can lay it down and take a nap. It is very sturdy and easy to put together. I do recommend using pocket holes to assemble it. I found it much easier.

Estimated Cost
$70.00
Estimated Time Investment
Day Project (6-9 Hours)
Finish Used
I sanded the seat and sides of the chair. Then stained it with oak and finished it with polyurethane.
Recommended Skill Level
Beginner

Essential Wood Outdoor Chair Frame for Standard Chair Cushion

Submitted by Anonymous (not verified) on Sat, 11/05/2022 - 14:11

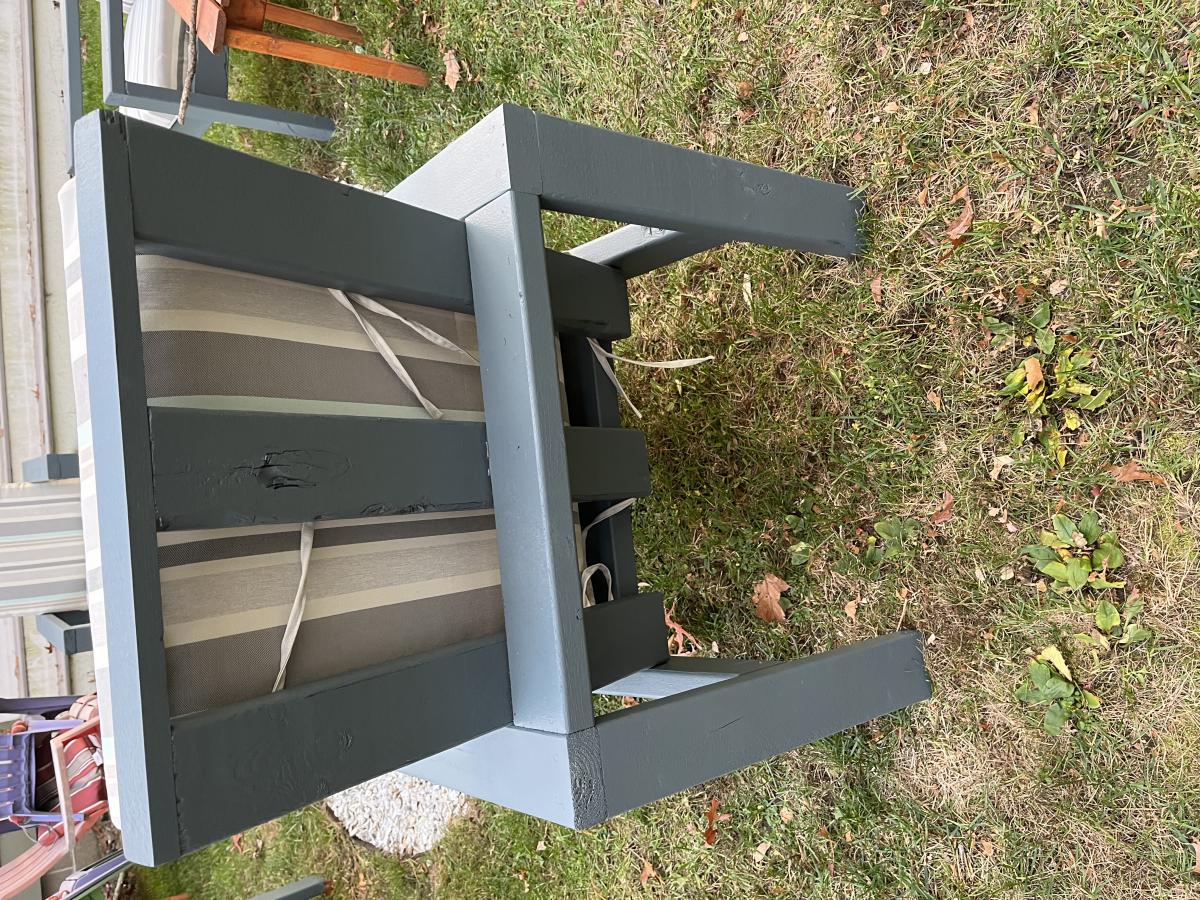
Beginner here and I enjoyed this one quite a bit. I played with the angle of the back and finally perfected it on chair three and four. I put the last bottom slat a little closer to the front to create more of a back angle. I also added a third back support position of the bottom slats are essential for comfort so you’re not sitting on a slat. My cushions need to be a bit thicker because you can definitely feel it. Overall, I enjoyed this project. Longest part was making all the cuts, and then painting because I use the sprayer and had to clean it. Thanks Anna!

Comments

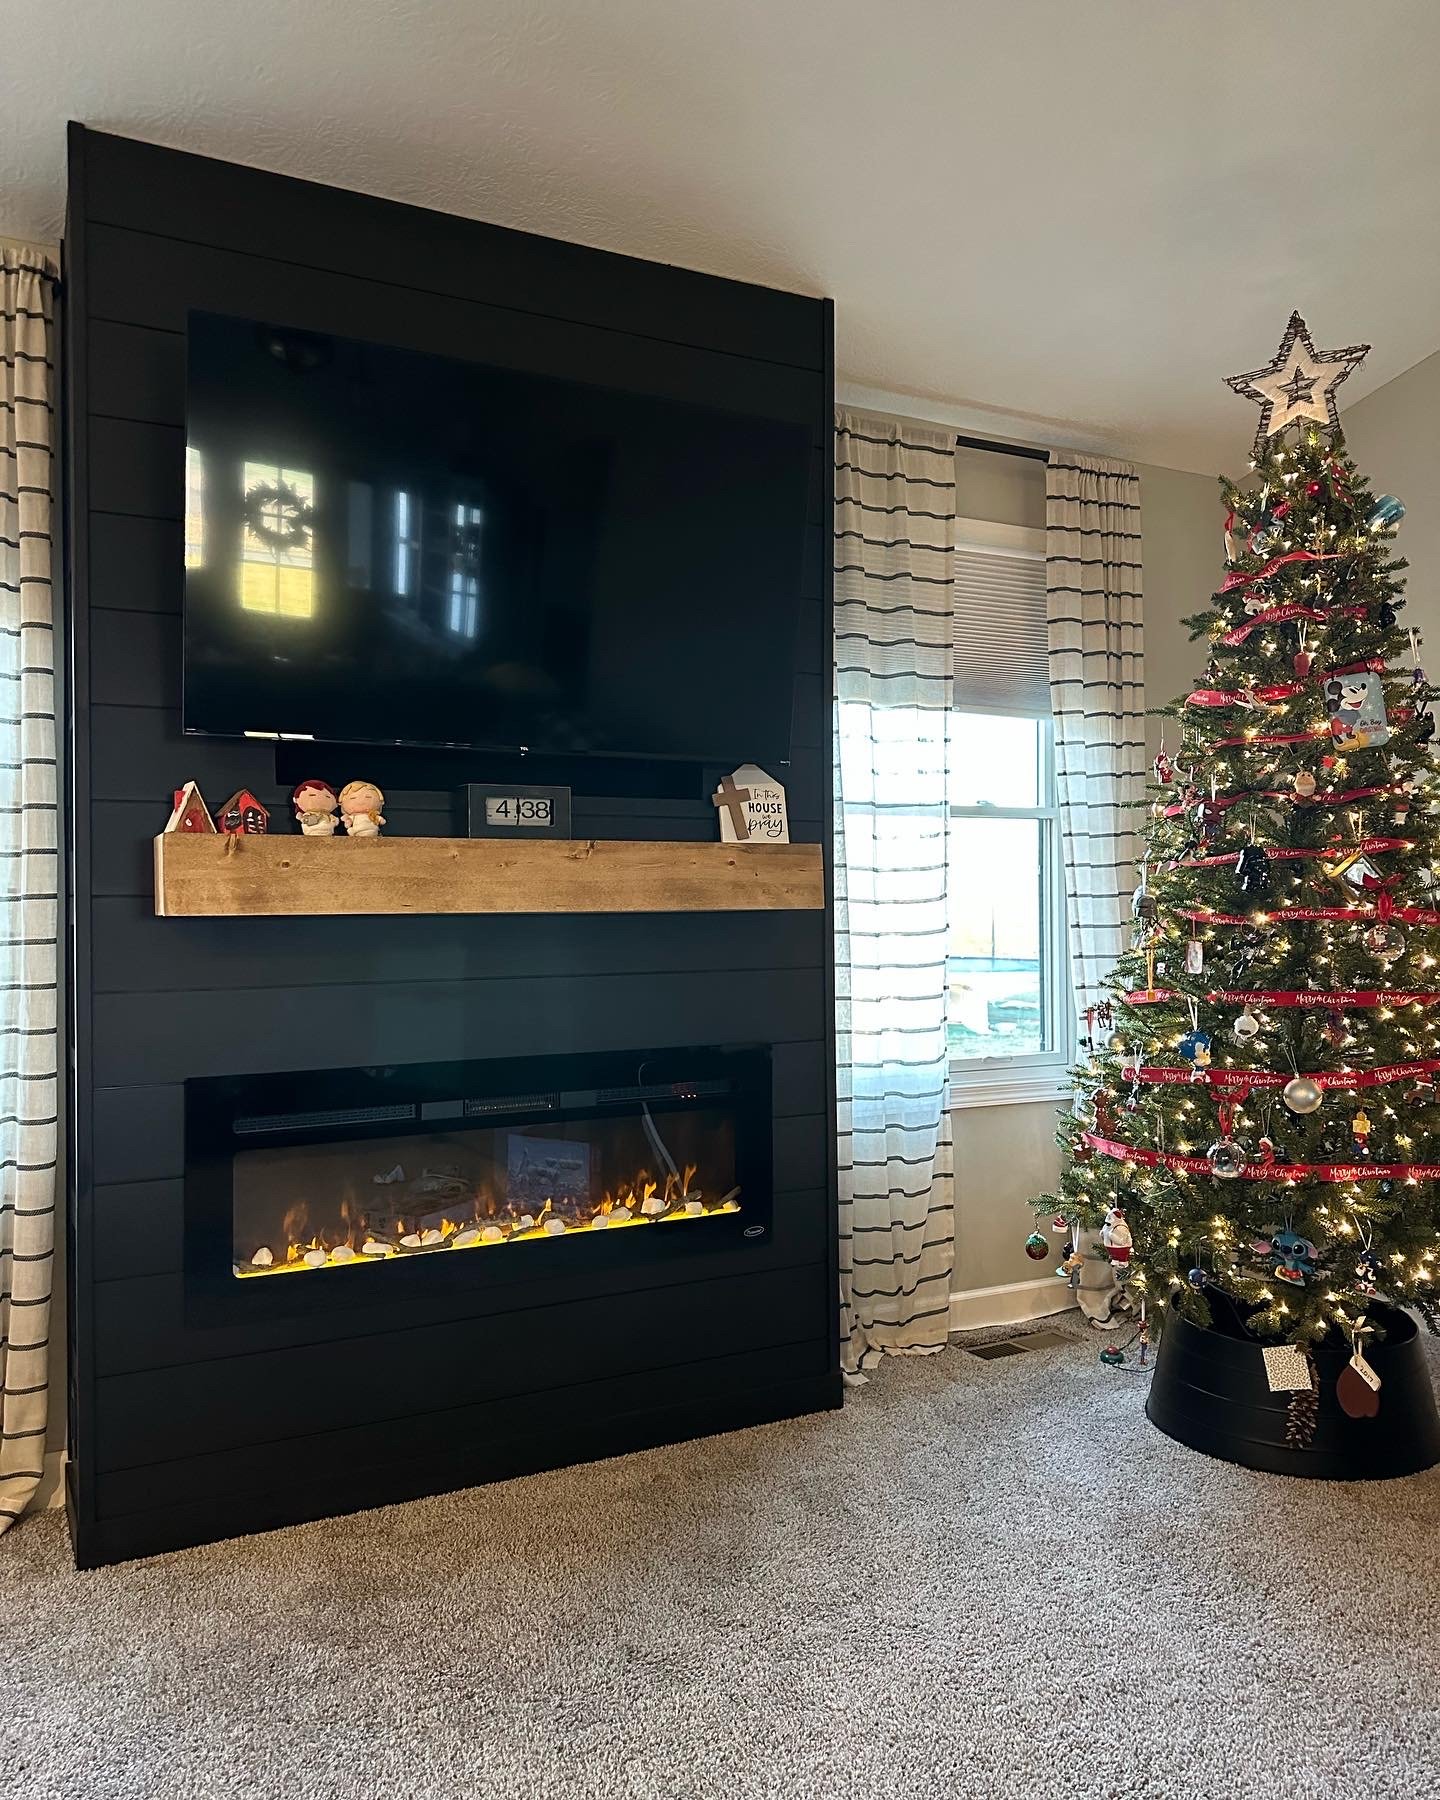
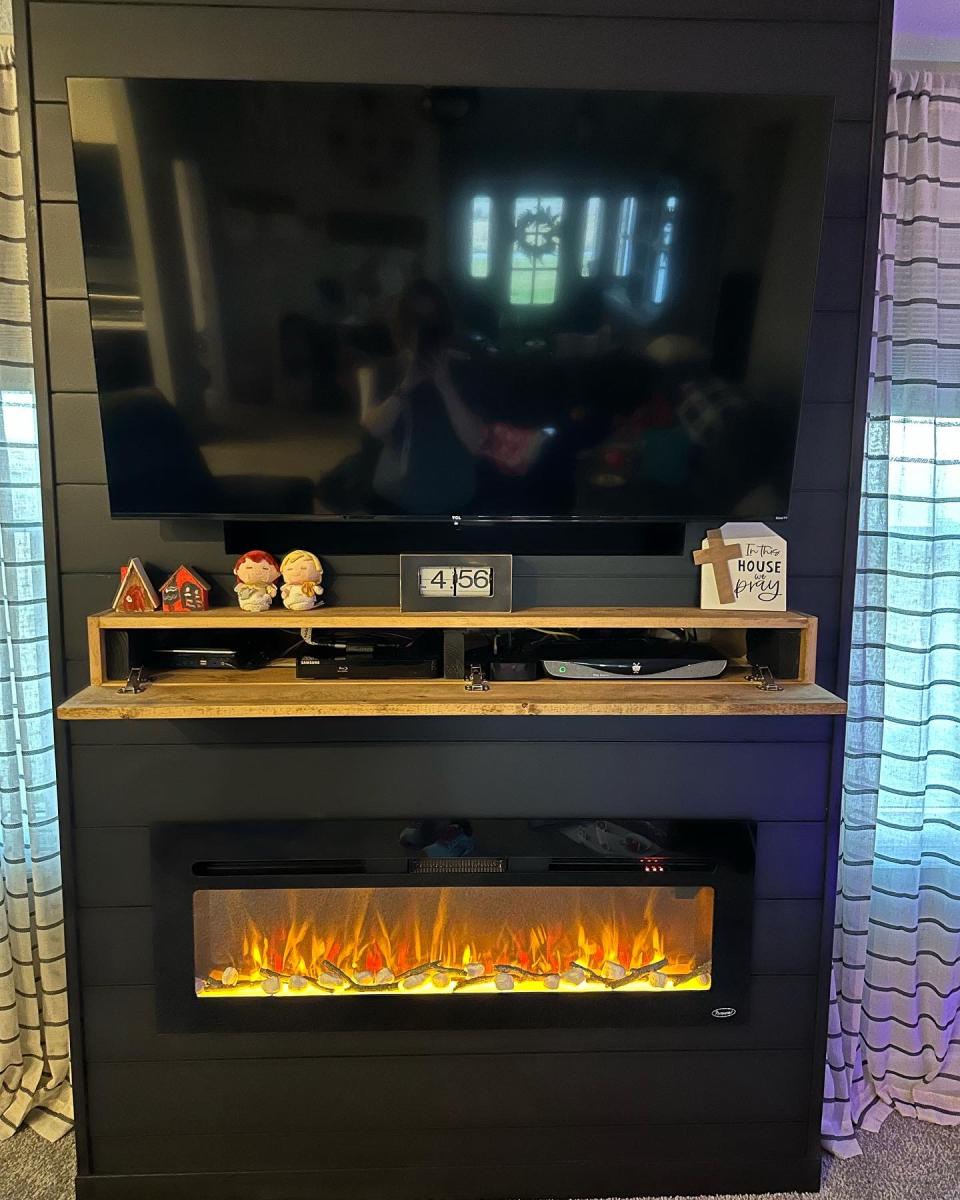
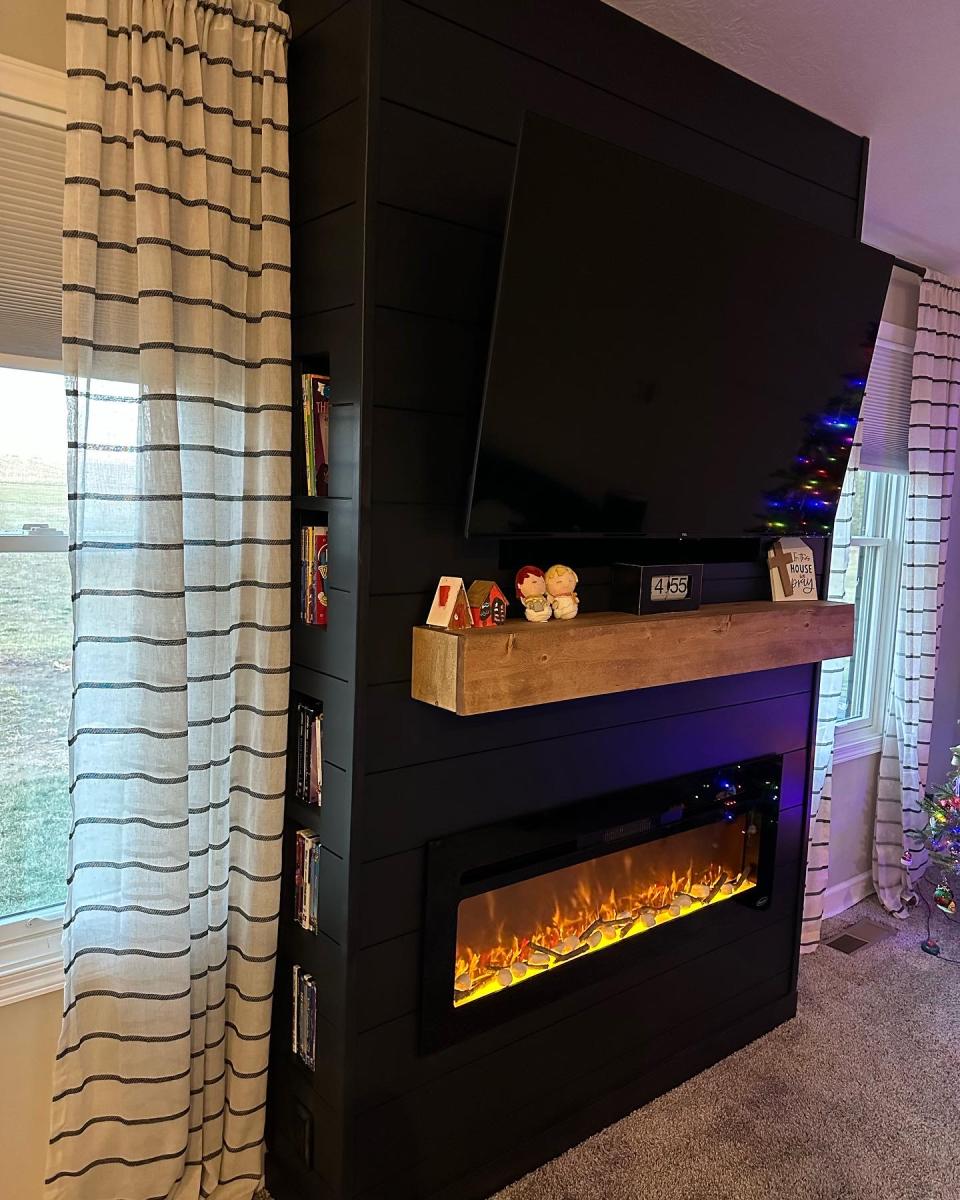
Fireplace with hidden Mantle storage and side bookshelves

Submitted by ibseenu on Thu, 12/01/2022 - 14:30

Thank you Ana for you Fireplace design as it was exactly what I needed! We’ve lived in our house for 3 years now and I’ve wanted a fireplace ever since. Your plan was perfect and with a few modifications I made it come to life. My 9yr daughter as I was almost done building thought there should be a shelf for books and movies below the fire place. It gave me the idea of adding storage on the sides. I had already had the idea of the mantle storage and just used a floating shelf idea and made that. This was a lot of fun!! It took me a little over a week to build. But can’t wait to build something else for our house… like the mudroom!

Amy

Comments

jtemperley

Sun, 01/08/2023 - 19:02

That looks awesome! My husband and I are planning on doing this as well. I do have a question, as I see you have carpet just like us. Did you cut out the carpet where you built out, and if so how did you go about that, or did you just build on top of it?
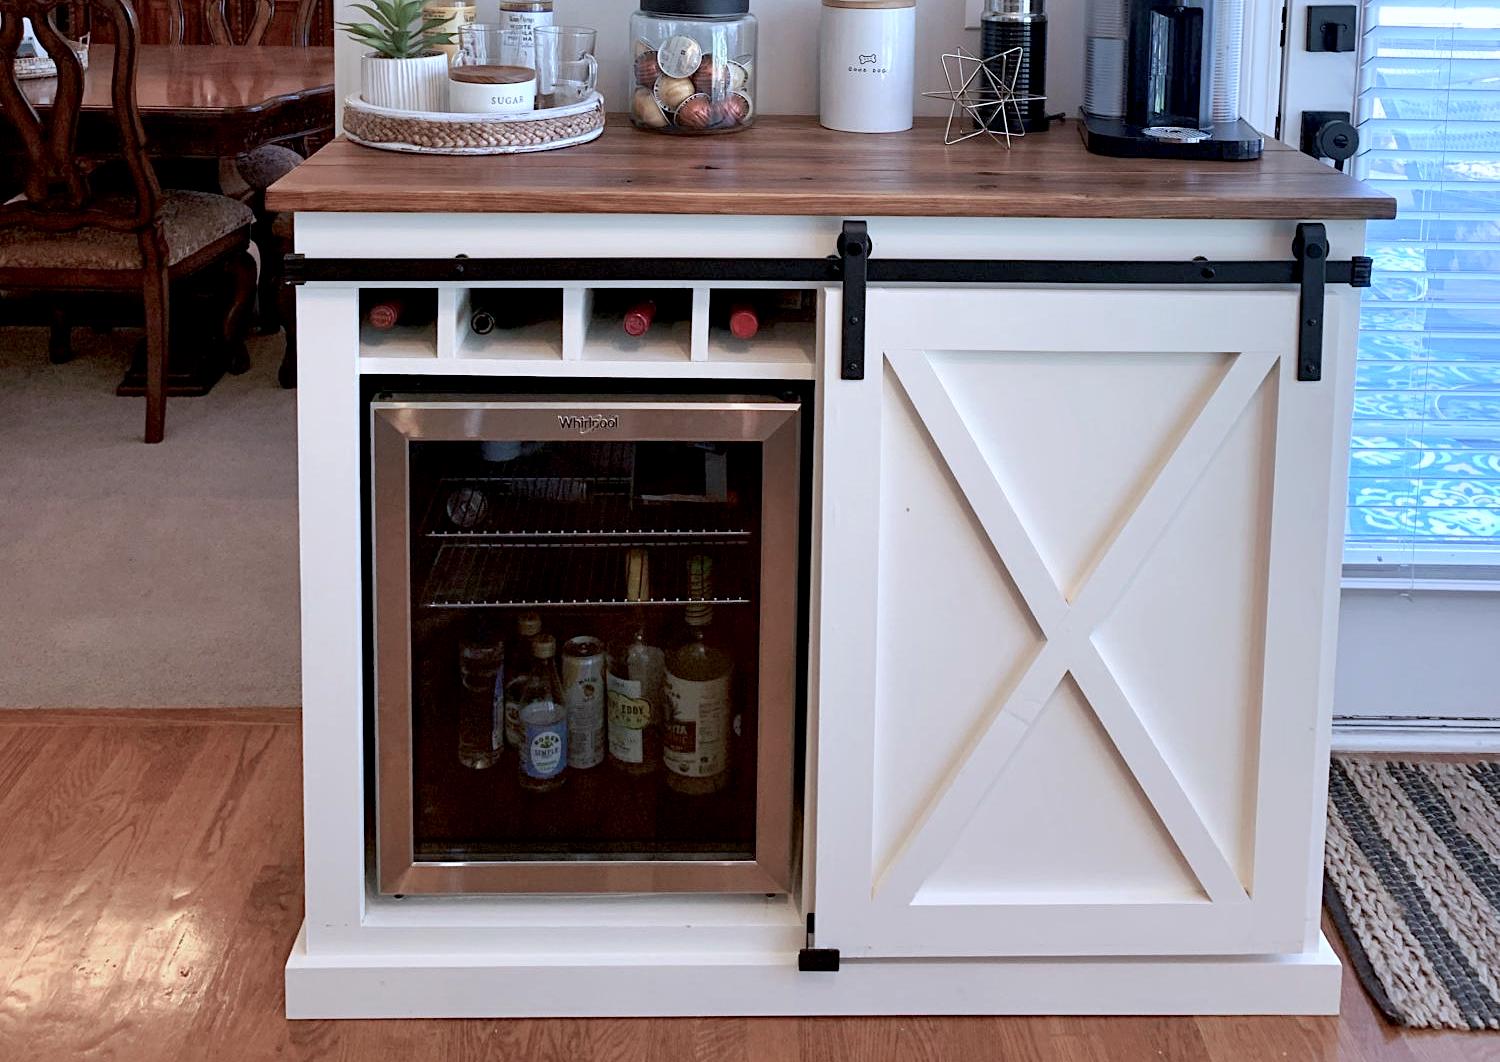
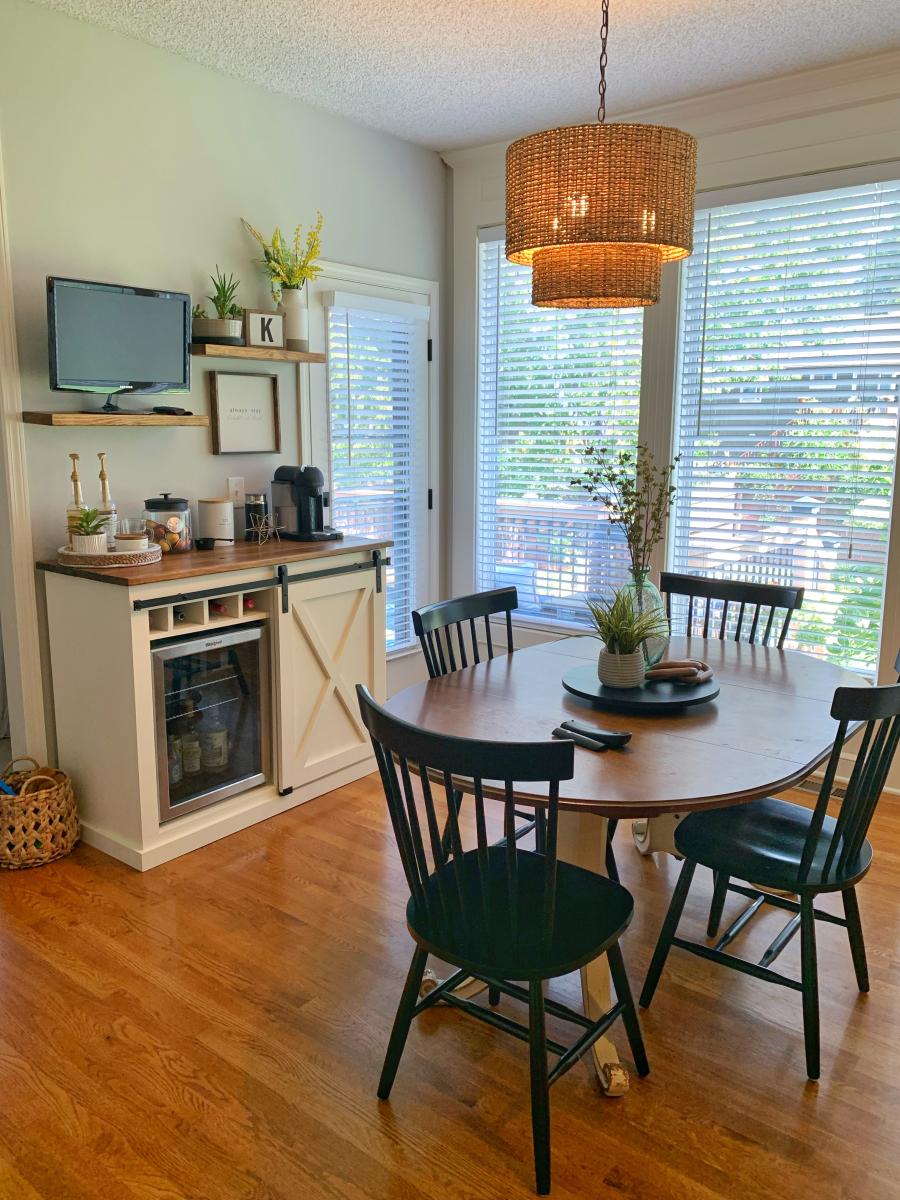
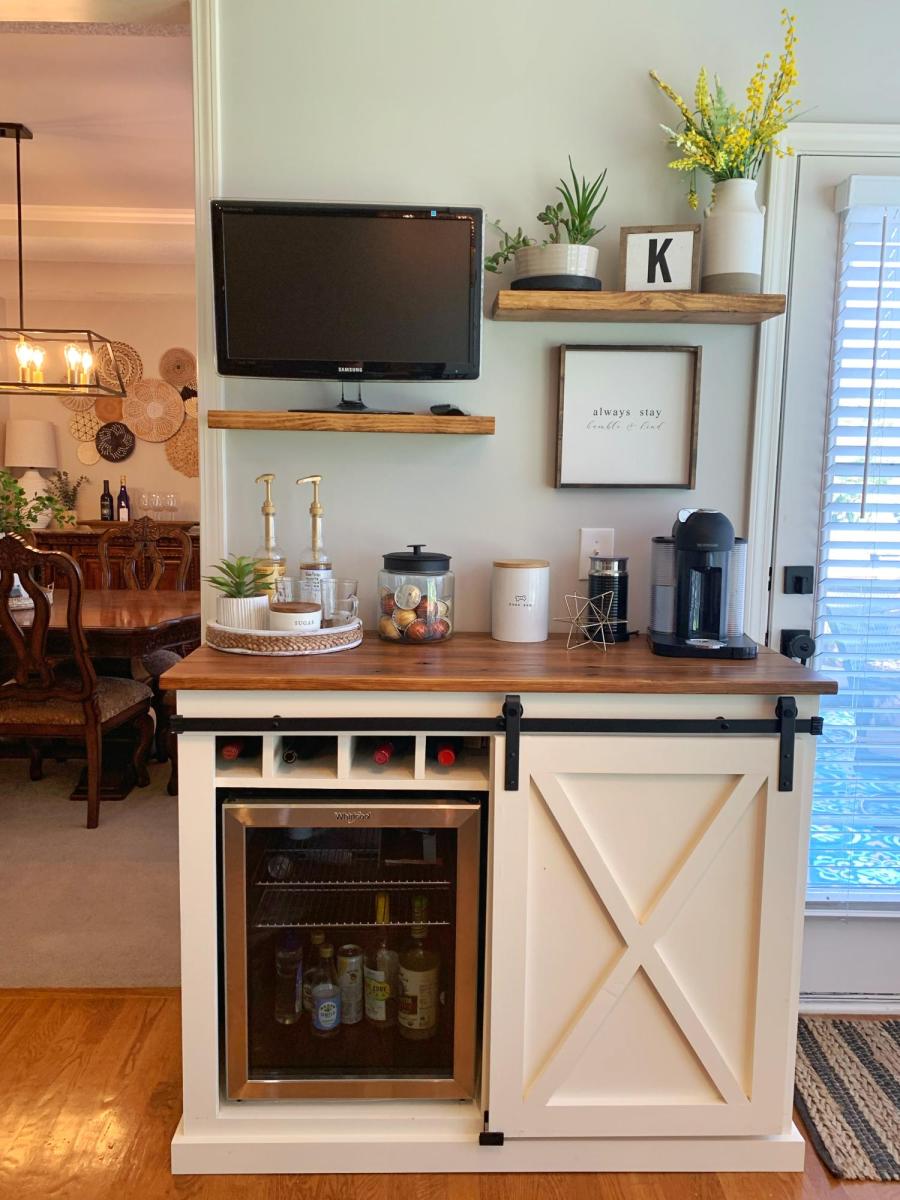
Coffee Bar

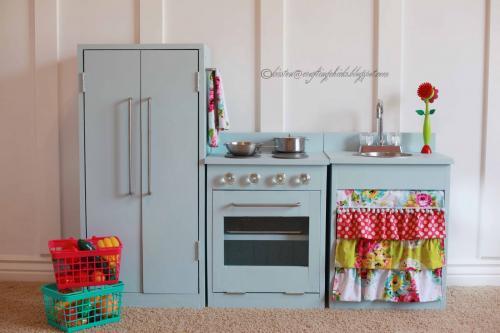
Submitted by Anonymous (not verified) on Wed, 12/28/2022 - 18:35

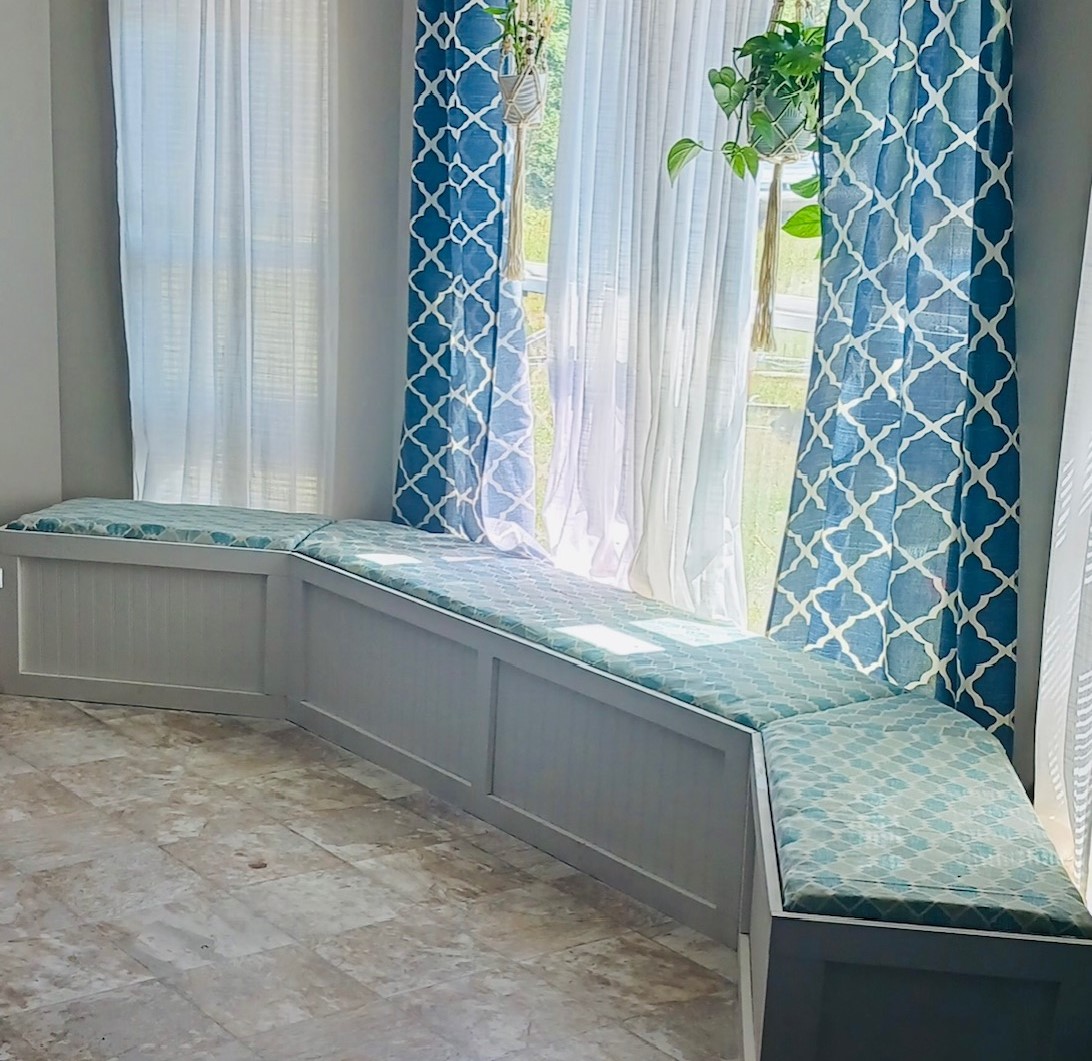
My wife wanted a coffee bar and I wanted a fridge for wine and beer. So we compromised on this.
Comments

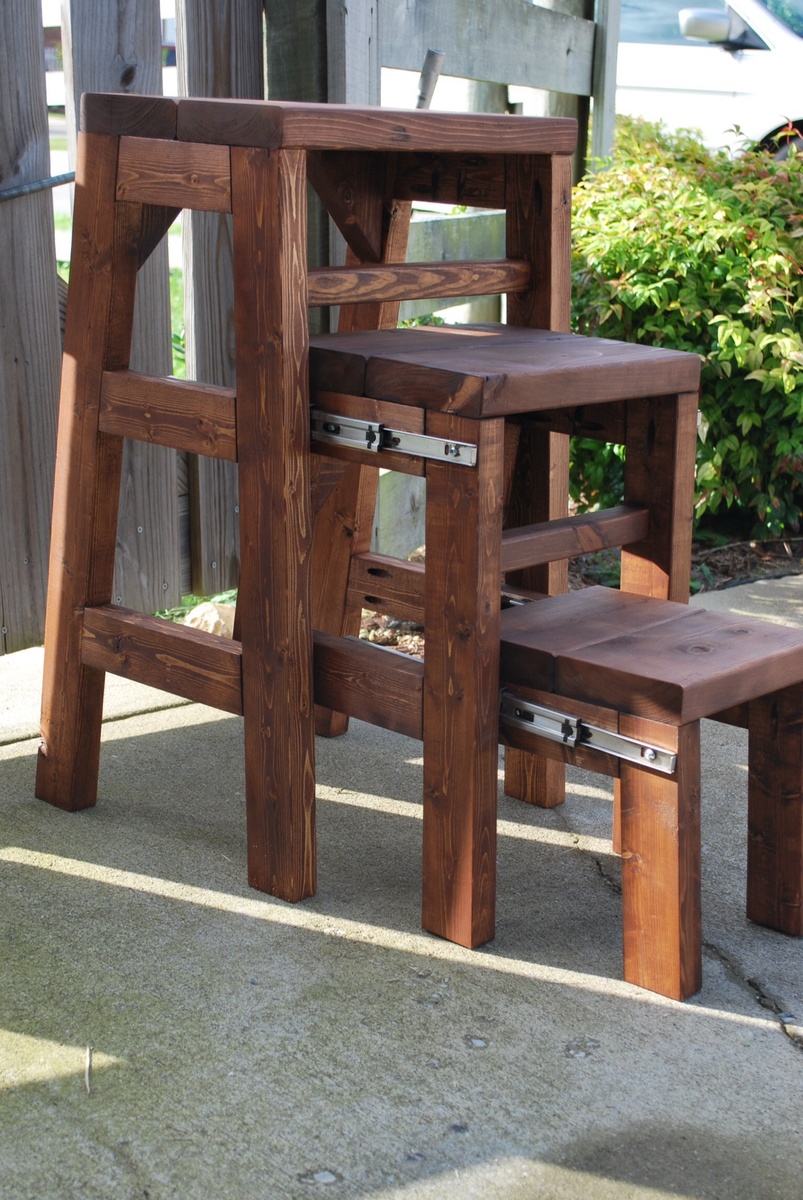
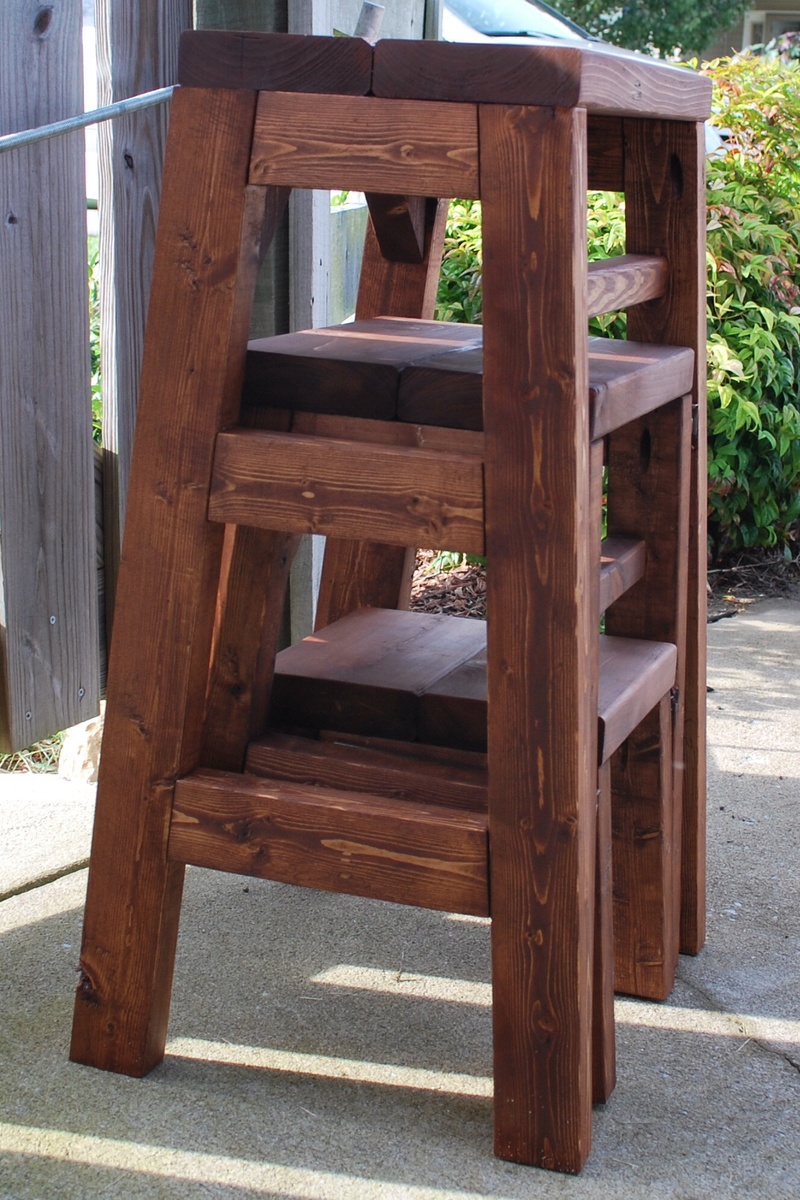
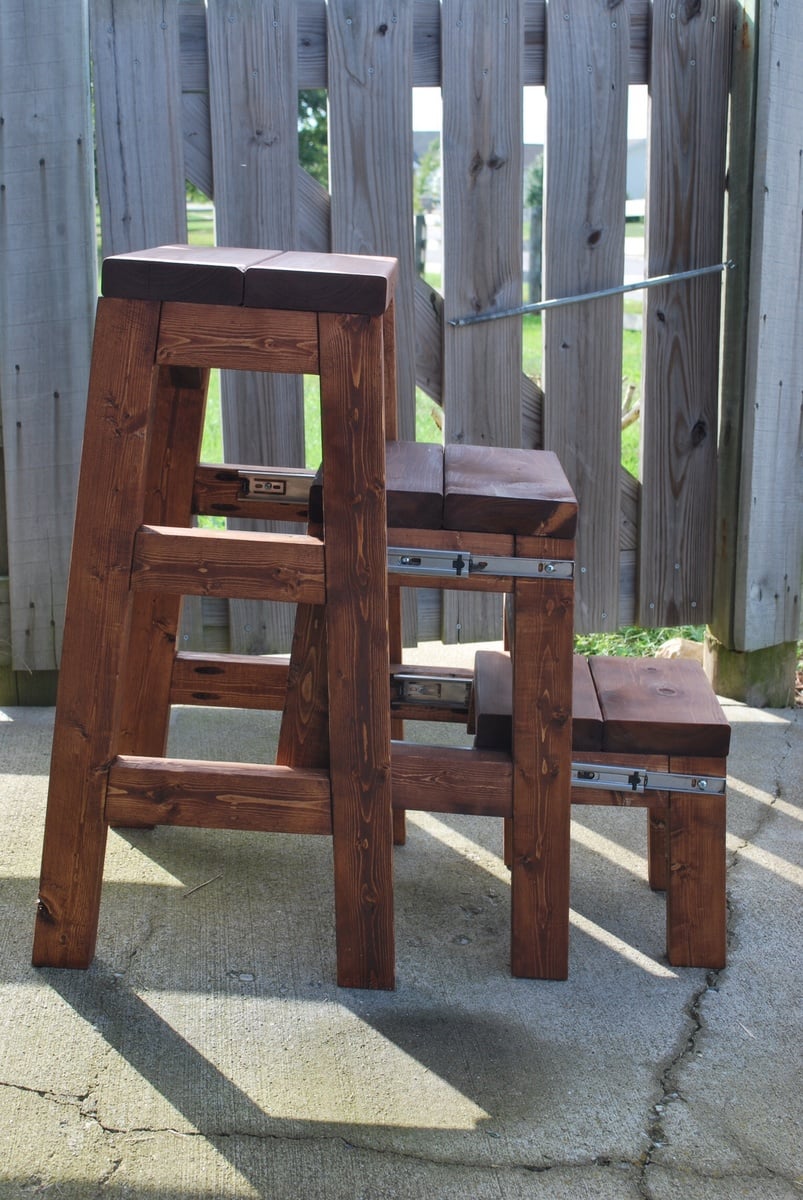
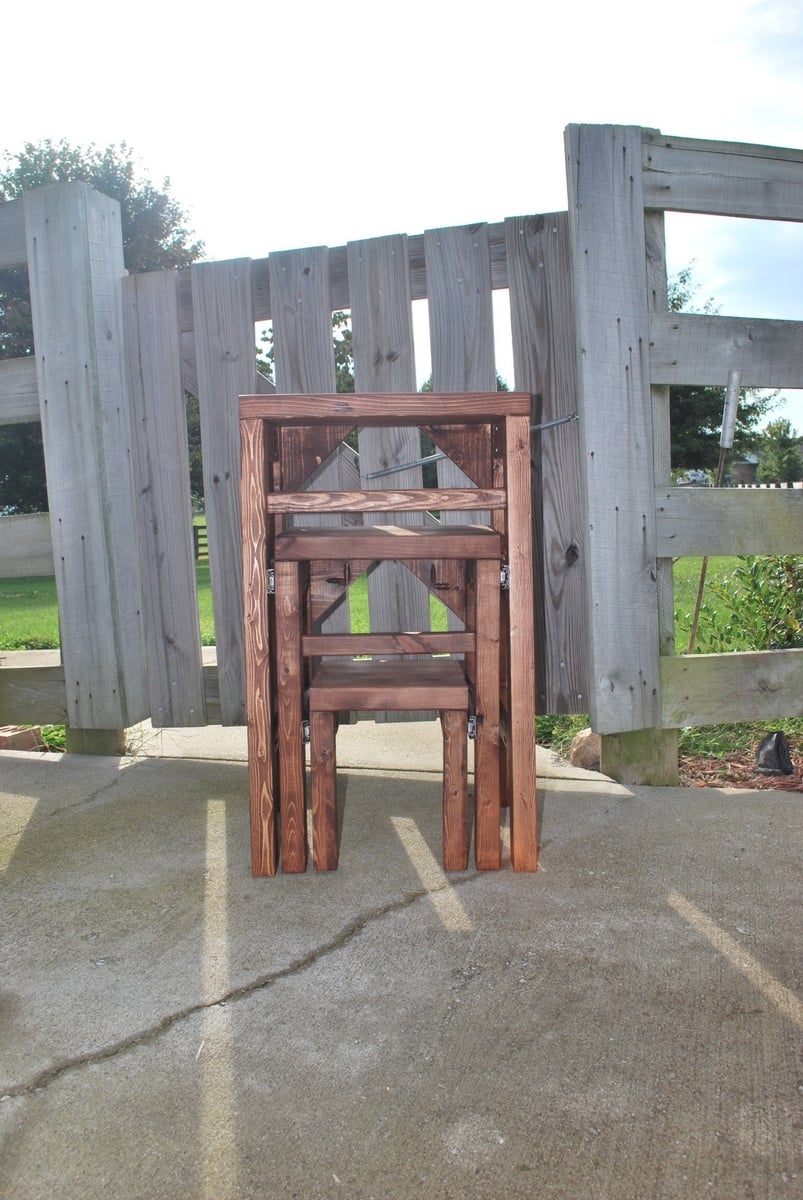
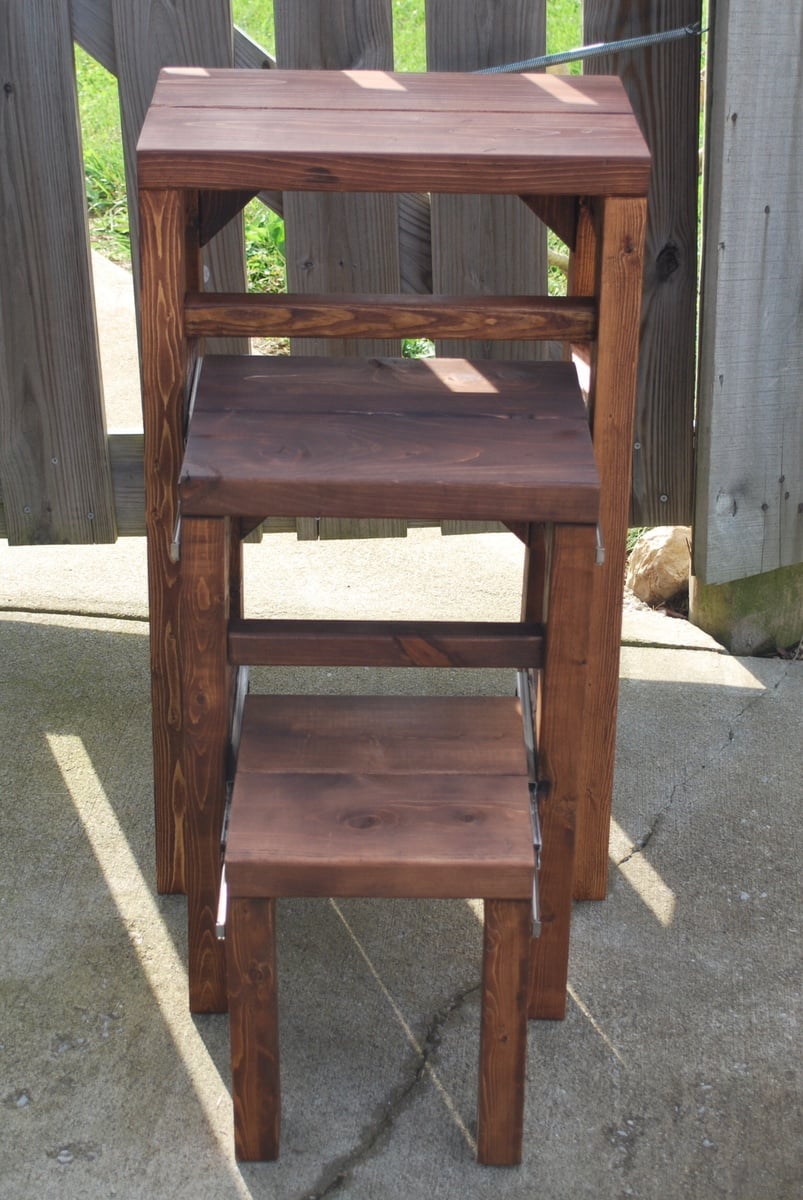
Pull-out step stool

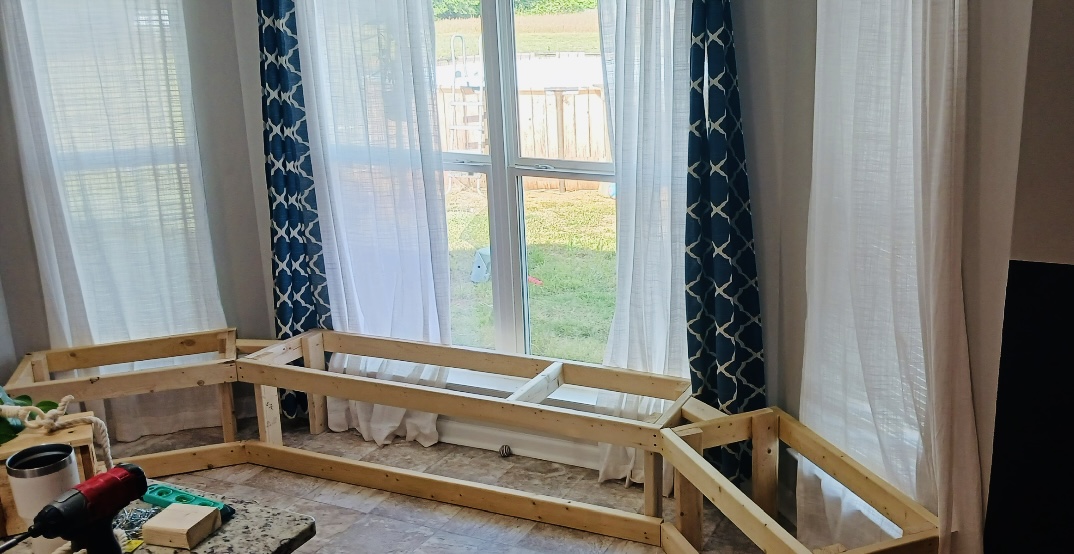
I needed a step-stool in my kitchen to reach in my top cabinets. I'm rather short so I was constantly dragging a chair from my dining table over to find things. I did a google search for a step stool and looked at images. As soon as I saw the picture I knew I had to build it, the retailer selling the original one I saw has a starting price of $270 and goes all the way up to $680! It took me 2 weeks off and on and several times of putting together and taking apart to get Ito the size specifications on the retail website.
Estimated Cost
Around $50
Estimated Time Investment
Weekend Project (10-20 Hours)
Finish Used
Stain and satin finish poly
Recommended Skill Level
Beginner

Comments

Bunnie1978

Wed, 10/09/2013 - 04:13

That's a cool idea... mix between nesting tables and stools! Great job!

Mrswhetstone

Sun, 05/31/2015 - 18:27

I just used the picture i found online as reference and built it through trial and error. Unfortunately I don't know how to create plans either.I can tell you the legs are 2x3's cut at a 5° angle and the tops are 2x6's. I ordered the drawer slides from amazon for approximately $12 a piece.

robear529

Fri, 08/21/2015 - 06:34

Hi, I've been looking for the original image that you used as your model in an attempt to find dimensions to start with, but haven't been able to find it. Could you perhaps remember what brand it was or what site you found it on? If you still have the stool, could you maybe tell me the width of your top step and I could maybe go from there? 

Thanks for the picture. This is a brillant idea and exactly what I'd like to create for my kitchen. I'm hoping to be able to use it as a counter height seat as well when I'm working in the kitchen.

Storage Step

Submitted by sophie on Wed, 10/12/2011 - 01:38

I built the storage step using my own measurements as it's designed for adults. It is used for reaching the very highest shelves in my floor-to-ceiling wardrobe system.
It was my first project using my jigsaw and am very happy with how it turned out.
I added some rubber non-slip mats stuck down so no one goes flying when stretching for clothes!
Have a look at my blog for more pictures and information.

Built from Plan(s)
Estimated Cost
€20
Estimated Time Investment
Afternoon Project (3-6 Hours)
Finish Used
Turquoise and white paint
Varnish top coat
Recommended Skill Level
Beginner

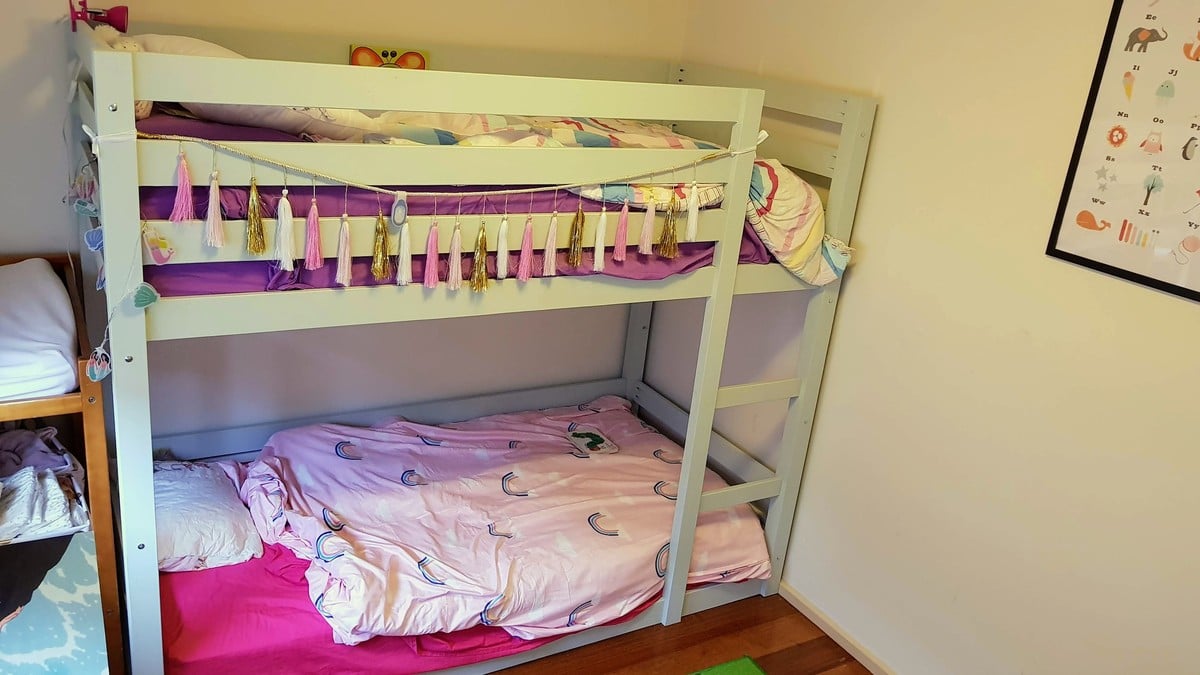
Class bunk bed

Submitted by Anonymous (not verified) on Tue, 03/12/2019 - 17:47

We removed the legs and added an extra piece to the top to bring the mattress height down.

Built from Plan(s)
Estimated Time Investment
Weekend Project (10-20 Hours)
Recommended Skill Level
Intermediate

Quick and free wall decor

Submitted by AlexWS on Tue, 10/18/2011 - 14:02

So about a month ago I had planned for people to be over for a casual evening of story telling, snacking, casual beer drinking and the exchanging of a variety of craft beers. All in all, a good time, no biggie.

Fast forward a little bit after making this commitment, the roommate tells me he and his girlfriend are getting their own place and therefore moving out. Great! Now I don't have to put on pants when I wake up to pee at night.

Fast forward to the first of this month, he's moved out. Gone with him is much of the furniture and things in the house. Not really a big deal except now it looks like I live with nothing but a bed, a couch and some milk crates. Not the image I want conveyed to a group of people who are going to see where I live for the first time.

Of course maybe a more normal person would go buy some things to fill the gaps, unfortunately for a 24 year old making not nearly enough over minimum wage, that isn't an option. Besides, even if I could afford it, furniture markup makes me ill.

So I had two weeks to make enough furniture to make my house appear respectable with a limited budget. To my favorite medium it was, pallet wood.

Everything featured here is made with reclaimed pallet wood, leftover paint and leftover screws/nails/sandpaper.

Except for the beer bottle shelves which were simply painted the paint was all worn down to look aged by using worn out sanding pads on a random orbital sander(seriously, leftover sanding pads). They were all left that way then with the exception of the shelves for the glassware which were rubbed down with ebony stain.

I'm listing my time for all these at just 3-6 hours even though it took two weeks because the time was spread out between other projects at the same time and most nights I only had a couple hours to work on them after work. Plus the obvious time for paint to dry.

Built from Plan(s)
Estimated Cost
Free
Estimated Time Investment
Afternoon Project (3-6 Hours)
Finish Used
Oops paint sanded with used sanding pads on a random orbital sander.
Recommended Skill Level
Starter Project

Comments

AlexWS

Wed, 10/19/2011 - 17:46

If your tastes are "anything I can get my hands on" than yes we do! That's actually only about a quarter of my collection so far, the rest are on the opposite wall.

Patio sofa

Submitted by Anonymous (not verified) on Wed, 04/24/2019 - 14:02

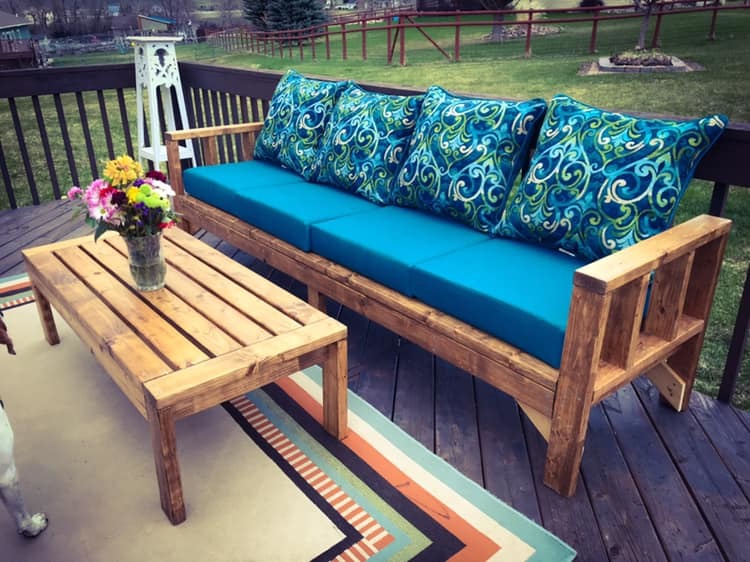
Went with regular cheap studs and extended the couch to make 4-across seating.  Probably should have used better wood because it was hard to find studs that were straight and not full of burrs and knotholes!  AND...studs are actually 1.5" x 3.5", so keep that in mind if you go that route when you're cutting from detailed plans because your dimensions will be off slightly.  Staining and adding spar urethane coat took the longest amount of time.  Cushions are 24" x 24" from Lowe's.  Wood = $80, Cushions = $180.  A little extra for screws and a few pieces of hardware.  This pic shows the couch without a back brace that I added later.  It's a beast, too!  After all that wood the couch probabaly weighs close to 150 pounds!     

Estimated Cost
$280
Estimated Time Investment
Weekend Project (10-20 Hours)
Finish Used
Minwax Puritan Pine Wood Stain, Spar Urethane
Recommended Skill Level
Beginner

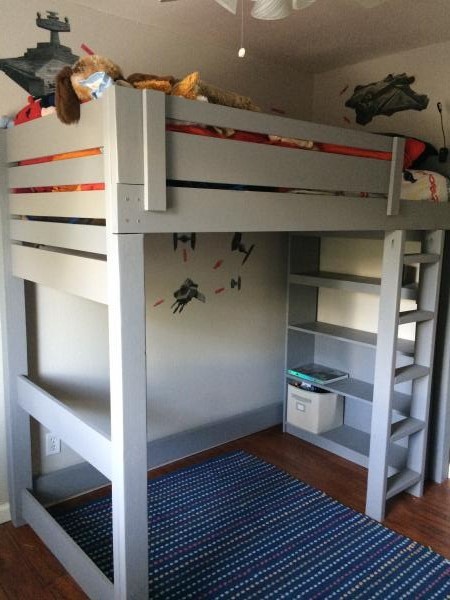
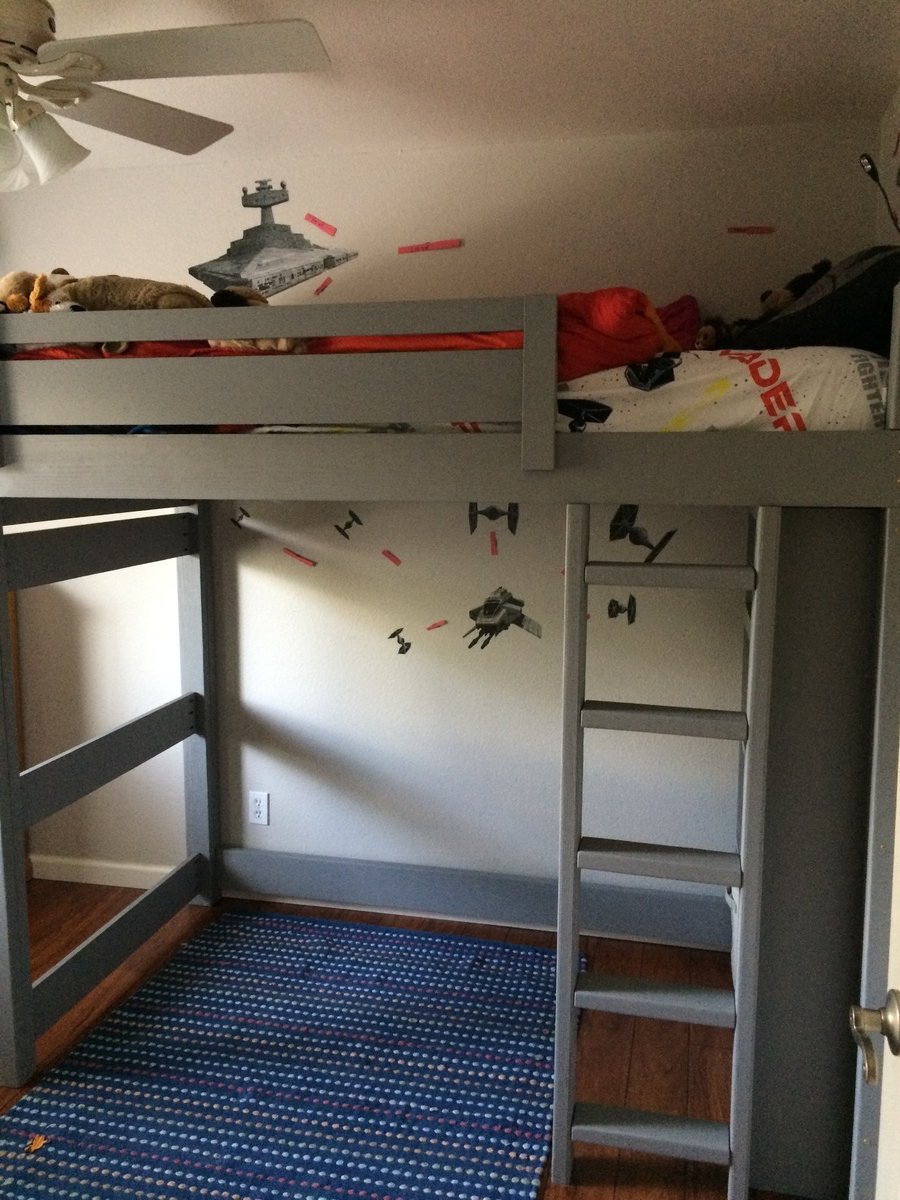
Side-Street Loft Bed

Submitted by Anonymous (not verified) on Fri, 02/19/2016 - 07:41

This is a mix the "Side-Street bunkbed" plan and the "How to Build a Loft Bed." I used "Spax" 3 inch wood screws to attach the side rails instead of bolts used in Side Street plan.  I used KregJig pocket holes for everything else. 

Estimated Cost
$250
Estimated Time Investment
Week Long Project (20 Hours or More)
Finish Used
Behr paint: Anonymous
Recommended Skill Level
Beginner

Comments

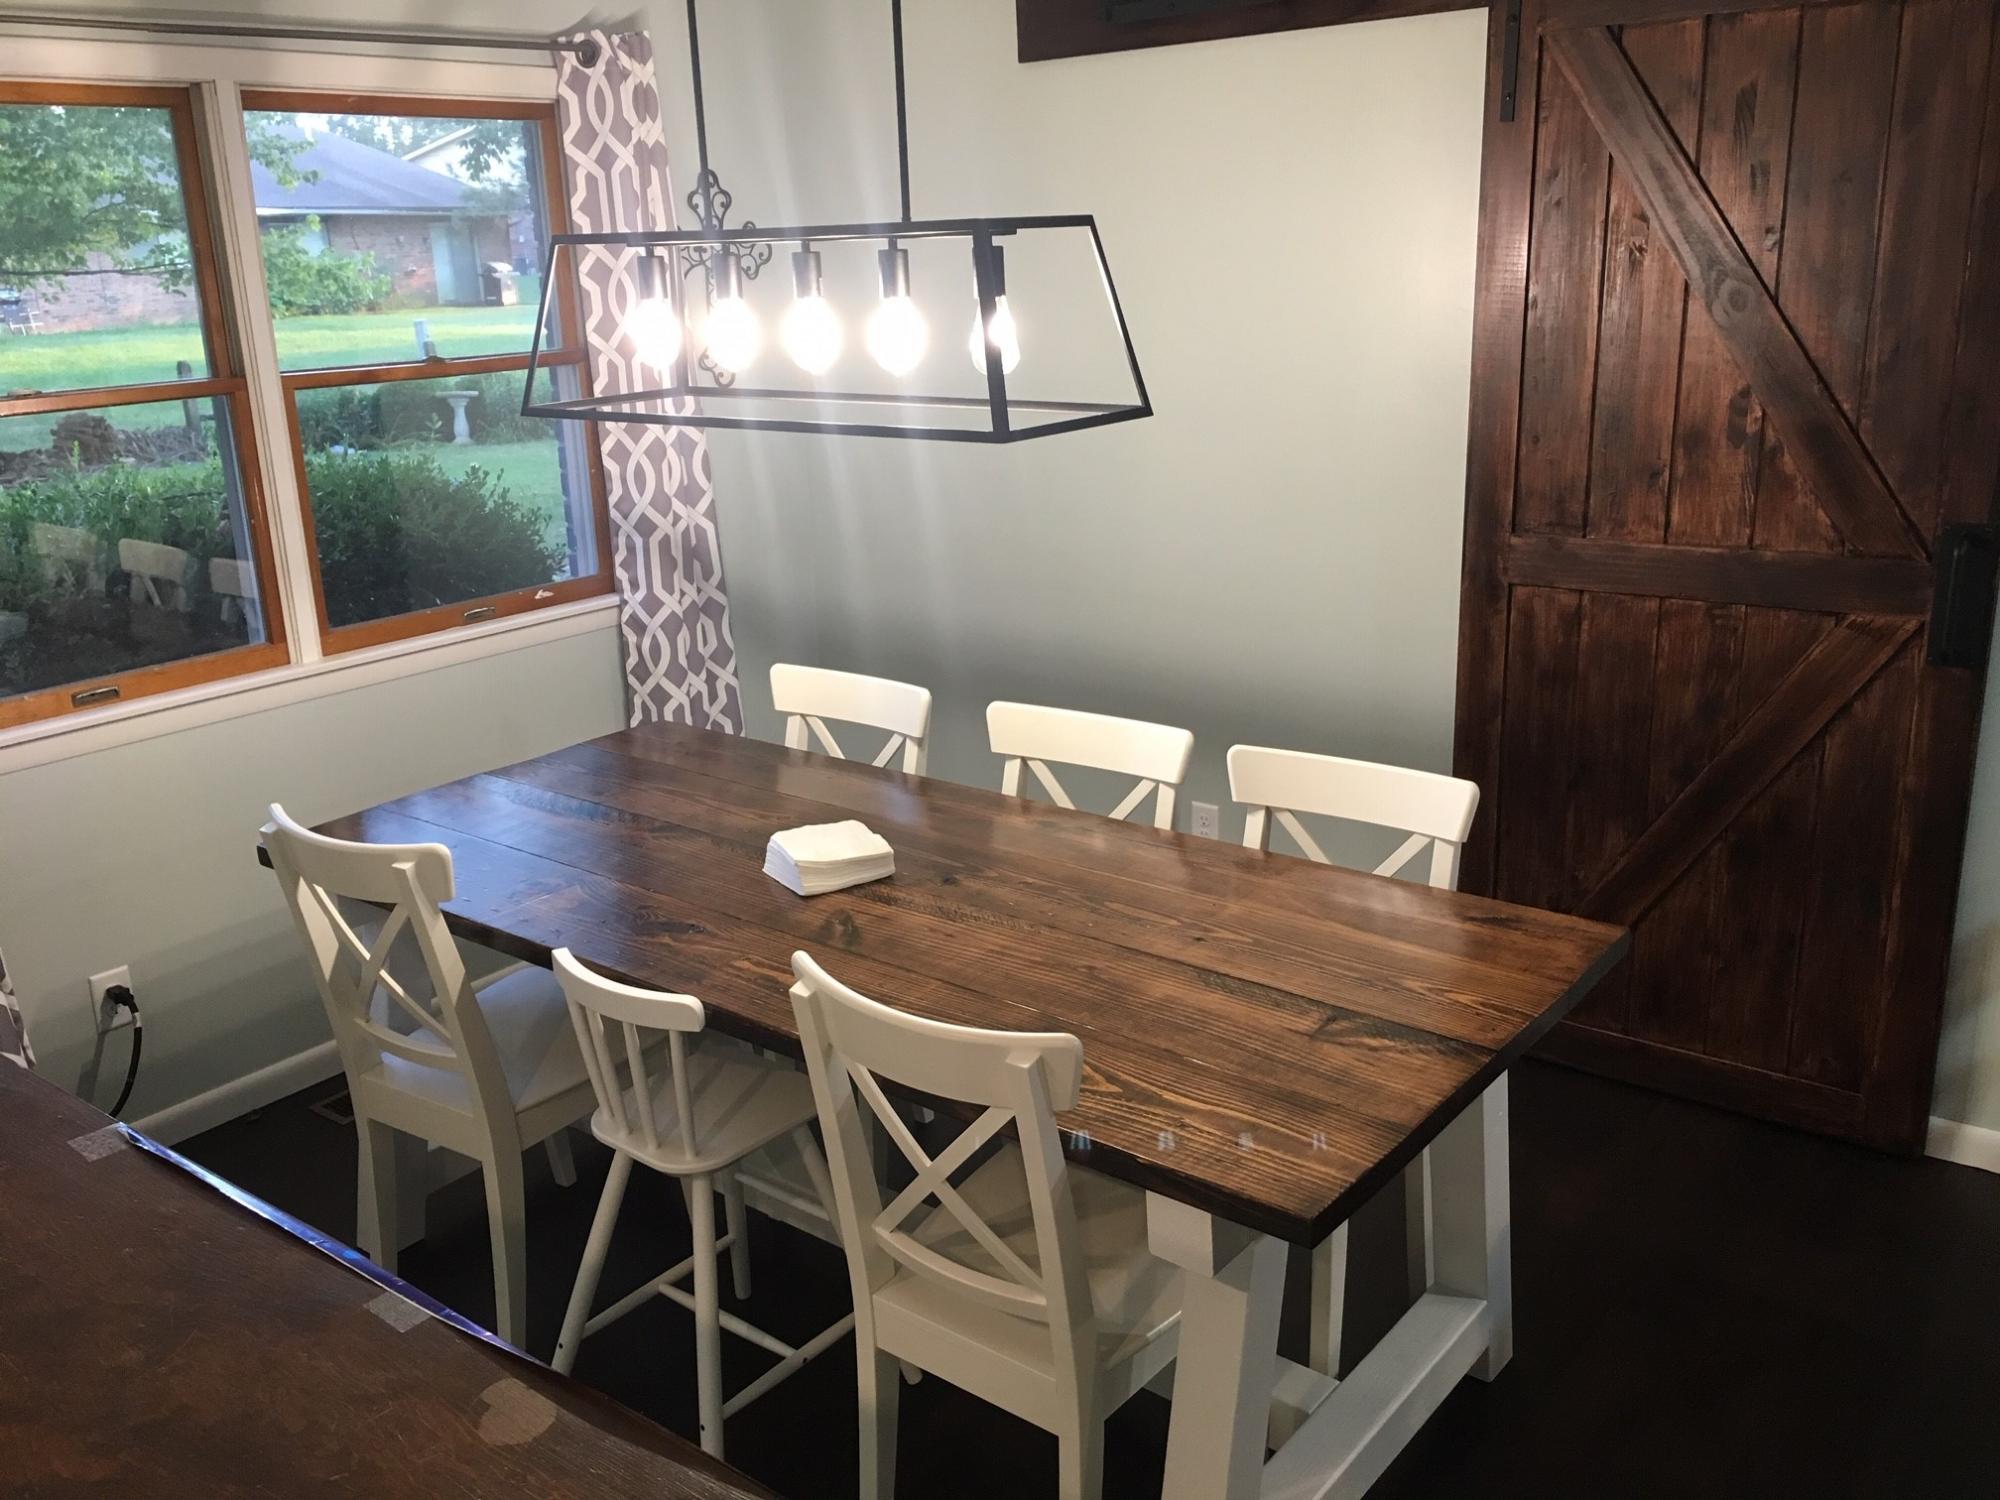
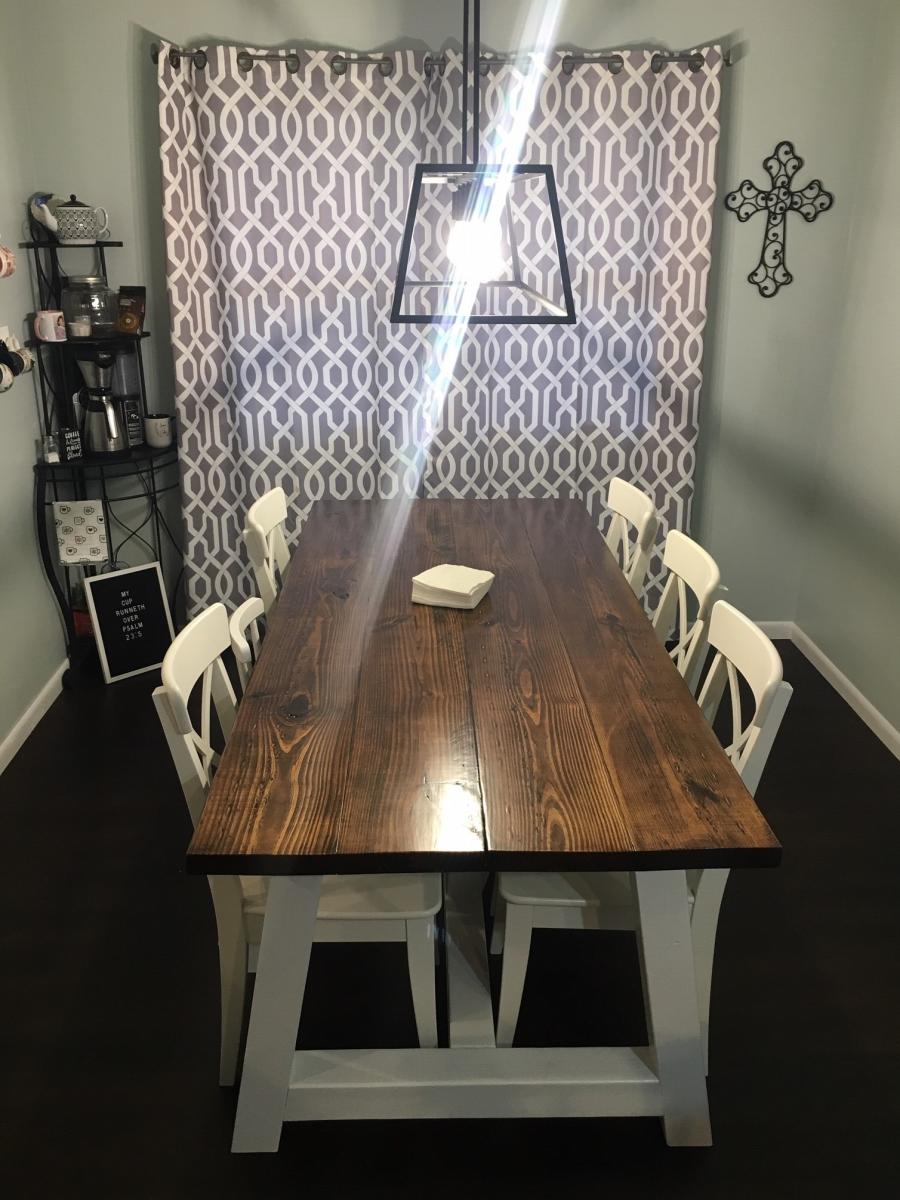
Modified 4x4 Truss Beam Table

Submitted by Anonymous (not verified) on Thu, 10/03/2019 - 05:26

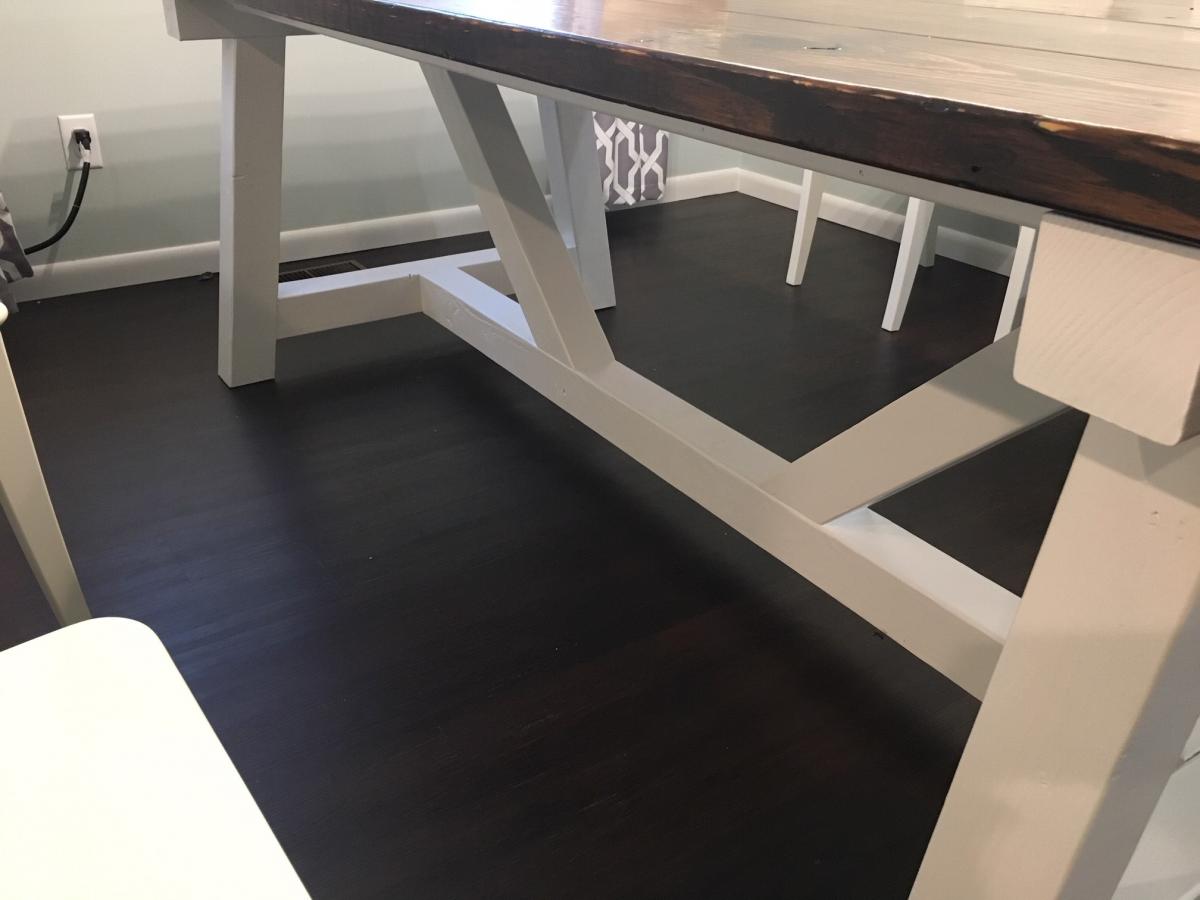
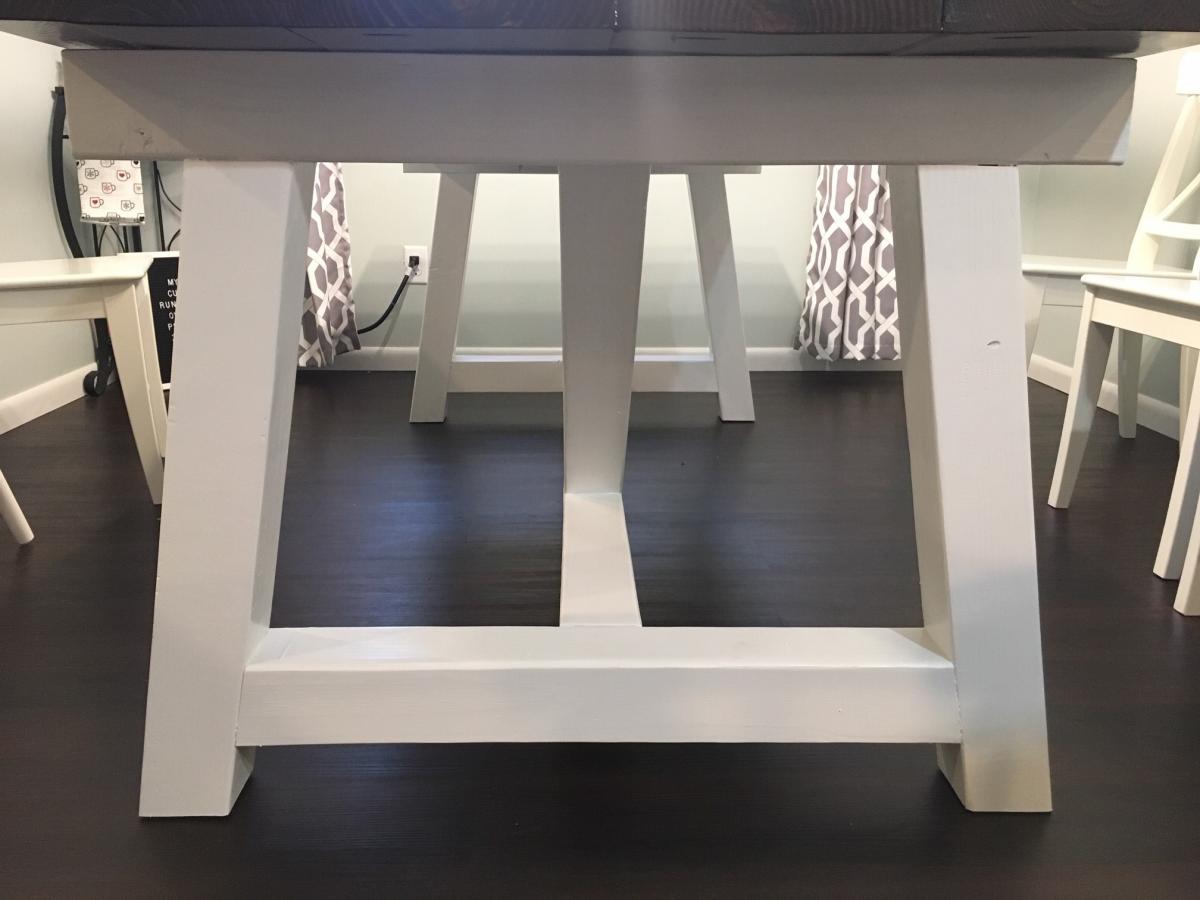
Build the 4x4 Truss Beam Table base with the Fancy X Farmhouse Table top shortened to 7' (84") for my wife's birthday! We love how it looks and can not wait to build the matching benches! Also, this is my first time attempting a building project and Ana-White Plan. The plans are very easy to follow and execute!!

Estimated Time Investment
Week Long Project (20 Hours or More)
Finish Used
Varathane - Kona and Clear Poly
Sherwin Williams - Cotton White
Recommended Skill Level
Beginner

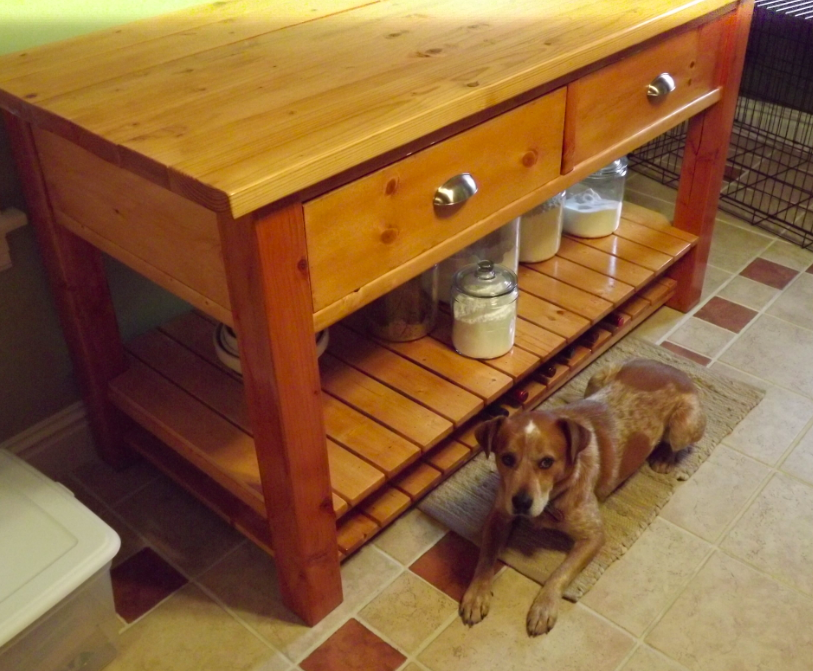
Kitchen Shelf

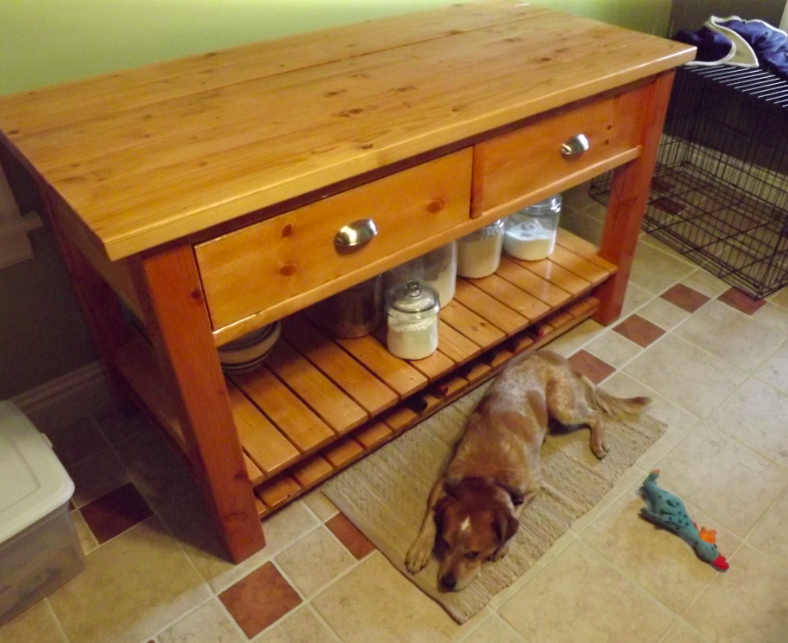
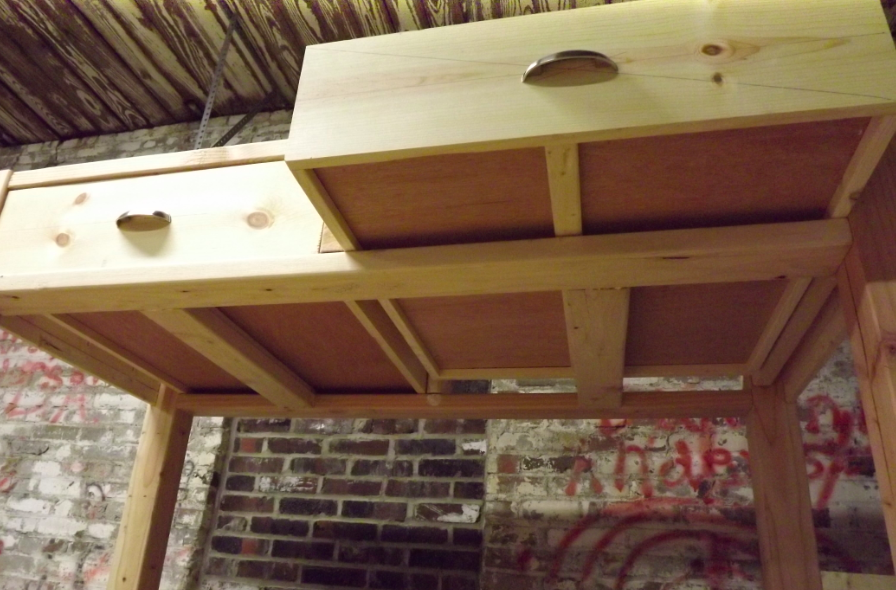
I needed something to fill an empty wall in my kitchen. I wanted something for both baking and wine storage so I modified a couple of things I saw on this website. Wine storage on the very bottom (the slats are wide enough apart that the wine bottles sit in the cracks and stay snug) with baking stuff above that. I think I'll build a matching shelf or two for the wall above it

Estimated Time Investment
Weekend Project (10-20 Hours)
Finish Used
Minwax Polyshades Classic Oak Gloss
Recommended Skill Level
Intermediate

Comments