Zach's new desk
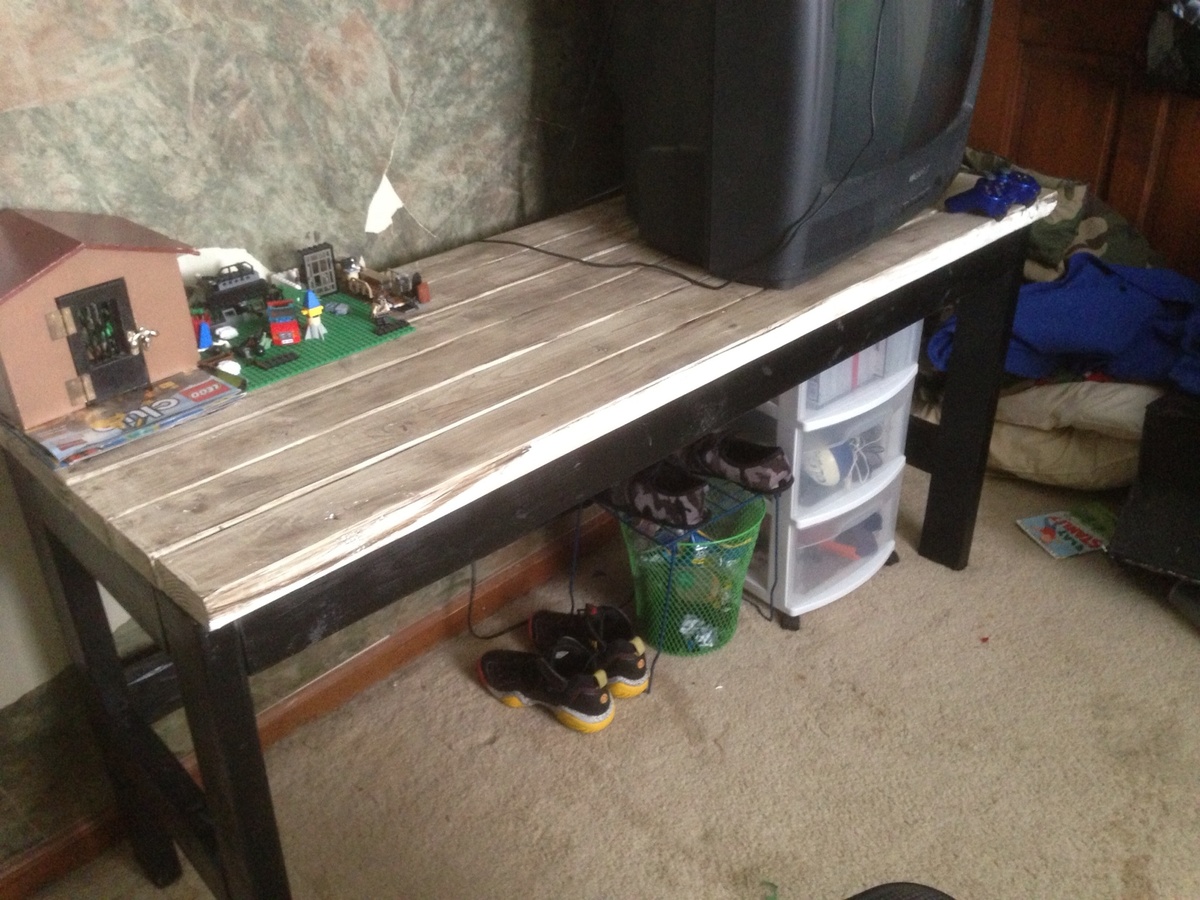
I built this desk so my son would have a place for his old school tv and to do his homework! It was super easy and I love how the finish came out! His room is a huge work in progress but this is the first step:)
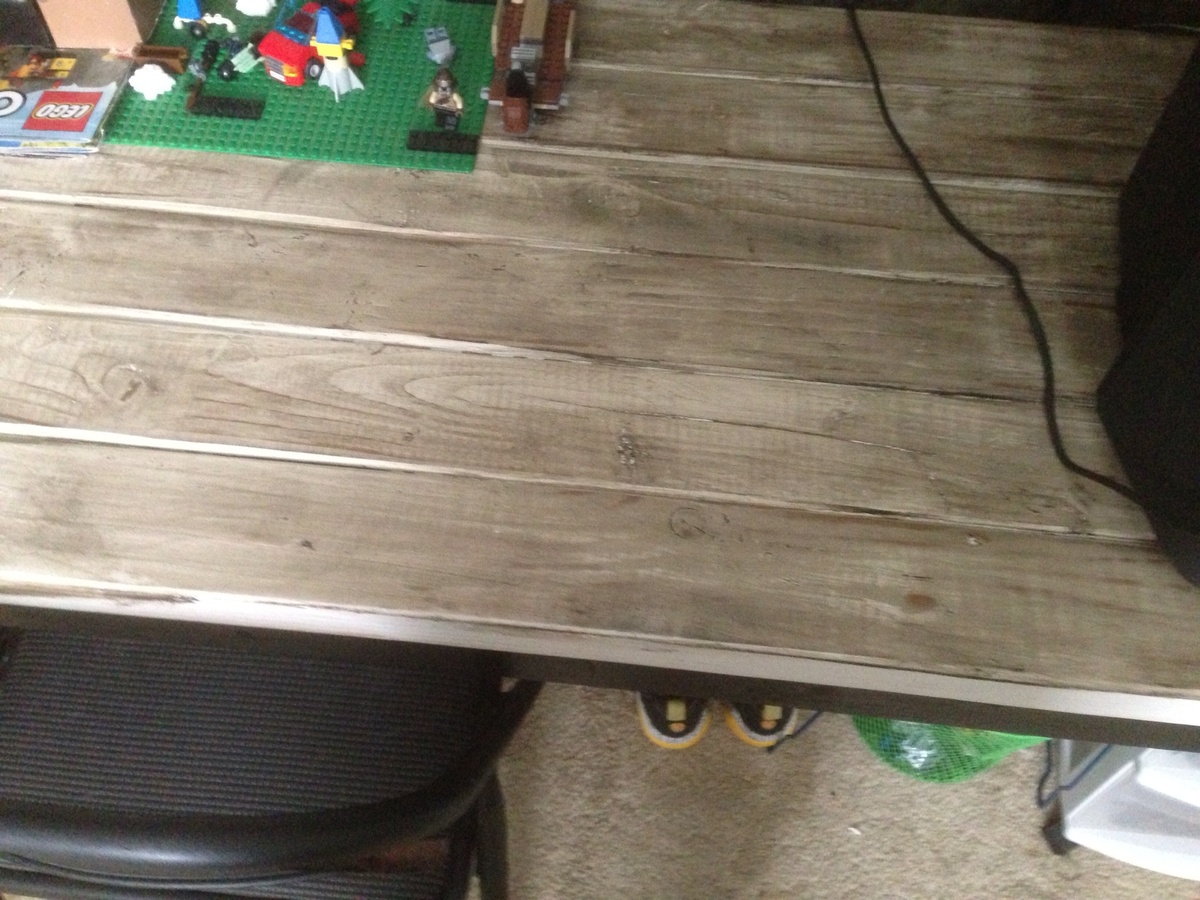

I built this desk so my son would have a place for his old school tv and to do his homework! It was super easy and I love how the finish came out! His room is a huge work in progress but this is the first step:)

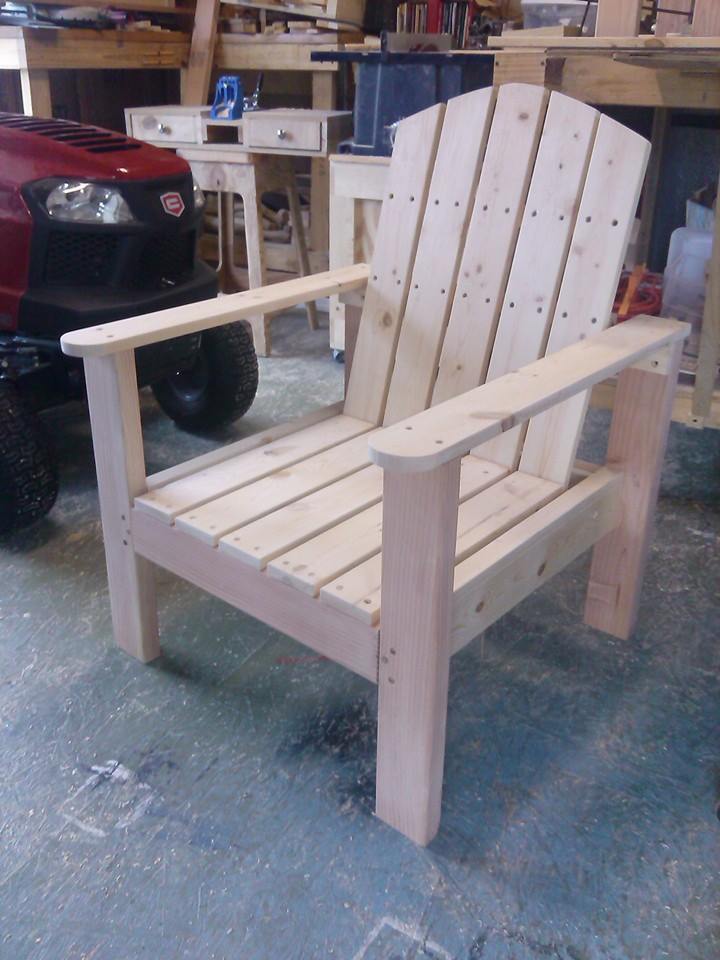
Modified the arm rest and the back to my liking.
Tue, 06/23/2020 - 08:59
Hi, are plans available for this modified chair design? I like that the seat pan appears to be flat and the Adirondack style to the back slate.
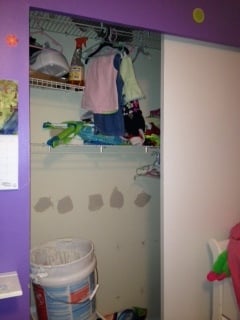
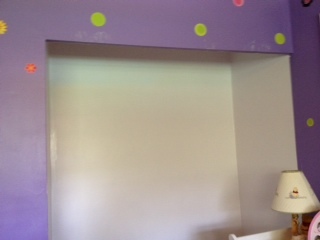
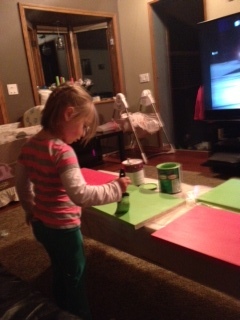
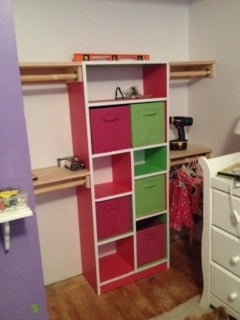
This one took a while in between taken care of the baby and working full time this one took me prolly 2 weekends or longer to do if I didn't have to do all that stuff lol. I had this horrible wiring rack if you can see that went top to bottom and these stupid sliding doors that I really hate bc with the dresser there it's like I can't get in so I just took them off I really want to put in a bifold dorr there but can't so I prolly will hang bead's instead. Kadence really enjoyed picking out the colors and helping me paint. I started off on debating for awhile what I was going to paint what color. I was gonna paint it all pink and do a design of something in green but I think this turned out pretty nicley and really compliment's there purple room. Yay I saved my office from going to the basement!!! Kadence is really happy to get to share her bedroom and I am really happy to be able to get into the closet and actually want to use it so hopefully the room will stay clean and I can get ride of some furniture and get rid of the piles of clothes in my living room lol. I also am glad she can put her own clothes away bc it's just her size. I don't think I am done yet with it tho. I want to put some things on to hang her day hat's on and some ledges towards the out side I think to hold her books. This one cost a little bit more for everything almost about 200 prolly with all the extra's we got for it and the expensive pine. It also took longer bc I had to tear out the old rack and mudd the hole's and tear out the carpet in the closet so I could see the old wood floor and place this in correctly needed to get rid of the carpet eventually any ways. The painting took awhile also of course because I had to prime then paint if I would have used one color it prolly wouldn't have taken that long.

Mon, 05/13/2013 - 13:03
I finally figured out how to do the blog!! So this is my very first blog!!!! I was so excited to be able to publish my great work!
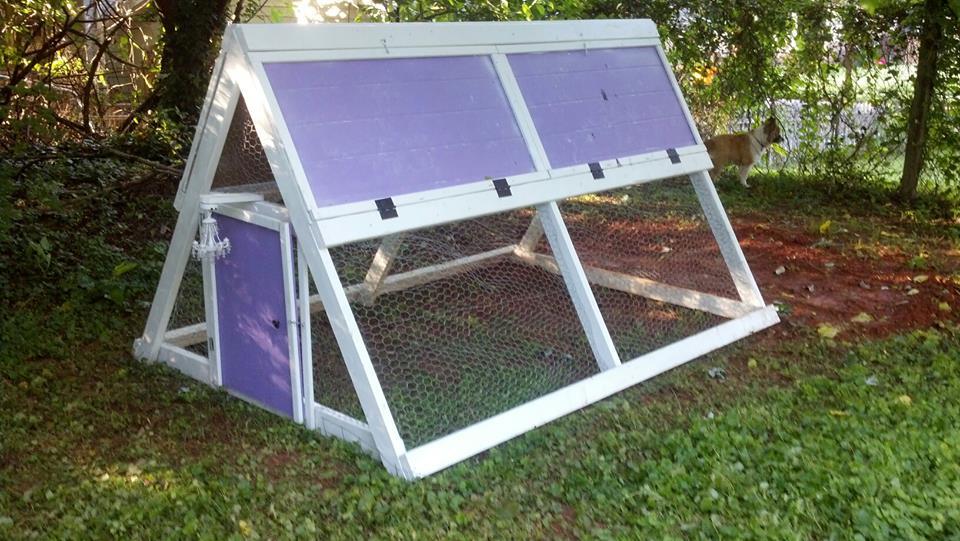
We're adding our chickens this weekend!
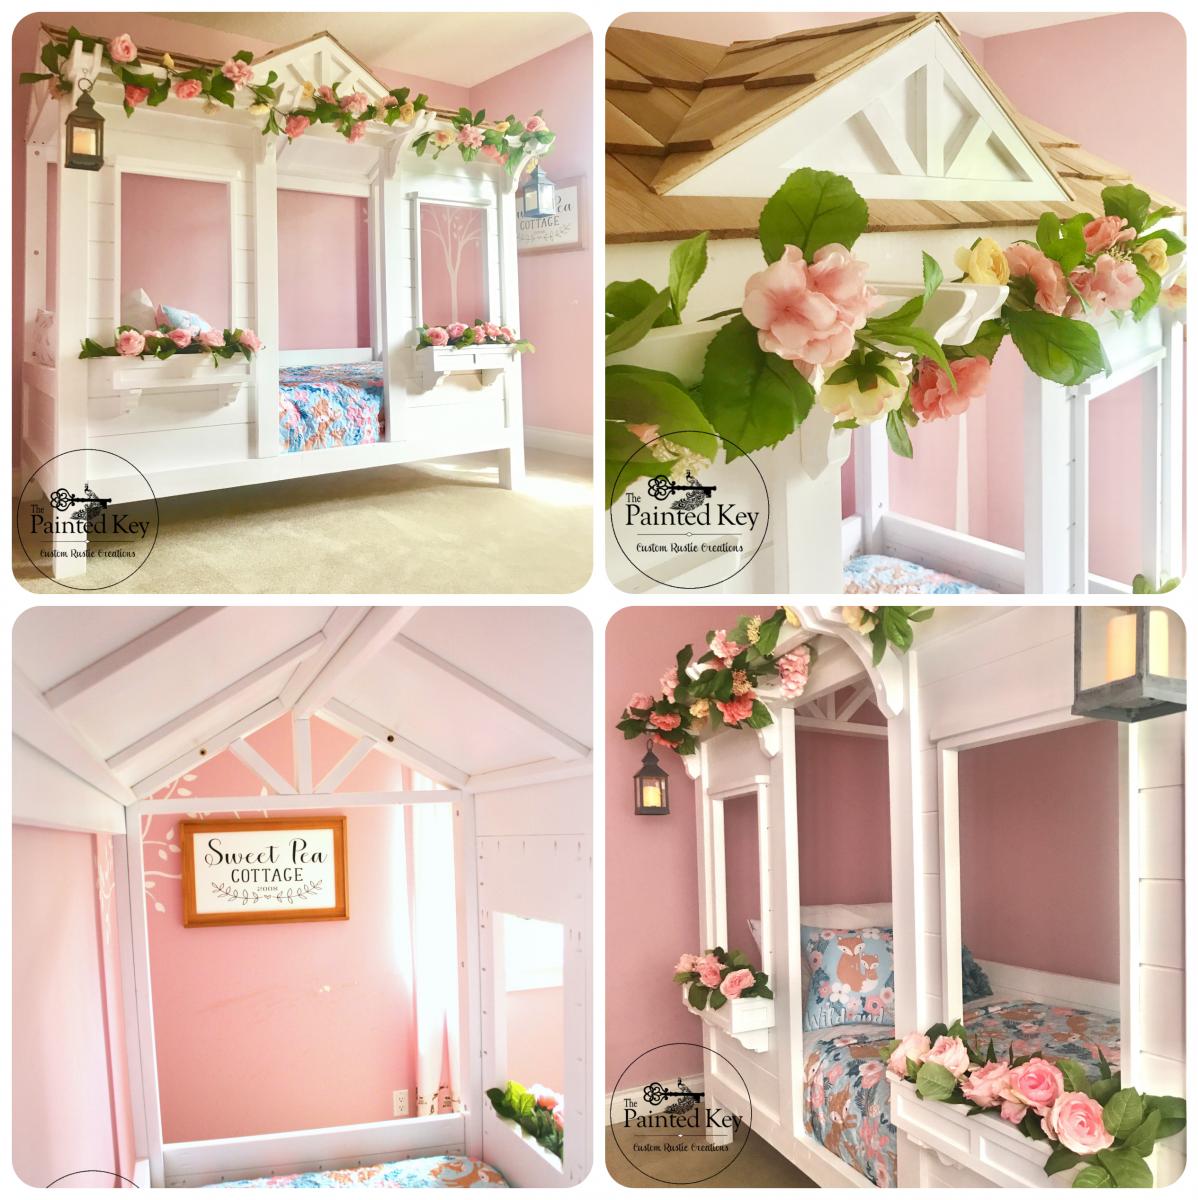
What's a mom to do when she can't choose between the cabin bed, the little cottage loft bed and the sweet pea garden bed? Head over to google sketchup and sketch up a set of plans incorporating favourite aspects of all three beds! This one had been in the planning stages for over a year and I’ve called it “Sweet Pea Cottage”. It took me about 3 months to build in my spare time and I couldn't be happier with how it turned out. Of course our daughter loves it as well! Who wouldn't want to sleep in their own little house bed! :) I used spruce and 3/4" purebond plywood for the main build. To give the plywood panels a planked look, I cut the front into various size rectangles so I could run them through my table saw using a 1/4" dado blade before assembling the pieces together with pocket holes. The roof panels and dormer are 1/4" plywood glued and screwed to a frame and then I used construction adhesive to adhere the dormer to the front roof panel as well as adhere the cedar shakes. Painted with Behr Pure Ultra White and topped with a satin polyacrylic. I left the cedar shakes raw but if I built it again, I think I would top them with some sort of flat or matt sealer as the rough texture makes dusting them a bit difficult. One of the first questions I get is "how difficult is it to make the bed?". Surprisingly it's not that hard. Because the bed is so open on each end and we have it set up in her room with access on three sides, it's easy to manoeuvre the mattress a bit to change the bedding.
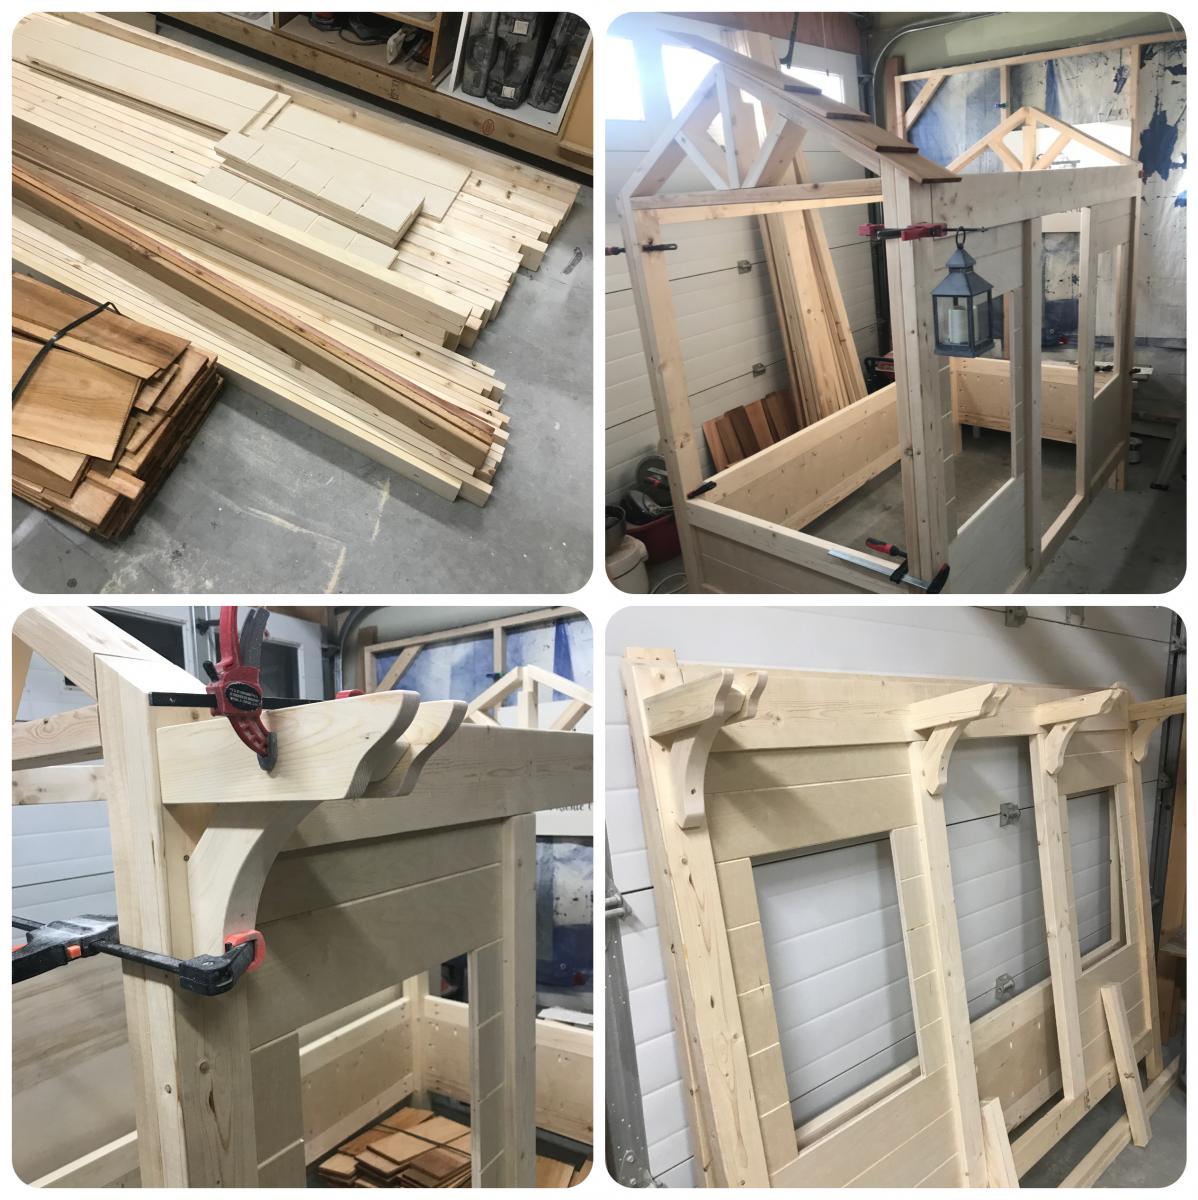
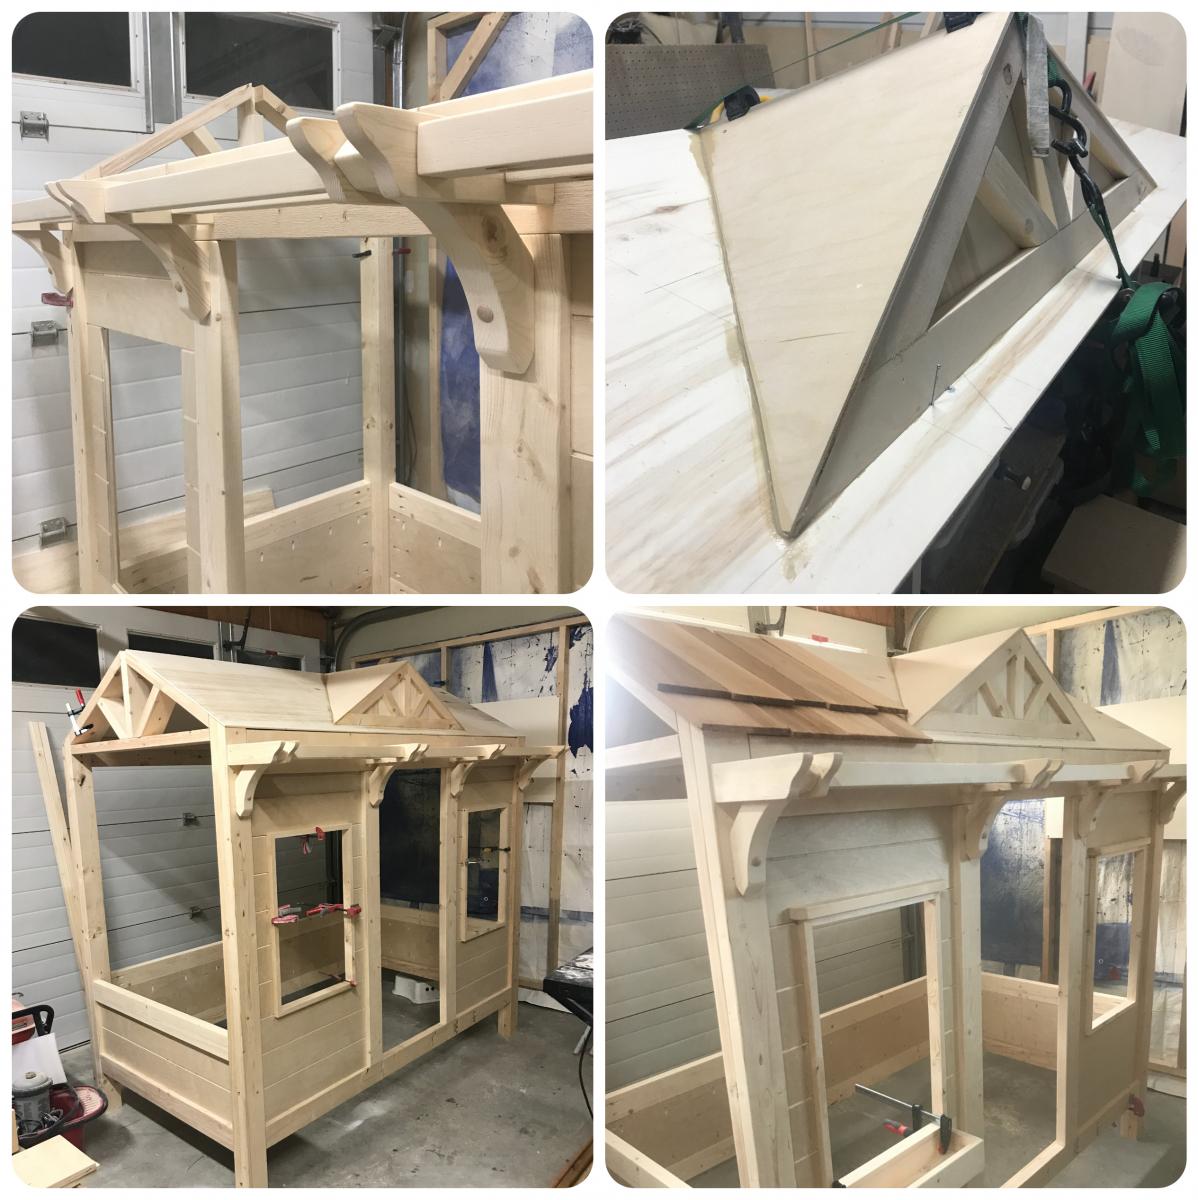
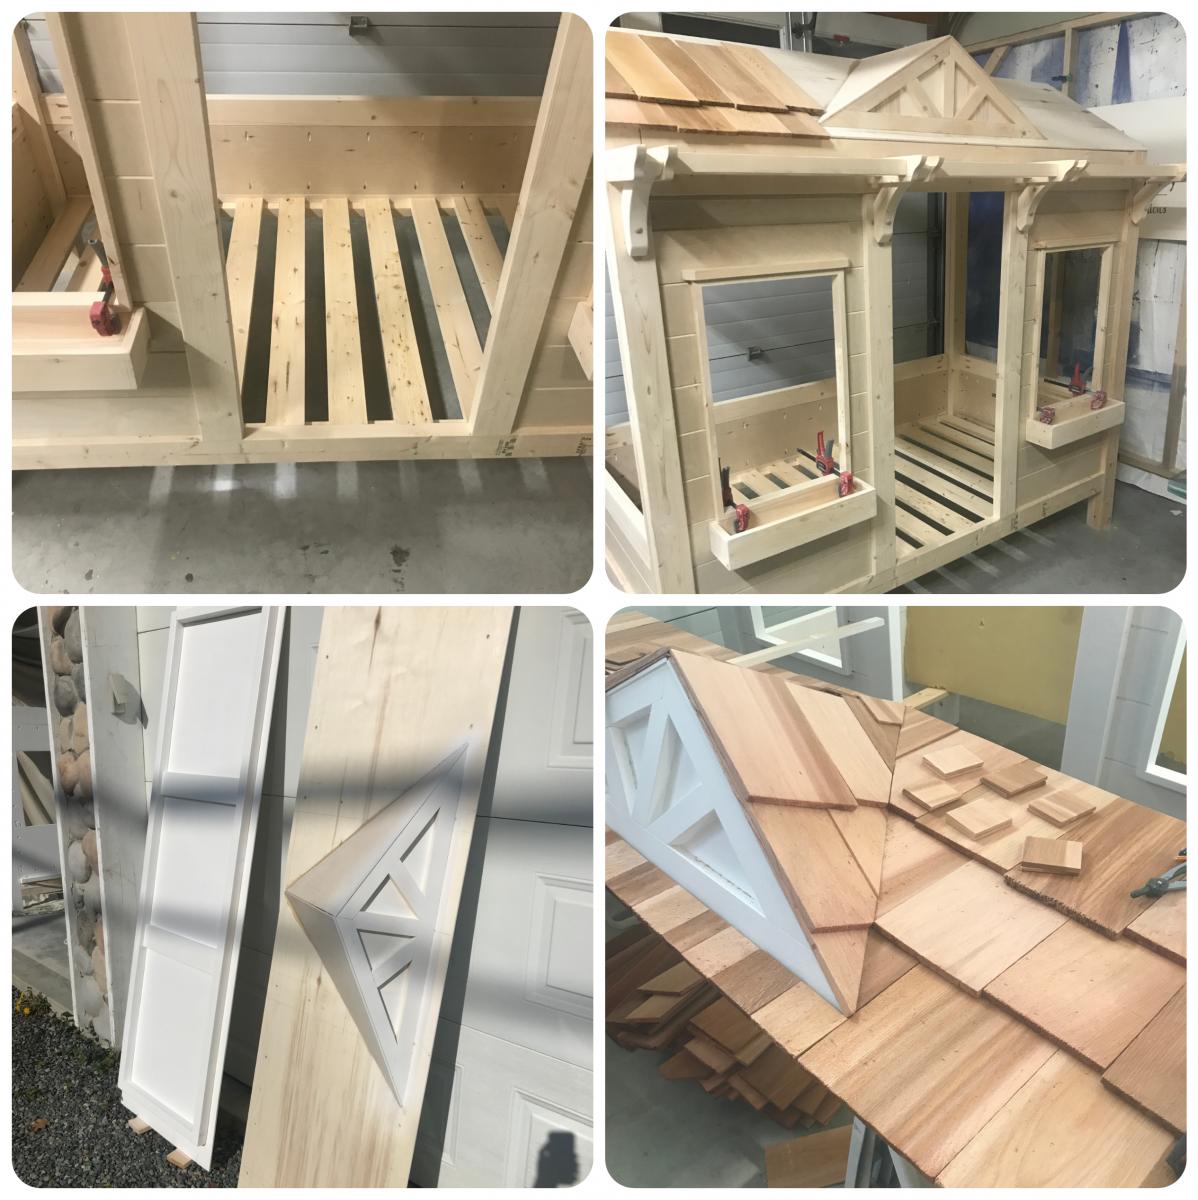
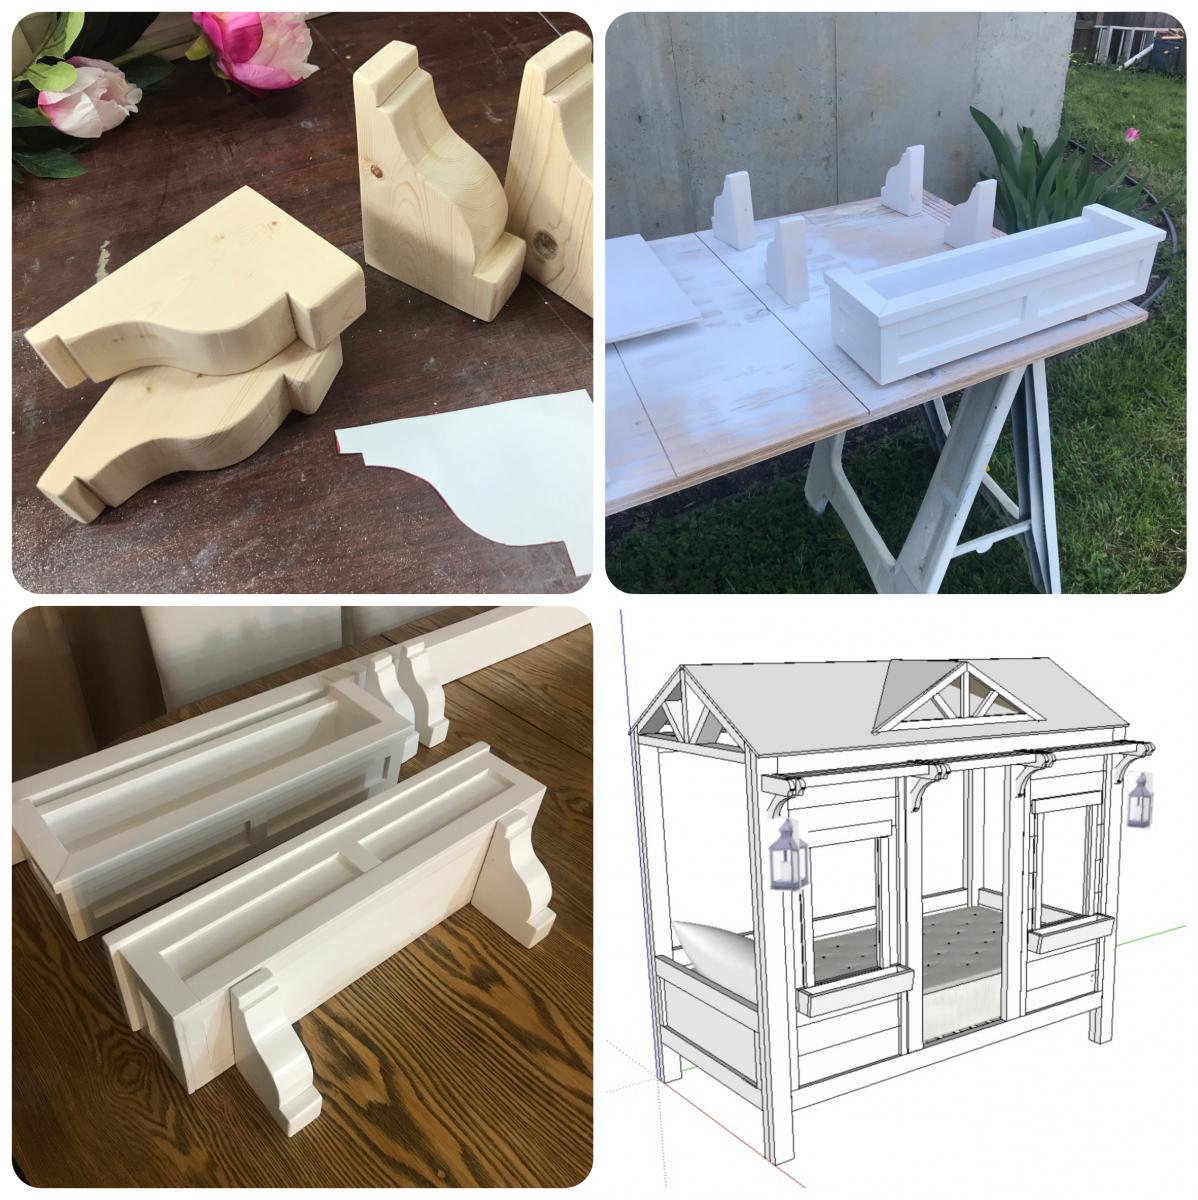
Thu, 02/17/2022 - 08:15
I love this bed. I would like to make one for my Grand-daughter. Do you have plans for this cute bed? I just signed up today so I wasn't able to see the comment section. I'm sorry if this has already been asked.
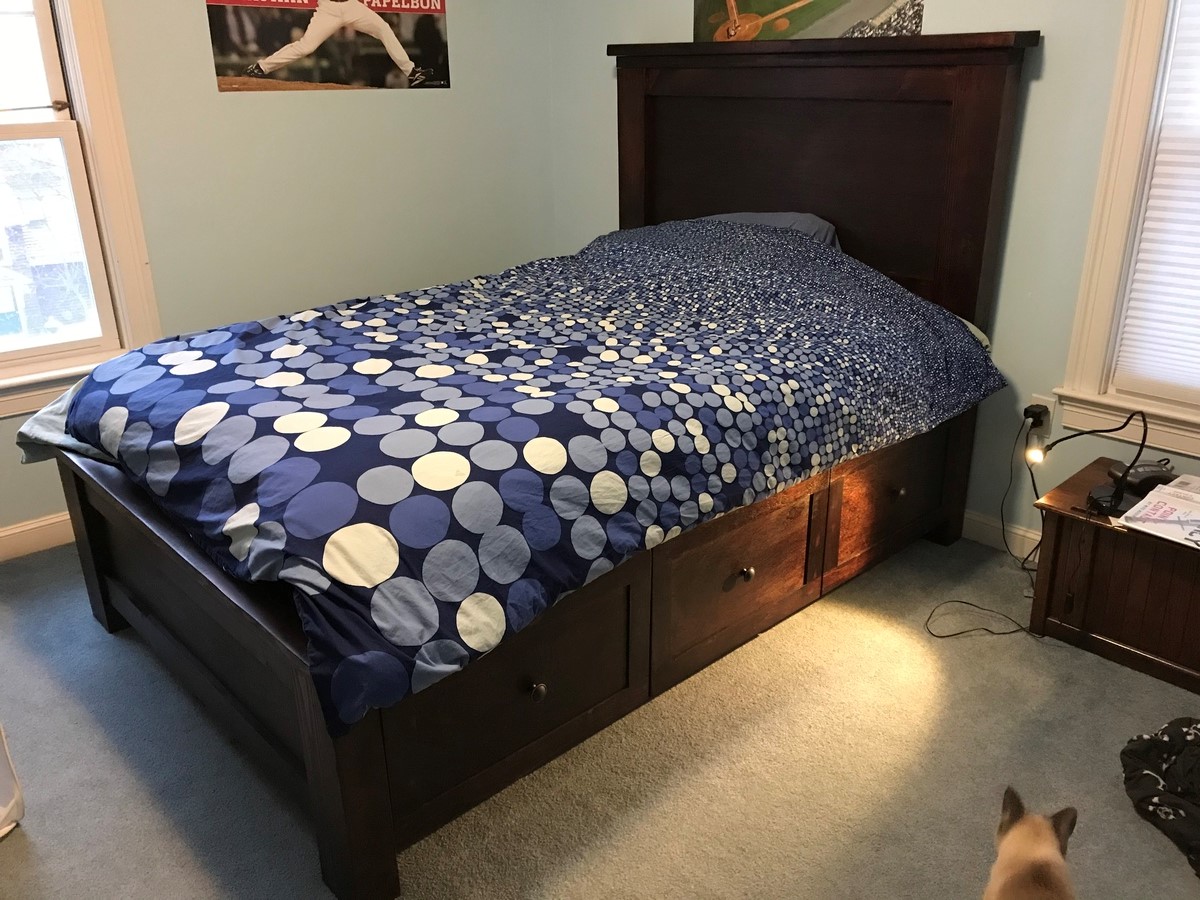
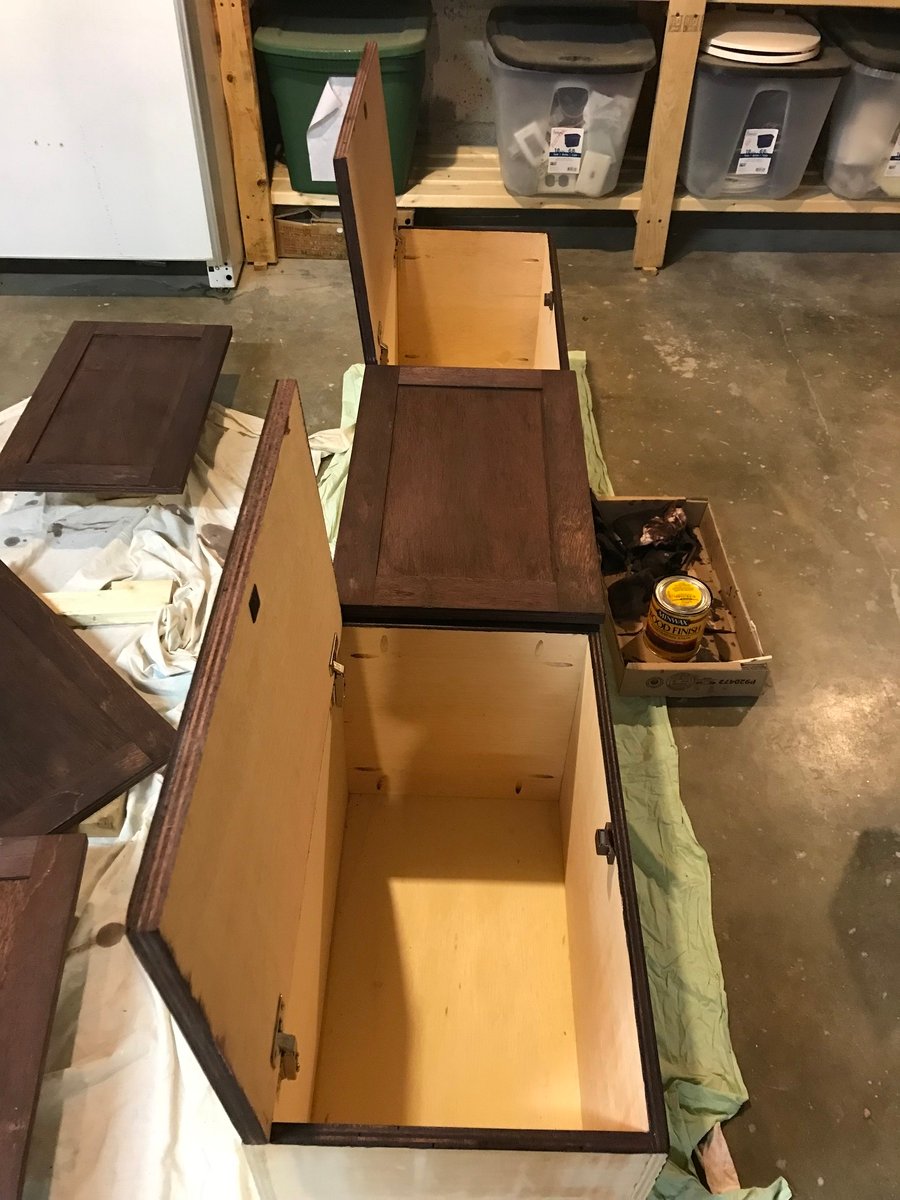
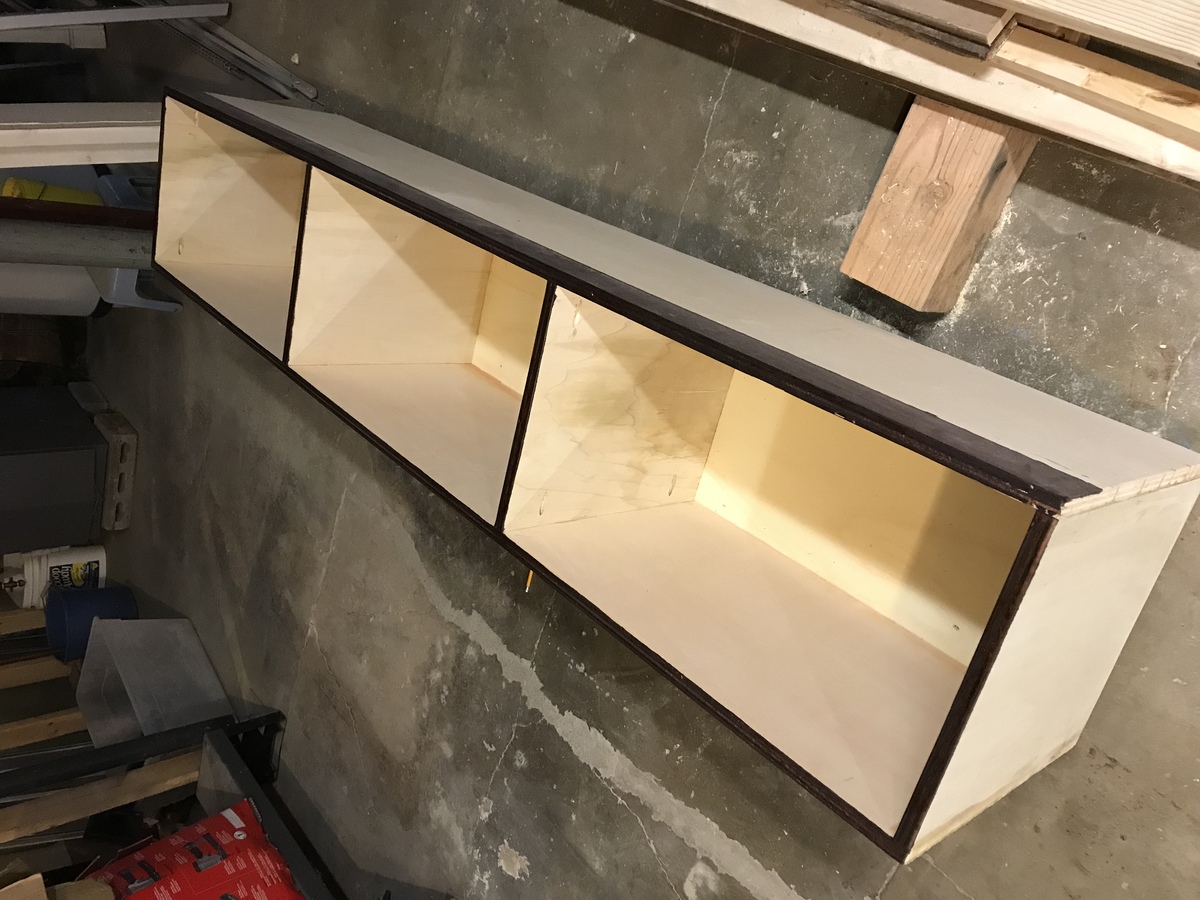
Made the standard full farmhouse bed with storage, but did a couple modifications. 1) Didn’t use drawers, but wanted closed, not open cubbies. I made the drawer fronts and then attached with full overlay hinges and magnetic catches do they open from top down like a horizontal cabinet. 2) built the slats as two, one piece slat frames which sit on the cleat so that they can easily be removed for the extra long term storage between the cubby boxes. Just lift mattress and the two pieces of slats and lots more space.
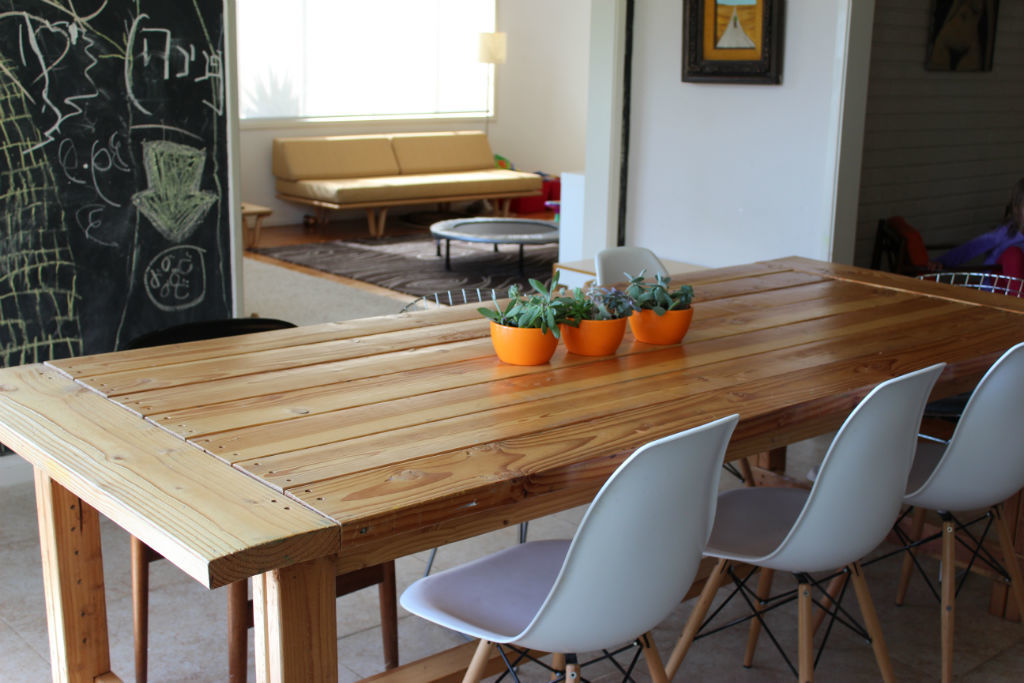
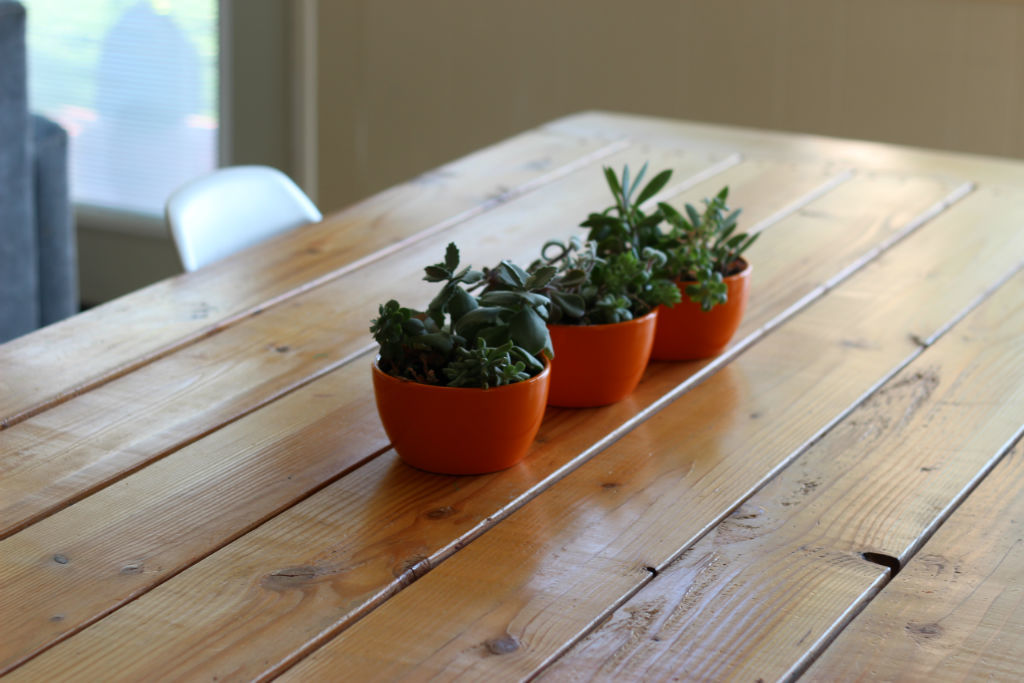
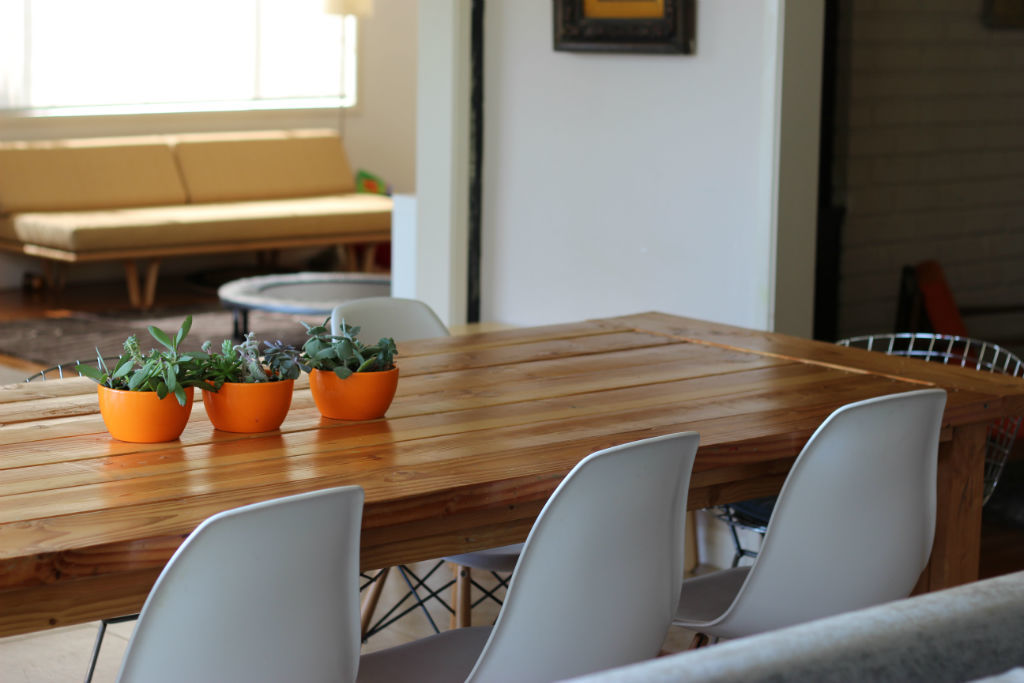
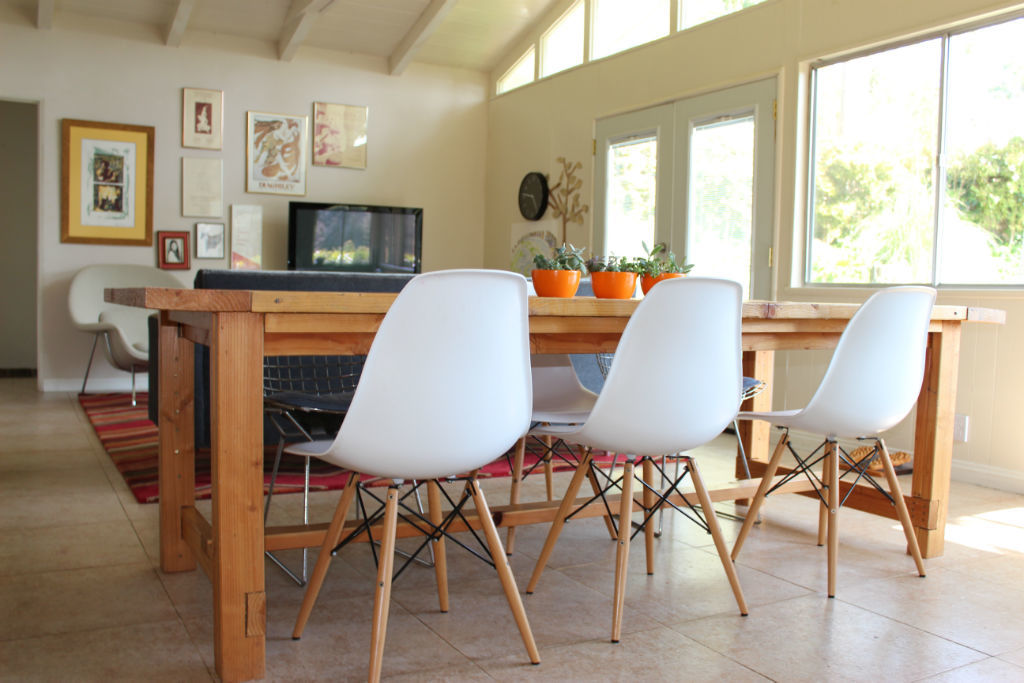
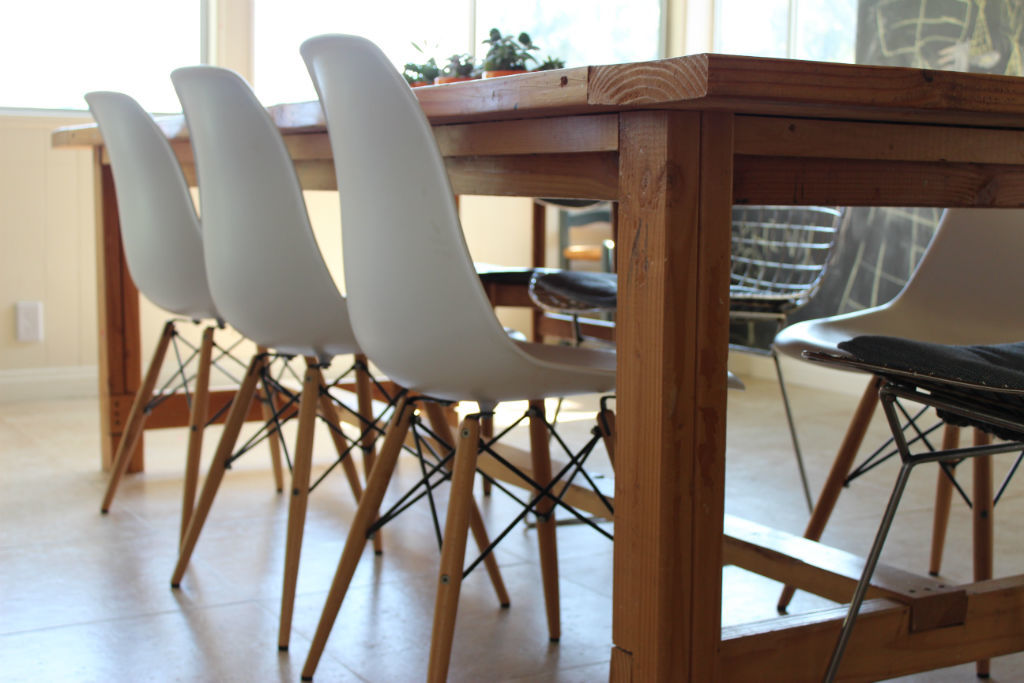
Inspired by Ana and driven by a desperate desire to nest, I made this table in my first-trimester. We live at this table. It's where we eat, play, and craft. On special occasions we stand on top of it, and sometimes we even eat under it. We love the way it looks in our mid-century ranch house with modern chairs. Thank you, Ana!
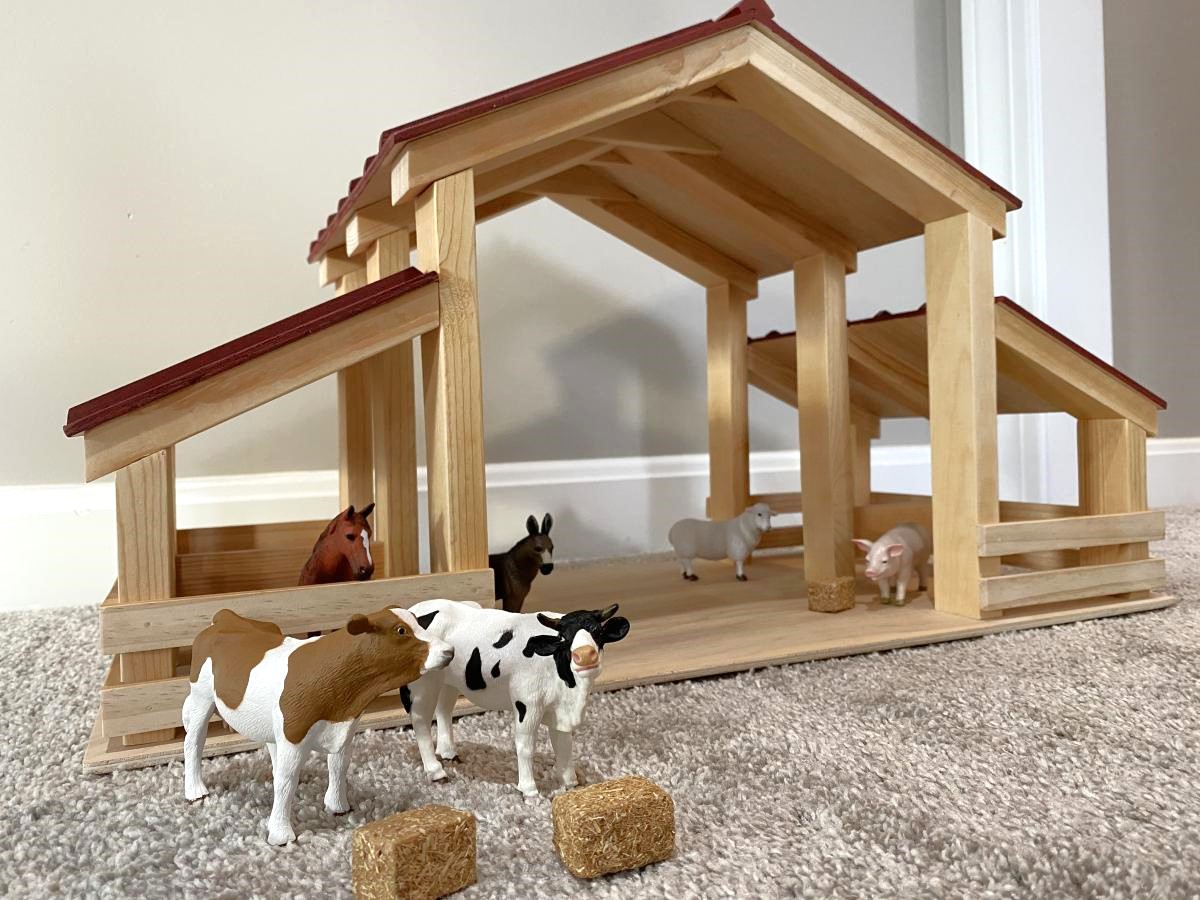
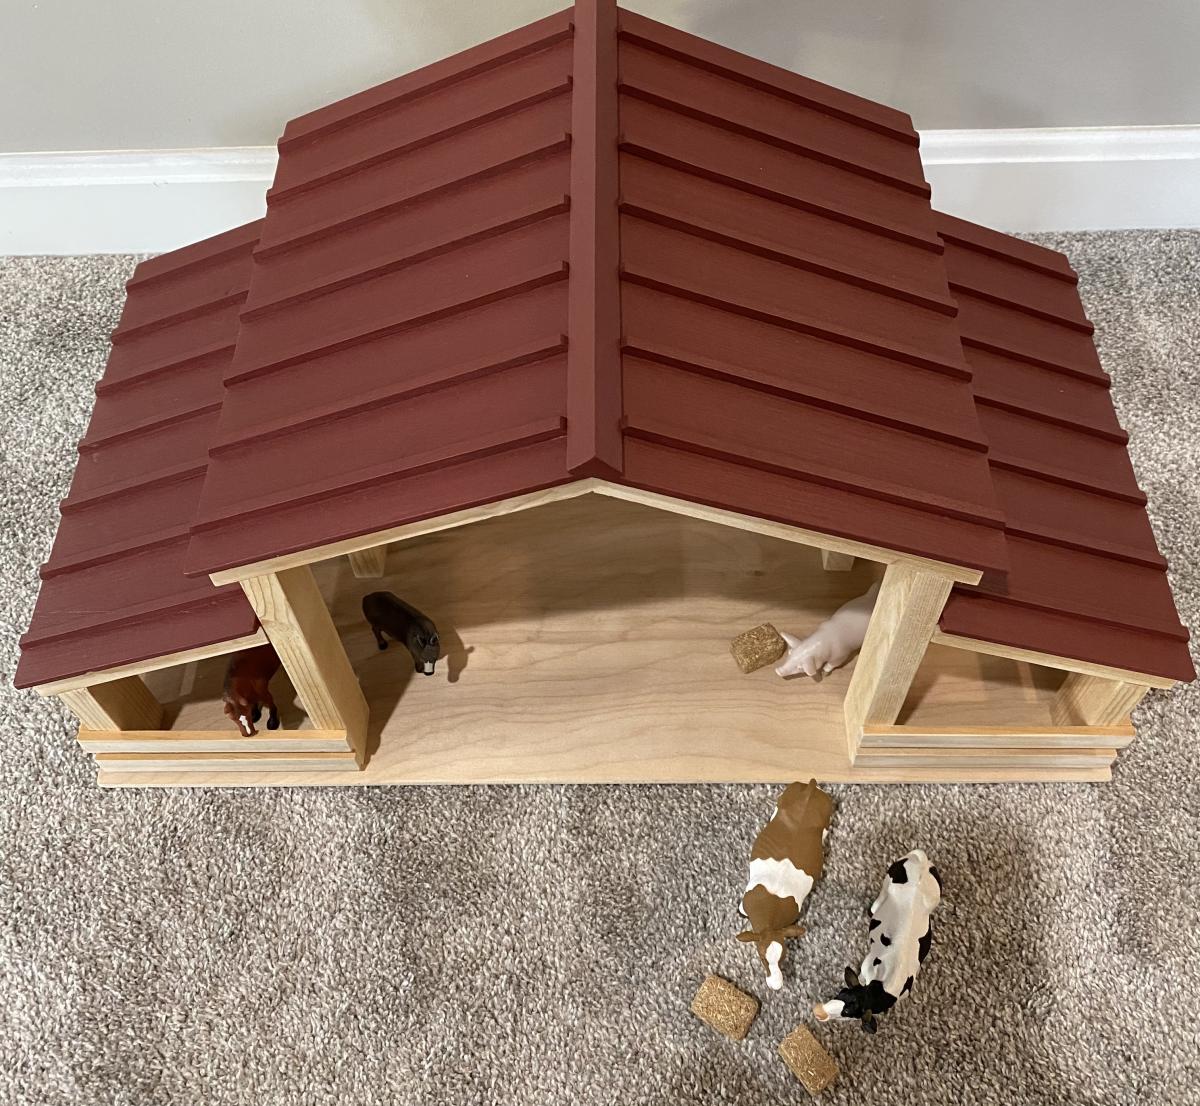
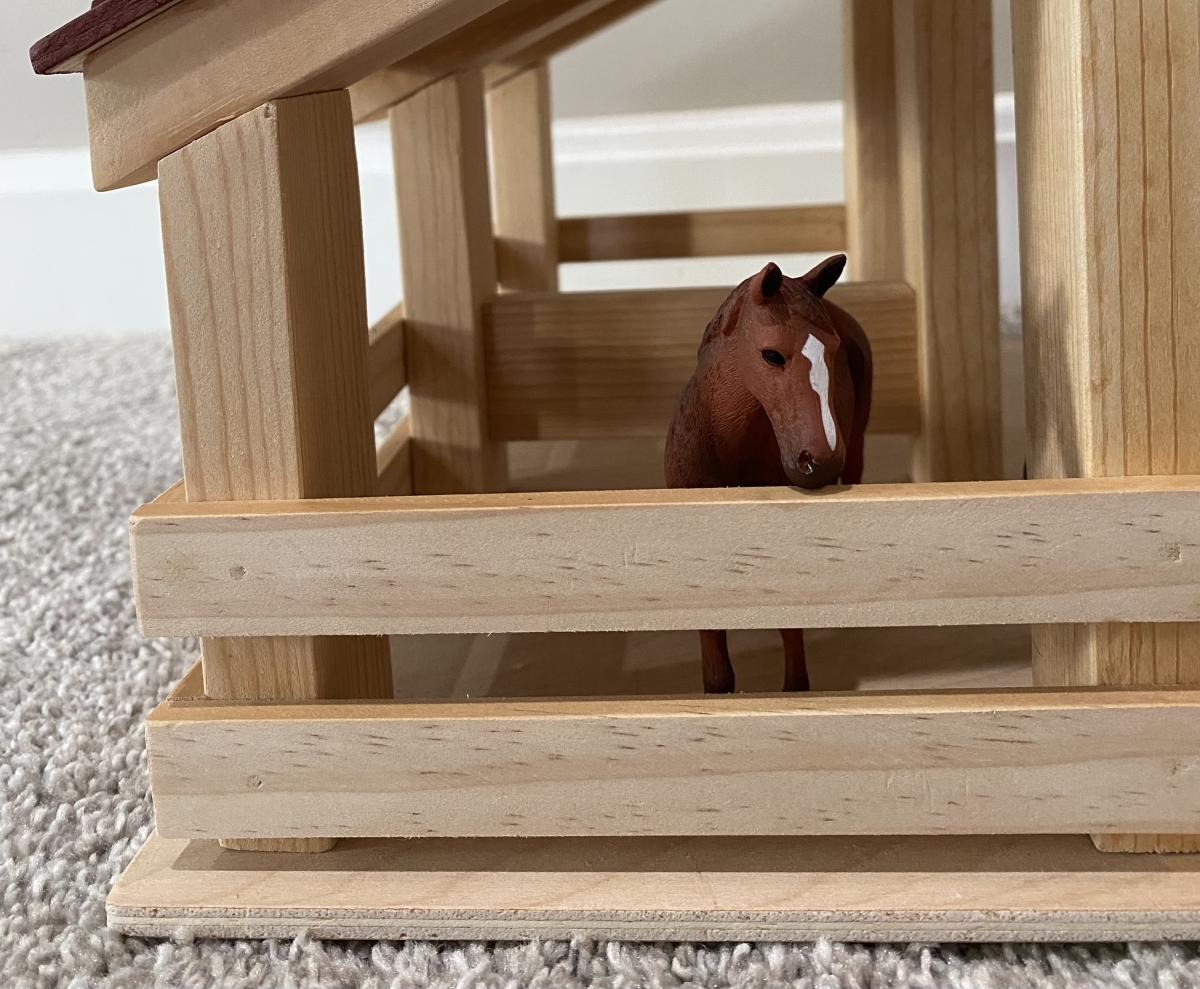
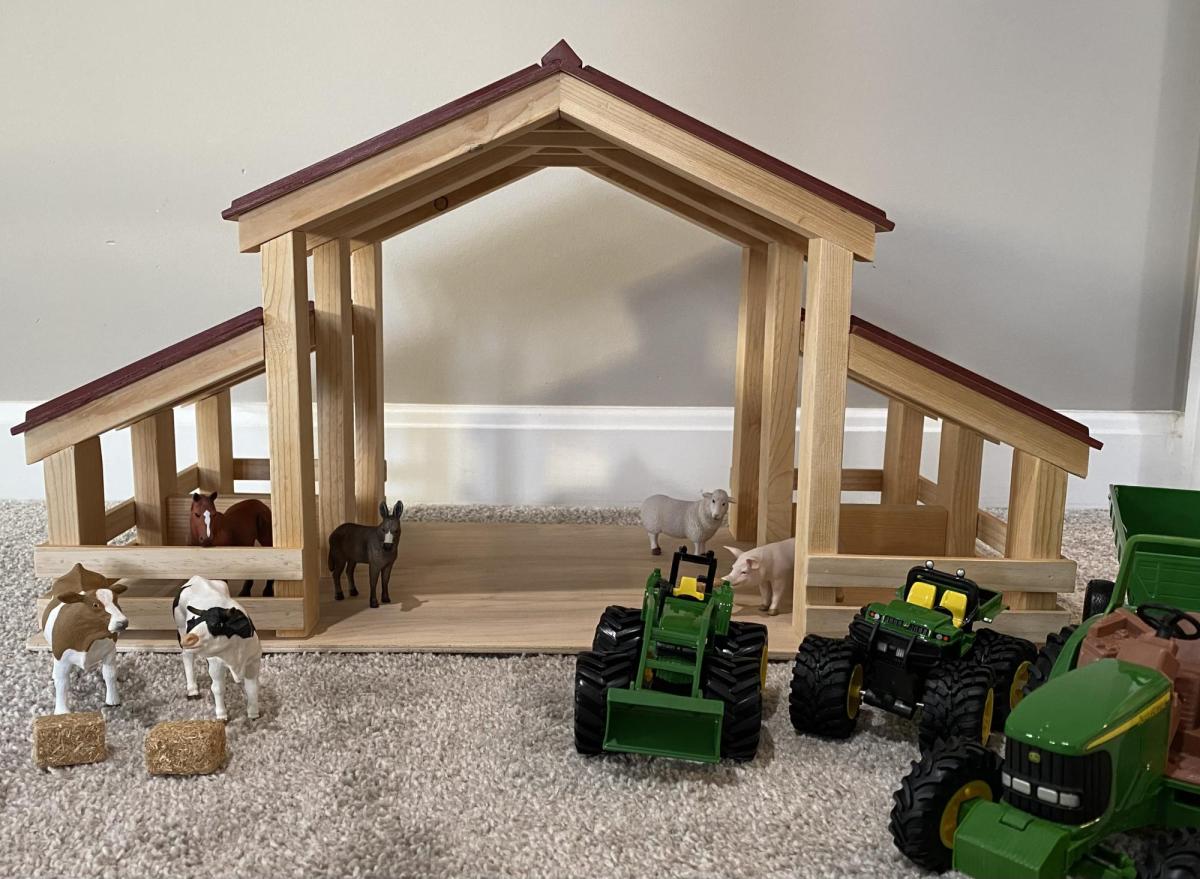
When I spotted this plan on Instagram, I knew I had to make it for my grandsons for Christmas. Instructions were easy to follow and I had fun rounding up the animals, tractors, etc.
Sat, 01/08/2022 - 15:36
Well done, that will be loved and enjoyed for many years to come!
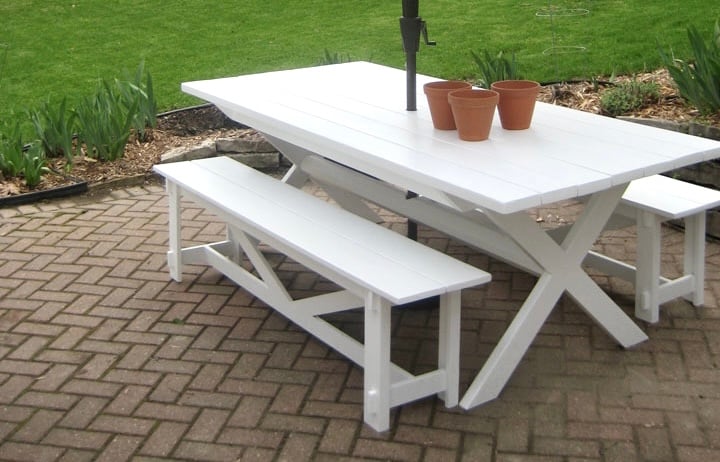
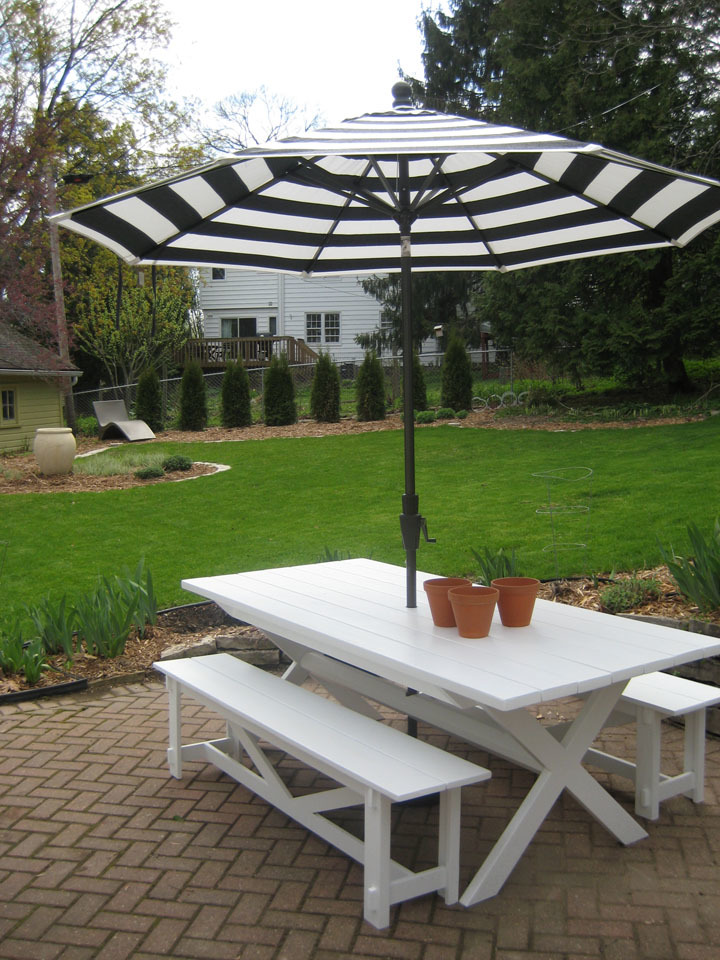
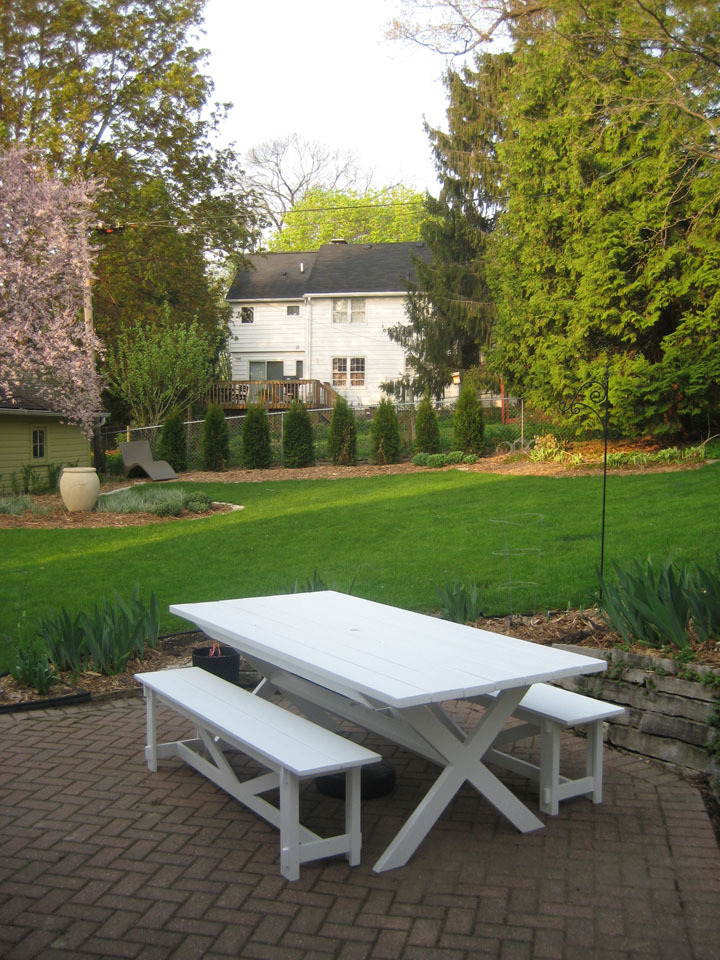
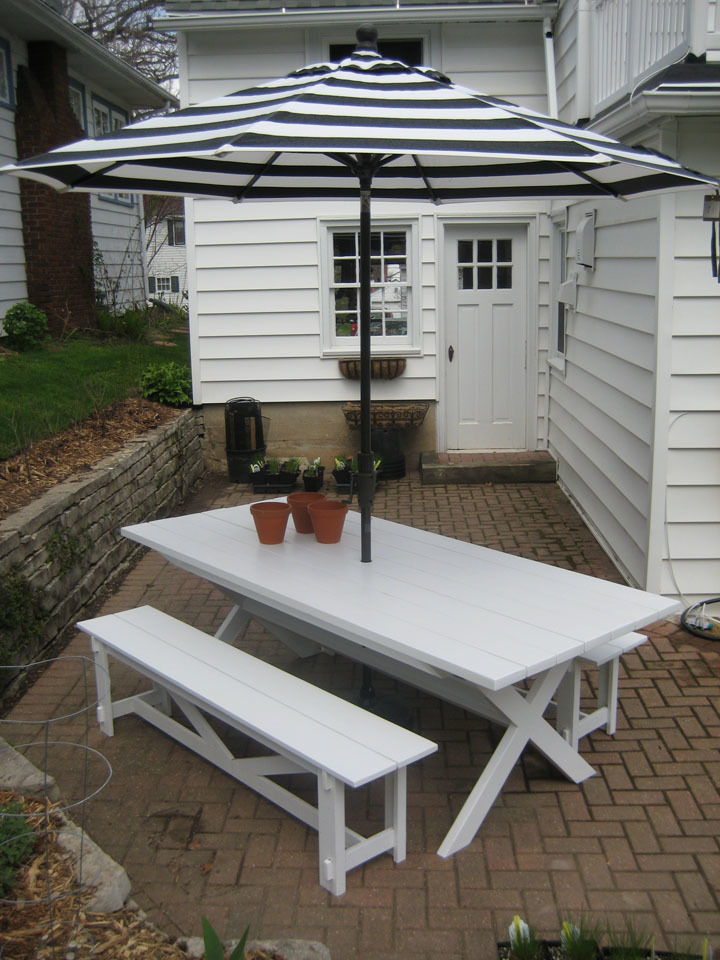
Pottery Barn Bench: Length Modified and utilized 2-1x6s for seat. X Table: Length Modified, utilized a 6x6 for the stretcher and drilled a hole through both the 1 top material and 6x6 stretcher beam. Holds the Pottery Barn umbrella real well. All made of Cedar and painted for good measure. Everything counter sunk and plugged, sanded to high heavy and ready to last.
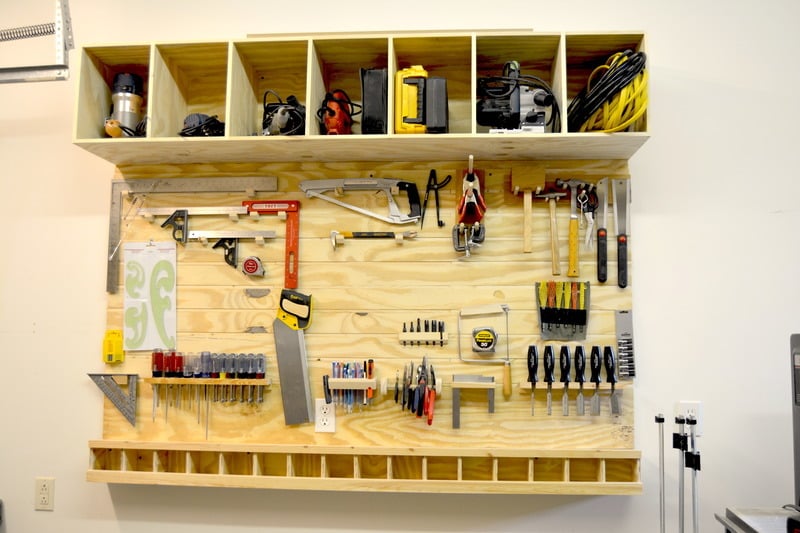
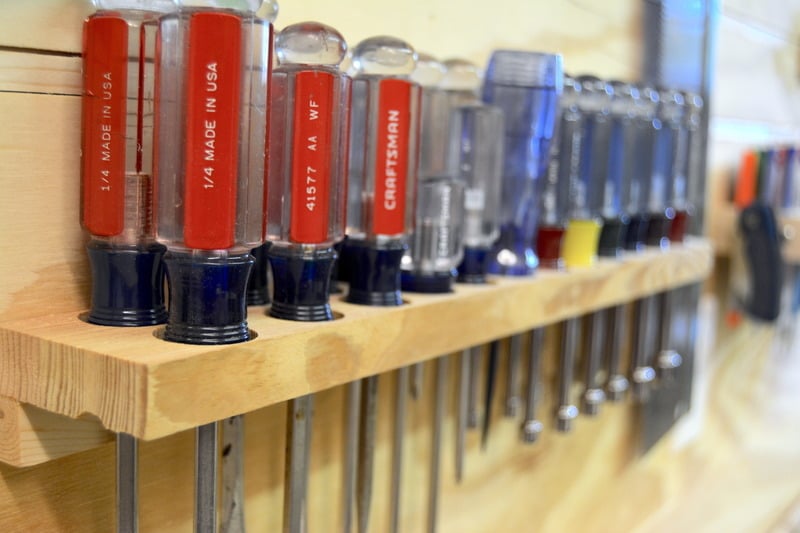
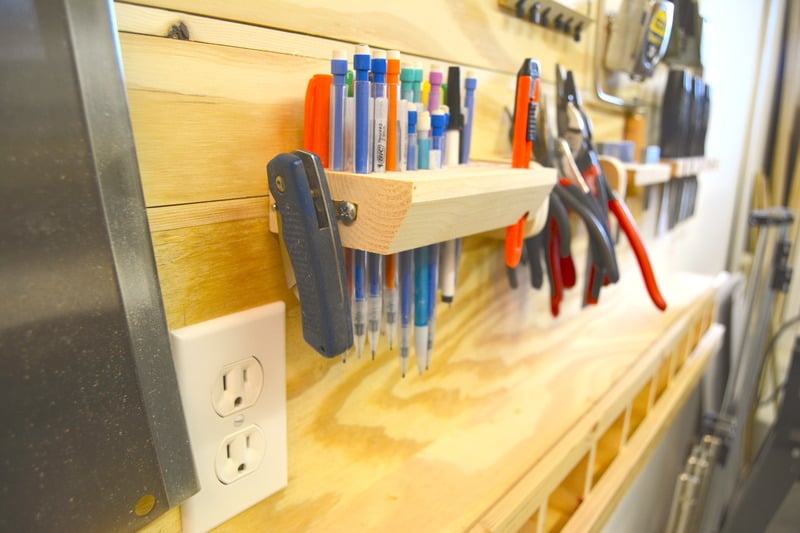
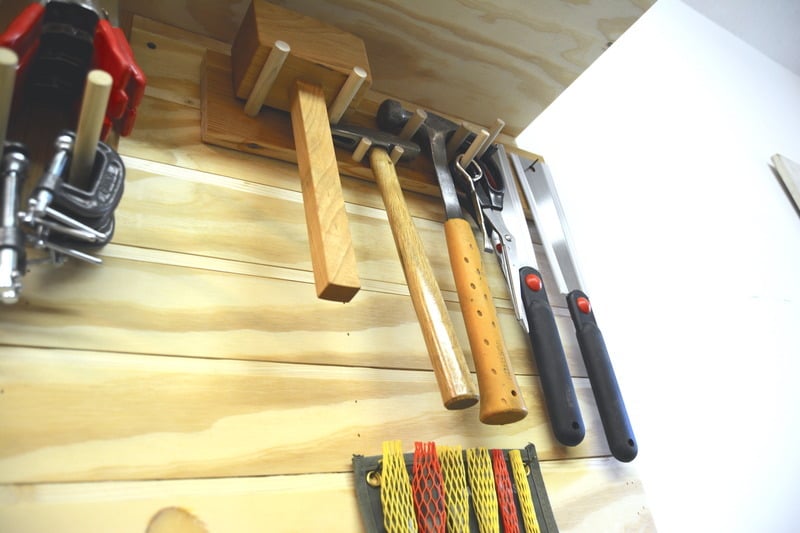
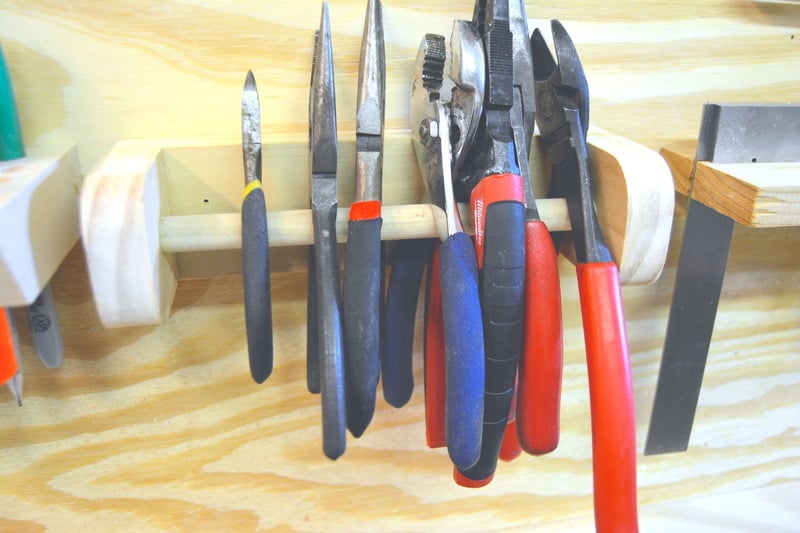
This weeks project was a slat tool wall to organize all my most used hand tools. I wanted a way to have everything in reach and also easy to organize and keep track of. This is John Heisz original design and I decided to build one for my shop. Here is a link to his site with a full tutorial including measurements- http://www.ibuildit.ca/Workshop%20Projects/tool-board-1.html.
I also have a couple videos of my process here- https://www.youtube.com/watch?v=qNz_a_vKAqY

Sat, 07/18/2015 - 09:19
Nothing beats being organized! Look fantastic, thanks for sharing!
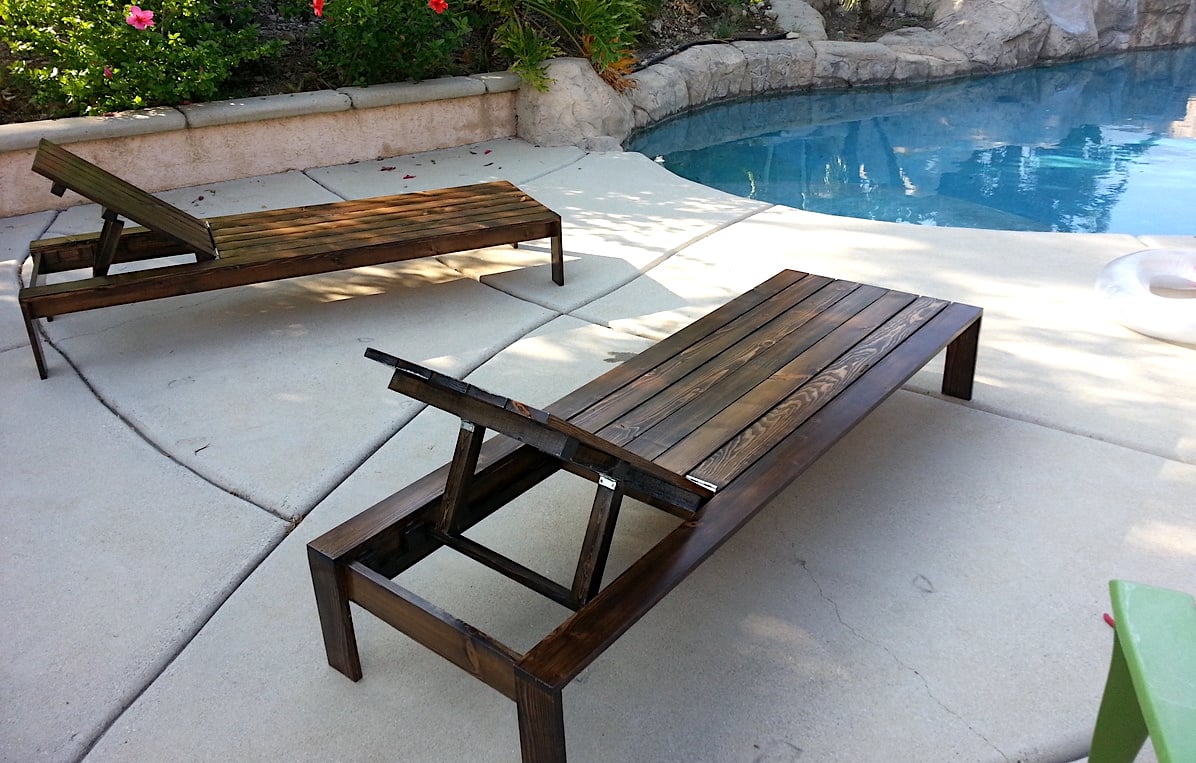
This was a fun and easy project for our pool area. We have high winds and our store bought chairs did not last. These loungers are sure to fare a bit better.
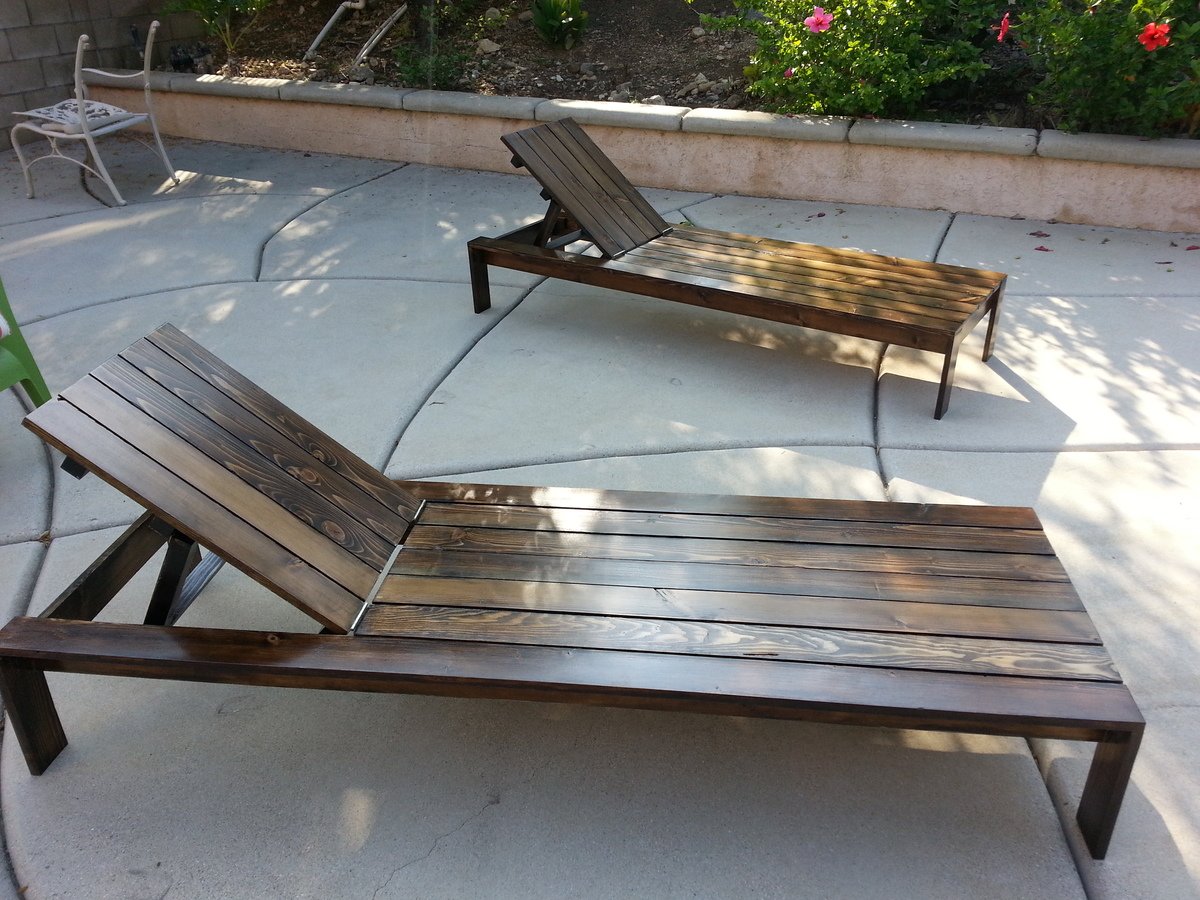
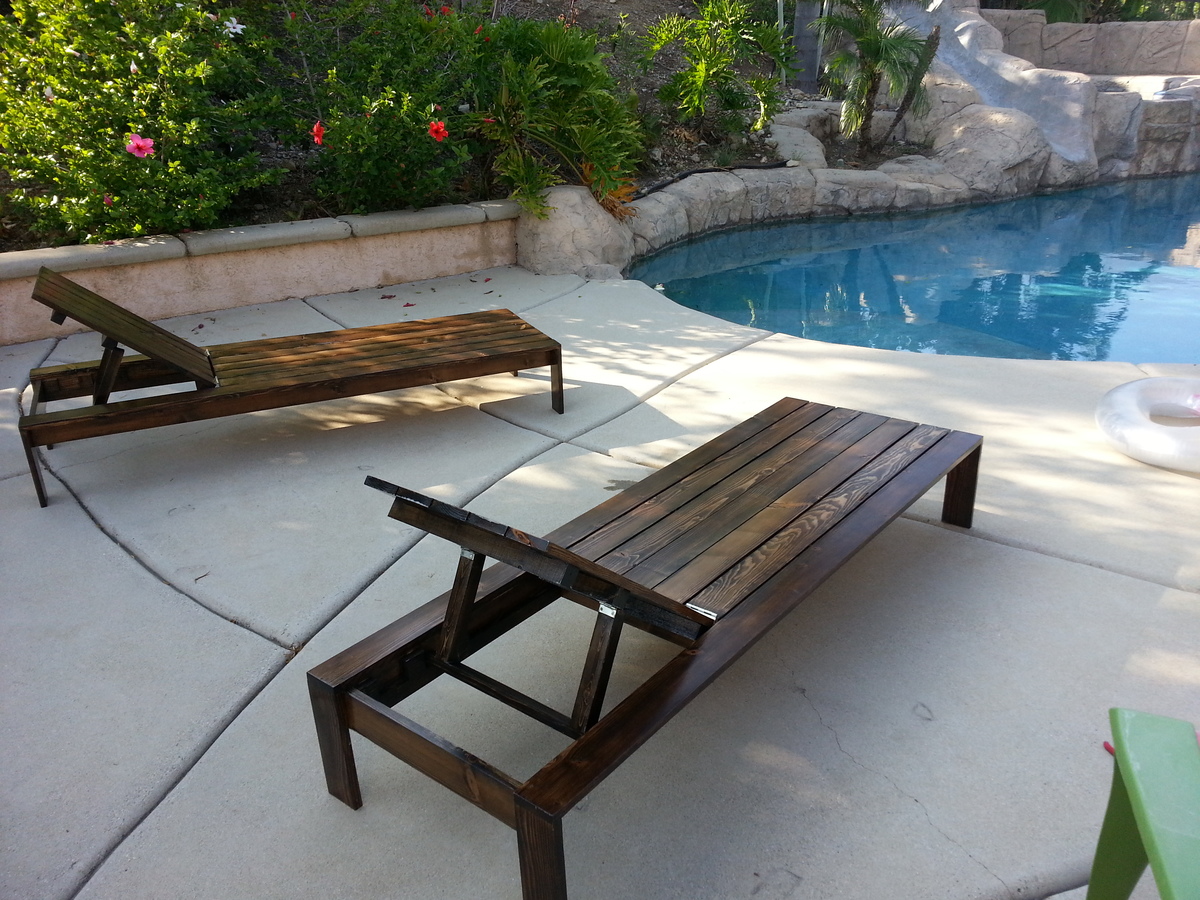
We built the first one about 8 years ago, and then the wind flipped it over and scattered it all over the back part of the property. I then dug footings and anchored the second one down; I was able to save the Dutch Door I made for the first one. Thanks for the plans!!!
Fri, 04/08/2022 - 10:35
That's not going anywhere! Thanks for sharing, it looks amazing!
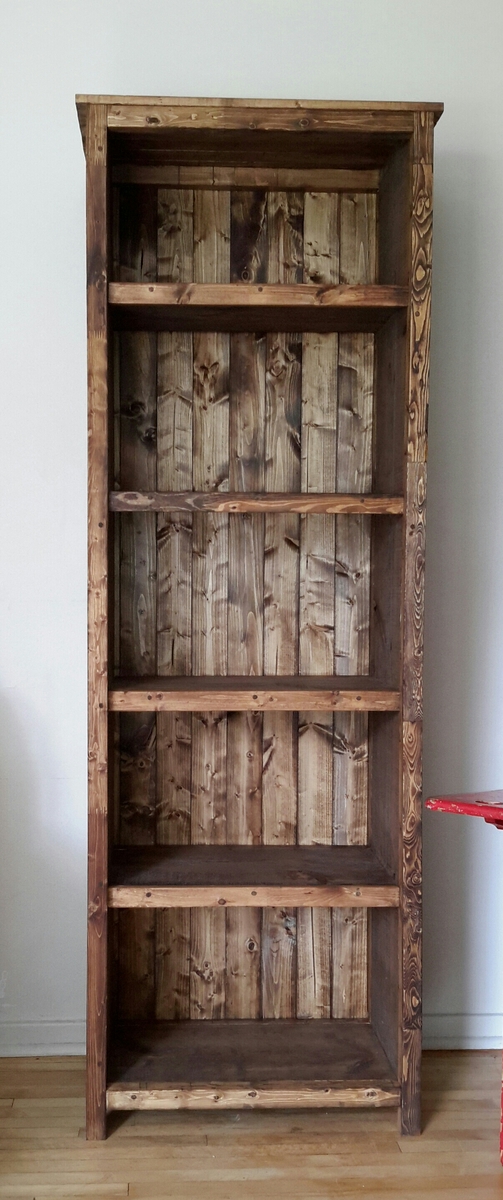
I loved this from Ana's site so much we tacked one. Please note I glued, screwed and dowel ed the holes. I hate kreg jigs. We also made ours taller to add an extra shelf.
Wed, 09/02/2015 - 06:33
Can you tell me the length of your 1x12 sides to make it a 5 shelve case? Thank you and your's looks great!
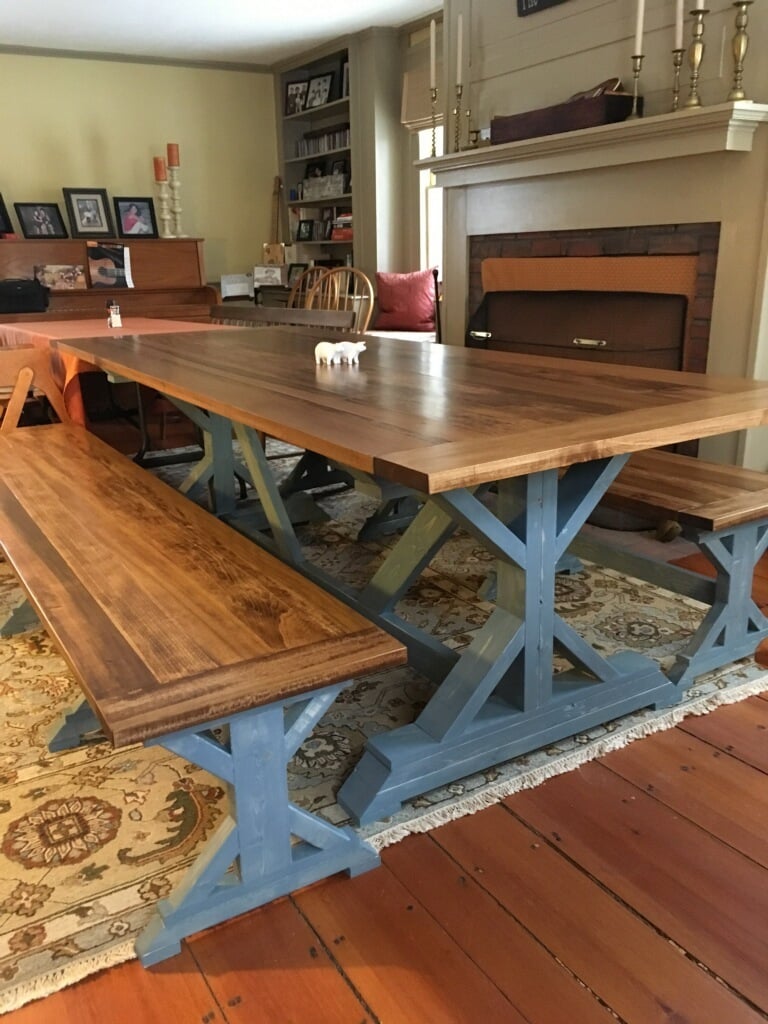
This was my first big furniture piece that I've built. I'm pretty happy with how it turned out. I used 5/4 poplar for the tops instead of the 2x10s for the table and 2x6s for the benches that the plans called for. Finished the tops with Minwax Early American stain then 3 coats of satin oil based polly. Finished the bottoms with water based Minwax tinted River Stone then coated with water based polly.
Wed, 03/14/2018 - 06:18
You did a great job, especially for your first big piece.
I love the River Stone color you chose for the bases, beautiful combination.
I added crown molding to the bottom of my ten dollar ledges to add a little fancier look.
Sat, 07/30/2011 - 00:35
Love that touch! Maybe this is what mine need before I install them!
Sat, 07/30/2011 - 08:18
Very classy looking! Just what I was looking for in my home office. Thanks!
Mon, 08/01/2011 - 11:58
Such a great touch with the moulding.
Thanks for sharing.
Tue, 09/20/2011 - 19:54
This looks great! What a wonderful idea! I have a question, Other than the moulding on the bottom, did you follow the plans exactly (Like used the same dimensional boards Ana said to use)? Just asking because yours came out looking so much better than mine (which very well could be the paint job and moulding fooling my eyes into thinking the other boards look smaller, lol)
Great job and thank you for sharing!
Wed, 09/21/2011 - 10:16
I did use the same size boards that Anna said they just might be a different length.
In reply to I did use the same size by Becky Darrington (not verified)
Wed, 09/21/2011 - 10:47
Thank you!
Wed, 02/15/2012 - 11:23
This is great as I am a photographer and love to switch up my photos often. Saves the walls from holes and is just a great idea! I also did not see all the instructions but will have my husband duplicate.
Wed, 04/11/2012 - 15:07
This is great. I made the ledge and plan on adding the crown molding. How exactly did you hang them?
Tue, 07/17/2012 - 13:11
I have high ceilings. I have been trying to figure out what to put at some of the windows to dress them up a bit. I think I may add them to the den area. Photos would be out of the reach of all the grandchildren, but photographs could been seen without cluttering tables.
Sat, 09/08/2012 - 09:00
Has anyone tried using a 1x3 for the back instead of a 1x4? Can anyone think of any reason it would not work?
Also thinking of making it deeper since the crown molding will provide extra support. I want to add more depth so that I can install a power strip under shelf, behind molding so that I can turn it into a charging station. Any thoughts on this? Would love to hear other opinions on this before I start building and then realize the problems that may exist in my plans.
Tue, 03/05/2013 - 10:12
It looks like your ledge is narrower than the one in the plans. Did you use a 1 x 4 for the base?
Thu, 09/15/2016 - 18:54
I feel so stupid... I have never used any sort of molding before. How do you use it? I went to lowes tonight and I don't know where you get the edge piece. My husband (who doesn't build things except for computers) says he thinks you just use part of the long strip and cut at a 45° angle. Is that how?
then what do you use for the bottom portion to cover the gap?
Sat, 08/12/2017 - 10:50
I found Ana's site a few years ago and have been dreaming about things I want to build for just as long. I'm finally ready to get started, and I thought these ledges would be a great way to start. I love the moulding on the bottom, but I have no idea what combination of pieces to use to get this look or what sizes of moulding to use with the 1x4 and 1x2 boards. Can somebody help me?
Tue, 08/15/2017 - 13:21
Sandy - take the picture to any lumber molding department ad start trying combinations.
The original pic was using some crown molding, but a fancy baseboard or other molding would look good too.

The cool thing about Ana White plans is they are straightforward to modify to use materials you have on hand. Everything but the frame is either leftovers or from the barn.
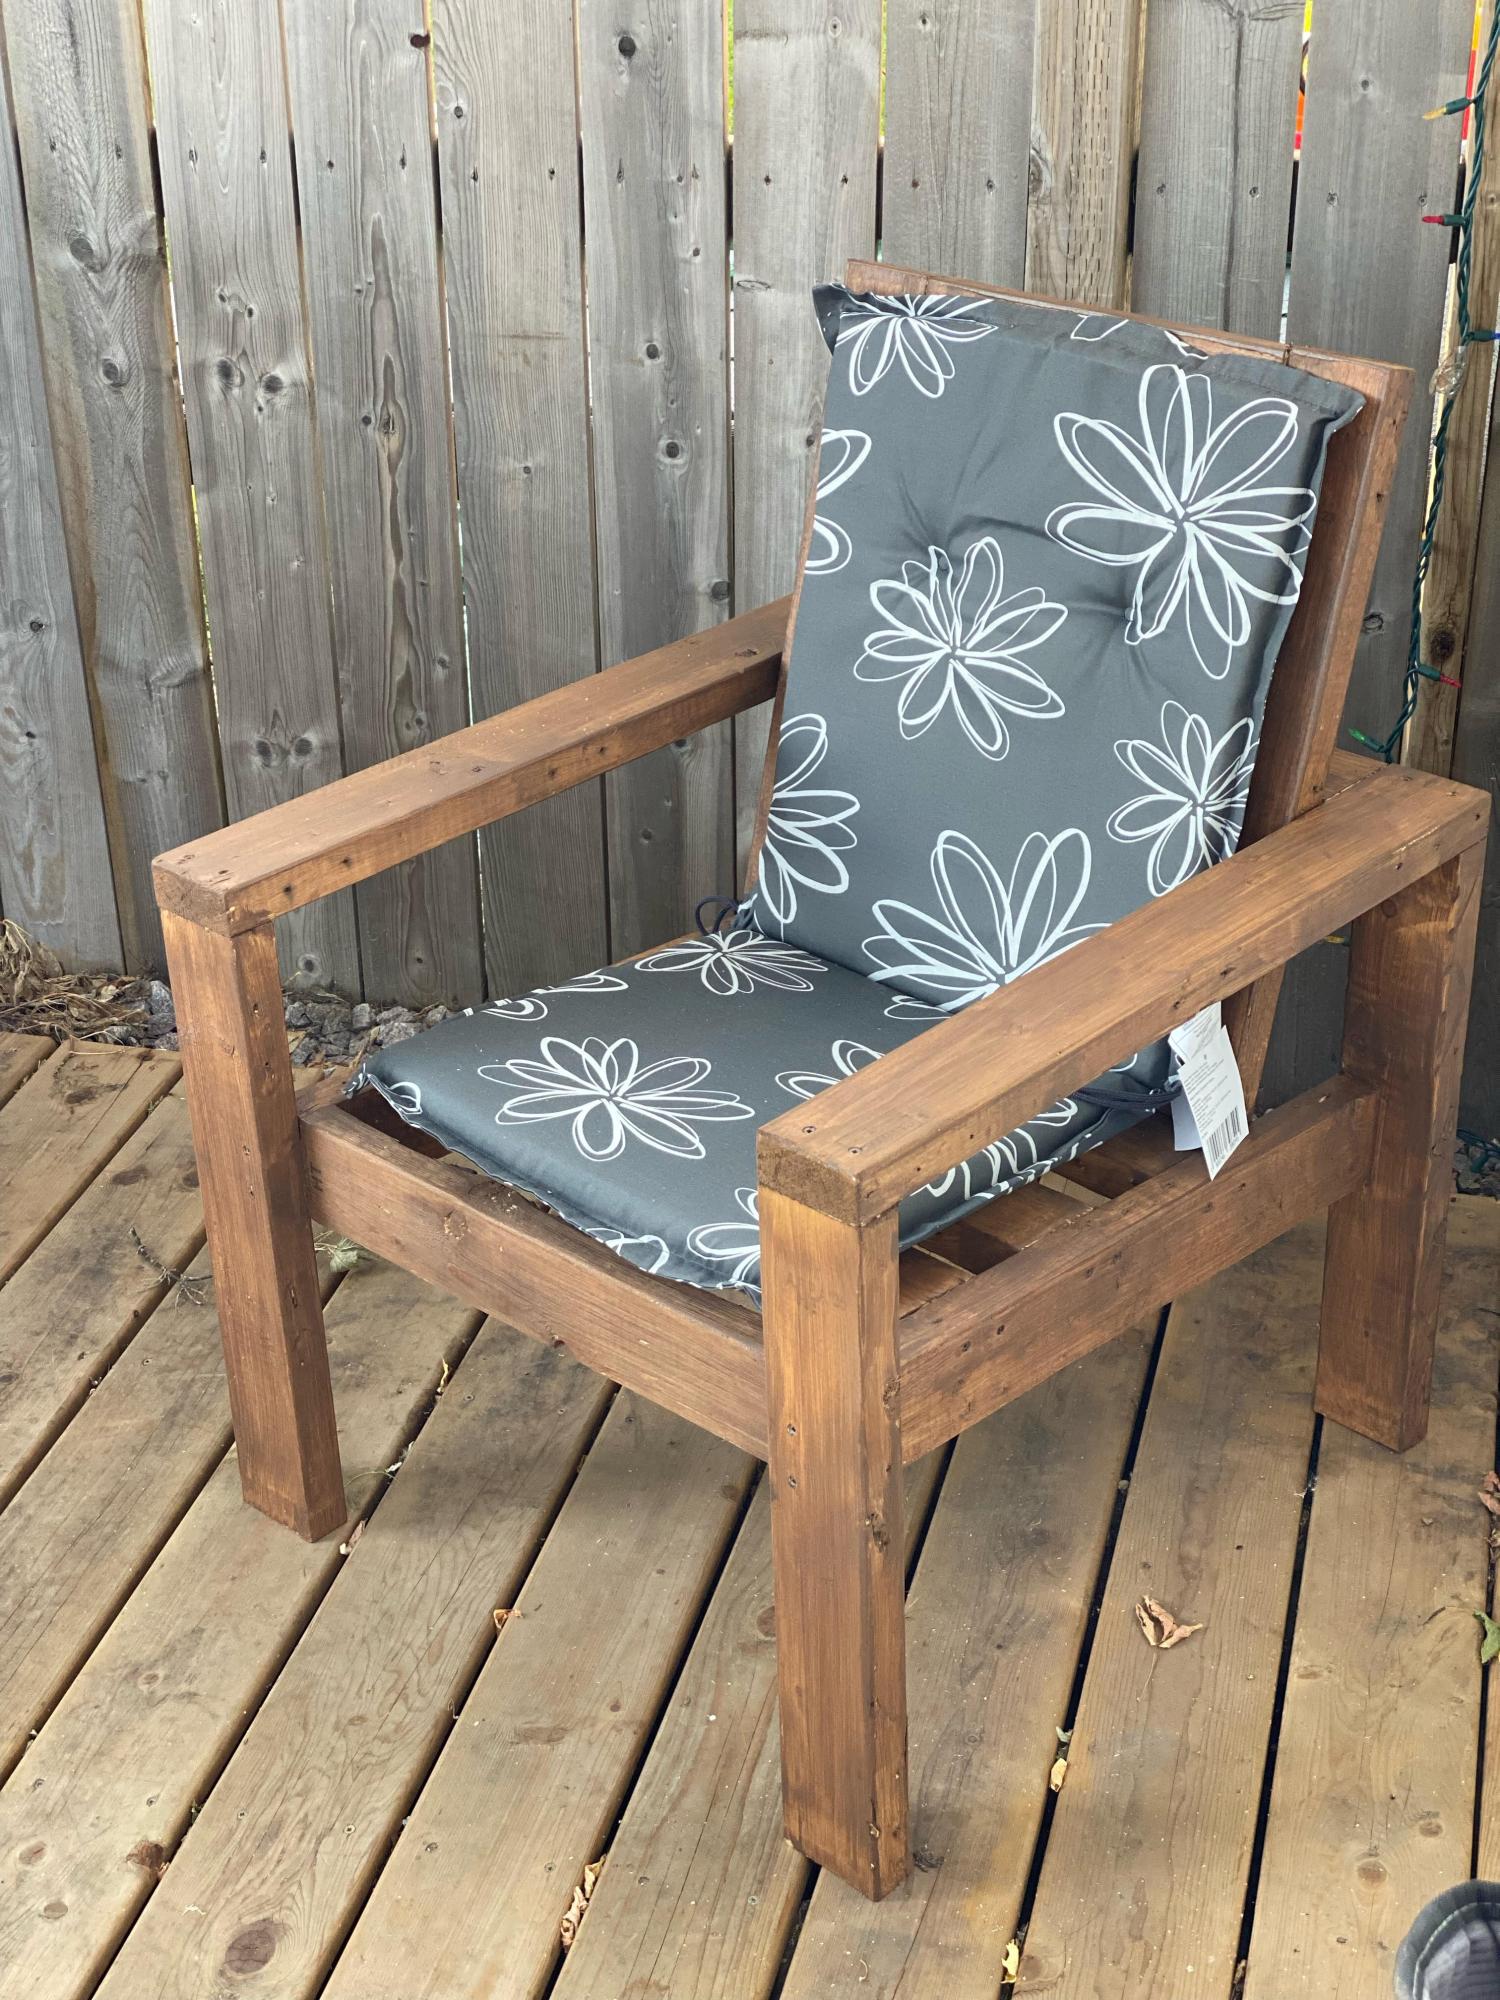
Essential outdoor chair, by Al.
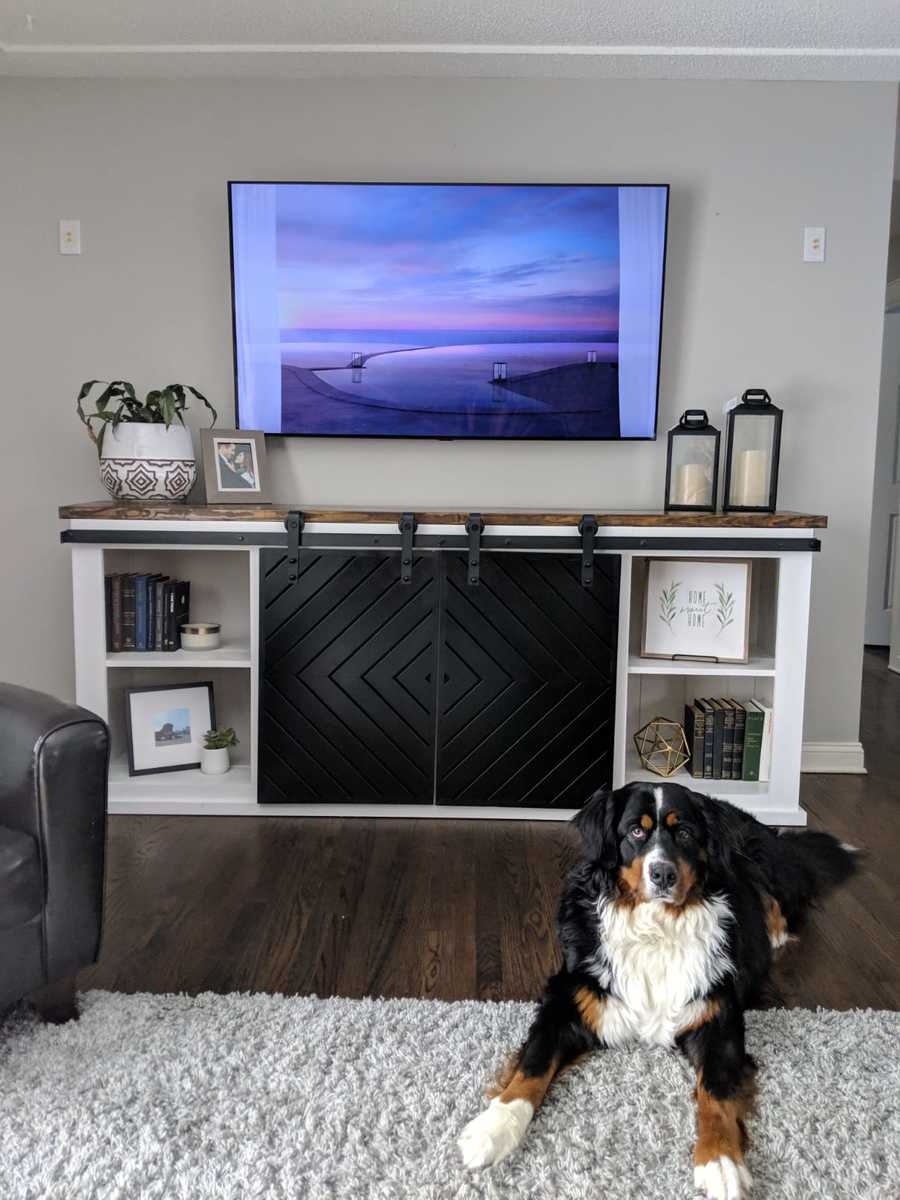
Had to build something to go with our brand new OLED TV. Combined Ana's 'Grandy Sliding Door Console' with a modified version of these modern barn door plans found at https://howdoesshe.com/build-a-fixer-upper-style-modern-barn-door/ from @angelarosehome to make the finished product shown here. My wife loves it (the pup doesn't mind it either)!
This is the nightly sleeper for our 6yo (queen) and 4yo (twin) boys, but we have in-laws who visit from out of town frequently and we also wanted a place to allow them to be comfortable as couples.
To accomodate adult headroom on the queen, I raised the entire loft 7" (72" high) and to fit the queen beneath, I had to lengthen the loft rails by 9" (84" long). To fill the resulting gap, I just used some 39" scraps of 2x4 and 2x6 overlapped to create a 4x10 landing which actually ended up a cool addition since it gives the kids a spot lower than the mattress to make the transition from the ladder to the mattress. It also has given us adults a spot to sit off the mattress while comforting them to sleep when needed, so we don't end up waking them when we leave.
I based the height of the queen legs (made four of them) off the size of a standard storage tote, which was ~13". We can fit 12-16 totes of clothes or other random storage under the bed as a result. The queen frame was just a simple 64"x84" rectangle out of 2x6s with 7 2x4s used as crossbeams to hold the mattress.
Note on the mattresses - these 8" memory foam mattresses are just as comfortable as our expensive name brand king mattress, but MUCH cheaper!
https://www.walmart.com/ip/Mainstays-8-inch-Memory-Foam-Mattress-Multiple-Sizes/47826185
Despite raising the loft, I kept the height of the stair platform the same, but just added a second 'ladder' rung to get up to the loft (refer back to the 4x10 landing spot on the loft). To keep with the using available storage space theme, instead of attaching the stairs permanently, I used 1"x4" hinges to that we could swing the stairs up and put 4 more storage totes under there. (However, we quickly found that the kids liked that area as a 'fort', so we've left it open for their use.)
In the picture, you'll note there are four treads/steps on the stairs because I thought to myself "little feet, little steps" would be better. I soon learned that the littles are more than capable of using adult sized steps while adults nearly killed themselves coming down the little feet, little steps. As such, I ended up removing one of the middle steps and moving the new singular middle to a spot between the other two. Much better, stay with 3 steps.
While the queen can stand alone, I still attached it to the 'legs' of the loft so that our rambunctious boys didn't 'sweep the leg' and bring the whole thing down on themselves while under it.
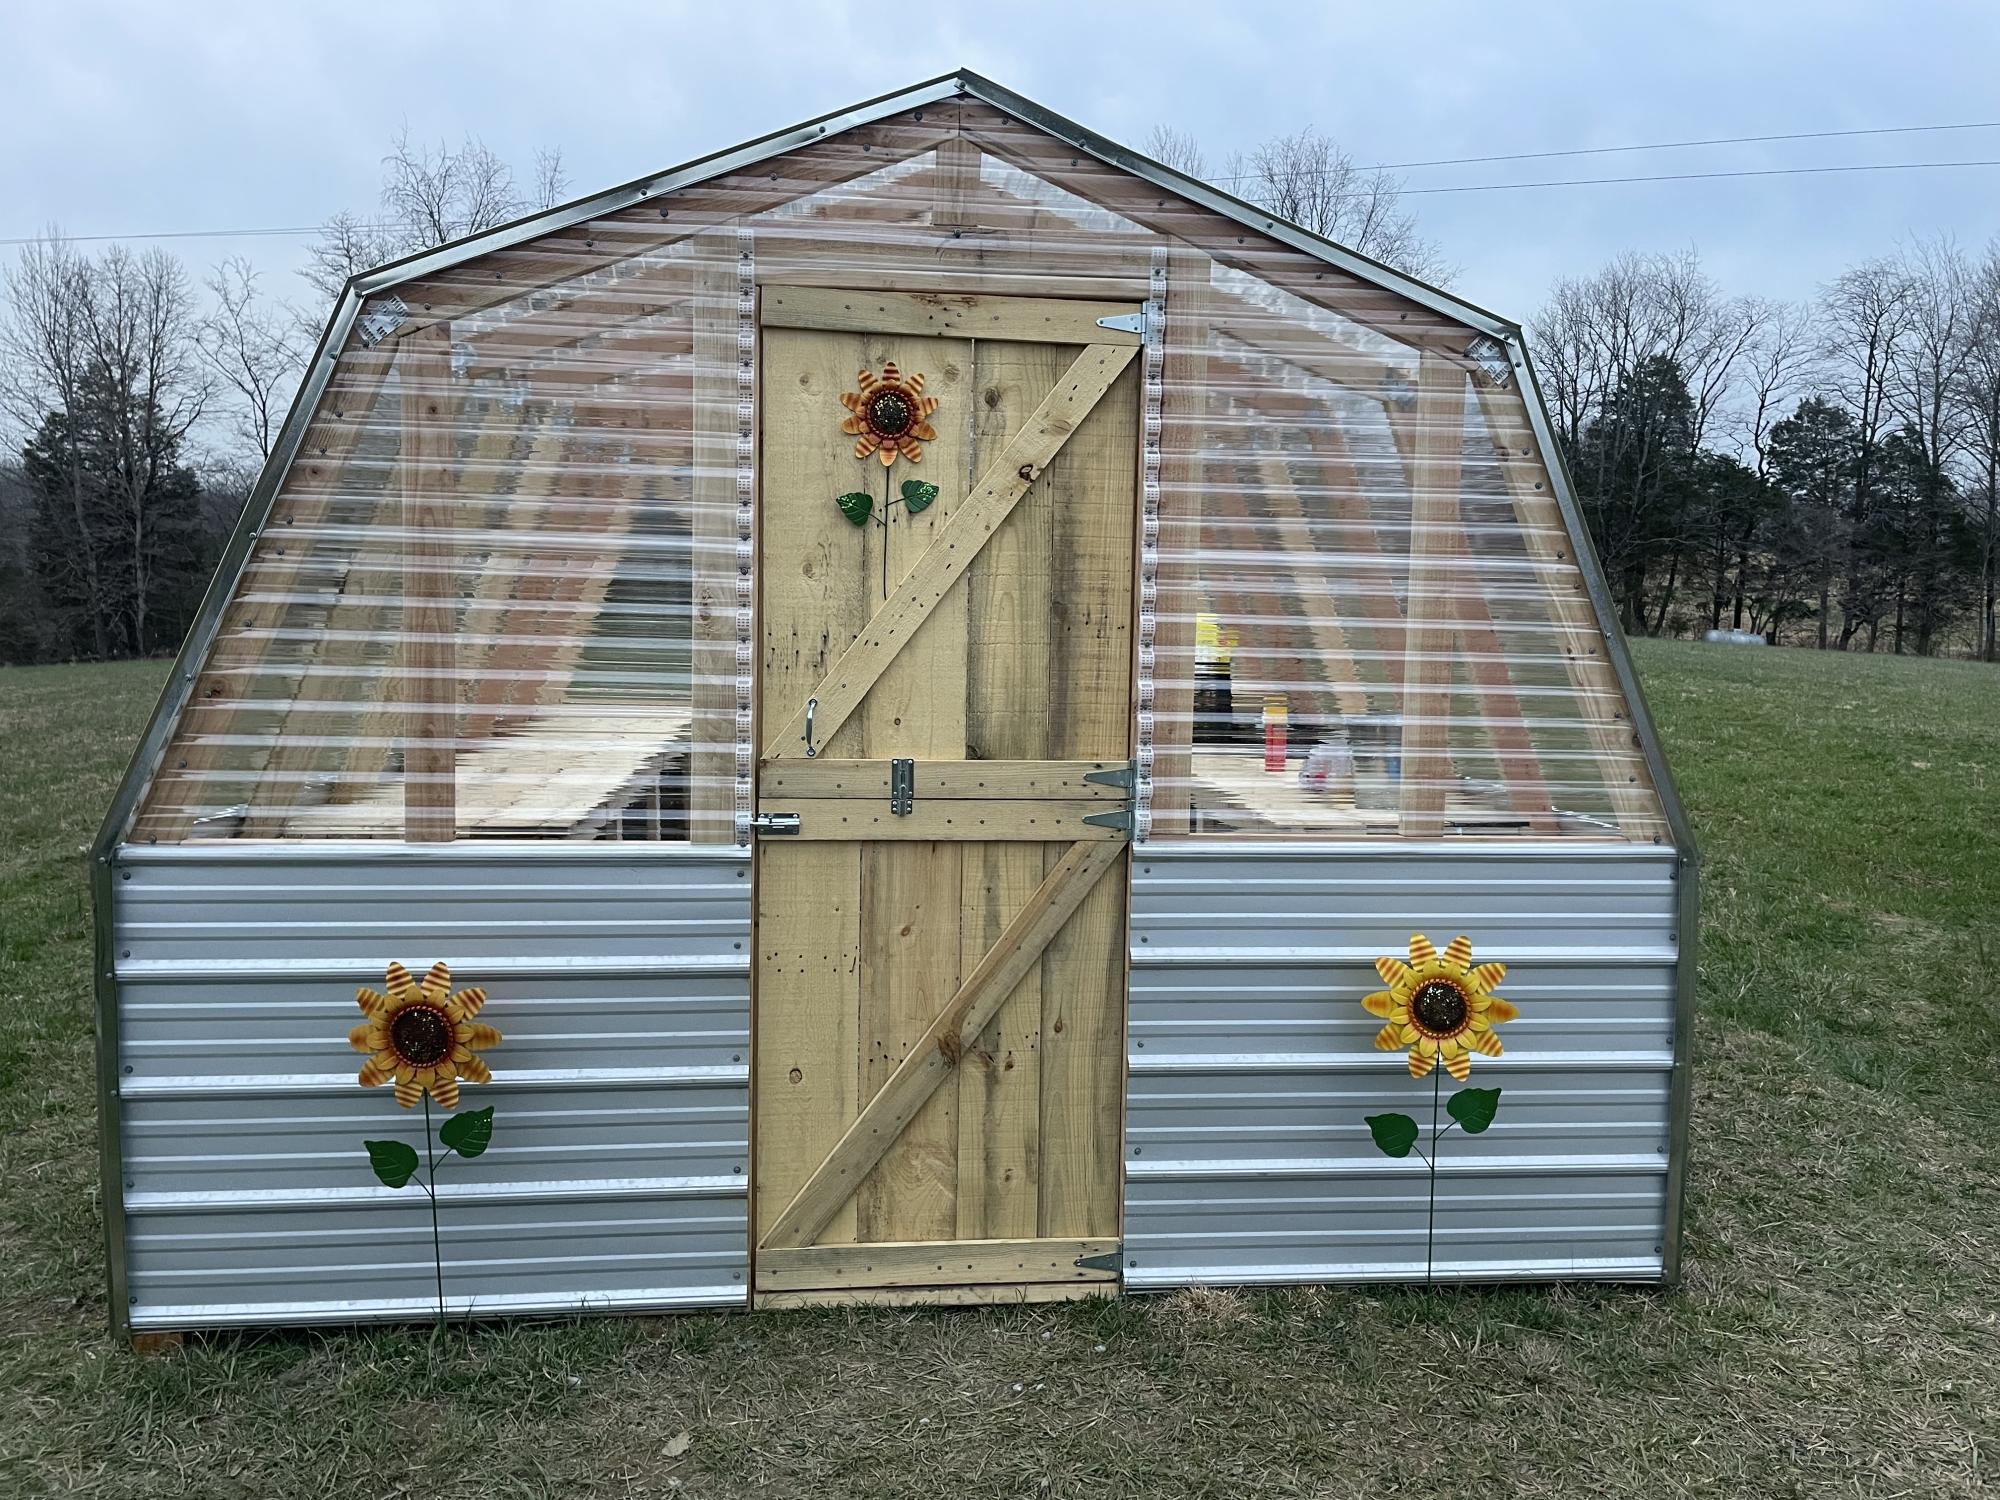
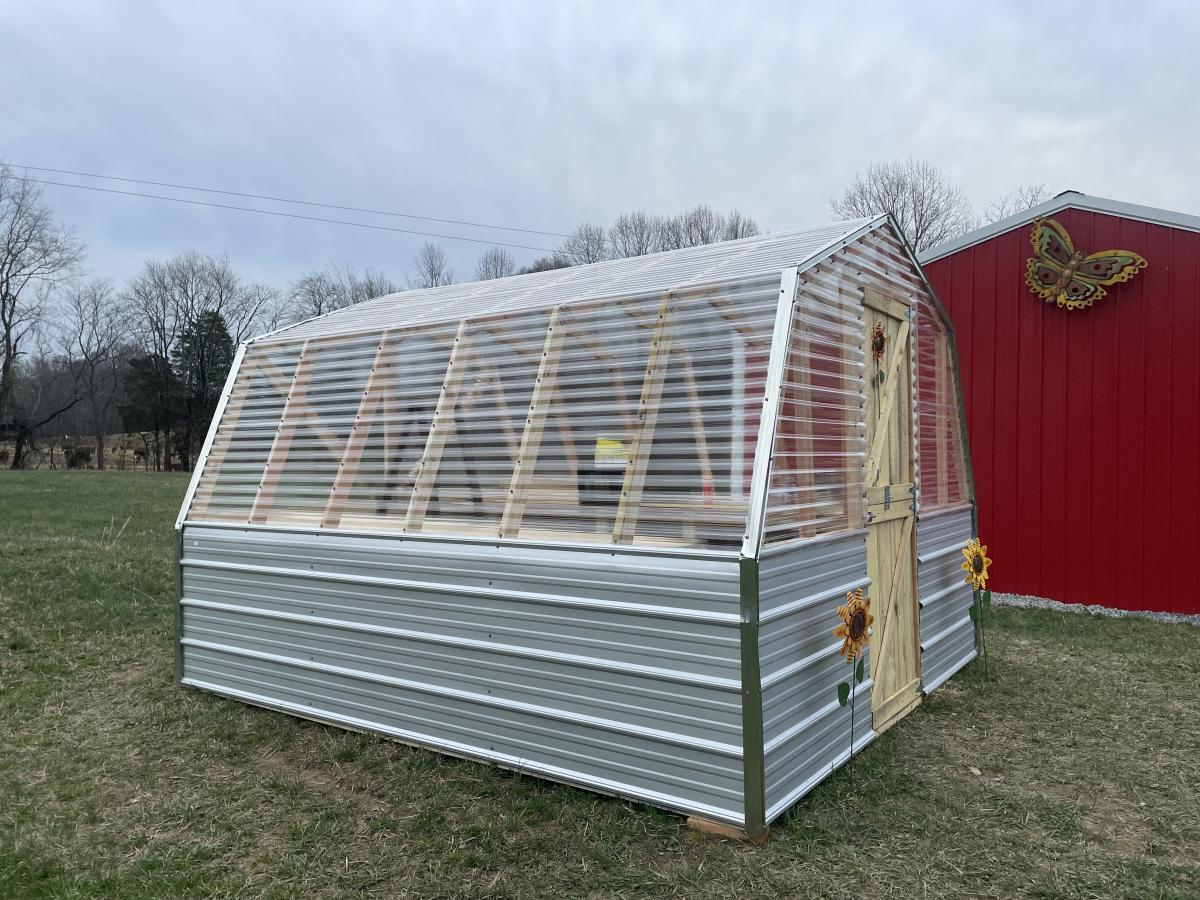
Thank you so much for the plans. We enjoyed building it. We love it!!!
I used the narrow farm house table as my starting point. I added two shelves. I used select grade Pine for this project for all except the 1x12 that was used for the shelves. I didn't want to spend 30 bucks for the select grade 1x12 for the shelves, so I used whitewood for that. I used pocket holes to join the 4 1x4s that makes up the top. I sanded the joints to try to give the appearance that it is a single boards. Can't tell unless you really look close. I am pretty happy with the way it turned out. Biggest problem I had with this project was my 10 year old cordless drill. Batteries would only hold a charge for 4 or 5 pocket holes, so this project took me much longer then it should have. That's okay, I used the time waiting on the drill to charge to sand, and measure. That problem has been corrected with the Black Friday sale at Lowes. My next project is a desk for my daughter, I designed it myself, but would never have attempted something like this without this great website!!!