Community Brag Posts

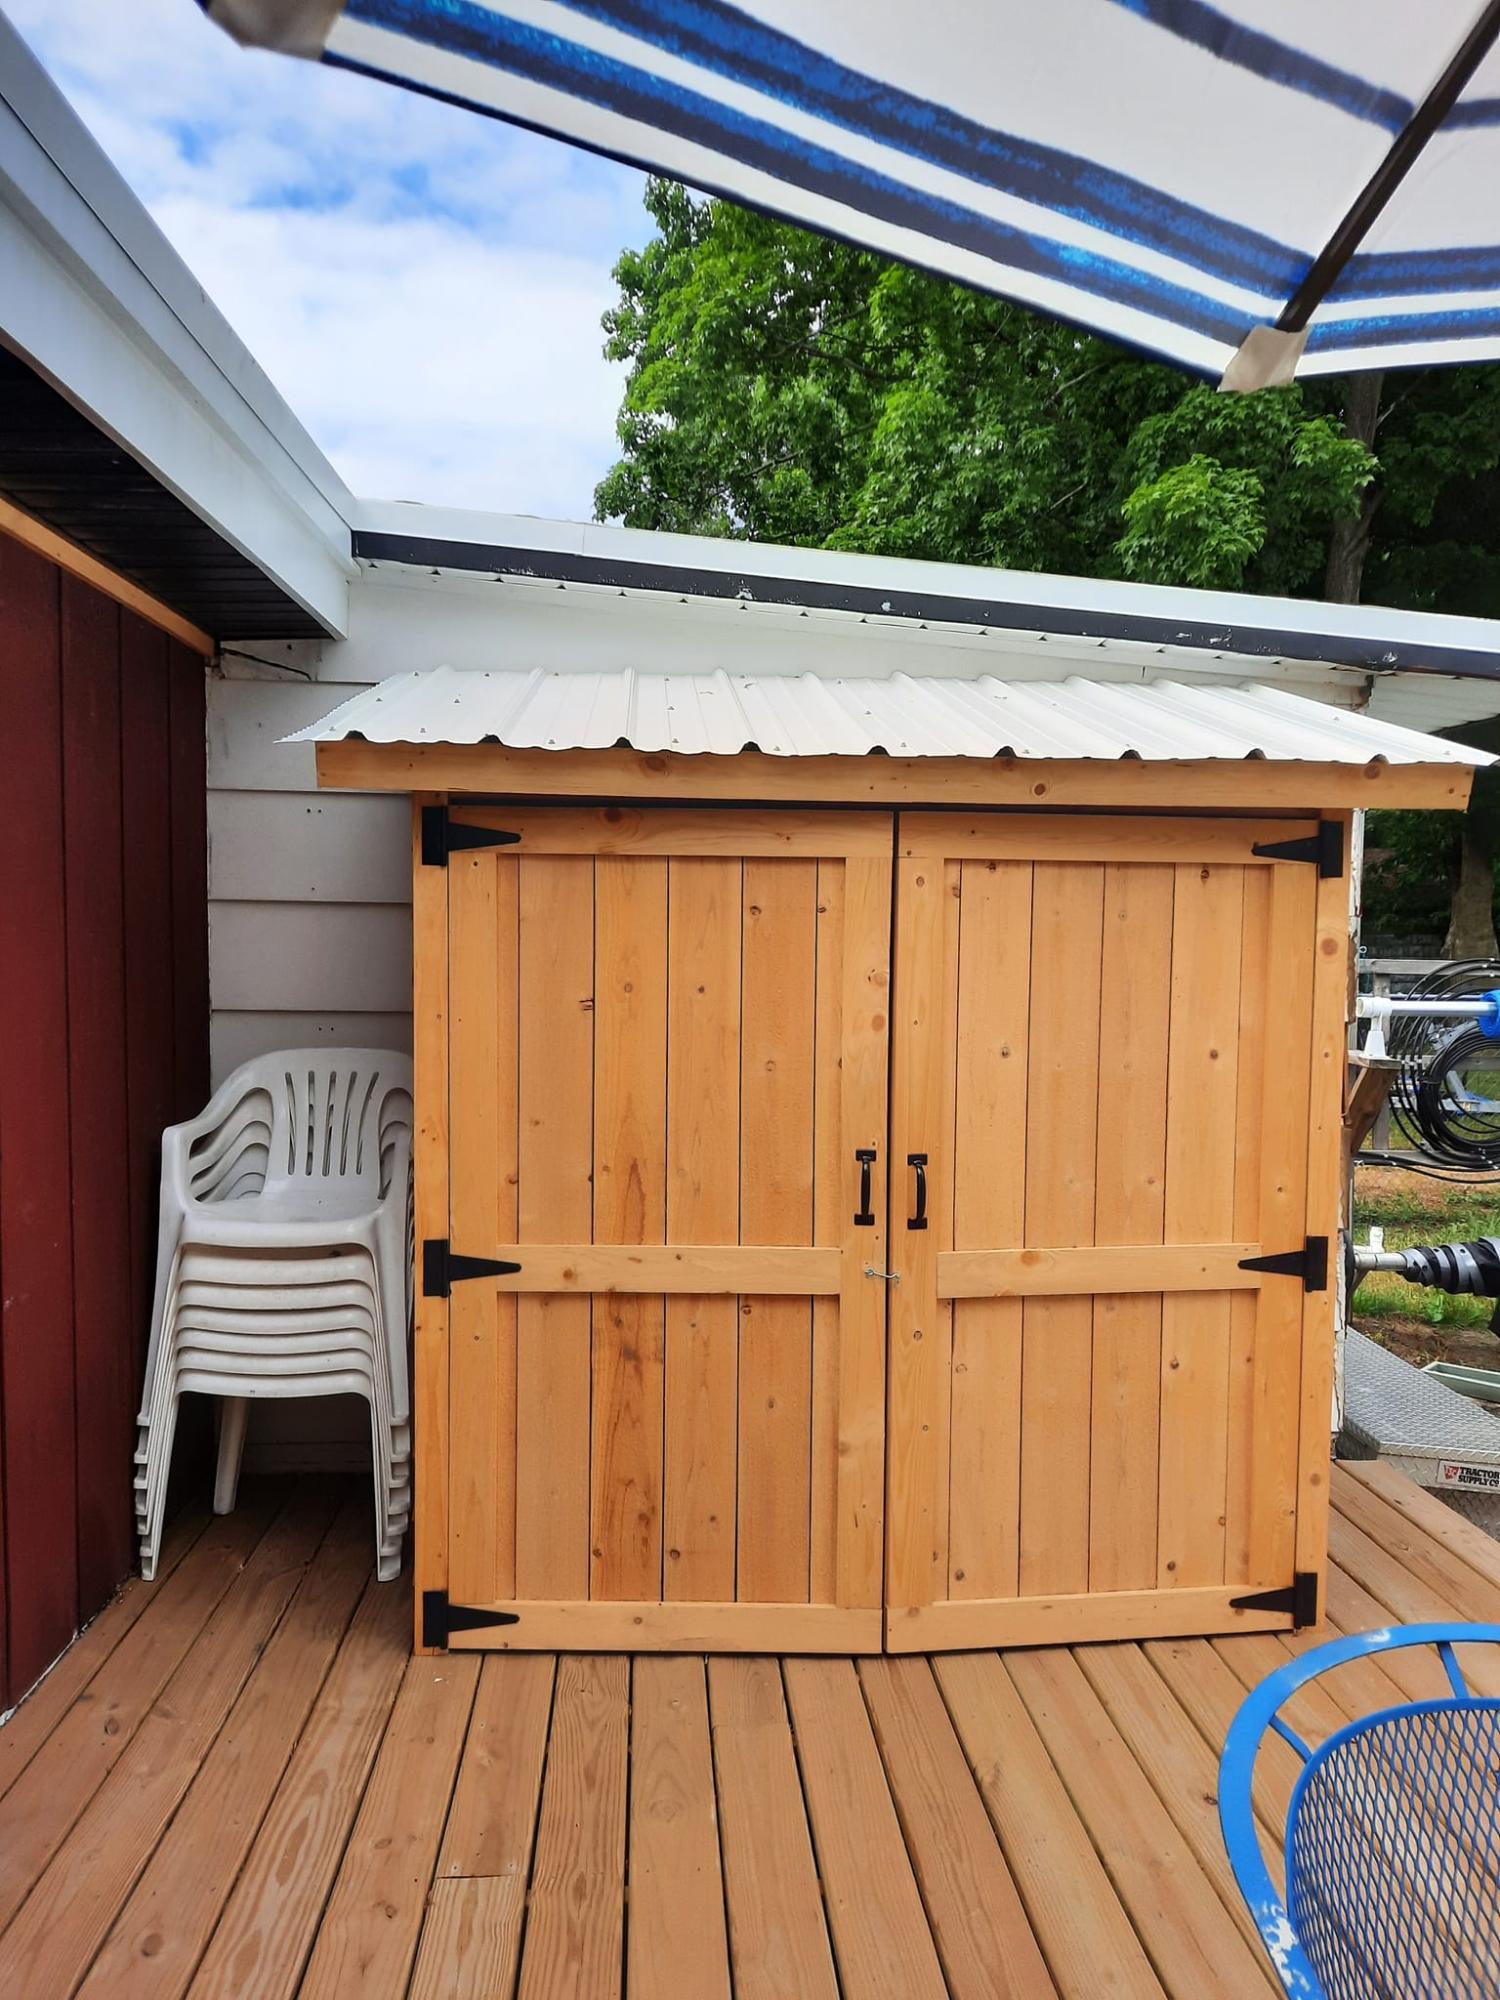
Pool supplies storage shed

Submitted by Anonymous (not verified) on Sun, 06/25/2023 - 18:50

I was looking for a shed to keep pool towels and other deck and pool items. This shed hit every feature I was looking
for. My husband loved the plans. He's always saying he can build anything with a measured drawing and a
cut list. The only thing we changed was the roofing material. we were given some metal roofing by a friend.

Built from Plan(s)

Comments

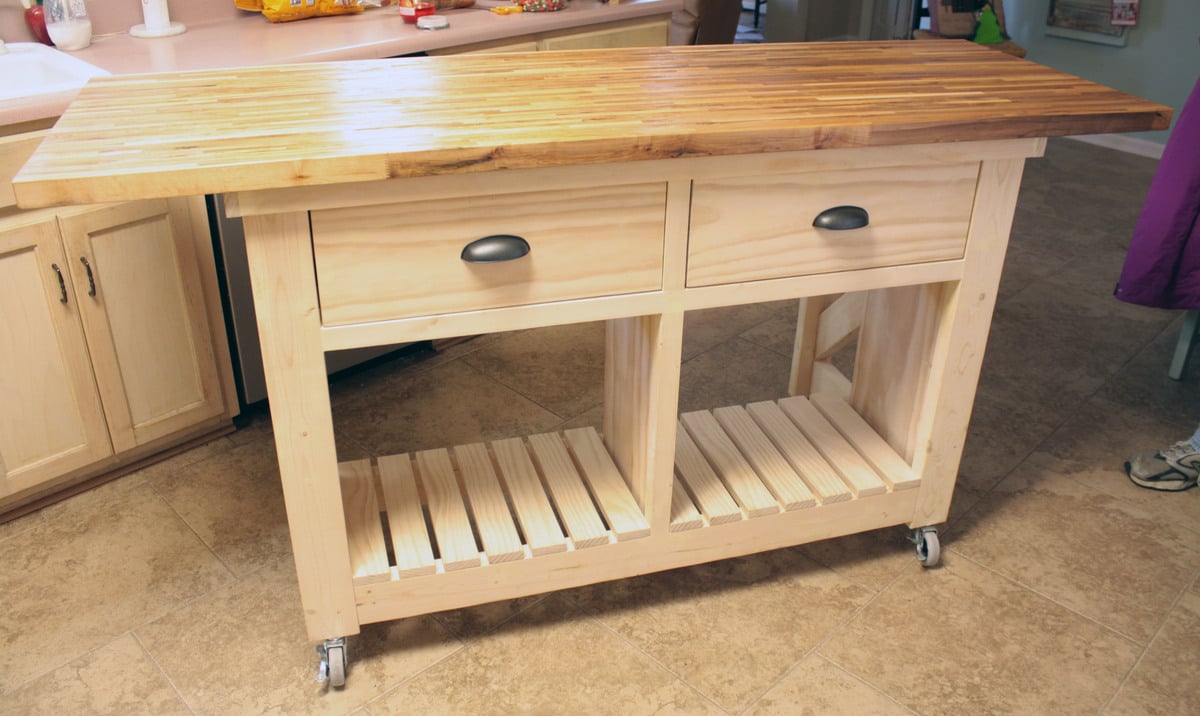
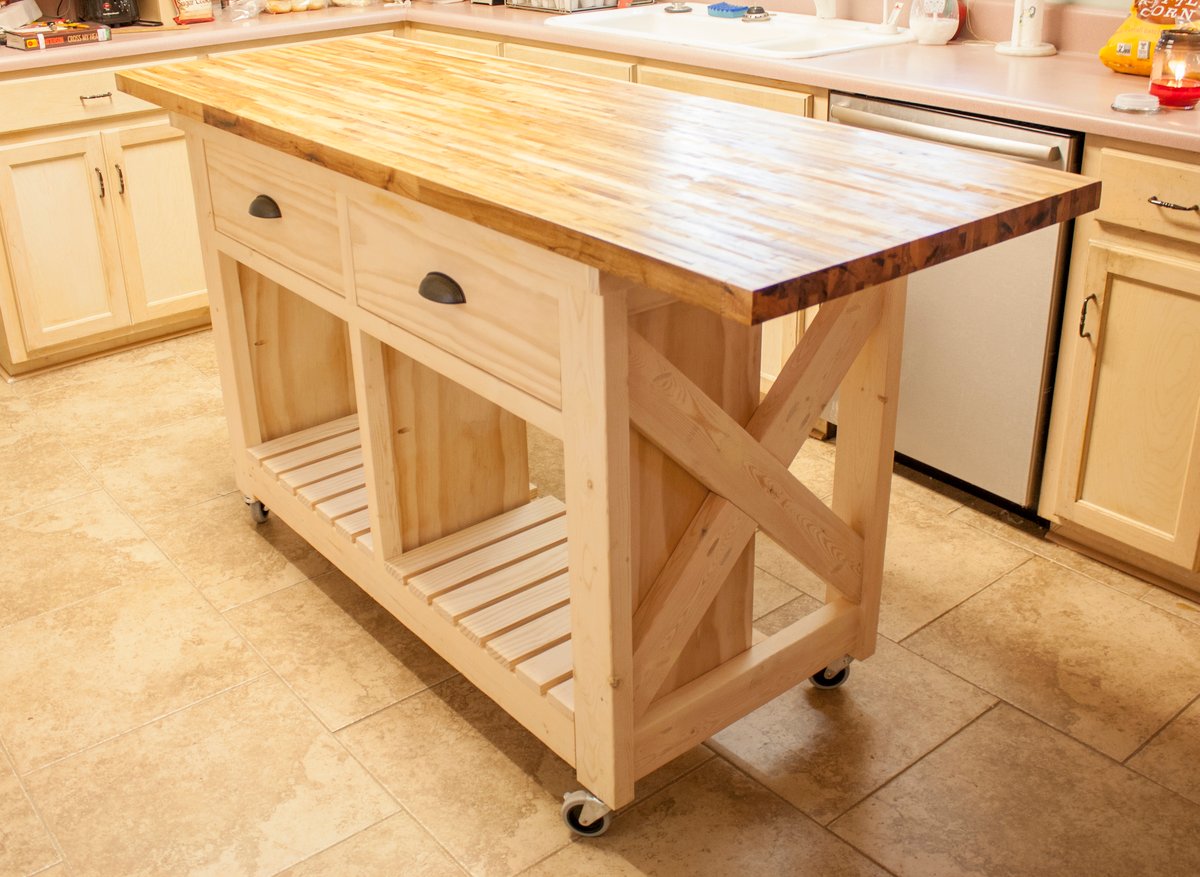
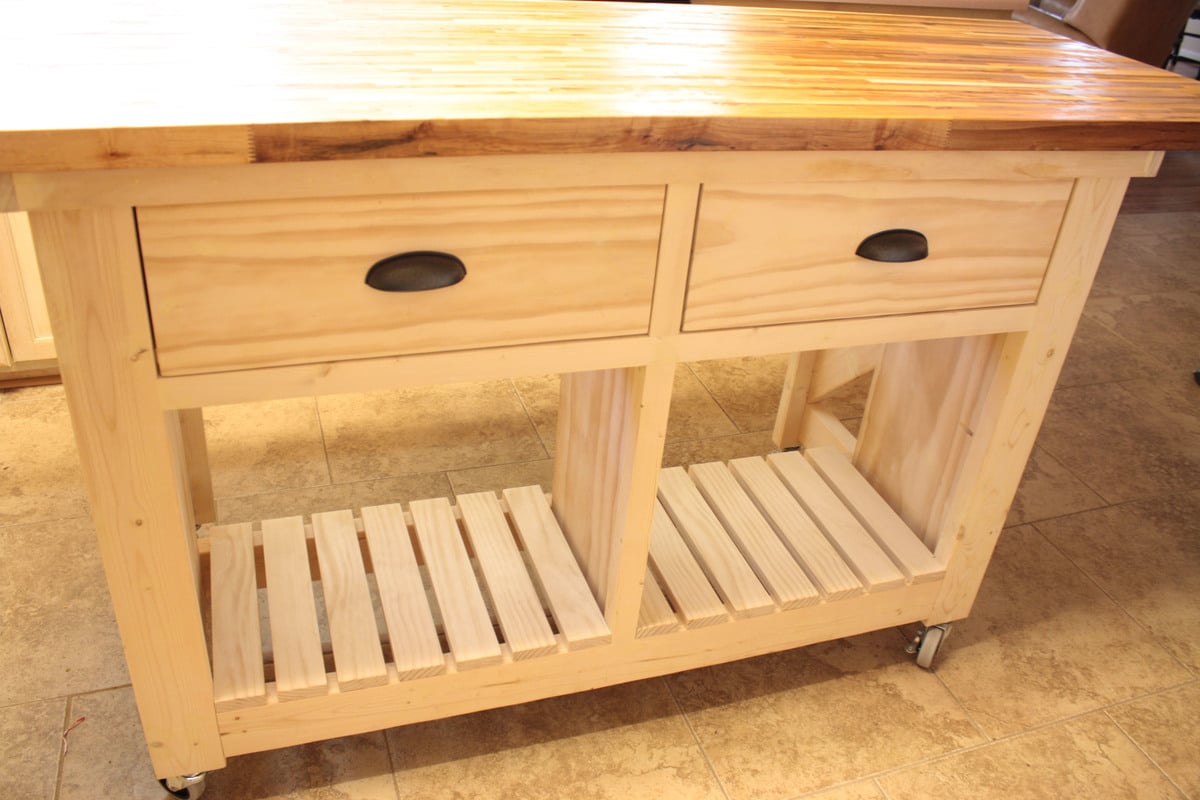
Double kitchen island with butcher block top

Submitted by bhoppy on Wed, 01/01/2014 - 11:58

I started on the project when I went home for Thanksgiving and finished up the drawers when I was home for Christmas. I live about 7 hours from my family. I took a few tools with me (kreg jig and drill) but borrowed a circular saw and miter saw for all the cuts. It was difficult working on it because it was fairly cold and my dad only has a carport. Which is why it took longer. My step-mom says she wants to paint it maybe with some milk paint. She also did not want the center shelf as she wanted a place for taller items.

The butcher block top was $299. It comes from lumber liquidators in 25" by 96". My dad had about 2 feet cut off the length. Ikea also sells butcher block tops for roughly half the price I think, but they were out of stock in both Atlanta and Charlotte.

I also made the small kitchen island before and this one went much more smoothly. Having the extra set of hands was awesome and made for a wonderful memory as I built it with my father:-)

Built from Plan(s)
Estimated Cost
$400
Estimated Time Investment
Week Long Project (20 Hours or More)
Finish Used
None yet
Recommended Skill Level
Intermediate

Comments

Ana White

Thu, 08/15/2019 - 12:14

This is amazing Stephanie!!!!  I can't believe I didn't see this sooner.  

We are going to feature your photo with the plans - thank you so much for sharing a brag post!  Hope you are well!

Console table

Submitted by tjhead on Thu, 03/24/2016 - 10:19

Built from the Balin Console Table plan.  I needed more storage for my entryway table, so I added the extra drawers.  First, I had it stained but found this chalk paint in the mistints at Lowe's.  Perfect color!

Built from Plan(s)
Estimated Time Investment
Weekend Project (10-20 Hours)
Finish Used
Dark walnut stain underneath a custom dark green chalky finish paint by Valspar.
Recommended Skill Level
Beginner

Simple Outdoor Conversation Set

Submitted by cspires64 on Sun, 03/18/2012 - 13:13

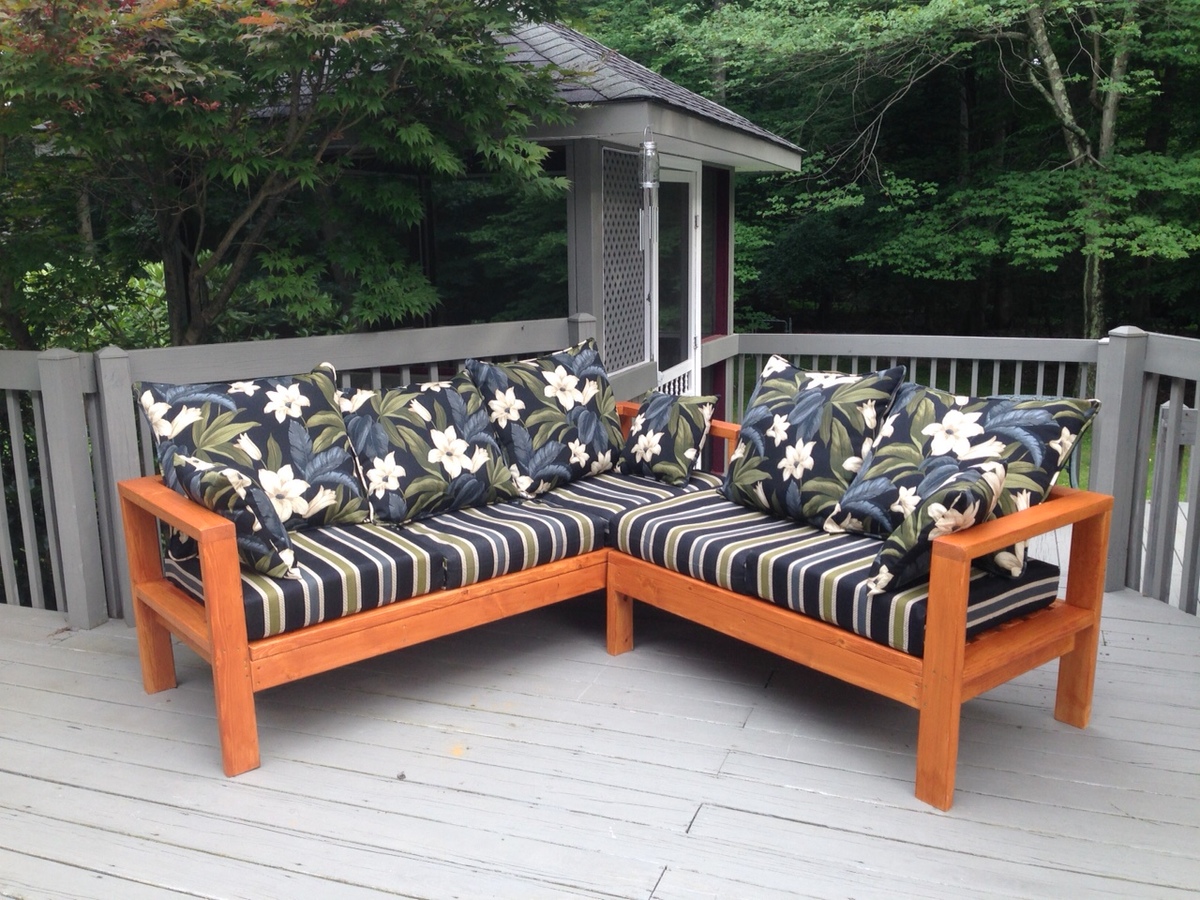
Spring is around the corner and I had no outdoor furniture. My boyfriend had just talked me into a new weber grill, which did not leave much budget for new outdoor furniture. That's when I came across this web site and thought 'I can do that'. So I talked me boyfriend into helping build this Simple Outdoor Conversation Set. We used plans for the Simple Outdoor Lounge Chair and Simple Outdoor Ottoman and then followed the alterations by post for 'My Modern Outdoor Patio Collection' to make the loveseat.

The whole project came together over 5 days.
Day 1: Cut all boards (5 hrs)
Day 2: Sand all boards (5 hrs)
Day 3: Stain all boards (6 hrs)
Day 4 & 5: Assemble furniture (9 - 10 hrs)

The total project took about 25 hrs and cost about $350. Here's the breakdown wood and supplies $204 from Lowe's for pretreated wood. $145 on cushions (NOT ON SALE); $60 for the seat cushions from Home Depot and $80 for the back cushions from Wal-Mart. We were originally planning on only having the seat cushions, but the seats were long when you set in them with your back against the bear wood (I was setting so far back, my feet couldn't reach the floor) so we opted for thick back cushions to make it more comfortable. The project finished up just in time for our first BBQ party! (March 2012)

Estimated Cost
$204
Estimated Time Investment
Week Long Project (20 Hours or More)
Finish Used
Redwood toner and sealant
Recommended Skill Level
Starter Project

Comments

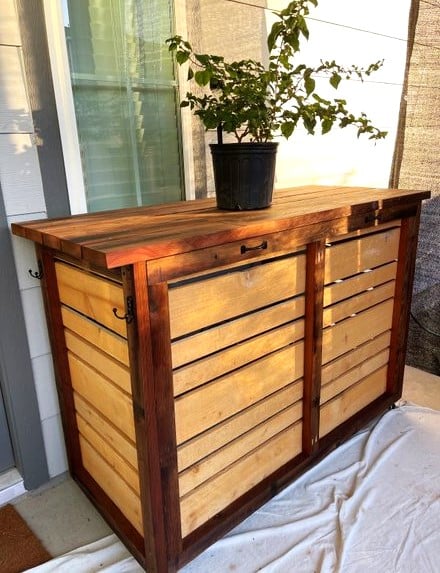
Outdoor Grill Station

Submitted by Anonymous (not verified) on Tue, 09/05/2023 - 09:21


This rolling bar was inspired by Ana White's plan.  It is used as a bar and conceals an electric smoker and a grill.  I added handles for moving and some hooks on the sides.  I stained the salvaged 2 X 6 's and brushed on clear oil based poly on the new Cedar fence boards.

Billie

Butcher Block Kitchen Island

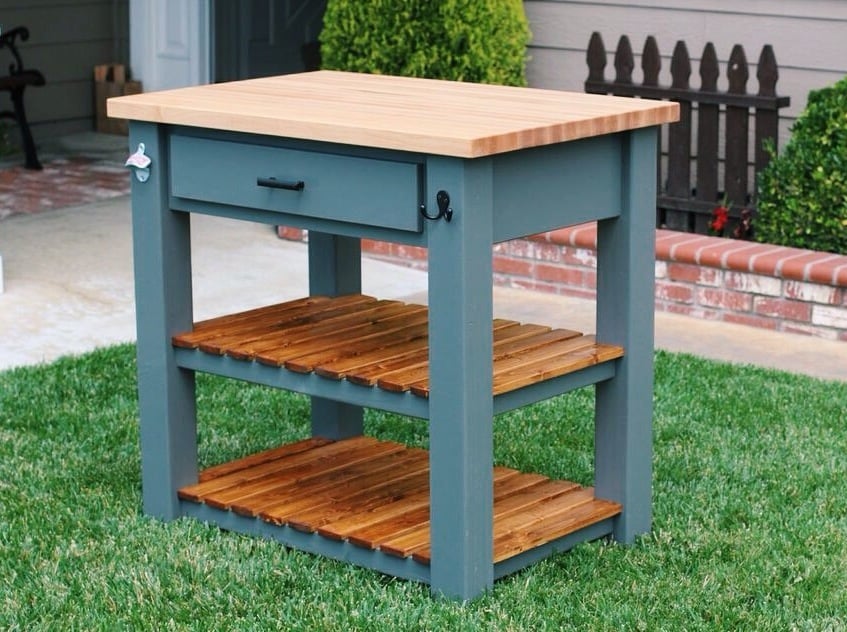
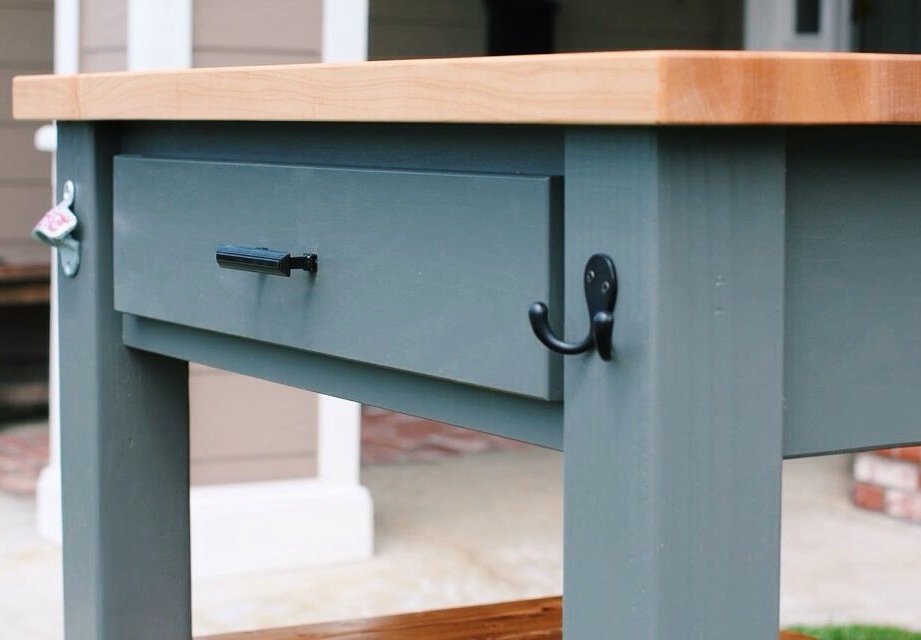
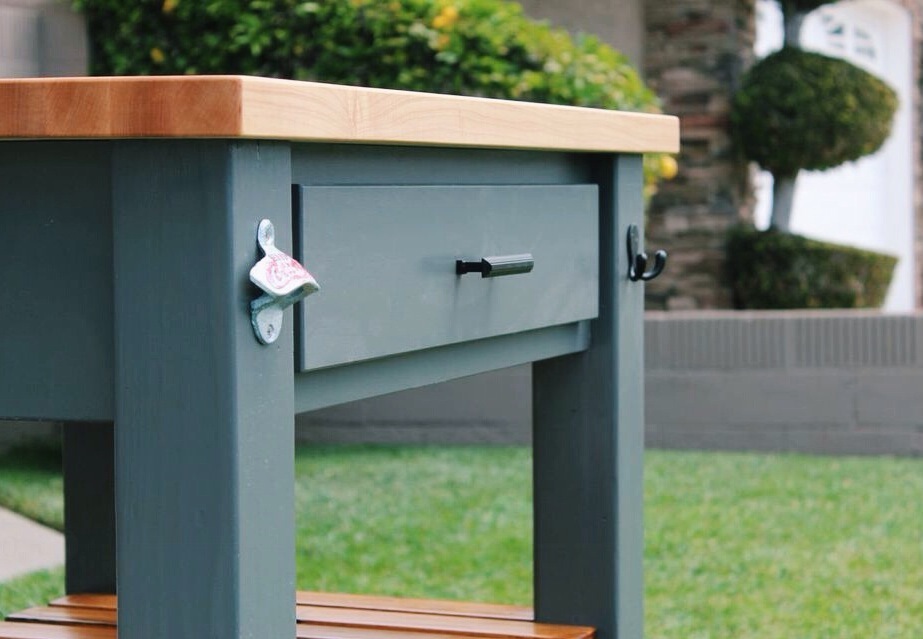
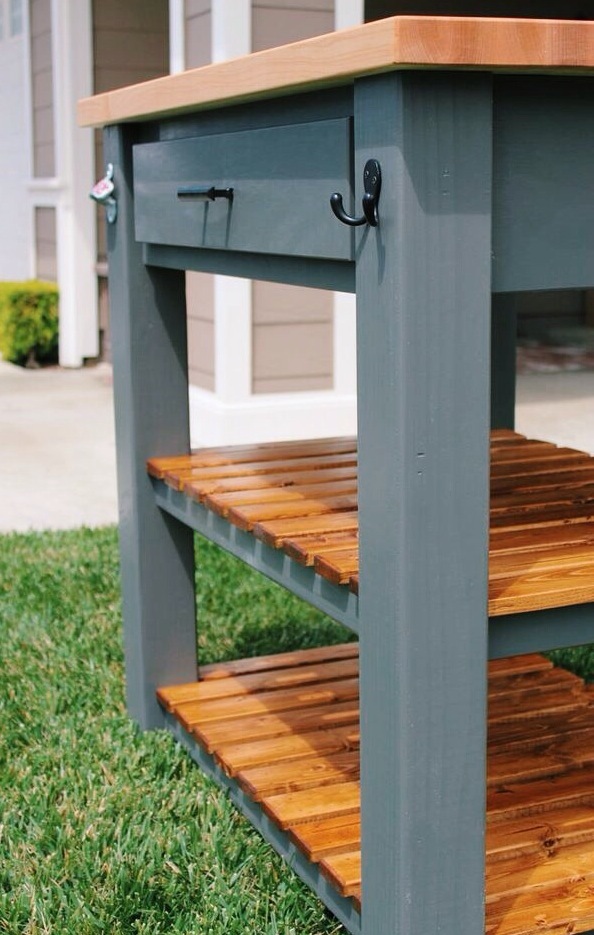
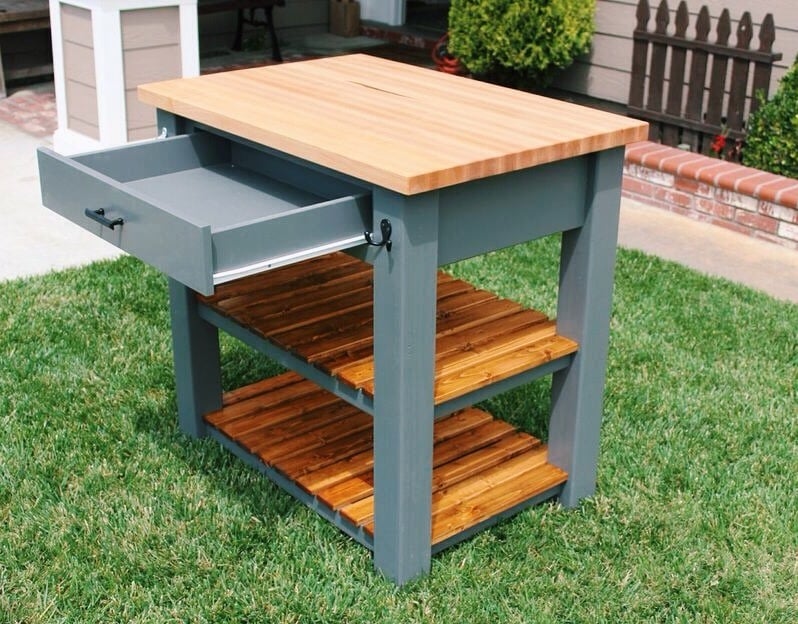
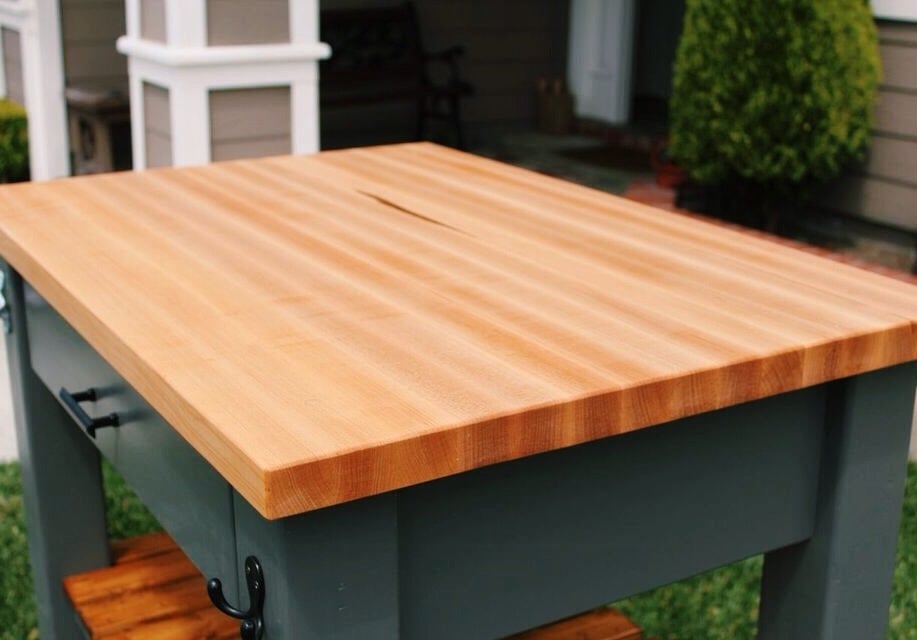
This is a modified butcher block kitchen island built from ana white's plan. Instead of using doug fir (2x4) material for the top, I used hard maple to build an edge grain butcher block top that if knife friendly and food safe. I also altered the dimensions to fit my space.

Built from Plan(s)
Estimated Time Investment
Week Long Project (20 Hours or More)
Finish Used
Mineral oil was used for the butcher block top. The paint is kendall grey by behr and early American stain by minwax for the shelves.
Recommended Skill Level
Advanced

Comments

jbuilder712

Wed, 06/04/2014 - 08:49

Wow, what a stunning piece! That looks like it'd fit my space more than the original plans. Would you mind posting your dimensions and cut list? Thanks!

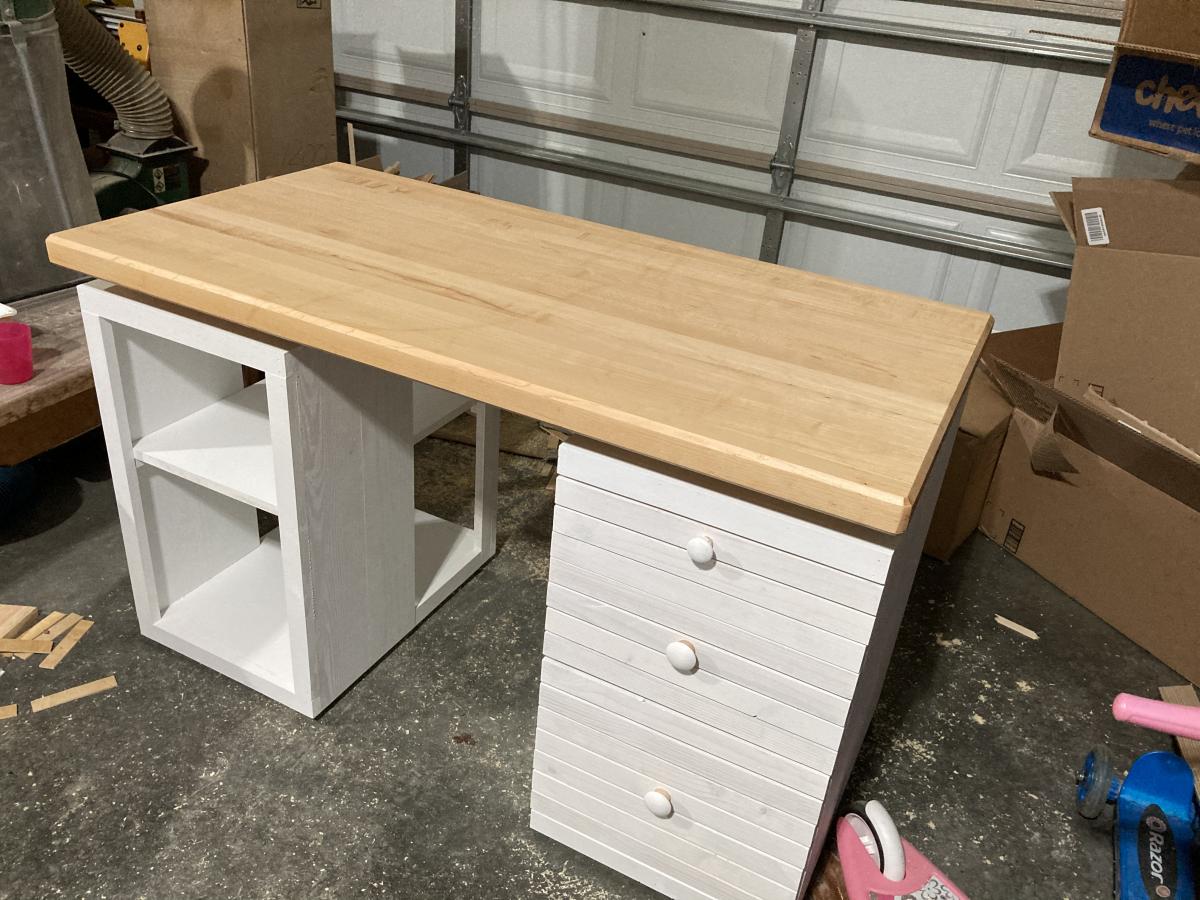
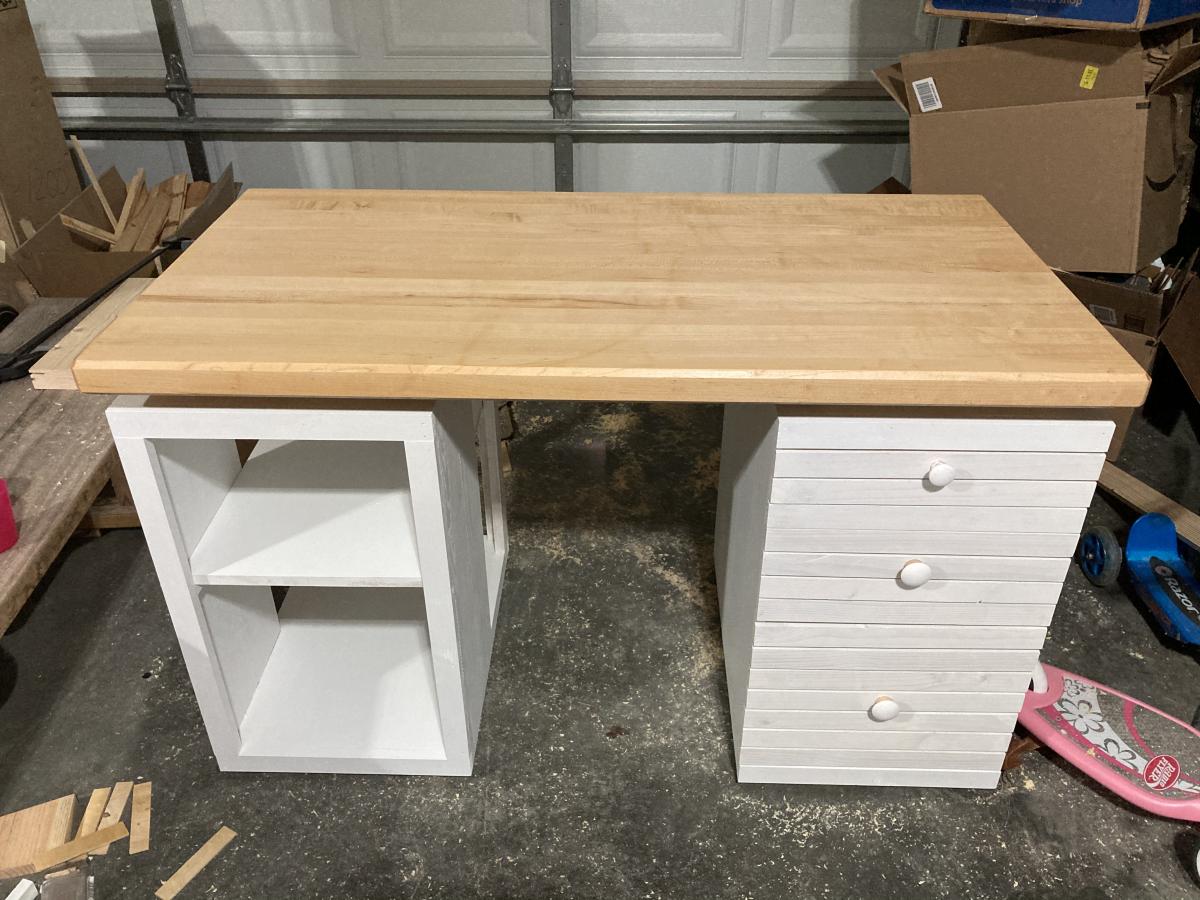
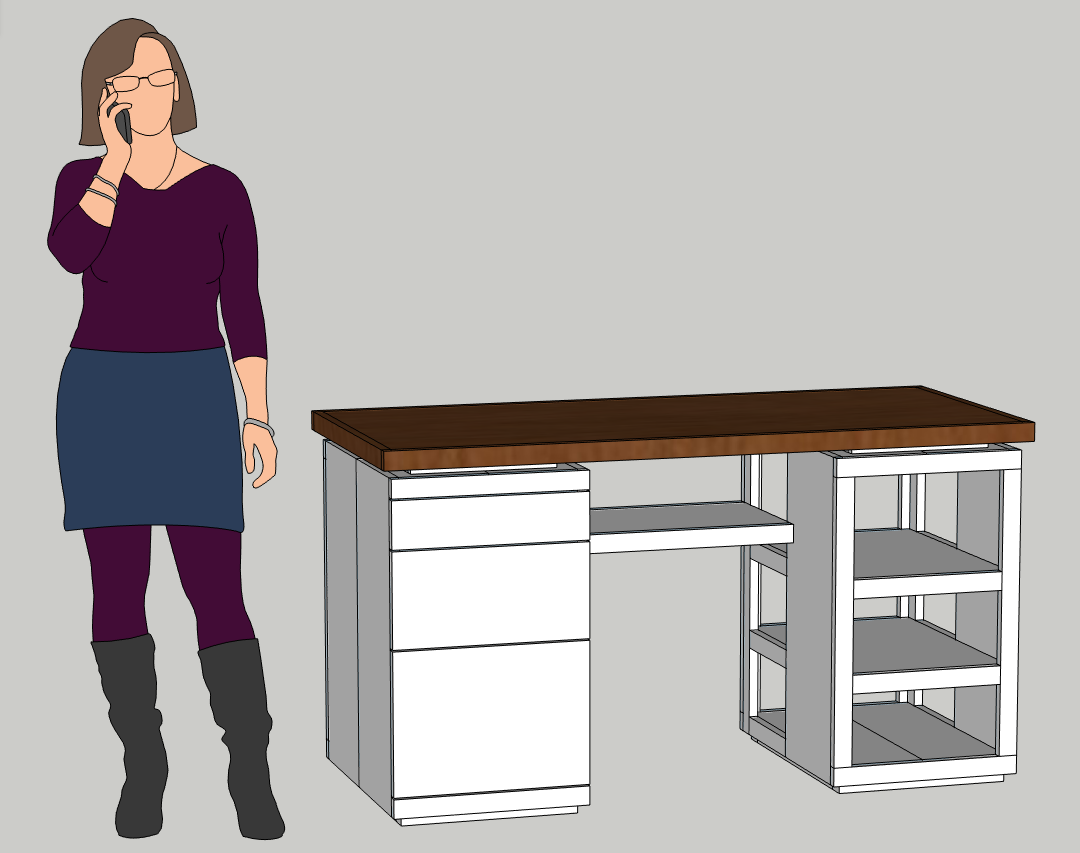
Modern craft table inspired desk

Submitted by Pdkennelly on Sat, 03/20/2021 - 18:30

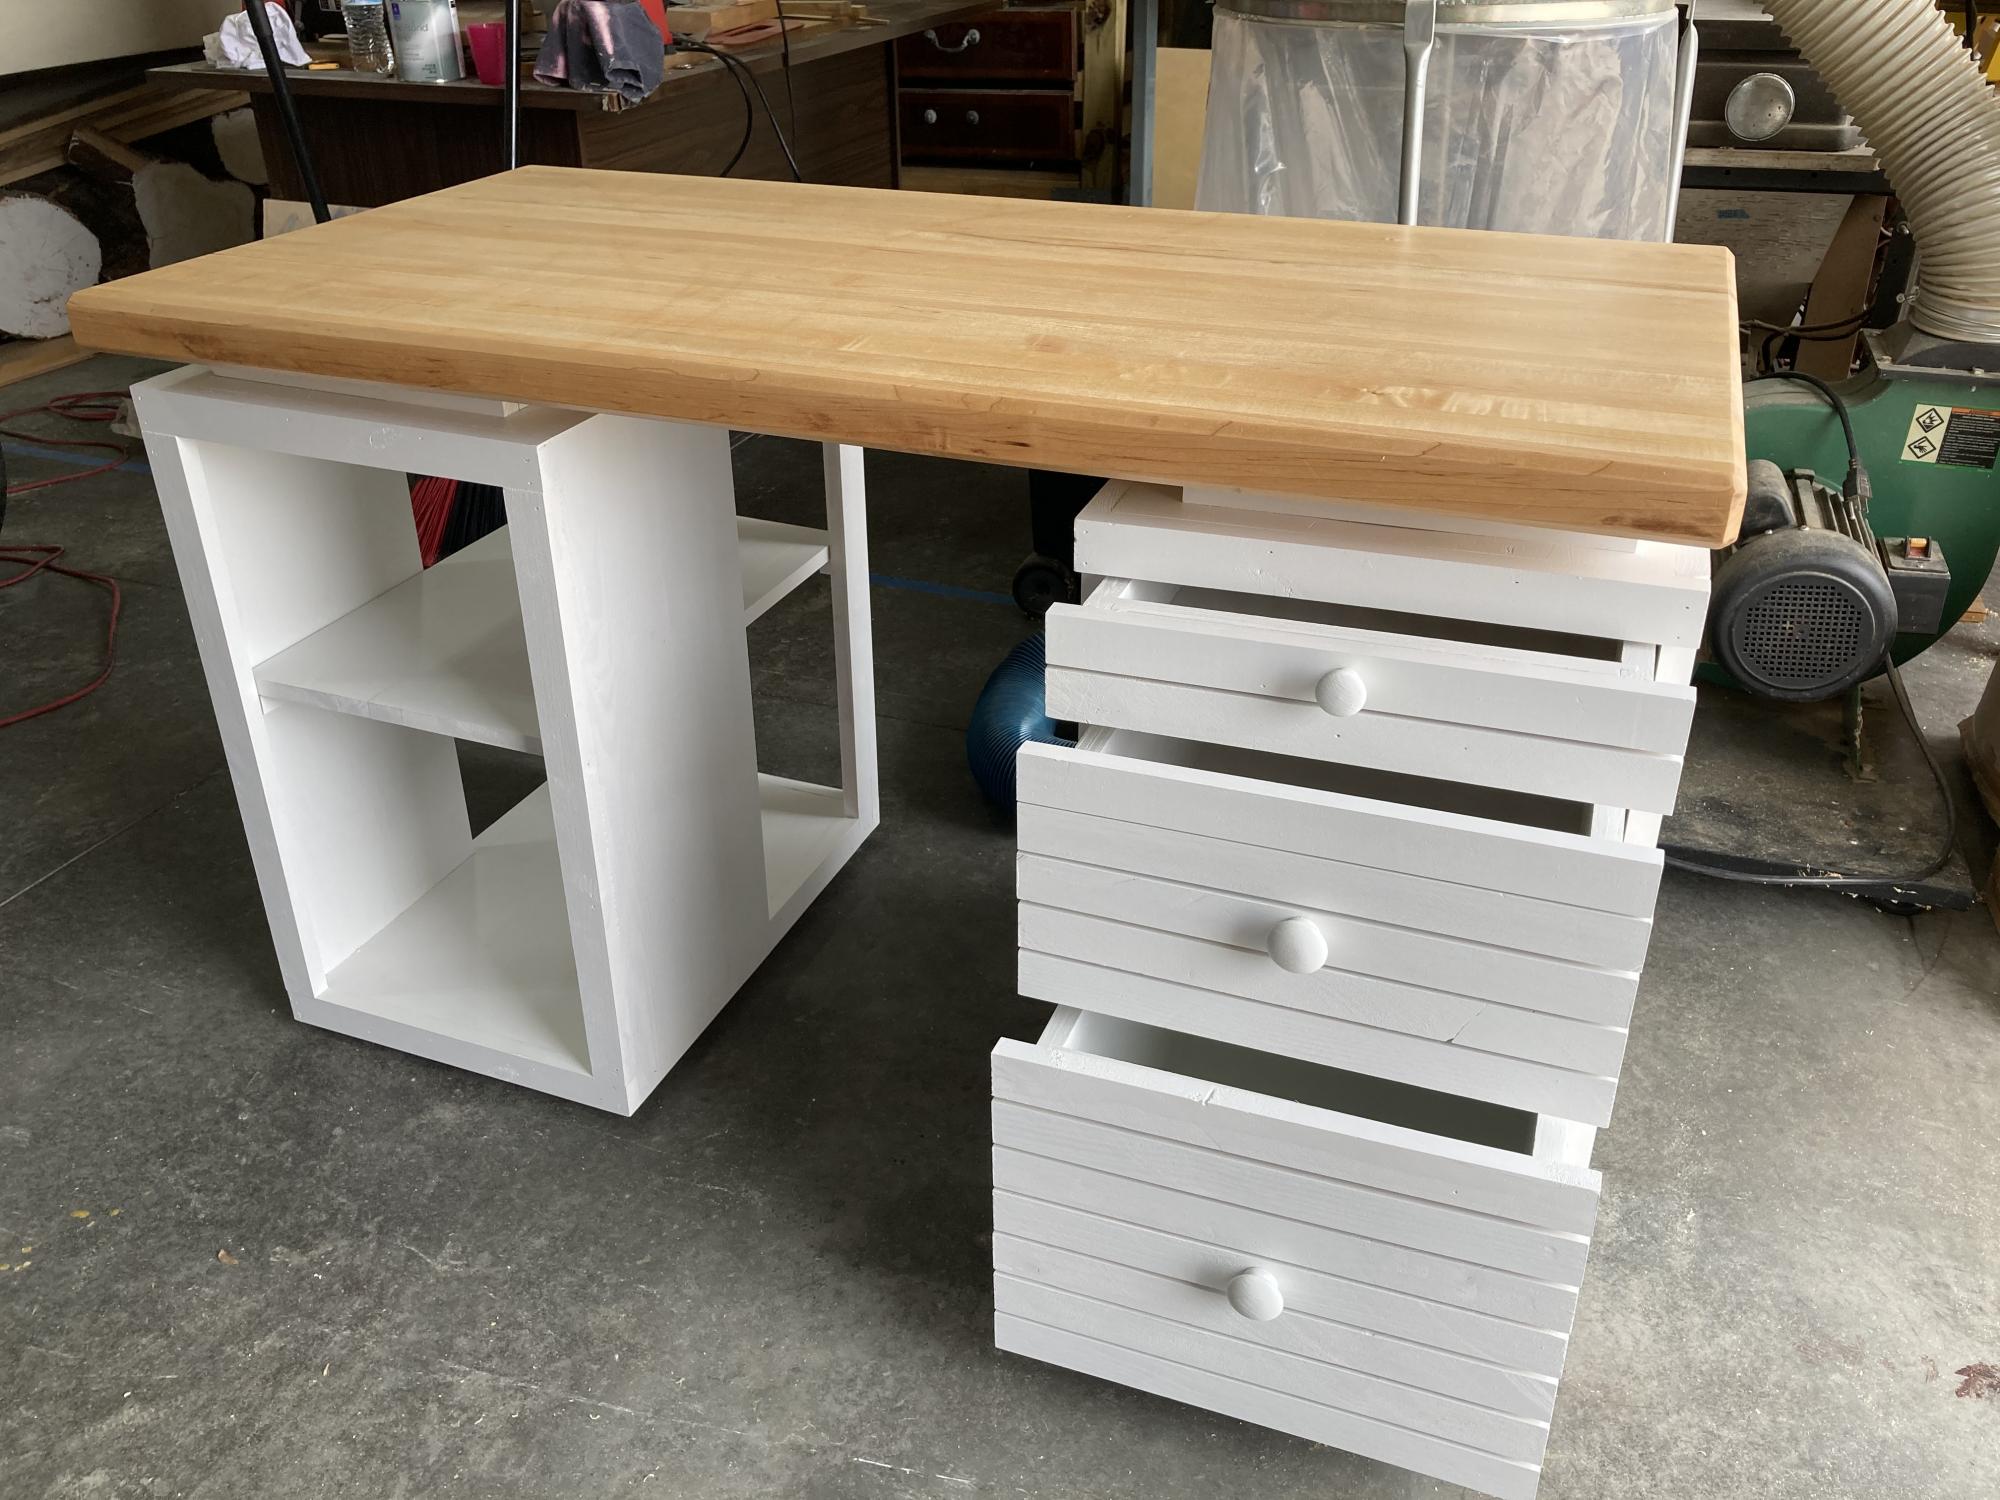
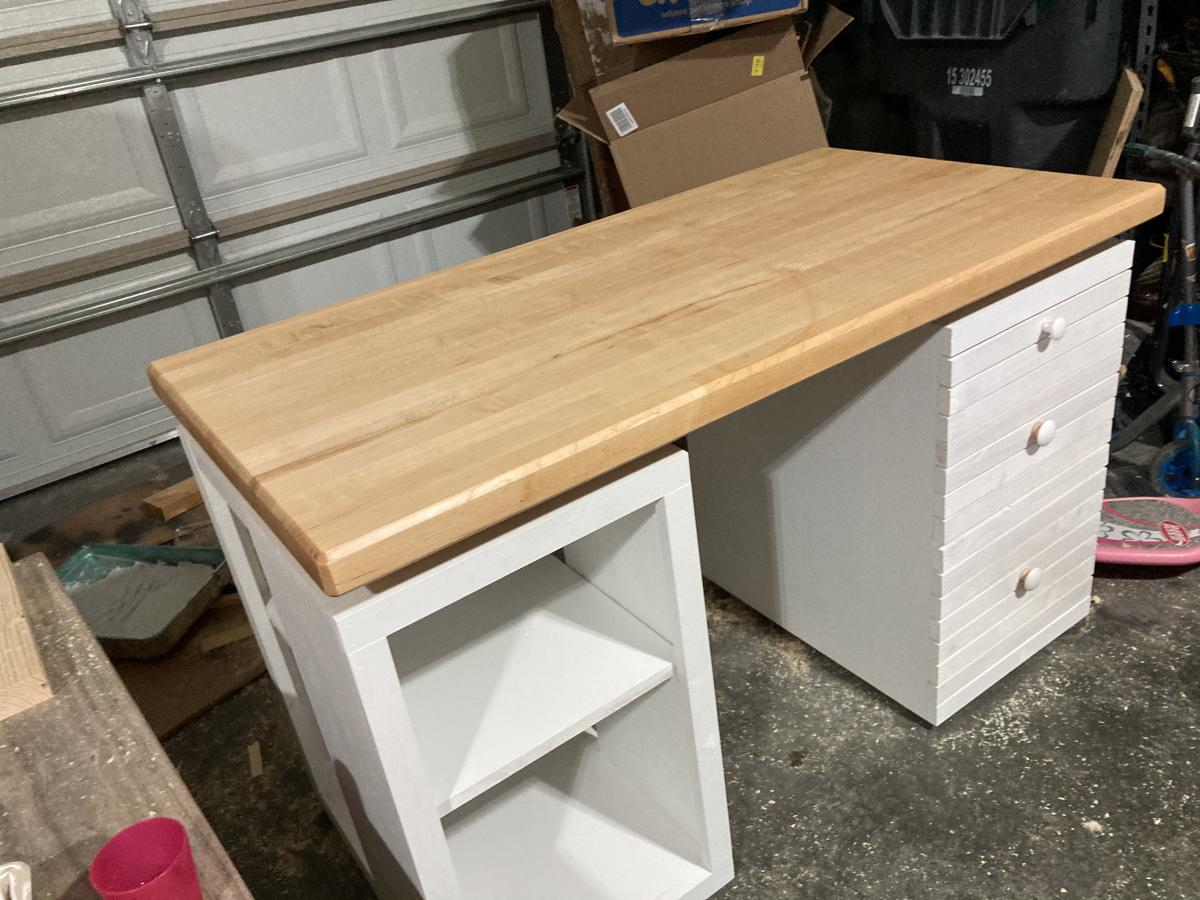
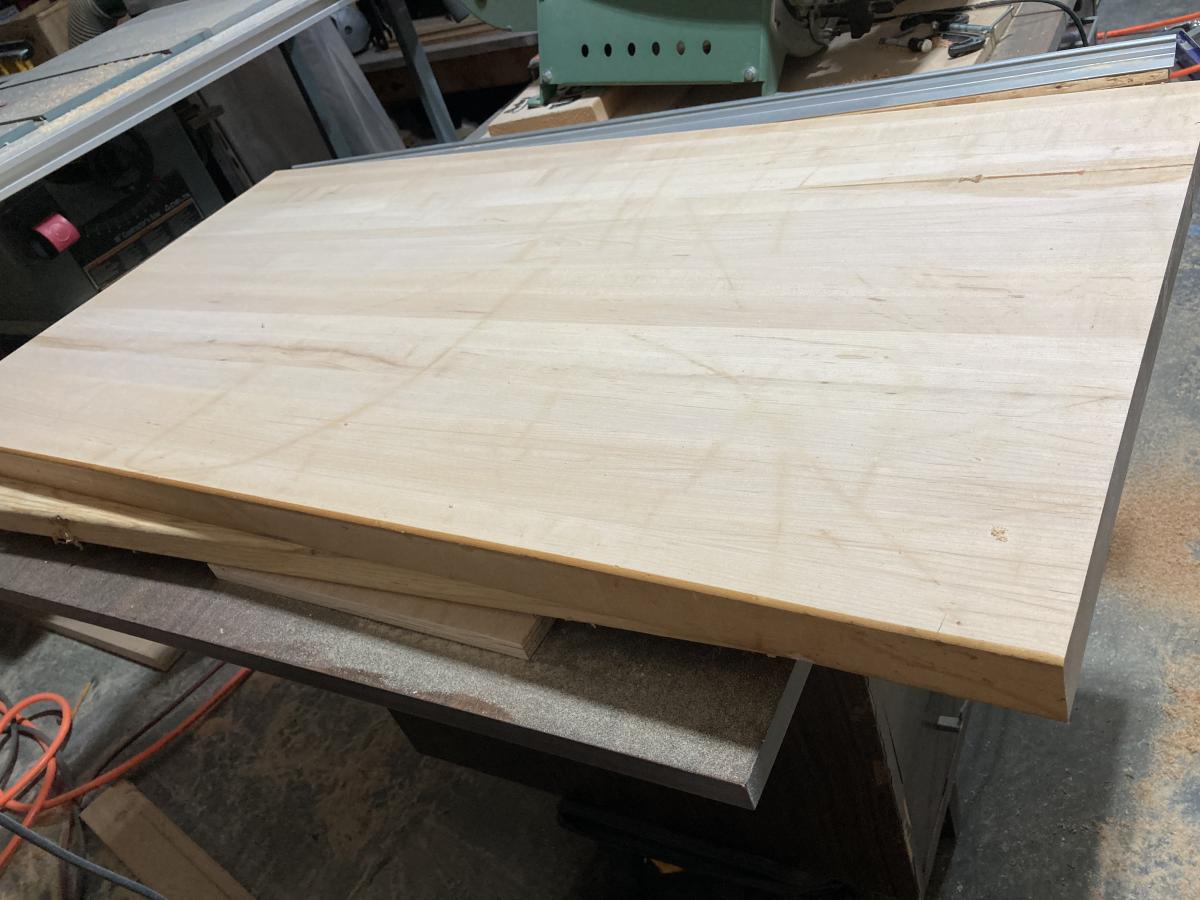
Your craft table was the kicking off point for this desk. Pine cabinets, plywood drawers, maple top.

Built from Plan(s)
Estimated Cost
I already had the materials, the paint was about $50
Estimated Time Investment
Week Long Project (20 Hours or More)
Finish Used
Sherwin Williams Pro Classic White paint & Minwax wipe on poly for the maple top.
Recommended Skill Level
Intermediate

Comments

Cedar Tiered Flower Planter

Submitted by Anonymous (not verified) on Tue, 05/04/2021 - 14:30

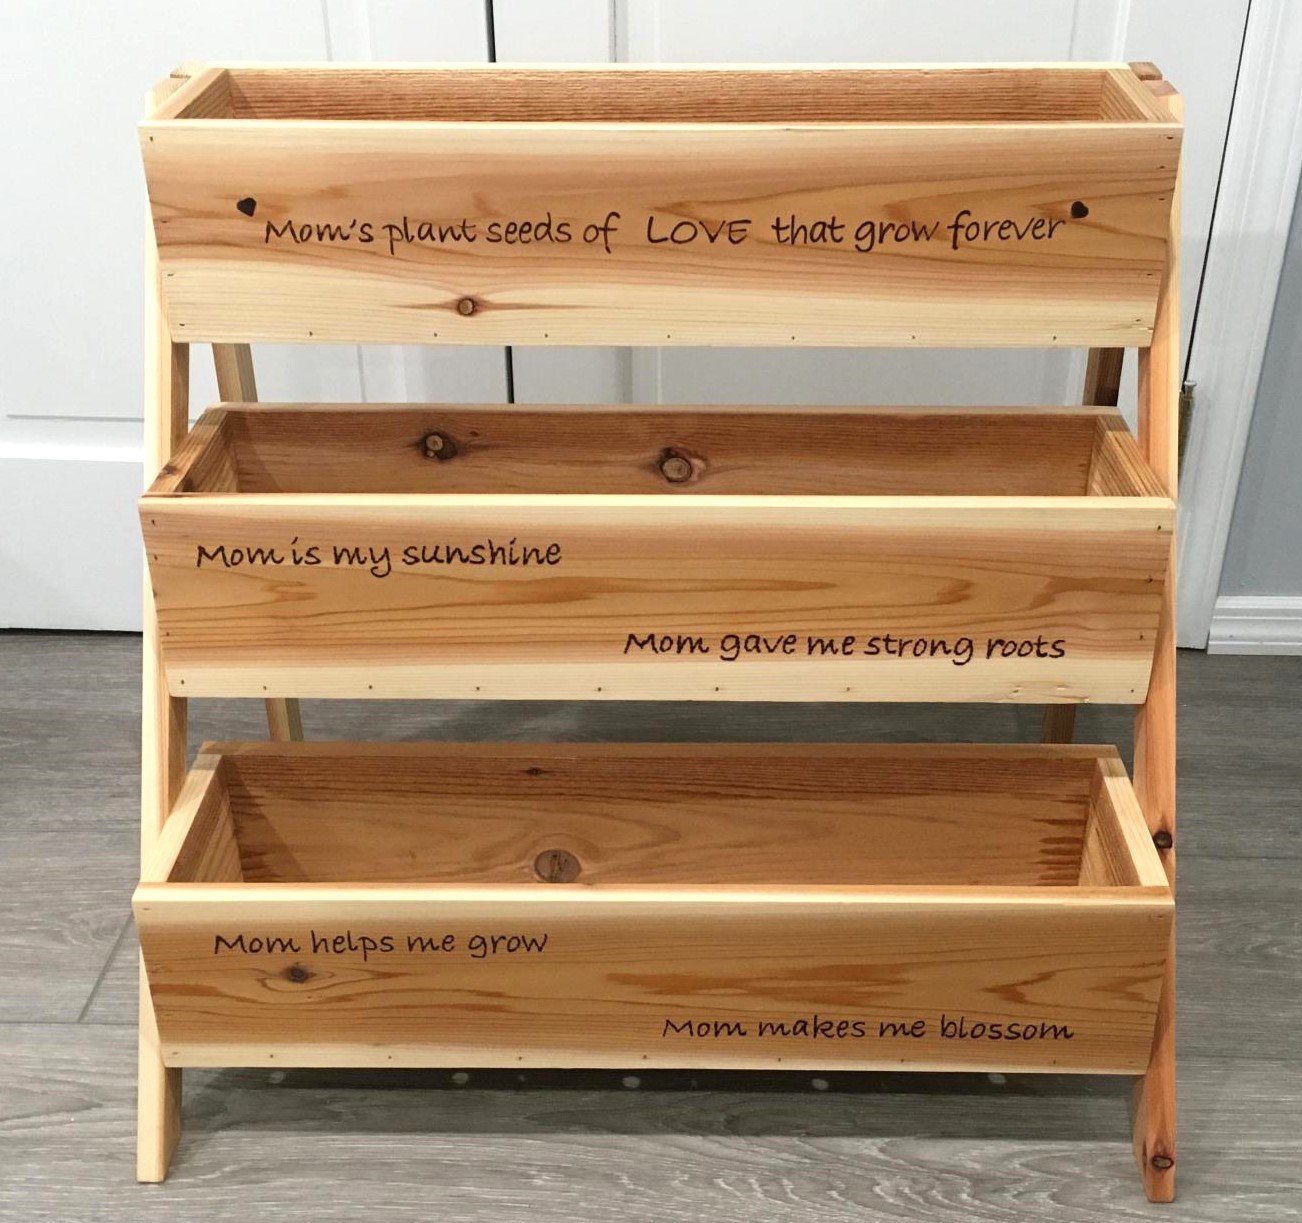
We made this tiered planter for a Mother's Day gift for my wife. It was a simple build and the plans are very easy to follow. I couldn't get any cedar fence pickets so I used standard 1x6x8 cedar boards that were available at the local big box store; that's why the cost is a little high. The planters were made 24" wide for more room instead of 16'" wide as per the plans. We personalized it by adding the quotes to the boards and burning them into the wood with a pyrography pen.

Estimated Cost
$50
Estimated Time Investment
Afternoon Project (3-6 Hours)
Finish Used
Varathane Classic Penetrating Wood Stain - Natural
Recommended Skill Level
Beginner

Comments

Custom Dog Bath

Submitted by dananicb on Thu, 07/22/2021 - 07:21

Tego needed a raised dog bath. No, I needed a raised dog bath. Specifically, my knees needed a raised dog bath for Tego. So, after looking at Pinterest and Ana's plans, I decided what I really wanted to do was customize something to fit my needs (and knees) and build it myself. Overly ambitious for a first-time woodworking project, but hey, raise the bar.

I started by reading and rereading Ana's beginner's woodworking guide (very informative). I also learned so many other things along the way. There's a reason, besides looks, you need flat boards (they need to screw together tightly). Unfinished basement floors are so not level (especially near the walls). Screw lengths matter (need shorter ones for thinner boards). The big-box store doesn't make precise cuts (but they can make a lot). Planning for the finishes will save you time (know your basket sizes). Just to name a few.

It's going in an unfinished basement, so I wasn't going to tile and add glass doors. I wanted to keep it relatively simple, basic.

The stairs were the hardest to measure and build (math matters) - and I might re-do. I made the steps smaller, dog-sized, but she finds them awkward. I'd stick with typical riser heights, but it depends on the size of your dog.

Plumbing to link the tub drain to the utility sink drain was the most expensive. Probably I could have done it myself, but I decided not to learn both plumbing and woodworking for one project.

Overall, I'm pleased with the result - and Tego is learning to love it.
Estimated Cost
$250 in supplies (plus plumbing)
Estimated Time Investment
Week Long Project (20 Hours or More)
Finish Used
Exterior paint in semi gloss
Recommended Skill Level
Beginner

Comments

5-Tier Wood Planter

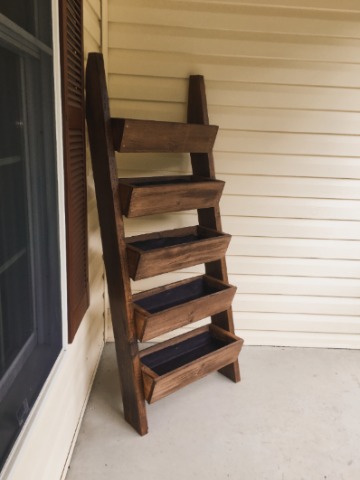
This plan was easy to follow, accurate and came together in just a few hours. I used some reclaimed barn wood for the 2x6s and dog-ear pickets for the remainder.

I made it harder for myself than it had to be. I didn't follow the directions closely enough and cut the box ends at 5 1/2" instead of 5 1/4". That meant that the bottoms had nothing to press-fit against. So, I had to do a little workaround to fix that. I made a 1" shelf at each end of each box so that the bottom could sit on these little shelves. The upside to this mistake is that there was now a drainage slot all along the front and all along the back of each planter box. 

I stained and sealed it. Finally, I lined each planter box with weed matting that I'd cut to size and cut drain slits in. The matting doubles as a way to keep the planting mix from falling out of the long drainage slots while allowing water to drain through the little slits I poked in the fabric. (I poked drain slits only along the front edge so that water would drain into the planter box below instead of onto the ground.)
I'm happy with the plan and the finished planter!

Estimated Cost
$35
Estimated Time Investment
Afternoon Project (3-6 Hours)
Finish Used
One coat of Cabots Premium Stain and Sealer in Gingersnap. One coat of Minwax Helmsman Spar Urethane.
Recommended Skill Level
Beginner

Farmhouse nightstand

Submitted by Anonymous (not verified) on Mon, 10/04/2021 - 12:55

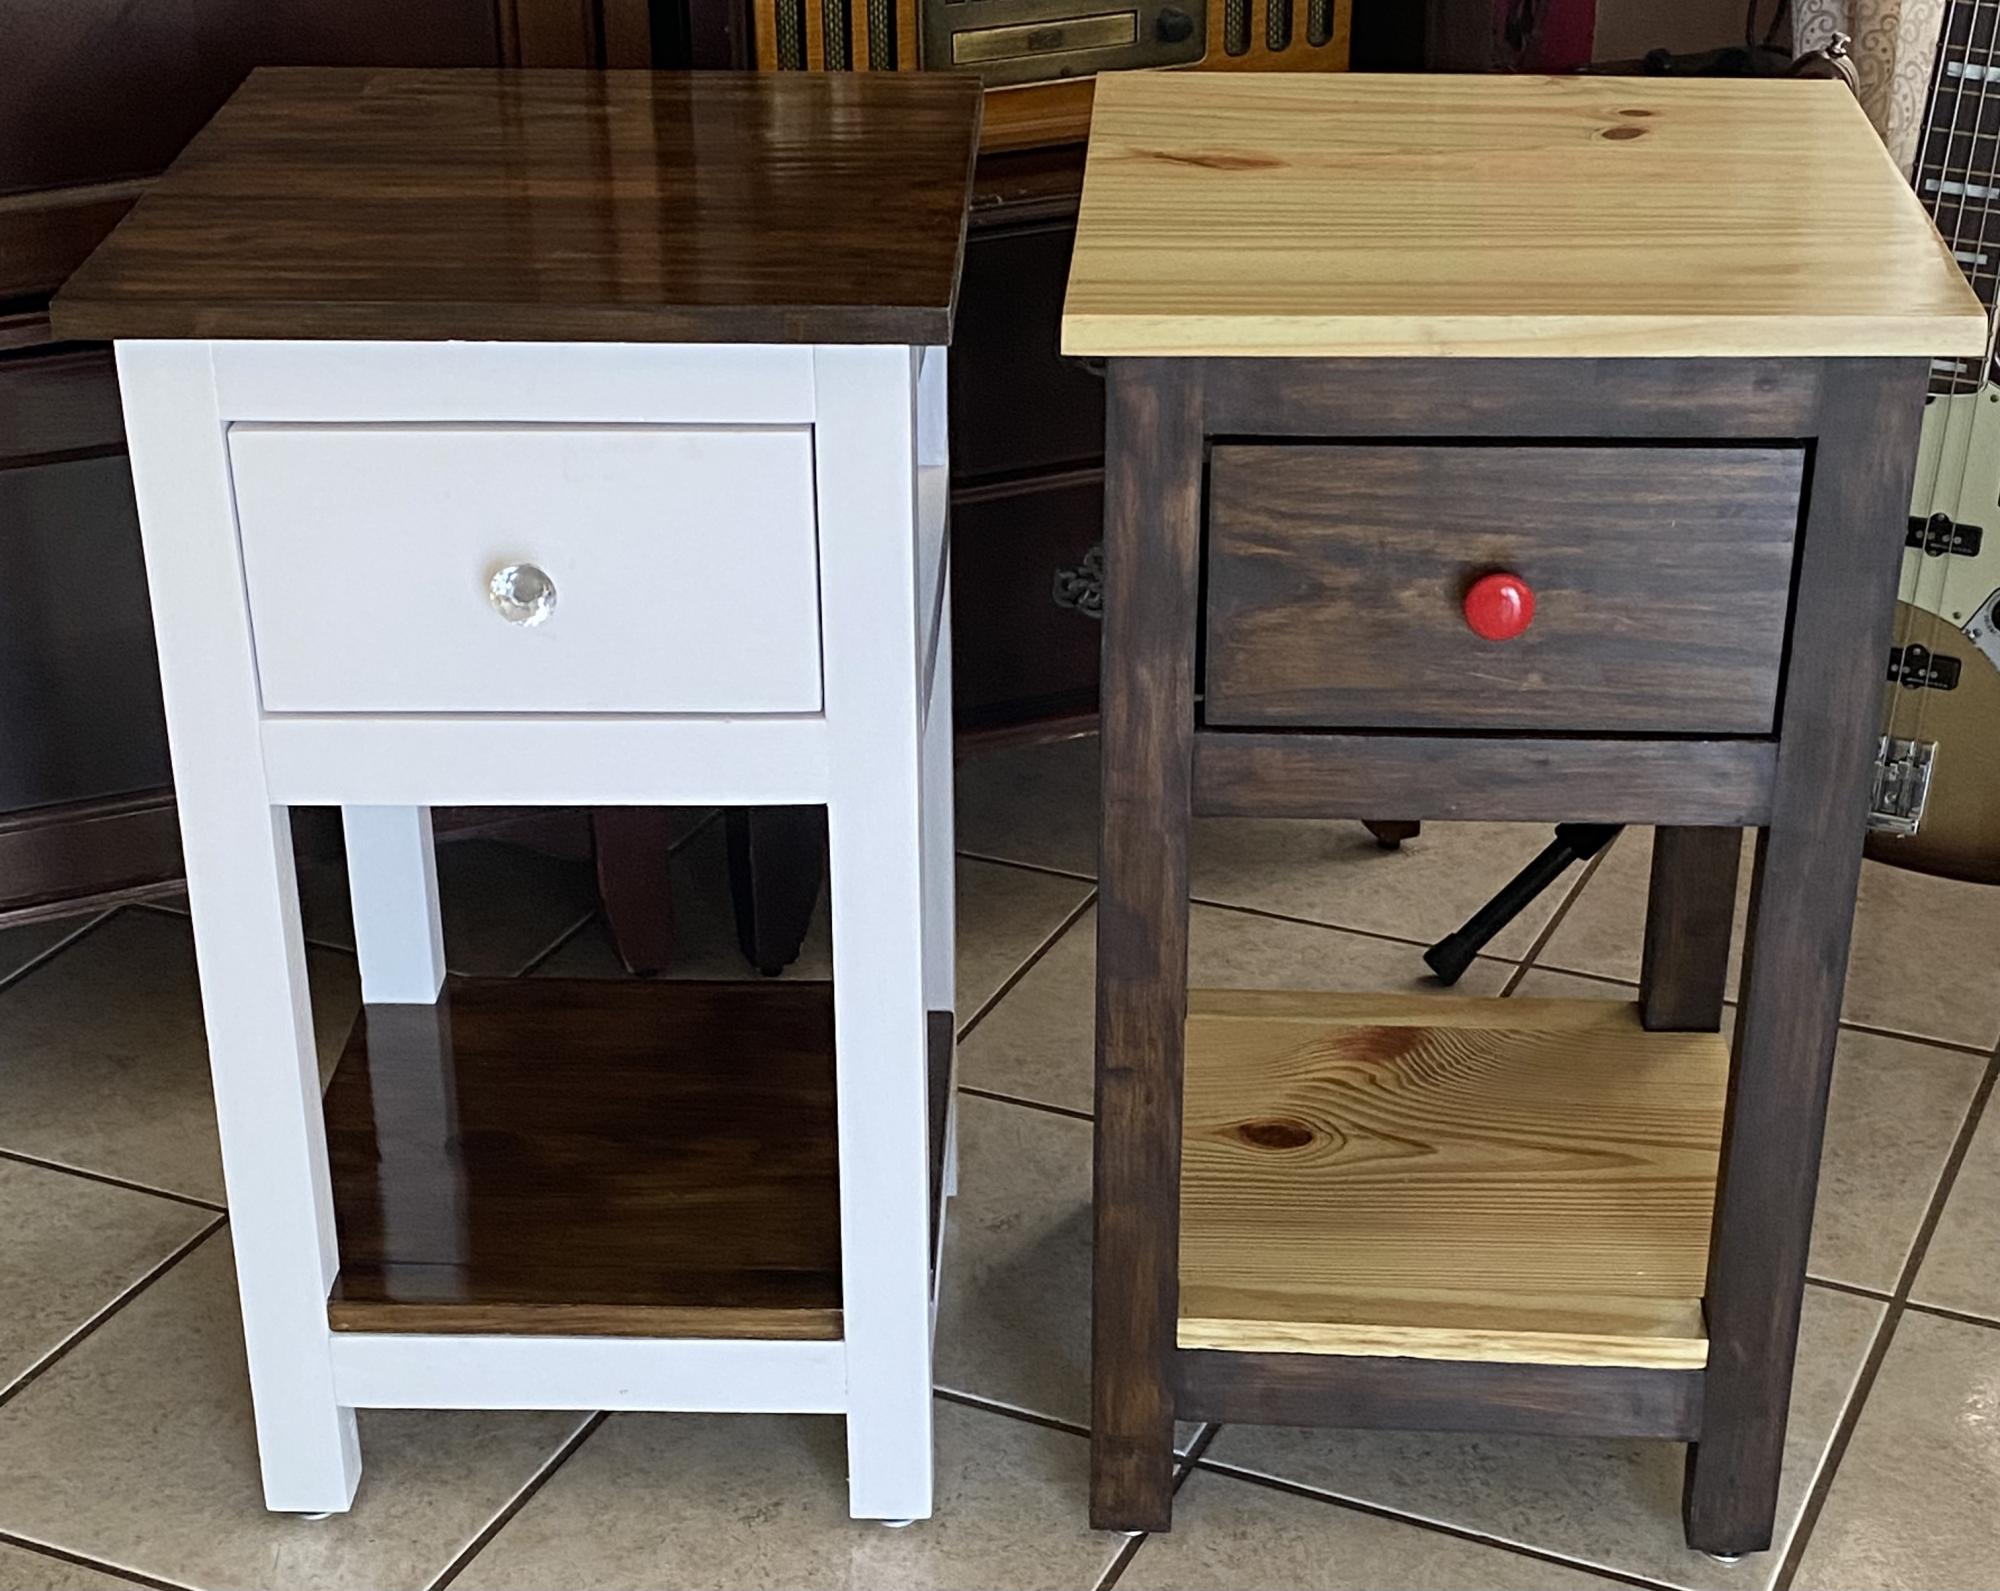
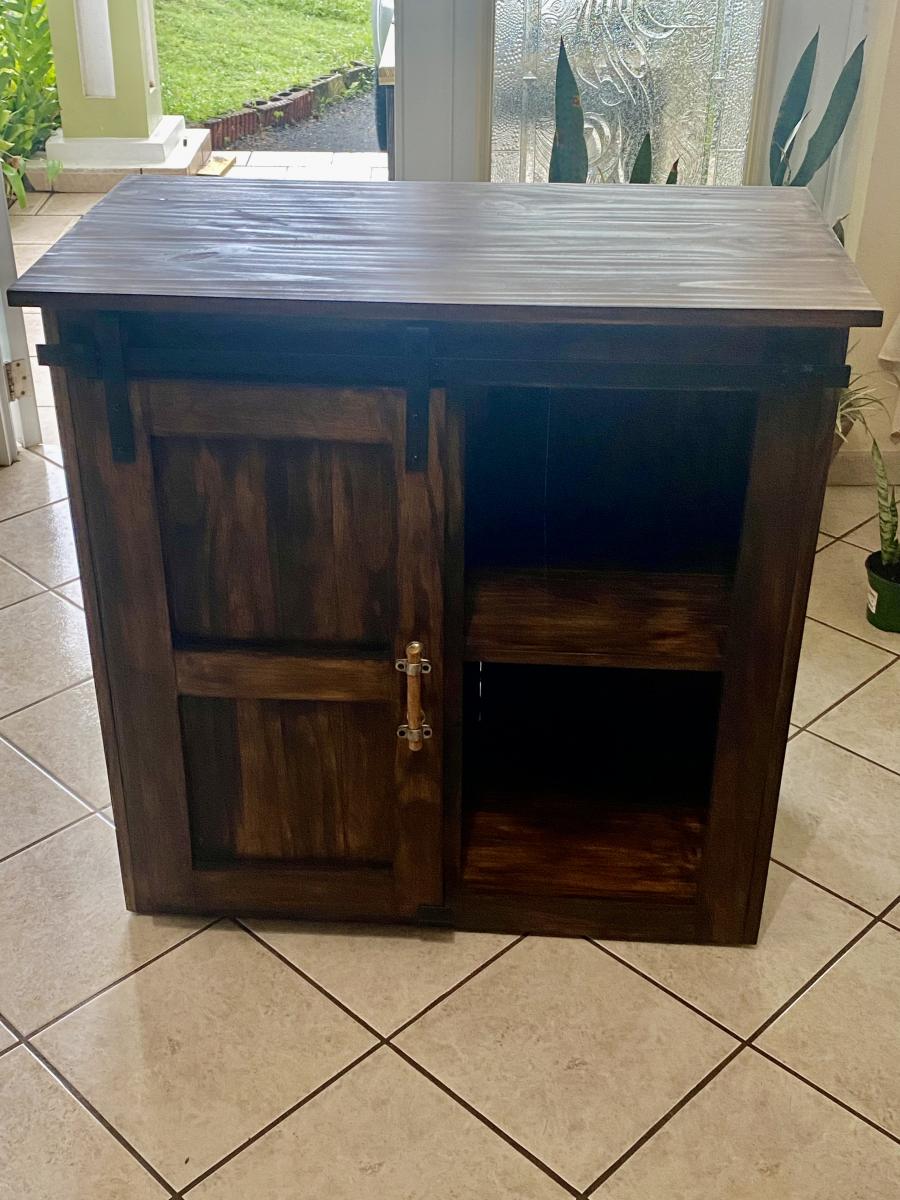
I have built various projects. A work table, a barn door cabinet and couple of Farmhouse nightstands for my grandson and granddaughter. It was fun!!

Comments

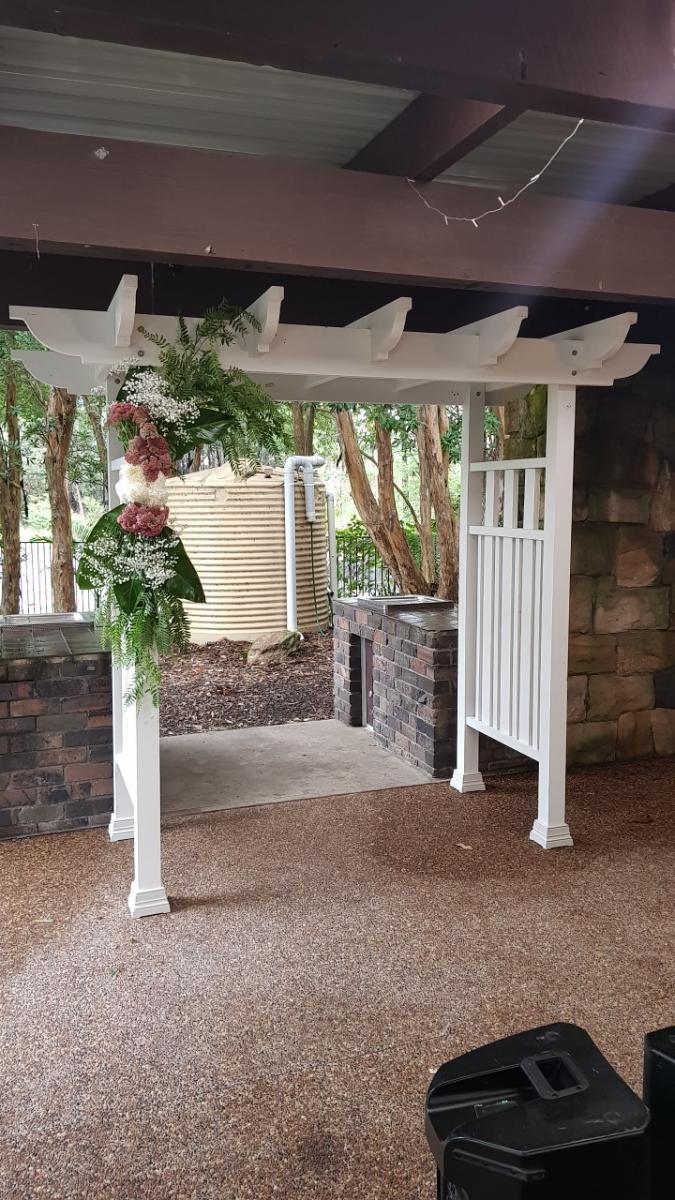
Wedding Arbour

Submitted by Anonymous (not verified) on Mon, 10/04/2021 - 13:43

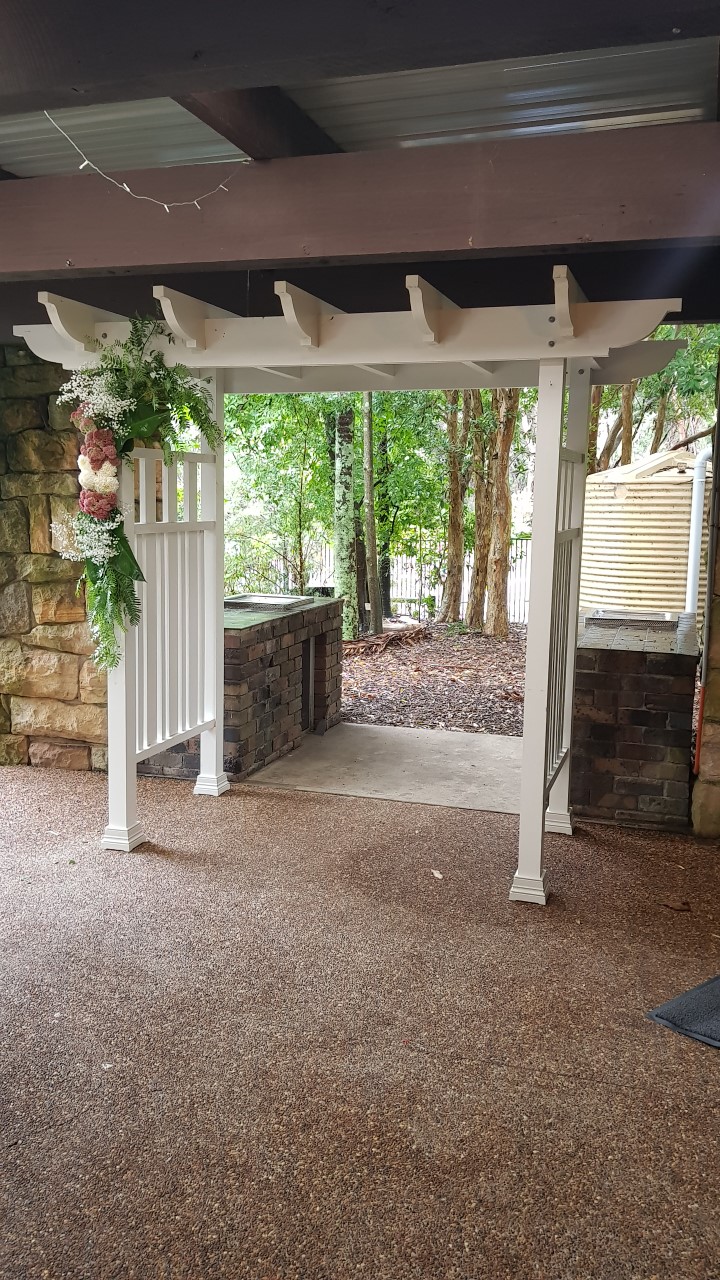
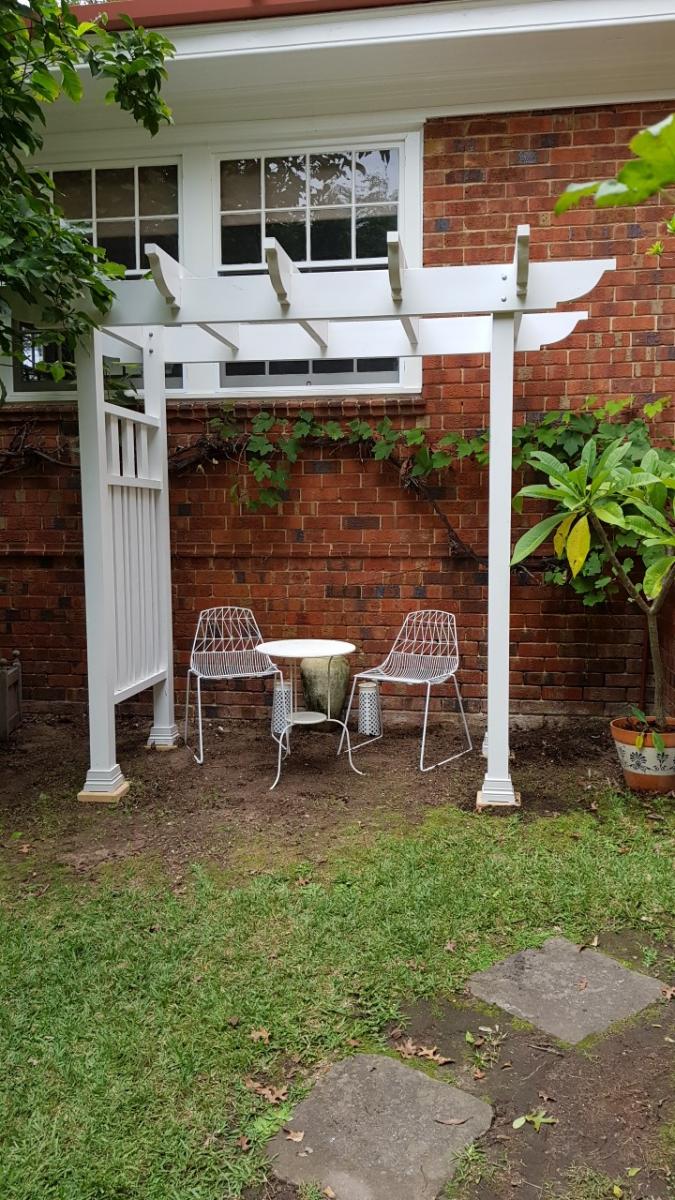
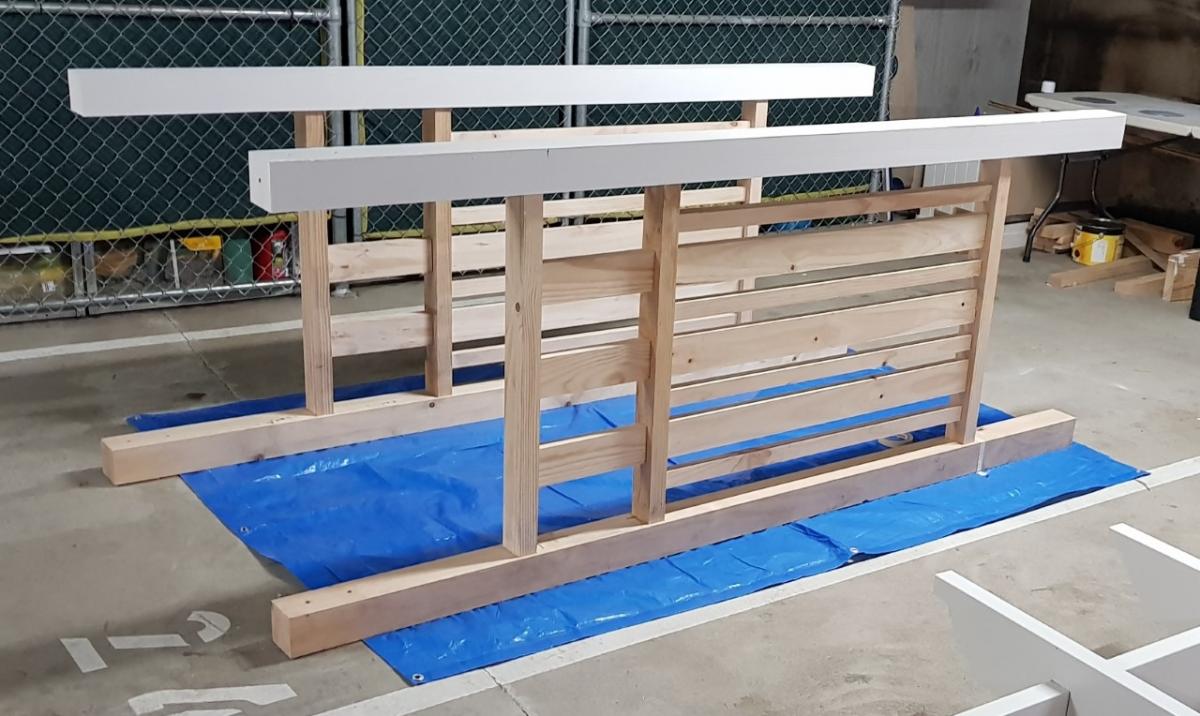
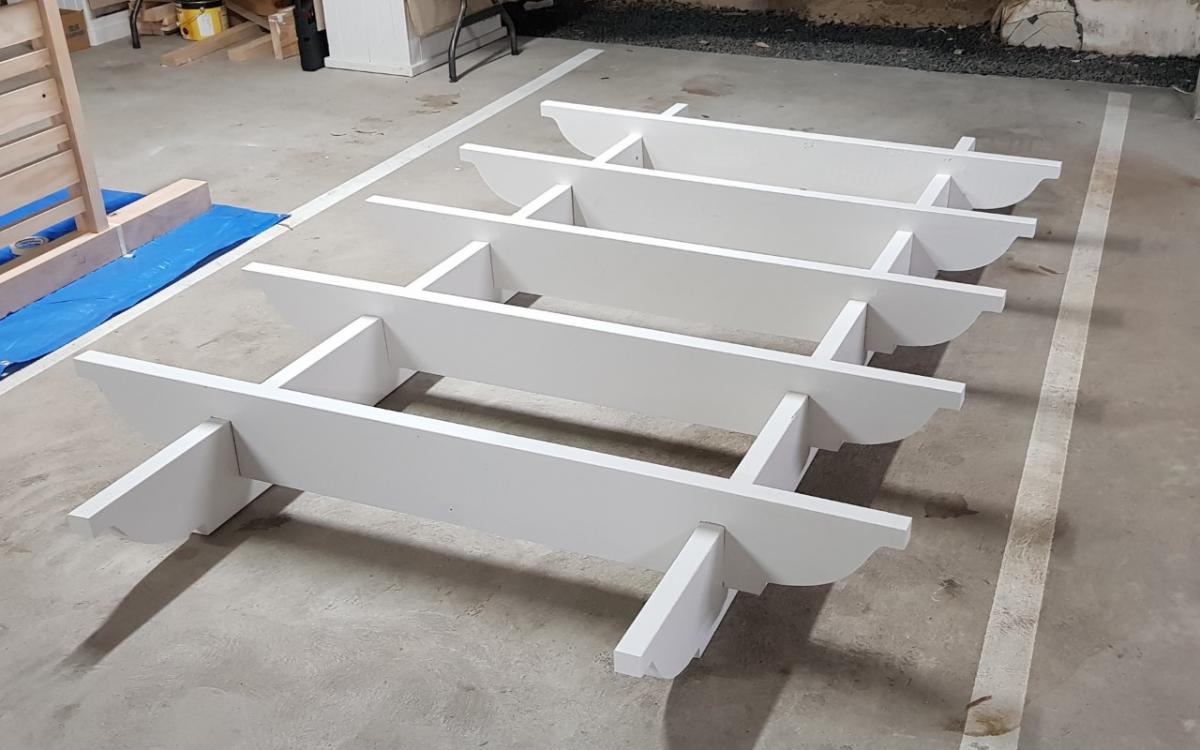
Hi, I built this wedding Arbour for my daughters wedding a while ago and unfortunately, I have no plans as I built from my head. It now sits in pride of place within thier garden as arch for thier garden.
I built this with a drop saw, hand saw, router, drill and hammer only.
I follow Ana's plans every release and save her plans for when I retire in two years to build for our house as well as try to run a small business from my shed.
Thank you Ana for you continued plans and wonderful advice.

Built from Plan(s)

Comments

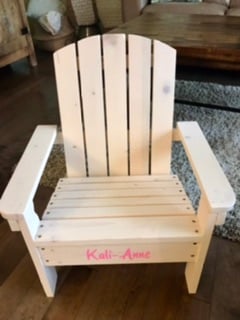
Kids Adirondack chairs

Submitted by Anonymous (not verified) on Tue, 10/05/2021 - 04:46

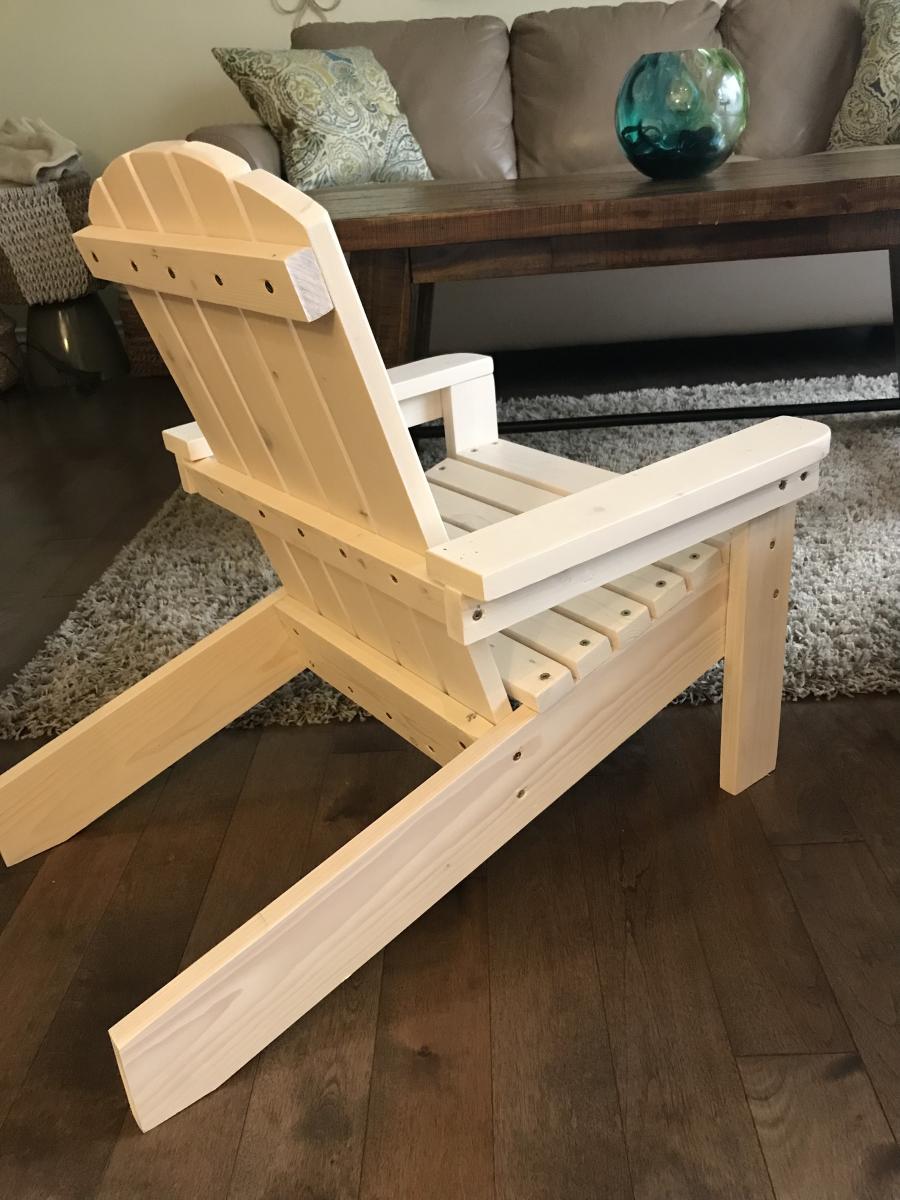
This was my first time building a chair. The plans were so easy to follow. The kids size fits an average child up to about age 5 or 6. If I were to build again I would add a bit of height to the backs so they could fit them even longer. My granddaughters aged 3 & 5 just loved them.

Built from Plan(s)

Coffee Table

Submitted by Malka on Wed, 09/13/2017 - 00:34

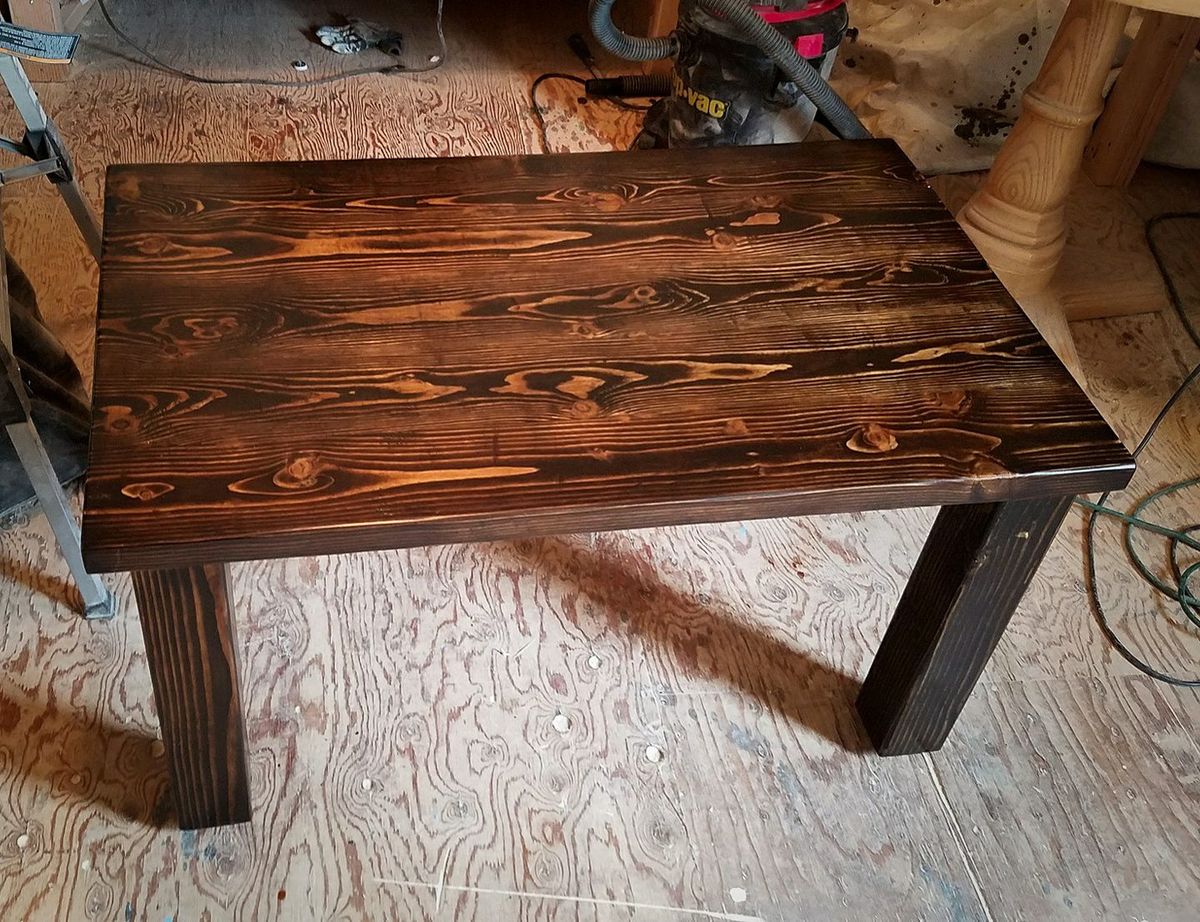
Coffee table stained in Jacobean, and finished with Minwax satin Poly.

Built from Plan(s)
Estimated Cost
$80
Estimated Time Investment
Weekend Project (10-20 Hours)
Finish Used
Minwax Jacobean Stain and Satin Poly
Recommended Skill Level
Beginner

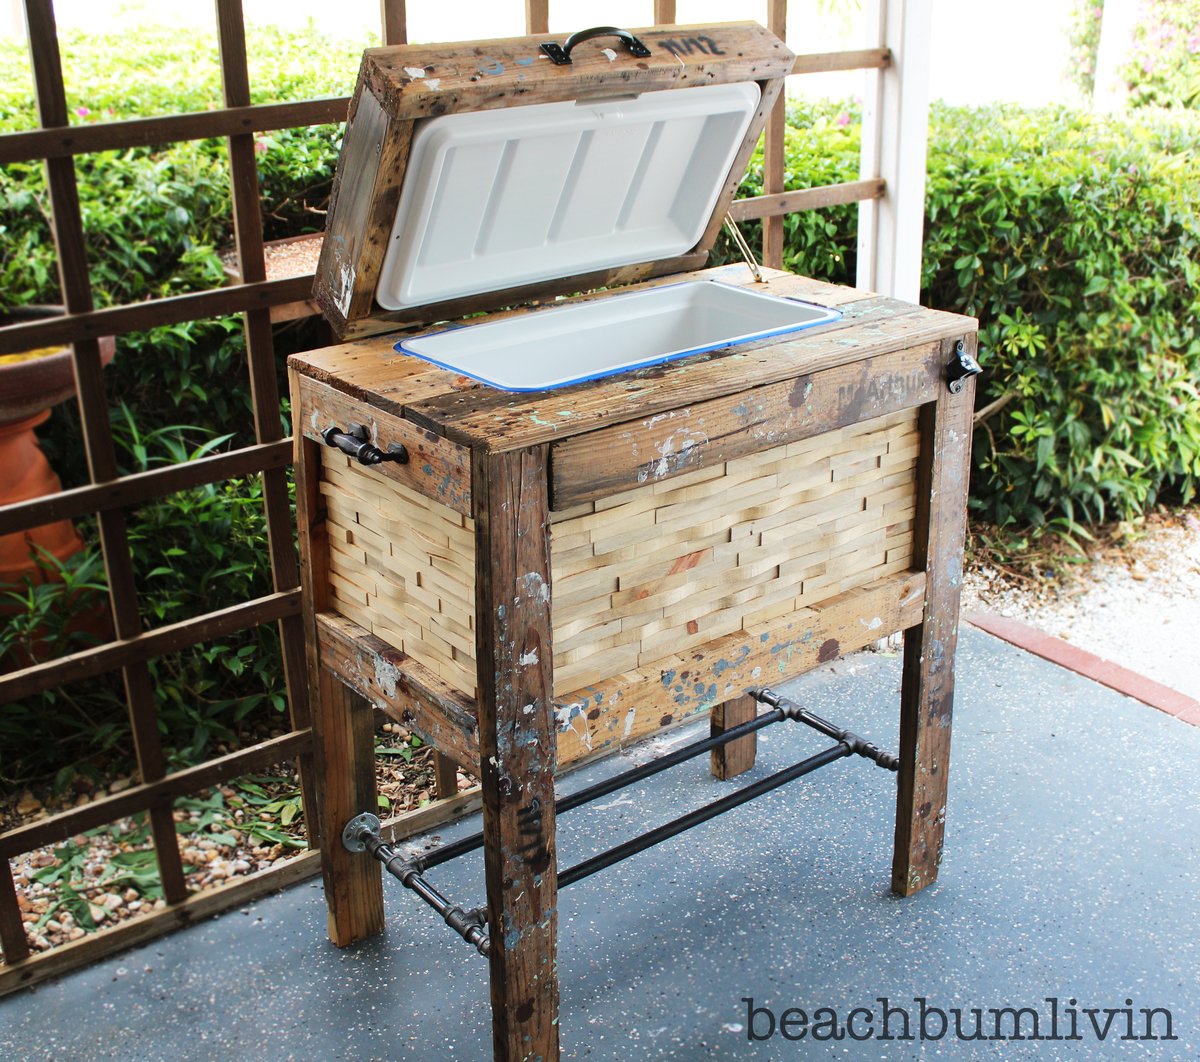
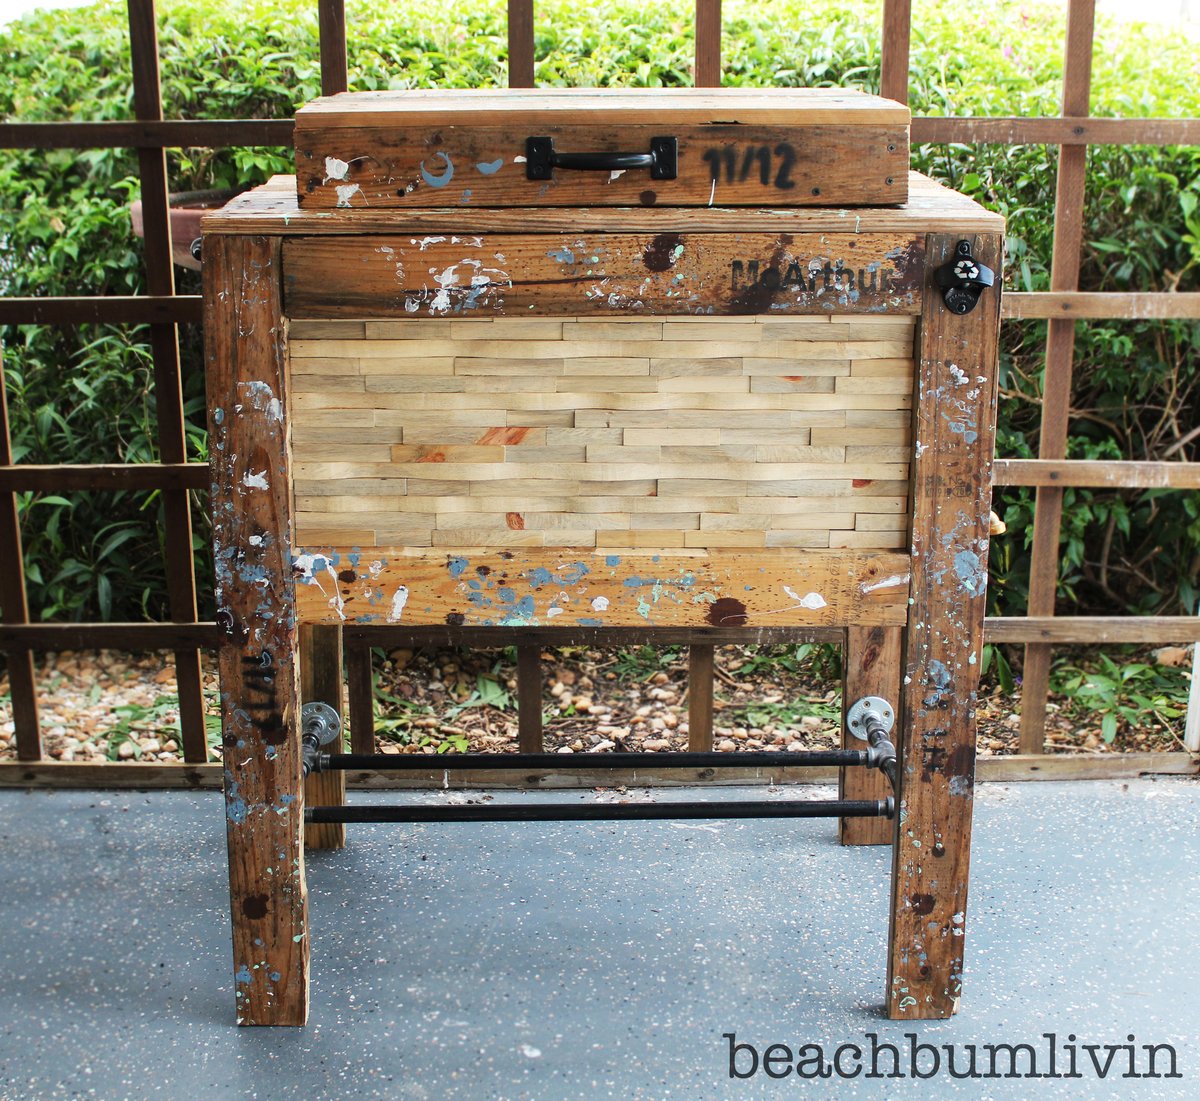
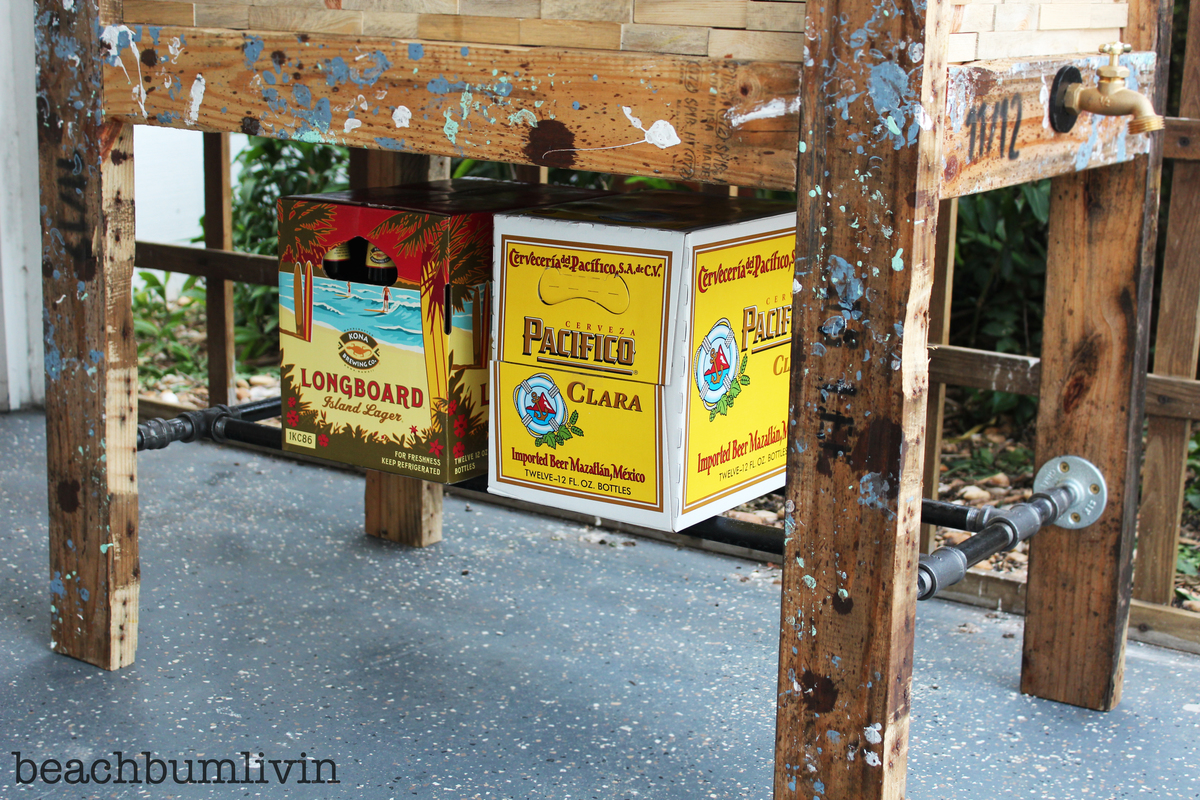
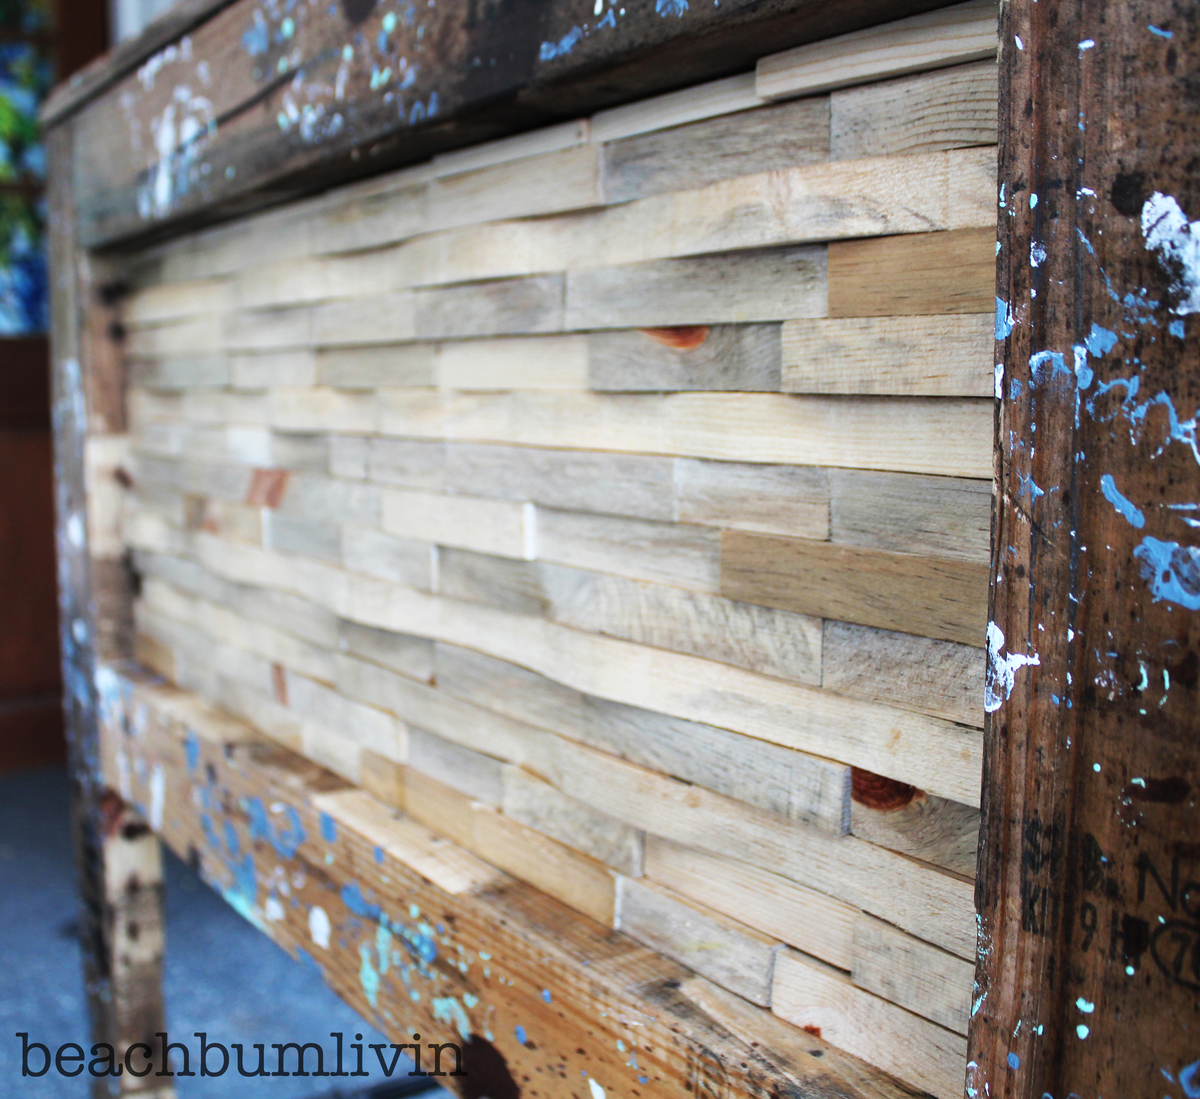
Rustic Wood Cooler Box made from Pallets!

Watch the video on how I did this project here: http://youtu.be/IoP2cKN2WeY

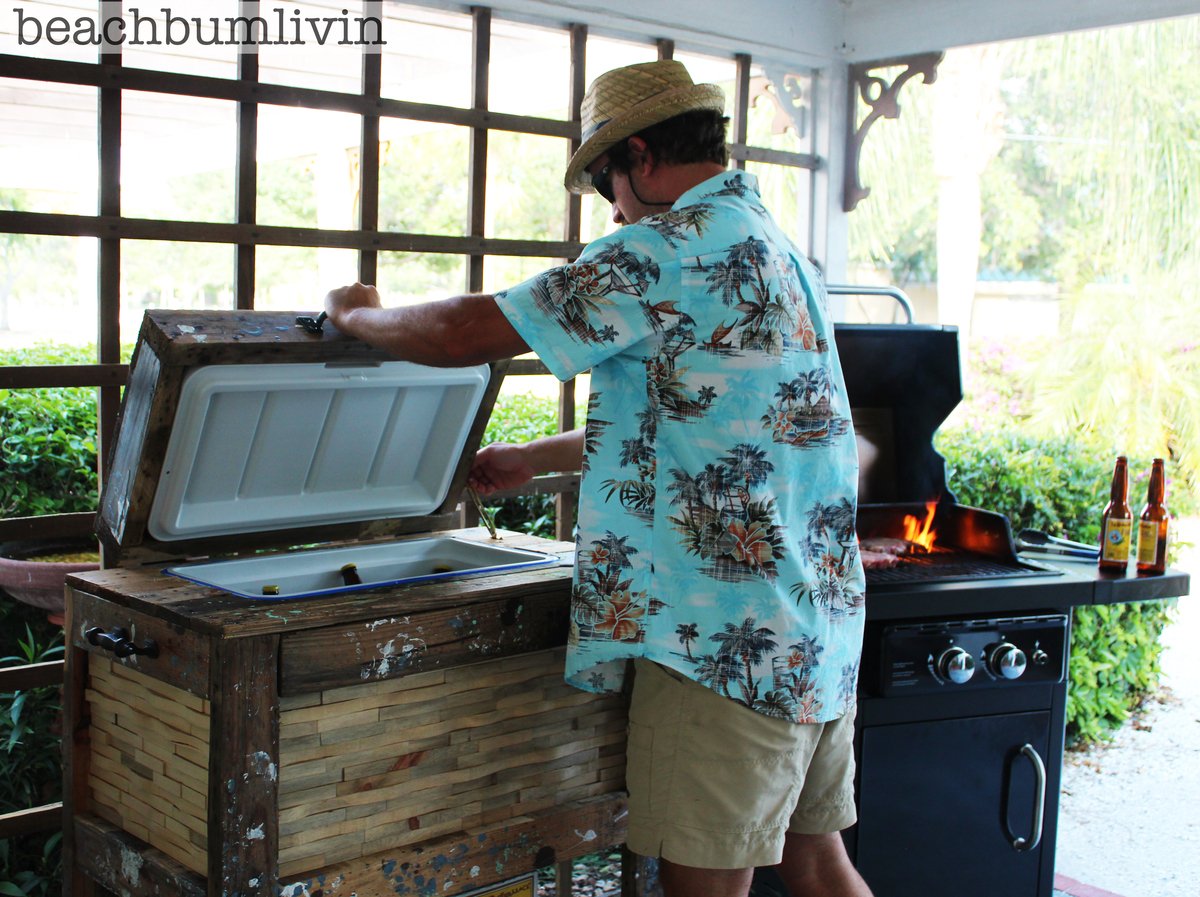
For this week's woodworking project I'm building a Rustic Cooler Box from used Pallets. The project was a lot of fun to do and pretty simple! By just using some old Pallets that were free I was able to build something that will get a lot of use. Plus, by using the Pallets I think it turned out really cool looking!

How to video http://youtu.be/IoP2cKN2WeY

Built from Plan(s)
Estimated Cost
$40 for cooler and accessories. Pallet wood was FREE.
Estimated Time Investment
Day Project (6-9 Hours)
Finish Used
Outdoor Polyurethane. Wood was left natural.
Recommended Skill Level
Intermediate

Comments

Wounded Marine

Fri, 06/14/2013 - 05:14

That is way to cool. I love your idea for the sides. It adds a lot of texture and cleans up the look of it. I enjoyed watching your videos. You have a lot of talent and I like your work man.
Stevens

Wed, 11/27/2013 - 04:02

Awesome way of doing a pallet cooler. Keeping the cost minimal your way of finishing it was really good. Personalizing such coolers would be interesting!

tedgray86

Fri, 10/17/2014 - 10:30

Cooler looks amazing!!  Well done!  What is the black ring inbetween the hose bib and the cooler?  I am looking for something similar to hide the PVC coupling as its white and my cooler is stained.


Thanks

Oliver String Puzzle

Submitted by mtairymd on Sun, 12/10/2017 - 05:09

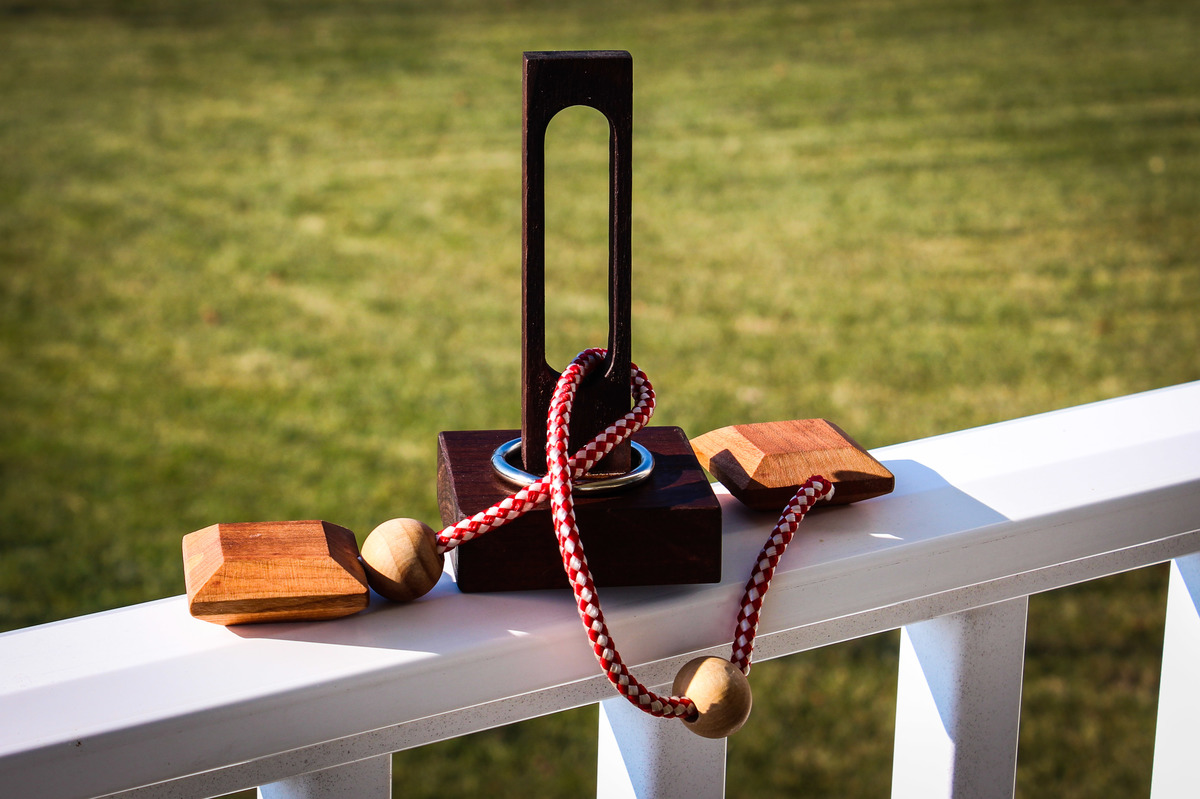
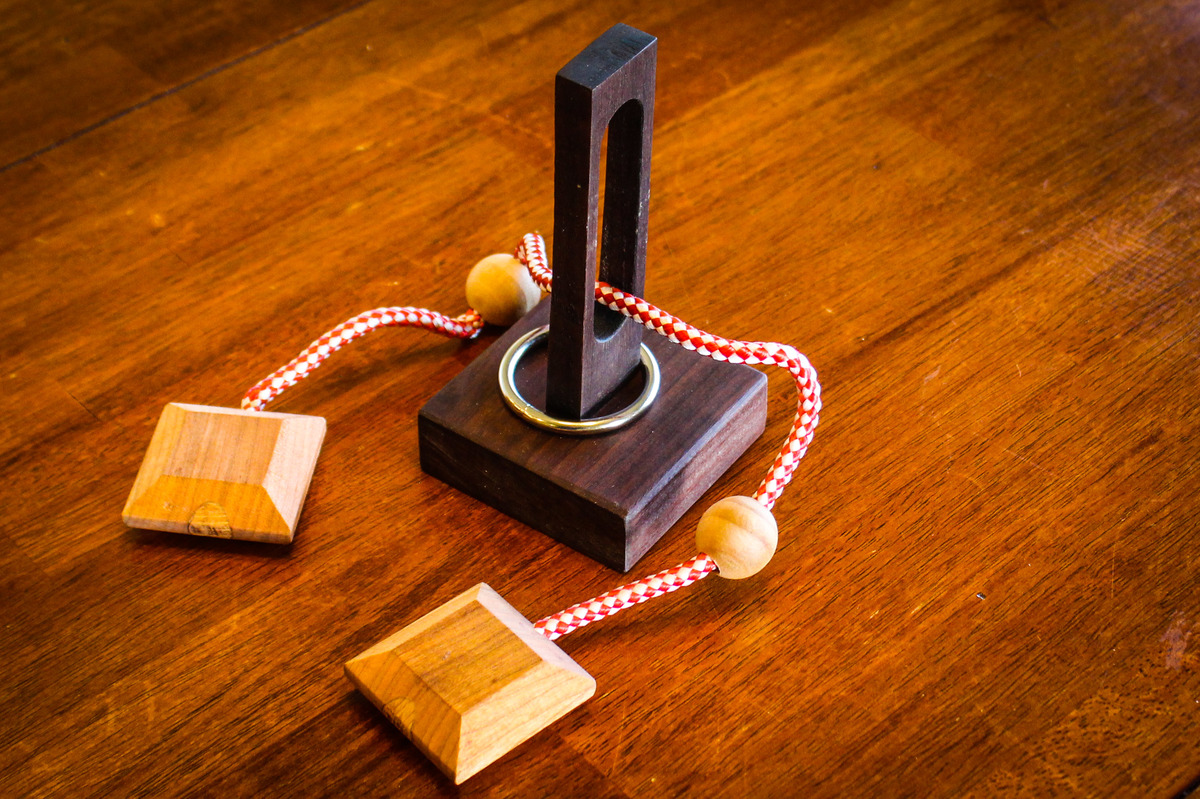
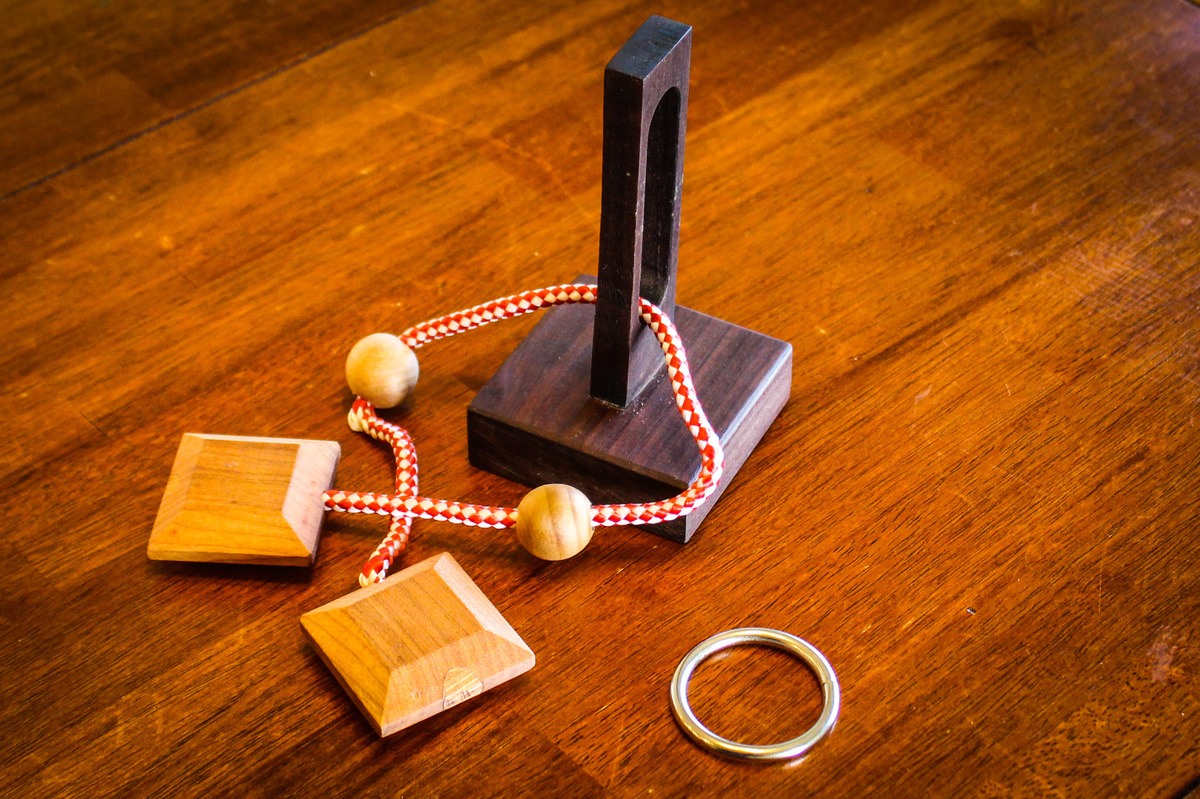
This is my take on the classic Oliver String Puzzle. It was built from scrap wood, a ring from a previous project, purchased wood beads and rope.

The goal is to remove the ring from the puzzle. My kids and wife found it quite challenging. I would rate the skill level at 3 out 5. If you can't figure it out from the pictures, refer to the video.

Build Instructions: https://www.instructables.com/id/Oliver-String-Puzzle/

Solution: https://youtu.be/VTb0IlMXSiU

Estimated Cost
$5
Estimated Time Investment
Afternoon Project (3-6 Hours)
Finish Used
Oil
Recommended Skill Level
Beginner

Entryway Bench

Submitted by jjunge08 on Mon, 01/01/2018 - 09:49

My wife wanted an entry way bench that would fit the baskets for a cube storage shelf units.  Each box is 11 1/2 square and accomidates a 10 in basket.  The bench is 50 inches long and and just shy of 19 inches tall.  The depth of the bench is approximately 12 1/2 inches.  My wife made the cushion for the top and we purchased the baskets from Lowes.  
Estimated Cost
Bench cost - $50-70


Estimated Time Investment
Weekend Project (10-20 Hours)
Finish Used
I only used white paint to match the trim in our house where the bench is placed.
Recommended Skill Level
Beginner

First time project

Submitted by keahunter on Sat, 07/04/2015 - 03:17

This was my first attempt at making anything. Thank you to Ana for providing such easy plans and the encouragement to try something. I think I'm hooked!

Estimated Time Investment
Day Project (6-9 Hours)
Recommended Skill Level
Beginner

Comments

Seasonal And Holiday

Murphy Bed

Submitted by Newfey on Fri, 07/19/2013 - 14:59

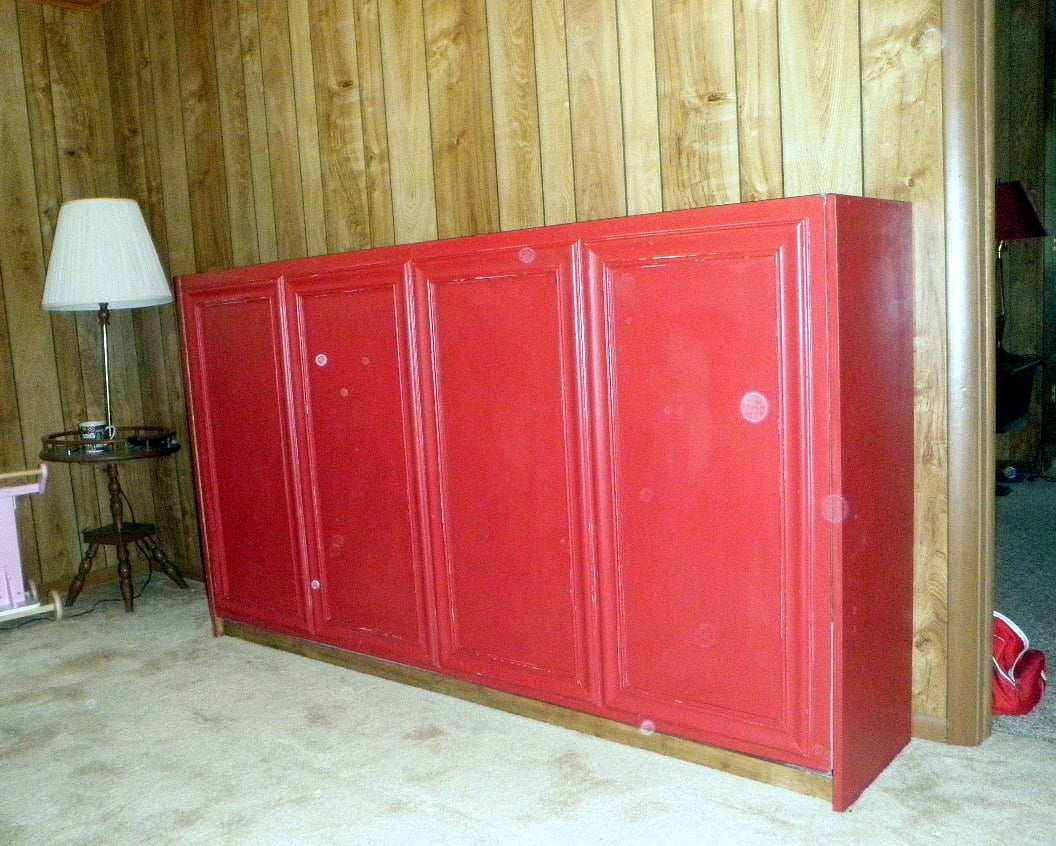
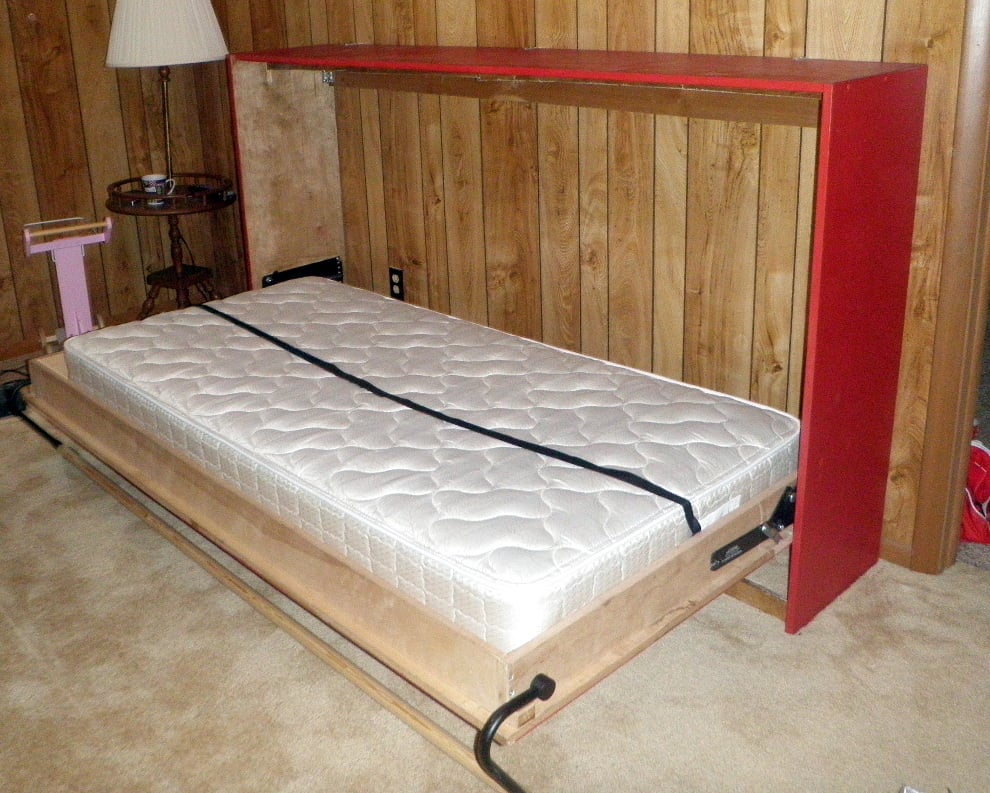
This is a Murphy Bed that I made for my daughter Alicia for their getaway home at Canadian Lakes, MI. Due to limited space i had to make it horizontal instead of the normal way of being vertical. It really comes in handy and takes up very little space.

Finish Used
Red paint mixed with Baking Soda
Recommended Skill Level
Intermediate

Comments

JoanneS

Fri, 07/19/2013 - 15:17

Looks great! Love the color and the trims you used. Where did you find your hinge hardware? PS- How did you like the baking soda paint? I've tried ASCP which was good but very pricey, and last time made my own with some plaster of paris. Your finish is lovely.

Newfey

Sat, 07/20/2013 - 18:47

I bought the spring hardware on line. I can't take the credit for the paint as my daughter did that part. She loves the way that the baking soda and paint covers everything and it is a whole lot less expensive than buying the commercial stuff.

Rustic X Console

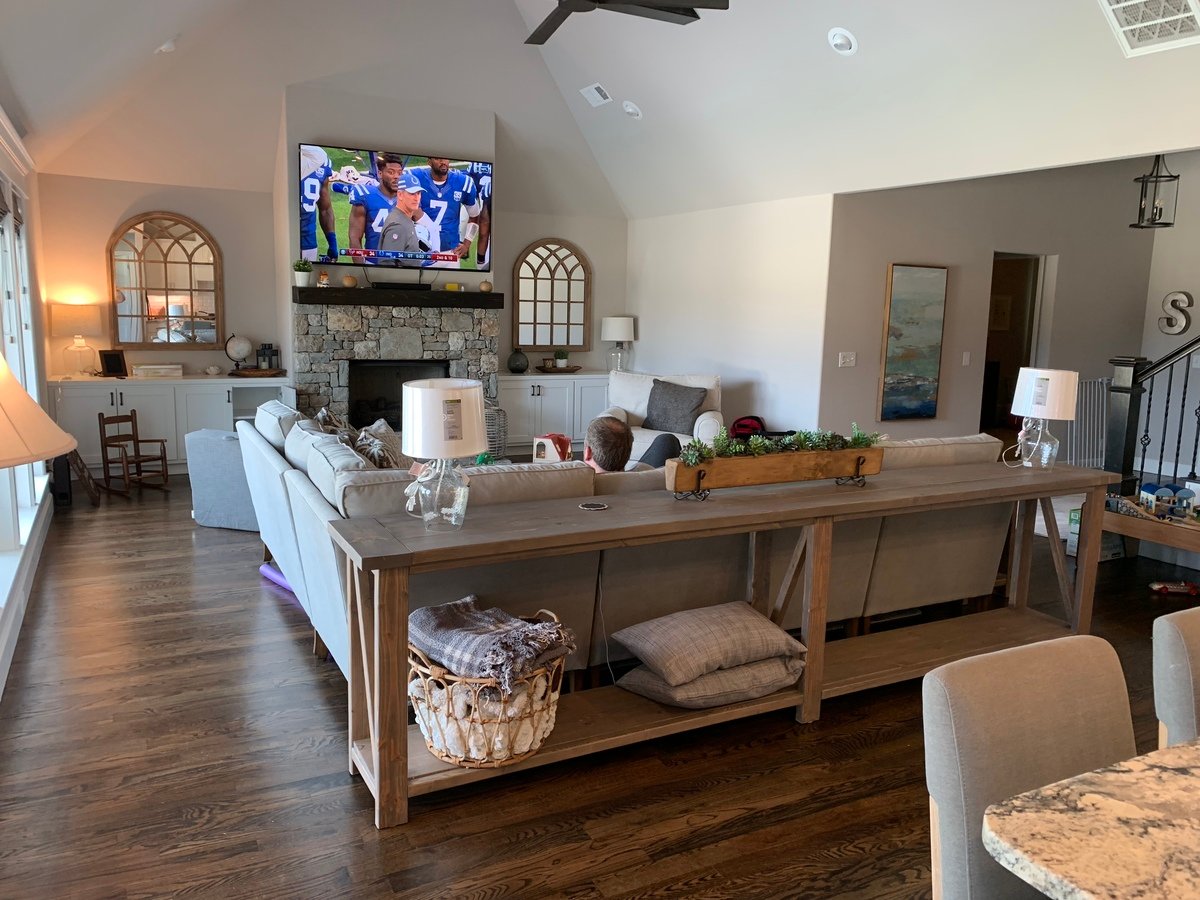
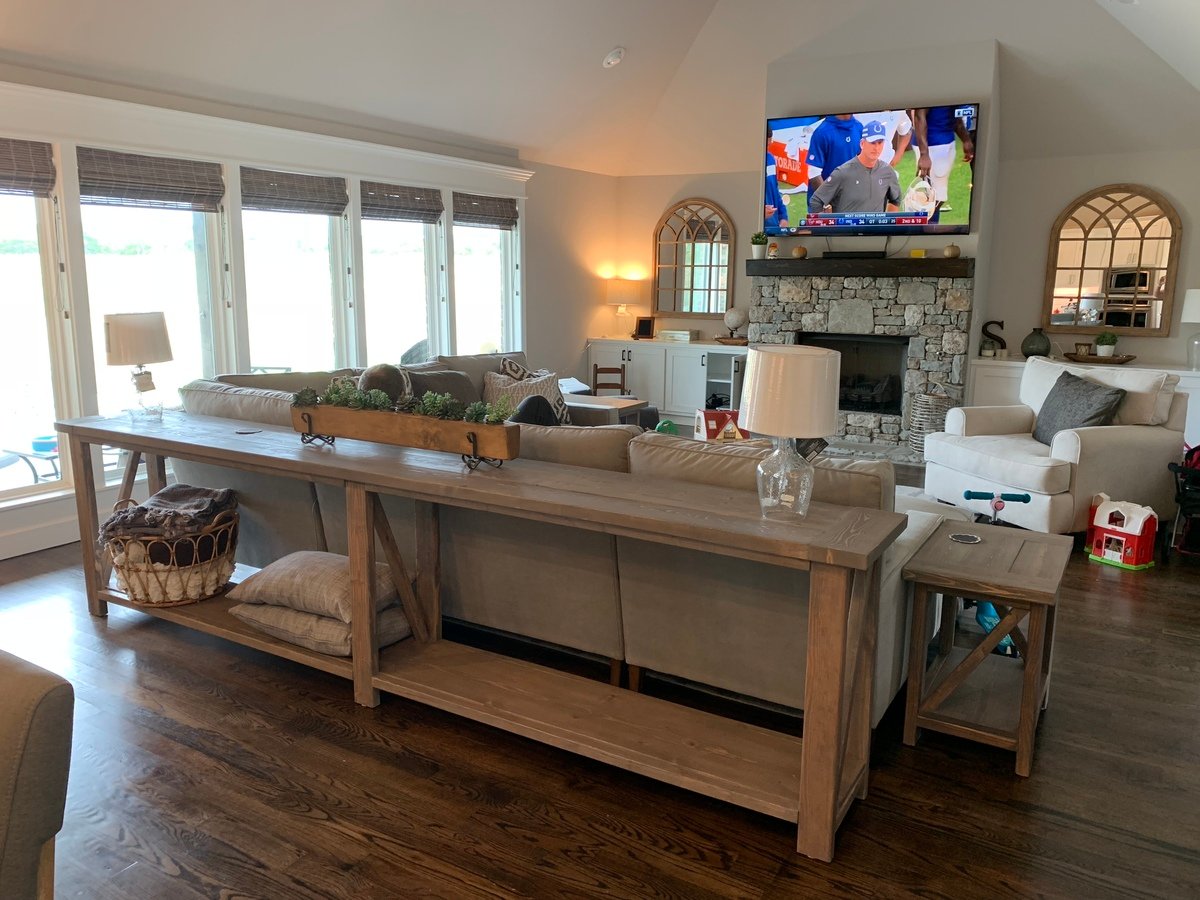
Modified to have more of a modern style. Removed shelf and half the X. Also, lengthened it to 11ft. Love!

Built from Plan(s)
Estimated Time Investment
Weekend Project (10-20 Hours)
Recommended Skill Level
Intermediate

Comments

Double Twin Camp Loft Bed

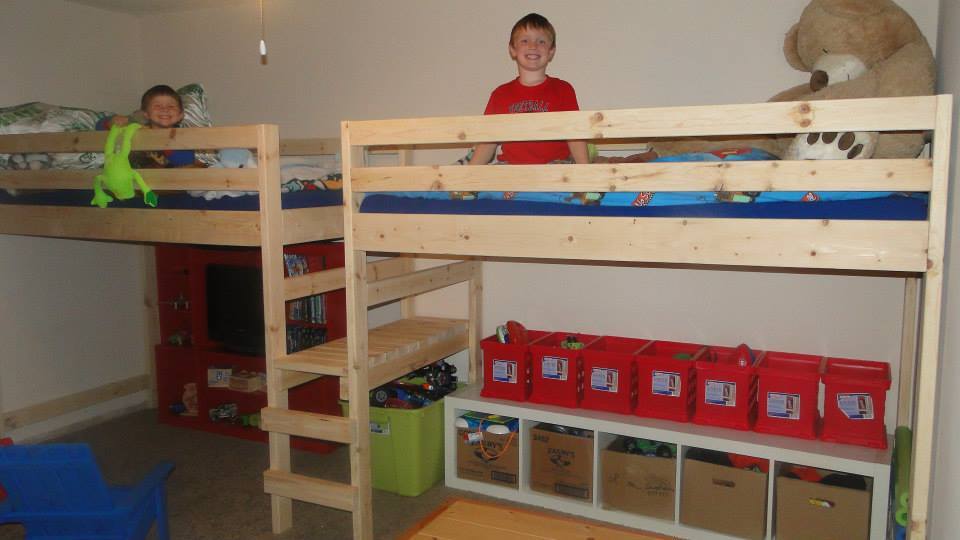
Camp Loft Bed modified to fit two twin loft beds in the bedroom with a shared platform step.
Age of boys in bed: 6 and 4

The boys have yet to agree on a stain color...awaiting their decision.

Estimated Cost
$100
Estimated Time Investment
Day Project (6-9 Hours)
Recommended Skill Level
Beginner

Comments