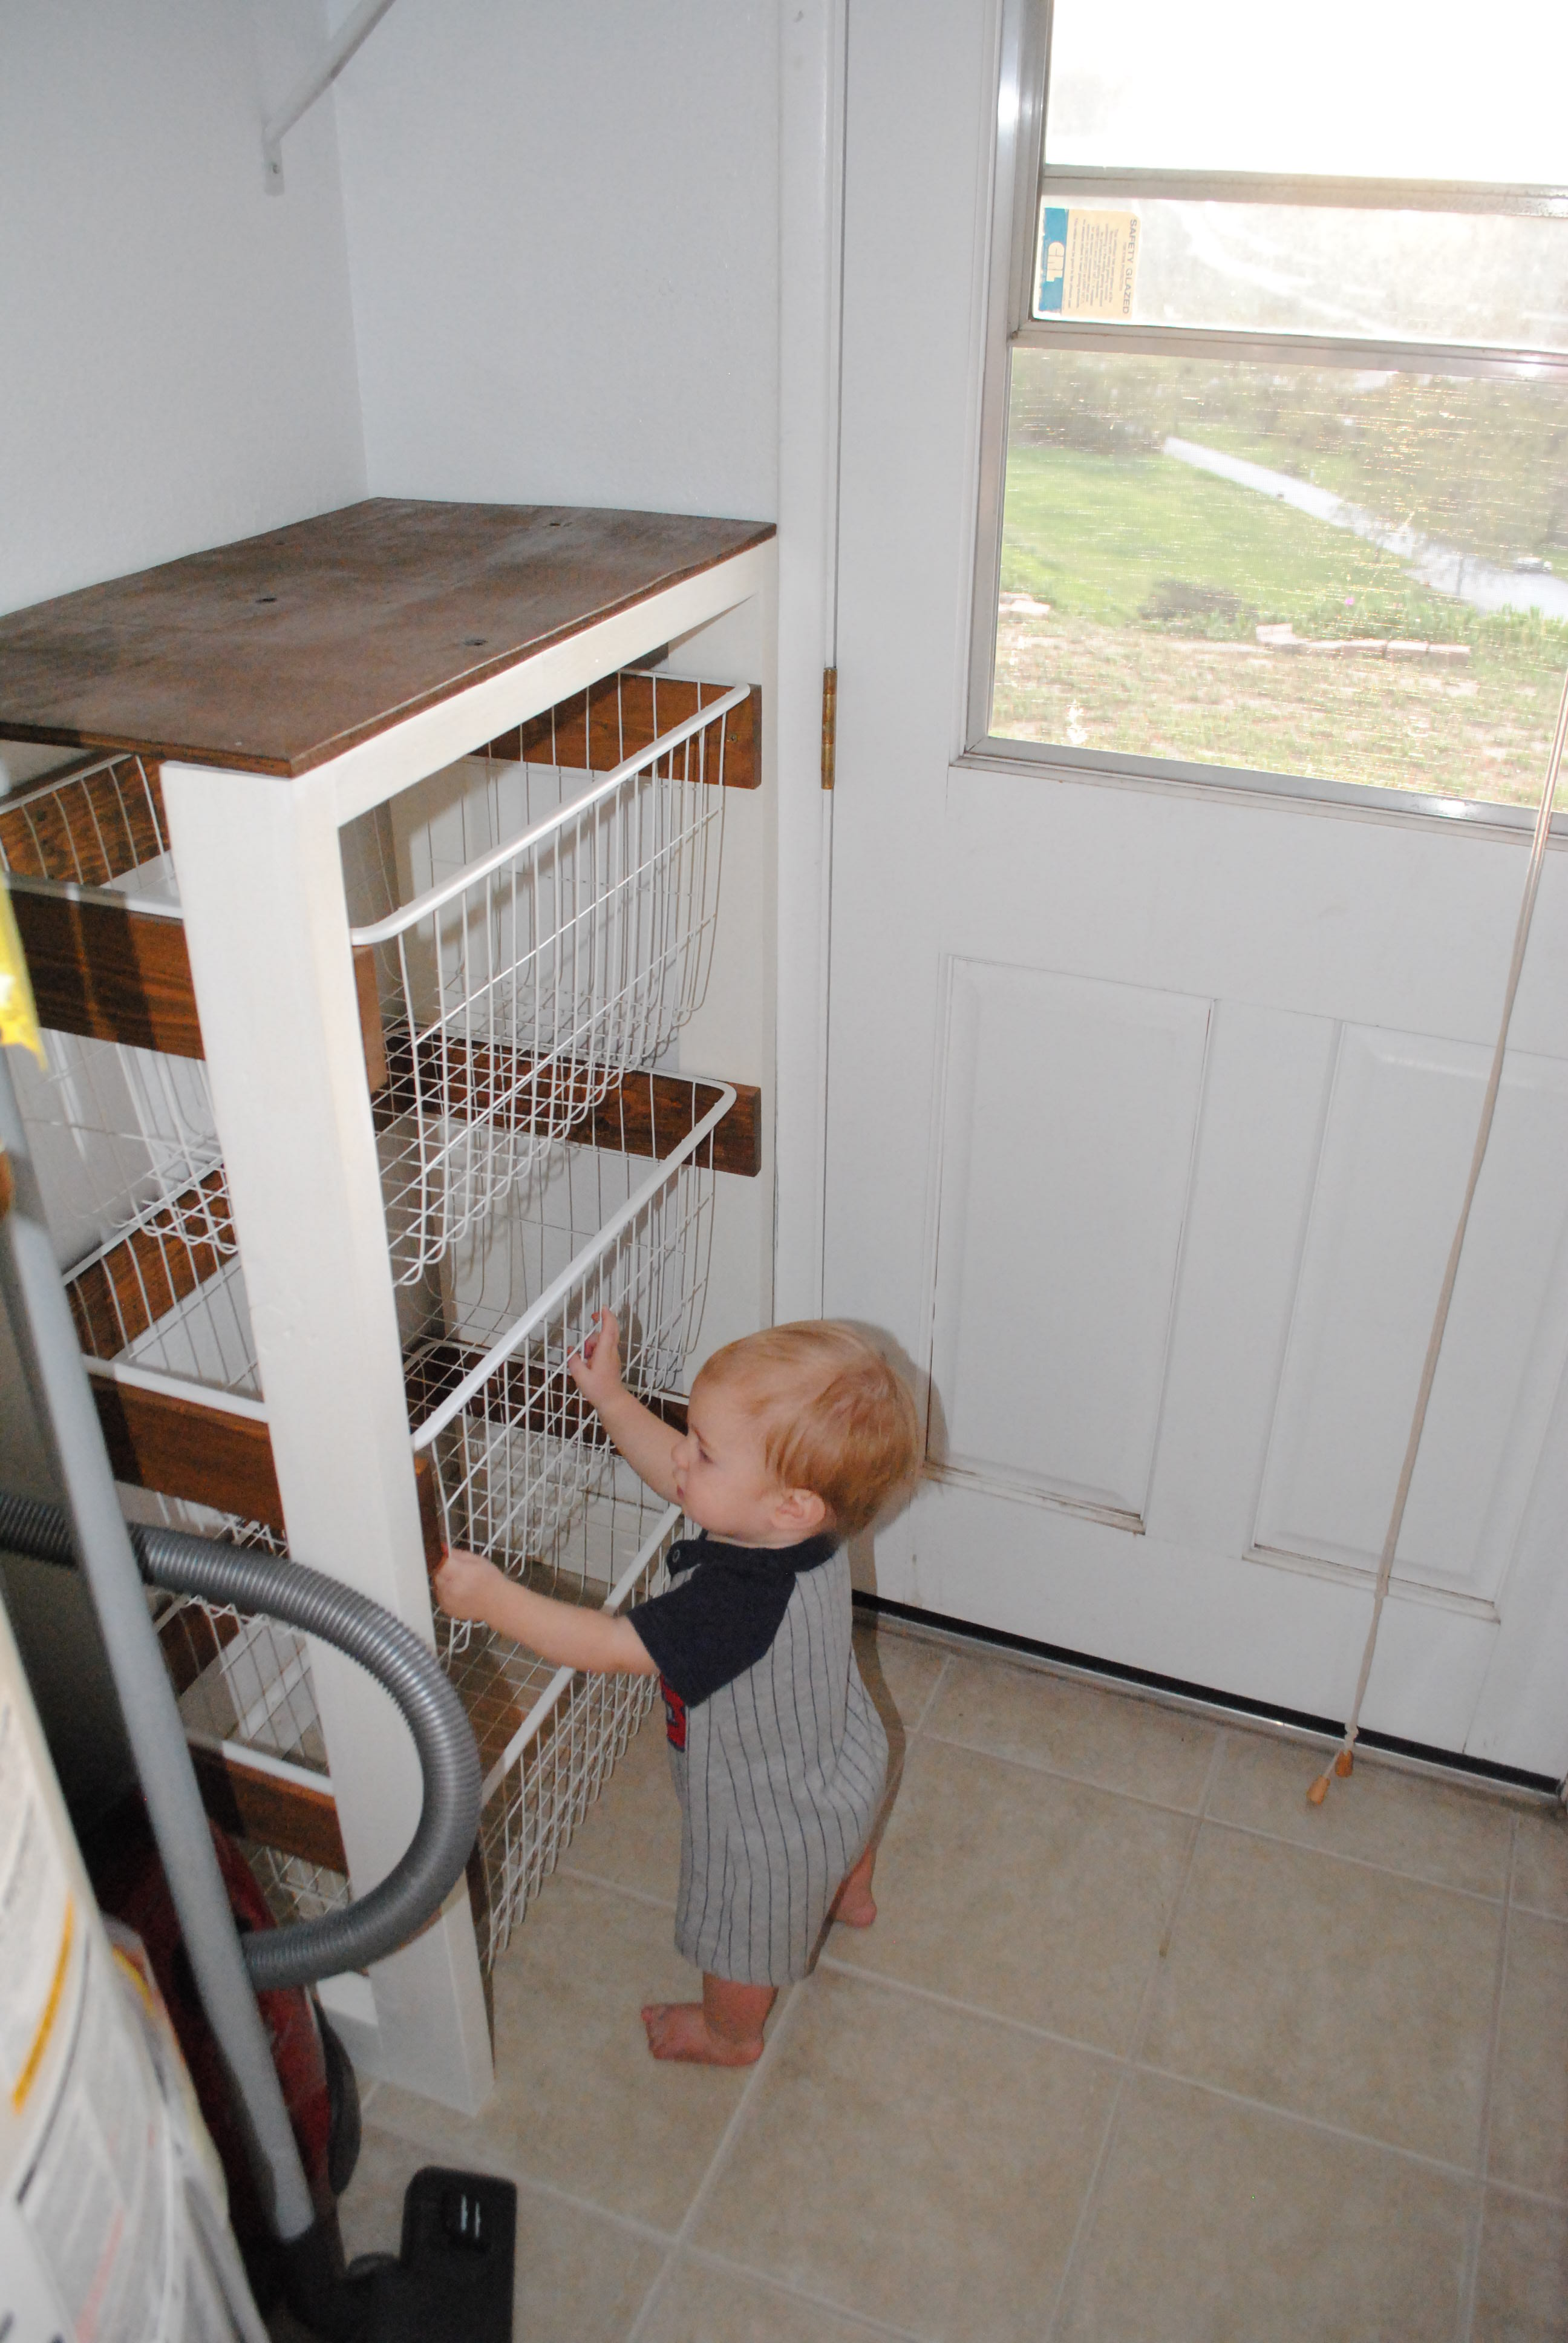
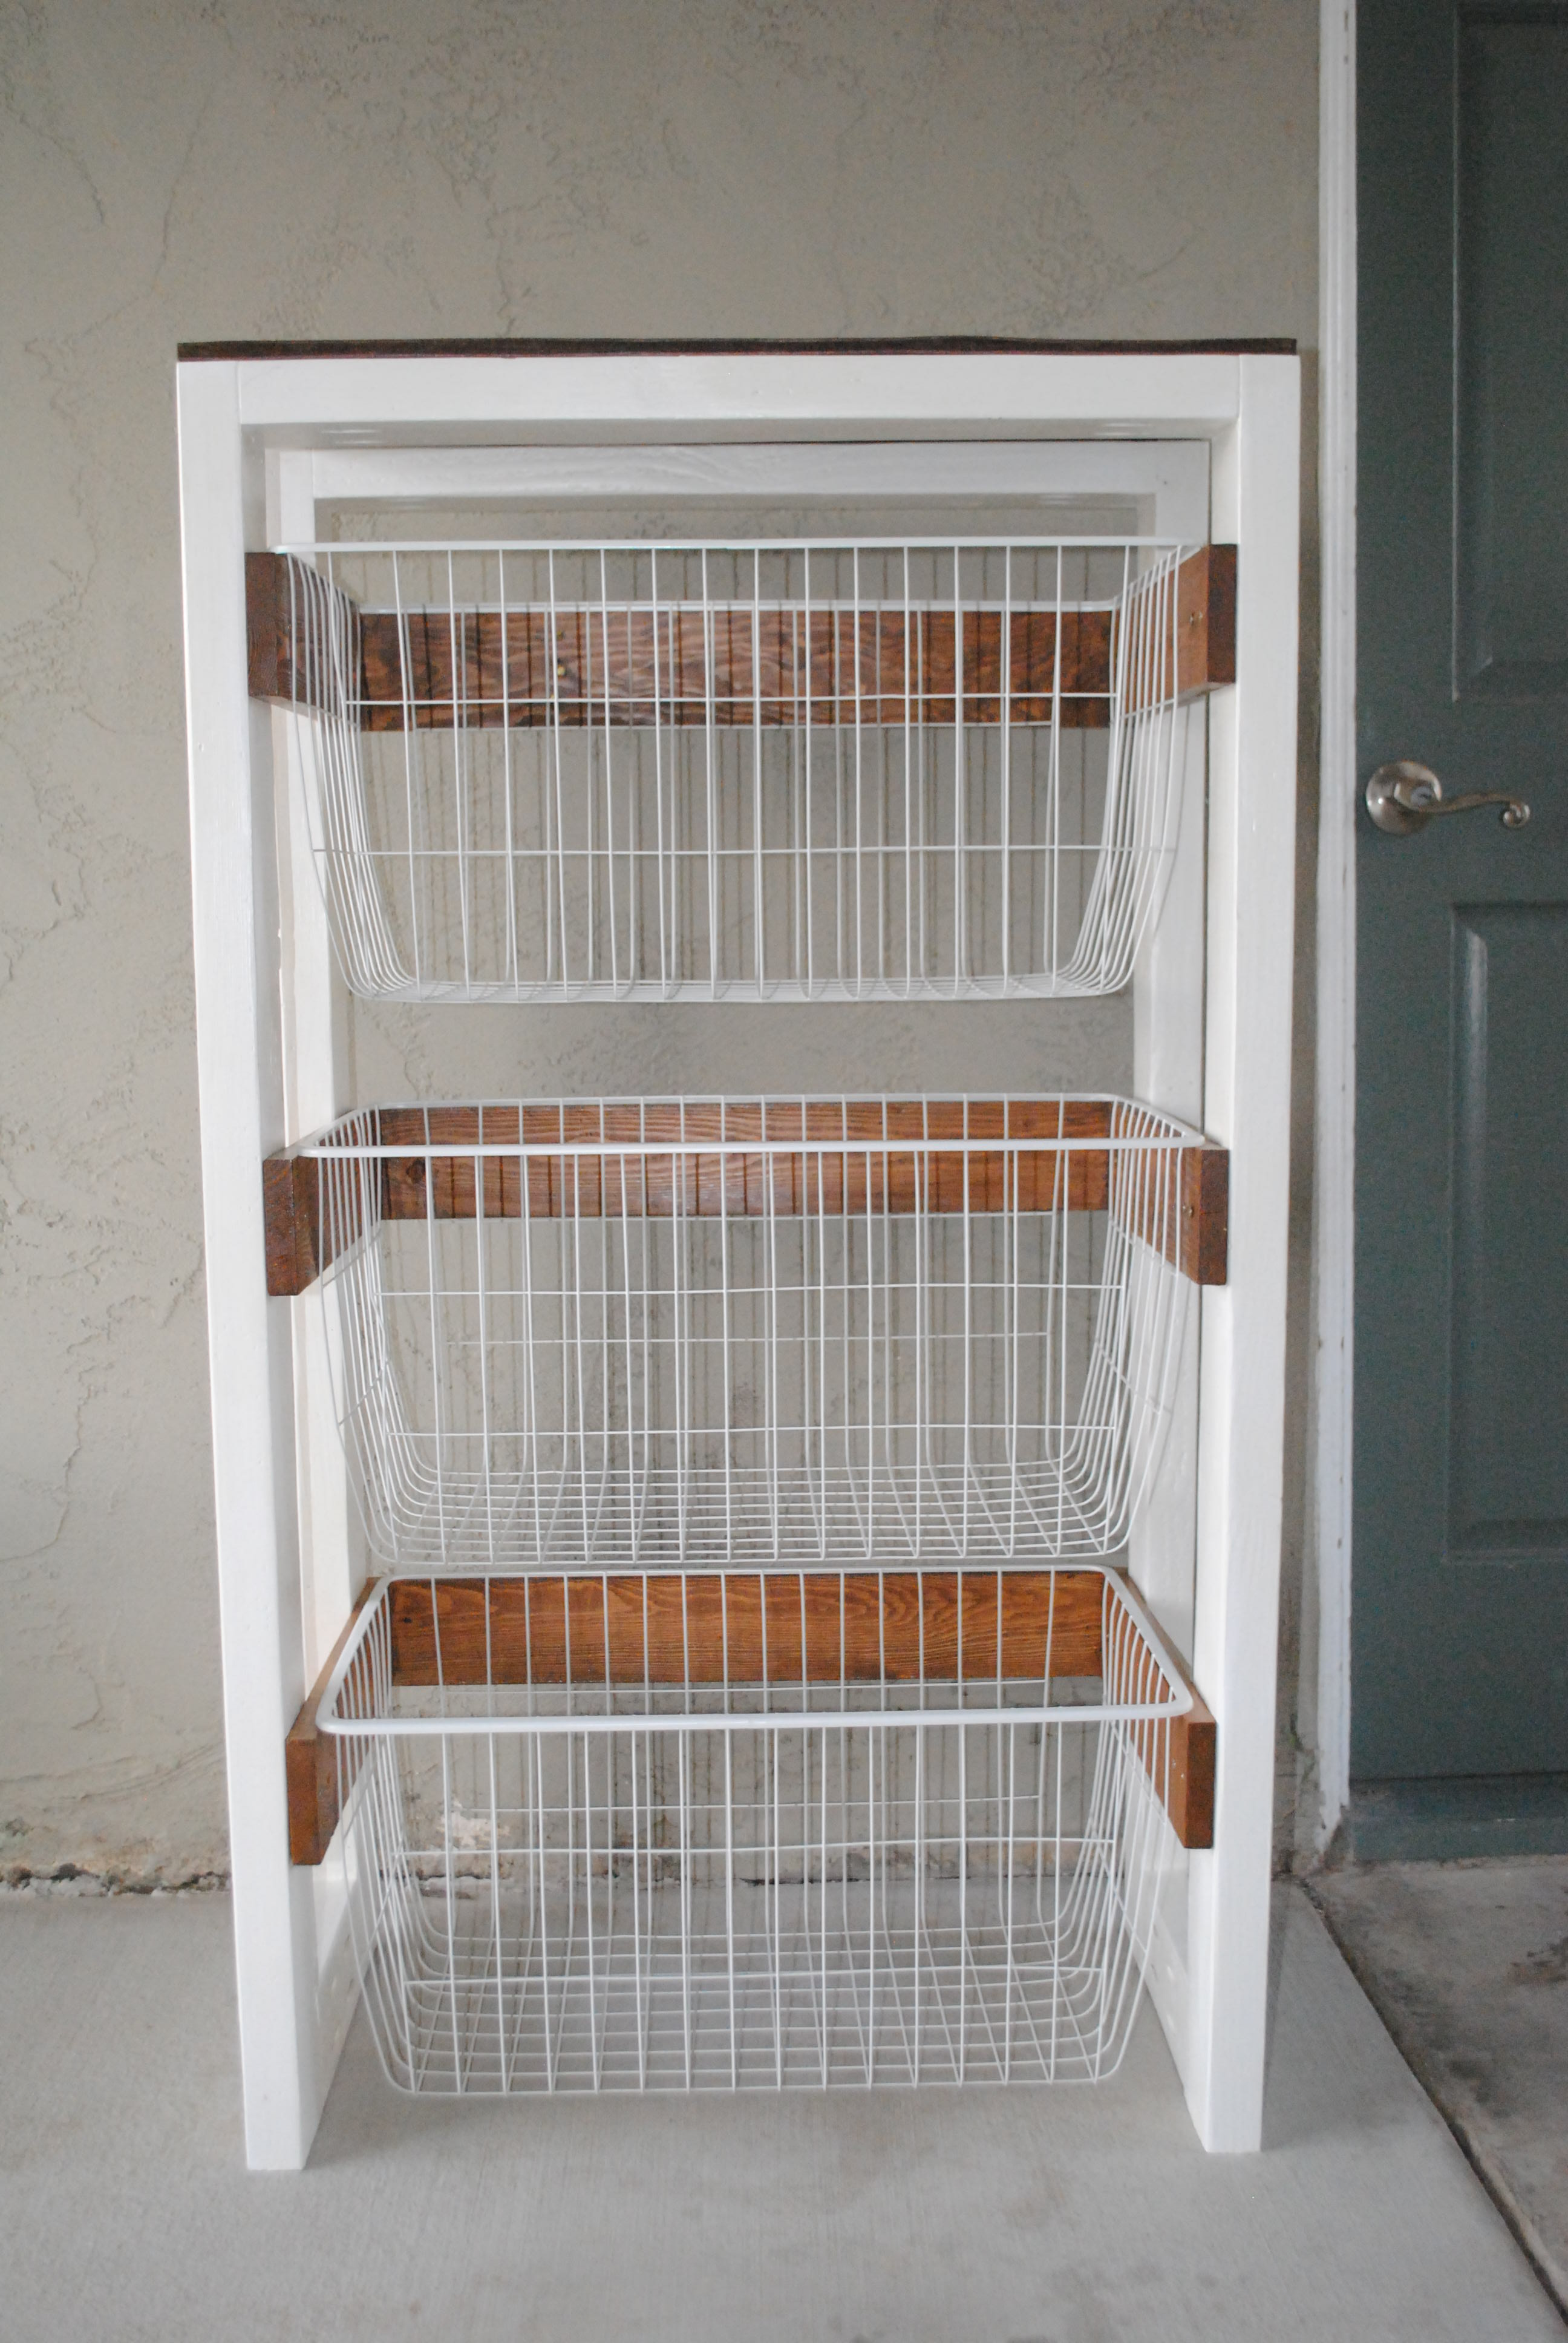
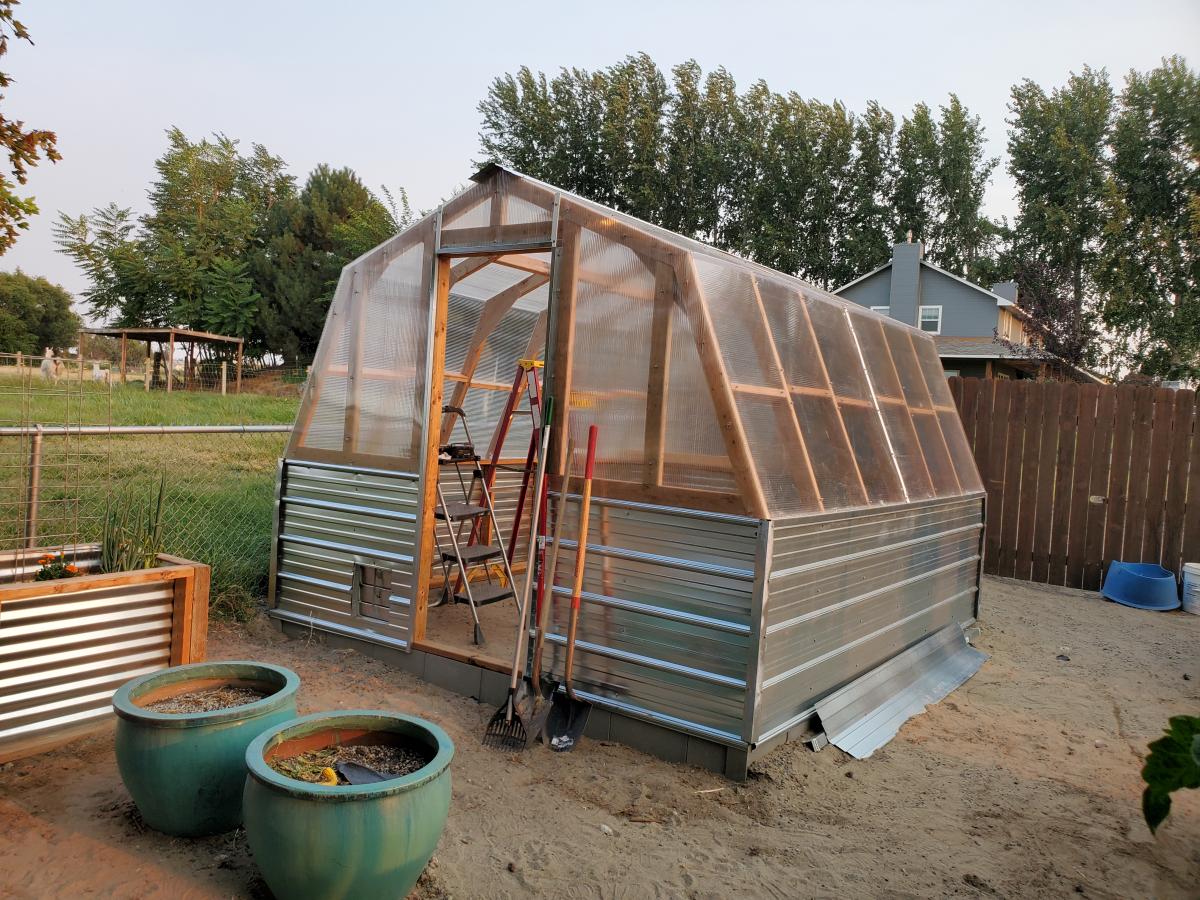
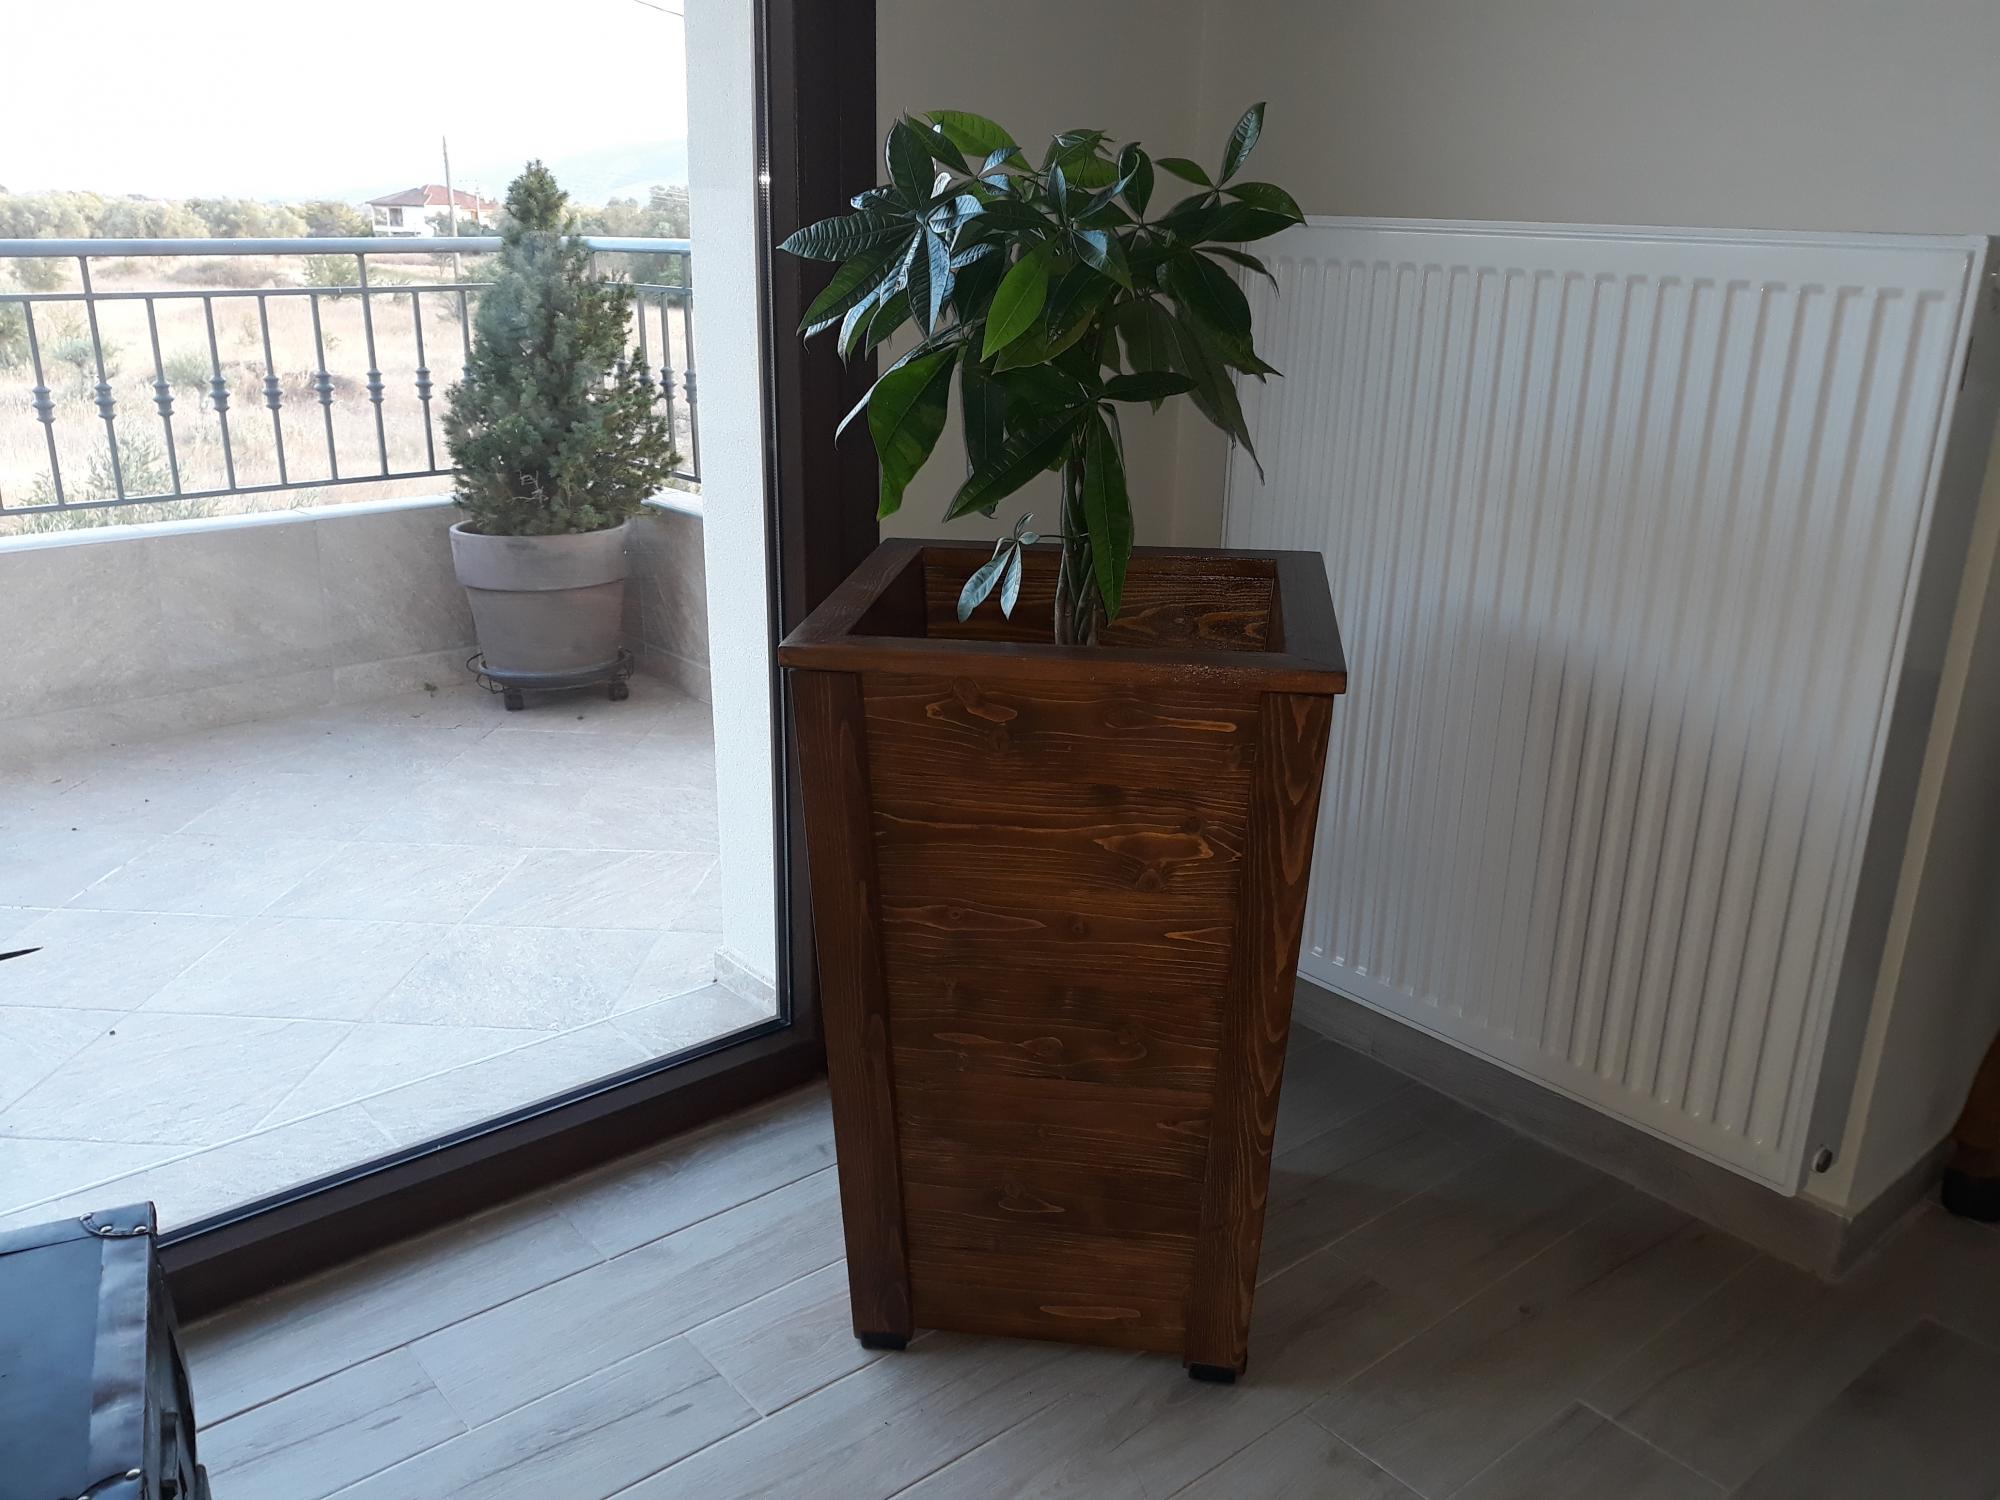
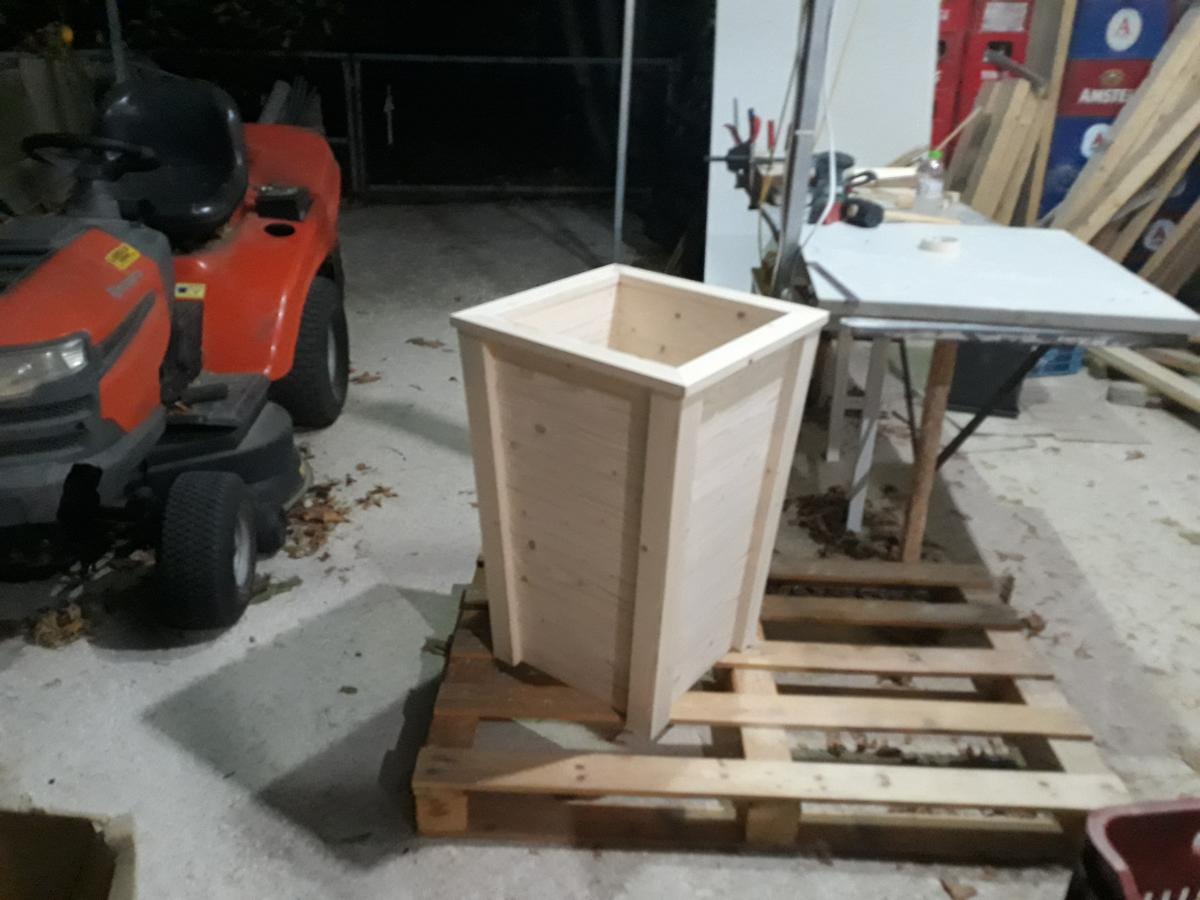
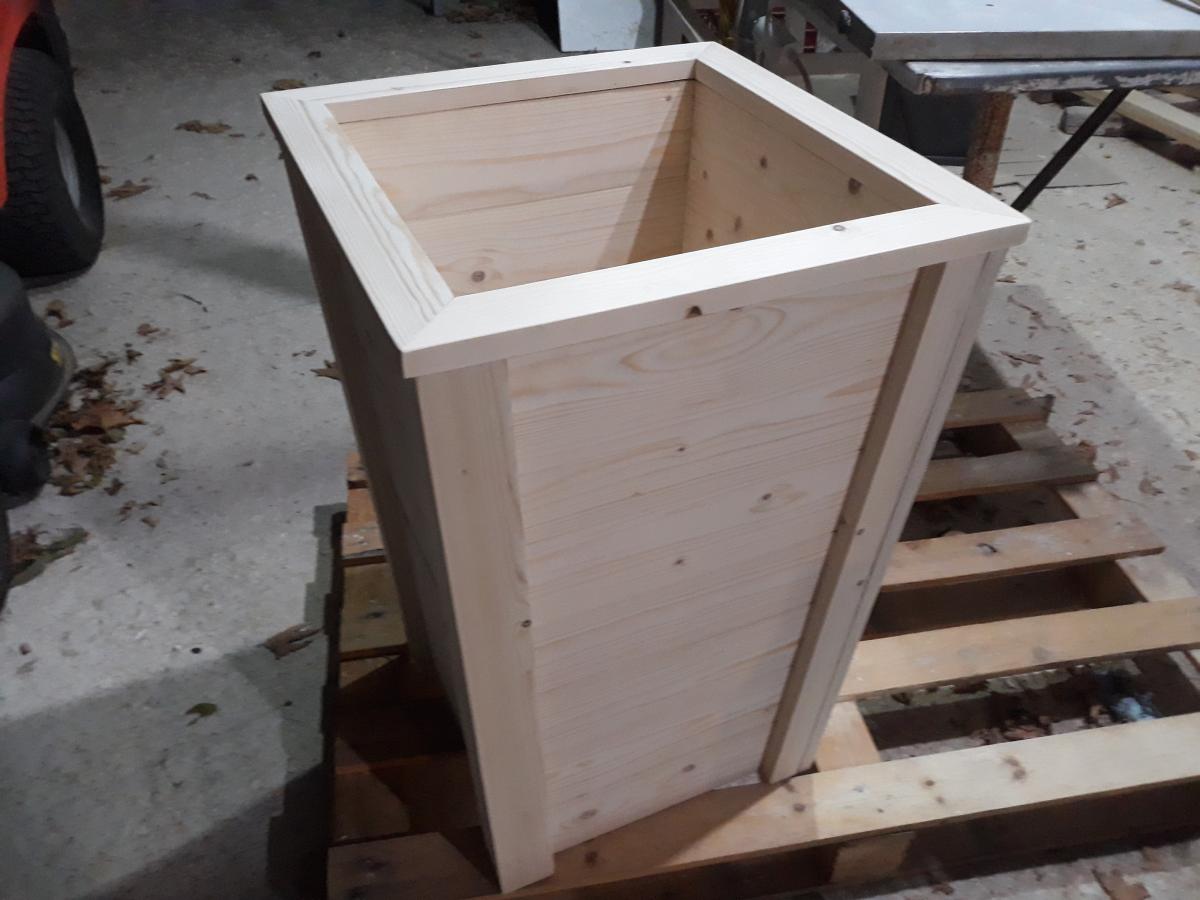
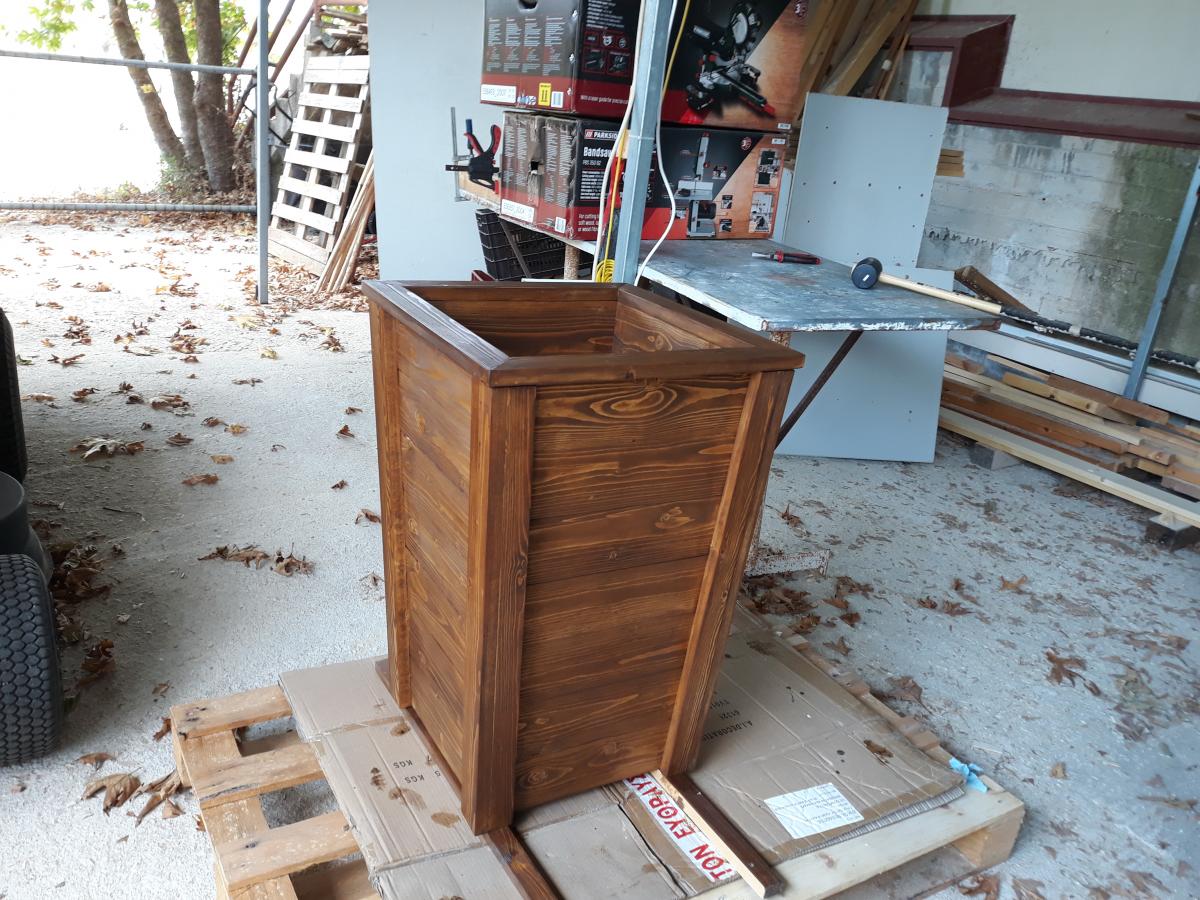
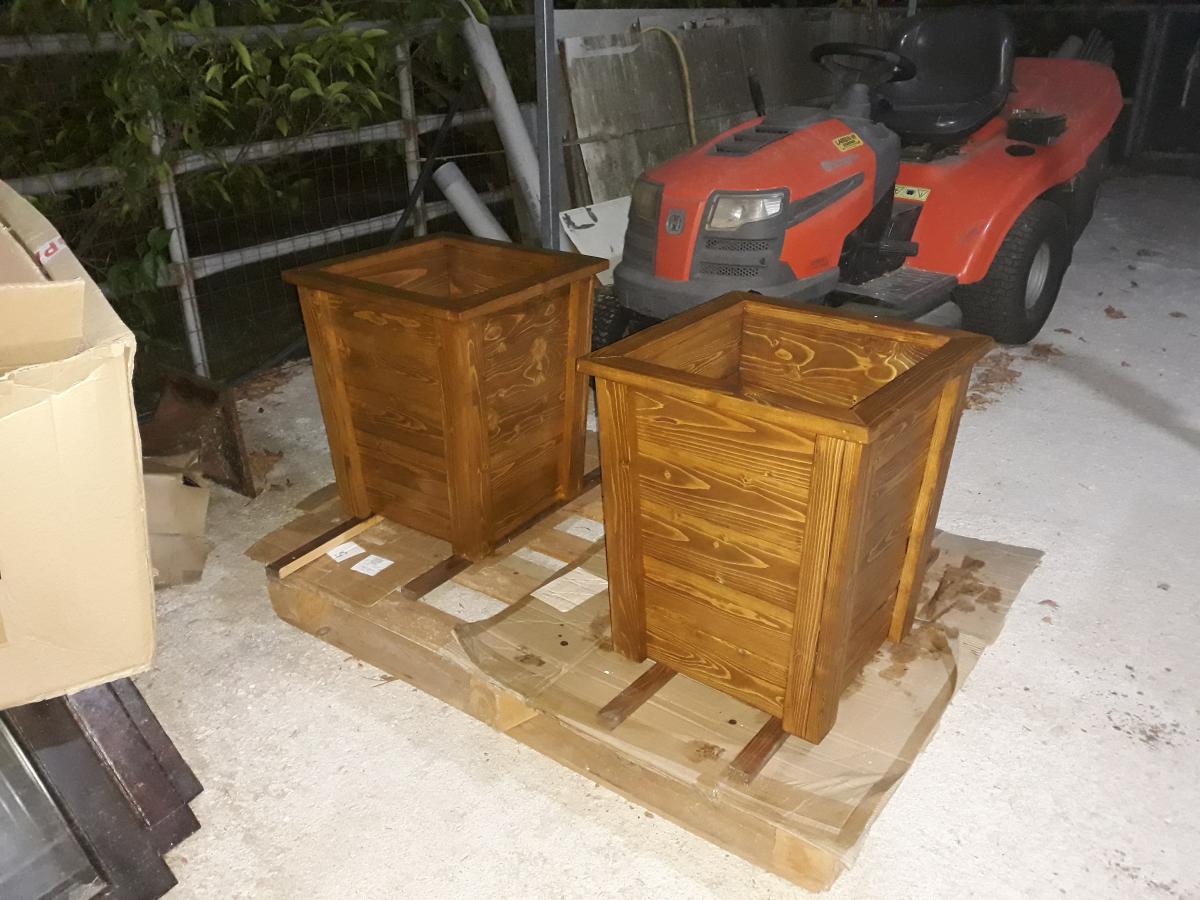
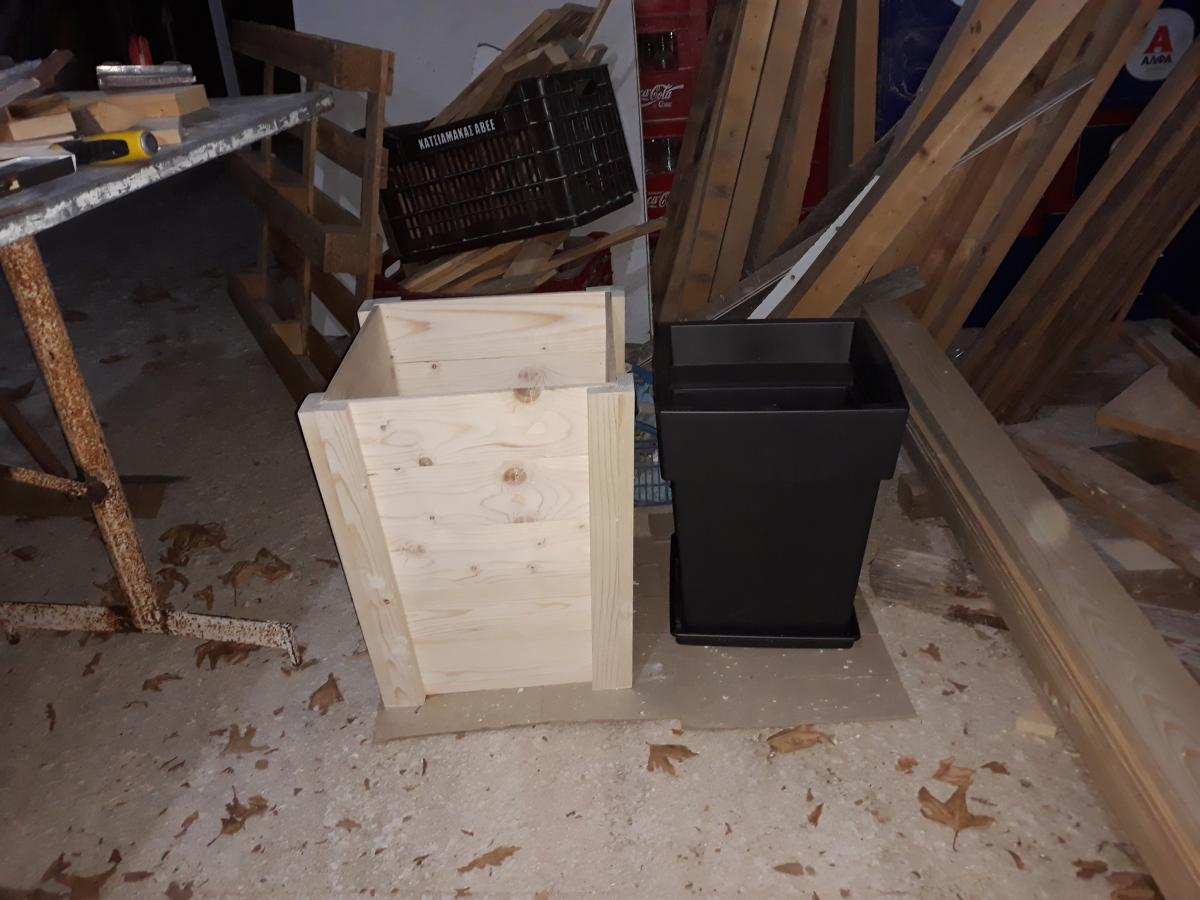
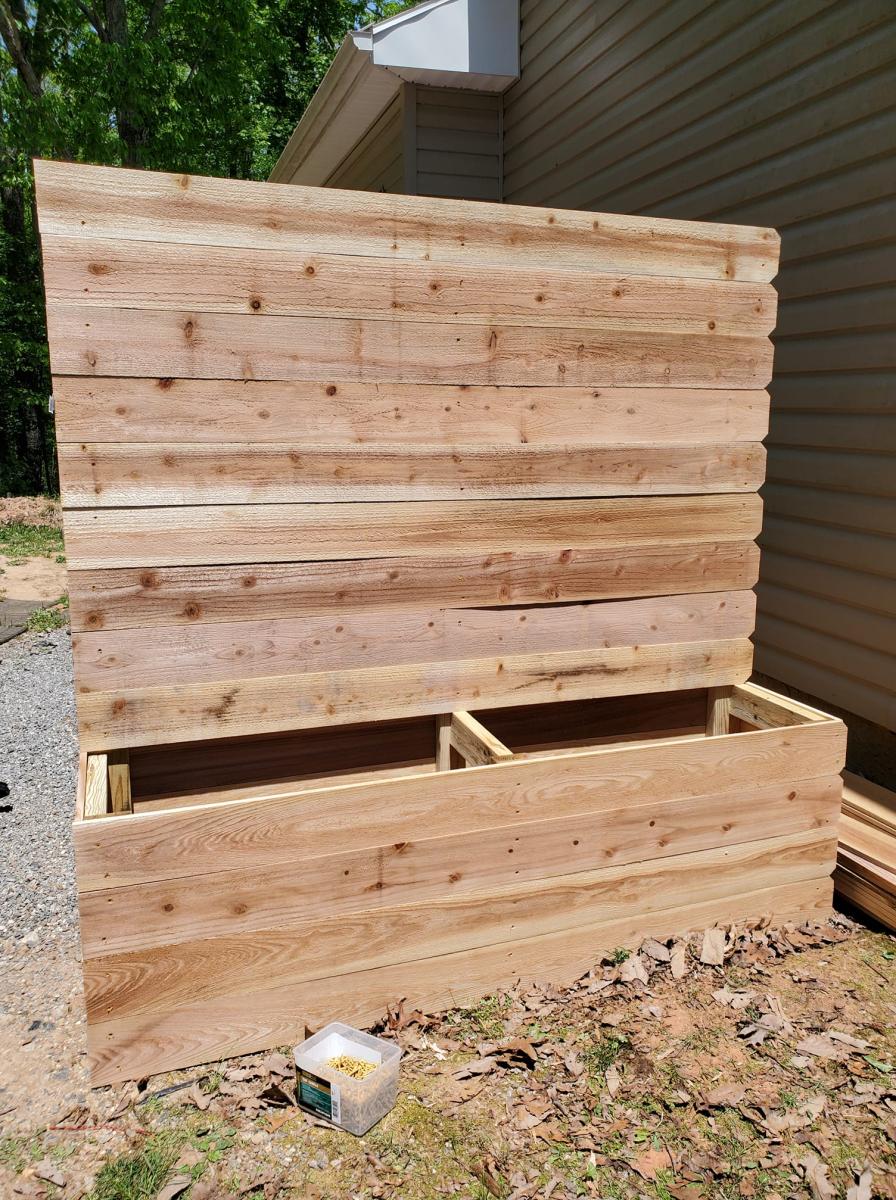
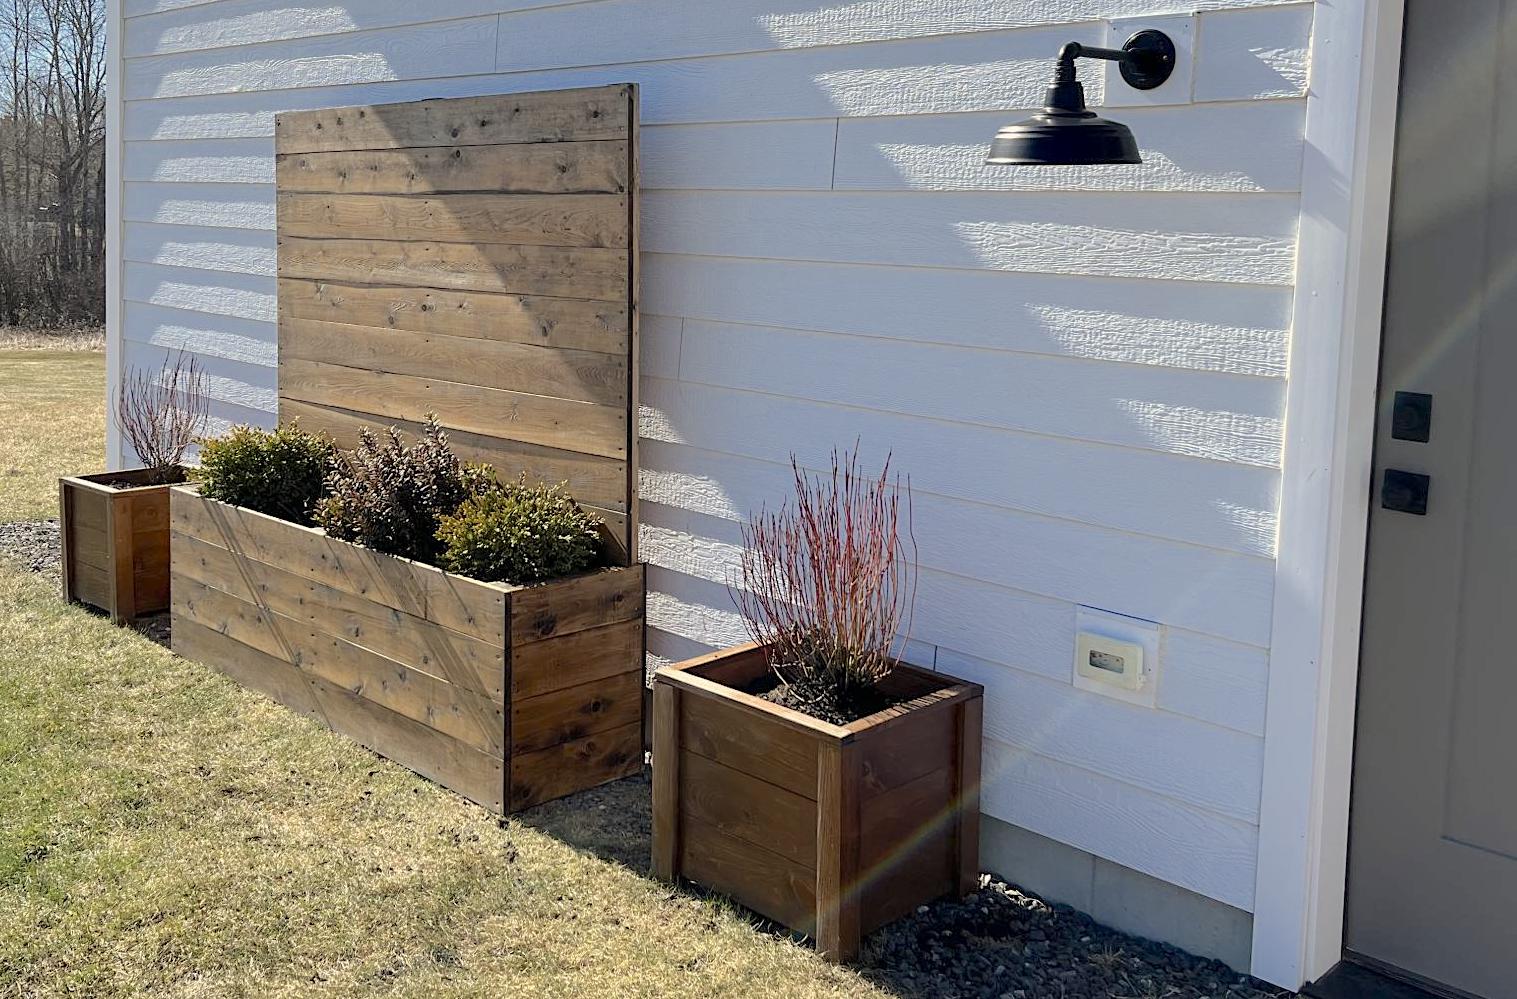
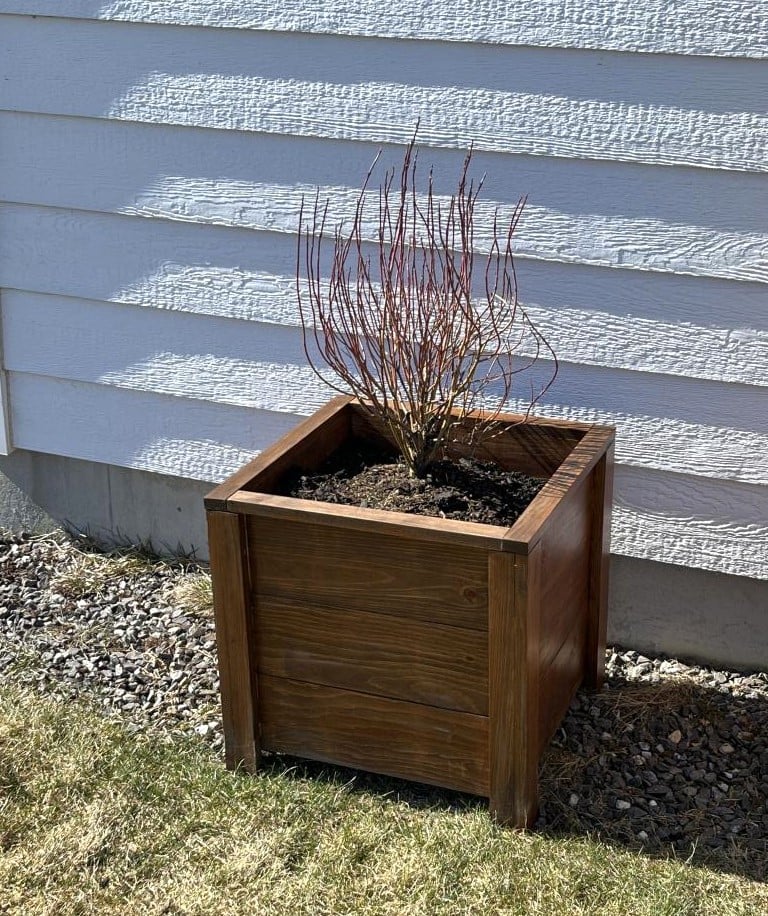
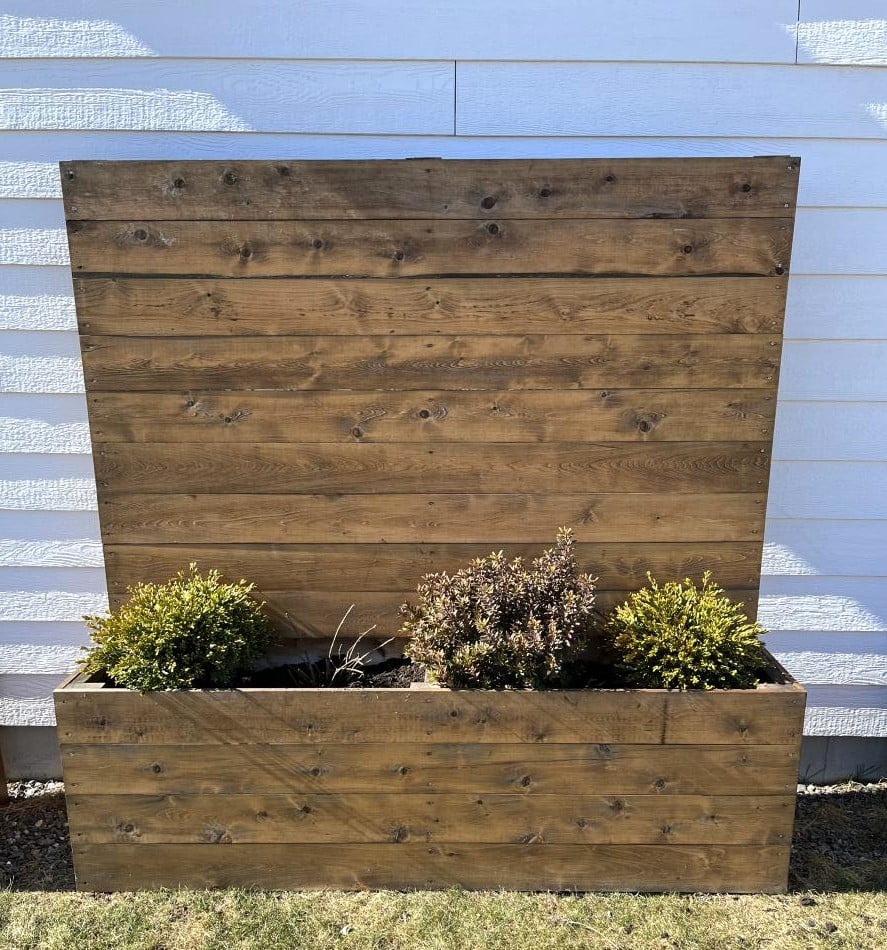
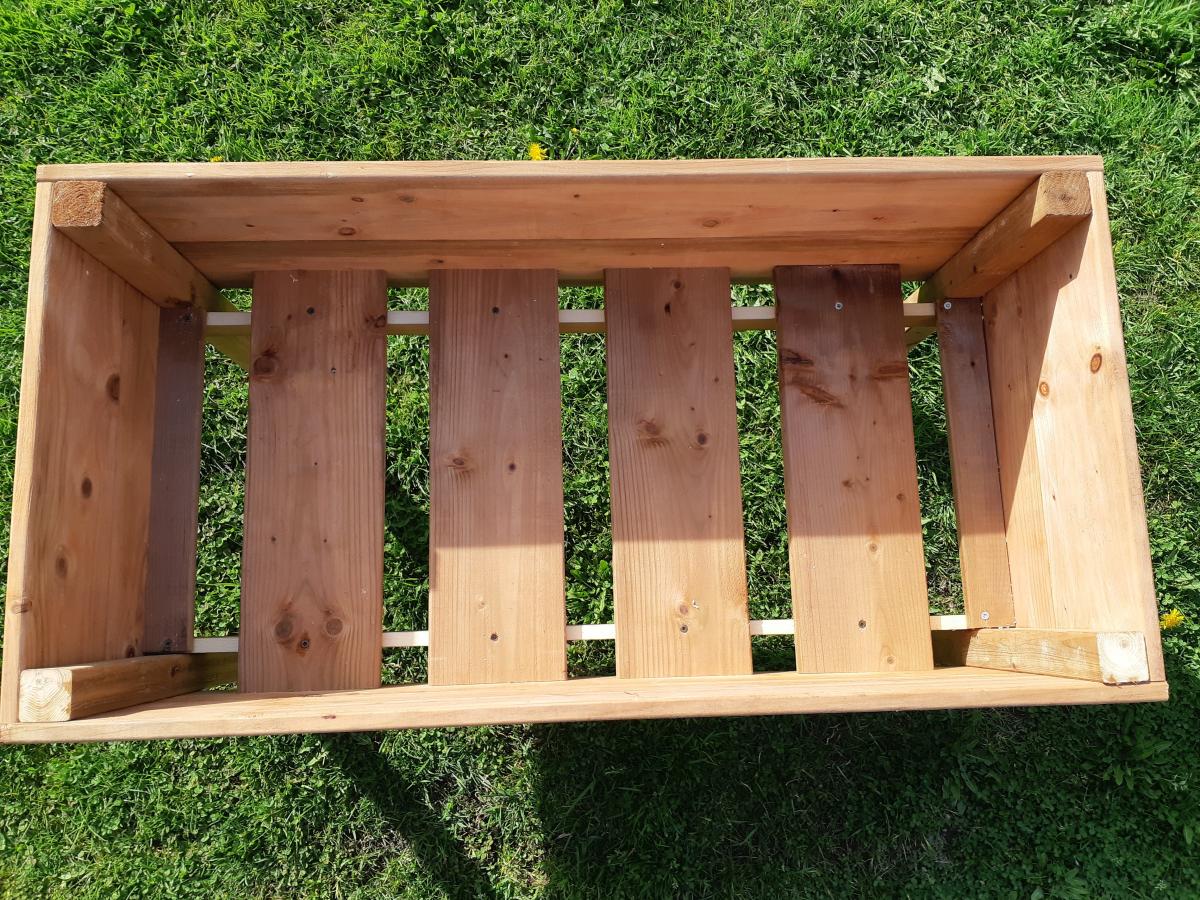
Raised Planter / Jardiniere
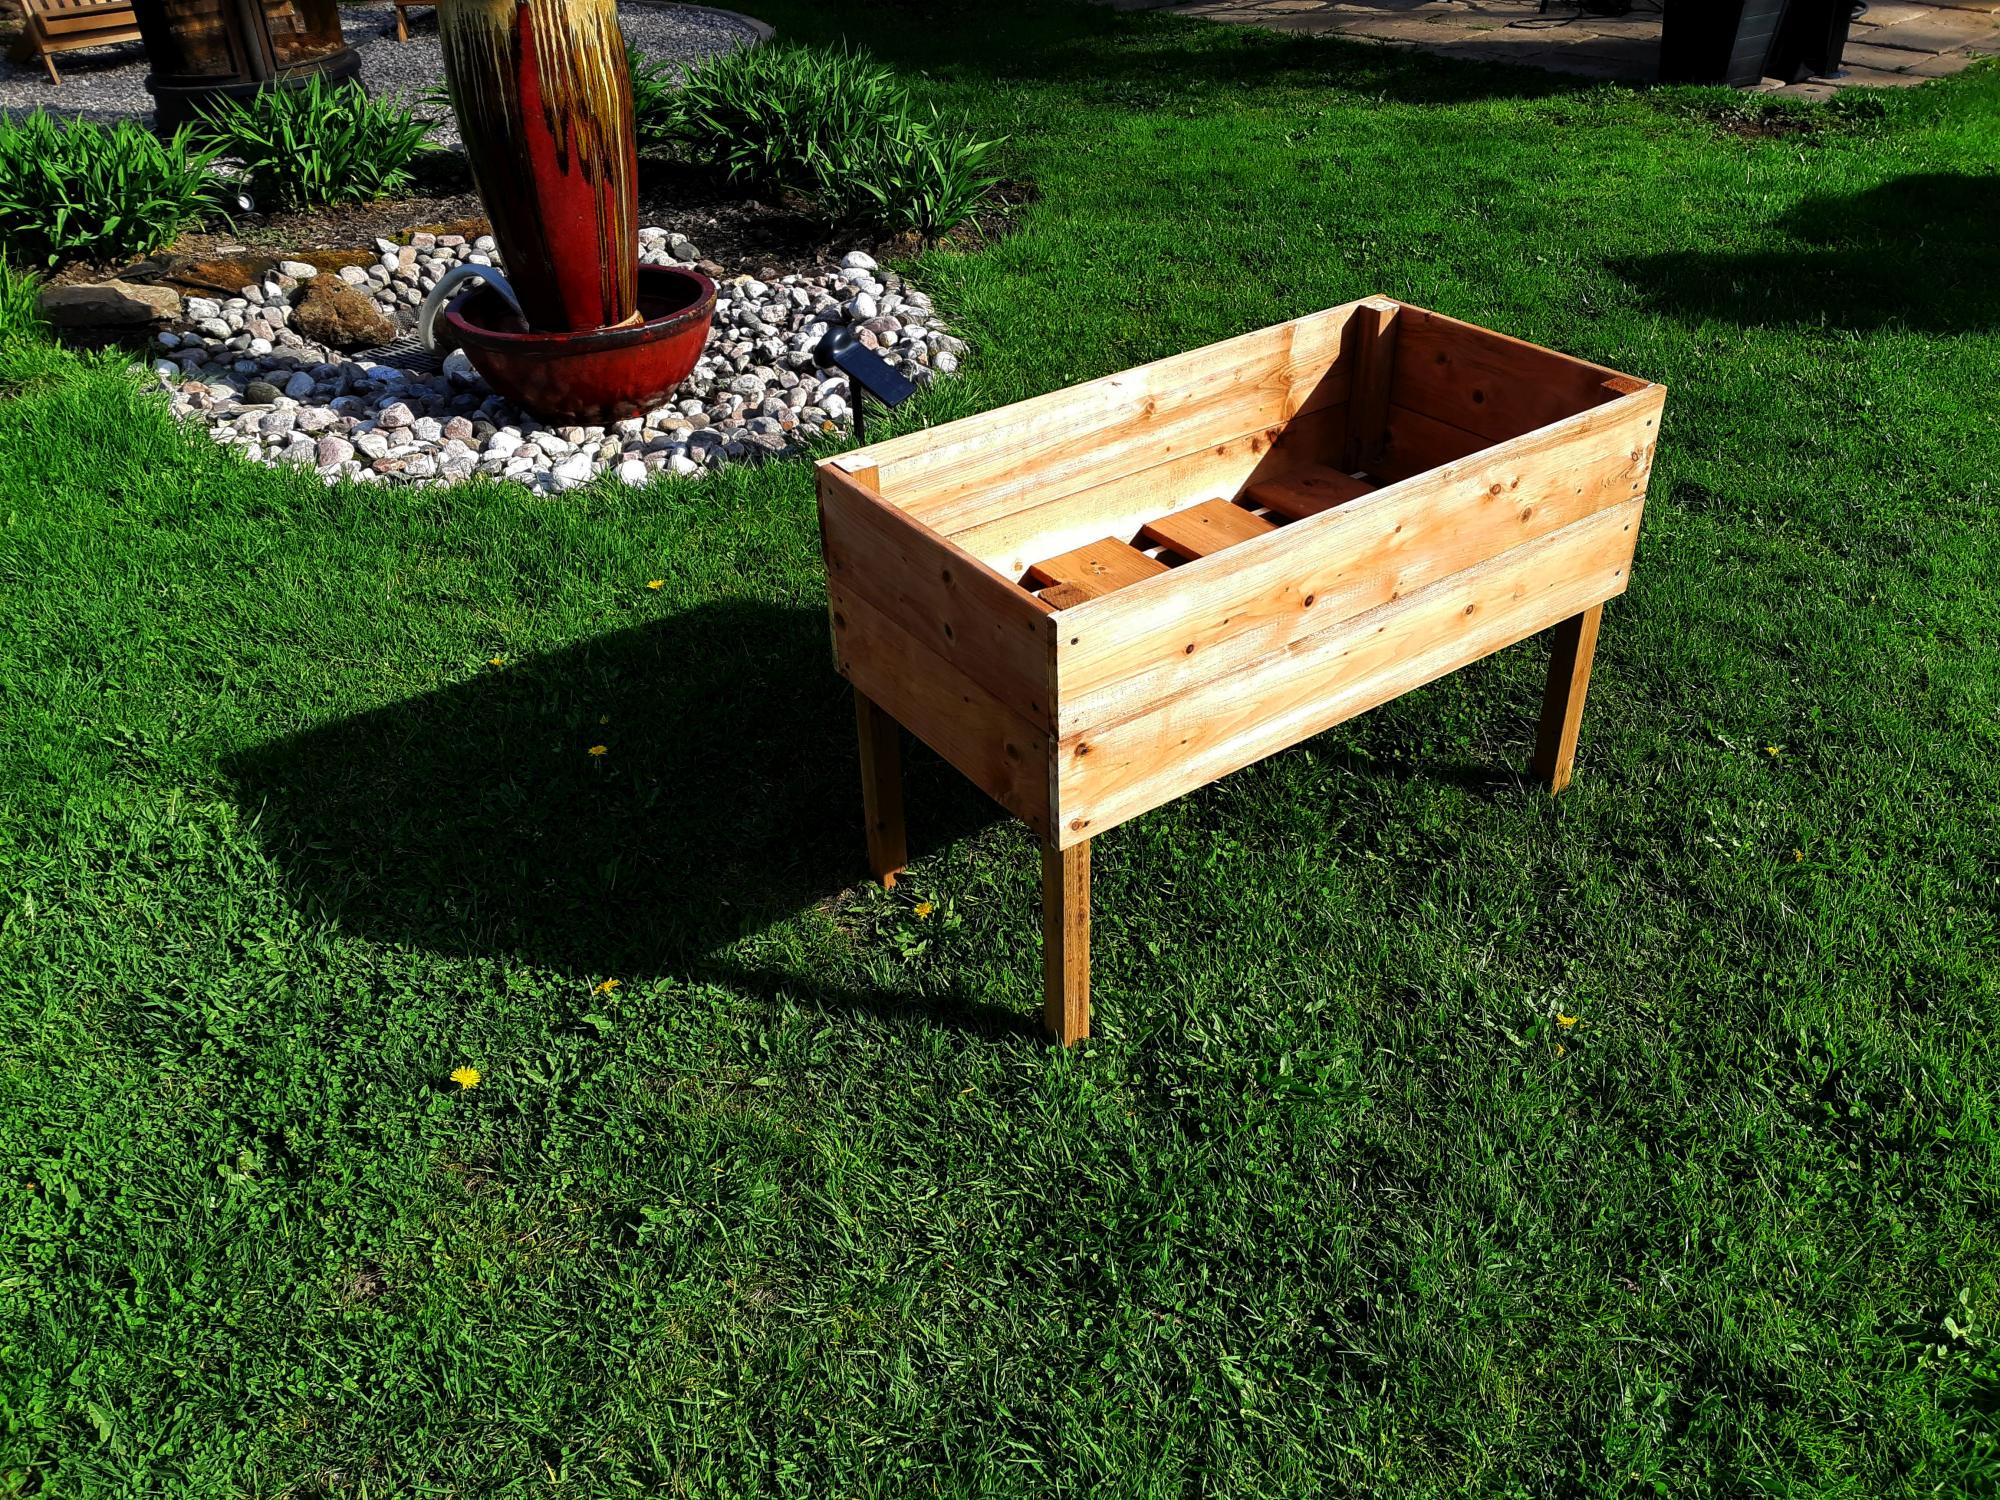
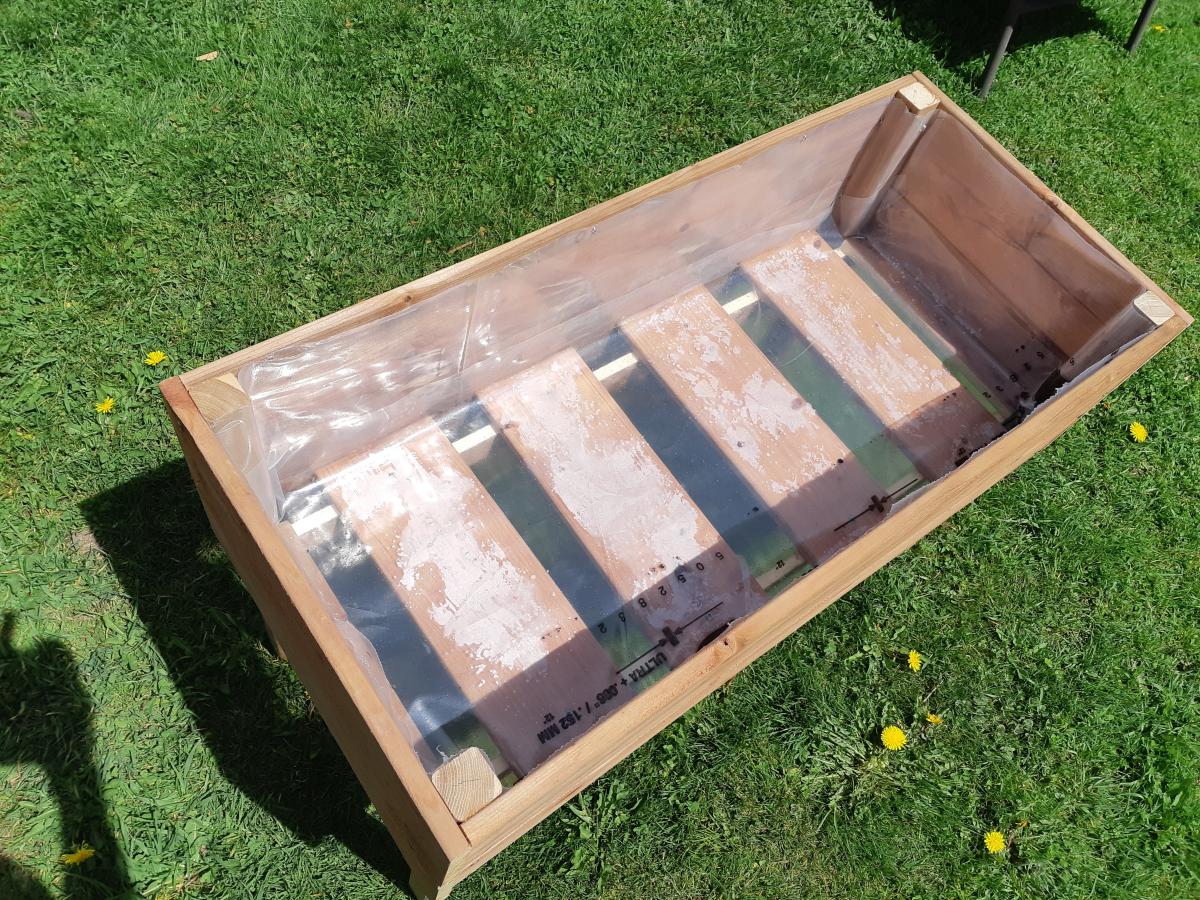
Not much to say apart that some internal measures were different (!?) and that I used treated wood and covered everything with recyclable plastic.
Oh yeah, of course.... Thank you Ana!!
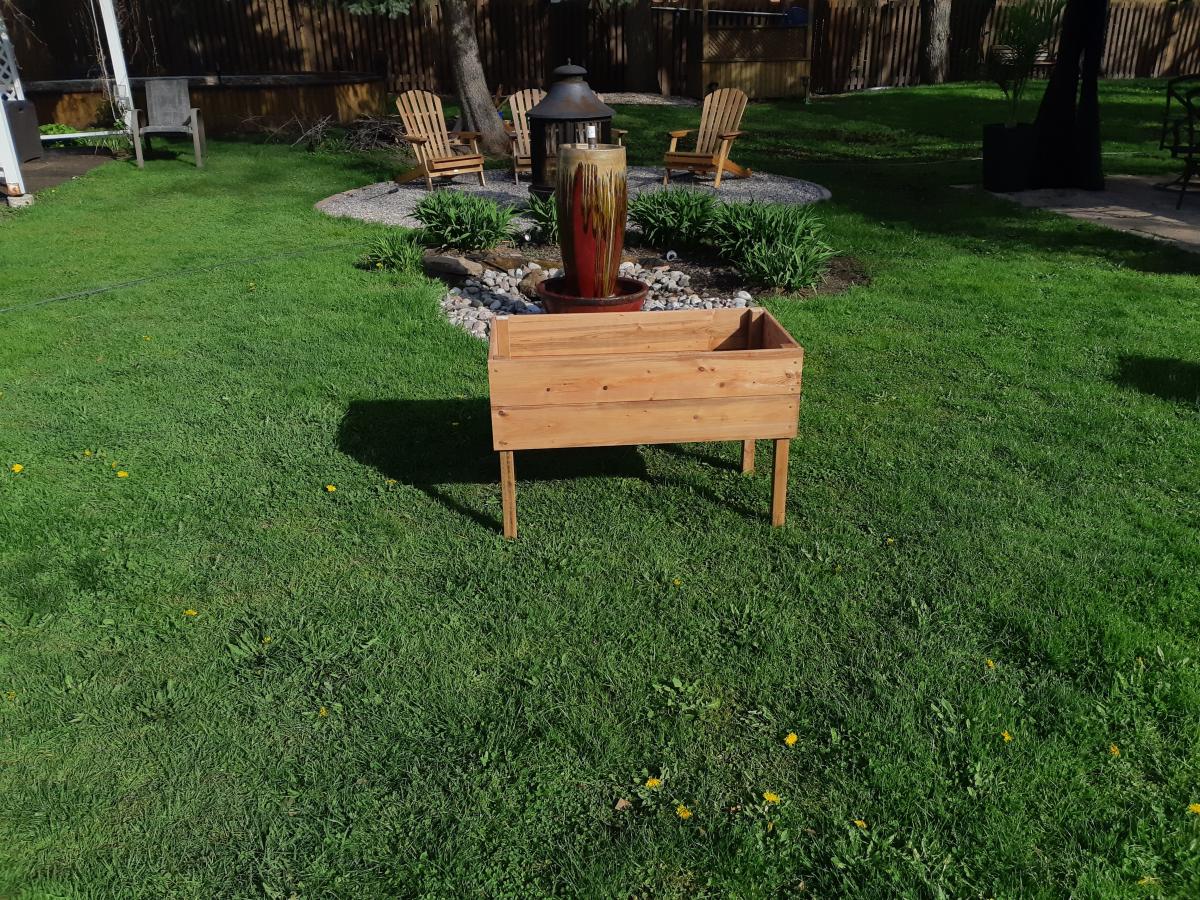
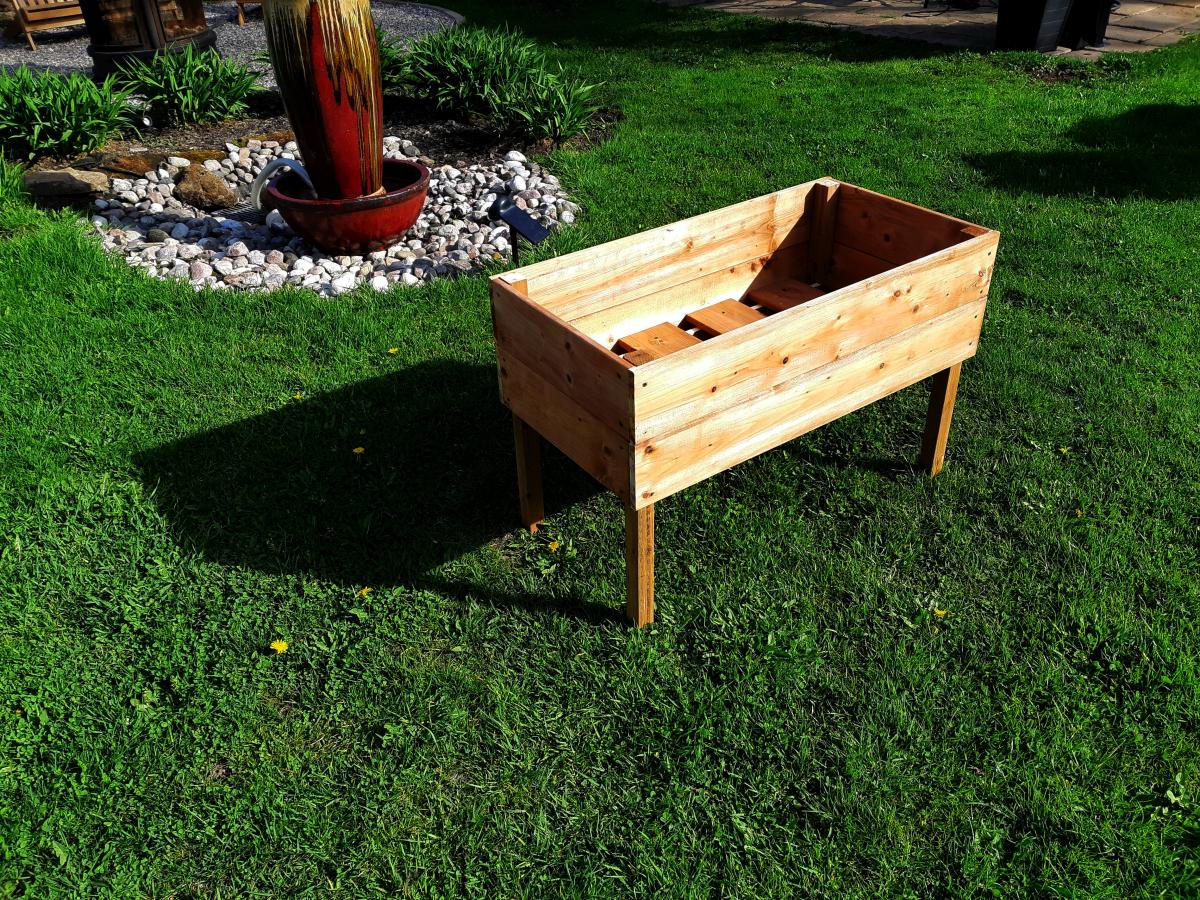
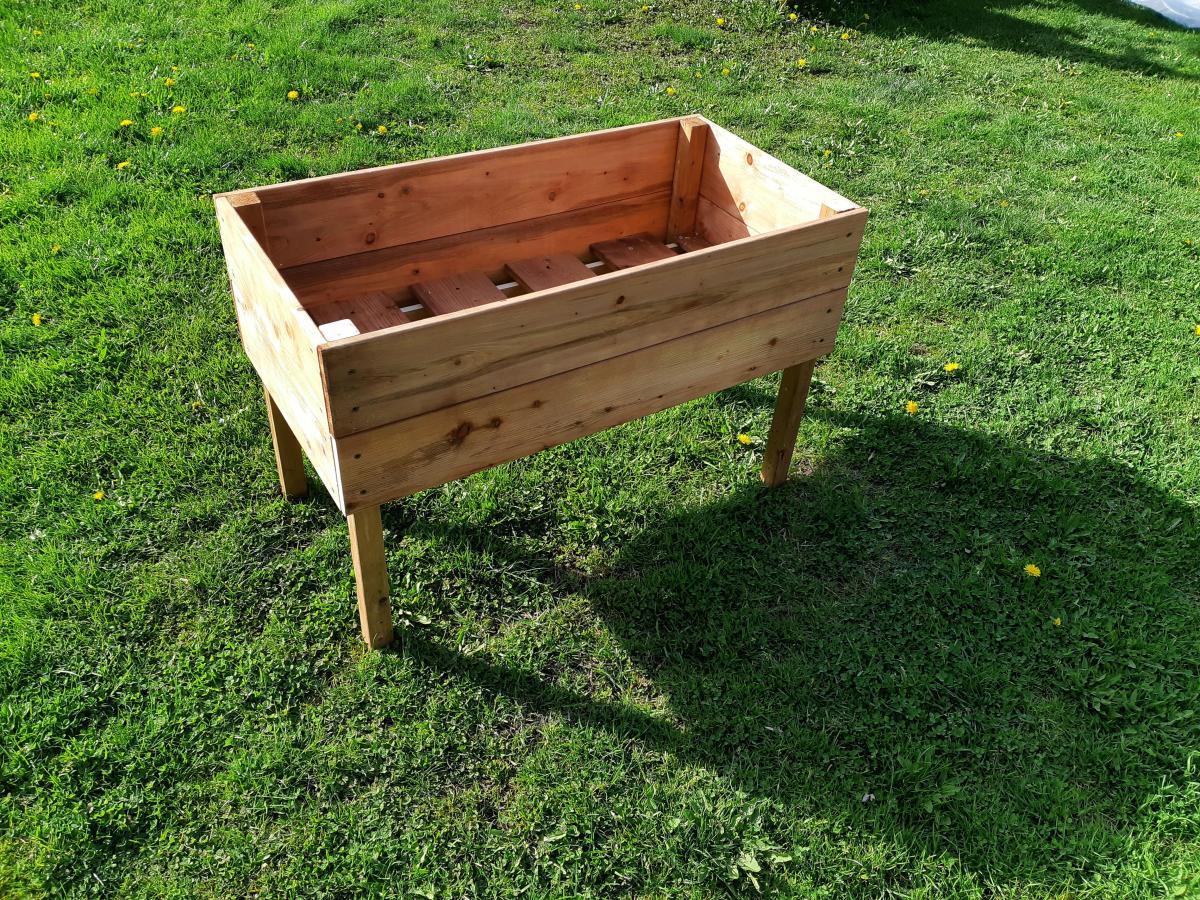
Built from Plan(s)
Estimated Cost
31$ CAD
Estimated Time Investment
An Hour or Two (0-2 Hours)
Finish Used
None
Recommended Skill Level
Beginner