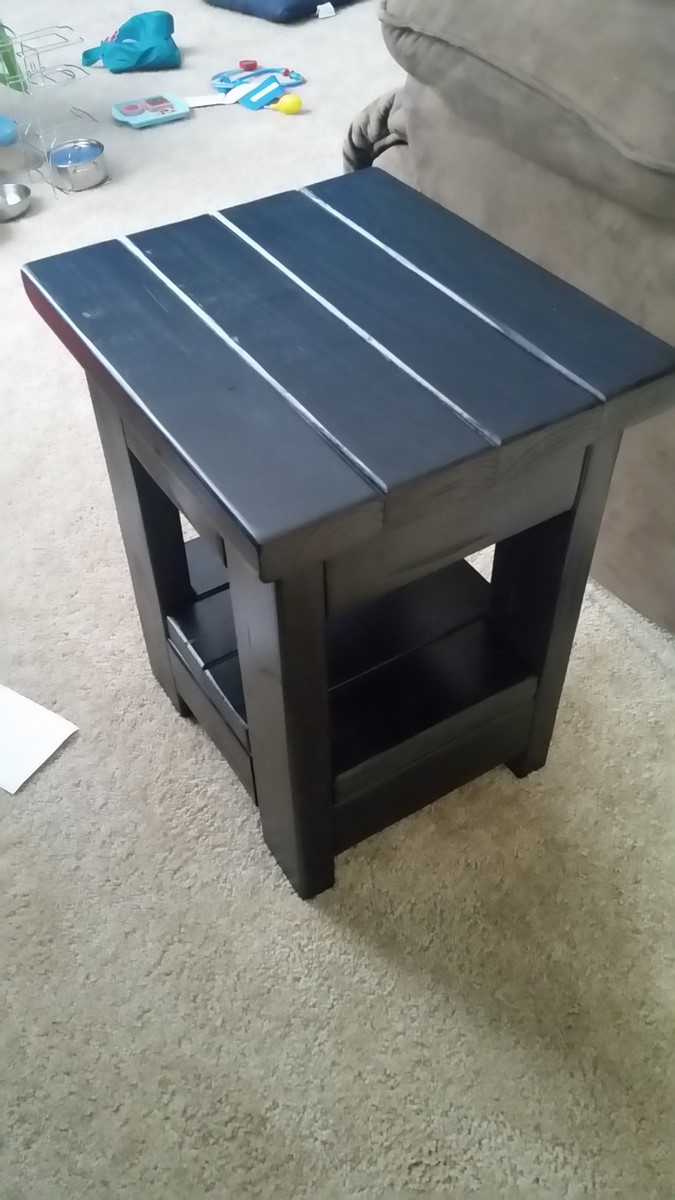
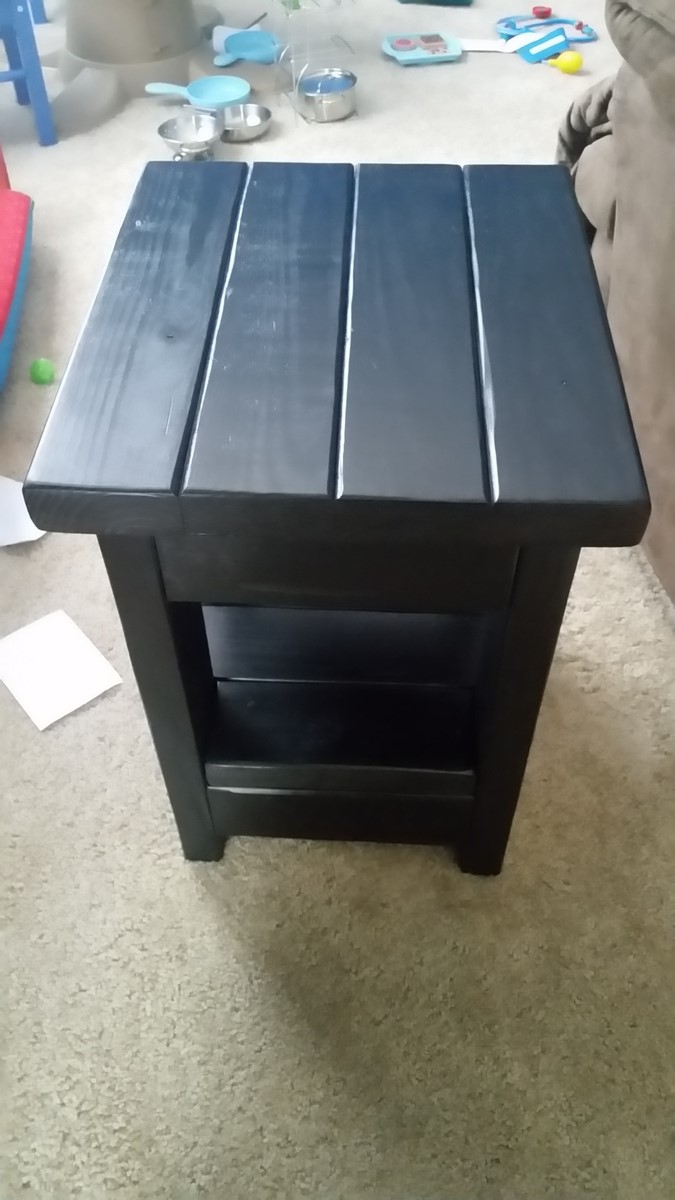
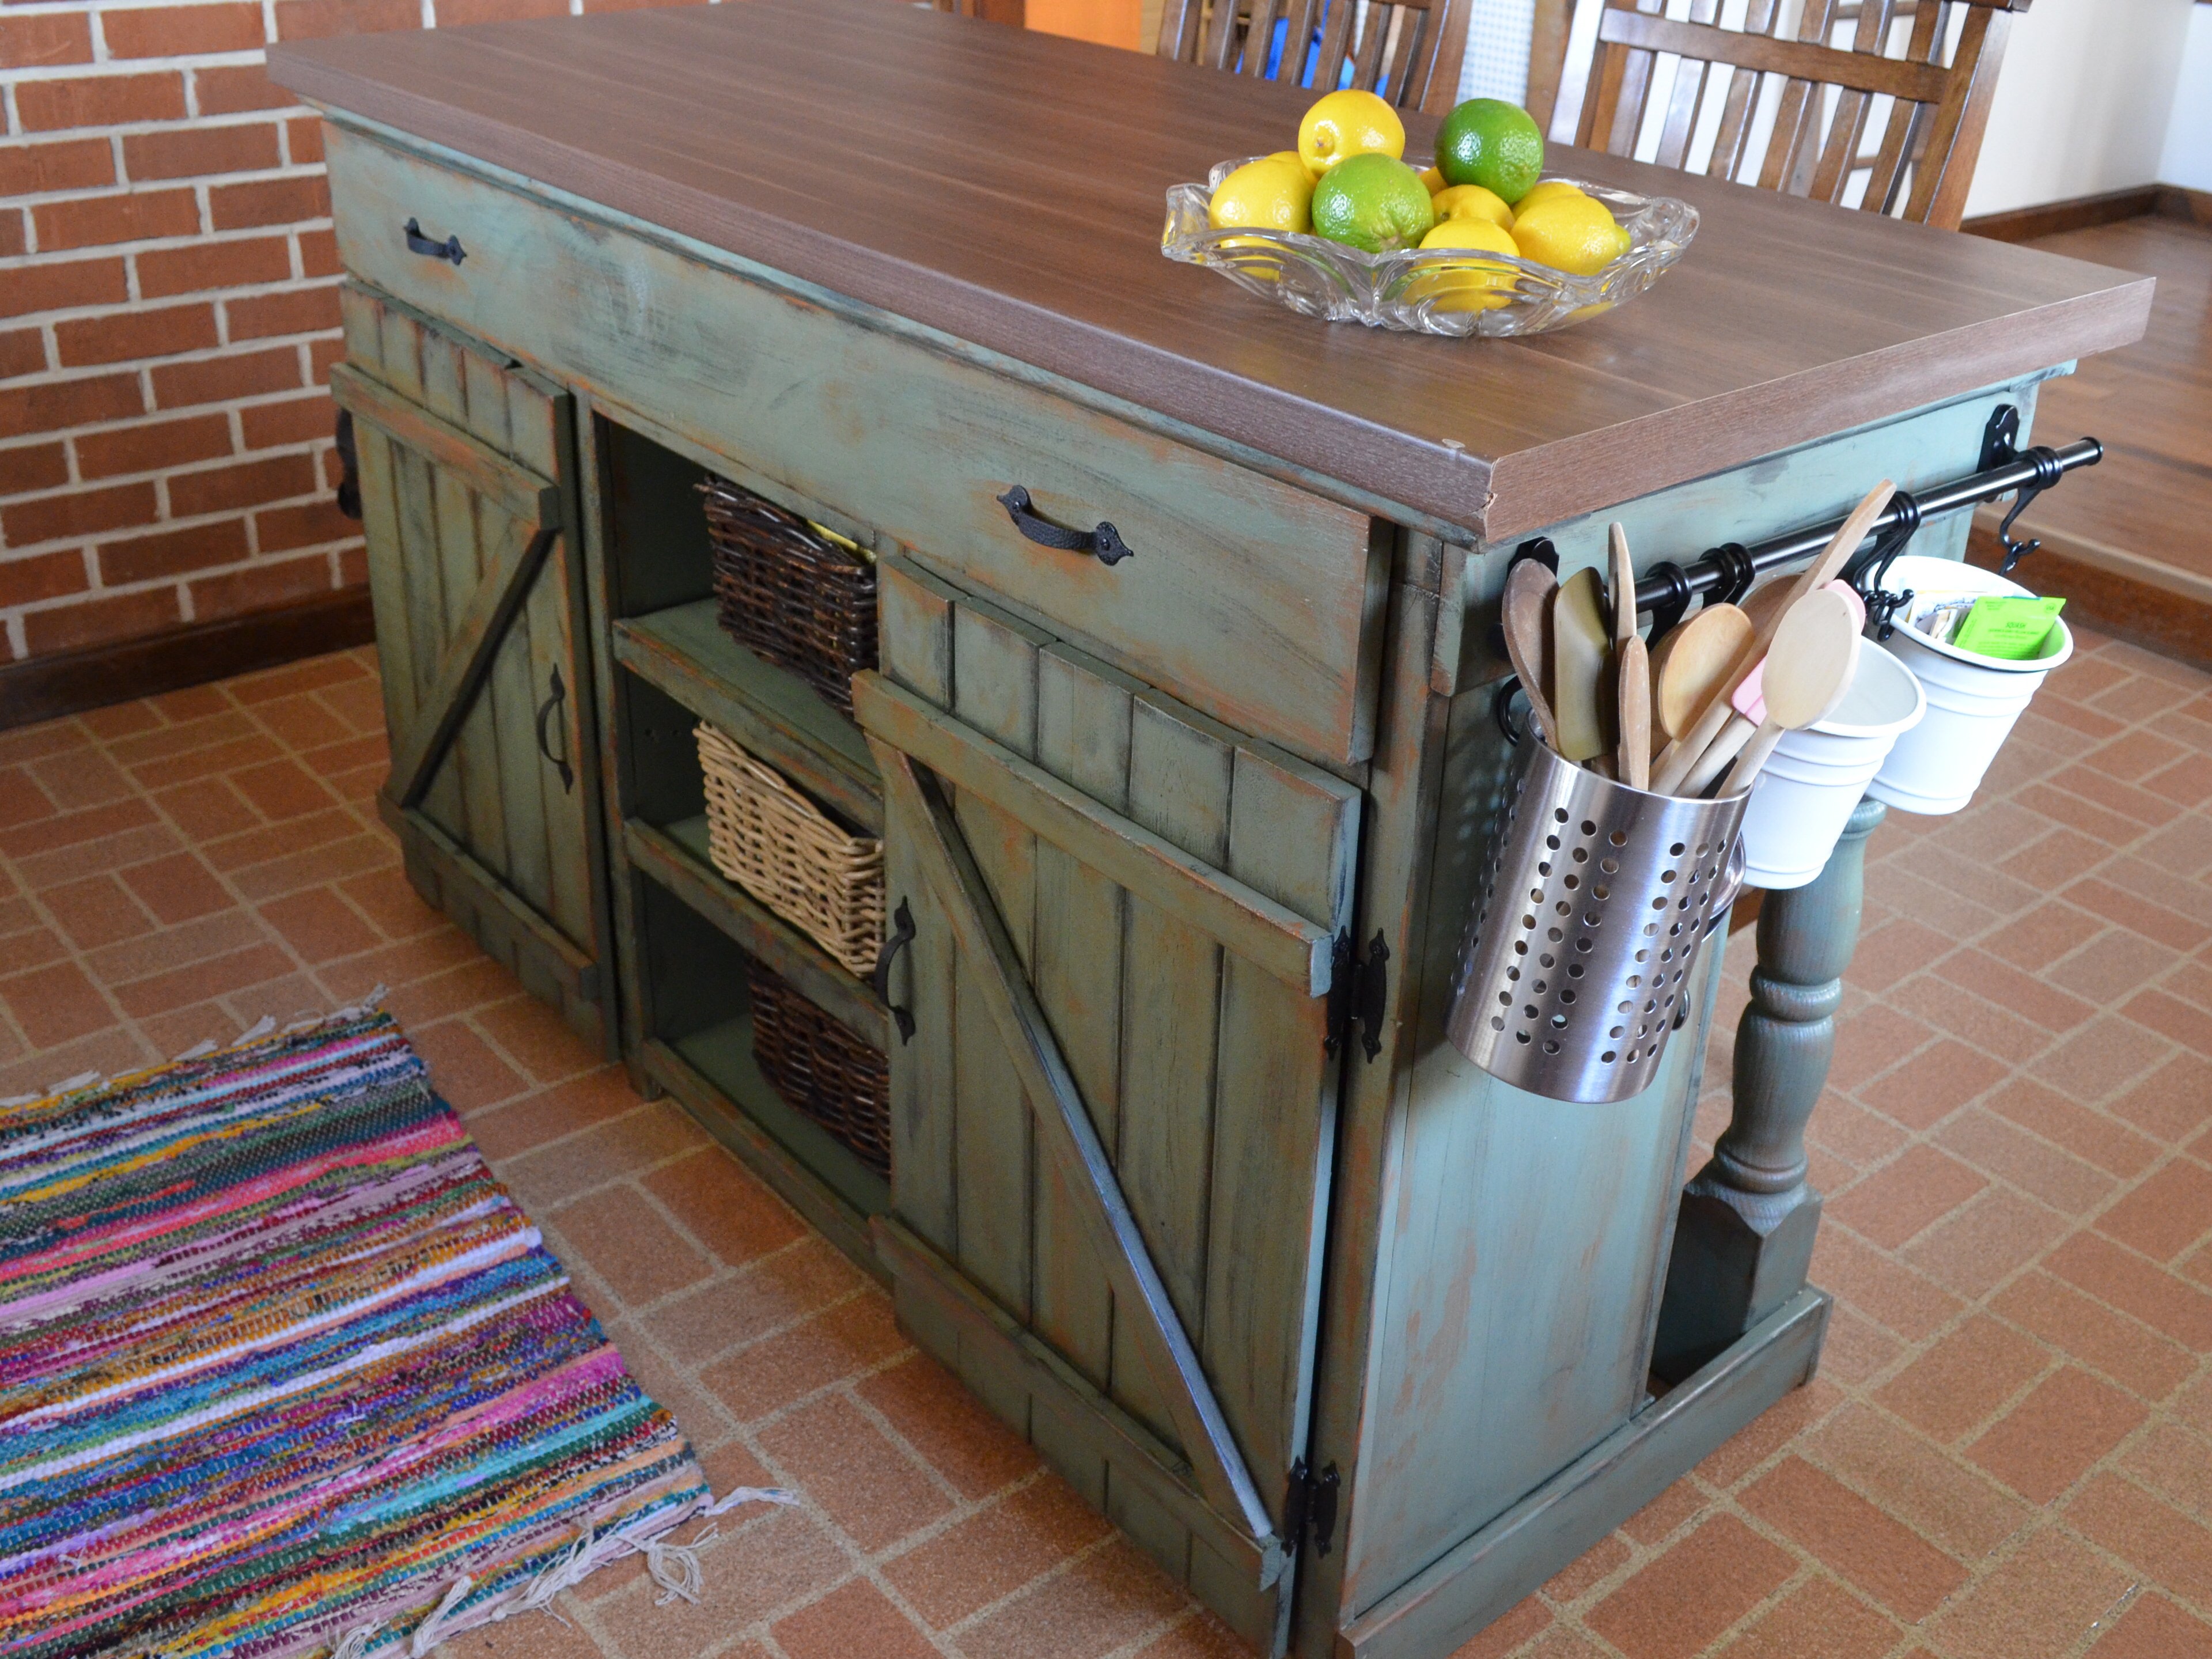
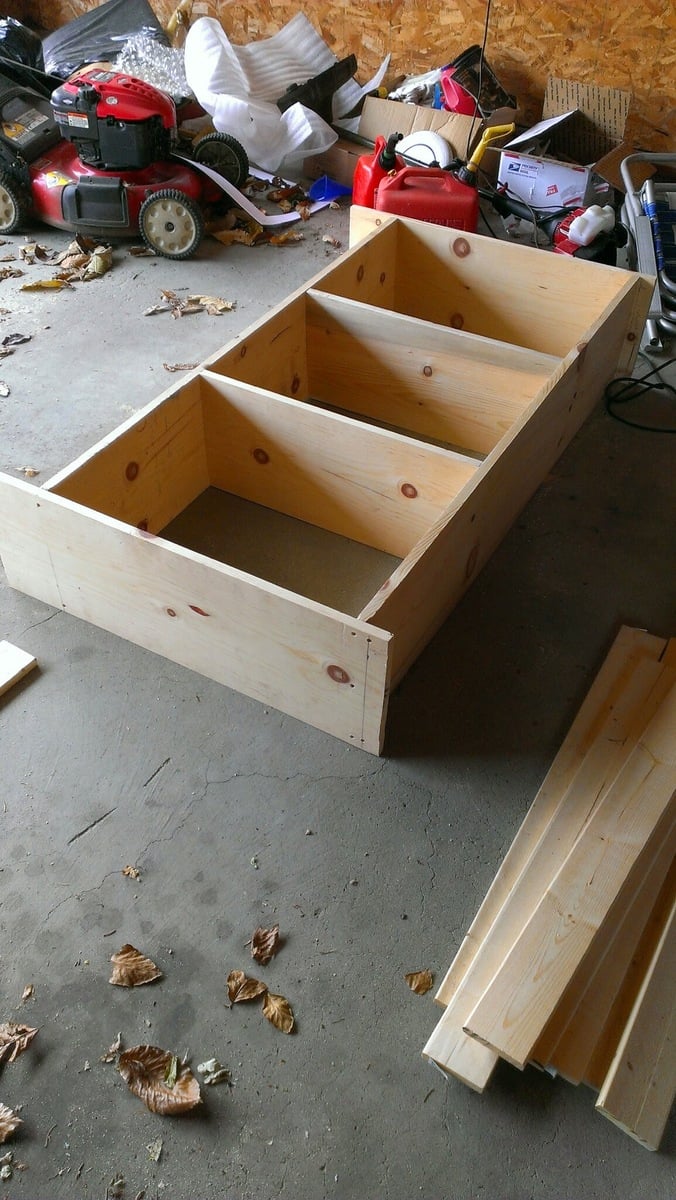
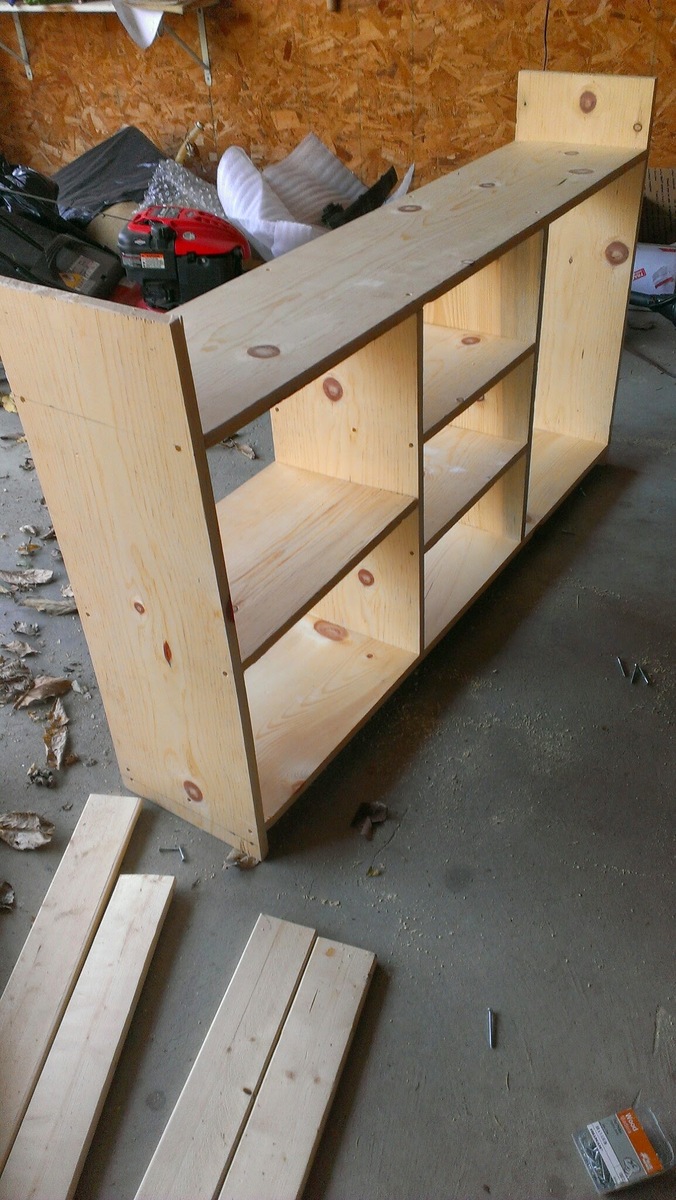
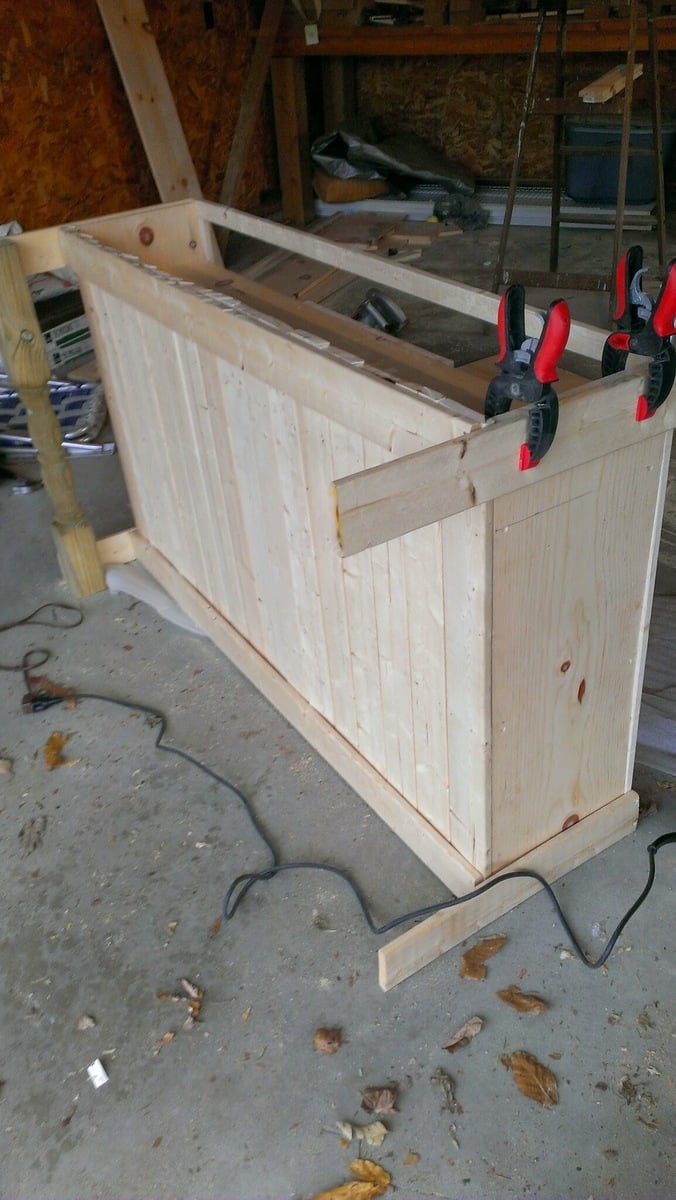
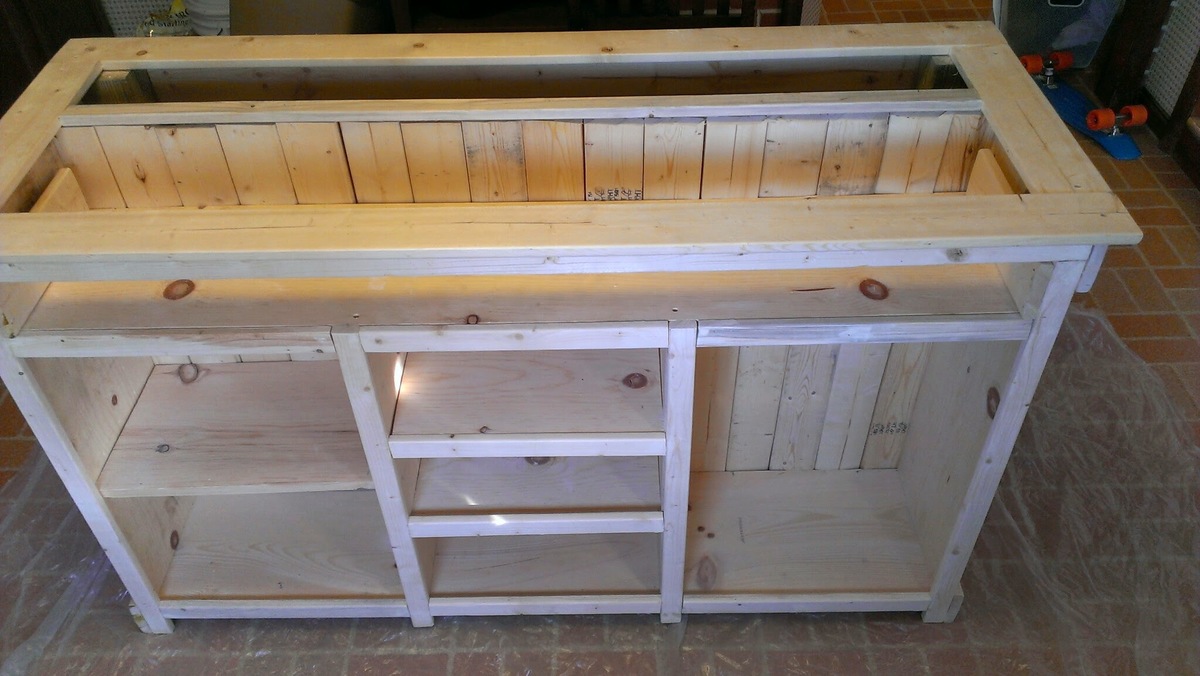
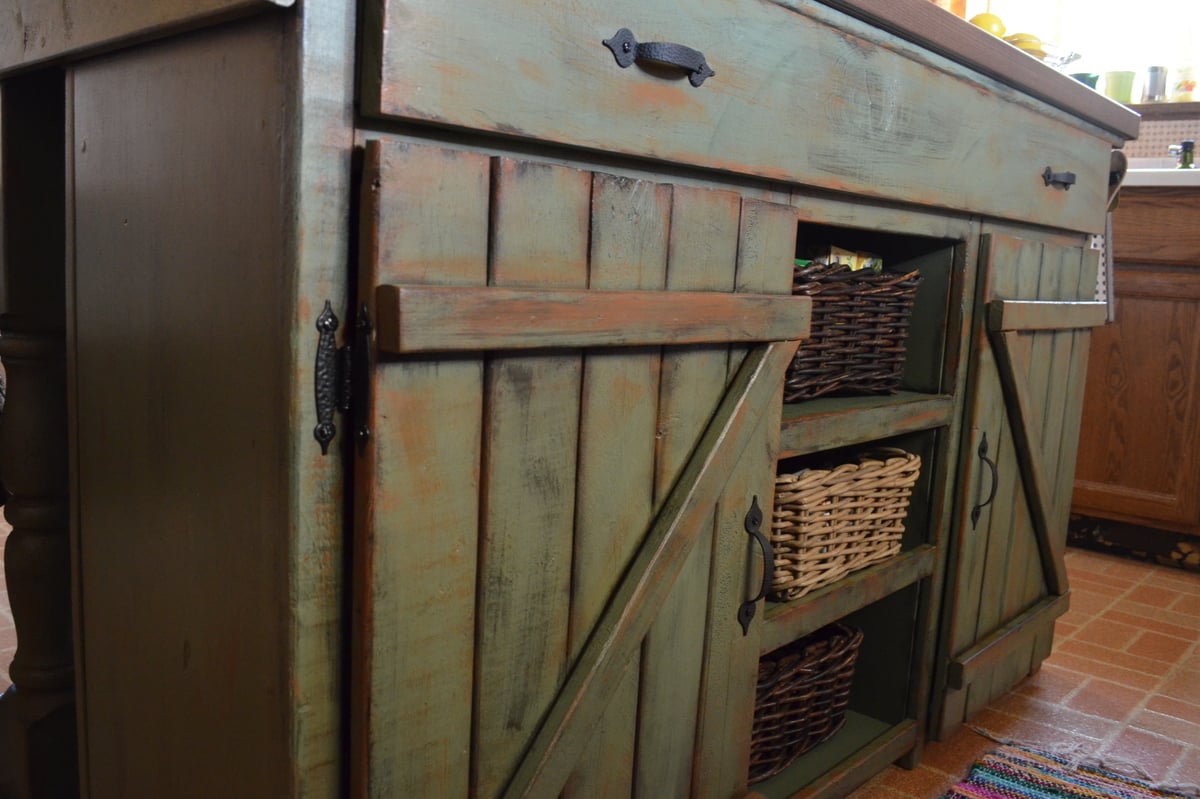
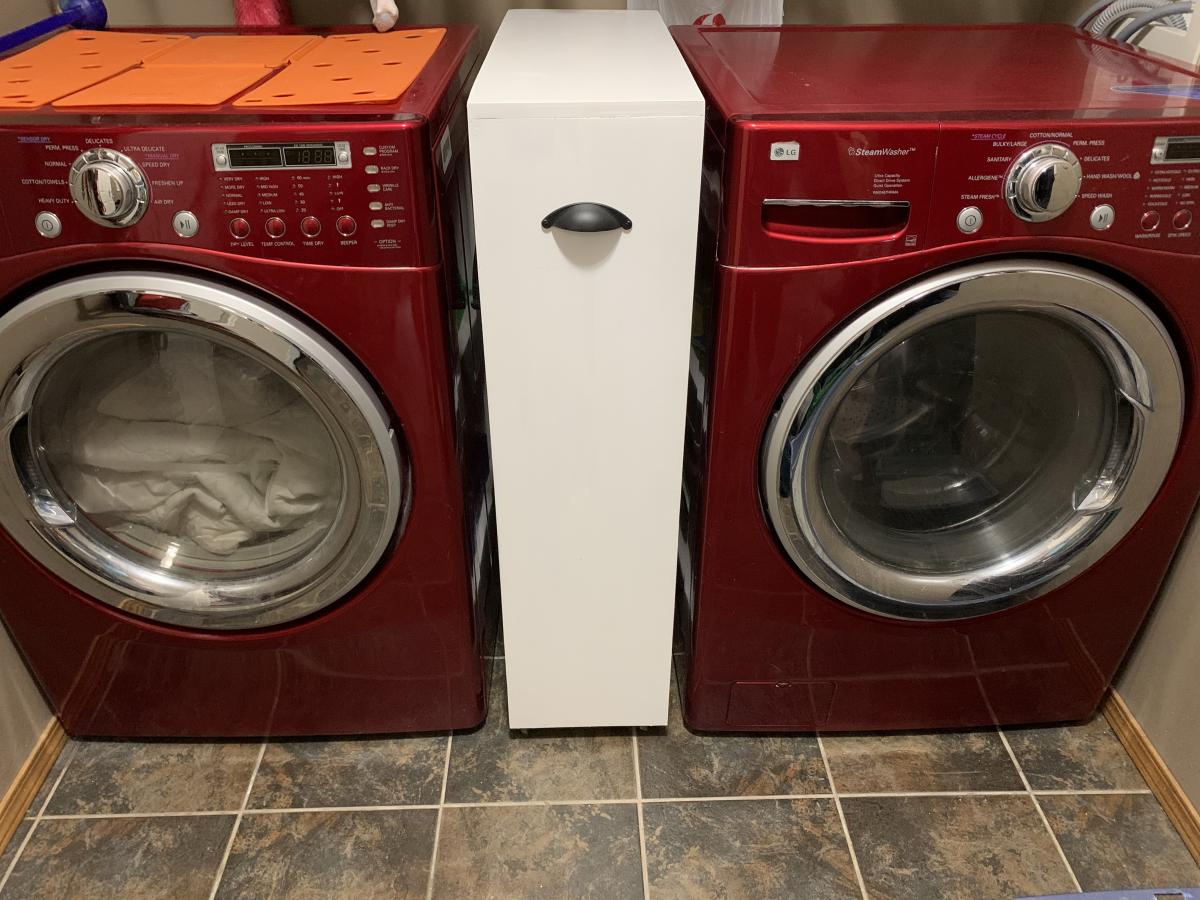
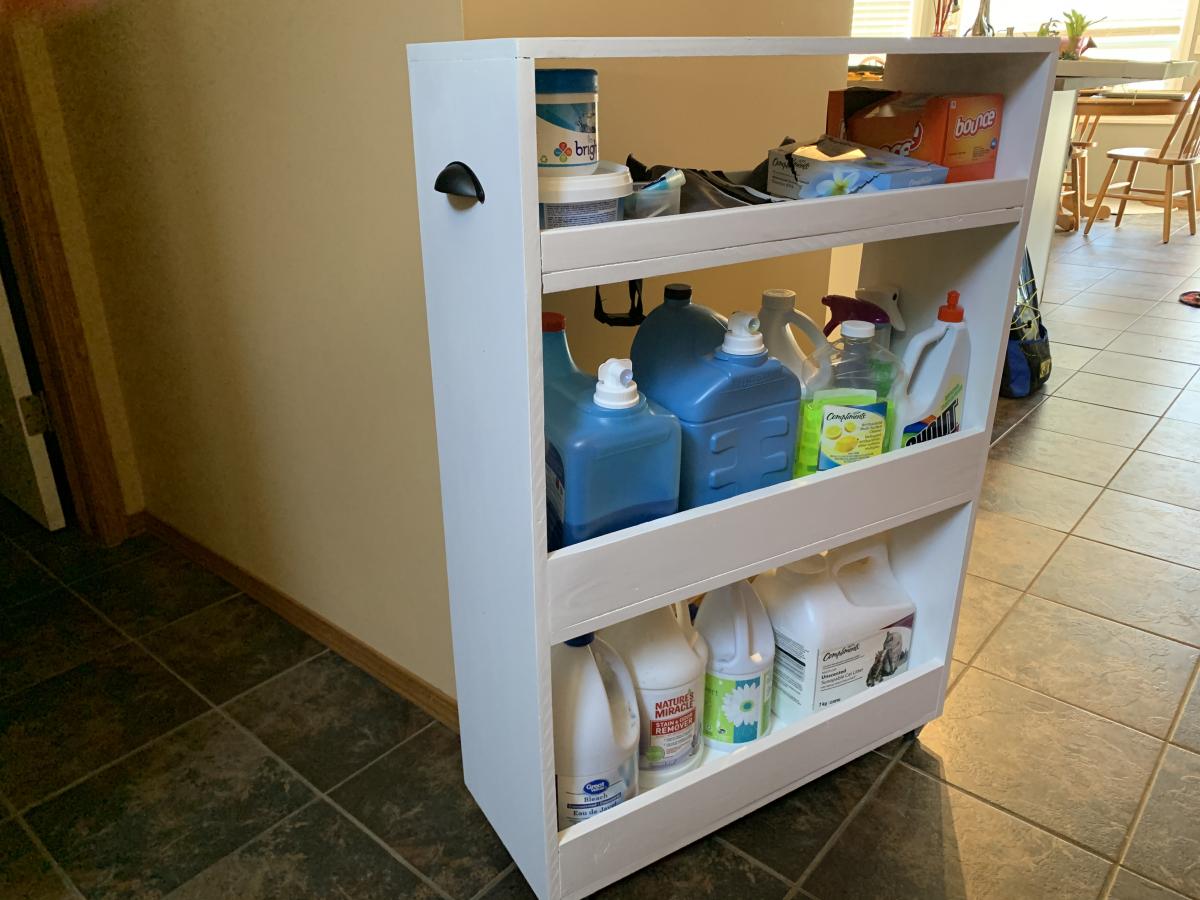
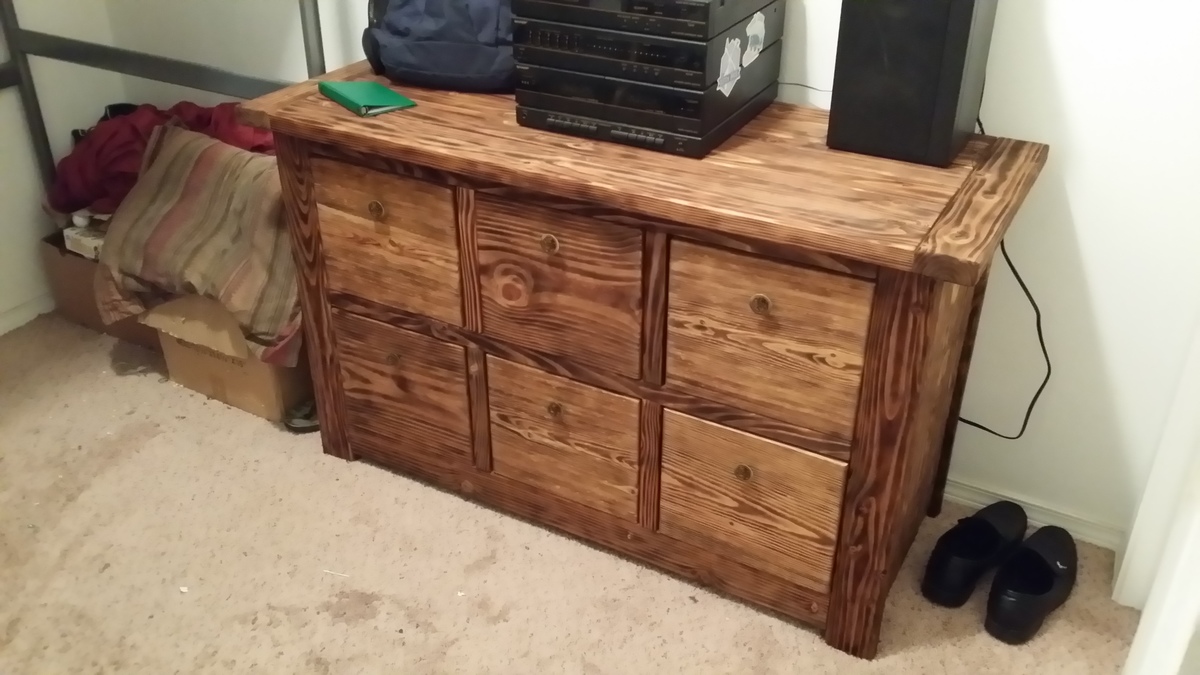
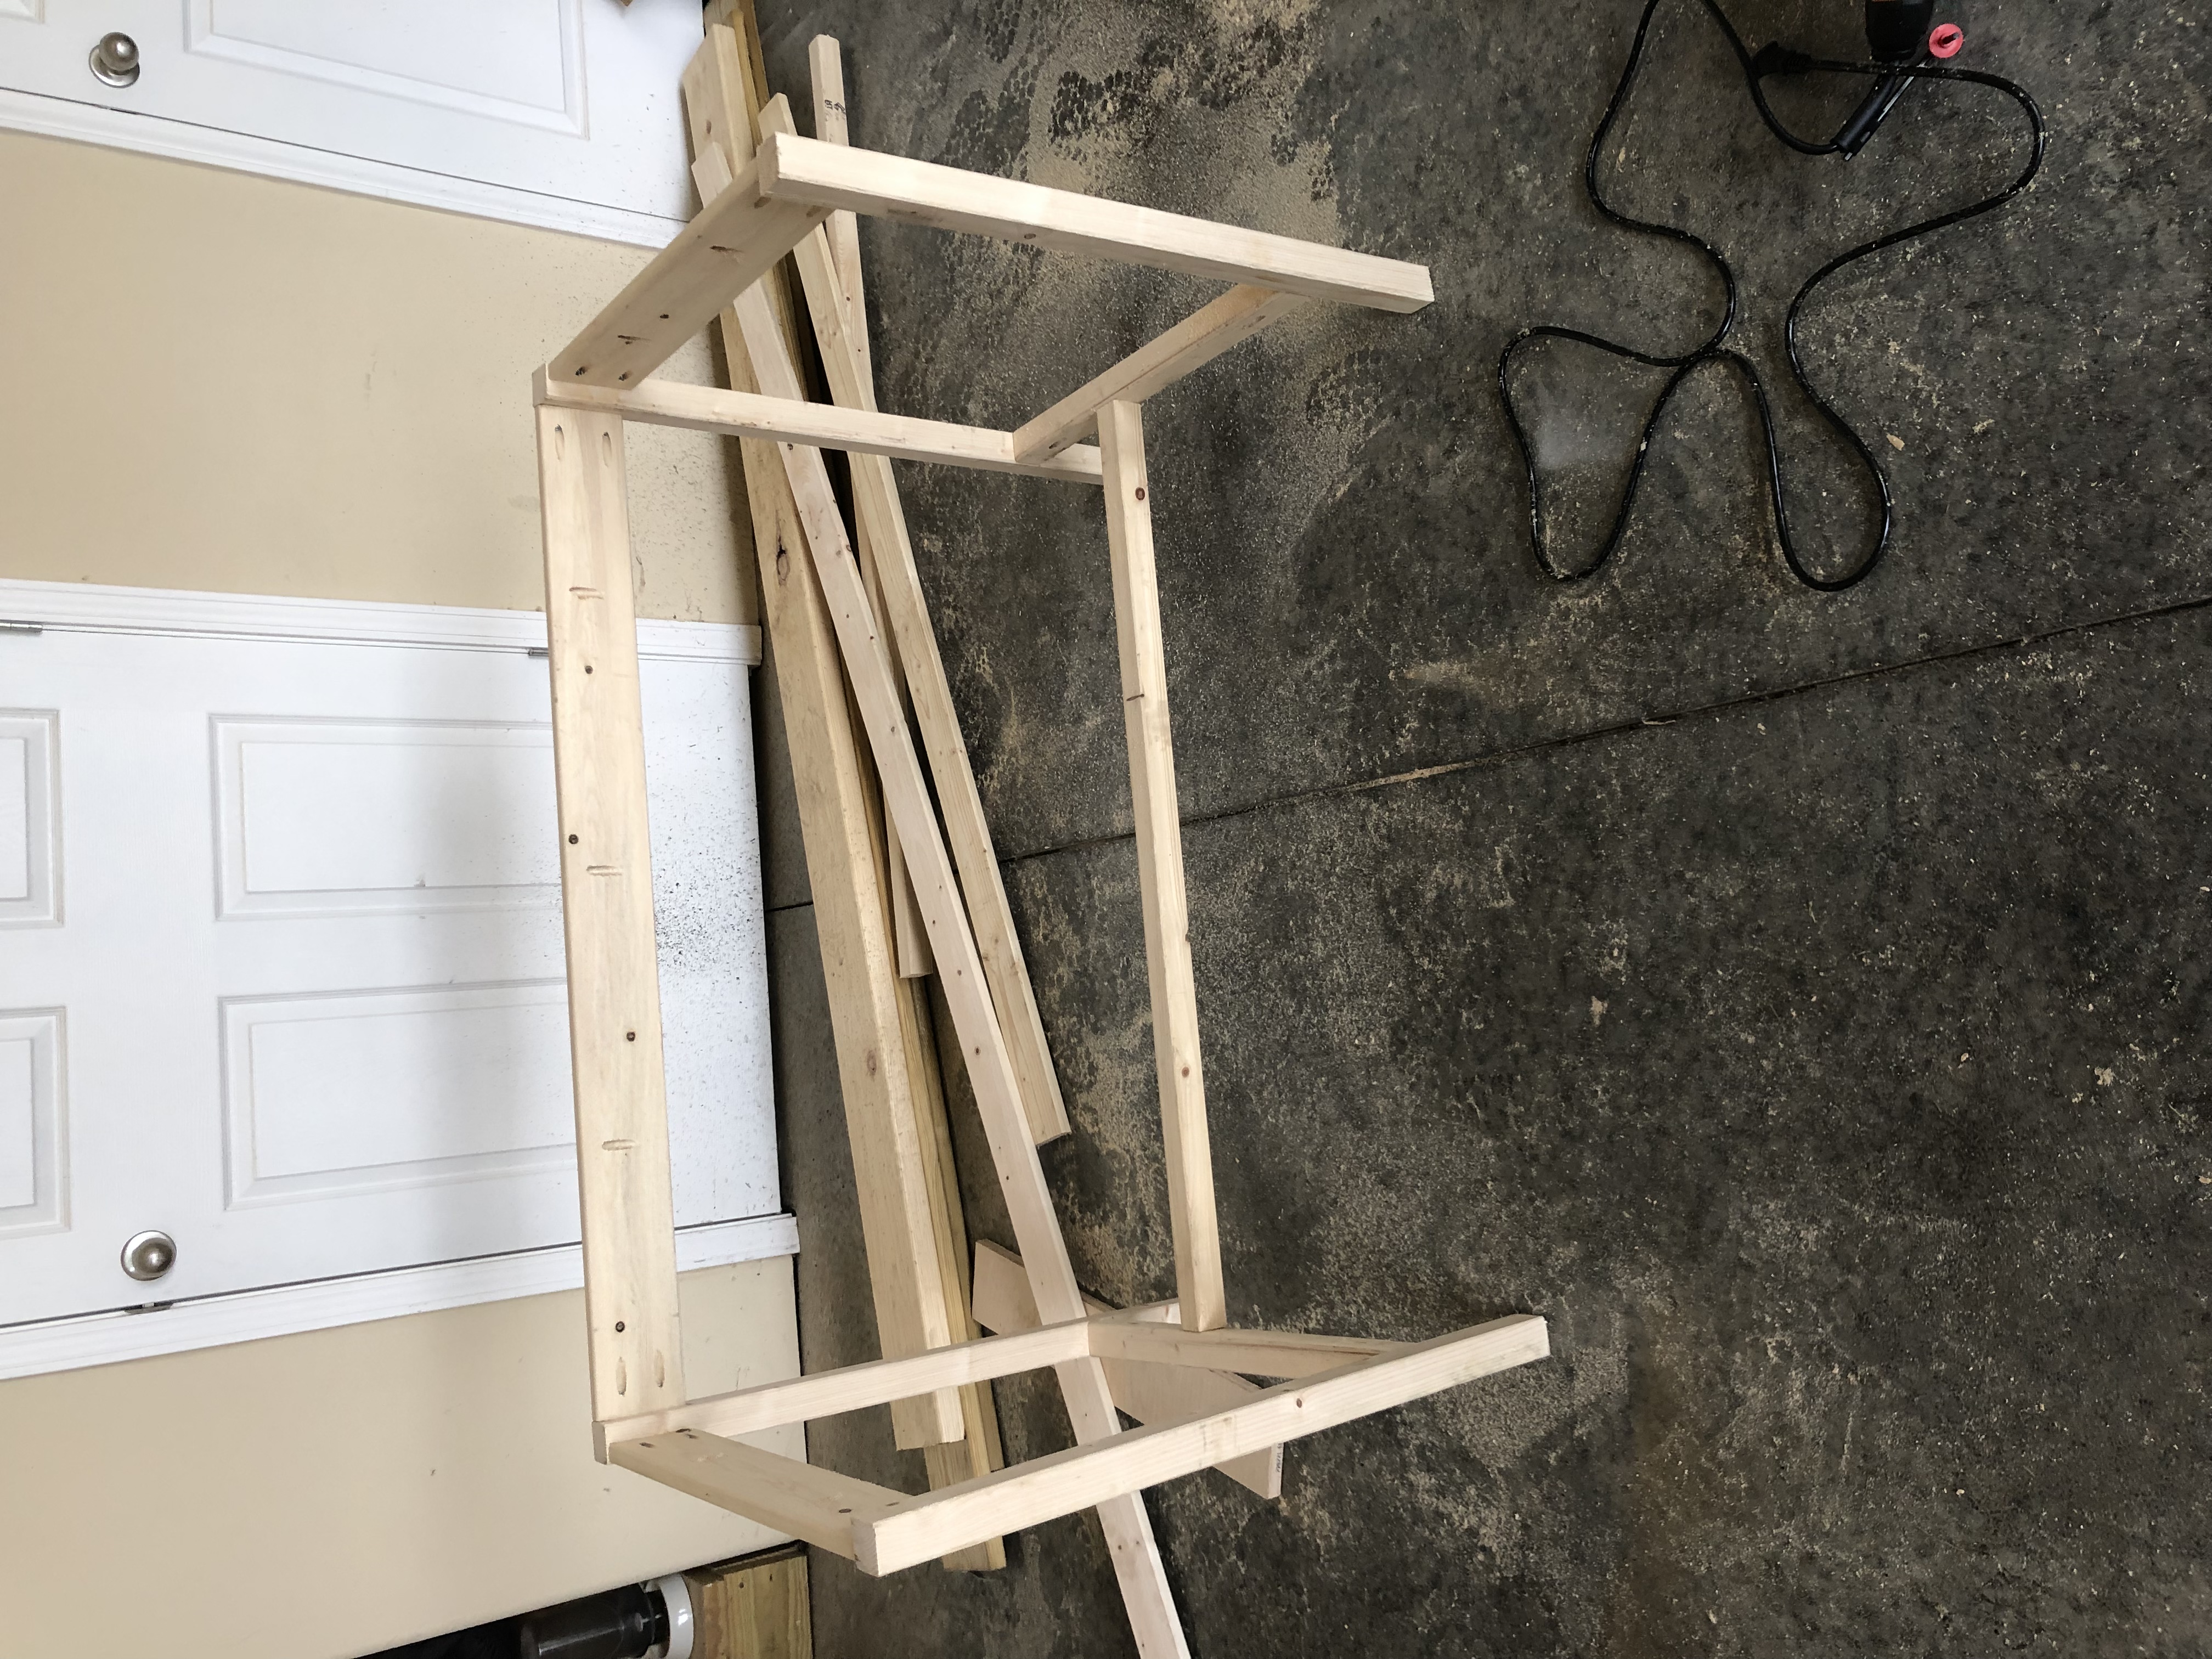
Writing Desk
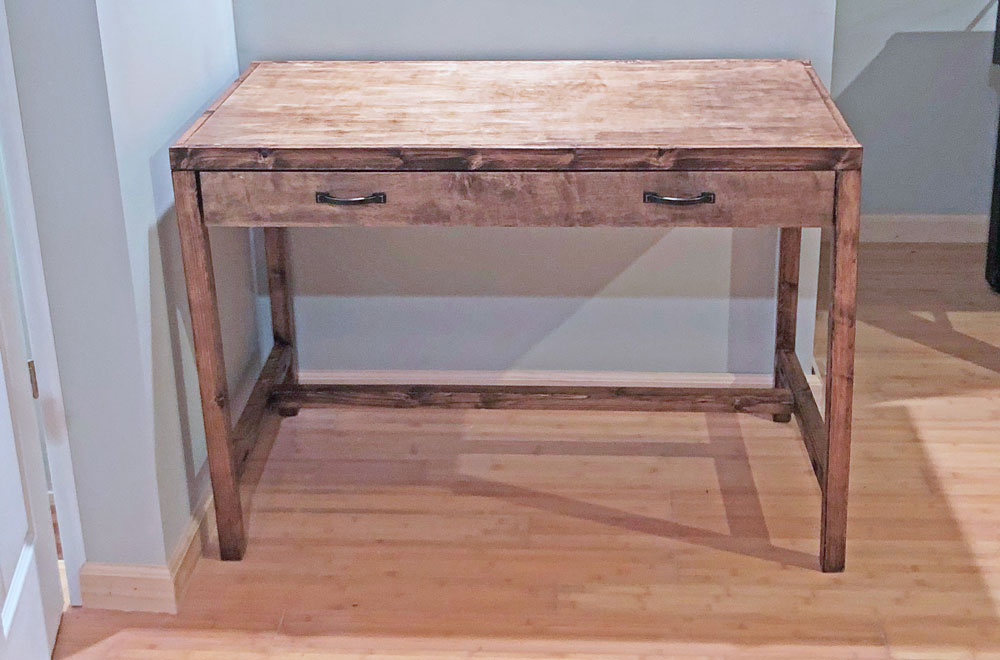
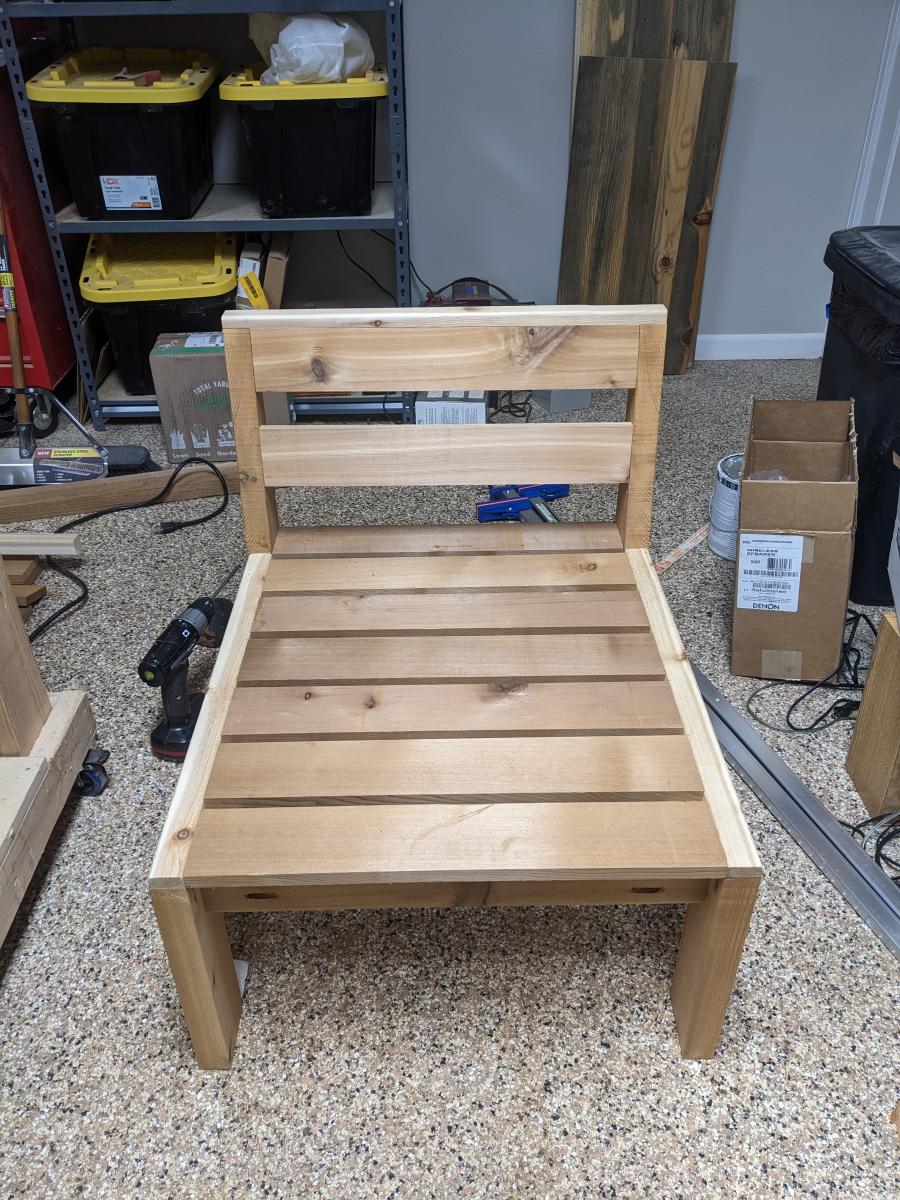
I built this as a Mother’s Day present. There were a few hiccups (i.e. the cut list doesn’t include the drawer face which I didn’t know while shopping), but the plans were great and most of the project went smoothly.
Built from Plan(s)
Estimated Cost
$70
Estimated Time Investment
Day Project (6-9 Hours)
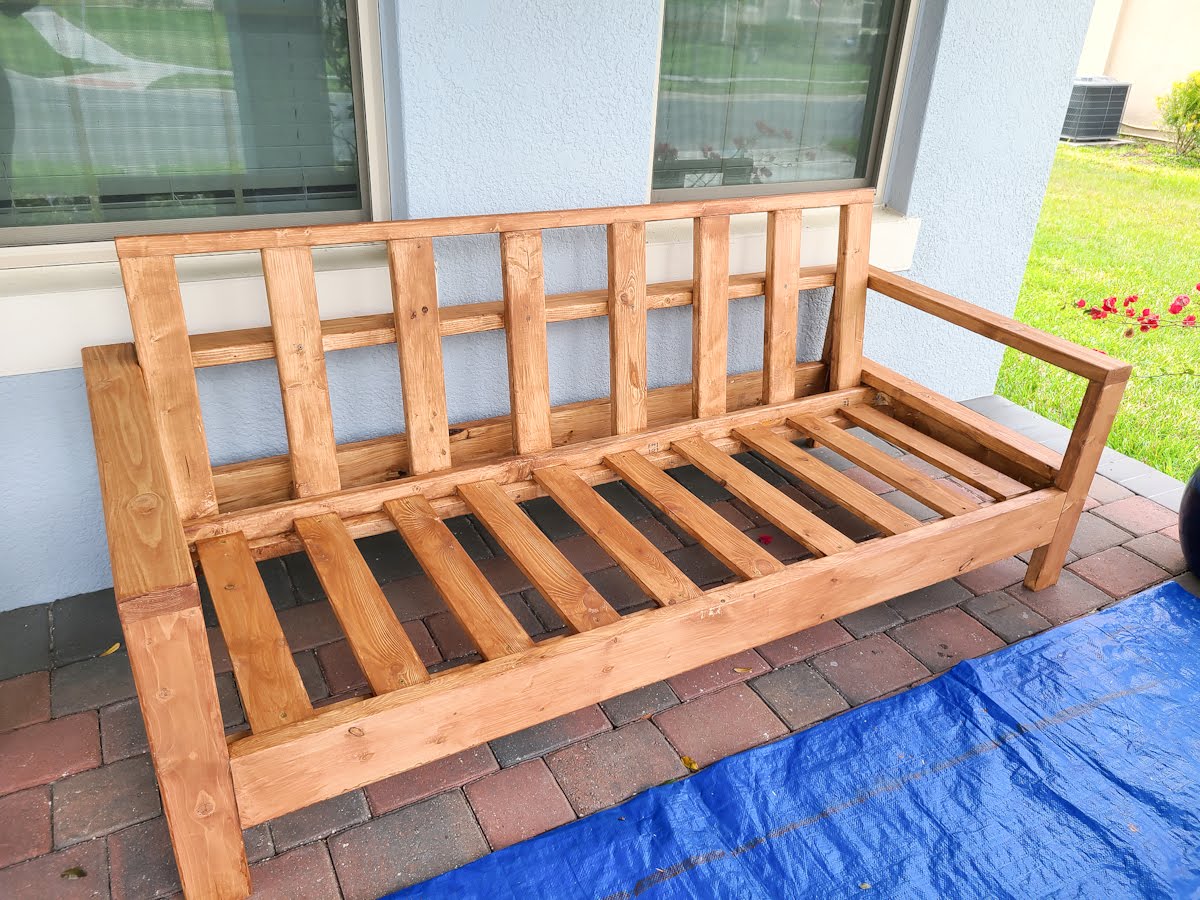
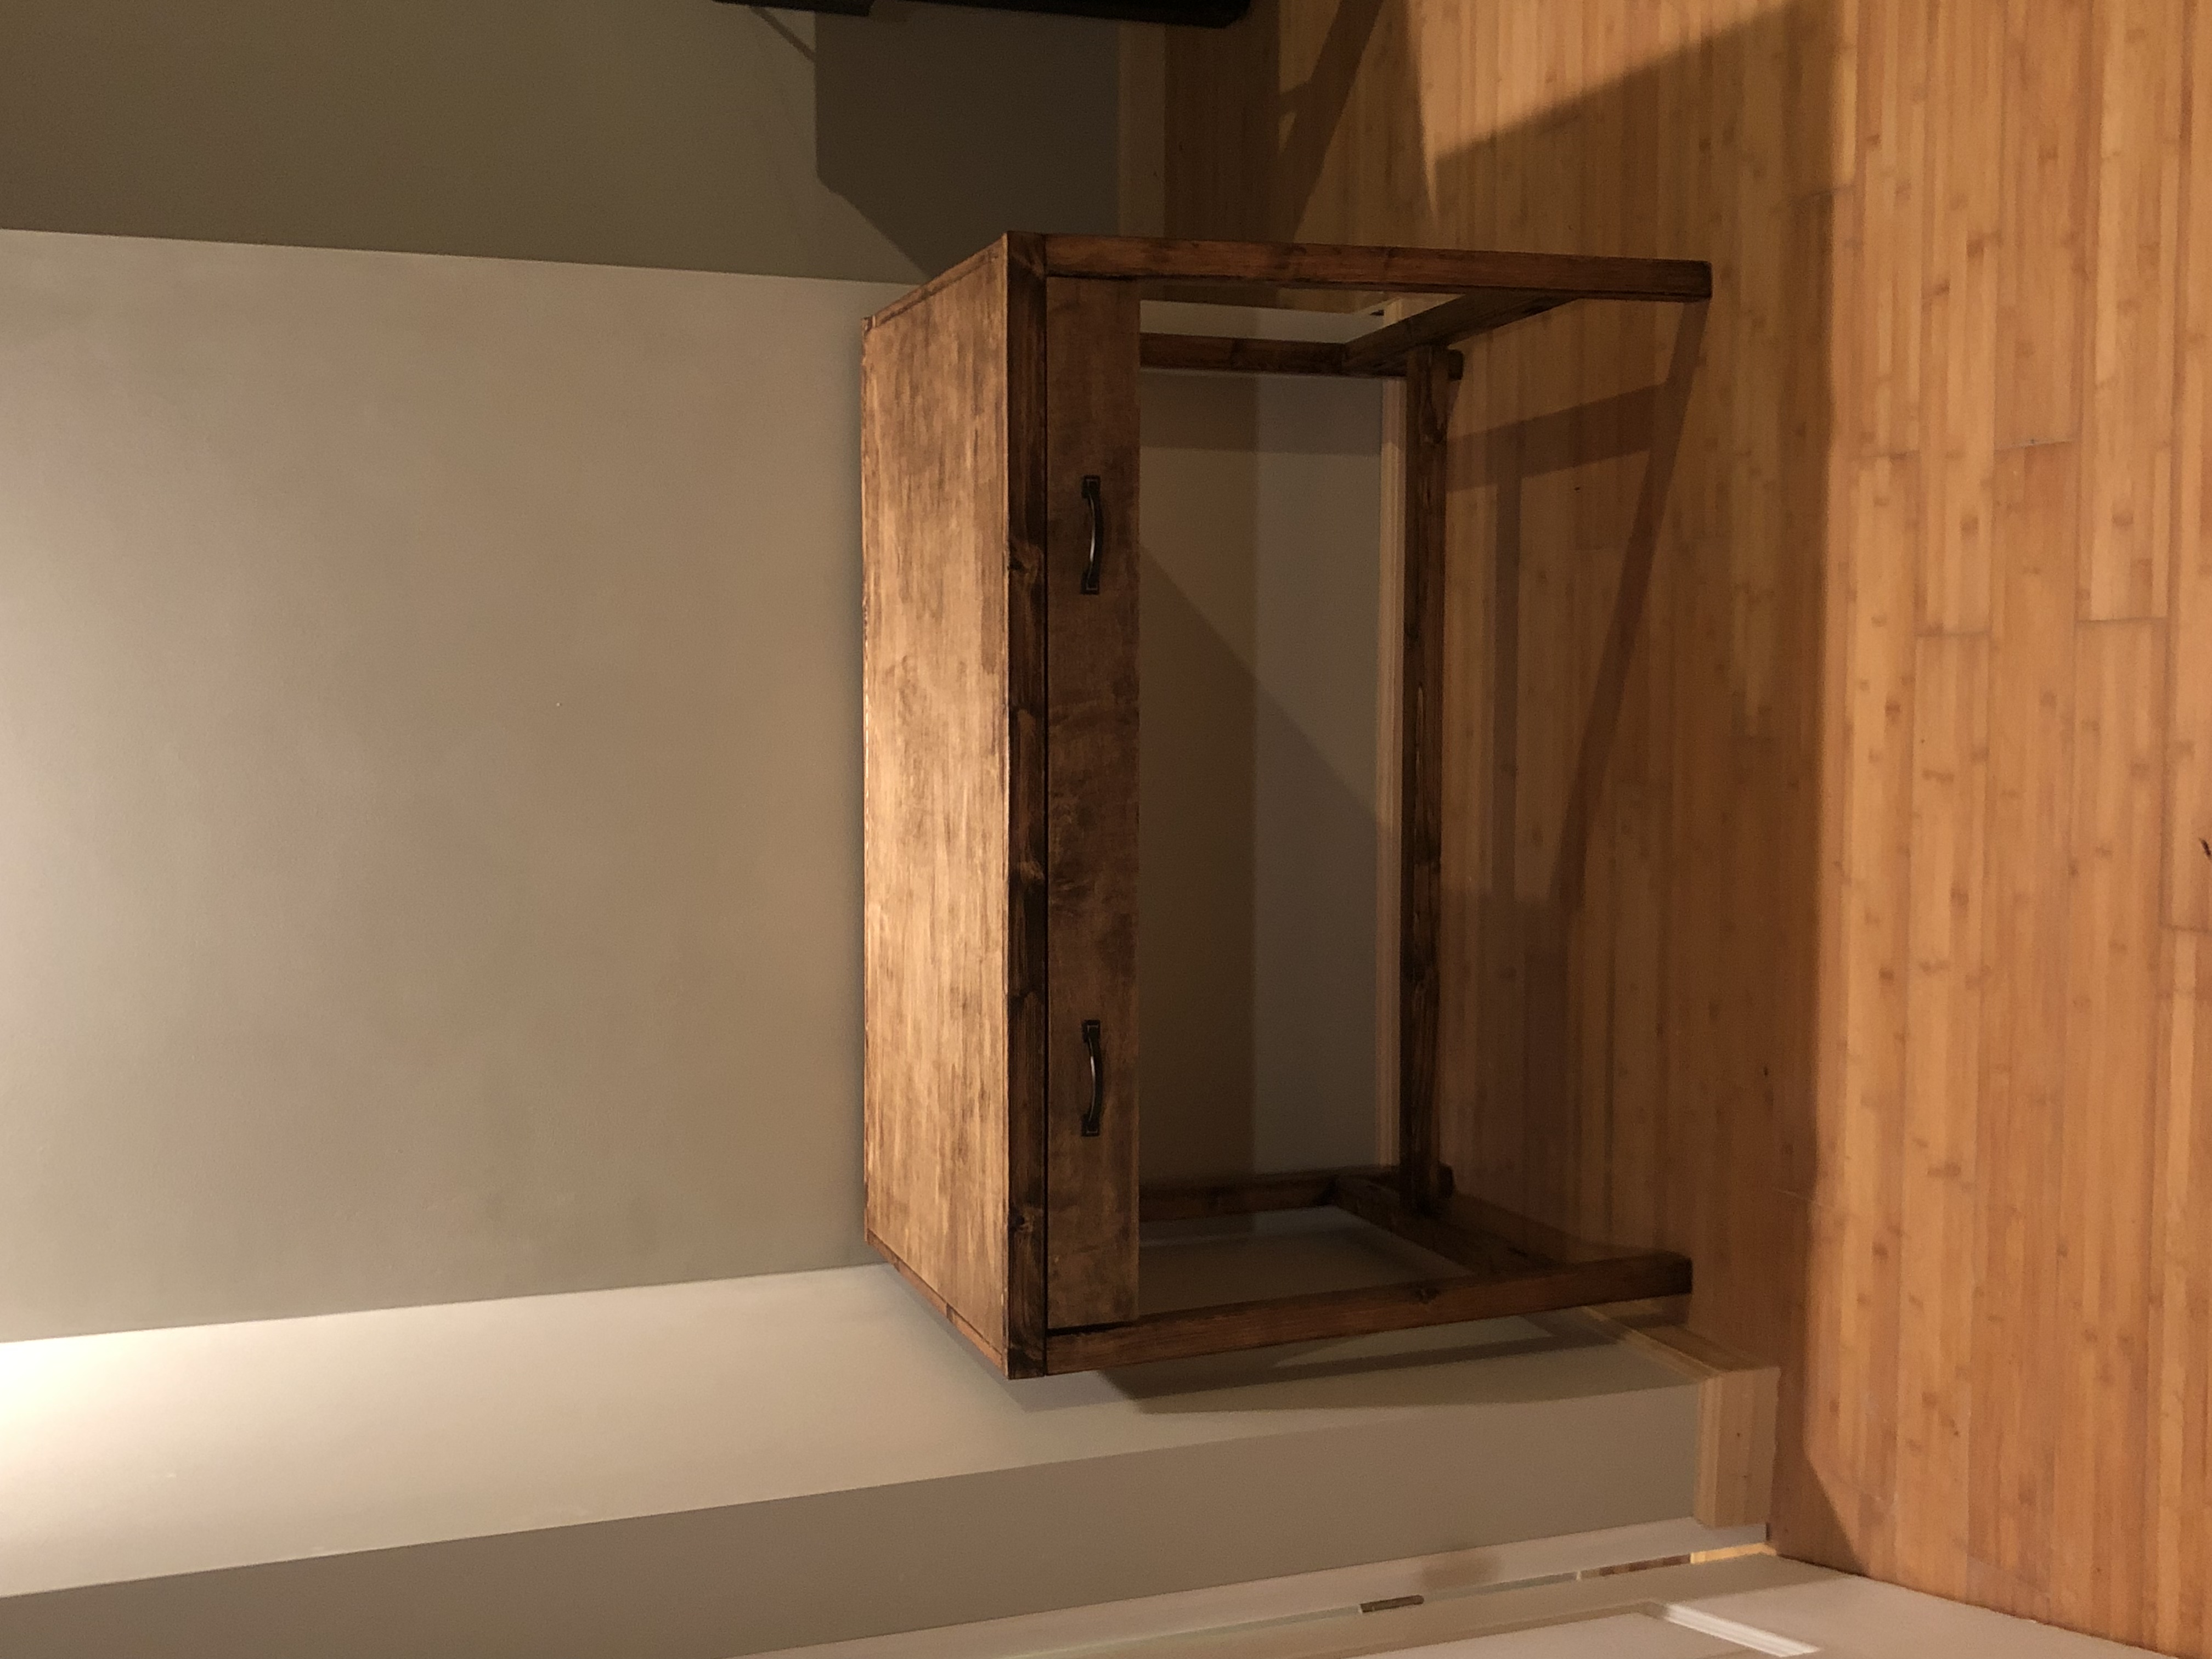
Finish Used
Minwax Provincial
Recommended Skill Level
Beginner