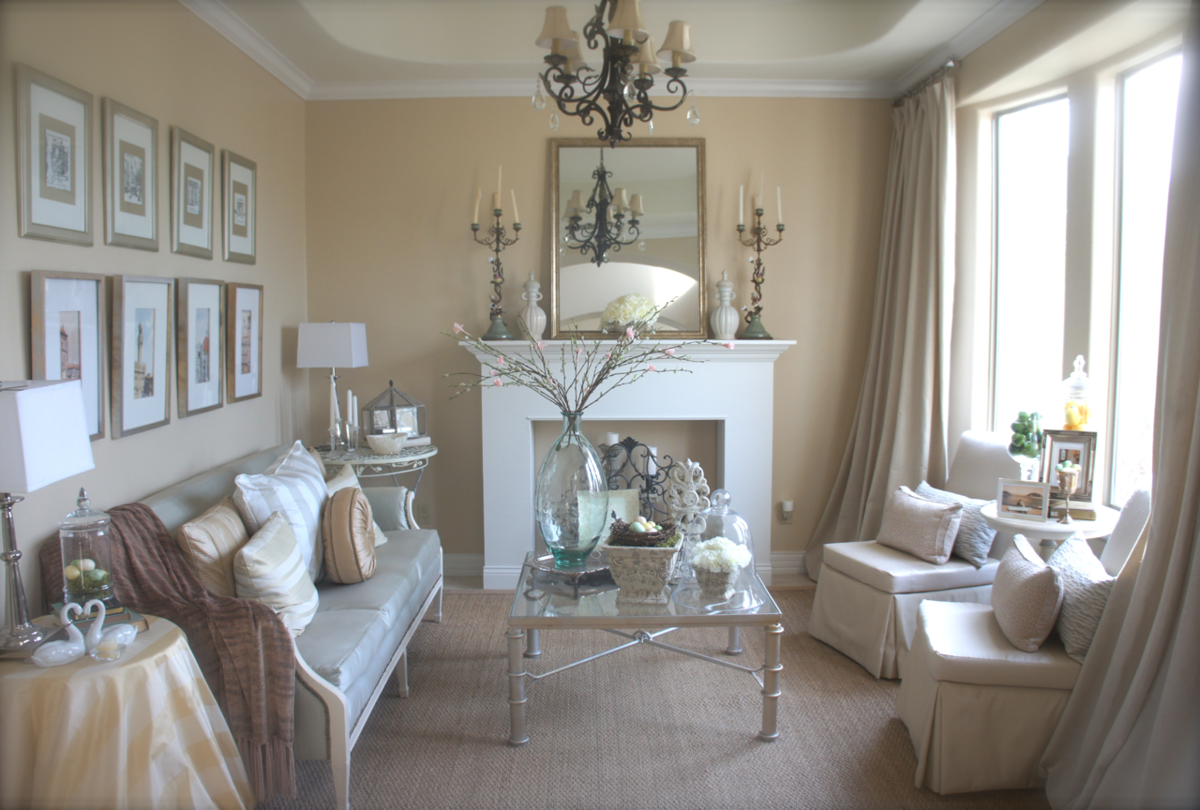
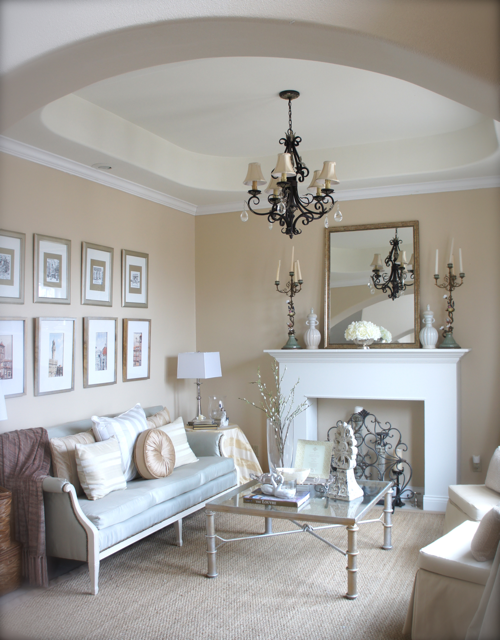
Faux Fireplace
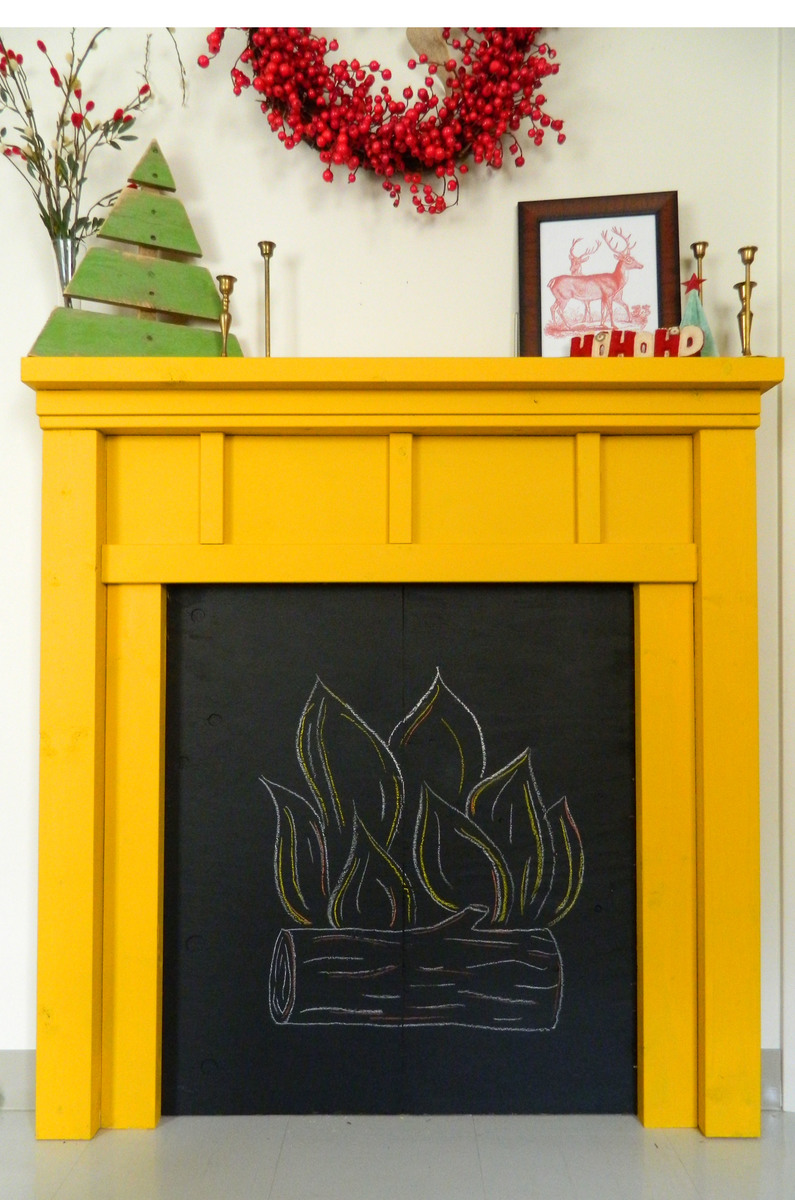
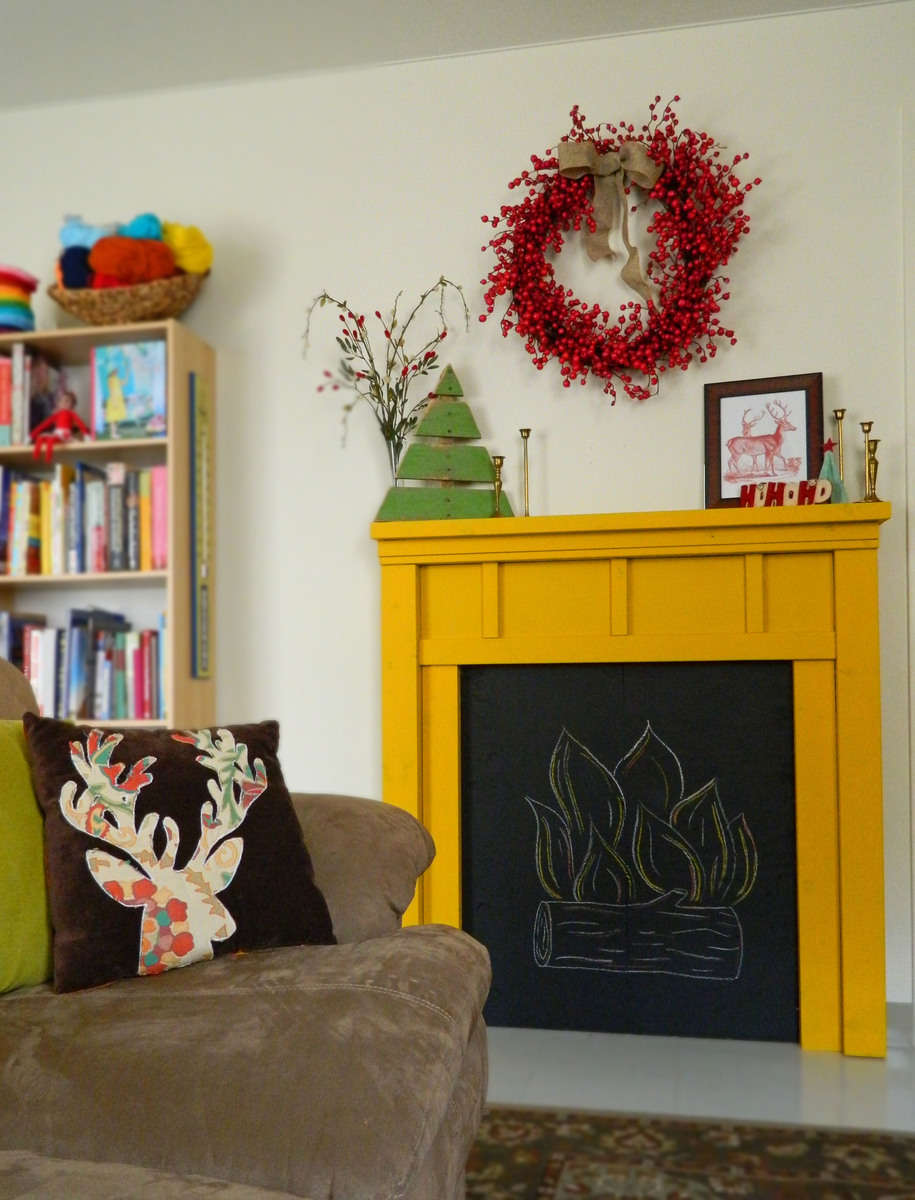
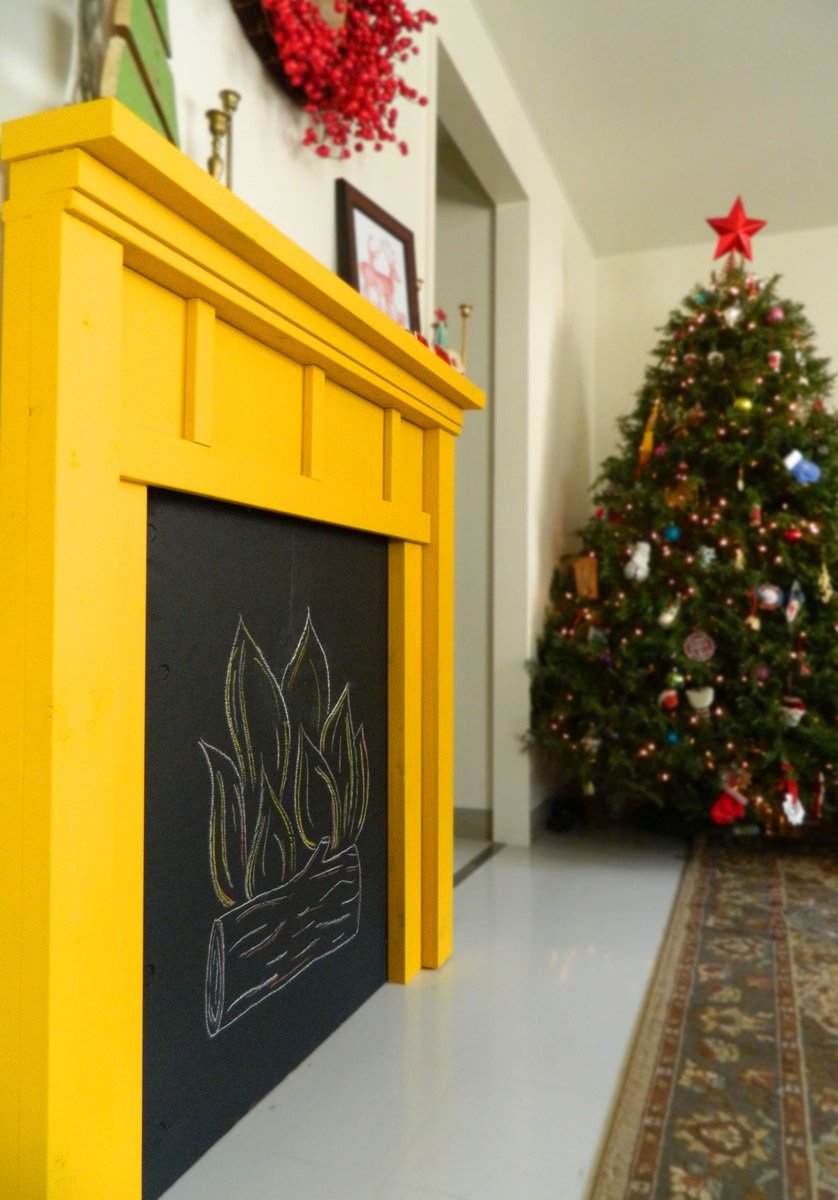
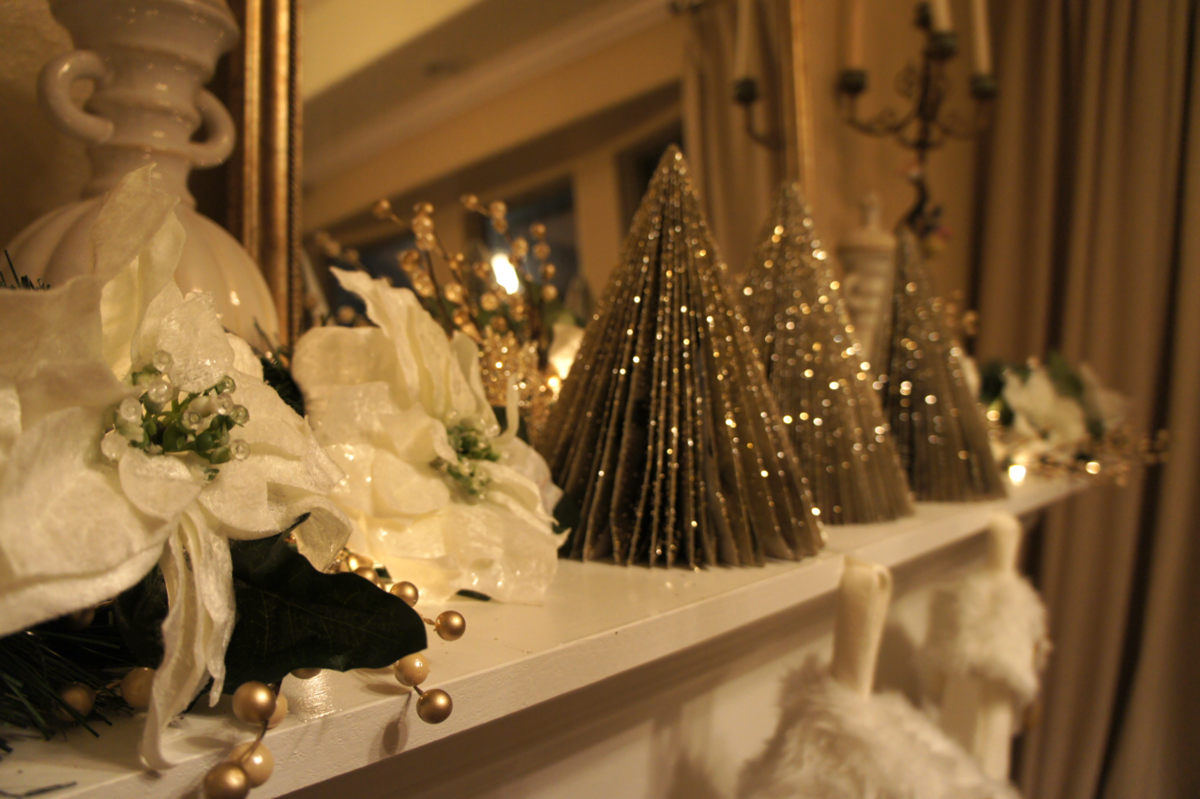
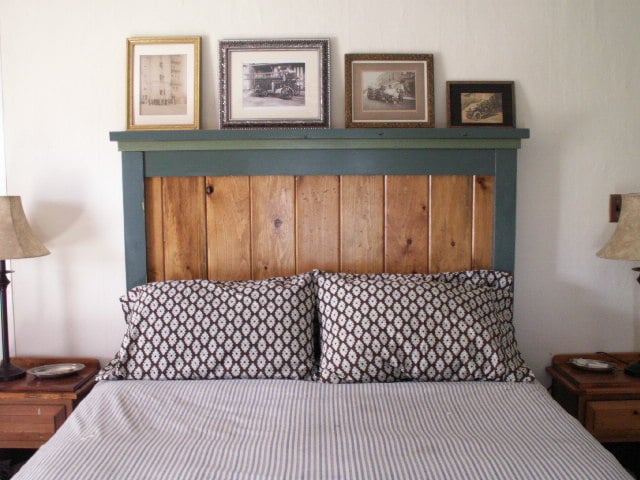
We needed a place to hang our stockings this Christmas, and Ana's Faux Fireplace was the perfect solution. We added the chalkboard paint for a touch of whimsy.
Built from Plan(s)
Estimated Cost
$50.00
Estimated Time Investment
Afternoon Project (3-6 Hours)
Finish Used
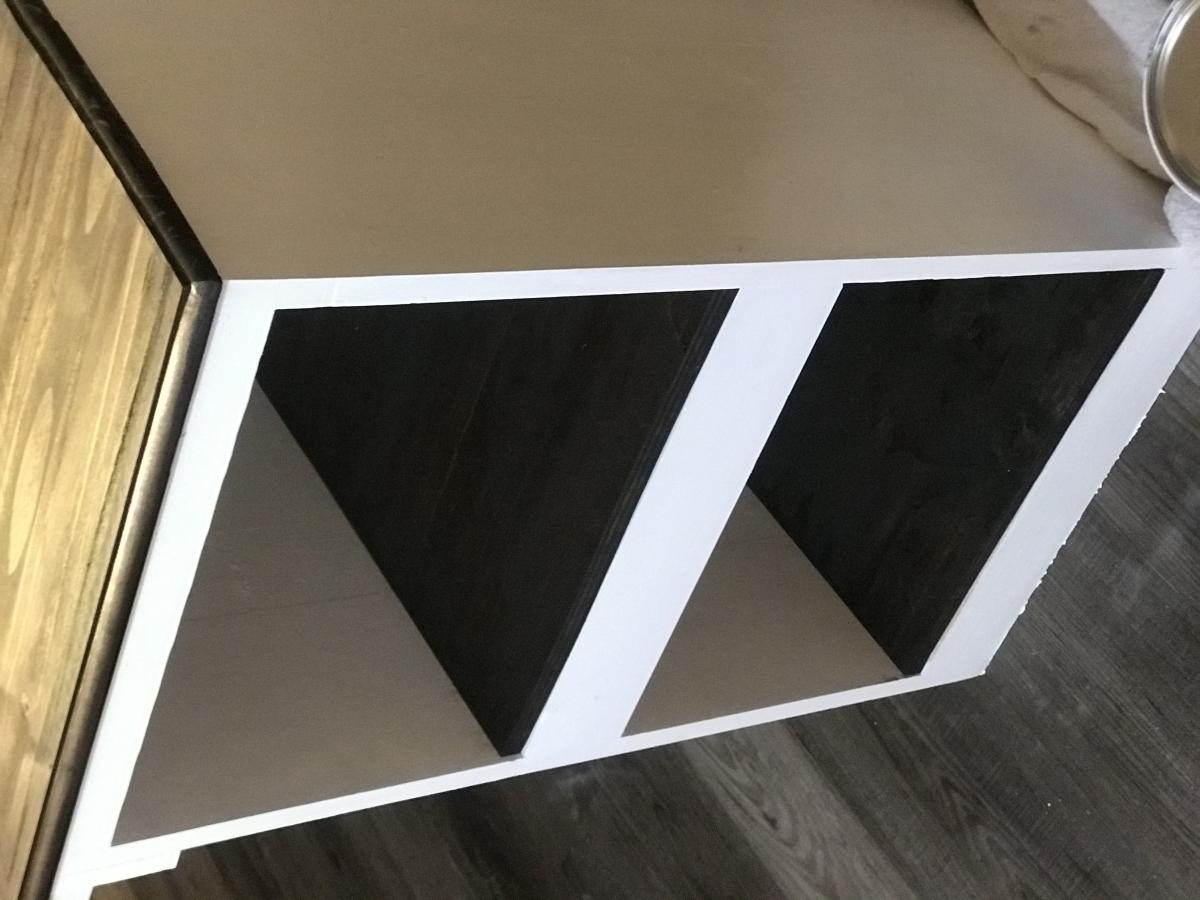
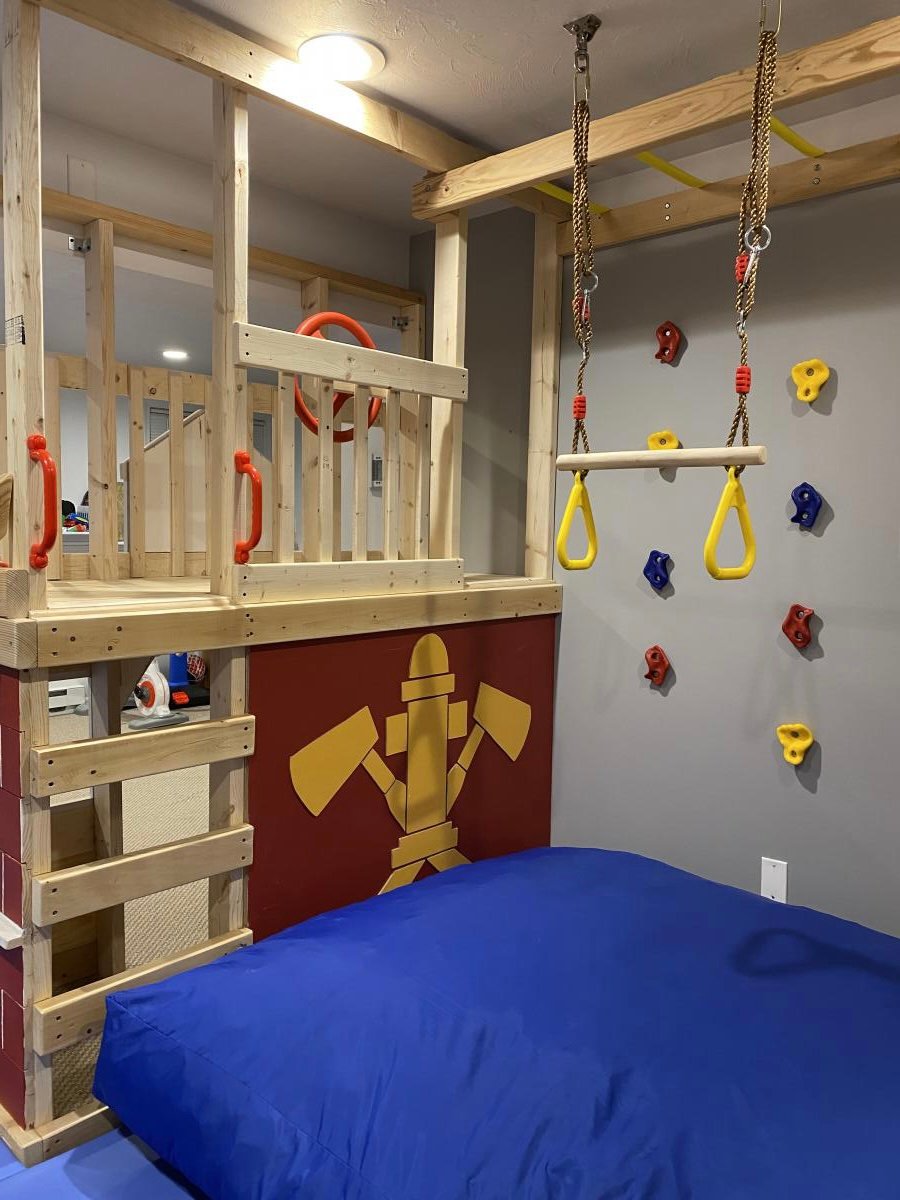
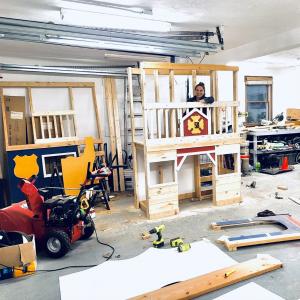
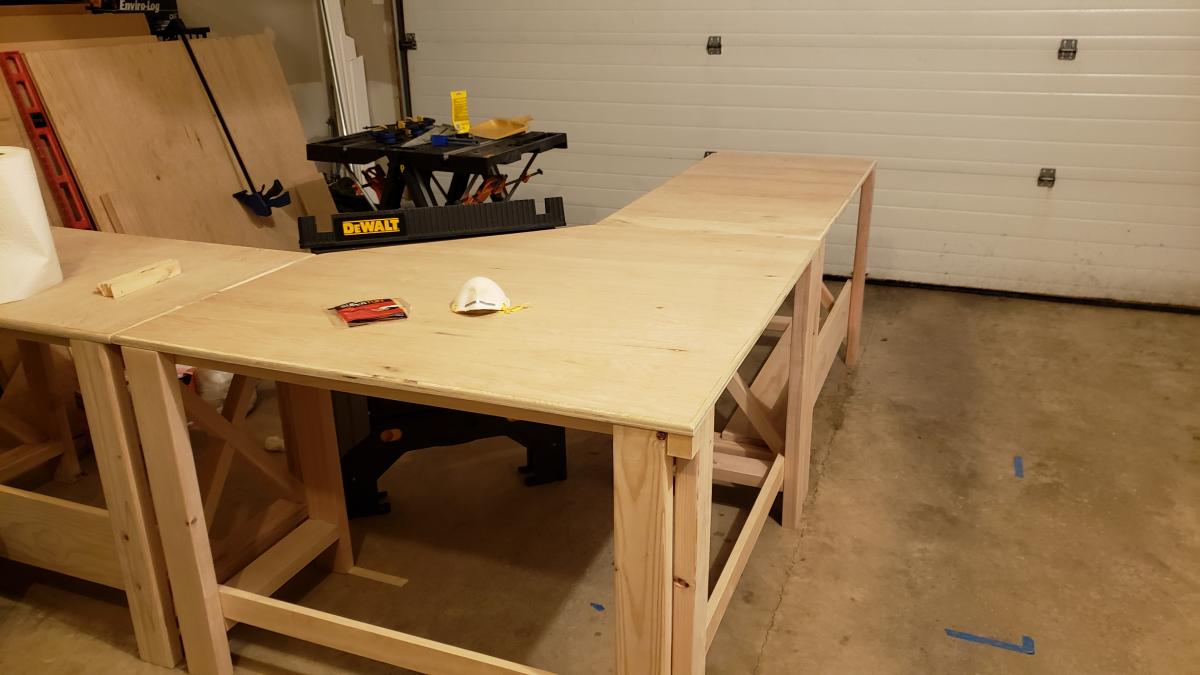
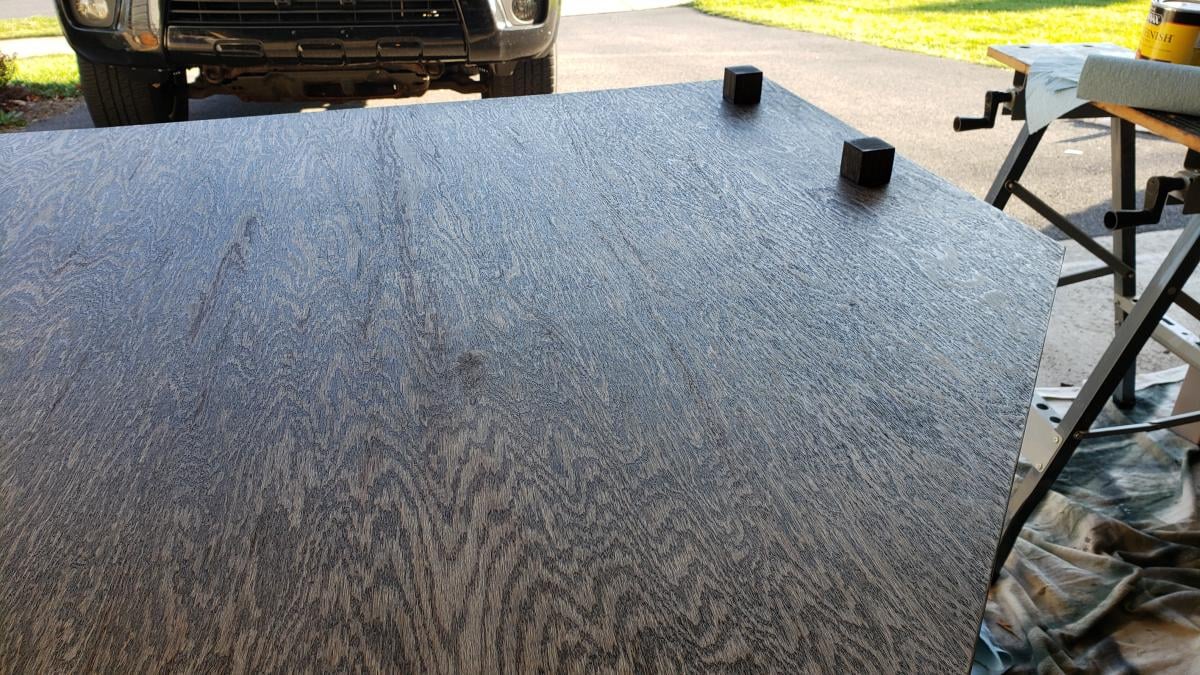
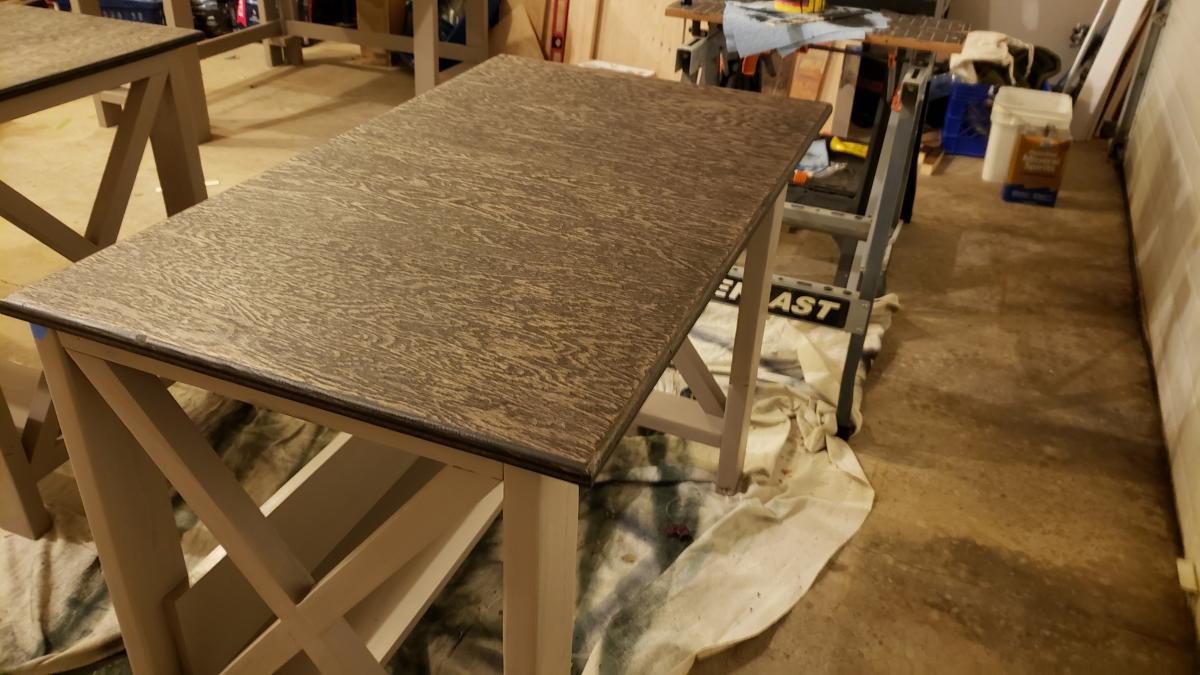
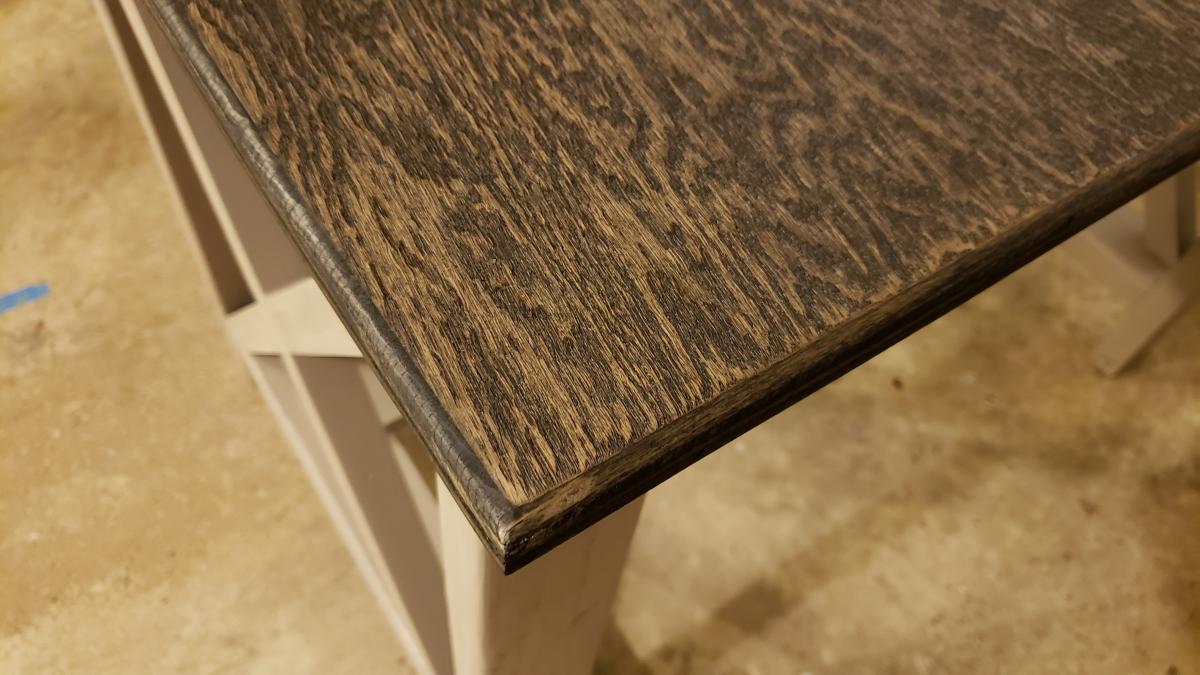
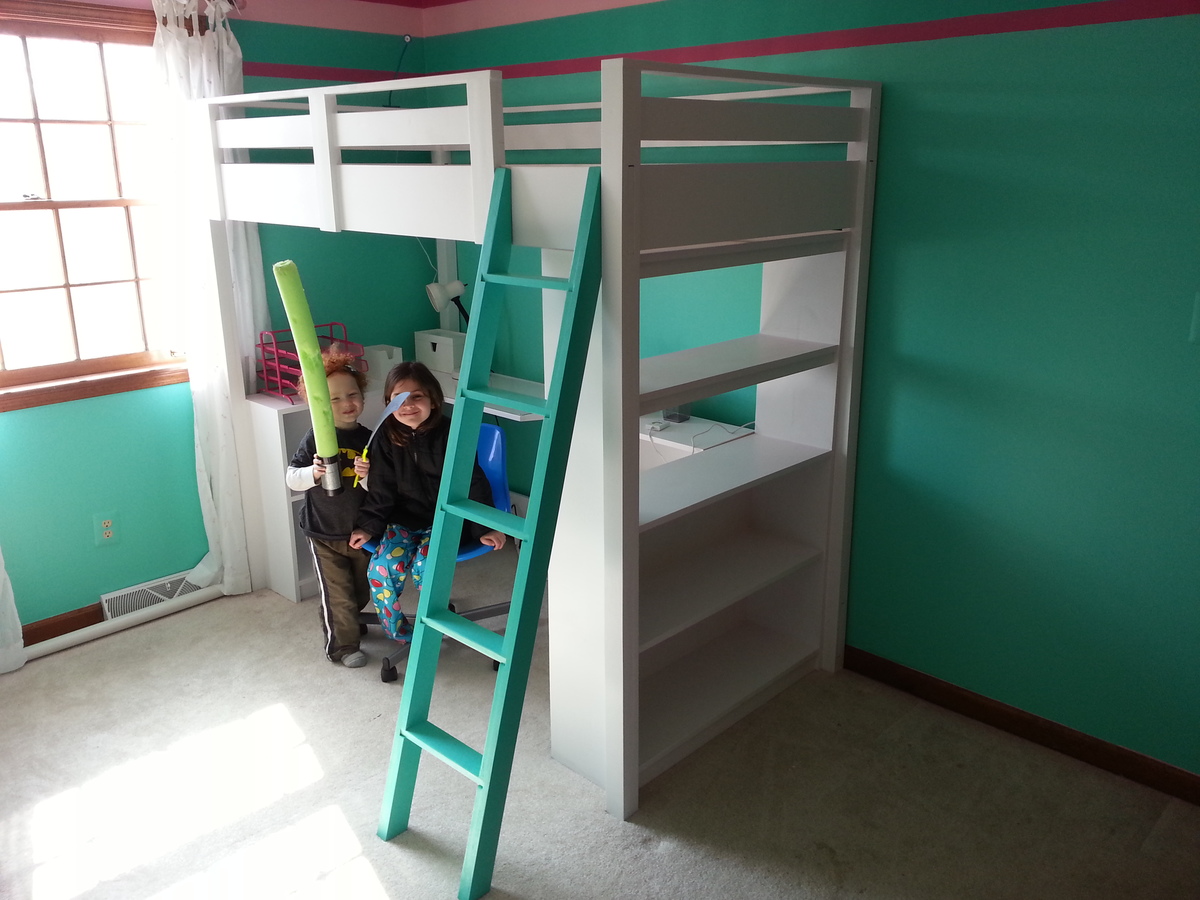
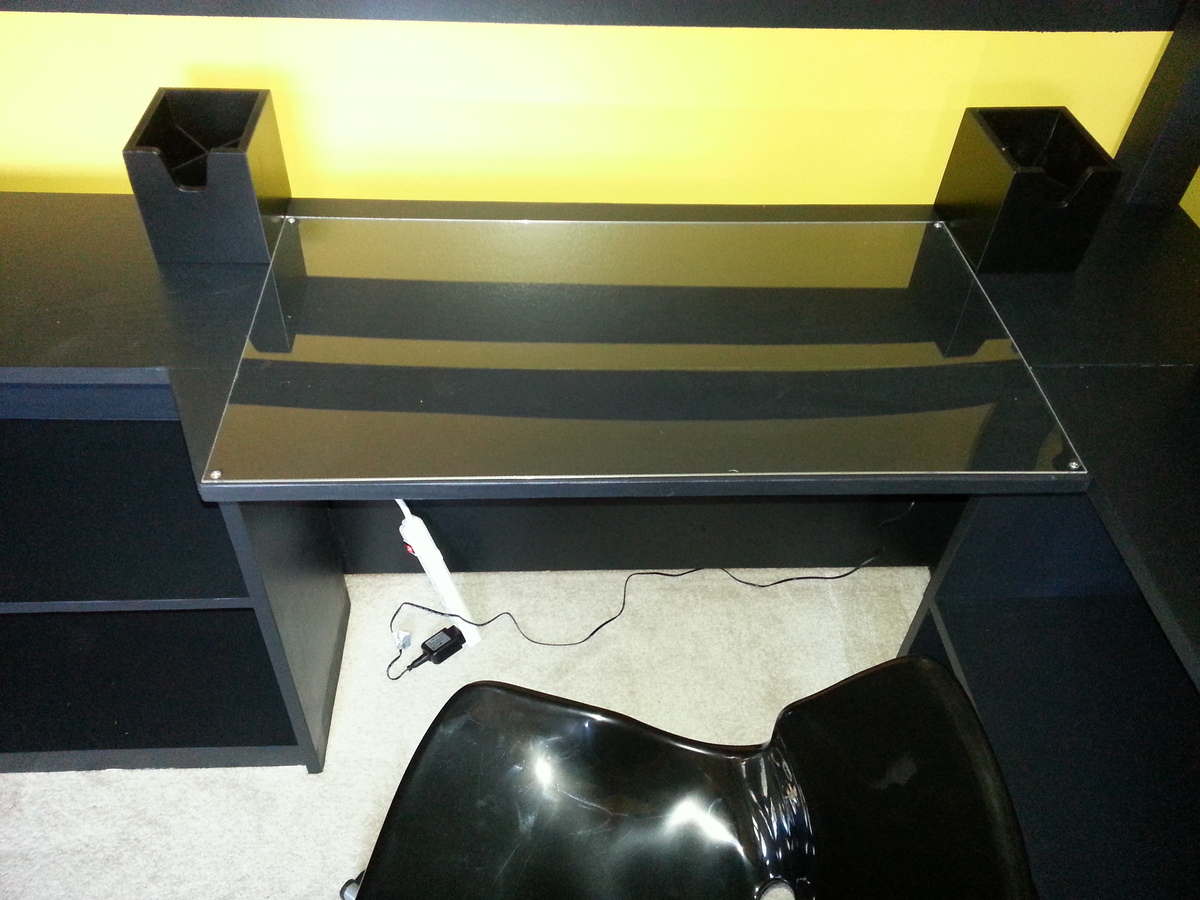
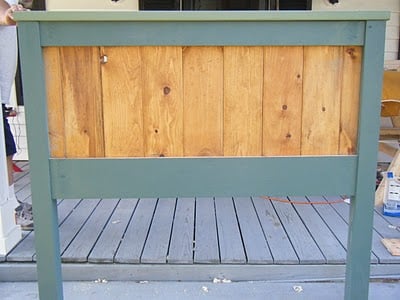
Flat yellow paint for mantel, and black chalkboard paint for fire place. The plywood used for the chalkboard was left over from the playhouse loft bed I built a few months ago. Instead of the curved 1X12, we made it straight across using 4 pieces of 1X10 that we pieced together using our pocket hole jig. We then added the 1x2's and 1X4 for a little architectural interest and to cover up the seams on the 1X10.
Recommended Skill Level
Beginner


Comments
spiceylg
Wed, 11/28/2012 - 05:02
Love it
Love the build, the chalkboard paint, the big fat tree, the wooden tree on the mantle and the reindeer pillow!