Community Brag Posts

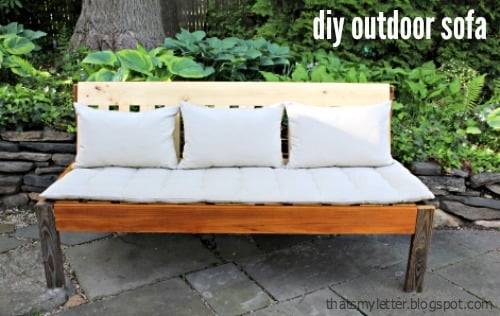
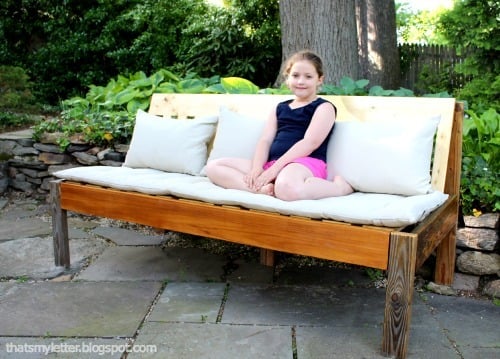
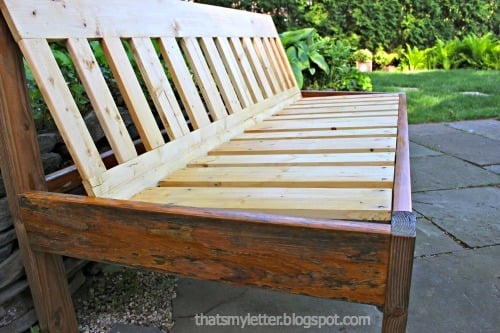
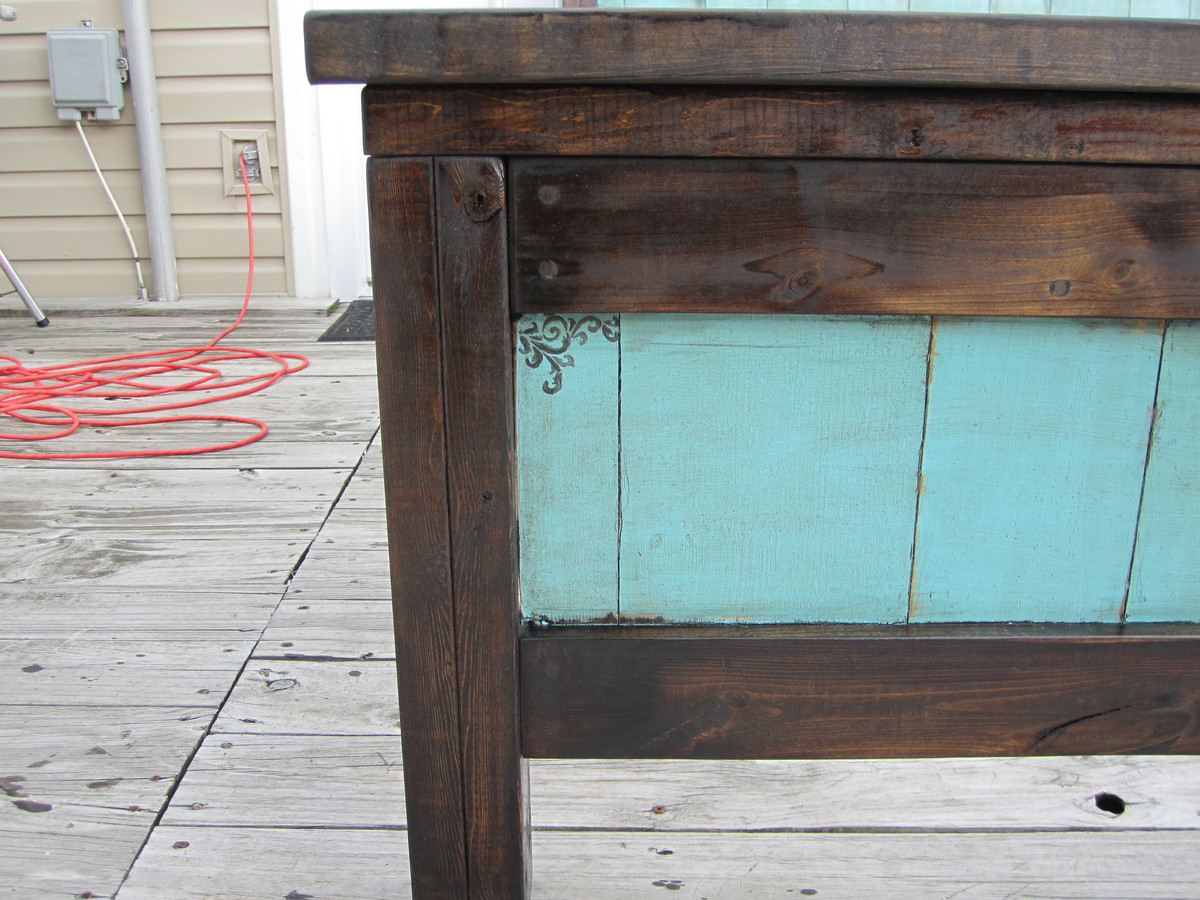
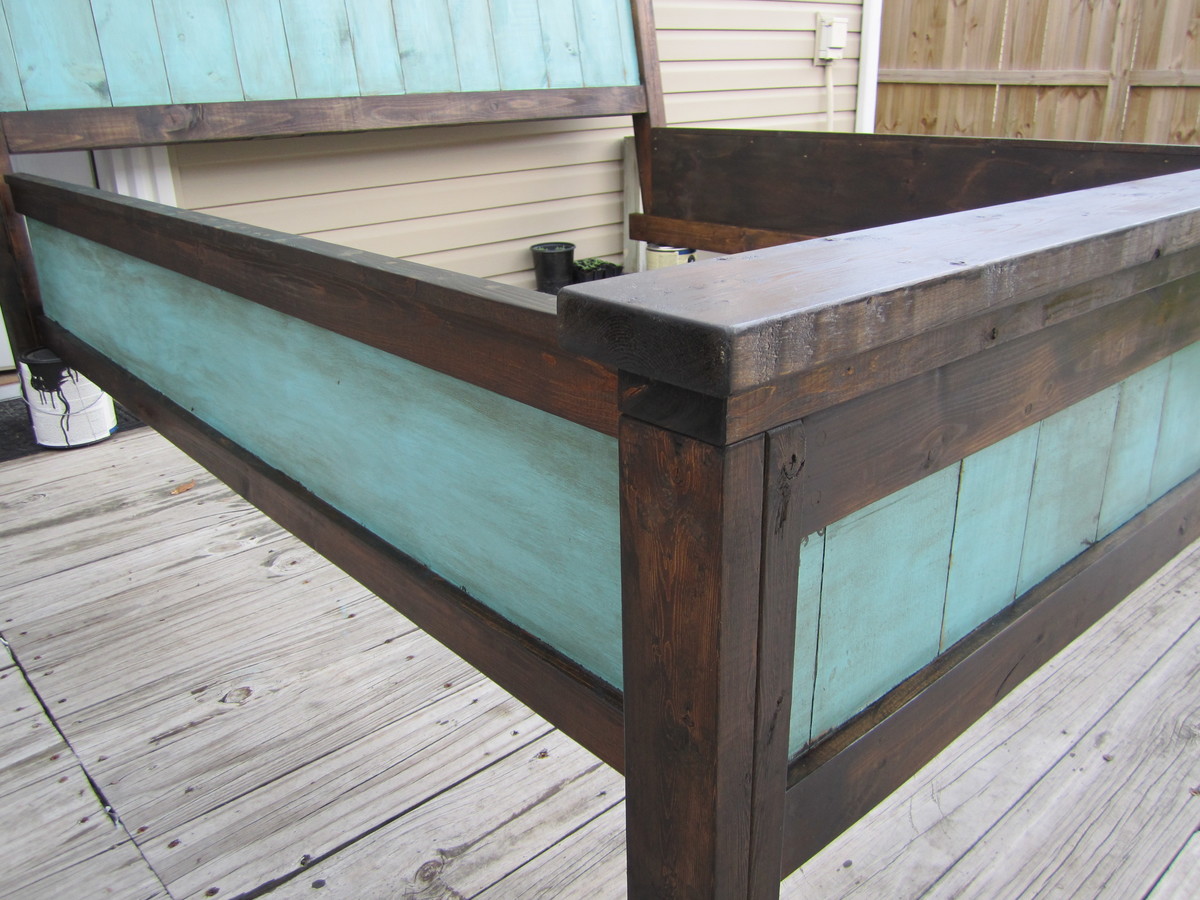
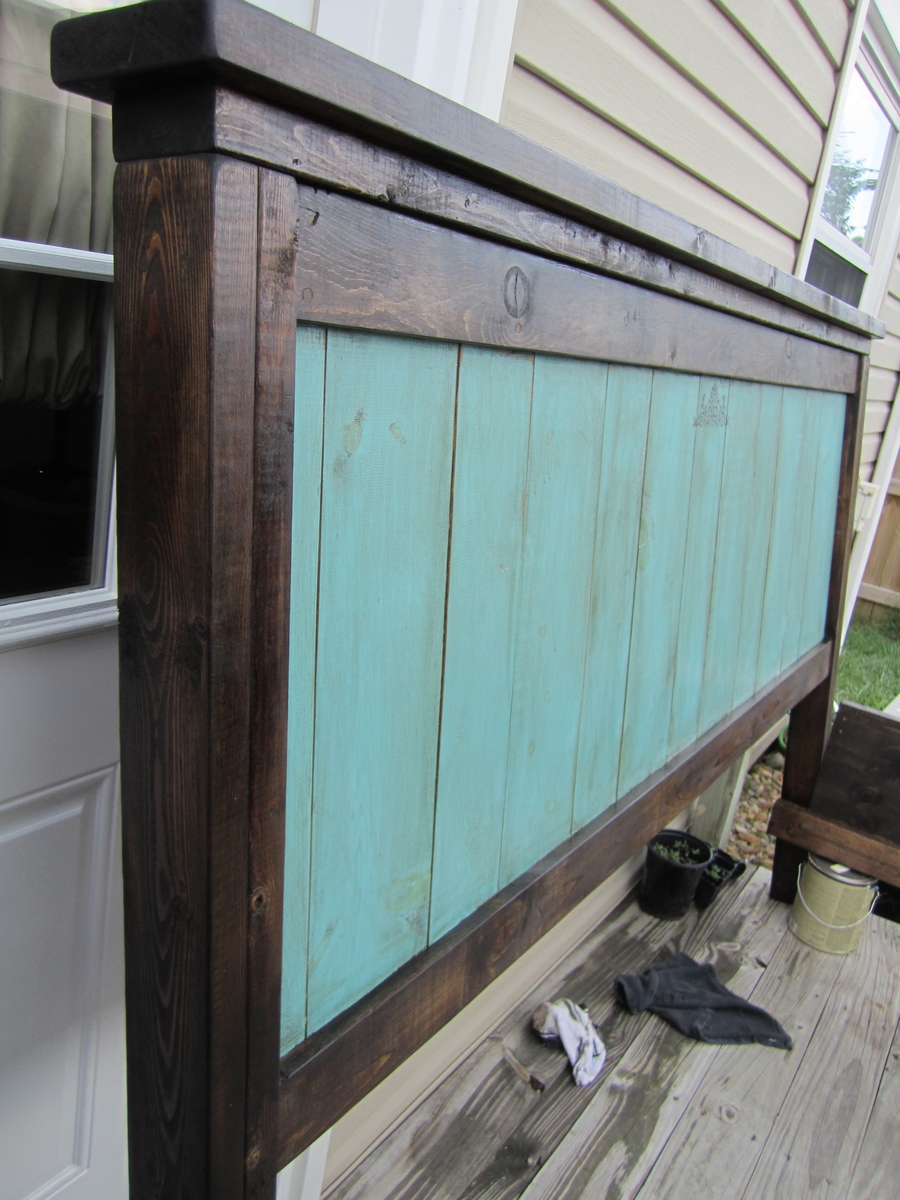
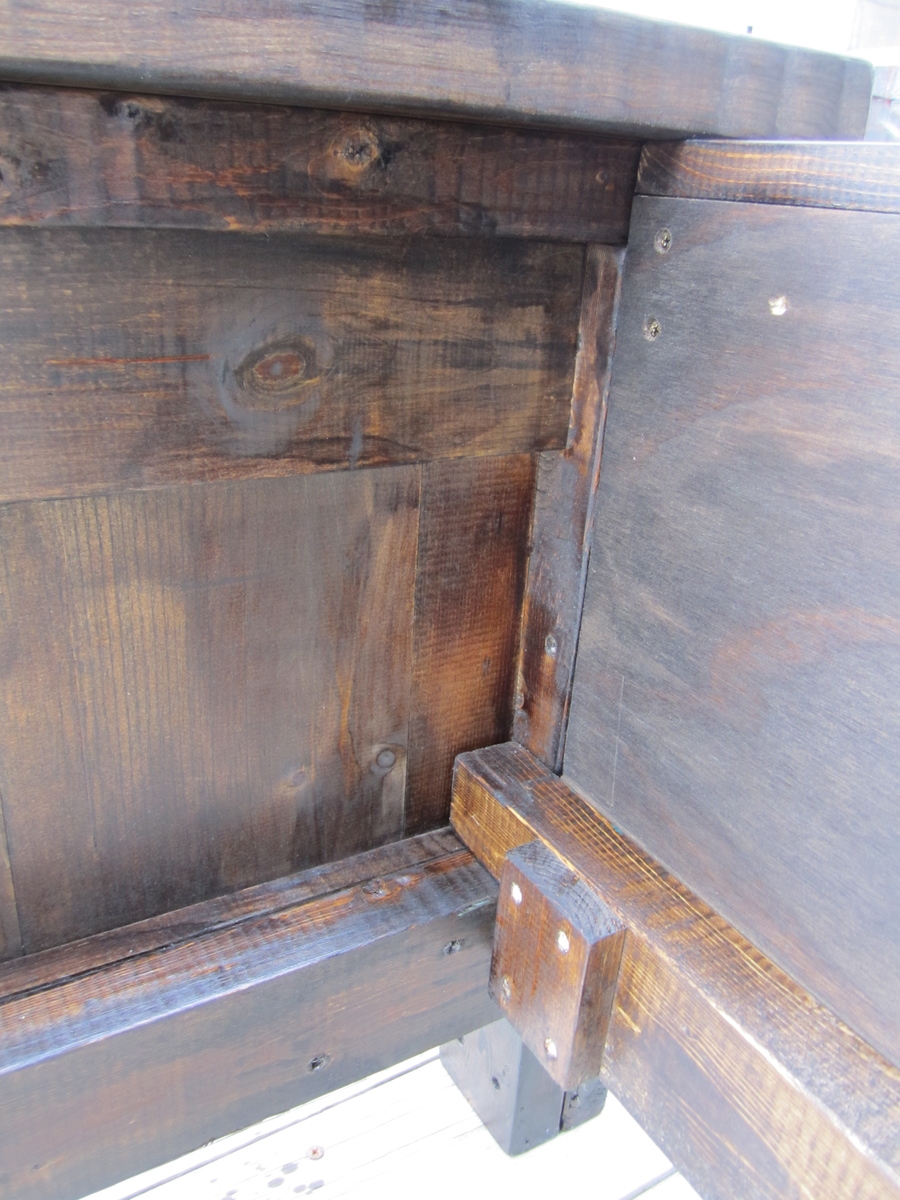
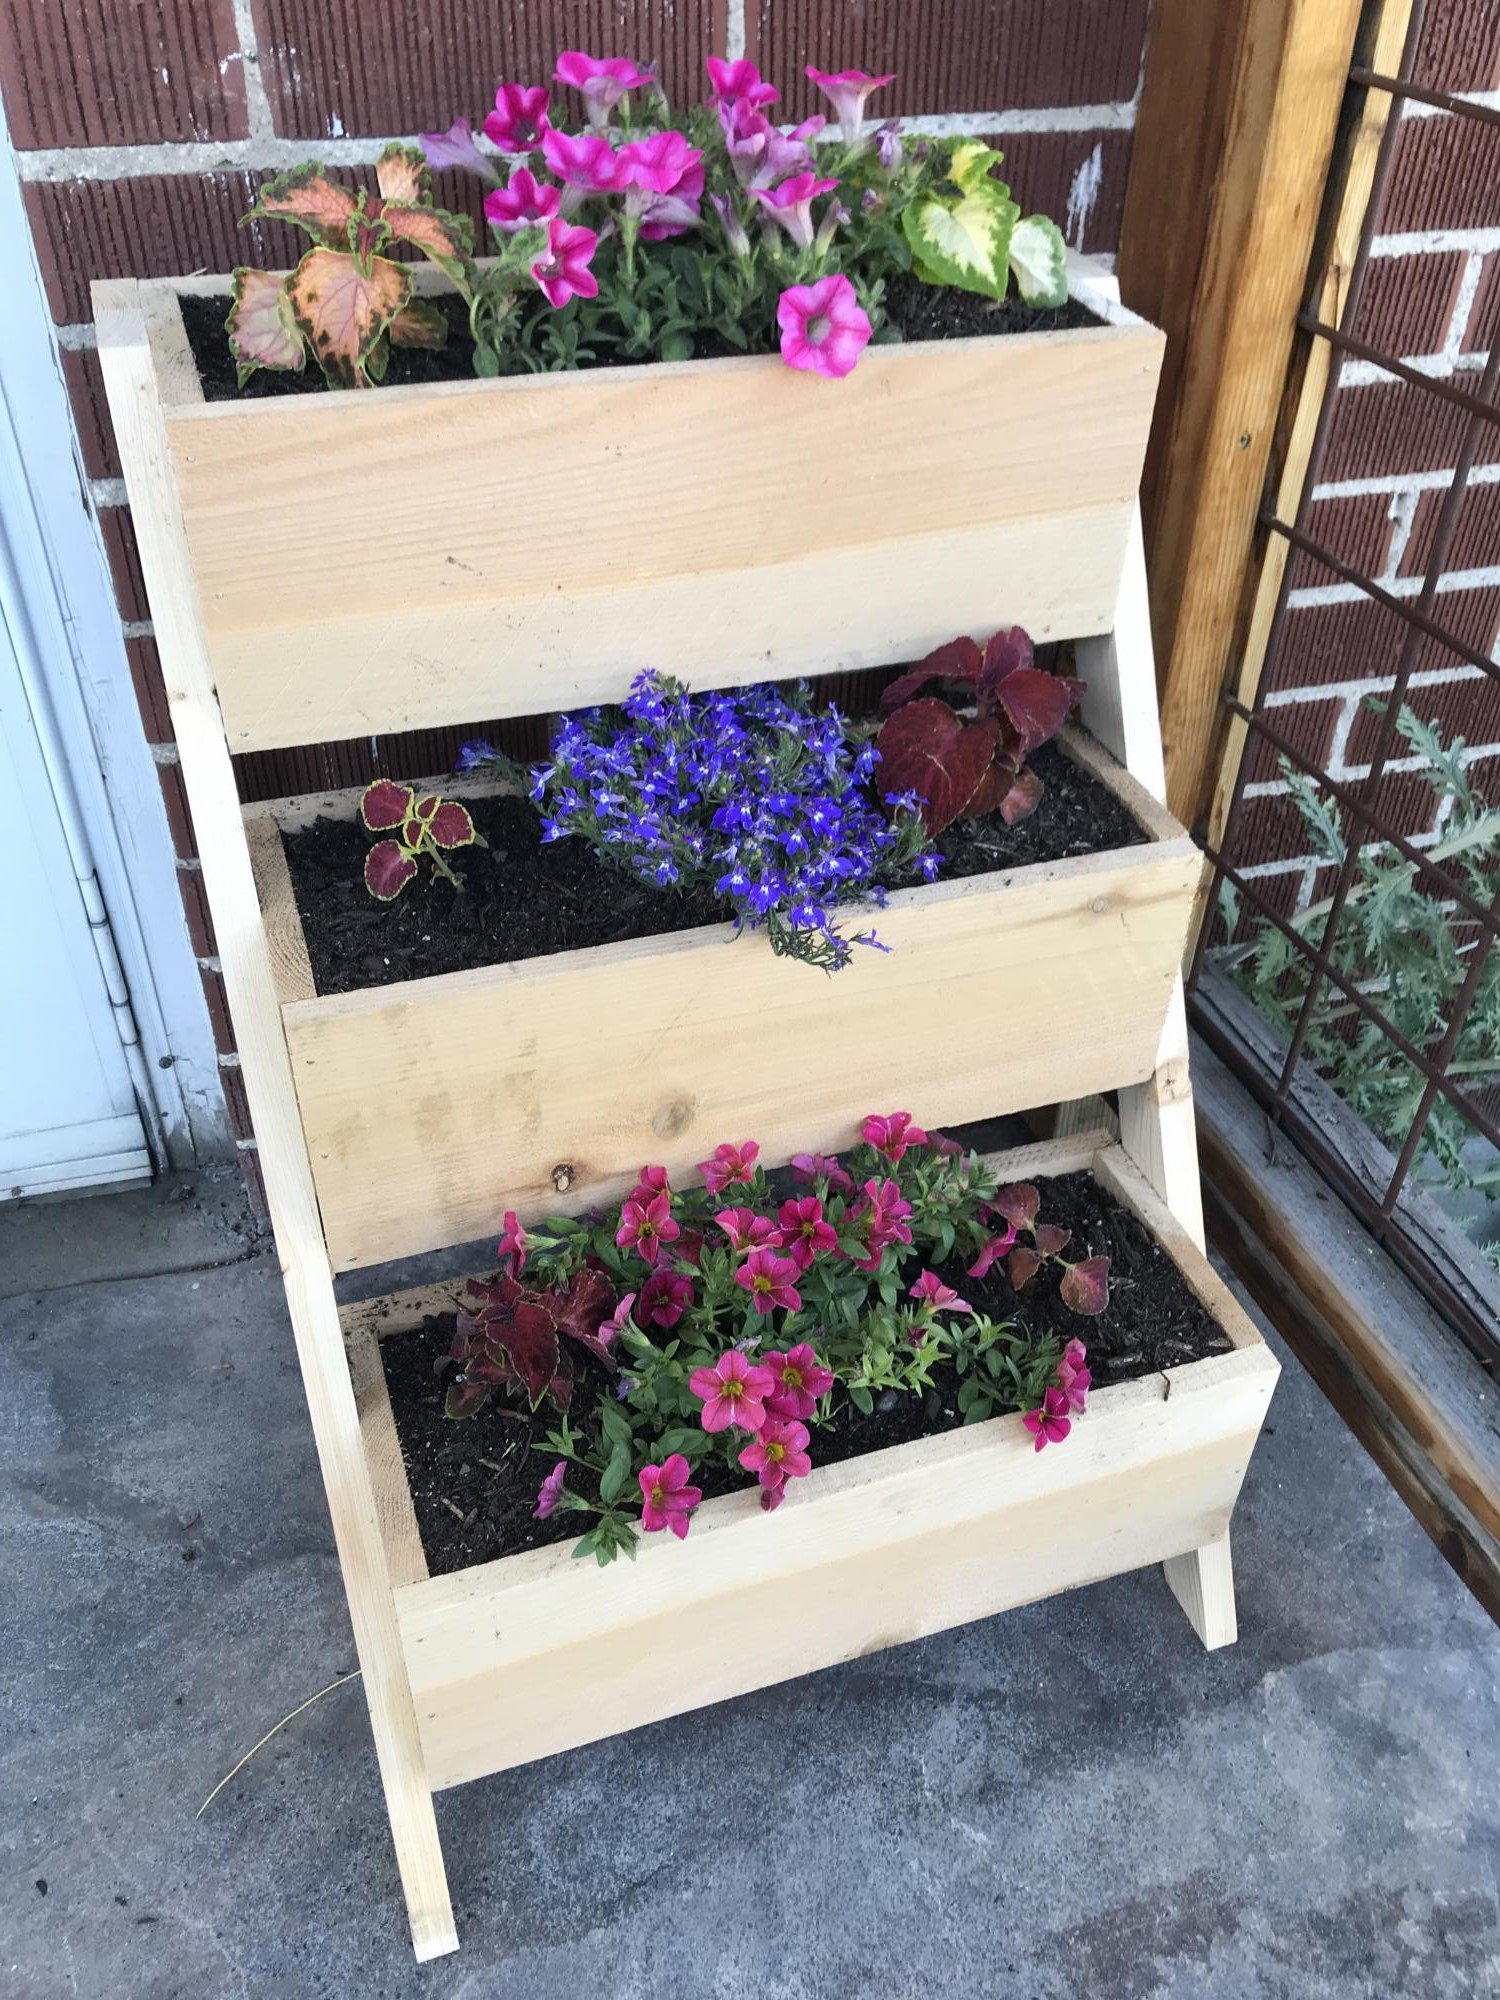
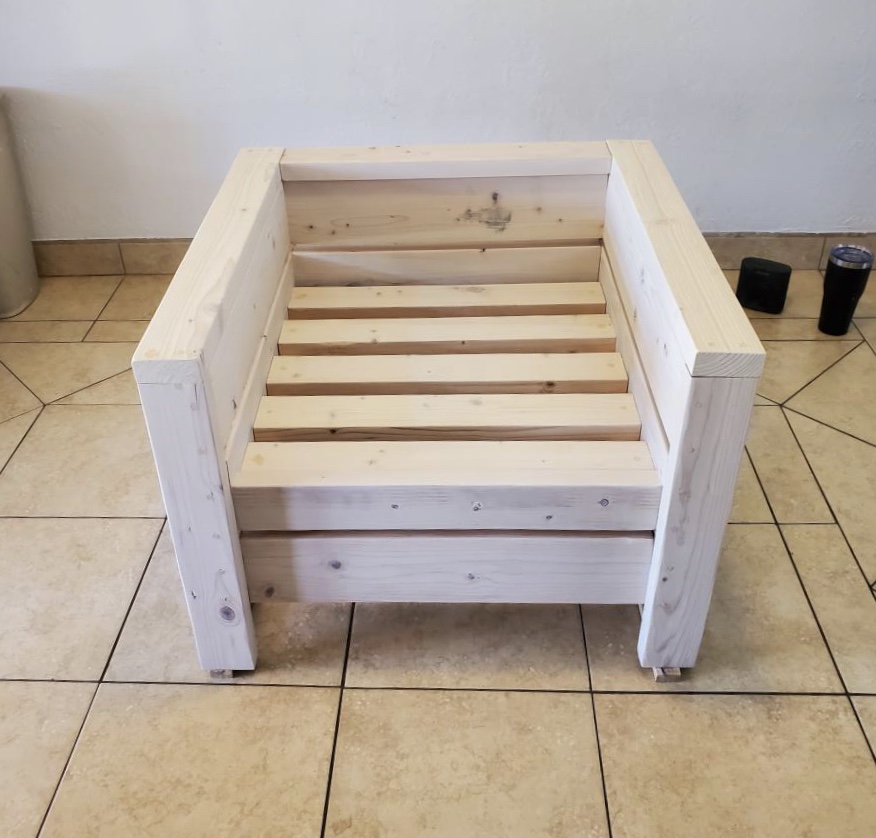
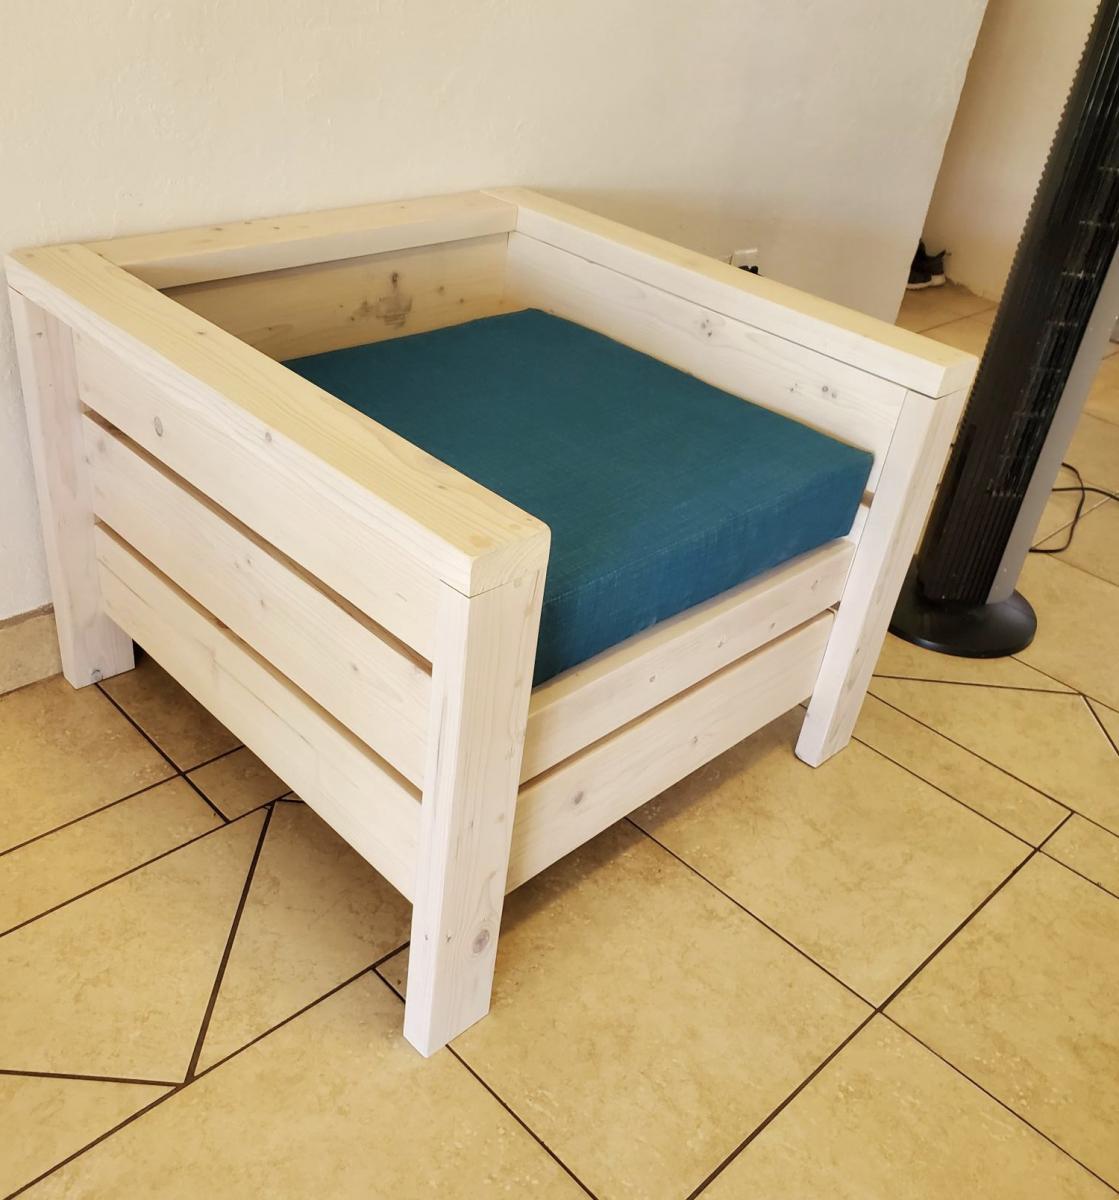
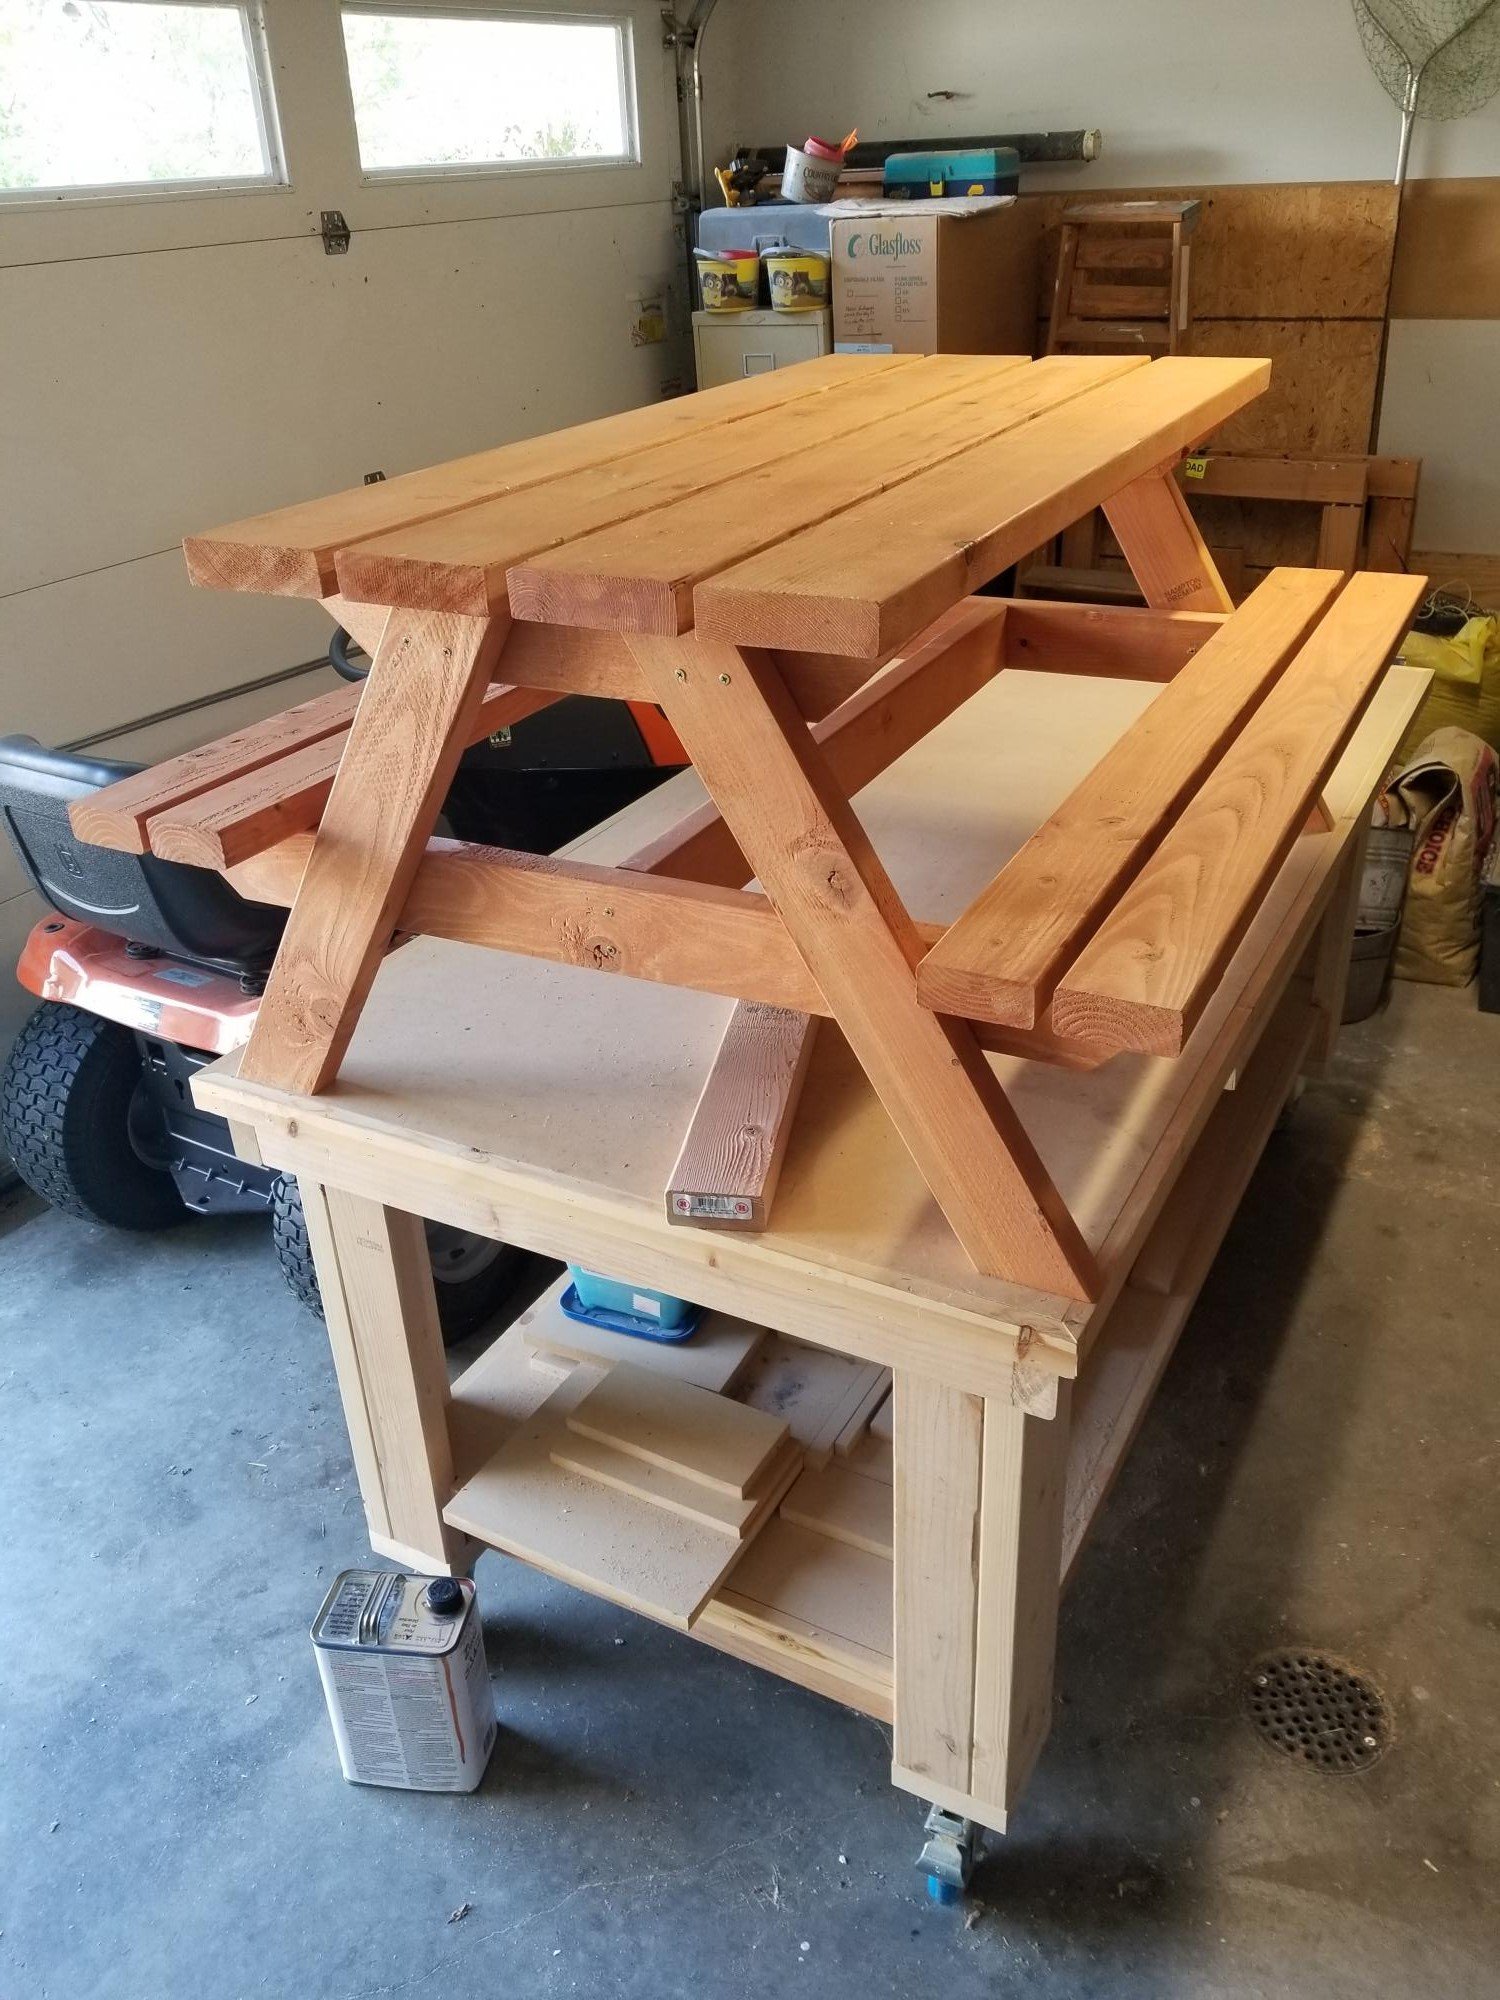
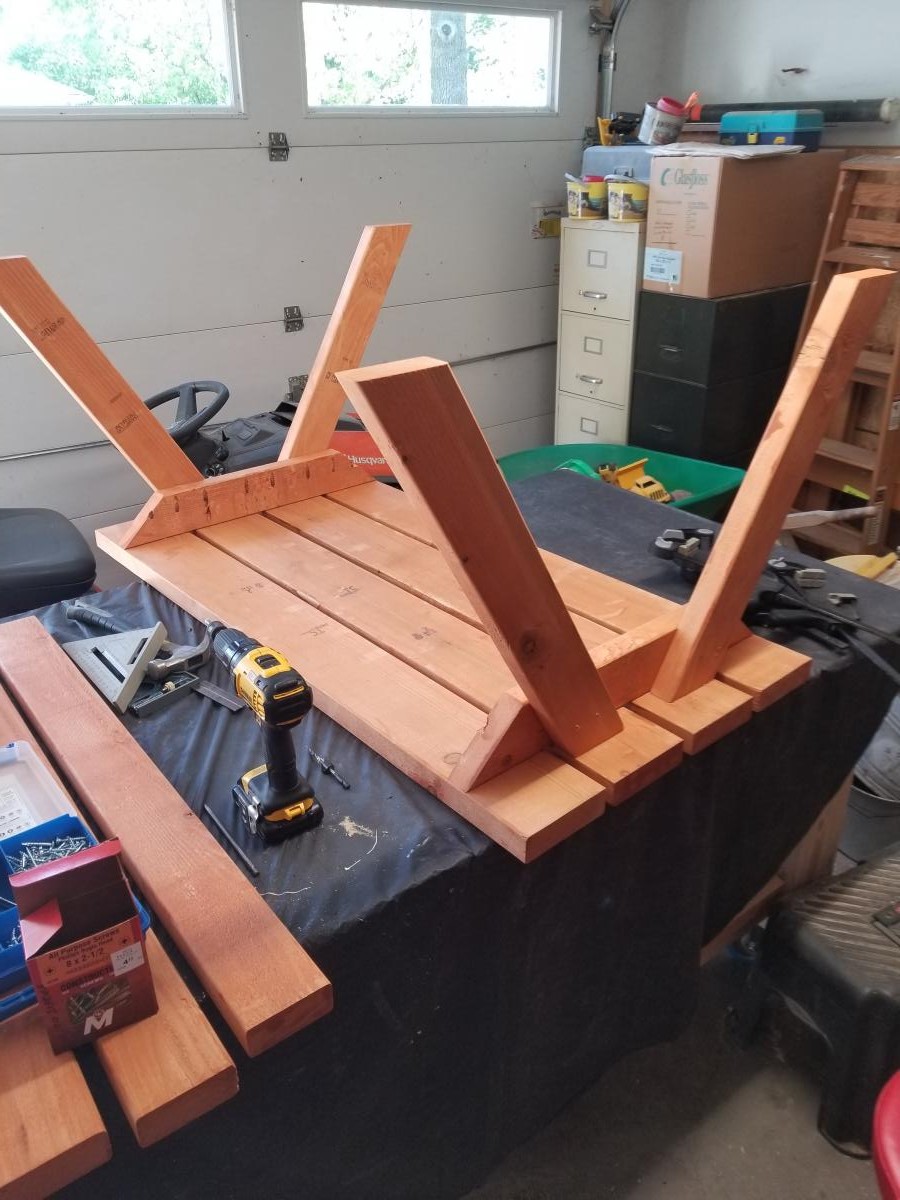
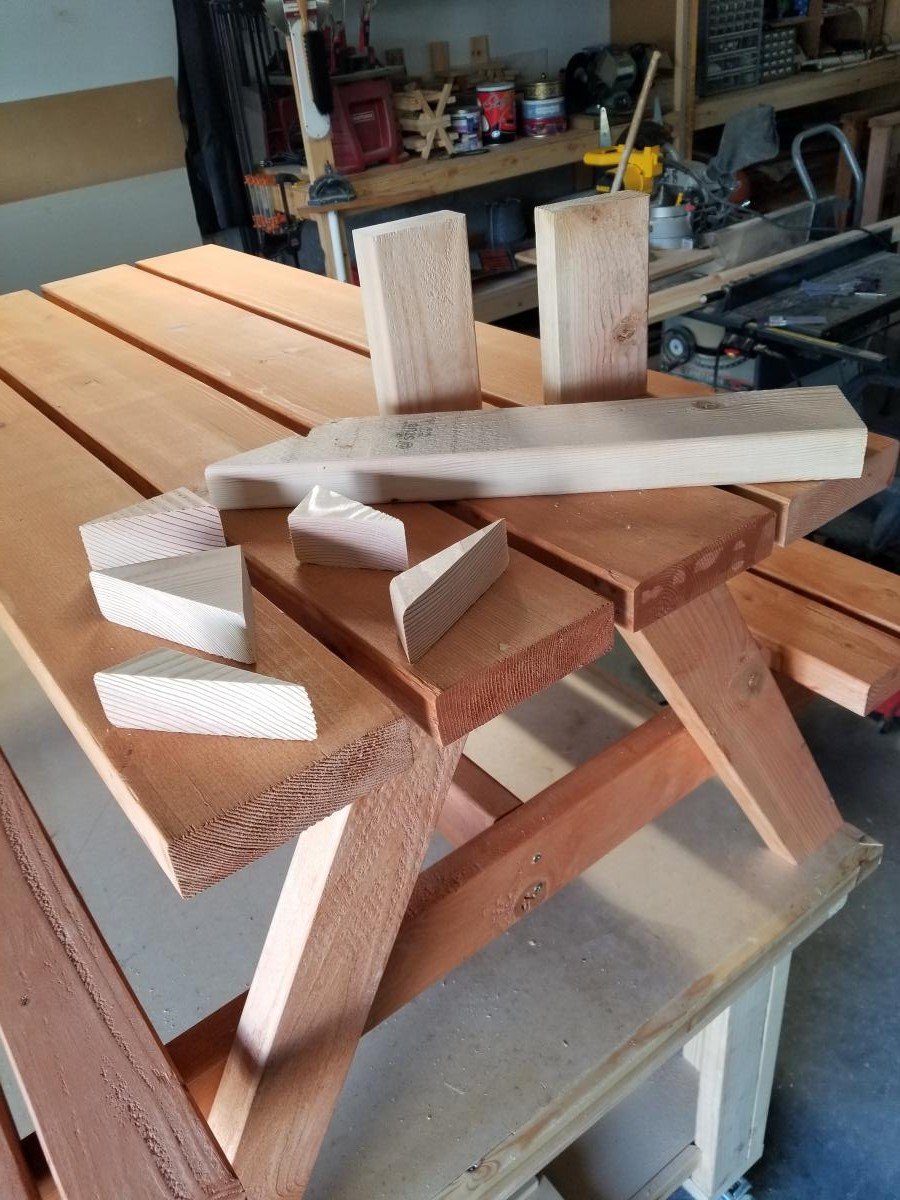
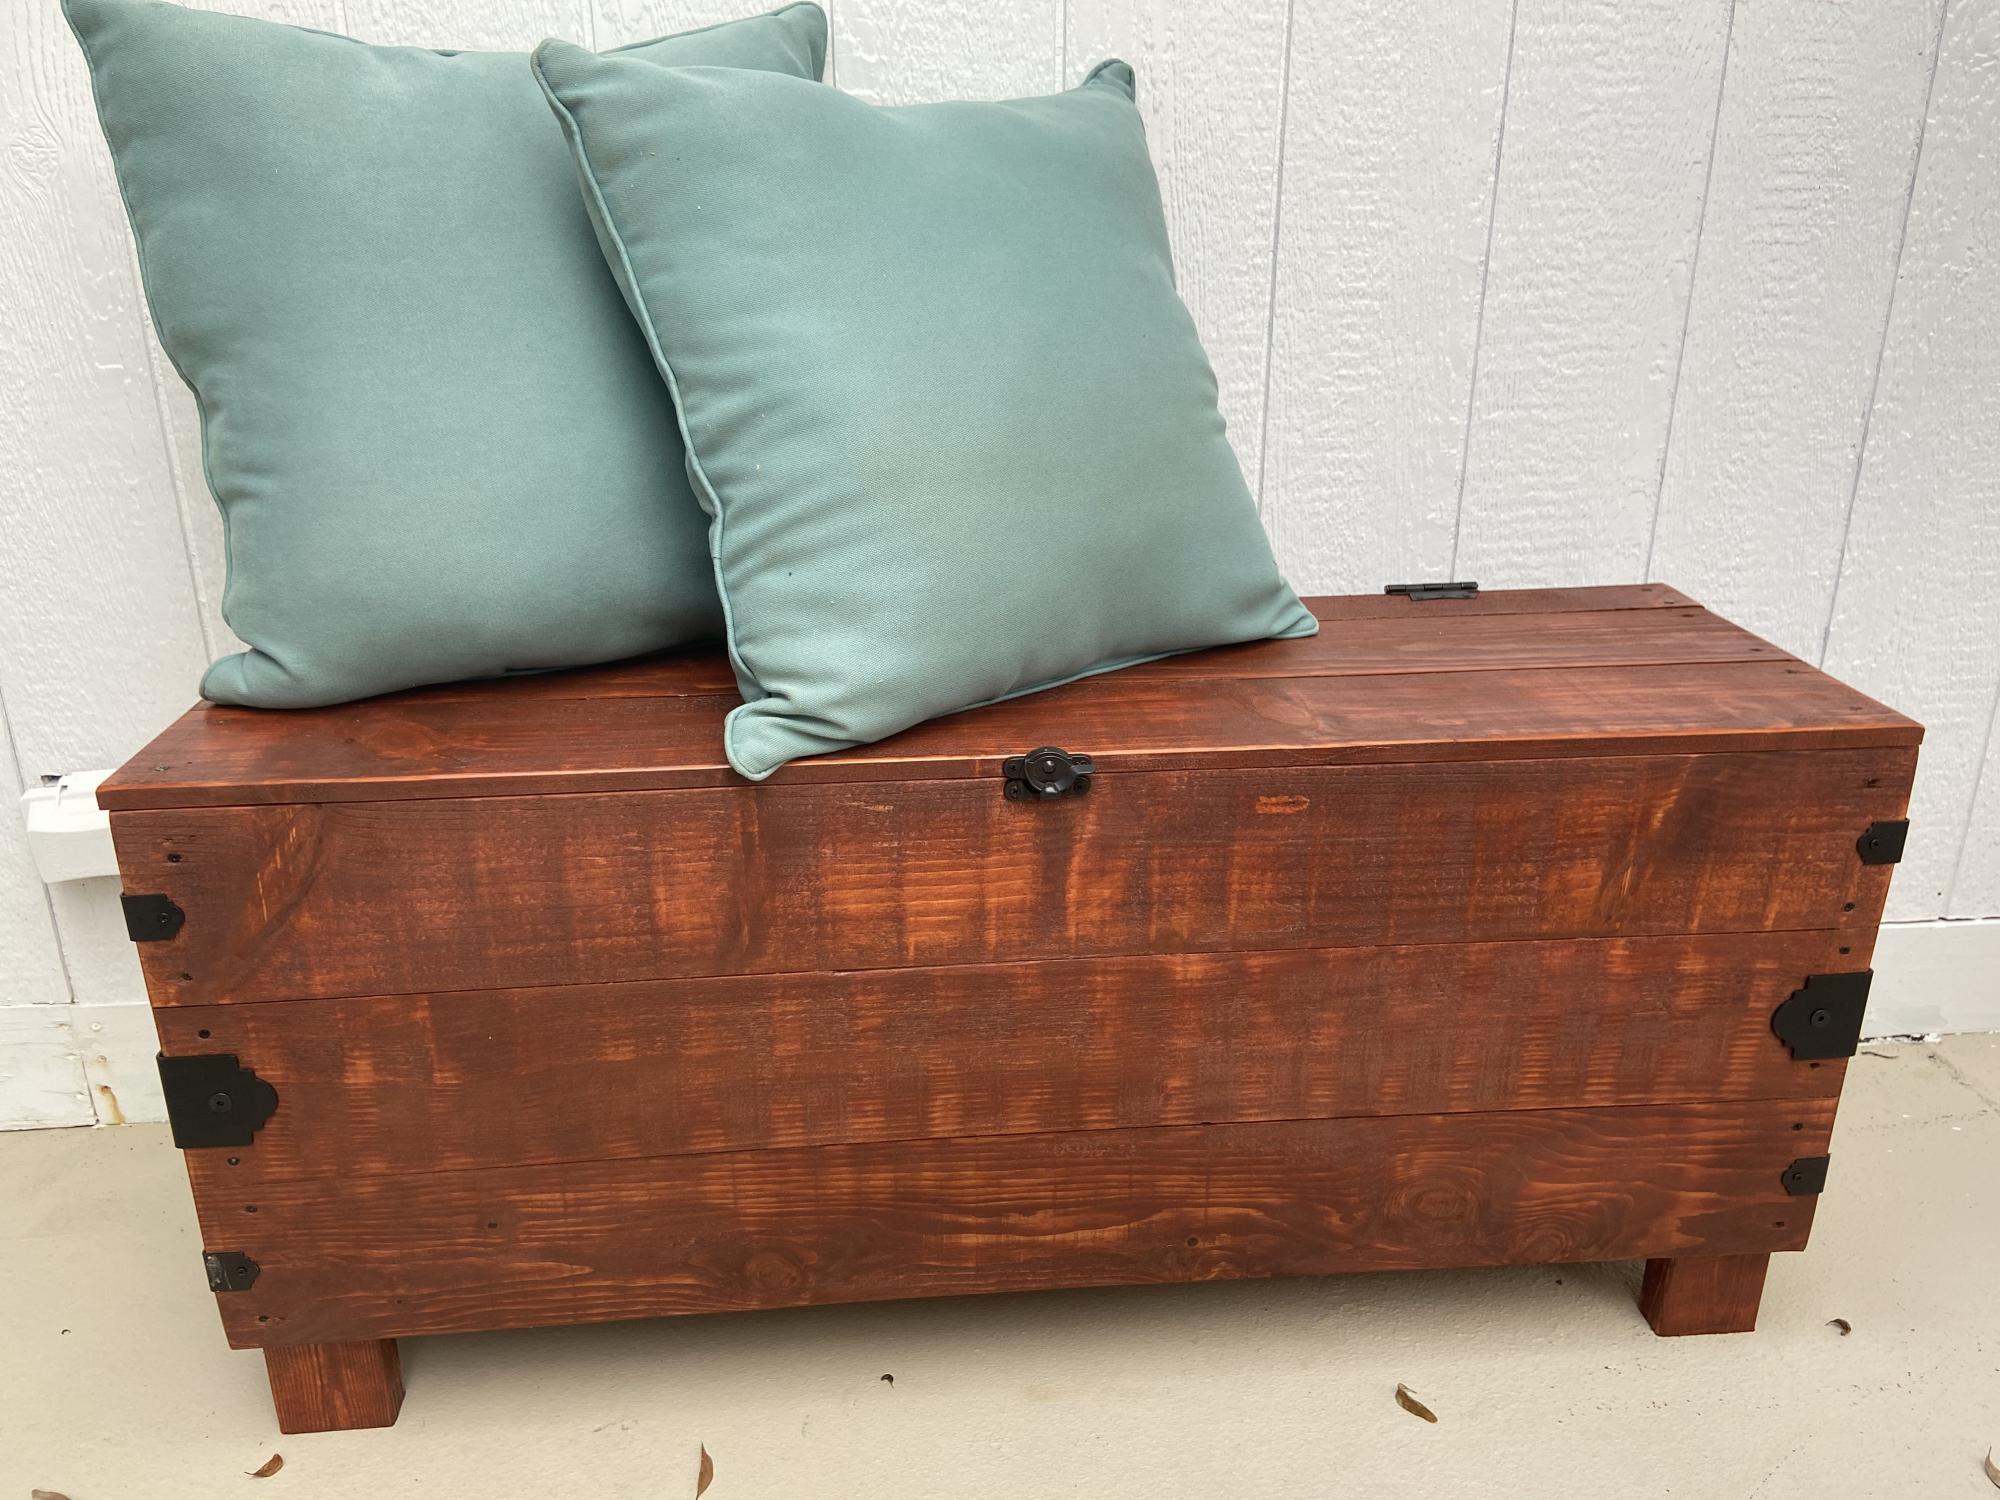
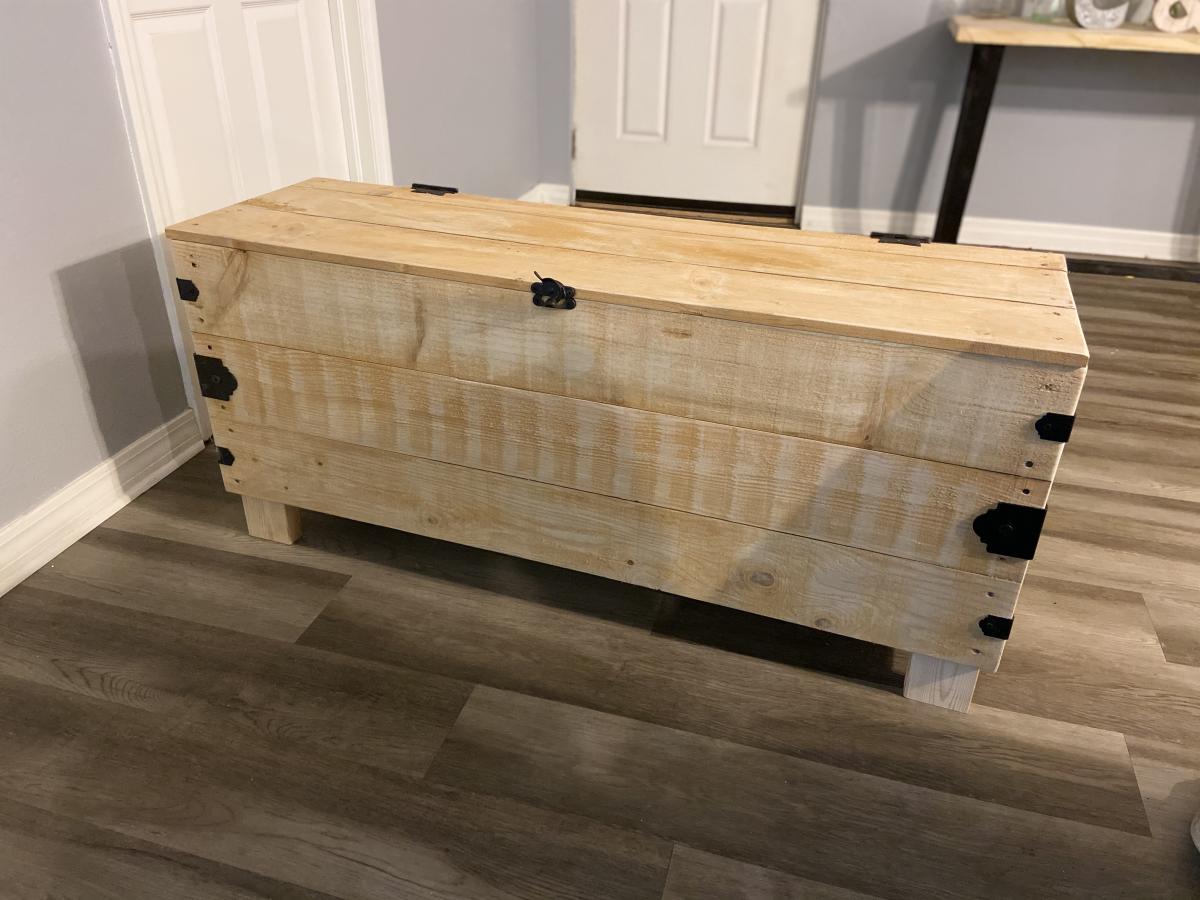
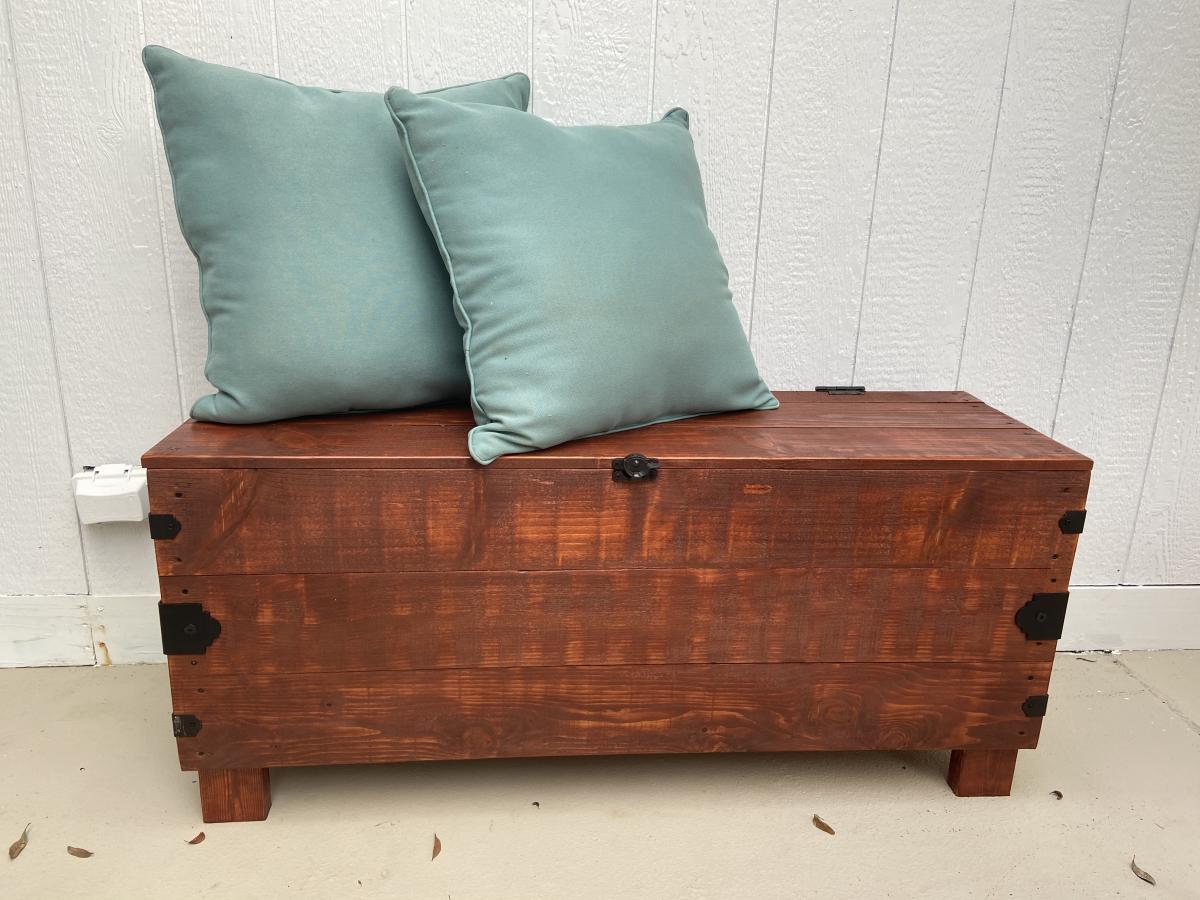
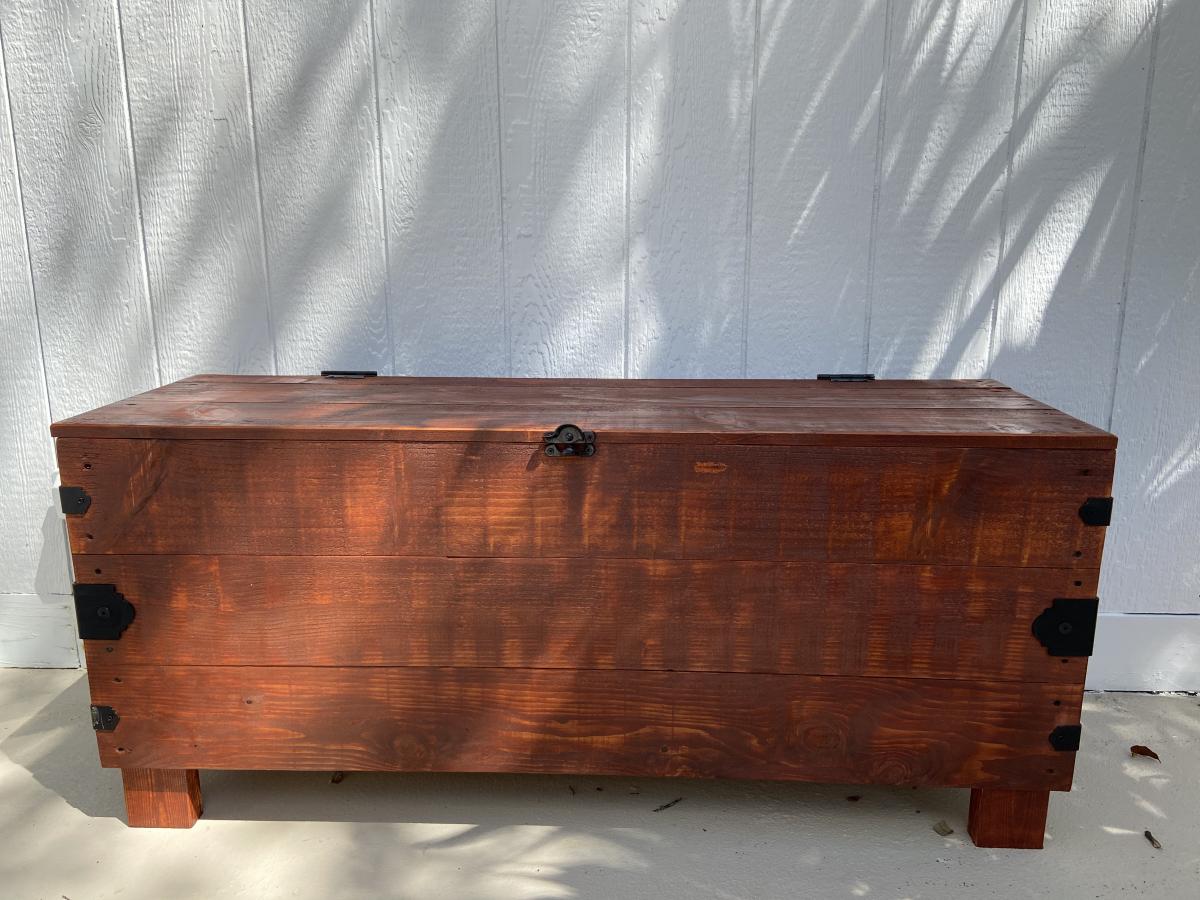
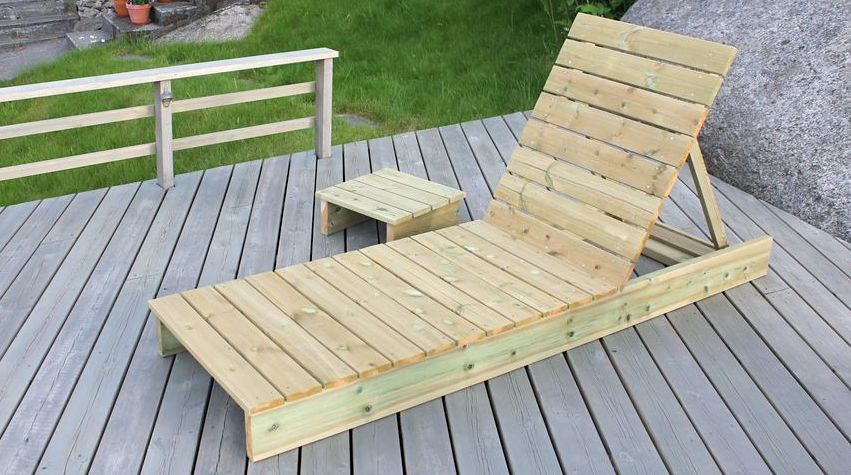
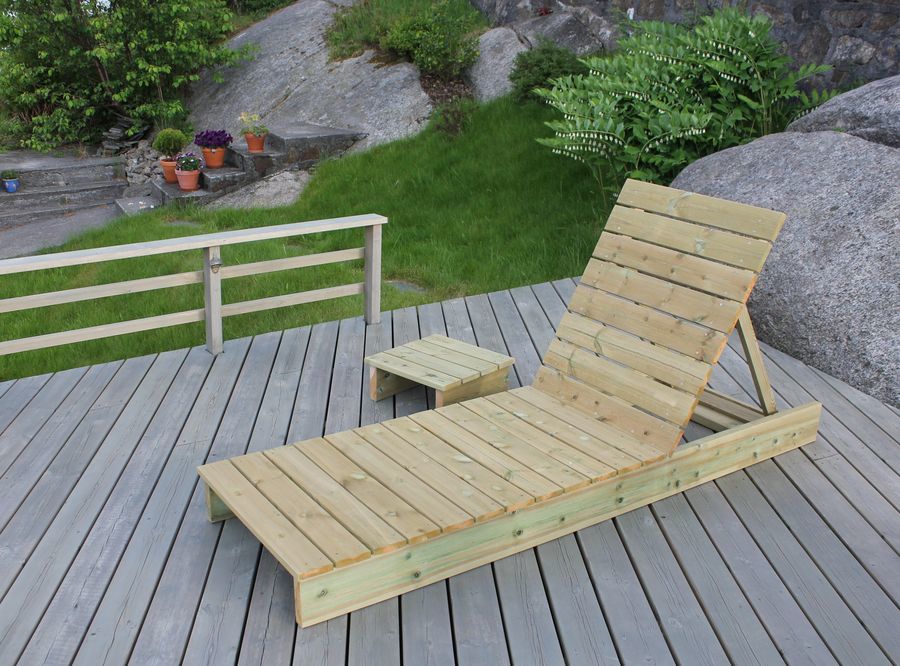
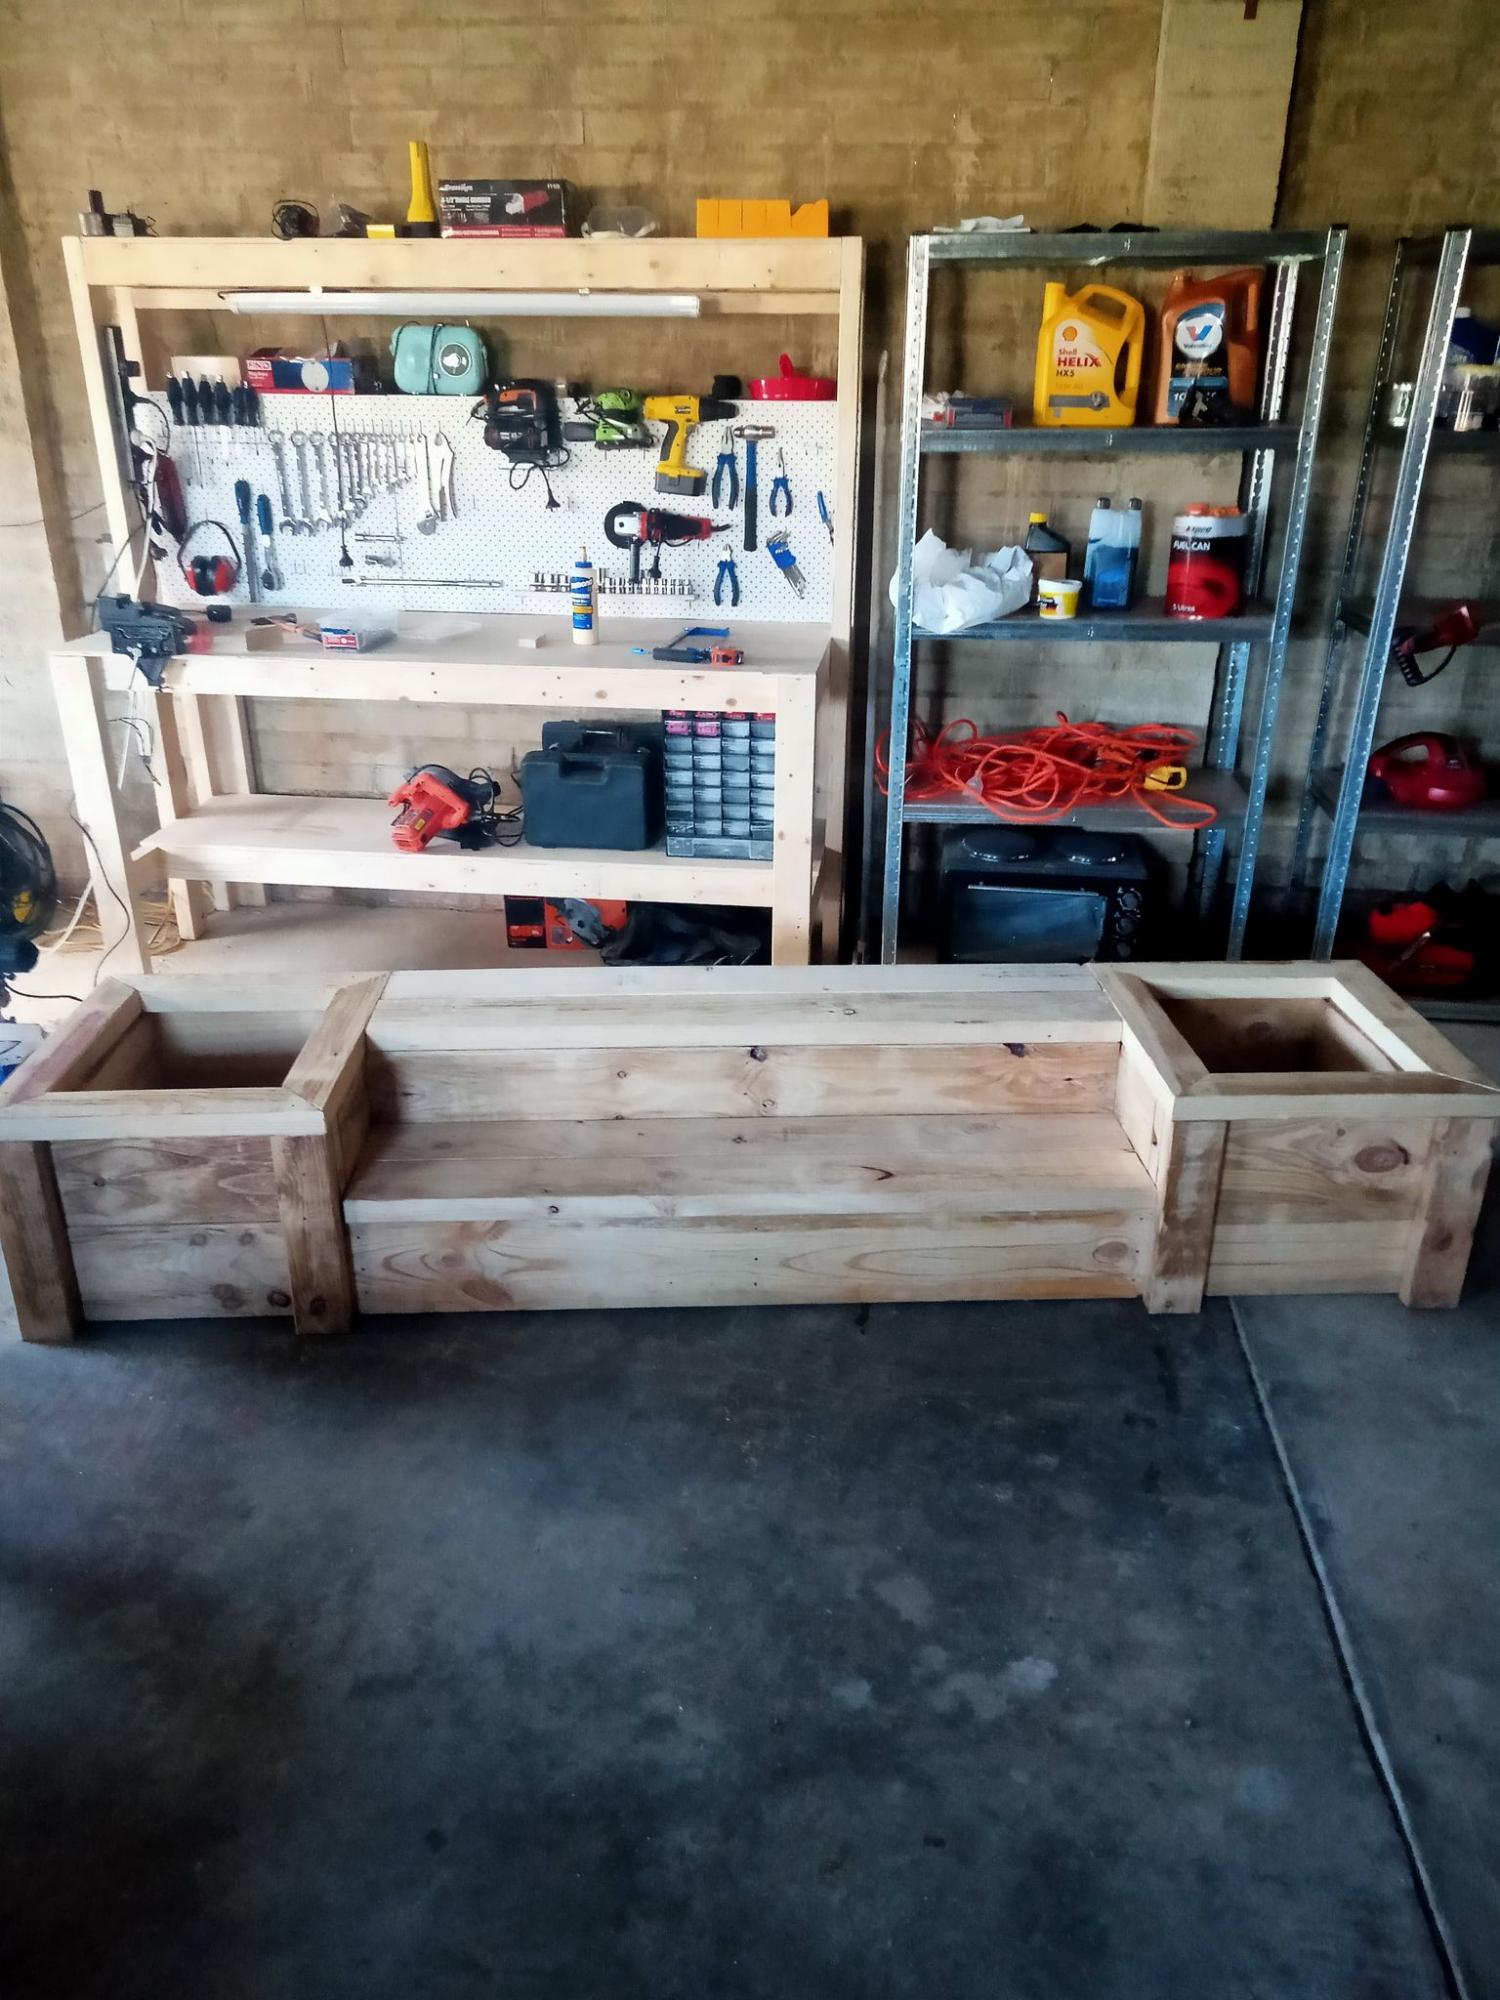
Outdoor Daybed with Canopy

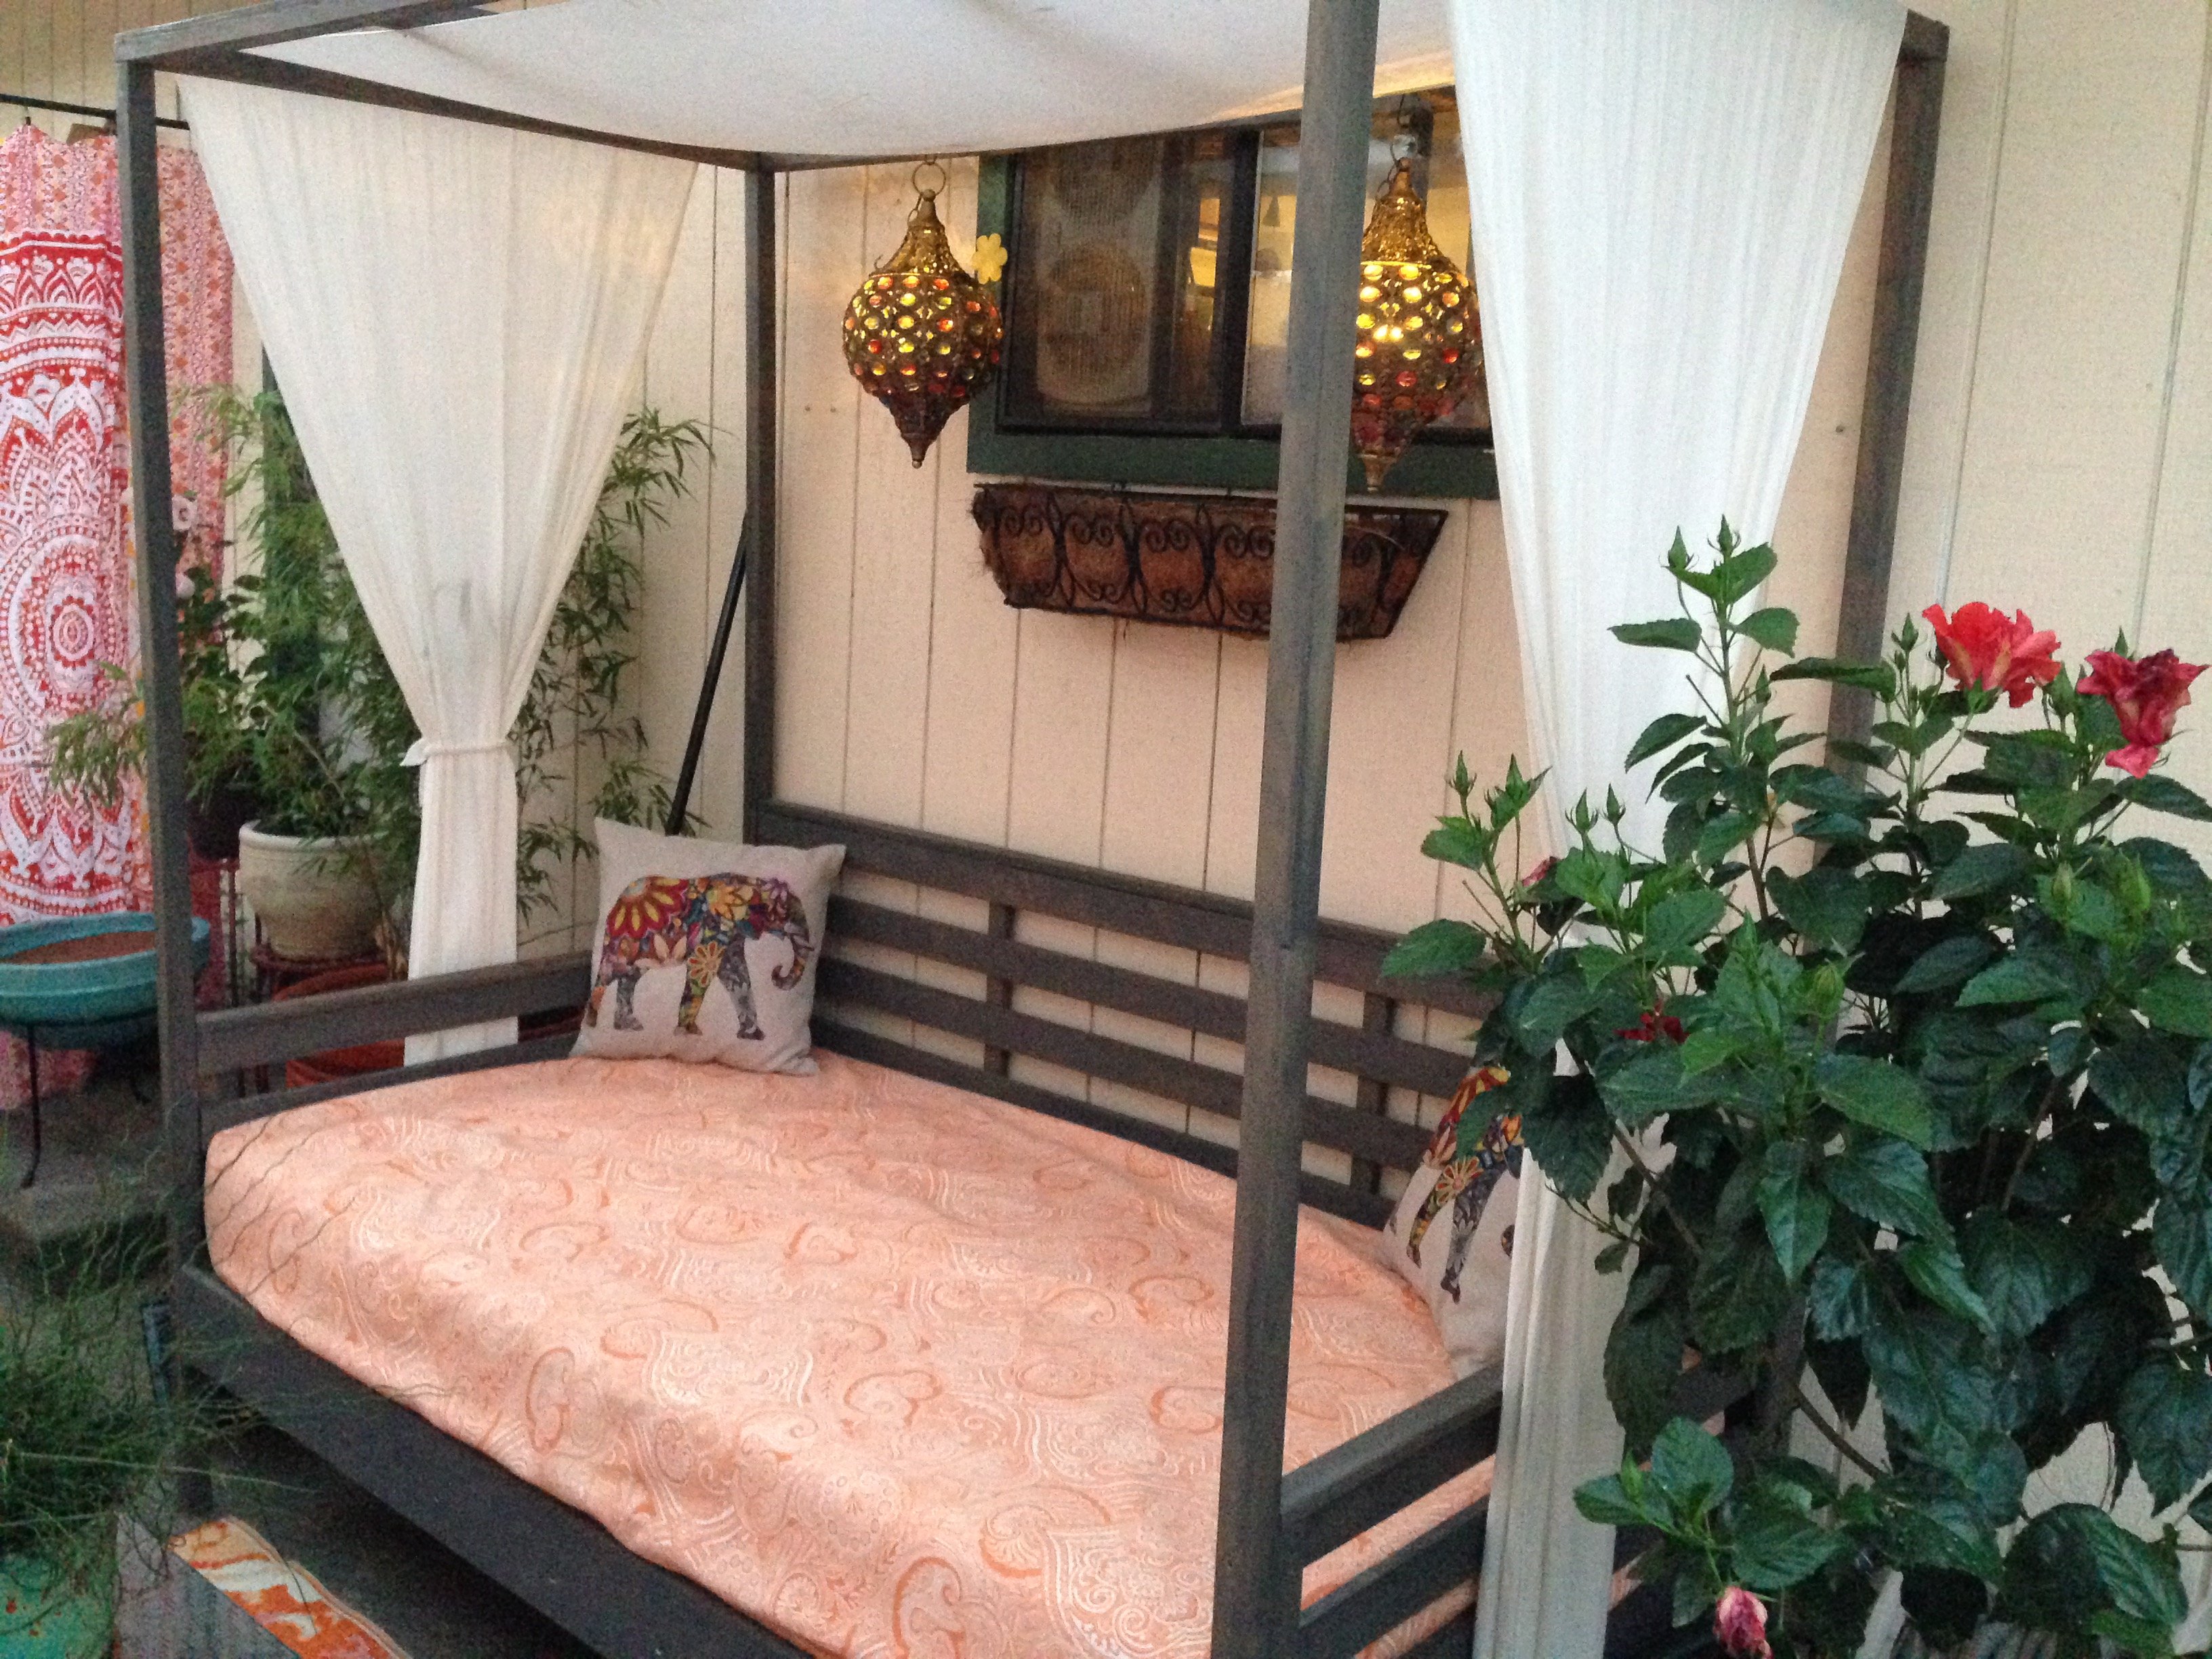
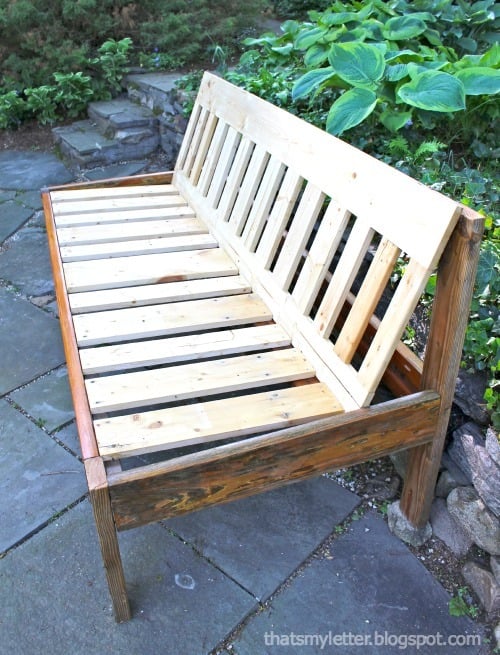
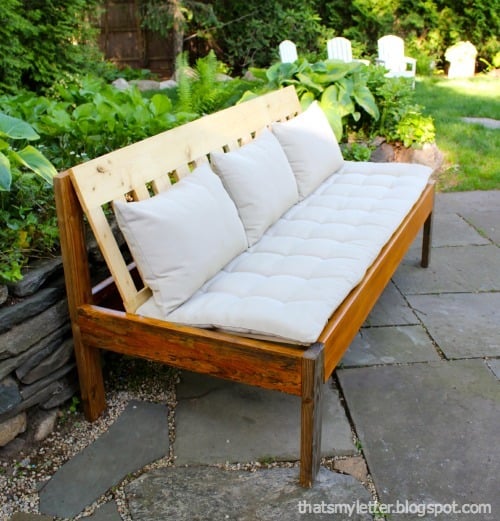
This was an awesome, quick, and easy project. The sanding, staining, and drying, took forever for me but the actual cutting and assembly was super quick. I have this on an uncovered patio and my local store didn't carry cedar in the sizes I needed so I went with the cheapest wood I could find and used a high quality oil based outdoor stain. I am hopeful it will hold up to our pacific NW winter because it won't be coming in. Considering I had never made anything before and had never used a miter saw, sander or quick square, I am happy with the time it took to finish this.
 

Built from Plan(s)
Estimated Cost
$150 for lumber, screws, stain, and glue
Estimated Time Investment
Weekend Project (10-20 Hours)
Recommended Skill Level
Starter Project

Farmhouse Bed

Submitted by ValBryant on Wed, 08/15/2012 - 14:24

This was our first build alone. I've helped my dad build various things through out the years but was this first time me and my husband built something together.
The bed plans were great and it went together easily. We couldn't find untreated 4x4 posts so we went with two 2x4 sandwiched together, and then we bolted the headboard posts to the footboards. The side rails are plywood trimmed with 1x3's and topped with a 1x2. We also used L brackets to attach the side rails to the head and footboards and addition to bolts on the headboard and 2" screws on the footboard. We needed to assemble the bed in a way we could easily disassemble because we are moving soon.

Estimated Cost
160+
Estimated Time Investment
Weekend Project (10-20 Hours)
Finish Used
I followed one of Ana's featured finishes, distressed turquoise with chocolate glaze.
I used dark walnut stain and Valspar's semi-gloss Sea Exposure, and Valspar's Glaze.
Recommended Skill Level
Beginner

Comments

Truss Shelves: Cheap Garage Storage

Made of old fence rail (the dark pieces) and cheap 2x4s and 1x12s .

This is not as stable as I hoped, but for an afternoon's project that got all those tools off the workshop floor, it's not bad. I will add a diagonal brace at the back later. Much later.

NOTE: My engineer friend notes that 2 braces at the rear, below the bottom shelf and below the top shelf, would minimize side-to-side wobbling, and 2 braces front to back, both under the bottom shelf, would minimize the front-to-back wobbling, They could be a scrap of plywood, a 1x6 or wider scrap. Just nail them in two or more places on each of the ladders and they make the structure more rigid. Screw them in if you want a shelf unit you can disassemble.

TIPS:
If you are using pockethole screws, start the screws in all the holes before you put the crosspieces on. Stop when you see the tip of the screw come through the first piece.

Clamp scrap 2x4 to the uprights to hold the crosspieces in place as you drill.

To get the shelves in place, lean the ladders against each other and attach the bottom and top boards on one side. Than pull the other ladder out as far as it needs to go and screw that side of the shelves in place.

Don't try this without clamps.

It could have been cheaper if I had used all reclaimed fence 2x4s, and if my errand runner had bought cheaper 1x12s. He bought top-grade when #2 would have worked for half the price,

Estimated Cost
$ 30
Estimated Time Investment
Afternoon Project (3-6 Hours)
Finish Used
None
Recommended Skill Level
Intermediate

Modern Outdoor Patio Chair

Submitted by Hemann85 on Tue, 07/07/2020 - 11:15

I just built this chair but I think I will be adding a back support for a larger cushion. The stain is a semi translucent white with a touch of grey.

Estimated Cost
$50
Estimated Time Investment
Afternoon Project (3-6 Hours)
Finish Used
Valspar semi-translucent
Recommended Skill Level
Beginner

PATIO TABLE WITH BUILT-IN BEER/WINE COOLERS

Submitted by Joagirard on Fri, 07/04/2014 - 21:05

My sister was in love with my 4x4 truss table i made and needed a patio table so we decided to take one day to make 2 tables, one for each. We convinced both daddys to take care of the kids while we made the table by telling them the tables were gonna have beer coolers inside! Attaching the to of the table was a lot a job. If you plan of doing this you really want to have a kreg jig. It works well, we love it. I made a bench to go with it. I made my how plan for it.

Estimated Cost
200$
Estimated Time Investment
Weekend Project (10-20 Hours)
Finish Used
Sico outside wood stain color oak. 3 coats for the top and 3 coat sico chocolate for the bottom. All applied with a brush.
Recommended Skill Level
Intermediate

Toilet step stool

This was my first project at building some sort of furniture. we wanted a stool that really fits out toilet bowl shape, the height, etc. and 2x6's worked perfectly. I could have bought 2x12's for the sides, but it would have cost significantly more and with the inside support board it is plenty sturdy.

I bought 2# 2"x6"x6 foot coarse pine boards from Home Depot (not the expense Select Pine boards. They cost about $6 each. Then I bought a 100 count package of Kreg 1.25" coarse screws.

Cut lengths
2 @ 15 3/4" for lower sides
2 @ 10 1/4" for upper sides
5 @ 14" for steps and fronts
1 @ 12 1/2" for inside support

I used my Kreg Jig and connected all the pieces along with wood glue. I sanded the whole thing down after and tried to round/smooth the corners.

Estimated Cost
$17
Estimated Time Investment
An Hour or Two (0-2 Hours)
Finish Used
none yet.
Recommended Skill Level
Starter Project

Comments

pADDY1957

Tue, 03/01/2016 - 10:29

Does anybody have plans for a potty seat. I would like to build a childs chairs that has a ptty

Dartboard Cabinet

I had a big empty wall in my den/man cave, so I decided to build a dartboard cabinet instead of just hanging a dartboard on the wall. No plans for this, I just made it up as I went. Measured twice, sketched it out and cut as I went.

I use pine 1x4's for the frame and back. 1x3's for the accessory box, 1x2's for the door frame, and poplar strips for the doors and door braces. The darts are held by 6" long 2x2's with holes drilled.

Wood screws, finish nails, and small brads were used to hold everything together.

The chalkboards are simple MDF's cut and sprayed with chalkboard paint. Overlay hinges are used for the doors, and the dartbord is held on with screws from the back so it can be replaced when needed.

The Alabama A is hand-painted.

Estimated Time Investment
Day Project (6-9 Hours)
Finish Used
Minwax Classic Gray with light coats of spray glosscoat.
Recommended Skill Level
Beginner

Big Kids Picnic Table

Loved your plans for this and built a table for my 4 year old grandson who could destroy a box of rocks if given the opportunity! I was able to get by with (5) 2X4's instead of the (6) called for in the plans which was even better since I've now got an extra one for the next project. I used pocket hole screws, #8 x 2-1/2" exterior grade screws, and some Thompson's Water Seal and everything turned out even better than expected! Virtually no "scrap" to absorb either. Thank you for sharing your plans - I'm looking at those for the full-size version for someone that has asked if I could build one for him!

Built from Plan(s)
Estimated Cost
$30 - $35
Estimated Time Investment
Day Project (6-9 Hours)
Finish Used
Thompson's Water Seal Natural Cedar

Bedroom to walkin closet

Submitted by Jonesey on Fri, 11/18/2016 - 21:55

Bedroom conversion to walk in closet.

Inspired by Ana White we turned a spare bedroom into a walk in closet.  We ripped up the old carpet, polished the concrete floors and built over 30 feet of custom closet.  We also added two shoe racks and a linen closet.  The shelves are 90" tall and that enabled us to double up on the hanging pipe.

Thanks to all here on Ana White for the inspiration!


Estimated Cost
$800
Estimated Time Investment
Week Long Project (20 Hours or More)
Finish Used
Clear polyurethane
Recommended Skill Level
Intermediate

Comments

Chicken Coop

Submitted by Elloh on Tue, 08/11/2020 - 11:05

This was my biggest build yet and these plans along with being able to see a few brag posts with modicifactions made this project less intimidating. I extended the coop in order to add a walk in door. The drop down doors on both sides will give plenty of access and help with cleaning. I've added door latches to all the doors since putting it in place. My dad provided the cedar so that greatly reduced my costs. This project took about six days to complete. The fun part was getting it out of my carport : ) This was built for my daughter's chickens and she is thrilled with it. So am I! Thanks for the plans Ana!

Estimated Cost
Hardware, screws, hardware cloth and plywood - around $150

DIY Crown Molding Shoe Organizer for Heels

Submitted by lbrown on Tue, 10/30/2012 - 18:52

I made this over the door shoe organizer for my heels using a pair of 6' 1x3s, a scrap of 1x4 and some crown molding. It was quite quick to make and I am really happy with how it turned out.

For detailed instructions, check out my blog: http://homeandawaywithlisa.com/blog/2012/10/30/diy-crown-molding-closet…

Estimated Cost
$25
Estimated Time Investment
An Hour or Two (0-2 Hours)
Finish Used
White spray paint
Recommended Skill Level
Beginner

Side Street Bunk Beds (with modified ladder)

After building the playhouse loft bed, I found this project to be very easy. I built the bunk beds at 37/38 weeks pregnant, so that should tell you how simple it is to construct. The total cost came in under $300 and I was able to use some of the scrap wood I already had in my garage.

I did run into some trouble with the slanted ladder. Even though the pieces were cut to the exact measurements in the plan, the sides of the ladder were too short for the bed. Being very pregnant and impatient, I just modified the ladder so I wouldn't have to waste the pieces I'd already cut.

You may also notice that I didn't fill and sand my pocket holes on the end pieces yet. That was also me being very pregnant and impatient. I'll go back and do that later when I have more time. Despite the little bit of finishing work remaining, this was pretty much a 2-day project. Cutting and construction was fast (one day) and finishing took another full day.

I used Valspar "Blue Burst" paint from Lowe's to finish the bed. I used bolts to attach the side rails because we move frequently so I wanted the bed to be easy to disassemble. Overall, this was a very easy and fun project!

Built from Plan(s)
Estimated Cost
Just under $300
Estimated Time Investment
Weekend Project (10-20 Hours)
Finish Used
Valspar "Blue Burst" interior paint
Recommended Skill Level
Beginner

Comments

vpihoney

Sun, 11/11/2012 - 21:37

Love how you whipped this together! I stumbled upon your post as I started working on these bunk bed plans today (I can't read the dimensions on the diagrams from a printout, so i open up the plans on the iPad). I had to finish up the ladder and side rail today. I was stumped yesterday evening with the same ladder issue. Why was it coming up short? It was really annoying considering it took me a while to figure out a 60 degree angle on my miter. I decided to try changing my ladder angles to 22.5 and 67.5, as I still wanted a leaning ladder, but I thought a reduced angle would work better. Didn't have to scrap my boards either, whew. Love how quickly you put this together! Coincidentally, I'm 33 weeks pregnant, but moving terribly slow compared to you.

purpleheather79

Mon, 11/19/2012 - 07:25

I'm glad I'm not the only one with the ladder issue! I couldn't figure out what went wrong. I also tried to adjust the angle but my boards were just a tiny bit too short and I was not wanting to run to the store to get more. I do like the leaning ladder better though. Can I just say that I love that you're building this bed while pregnant too? That's awesome! :)

Outdoor Storage Bin

I used Ana Whites plan and modified to fit my our space and outdoor pillows.

Estimated Cost
50
Estimated Time Investment
Weekend Project (10-20 Hours)
Finish Used
Minwax Gunstock 231
Recommended Skill Level
Beginner

Comments

DIY_Women Owens Nightstand

Submitted by diy_women on Mon, 09/08/2014 - 08:39

This piece came out beautifully! Took all of 6 hours to complete it. I used pine on this project.

Built from Plan(s)
Estimated Cost
Cost about 75 dollars.
Estimated Time Investment
Day Project (6-9 Hours)
Finish Used
Polyurethane.
Recommended Skill Level
Beginner

Christmas Tree Shelf

Submitted by Anonymous (not verified) on Mon, 01/02/2017 - 05:48

Ana, Thank you so much for the plans for yoru Christmas Tree Shelf. My niece is a huge fan of the Christmas all year round and now that she has her own place it was a perfect fit. I edited the bottom area so it woudl be able to sit on a table, she is currently in an apartment and does not want to attach much to the walls. Added the boards in the back of the two compartments so it can later be hung, and also predrilled holes in the shelf bottoms in order to crew in eye hooks to hang ornaments from if she likes.


CtL

Built from Plan(s)
Estimated Cost
$15
Estimated Time Investment
Weekend Project (10-20 Hours)
Recommended Skill Level
Beginner

Outdoor planter steps or benches

Submitted by Anonymous (not verified) on Tue, 09/15/2020 - 00:45

A very enjoyable project. I'm relatively new to diy woodworking projects but these plans make it so much easier.

Thanks.

Estimated Cost
$250
Estimated Time Investment
Weekend Project (10-20 Hours)
Recommended Skill Level
Intermediate

Comments

Faux Mantle by Posh Barn

Submitted by Posh Barn on Wed, 12/05/2012 - 16:30

This is such a great project. Easy and fast you still have time to make one for hanging Christmas stockings!

Estimated Cost
90.00
Estimated Time Investment
Afternoon Project (3-6 Hours)
Finish Used
Cool Grey with some distress
Recommended Skill Level
Beginner

Comments

Seasonal And Holiday