Community Brag Posts

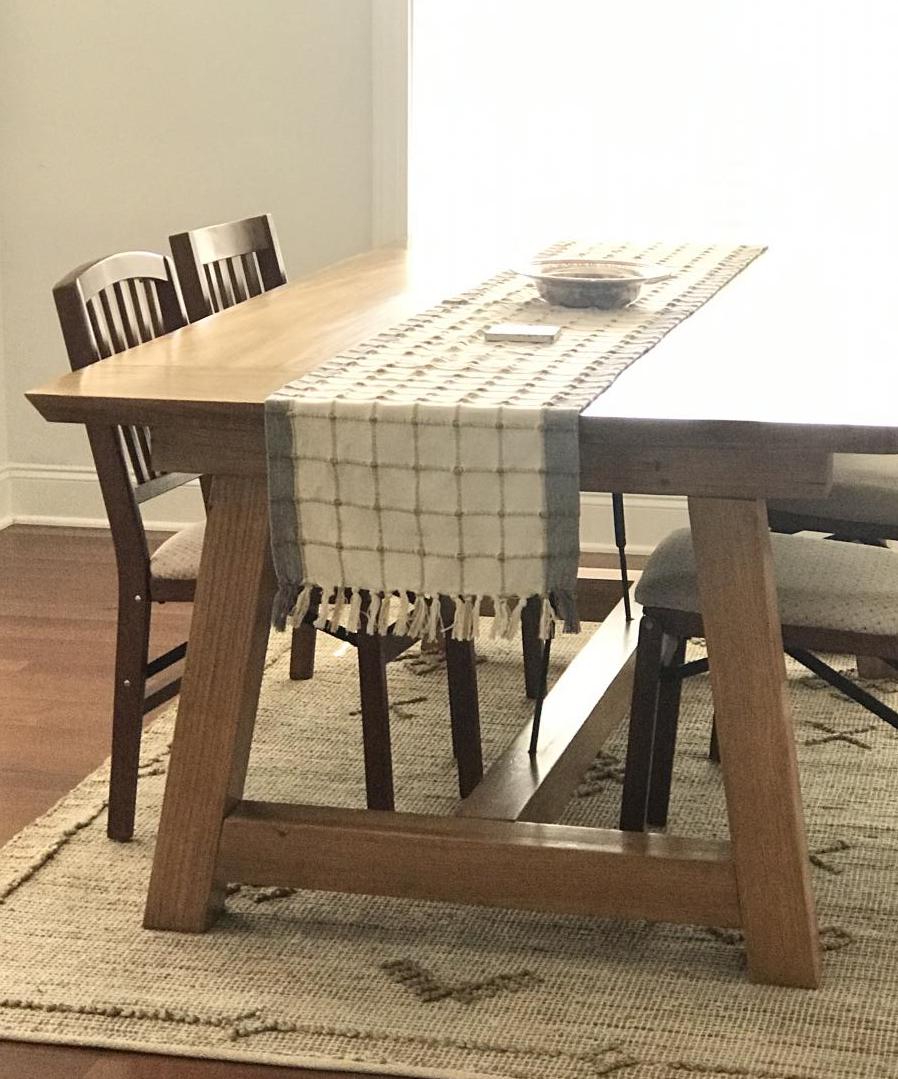
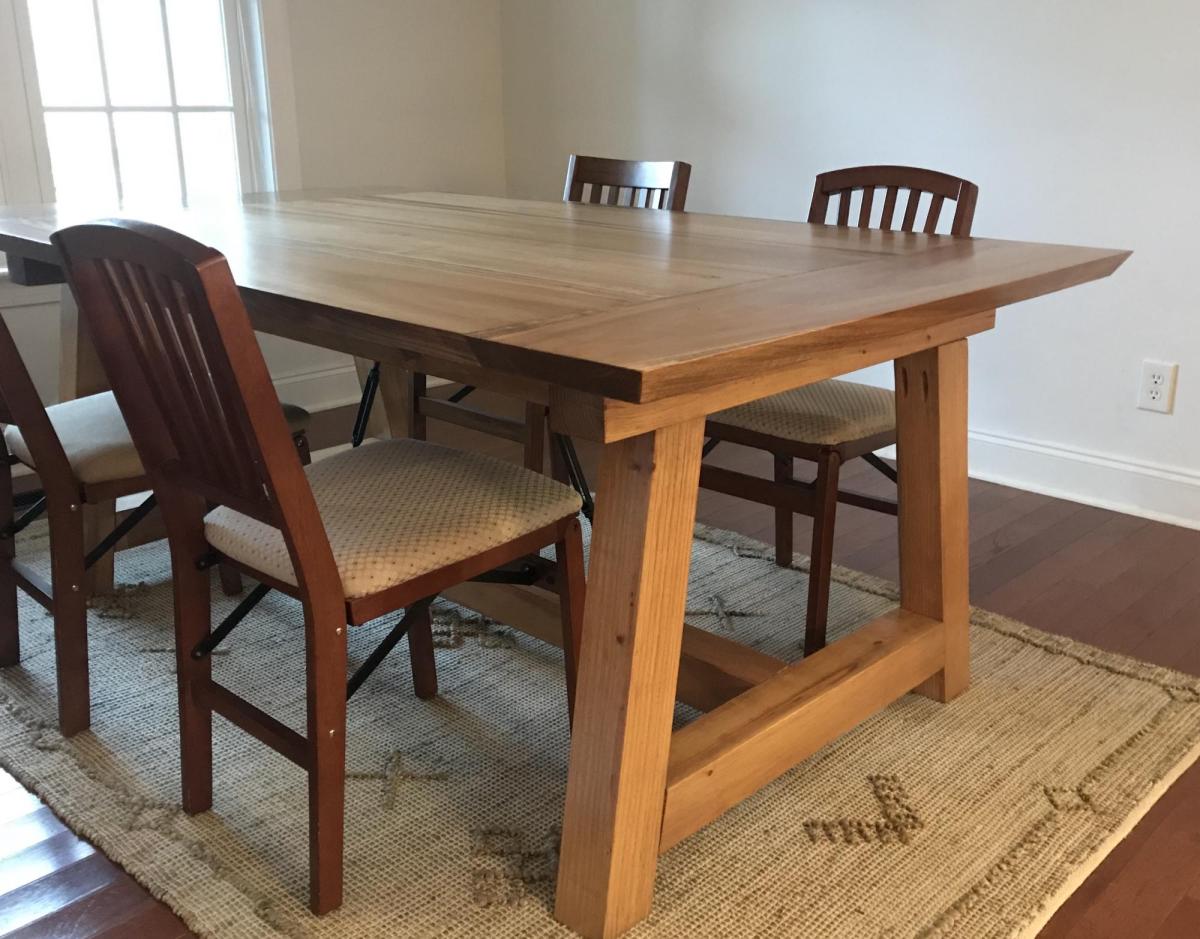
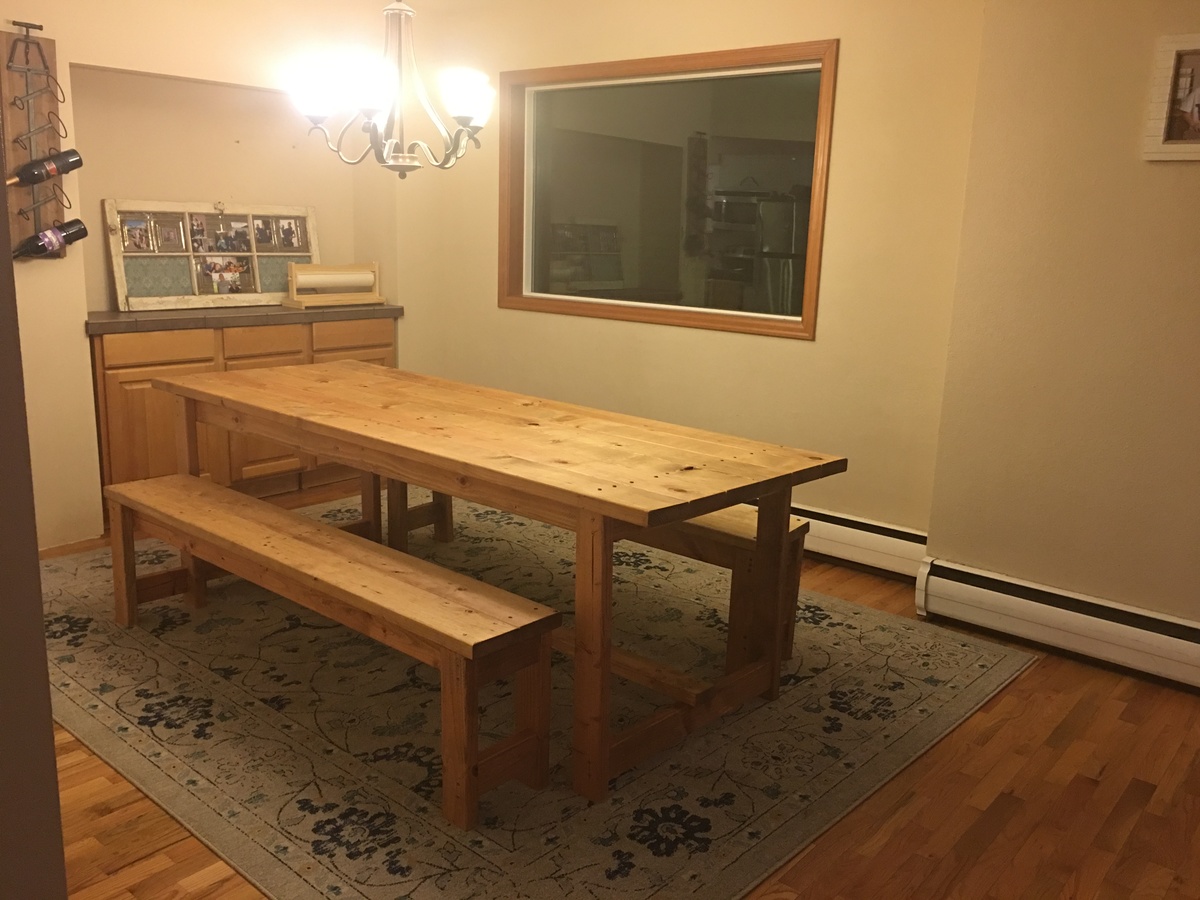
Farmhouse Table with Industrial Hardware

Submitted by Anonymous (not verified) on Sun, 01/17/2021 - 11:26

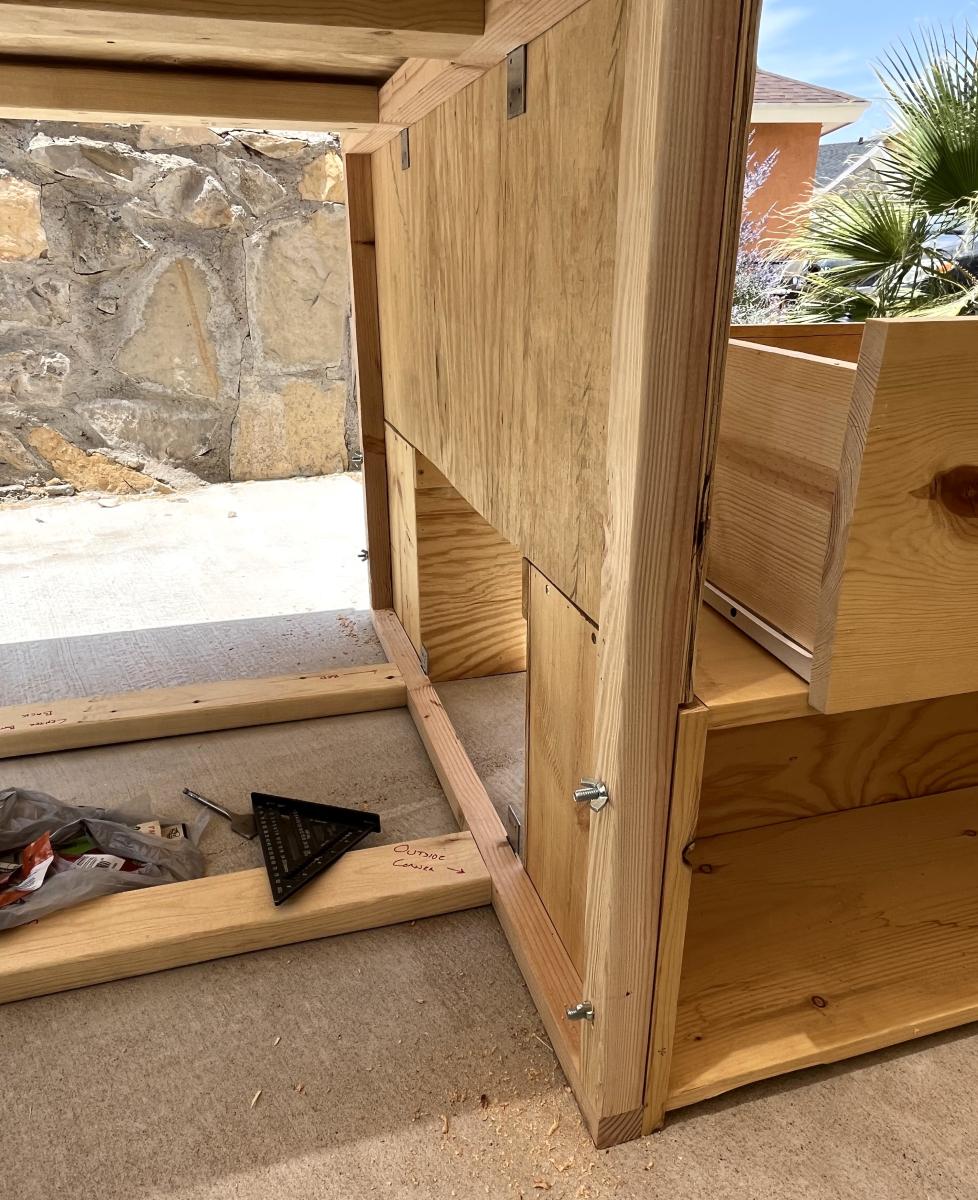
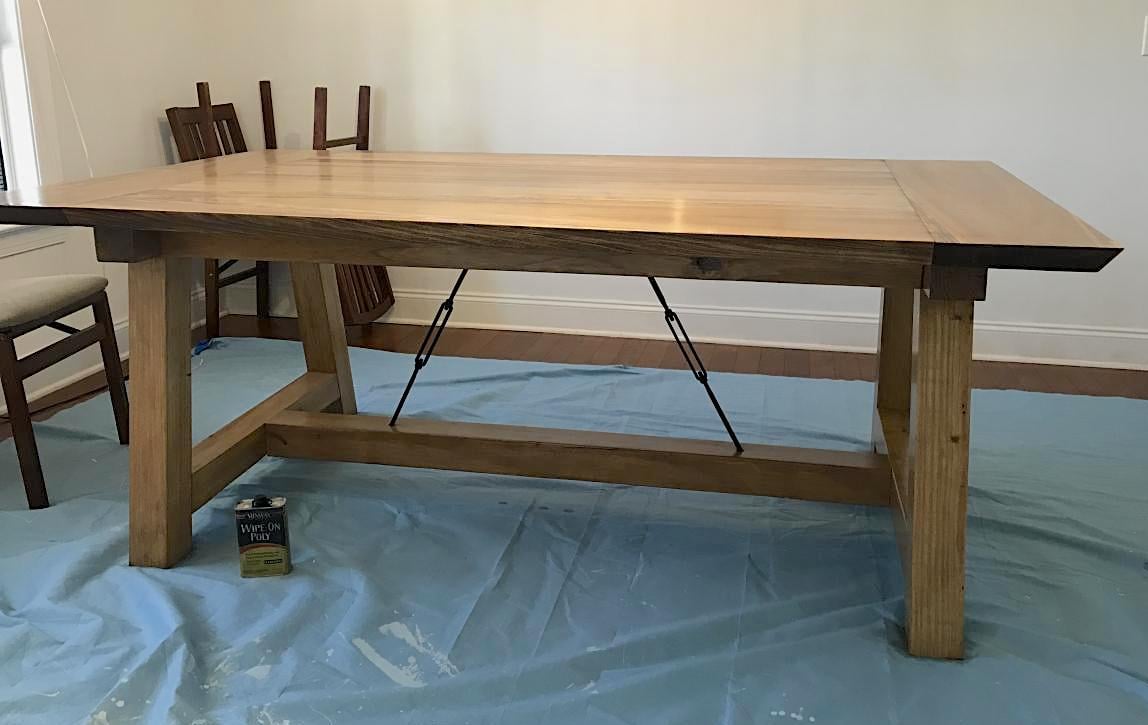
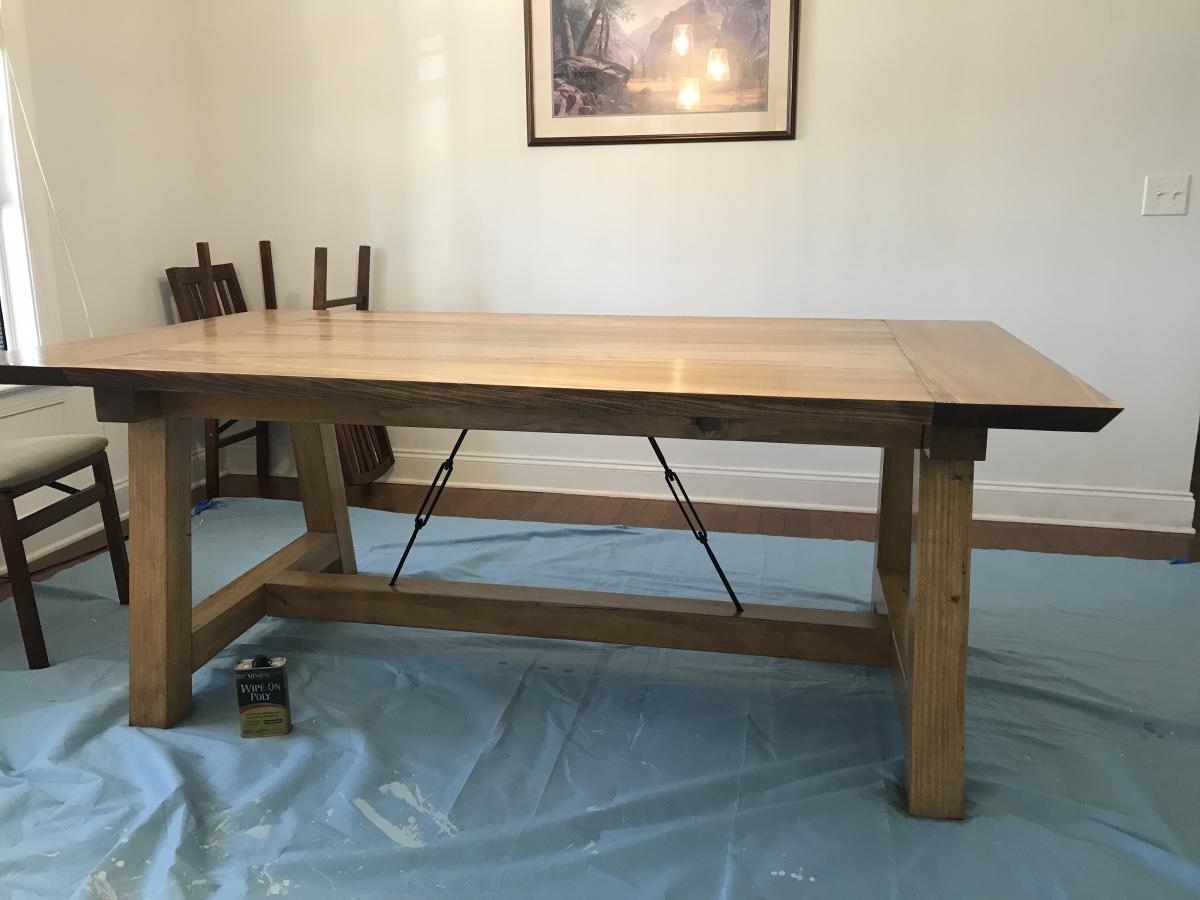
My hubby and I used the tressle table plans to make this awesome table. We changed it up, adding the turnbuckles like a Pottery Barn table that we wanted. I think this turned out way better!

We used yellow pine for the lower portion and poplar for the top.

Built from Plan(s)
Estimated Cost
200
Estimated Time Investment
Week Long Project (20 Hours or More)

Comments

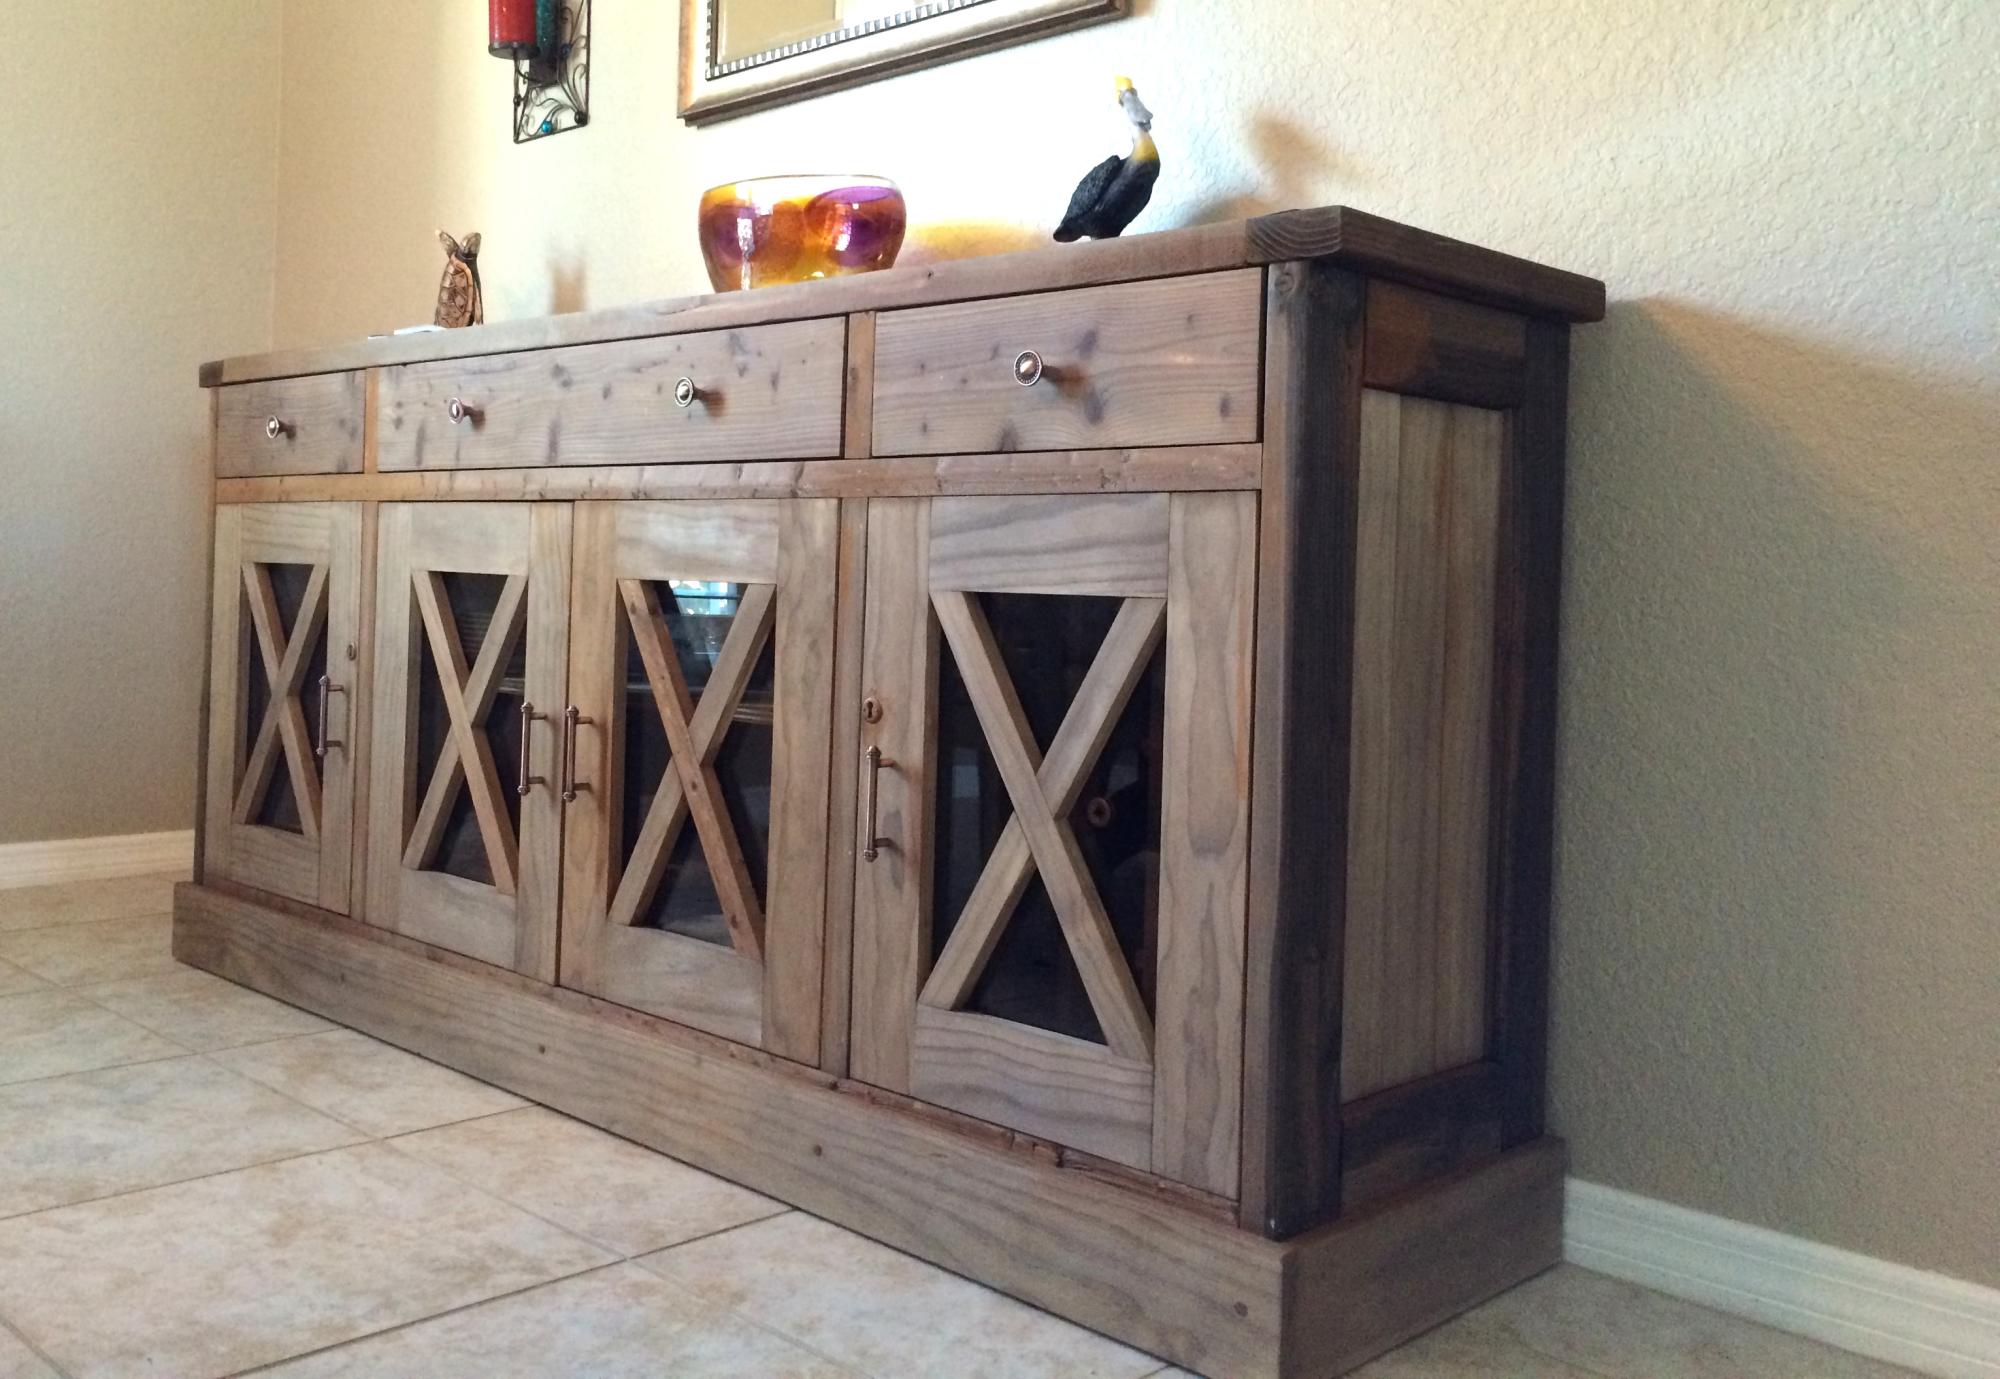
Dining room sideboard

Submitted by dougw on Fri, 12/19/2014 - 09:12

I made a few modifications from the original plans as I wanted to have some visibility into the cabinets. I used natural pine and finished with a tea, vinegar/steel wool solution to give it the reclaimed wood look.

Built from Plan(s)
Estimated Cost
$400
Estimated Time Investment
Week Long Project (20 Hours or More)
Finish Used
Tea then Vinegar/Steel Wool. Protected with wax.
Recommended Skill Level
Intermediate

Comments

Jessica b

Wed, 08/17/2016 - 23:42

Would you have plans available for the modifications that you made? This is beautiful!!

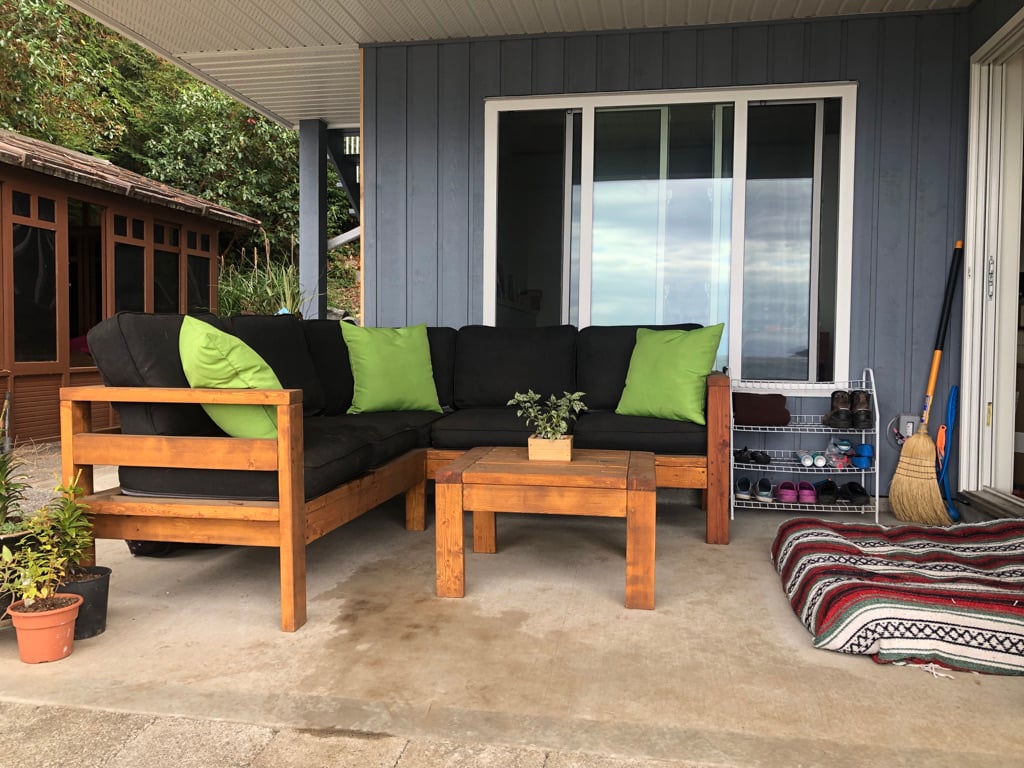
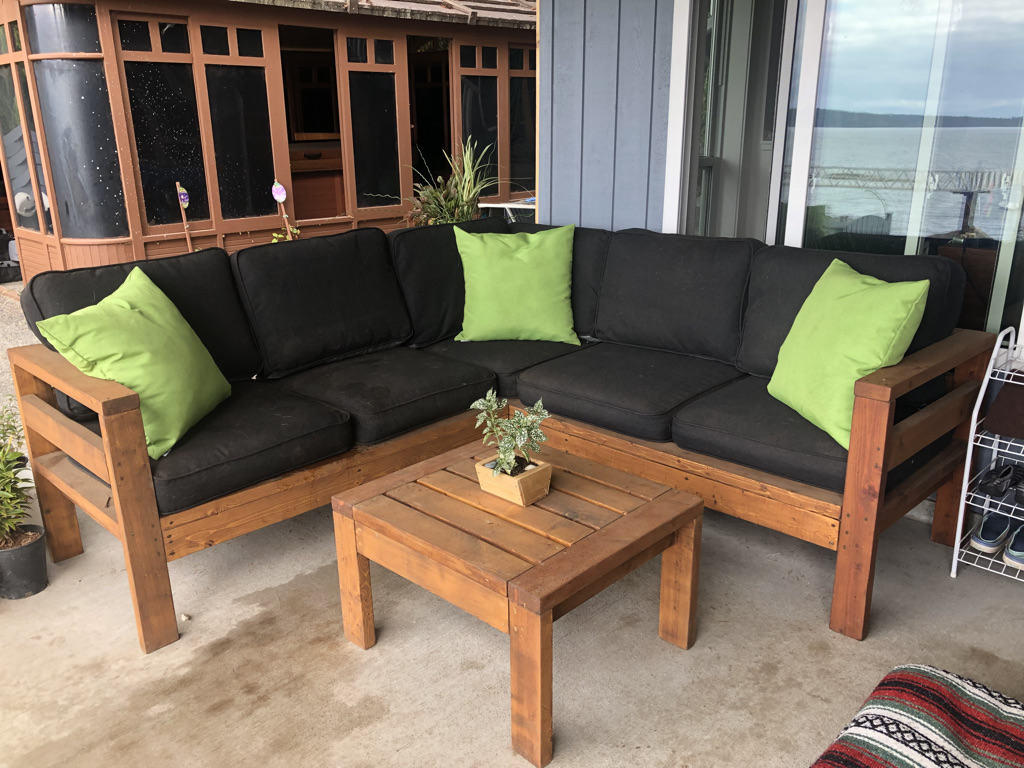
Modified 2x4 Outdoor Sofa, Sectional, and Coffee Table

Submitted by SofiaTaz on Mon, 08/30/2021 - 12:40

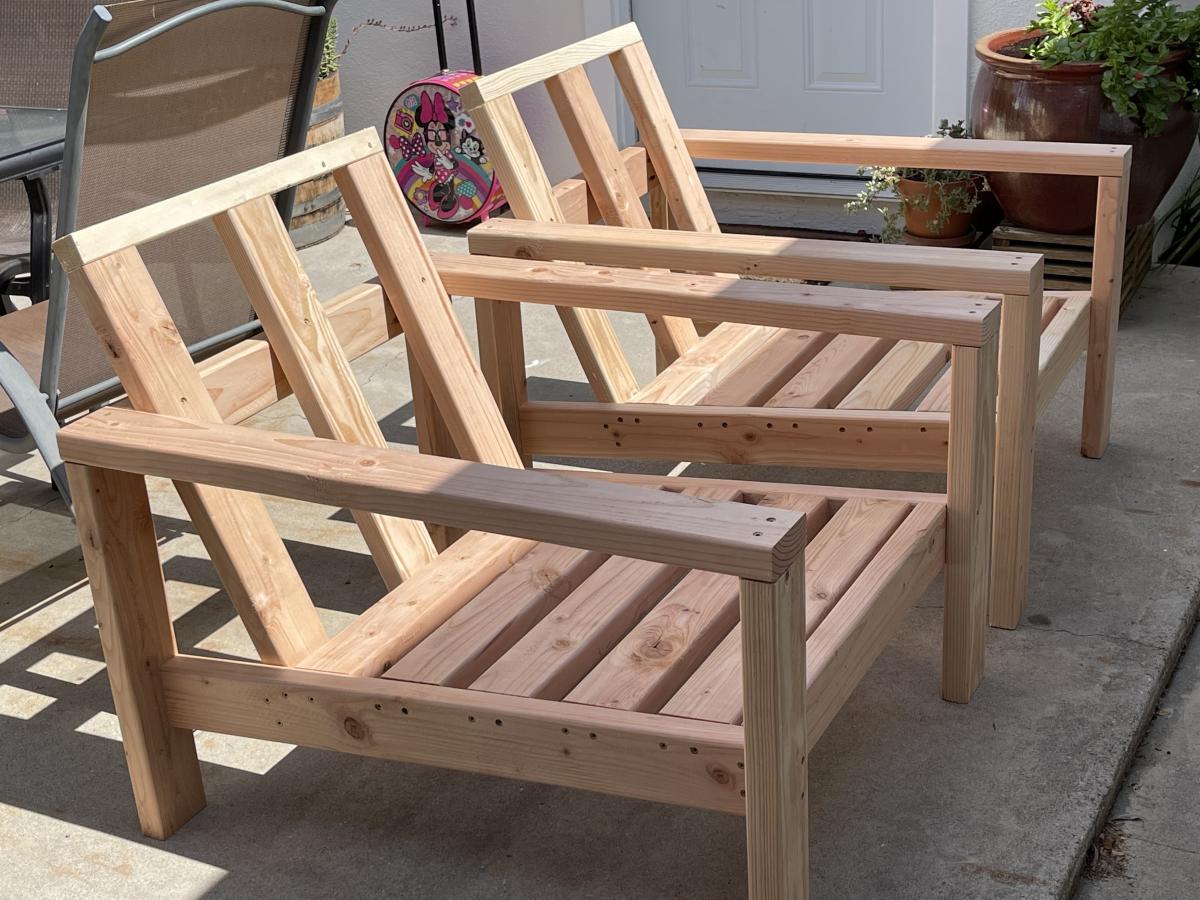
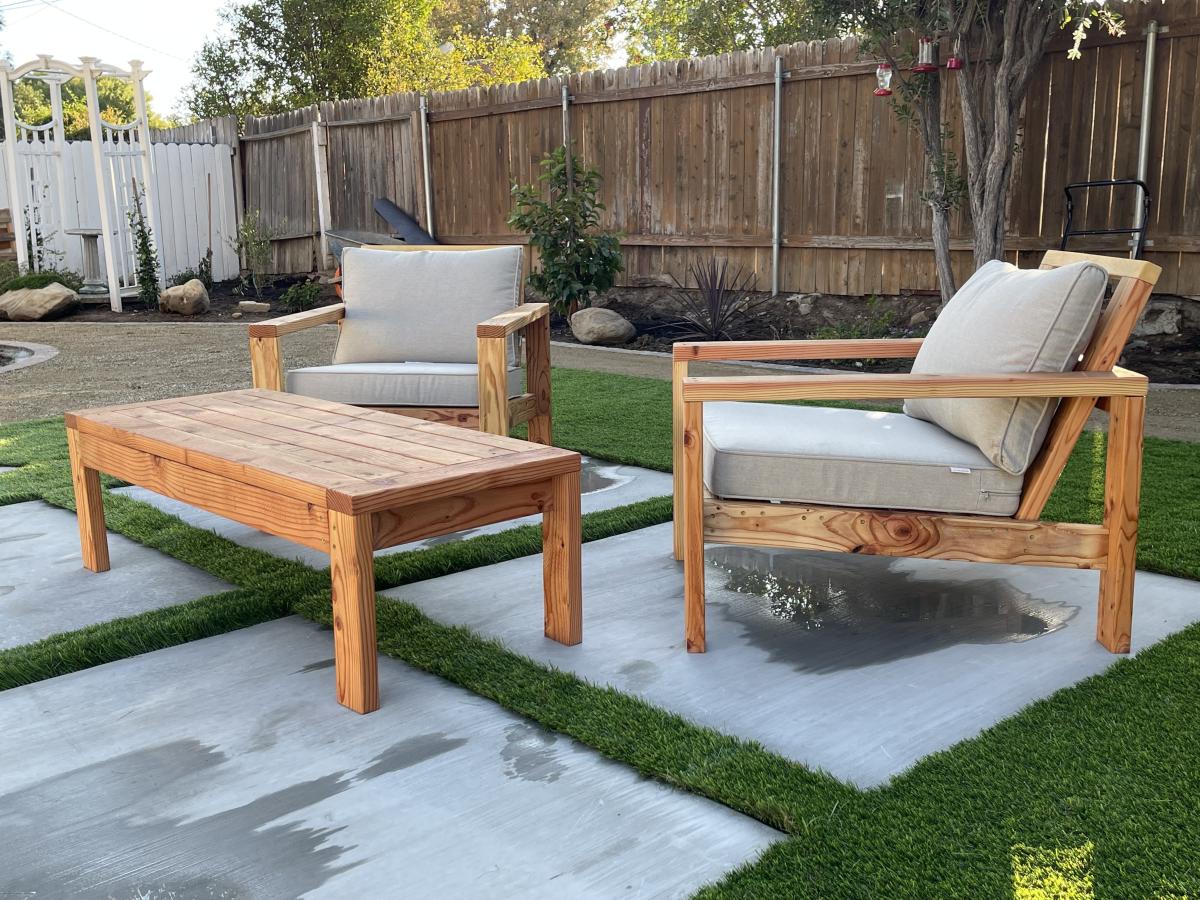
My daughter and I built this out of the old framing that was pulled out of the house (fir) and some leftover wood from a friend's house build a few years back. If the cushions are lifted up you will see the old electrical wire holes! I shortened the set by one seat so it would fit the patio space. The cushions are from Ikea and fit perfectly. I also modified the coffee table so it was the similar proportion to the full sized set. Thanks for the very approachable plans Ana! Excuse the water all over the area in the pics. We have water dogs and they seem to like the sectional too!

Comments

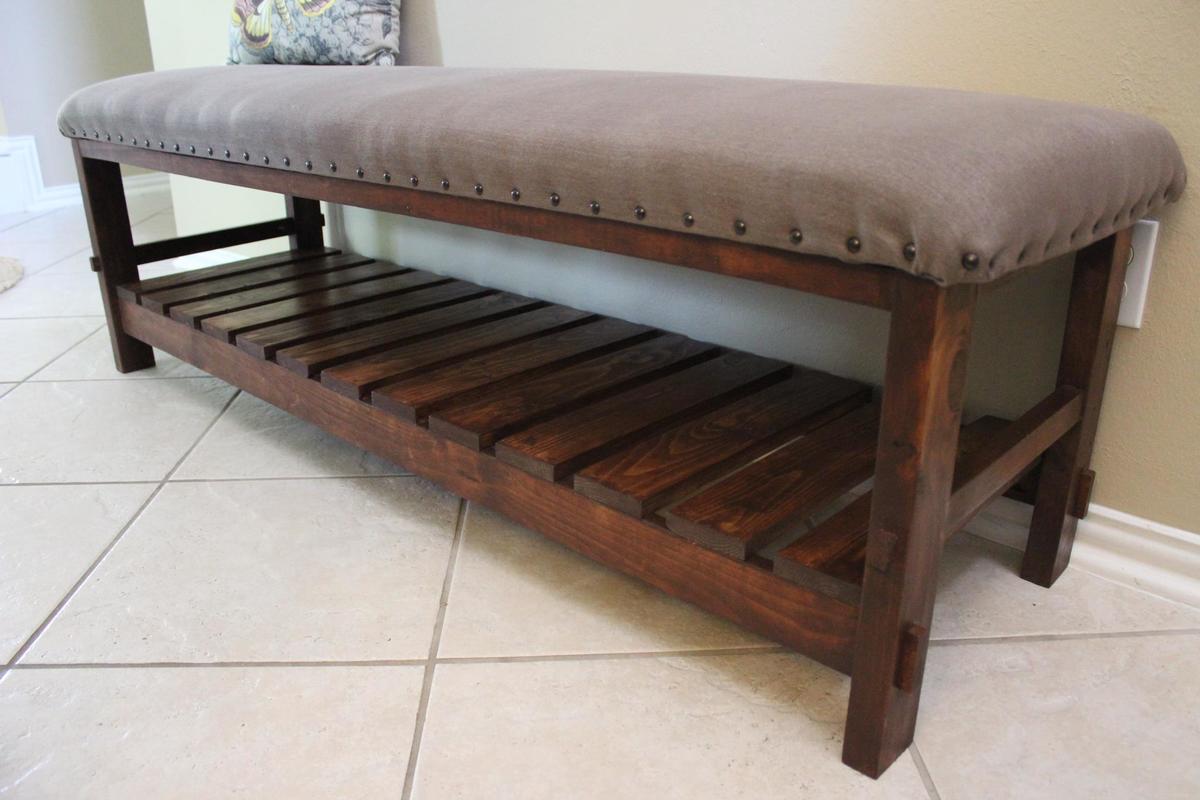
Upholstered Bench w/ Slatted Shelf

Submitted by scokenour on Tue, 05/14/2013 - 21:17

I had a client who requested a bench like the Caden Leather Bench by Pottery Barn, except she wanted it longer. I didn't bevel the legs because I used 2x3's instead of 2x2's and wanted to make it as sturdy as possible to accommodate the additional length. Needless to say, she was VERY happy with the bench and I am getting ready to work on one for our home now!

Built from Plan(s)
Estimated Cost
Client provided the fabric and most wood was re-purposed, so biggest expense was foam and batting.
Estimated Time Investment
Afternoon Project (3-6 Hours)
Finish Used
special walnut stain, then finished with a clear paste wax
Recommended Skill Level
Intermediate

Comments

scokenour

Thu, 02/06/2014 - 17:35

Sorry - didn't have plans for this one and I really stink at using the software Ana uses to make plans. I did loosely follow the Cayden Nailhead Stool plans, but, of course, modified in my attempt to duplicate the Pottery Barn bench the client wanted to match. I would be happy to help in any way I can, but you definitely need to be comfortable to work without plans. I used my Kreg jig quite a bit for this project and the little piece of wood that protrudes from the legs is faux - just cut a 1/2" piece and glued and nailed with my brad nailer.

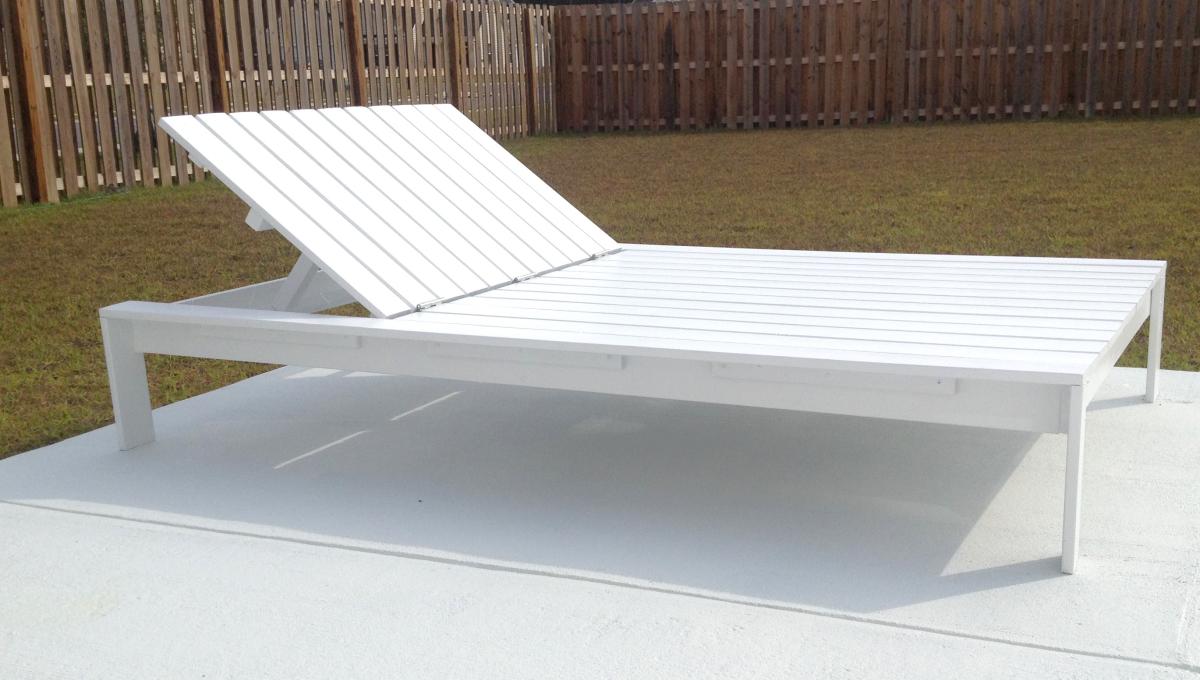
Double Lounger

Submitted by Celeste808 on Sun, 05/19/2013 - 07:47

Super easy project! Love it and made it in a weekend (taking breaks of course). Did paint all the pieces before assembly to make it easier, and added little pieces to the sides to make it resemble the West Elm Double lounger. Total cost for the wood and hinges was $50! Compared to buying it at $549... Im in love with what I made! Thanks again Ana for an amazing plan. Now to work on the cushion <3

Estimated Time Investment
Day Project (6-9 Hours)
Finish Used
Valspar Outdoor White Paint
Recommended Skill Level
Beginner

Comments

spiceylg

Tue, 05/21/2013 - 04:41

Want to build one of these for sure. Question, especially since it's double width.........will those 1" width legs hold all of that weight? They look so thin.

In reply to by spiceylg

Celeste808

Tue, 05/21/2013 - 16:19

I thought so too! But its really solid. Looking at the West Elm version it has the same size legs. I might beef them up though just to give me more piece of mind! But so far so good.

spiceylg

Wed, 05/22/2013 - 03:17

Cool, but then I thought the West Elm version's looked so thin, too, lol! When we built the outdoor sectional, we used 2x4s because several people we know, well let's just say extra support was needed! Be sure to post the pics of it with the cushion. Will you be making it?

In reply to by spiceylg

Celeste808

Wed, 05/22/2013 - 17:49

Ill be making the cushion here soon, I found its really not hard at all and then you can get exactly what you want. I plan on using the same fabric will all of my DIY outdoor furniture. Will post once its done ;)

Seasonal And Holiday

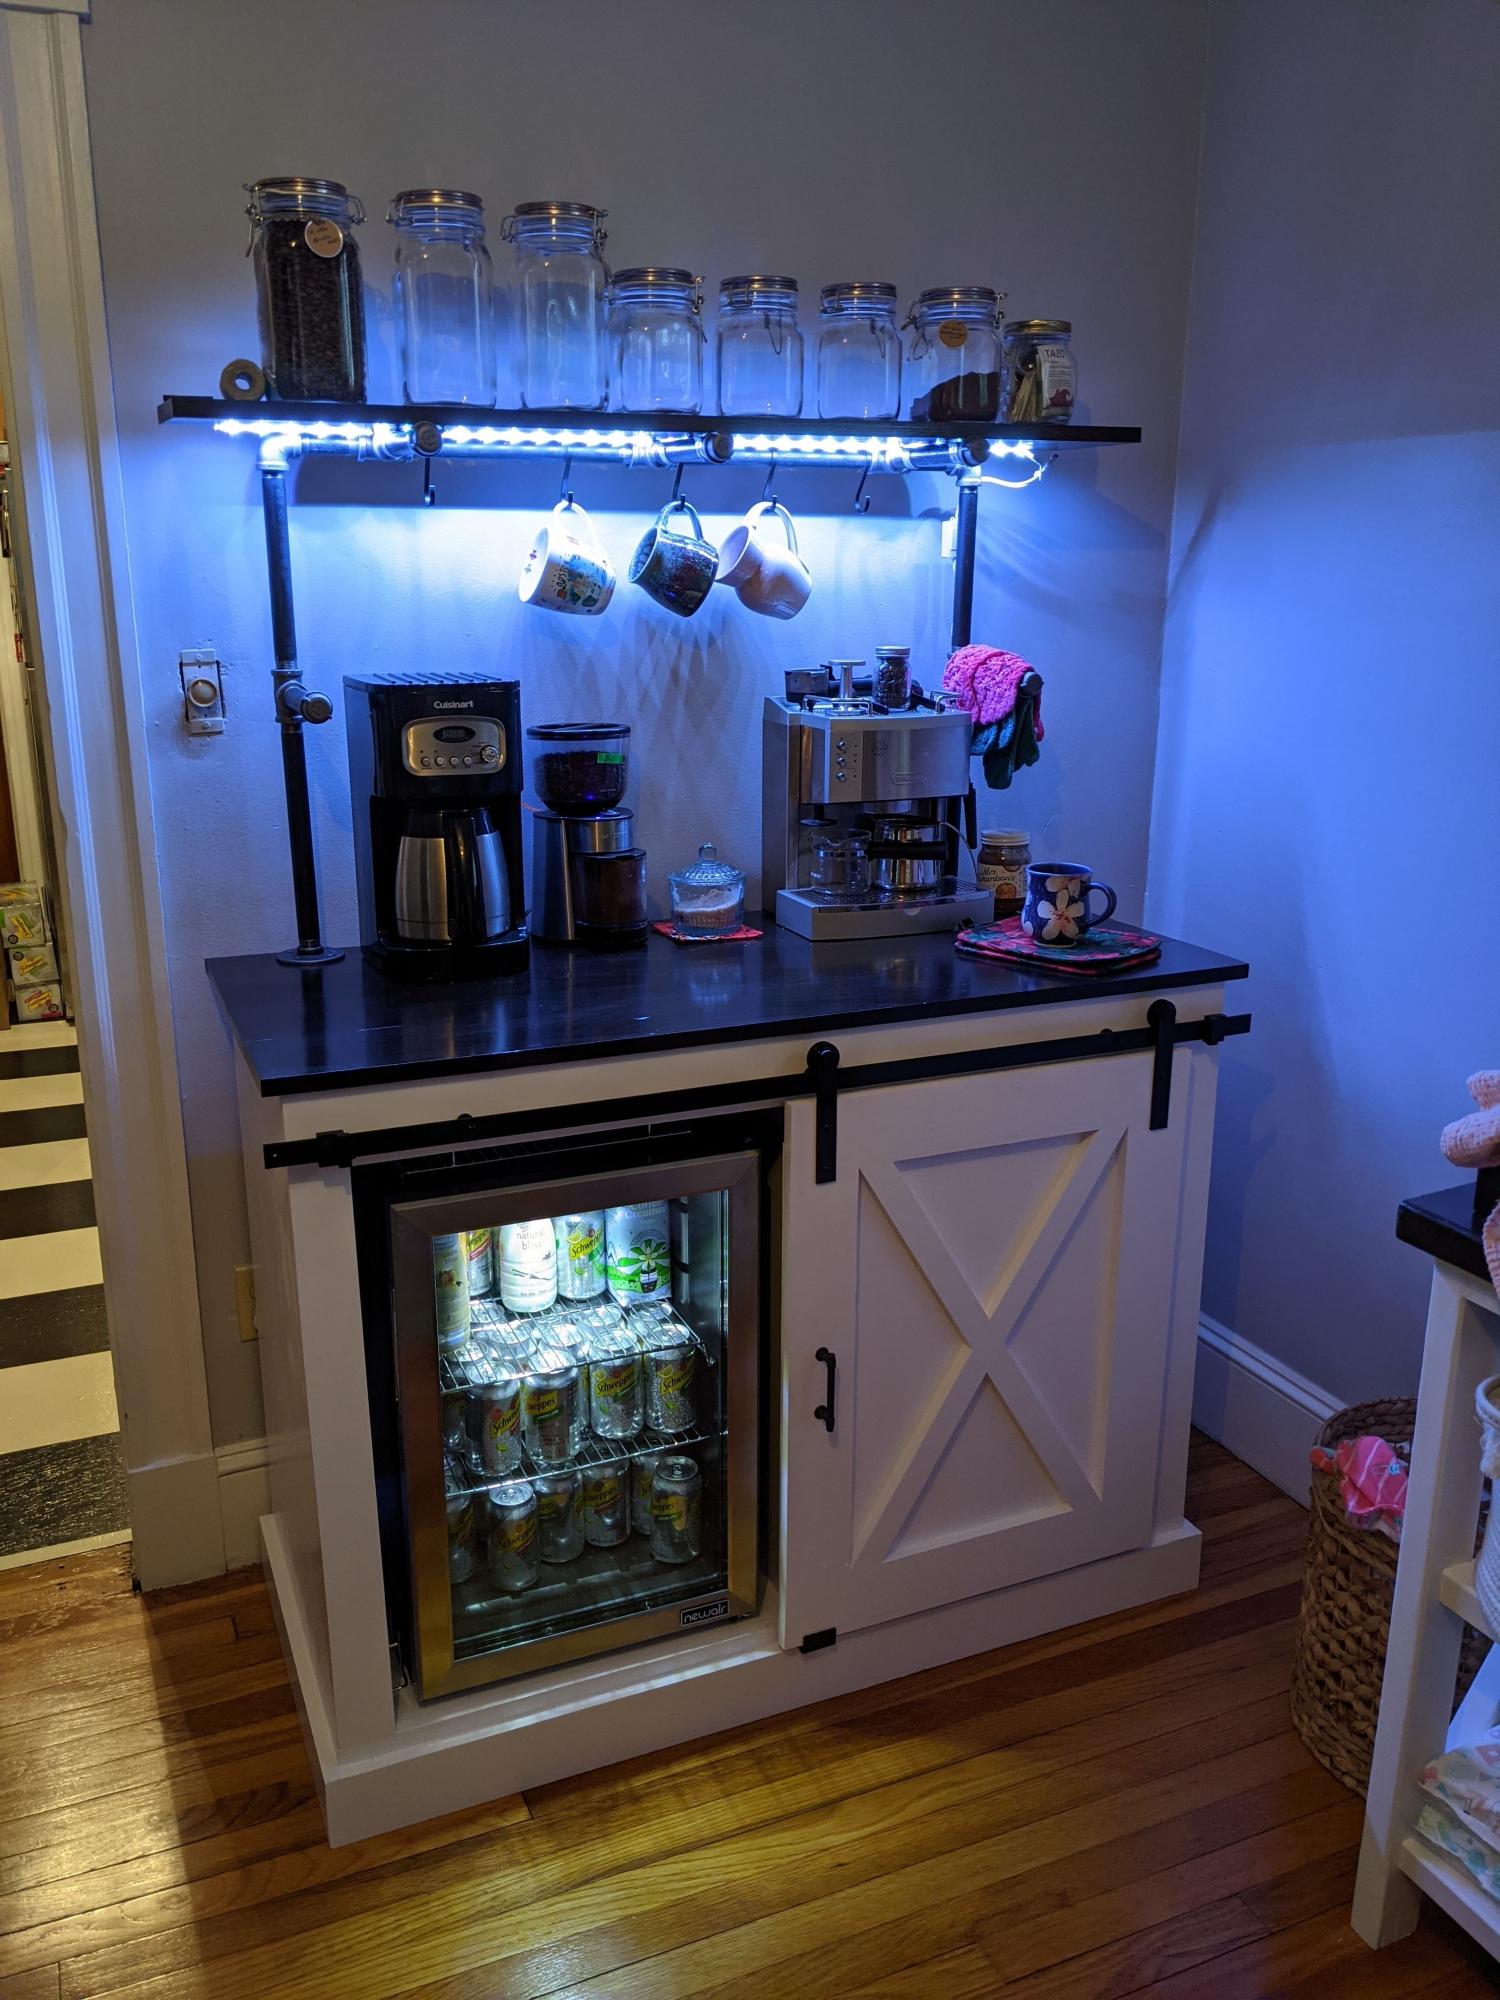
Coffee station

Submitted by Anonymous (not verified) on Wed, 10/20/2021 - 14:39

I was inspired by your coffee station plans to build this unit. I added an upper shelf with gas pipping, along with LED lights under the shelf. This station has been very popular in our house.

Comments

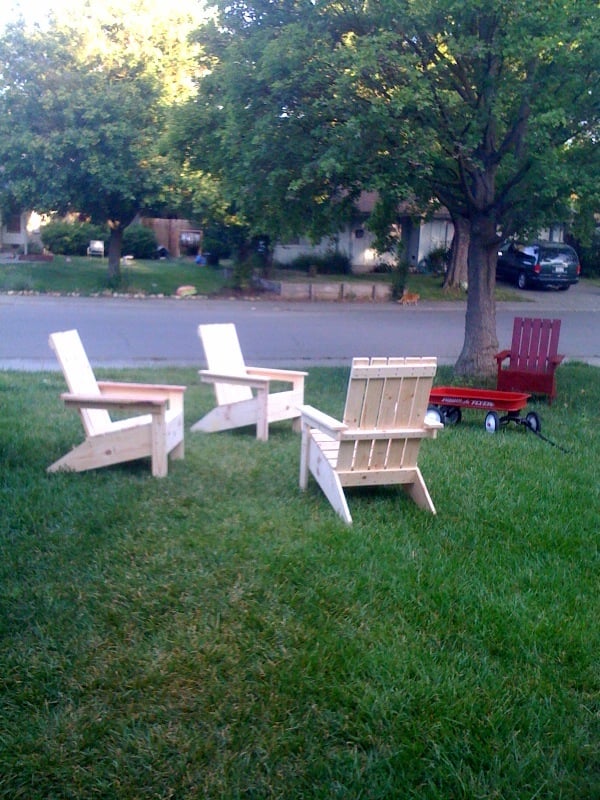
Adirondack Chairs

Submitted by ktrodger on Fri, 03/25/2011 - 20:01

This was the first project my husband and I completed from one of Ana's plans. I'd wanted a pair of Adirondack chairs for our yard, and convinced my husband that we could build them ourselves. Once he was on board, he suggested we build a pair for our neighbors as a surprise and leave them in their yard while they were out of town. We had a blast and learned a lot. We've had tons of compliments on the two sets of chairs, and during our last neighborhood garage sale, we had many offers to buy them (but we're not selling!). Thanks, Ana!

Built from Plan(s)
Estimated Cost
$100 for 4 chairs
Estimated Time Investment
Weekend Project (10-20 Hours)
Finish Used
I wanted to paint and my husband wanted to stain, so we each took a pair of chairs and did our thing. I spray painted with red Rustoleum and my husband stained with Miniwax.
Recommended Skill Level
Beginner

Folding Sewing Table

Submitted by cchalifour on Wed, 11/24/2021 - 19:36

Built this Folding Sewing Table for my daughter.
- 18 mm Baltic Birch
- Birch leds

Built from Plan(s)

Comments

Footbridge

Submitted by sooz122 on Tue, 04/26/2011 - 18:36

I wanted to make a footbridge for my mom so she wouldn't get muddy when she crosses a small drainage ditch when goes walking on the trails behind her house. I didn't have a plan and this was my first build and I loved it! I just wanted to give everyone an idea of something to build. Can't wait to build more.

Estimated Cost
45
Estimated Time Investment
Afternoon Project (3-6 Hours)
Finish Used
Dark Minwax Walnut with a couple coats of poly.
Recommended Skill Level
Beginner

Indoor Dog Kennel

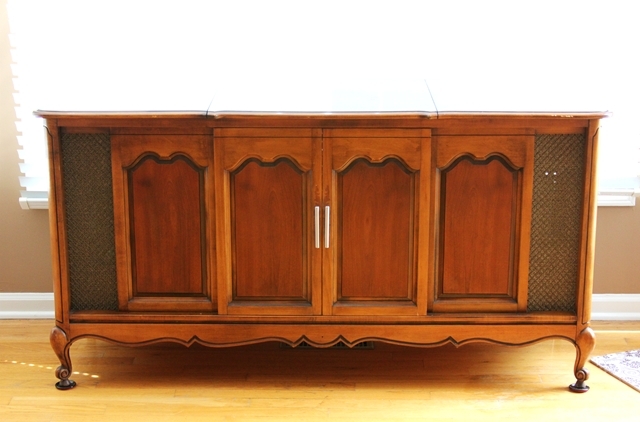
I love my dogs, but their wire kennels were an eyesore. Removing them completely was not an option, but I was tired of looking at them. I went back to my first-ever rehab project, and took it one step further to create a one-of-a-kind castle for my pups.
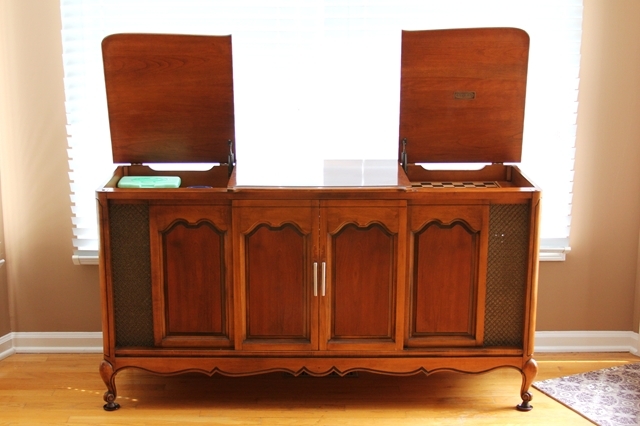
The original piece of furniture was an old console-style TV cabinet. Sliding doors on the front revealed the TV, and two lids on top contained the tuner and a turn-table.

Armed with screwdrivers, hammers and a dremmel, all components were removed form the cabinet, leaving just the shell. (PLEASE be sure you remove all sharp, potentially dangerous, screws, staples and what-not’s from the inside of the cabinets, to avoid injuring your pet! The dremmel allowed me to cut off and grind down stubborn screws.)

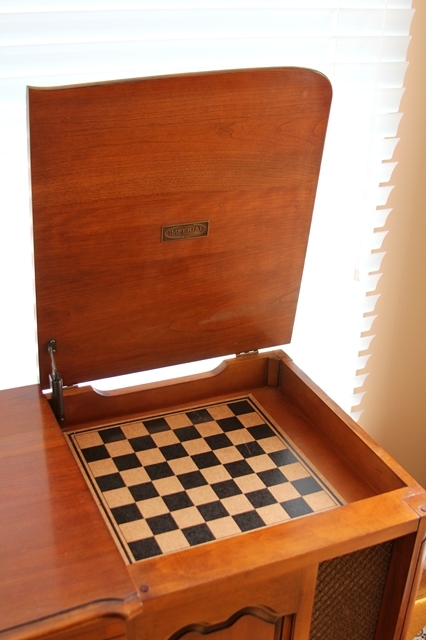
To cover the holes in the top cabinets, I used old checker boards. The cubbies are now a great place to store dog treats and leashes.

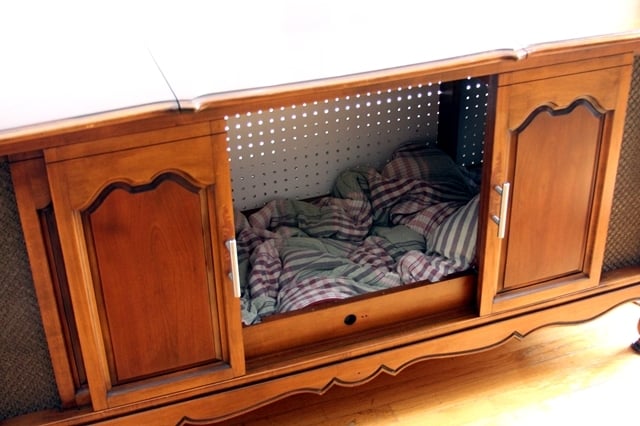
OPTIONAL: The back panel of the cabinet I used had holes from the TV components. I elected to replace the back board with a new sheet of peg board. (The peg board allows for much-needed ventilation.) In order to get the size perfect, I traced the old back onto the new and marked the original screw holes.

I vacuumed the inside to remove all construction debris and polished the exterior with Pledge. Then, I inserted an old comforter into the kennel, and stood back as my two pups launched themselves into their new abode.

The doors can stay open during the day for them to enter at their own will, and close for bedtime. And my eyes no longer hurt.

Estimated Cost
Cost of Cabinet (will vary)
Estimated Time Investment
Afternoon Project (3-6 Hours)
Finish Used
I did not elect to change the finish, but it could be painted to match any decor if you want.
Recommended Skill Level
Beginner

Comments

Barbara Cash

Thu, 08/11/2011 - 18:41

This was such a great idea. I love the old console. I love to build but I love it so much more when I can use old wood or repurpose parts of old furniture and industrial pieces. I feel creative. The checker boards are great. Do you have a blog?

Beffus (not verified)

Wed, 08/24/2011 - 09:33

I wish I thought of this or saw it long ago! I have 2 huge ugly crates in my living room...I am now on the hunt for 2 much better looking living spaces for my "other babies"! Love love this idea so much looks beautiful!

Beadboard Cabinet

Submitted by jamie_C on Sun, 08/28/2011 - 20:26

Since we don't have a garage or any really good place to keep our tools, they end up all over the house while we're working on a project. So, we decided to build a cabinet that would look nice in our house, and also house our tools. We chose the armoire plan because it has plenty of space.

This project took us forever, so it's hard to really estimate the actual working time. We began working on it back in June, then we were evacuated because of a forest fire.... By the time we got back into our house and we were organized again it was the end of July.... and now finally the end of August it's finished. It took us a while, but it's a great addition to our house!

We modified this cabinet by using 1/4 inch beadboard backed with 1/4 plywood for the doors. We also modified the size of the armoire to make it deeper.

Built from Plan(s)
Estimated Cost
$125 approximately?
Estimated Time Investment
Weekend Project (10-20 Hours)
Finish Used
Sanded, then painted the outside with a quart of "creamed coffee" oops paint, and painted the inside with a sage green paint from Habitat for Humanity Restore.
Recommended Skill Level
Beginner

Comments

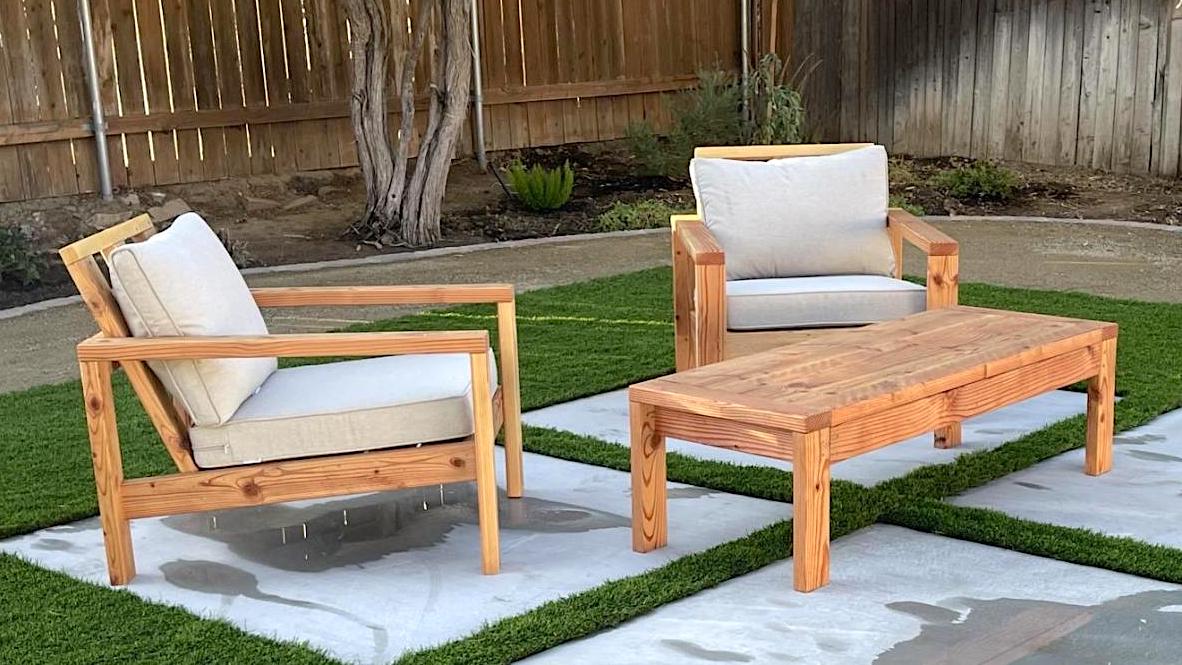
Outdoor chair frames and coffee table

I built a set of chairs and a coffee table for our newly designed outdoor area. These look amazing and people love sitting on them and hanging out outside our house.

Comments

Seasonal And Holiday

Modified sturdy bench and Weatherly sofa

Submitted by lazyLiz on Tue, 02/14/2012 - 06:04

Modified the design and built from the sturdy bench and weatherly sofa plans for my patio set(will buy cushions in spring). I designed the tiled top dining table but I have yet to learn how to use the google sketch up to be able to submit plans here. However, if interested on what materials and step by step process with photos can be found on my blog link.
Tiled top table measures 42"X96" and 30inch high, seats 8 to 10.
All wood used are pressure treated pine.

Estimated Cost
Patio Set :$100-$150 (got my tiles from clearance section)
Estimated Time Investment
Week Long Project (20 Hours or More)
Finish Used
mahogany latex based exterior primer and paint in one, three coats
Recommended Skill Level
Intermediate

Comments

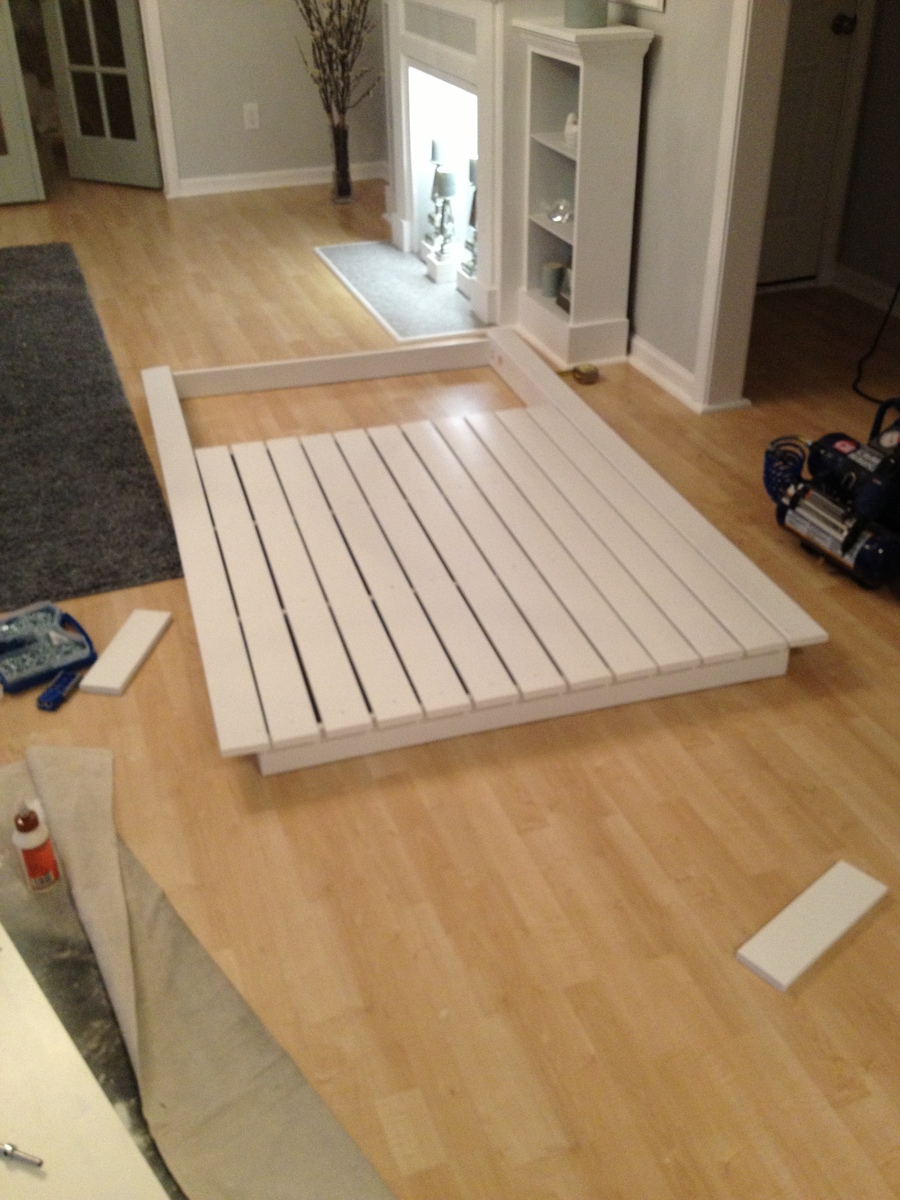
Pallet Headboard and Shelf

Submitted by Anonymous (not verified) on Fri, 07/14/2023 - 12:51

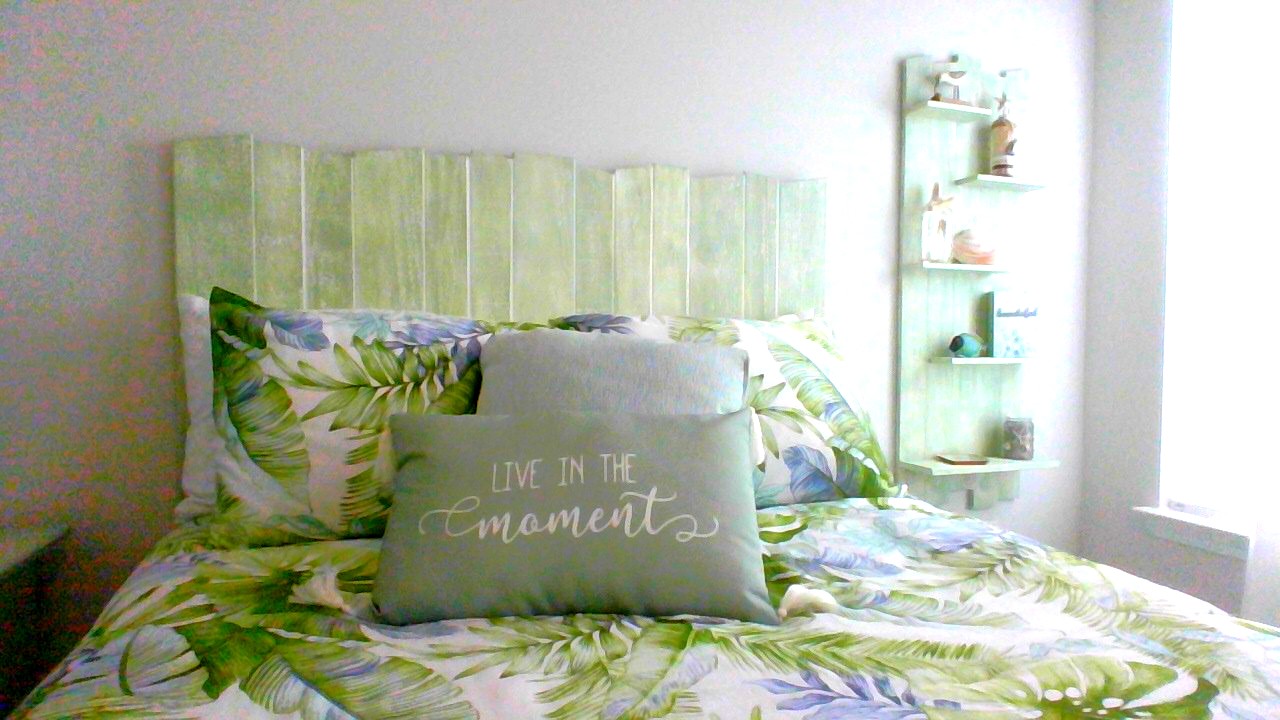
Hi Ana. Just wanted to thank you for all the free plans, and inspiration you gave me to start building projects out of pallet material. The headboard and shelf were made for a guest room in our new home in South Carolina. I have since built a blue headboard and shelf for our second guest room. After seeing my work, several neighbors have asked me to build pallet projects for them.


Jeff Schaefering

Our master closet from this plan!

Submitted by jec on Sat, 01/11/2014 - 07:18

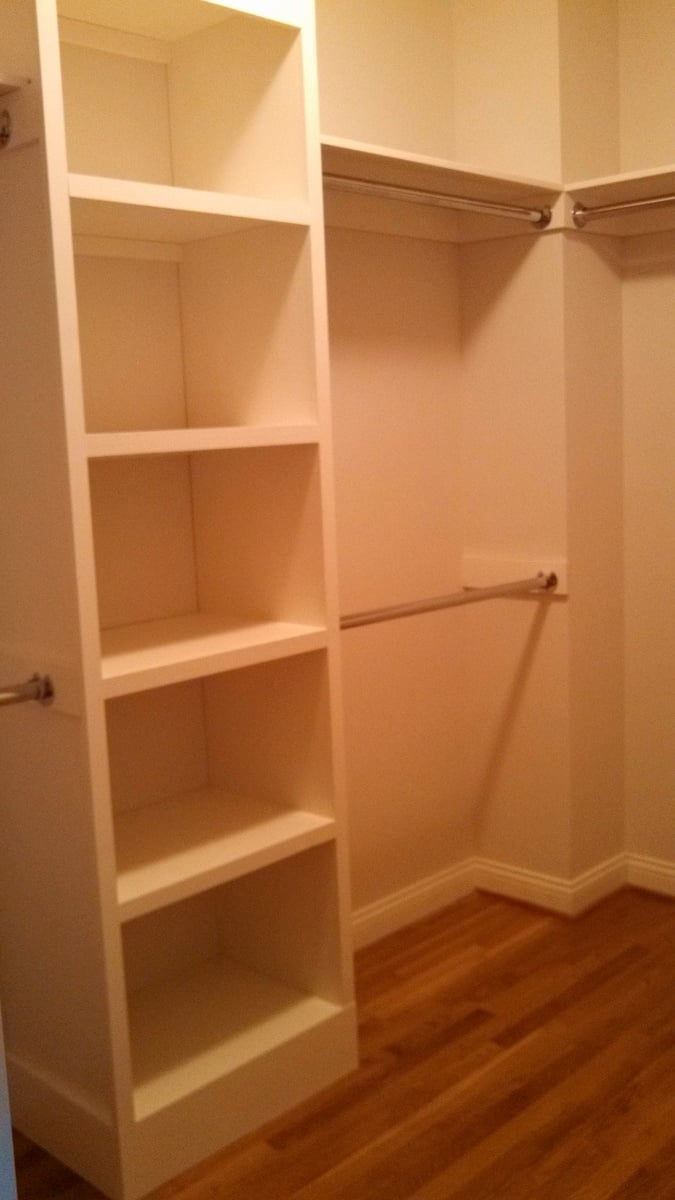
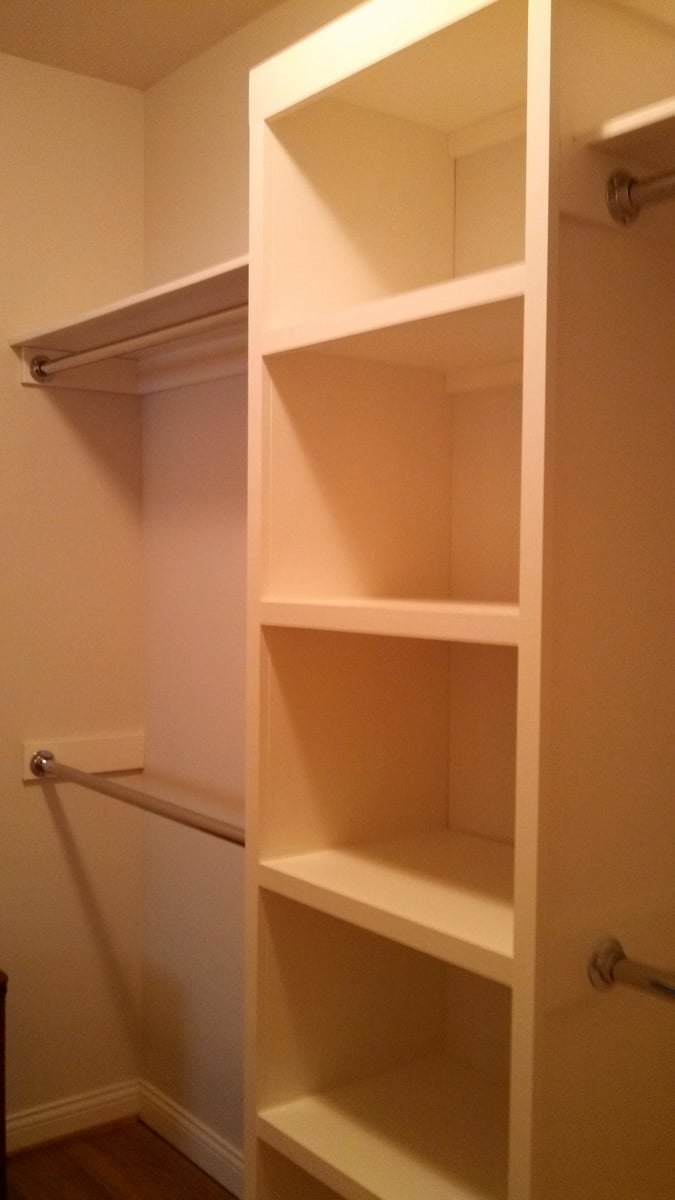
We built this master closet using the simple closet plan. It looks wonderful and wasn't too difficult to do once we determined the measurements we needed to use to fit our closet. My husband does not have much building experience at all, but he was able to do this with Ana's fabulous plans. Thank you so much for saving us hundreds of dollars! We have real wood in our closet and we love it!

We used plywood and painted all surfaces with indoor latex trim paint.

Built from Plan(s)
Estimated Cost
$100
Estimated Time Investment
Weekend Project (10-20 Hours)
Finish Used
Painted with interior latex trim paint from Porter Paint. Used 2 coats.
Recommended Skill Level
Beginner

Comments

imortison

Sun, 01/12/2014 - 19:02

It looks very nice. May I ask what dimension of the plywood you used?
They look more than 3/4'' thick to me, right? My husband and I are planning our very first project!! Any info /advice would be highly appreciated.

Room Divider Wall with Built-in Storage

Submitted by Anonymous (not verified) on Mon, 09/18/2023 - 15:23

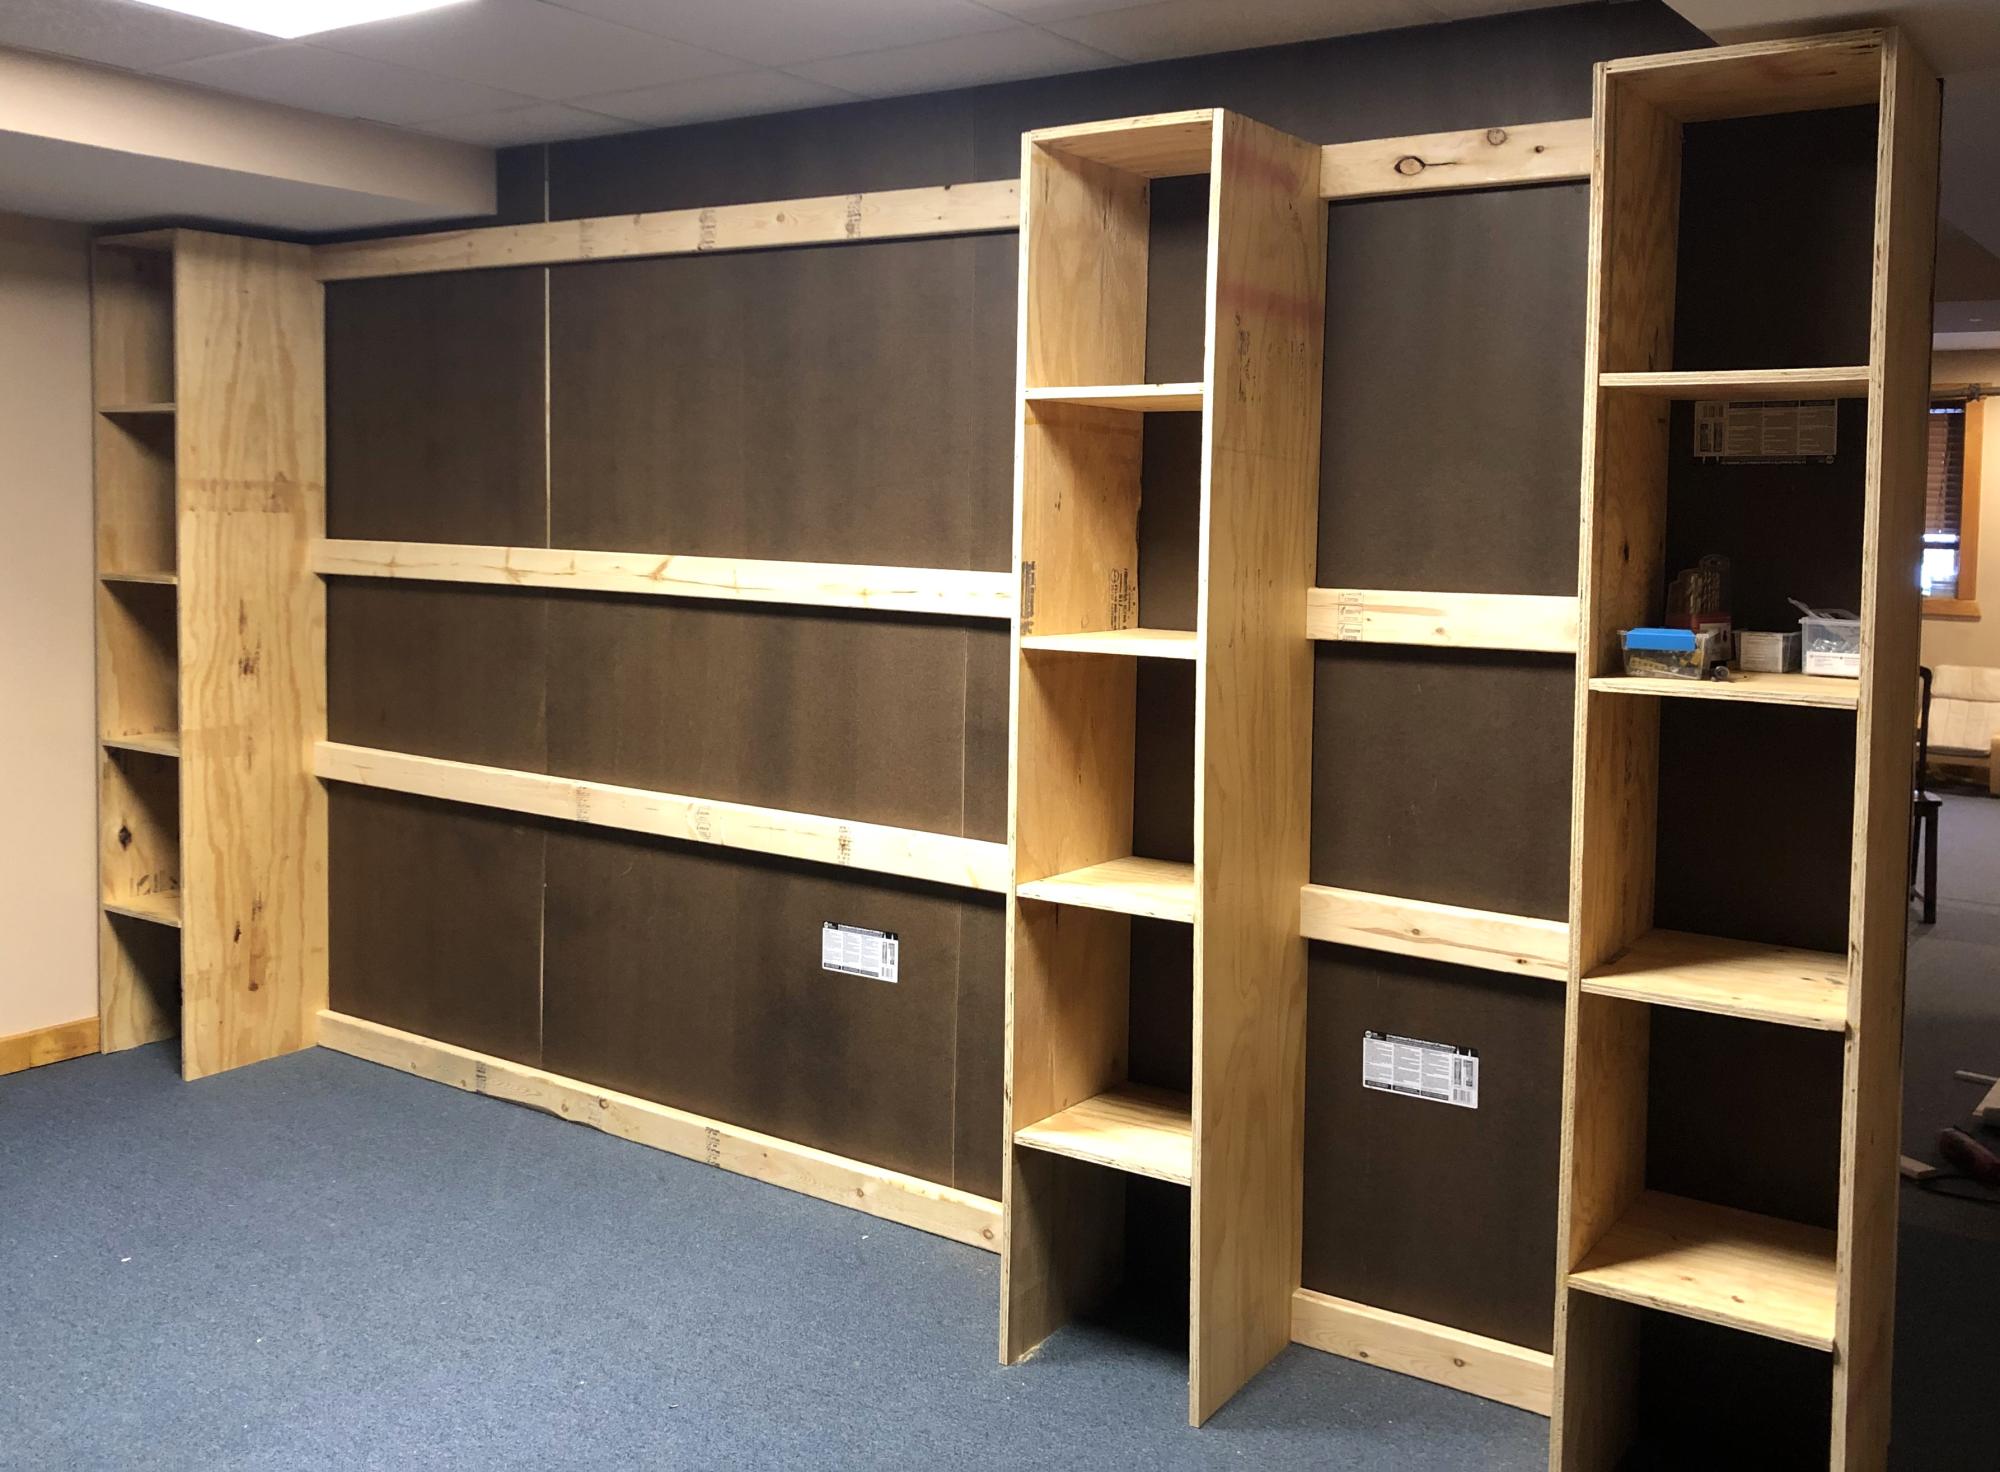
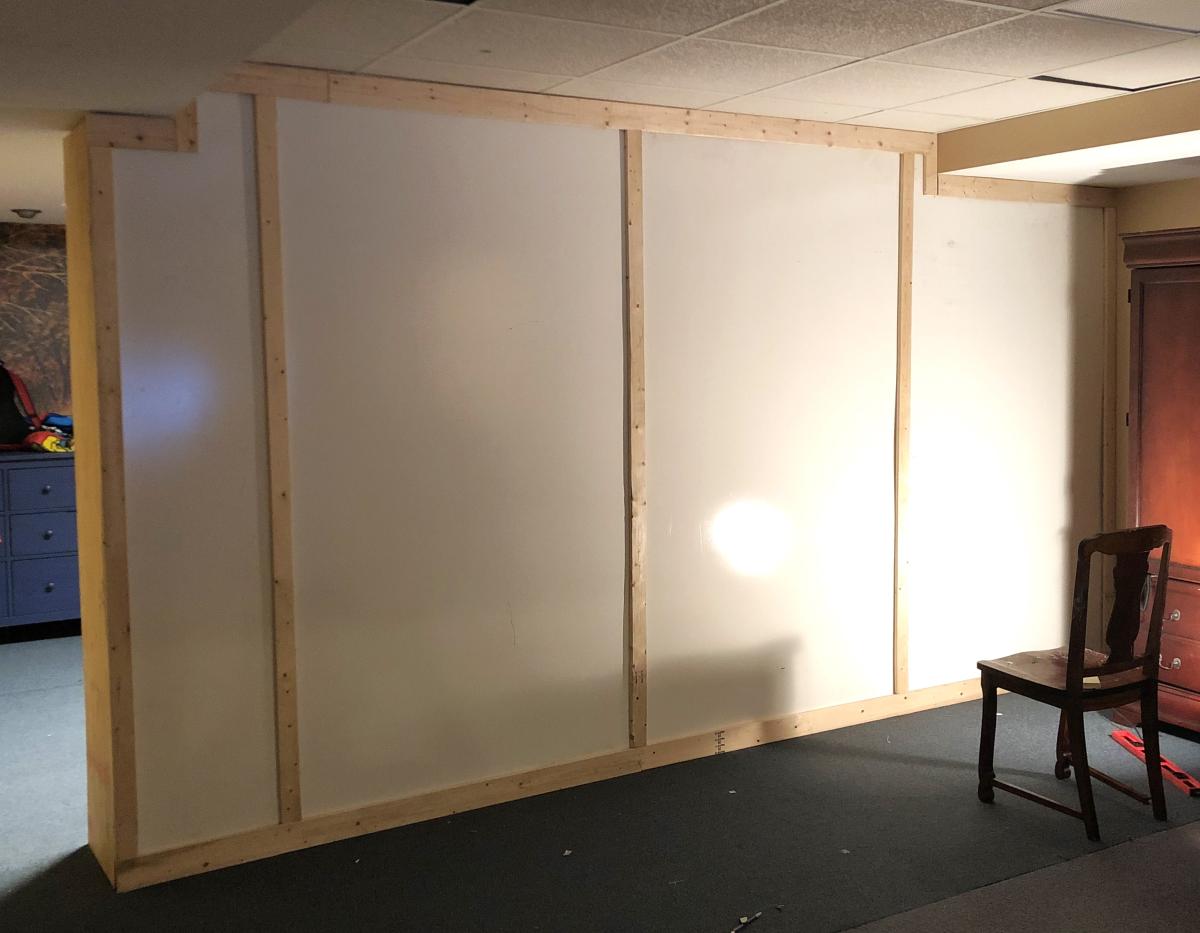
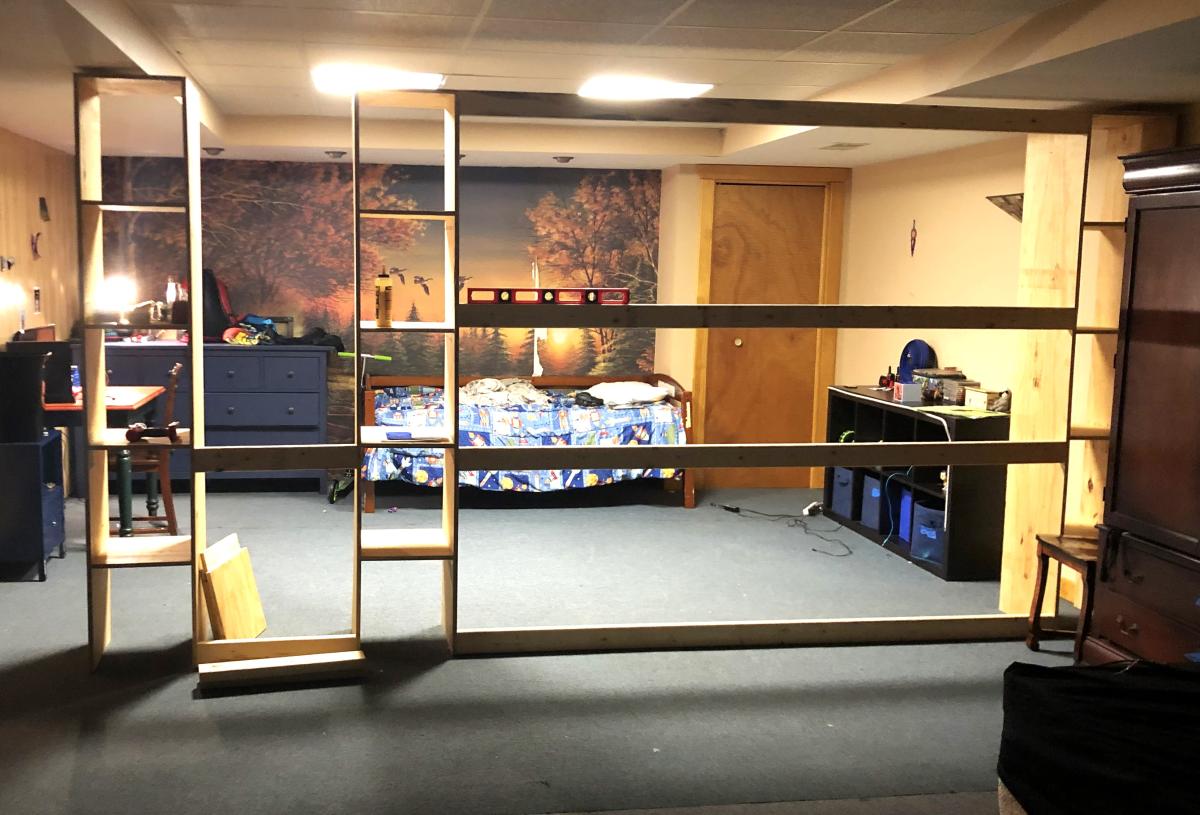
Modified the wall divider closet plan into a wall to serve as an extra bedroom in my basement. The inner wall was subsequently painted.

Grace LeBlanc

Built from Plan(s)

Comments

Two Story Rabbit Hutch

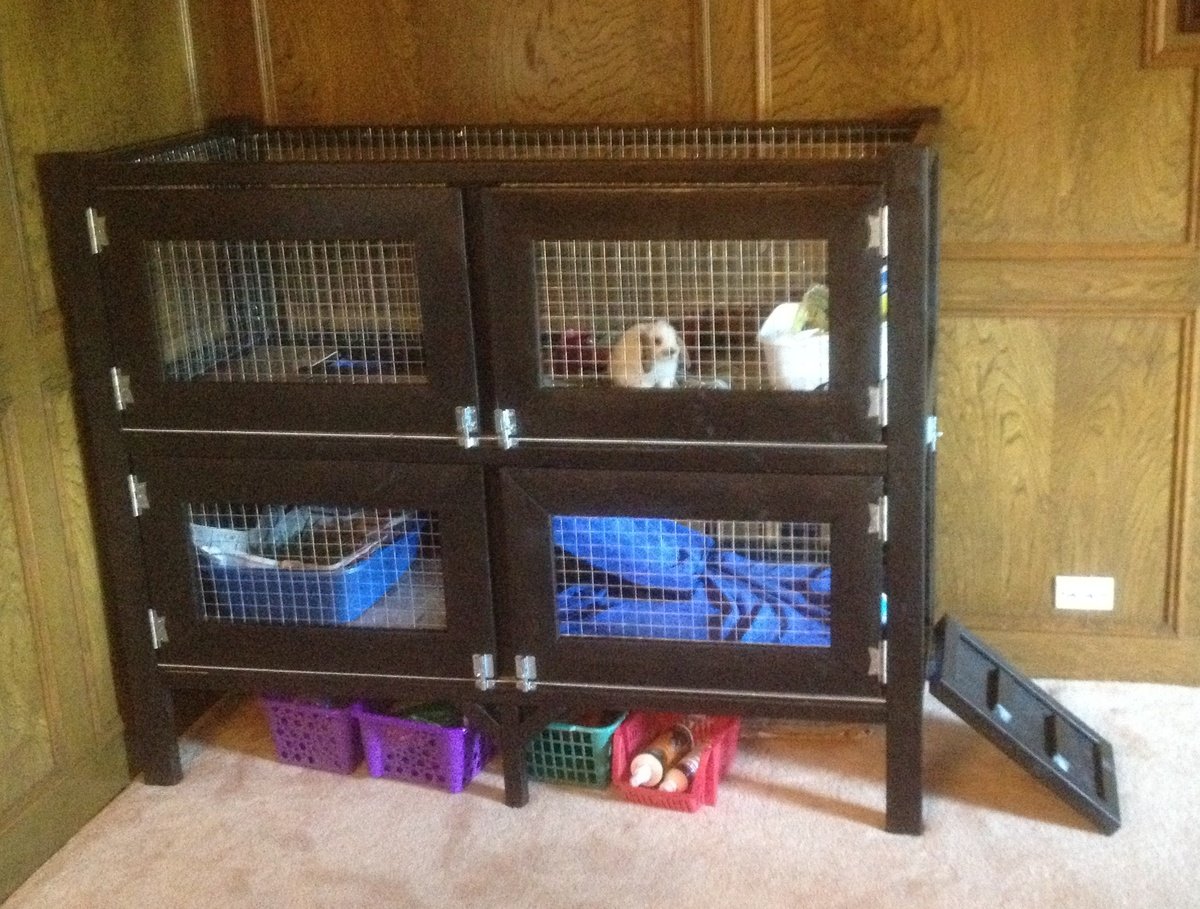
For my first woodworking project, I foolishly decided to build a rabbit hutch without plans for my daughters new Easter Bunny. So I literally scratched some ideas on my wood working bench and started going to work. I did some construction over a decade ago, but never attempted to build any furniture before, so I'm pretty happy with how this came out.

I spent a few days researching various rabbit cages and for our place we needed something that was ascetically pleasing and functional as it was going in our living room. I got some ideas from the web and decided the best thing for us would be to have an entry ramp, 2 sets of barn doors for each level (for easy cleaning) and an open roof. We went with linoleum floors since she's already litter trained. The floors could easily be modified to add 1/2" wire mesh if we decide to change things down the line. Also, we chose an espresso finish with silver hardware to accent the wire mesh

I pretty much crashed and burned on the staining as I've never done that before, but it ended up looking ok after all. I did a light sanding, but will probably invest in a planer and jointer to get my wood in better shape before assembling in the future. Also, I'll probably lightly dab some stain on ends of wood before final assembly as it made it difficulty trying to hide the white pine with the dark stain.

Other cages I saw ran around $200-$350.00 so i don't feel so bad about the cost. It's really the time that it took learning and making mistakes. I'm sure if I had plans I could of cut my time in 1/2.

Total Cost came out to around $150.00 but probably would of been cheaper if I had some plans to go by. I probably wasted a few 2x2s and accidentally mis-cut a scrap piece of 1/4"plywood which added another $16.00 to the bottom line.

Here's a breakdown of my total cost.

Hardware - $30.00
Includes 5 latches, 4 sets of hinges (8 total) and a 3' piano hinge

Stain - $8.00

Linoleum Tile @ ¢.69 sq ft - $16

Brushes, Stain Rags - $5.00

Screws - $6.00

Wire Mesh Roll $30.00
Needed 2 rolls at $15.00 each. I used 1" Wire Mesh measuring 2'x15'

Total Wood $50.00-$60
I used 2x3's for the legs - 2 @ 8' - $2.00 each ($4.00)
probably 15-20 2x2's - $1.52 each - can't remember how many I used to be honest ($30.00)
and a few 1x6's for the Doors - $2.00 each ($6.00)
Sheet of 1/4 plywood - $12.00
Estimated Cost
$150
Estimated Time Investment
Week Long Project (20 Hours or More)
Recommended Skill Level
Intermediate

Comments

ashinshaw

Thu, 05/03/2012 - 08:09

I also have been thinking with the idea of building a two story hutch for our rabbit. I love your ideas so now i have a new project to work on. Thanks for sharing!

Nicolene (not verified)

Mon, 10/08/2012 - 12:46

I LOVE your cage! We have 2 rabbits and 2 Guinea pigs which means we have 2 ugly cages in our living room. We are planning something similar, but a bit bigger (but lower if that makes sense). And we'll put a 3rd story on for our Guinea pigs. So we have everyone on the same patch of real estate so to speak. I was going to do 3 solid walls with wire "windows" too keep all the hay, poops and such contained. I am also going to put lockable wheels underneath, so I can move it to my office if I ever need to (parties and renovations).

Is there anything that you can now think of that you would like to change on yours? R my research purposes.. :) It looks awesome, I'm just picking your brain for "hindsight" tips.

Back