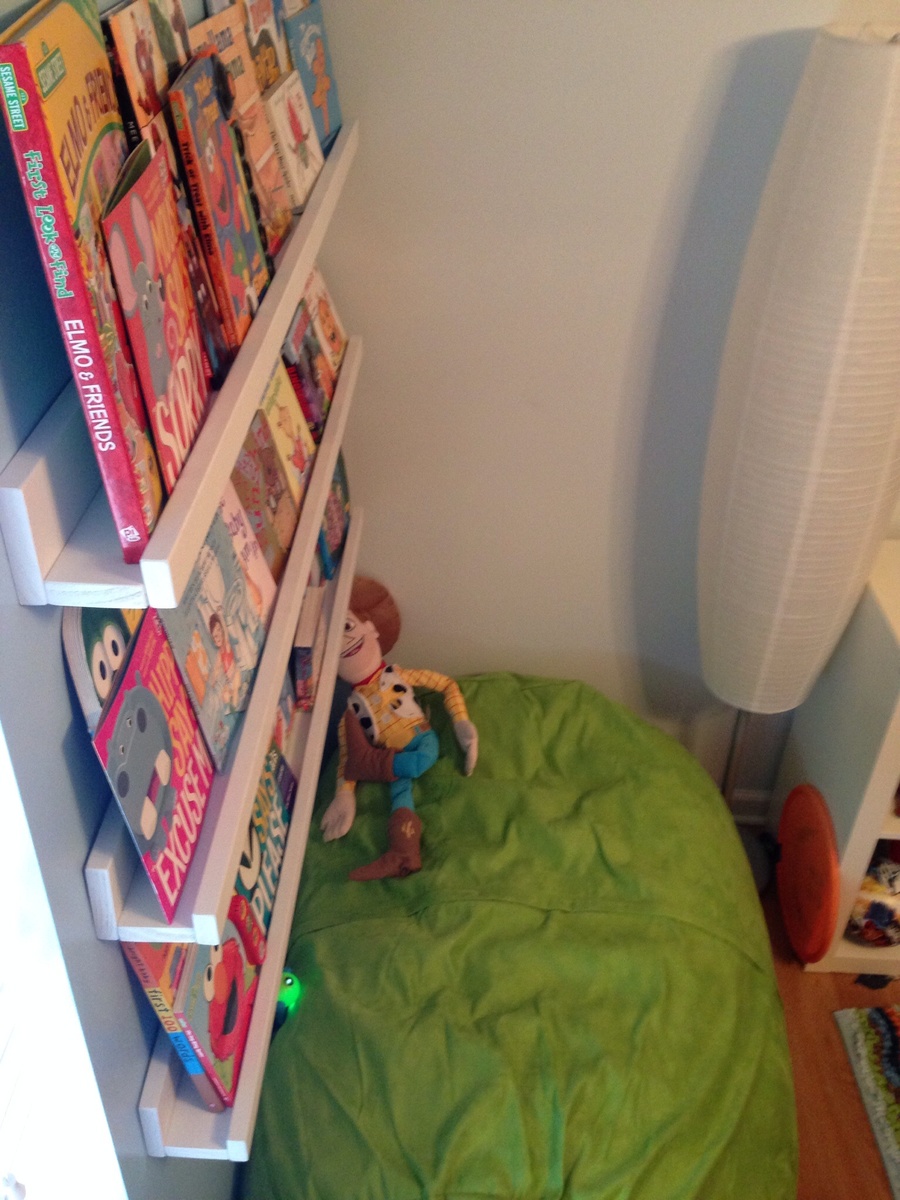
Outdoor Planter Steps
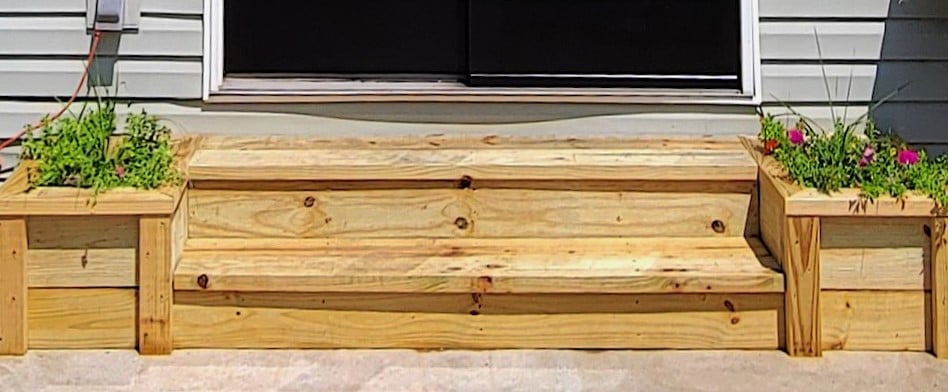
I had to modify the plans a little to make the steps 9ft long. I also used 2x6 on the bottom step, so the rise was the same.
Built from Plan(s)
I had to modify the plans a little to make the steps 9ft long. I also used 2x6 on the bottom step, so the rise was the same.
This was mine and my husbands first build! Considering we had absolutely zero knowledge and experience with tools, I think they turned out ok. Definitely need to find better board next time, and we know a few things to better/differently for the next build! :)
Mon, 12/30/2013 - 17:41
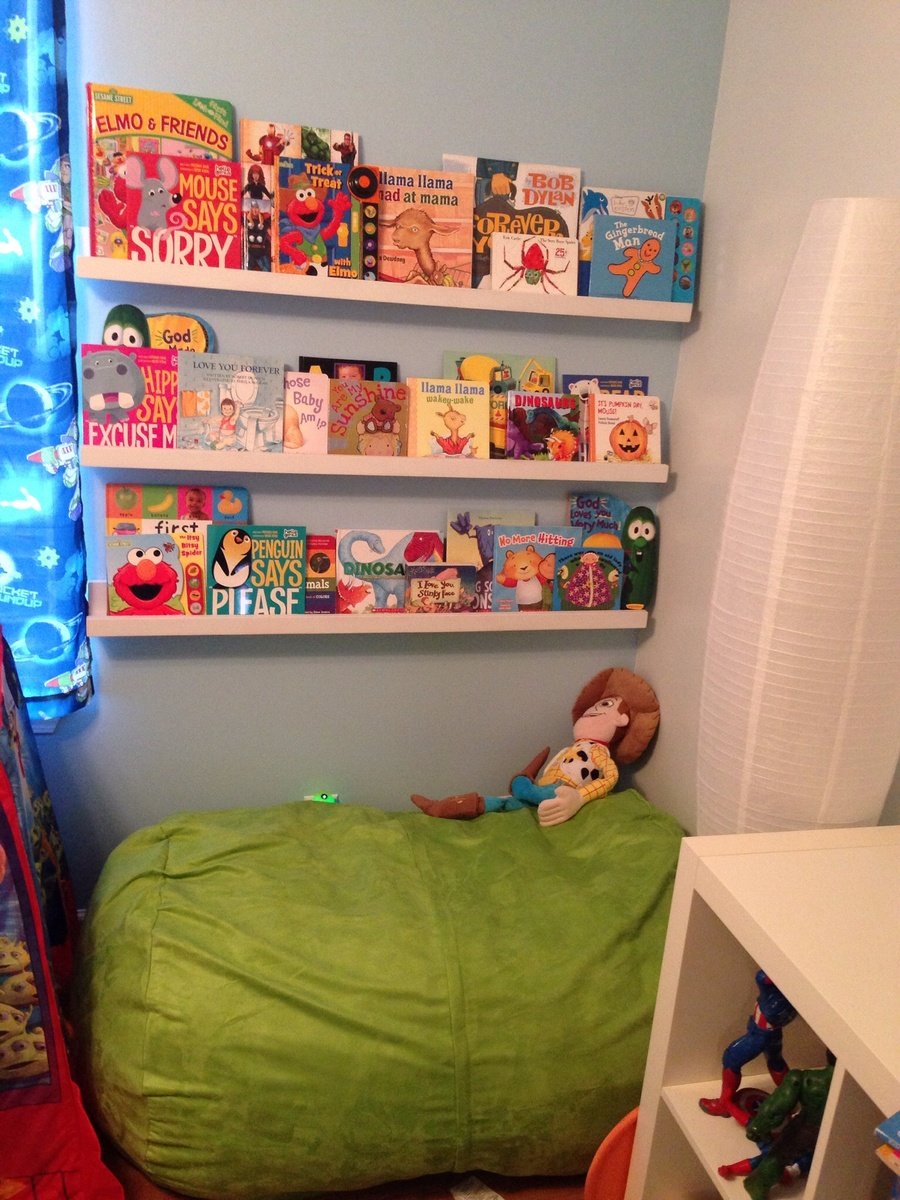
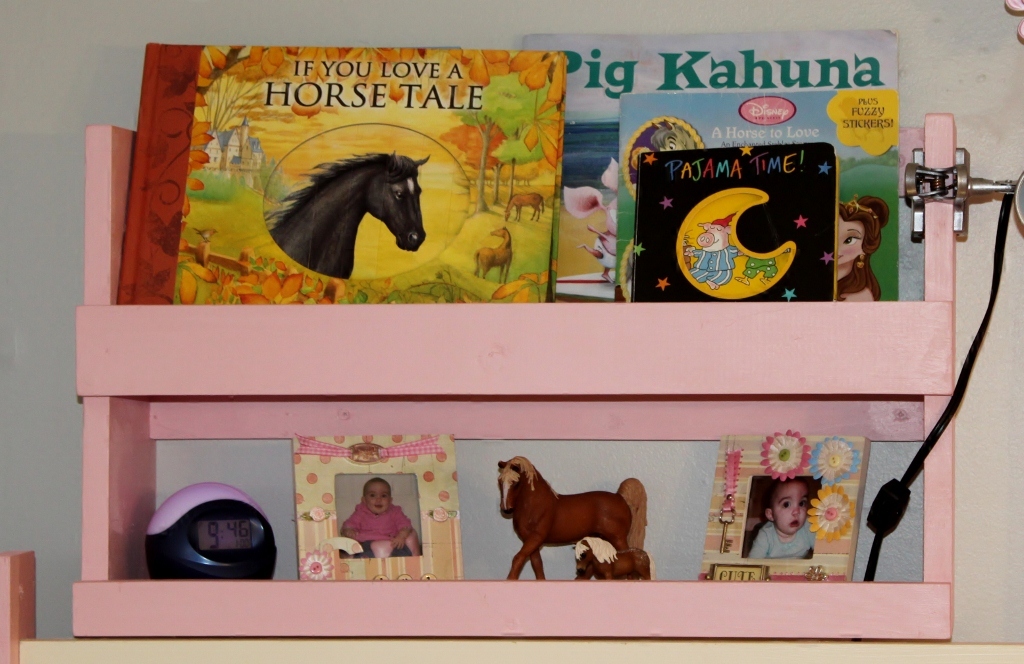
Also forgot to mention we went with 1X3 instead of 1x4 for the base of the ledge so they wouldn't stick out from the wall quite as much.

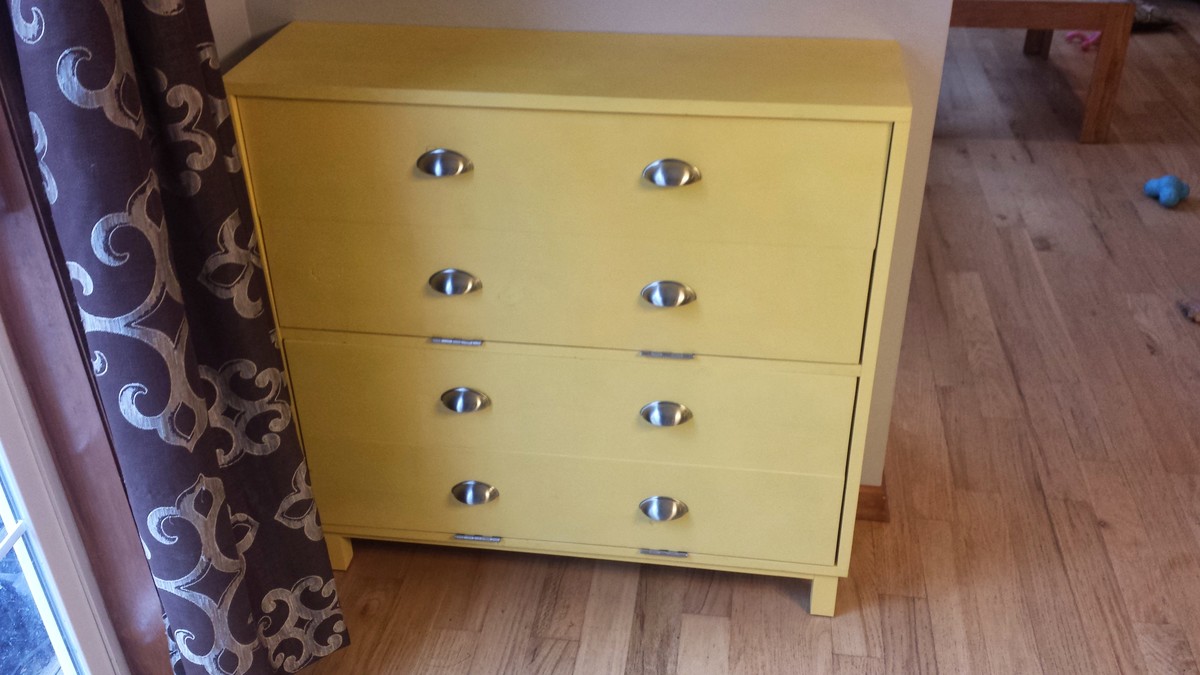
Ever since I saw this cupboard, I wanted it. So when I got a free day I jumped at the chance to build it. I love it! The only problem is trying to figure out where I want to put it.
Fri, 11/02/2012 - 19:29
In an afternoon? I would have taken a couple of days. You did a great job.
Thu, 02/19/2015 - 19:11
Hi Ana - I dont mean any disrespect but how do you figure this project costs $30-40. I bought just the boards no hardware or plywood and its cost me $60. Pine #2.
Please let me know your thoughts and where you buy your wood from.
Fri, 02/20/2015 - 12:00
The cost estimate is from emilyr, posted almost three years ago. Lumber prices fluctuate, but $30-40 is still quite low. I estimate about $100 to buy the lumber (pine) on the shopping list from Ana's plan at current prices in my area.
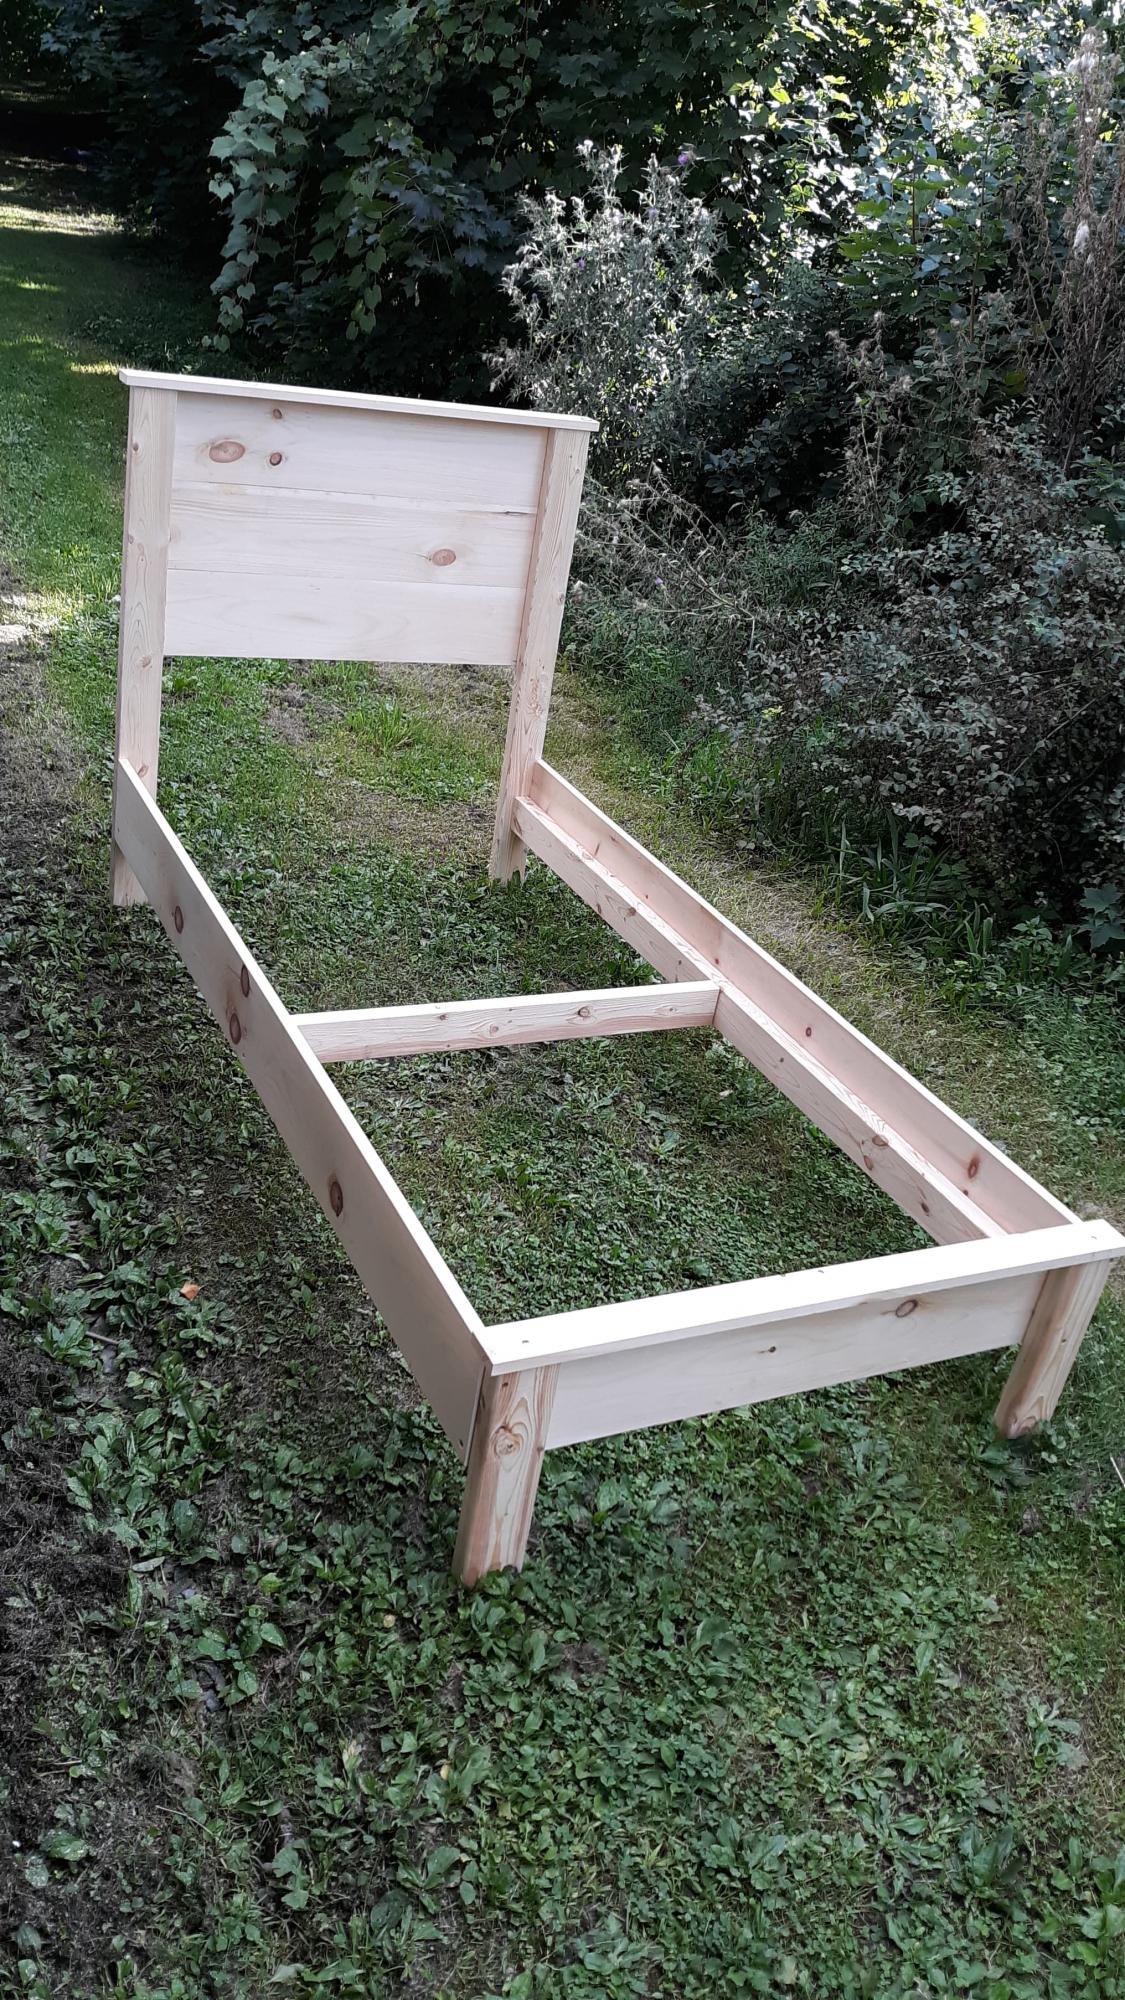
My daughter has a twin XL bed, which we had been unable to find a frame for since getting it. After 2 years of her mattress and box springs on the floor, this plan came out and a plan was hatched to get it made. The biggest change we needed to do different from the twin plans was to make the side rails and the side rail cleats 5" longer to accommodate the XL length. We also added a middle support to keep the side from bowing out, and the cleats are at the bottom of the siderails, as we are using a boxpsring and mattress.
Mon, 03/28/2022 - 09:47
Hi do you have the measurements and what to buy for this bed frame? We also have a twin xl mattess and cannot find a frame anywhere
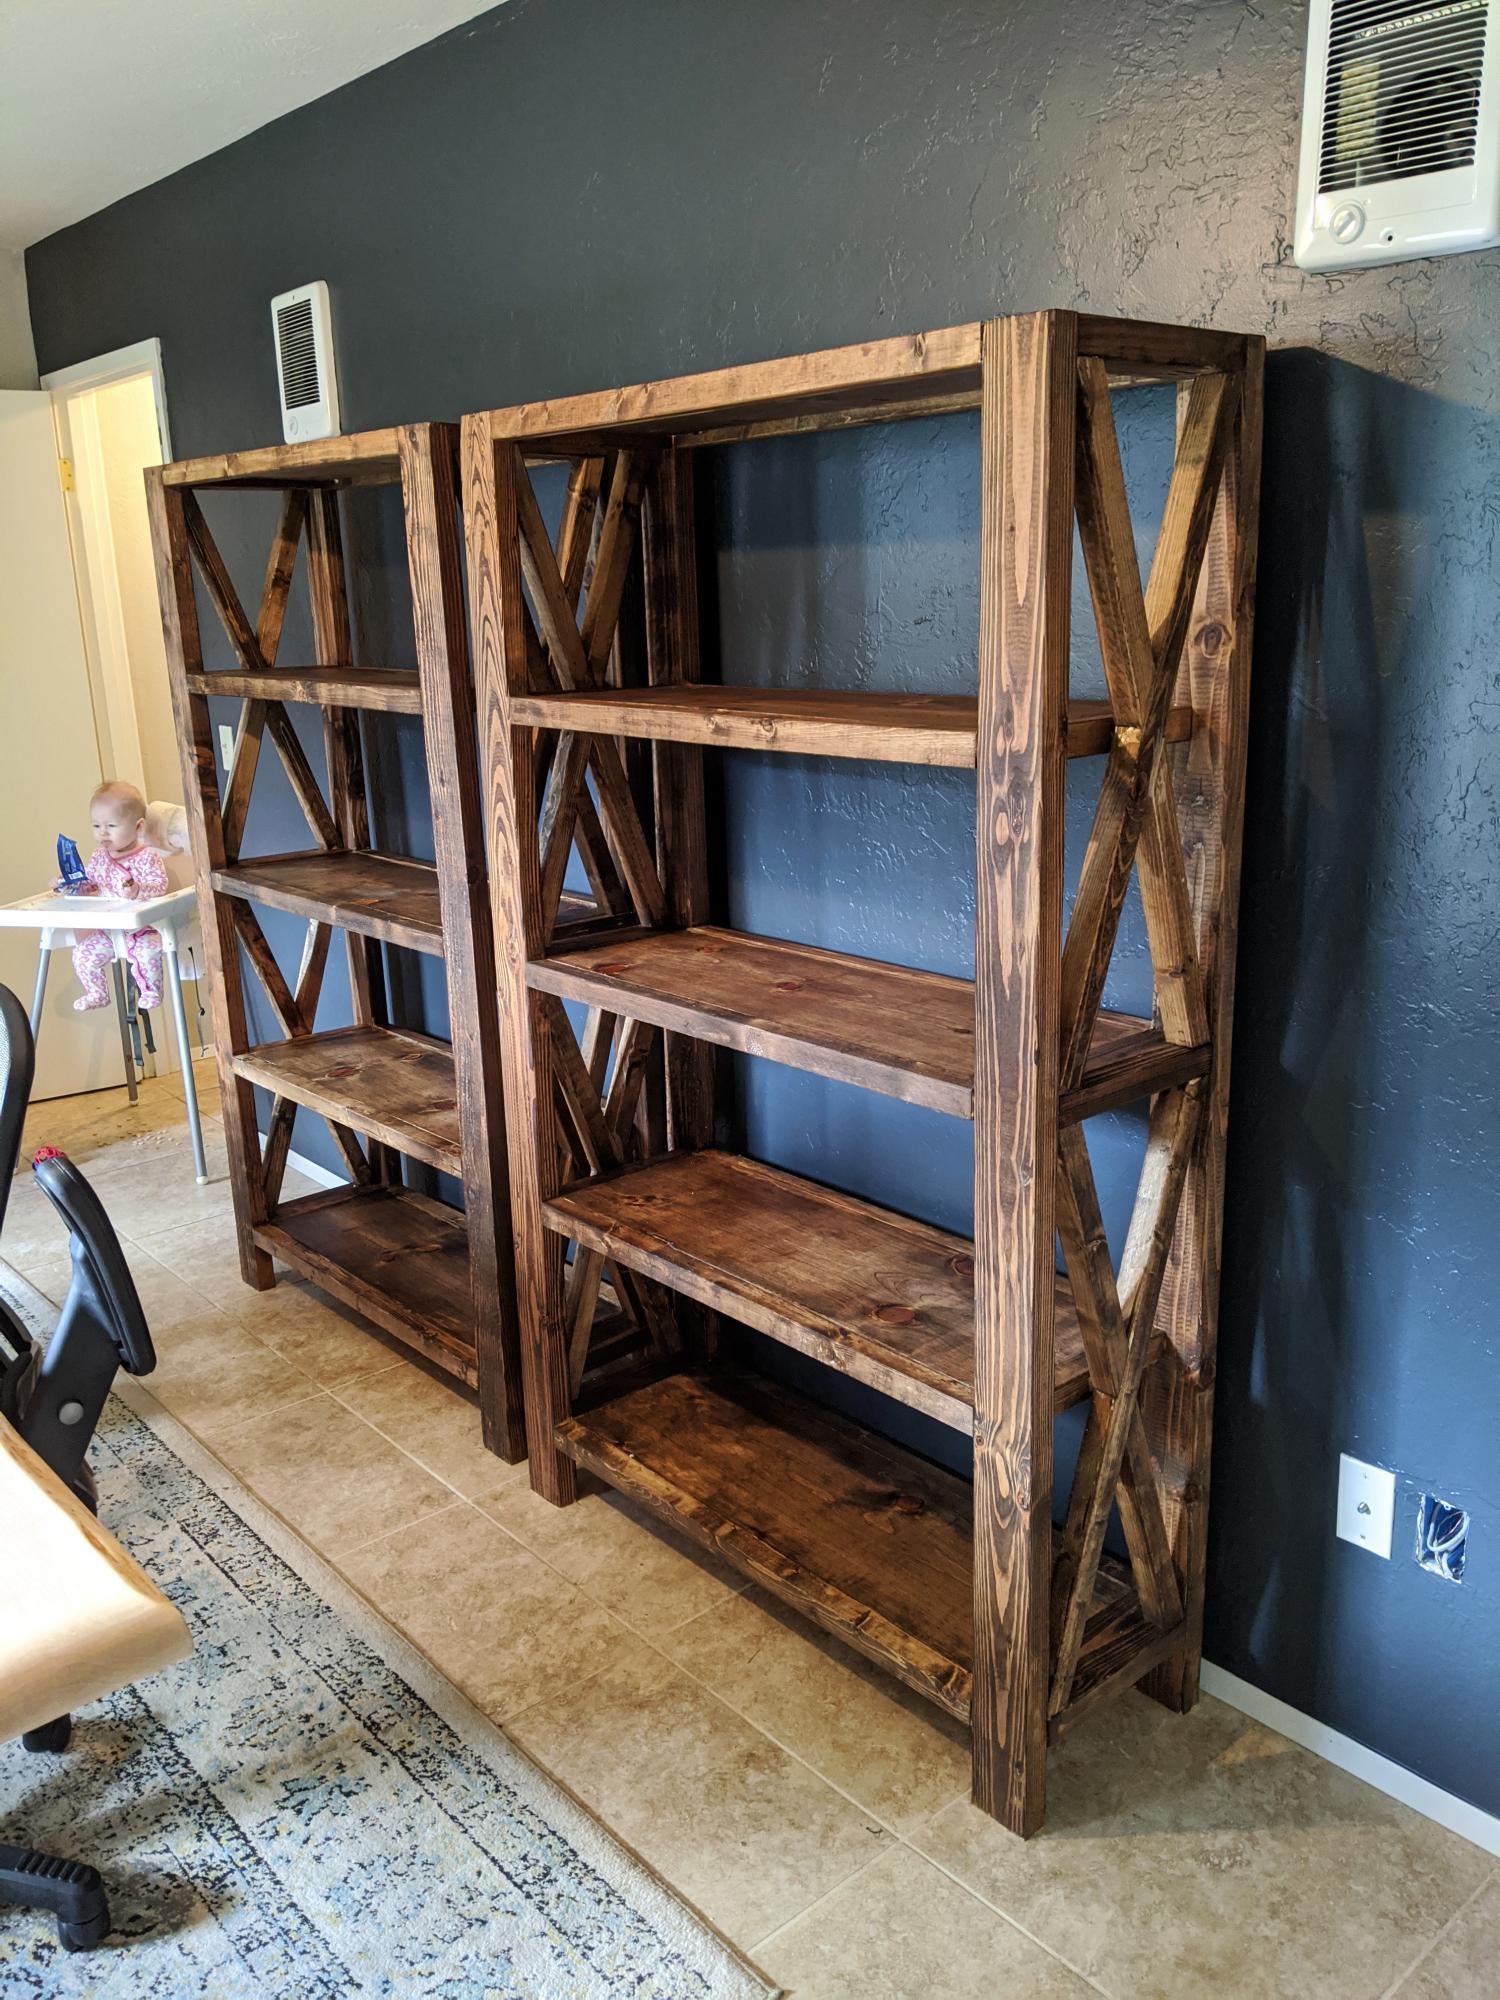
I followed the Rustic X Tall Bookshelf plan to make a set of bookshelves for my husband for Christmas! It was my second ever woodworking project. The plan was really easy to follow and so fun to make! I ended up using an additional shelf piece on the very top for a more modern spin on it. I also bought a pocket hole jig to use on this project. I'm happy with how it turned out!
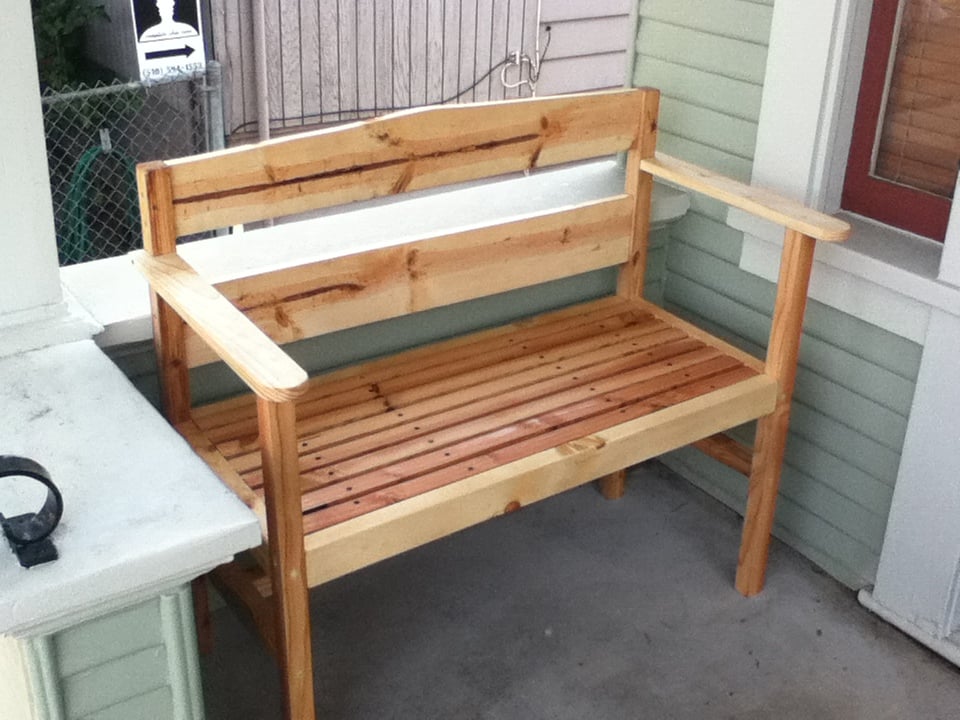
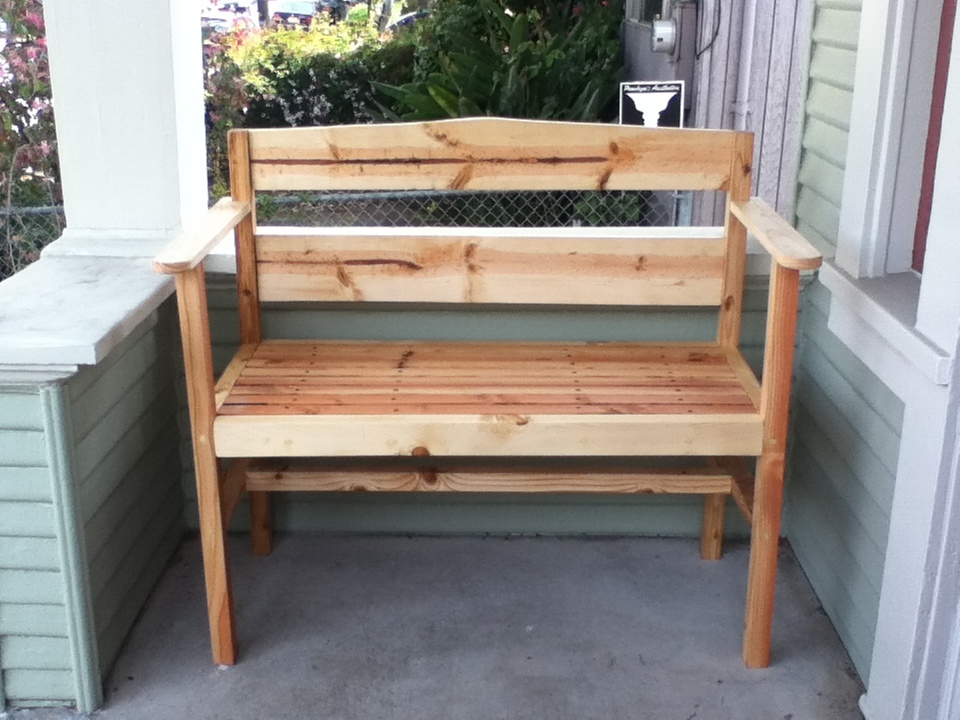
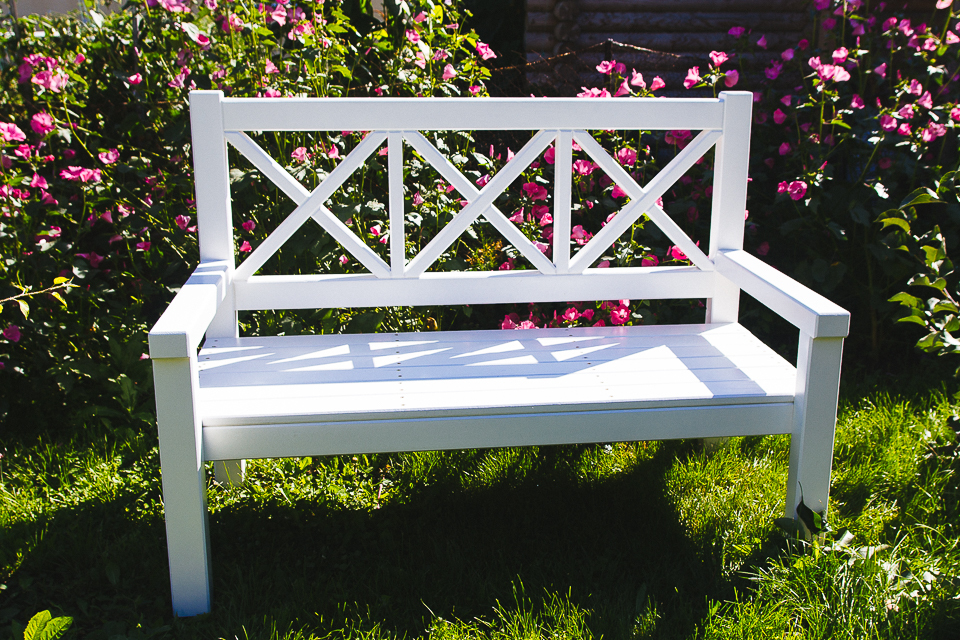
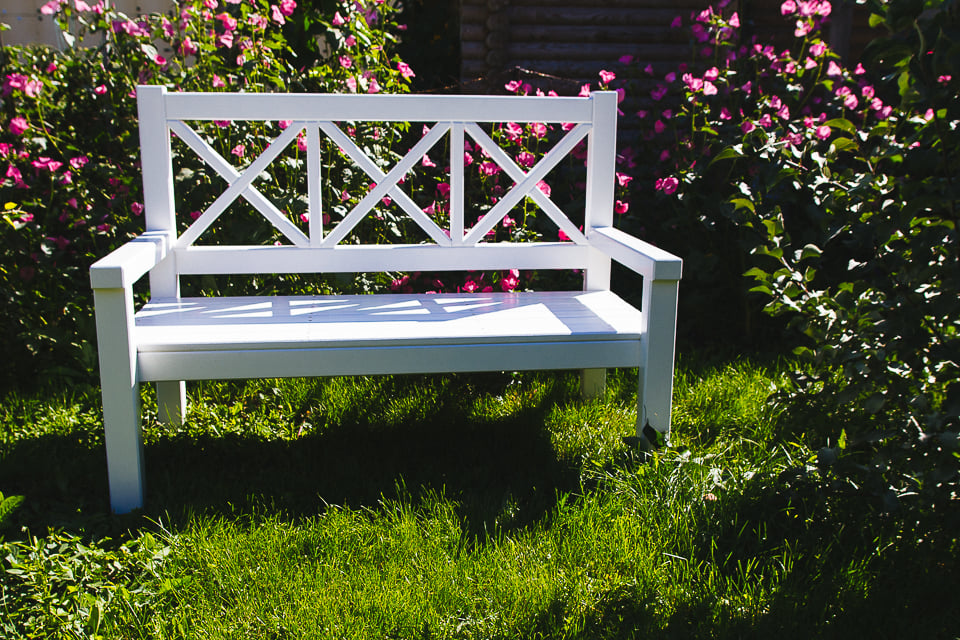
This bench was perfect for our front porch, but after I bought all the lumber I realized how big and substantial it would be. So, I slimmed it down and swapped out the following: seat slats 1x2, posts and supports 2x2, arms 1x3, backrest 1x6, aprons 2x3. Looks great and feels like a better fit for our porch. Enjoying the afternoon sun in style now, thanks!
Wed, 05/01/2013 - 09:31
I would like to make the bench on a diet since my front porch is smaller aswell. Are the cuts the same as original plans?
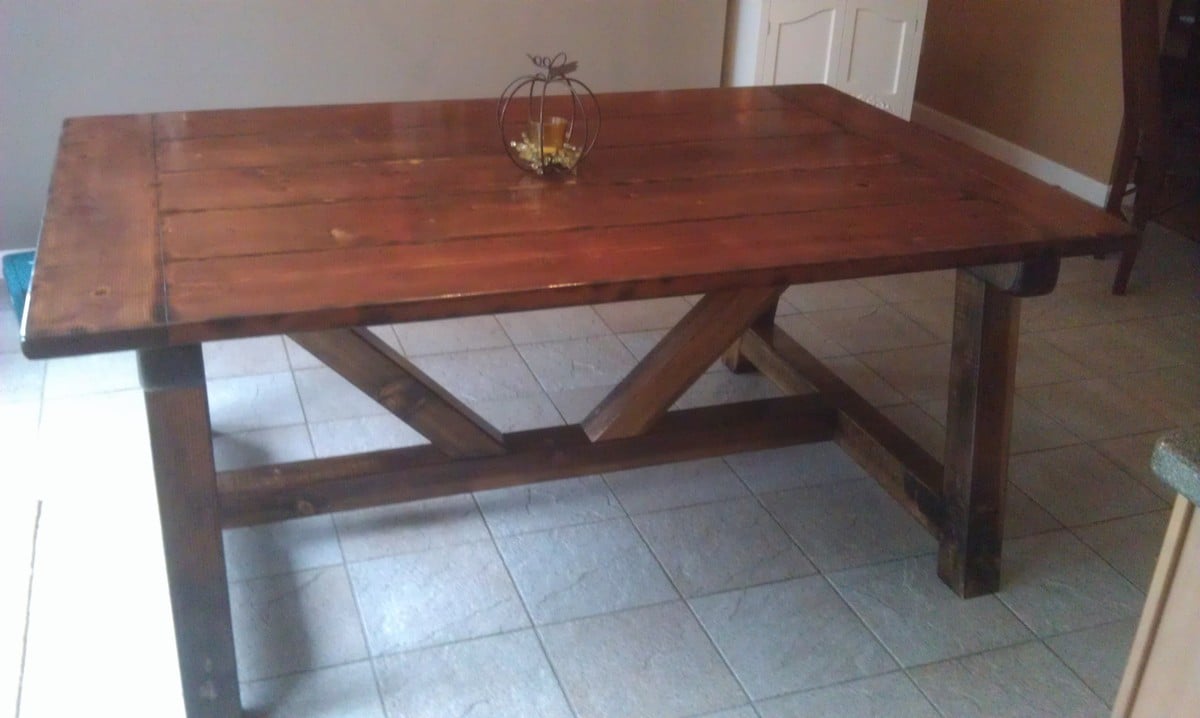
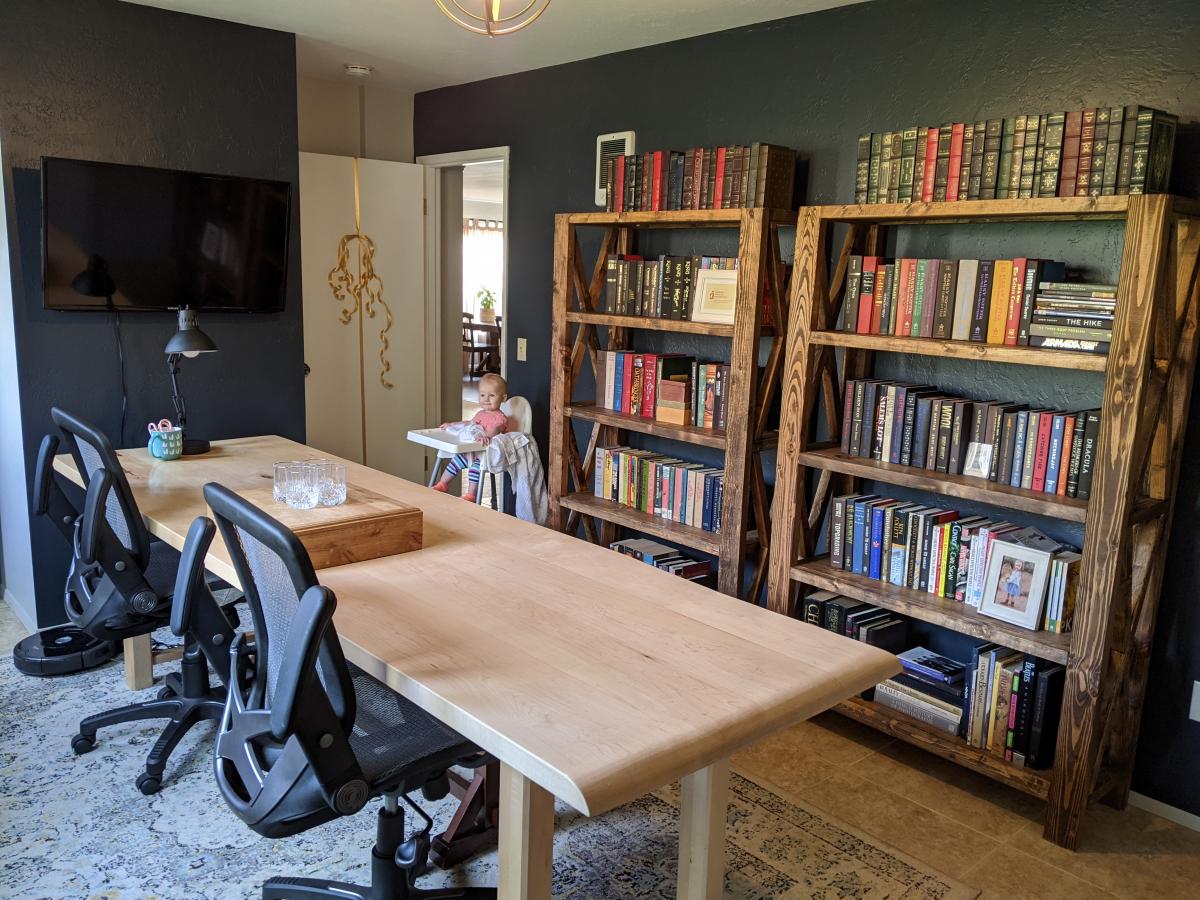
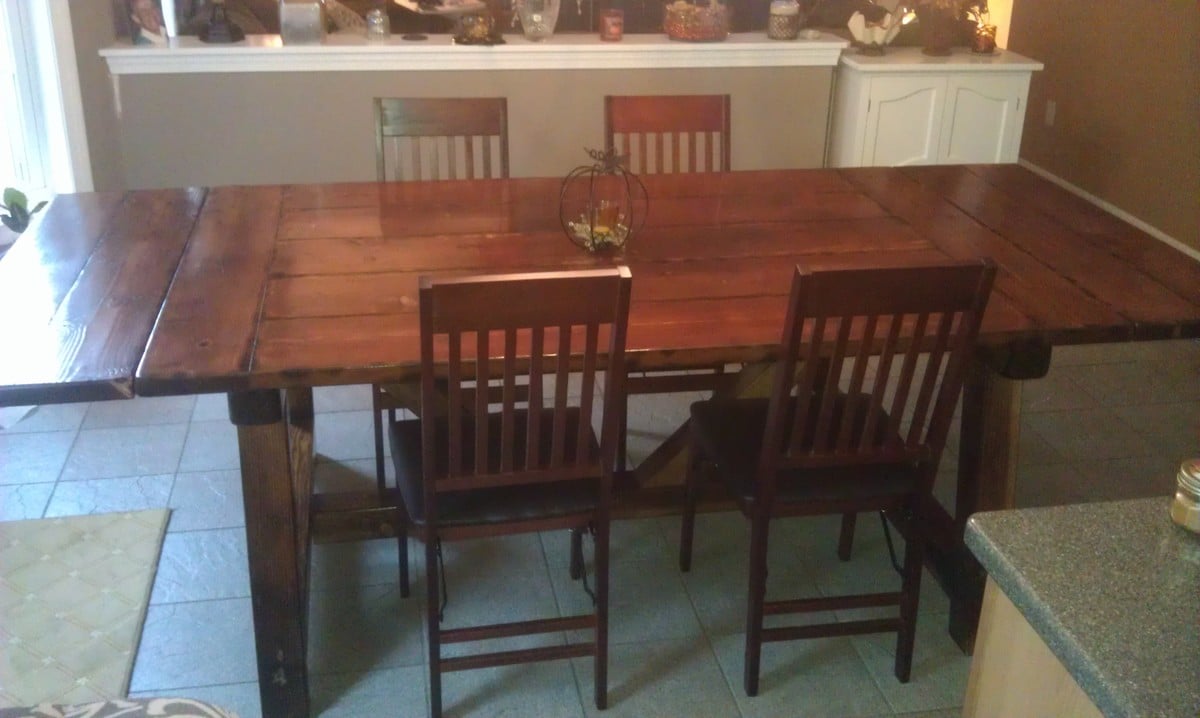
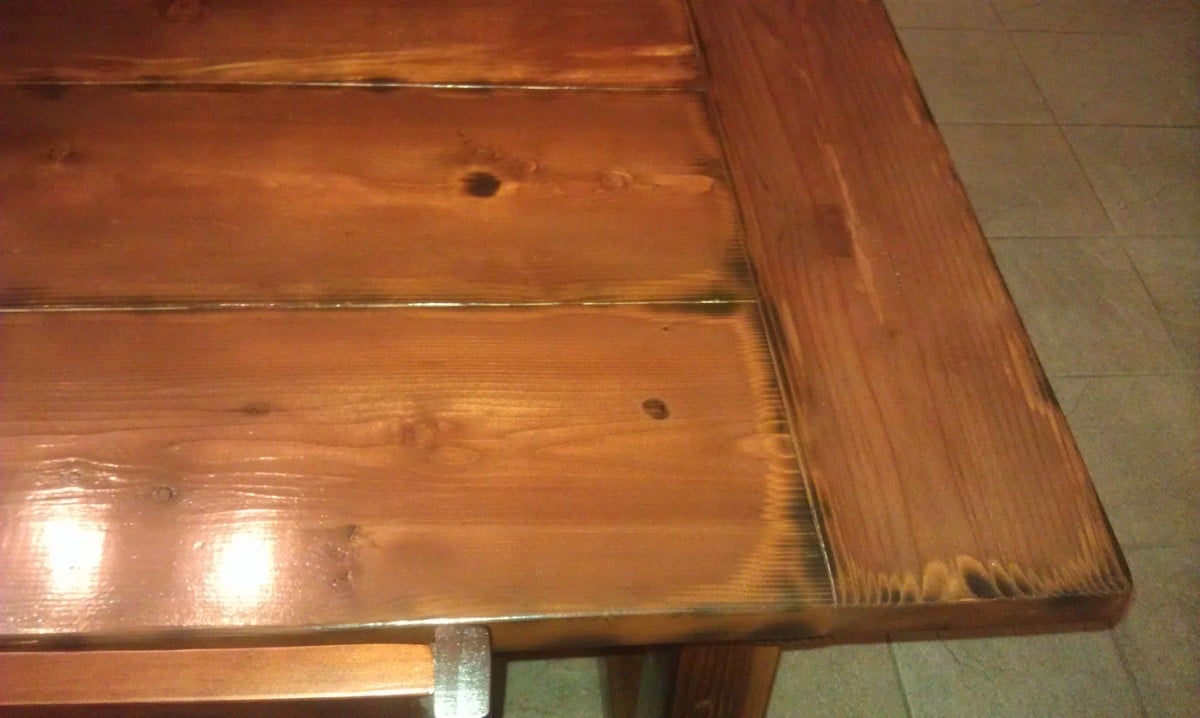
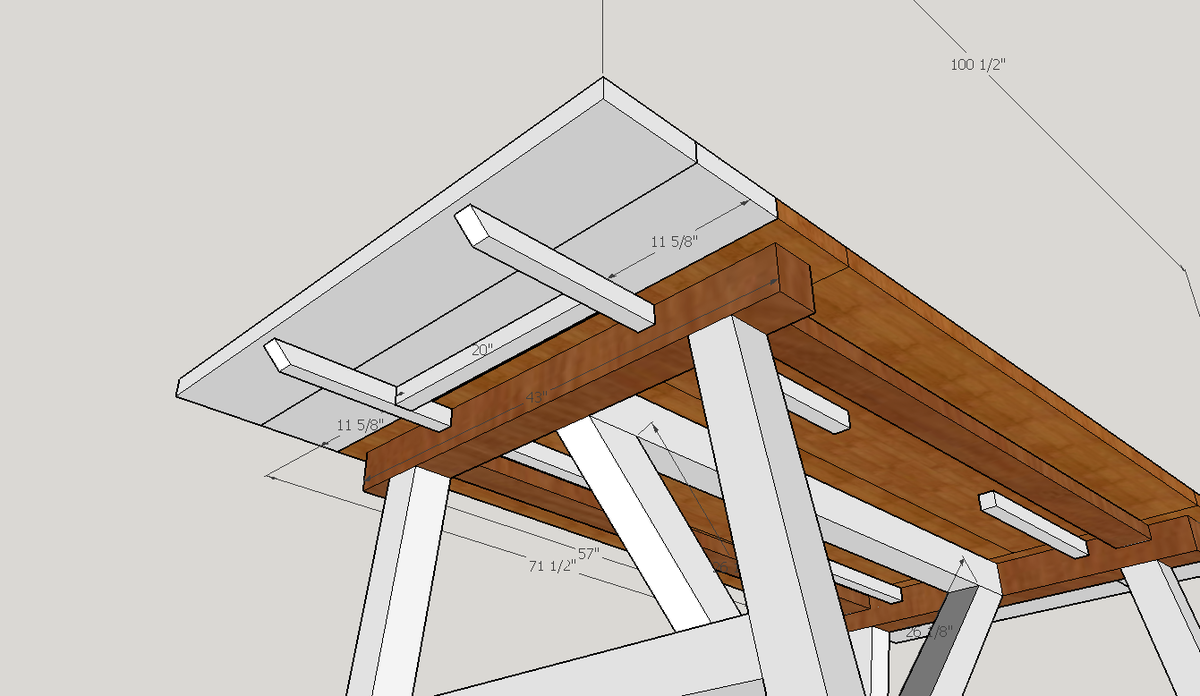
We needed a sturdy table but didn't want to spend a fortune buying one so decided to take a stab at building one. Our space isn't too large but also wanted the ability to expand the table with leaves if we have a large crowd. I built leaves by cutting notches in the horizontal leg 4x4 and then sliding in/out with 2x2's attached (see pic).
I will say it makes life a whole lot easier learning how to use Sketchup or some other design software. That way you can visualize what it will look like, cuts you need to make especially if you will be deviating from the original post design and don't want to do math in your head (like me).
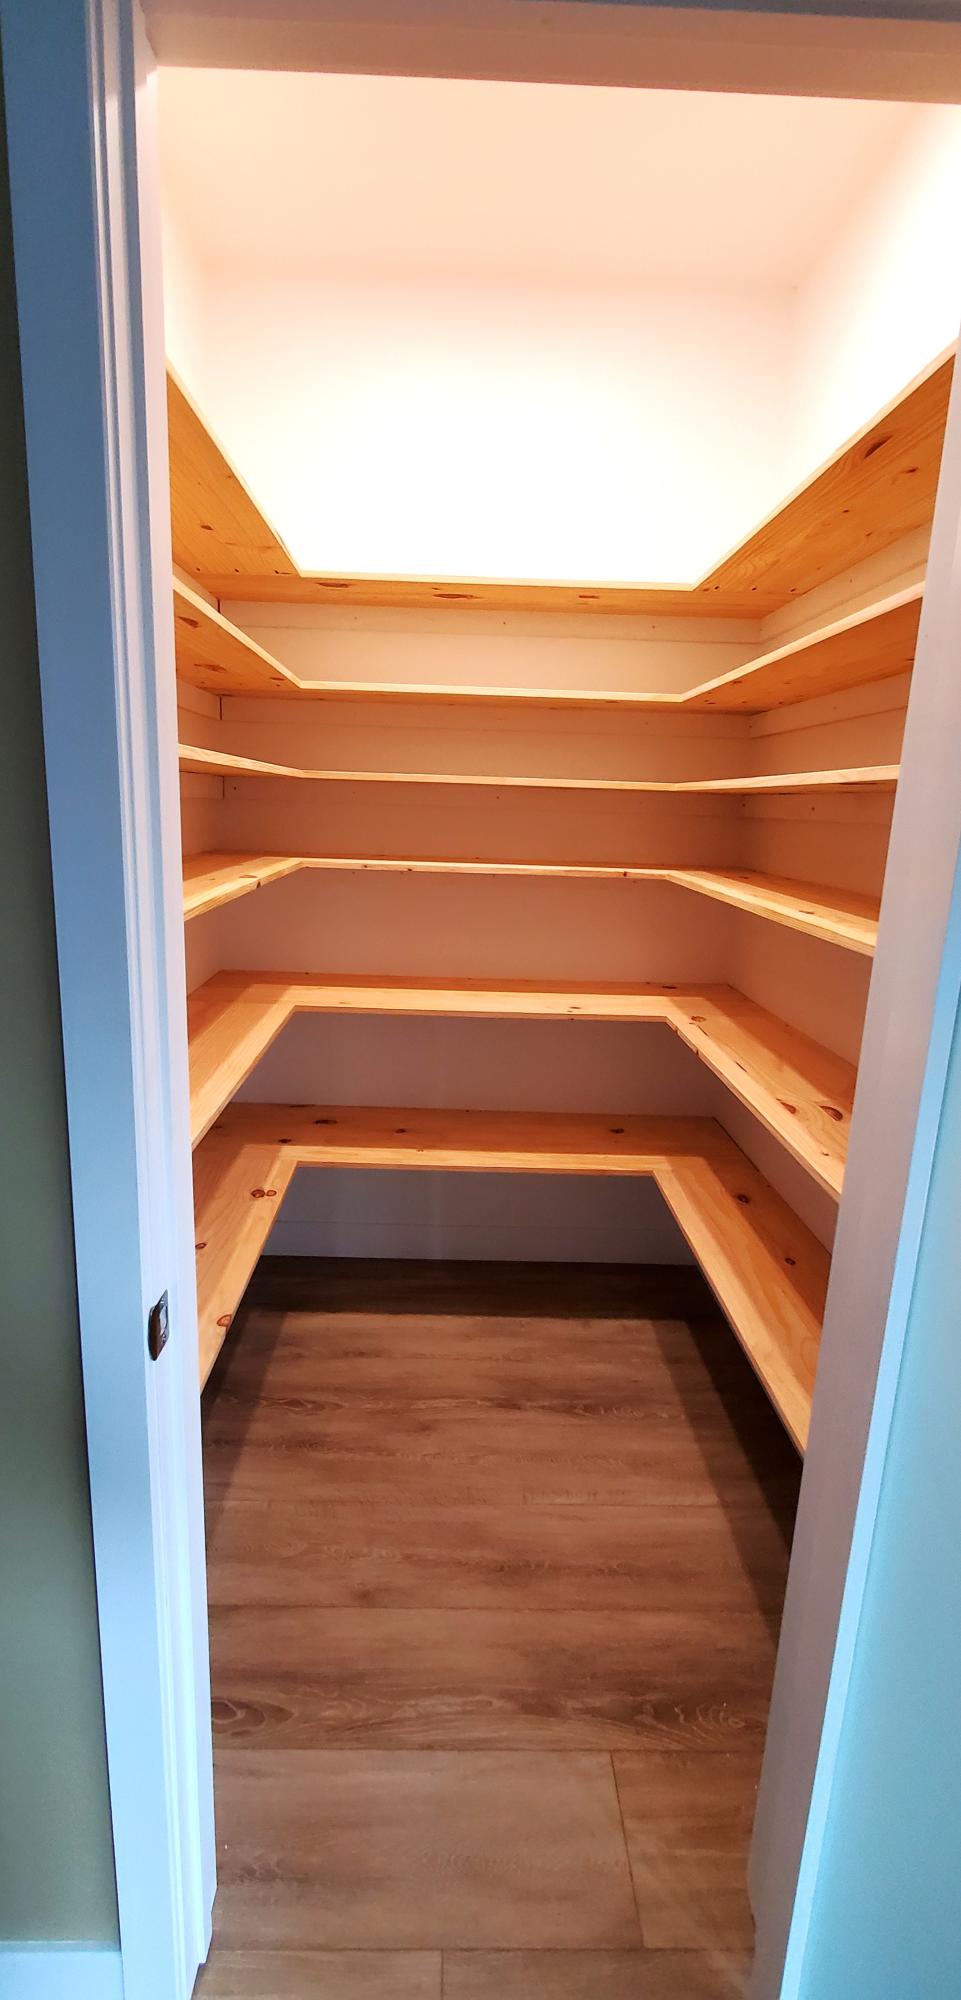
Built in 5ft x 5ft pantry using pine panels as they were available in the widths we needed. Inspired by your pantry build video, thank you.
Rob Worsnop
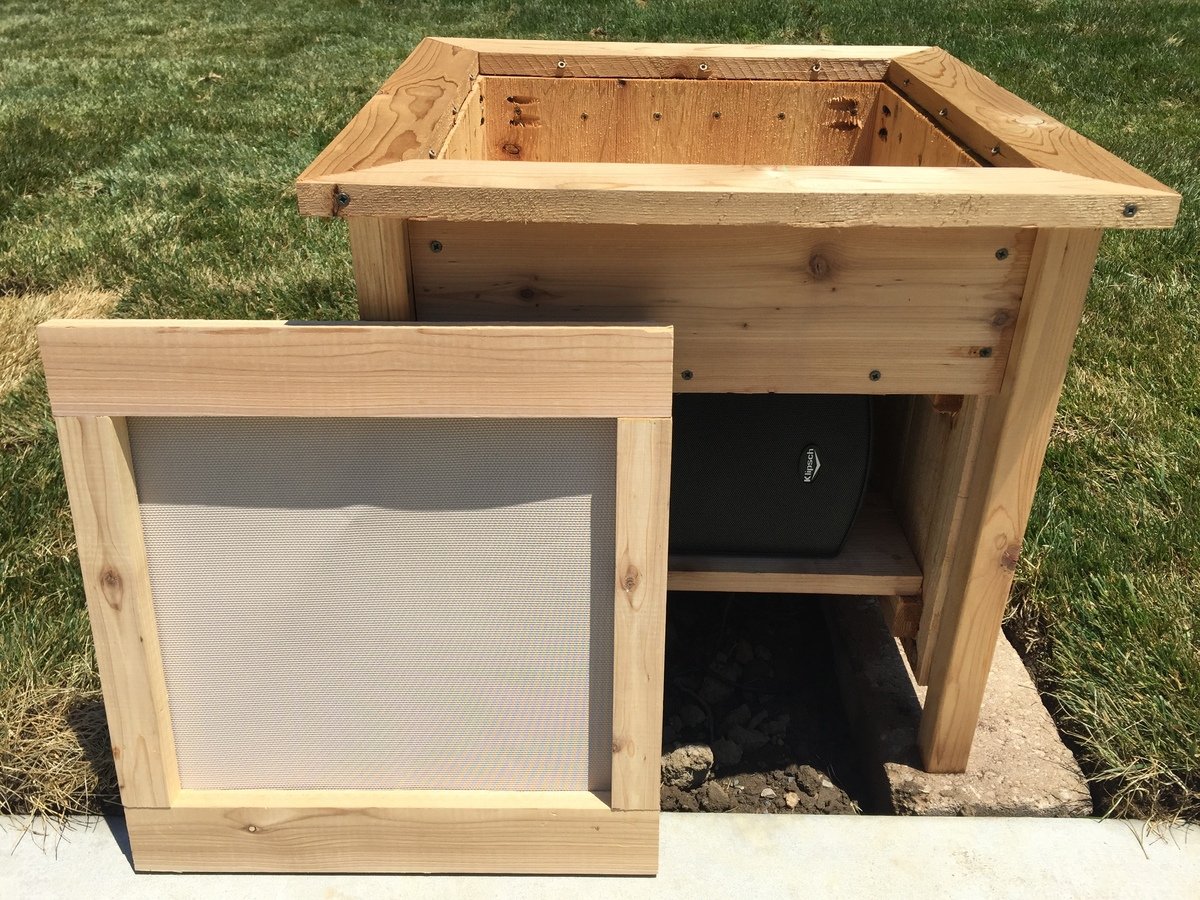
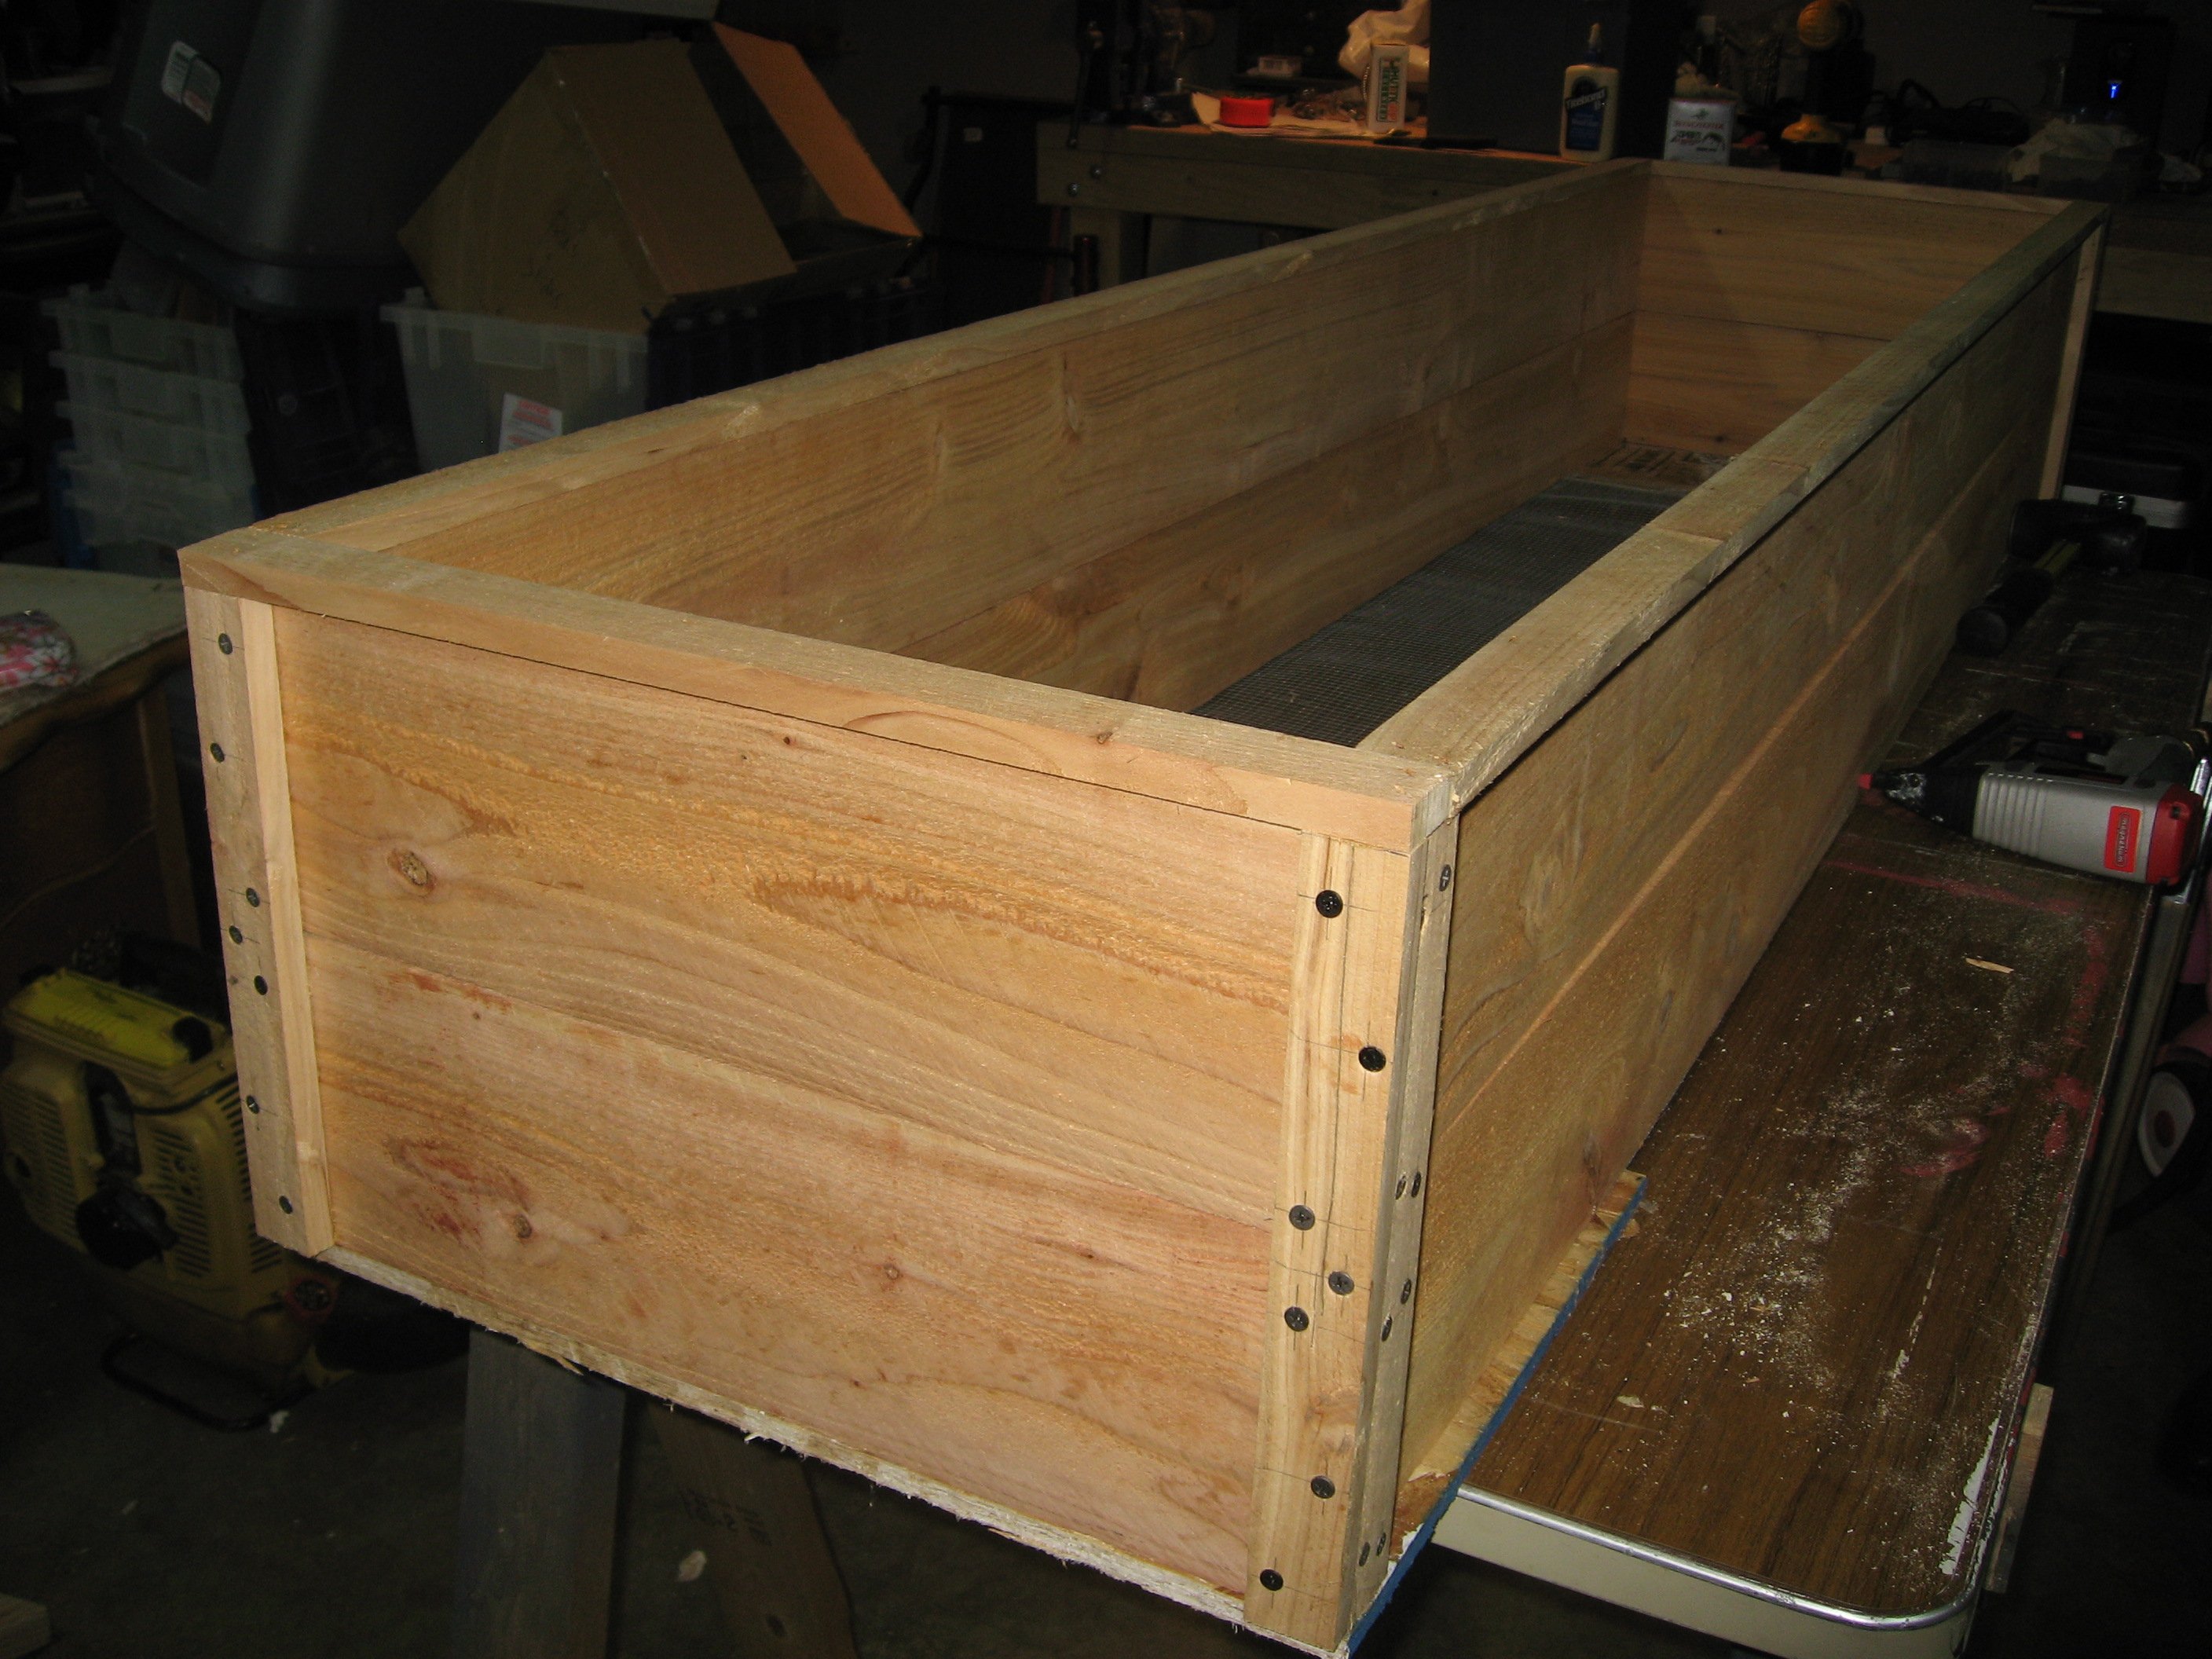
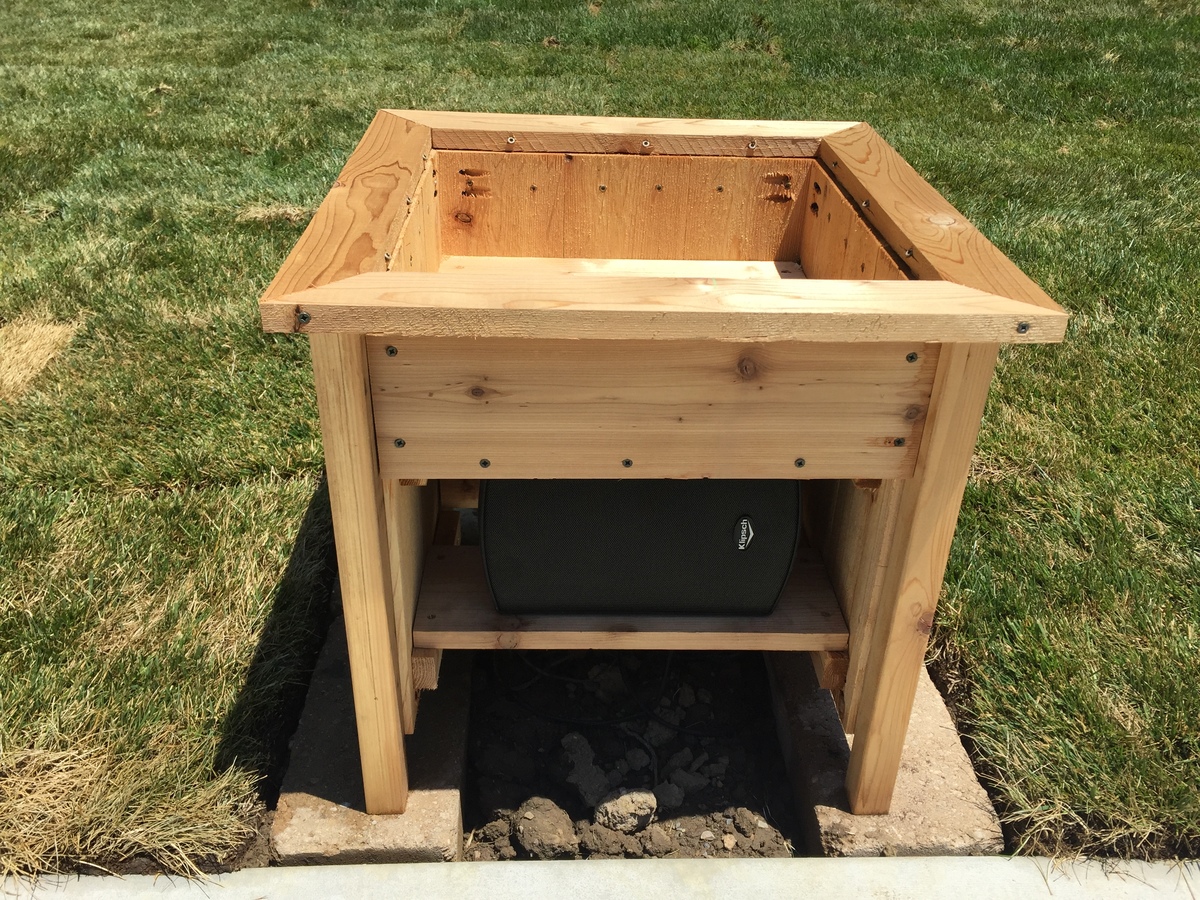
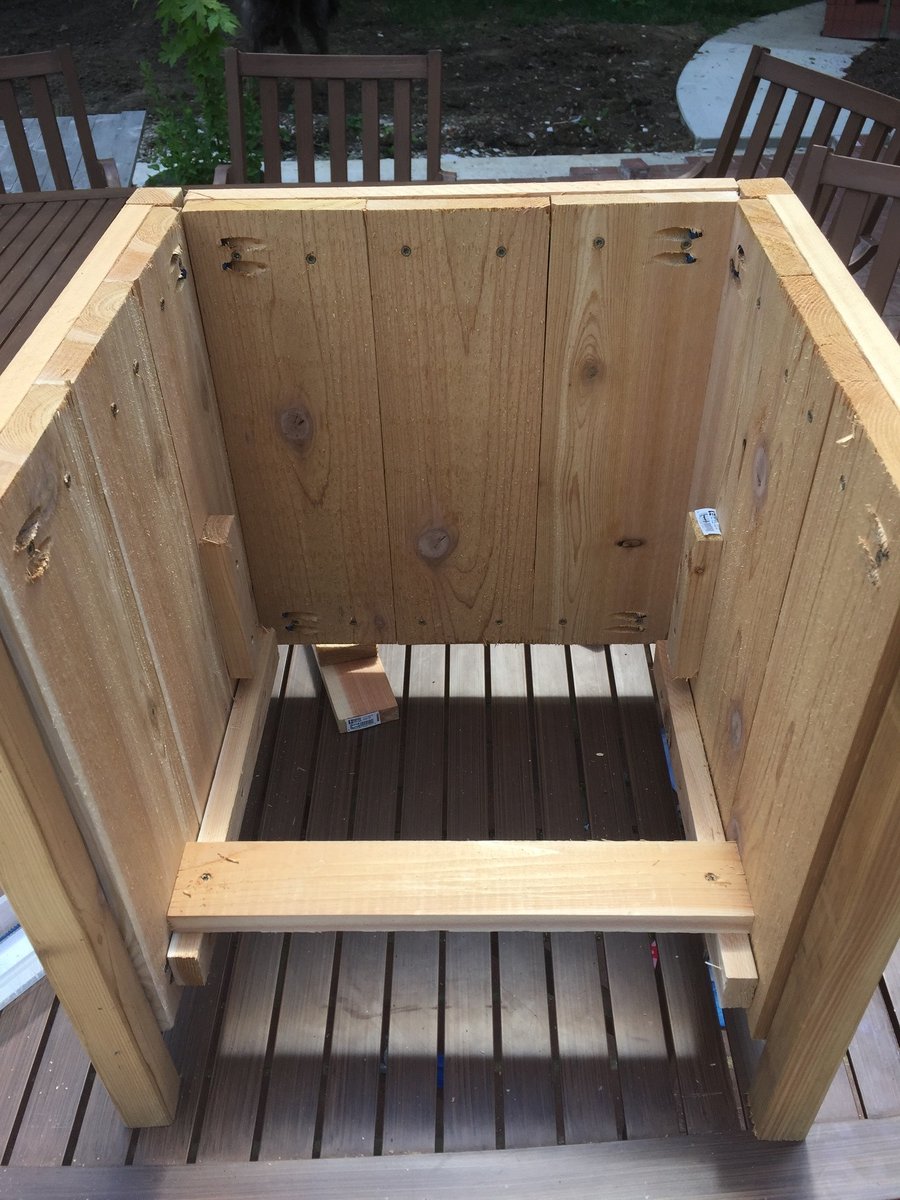
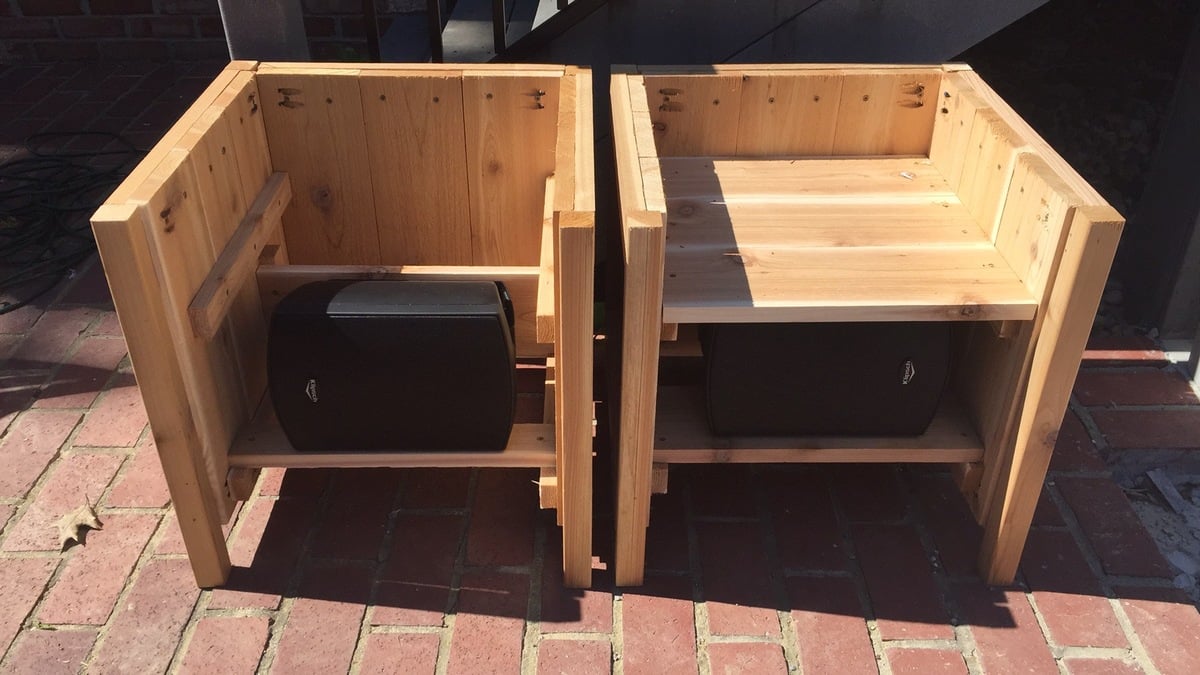
We just put in a pool and I needed something to hide a pair of outdoor speakers. I used Klipsh AW-525 speakers.
Basically I raised the bottom of the planter enough to fit the speaker under and had to add a few framing pieces to secure the speaker mount to. The mount attaches to a vertical board and the weight rests on a horizontal board. The wiring comes up from below.
The front panel uses vinyl mesh from Sailrite.com to hide the speaker but allow sound out. Imm planning to hang it with magnets if it doesn't distort sound too much.
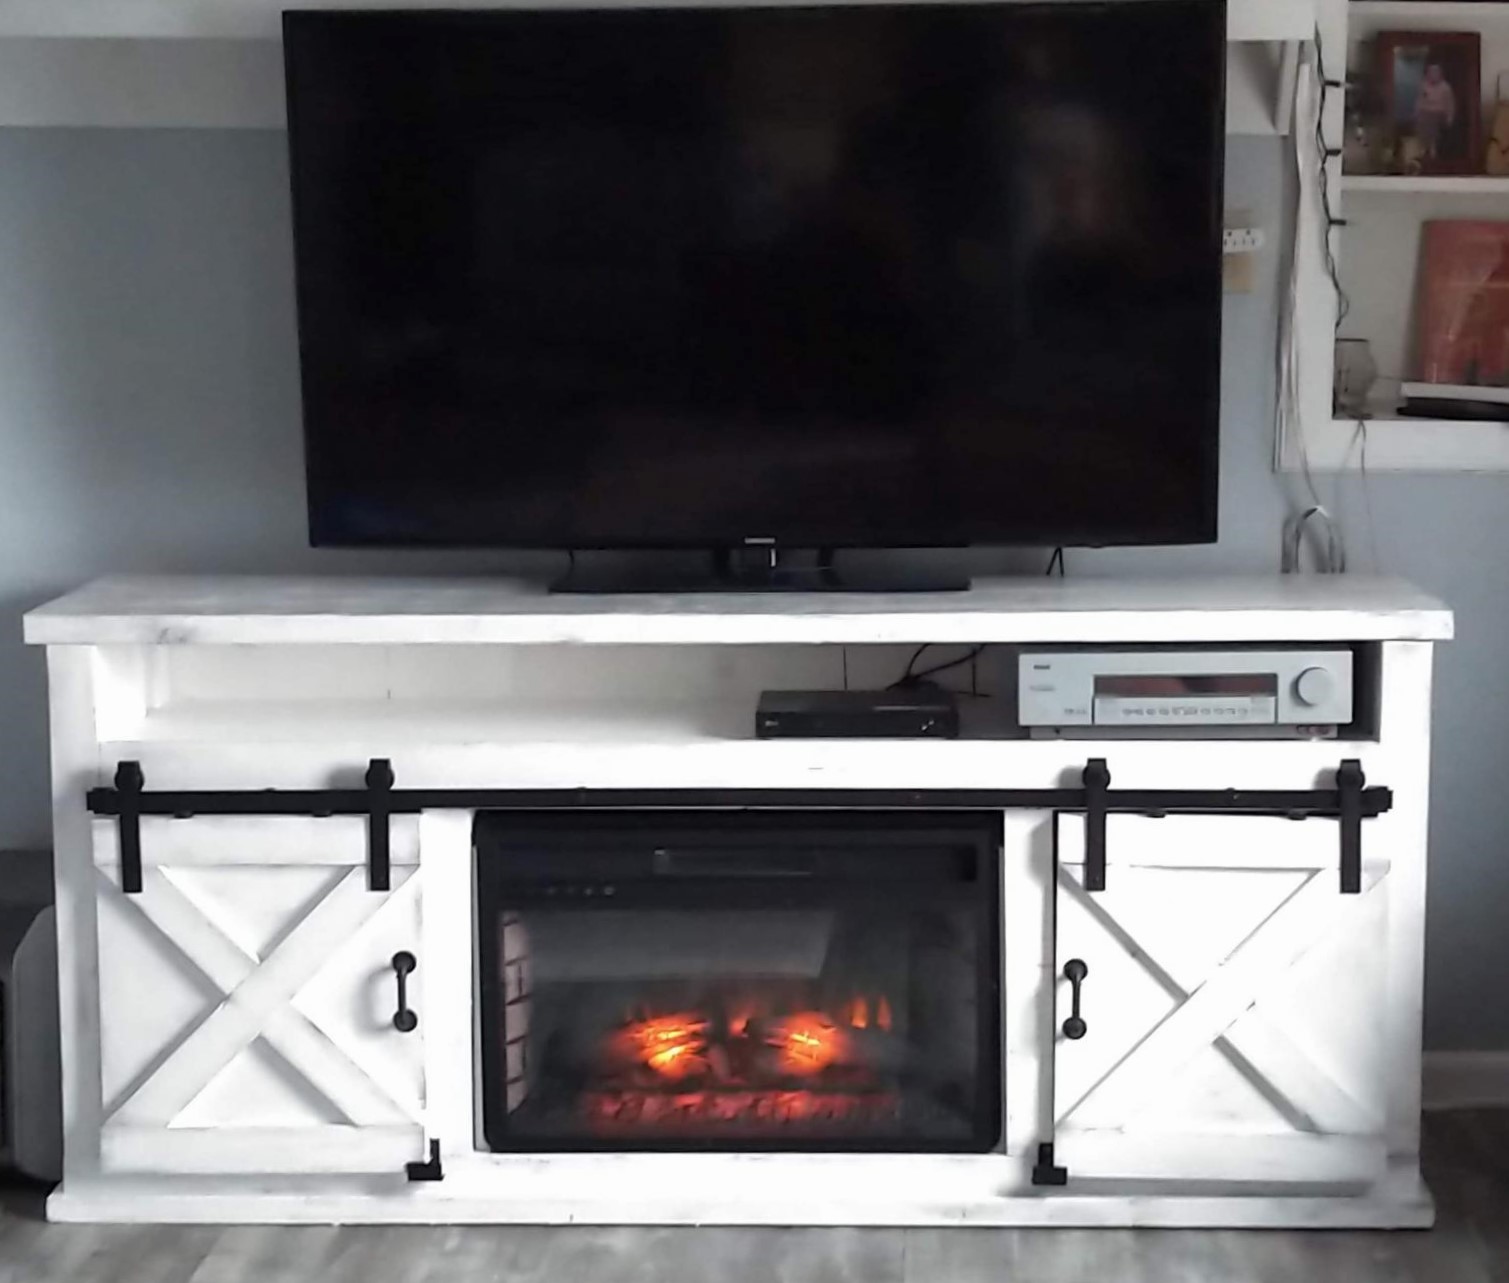
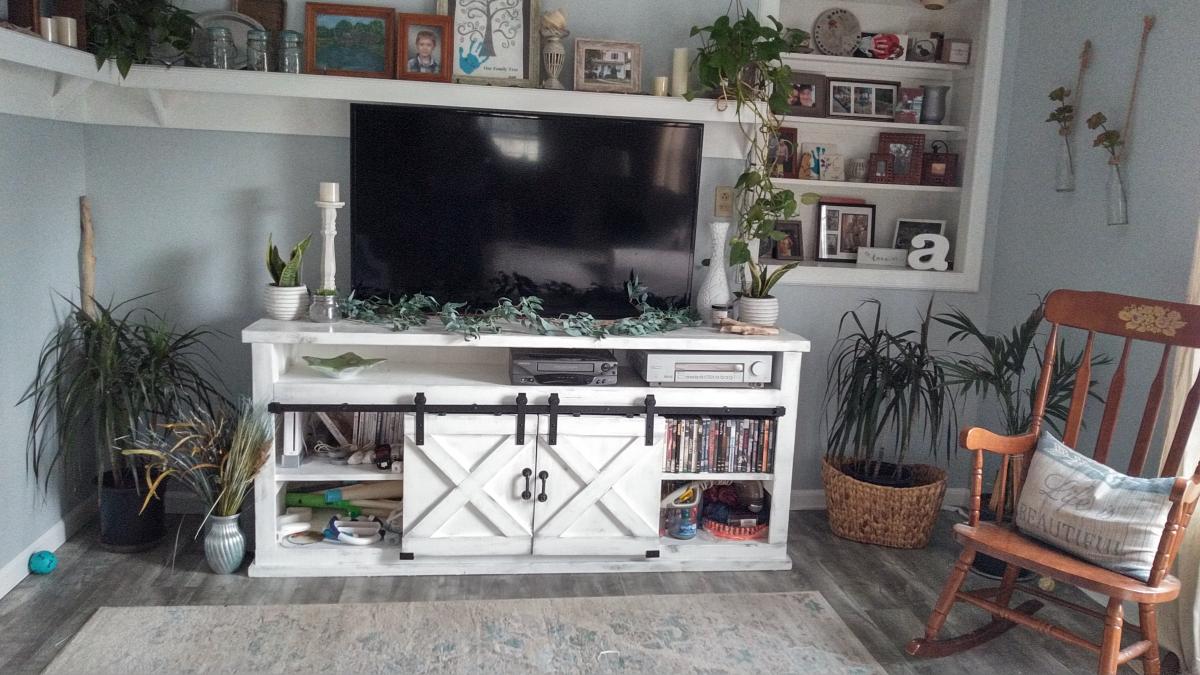
I used the plans from the "Grandy Barn Door Console" for the basic layout, and then altered them to accommodate an electric fireplace insert in between two cupboards, and an open shelf across the top to put in the stereo receiver. The tv is actually mounted to the wall over the top rather than sitting on the console. Overall, I love how it came out. It's exactly what we wanted!
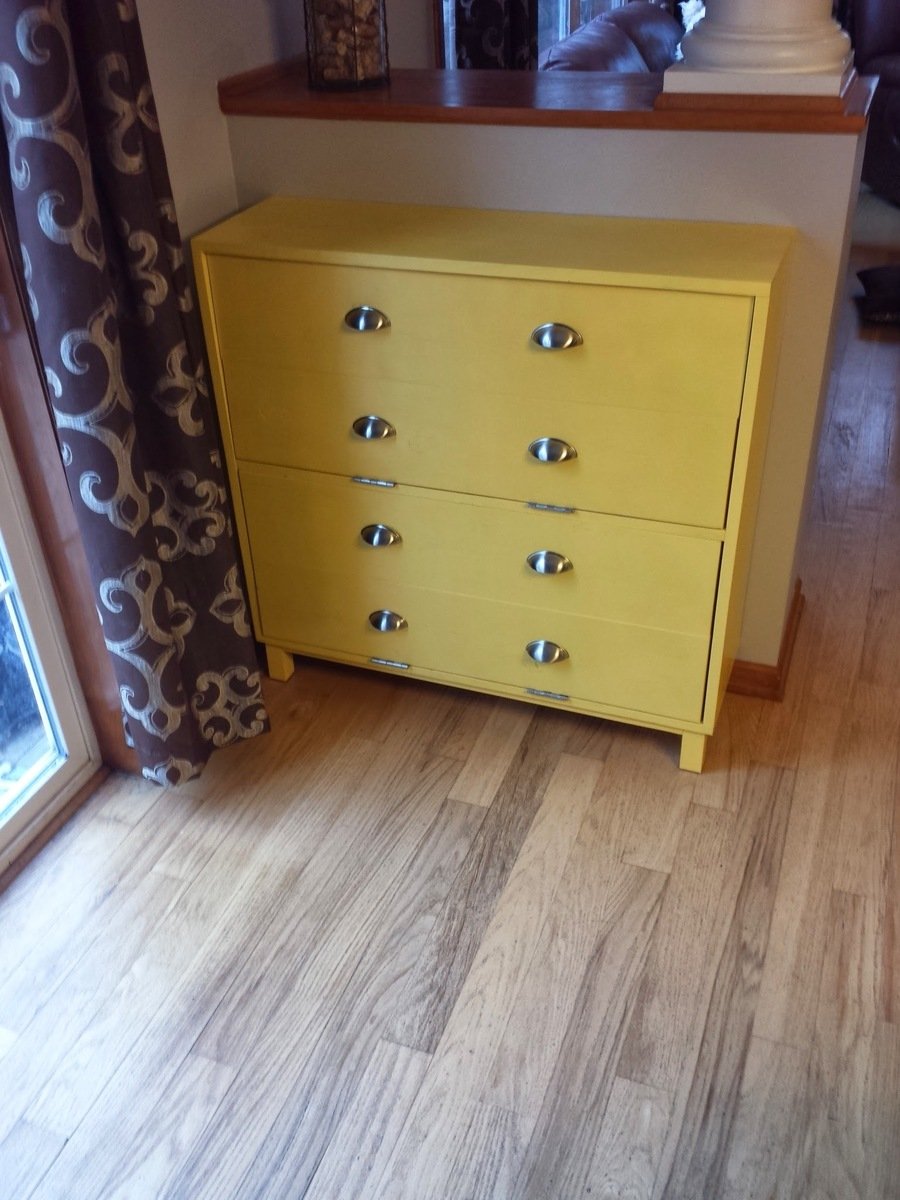
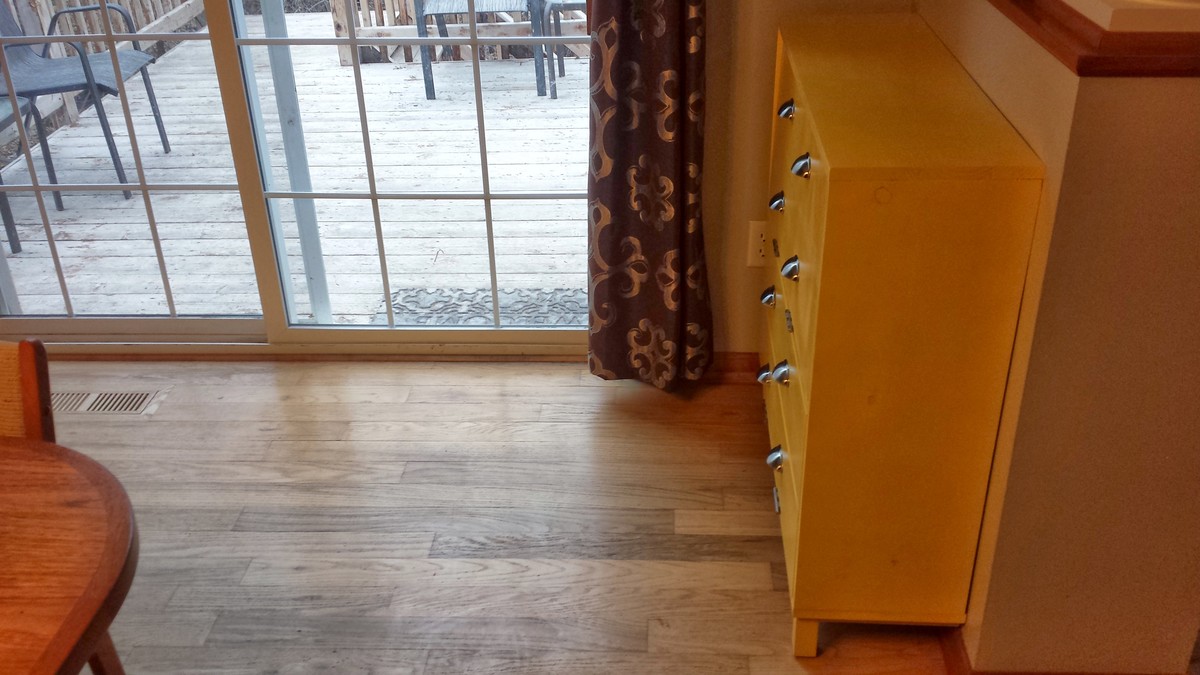
We needed some storage by the back door for shoes and dog accessories so it would be easier for us to take our dogs out for walks. I saw the plan for the shoe dresser and thought it would be great since we would be storing shoes in it. I made it narrower to fit our space and also made it deeper. The cost was mostly in the hardware.
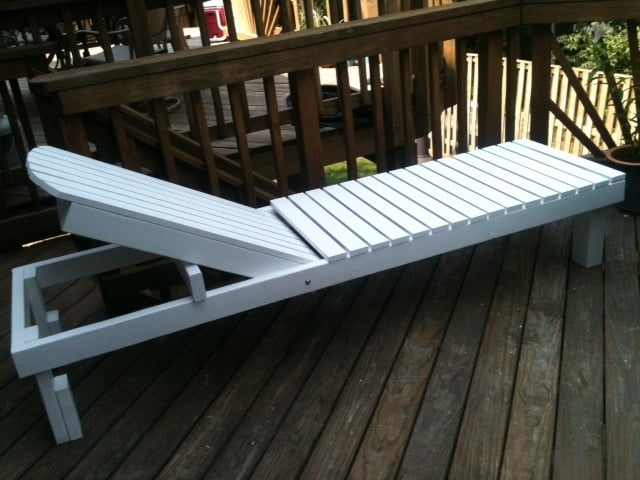
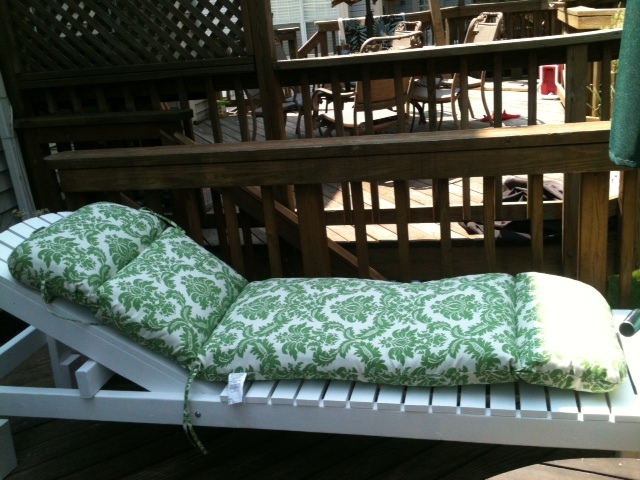
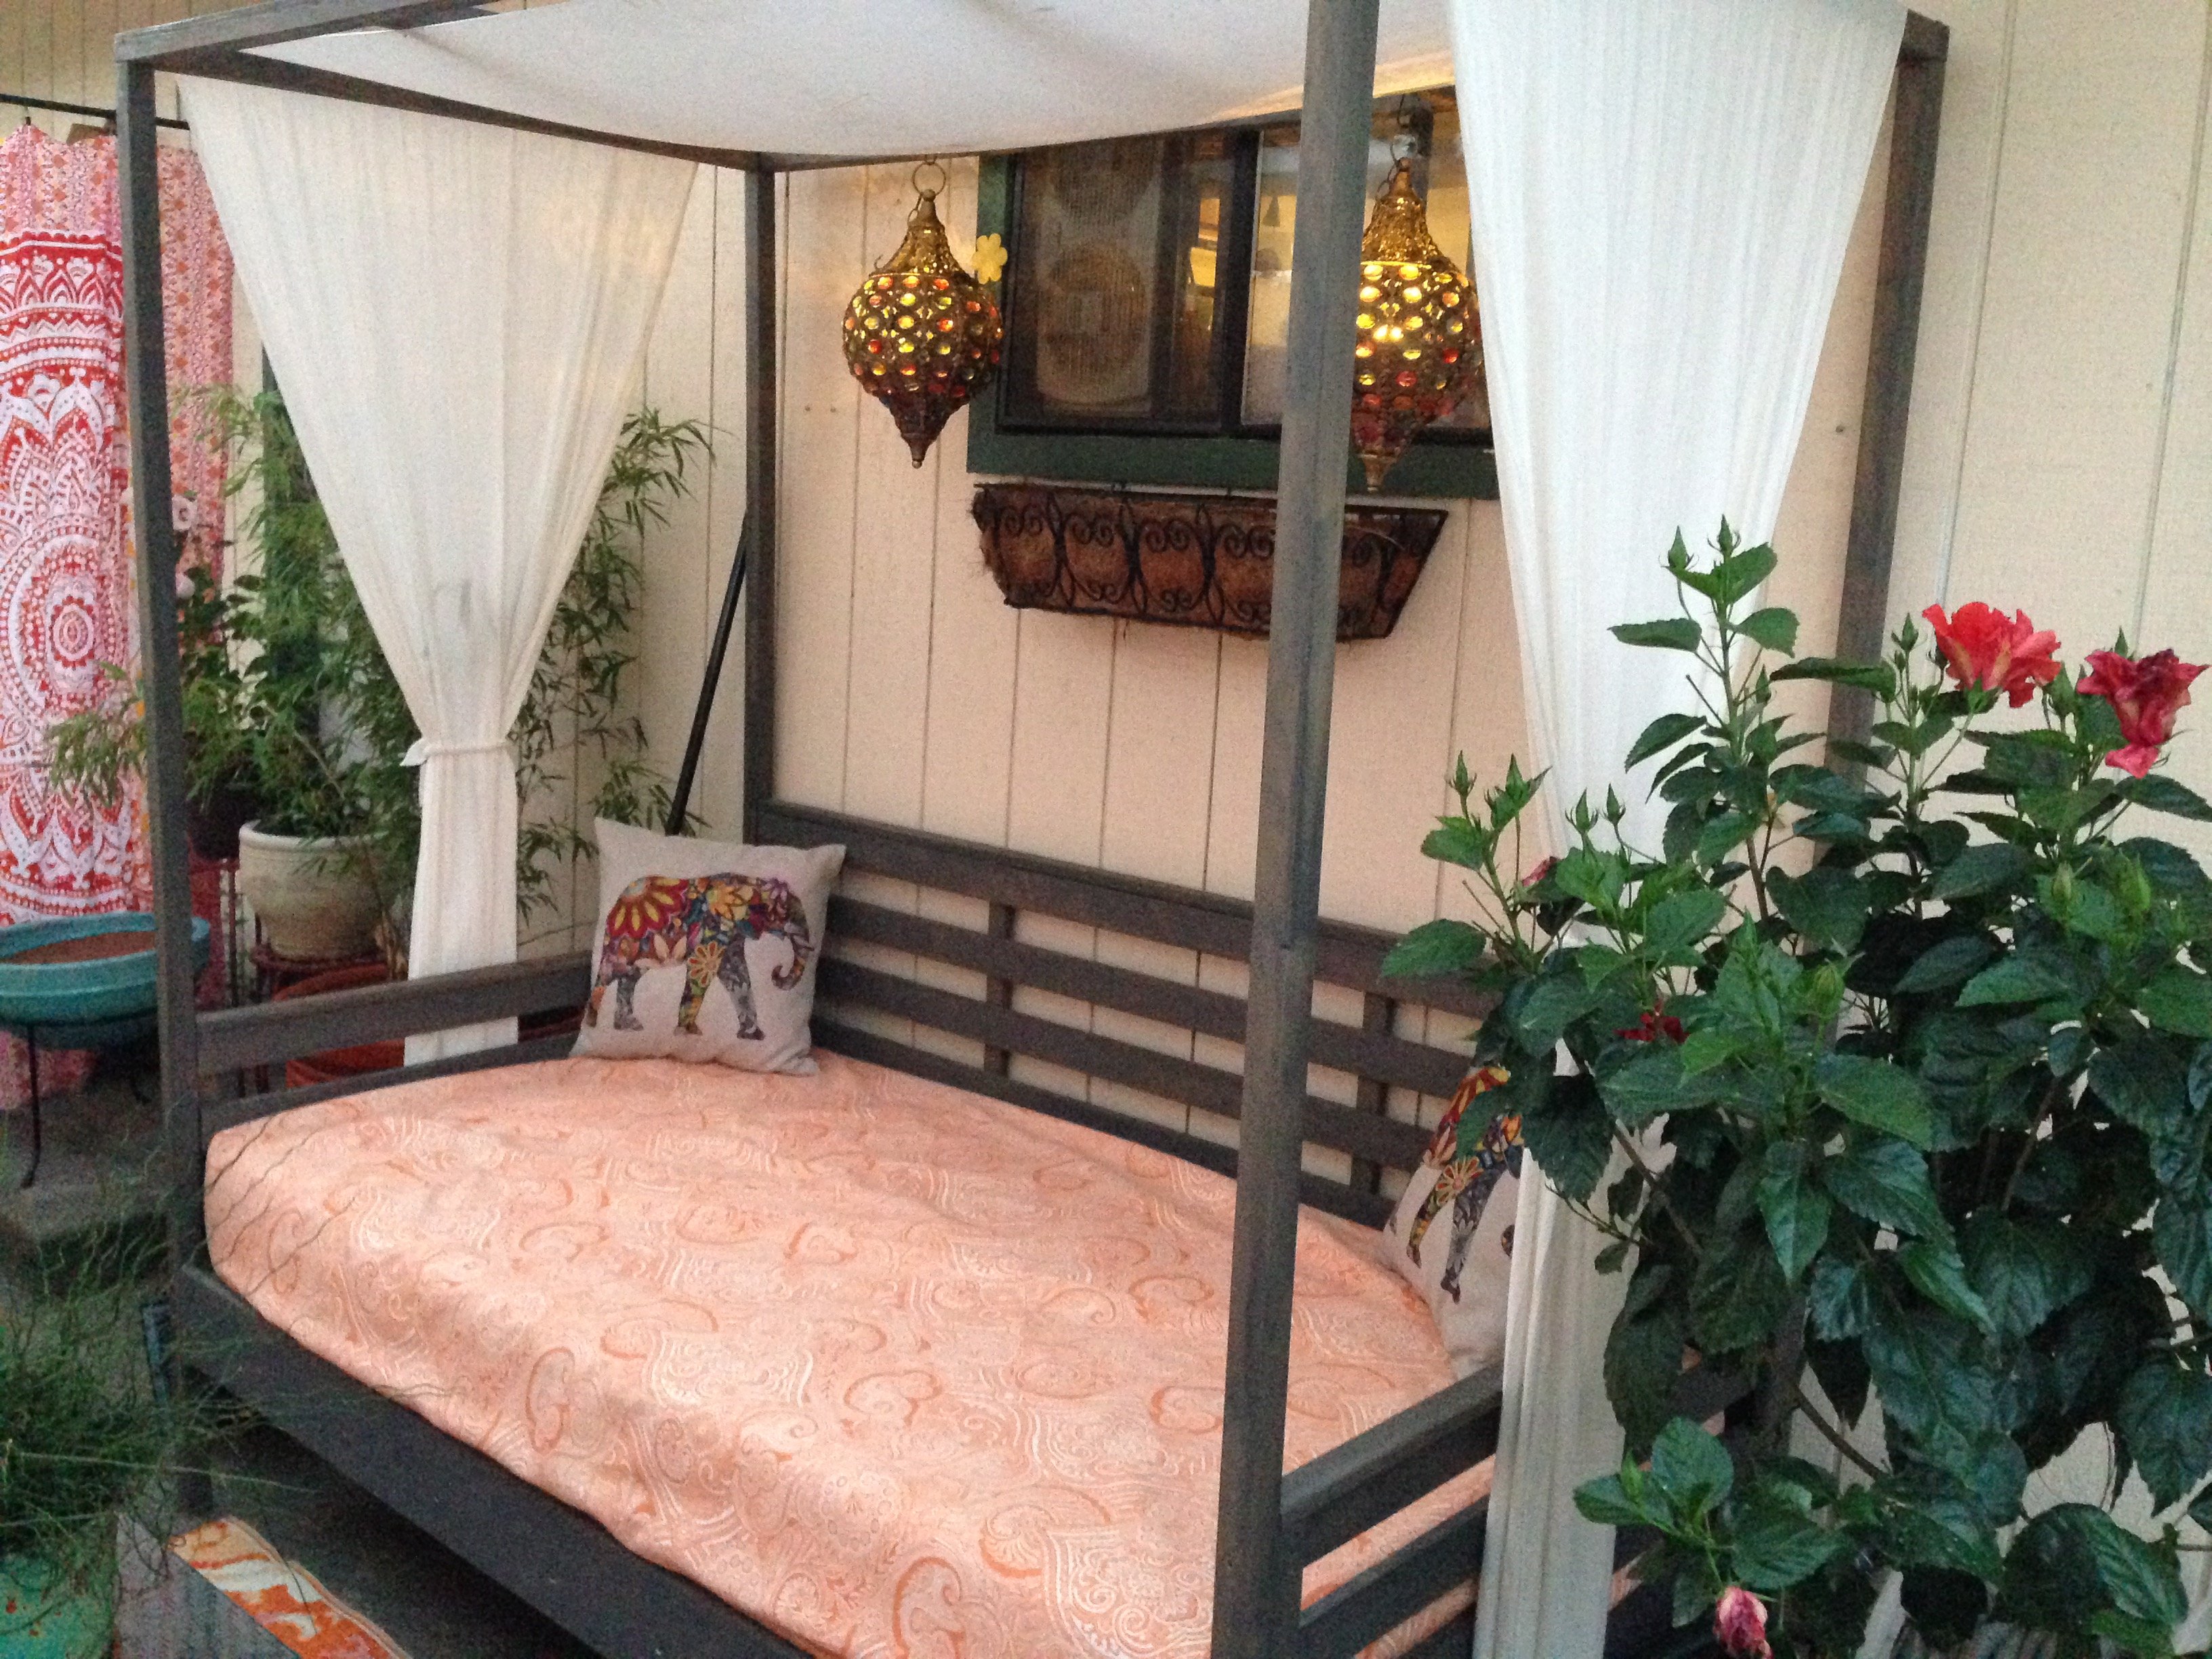
This cost me $55 for wood (pine), nails, and bolts. Additional $7 in paint. It's very sturdy and very comfy with a lounge chair cushion (Walmart had a great price--cheaper than I would have spent to make one myself). This will also serve as bench seating for my deck (I love multi-use furniture). Thanks Brook and Ana for this great plan!
Fri, 05/20/2016 - 11:32
I have my lounge completed except for the slots. It looks great and I am very happy with the results. But, in looking at your finished photos, I notice the 2 X 4 in the horizontal slot is not seated into the space completely. And, melbooker's photo shows the board sitting on top of the rail. So, I'm a bit confused about cutting in the slots. Any advice would be very helpful! Thanks
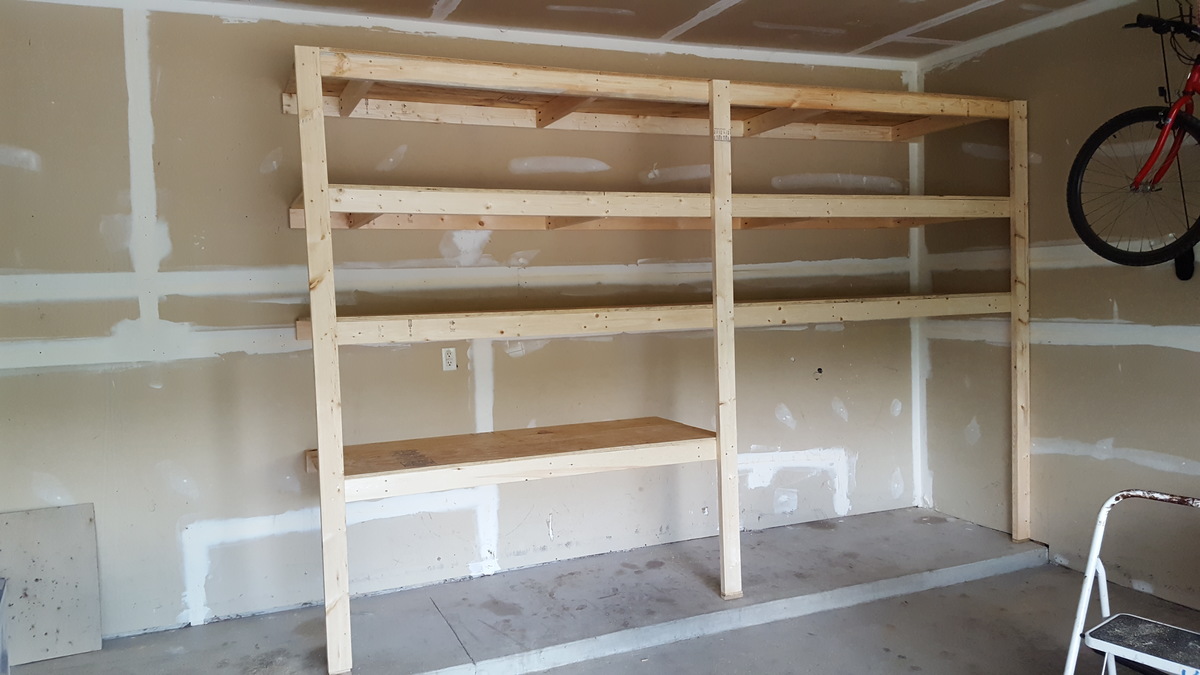
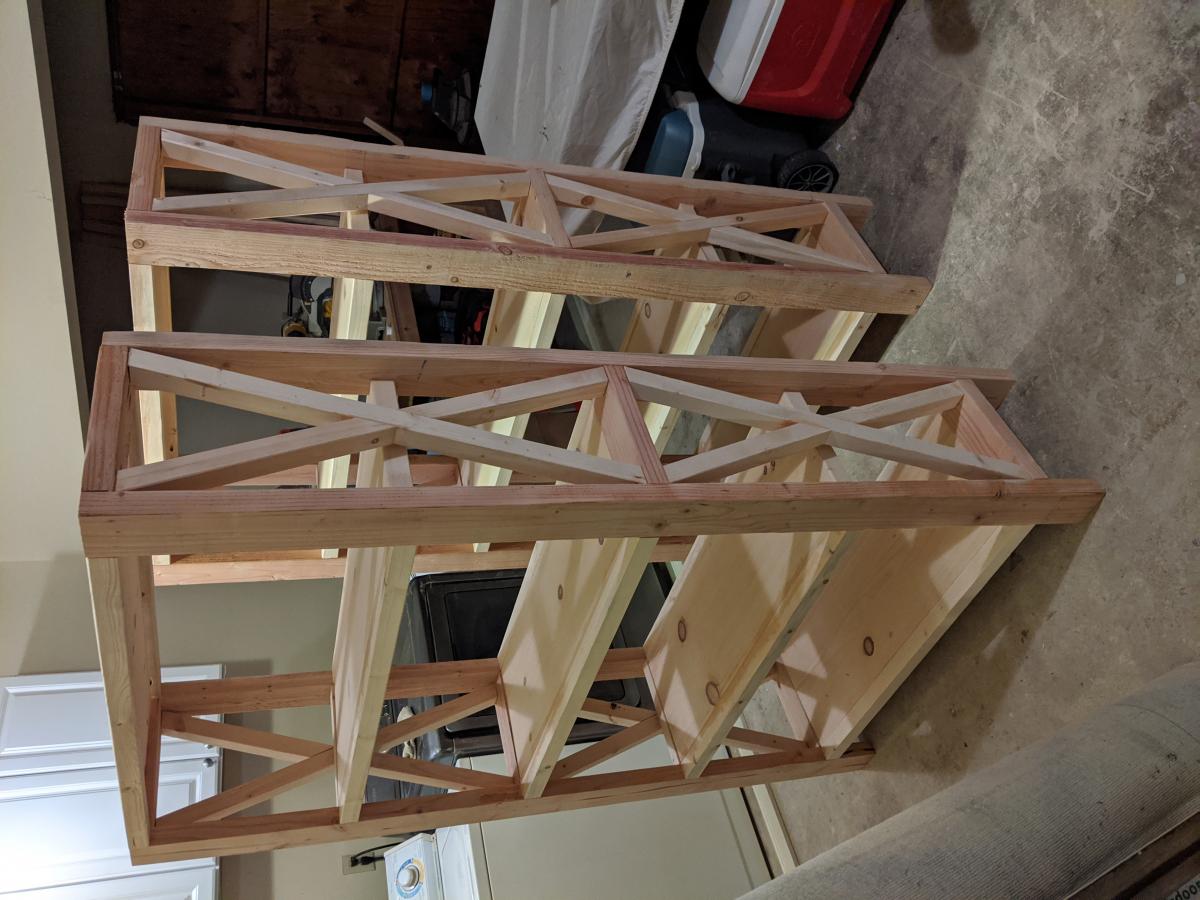
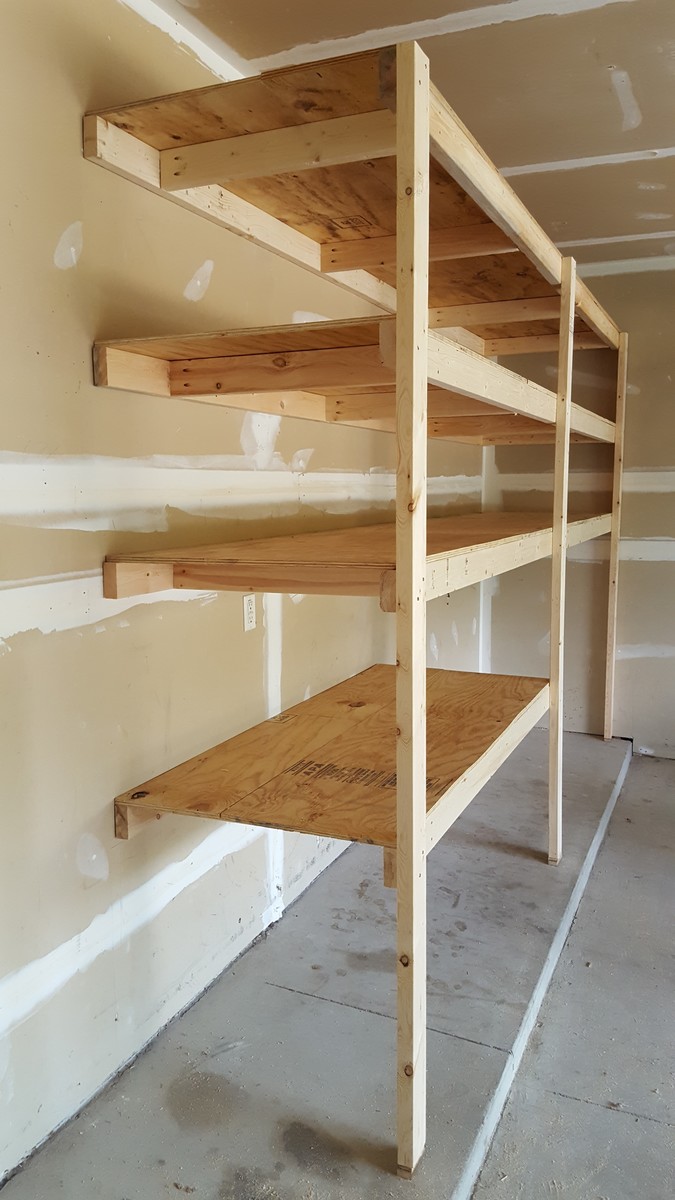
My husband and I built these shelves in our garage this past weekend. This is one of our first diy projects and we are very happy with how it turned out. The shelves are 30" deep, around 8 feet tall and 12 feet long. This was also our first time using the Kreg jig, which we loved!

I recently moved to Boulder, CO and finally have a garage where I can actually work on projects. Since I moved here with practivally nothing, I decided I should build my own bed. This is probably one of the most ambitious wood working projects I've attempted. I also tend to be slightly anal, so I've probably spent way more time on this project than most people have or will.
After reading the plans and other Brag Posts, I felt I was ready to start. I ordered the Kreg Screws, and a few other supplies I would need for the Project on Amazon and was off to the races. Several trips to Home depot to get various pieces of wood, (since I wasn't going to fit it all in my Subaru in one go), I finally had most of the lumber for the bed frame. Let me tell you, it's not easy getting straight pieces of lumber (as mentioned before, I'm a little anal). I decided to go with oversized lumber, since I would have more usable leftover pieces for other projects.
I spent several hours after work during the week, and several more on the weekend, sanding down all the lumber with 60 Grit, then applied the first coat of Stain, to raise the grain. I was out of town for the weekend, and let the stained wood sit in my garage while gone. When I got back, I noticed a lot of marks which I didn't notice before staining. Some of these were from the belt sander I used to knock down really rough parts of some of the lumber. But most of the marks were because I put too much pressure on my random orbital sander.
Lesson learnt: Sanding takes time, and patience! DO NOT press down hard on the sander, if you don't want marks on your wood. These marks will be significantly more prominant after staining.
I decided to sand everything again, 60 grit, then 100, then 150. I gotta say, the wood feels so much nicer to touch and I'm glad I decided to re-sand. I spent a few hours after work to get most of the head board pieces done, but noticed that the 2x4 had warped beyond repair... I'm going to get the upper and lower 2x6 pieces ready to assemble with my kreg jig this weekend, and then decide if I want to add a 2x4 in the middle like the plans call for.
I decided to go with just 2x6s for the headboard, I used the Kreg Jig to put it all together, I also attached 4 supports made of some scrap Plywood I got from my neighbor for the headboard.
I stained it all with a Staining pad twice, then applied 3 coats of Poly with a brush. I didn't sand between coats since I was applying very thing coats and I had already sanded everything down with 150 grit.


Fri, 03/02/2018 - 19:17
Sick job dude! What stain is that? I like the color of it and might use it for mine. Did you notice a stain odor at all after applying the stain and covering it with the poly?

Fri, 08/09/2019 - 13:22
This bed is super gorgeous!! Thank you so much for sharing photos!
Inspired by Ana White project, but assembled with tencions and mortises, without screws.

Practically to spec. (When I make a mistake I adjust to accommodate :) if possible)
Ana's plan was exactly what I was looking for. Love the result. Love pocket hole screws!
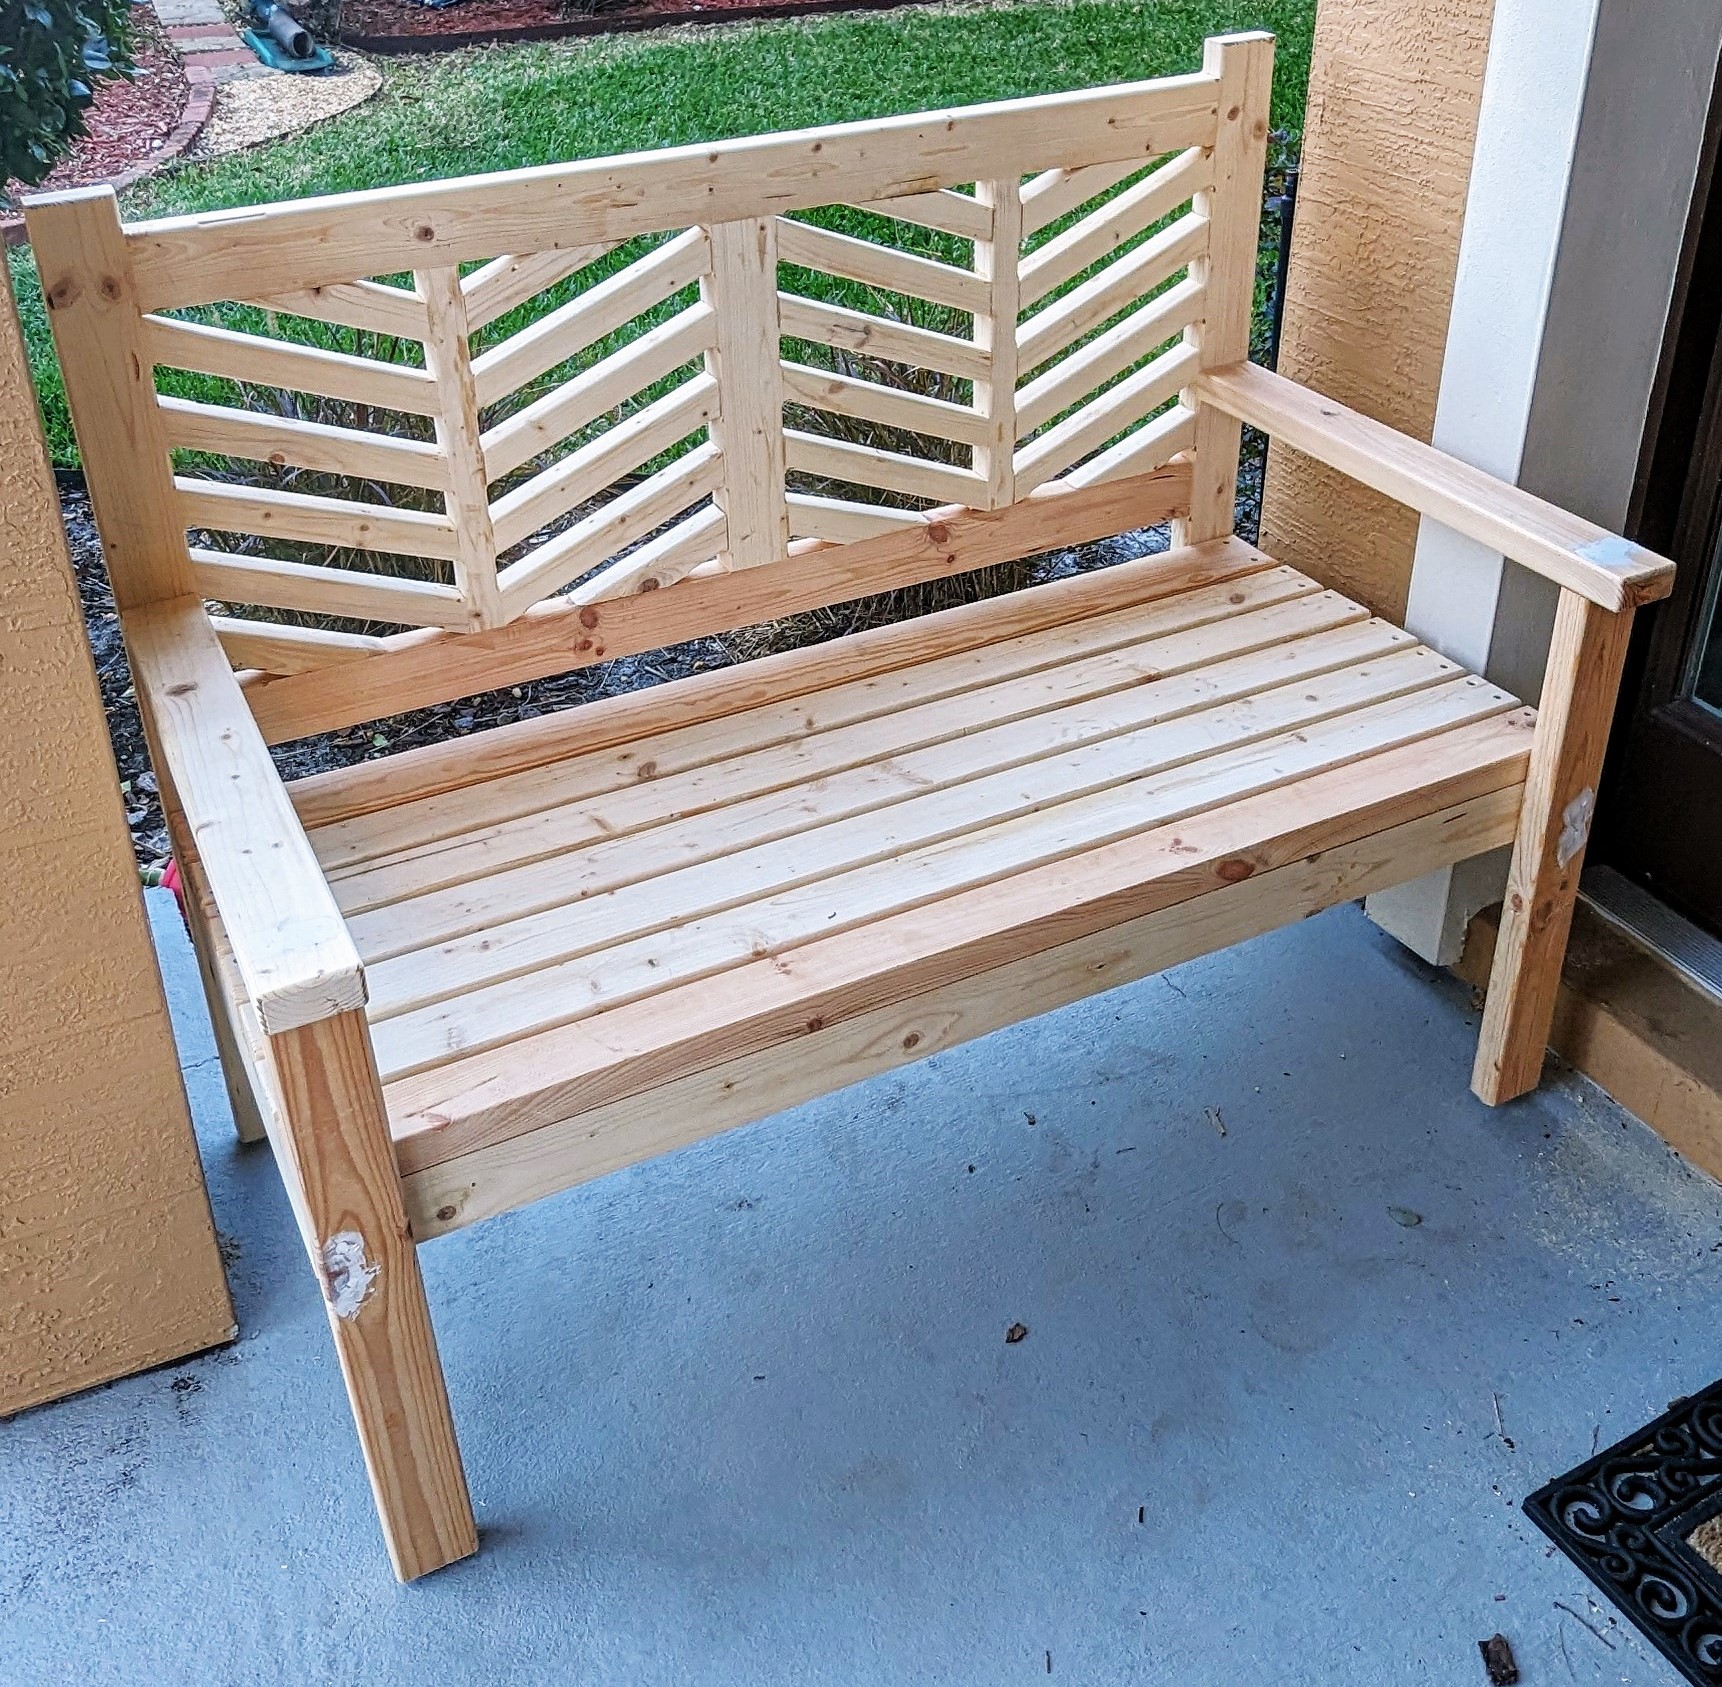
The herringbone back was the most time consuming but the wife loves it. Will update after it's finished.
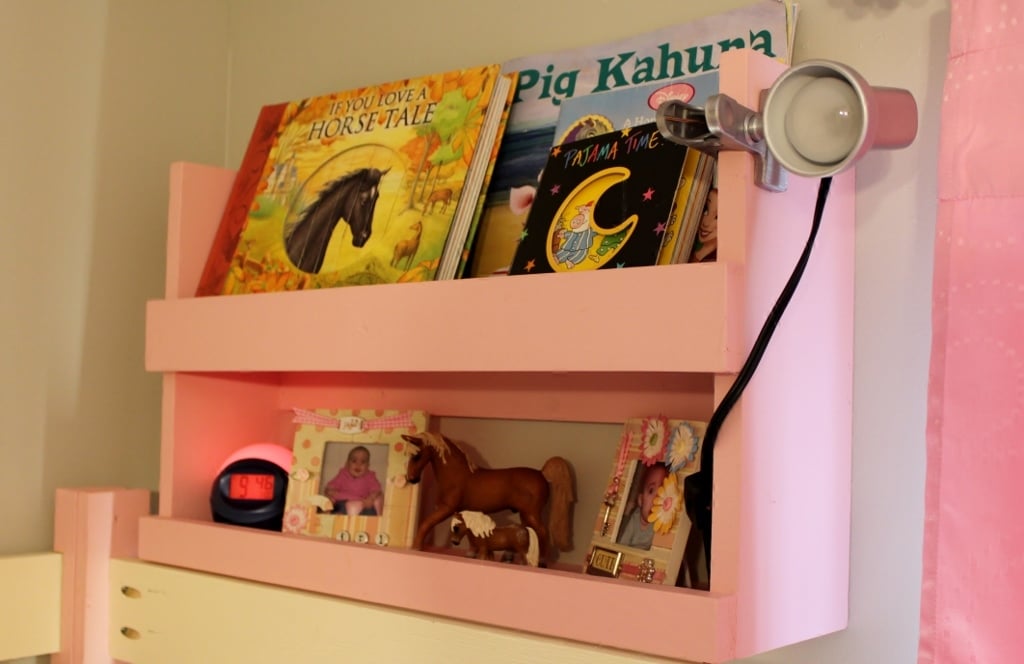
I had just finished my daughter's playhouse loft bed when I saw this plan. It was super easy to build and I used all left over wood from the playhouse. I used 6-inch boards for the sides and shelves since that was what I had left over. Other than that, I followed this plan exactly. Thanks for posting!
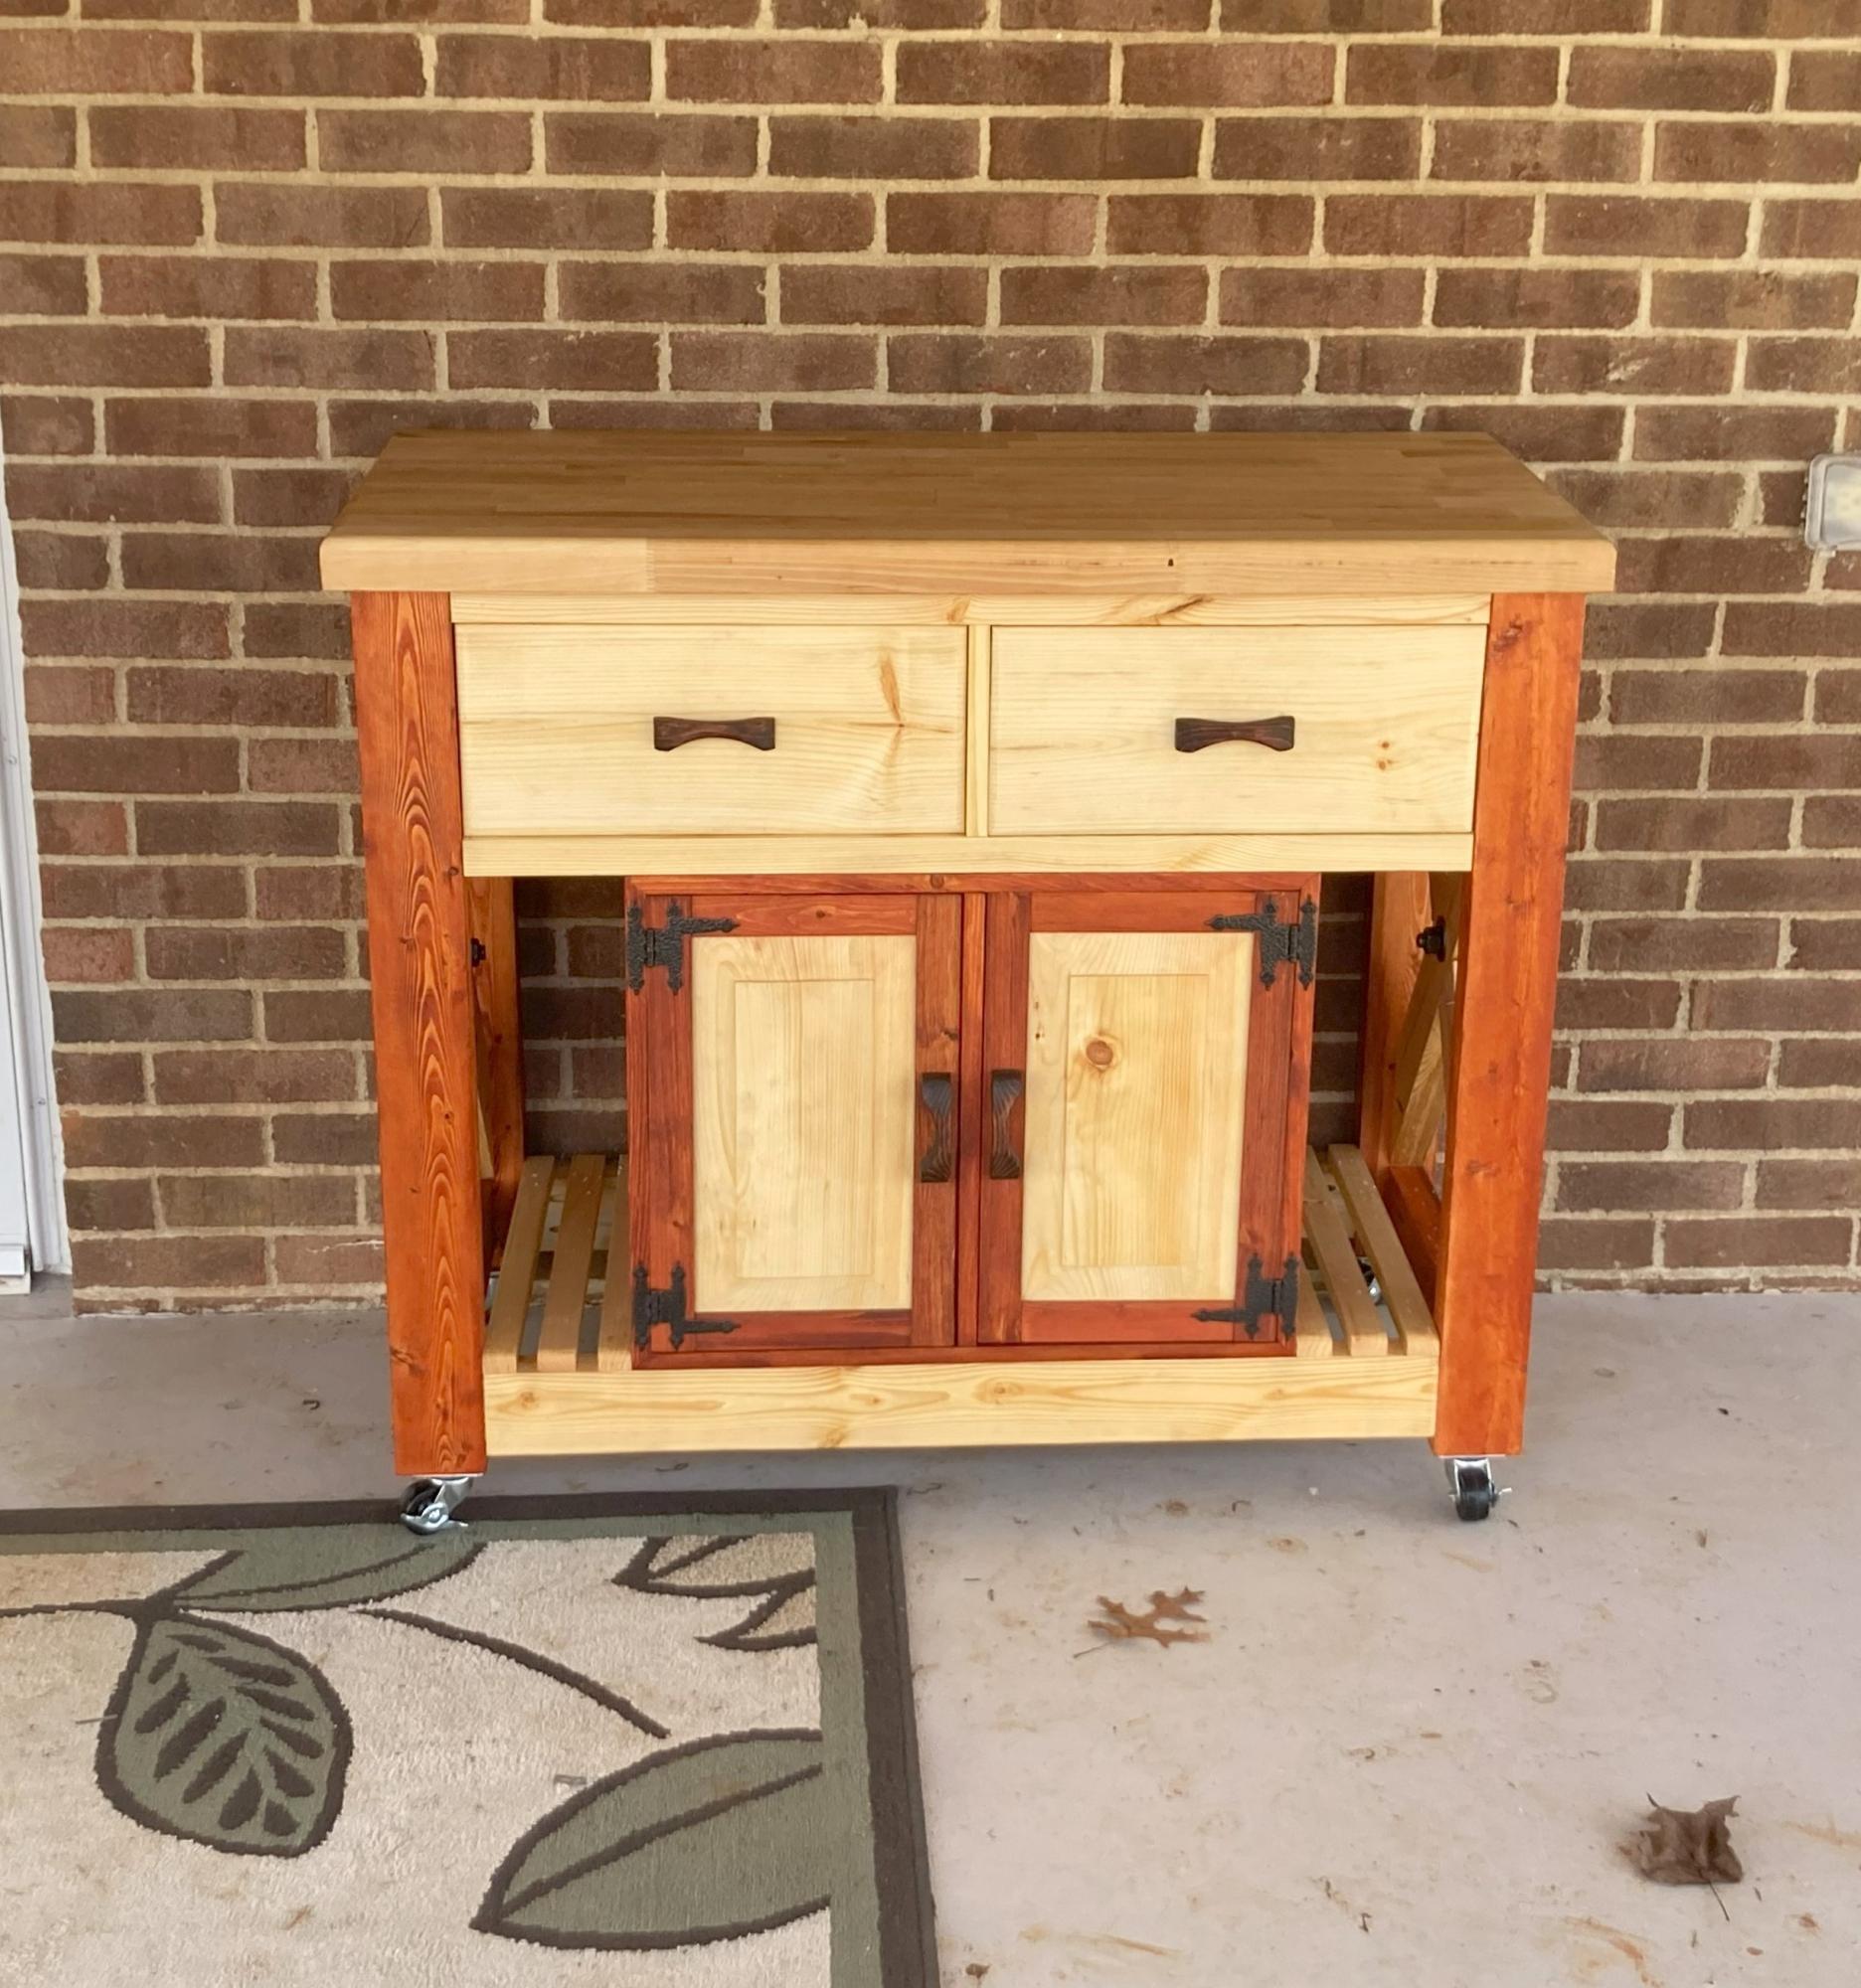
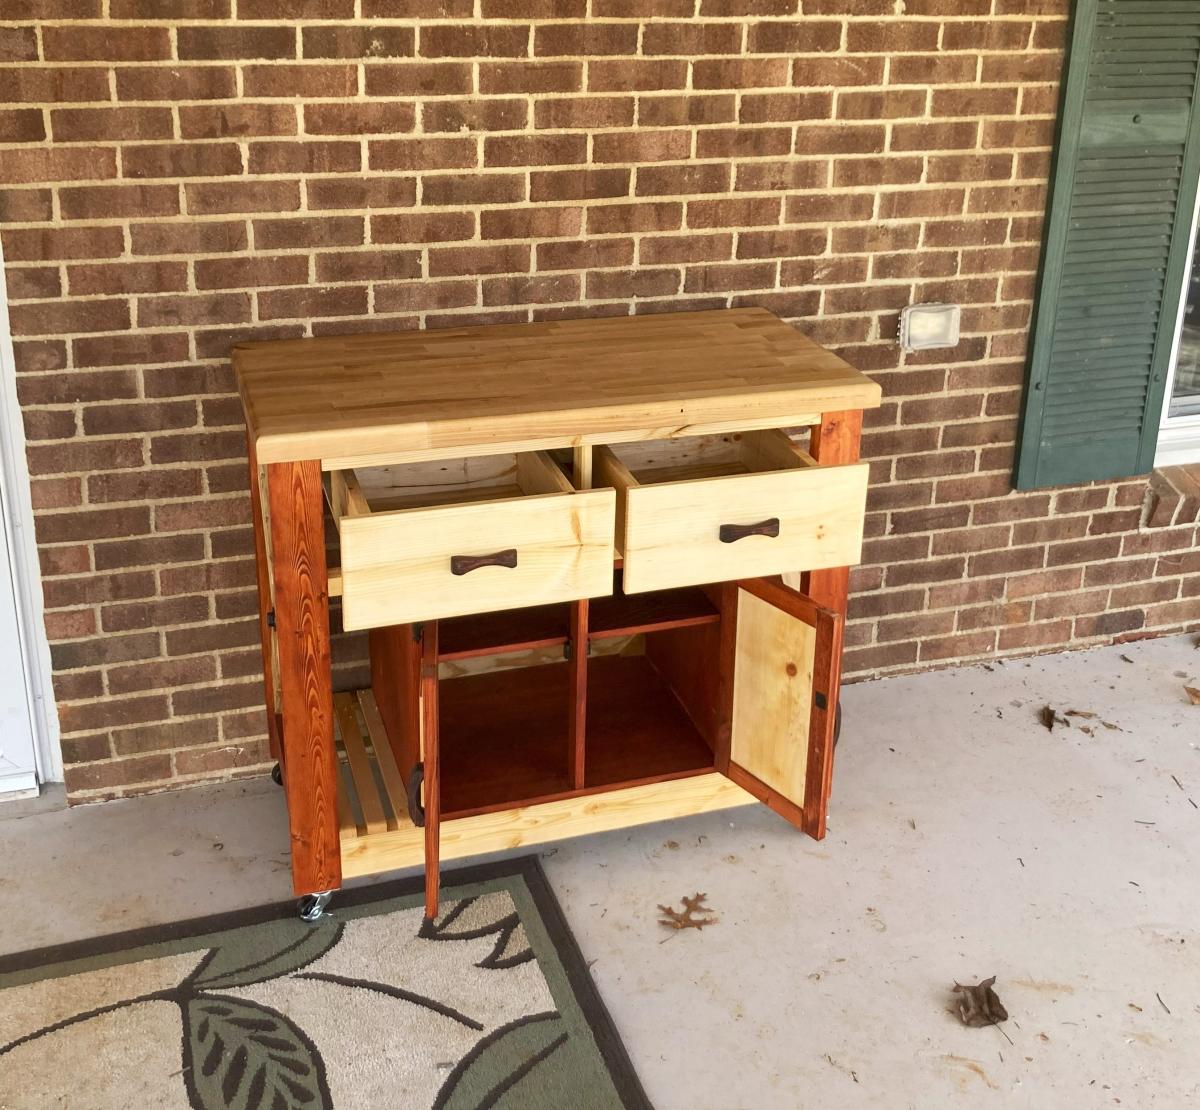
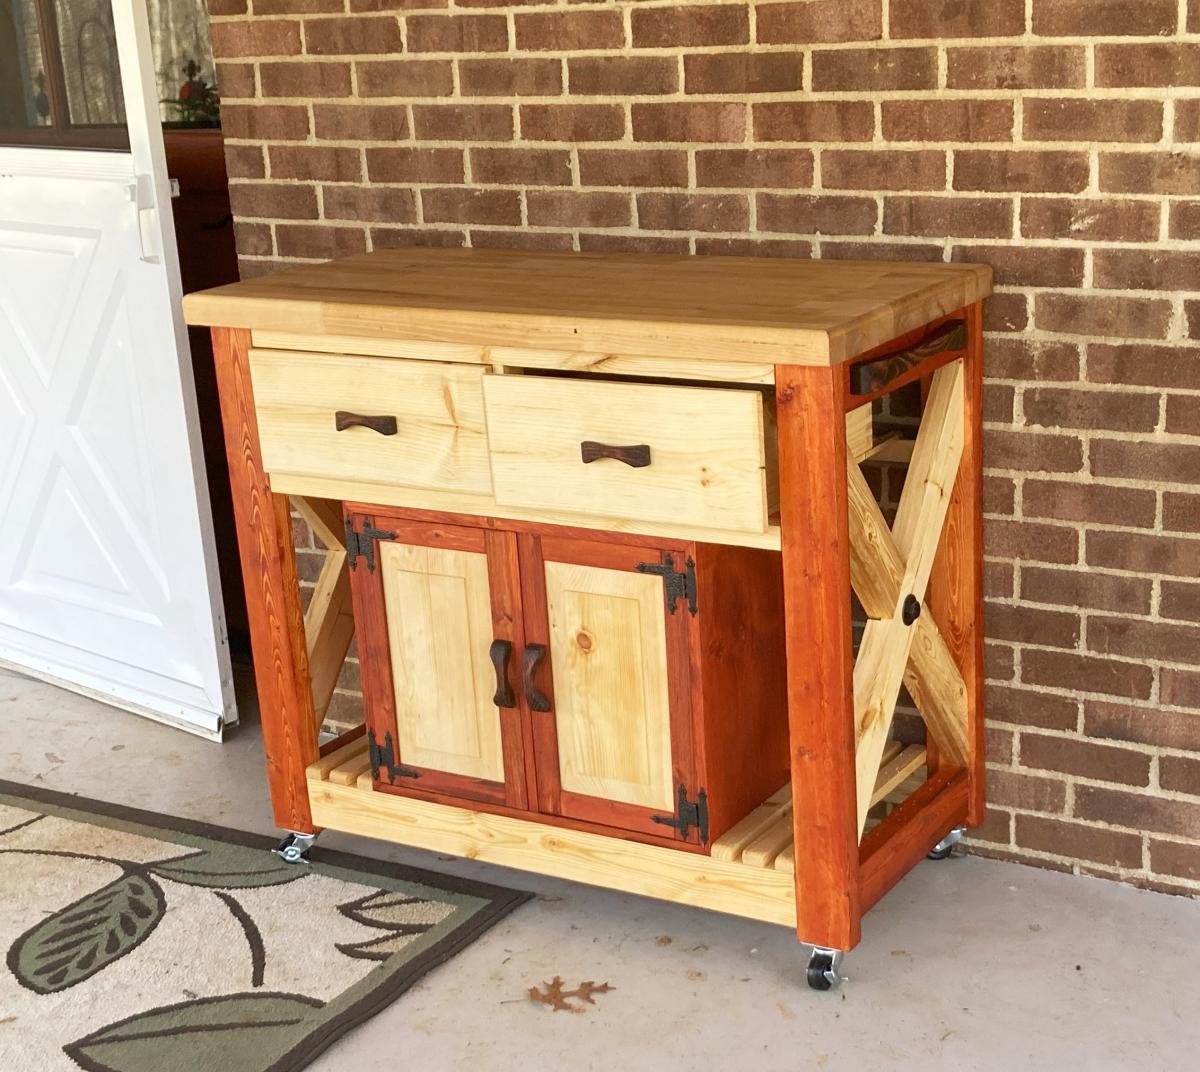
Hello - I am new to your projects post. I really like the projects that you post. I had been looking to make a "grill storage/prep" cart and came across your plans for the Rustic X Kitchen Island with drawers. I also saw a picture of another table and decided to merge the two. Attached are pictures of the finished project. I modified some of the dimensions to accommodate what I was trying to achieve. I used a half-lap on the X's on the sides. I also used center drawer slides so they would not be seen on my version. I would be happy to provide additional pictures, dimensions or project tips. Thanks for posting your projects. Keep 'em coming. I don't have a blog, Insta.
Tom Riley
This was an awesome, quick, and easy project. The sanding, staining, and drying, took forever for me but the actual cutting and assembly was super quick. I have this on an uncovered patio and my local store didn't carry cedar in the sizes I needed so I went with the cheapest wood I could find and used a high quality oil based outdoor stain. I am hopeful it will hold up to our pacific NW winter because it won't be coming in. Considering I had never made anything before and had never used a miter saw, sander or quick square, I am happy with the time it took to finish this.
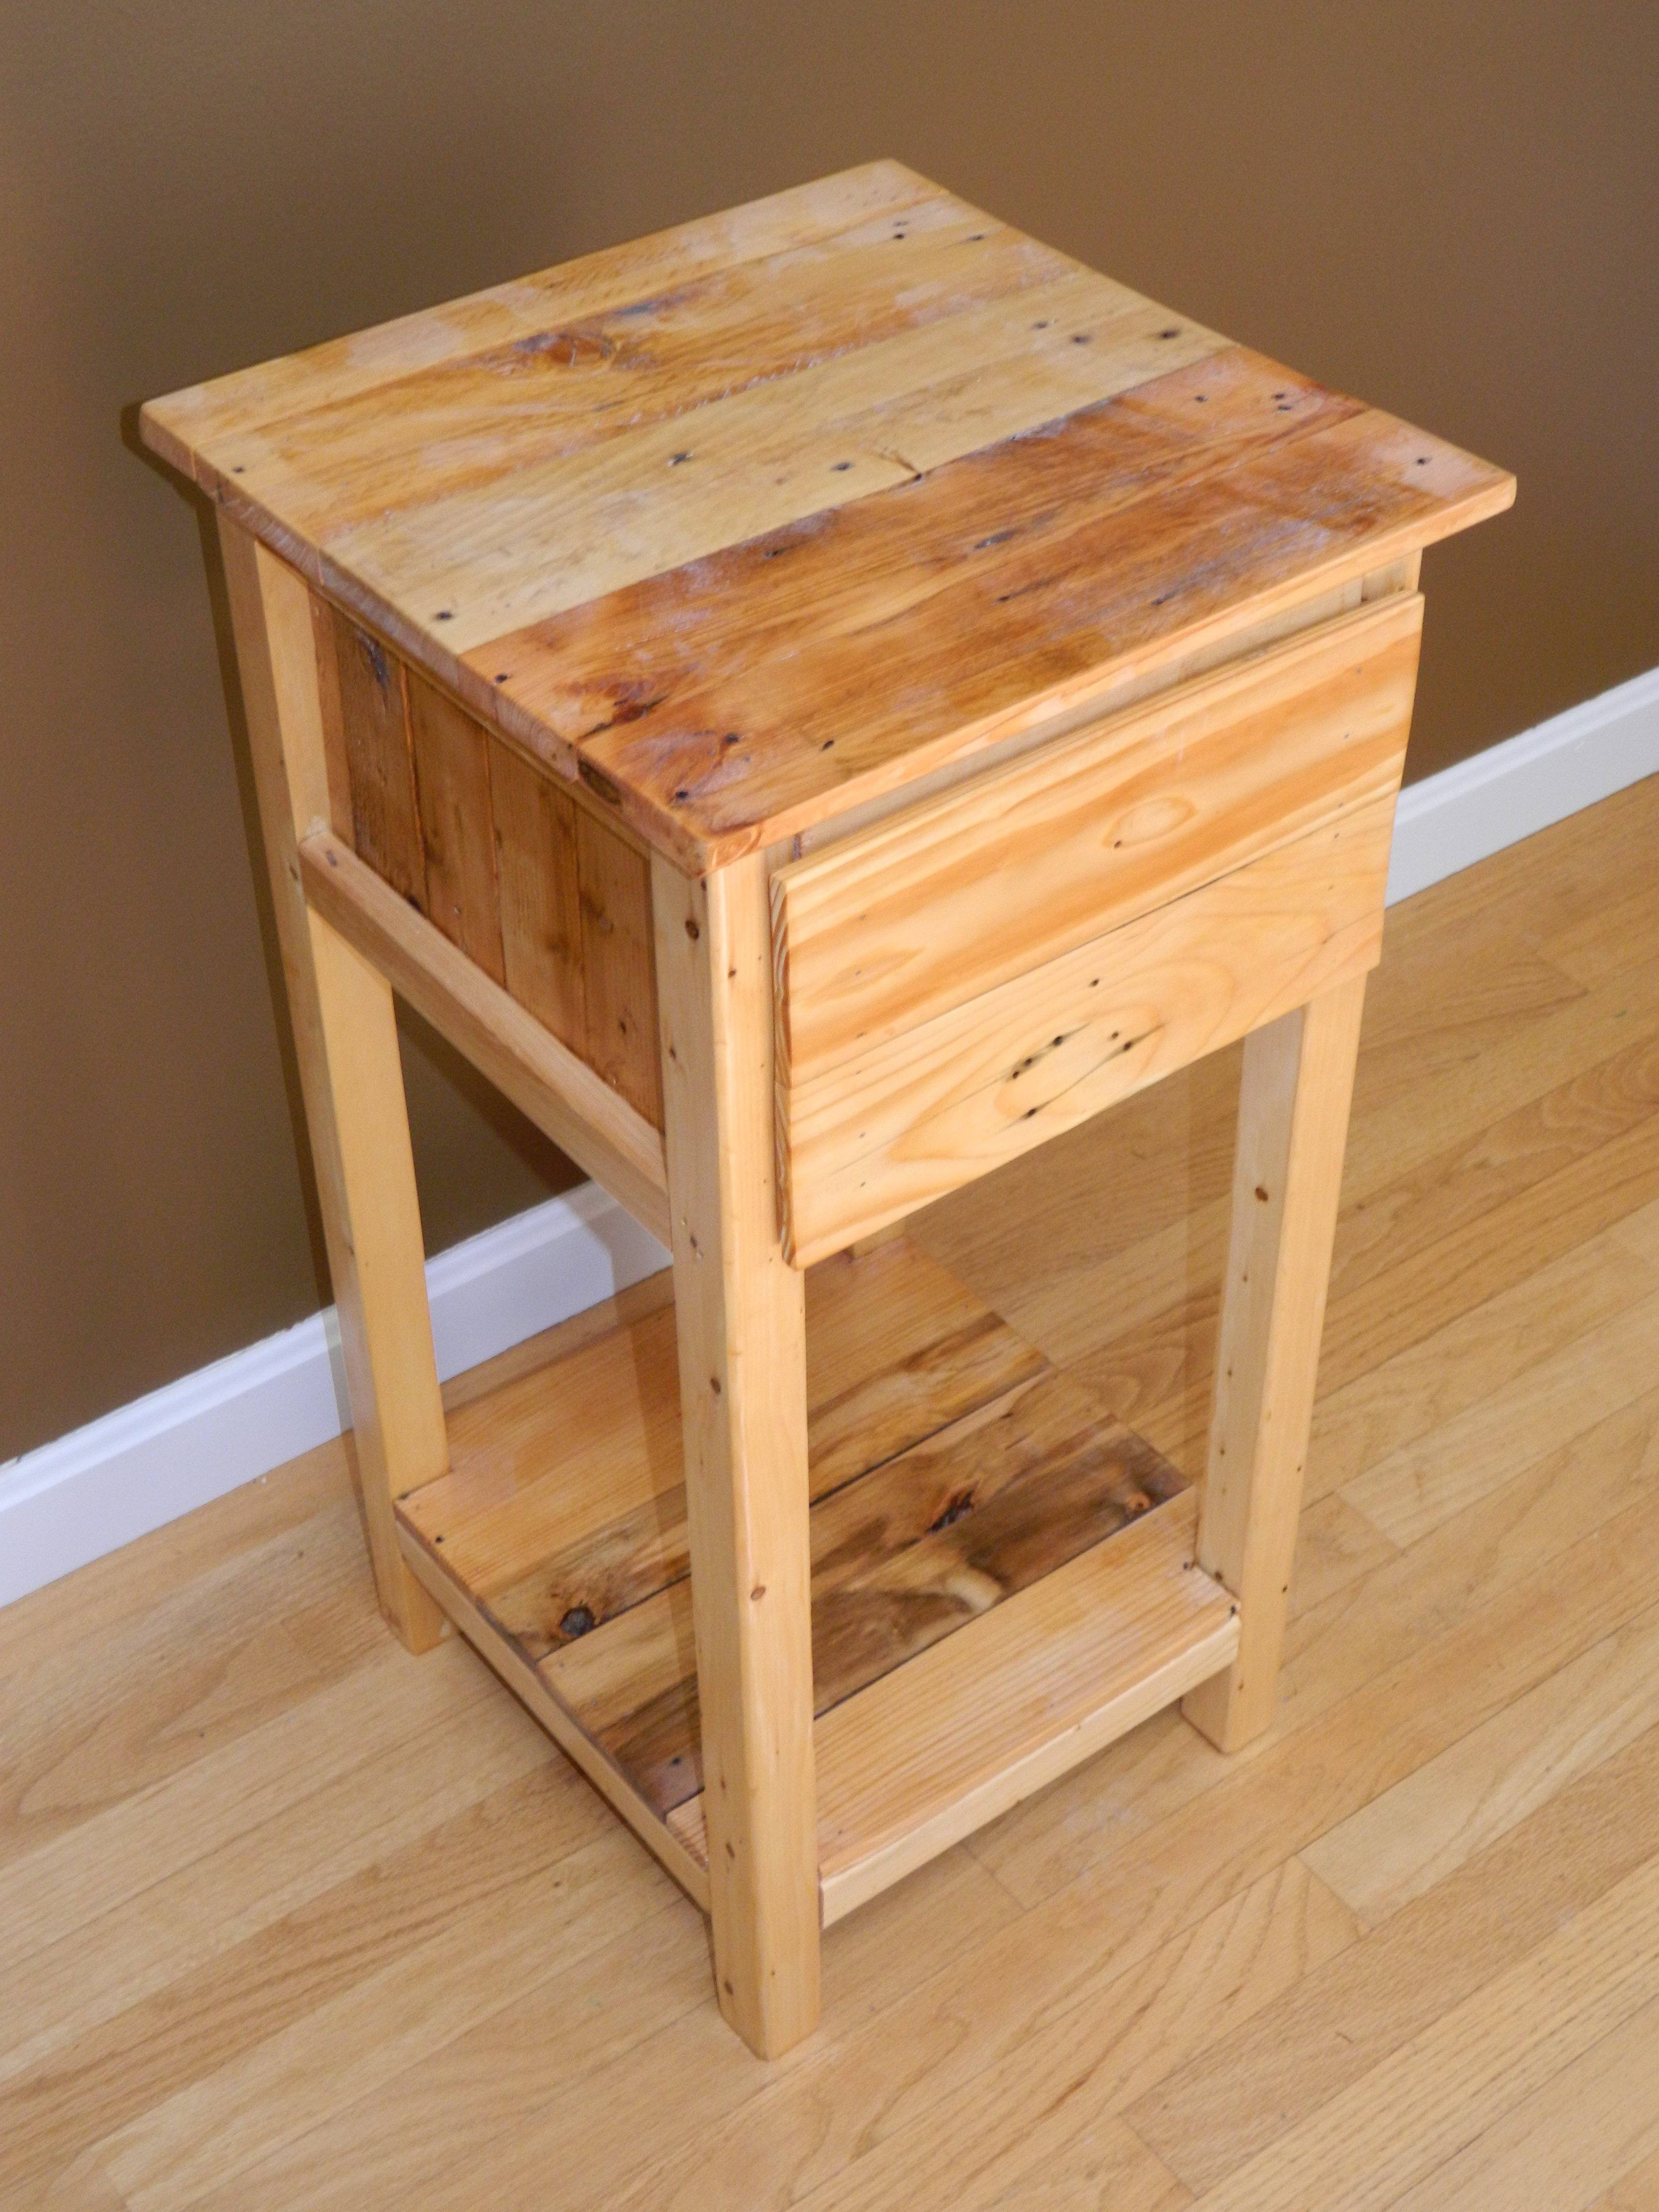
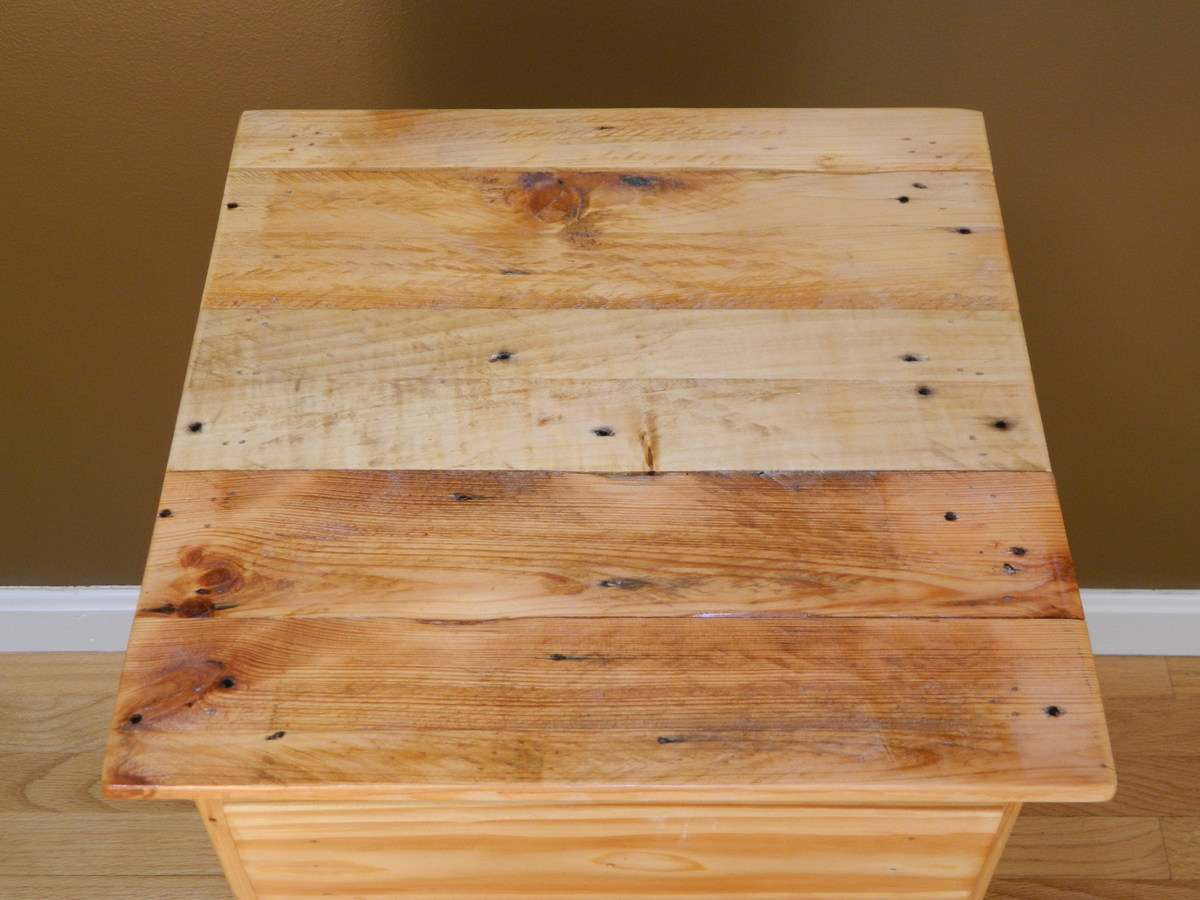
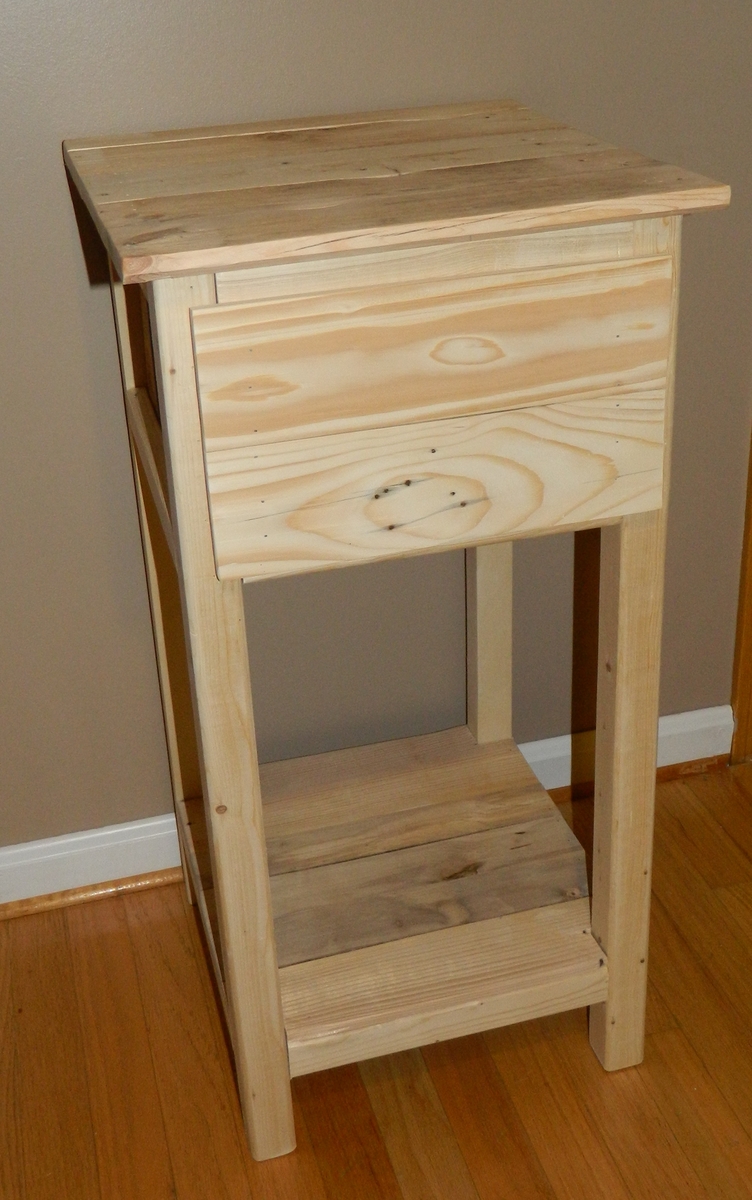
I used pallet wood to create a completely different look for this project. The frame and some of the trim pieces stayed the same, but there were a few edits made to support the pallet top, sides, and shelf. In addition, the drawer design changed a little bit to allow a false front instead of the inset one from the original plan.
More info in the link below!