Community Brag Posts

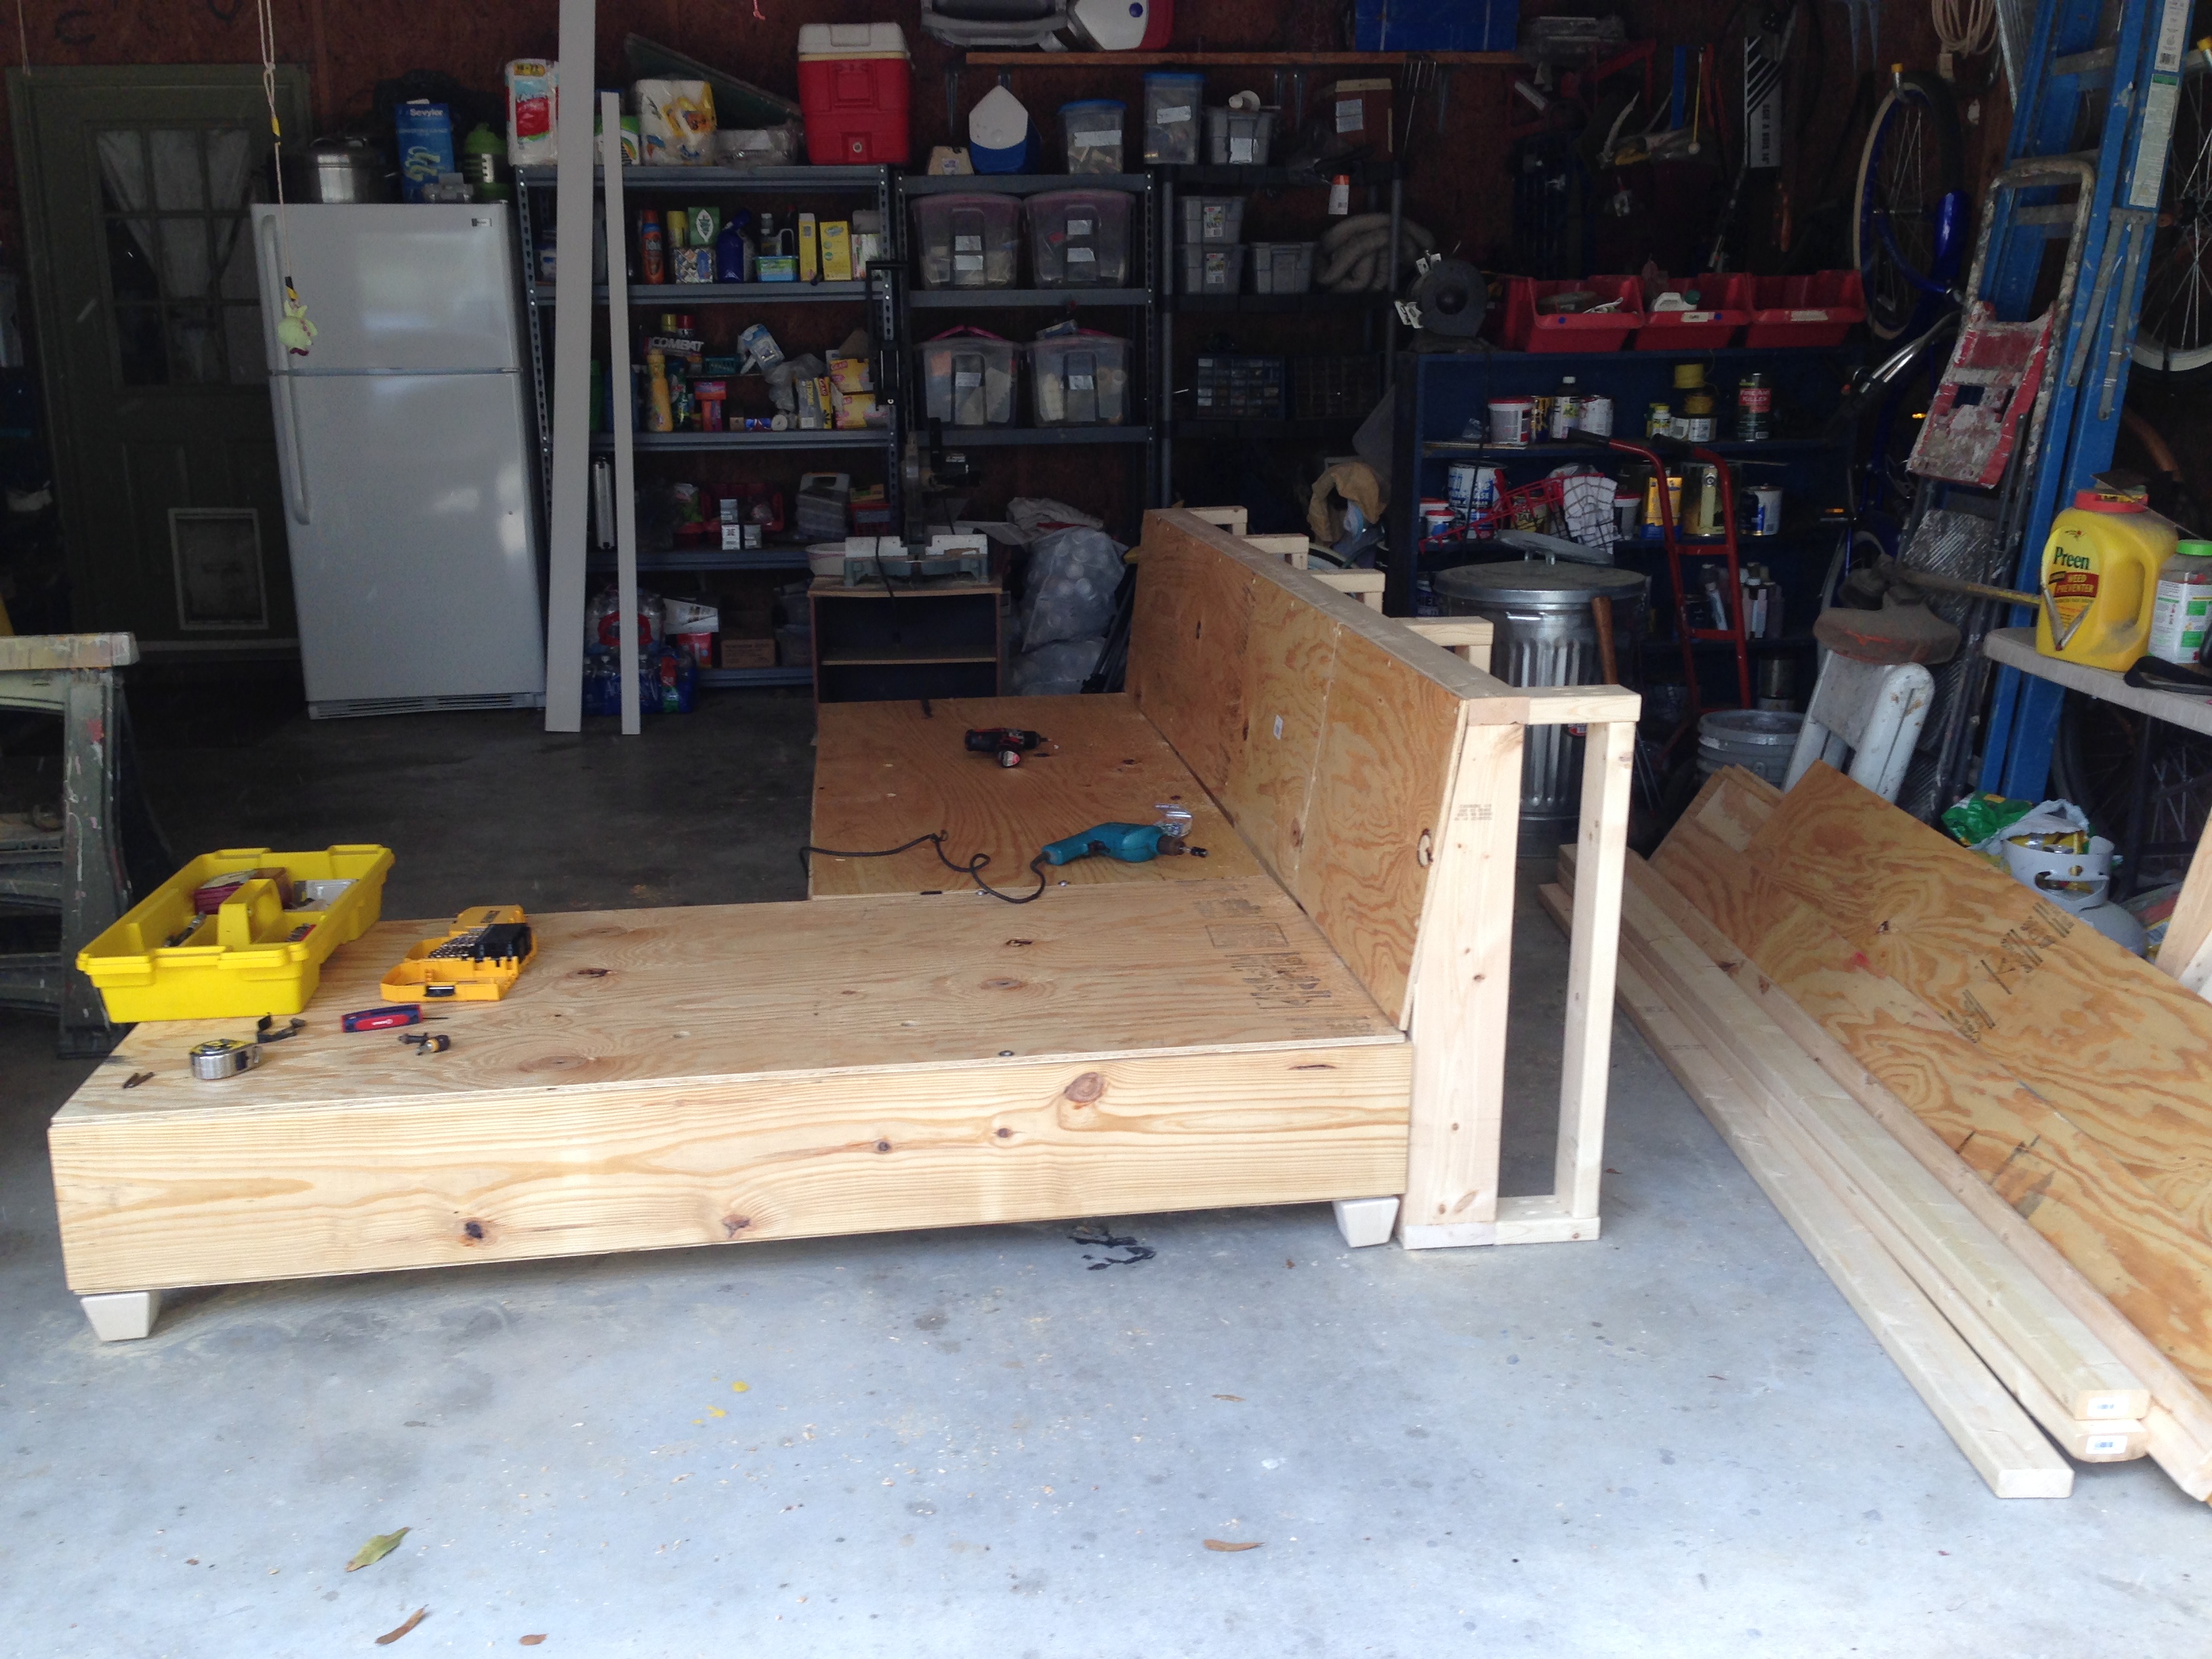
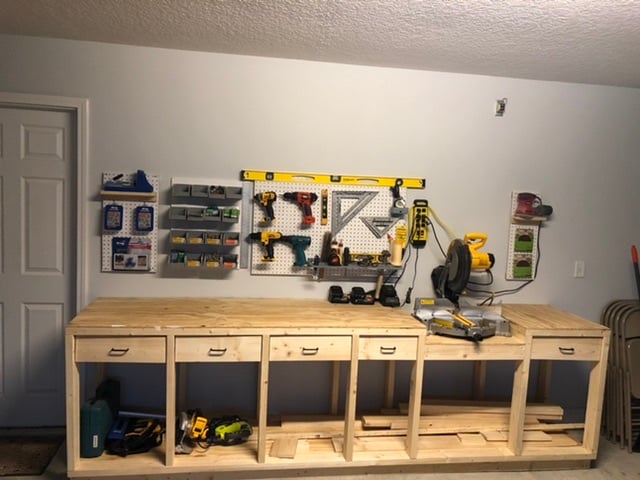
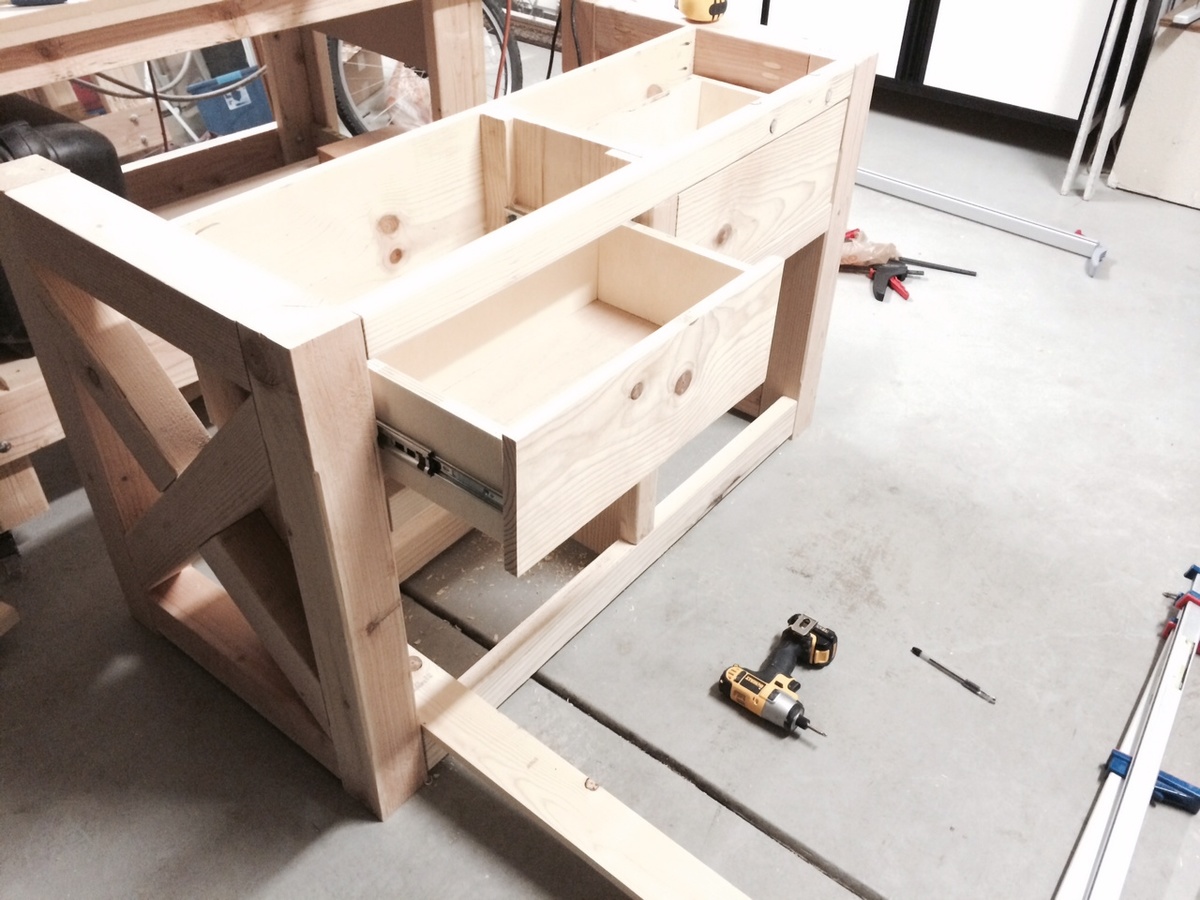
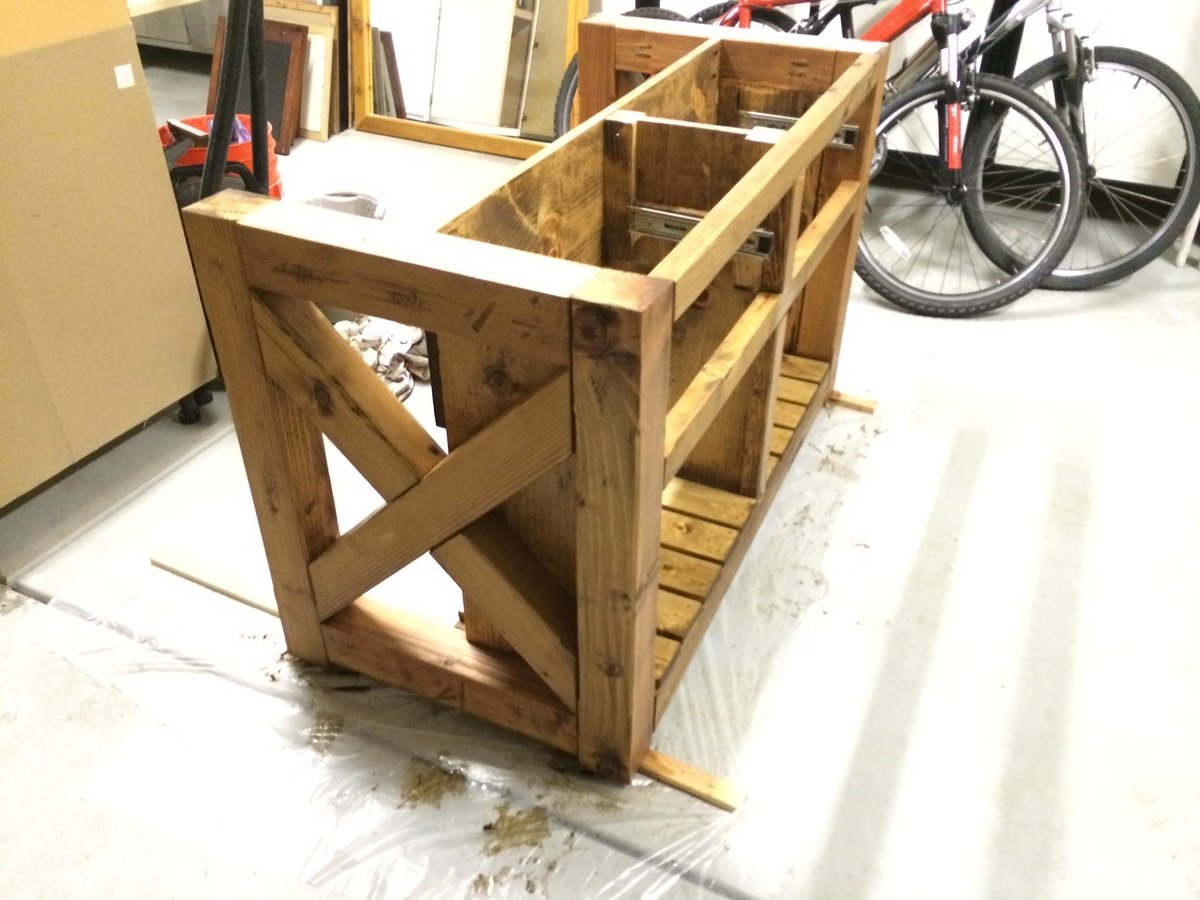
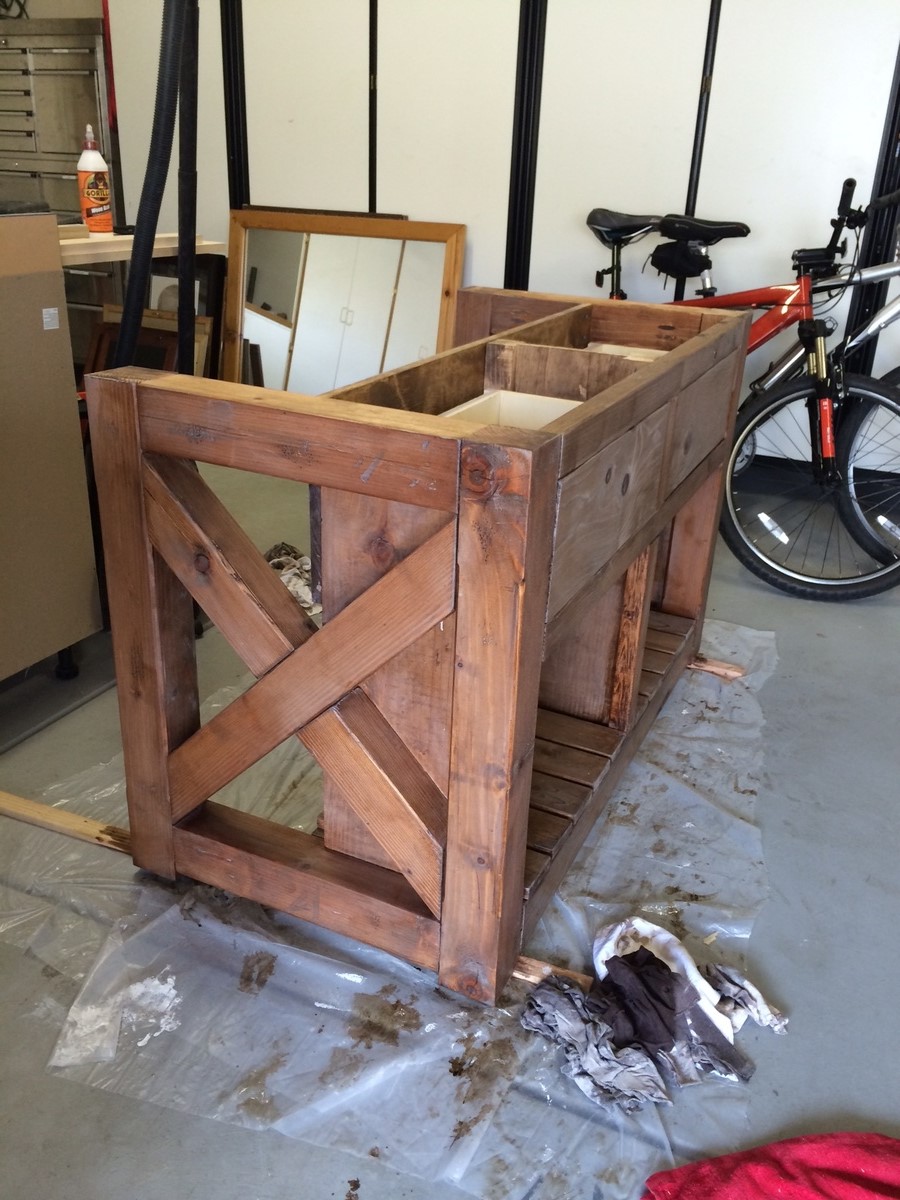
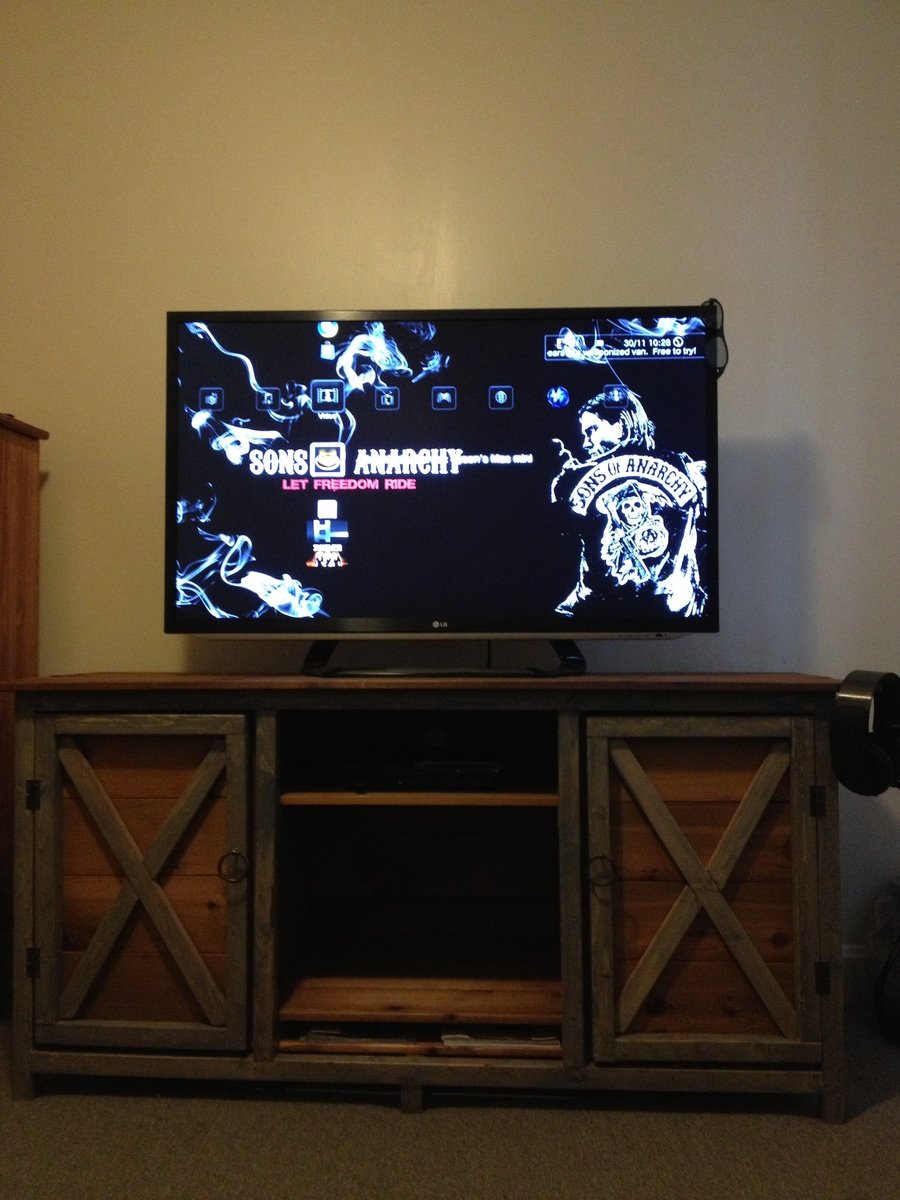
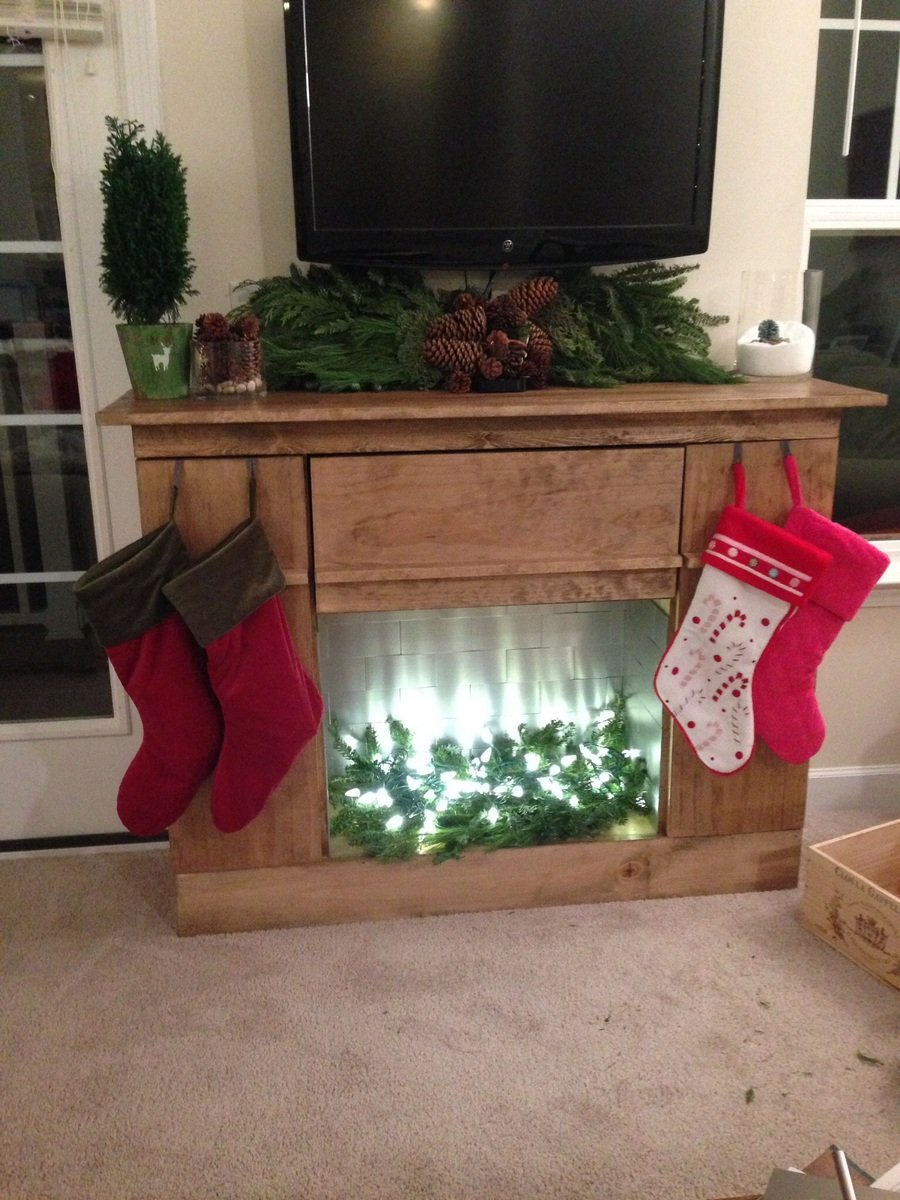
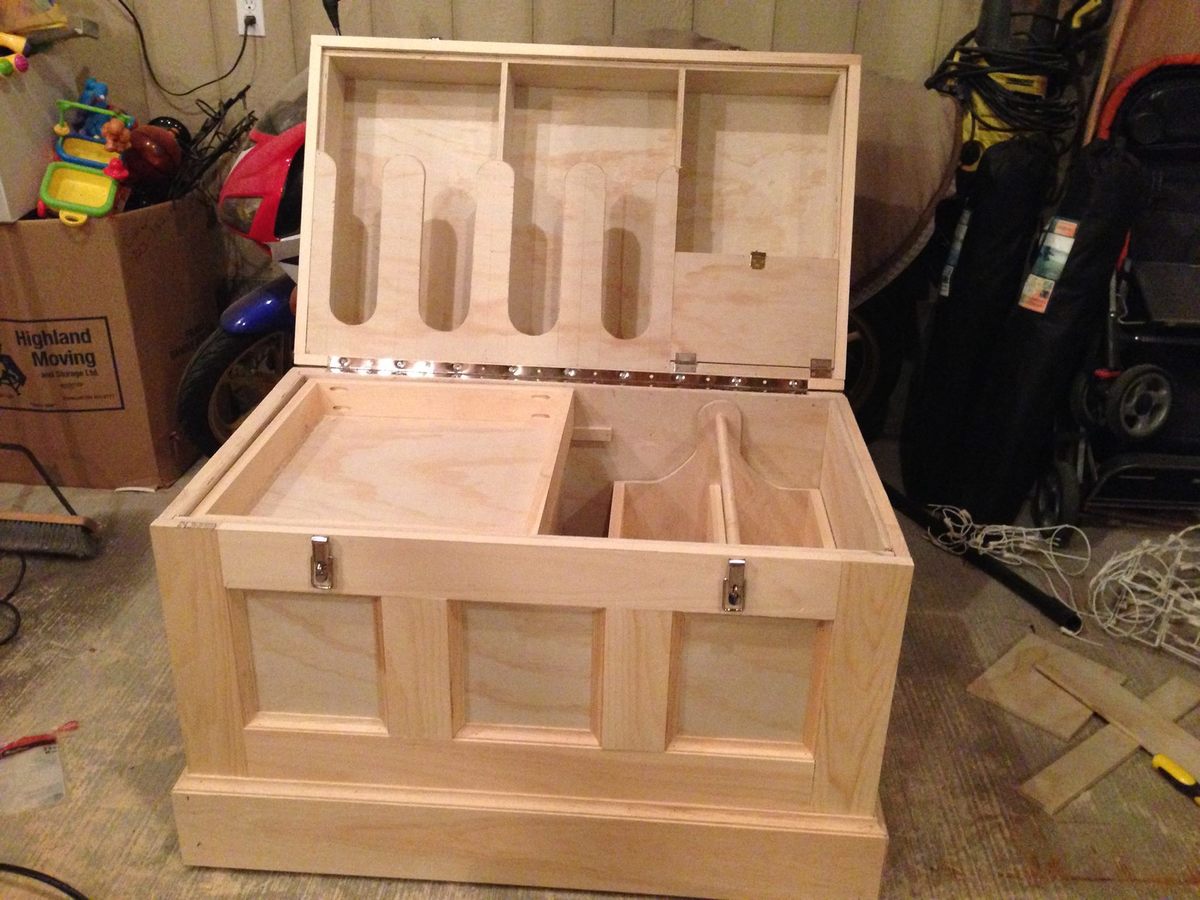
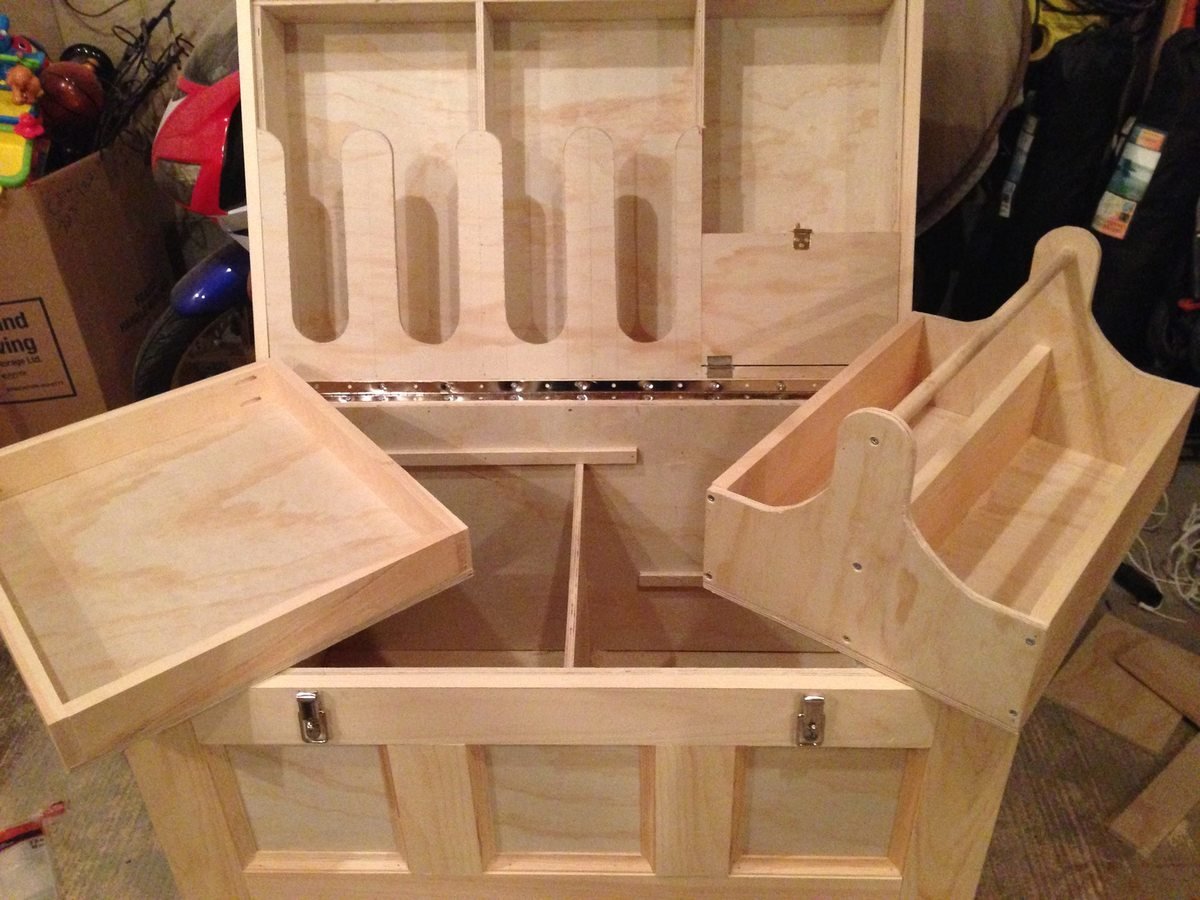
Rolling workbench for a tiny garage.

Submitted by Anonymous (not verified) on Sun, 03/22/2020 - 18:47

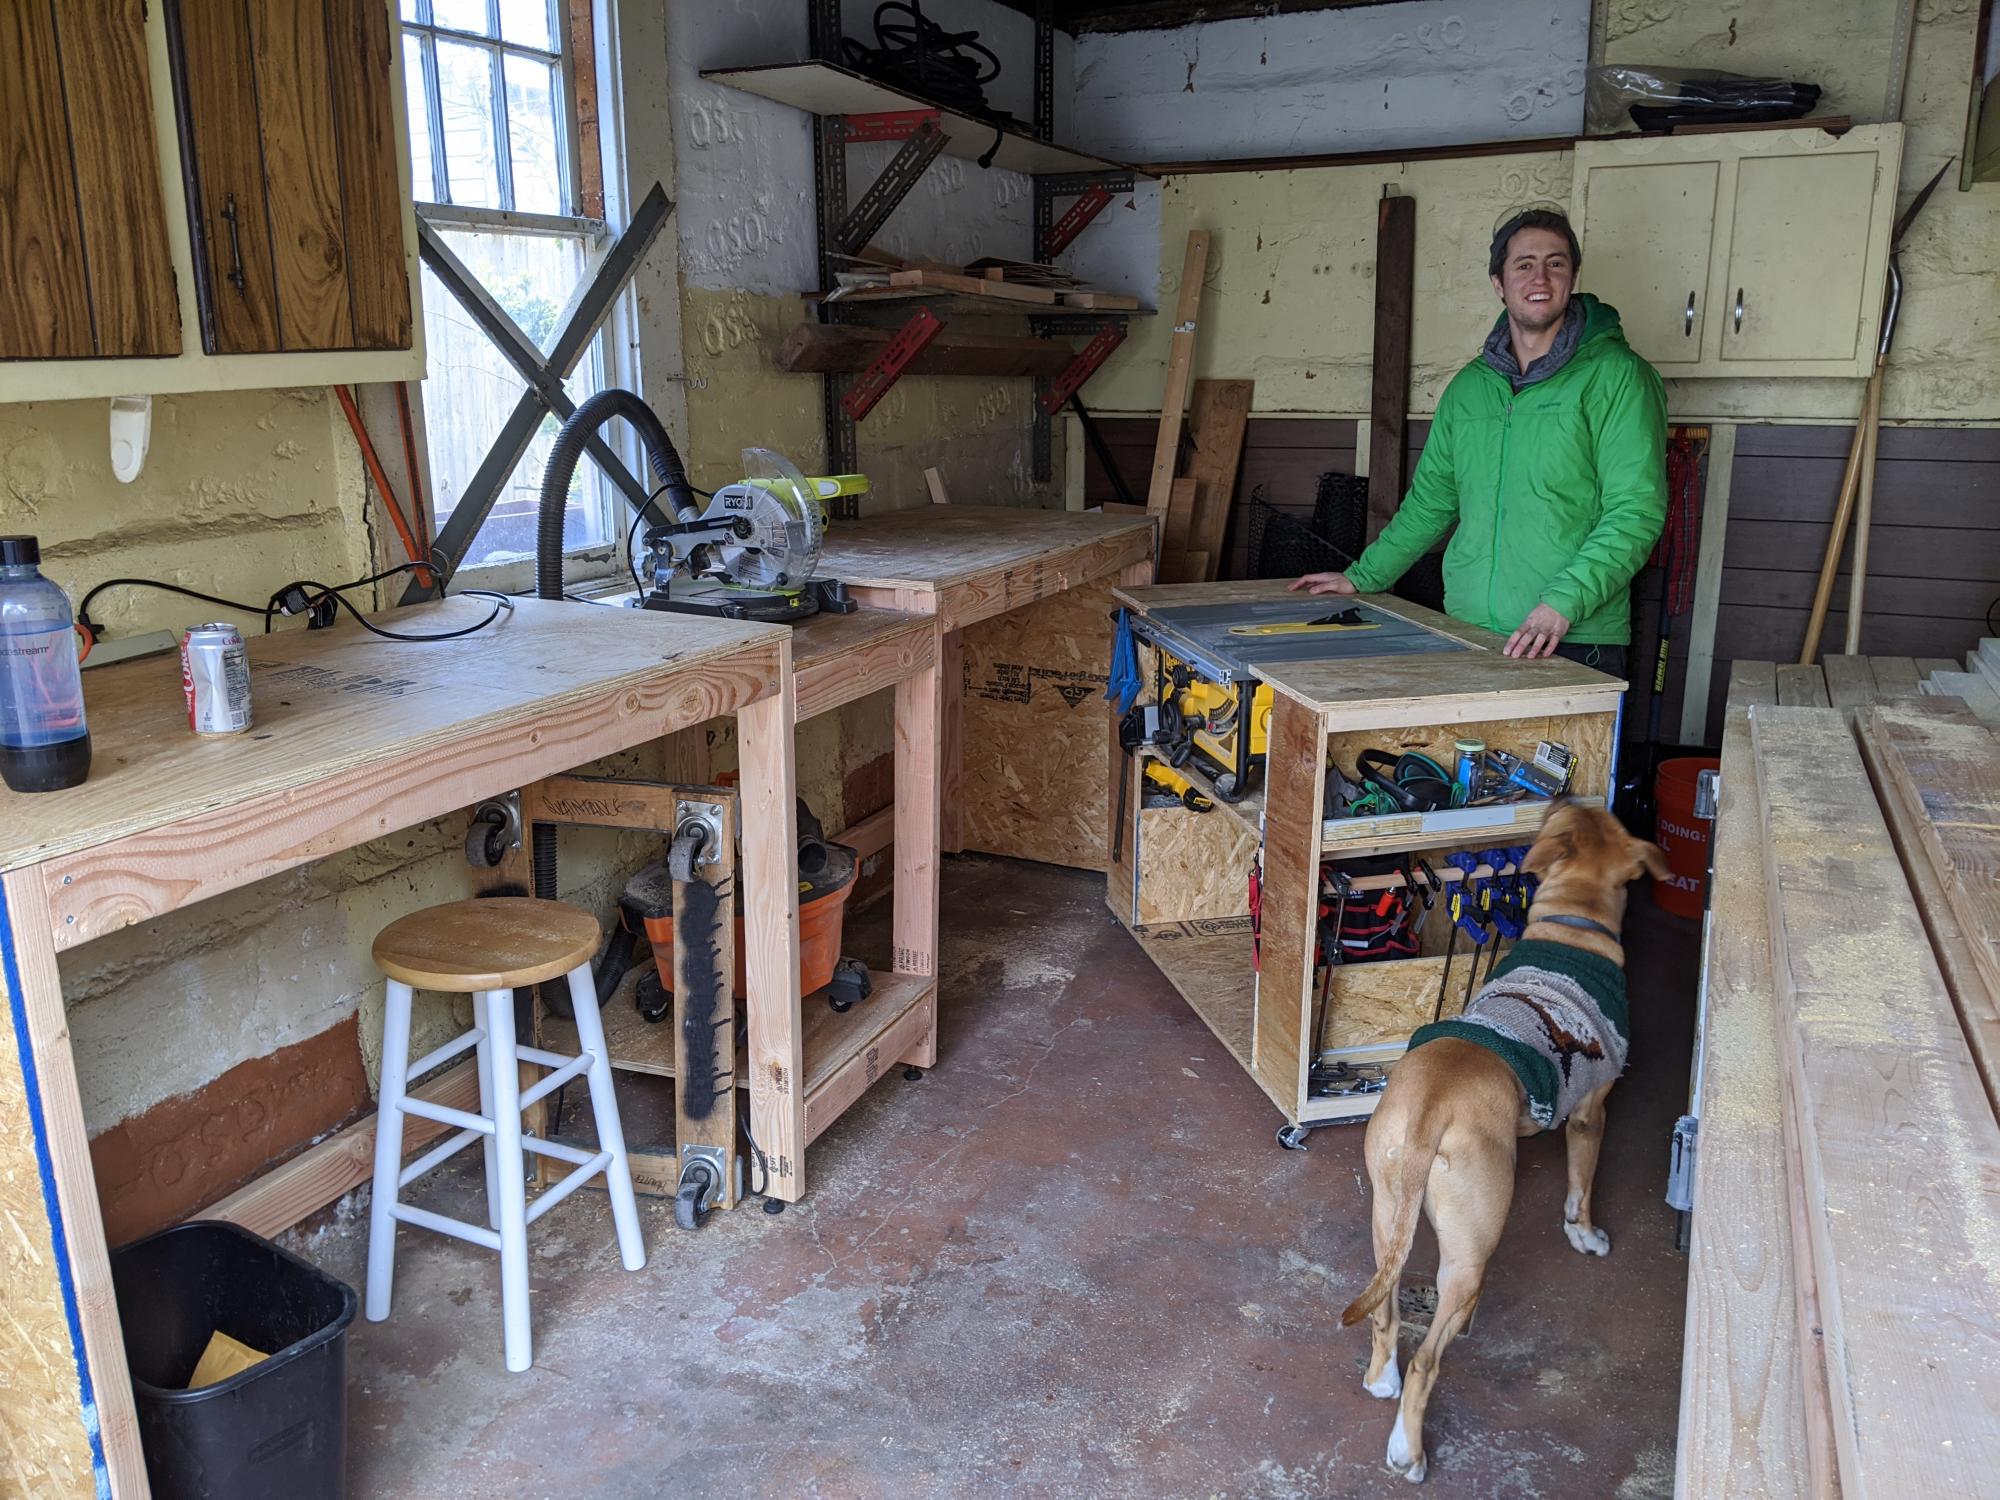
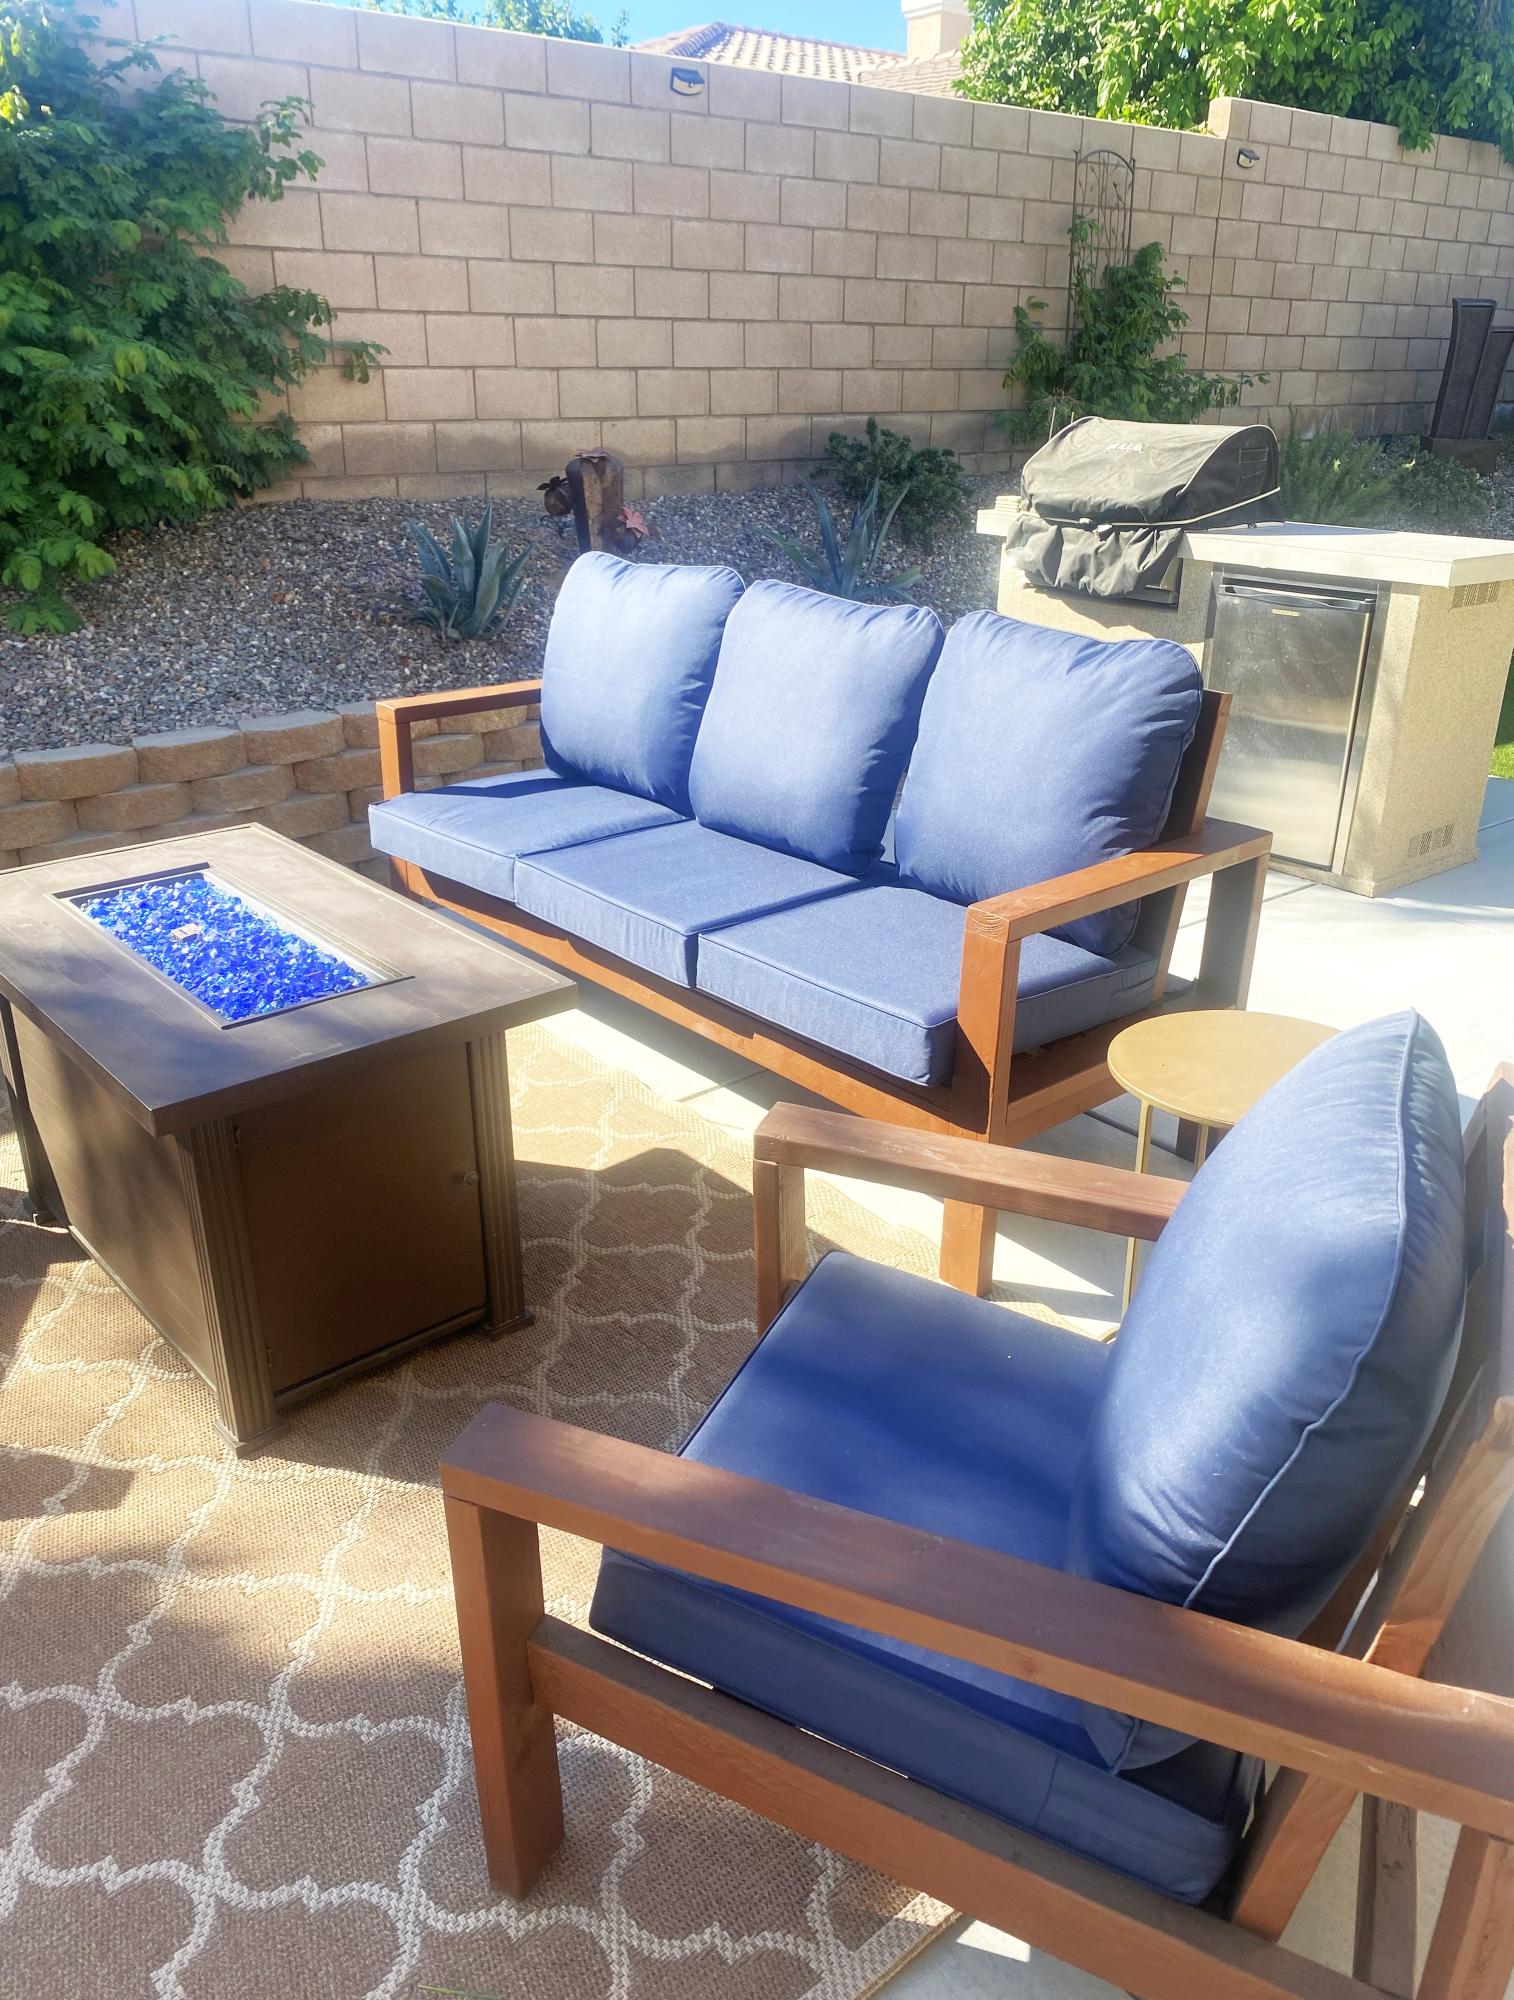
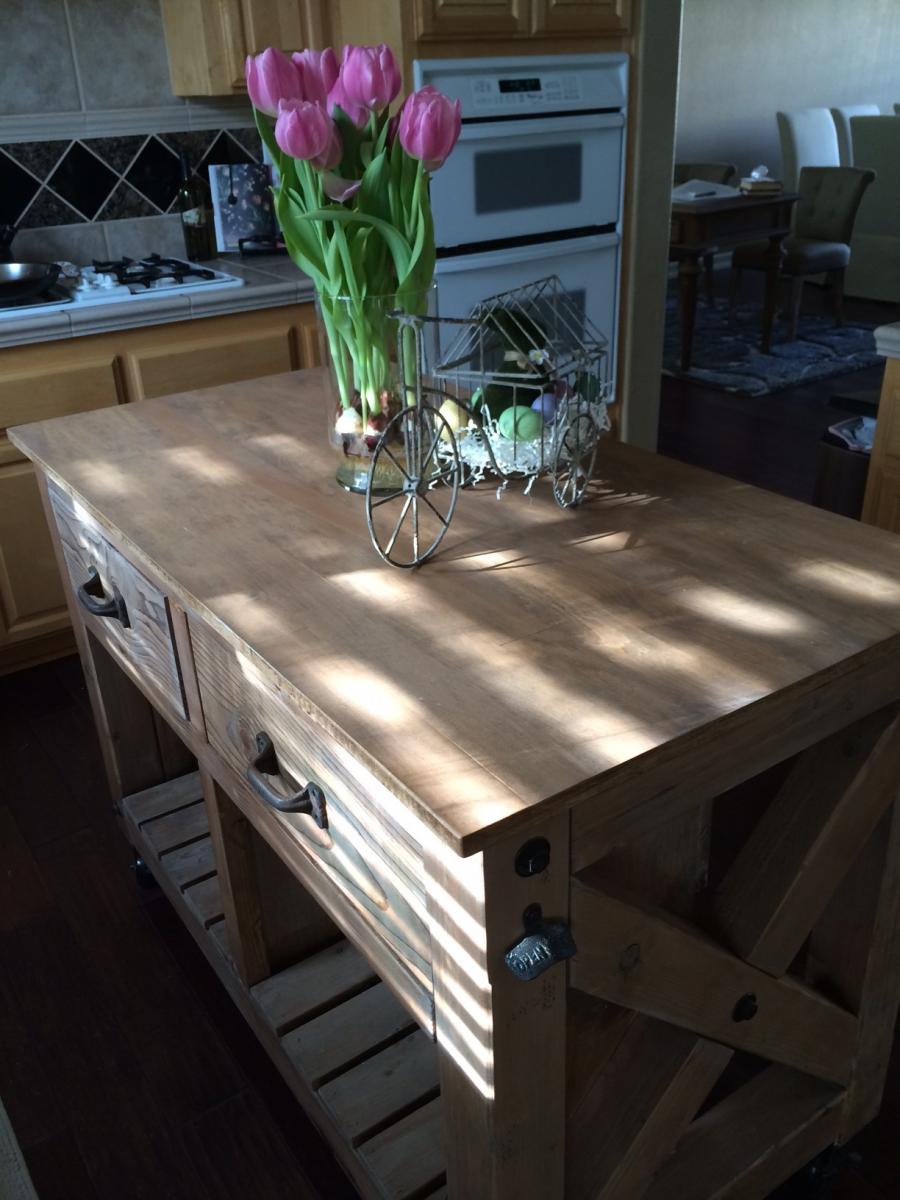
My wife and I just bought our first house and I've been planning out my workbench since we made the offer. I got to finish the table saw rolling cart today. Thank you so much for these plans, I could not be happier! Next up is outdoor furniture!

Estimated Cost
$150
Estimated Time Investment
Day Project (6-9 Hours)
Finish Used
My garage floors are really uneven so I added adjustable feet to even things out. You can find mine here - https://www.amazon.com/gp/product/B07C6143YN/ref=ppx_yo_dt_b_asin_title_o03_s00?ie=UTF8&psc=1
Recommended Skill Level
Intermediate

Storage Bench

Loved using the plans, had to modify them to work around my baskets and a pipe sticking out of my wall. I'd say this is somewhere between beginner and intermediate, as I had to use the pocket screw for some added support when attaching the sides. I primed then used two coats of white "door and trim" paint. So far it has held up to the baskets being slid back and forth, if I had to do it again, I would add a poly coat for durability, at least on the bottom of the cubbies. Cushions and pillow from HomeGoods. Would have been nice to design the bench to fit more standard cushion sizes, but oh well!

Built from Plan(s)
Estimated Cost
$50
Estimated Time Investment
Afternoon Project (3-6 Hours)
Finish Used
white primer, two coats of white "door and trim" paint, applied with small foam roller and angled brush
Recommended Skill Level
Beginner

Storage sofa on steroids!

Submitted by Imadeit on Wed, 07/20/2016 - 12:59

First furniture project, first Kreg jig use.

Heavily adapted storage sofa plans.  Used existing day bed mattresses.  Made all wood surfaces finished with nice cladding, and all fabric portions removable and washable.

Added arms, and a back ledge.  Ledge is hinged to allow access to wall behind so I can get to the outlets.

Lots of work, but it is AWESOME.  Thanks for the inspiration Ana!

Built from Plan(s)
Estimated Cost
$700 including the fabric
Estimated Time Investment
Week Long Project (20 Hours or More)
Finish Used
Dark gray latex paint, and gel stain for the shelf.
Recommended Skill Level
Intermediate

Comments

WackyPup

Sun, 01/22/2017 - 13:37

This is almost exactly what I want to do! I have a dog who loves to rub on furniture and I don't want upholstery. Why did you make the back thicker? Is it just for added shelf space along the back? Thanks for posting the pictures. Very inspiring!

Imadeit

Mon, 02/20/2017 - 07:18

Sorry for the delay in seeing your question.  I haven't signed on to this site for a while.  You are correct thinking that I wanted to have shelf space along the back.  The sectional is the entire width of the wall and I knew that I would not be able to have end tables.  I wanted a way to have a lamp and a place to put drinks, etc.  As it turns out the arms of the sectional are great for holding my beverage.  The shelf holds my lamp and some baskets with general stuff like the remotes inside.  Thank you for the compliment.

sahorn01

Wed, 01/18/2023 - 09:28

Hi! I know this is a very old post but I would love try to make something similar to what you did in your storage sofa modifications - especially the wider frame and armrests. Any chance you wrote down your plans or have more pictures of your build? I also would love to understand how you made your upholstery/fabric removable. Did you follow any plan for making the cushions? Thanks in advance!

My Outdoor Bar Table

Submitted by schackjw on Mon, 06/01/2020 - 09:46

This is my first project, based on your outdoor bar table plan. Great design. I changed the top a little, still needs a little work.

Built from Plan(s)
Estimated Cost
$150
Estimated Time Investment
Weekend Project (10-20 Hours)
Finish Used
Painted with the Limousine Black in the plans.
Recommended Skill Level
Beginner

Pony Wall Workbench

Submitted by jboliver09 on Wed, 06/10/2020 - 19:22

Had to size the project done to fit my garage wall.
Left the sides open to use as storage for wood.
Overall Everything worked out, love it!

Built from Plan(s)
Estimated Cost
150.00
Estimated Time Investment
Weekend Project (10-20 Hours)
Recommended Skill Level
Intermediate

Comments

Octagon Table

Really enjoyed making this one. The plan was great but i ran into a few difficulties. The 2x2 trim was the hardest. I settled on 22.5* miter because my saw has a positive stop there and i thought it might be the angle that i needed. Careful as the plan doesn't have much room to experiment unless you want to buy an extra 2x2. If your selection of 2x2 is anything like mine, that could be a huge endeavor. Hard to find a straight board in texas.

Estimated Cost
120
Estimated Time Investment
Week Long Project (20 Hours or More)
Finish Used
Minwax PreStain Conditioner
Rustoleum Kona
Rustoleum Ultimate Polyurethane in Semi-Gloss x 3 coats. Sanded by hand with 320 in between coats and wetsanded with 600 grit after the final coat and it really came out smooth.
Recommended Skill Level
Intermediate

Comments

cmjohnson

Mon, 08/17/2015 - 08:05

hey! im currently working on this table & am running into the same trouble with the 2x2 trim. did the 22.5 miter cut work out for you for the trim pieces or was there a different angle that you ended up needing to use? thank you!

Rustic X Kitchen Island with 4x4 Legs

Submitted by Rich2727 on Fri, 06/20/2014 - 10:52

In order to make this island a little beafier I used 4x4 wood for the X as well as the the top and bottom braces. Top is made up of glued up 1x3 maple wood. It looked really good raw, but decided to stain it to give a more uniform look. I bought the rustic handles and the bottle opener on Amazon.com. I used lag bolts and washers for the finishing accents...similar to the pottery barn island. Painted them with Rustoleum oil bronzed paint and then dabbed it with a paper towel to give it a rougher finish to it and then sprayed the casters as well. This was a fun project and are getting a lot of use out of it. Thanks goes to Anna for the plans and inspiration for this island. Rich

Built from Plan(s)
Estimated Cost
$300
Estimated Time Investment
Week Long Project (20 Hours or More)
Recommended Skill Level
Intermediate

Comments

Mriddle

Fri, 06/20/2014 - 11:44

i keep debating if i should do this, you did a great job. i like the 4x4 sides.

Susan Hubbard

Sun, 06/22/2014 - 08:25

Rich, I love the changes you made with the 4x4's. You made a gorgeous piece of furniture! Can you share with me where/how you attached the drawer/shelf sides? I'd like to follow how you made this, but can't tell from the pictures. On the original they look inset from the 2x4's, but your space is taken up by 4x4's. Would you mind sharing??? Thanks!

Rich2727

Mon, 06/23/2014 - 16:36

So, I ripped the 4x4 cross pieces down by 1/2" so that the side panels would rest inside the rectangle and flush with the 4x4 frame and up against the X.

Did that make sense?

Susan Hubbard

Mon, 06/23/2014 - 18:28

That's what I thought, but I wanted to make sure. I'm going to make one similar to yours :)

Susan Hubbard

Mon, 06/23/2014 - 18:28

That's what I thought, but I wanted to make sure. I'm going to make one similar to yours :)

2 Seater Console Chair with Icebox

Submitted by Anonymous (not verified) on Mon, 04/29/2024 - 09:28

I took one of Ana White’s Adirondack chairs, and made some changes to the back part of it and then turn it into a two seater console chair with ice chest in the center

Norman R

Custom Kitchen Island - Is this the biggest version of an already big plan?

Submitted by Anonymous (not verified) on Thu, 10/20/2016 - 21:19

I'm building a house for a client who wanted a country farm house feel.  The kichen cabinets are custom frames with beaded board inserts.  

Custom Kitchen Island

The custom kitchen island is unusually large for this size home at 10' 6" x 4'. The base cabinet 90" x 25 1/2".   But, there is no dining room.  I wanted the island to not look like the rest of the cabinets.  Then I found Ana's design.  I reworked the design to fit my space and the buyers preferences.  Trash pullout, larger drawers ect.  My plan was so far from typical site built trim that I decided I would build it myself or it would really be a budget breaker.  I do have experience in all aspects of building but, this is my biggest trim project.  Time?  I'm sure I have 40 + hours in it.  Money?  The columns alone were $500.  I'm sure I have $1,500+ in it.  Don't even ask how many cool tools I had to add to my collection just for this project!  

I built the custom kitchen island in pieces in the shop, and assembled it in place.  Very heavy, no way to move it after assembly. The stain went on today.  I'm happy with the way it turned out.  Thanks for the inspiration Ana!    

Estimated Cost
$1500 to $2,000
Estimated Time Investment
Week Long Project (20 Hours or More)
Finish Used
Sherwin Williams, custom color.
Recommended Skill Level
Advanced

Comments

lanatorlak

Fri, 10/21/2016 - 08:13

WOW! This is absolutely breathtaking! Just think of the memories that will be created around this beauty. The cabinets are great, but the console island steals the show! Job well done! 

Shelf/Desk Organizer

Submitted by Anonymous (not verified) on Wed, 08/26/2020 - 08:31

I loved the cubby storage idea from Ana. It was the perfect solution to help my family stay organized during virtual learning at home. I tweaked it a bit to match my more modern decor, but love it! Thanks for the inspiration!

Estimated Cost
$35 (2) 47" long organizers
Estimated Time Investment
Afternoon Project (3-6 Hours)
Finish Used
Paint
Recommended Skill Level
Beginner

Farmhouse TV Stand

Submitted by chenny on Sat, 12/01/2012 - 00:08

This was my first project from scratch.

I used the following resources:
Kreg Jig
Table Saw
Random Orbital Sander
Jigsaw
Bosch Power Boss 360 Radio (for my sanity)

I used the following materials:
2x2 Furring Strips
1x2 Furring Strips
1x6 Cedar Planks

1 1/2" Pocket Hole Screws
1 1/4" Pocket Hole Screws
2 1/2" Pocket Hole Scerws
Minwax Prestain Wood Conditioner
Minwax Classic Grey Stain
Minwax Fast Drying Polyurethane
Magnetic Touch Latch
Hinges
Handles

*Project Idea was based on the following item:
http://www.porterinternationaldesigns.com/ge5016-plasma-tv-stand.php

I altered the design and materials to fit my needs.

Estimated Cost
$150
Estimated Time Investment
Weekend Project (10-20 Hours)
Finish Used
Minwax Classic Grey
Recommended Skill Level
Beginner

Comments

Large Porch Bench

Submitted by Anonymous (not verified) on Tue, 01/31/2017 - 23:45

We built 2 XLarge Porch Benches,they where easy to build & look fabulous! Best part was it was a fraction of the cost if I were to buy these new!!! Thank you Ana!!! 

-Sandra 

Estimated Time Investment
Weekend Project (10-20 Hours)
Recommended Skill Level
Beginner

Plant Stand

Submitted by Farmer Kim on Tue, 12/09/2014 - 14:46

I loved this plan when I first saw it.  I did make mine with metal that was 36 inches for the legs, it was the length available at my local hardware store and it also allows me to have plants on two levels and still be high enough for sunlight (unplanned bonus).

Estimated Time Investment
Afternoon Project (3-6 Hours)
Finish Used
Weathered Gray Stain
Recommended Skill Level
Starter Project

2x4 Modern Adirondack

Submitted by blondewolf on Thu, 01/14/2021 - 06:51

This is my second chair I’ve built. The first was proof of concept. This chair (and the subsequent 7 that will follow) are for the rental cabin in the Red River Gorge. Loving this chair! I have no idea why pic is turned sideways, it’s not that way on my phone.

Estimated Time Investment
Afternoon Project (3-6 Hours)
Finish Used
Aged bourbon and blue with a poly to protect it.
Recommended Skill Level
Beginner

Comments

Faux Fireplace

Submitted by Hayley842 on Sun, 12/21/2014 - 19:29

We used pine boards for the carcass, a solid aspen panel 15" deep from lowes that we had lowes cut to fit. The doors are select pine simply because there were no suitable 1x12 boards. Hinges were from Home Depot- the lowes ones didn't come with a template. We tiled the inside with 7 boxes of "aspect" stainless steel self stick tiles from Home Depot.  We drilled a hole in thr back piece (which is MDF, also cut to fit from lowes) to accommodate a cord, and I carved the hole through the tiles with a utility knife. It wasn't ideal, but it's hidden by my lights.  No crown molding, and no trim because 1. We couldn't decide on any and 2. We like it this way for now. We had lowes cut every single board for this so we only had to screw and glue. The hinges were a challenge since we are newbs, but we figured it out in the end. In the future we are going to be more careful to check for square. The plan doesn't include shelves, which we have yet to install and we aren't entirely sure how we will. If you had the Kreg shelf hole driller rig thing that would be ideal..

Crucial detail: we shortened this project by slicing inches off the center section in the plan. Maybe took 5" off total. 

Estimated Cost
$110 for wood alone. We had screws, stain, poly, brushes, glue, etc.
$70 for the tiles. Don't bother with home depot's tile trim- it won't fit, and it's not really suited for this application.
Estimated Time Investment
Weekend Project (10-20 Hours)
Finish Used
minwax special walnut and polycrylic
Recommended Skill Level
Intermediate
Seasonal And Holiday

Tack Box

Submitted by Evandgc on Tue, 12/30/2014 - 16:21

I made this box for my wifes christmas present. She has been riding horses for sometime and is planning on doing some shows. I built this box from Mimi's storage bench design, made it bigger, added a deeper box top and created the rest from looking at pictures online. Its all made of pine plywood and pine boards to keep it light. I added 4 castors to the bottom to make it easily moveable and hid them with the moulding around the bottom. Still has to be sanded and stained before it hits the barn. Its 39W X 24D X 29H. I used a piano hinge and routered the back to set the hing in. Added cove moulding around the bottom and to all the boxes around the front and side. Used a lot of pocket holes and finsh nails. Took me longer than it could have, because I planned everything as I went.  I will add more pictures when its finsihed. I would rate it intermediate to advanced depending on your skills with certain tools. 

Built from Plan(s)
Estimated Cost
Will all the hardware, wood materials, screws etc, I think it cost me around $250-$300
Estimated Time Investment
Week Long Project (20 Hours or More)
Finish Used
not finished yet
Recommended Skill Level
Intermediate

Comments

Blue Cubbie

Submitted by adeath on Thu, 01/22/2015 - 11:52

This is the second of two bathroom cubbies from Ana's book.  I did the first one as in the book. I decided I wanted a different look for the second one.  I also wanted to try out some different finishing techniques.  This unit features Annie Sloan chalk paint in Aubusson Blue over Behr Pure Premium white as a base.  The shelves are finished in Minwax espresso.  The whole thing was rubbed down with Minwax finishing paste wax.  I am really happy with the overall look and feel of the piece.

Built from Plan(s)
Estimated Cost
60
Estimated Time Investment
Day Project (6-9 Hours)
Finish Used
Aubusson Blue chalk paint from Annie Sloan, Minwax Espresso stain.
Recommended Skill Level
Beginner

Comments

Back