Hanging Swings Pergola

I’m no carpenter but this went well. I did it all with pressure treated because it is in the open. They filled in the area where there used be a hot tub. Surprisingly comfortable, too. Thanks Ana
Built from Plan(s)
I’m no carpenter but this went well. I did it all with pressure treated because it is in the open. They filled in the area where there used be a hot tub. Surprisingly comfortable, too. Thanks Ana
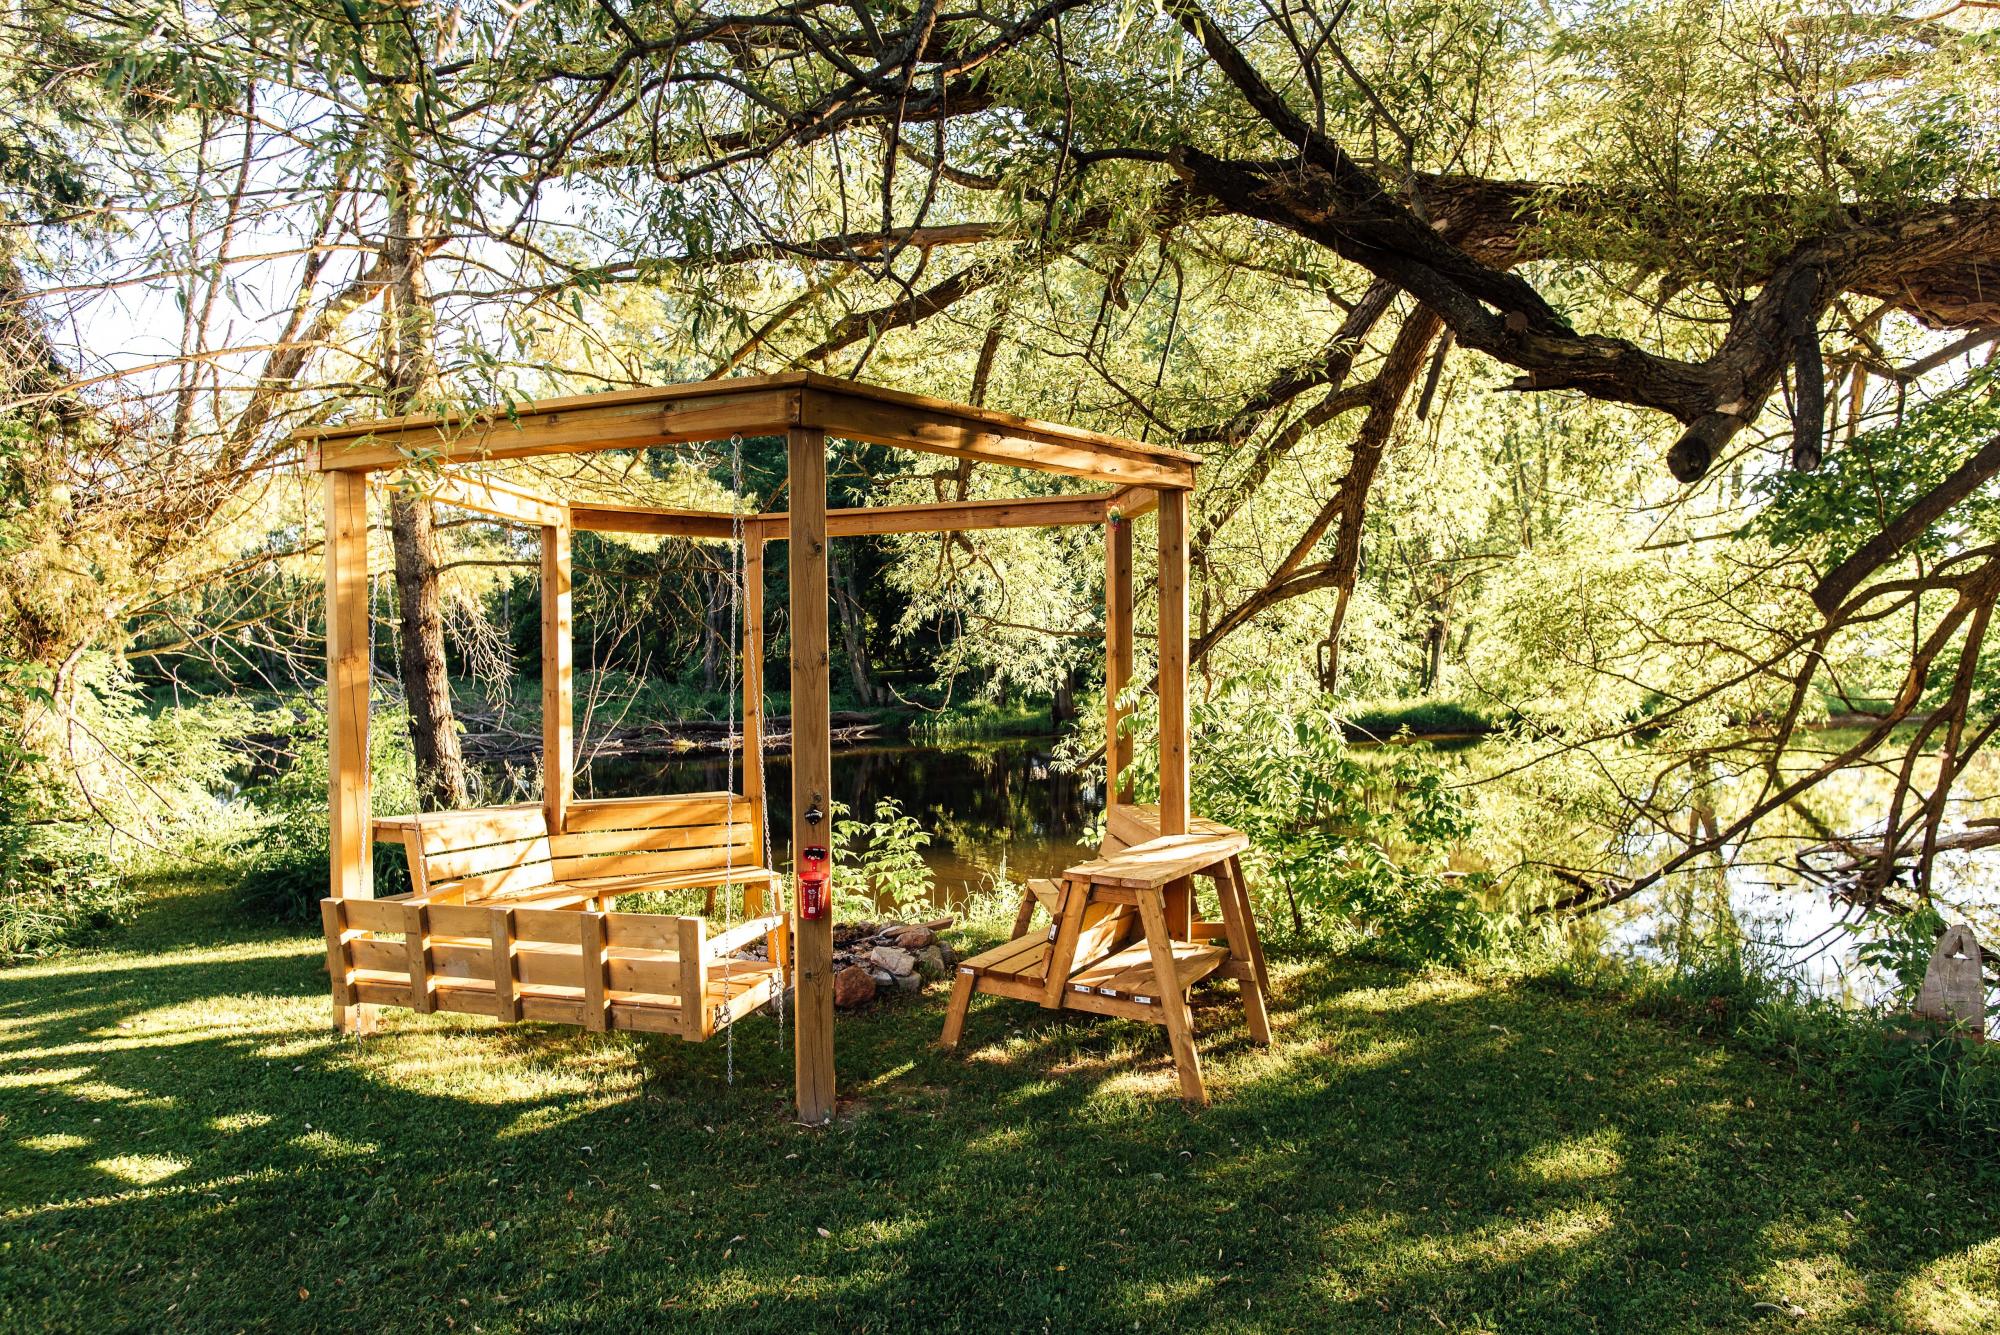
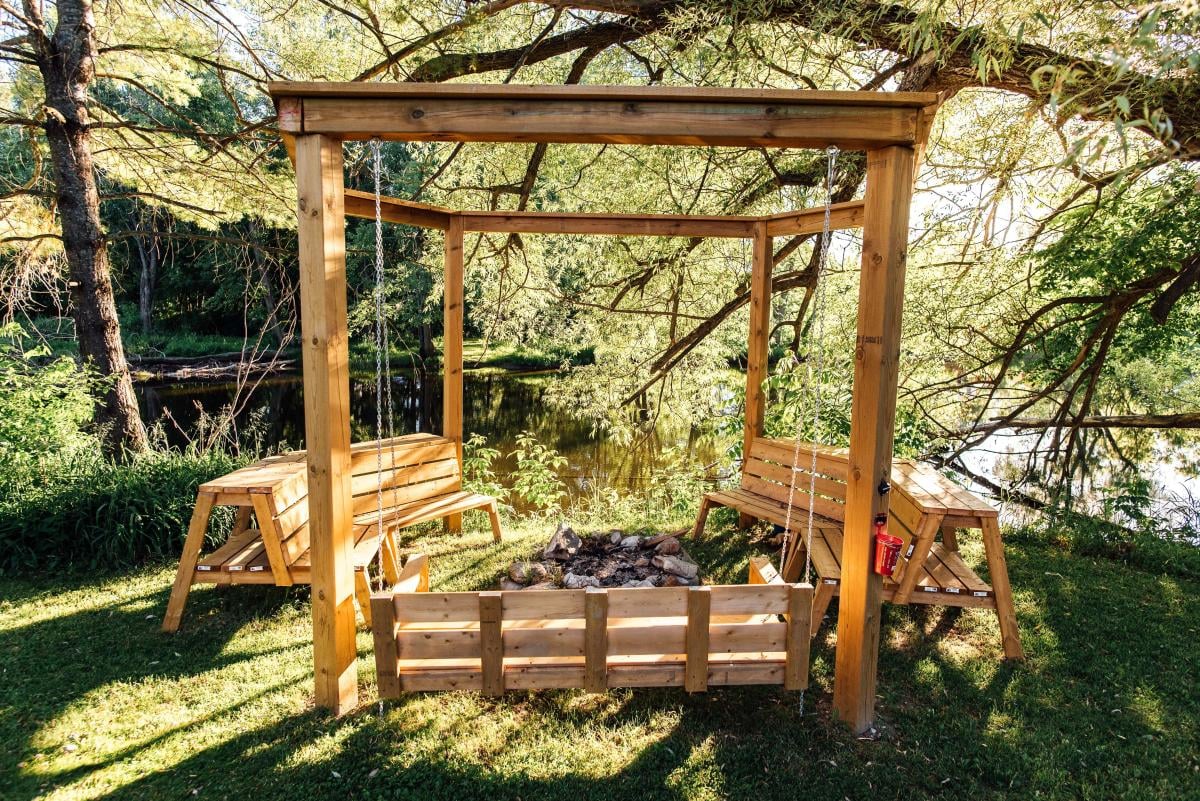
Fortunate enough to live on a beautiful river, my wife and I decided we were done bringing the folding chairs out for each weekly bon fire. Our three girls love s’mores and we wanted a great atmosphere with a place to easily grab wood and snacks in the dark while we enjoyed the outdoors. The combination of plans took us about a week to finish. The kids were away for the weekend and we rented an auger to drill the post holes. This proved to be the most difficult part of the project. It took nearly the whole weekend to dig out the unexpected granite and all the patience that we had in reserves. Once the posts were set, it was only a slightly uphill battle.
My wife made the bench in the time it took to return the auger and come home. The fire pit benches were also a pleasure to assemble and the most functional part of the project. I suspect the whole thing would have been faster if the large posts were easier to cut through. That treated lumber can eat saw blades! When setting the top posts it was also a two ladder and two person job. They were quite heavy and a little nerve wracking to set if you don’t love heights and a heavy load. We would do this project again in a heartbeat as it is a feature in our yard and makes for many enjoyable family and friend gatherings. The fire pit bench top is also great for hosting the entire bbq meal assortments to select from.

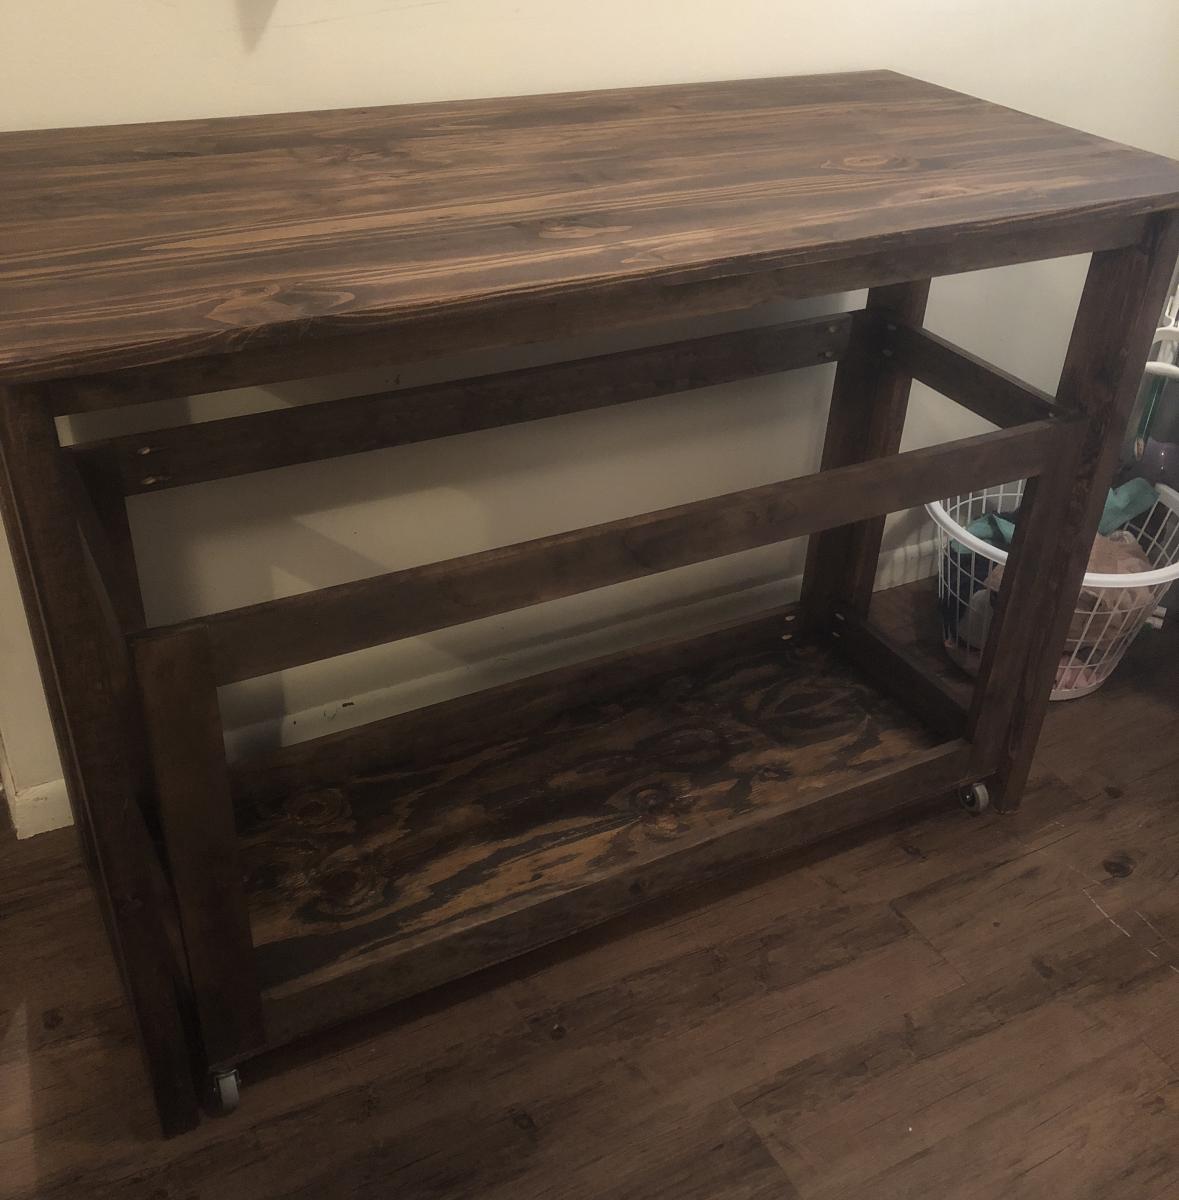
I built this project for my daughter’s birthday. Her laundry area was a mess in her kitchen and she had no place to fold the clothes. This laundry station keeps her laundry area tidy, and it looks great!
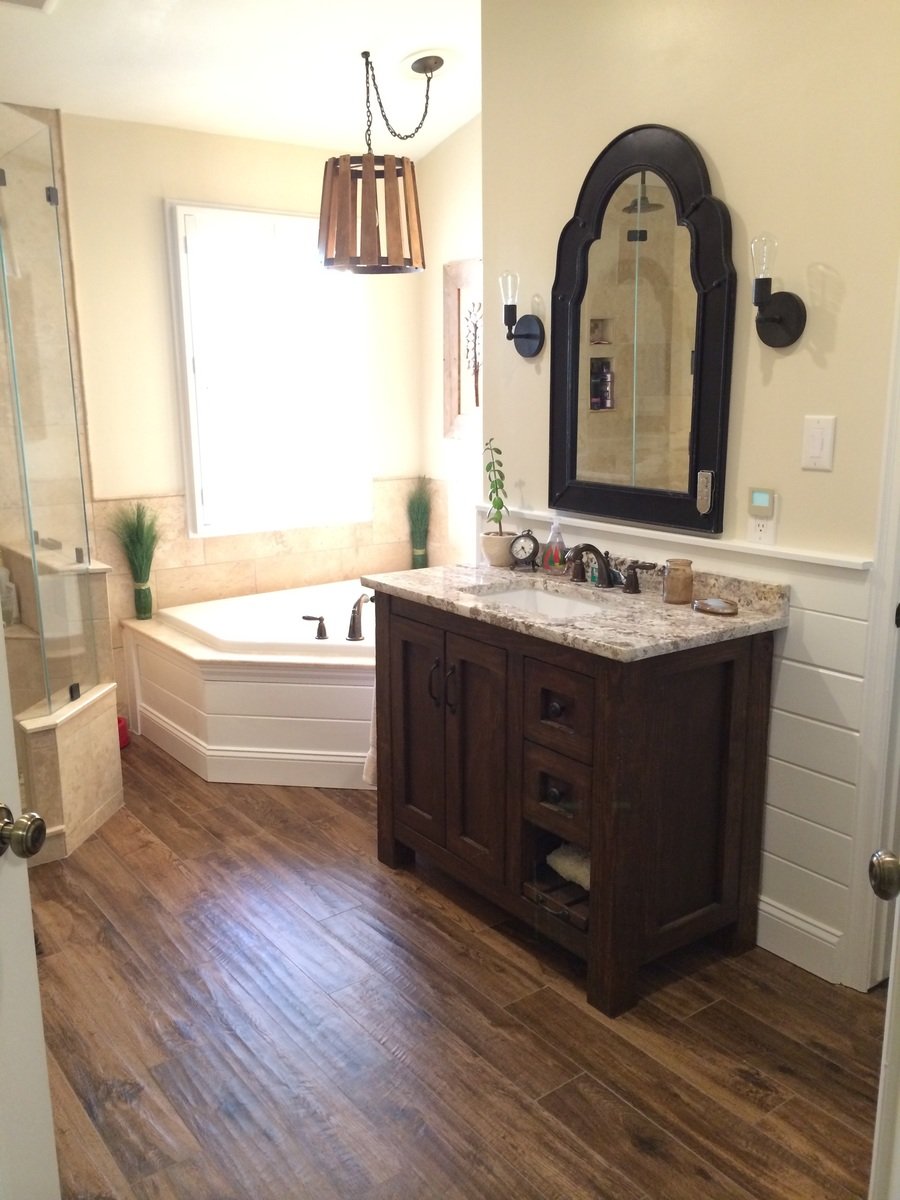
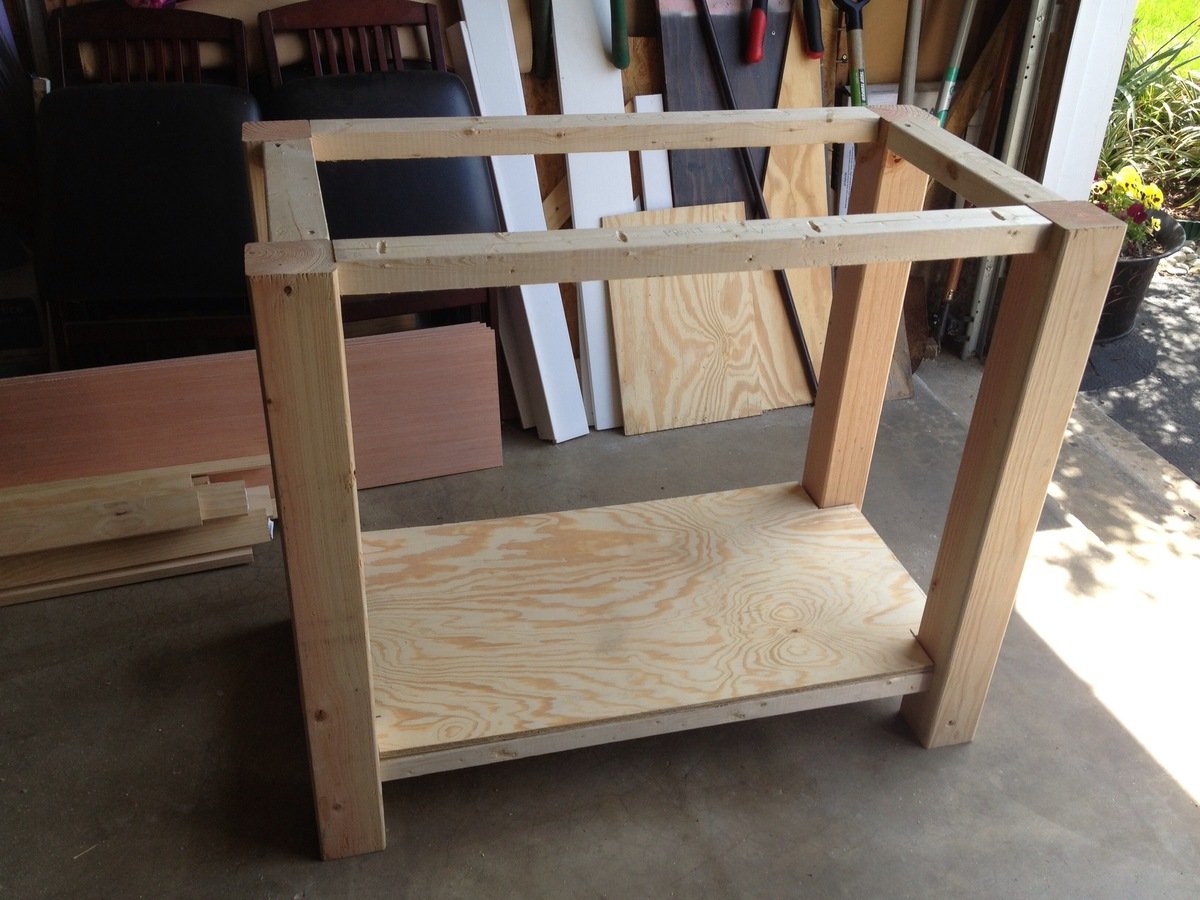
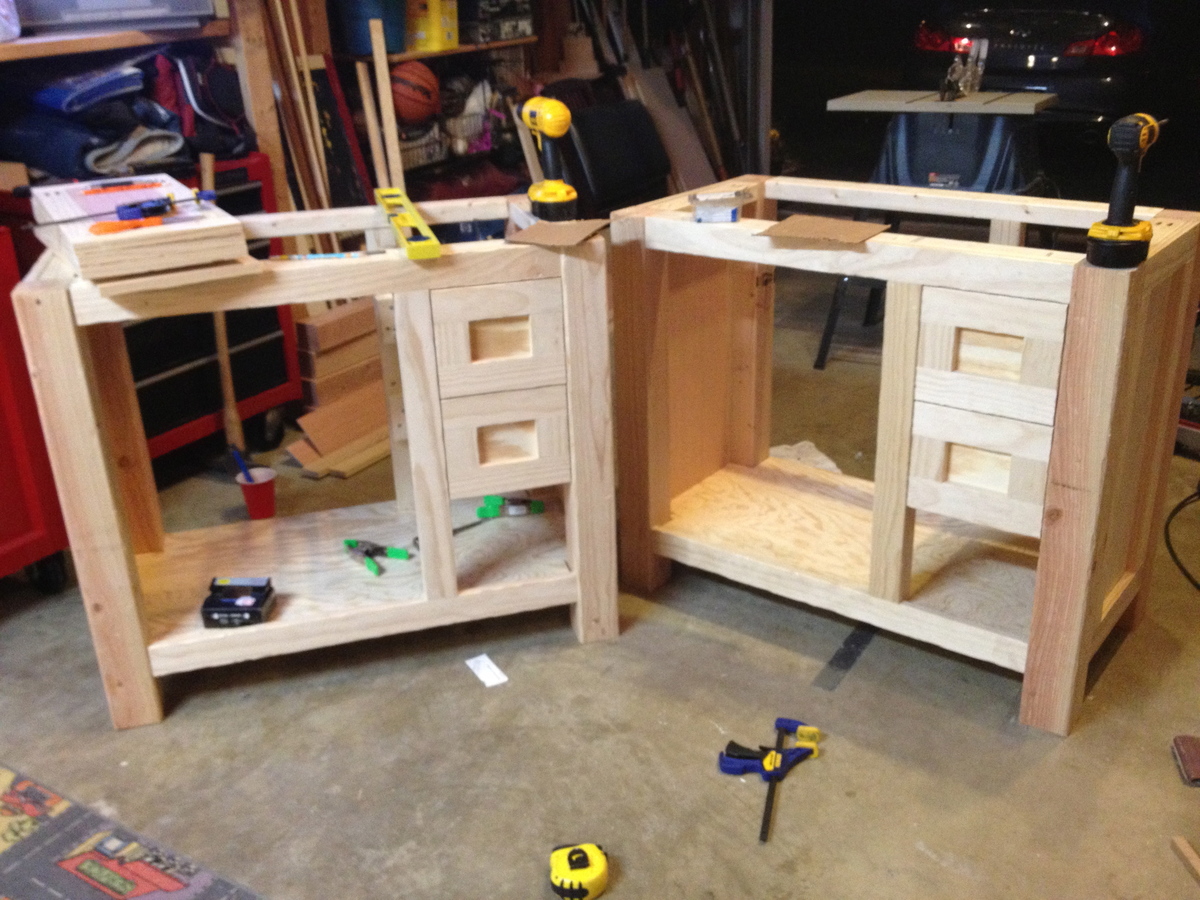
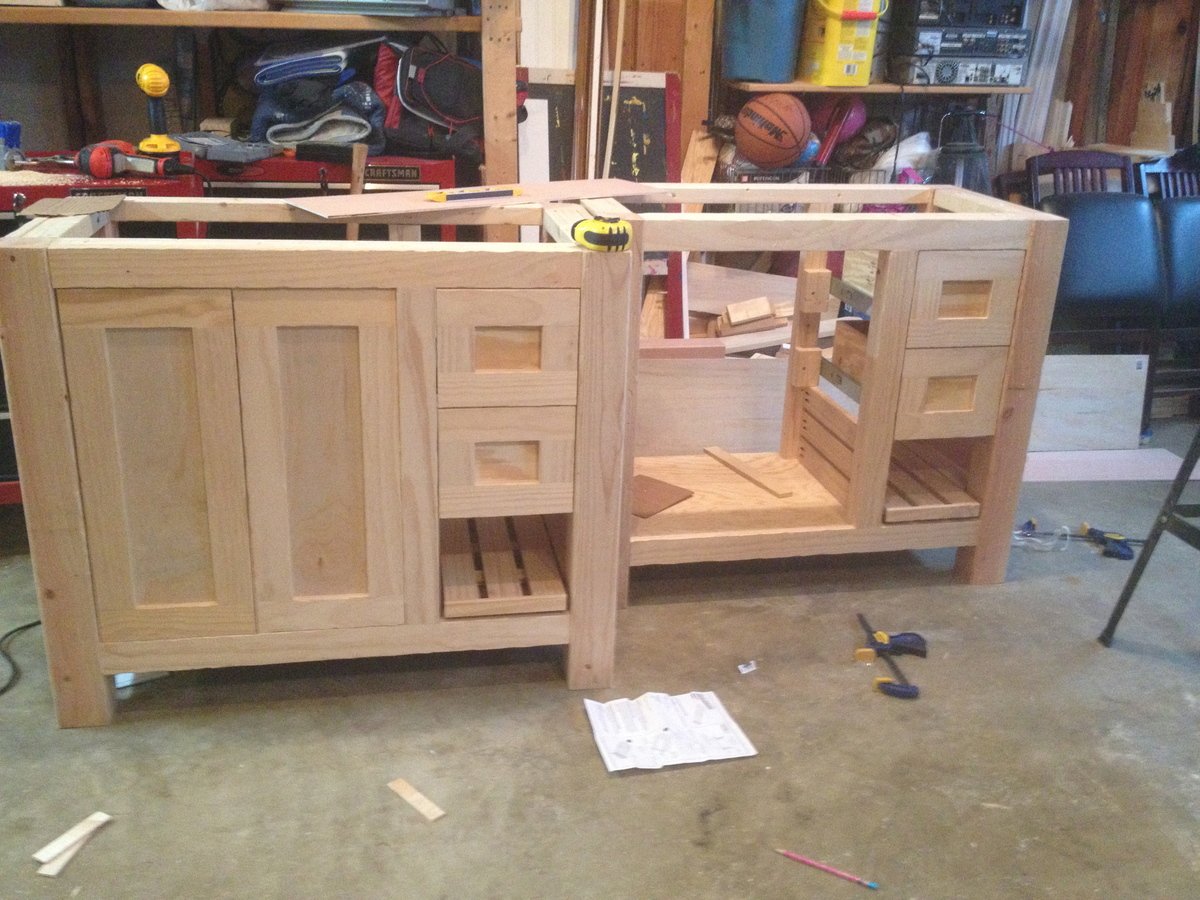
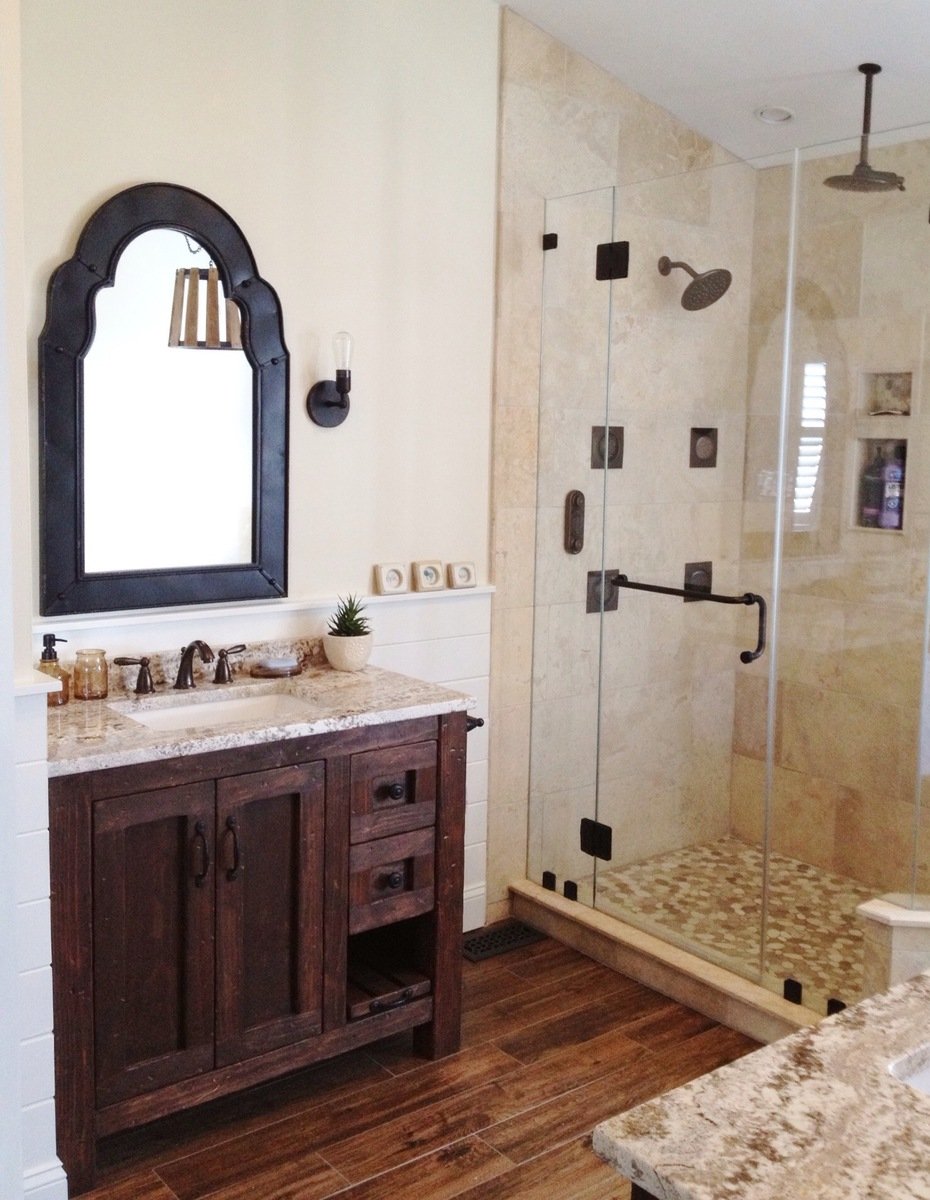
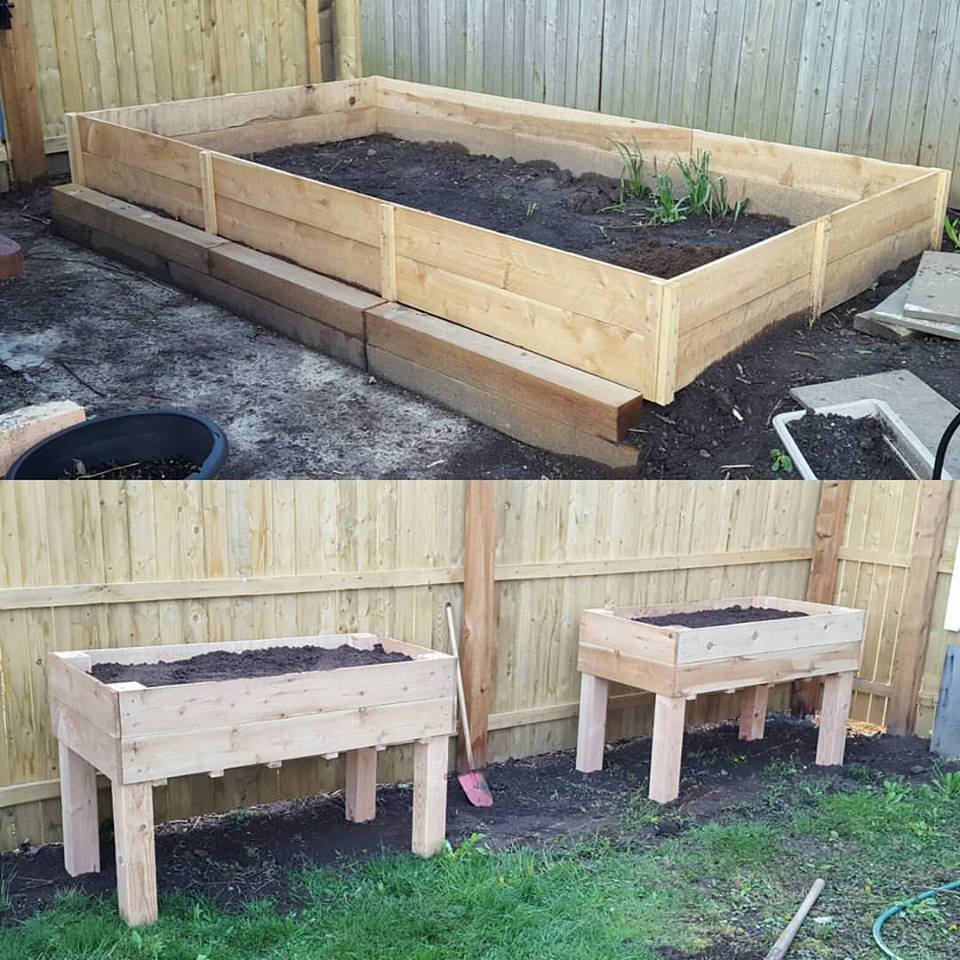
Rather than burning a few thousand on vanities for my bathroom remodel I decided to build them instead. The bottom shelf on the right slides out for a footstool so the kids can reach the sink.


Sun, 01/05/2014 - 20:55
These are so beautiful -- they really look like high-end rustic pieces. The slide-out footstool is genius. The distressing is fantastic. I really love your pebble art as well.
Would you mind sharing the stain color?
Wed, 02/03/2016 - 17:48
I drew this up in sketchup as I was planning to build one like this, but decided to do something different. Is there a way to upload a sketchup file?
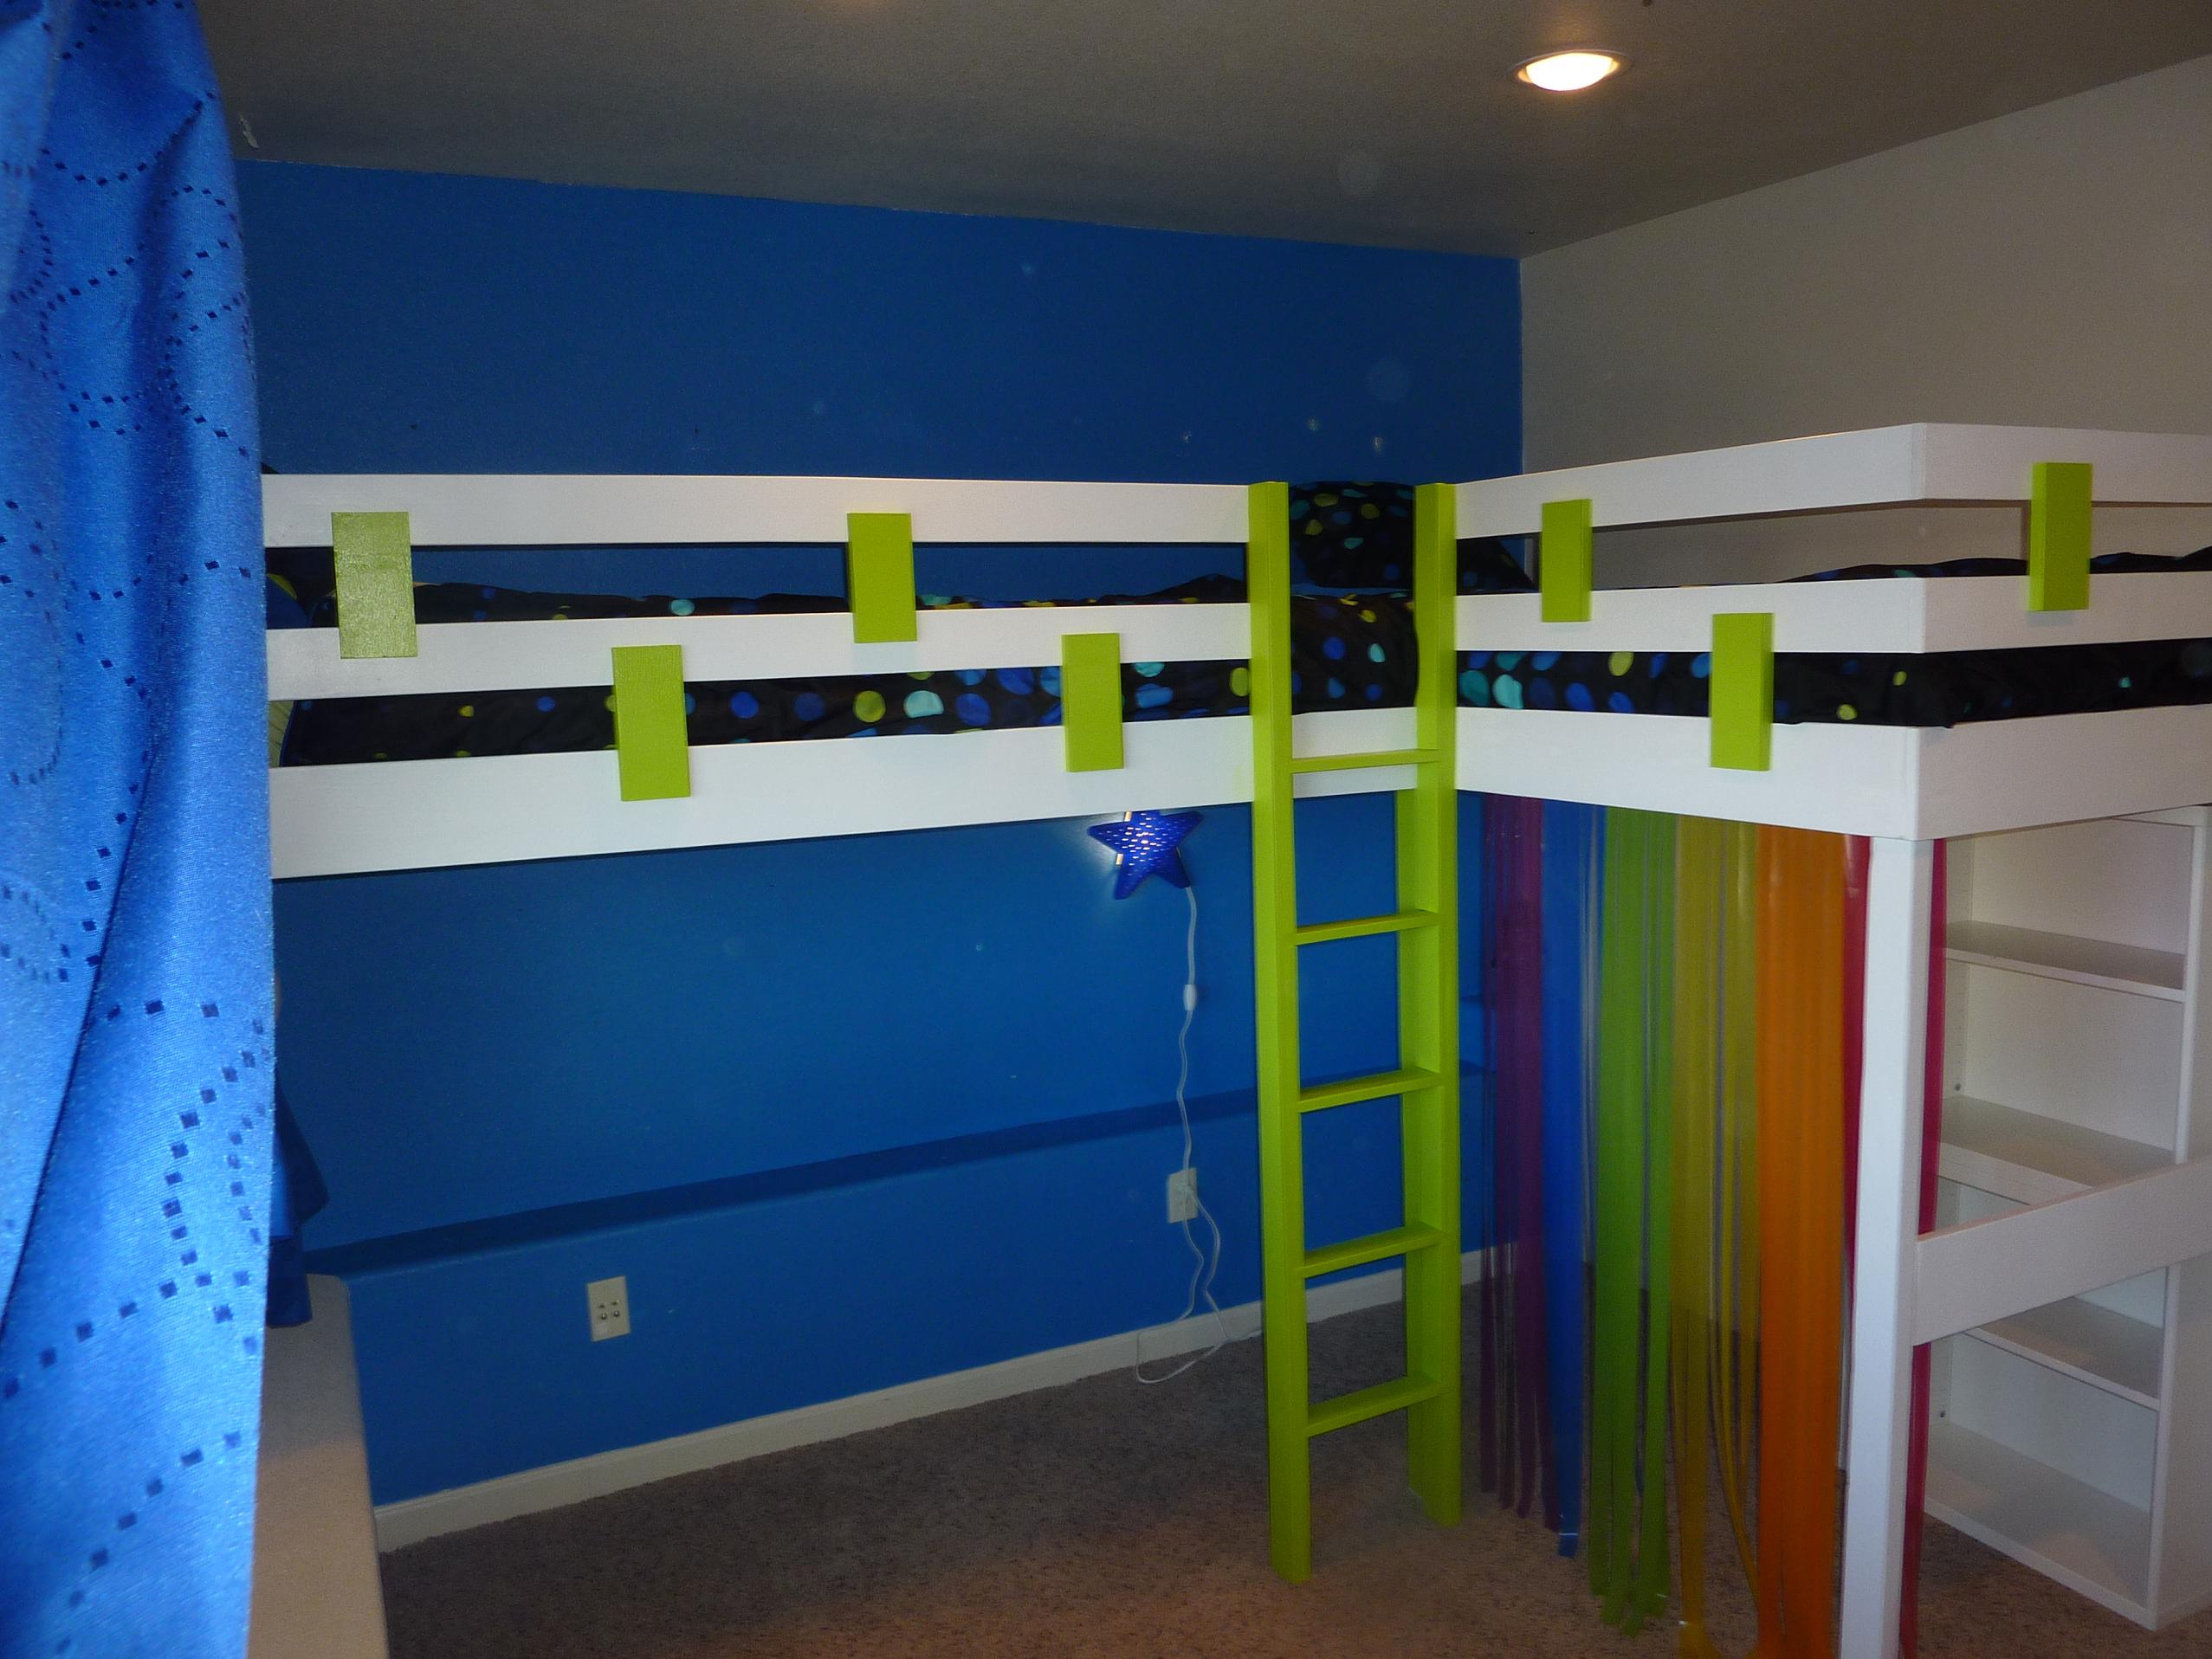
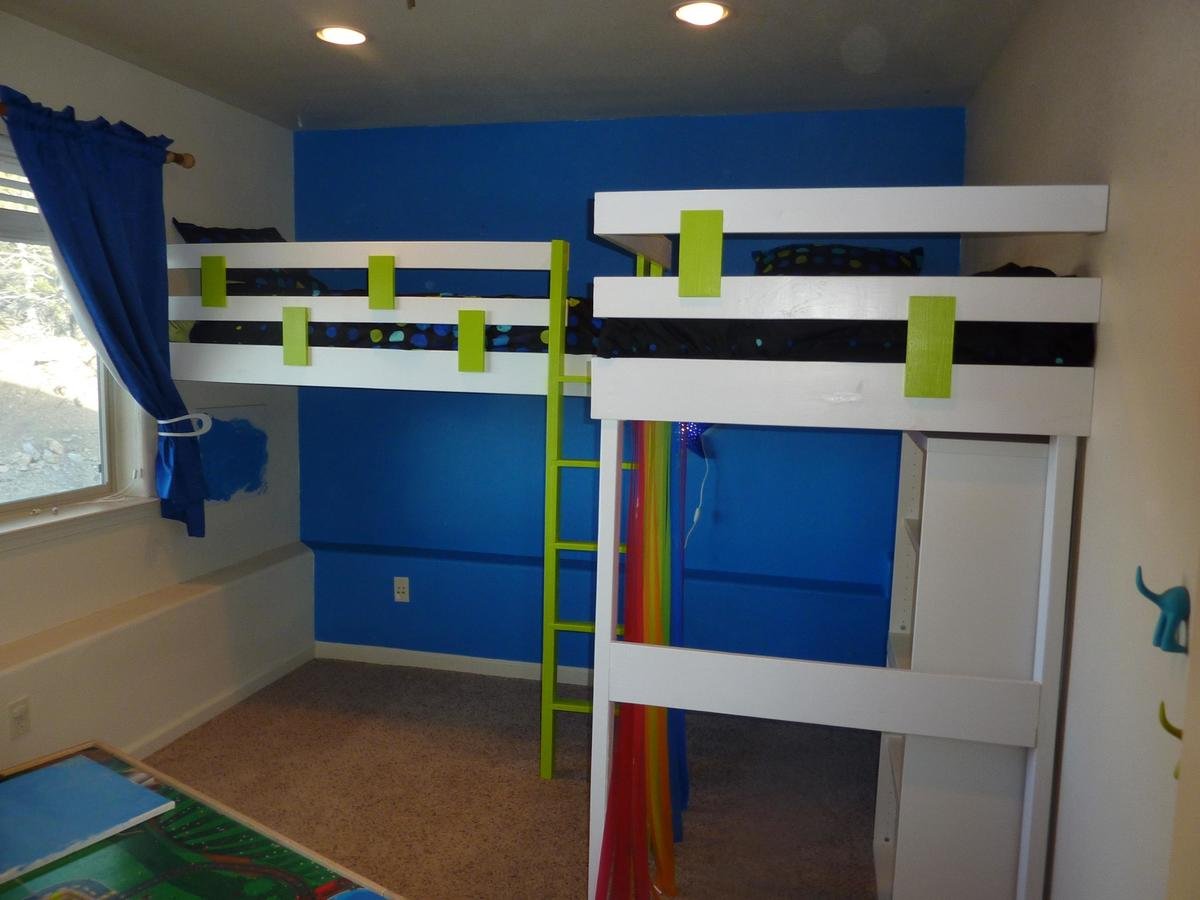
This is my extremely altered double loft bed. My sister needed a custom sized double loft bed, I figured I could use this plan and make two beds in an L shape, but the space I had to work with was smaller than these plans so I had to re-design most of the bed all together, I ended up attaching two sides of each bed to the wall with legs only on the outer pieces. She wanted a "fun" looking bed so I added a splash of color, just simple enough for me to make.

Sun, 05/31/2020 - 22:56
would love to see these plans. My twins room is small and this would be perfect.
Thank you

Wed, 07/29/2020 - 12:27
Is there a link to printable Instructions for this? Or a PDF you can possibly send me? [email protected] :) I have to make this for my girls! Lol the covid life now has them all doing school from home so... We need space 😁💪
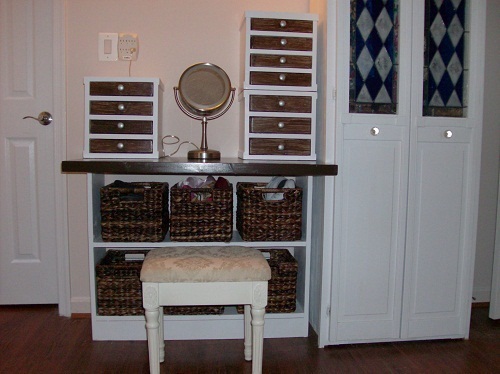
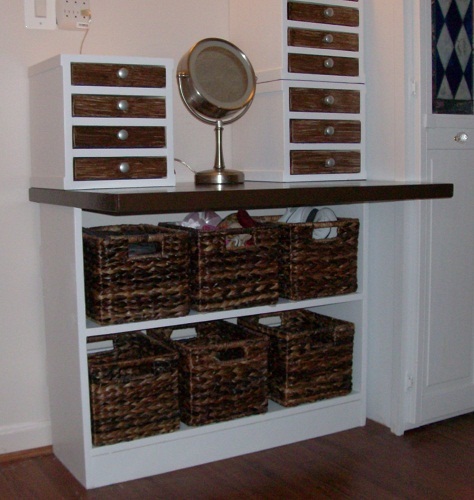
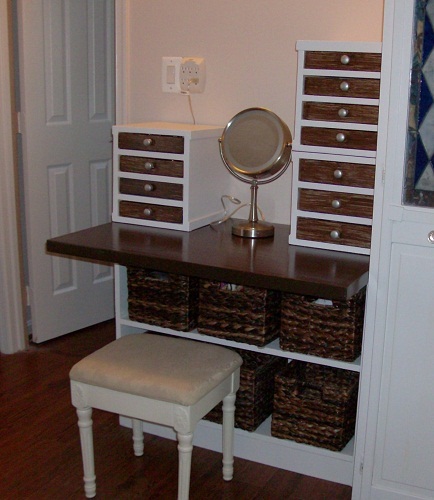
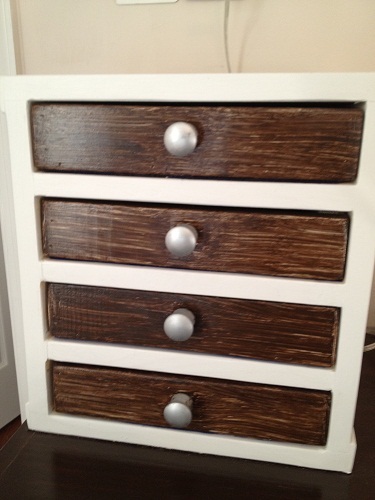
Used a Lowe’s gift card I got for Christmas, and built a larger dressing table which would give me more elbow room for hair and makeup, and also to hold my mini dressers. The drawers are a re-purpose of the mini dressers from my previous vanity desk, and I built 2 additional drawer boxes for them. The dressing table is a 36” wide Willy bookcase, with a 24” x 36” project panel trimmed in 1x2 as the top. The mini dressers are a miniature version of the Willy bookcase, with drawers made using Ana’s plan for the master closet system drawers. The 3 deeper drawers on the bottom right side hold makeup and cosmetics. I’ve named this my ‘bling tower’ because it holds all the jewelry gifts from my husband and son, several sets of the chunky bead jewelry that’s in style now, and all the little keepsake things my son made for me when he was in school. Gotta have plenty of room for those!
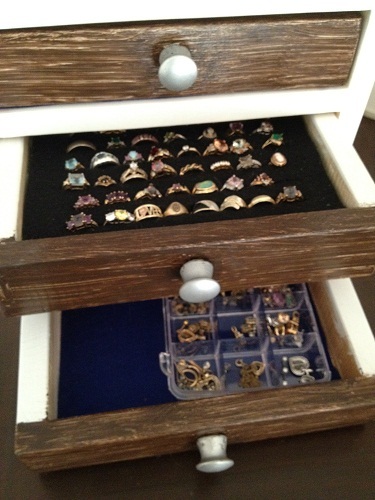
Kitchen organizer by Teezy
I'm only moderately handy and these were fun and pretty easy.
Learned a lot and got better as I went along.
I found ways to make it as cheap as possible, probably did all three projects for 150 bucks.
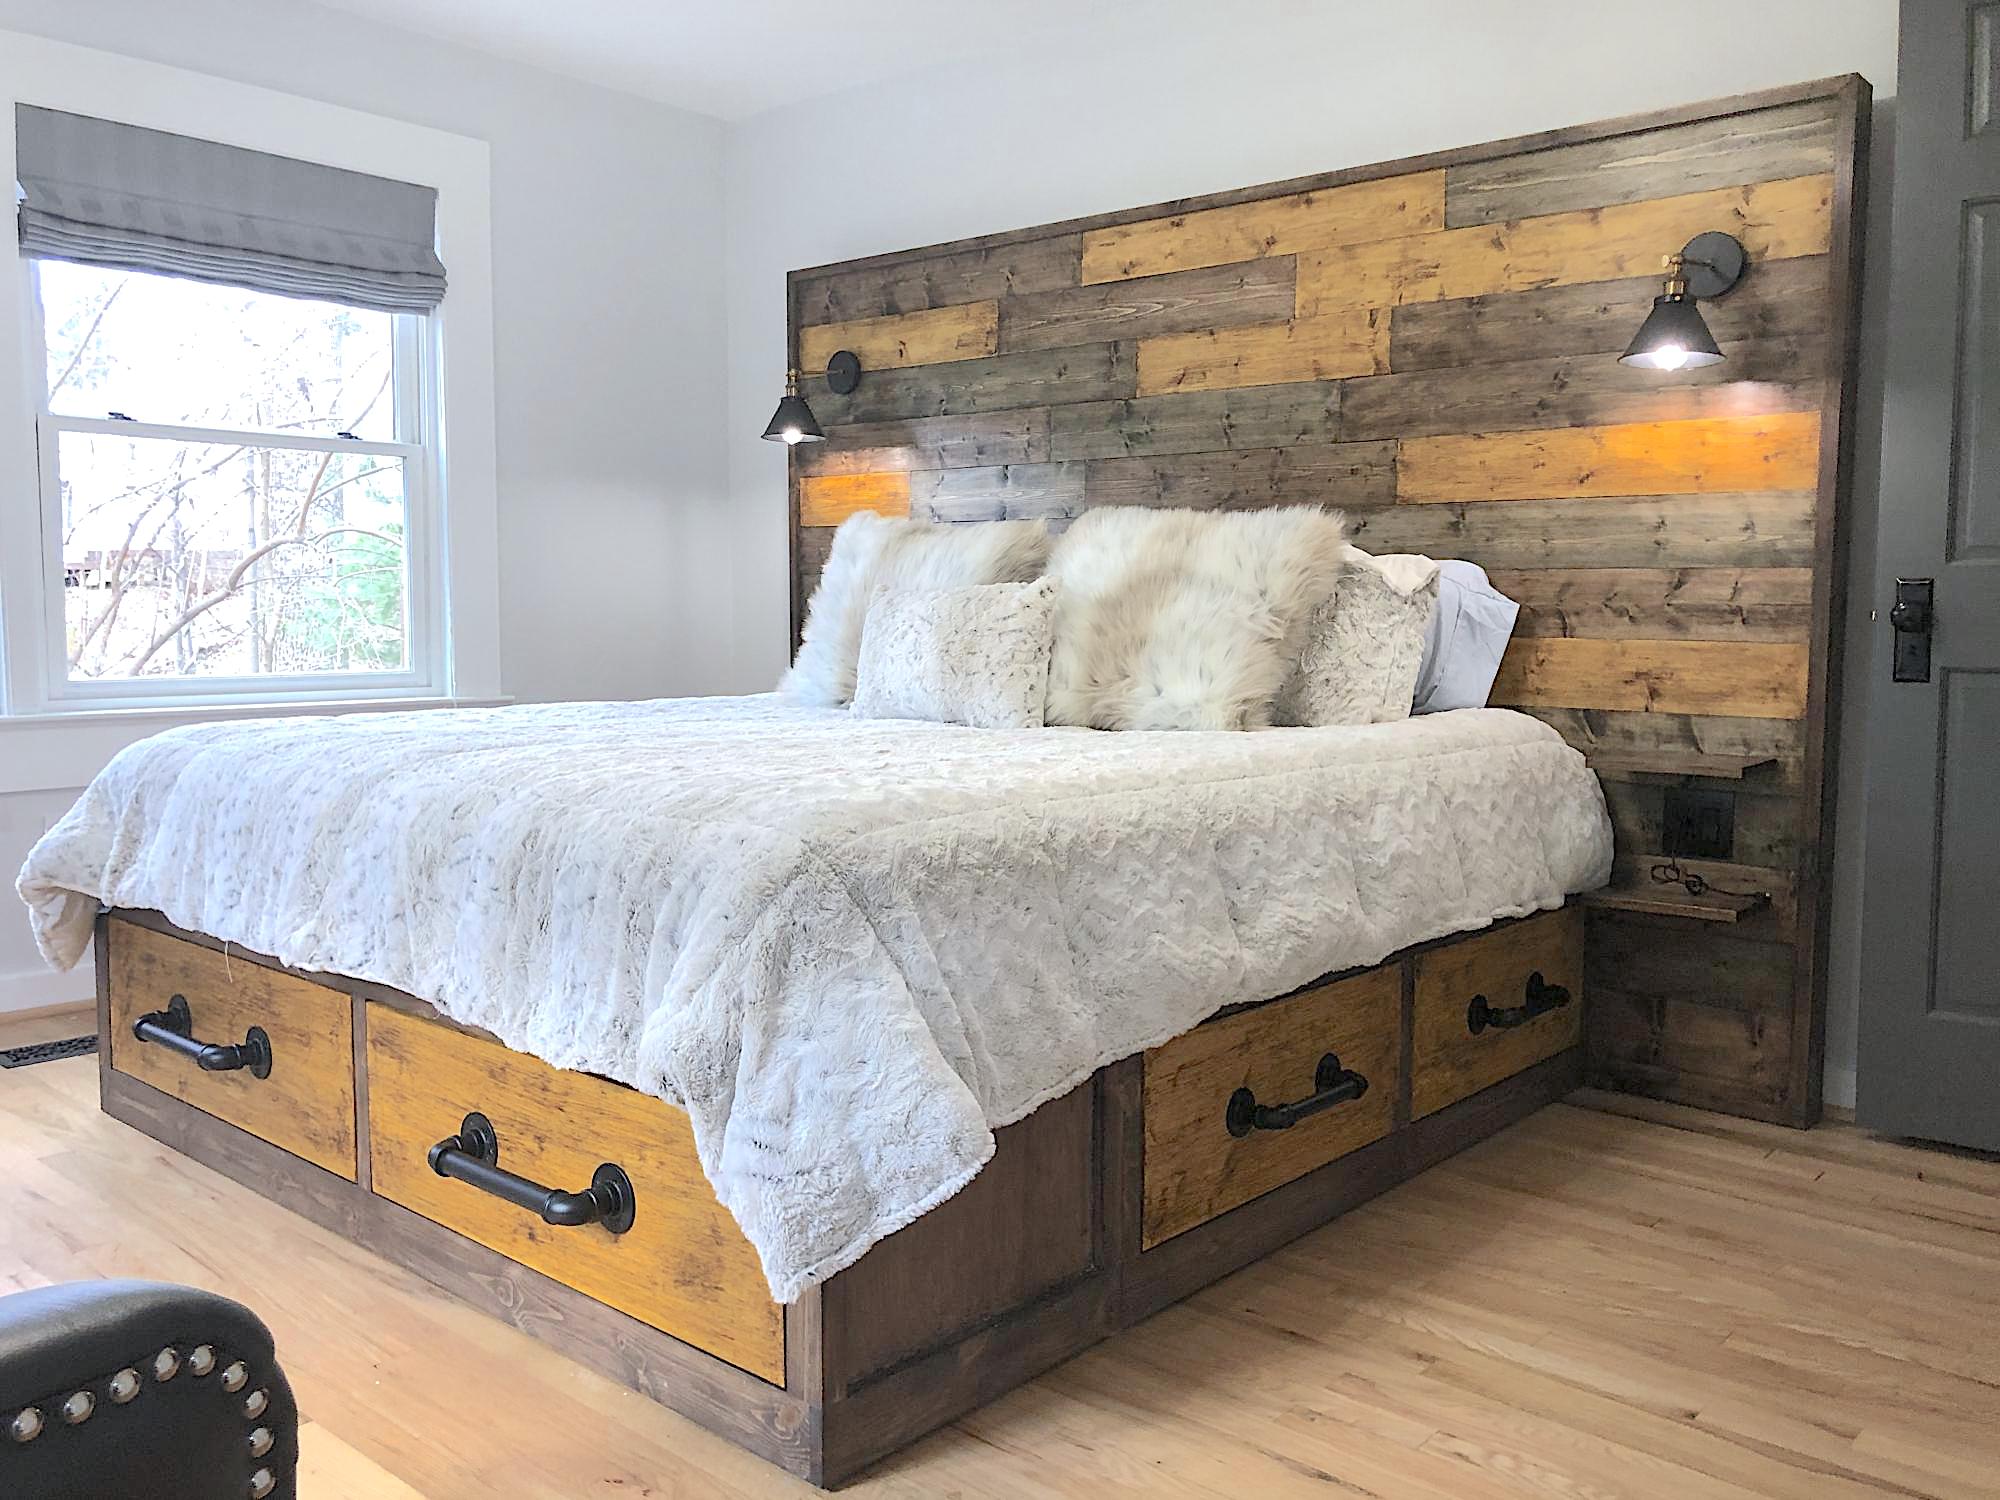
Base is classic storage king and the headboard was custom made to fit the size of the room. Enjoyed this project and the extra storage the drawers are providing. Thanks for the sharing the design plan; worked perfectly.
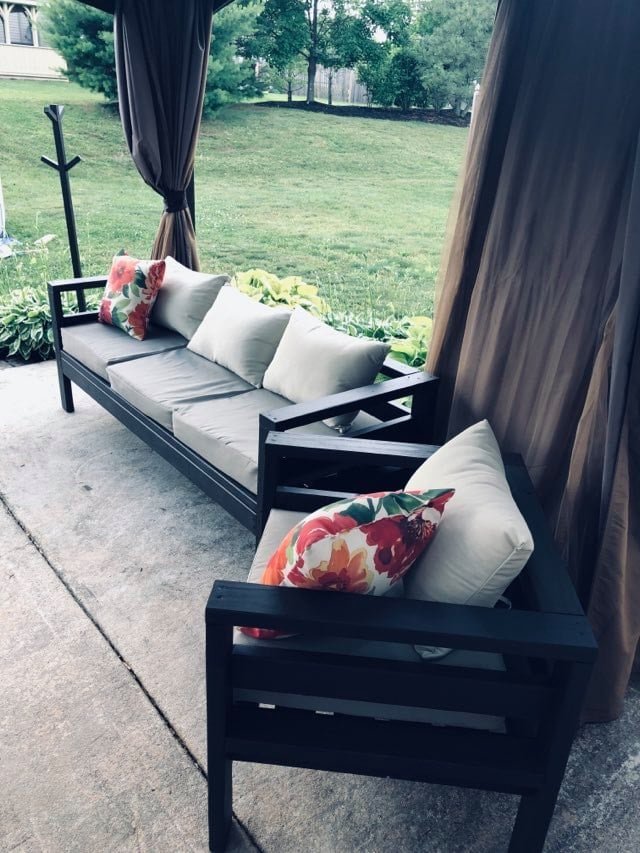
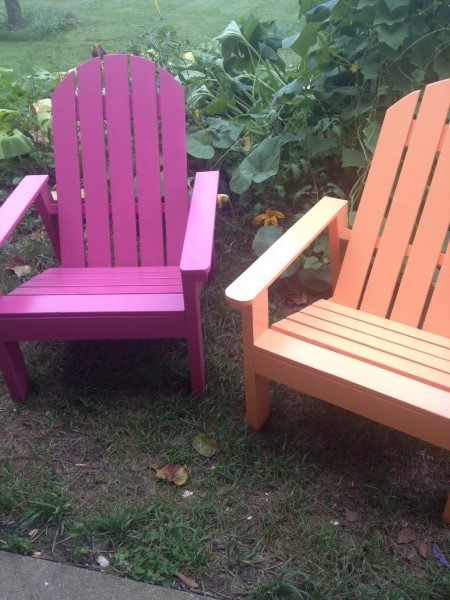
My small patio desperately needed an update. We had a dining table with chairs that we rarely used because it was uncomfortable. I decided to get rid of it and replace it with a sofa, chair and firepit table. We love it so much more! I built the 2x4 outdoor sofa and just modified the plan to one-third of the length for the chair. I also simplified the coat tree plan to make a drying rack for our pool towels. It was easy and affordable!

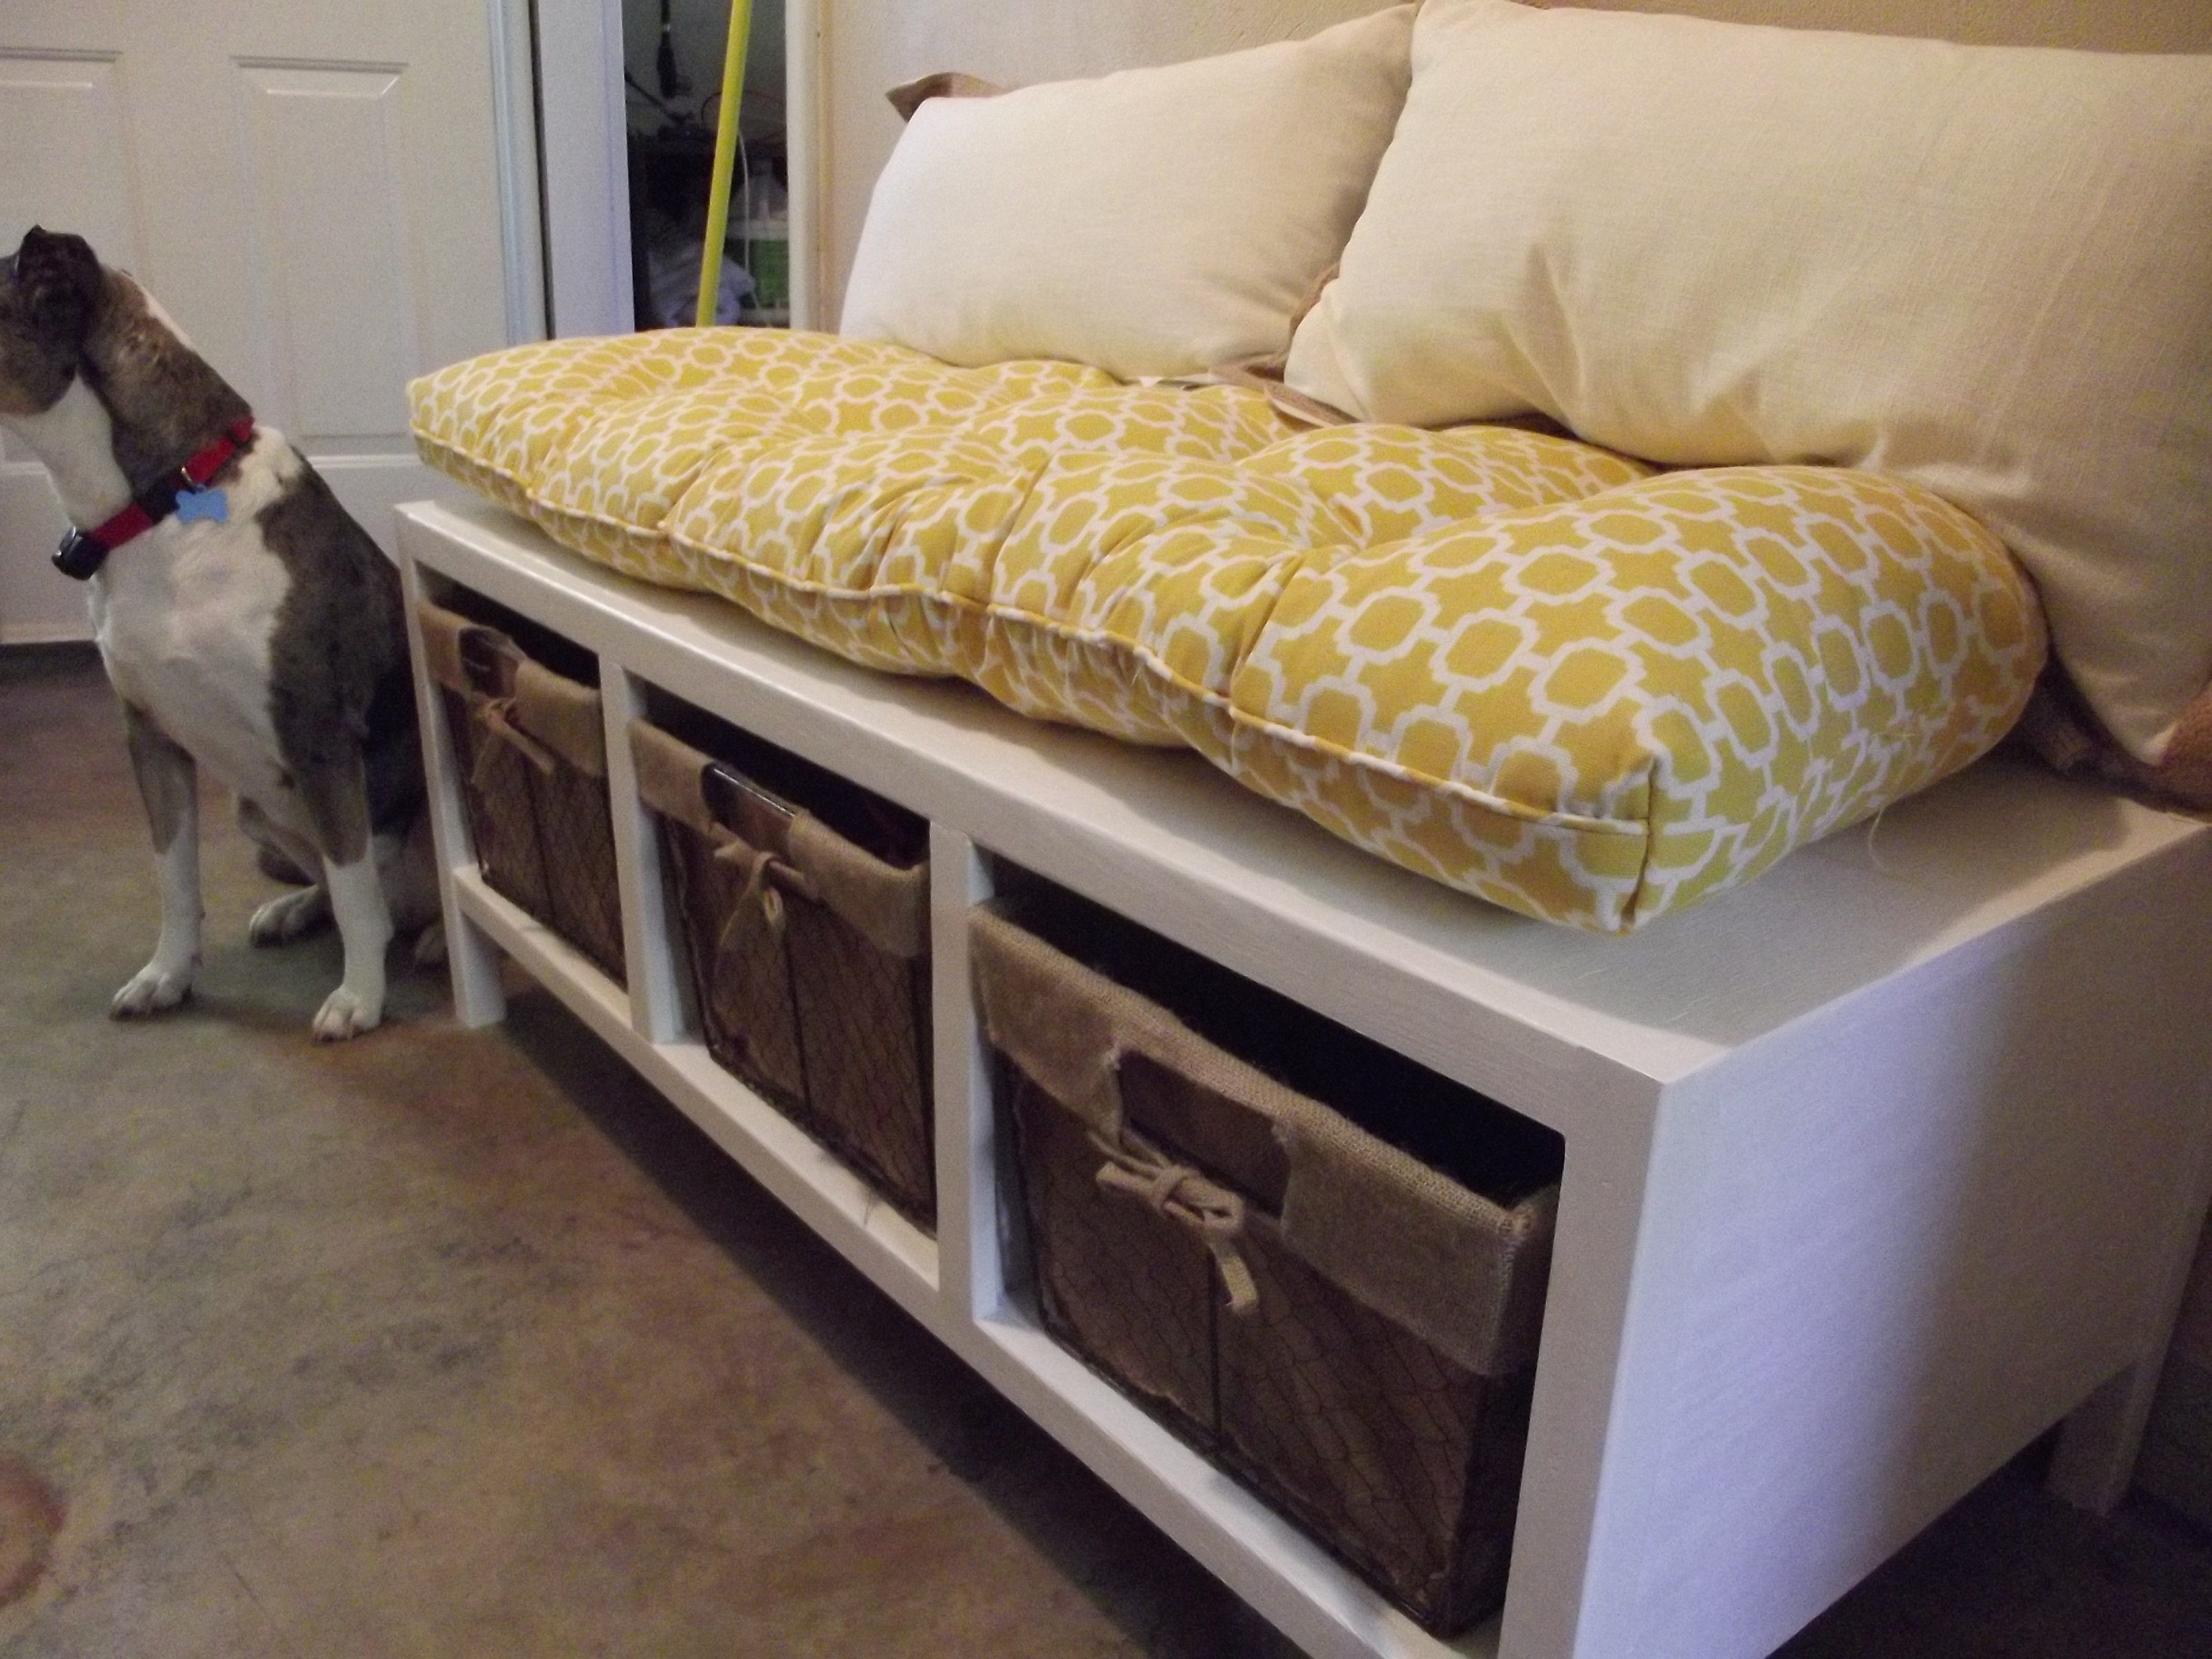
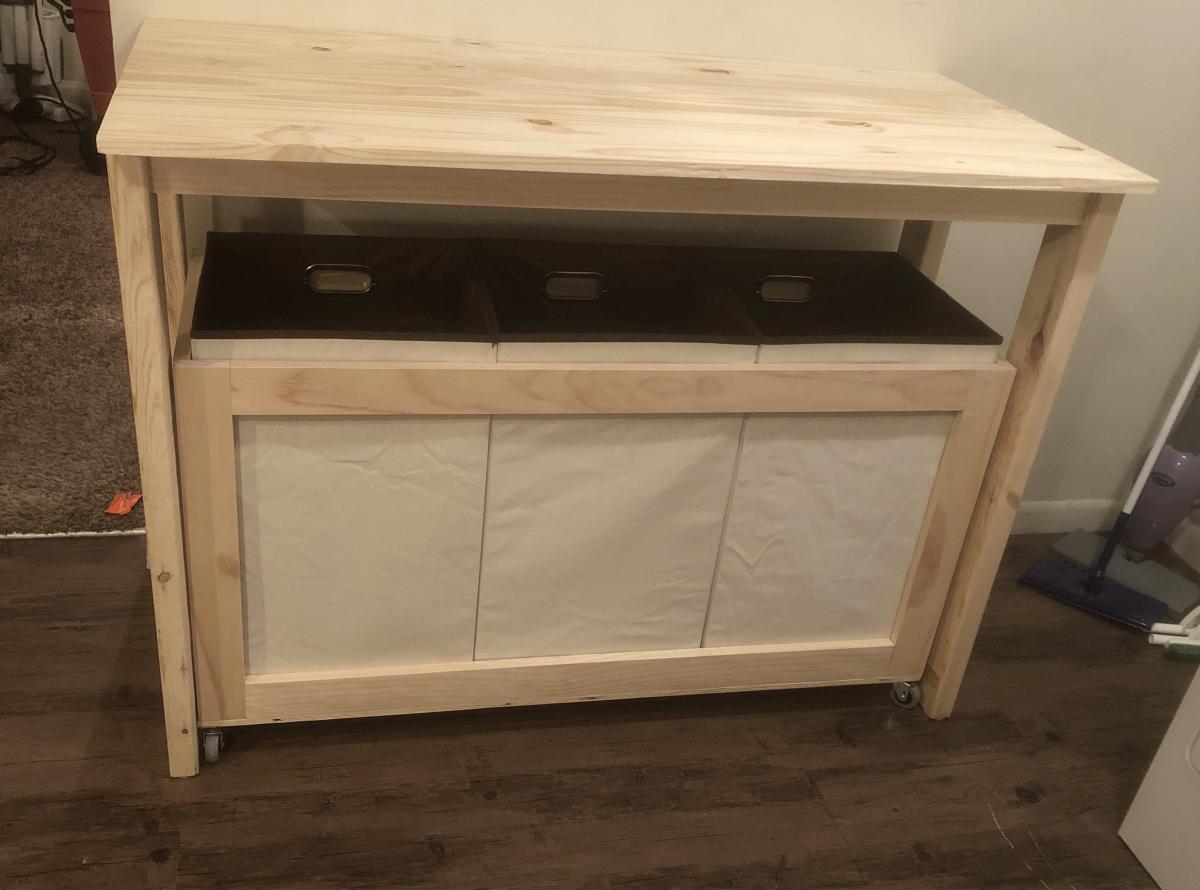
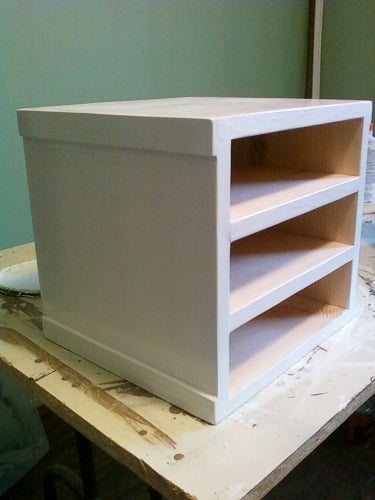
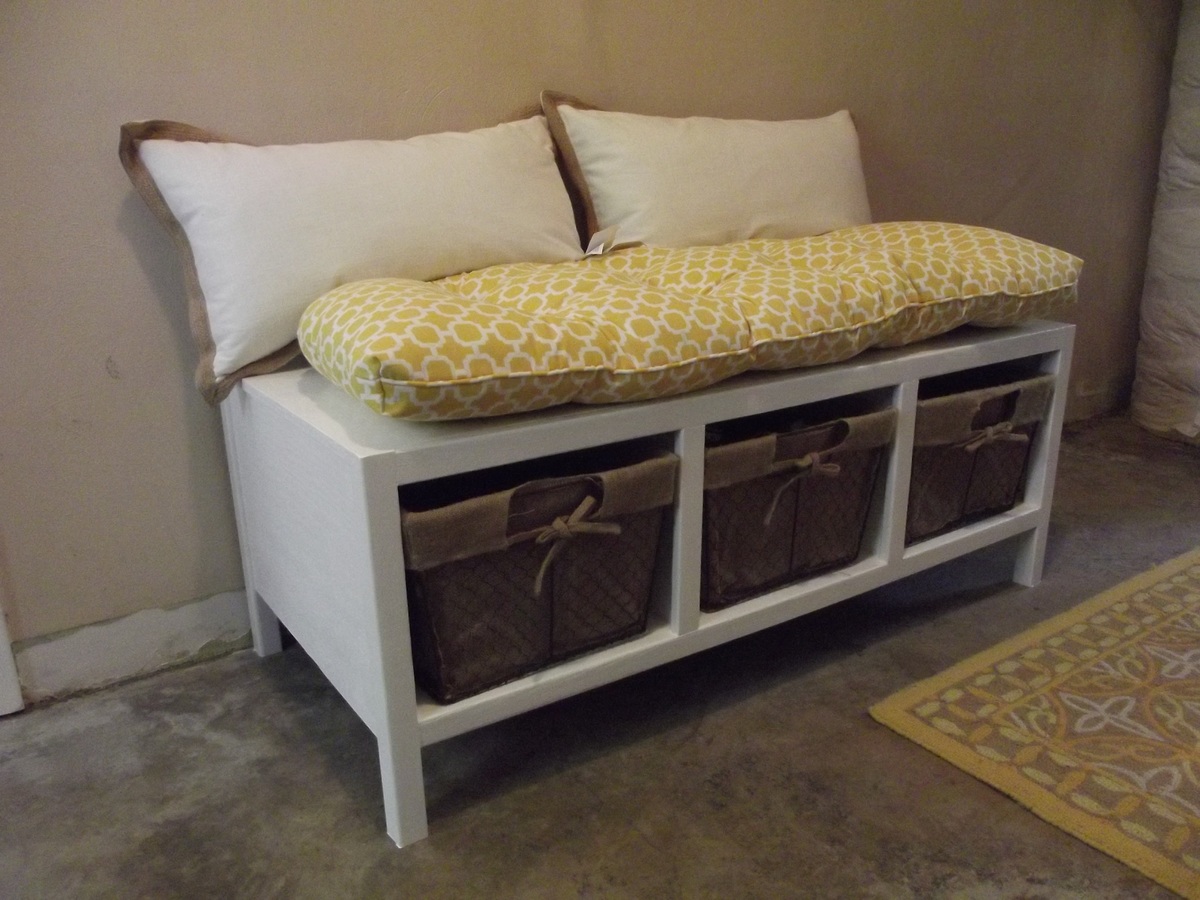
Loved using the plans, had to modify them to work around my baskets and a pipe sticking out of my wall. I'd say this is somewhere between beginner and intermediate, as I had to use the pocket screw for some added support when attaching the sides. I primed then used two coats of white "door and trim" paint. So far it has held up to the baskets being slid back and forth, if I had to do it again, I would add a poly coat for durability, at least on the bottom of the cubbies. Cushions and pillow from HomeGoods. Would have been nice to design the bench to fit more standard cushion sizes, but oh well!
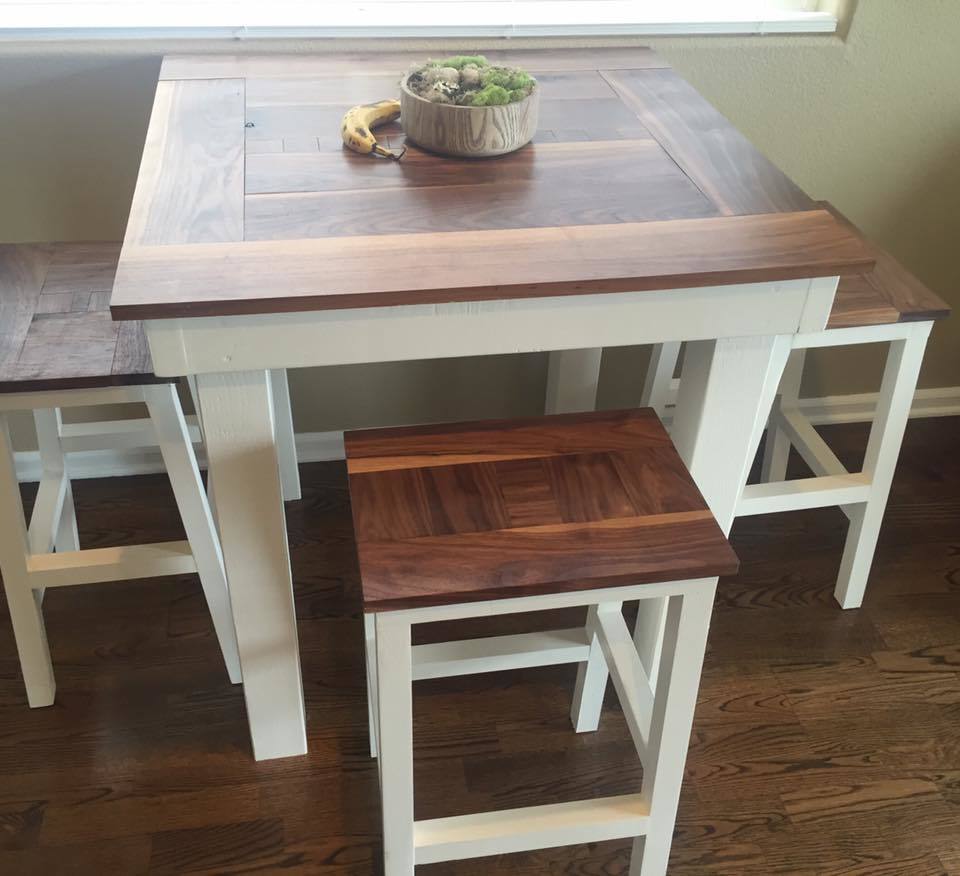
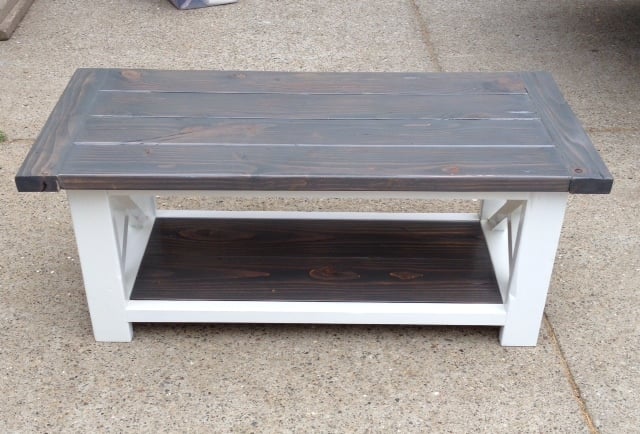
This is one of my favorite pieces because the white contrasts perfectly with the walnut hardwood. The base of the table is all standard 2x4 and 4x4s, and the tabletop is 100% walnut.
Thu, 07/25/2019 - 09:32
Would you be able to provide the dimensions of the top of the table? Also, how tall are the stools? Thank you!
4x4 Truss beam table and benches. This could have not been a more rewarding project. Absolutely love it! Thank you for the guidance Ana! Keep them coming.
@jtarcos
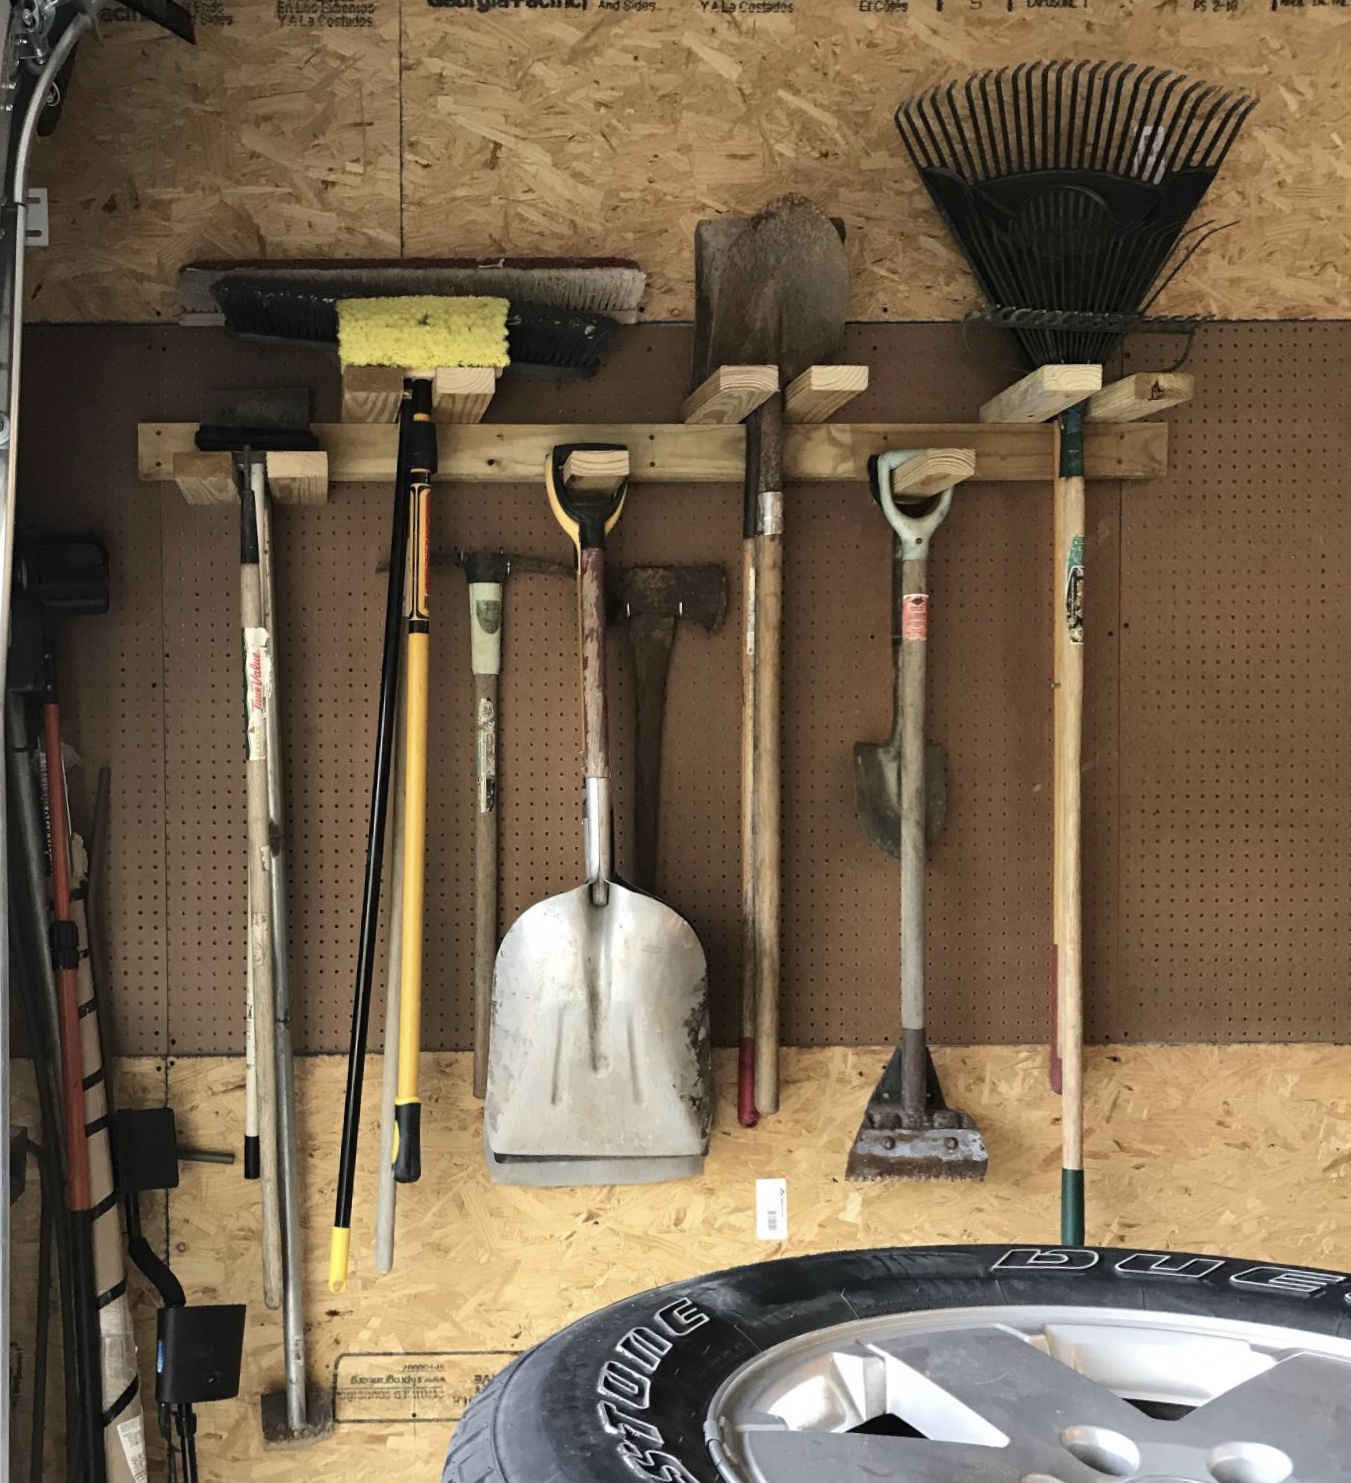
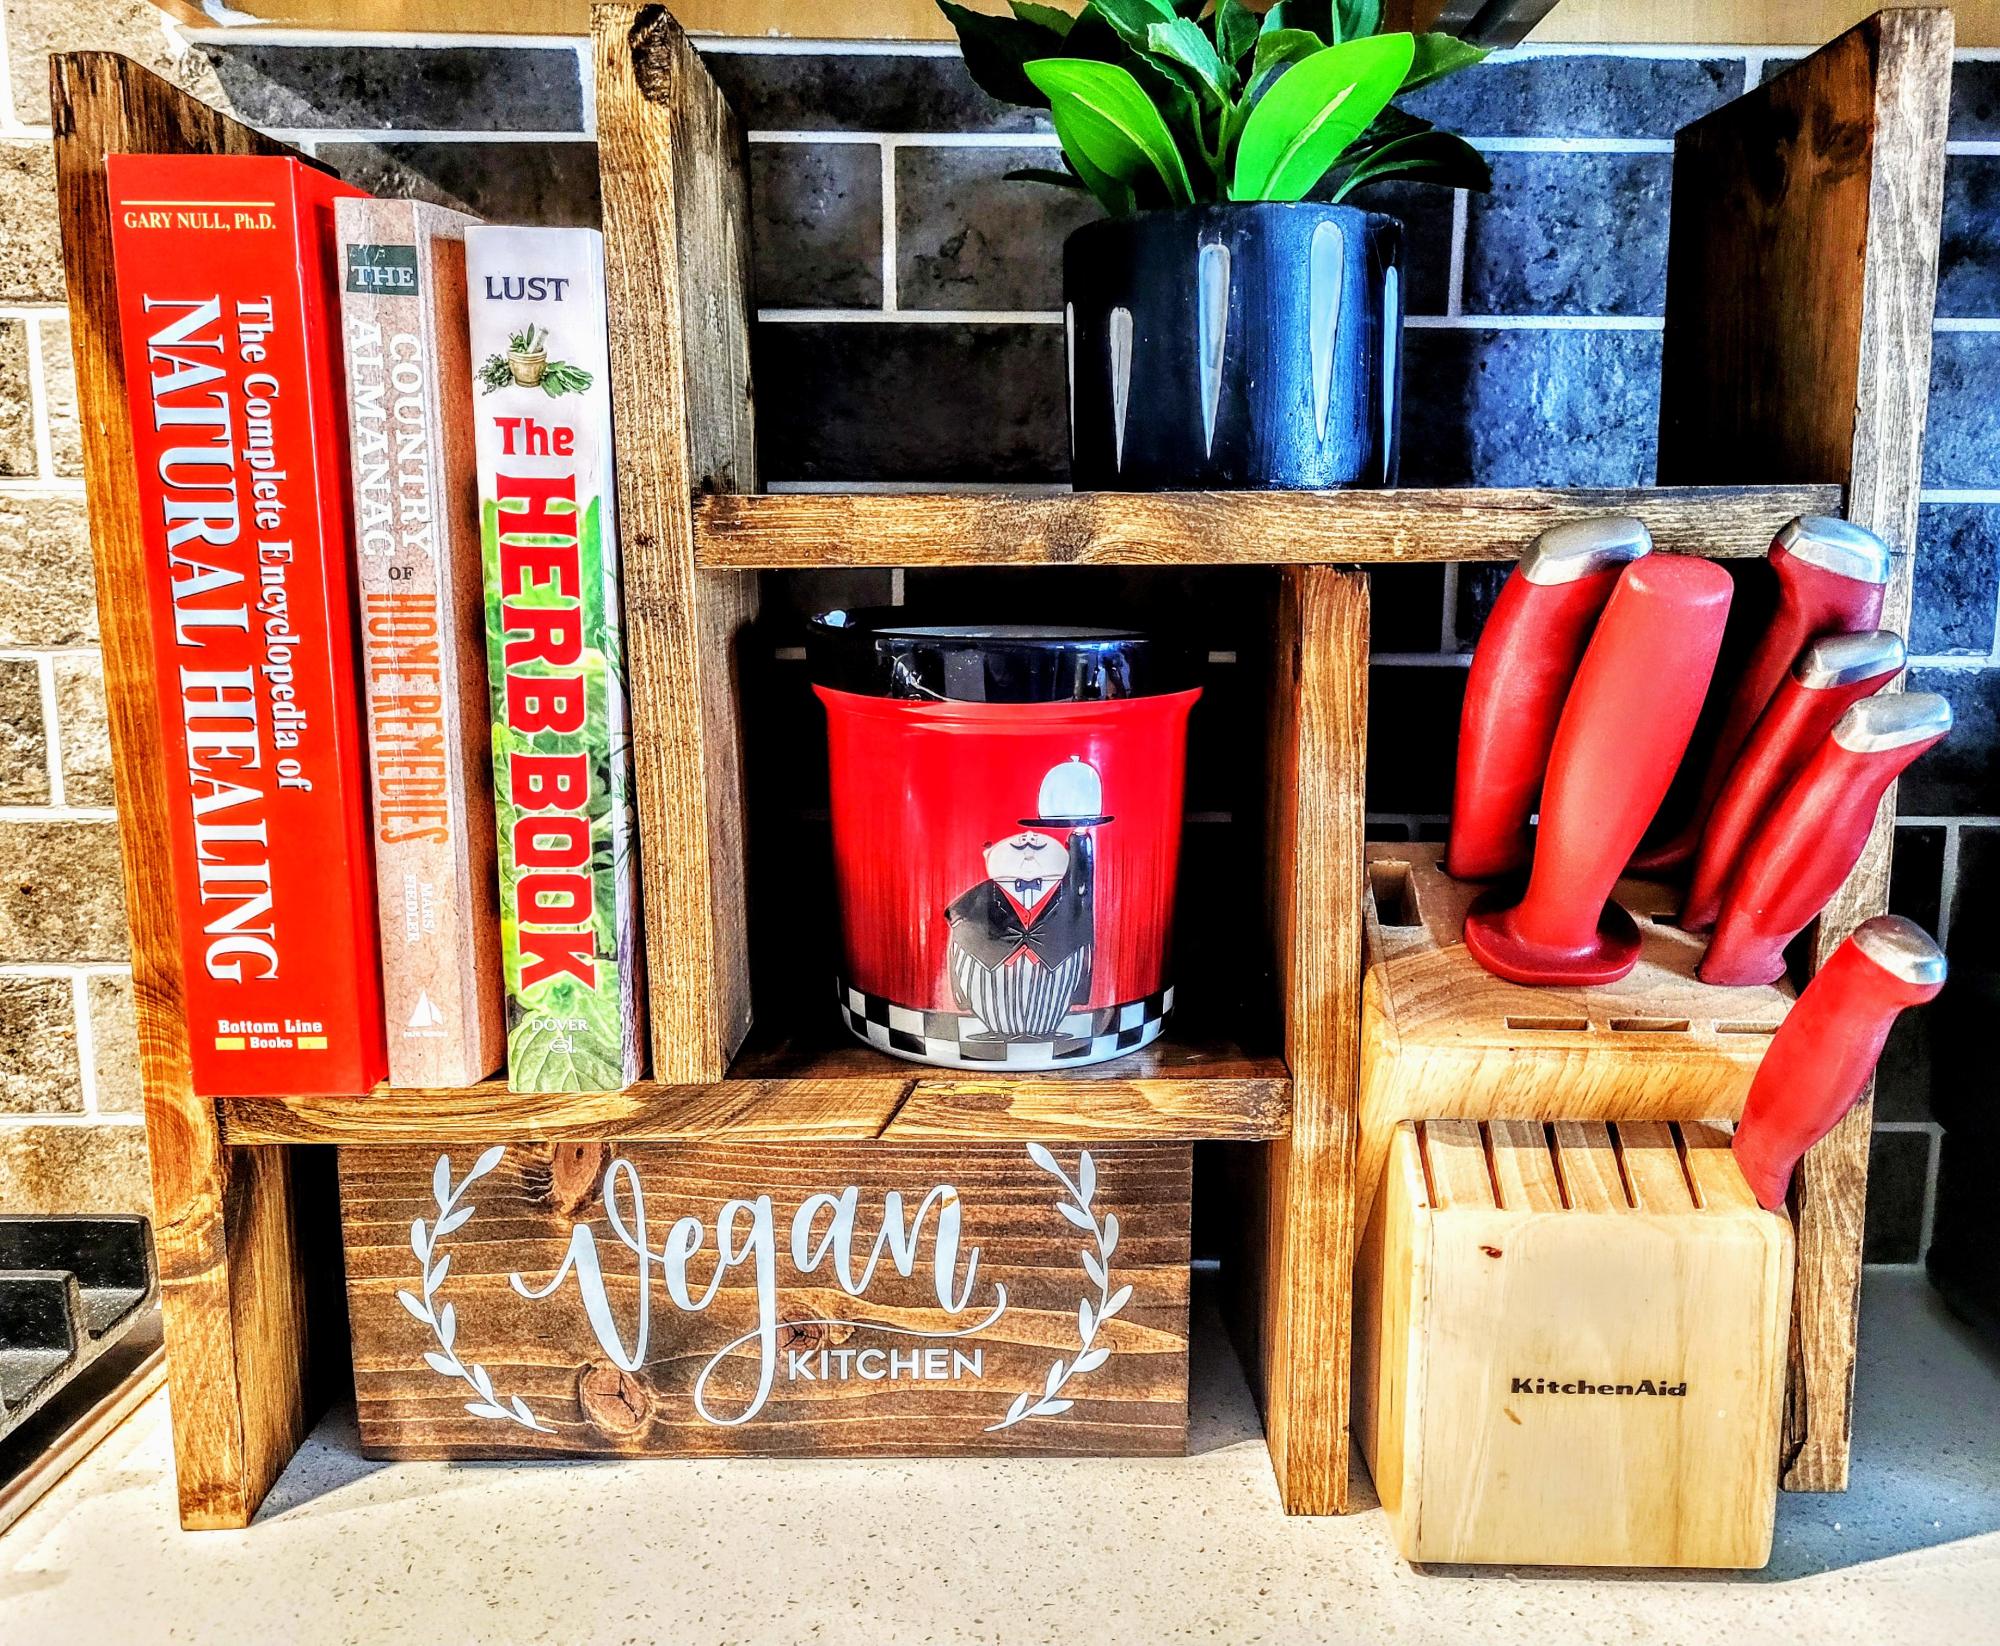
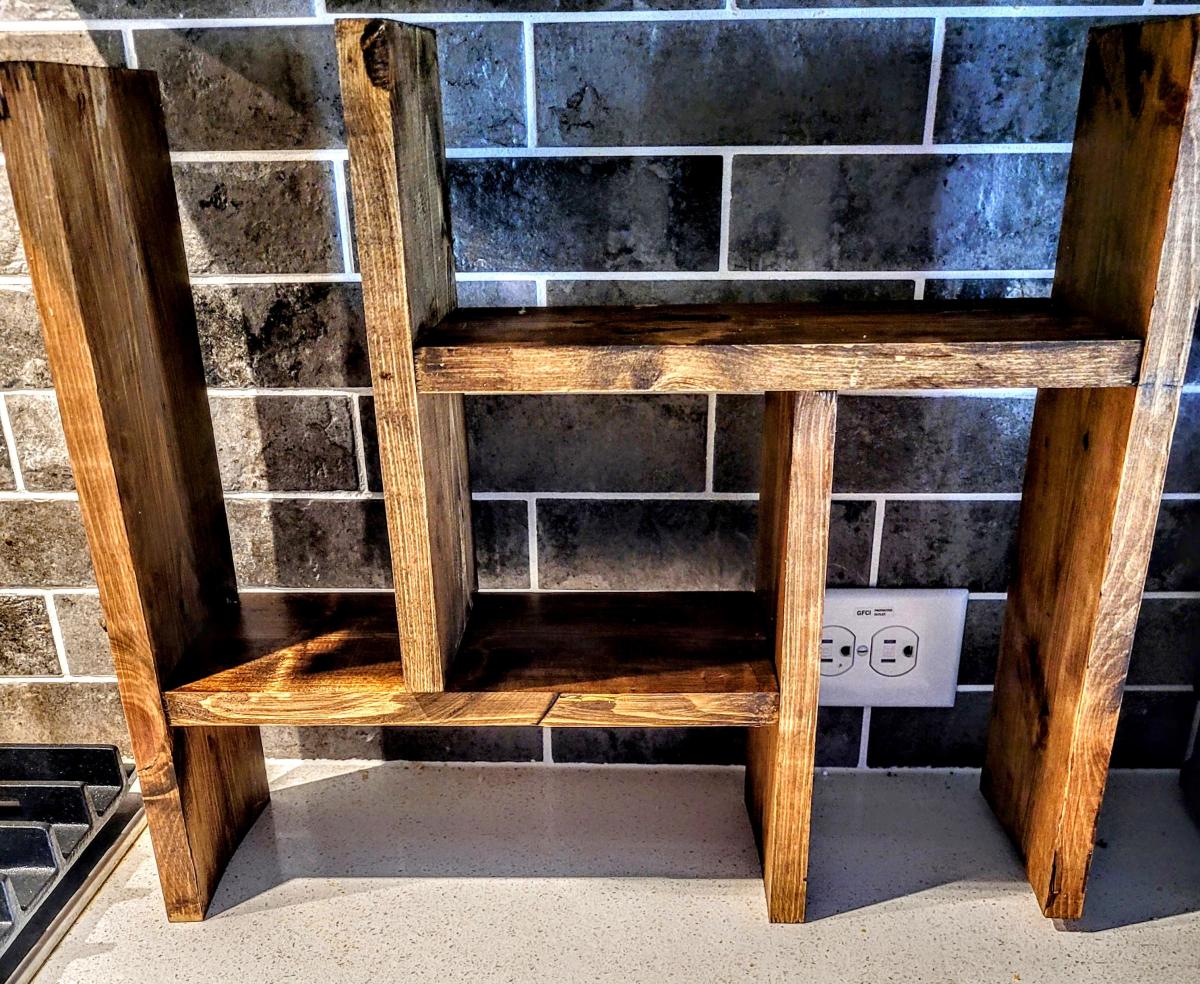
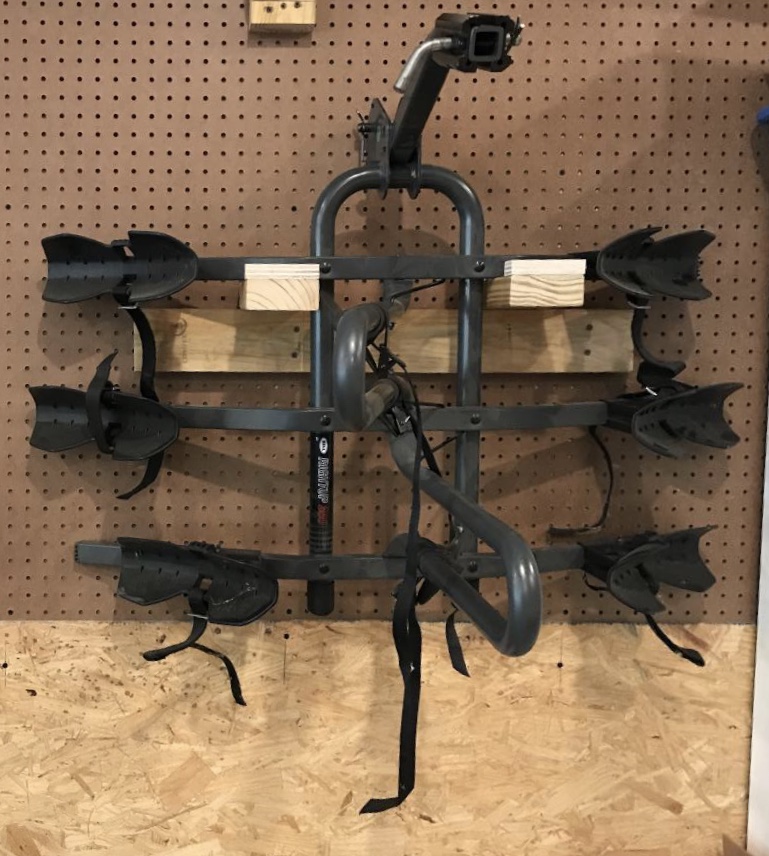
I’m very happy with my tool organizer. I also used the tool organizer idea for bracket to hang our bicycle rack. We love the way it all came out. Thank you so much for sharing!
We run a fence company. The best thing about this project is that it cost me $0!! I used 2X4 cutoffs that we were going to trash!
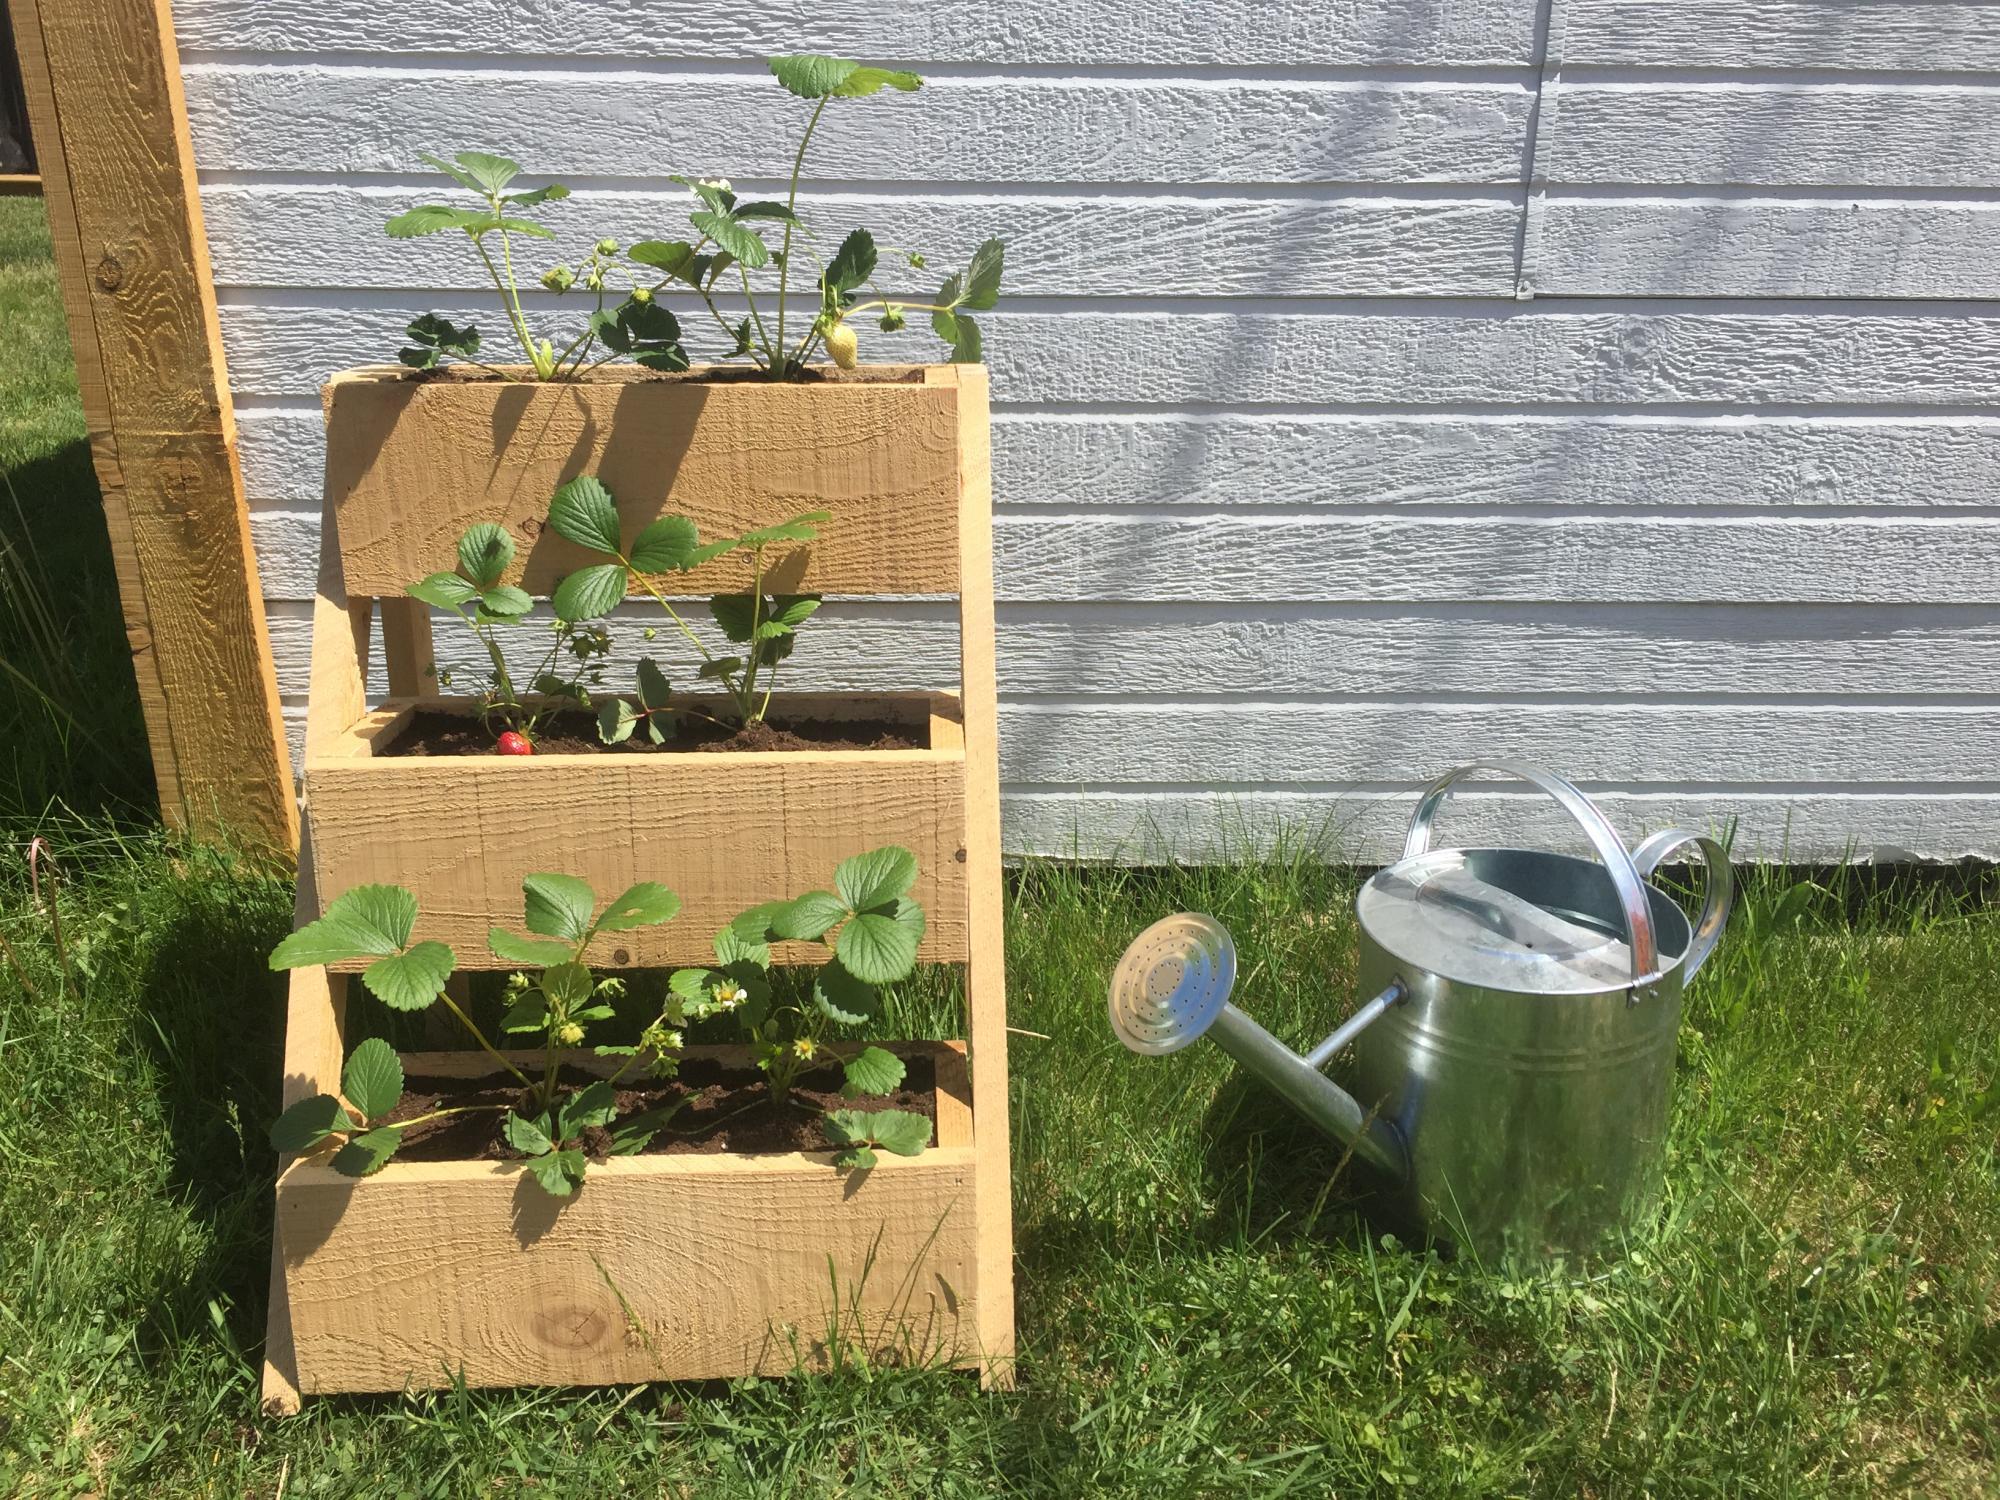
I built this tiered planter for my strawberry plants.
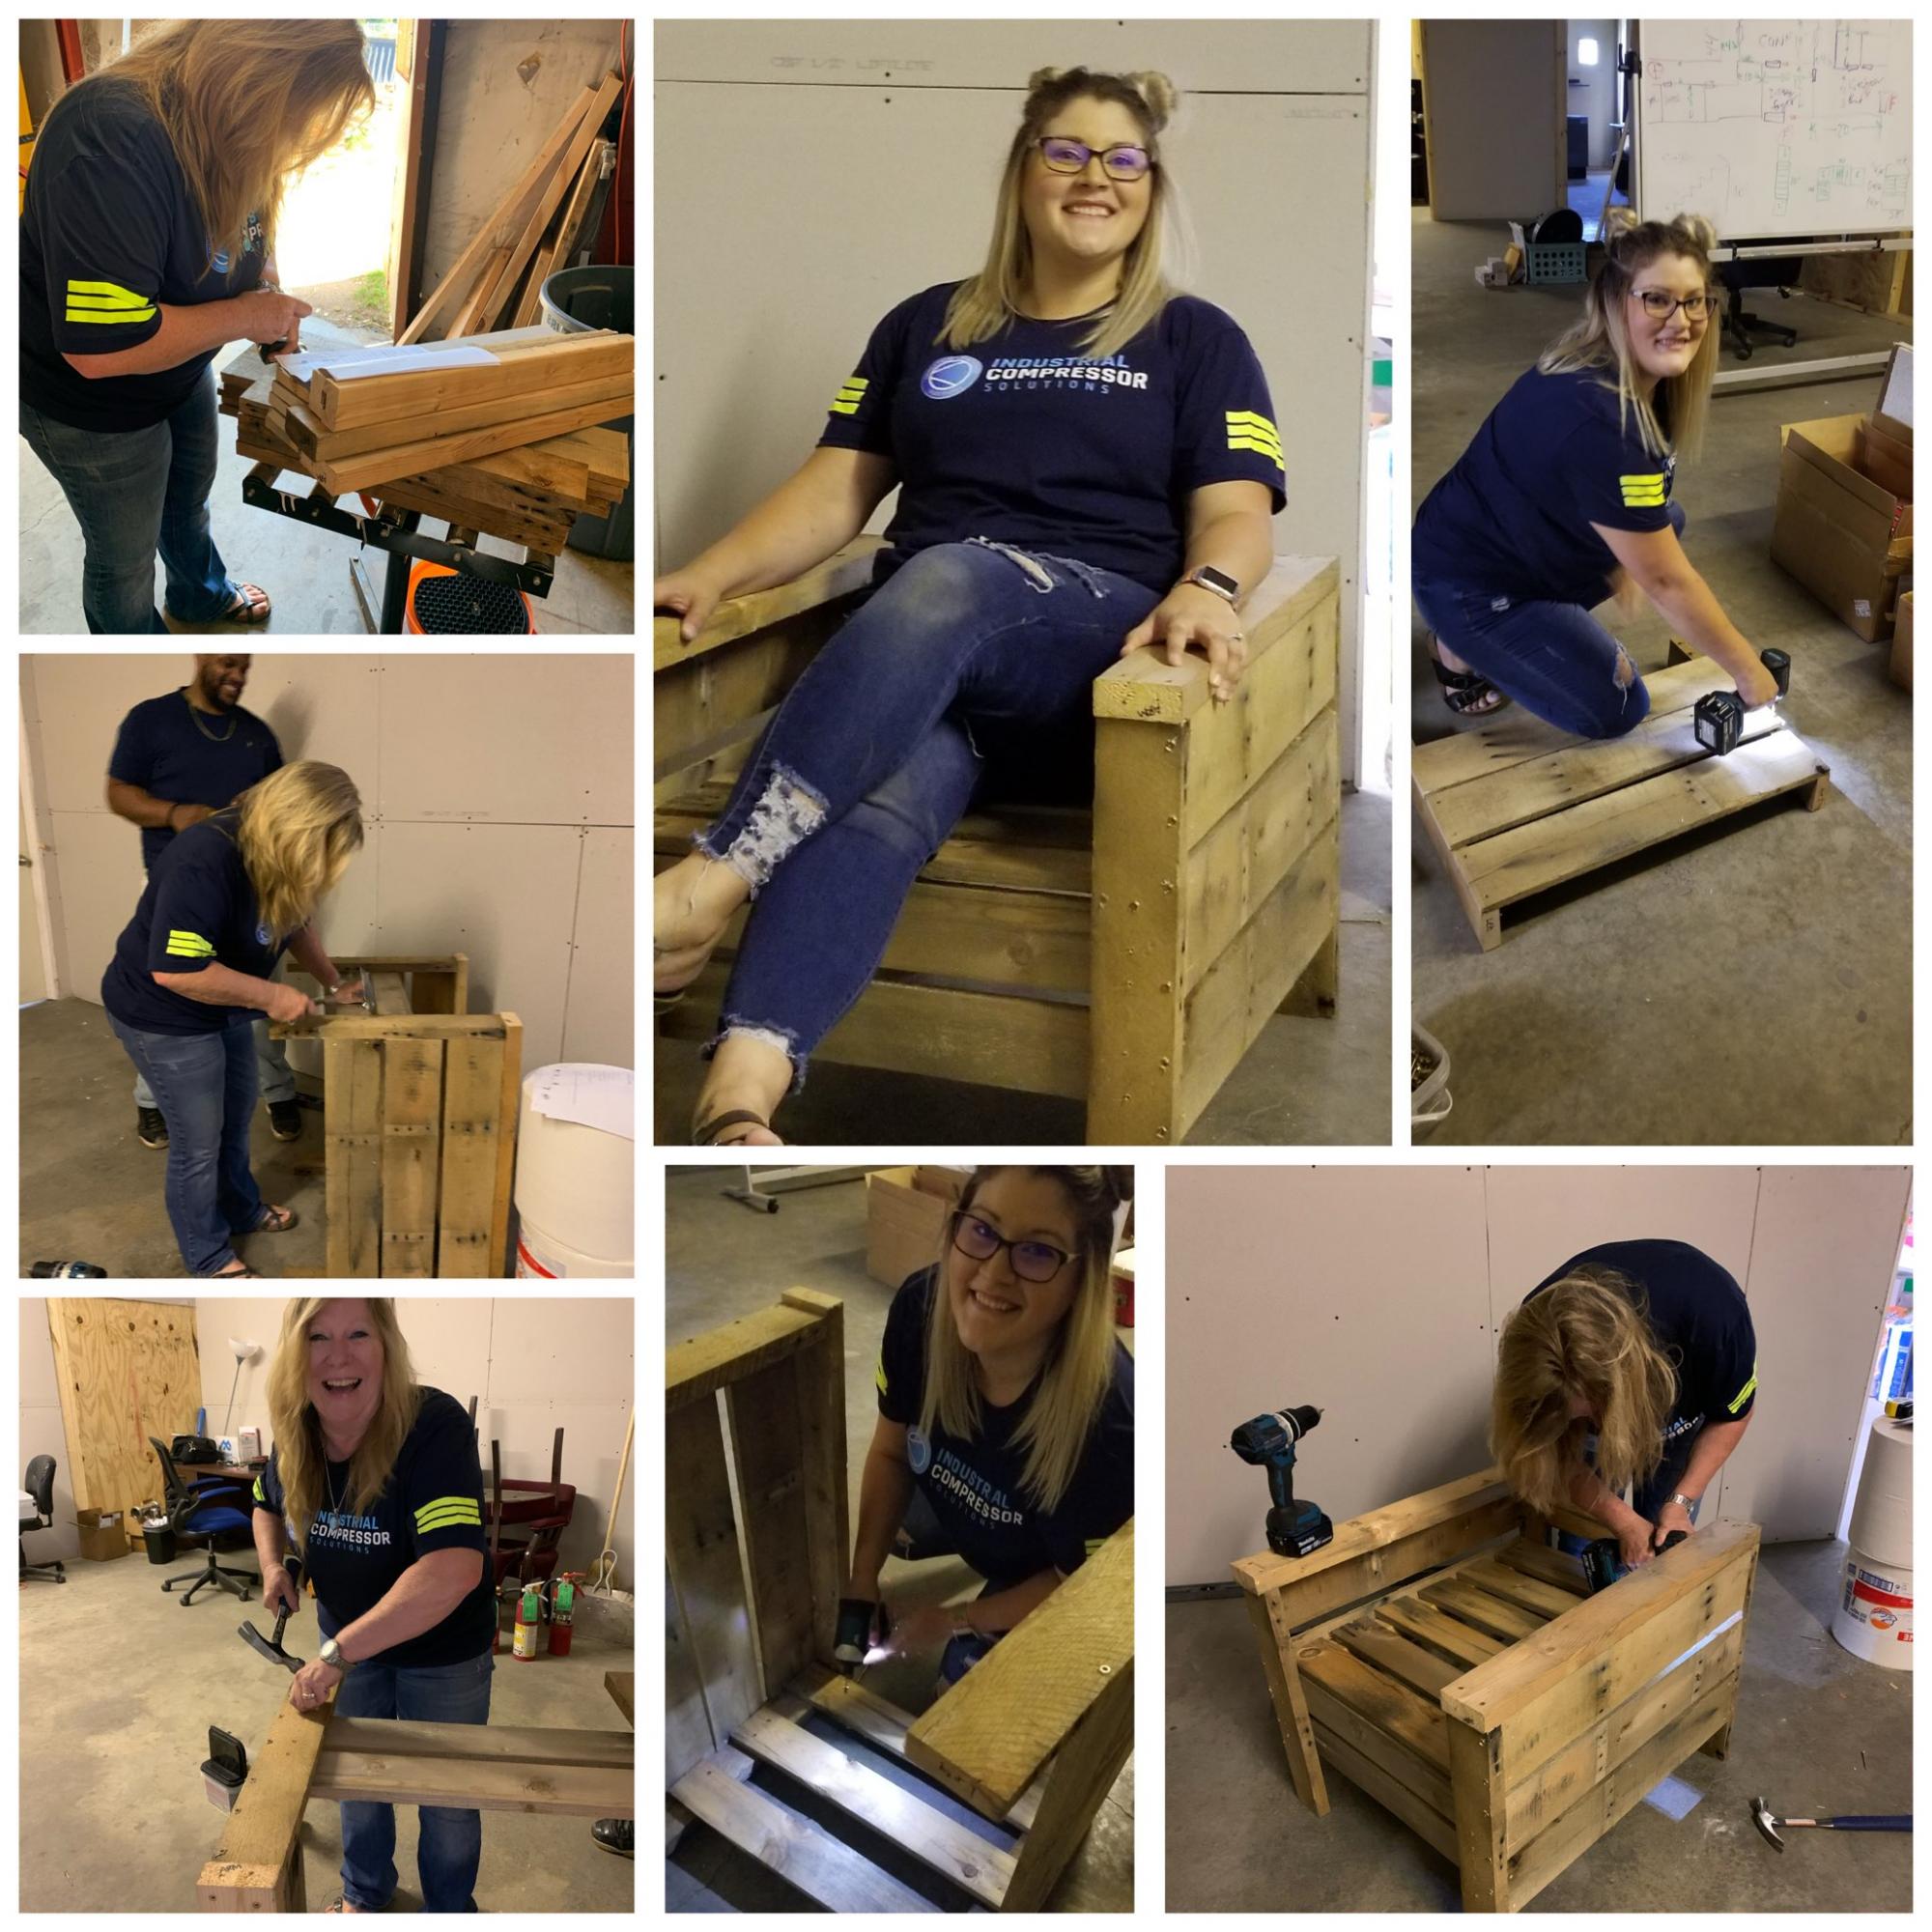
It's a Friyay! and we have a bunch of used pallets at work the boss is wanting to get rid of. Well he is on vacay so ....
We (me and my office manager) had to alter the directions a bit but the end result is great. This was our first project and tools were very limited. Even so its a win win and we will be making more. Thank you Ana!
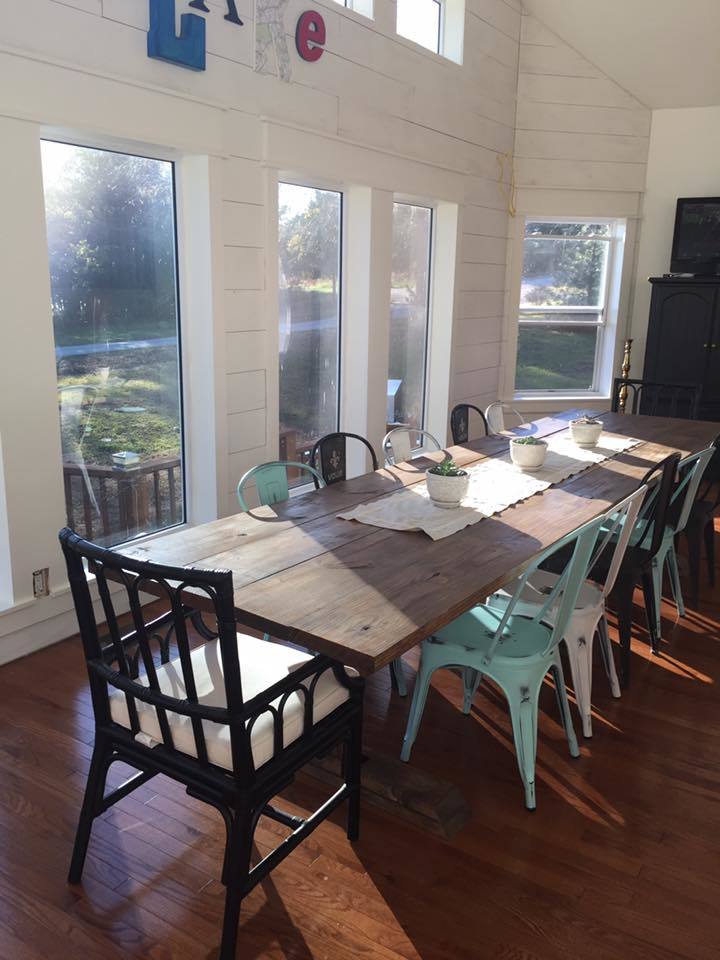
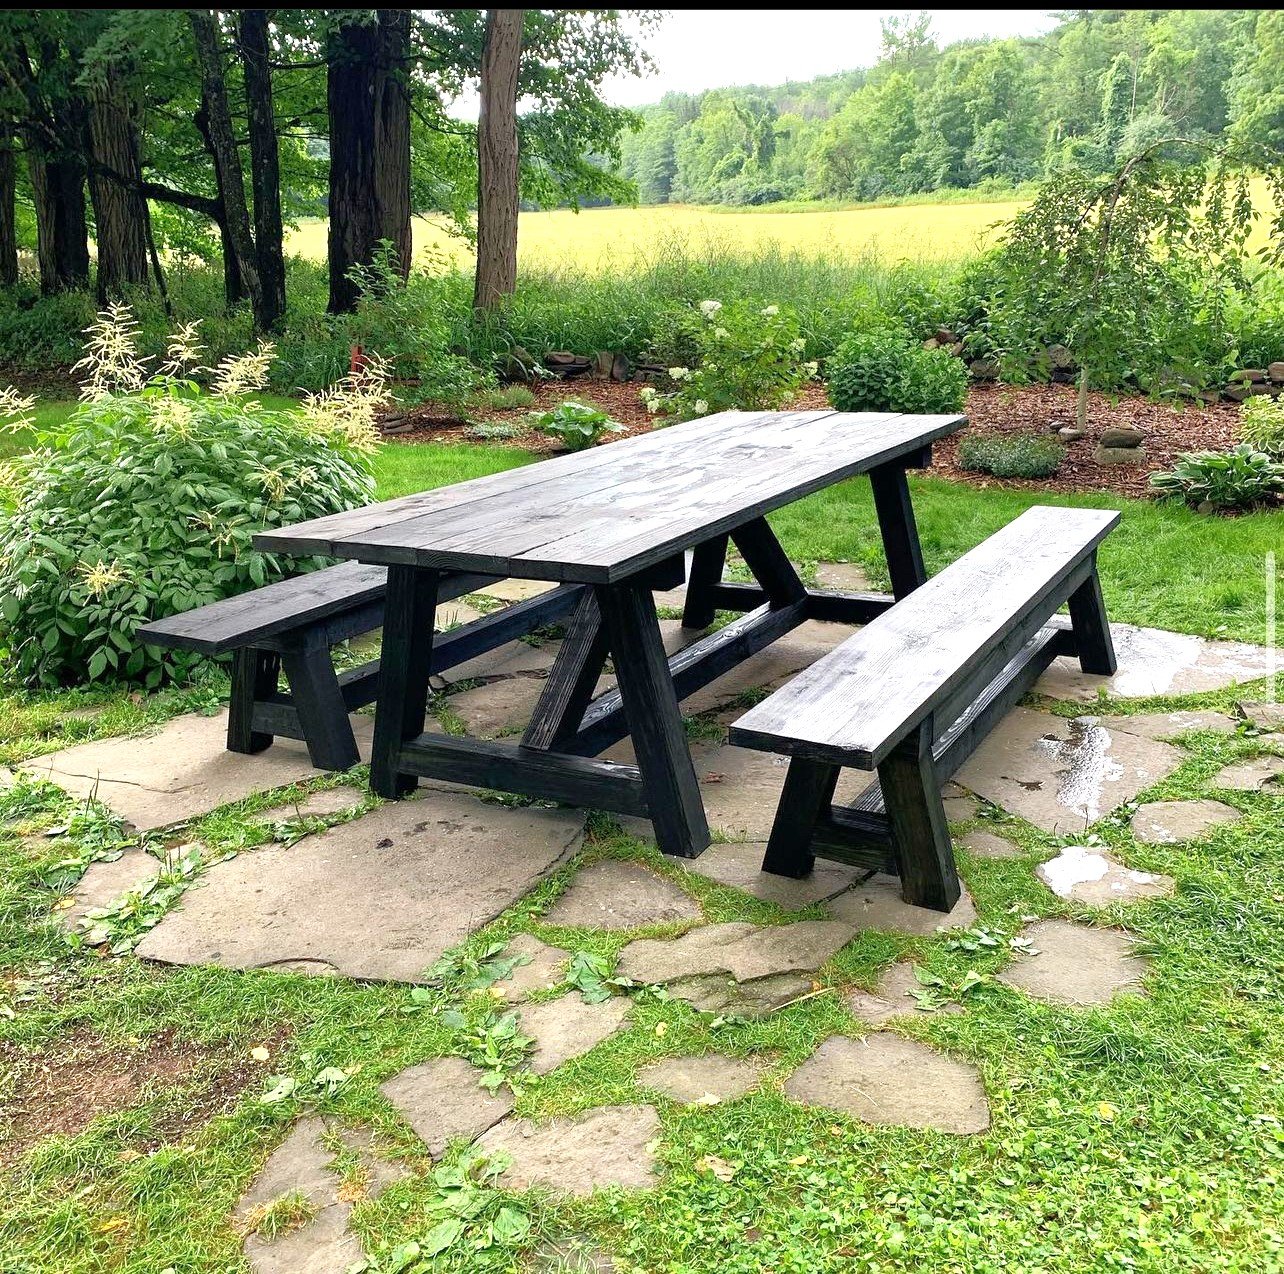
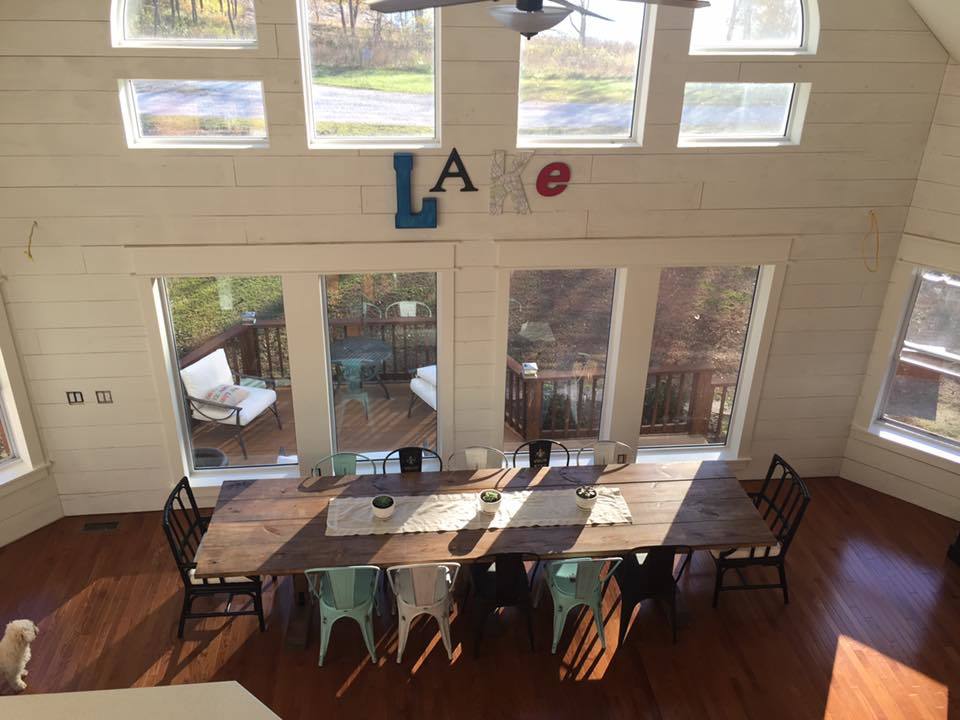
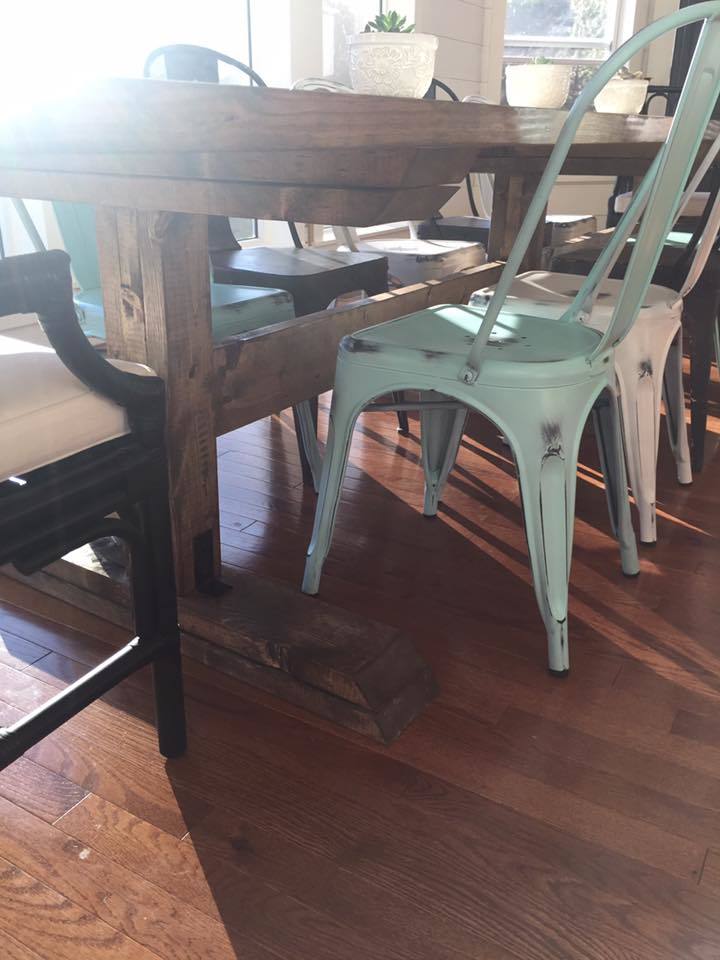
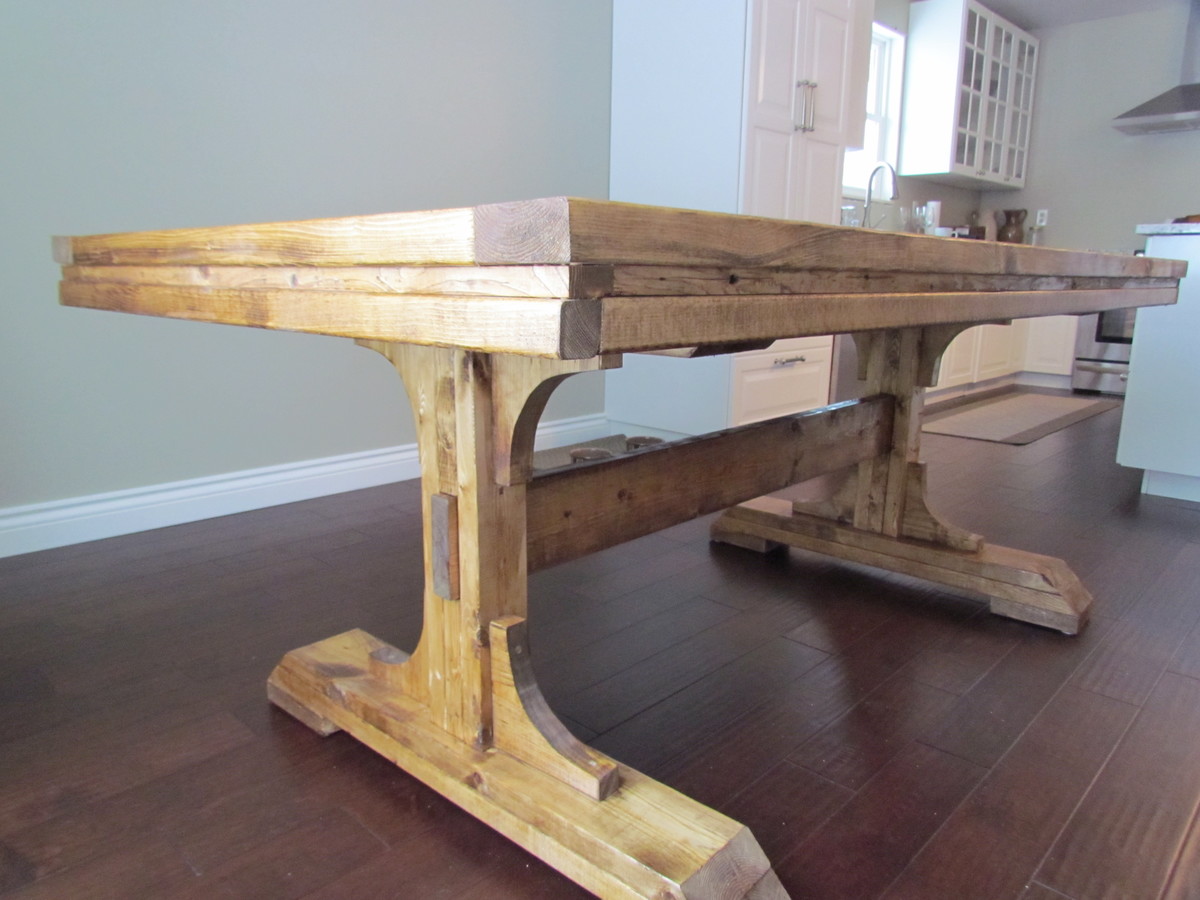
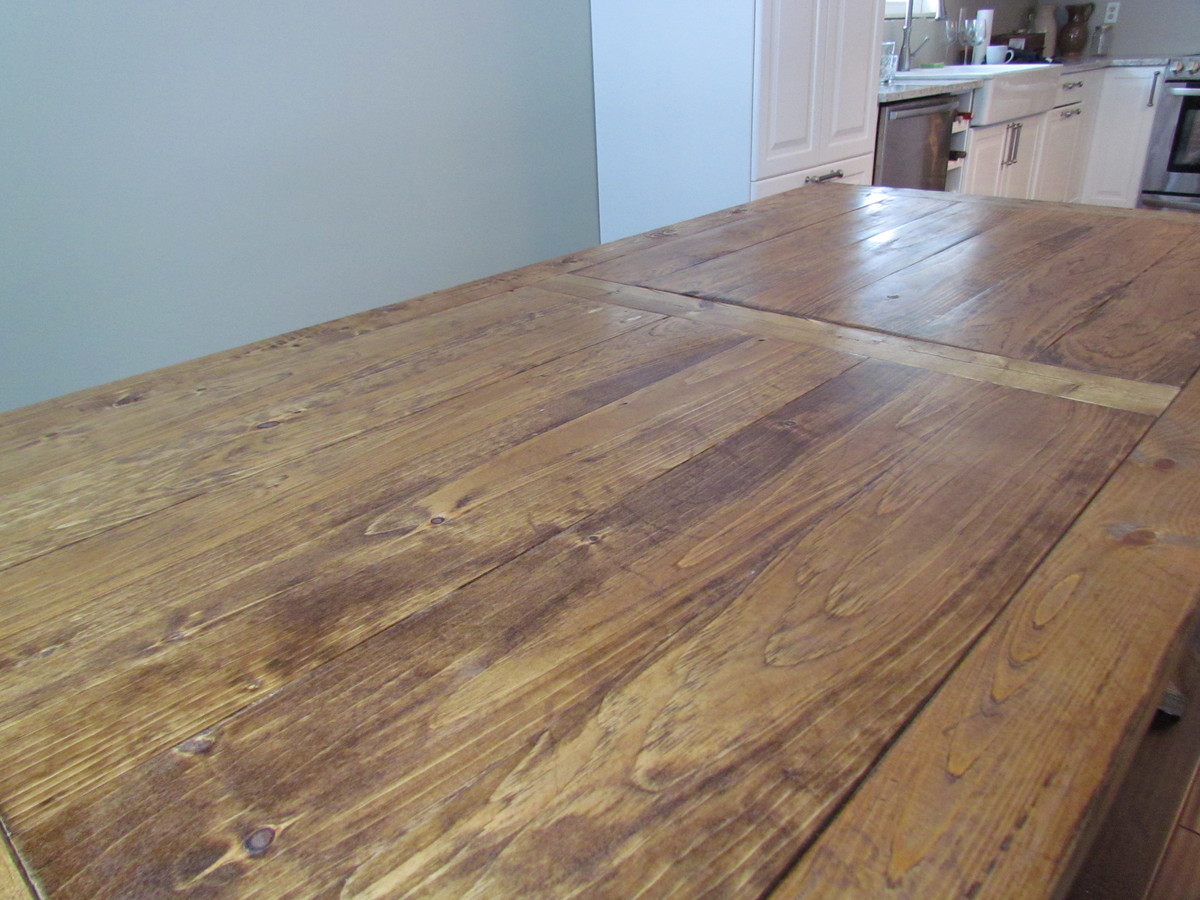
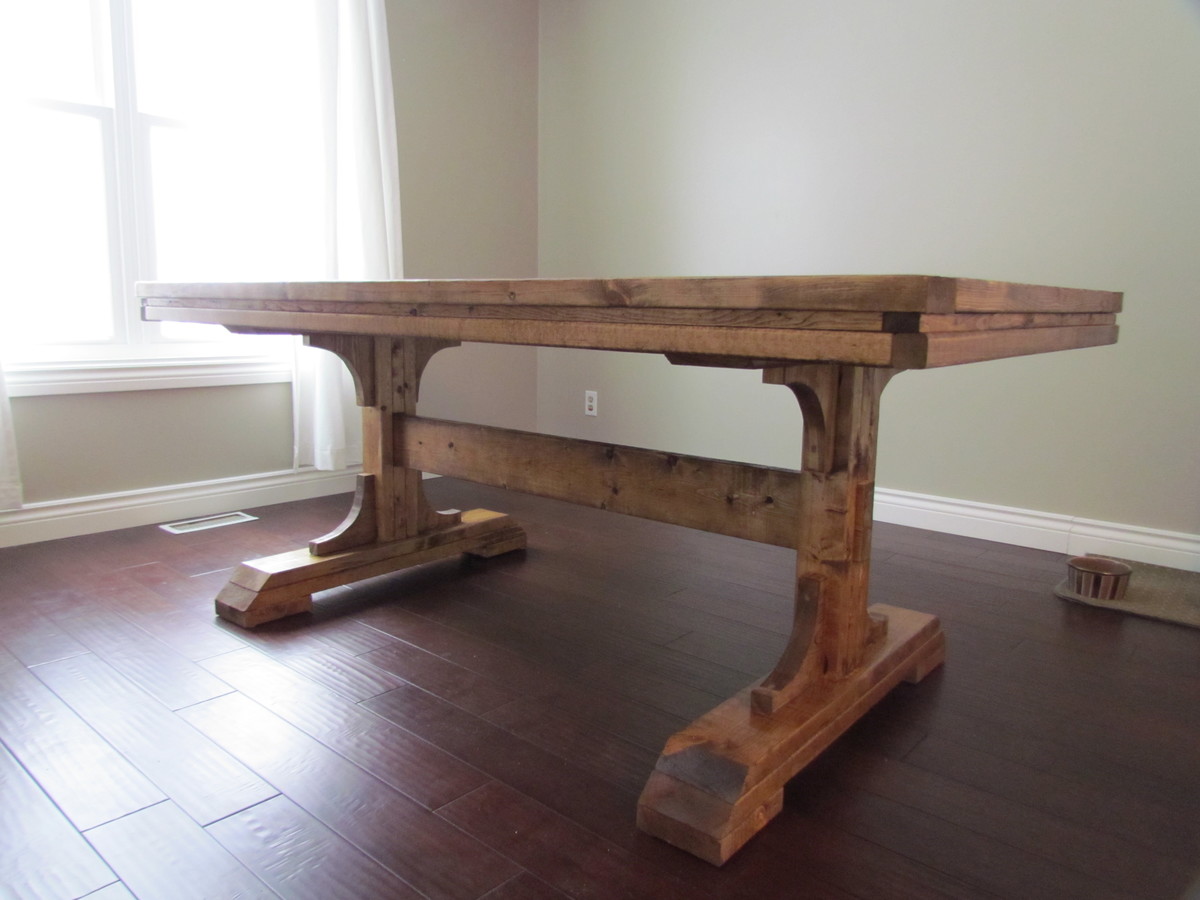
Thanks so much to Ana and Shanty2Chic for the plans! I modified the design to exclude the arches - my hands are too weak to make the cuts, but I replaced them with black strapping that matches other features in the house. I also extended the table to 12 feet long in order to perfectly fit the windows overlooking the lake. I absolutely love it and will definitely be making more things for our new home. Thanks again!!!
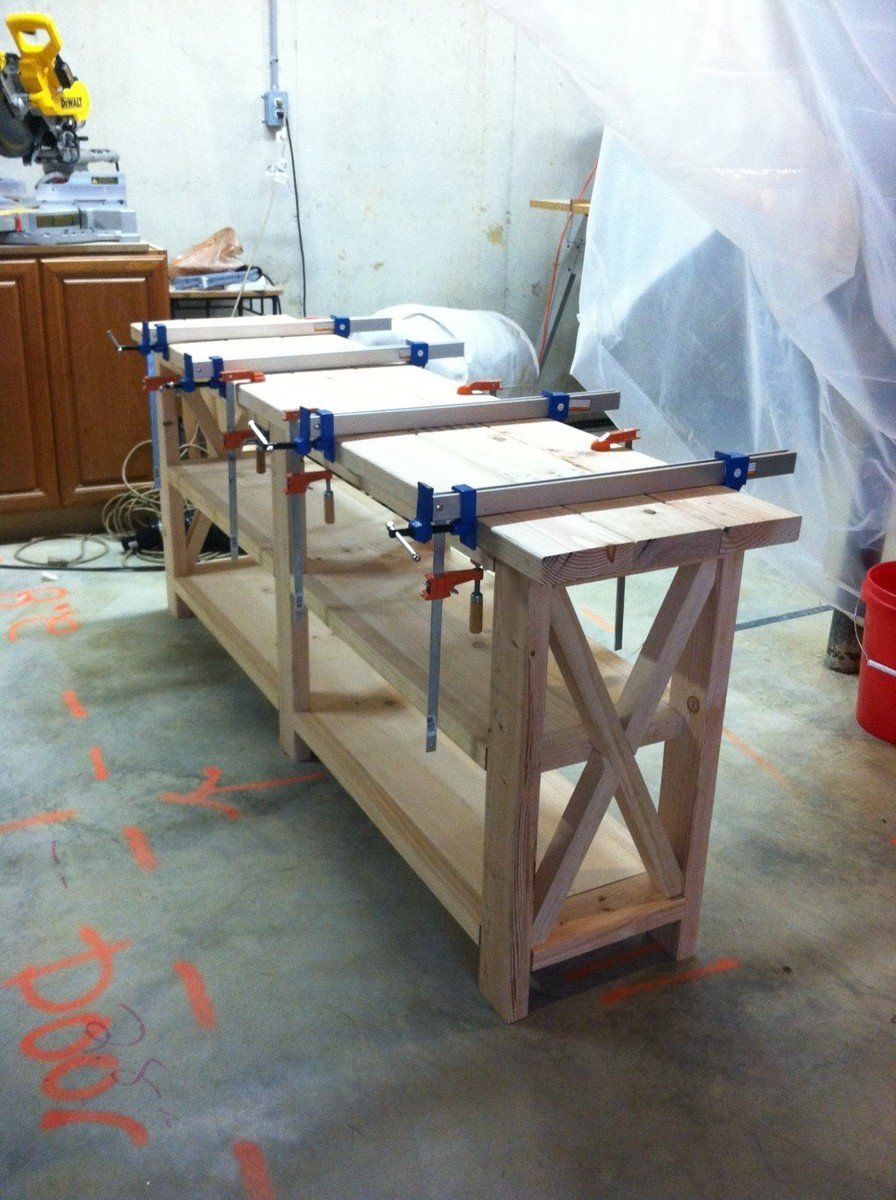
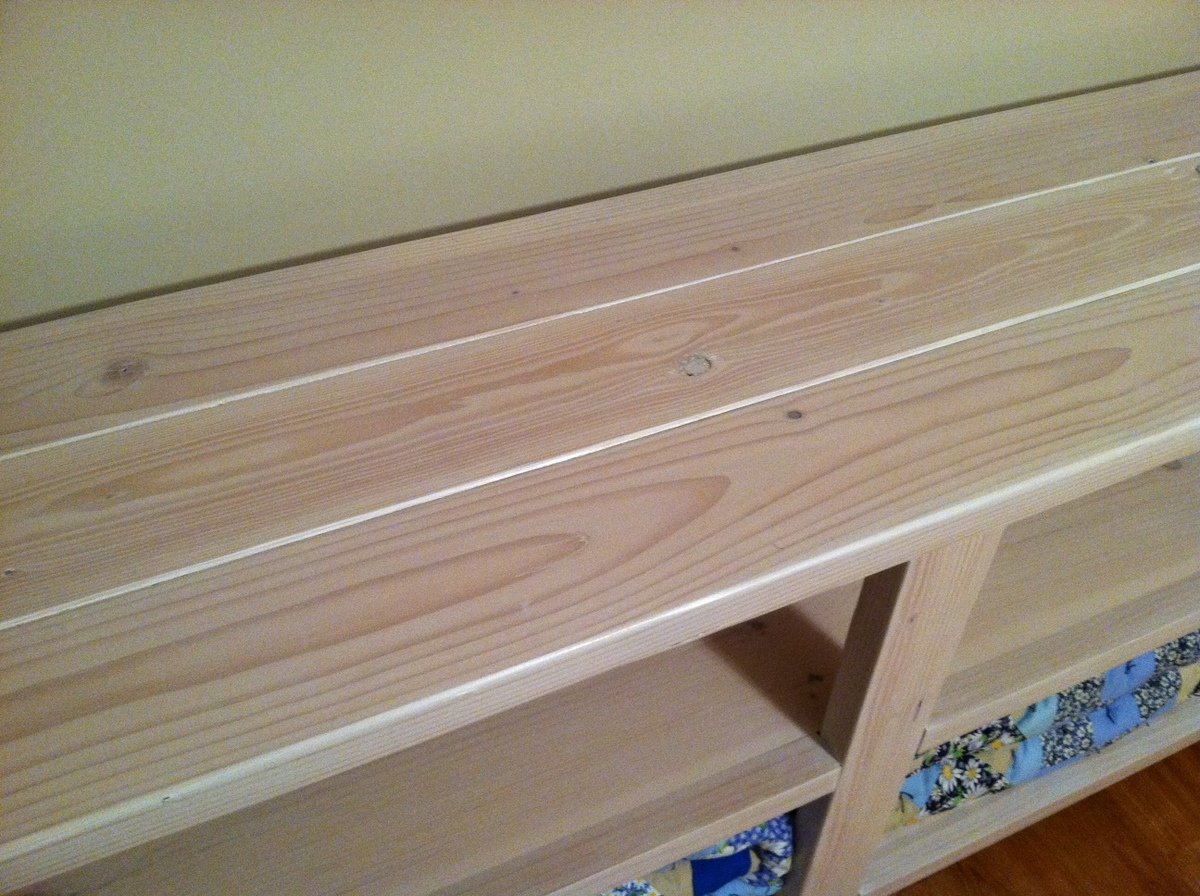
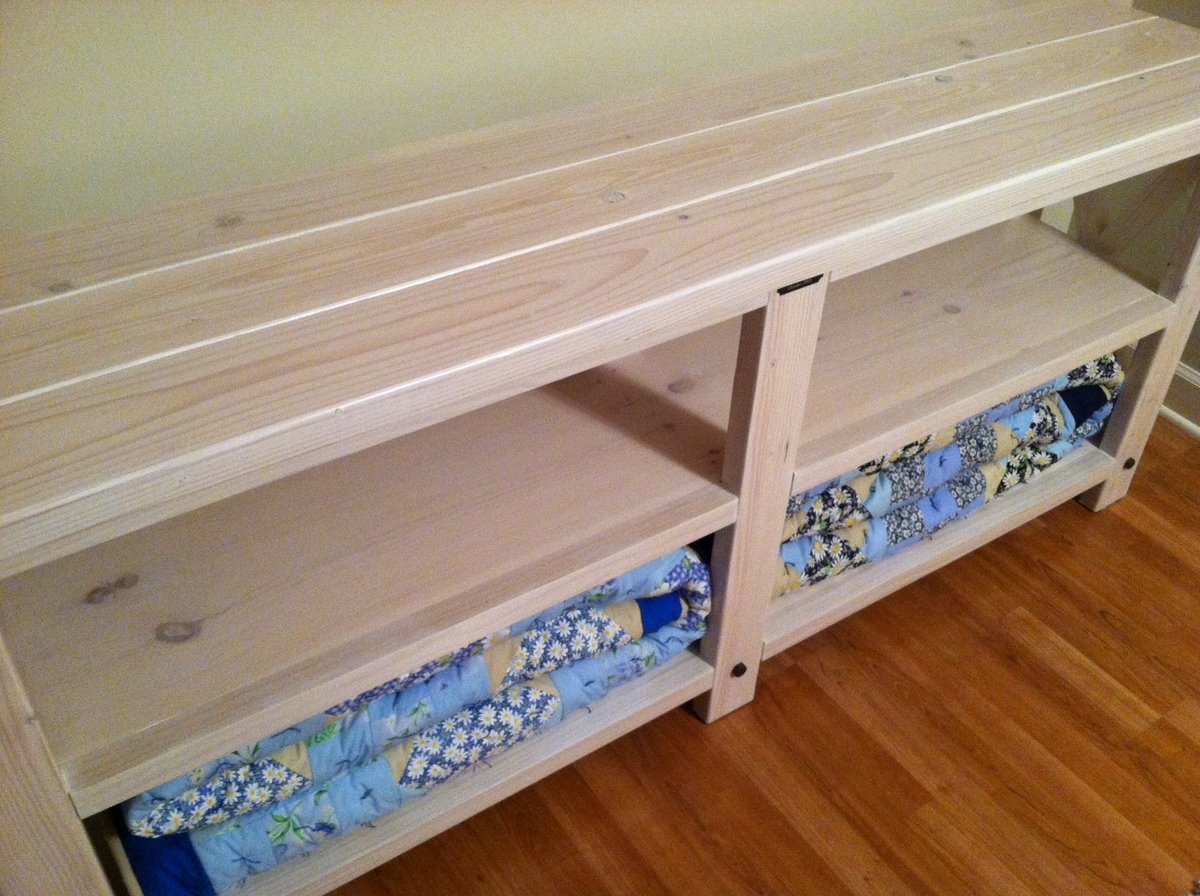
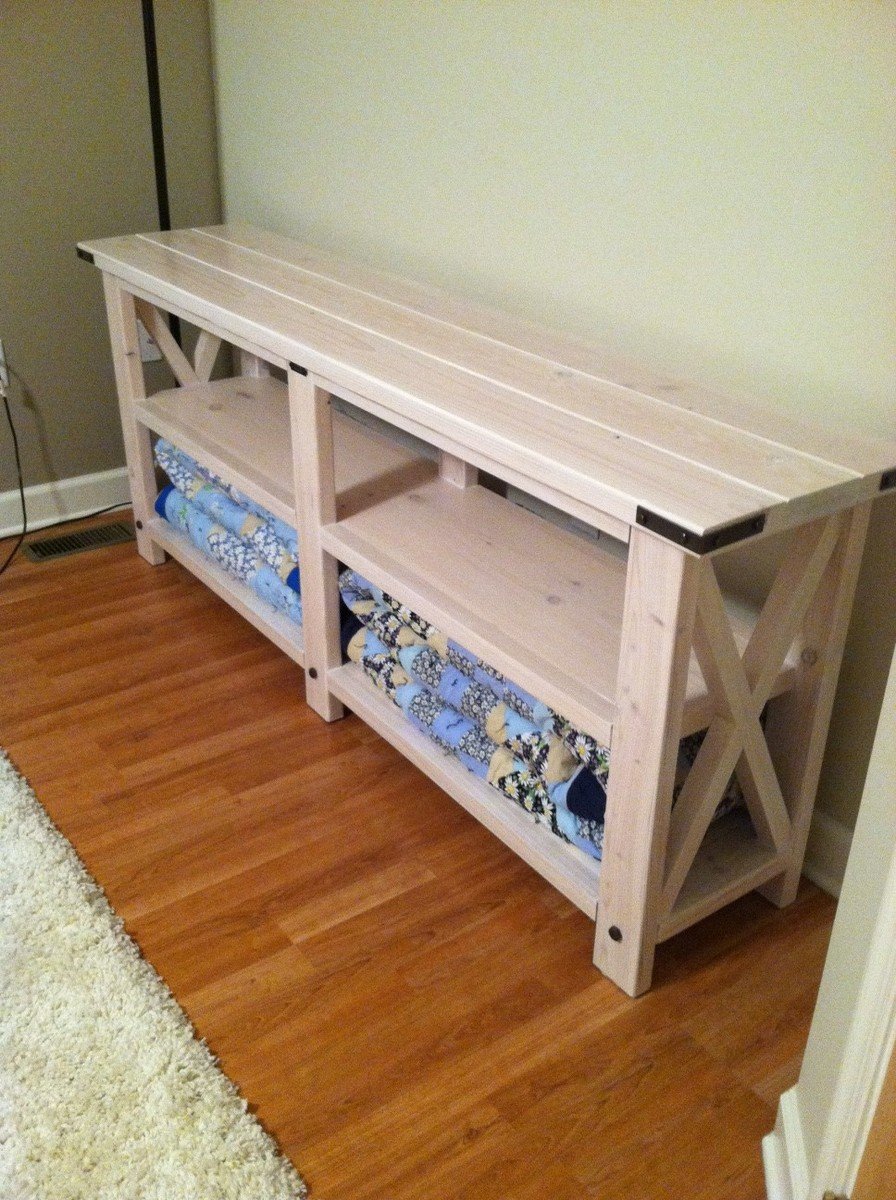
Our spare bedroom was in need of some furniture and when I saw this plan for the rustic "x" console table, it was a perfect fit. And as mentioned in the blog, this was perfect for displaying the handmade quilts our grandmother made for us. When I first read the plans, and the materials list, my husband wasn't too sure about furniture made out of 2x4's and 2x6's but when all said and done, the table came out beautifully and we are both enjoying it. Thank you so much for the wonderful plans!
Mon, 10/22/2012 - 06:37
Thank you! And yes, this is a bulky piece. I didn't really realize how bulky until it was going together. But at that point, I knew I'd find some place for it :) Luckily we had a pretty large room that was mostly empty so I think the scale of the table fit the room size.
Mon, 10/22/2012 - 12:09
I noticed you did the x's slightly different than the plans, as they have two cuts on both ends and attach perfectly. any advice on doing this?
Mon, 10/22/2012 - 18:00
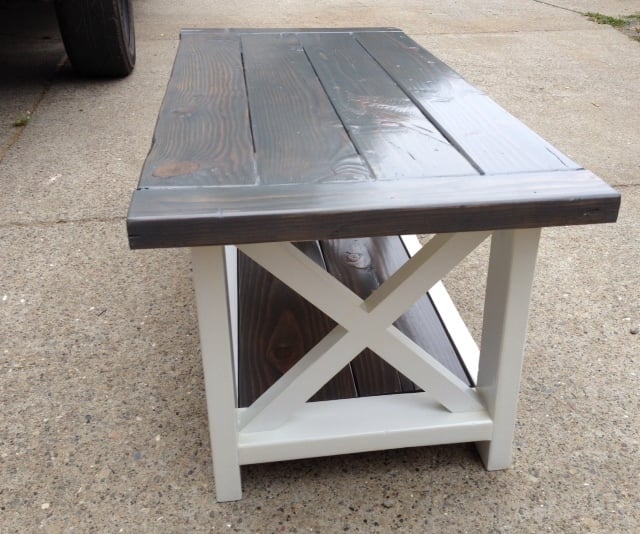
For me, the x’s were the most challenging part of the project. I scratched my head and stared at the table side for a while thinking of how to make the x’s so they would meet the center of the table corner. Here’s what I came up with. Figure out your angle. There are a few ways to do this. You can do this by using an online angle calculator where you enter the height and width of your opening and it will give you the angle, you could use a protractor and hold it up to the corner to figure out the angle, or make a template out of paper and transfer that onto your wood. I will admit, I think figuring out the angle is the toughest part, at least for me. Once you have your angle, cut both ends of your wood parallel to one another at that angle. Then measure and mark the center point of your cut. The next cut is through the center point and 90 degrees off of your existing cut . I find it easiest to lay my carpenter square on my cut side then draw a line 90 degrees through the center point mark. A few things I learned along the way, the more square you can get your corners the easier it will be to cut and fit your x’s and make some practice cuts with some cheap 2x2’s then transfer your measurements over to your final 2x2’s. Hope this helps. Happy woodcrafting!
Fri, 07/26/2013 - 09:11
Were you able to find black L brackets or did you have to paint them? I'm trying everywhere to find them and I've had no luck! Any help you can give me of where to look for them would be great. Thank you so much and what a beautiful job!
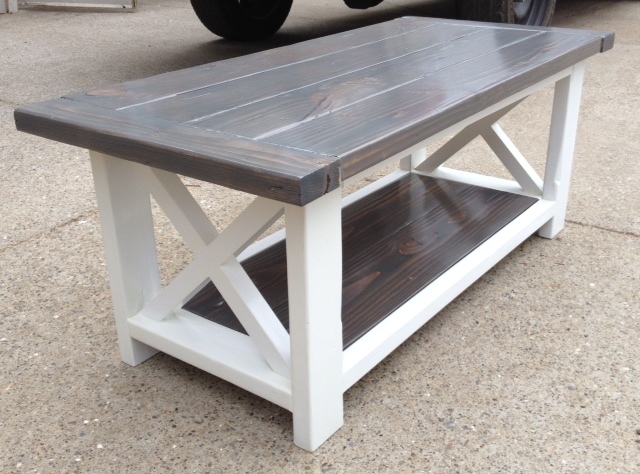
New to woodworking, first Ana-White plan. Changed the dimensions a little to fit our living room decor. Bottom shelf is 2x8's. Ground through the learning curve but pretty happy with the end result. Hand distressed the project. Kreg jig made it much easier. Love this site and looking forward to building new projects!
Tue, 09/09/2014 - 07:32
Hello!
I'm looking to scale this project down for my living room as well - do you mind sharing your final dimensions?
Thanks!
Tue, 09/09/2014 - 08:37
Top surface: (4) 2x6's cut 42" long - which will be 22" wide;
Breadboards: (2) 2x4's cut 22" long - Top surface becomes just shy of 49" in overall length;
Bottom surface: (2) 2x8's cut 36" long;
White frame: 18" wide to the very outside edges,
43" long to the very outside edges,
Hope that helps.
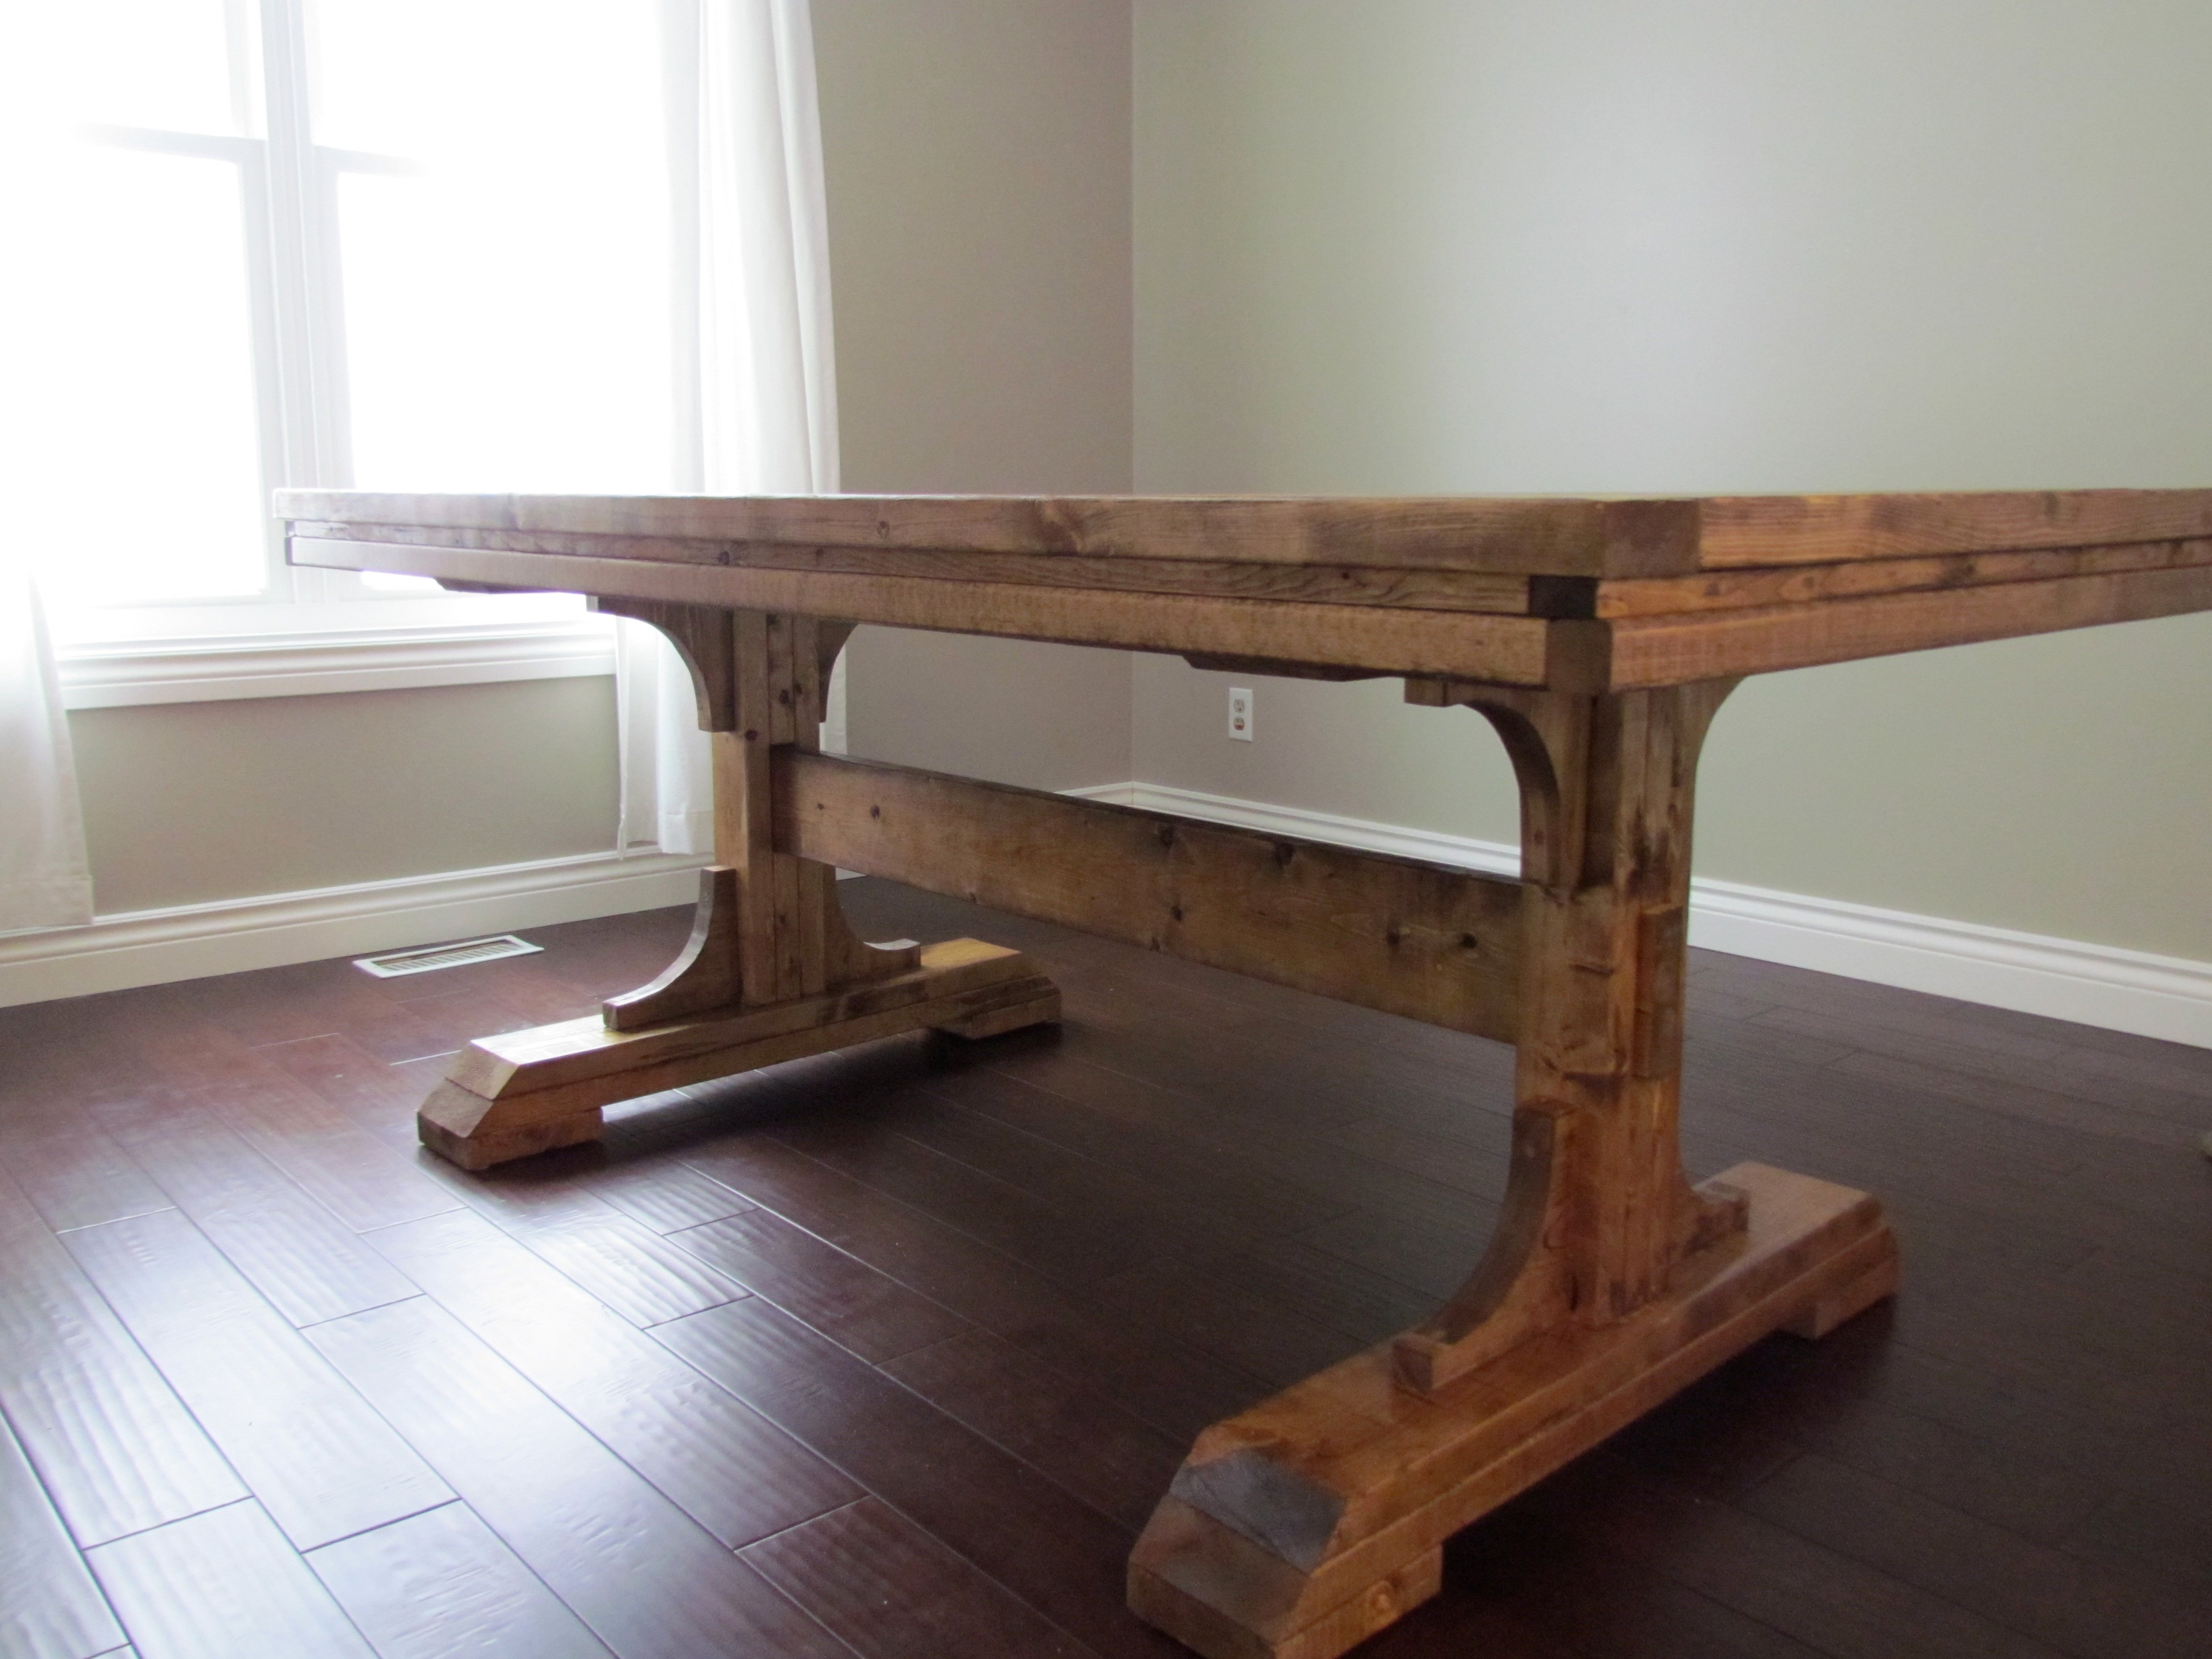
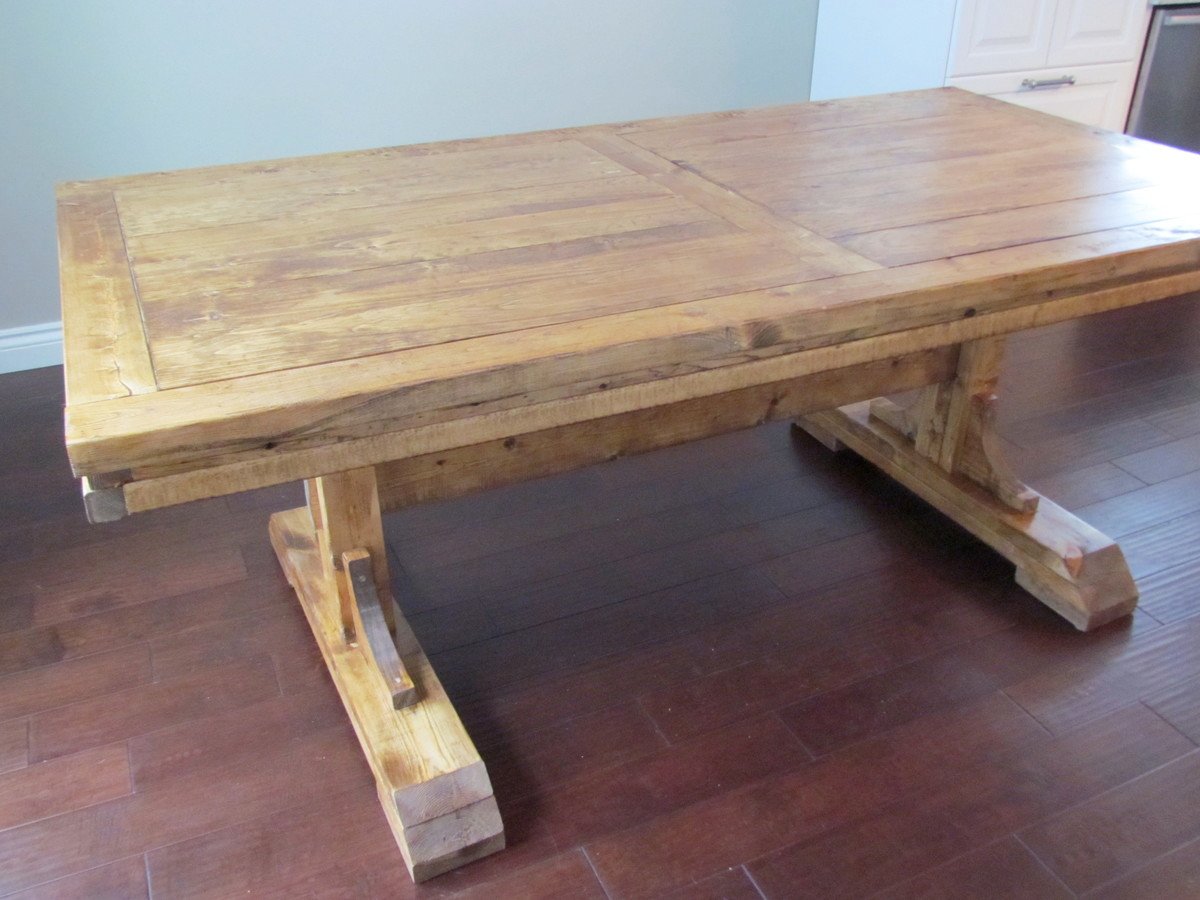
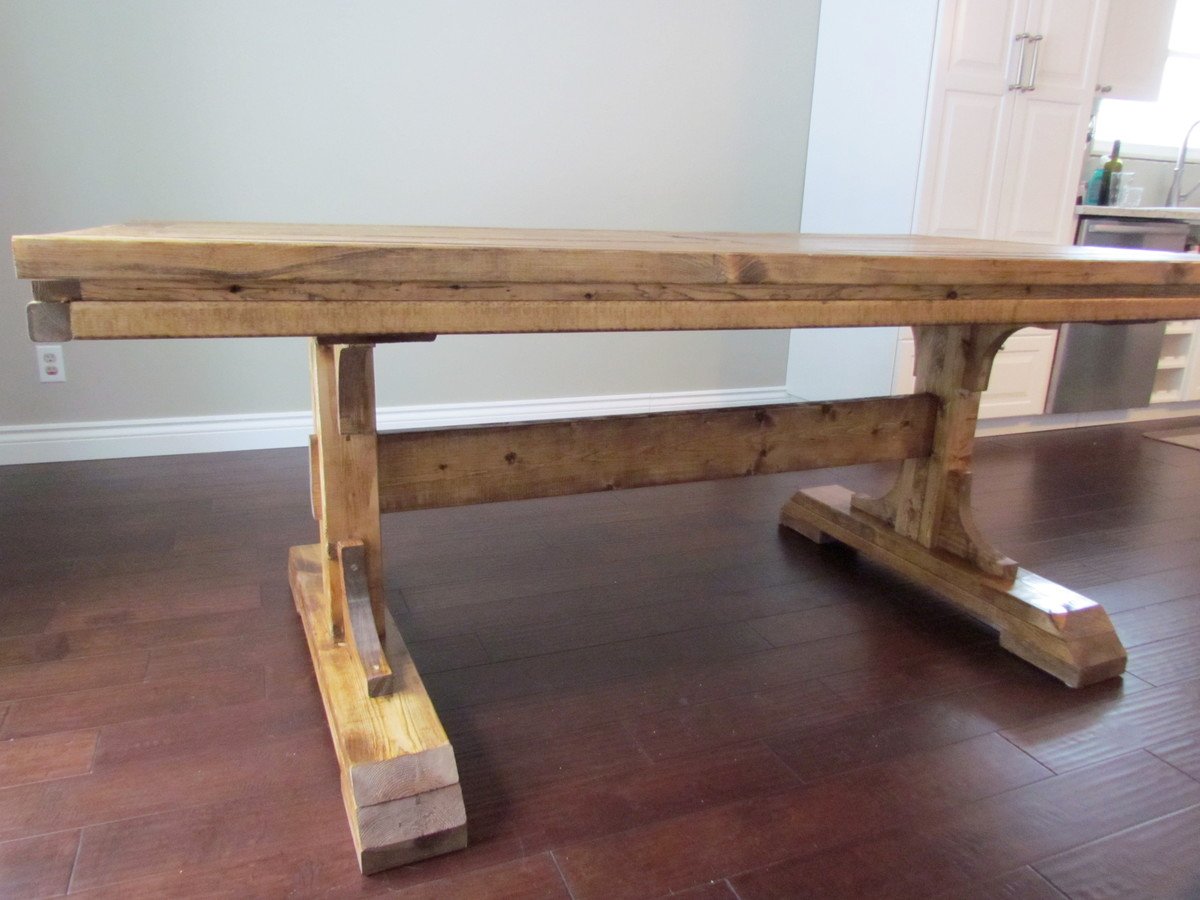
My hubby took the plans from the Triple Pedestal Farmhouse Table and altered it to make it just over six feet. It is perfect and accommodates our smaller dining area space.
Fri, 02/15/2013 - 07:23
hi! could u post/share how he altered this from the larger plan? love it!
Wed, 10/09/2013 - 10:09
I love this. I planned on reducing mine to 6 feet. Do you have the altered plans? Thanks.
Wed, 10/09/2013 - 10:14
Hi. I went to martha.anna blog. This is the comment she posted on the dimensions.
From martha.anna:
I've had many emails and inquiries about the dimensions of this table. So, here's what I've been sharing with everyone...
Our dining room is 11 x 10 and there is a lot of room around it to fit in a hutch and still walk around easily. (Just for size reference.)
The overall length of the table is 6' 4.5". It is such an odd measurement so that the strips of board (1x6) on the tabletop would look in proportion. They are 33" long (the 1x6).
The beam across the bottom is 55.5" from outside edge to outside edge and my husband left 1/2" showing.
The pedestals are 10.5" from the end of the table.
Phew! I hope all of the information helps everyone out there! :)
Sat, 11/16/2013 - 09:27
Hi there what would the revised materials needed list be? Also did u notify the benches? Do u have the dimension on that? My step dad is building this for me it's my job to get plans and supplies. Thank you for your help I appreciate it!!
Mon, 01/13/2014 - 14:20
Oh my. After several months I'm able to get all the material needed to do this table. I did the legs a couple of months ago. Now it's time to complete the rest. Hopefully, I can do it in a day's time - hopefully :).
Fri, 01/12/2018 - 09:04
Ill be making this table whcih is in the same design as the original triple pedestal table but Ill be making it smaller. Are you able to give me the measurements for this modified table? Do I make my top first and then the pedestals? I feel like if I make the same pedestals, then Im forced to make this a 40" wide table, and I only want it about 35-37".
Thanks!