Community Brag Posts

Modified Octagon Picnic Table

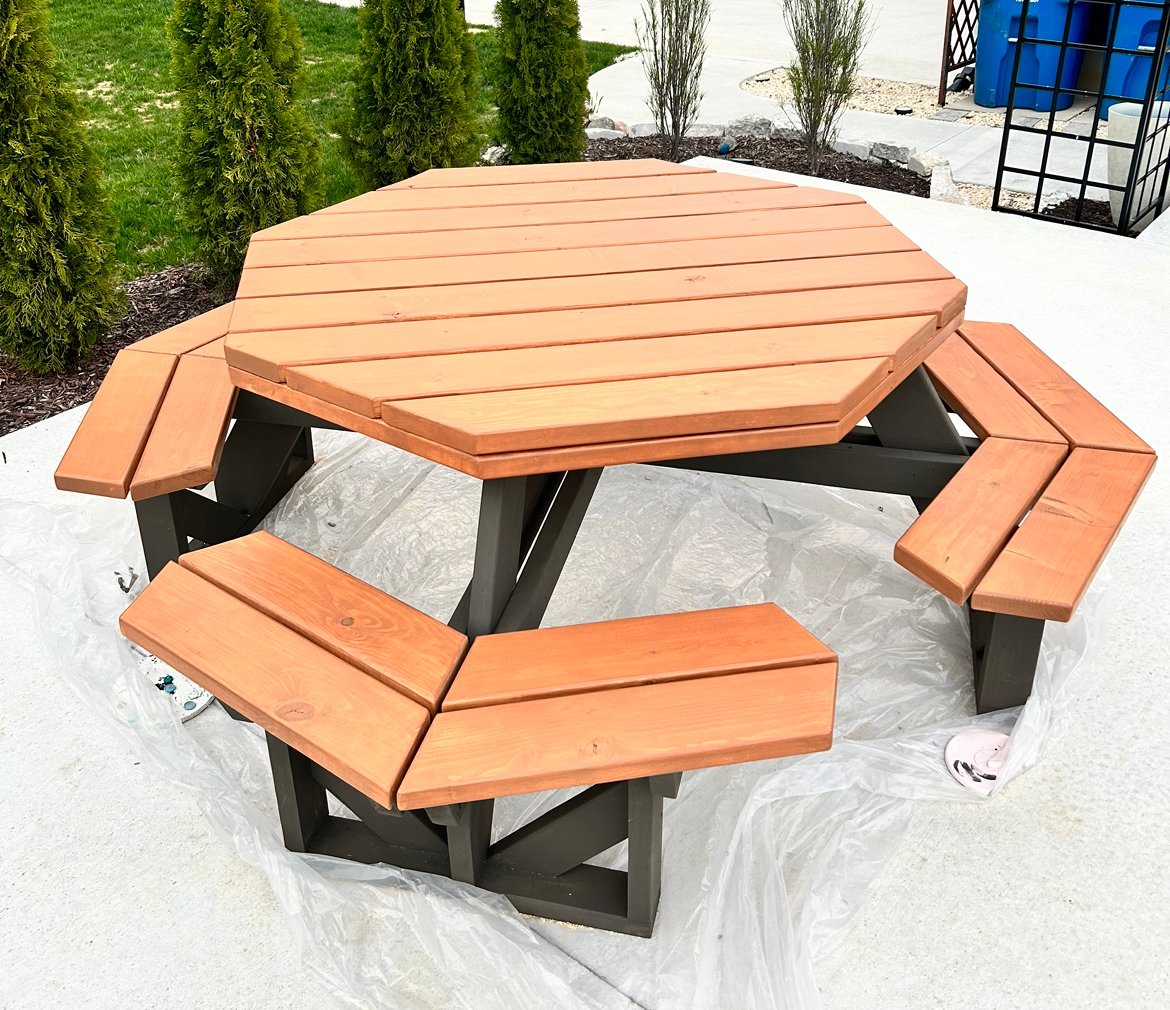
I built the octagon picnic table, and modified in a couple of ways.

1) Due to project deadline (Christmas) (and cost) I opted for composite decking for a finished top and bench, and pressure-treated 2x framing stock. Builder beware! Composite decking can be 5 1/4" wide, which impacts the spacing between the pieces, which means re-calculating most of the table-top pieces. Also, I added lateral structure underneath the benches (more weight!)

2) I really wanted that hole in the center, and hope that my solution (which slightly weakens the overall structural integrity) withstands the test of time.

Built from Plan(s)
Estimated Cost
350
Estimated Time Investment
Weekend Project (10-20 Hours)
Recommended Skill Level
Advanced

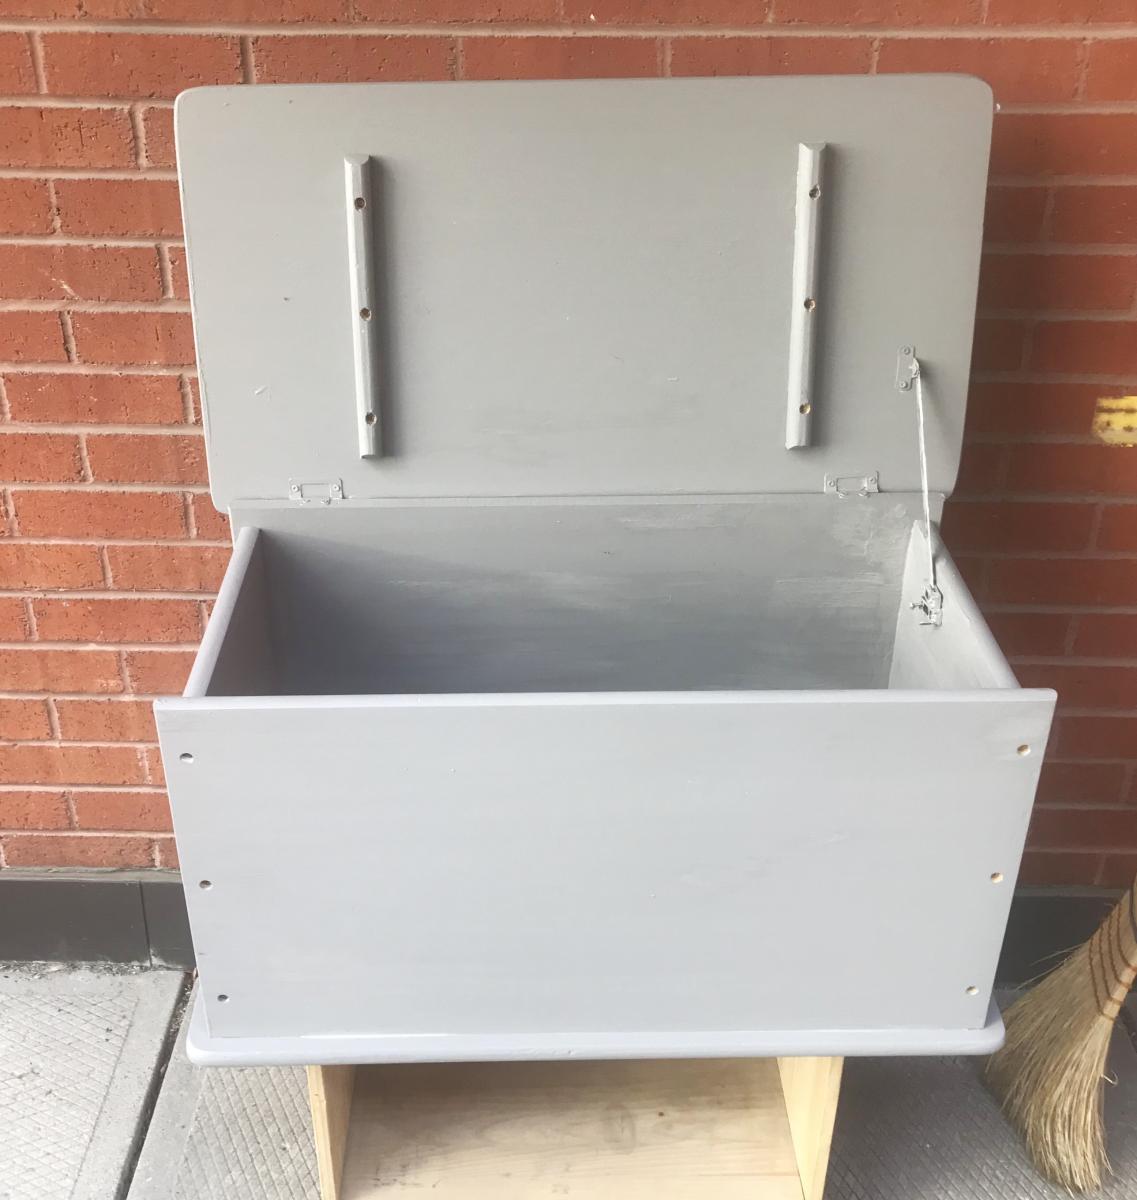
Cedar Chest

We have considered buying a cedar-lined chest to store blankets, towels, etc. for many years.  However, we couldn’t find one that came close to matching the Knotty Pine bedroom set that we had in our master suite. 

Hence, our design criteria was quite simple; match the bedroom set and have a chest sturdy enough to support our Beagles as they peer at the squirrels outside the window.

We used plans / ideas from several different chest designs which were readily available on the internet.  Most of those plans were using hard woods such as oak.  Those plans called for a hard wood framing with ¼” oak plywood for the panels.  Since we needed to use Knotty Pine to match the bedroom set, we used 1” Knotty Pine for framing and Knotty Pine ¾ ply w/ Kreg Screws and copious glue to strengthen the construct.  We finished it off with locally available 3/8” cedar T.G. planks.  It is very heavy and very strong!  This project was done entirely w/ Kreg Screws and no router rabbeting for the panels.

We learned the following while doing this project:

·      When using soft woods, always put the power sander on the wood before you start the sander.  Otherwise, you can get scratching / sander burns that don’t present themselves until staining begins.

·      While very strong, ¾” plywood is very heavy!

·      When using plywood, it is recommended that you stain both the visible and non-visible sides of each piece where glue is not to be applied.  Otherwise the chance for delaminating increases dramatically.

60 hours work and $350 to build.   

Estimated Cost
$350.00
Estimated Time Investment
Week Long Project (20 Hours or More)
Finish Used
Minwax stain and hand-rubbed varnish.
Recommended Skill Level
Intermediate

Comments

Wooden Lanterns

Submitted by mrich_d60 on Fri, 05/14/2021 - 15:39

I made 7 lanterns - 6 with 18" uprights and 1 with 13". They were originally just for my daughter's backyard wedding. They aren't decorated yet because she's going to use them on the patio now and is waiting for the solar lights and LED candles to arrive. They were too nice not to use them right away!

Estimated Cost
About $9.00 each
Estimated Time Investment
Afternoon Project (3-6 Hours)
Finish Used
Varathane Ultimate One Coat coverage stain + Varathane Triple Thick one coat clear finish on entire lantern. Thompson's WaterSeal Waterpoofing Stain semi-transparent for underside and feet.
Recommended Skill Level
Beginner

Comments

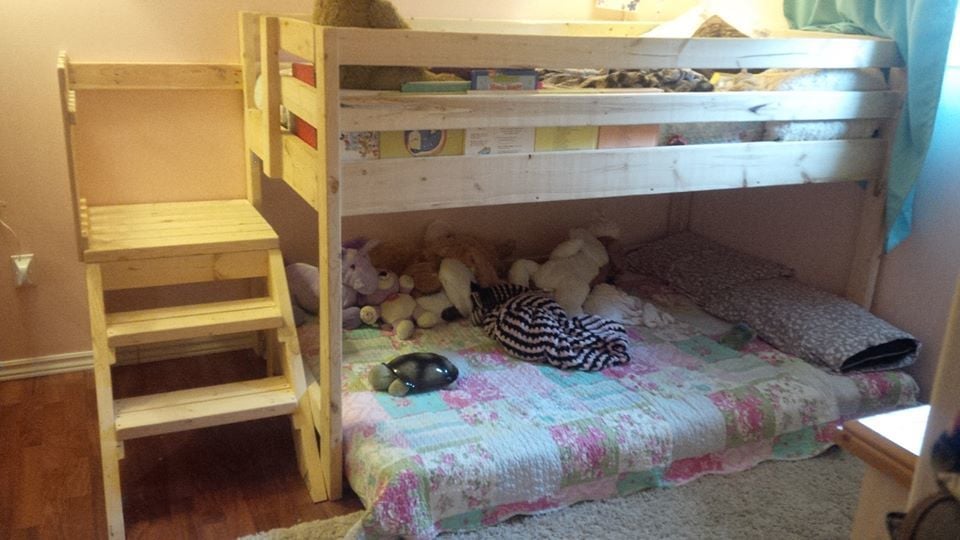
Camp Loft Bed for the Little Lady

I came across the Camp Loft Bed on Pinterest a couple of months ago. My daughter was still sleeping in a crib, but I knew that she would need a big girl bed by summer. Since her room is small (inside walls measure just under 9'x9'), i thought a loft bed would be ideal.
I have NEVER done a DIY. I don't even own tools. But my step-dad is very handy, so I asked him to be my consultant and helper to tell me if I was doing things the wrong way! Fortunately, he was able to lend me a miter saw, some aluminum saw horses, and the odd screw (when I seemed to run out).

From start to finish, this was a 7 day project. I used construction grade spruce for my lumber, which cost me just shy of $100. I also went back the next day and bought a couple more 2x4s to make two shelves under the platform, which was another $30. I then pre-drilled with my new favourite tool the Kreg, and proceeded to sand, prime, and paint all of the pieces before assembly. With assembly being in my daughter's room, and having nice fresh paint on her walls and carpeted floors, I did NOT want to be finishing the bed in there, but there was no way I could move it into her room completely assembled. I did all the finishing BEFORE assembly.

Sand, prime, sand, paint, paint, paint. That process took three days, obviously not the entire day. Painting goes relatively quickly, but with boards, you paint one side, let dry, roate 90 degrees, paint, let dry, etc. I also had to work a couple of days in between as well. I went with Benjamin Moore Aura paint and that required three coats. I used to some leftover pink and yellow for the platform and shelves, but if I consider the cost, the paint set me back another $100.
I also had to order in the proper screws and I bought some of the white Kreg plugs to cover the exposed holes. Hurray for amazon! Even selecting the free shipping, the screws arrived within 4 days.

Assembly day:
My step-dad and I worked from 10:30-1:30. By this time, the bed and platform were completely assembled and in place. My daughter, however, needed to nap, so I put her down in her brother's bed, and we took a couple of hours off for lunch!
We then worked from 5-8:45 pm building the stairs, cleaning the room, measuring and screwing down the slats for the mattress, then making the bed and getting it ready for sleep. It seemed like a much longer day because in between, I had to run out and pick up a twin mattress, some extra screws, help my son play his new Skylander game, and deal with three kids trying to "help" with construction!

All in all, I am very pleased with the bed, with the plans, and with my first DIY. My kids are all in love with the bed and we spent a lot of time shooing them out of the room while we tried to assemble it.

Tips:
If I were to make this bed again (if my sons have their way, their beds are next!) I would not paint the wood, opting instead for a stained more natural look. I love the colours for my daughter, but what a pain all that painting and rotating the boards was. Paint was also a more expensive option for finishing.
That being said, if I do paint, I will NOT paint the ends of the boards that will be joined via pocket holes. In some cases, the boards were just a smidge too long to fit and we had to take the back to the saw and shave off the layer of paint in order for the board to fit.
I also opted to buy firm twin mattress as opposed to the plush ones. The plush mattresses add a lot of height and I was worried about my daughter having a bit too much fun up there and possibly tipping out from a high mattress. Stick to thinner mattresses on loft or bunk beds!

Estimated Cost
$250
Estimated Time Investment
Week Long Project (20 Hours or More)
Finish Used
Benjamin Moore Aura paint
colours: white, glamour pink and cornsilk (for the two shelves)
Recommended Skill Level
Starter Project

Raised planter box (modified)

Submitted by Anonymous (not verified) on Sat, 06/10/2017 - 07:50

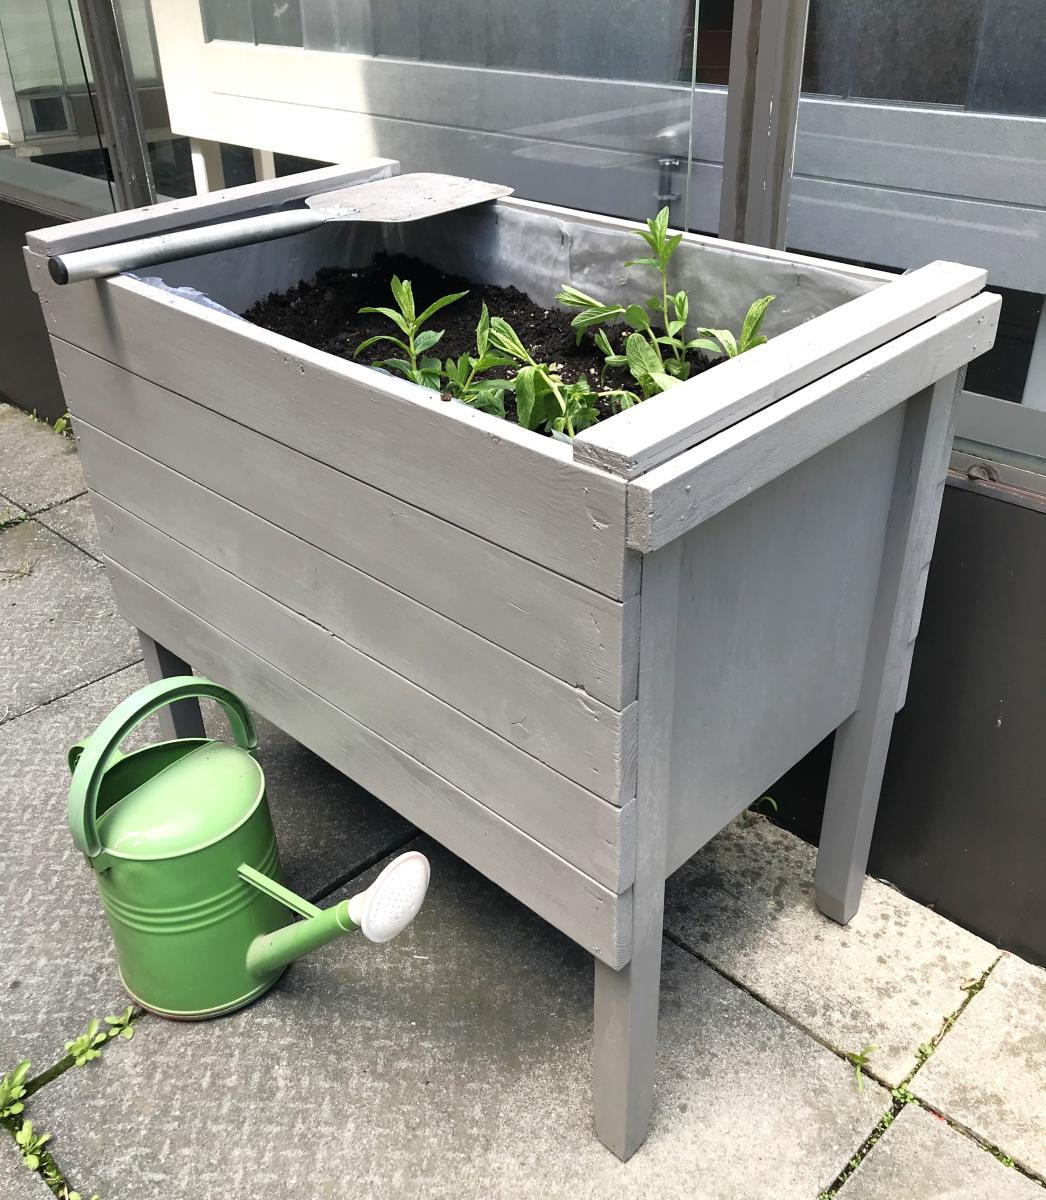
Completed the project in about 4 hours including pre-staining the cut lumber (Thompson's water seal). I made a few changes on the fly. 

1: I assembled the front and back panels by tacking them together with a nail gun using 2 1/4 inch finishing nails. This allowed me to forego the drilling of pocket screw holes and instead drill pilot holes through the 2x2's and into the 1x12 panels then securing them with 2 1/2 inch deck screws (see the second picture).

2: after completing assembly I found that I did not like seeing the 2x2 legs from the side. I cut some more 1x4's at 45 degree angles and nailed them to the sides in order to conceal the legs (see third picture).

3: I decided to add some pegs to one of the sides to hang garden implements (third picture). I used 7/16 round dowel stock, drilled holes for them using 3/8 bit with some tape wrapped around it at 1/2 inch mark in order to avoid drilling completely through the board. I slightly whittled the first 1/8 inch at one end of the pegs which I had cut to 3 inch lenghts. Applied some wood glue to the holes and gently hammered the pegs into the holes.

All in all a good looking planter.

Estimated Cost
$100.00 Usd
Estimated Time Investment
Afternoon Project (3-6 Hours)
Finish Used
Thompson's water seal (cedar colored). Sand boards before applying 2 coats 1 hour between coats.
Recommended Skill Level
Intermediate

Comments

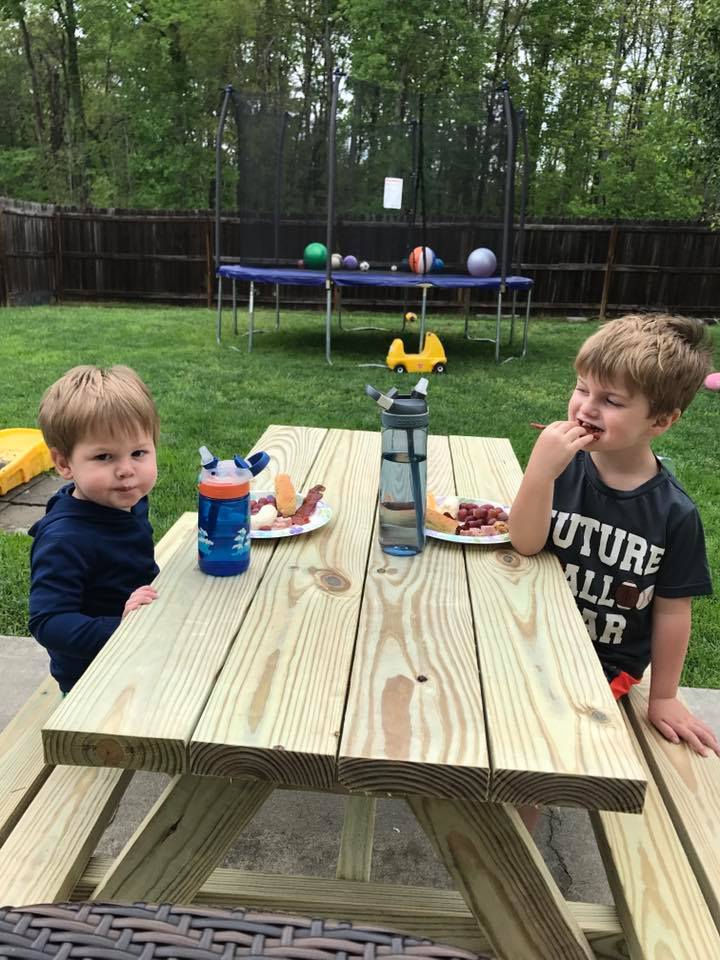
Grand Kids Picnic Table

Submitted by Anonymous (not verified) on Mon, 10/04/2021 - 12:35

Our grandsons live 10 hours away. I always try to make something for them when they visit. When we saw them a few weeks ago they needed a table their size!

Built from Plan(s)

Mini Cedar Storage Shed

Submitted by jakevdp on Sun, 06/09/2013 - 23:10

I loved the idea of re-purposing fence pickets as siding for a cedar shed, but the plans on the website were much too big for the space I have. I ended up modifying the design to make a smaller shed, with approximately a 4 foot by 2 foot footprint. It turned out beautifully! Cedar is expensive, but I was able to save money on the project by buying much of the material at local salvage and second-hand stores.

Built from Plan(s)
Estimated Cost
$140
Estimated Time Investment
Weekend Project (10-20 Hours)
Recommended Skill Level
Intermediate

Comments

HOWsMom

Thu, 04/30/2015 - 05:44

This is exactly the size I want - did it take much to modify the plans to be smaller like this ?

RenoRustic

Tue, 05/19/2015 - 11:19

My mom just asked me about building her a garden shed in a small area. This looks perfect for what she is looking for. I'll have to show her this. Great job!

BeckfordRVA

Sun, 03/29/2020 - 09:59

I'd also love to know what modifications you made to create the mini version. Did you just take out one of the sections of the back frame and adjust the side widths? Thanks!

Radio Flyer Garden Sink

Submitted by mji0707 on Tue, 05/12/2015 - 19:54

Was looking for something to do with an old Radio Flyer wagon.. Saw some great pics on Ana's site for garden ideas and thought this might have the right shape to make a water feature.. beats making a flower potter out of it. -And it does in fact work.. The original plan was to use a simple chrome hook-style faucet but found a great brass antique on ebay for under $10 which really set the tone for its look.

The inside of the wagon is double-coated with Rustoleum clear sealant, over-layed with a red top coat. The wheels and handle are original and the hanging bar across the front is from conduit. The wagon is attached to the stand only around the drain by 2 1/2"x 1/4" machine screws. The brass handle on the right end is so the wagon can be tilted to drain settling water. The drain is a standard 1 1/4" sink kit that connects to a compression coupler. Both the feeder and drain line have hose connections.

Built from Plan(s)
Estimated Time Investment
Week Long Project (20 Hours or More)
Finish Used
The wagon was rusted when I found it. I sanded the inside just enough to remove the loose rust debris. To get the tub water-tight I gave it two coats of Rustoleum clear sealant spray. That left it foggy-loooking so I sprayed it over again with rustoleum red paint. The wood frame has two coats of antique white with a light covering of parafin. I used a grinder to scuff up the paint and then used a buffing wheel on the power drill to smooth out the wax. The pallet wood is untreated other than removing the old nails.

For advice, I would definitely say to be cautious of the amount of weight that hangs off the back of the cart. I used the extra pieces of 2x4 to build a frame to tie the pallet wood into. Combined with the feeder-line plumbing It added so much weight that i had to move the back wheels out to give it stability.

Much thanks to Ana's site and community for ideas. And I gotta give credit to the crew in the H/D paint dept in Alpharetta, GA for the sealant paint recommendation.

enjoy the pics!
Recommended Skill Level
Beginner

You chest

Submitted by Anonymous (not verified) on Sun, 12/26/2021 - 12:56

Ana White’s plans are the best I’ve seen. Some are easy and some are challenging builds. She’s so very encouraging in her videos. She makes me feel like I can keep on building. I’m very happy to say I started my business from her inspirations.

Built from Plan(s)

Comments

Buffet

Submitted by fortasha on Fri, 06/05/2015 - 22:57

I'm a novice- but these plans were so great that it came out beautifully! Definitely won't be my last project using plans from this site. Rogue Engineer rocks!

Built from Plan(s)
Estimated Cost
$130
Estimated Time Investment
Weekend Project (10-20 Hours)
Finish Used
Mix of Annie Sloan Chalk Paint in Old White and Pure White for the cabinet. Made my own stain from steel wool disolved in vinegar mixed with black tea for the drawer fronts. Sealed with Rustoleum Ripple Effect Poly which is supposed to give it a rustic textured finish, which it did, but it also yellowed my white paint. So I will be stripping that off and resealing with General Finishes Poly
Recommended Skill Level
Intermediate

Comments

les5010

Sat, 08/15/2015 - 09:37

This project turned our beautifully!!! I love the hardware that you used on this piece!  Where did you get it?

My first woodworking project - 5 Board Bench

Submitted by krisque on Sun, 08/09/2015 - 17:53

This was my first project so I picked one from the starter section.  My fiance helped me to get familiar with the tools and learn to make the cuts.  I am hooked.  My goal is to learn well enough to get to the point where I can build built ins to make the most out of the small space in our home and maximize it. Since we started late in the day and it's Sunday, I will putty, sand and paint it next weekend.  Gives me an excuse to go to Home Depot for materials for my next project wink We made some modifications though, we subbed 2x12 for 1x12 and 1x6 for 1x4.  I wanted a thicker seat, and the local Home Depot was out of 1X4's.  We had 1x8's but instead of ripping them in half we just made the jigsaw cuts a little deeper.  We also used the 2x12 for the legs so those were a little thicker and sturdier.  We'll likely make another and an outdoor table eventually.  Thank you for a wonderful site!

Estimated Cost
I can't remember, we bought the materials some time ago and I have been wanting to do this for so long but kept procrastinating.
Estimated Time Investment
An Hour or Two (0-2 Hours)
Finish Used
Recommended Skill Level
Starter Project

Comments

Smokeydog

Mon, 08/10/2015 - 05:45

Congrats on your first project.  Good job!  Wood working can become a little addicting.  I really didn't get into it until I discovered Ana's site and now I  am hooked.  Have fun!

DIY Barn Door From 2x6 Boards

I made his Barn door out of the wood that was left in our garage when we moved in. Using (7) 2x6 boards and adding stain sanding and hardware, it became a super functional industrial rustic (is that a design style LOL) door! (I added a cat door to for our cat ;))

Estimated Time Investment
Afternoon Project (3-6 Hours)
Finish Used
Rustoleum summer oak, varathane cabernet, flat black spray paint, and polyurethane semi gloss. I have the full tutorial on my blog and am more than happy to answer any questions ;)
Recommended Skill Level
Beginner

Comments

Ten Dollar Cedar Raised Garden Beds

Submitted by kelli224 on Wed, 06/29/2011 - 19:19

Since moving and finding Knock Off Wood, we decided now would be a good idea to try some gardening (again...after failed attempts!) These beds are so simple but beautiful out in the yard and for the first time I actually have vegetables growing. We used the cedar fence posts just as Ana suggested.

Estimated Cost
$40
Estimated Time Investment
An Hour or Two (0-2 Hours)
Finish Used
None
Recommended Skill Level
Beginner

Comments

Seasonal And Holiday

Operation: Electric Panel

Submitted by loniwolfe on Wed, 07/13/2011 - 10:43

It's an awful eye sore builder's always seem to put in the most obvious places even when there's an attached garage, or a basement, or even a large closet somewhere.

Solution: Build a frame out of 2x2's around the panel. Build a smaller frame out of trim (or whatever you like as a picture frame). Attach the smaller frame to the frame on the wall with self closing hinges (ok, maybe paint everything first, lol) and insert a photo or painting of your choice.

Unfortunately you can't do anything about placement, hello 1 inch from my countertop and cabinets (also preventing me from building more upper cabinets on that wall)
But, it's better than staring at that ugly gray box :)

Estimated Cost
Less than $20
Estimated Time Investment
An Hour or Two (0-2 Hours)
Finish Used
white gloss paint (same paint as the window trim) But you could stain it to really look like a picture haning on the wall
Recommended Skill Level
Starter Project

My Modern Outdoor Patio Collection

Submitted by hannahclou on Tue, 08/09/2011 - 12:43

It's summertime and I wanted to be able to sit on my screened in porch with my husband with a cold drink and enjoy the nice weather. But...we had a less than cheery porch and not to mention no porch furniture. So, I started a mission to bring a little excitement to our porch and give us an outdoor area to entertain and enjoy! With some bright-colored paint, my carpenter's square, and a little patience okay..a lot of patience, I think I nailed it! I made 2 accent/ottoman tables, 2 outdoor lounge chairs, an outdoor lounge love seat, and the Hudson Outdoor table. I also bought 4 cushions on sale at Walmart in colors that match my bright patio set perfectly!
I modified the outdoor lounge chair in to a love seat by doubling the dimensions of the: back tie-in, seat frame supports, front and back aprons, seat back supports and seat back bottom support, using a 1x4 back tie-in instead of the 1x2, adding an extra seat frame support in between the front outside and inner support, and used 10 back boards and seat boards instead of 5.

I think now I'll go back to the porch and enjoy the afternoon with a nice cool iced green tea and finally get to relax on a porch with furniture on it!

Estimated Cost
$80 wood + $ 40 paint + $ 60 cushions = $ 180 patio set!
Estimated Time Investment
Week Long Project (20 Hours or More)
Finish Used
Rustoleum Apple Red and Sun Yellow and a Rustoleum Clear Gloss sealant
Recommended Skill Level
Intermediate

Comments

Secretary/Storage cabinet

Submitted by Kirch3333 on Mon, 11/02/2015 - 05:39

Inspired by the Tall Secretary with mail slots but with my own twist/needs incorporated in it. Finished with pure white satin paint.

Estimated Cost
$150
Estimated Time Investment
Week Long Project (20 Hours or More)
Finish Used
Pure white Behr satin enamel paint, finished with Varathane Matte Soft Touch Polyurethane
Recommended Skill Level
Intermediate

Corner cabinet

Submitted by Anonymous (not verified) on Thu, 01/24/2019 - 13:58

Went to a local farmer, who had a barn falling down and asked if I could get some wood. He allowed me to take a few pieces and turned it into a corner cabinet for my wifeWent to a local farmer, who had a barn falling down and asked if I could get some wood. He allowed me to take a few pieces and turned it into a corner cabinet for my wife

Built from Plan(s)
Estimated Time Investment
Day Project (6-9 Hours)
Recommended Skill Level
Beginner

DIY Can Organizer

Submitted by Anonymous (not verified) on Thu, 01/19/2023 - 05:34

THANK YOU! This was a great idea. Our pantry is deep and narrow and it was impossible to know what canned items we had. Also, since the spacing between our shelves is 11", none of the tiered can organizers on the market would work for us (too tall). We added two tiers to your plan and cut the top tier in half (for my large cans of whole tomatoes!). We are very happy with how this project turned out.

Built from Plan(s)

Comments

Storage sofa / single bed- made with 8" memory foam twin mattress

Built this while 8 months preggo with help from my husband and best friend (sewing). I wanted to make it big enough to be an extra bed and I wanted it to be comfortable so I invested in an 8"memory foam mattress. Here is the pic before the leg base went on.
We made the back 3" higher since the mattress is so thick. I have kids so I made the cushion cover around the whole mattress so we could take it off and wash it. I staple gunned plain grey fabric to hide the plywood of the lid (since I was limited to fabric I had found).

It is a little too deep to sit on for two people but it is great in a corner where you can lounge on it with a book or snuggle for a movie with your partner or kids! :)

Wood /glue/adhesive spray - about $120
Fabric - bargain bin upholstory fabric/thread - $67
Cushion covers (filled with old pillows,leftover uphostry foam and two KING pillows) - cream, from IKEA bargain bin 4@ $5 each= $20+tx
Mattress- Twin memory foam (Classic 8")- $199+tx @ Jysk on sale (they go on sale every two months).

So the whole thing was about $450 and we love it. The only thing I saw that came close was $3000 in a store downtown.

Thank you so much for the plans Ana!!

Samantha A.
Halifax, NS

Built from Plan(s)
Estimated Cost
$450 or less (depending on mattress)
Estimated Time Investment
Weekend Project (10-20 Hours)
Recommended Skill Level
Beginner

Entryway Table Shoe Rack Bench

Submitted by robinles on Tue, 05/16/2023 - 10:17

I adapted the plan for the Shoe Rack Bench to give it multiple levels and allow it to serve as an entryway table in addition to a shoe rack. I used 2 x 10's for the project.

Built from Plan(s)

Comments