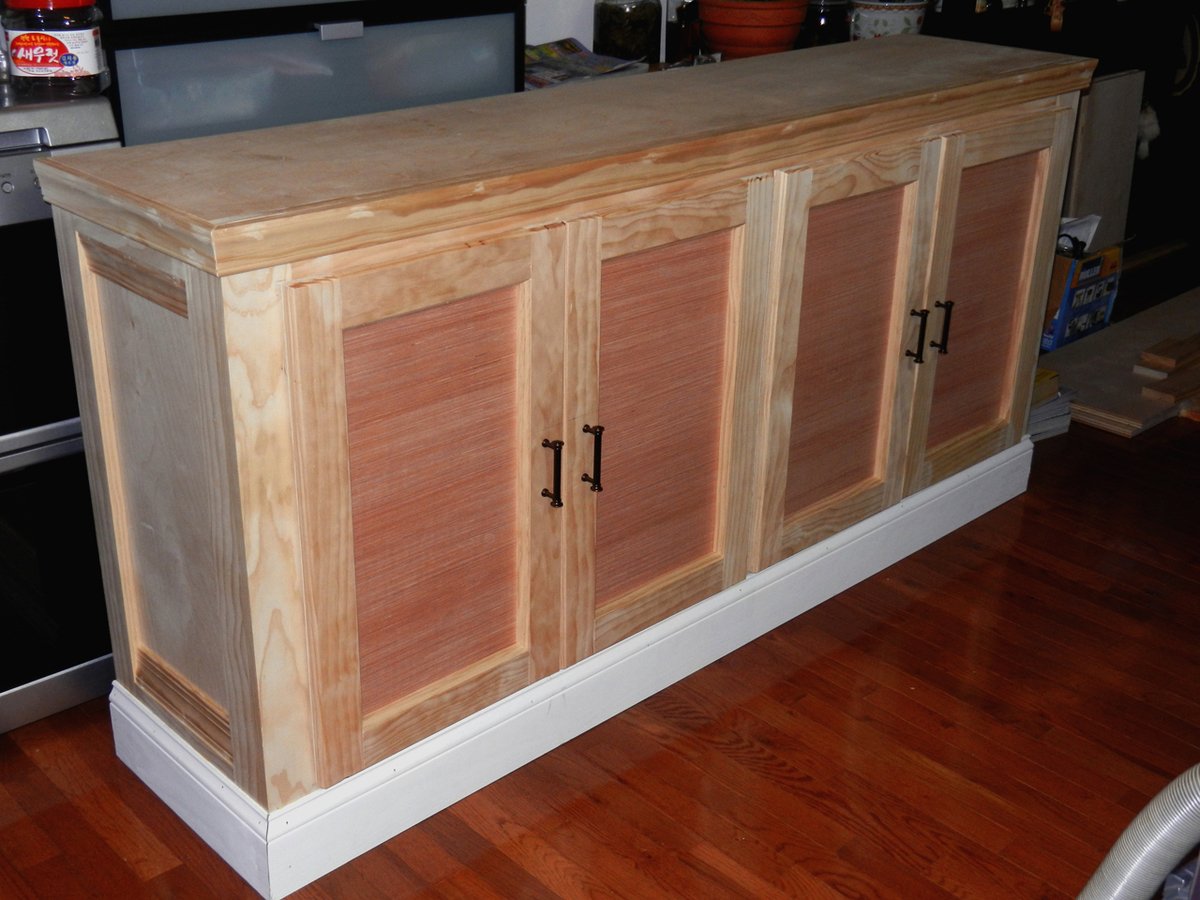
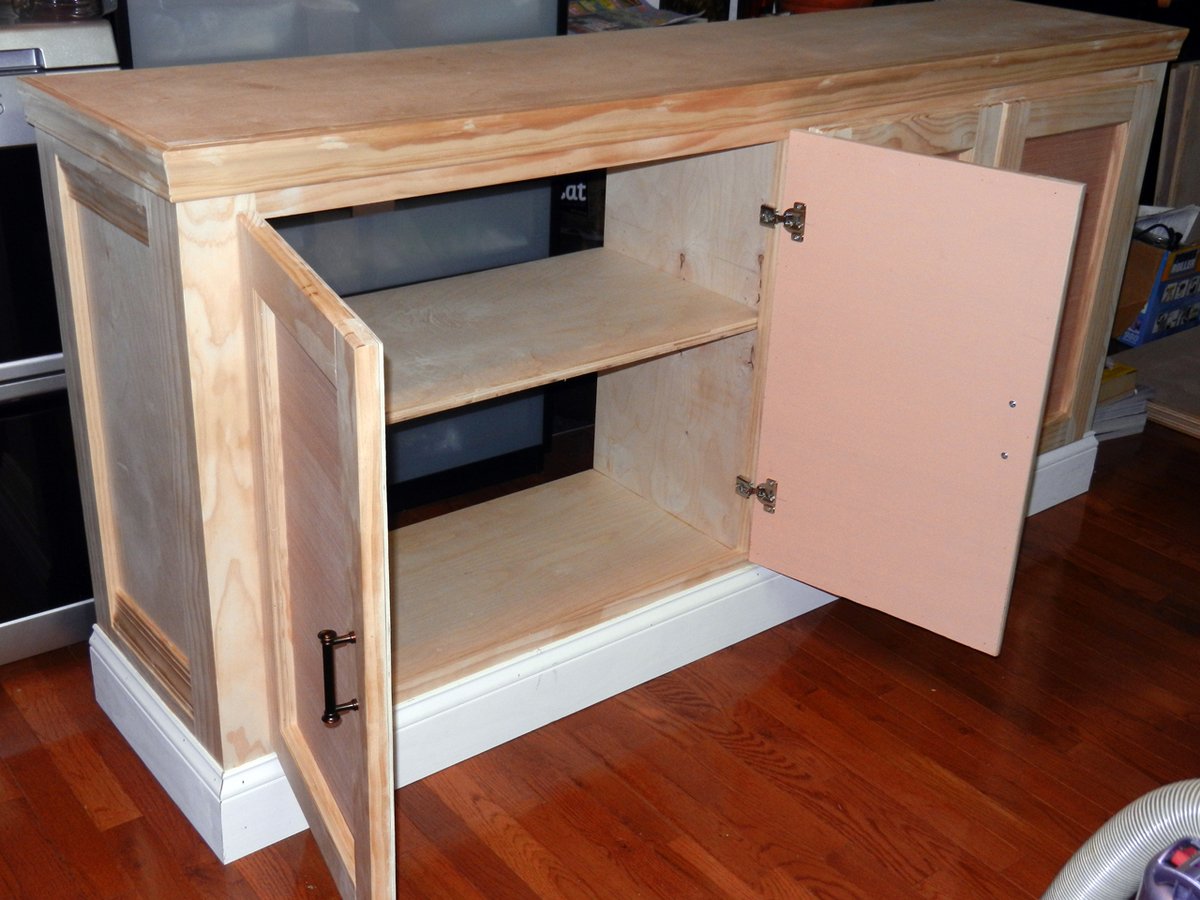
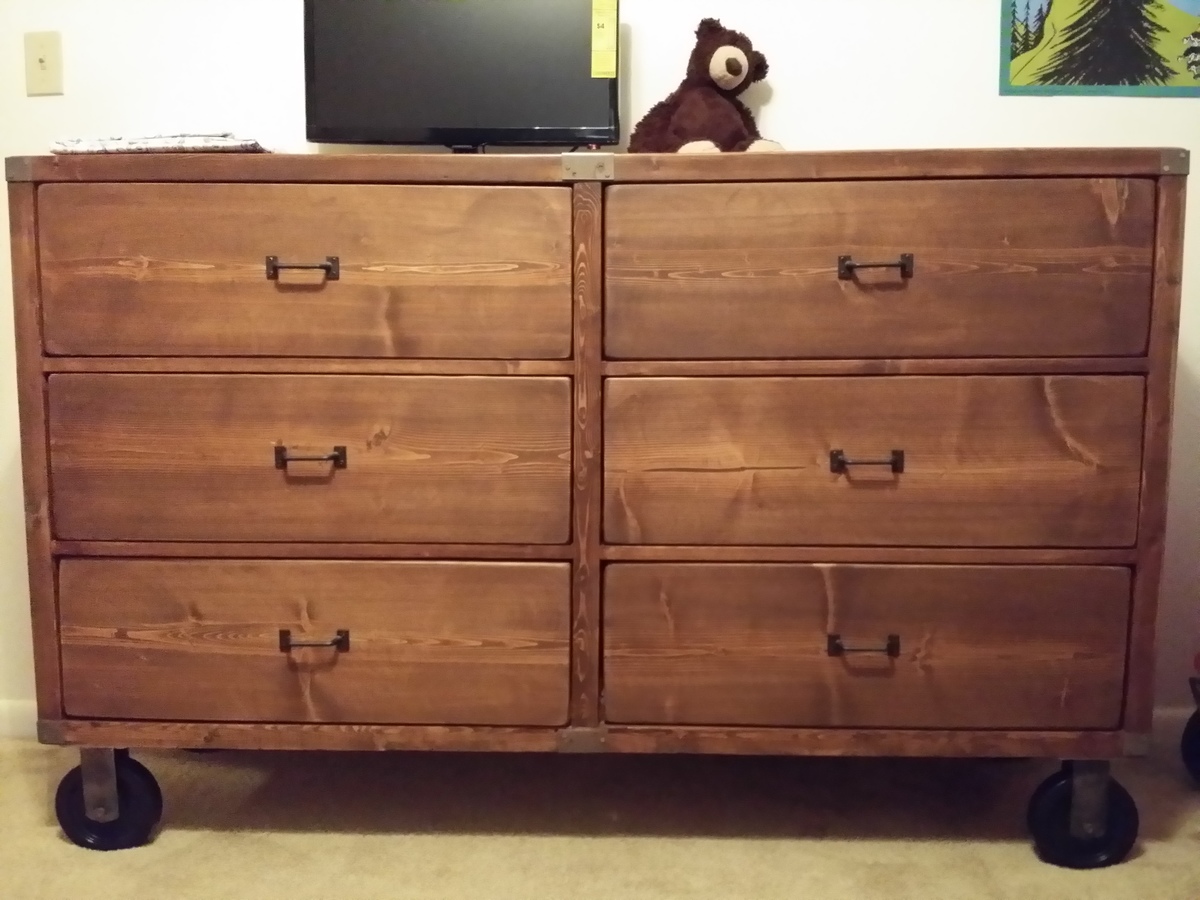
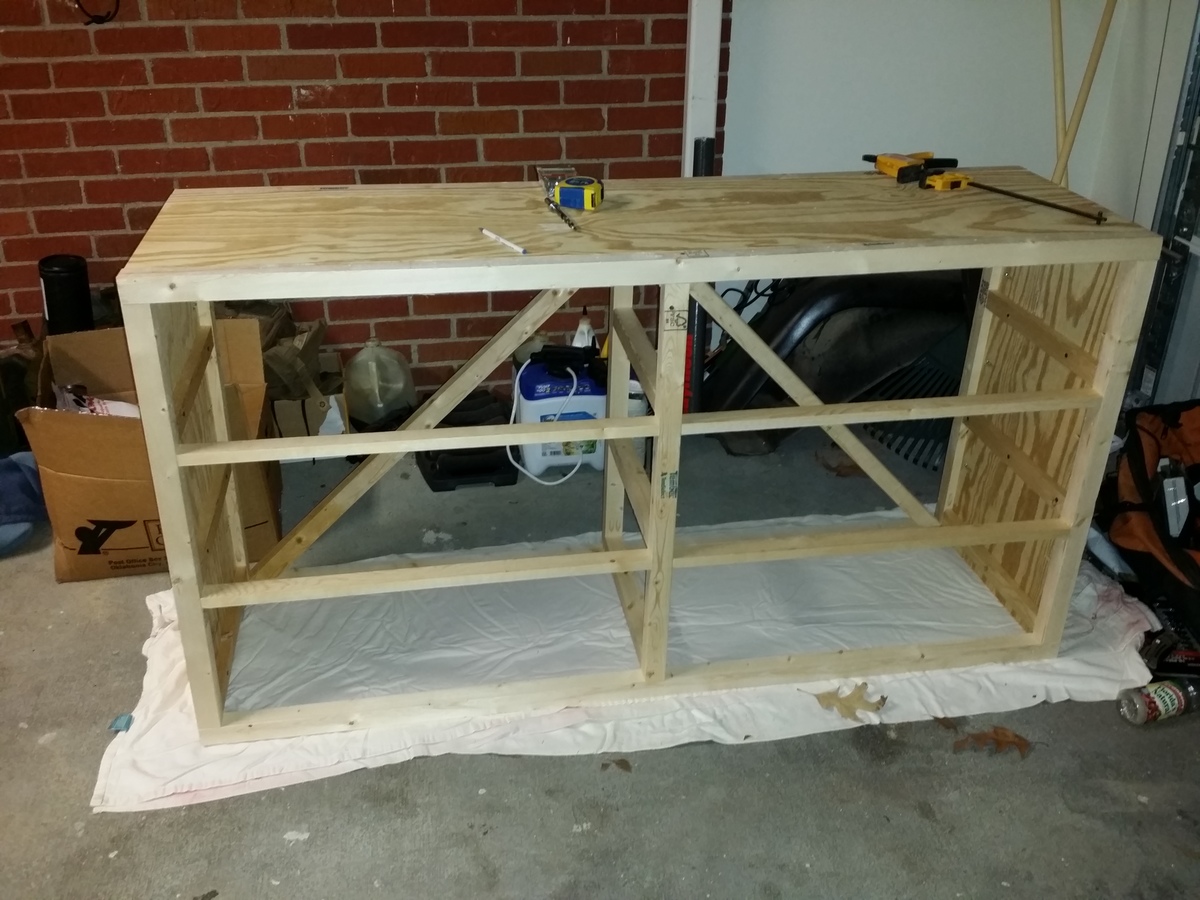
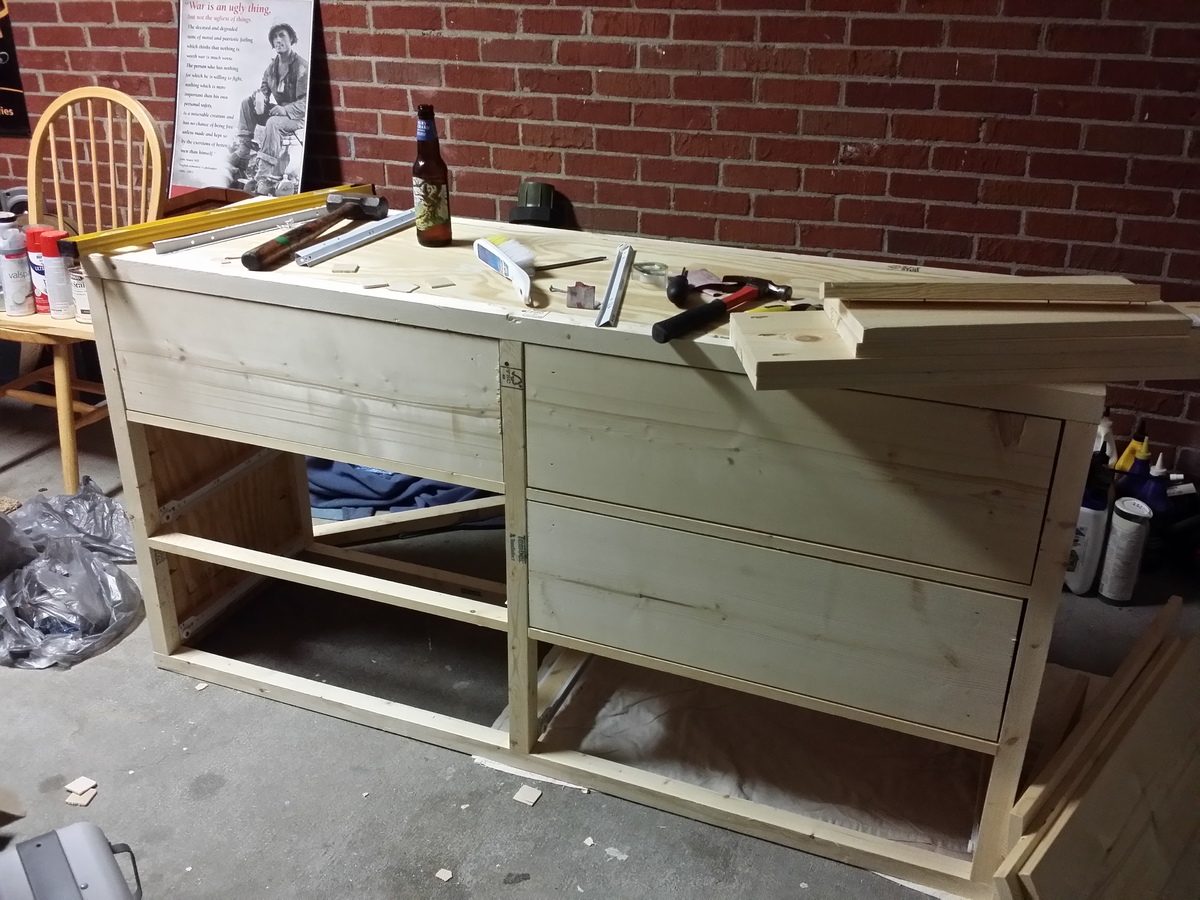
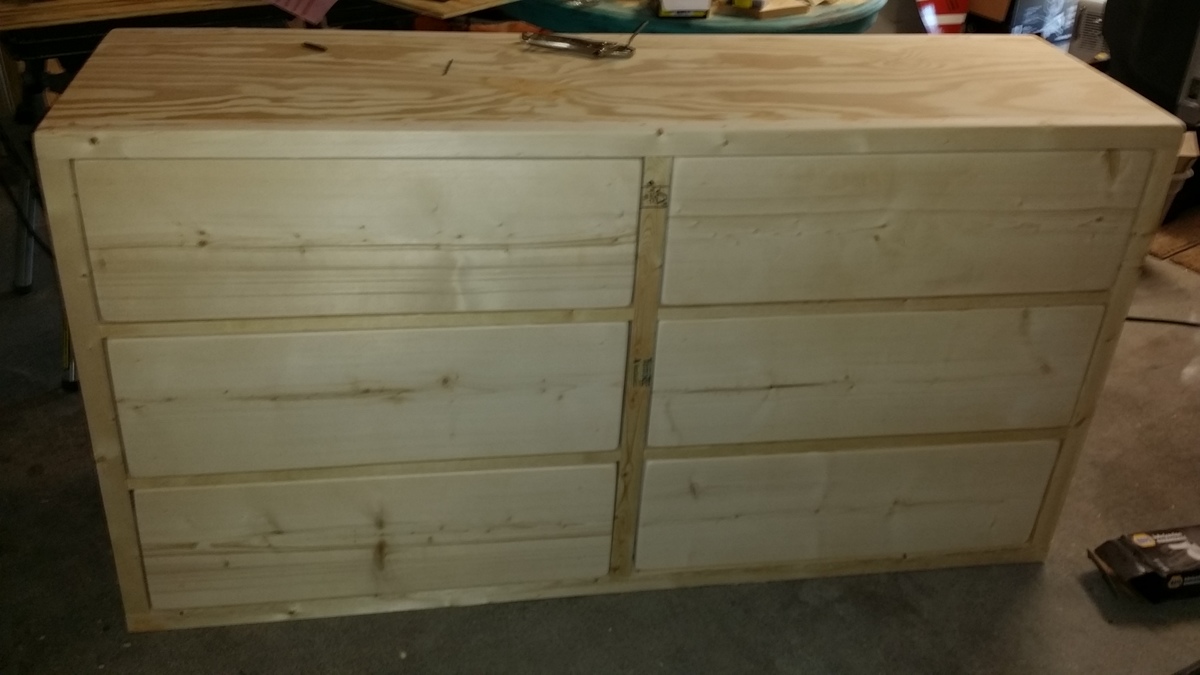
I came across the Shanty Sideboard plan while looking around the site. I decided to make this my first build from the site. I modified it slightly by making overlay doors instead of inset. I found that this allowed me more room for adjustments to the doors to get the best look. I used Pure-Bond Birch Hardwood Plywood from Home Depot for the main build with Select Pine from Lowes as the trim. This was all put together using Kreg Pocket Holes and 1 1/4 inch screws.
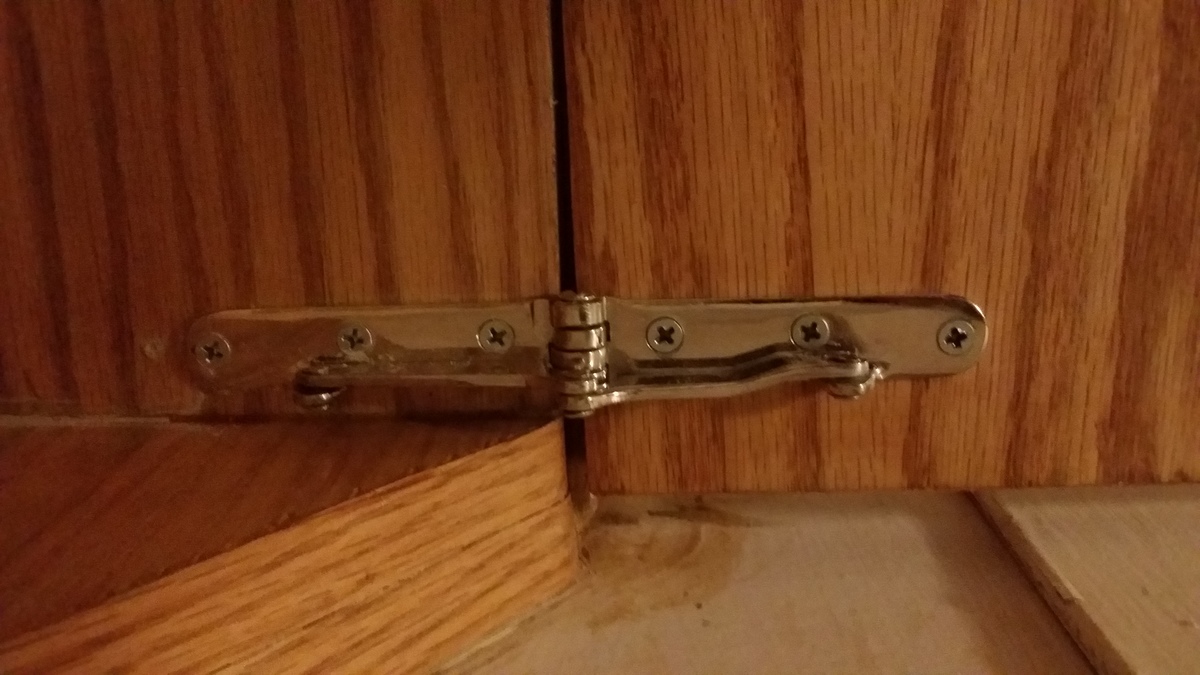
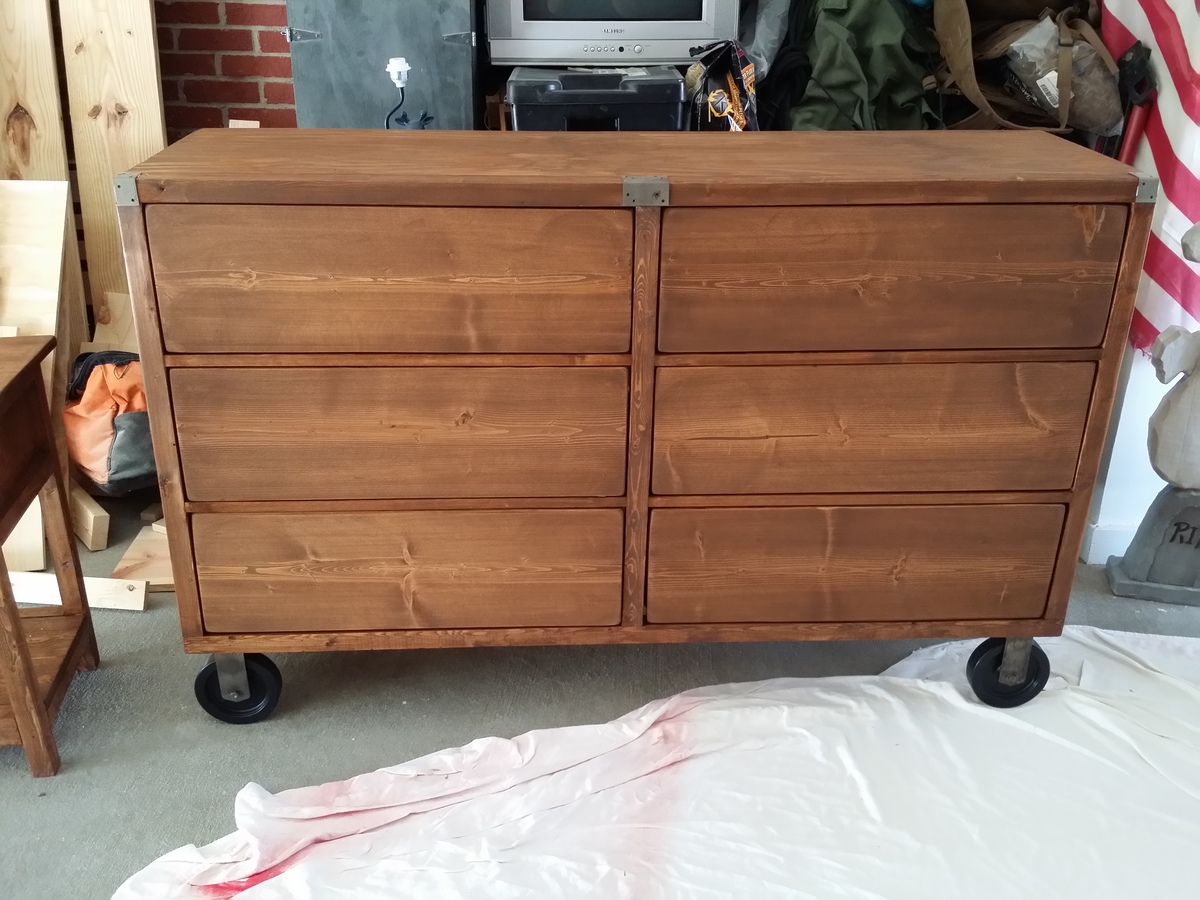
I used Luane Plywood as the backing for the doors. I then finished it by painting it with an off-white from Olympic (at Lowes). I left the Luane plywood in its natural state. The doors were mounted with Blum style Face-Frame cabinet hinges. I then applied several coats of Water Based Ultimate Polyurethane from Rustoleum.
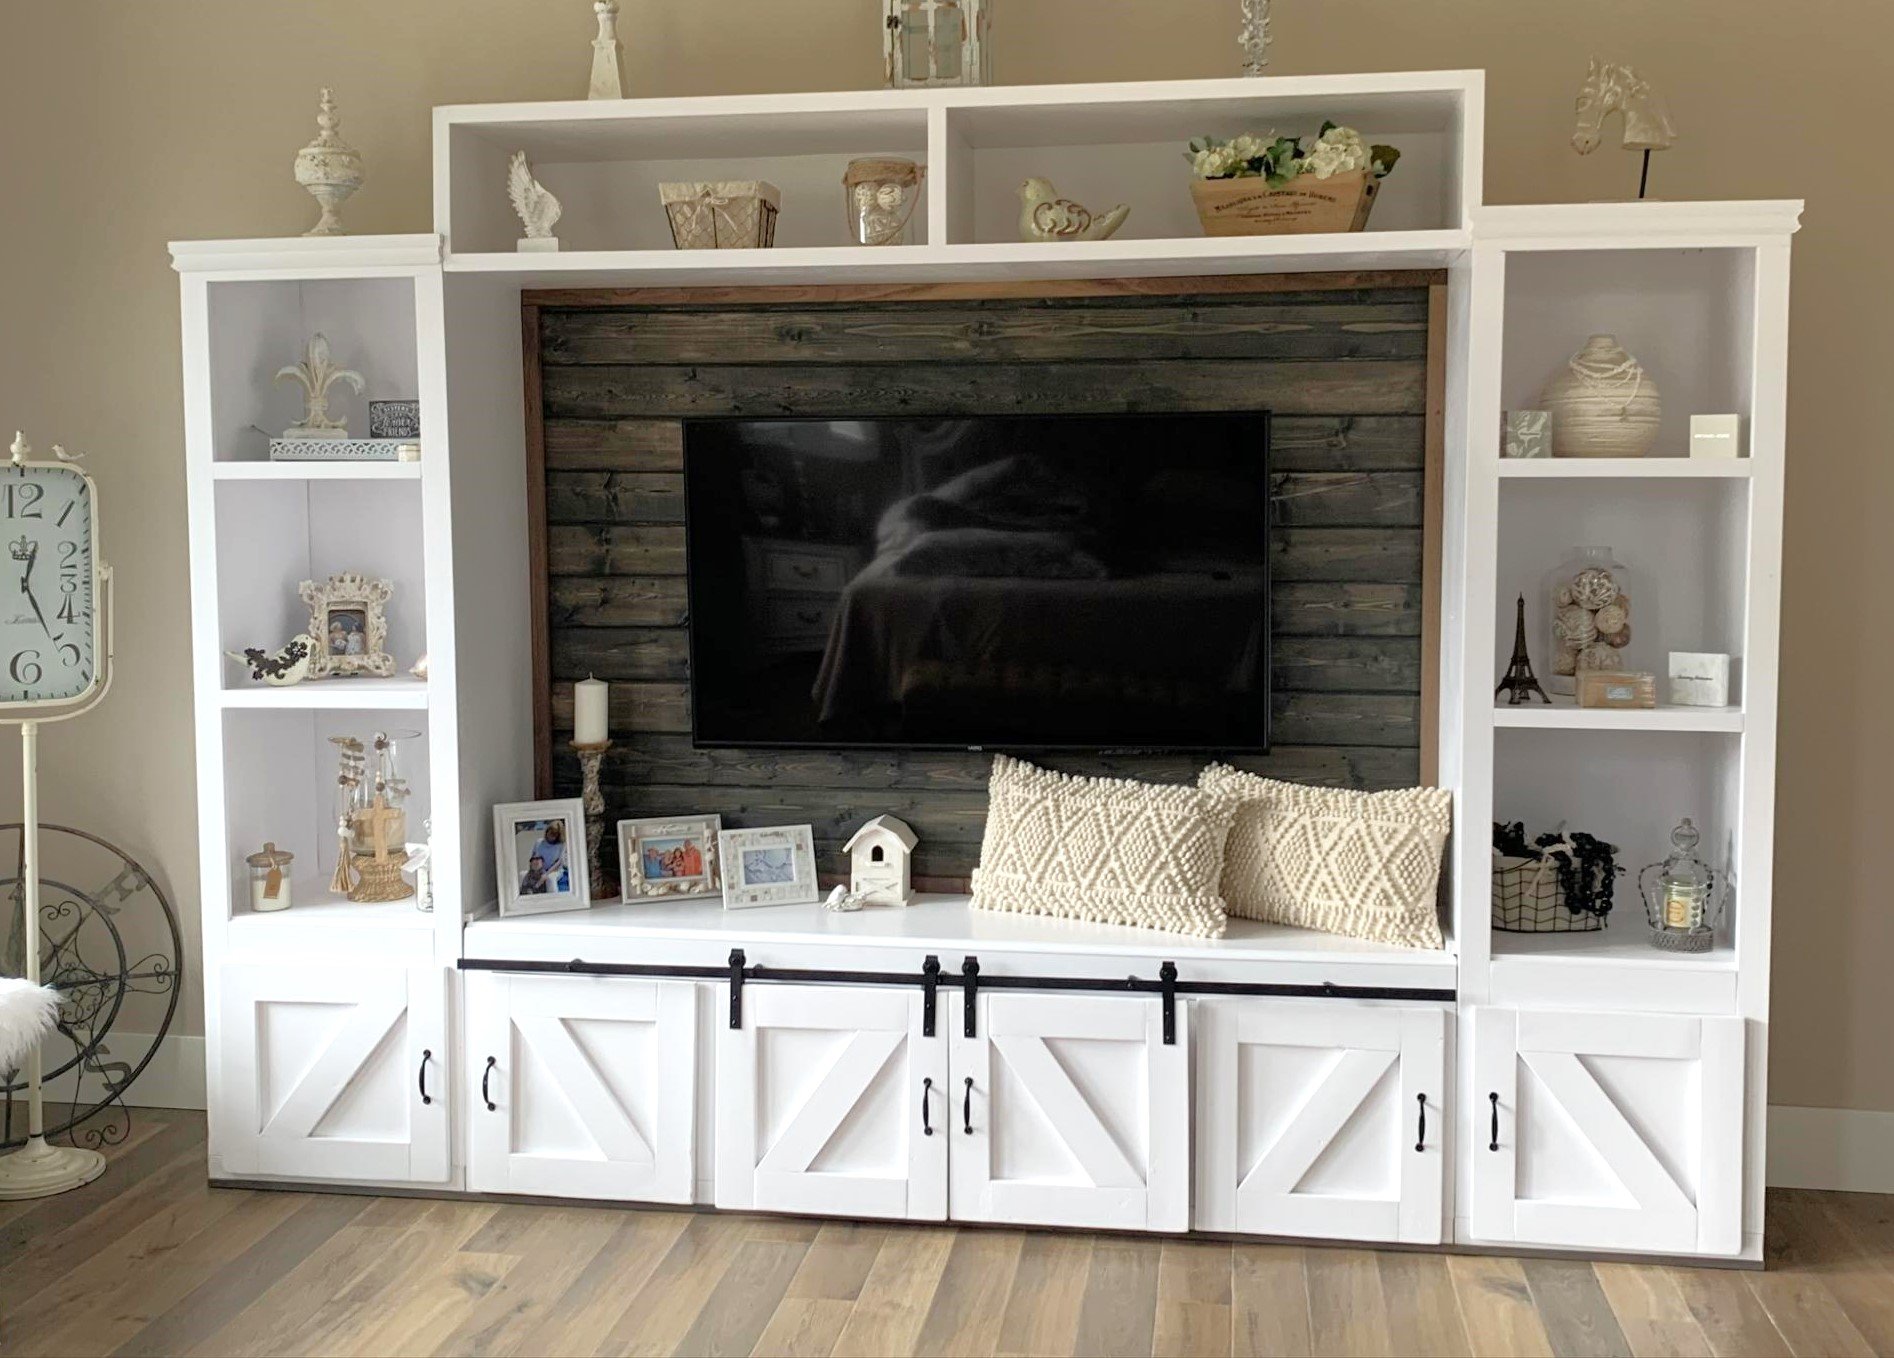
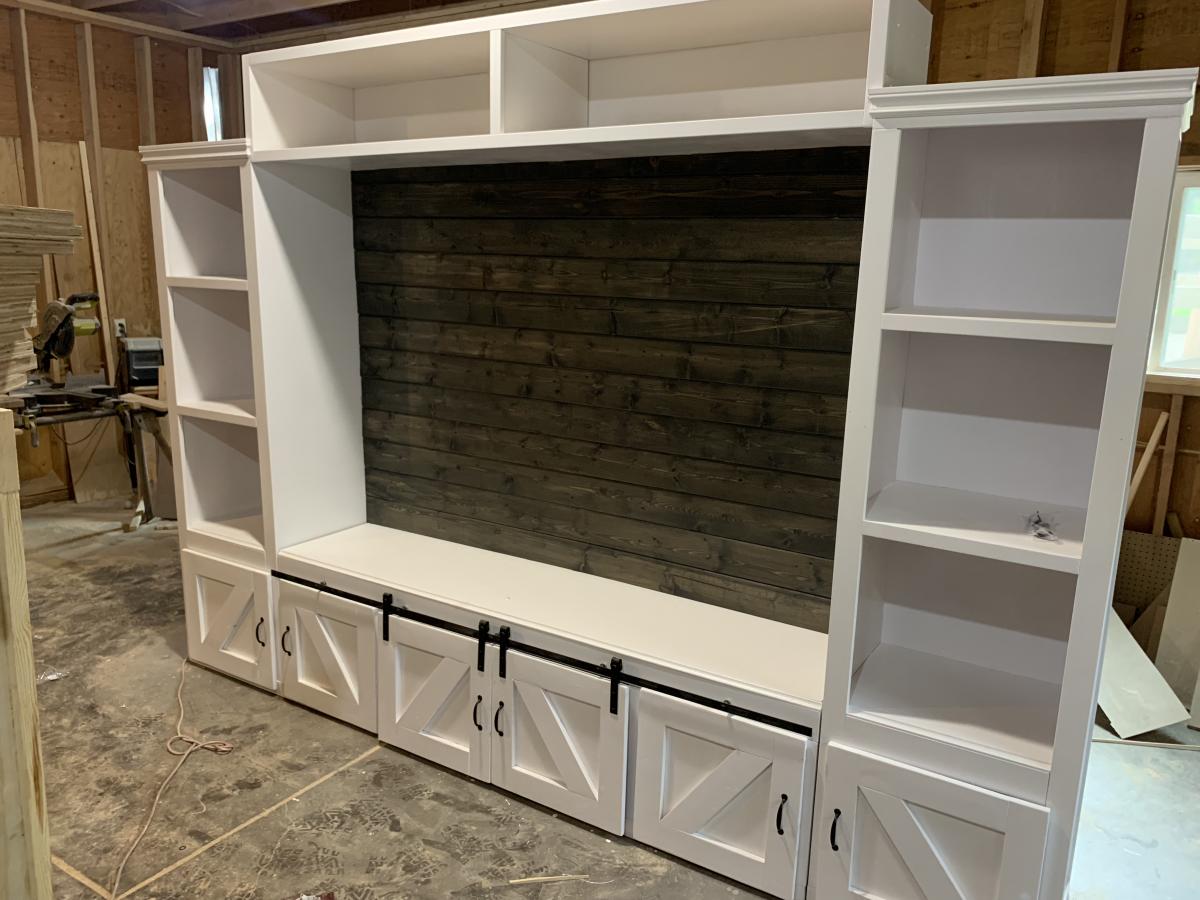
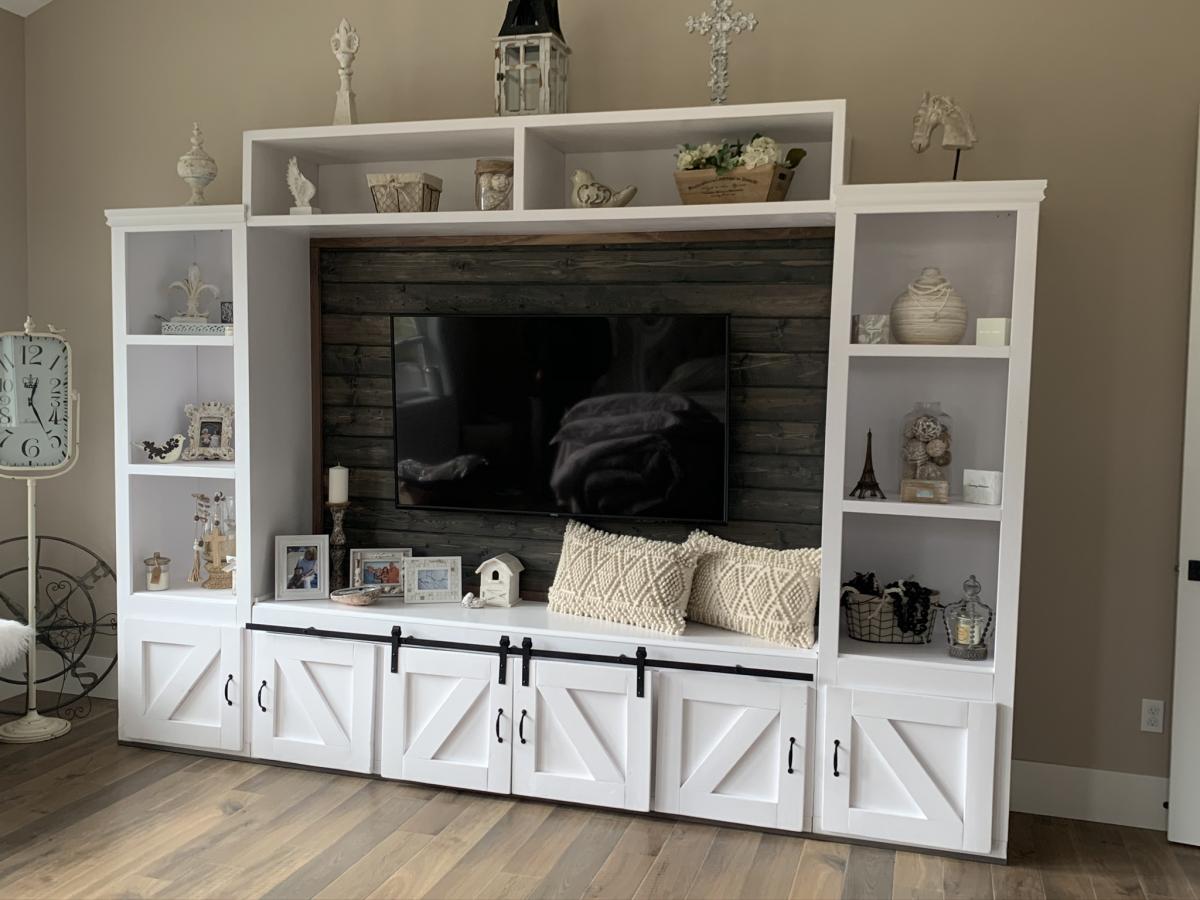
I have included a picture of the sideboard in the unfinished and finished state.
I will soon be building a Hutch to go one top. I will use the Shanty Hutch Plan as the basis and modify it from there.
----------------------------------------------
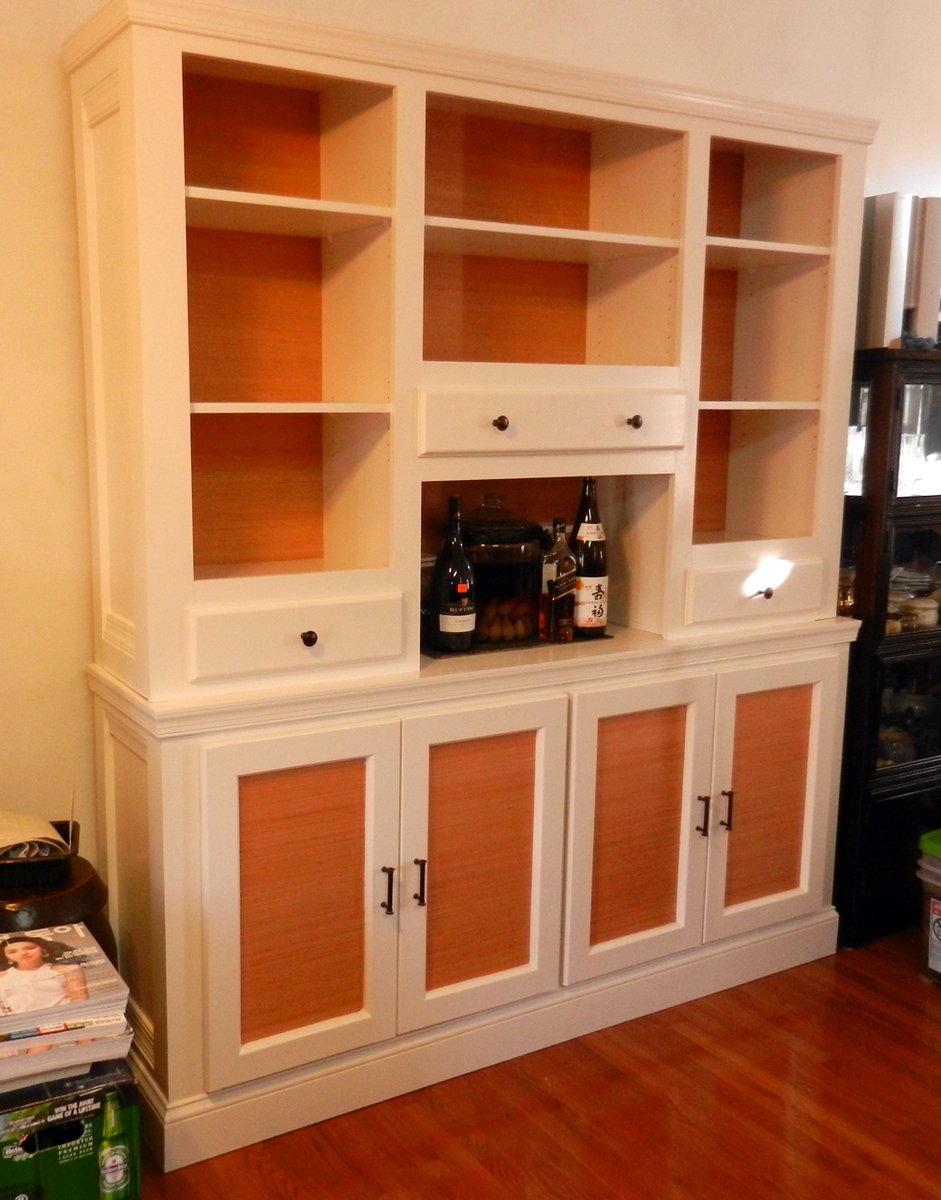
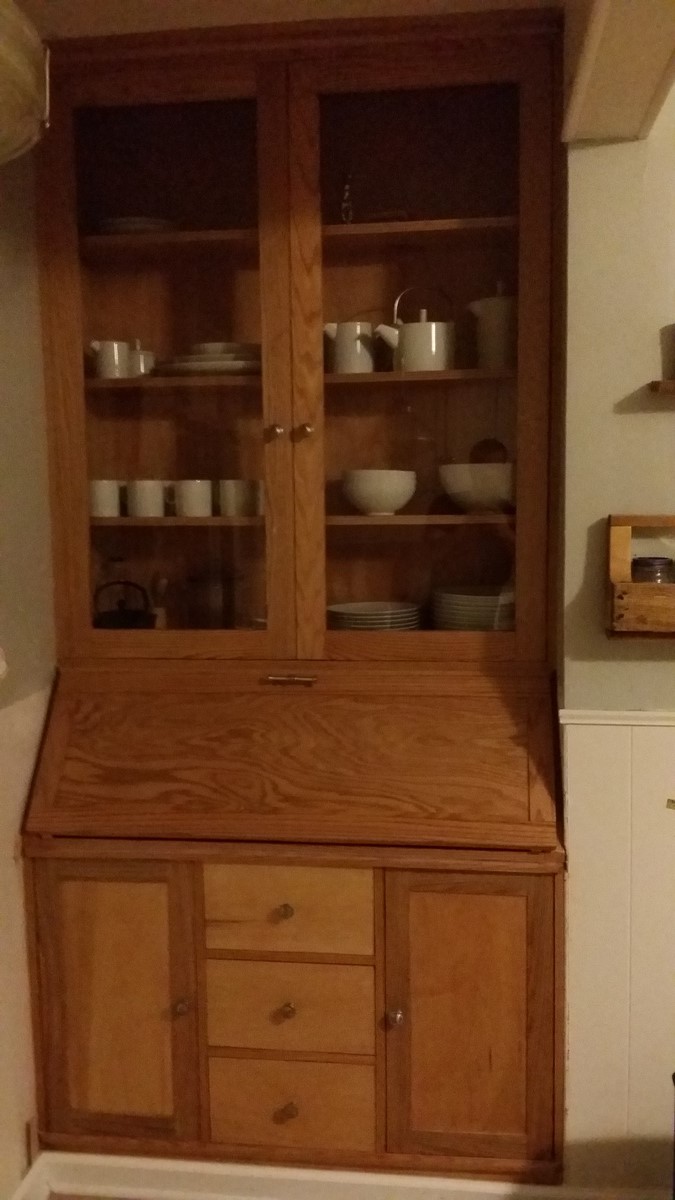
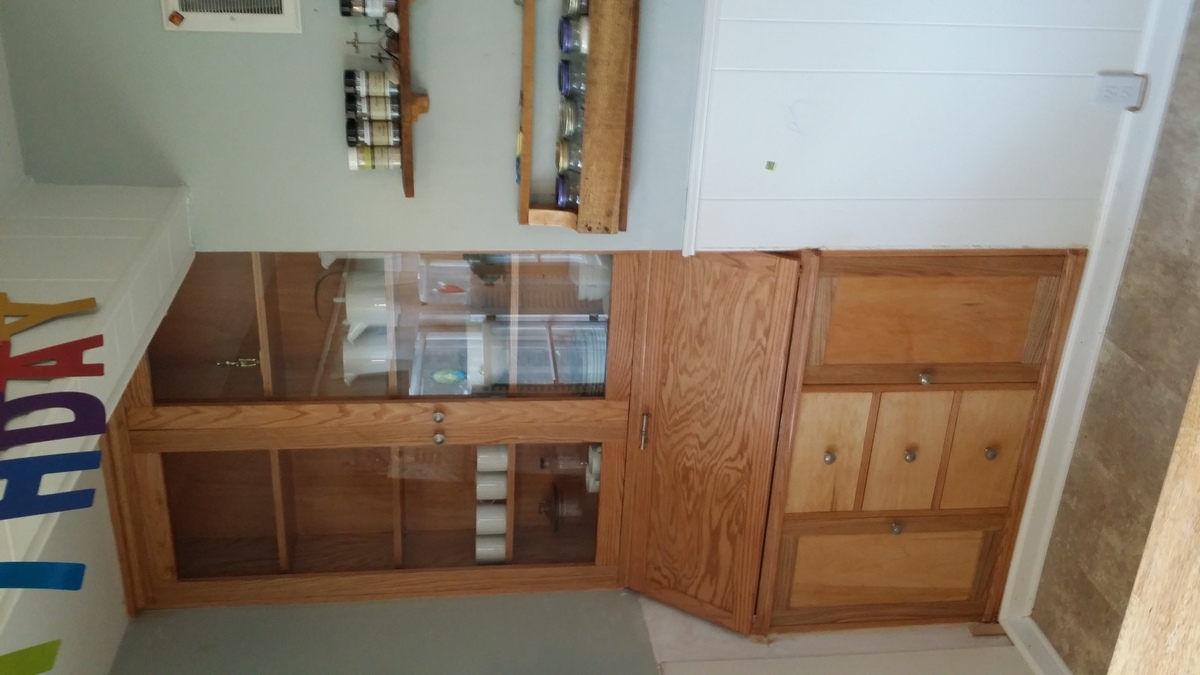
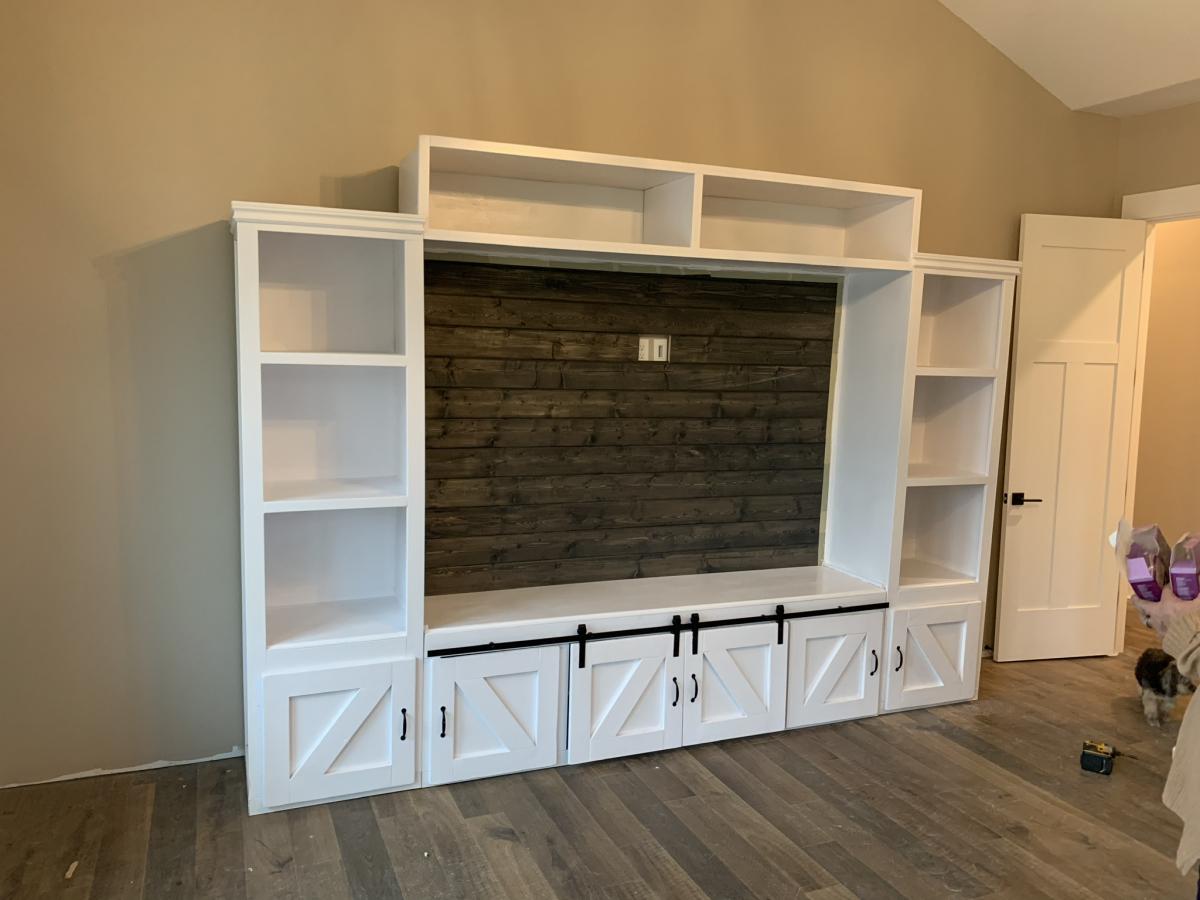
I recently completed the hutch for the sideboard. I used the Shanty Hutch plan as the beginning point and then modified it quite a bit. I made three sections and added drawers at the bottom of each section.
I then used the same Luane Plywood to make the backing. This brings it all together.
The total cost was around $550.00 and worth every penny. Much better than spending $3,000.00 at store.


Comments
Steven (not verified)
Tue, 02/28/2012 - 06:38
A-Ha Moment
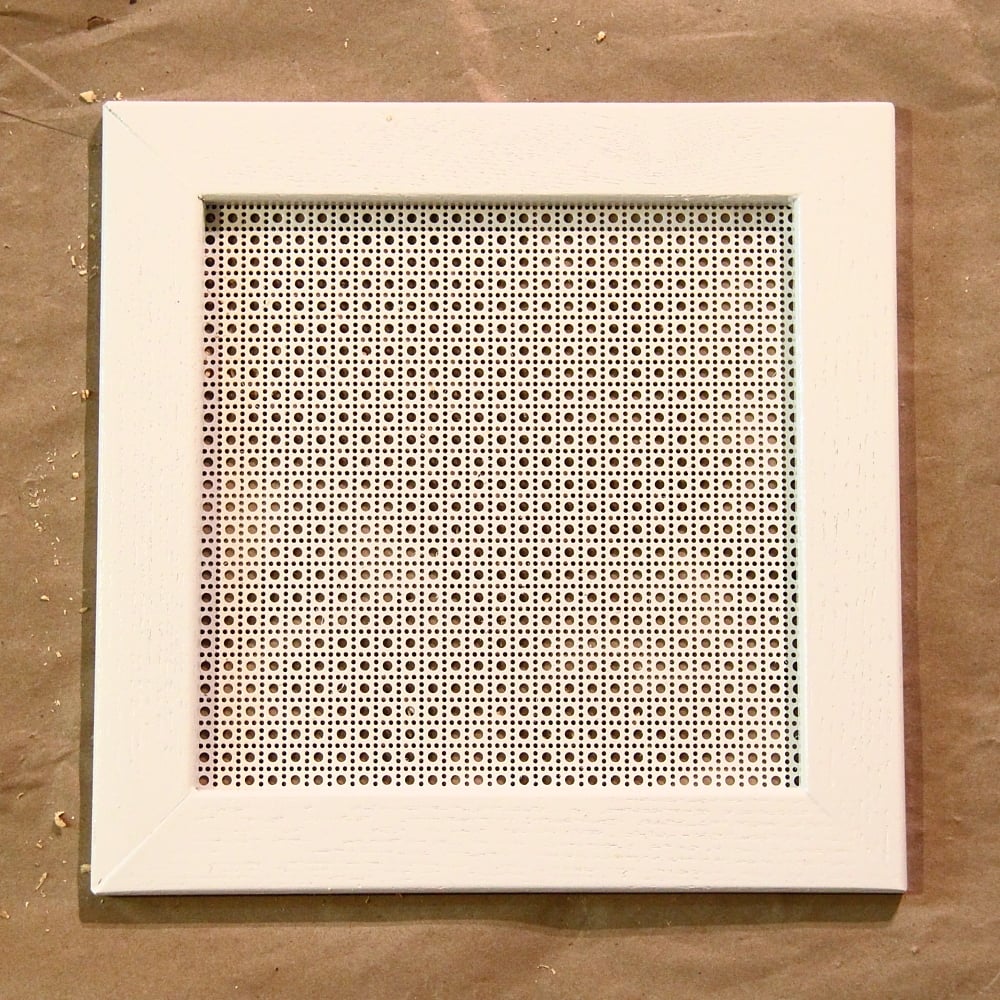
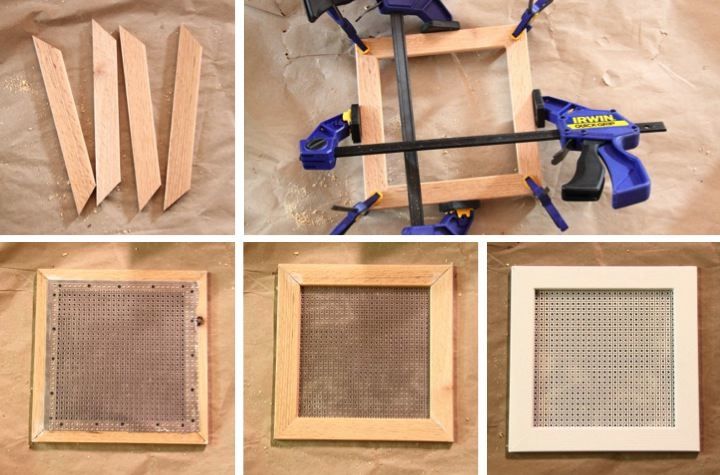
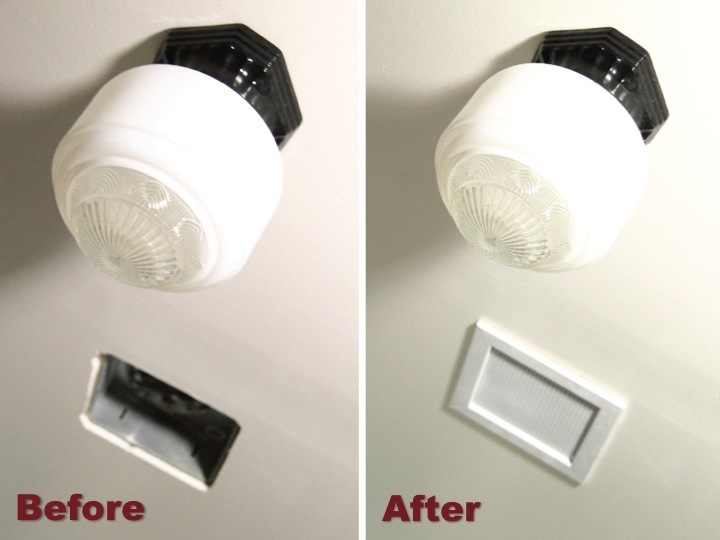
Thanks lbrown, you just gave me an idea. We are painting our entire upstairs and hate those industrial looking air return vents. This would be a great replacement for them. Thanks for the inspiration.
margjack
Thu, 03/01/2012 - 12:52
that looks so great1 I'm
that looks so great1 I'm stealing this idea!