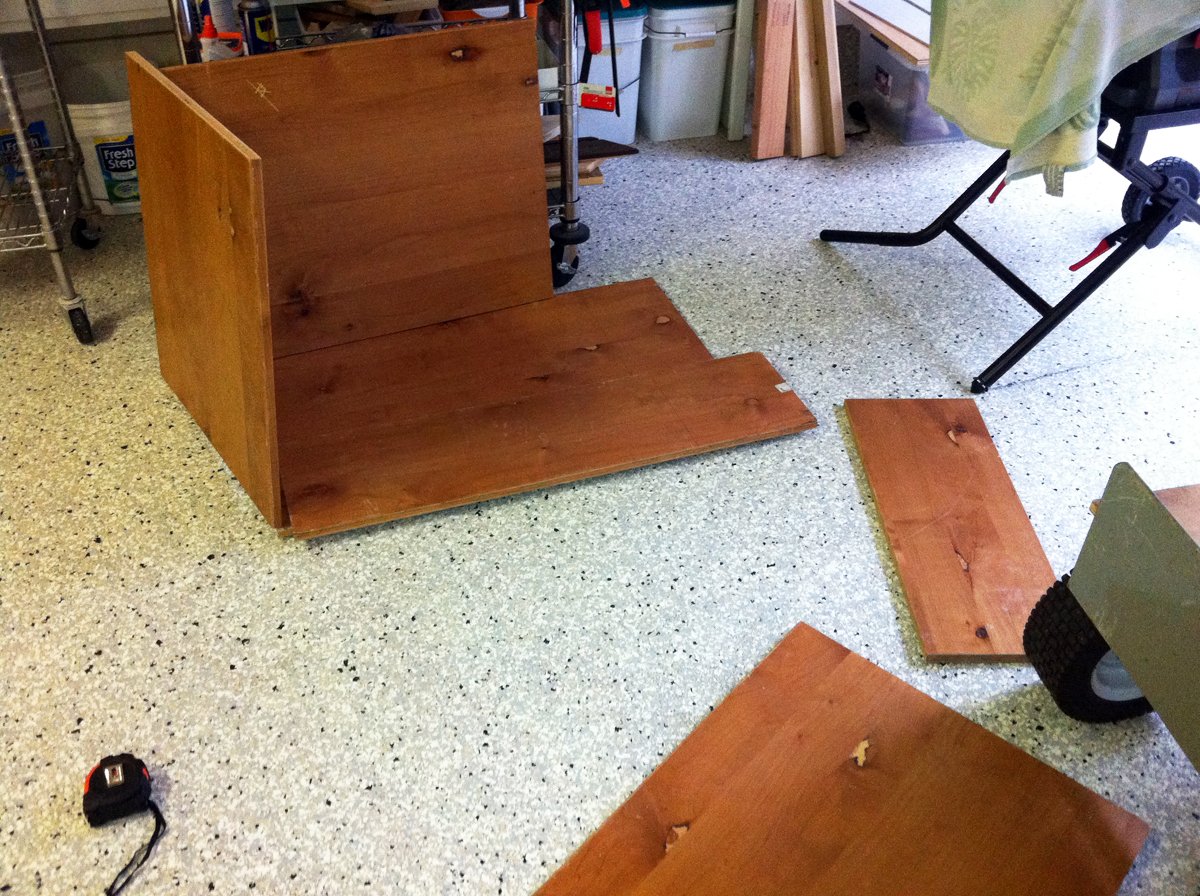
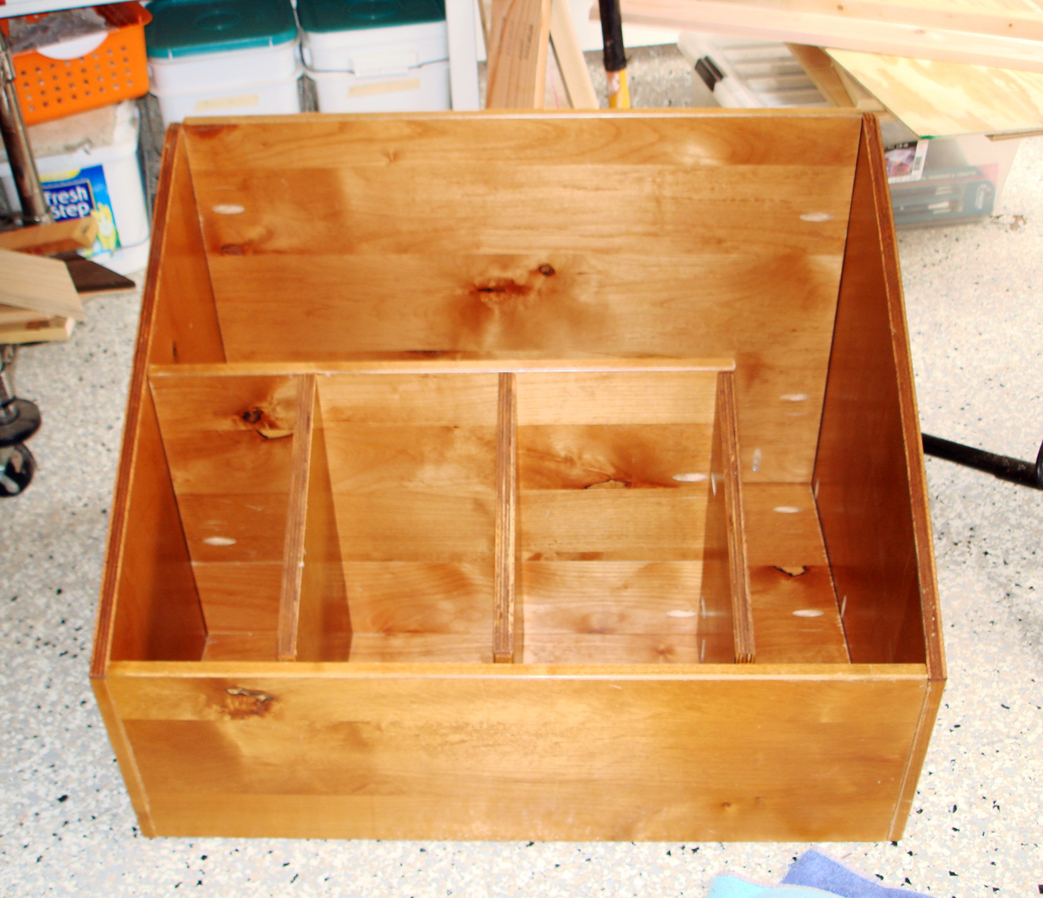
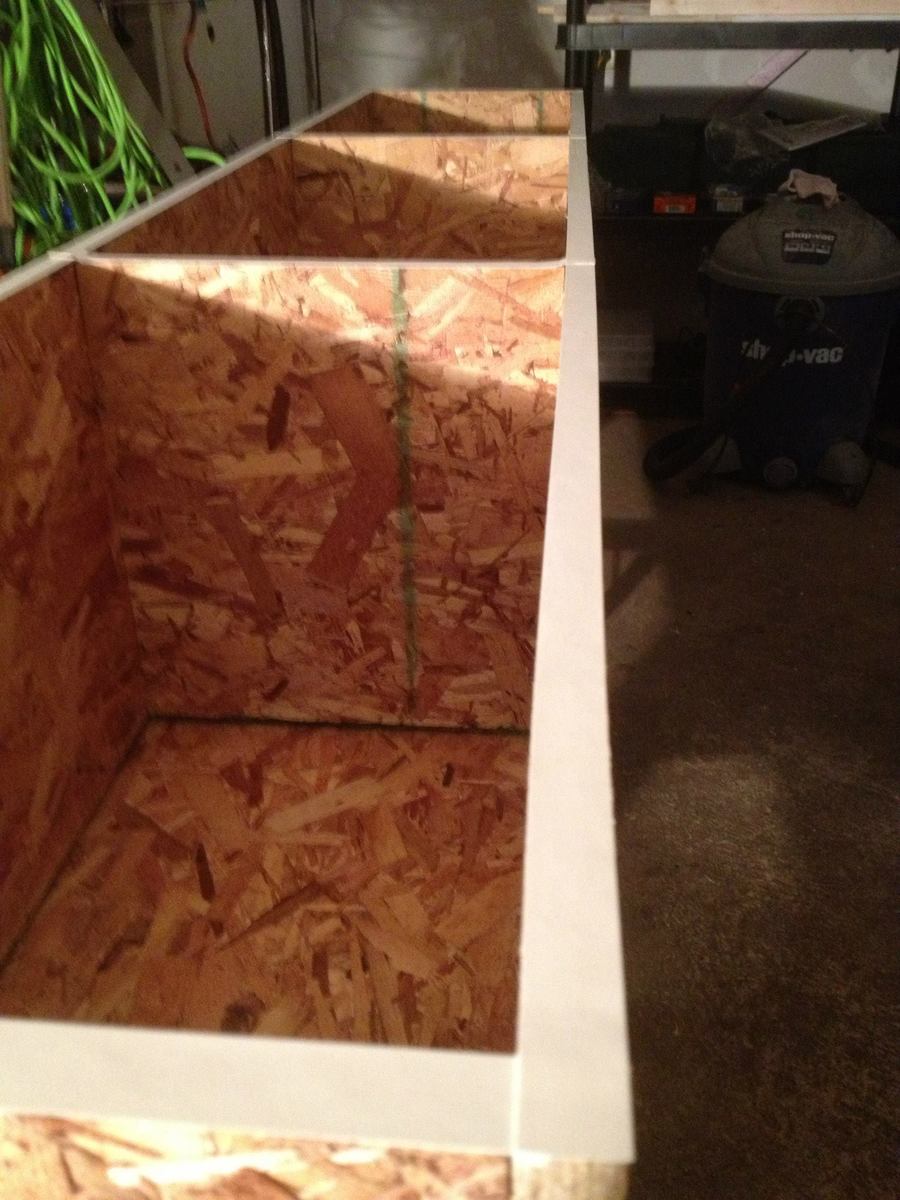
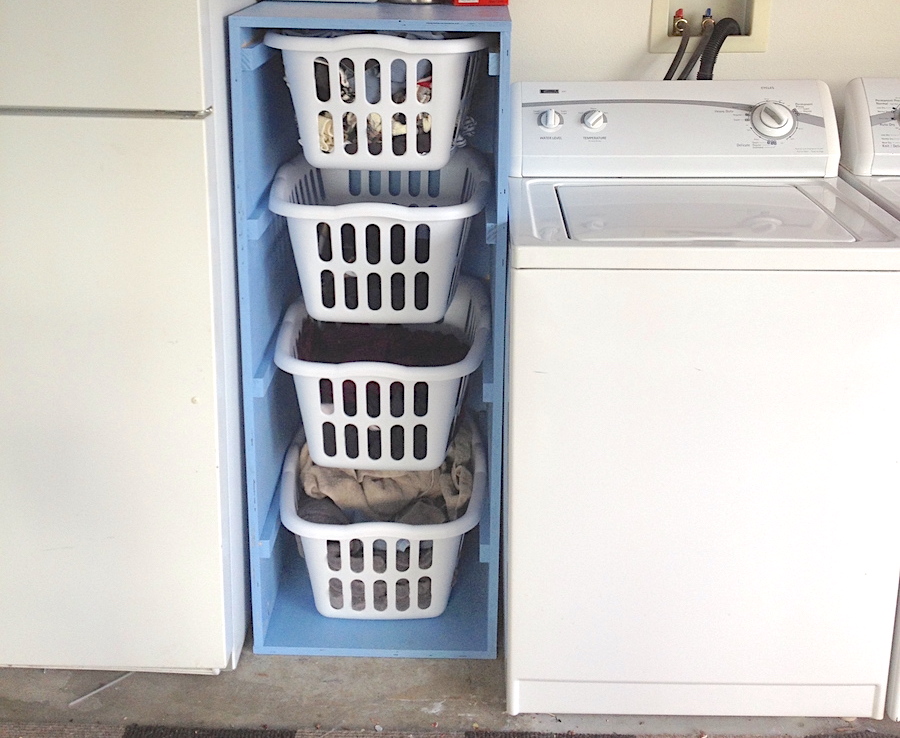
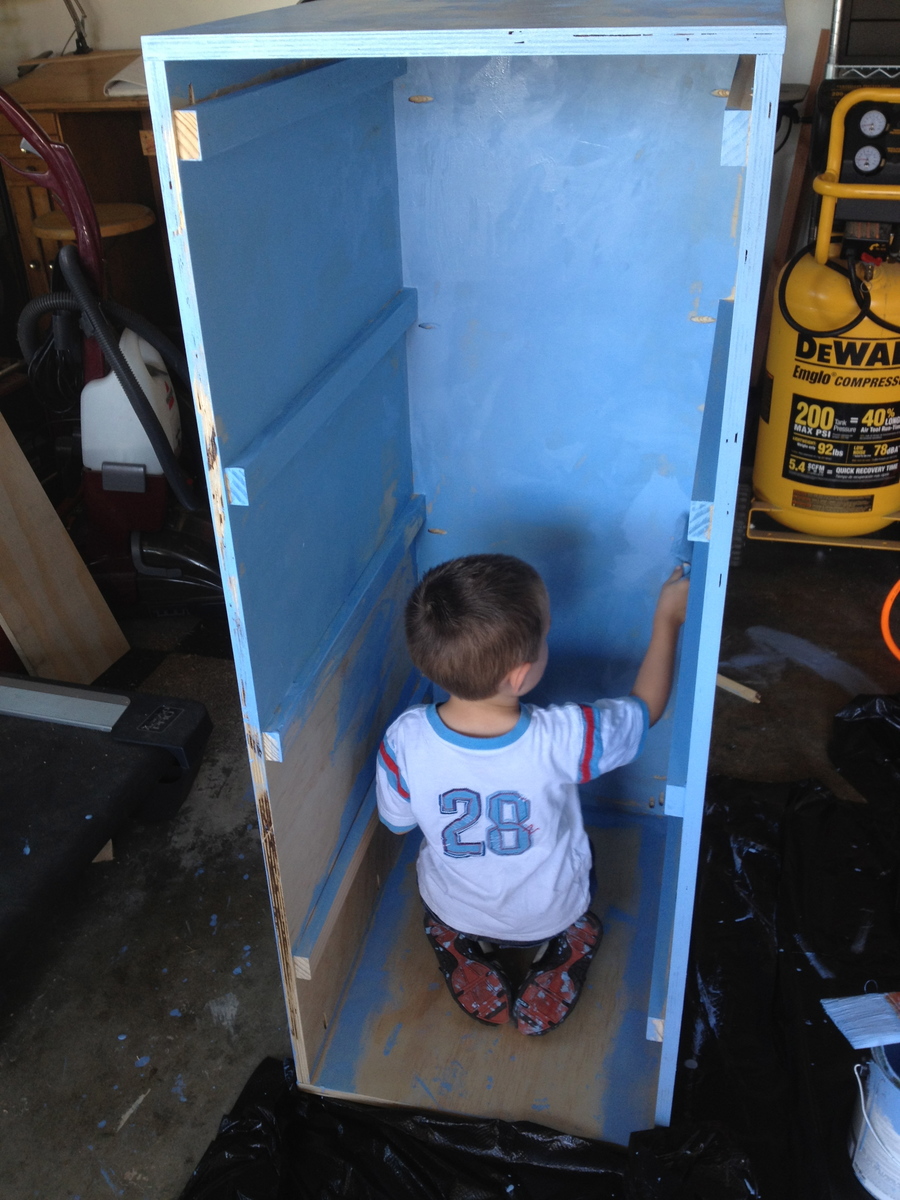
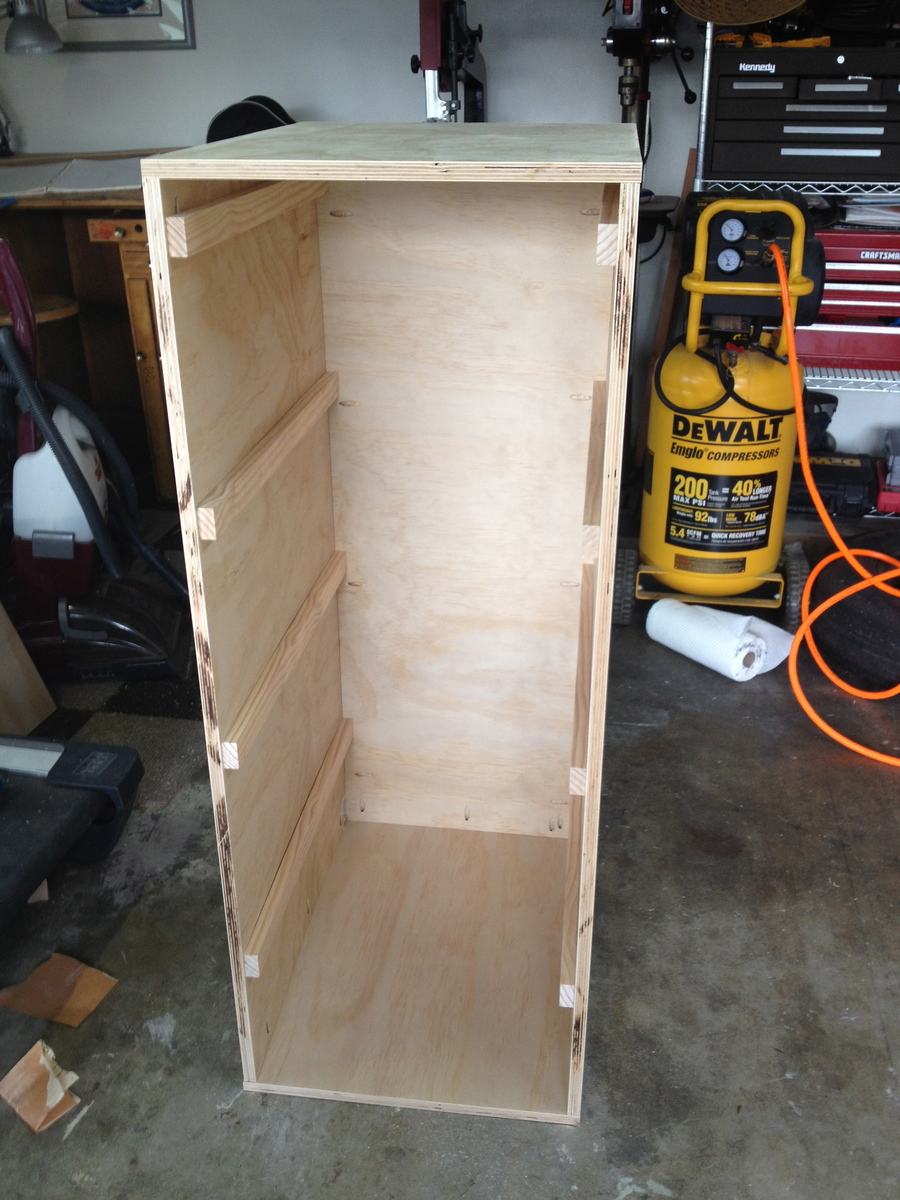
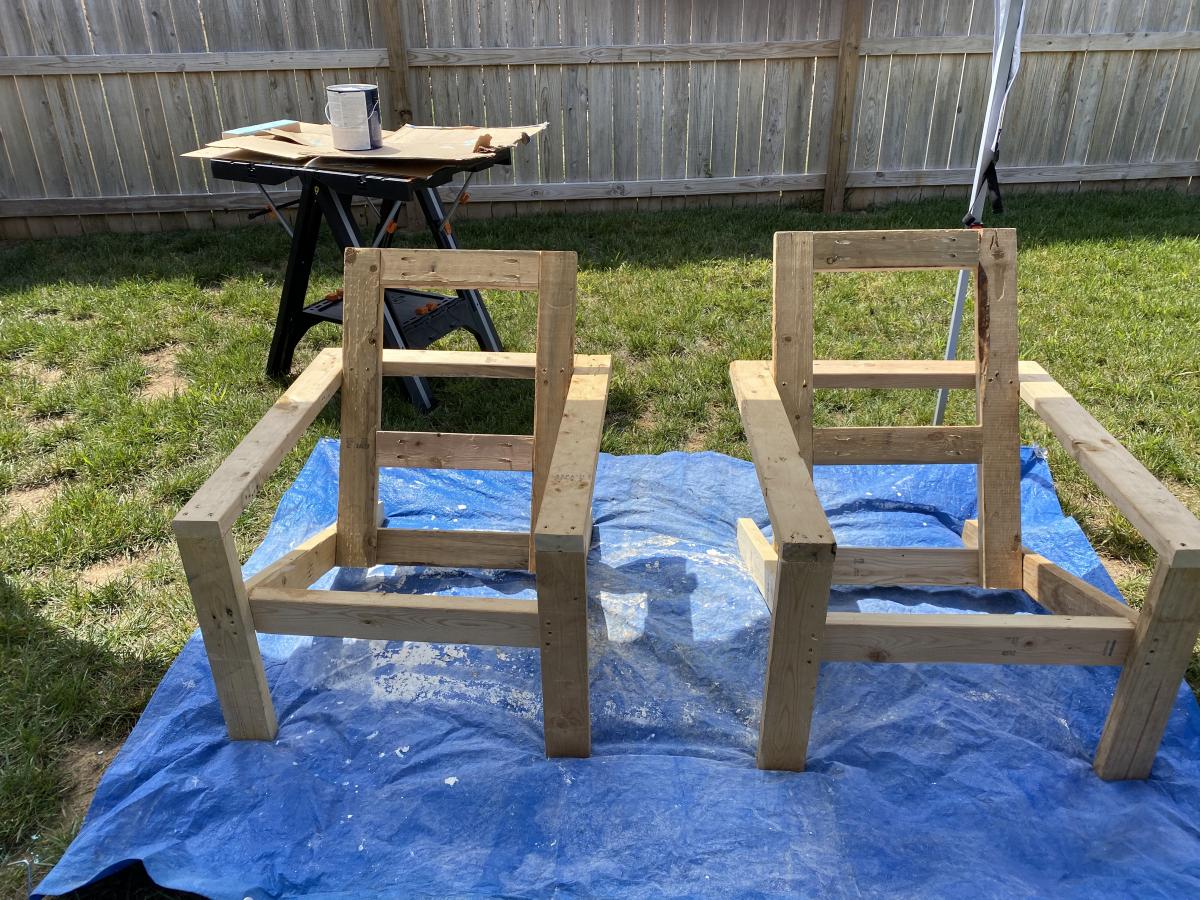
Community Brag Posts

Wood Storage Box

Submitted by Joni on Sun, 03/18/2012 - 10:42

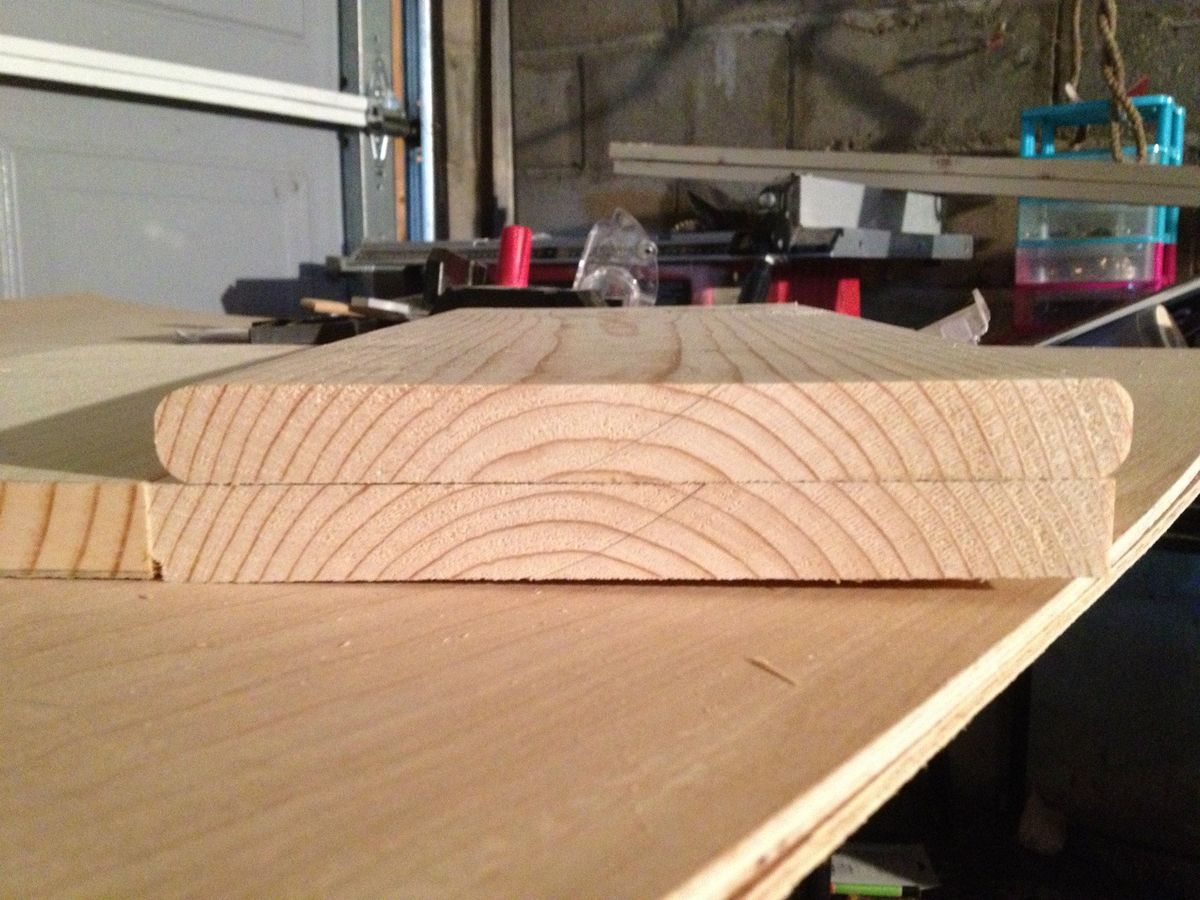
My wood scraps were definitely getting out of control, and I needed something to store the wood vertically. I had some spare wood (free from Craigslist), so I put together a wood storage bin. All in all, the project cost me the price of some Kreg screws.

Estimated Cost
Free!
Estimated Time Investment
Afternoon Project (3-6 Hours)
Recommended Skill Level
Beginner

Comments

hoffer5353

Wed, 06/06/2012 - 13:21

I have been struggling to organize my space because my lumber is on one of my work spaces. I have the perfect space for that, thanks for the great post!

Combo of Farmhouse Bed with Farmhouse Storage Bed

Submitted by jeniroosen on Mon, 01/27/2014 - 21:39

I meshed the Farmhouse Bed with the Farmhouse Storage Bed with Storage Drawers and this is the final product. Let me know if you have any questions. I learned along the way.

A few things I modified -

I knocked off the corners of the 1x8's used in the footboard and headboard as I wasn't a fan with how they butted up straight. I liked the rounded edges of the routered boards instead.

I cove routered the tops of 2x6's and loved how they turned out

When I handed my cutlist to the kid at the big orange store, he pulled OSB instead of plywood for the storage cabinets. I realized it halfway through the cutting as I was shopping for other things and didn't have the heart to tell him halfway through the job. I had to edge band (first time) the edges and the OSB soaked up a lot of primer.

Estimated Cost
$400
Estimated Time Investment
Week Long Project (20 Hours or More)
Finish Used
Glidden Antique White
Recommended Skill Level
Beginner

Comments

Headboard with Fold Down Tray Tables

Submitted by t856463 on Sat, 01/25/2020 - 21:05

Wow, my 2nd piece of furniture I attempted.  A lot of wood filler was involved.  My shelves seemed too big, so I just did one, then my back board accidentally got used in “open shop” so I used some left over pegboard.  I had fun but spent a lot of time fixing “oops, that doesn’t seem right”. Peg

Estimated Cost
$40
Estimated Time Investment
Week Long Project (20 Hours or More)
Finish Used
Paint and stain

Shed

Submitted by frankb03 on Sat, 05/07/2016 - 18:56

I couldn't find cedar shakes locally. For the front I used pine fence shakes from Lowes. They cost $1.56 each. For the sides I used Smartside 38 series primed engineered treated wood siding panel. They cost $32/panel. I had to buy two panels. On the back I used 1/2 plywood. I made the roof 76x46. All the materials were purchased from Lowes except the shingles. I used GAF Timberline HD Barkwood shingles.

Built from Plan(s)
Estimated Cost
$286 including gate hardware kit, gate pulls, shingles and stain.
Estimated Time Investment
Weekend Project (10-20 Hours)
Finish Used
Thompson's WaterSeal Stain and Sealer Nature Cedar. A great product. A stain and sealer in one product.
Recommended Skill Level
Intermediate

Laundry Sorter

Submitted by CPeezy on Sat, 05/23/2020 - 20:17

My wife had begged and begged for something like this, so I took the plunge. This was my first build and I’m getting the itch to try other things! We built the ship lap wall and sign together as well!

Comments

Outdoor Sectional

We have been looking for a deal on an outdoor sectional for a whole year. Nothing. The cheapest we could find was $899 for one that was much smaller than this one and with thinner cushions. So we upped and drove to the lumber yard and purchased the lumber on the list and got to building. The total cost of lumber was $200, the Spax screws we already had on hand. We used pocket holes for the joints. The wife made the cushions herself. She had most of the fabric on hand, we just had to buy 3 yards for the back cushions, which are made of standard size pillows. They have been sprayed with fabric protectant for outdoor use (I think she used the Scotch brand). The seat cushions are 5 inches thick (they are wrapped in silk film to protect them from getting soaked when it rains or when someone who just got out of the pool sits on them), around $100 for both. It took her a couple of days to sew the box cushion covers.

Estimated Cost
$400
Estimated Time Investment
Weekend Project (10-20 Hours)
Recommended Skill Level
Beginner
Seasonal And Holiday

Laundry Sorter

I was tired of having my laundry piled on my garage floor. These plans were the perfect solution. It fits great in the small space I had next to my washer. And it was so easy. I was able to do it all by myself. My husband just had to catch the plywood for me when I ripped it. I was able to find the baskets on the plans at Target and used left over paint from my sons' playroom. My laundry is now always sorted, making it much easier and faster to clean.

Estimated Cost
$60
Estimated Time Investment
Day Project (6-9 Hours)
Finish Used
Water based paint in eggshell finish. Since this was going to be in the garage I just used leftover paint. If it would have been used anywhere else, I would have used a semi-gloss.
Recommended Skill Level
Beginner

DIY Attached Garage Shelves

Thanks to Ana's plans for the attached garage shelves, we've managed to change 12' of garage space into 60! A quick trip to the local Home Depot and following the included instructions, these SUPER easy shelves were perfect for our needs. Thanks, Ana!

Estimated Cost
$160
Estimated Time Investment
Day Project (6-9 Hours)
Recommended Skill Level
Beginner

4 Drawer Entry Way Bench

Submitted by Anonymous (not verified) on Mon, 04/15/2024 - 10:49

I had an empty space next to my stair case and desparately needed a place for my kids to hand their back packs and put their shoes that wasn't all over the place! I adjusted Ana's plans for 4 drawers since there are 4 of us and added board and batten. I also was placing the bench over an outlet which I didn't want to lose so I got an extension piece and cut a space out for it on top with a jig saw. Love the way it came out!

Built from Plan(s)

DIY Garden Box with Trellis

Submitted by JenFarrell on Mon, 06/30/2014 - 07:13

We wanted a small garden to fit on the back patio stones and this plan fit well. We reduced the height because we have 3 small children to "help" water the plants. The trellis was hoping that we could extend the amount of produce we could grow. They're very heavy, sturdy and straightforward to build. Thanks very much!!

Estimated Cost
$120
Estimated Time Investment
Weekend Project (10-20 Hours)
Recommended Skill Level
Beginner

Big kids picnic table

Submitted by boneill on Wed, 07/08/2020 - 20:14

This was a easy build and is super strong . ITs built for a kid sized picnic table but I tested It with my weight to see how it holds up and (200 lbs) didn’t hurt it or even make the seat budge.

Built from Plan(s)
Estimated Cost
$55
Estimated Time Investment
Afternoon Project (3-6 Hours)
Finish Used
Valspar canyon brown transparent on seats and Table top . Black (midnight ) solid stain on the frame .
Recommended Skill Level
Intermediate

Double Pedestal Farmhouse Table

Built this with 2 pedestals instead of 3, 7 feet long. Stained the top, then belt sanded and added a second coat for a more rustic look. Sprayed the entire project with the Titan Flexspray. 

Built from Plan(s)
Estimated Cost
120
Estimated Time Investment
Weekend Project (10-20 Hours)
Finish Used
The top is Kona from Rustoleum
Finish is 2 coats of Sprayed Varathane Oil based Polyurethane in Satin
Sherwin Williams Summer White Pro Classic
Recommended Skill Level
Beginner

Modern Adirondack Chair, Super Sized

Submitted by Anonymous (not verified) on Fri, 08/21/2020 - 10:39

Am a big fan of Ana's work, and have used several of her plans in prior builds including the more traditional Adirondack chairs. Those stayed with my old house, and I wanted something different for my new house. Really liked her Modern Adirondack design with the floating arm rest. However, plans are like recipes to me--a guideline. I wanted the back boards to run up and down, and I am a bit more robust than the lovely and petite Ms. White, so they would need to be wider after I built the first one at 19 1/2" wide per plan. The next three I made 22" wide and that worked well without throwing off the geometry and angles of the other parts. Since I ran the backboards up and down, I needed some cross beams for stability and to give an attachment point for the middle of the boards. Cut some 2x4s at 15" wide, drilled pocket holes in both ends, and attached in between the back supports with the pockets facing up to be hidden by the back boards. All of the 2x4s were leftover cut-offs from the houses being built in my neighborhood. Since the frames were free, I splurged and went with cedar boards for the backs and bottoms. With the wider frames, I had to use 1x12s ripped down to 10 3/4" to get the right look (about a board's width in between). Needed some color, so I painted the frames Teal Seaglass from Menards. Cedar was stained with a natural deck stain from Sherwin Williams. I experimented with salt paint (mixing unsanded grout with the paint) to give a heavily textured and weathered finish but this was unecessary--the wood was distressed enough and I am a terrible painter. It also toned down the color so I skipped that step and just went with 2 coats of plain paint. It looks like outdoor furniture should up close. As always, am pleased with Ana's plans. Thank you for doing all the hard work!

Estimated Cost
about $200 for all 4 chairs due to cedar and paint
Estimated Time Investment
Weekend Project (10-20 Hours)
Finish Used
Paint - Pittsburgh matte exterior with Dutch Boy coloring Teal Seaglass
Stain - Sherwin Williams Superdeck stain, Natural finish
Recommended Skill Level
Starter Project

Comments

Seasonal And Holiday

Play Deck and Swing

Submitted by lervy on Wed, 09/03/2014 - 02:23

Play Deck and Swing

Estimated Cost
£700
Estimated Time Investment
Week Long Project (20 Hours or More)
Finish Used
Ronseal Country Oak Fence Stain
Recommended Skill Level
Intermediate

Comments

booksnotbombs

Wed, 09/03/2014 - 07:35

You have a BEAUTIFUL view from your yard! Just curious, where do you live? I assumed somewhere in Europe due to the currency. The play area looks fantastic. What lucky kiddos!

Seasonal And Holiday

Garage Shelves + Work Bench

I used Ana’s plans for the garage shelves, but modified them to include a work bench. A lot of you tubers have done this, built a combination work bench and shelving, but I built nearly everything according to Ana’s plans. 12 feet long, 24 inches deep. I got some LED lights (two 1600 lumen strip lights) from menards that really brighten up my entire garage and make the work bench more useful. The one thing I really wanted was to not have a supporting pillar on the work bench to keep it open, and I loved how it turned out. I went for 3/4 plywood, mostly to have a stronger work surface, and I’m glad I did. I have since added a supporting 2x6 off of the study to support the top shelf above the bench and its strong enough to do pull-ups off of, and I have reinforced the support leg under the bench with a cross bar. Thanks for the great plans!!

Estimated Cost
~$200 (lumber prices have gone up recently due to supply issues with covid)
Estimated Time Investment
Weekend Project (10-20 Hours)
Recommended Skill Level
Starter Project

Comments

Simple Bookshelves

A smaller version of the original plan, intended to be a nightstand for our bedroom.

Built from Plan(s)
Estimated Cost
25
Estimated Time Investment
Afternoon Project (3-6 Hours)
Finish Used
Behr Paint in Distant Thunder
Recommended Skill Level
Beginner

Comments

Farmhouse bench

Submitted by Anonymous (not verified) on Sat, 02/25/2017 - 10:05

My husband and I built this for a wedding gift.  We love the plans, so easy to follow and alter measurements.  This one is white washed with monogram design.

Estimated Time Investment
Afternoon Project (3-6 Hours)
Finish Used
Dark walnut stain with white wash on top. The white wash is one scoop of white chalk paint with a bit of water add. Brush on top on dark stain and wipe off with clean damp towel. Top with at least 3 layers of polyurethane.
Recommended Skill Level
Beginner

Frame around bathroom mirror

I built a frame around the bathroom mirror. I used pine 2x3s. I used pocket holes and glue on my joints. I used minwax dark walnut. I’m happy with how it turned out.

Estimated Cost
Less than $10
Estimated Time Investment
An Hour or Two (0-2 Hours)
Recommended Skill Level
Beginner

Kentwood bookcase - upsized

I made the original plan higher and wider, and added an extra shelf. Very pleased with the outcome!

Estimated Cost
AUD $200
Estimated Time Investment
Day Project (6-9 Hours)
Finish Used
Water-based stain (Walnut) & water-based satin varnish
Recommended Skill Level
Beginner

Comments

Back