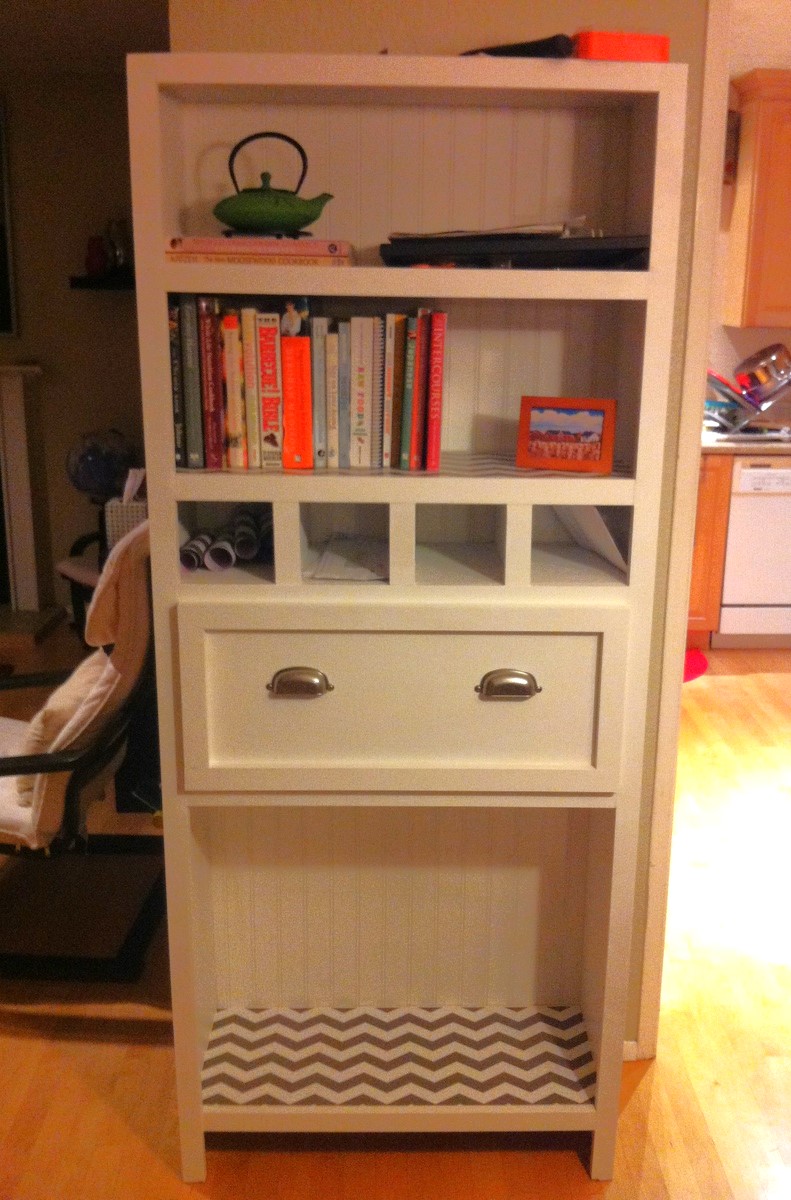
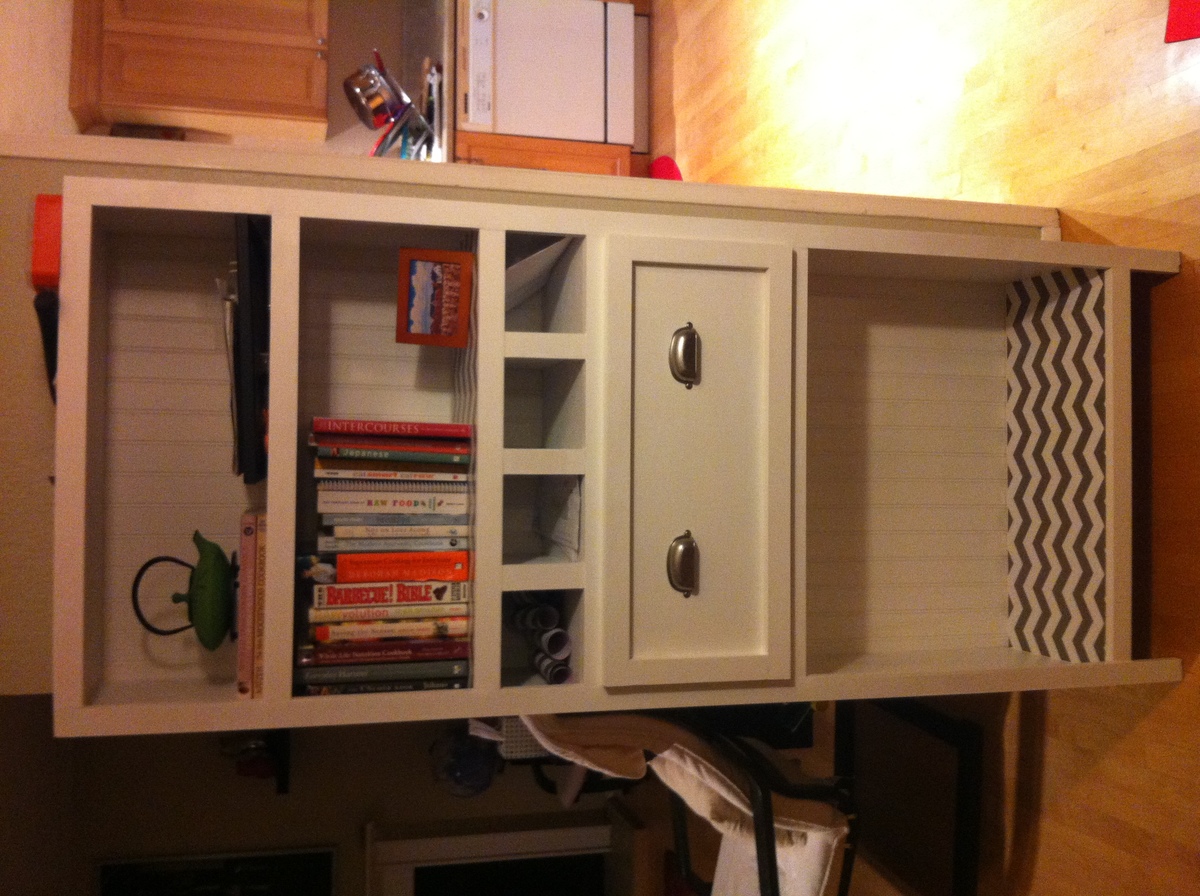
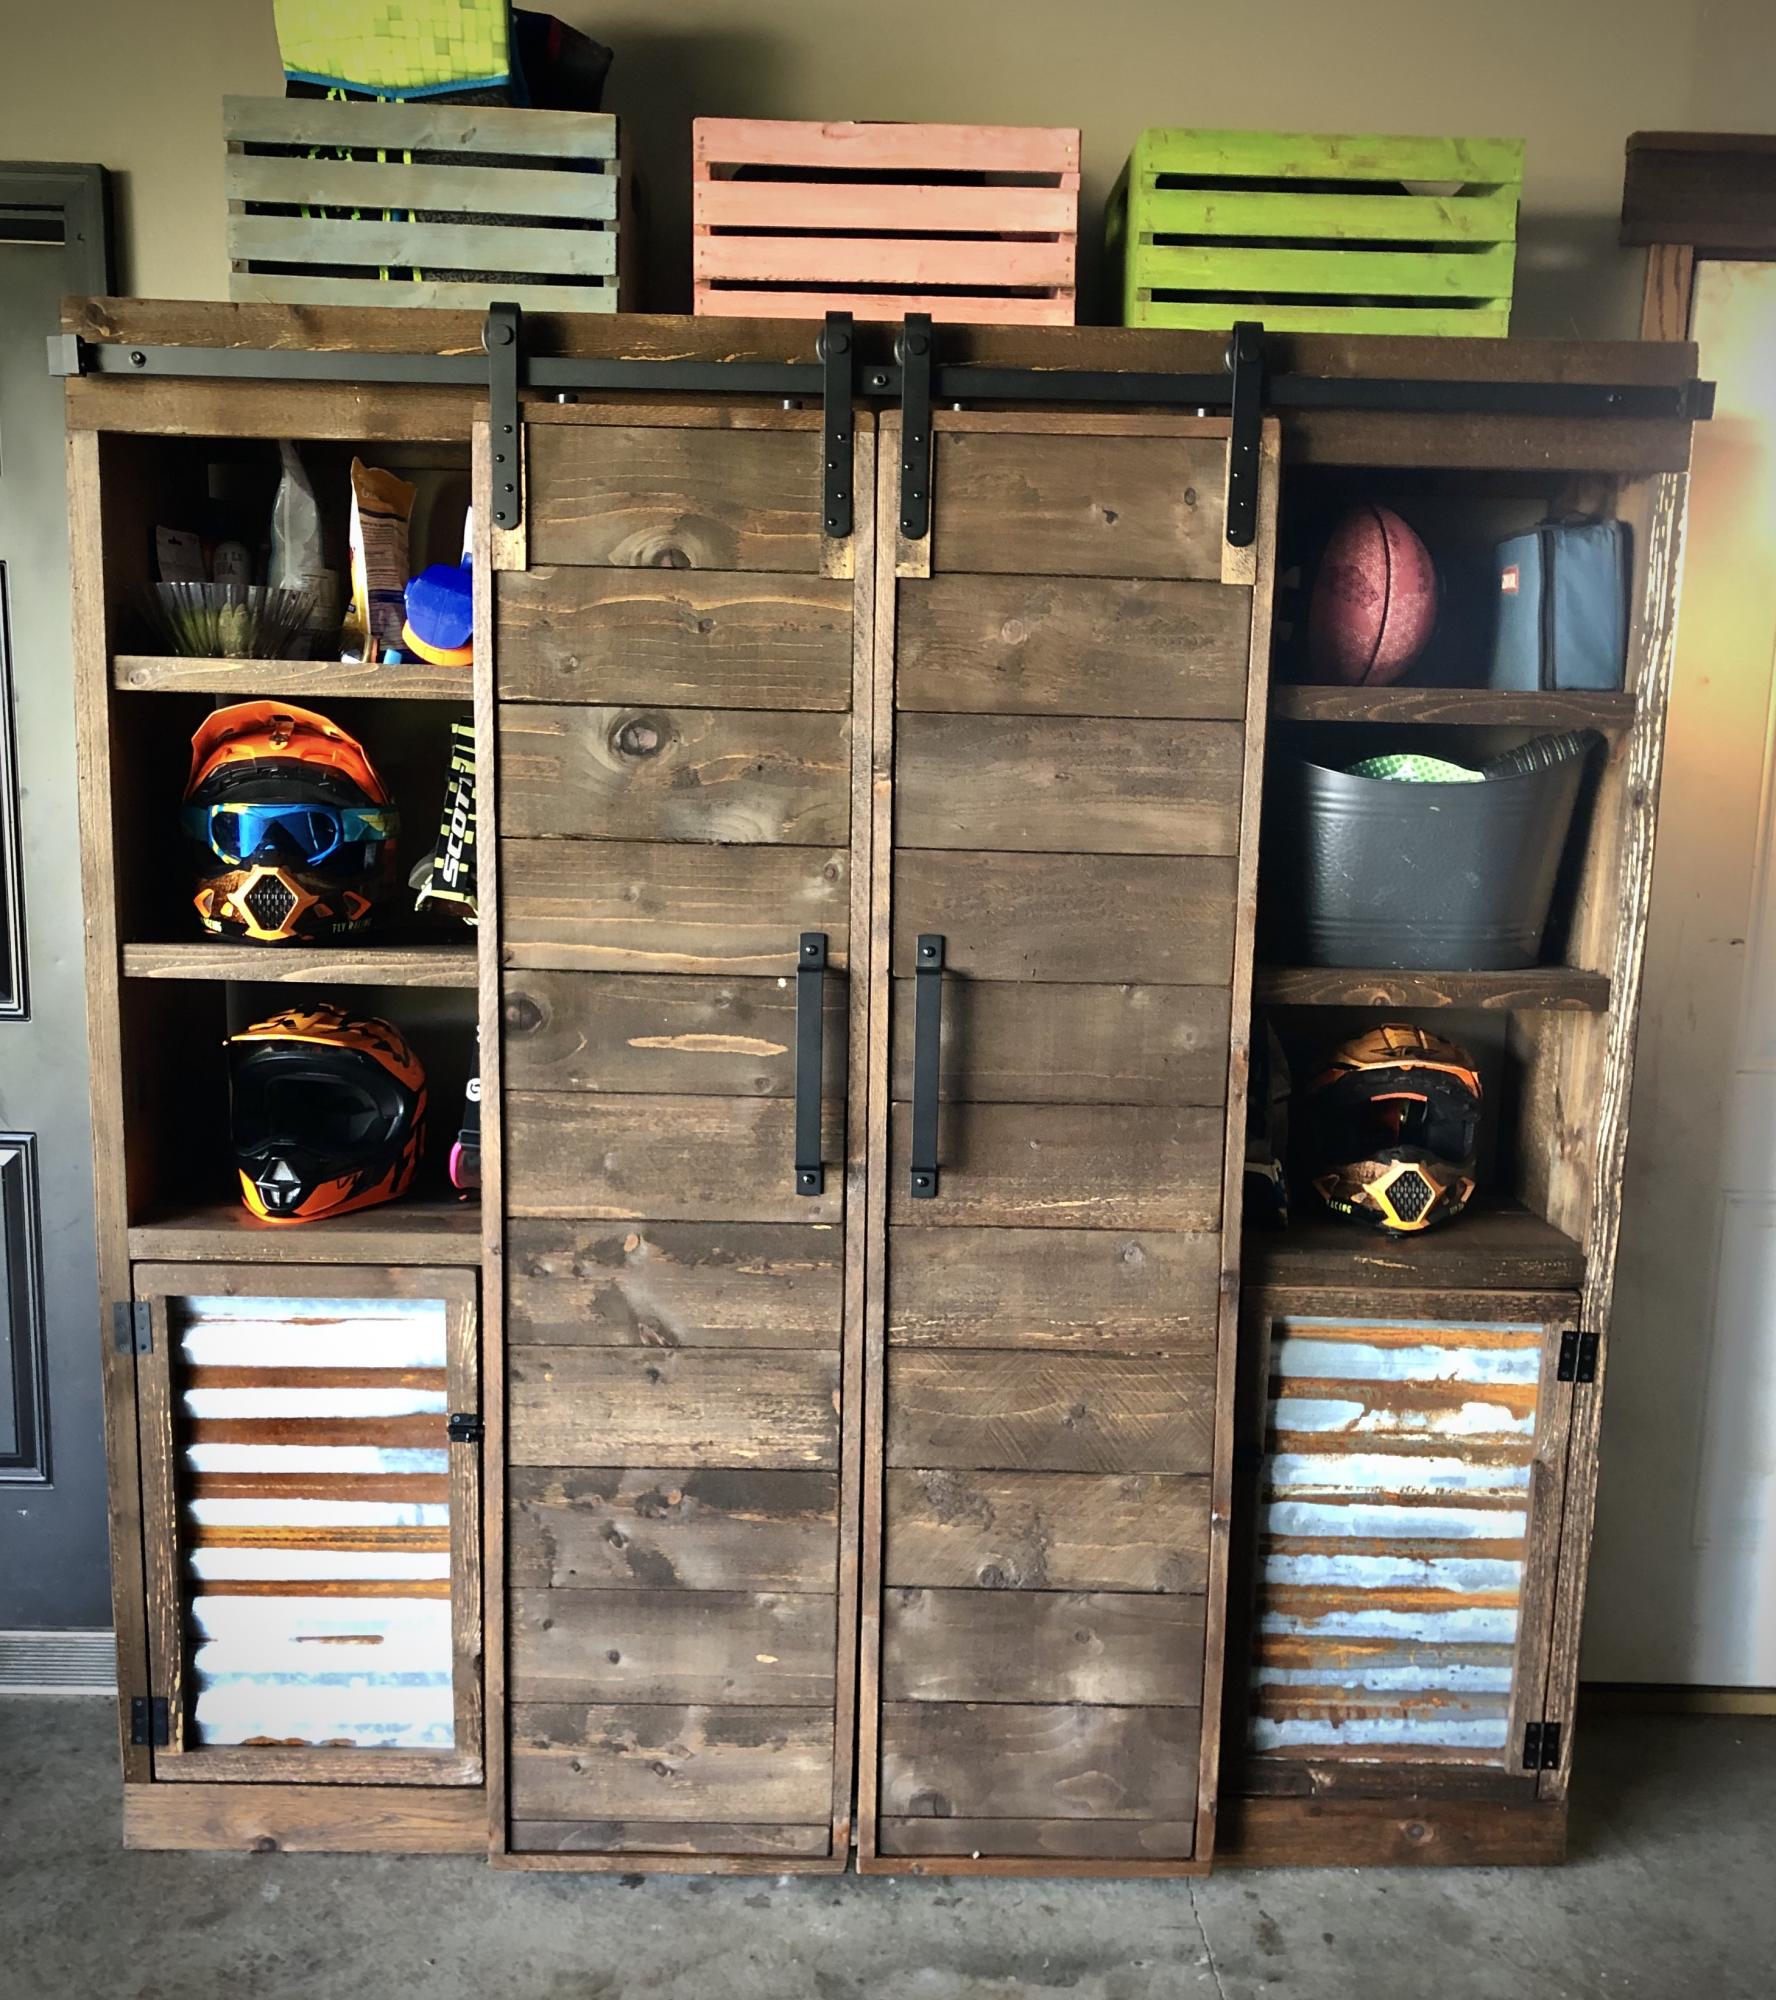
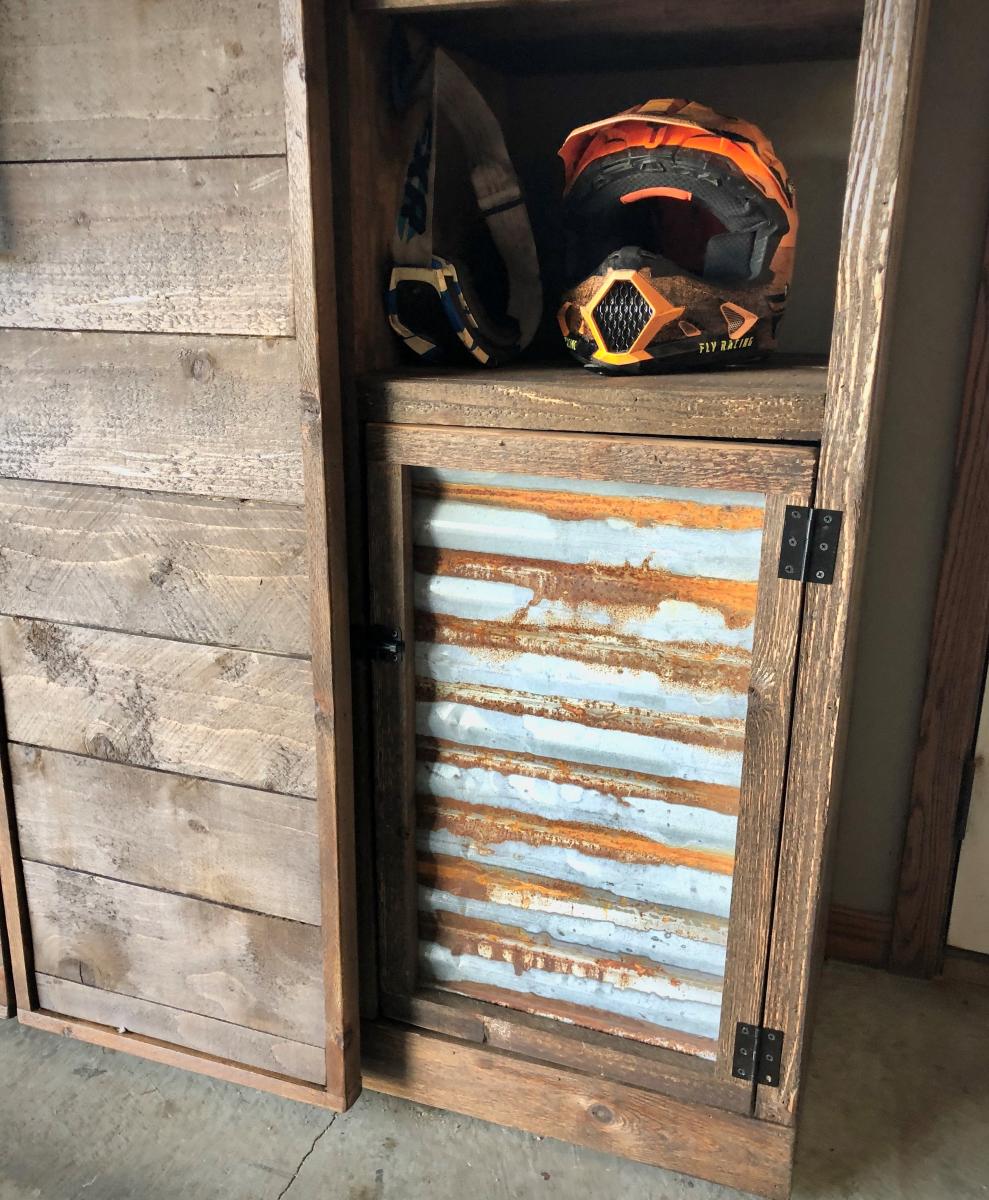
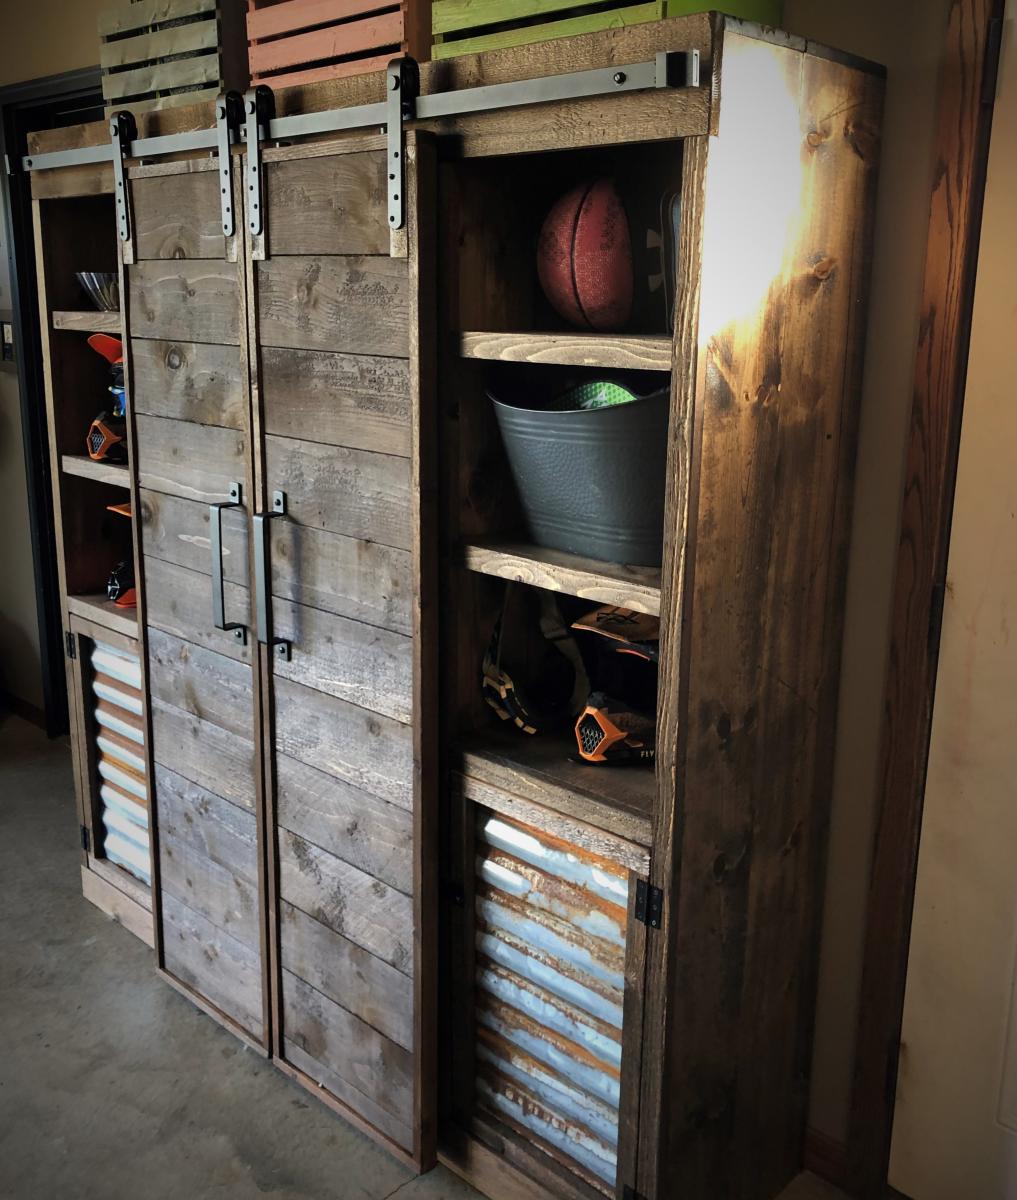
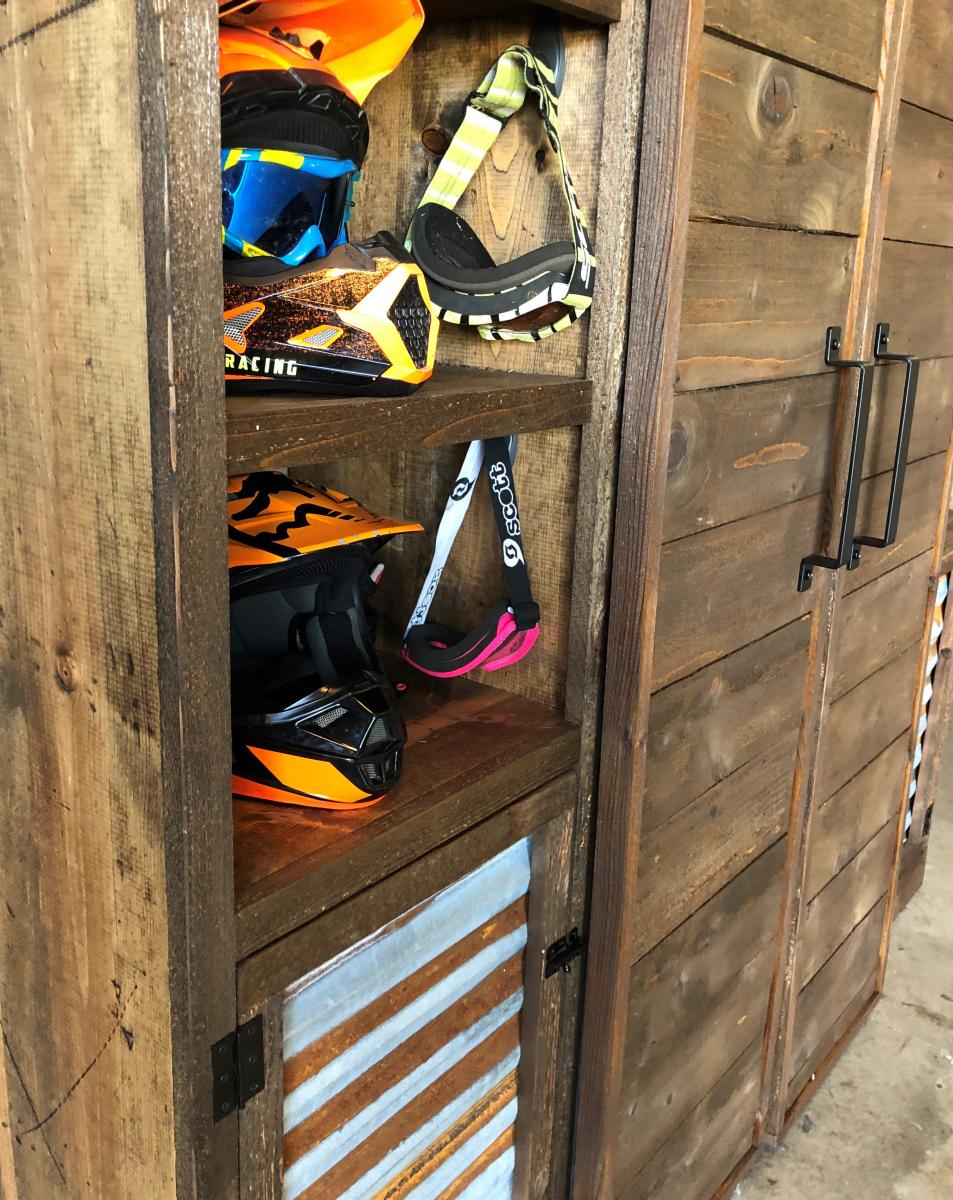
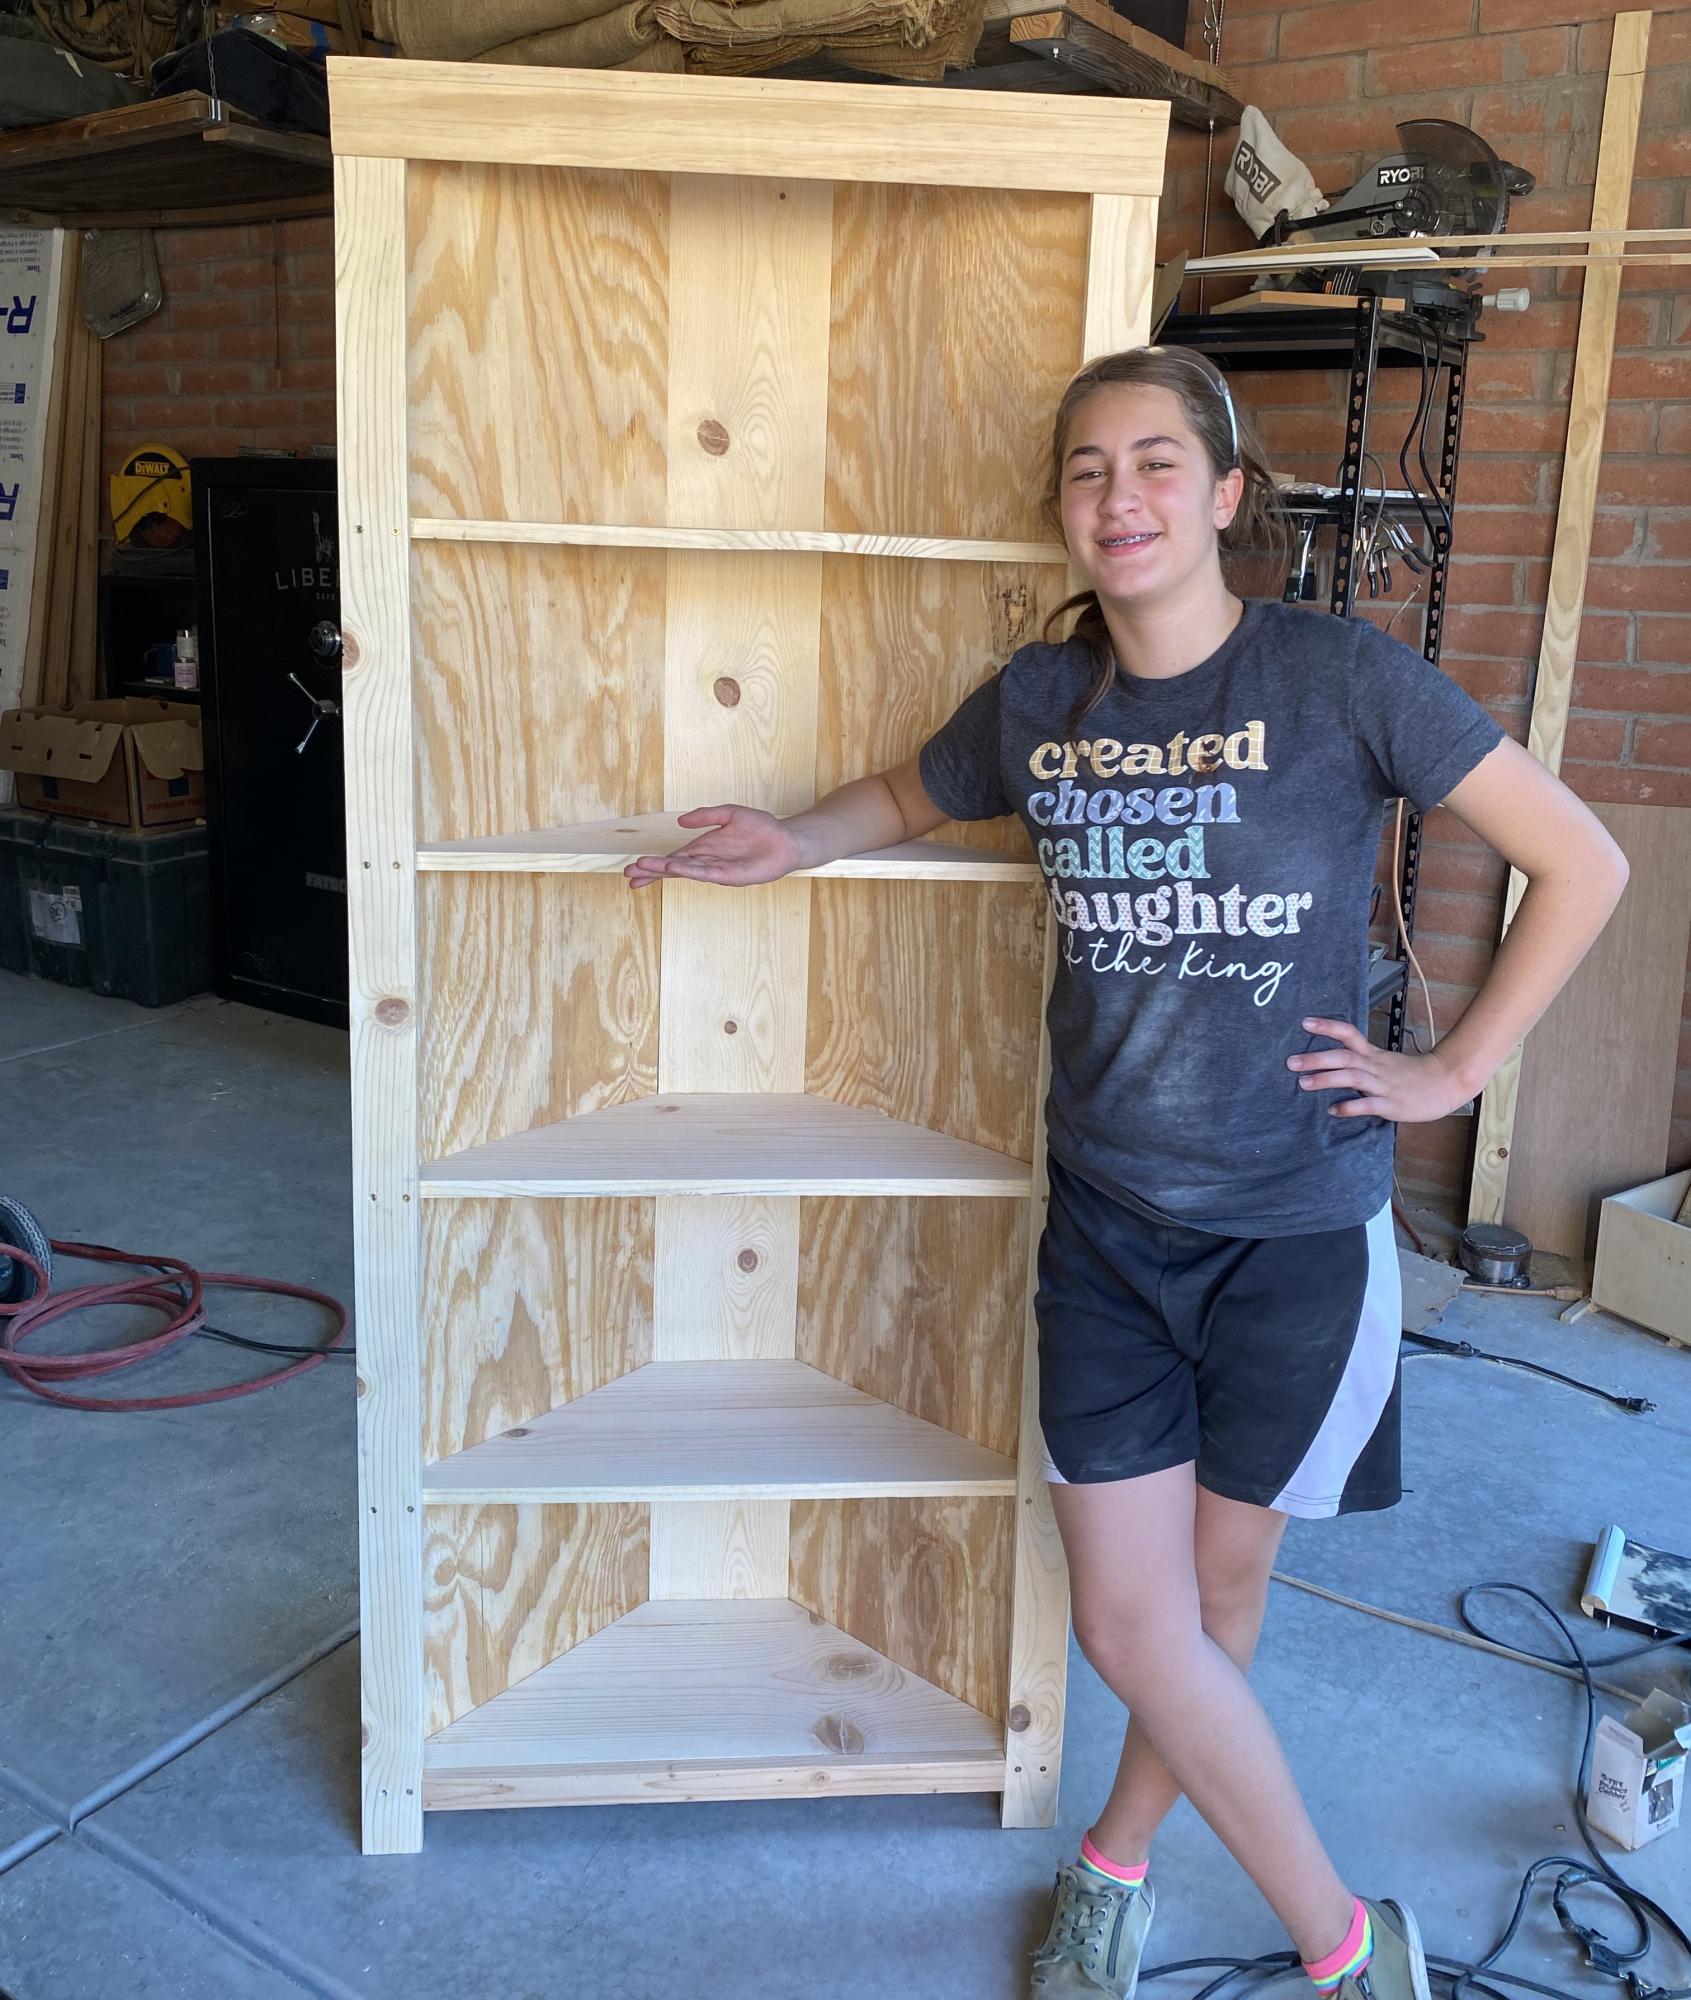
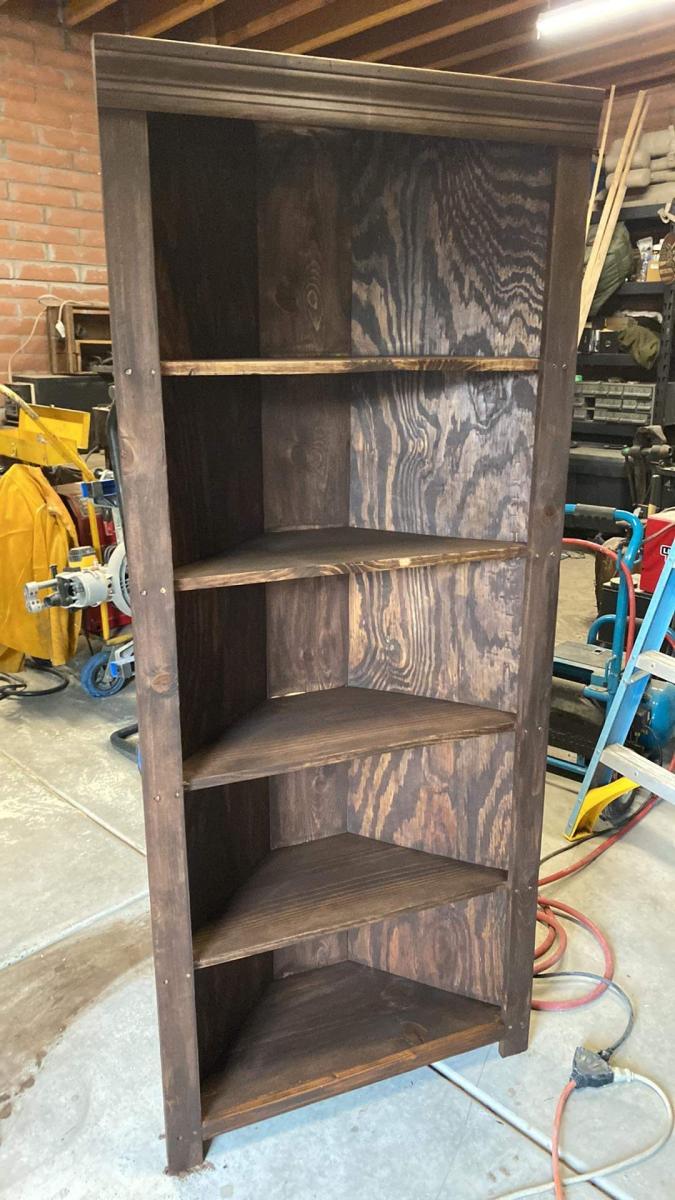
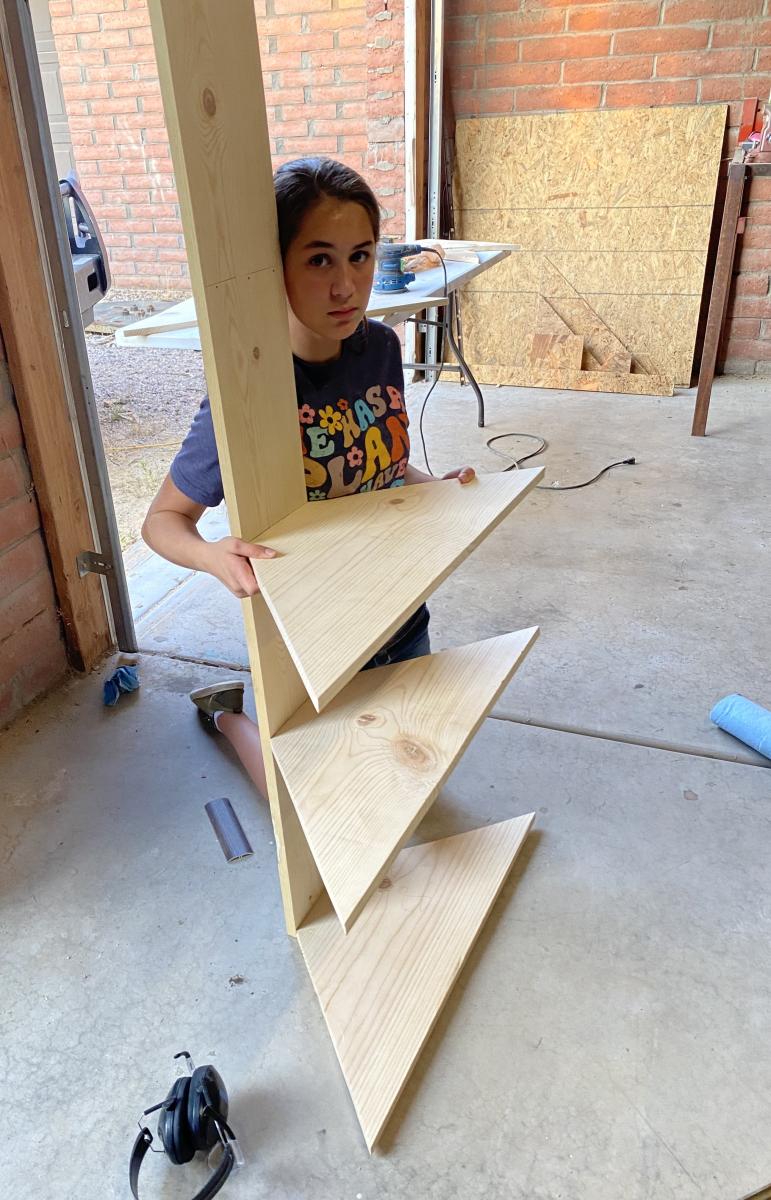
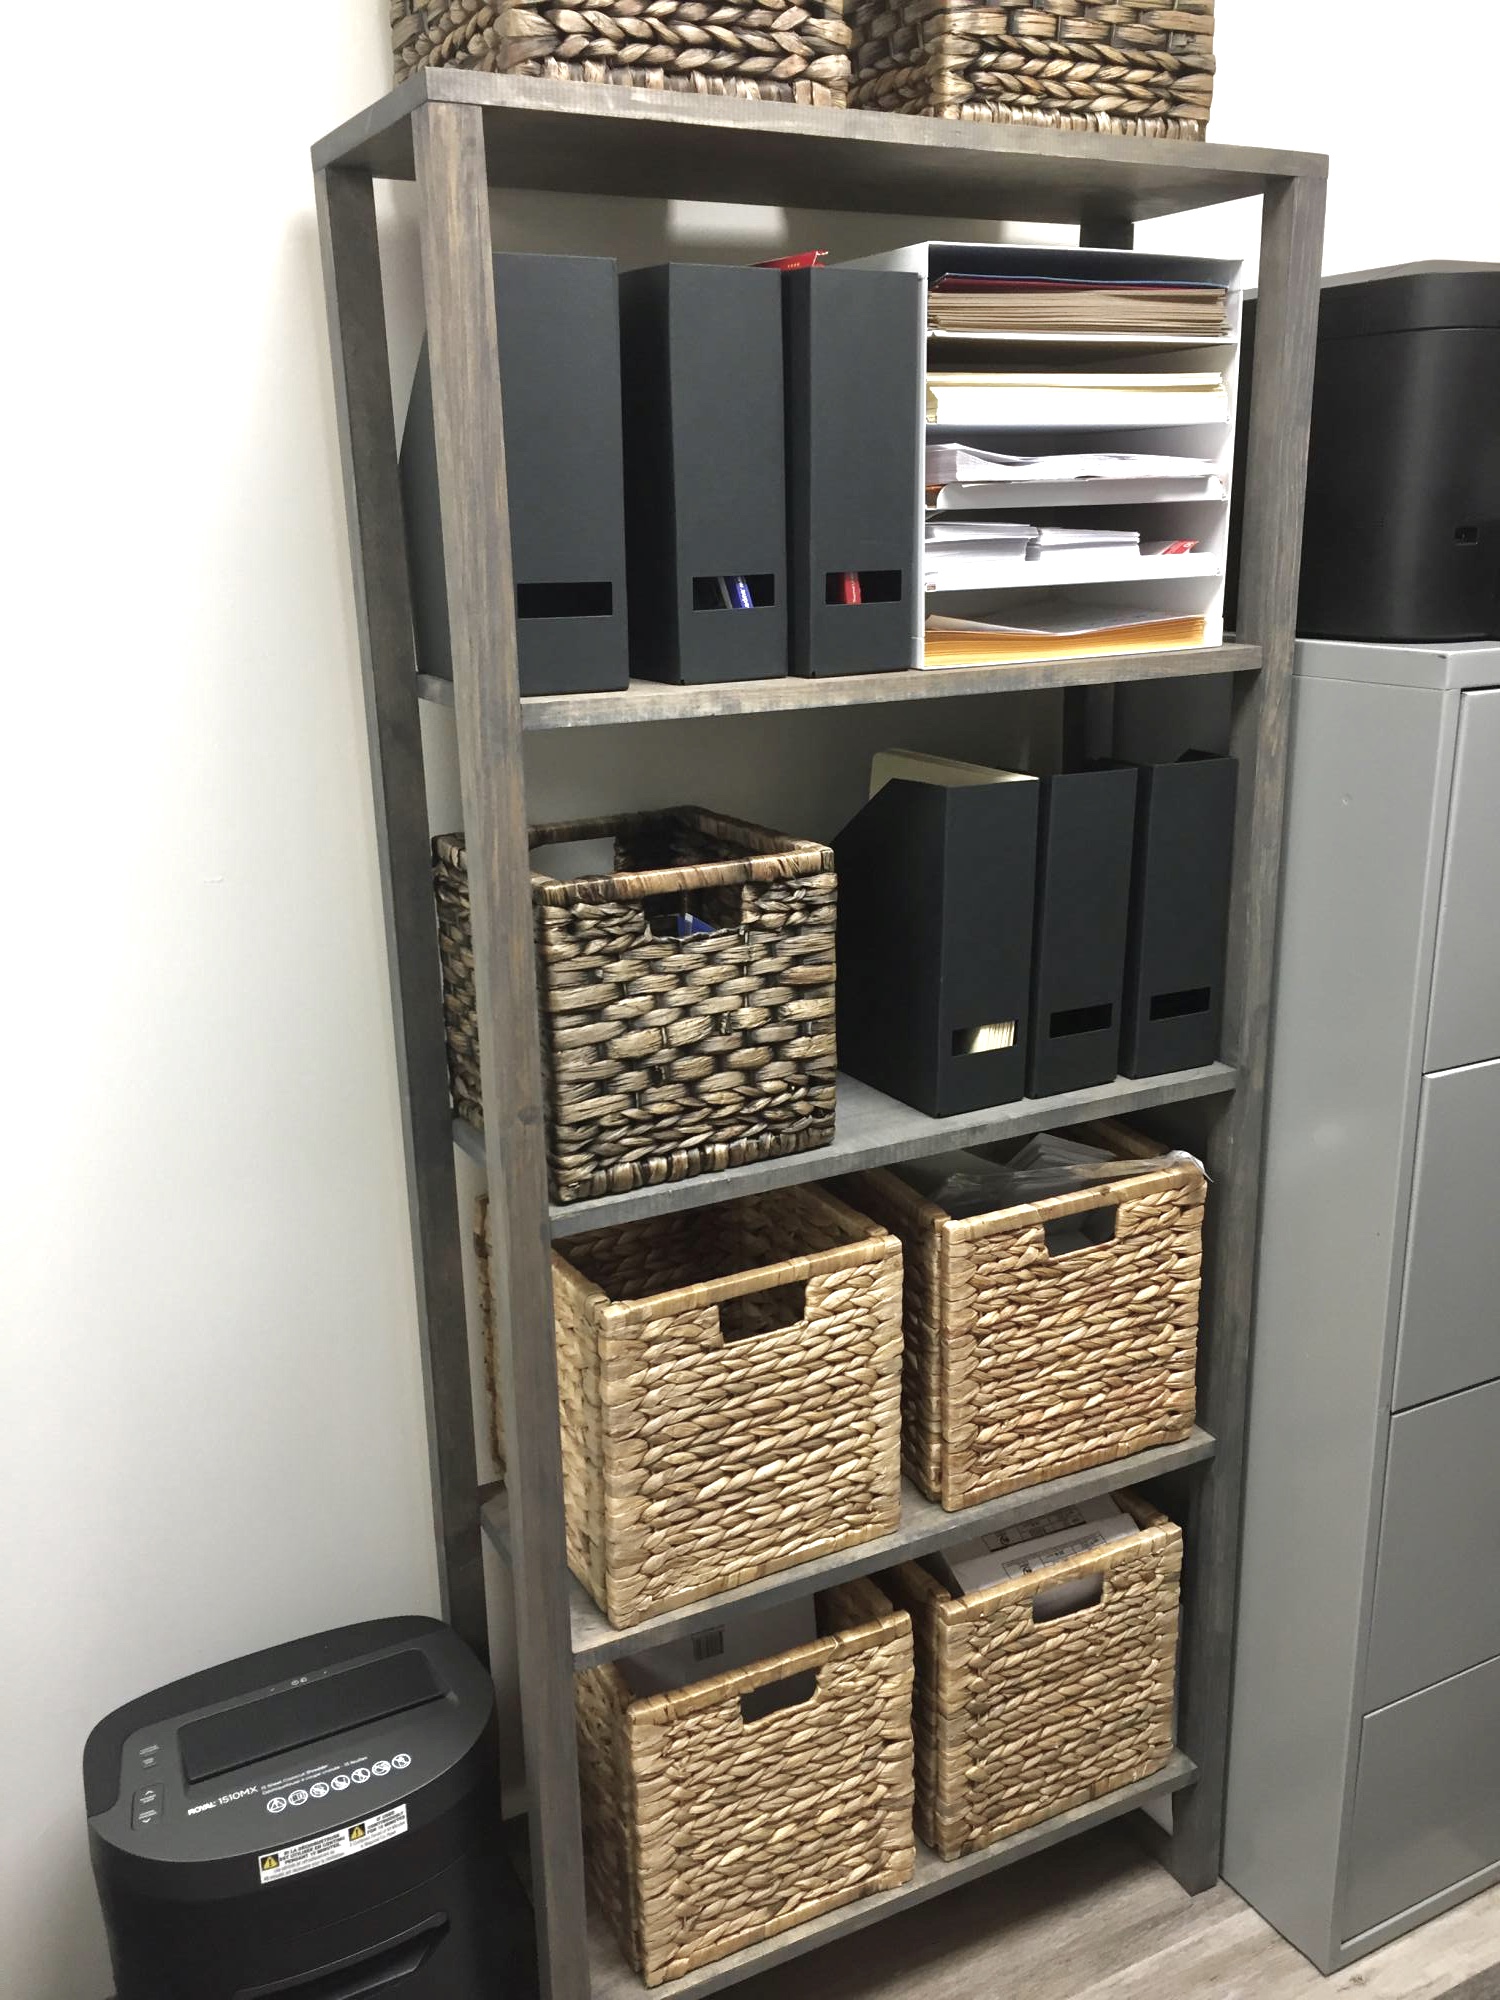
I adapted this build from the Barn Door Entertainment Center plan. Like most families, our storage space needed some major help! We had minimal space to work with and all sorts of awkward things to store (rollerblades, helmets, etc). I measured how deep I needed the shelves to be to fit our helmets and pretty much built around that!
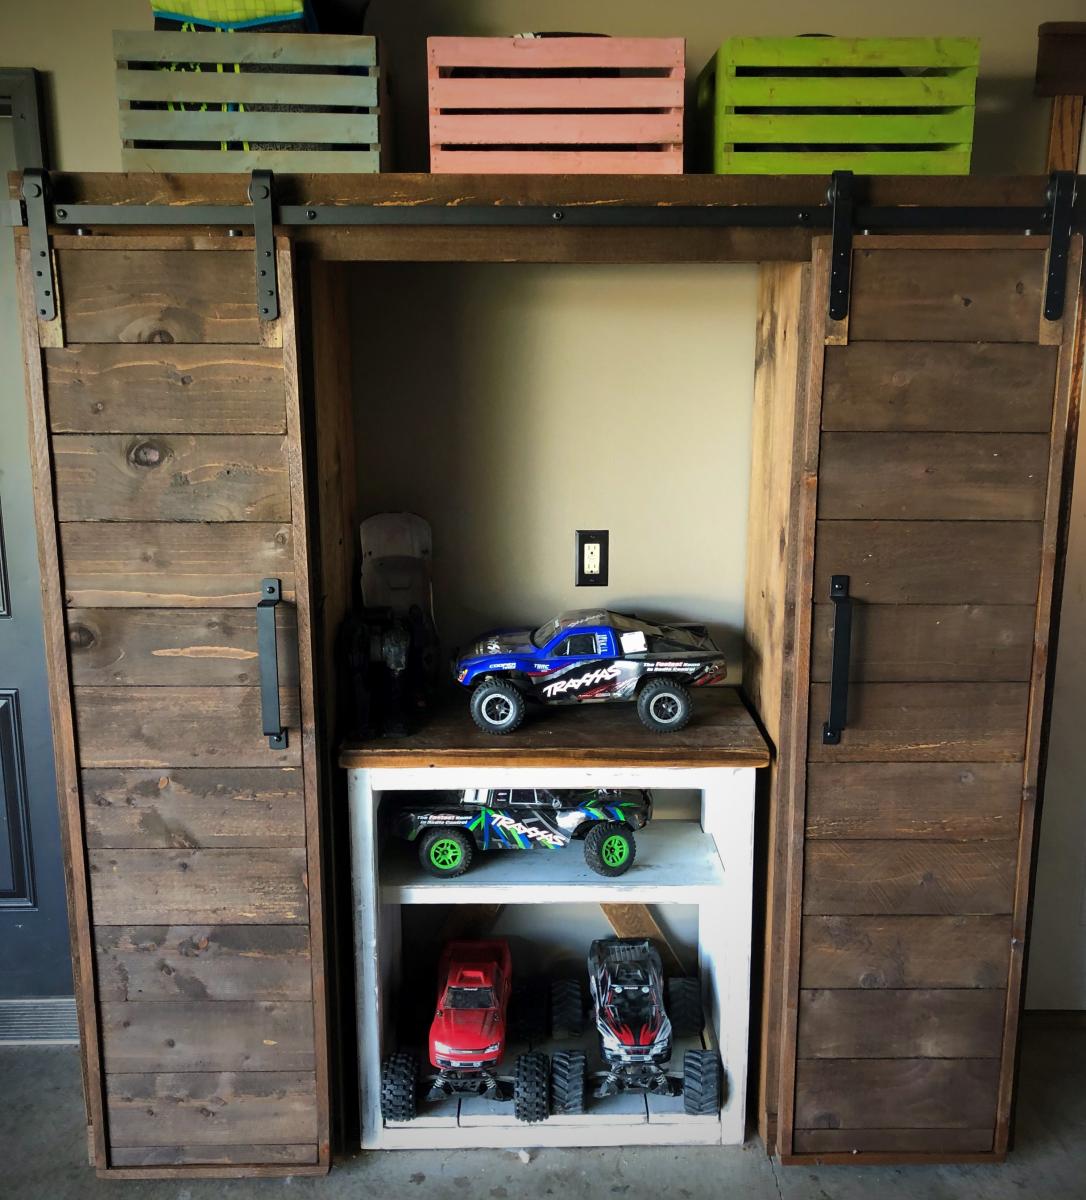
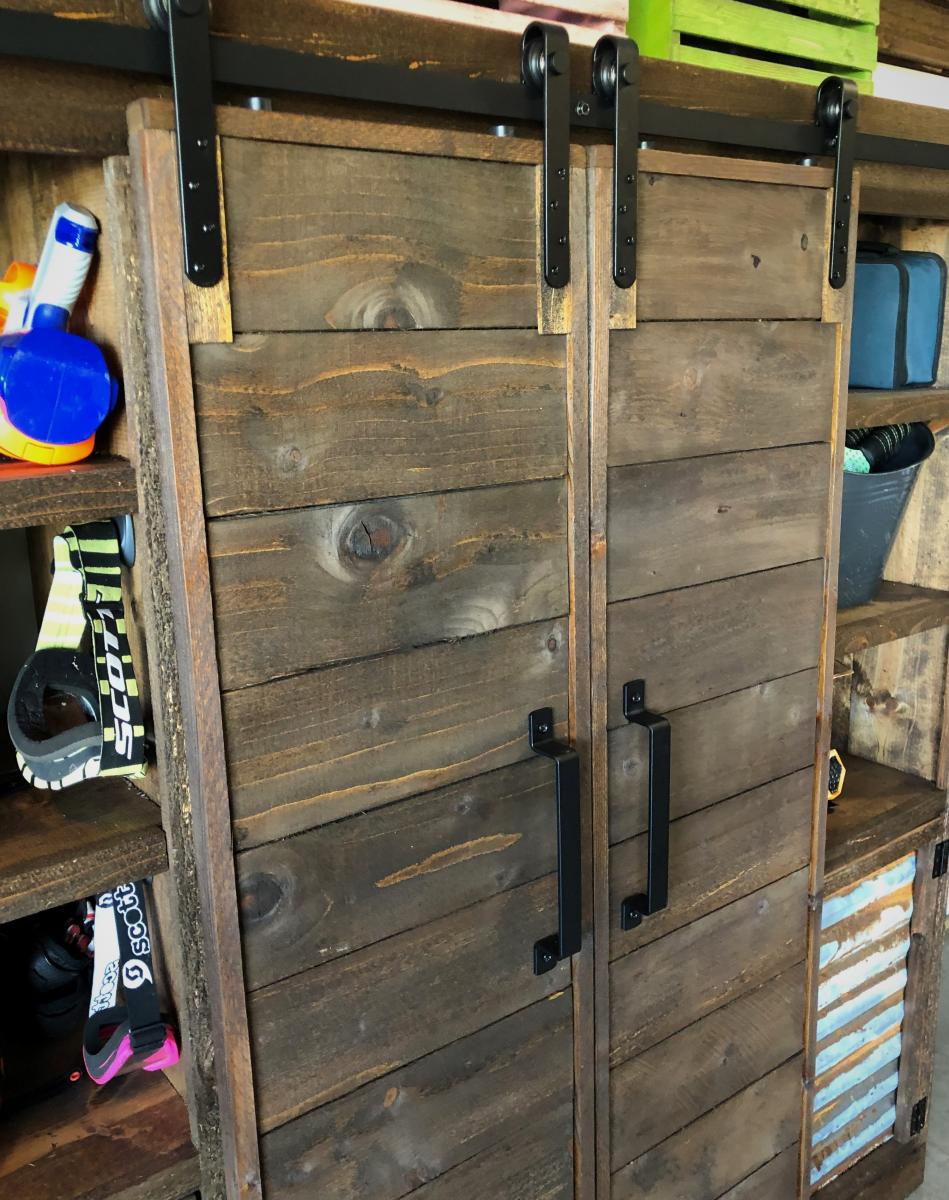
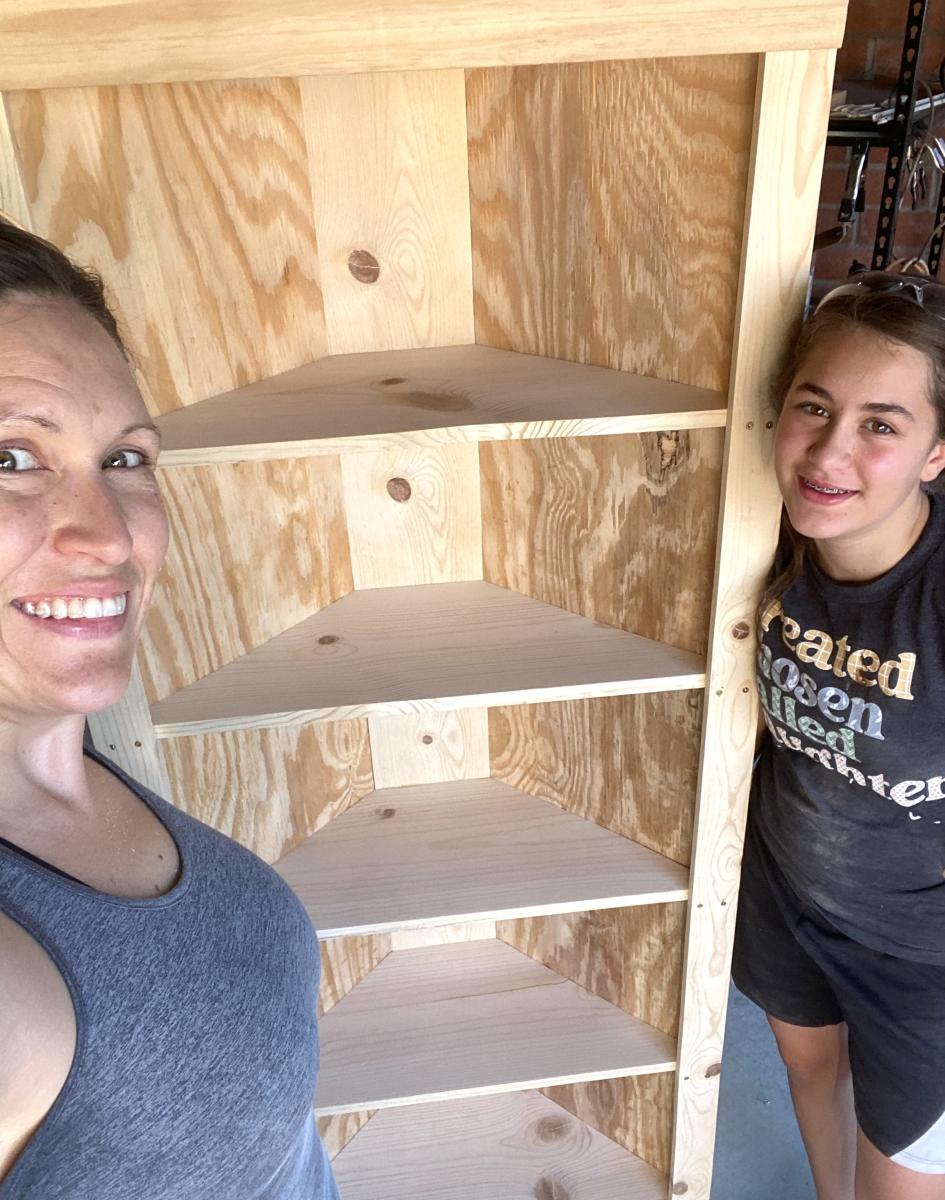
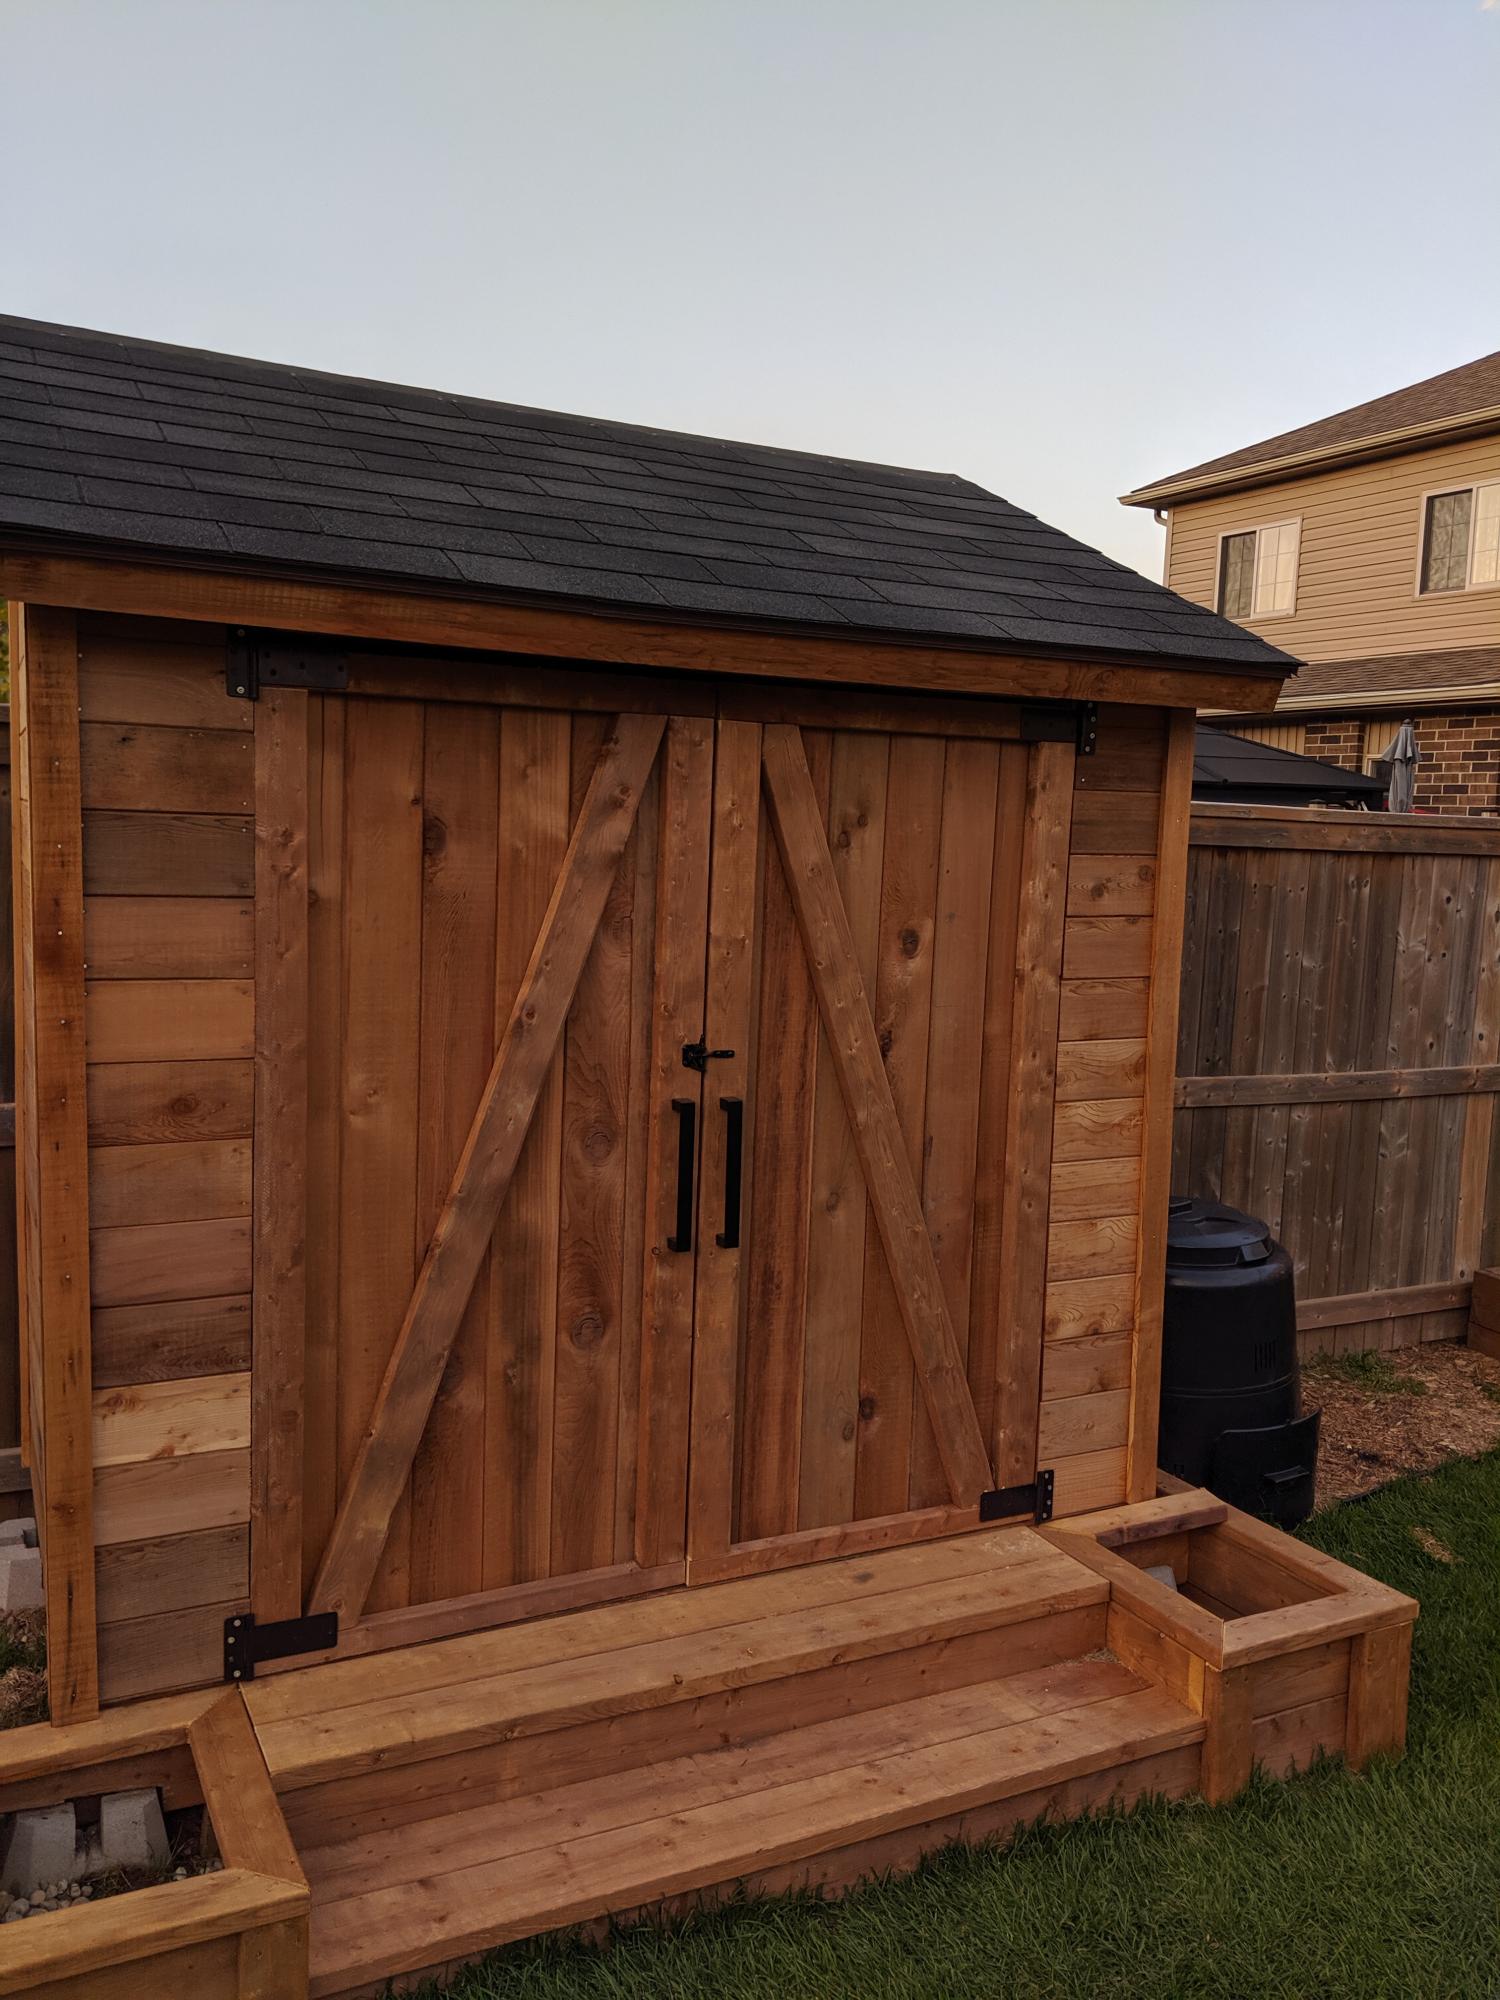
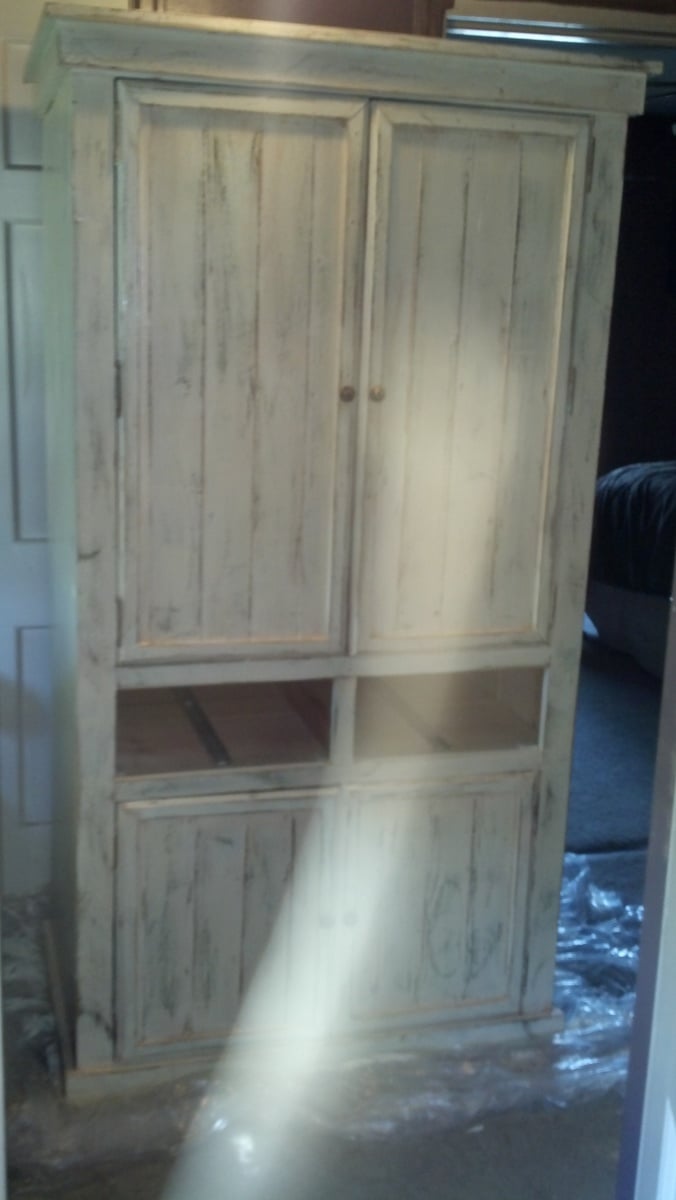
The open shelves are great as they allow easy storage spots for the kids to reach - the doors are great because they allow me to hide the stuff that just never seems to get organized! And the best part? The sliding barn doors! I park next to this thing so not having a swing out door was a major win for me!
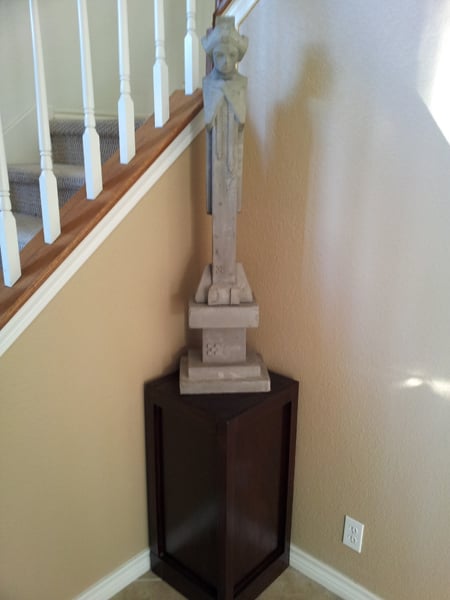
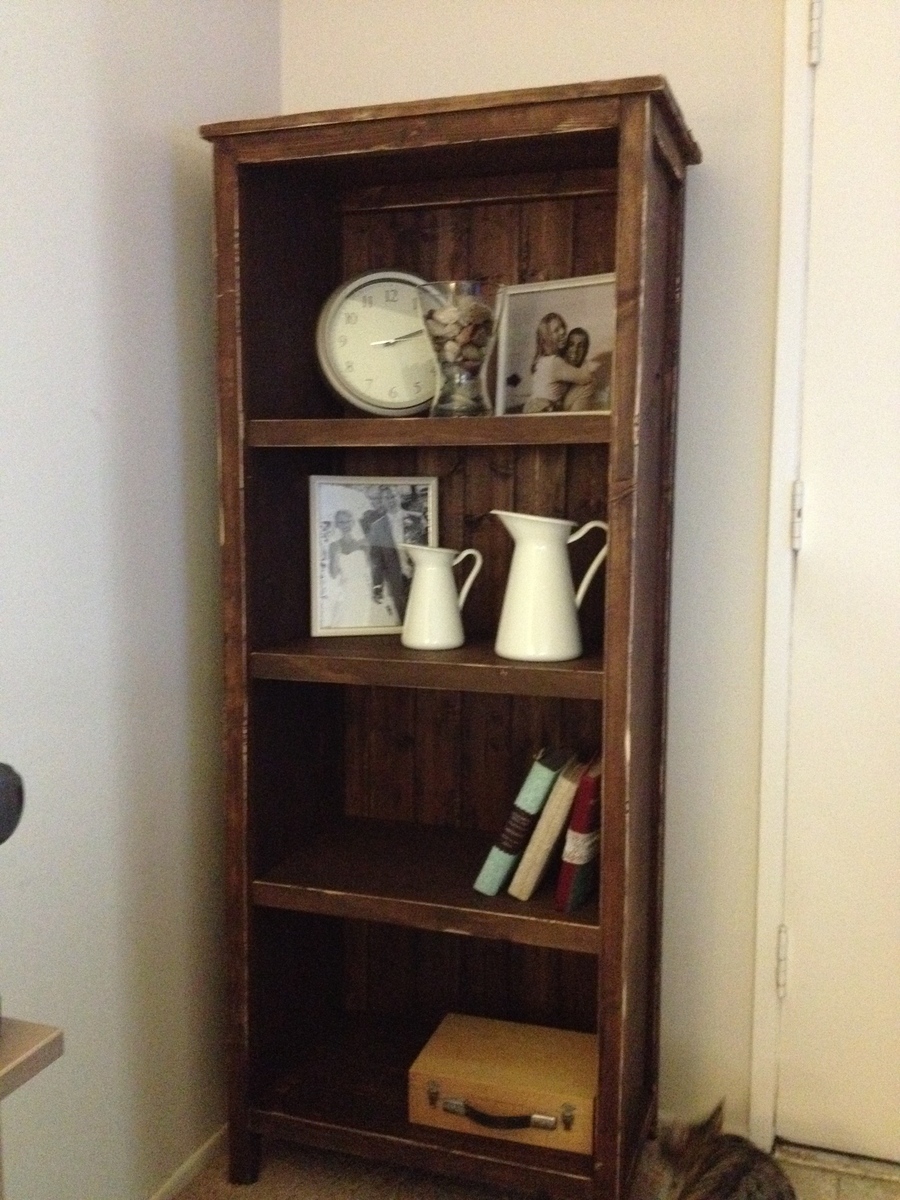
I left the center of this piece open so I could fit a stand I already had in our garage, which allowed for a “charging station” for the cars! Our garage is rustic theme so on this piece I went with standard common board for the walls and shelves and built the trim and doors from cedar. The entire piece is stained with Minwax Provincial.


Comments
lindsayalbrecht
Sat, 04/18/2020 - 19:04
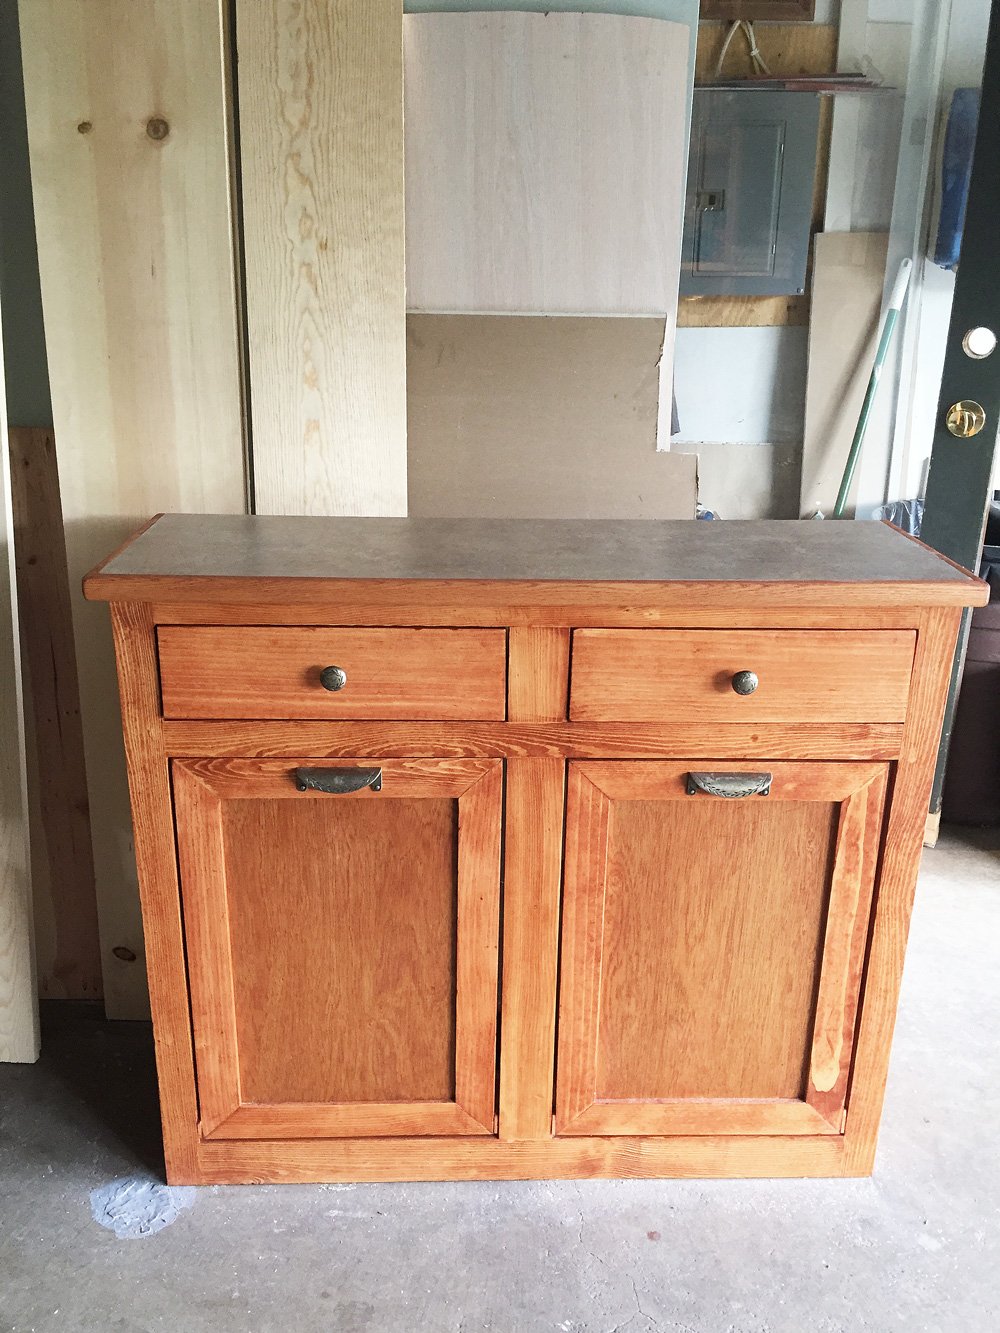
Dimensions
Can i get the dimensions from you? I’m wanting to create the exact same thing with two bins and drawers.