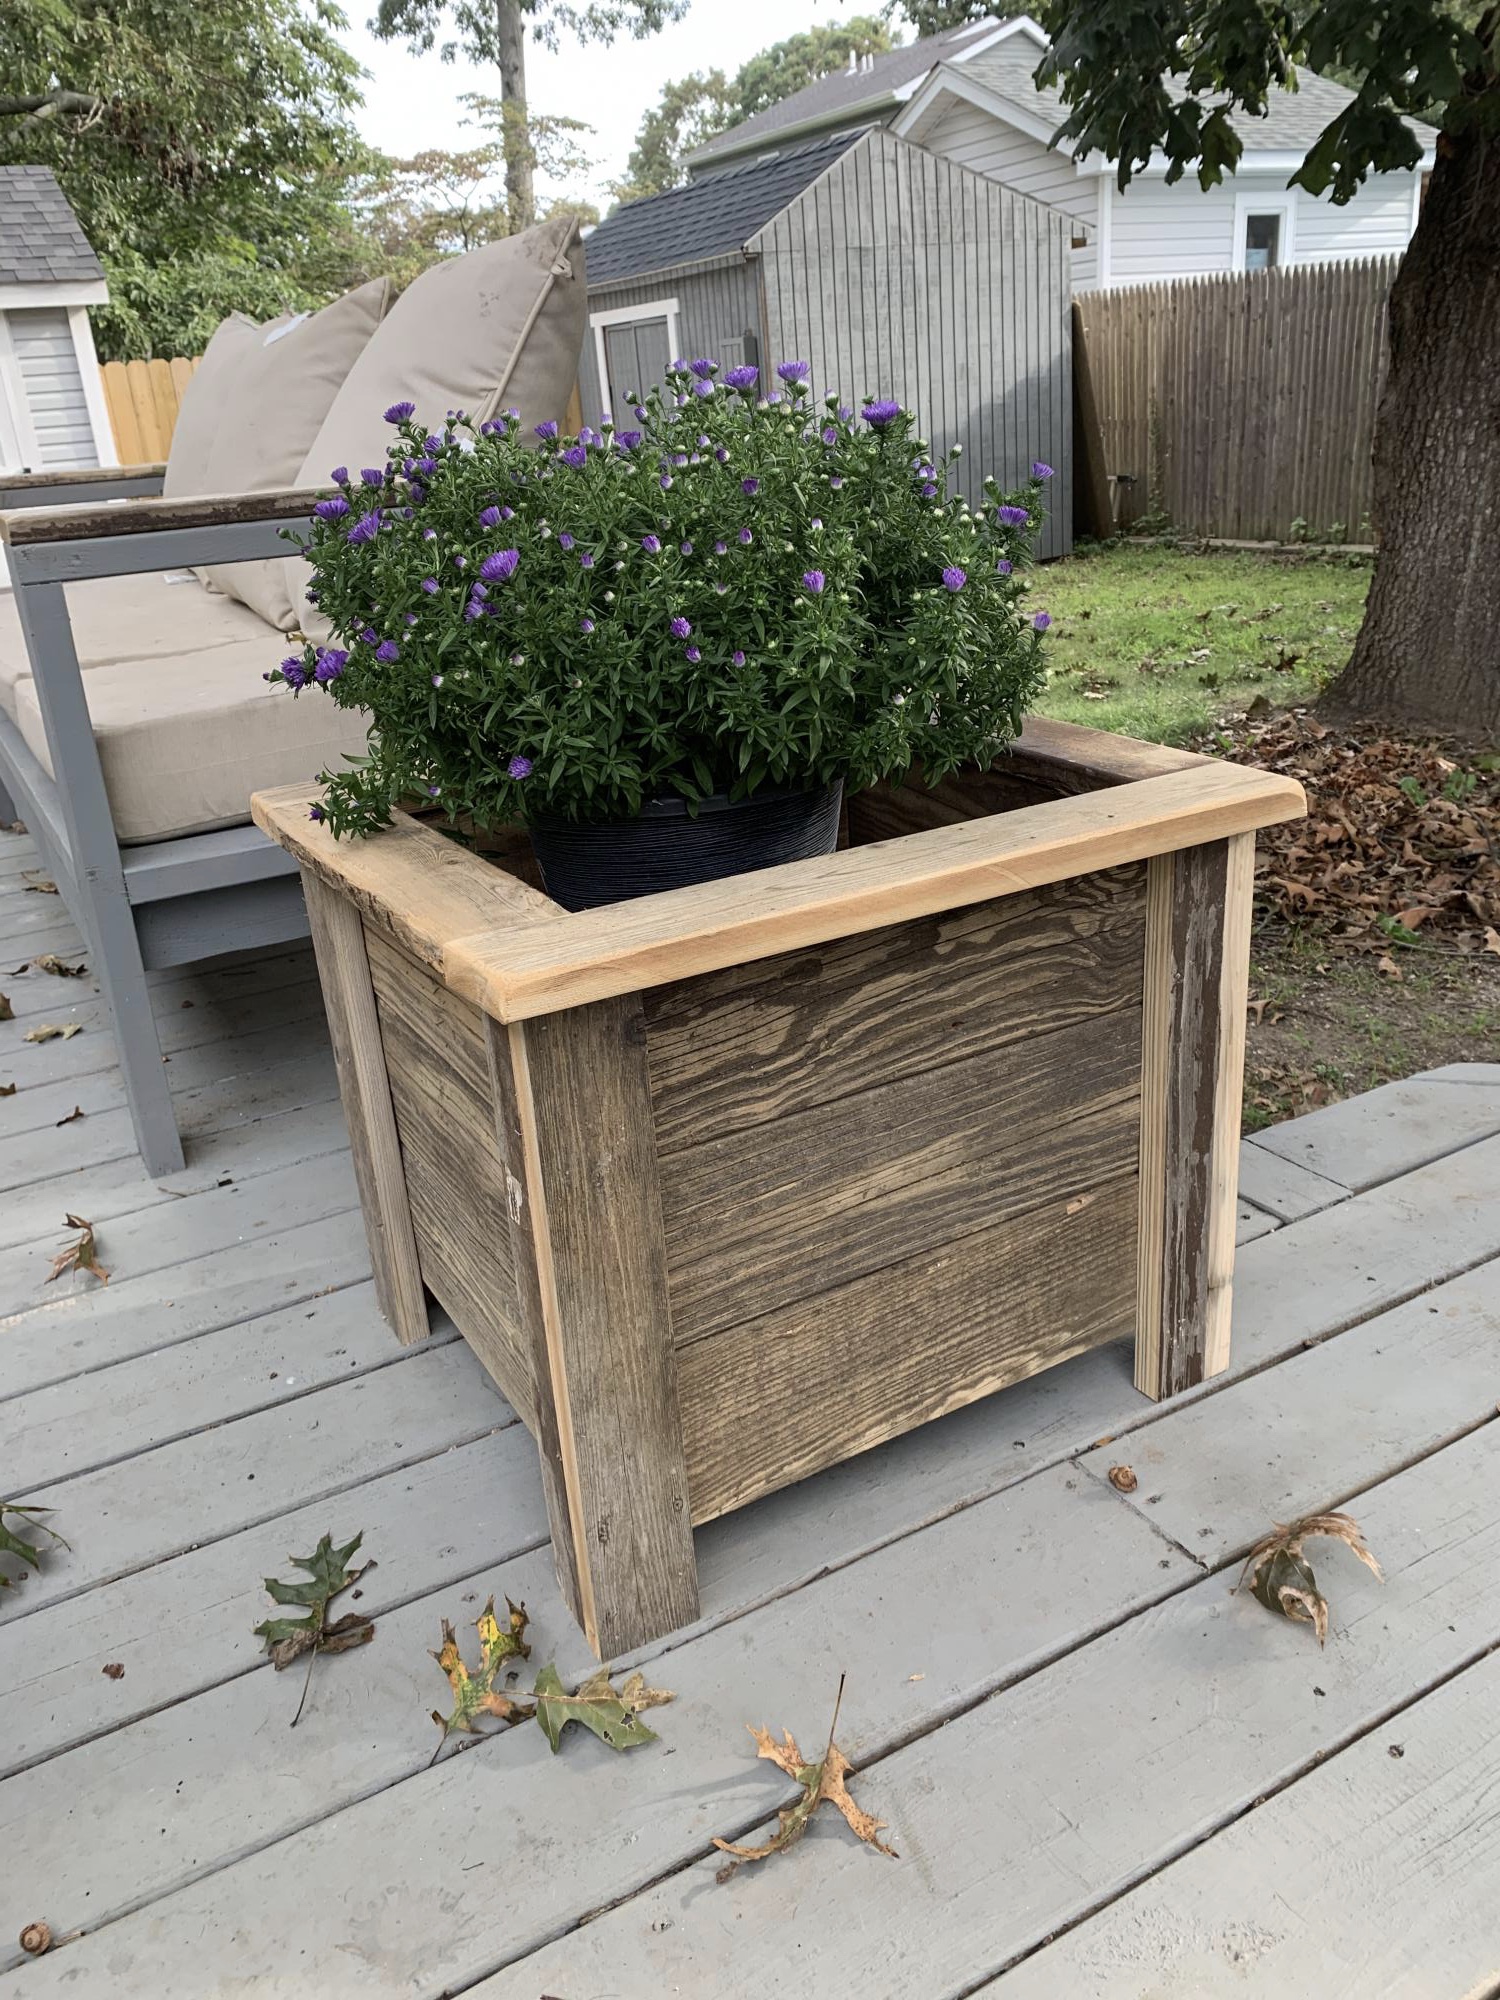
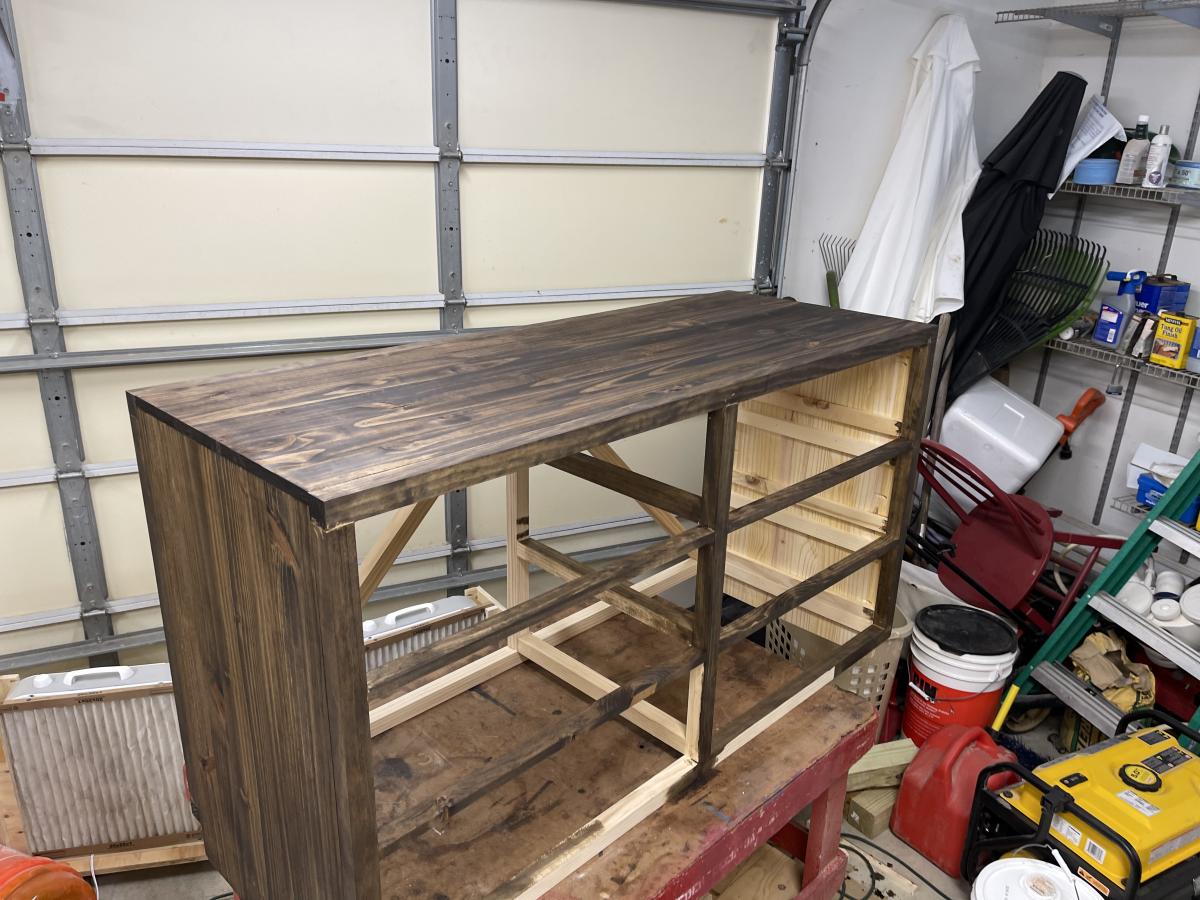
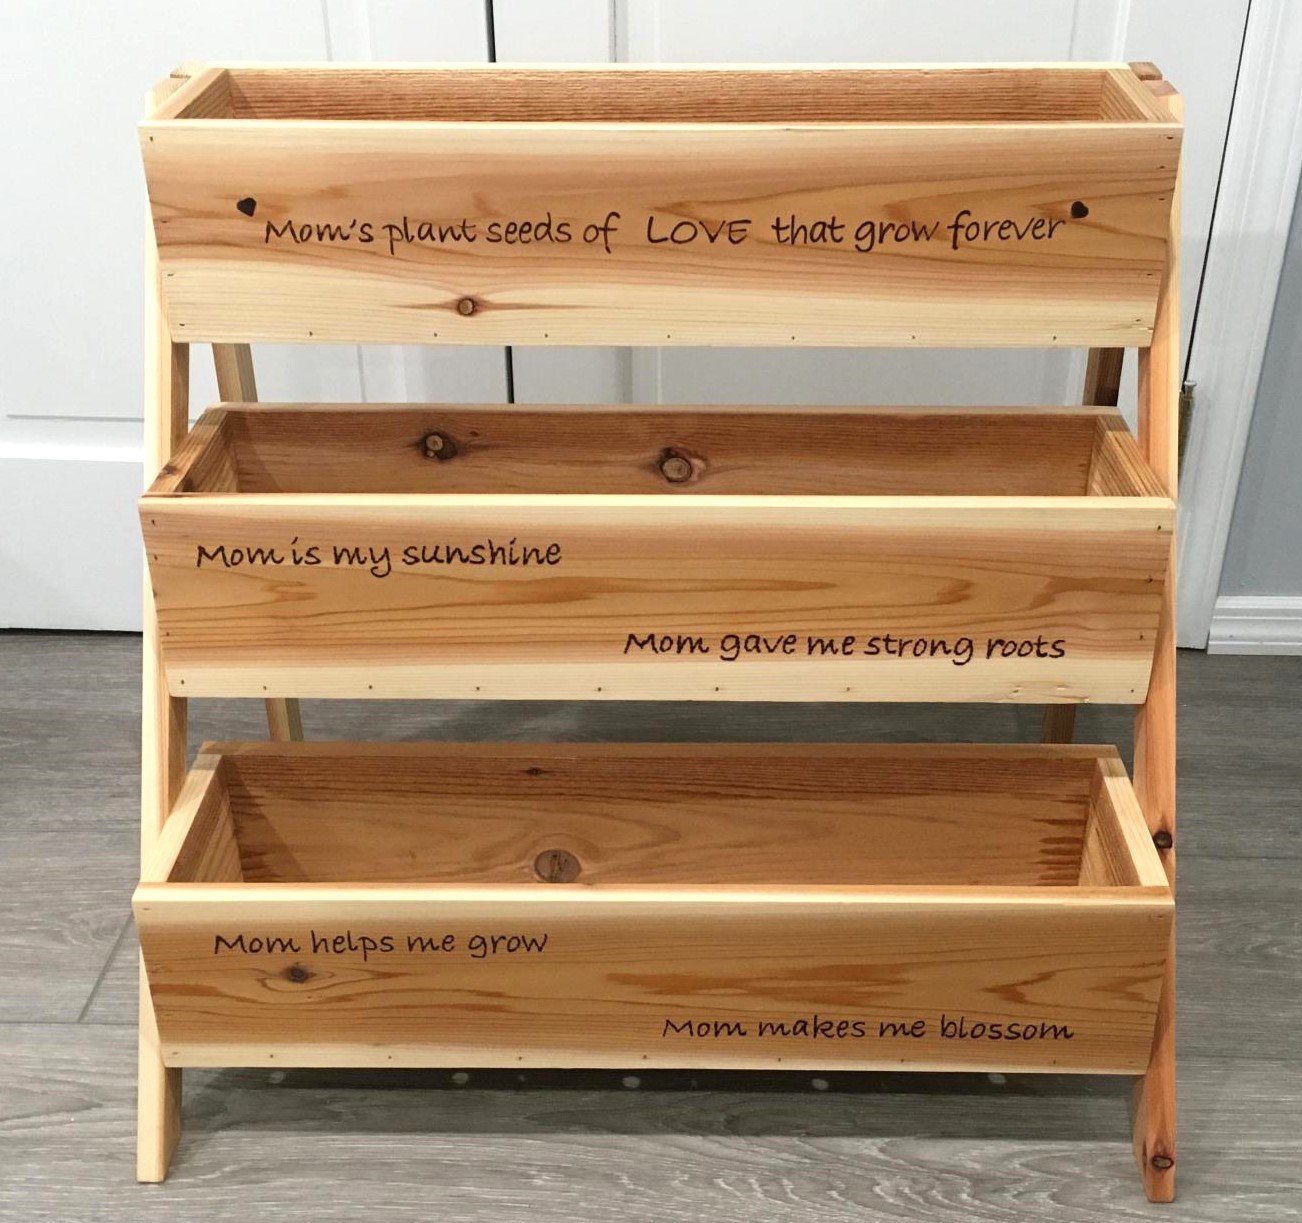
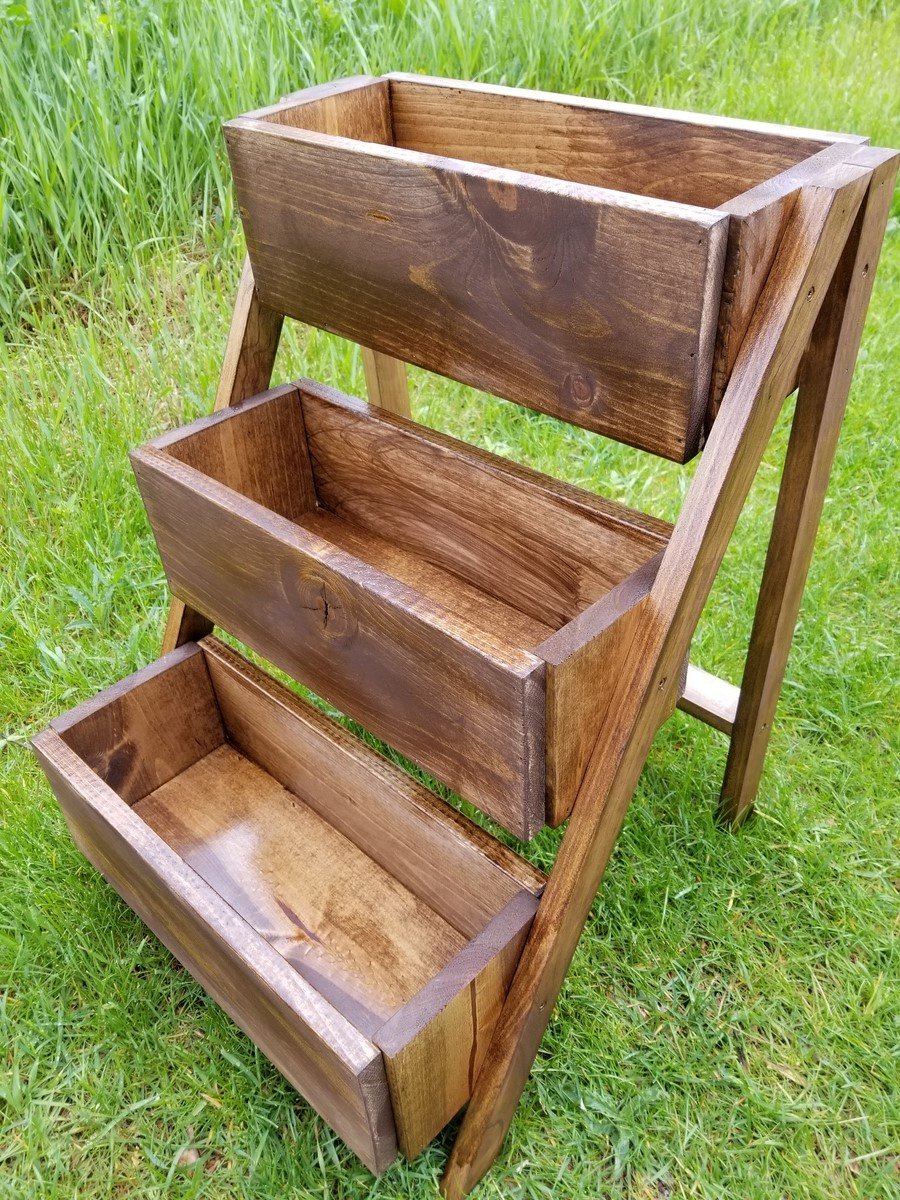
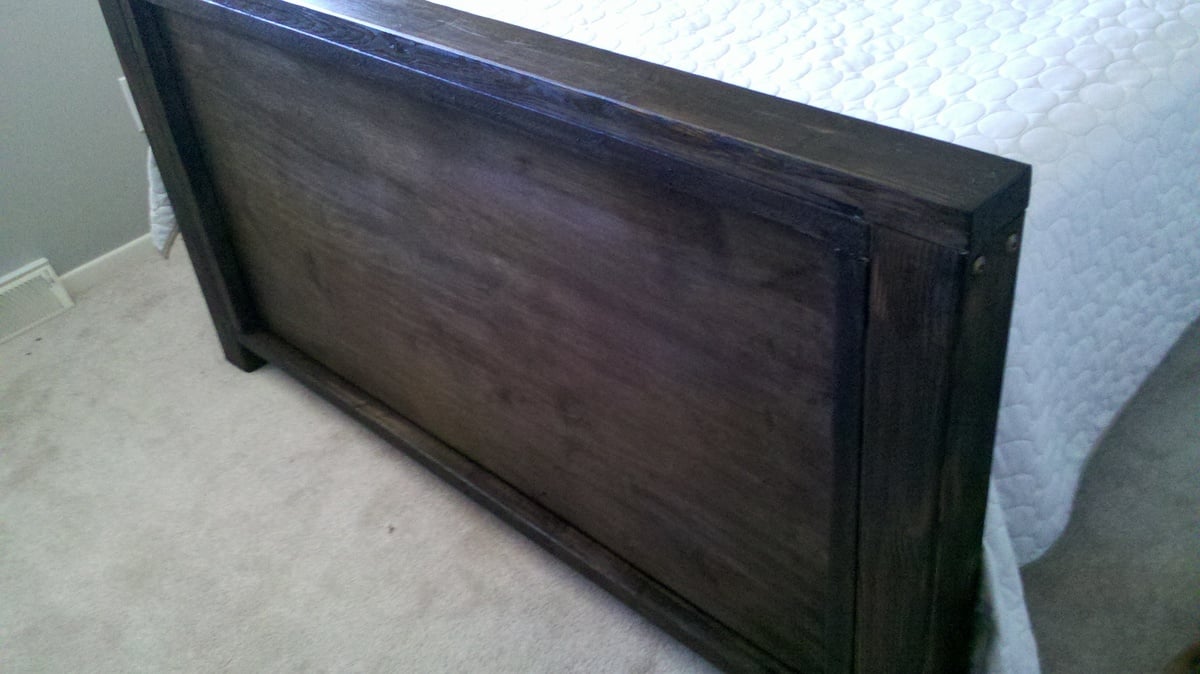
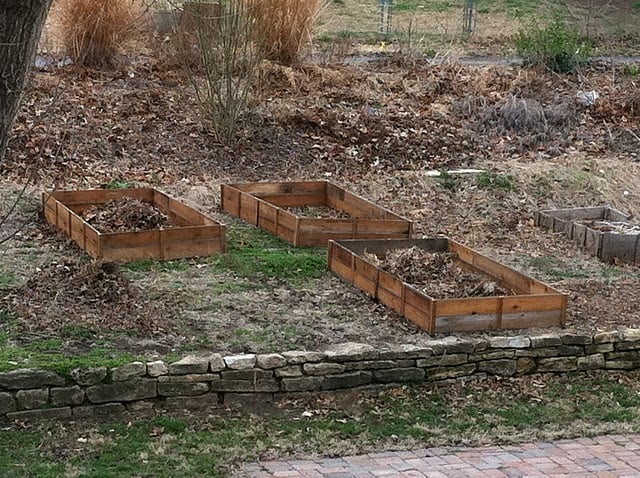
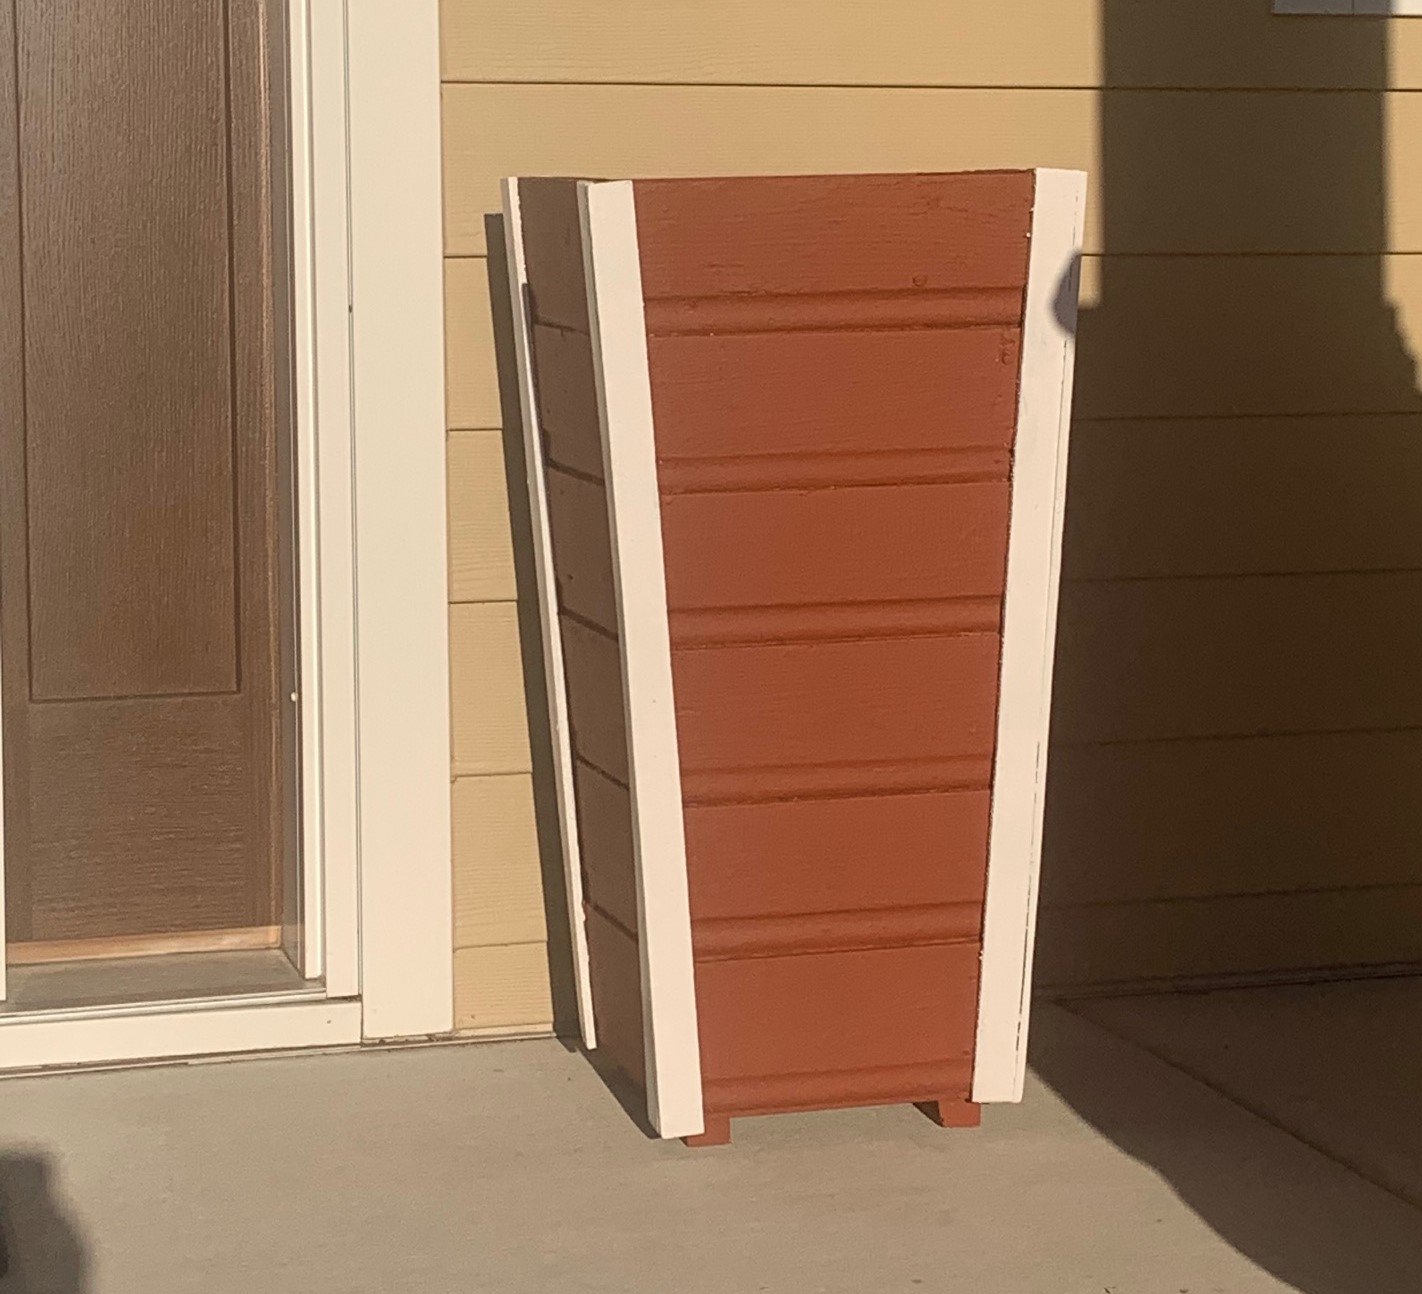
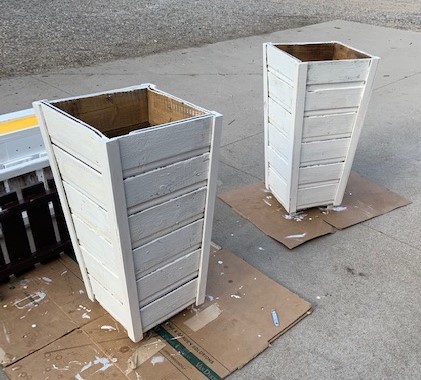
Tall planter box
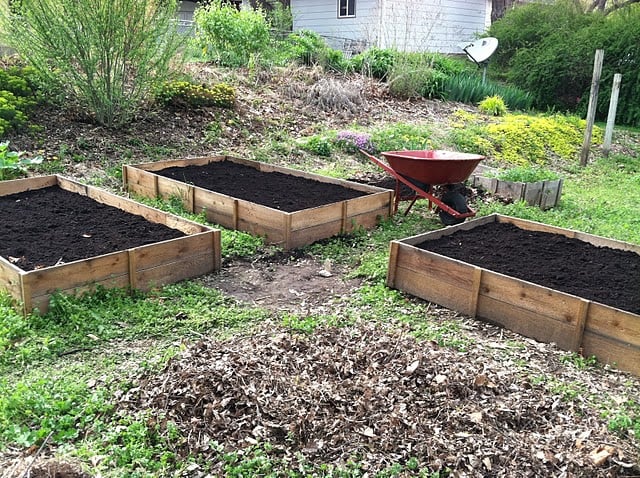
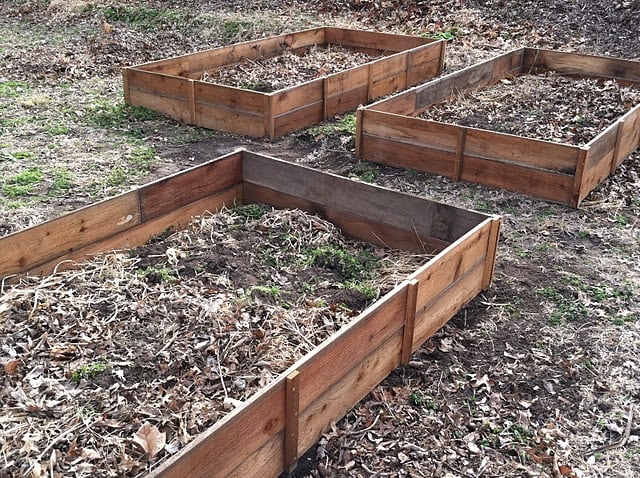
I did this this spring in preparation for my summer garden flowers
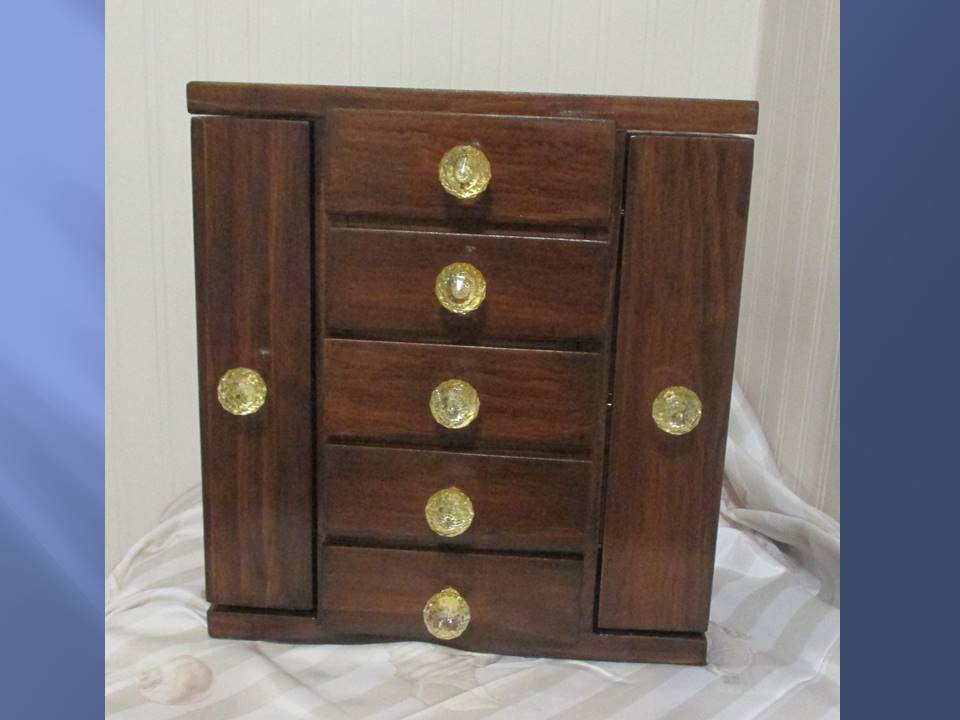
My neighbor found this>50 year old barn wood and thought I could use it.
Furring strips were from a garage pile
used stock of nails
paints extra
cost almost nothing
enjoyed my time with this
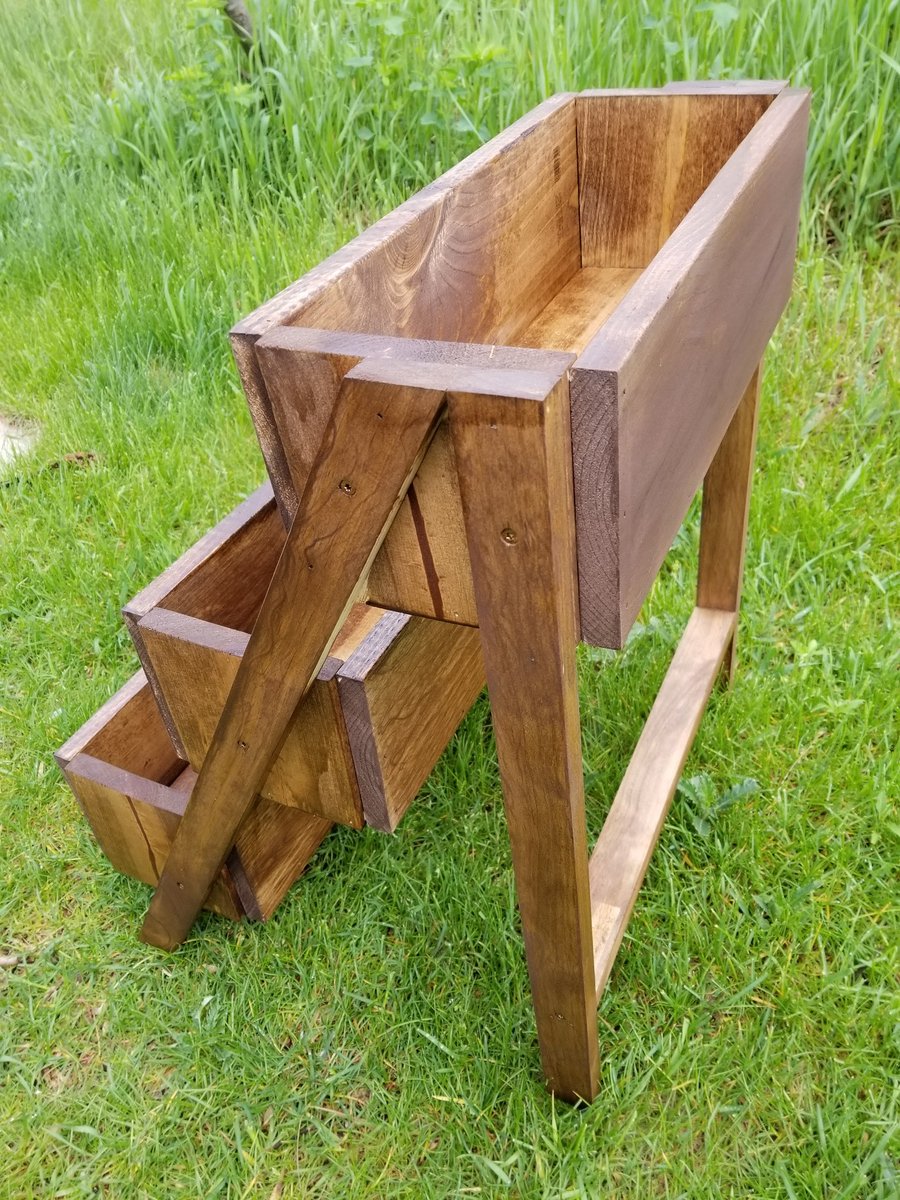
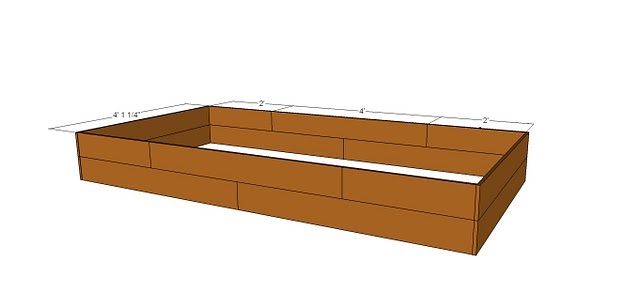
Built from Plan(s)
Estimated Cost
less than 5 dollars
Estimated Time Investment
Afternoon Project (3-6 Hours)
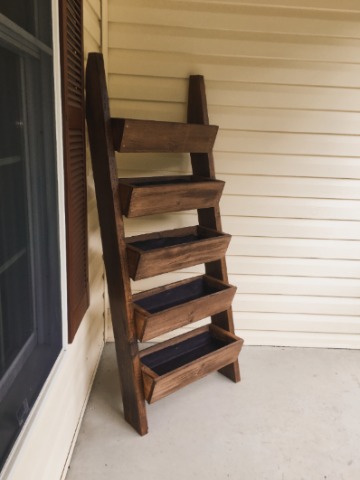
Finish Used
cape cod red outdoor paint
Recommended Skill Level
Beginner