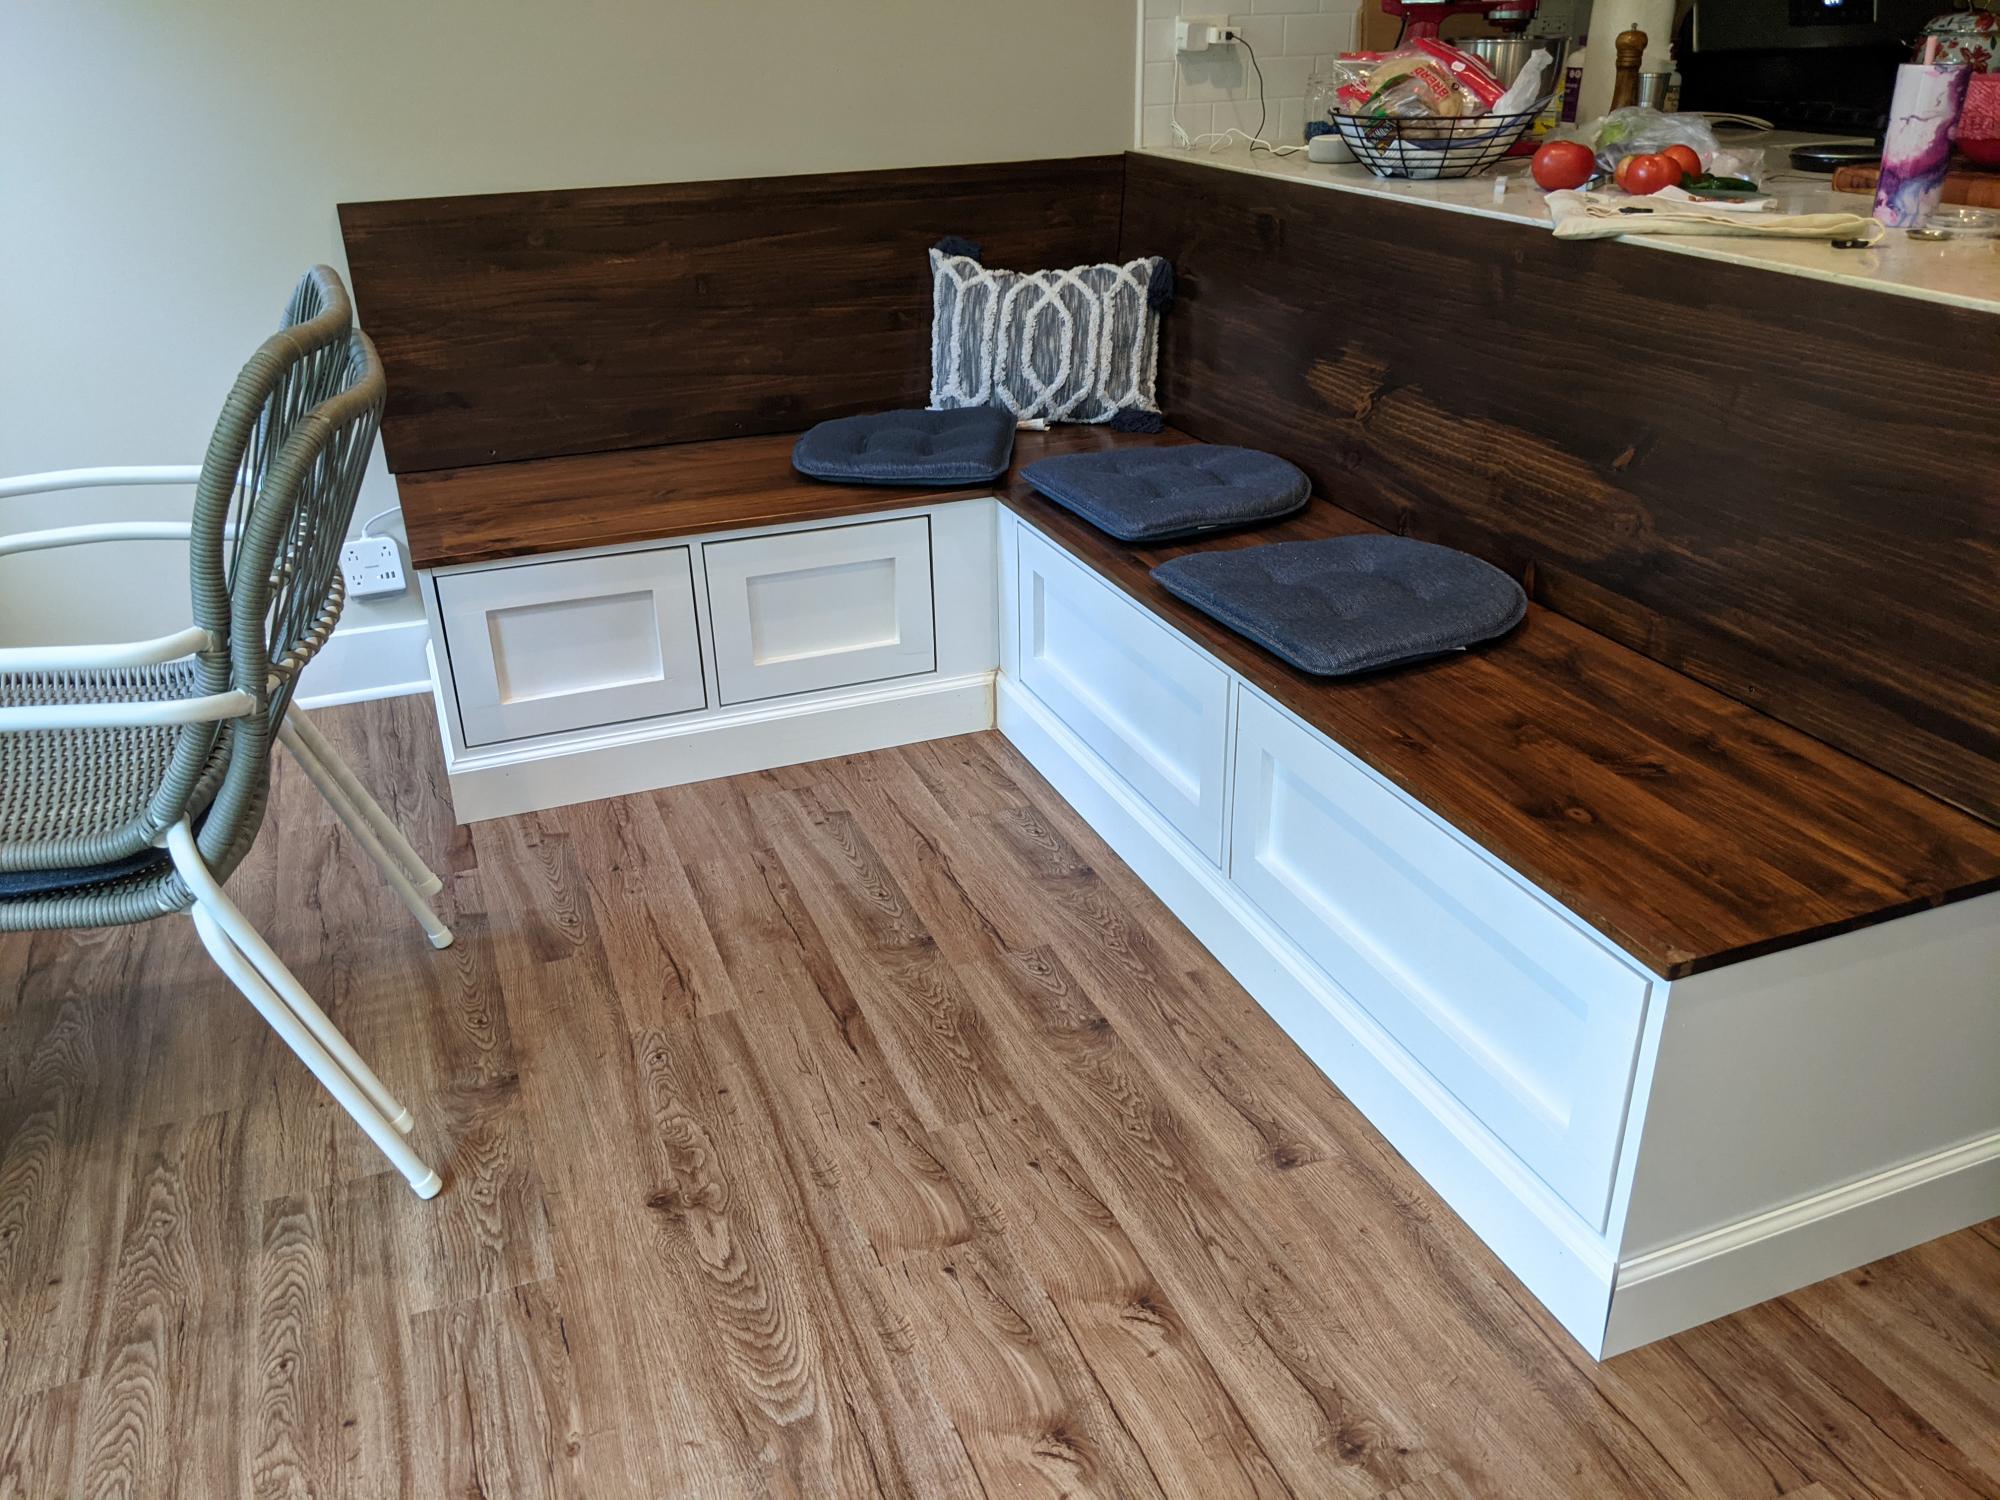
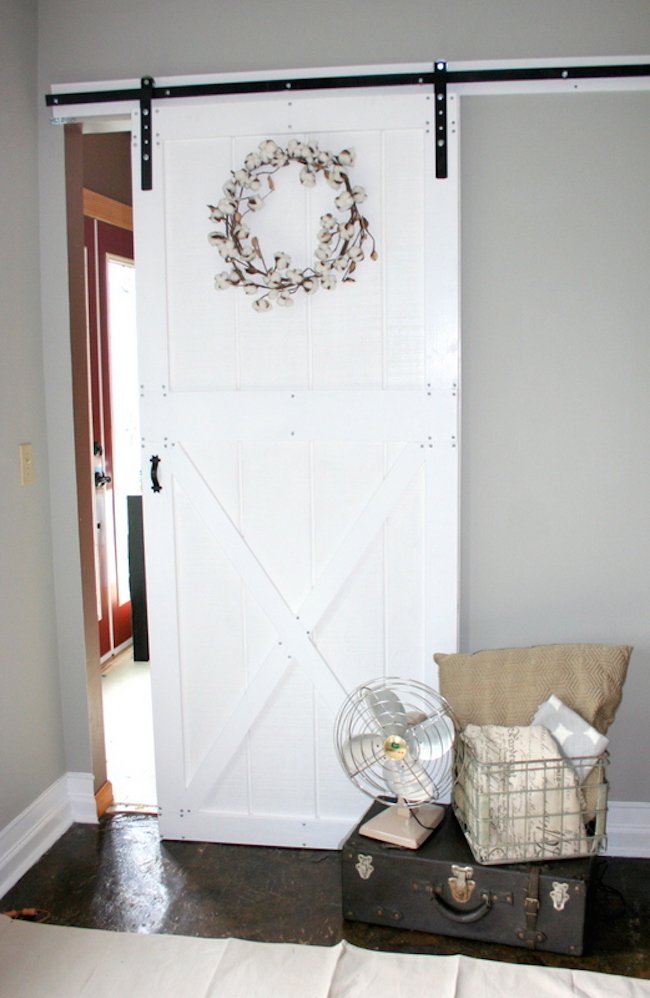
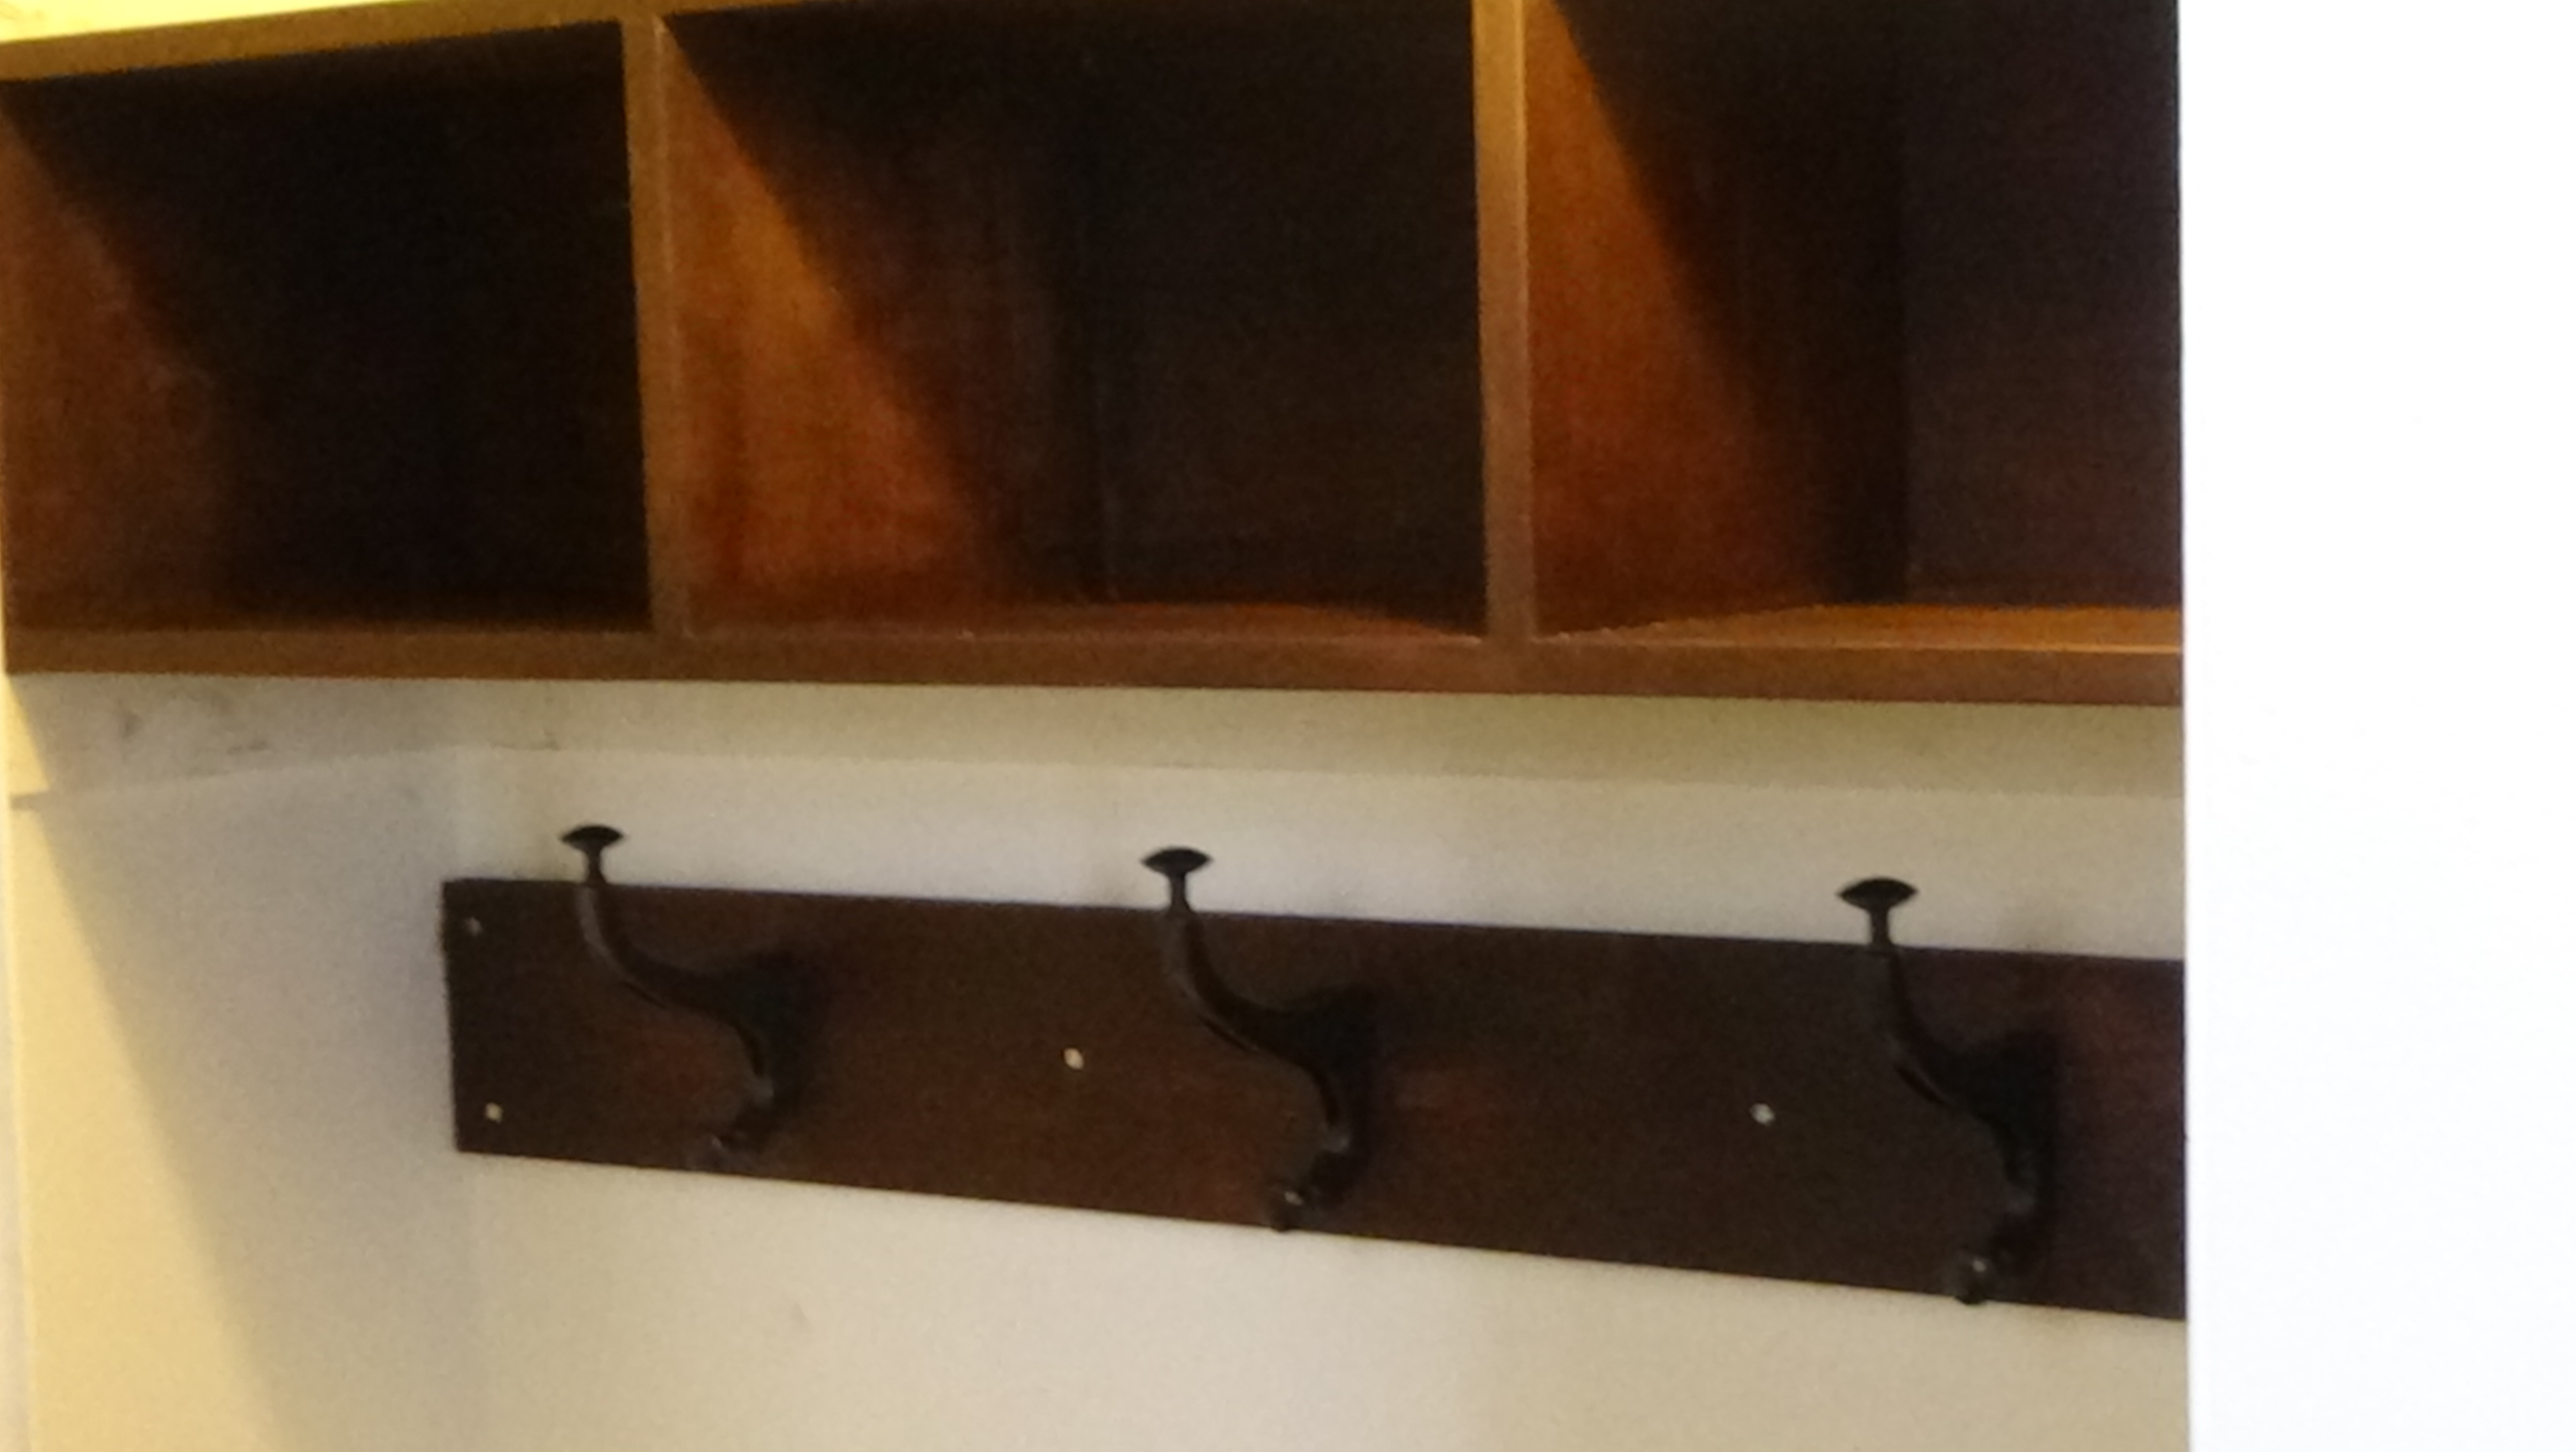
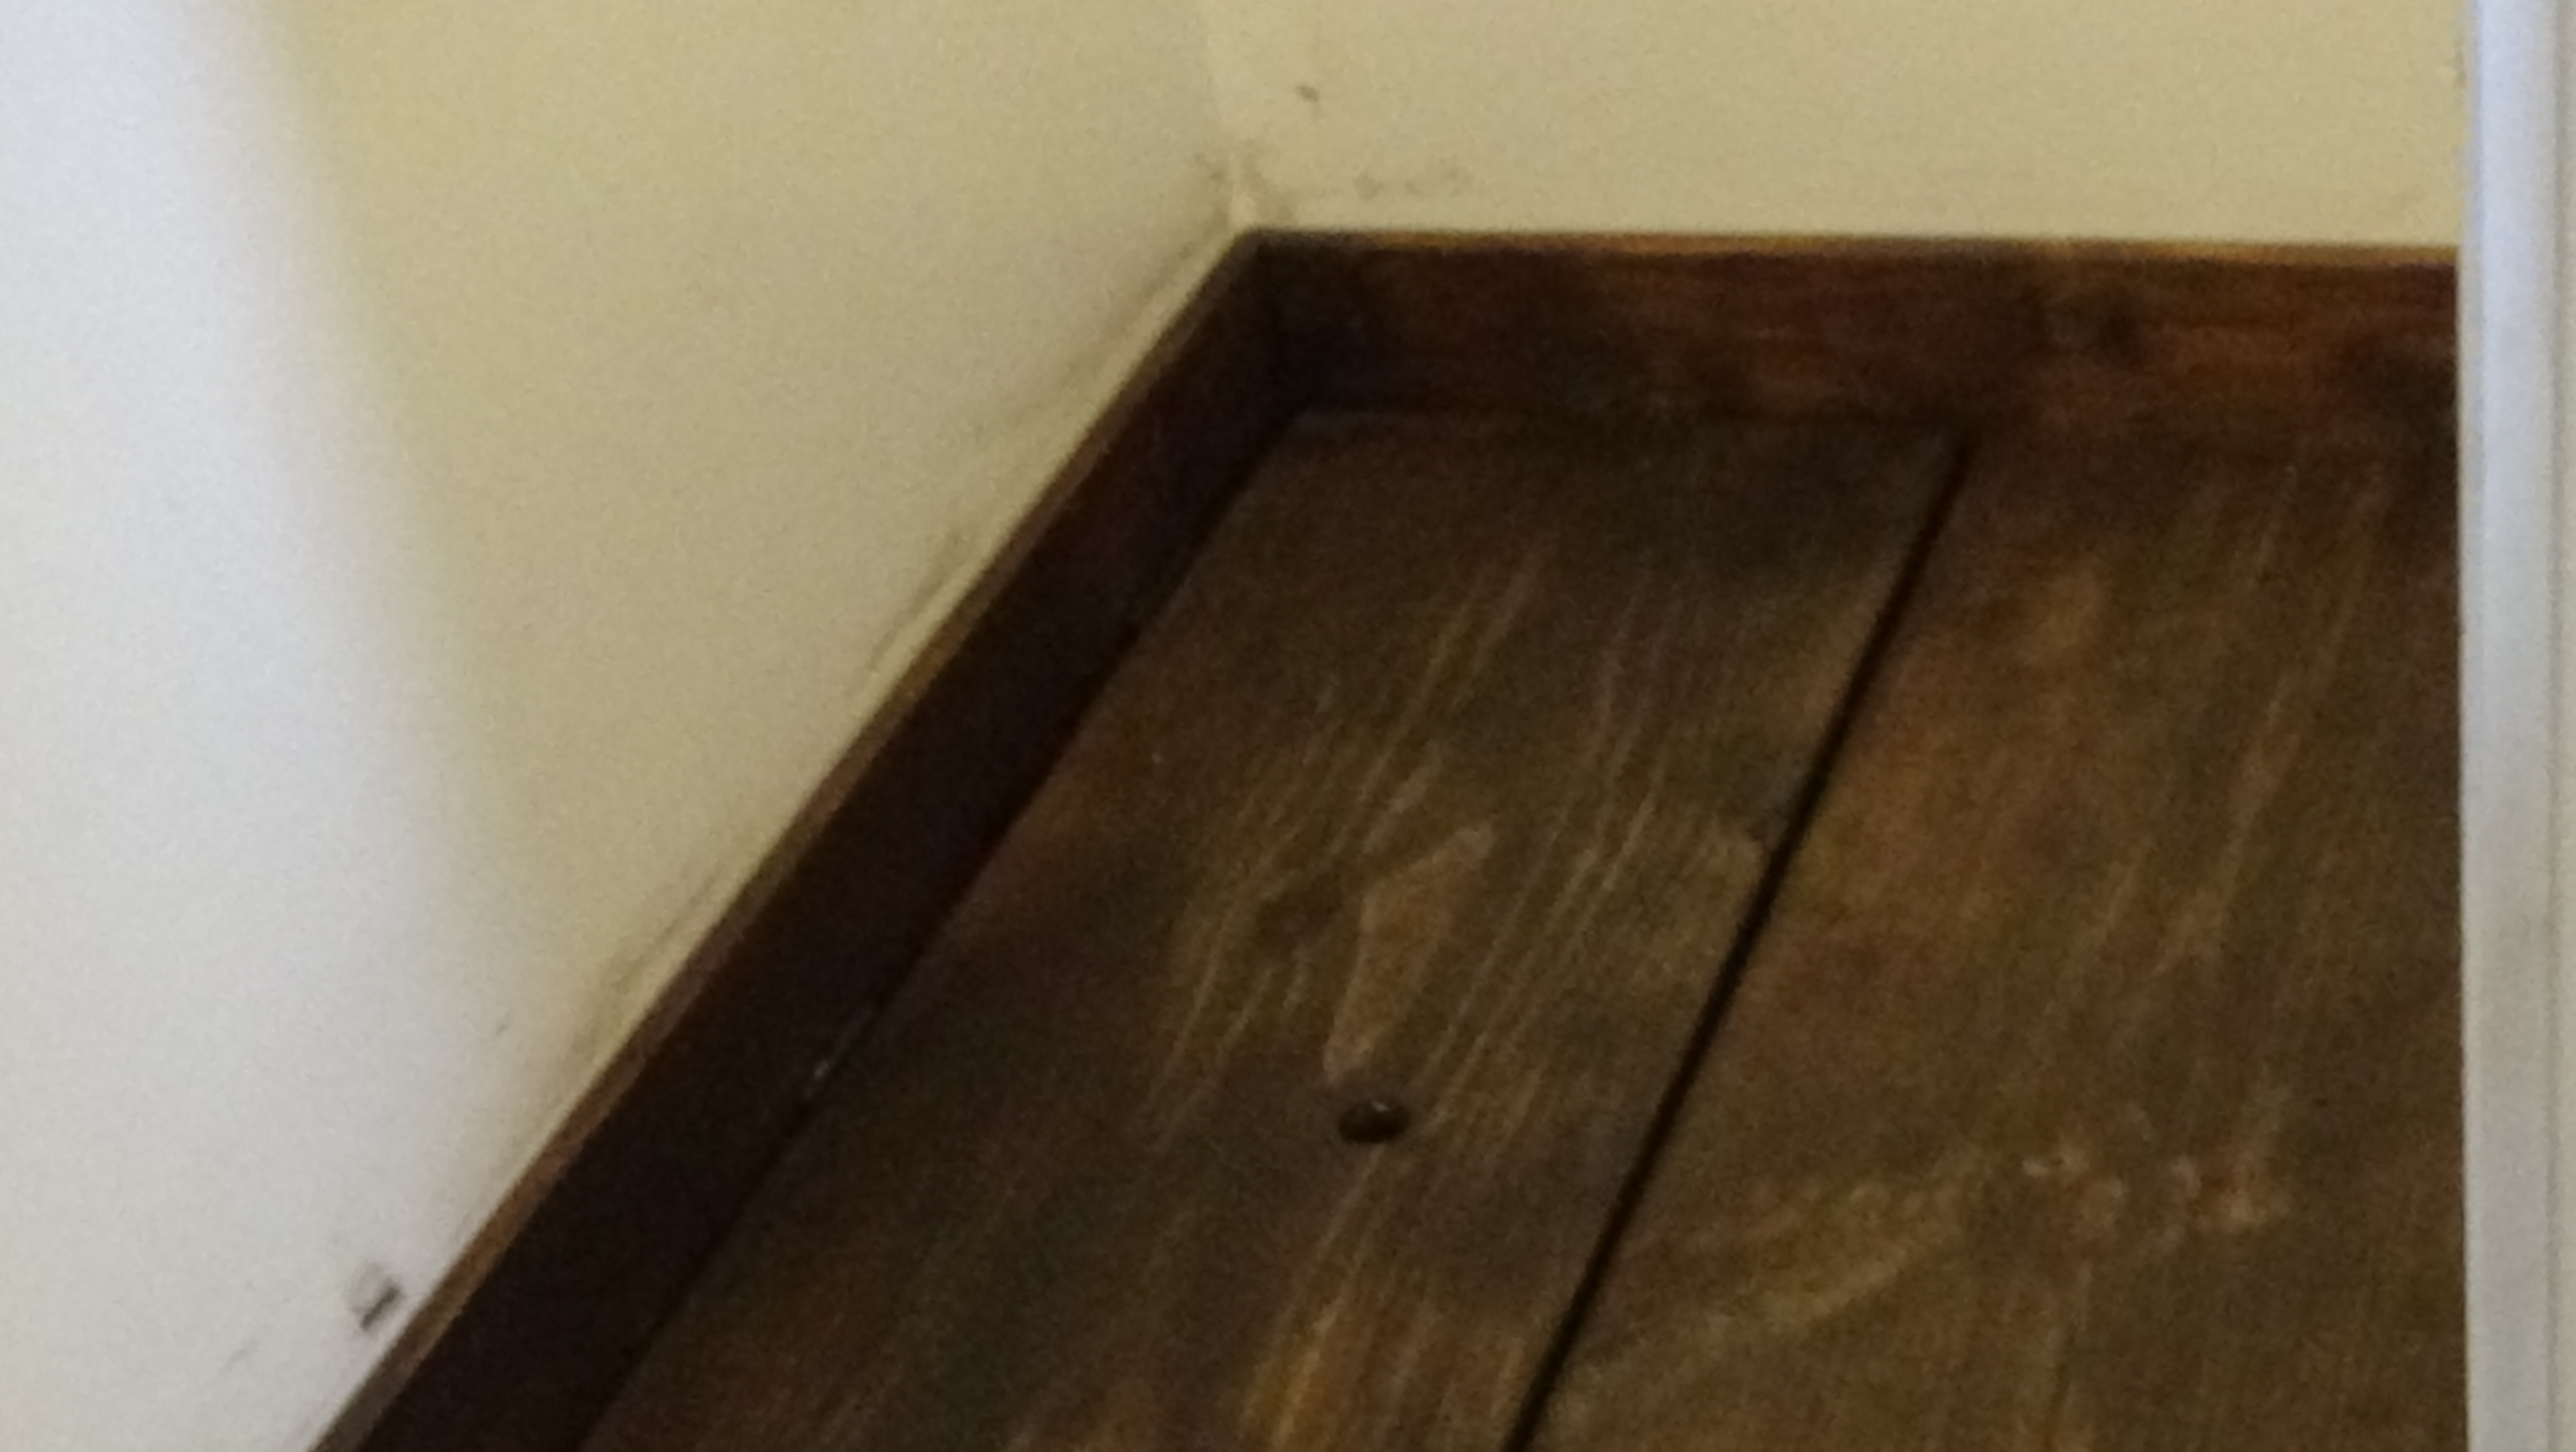
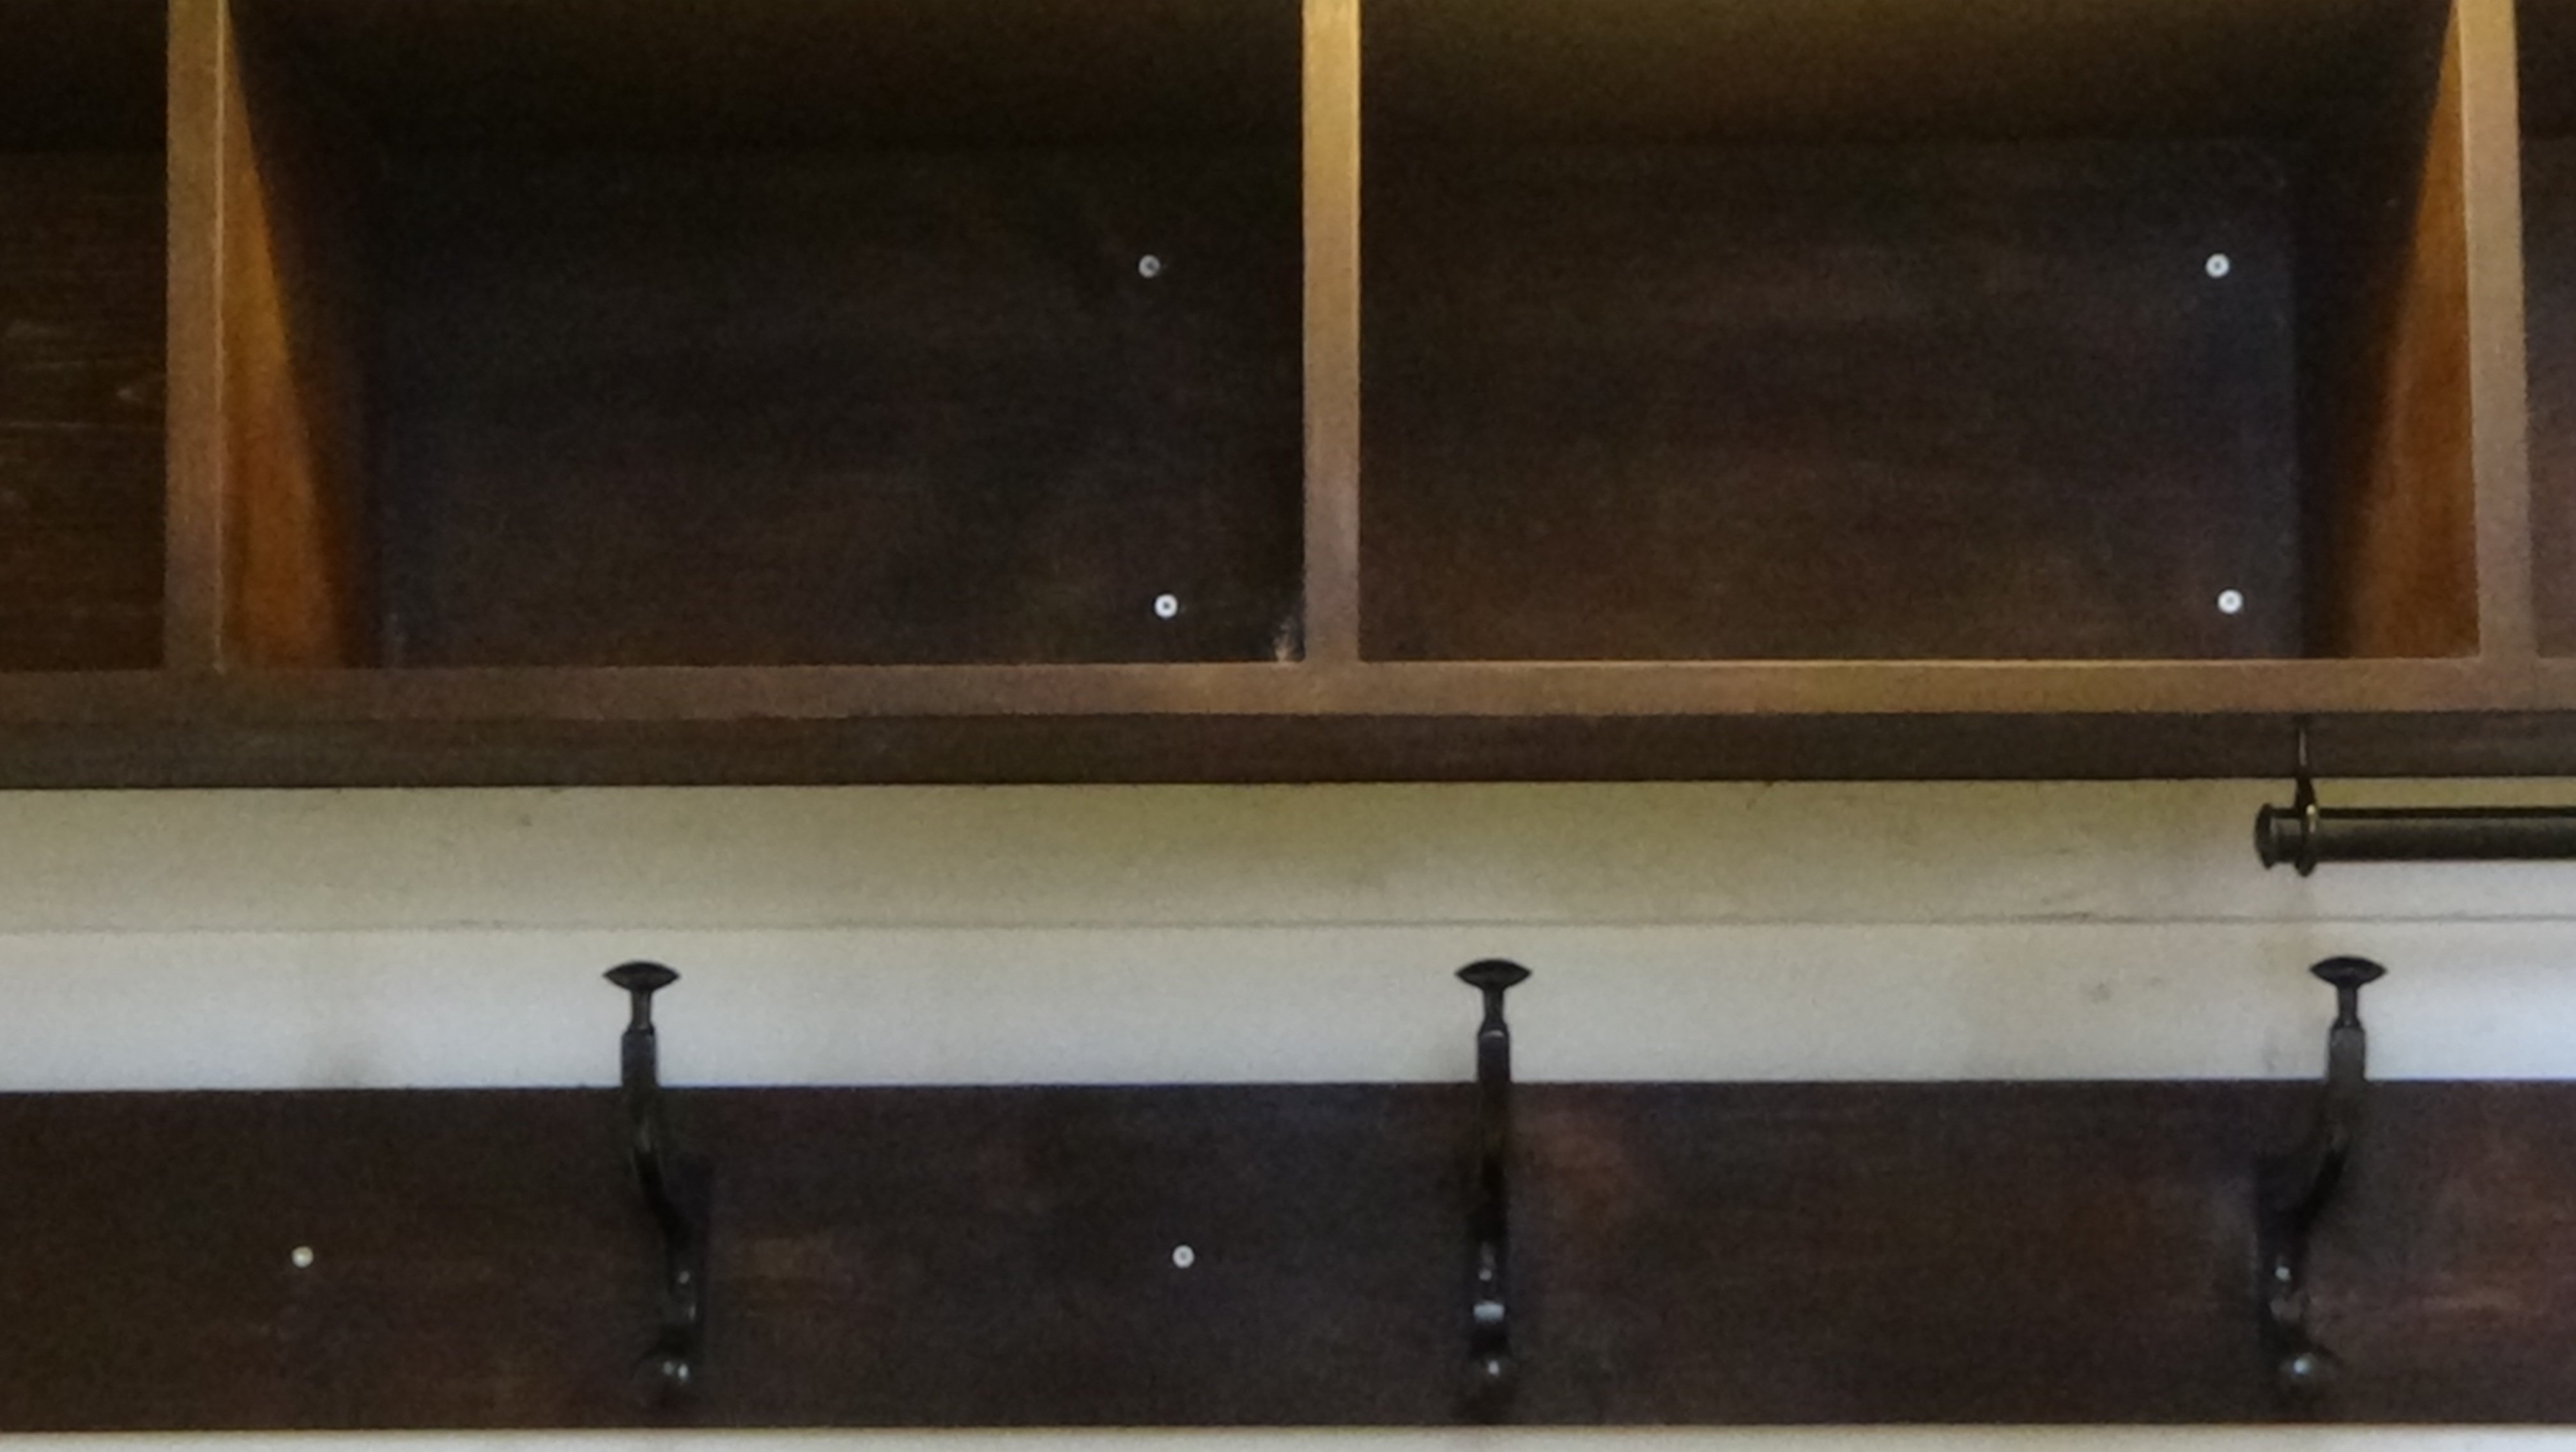
Mudroom
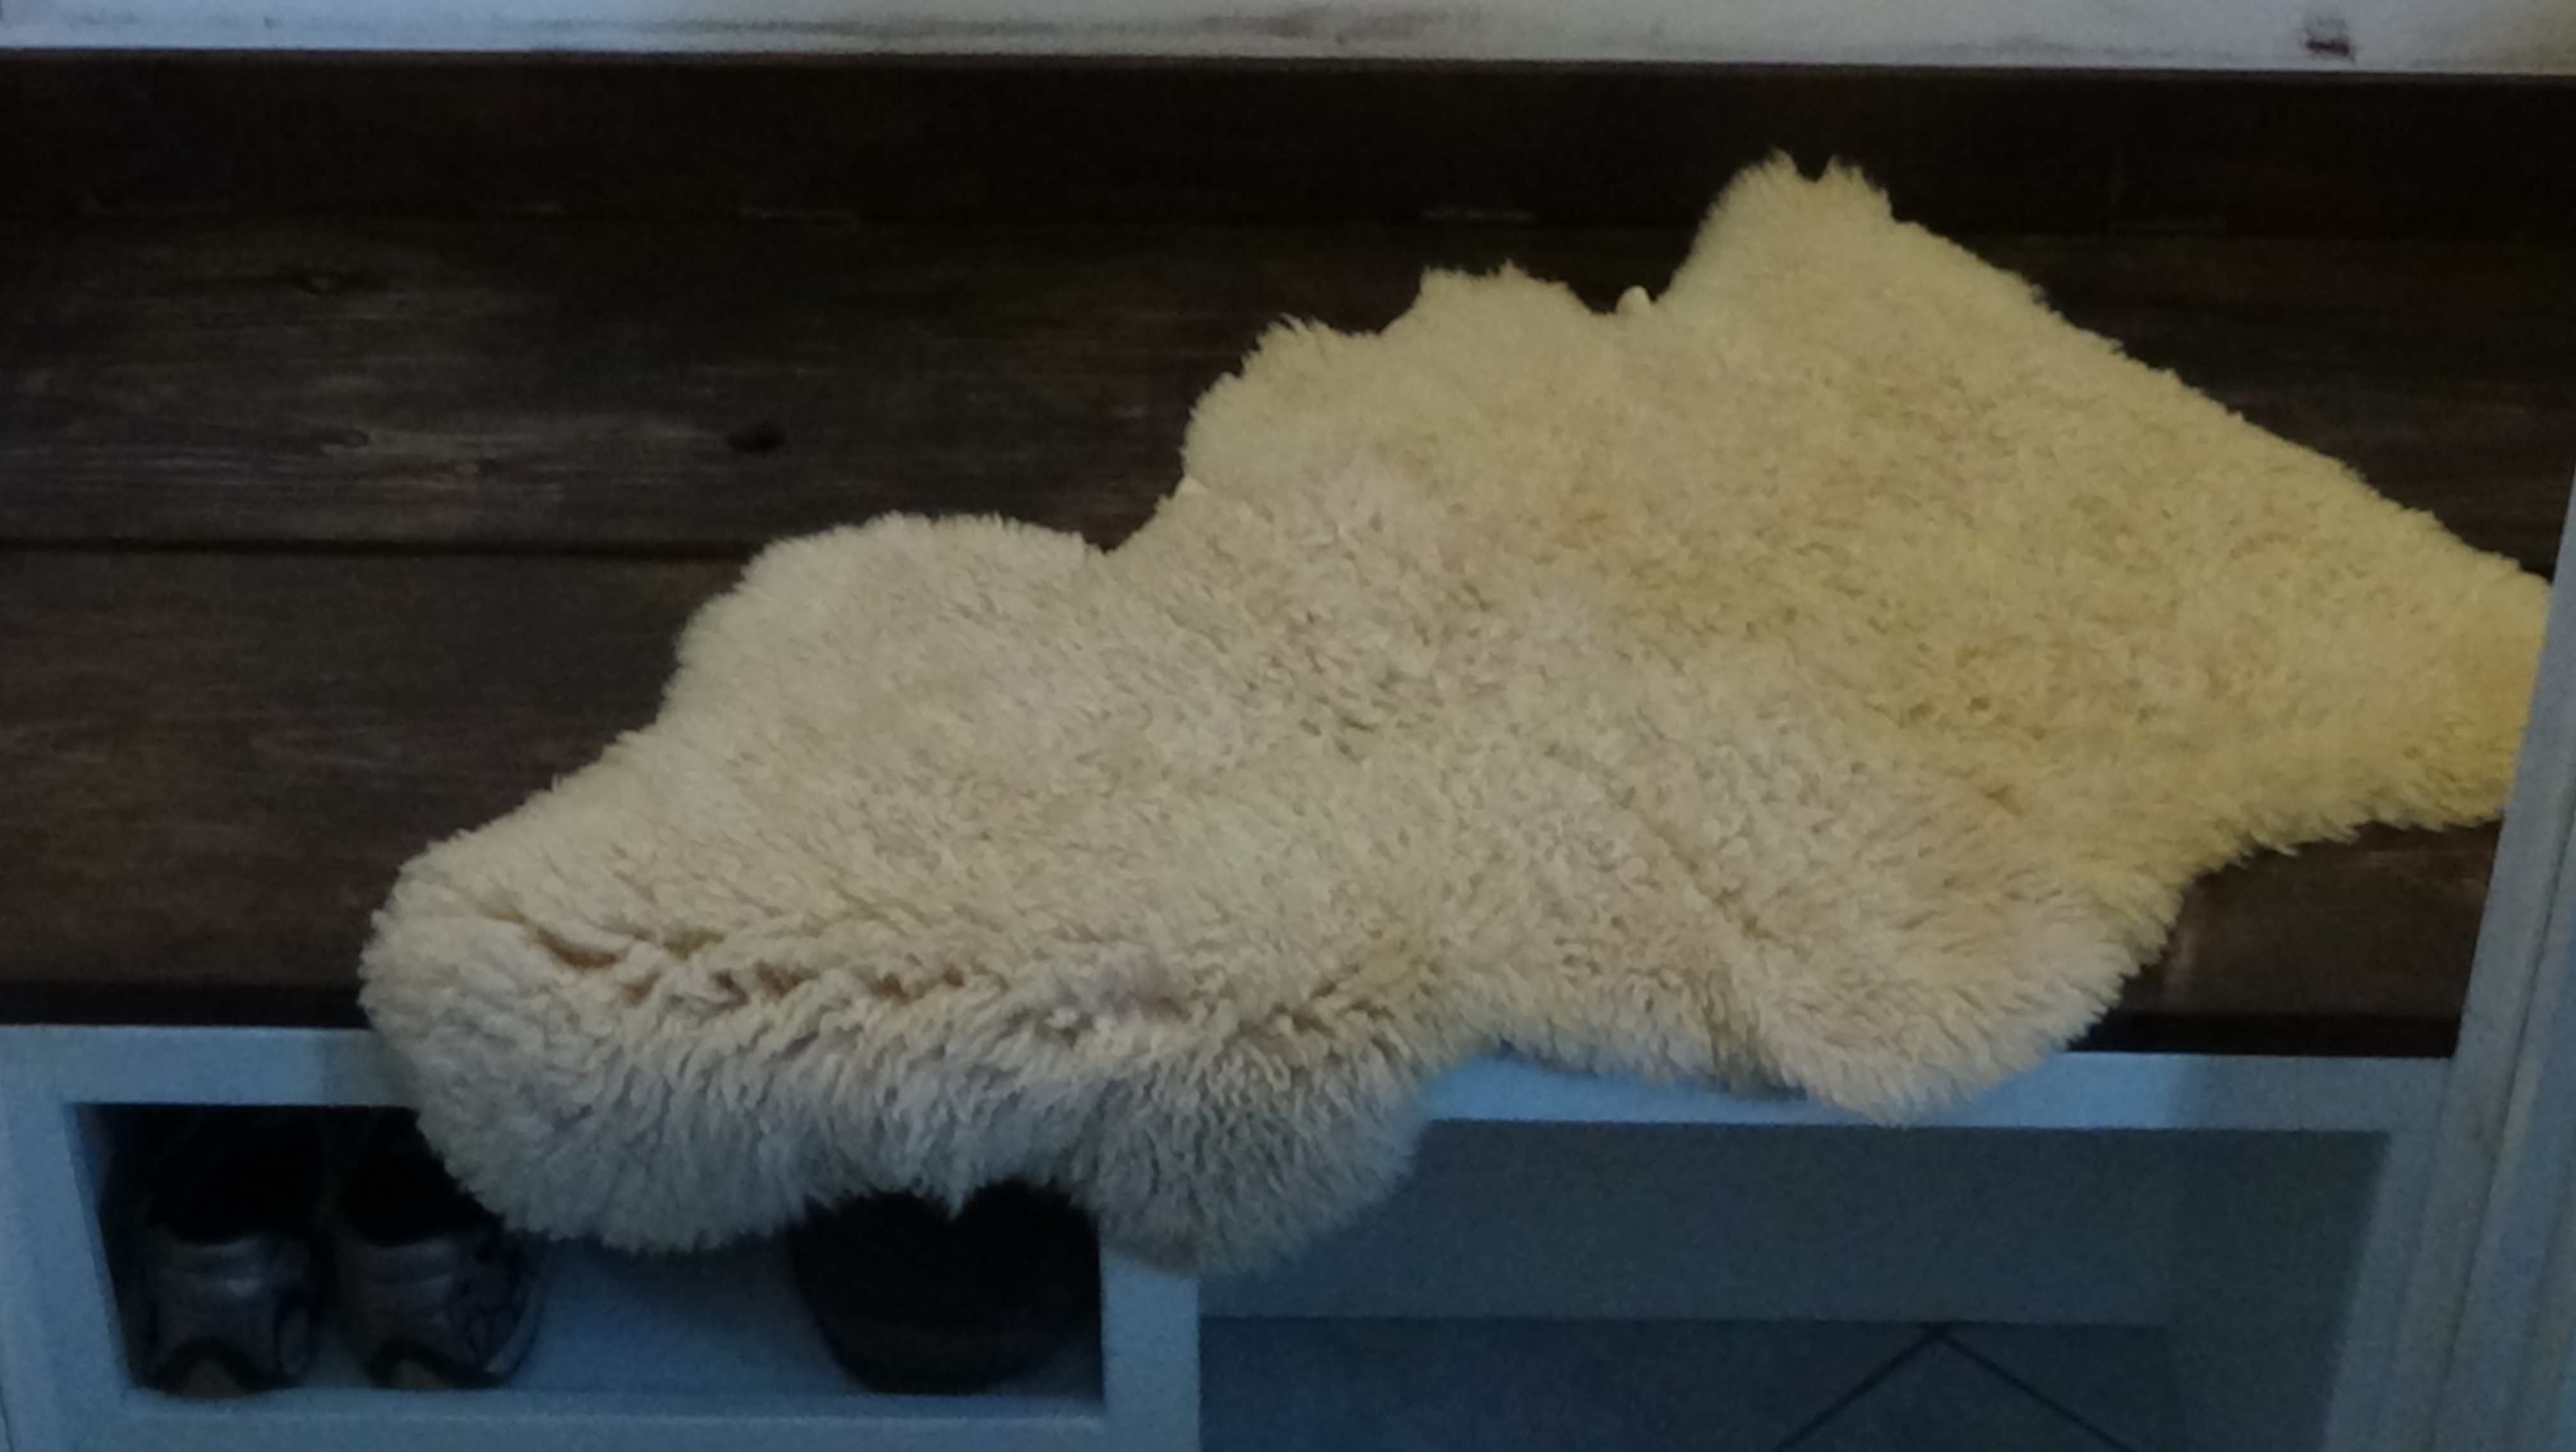
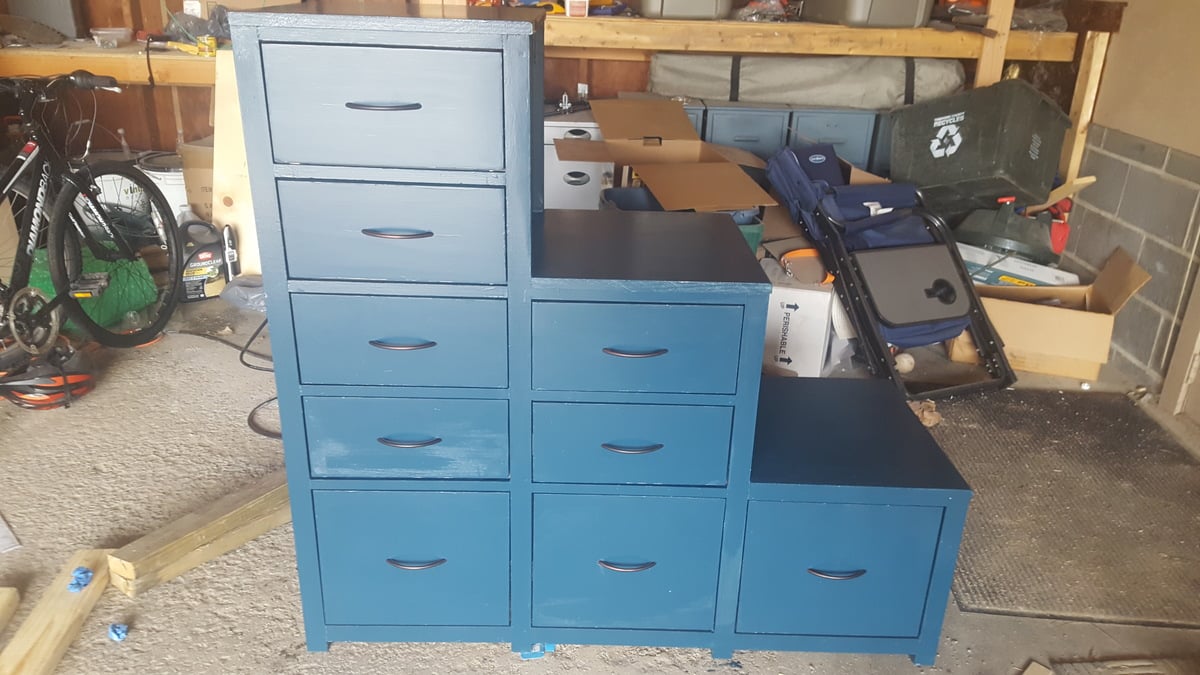
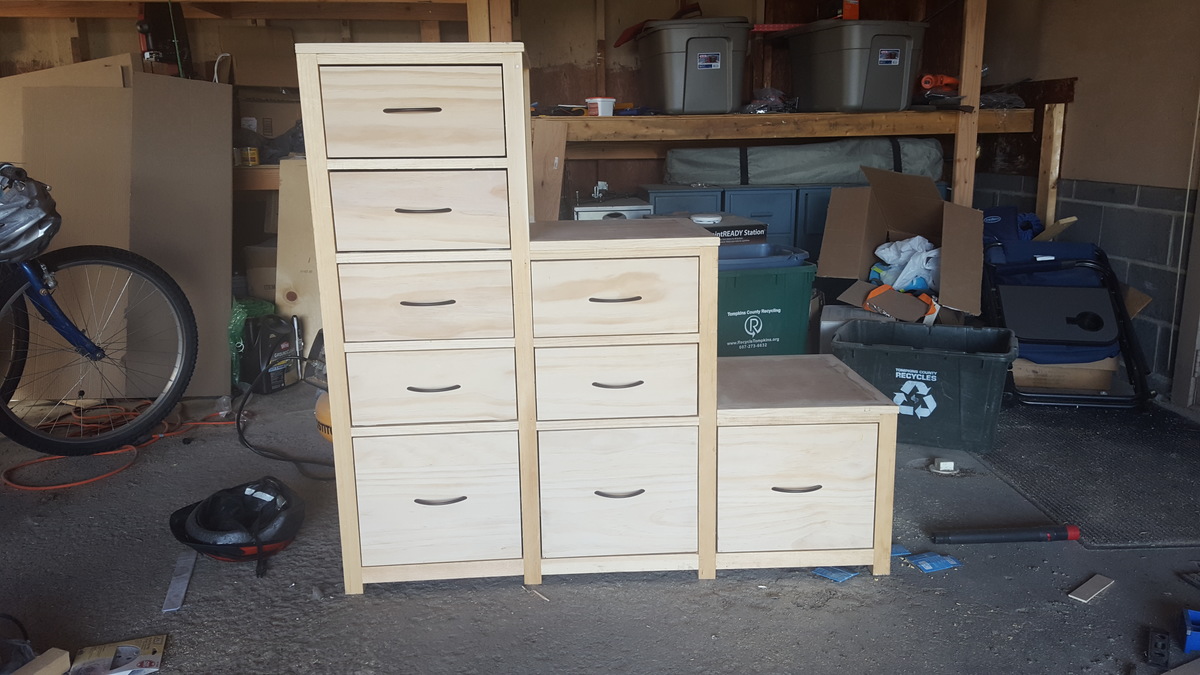
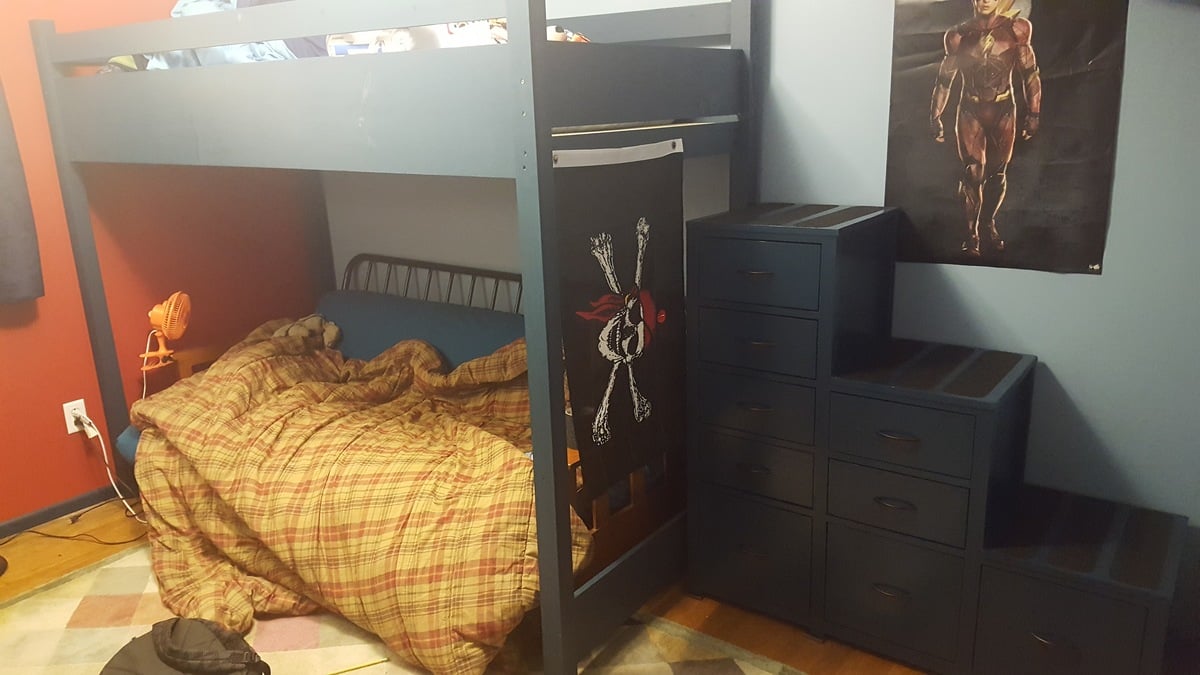
My front closet was transformed into a mudroom. Hidden storage is a genious idea. Thank you Ana!!! It wasn't easy though.
Built from Plan(s)
Estimated Cost
a bit less than 150$
Estimated Time Investment
Week Long Project (20 Hours or More)
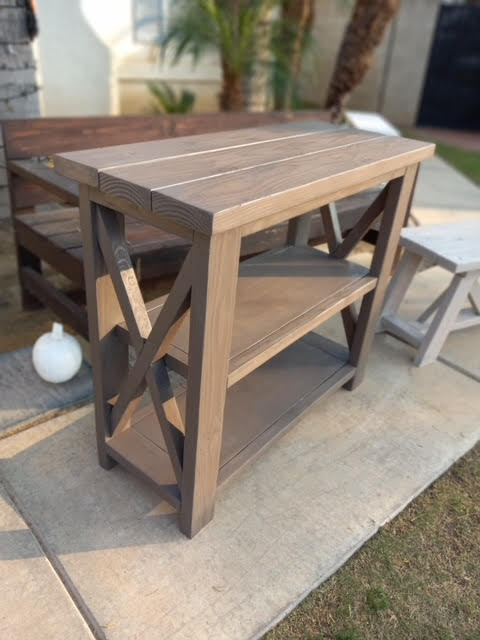
Finish Used
Dark walnut
Recommended Skill Level
Intermediate