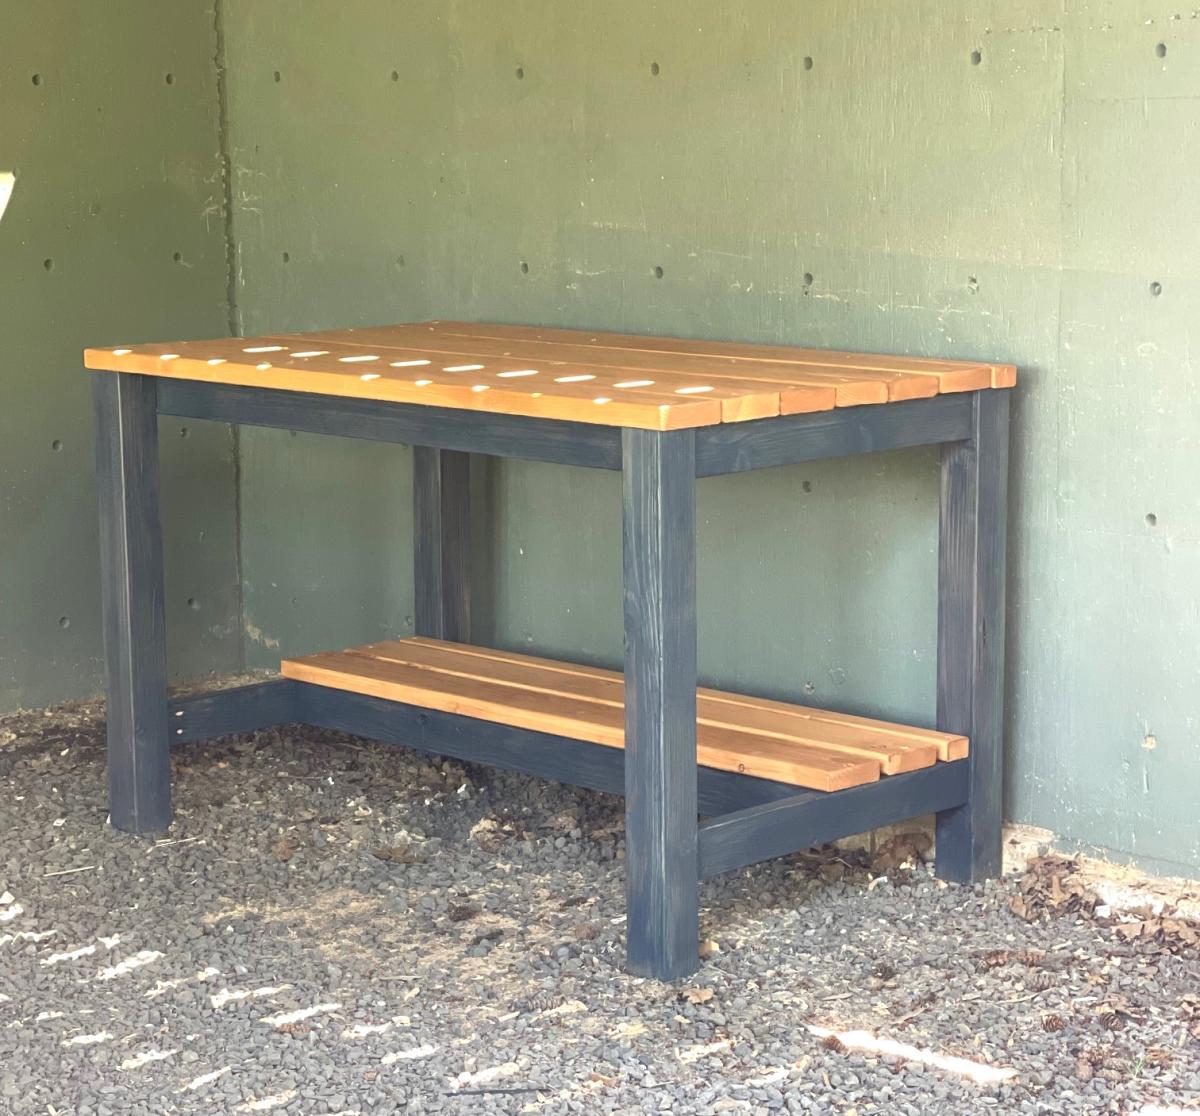
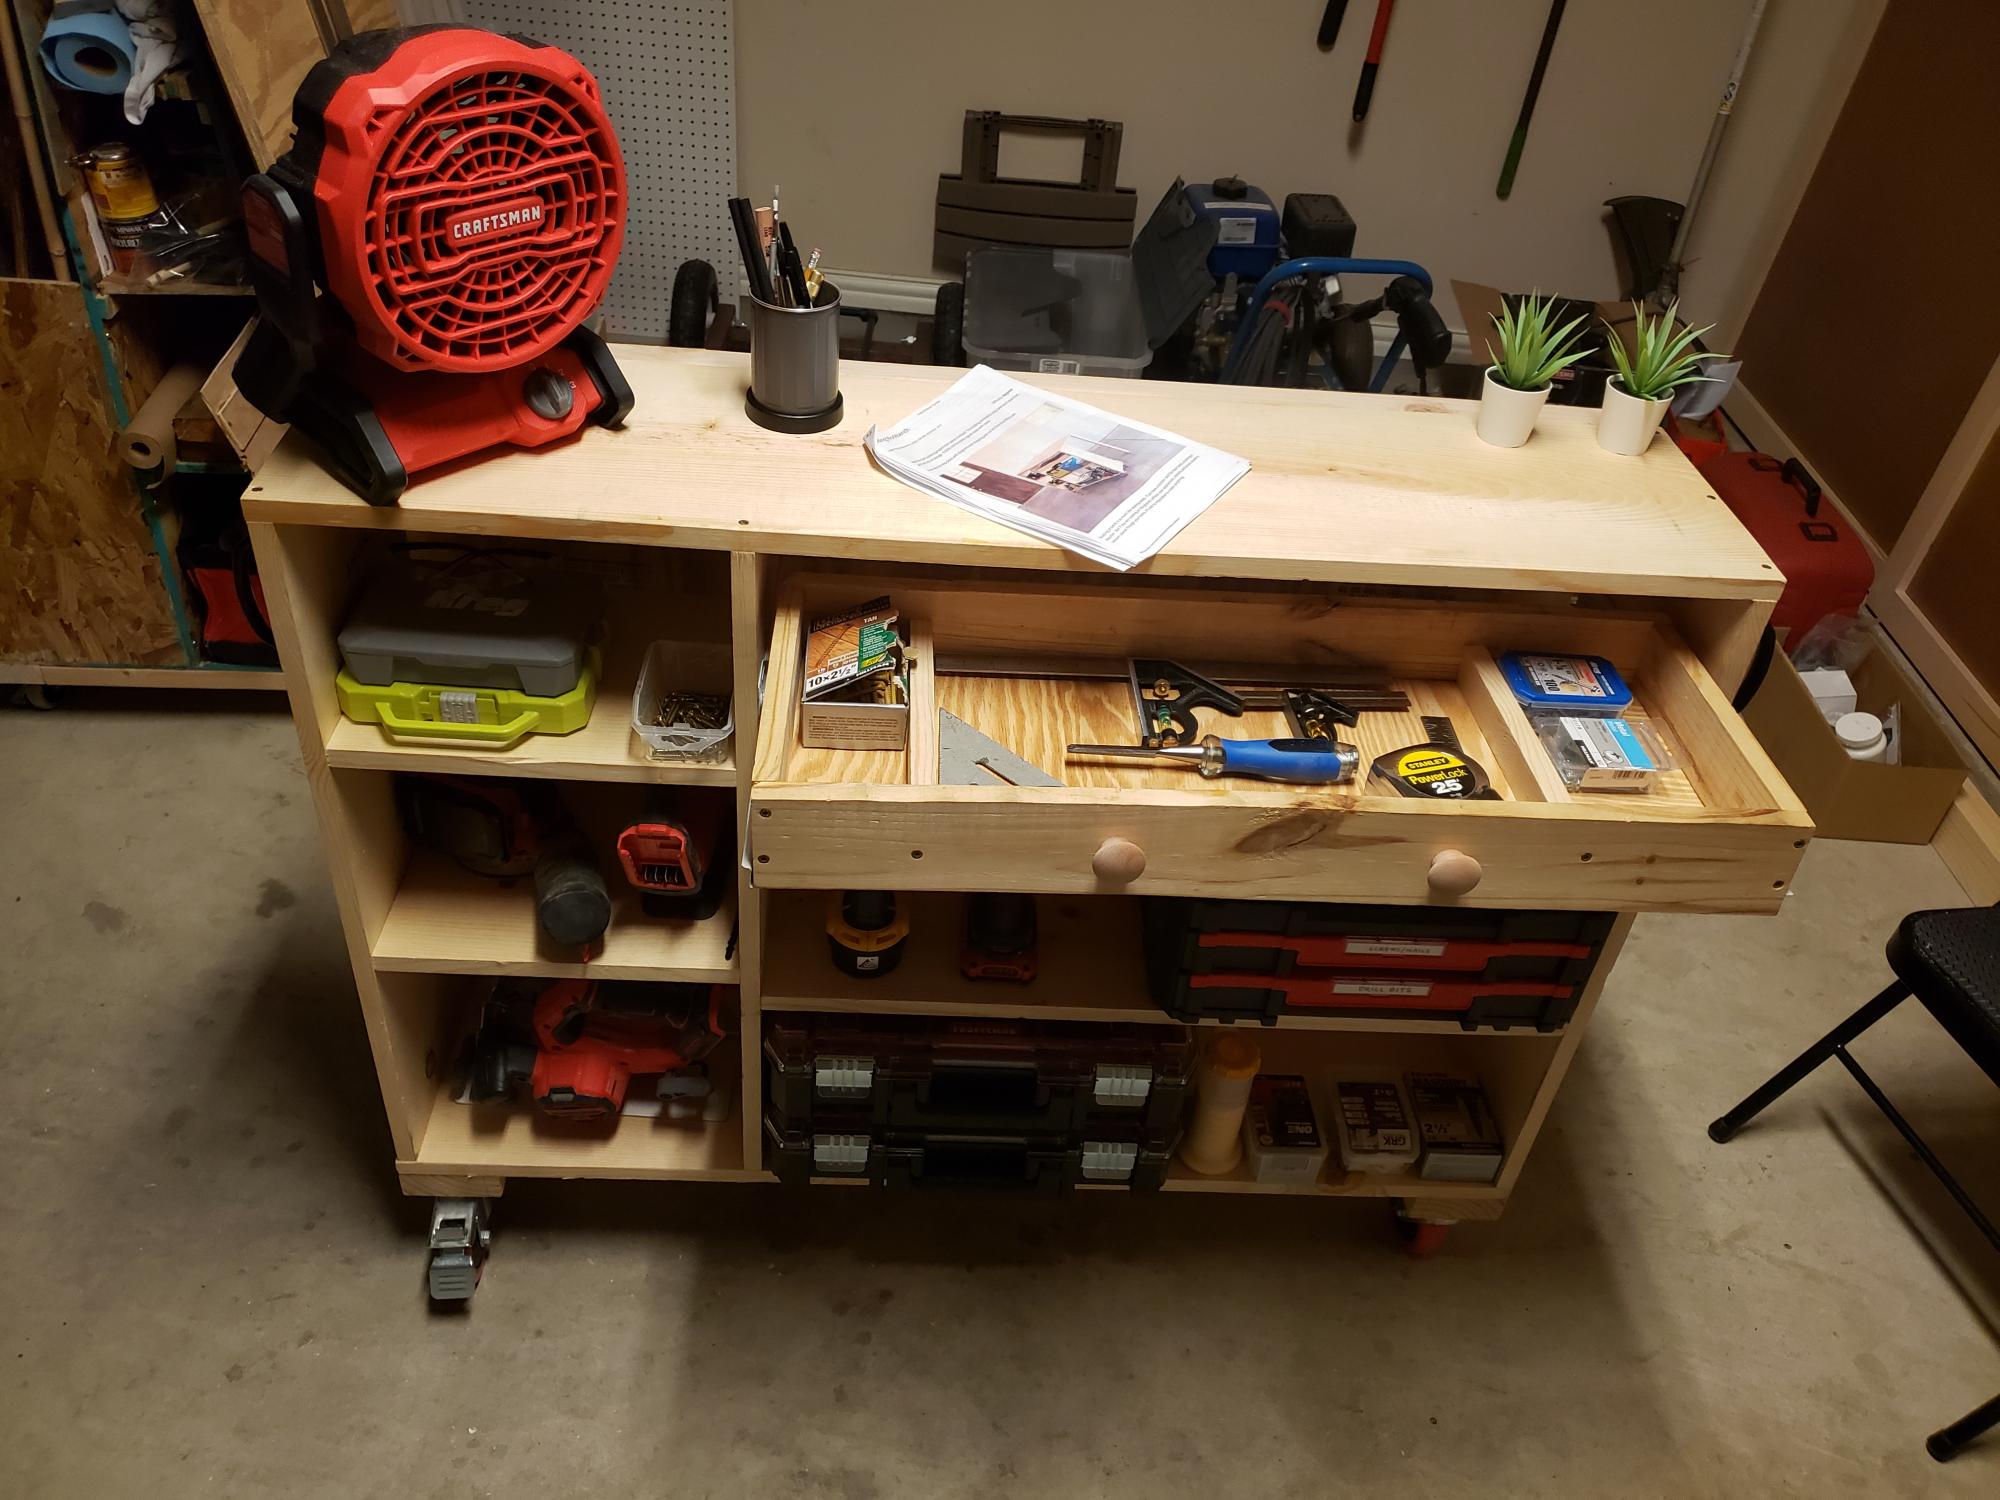
Sturdy Workbench with Shelf
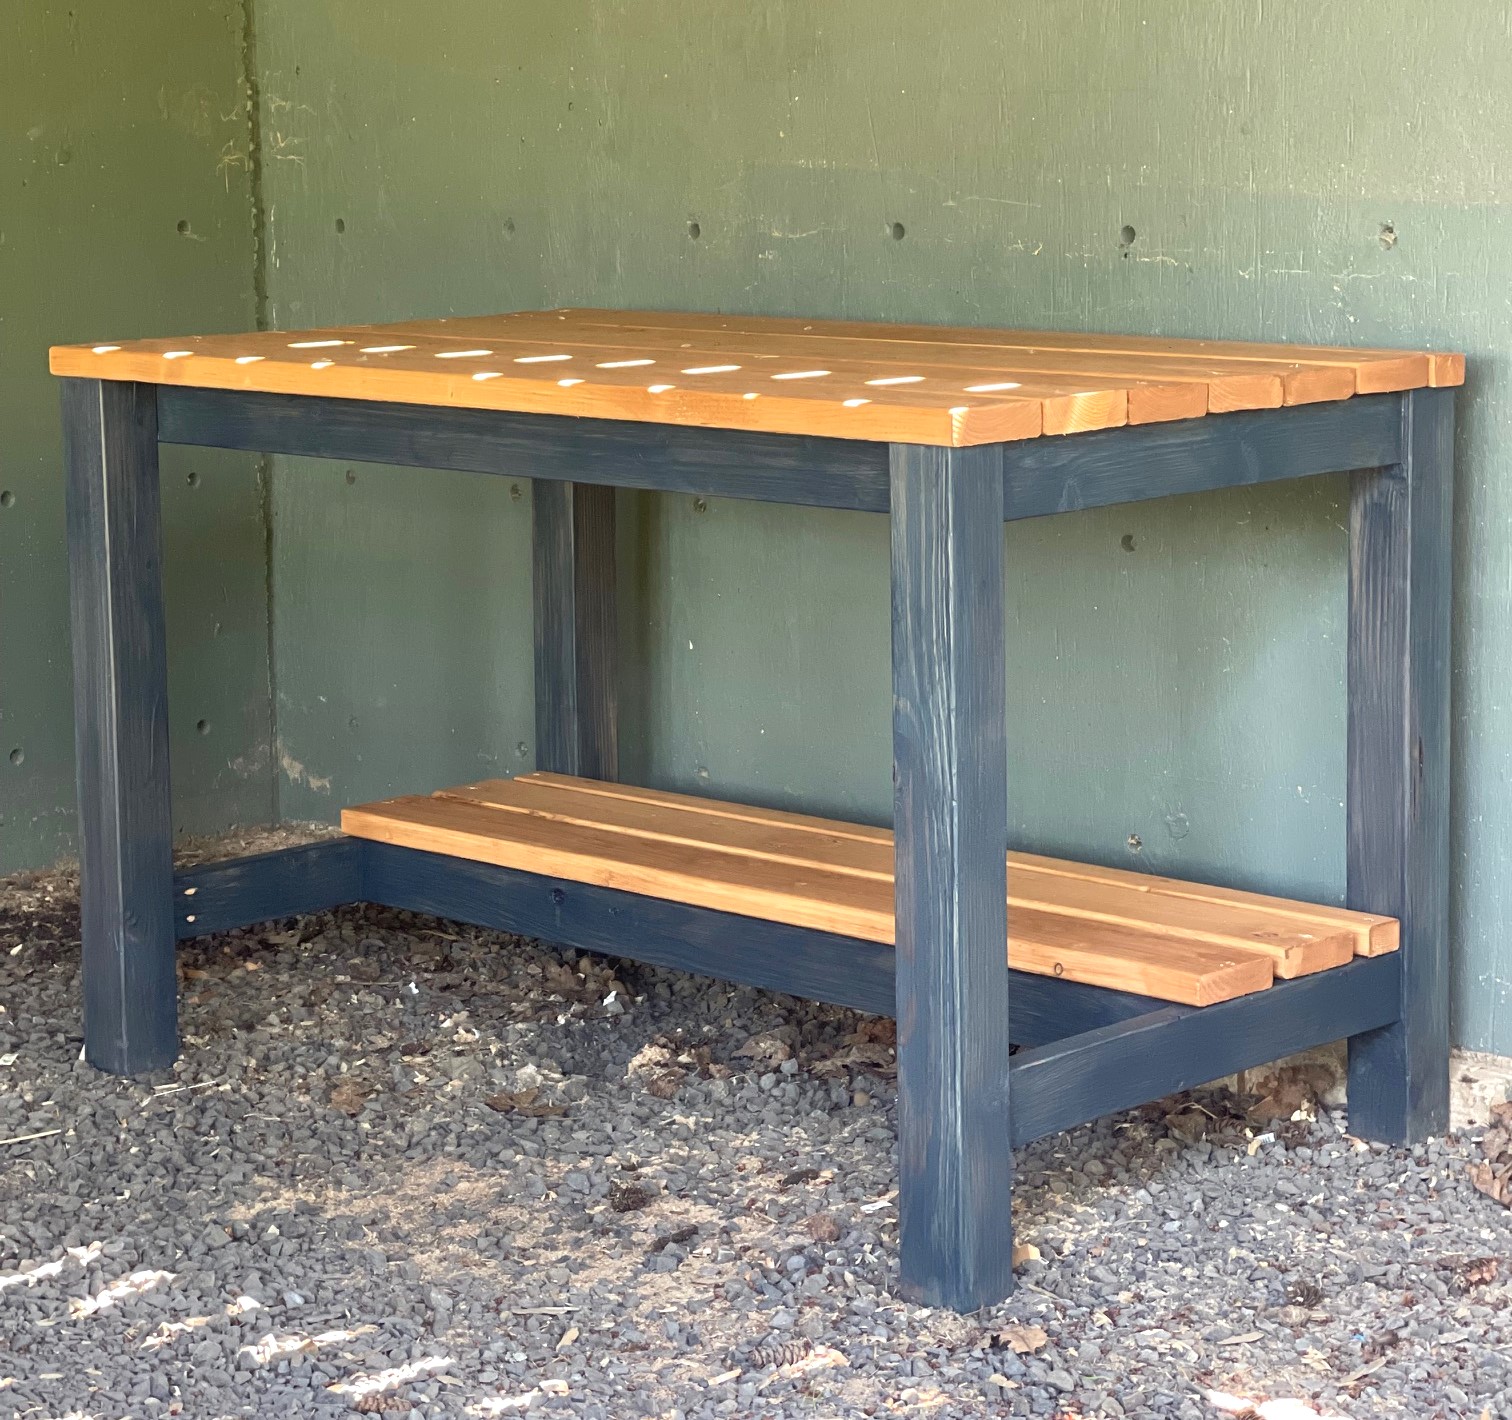
Wanted to build a sturdy workbench with 4x4 legs, so I used Ana's plans linked below with a few mods!
Built from Plan(s)
Wanted to build a sturdy workbench with 4x4 legs, so I used Ana's plans linked below with a few mods!
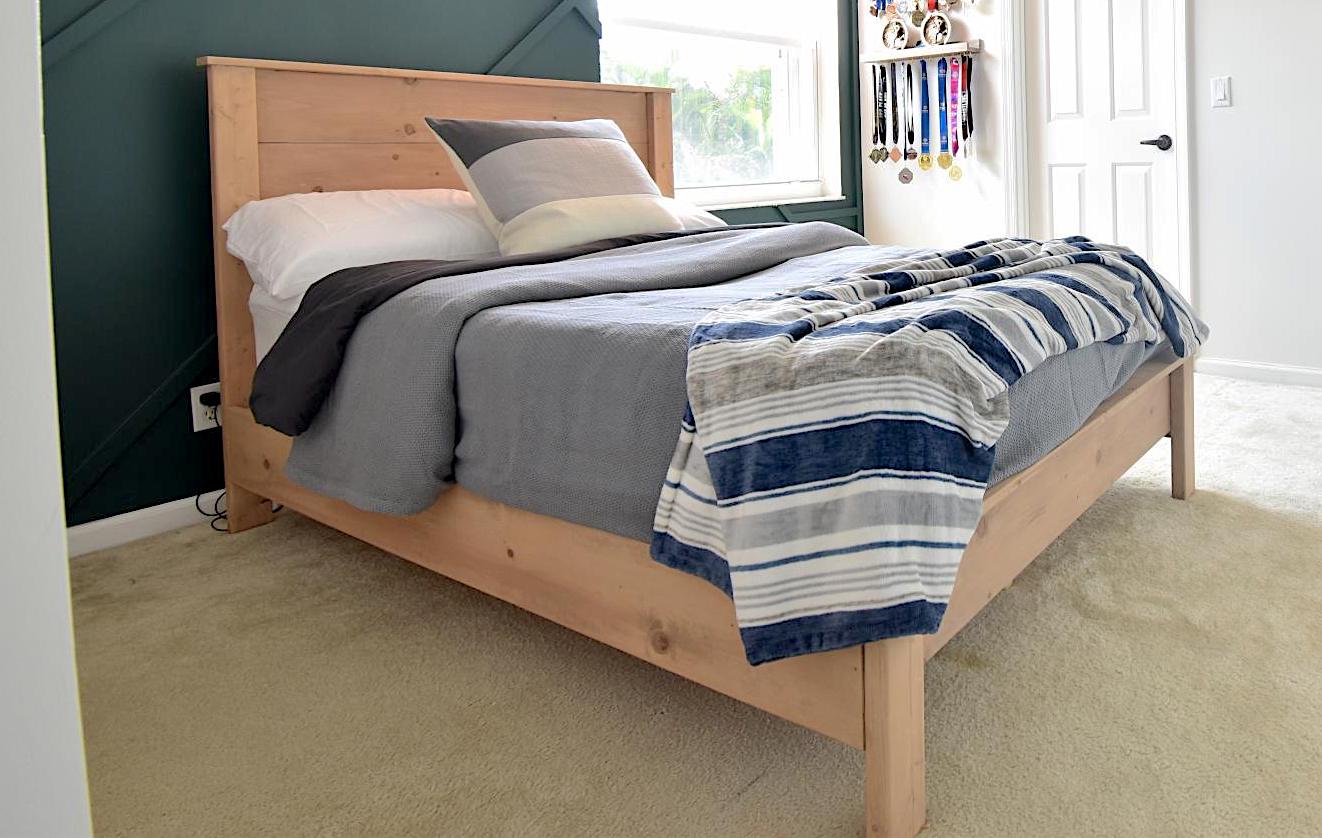
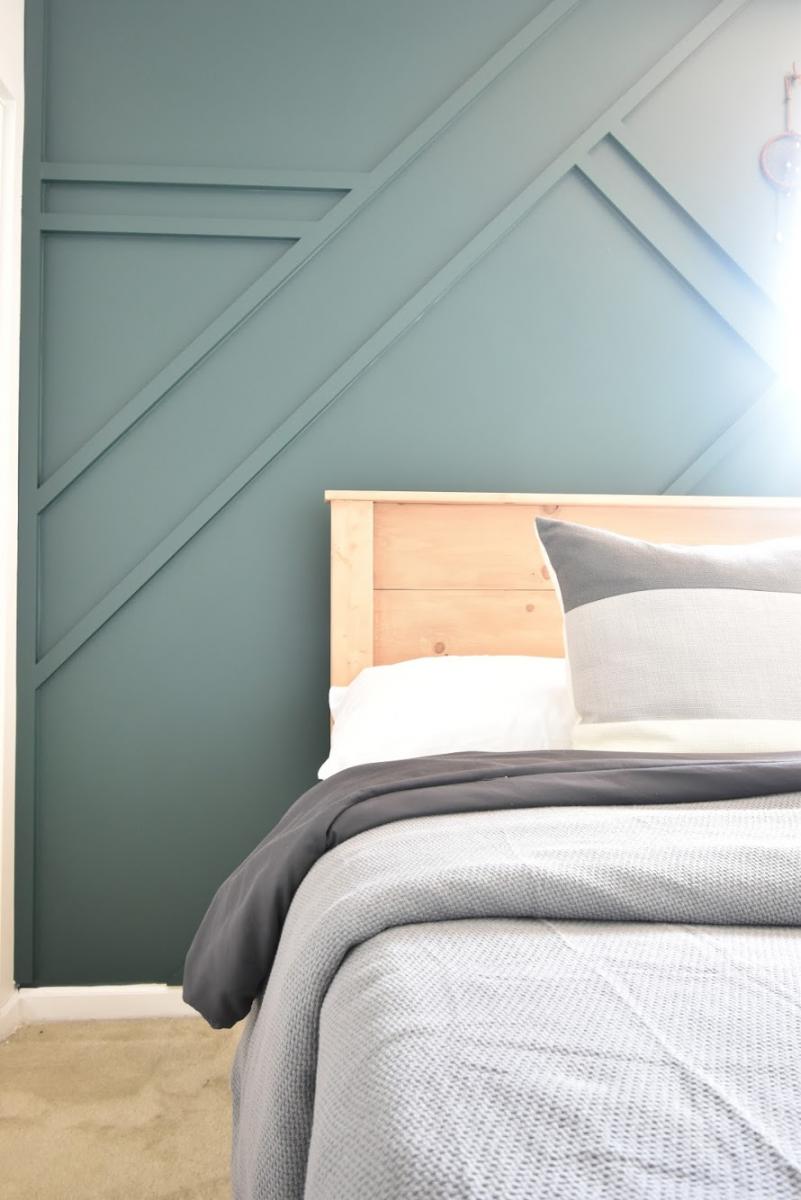
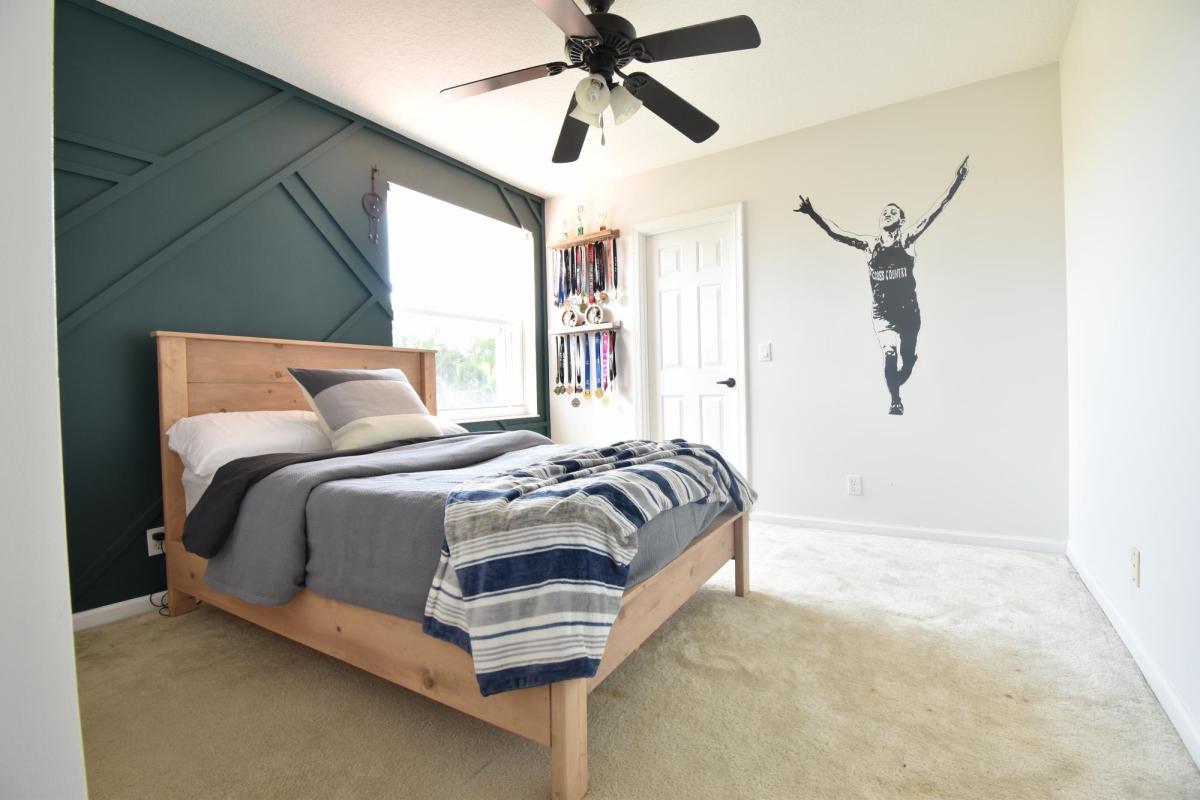
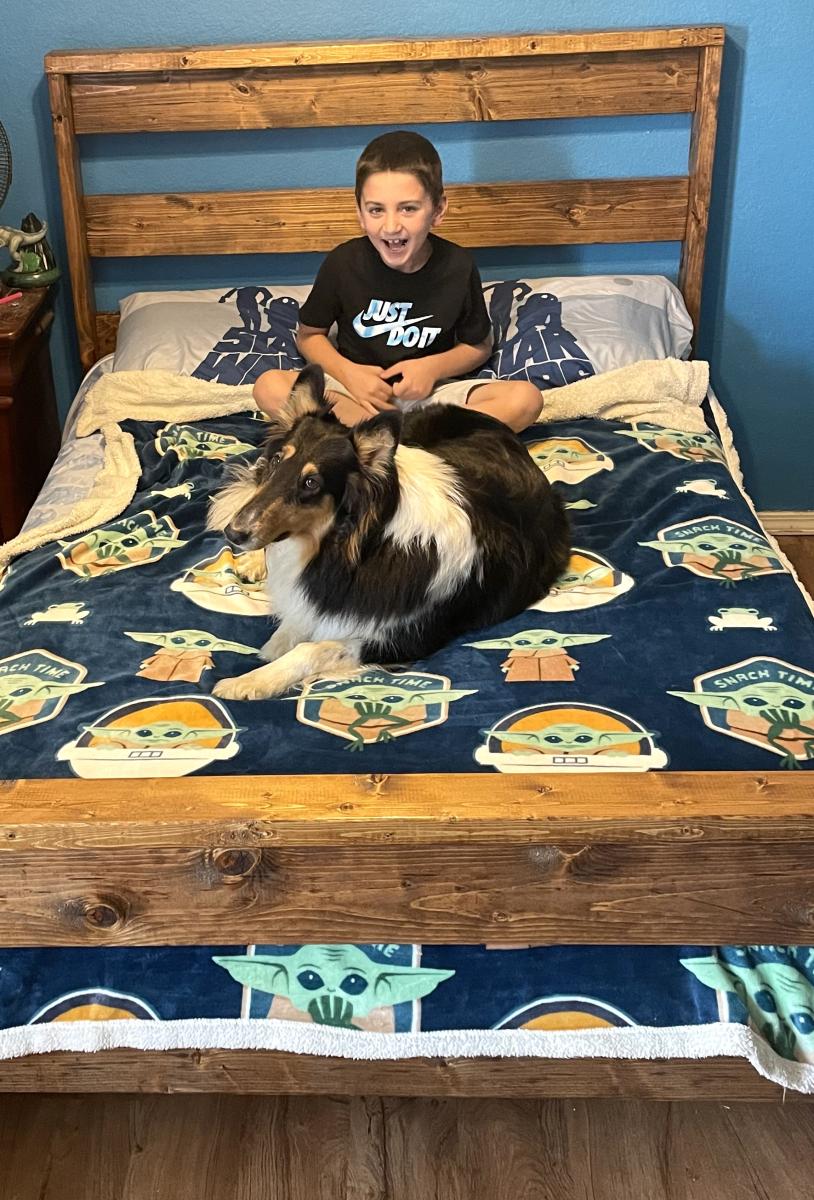
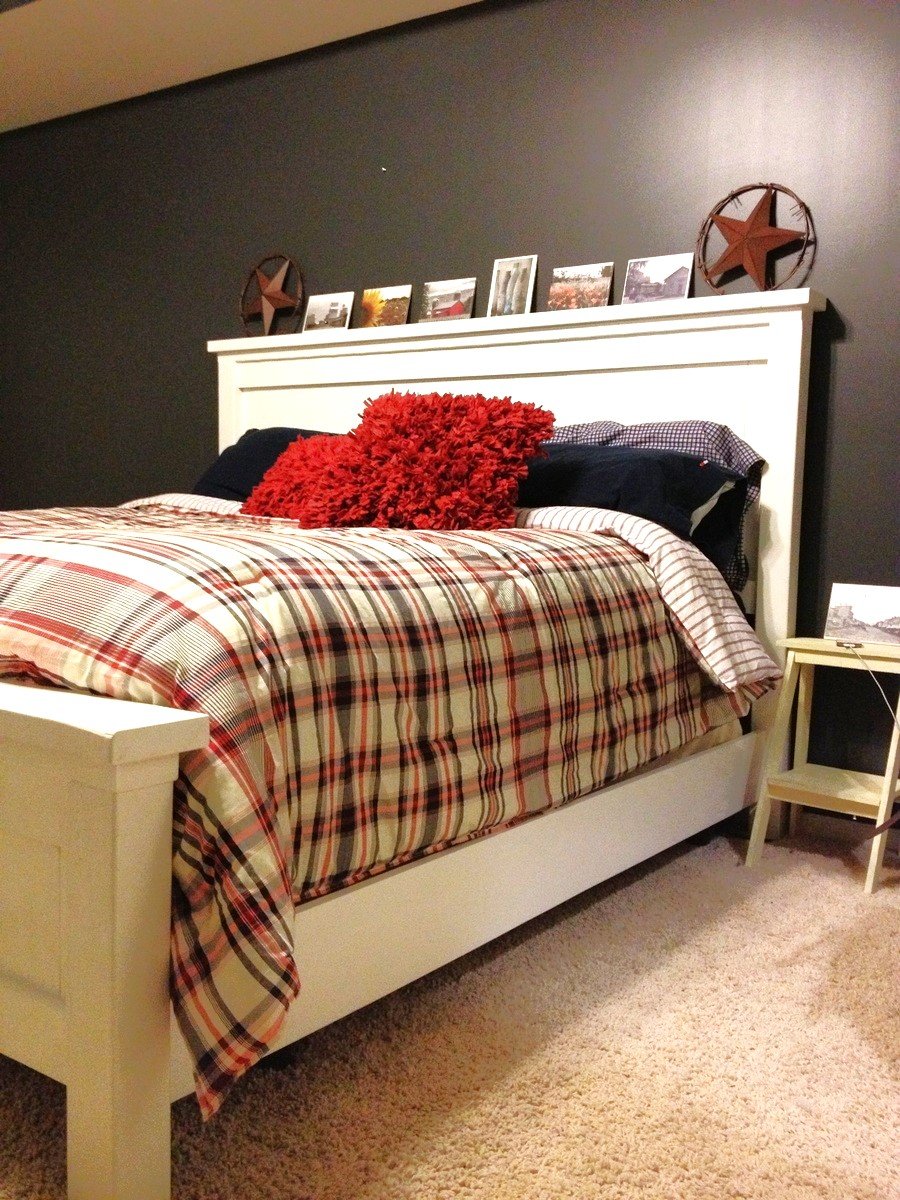
I made this bed over a weekend while I “room crashed” my oldest’s bedroom.
I’m so happy with the result. I experimented with stains mixing two, well layering colors.
That was a lot of fun!
I hope to write a blog post about it one day. I will add it to my ever-growing To Do List.
Let me know if you have questions. I love talking about building and all things DIY!

Sun, 10/06/2019 - 15:57
You are amazing! Thank you so much for adding a brag post!

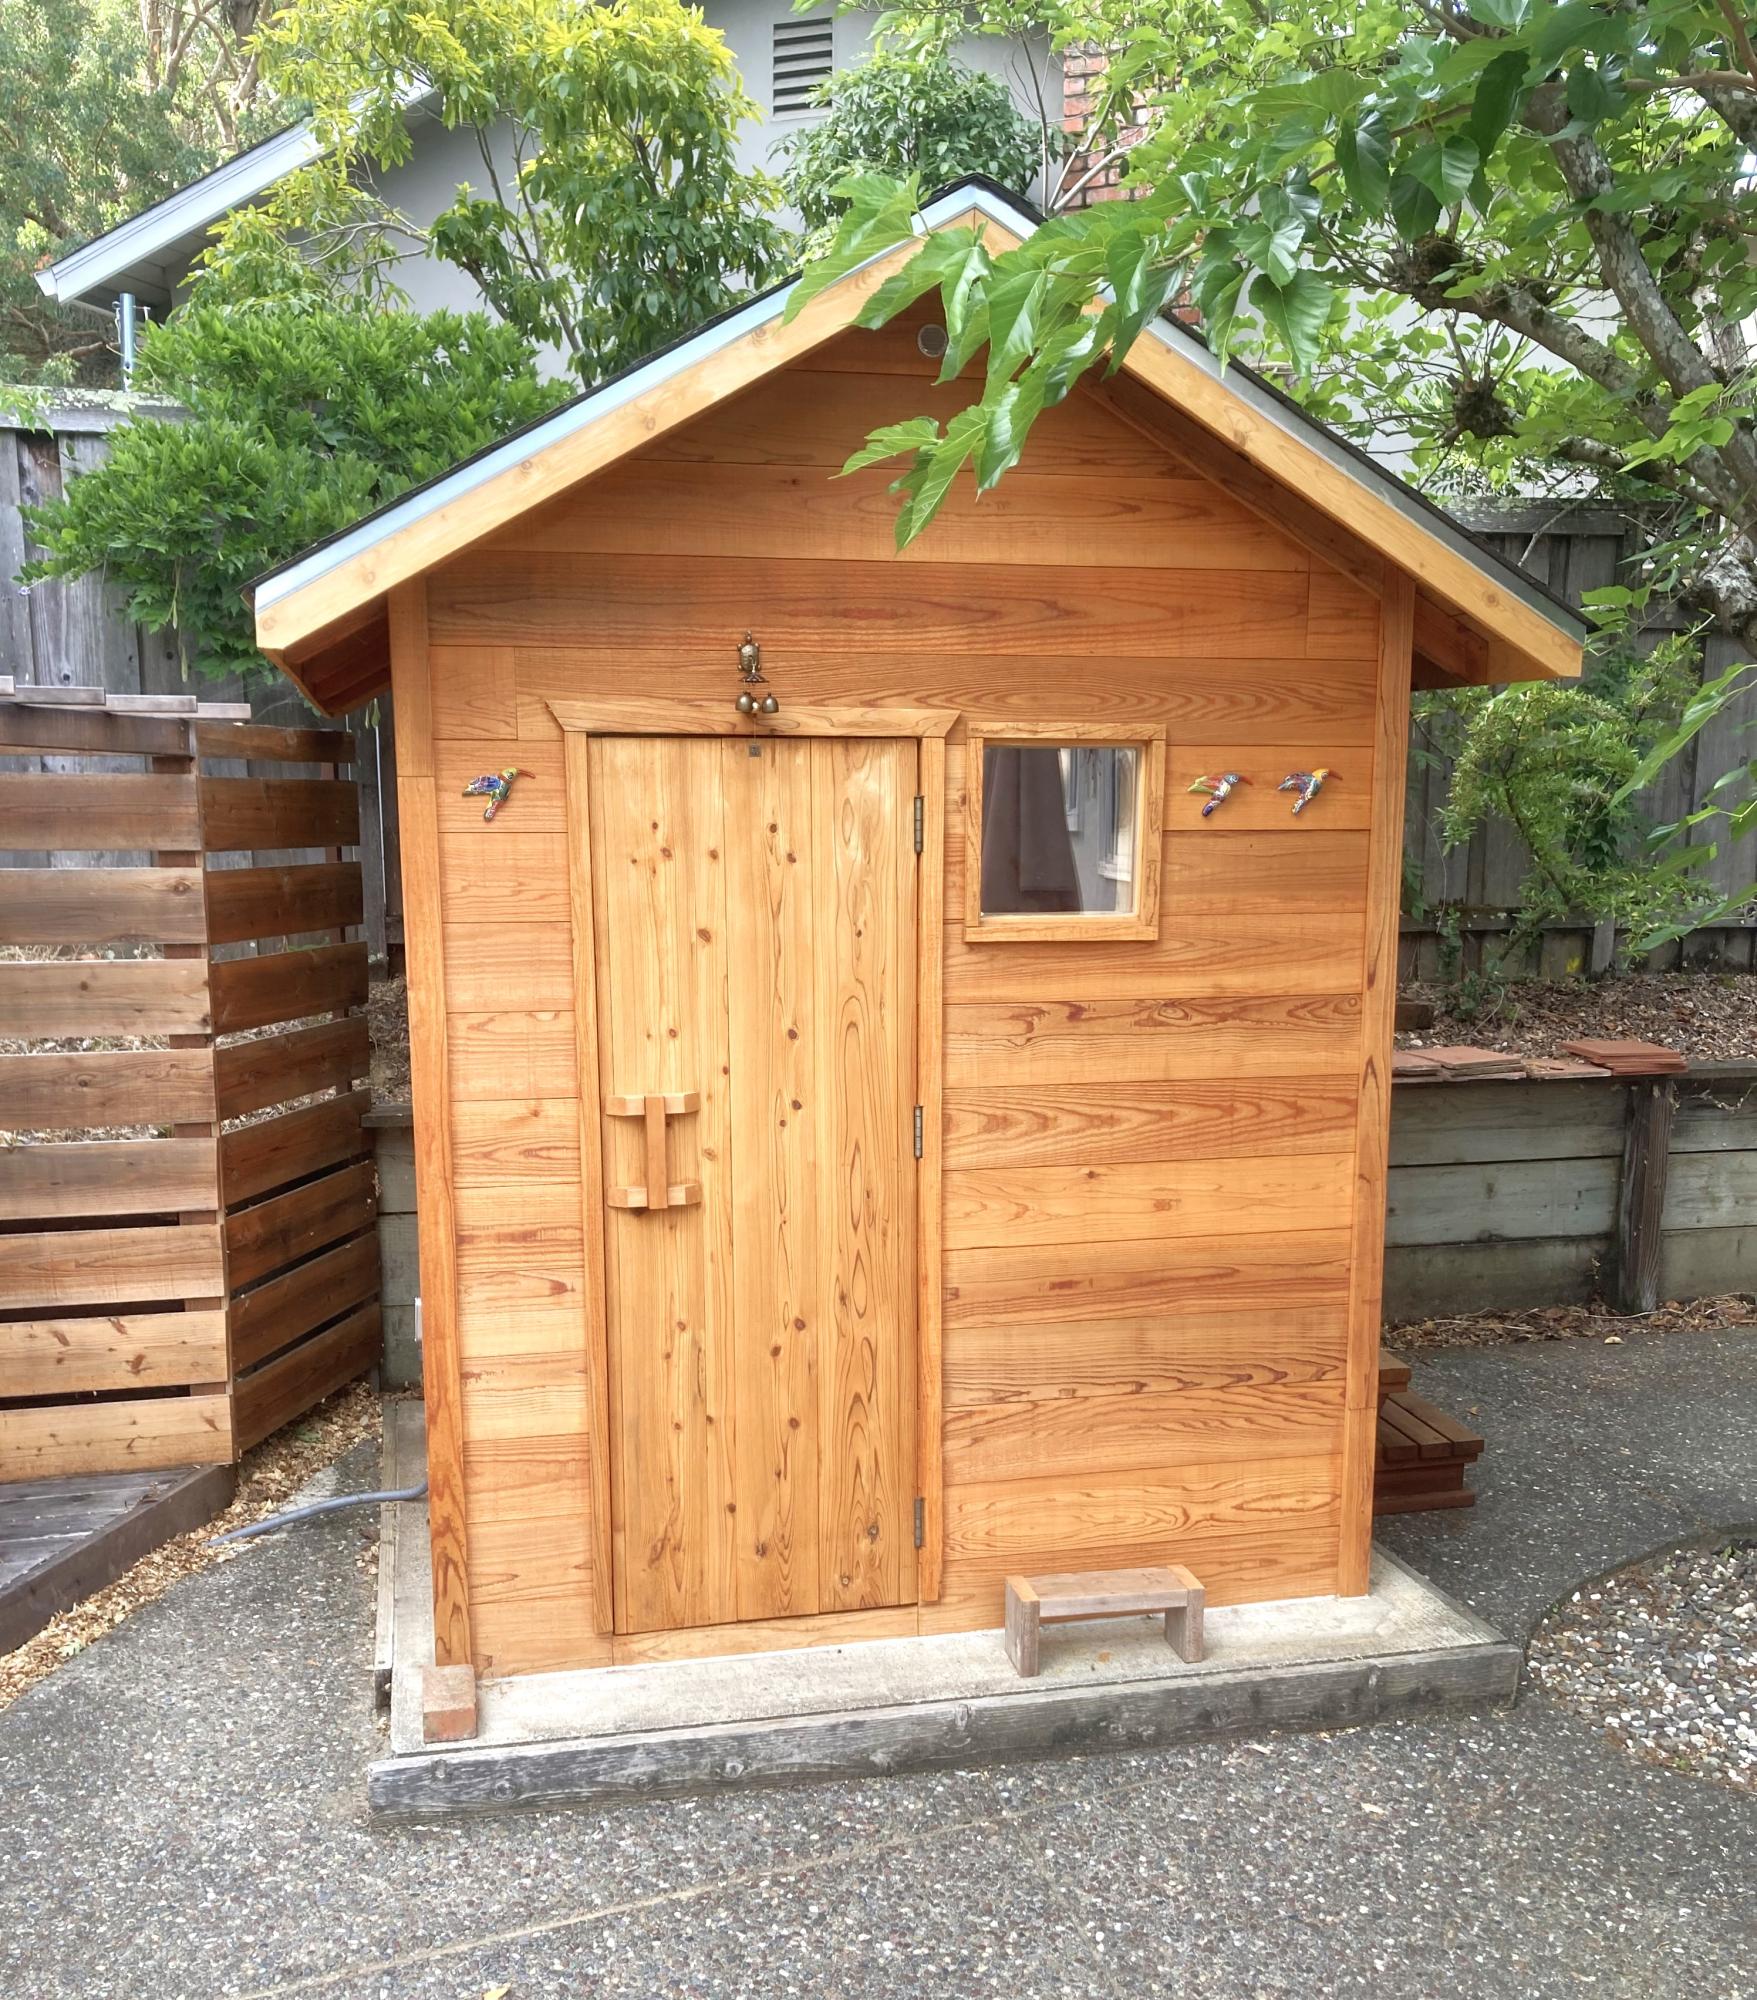
I saw this greenhouse built on the Justin Rhodes YouTube channel and immediately wanted my own. My husband was a champ at making my dream come true!
Tue, 04/09/2024 - 01:43
What a great idea! Building your own greenhouse can be a rewarding and cost-effective project. With the right planning and choice of materials, you can create a sturdy structure that will last you for years to come. In fact, a greenhouse is a great way to take care of your health because the crops grown there are undoubtedly of higher quality and healthier for you. Speaking of health, if you want to improve your health, consider using natural supplements such as mullein. Mullein supplements are known for their potential respiratory benefits and can promote overall well-being. You can find organic mullein supplements https://www.amazon.com/USDA-Organic-Mullein-Drops-Lungs/dp/B0CKBPTPRL on Amazon. Adding them to your daily diet can complement the peaceful environment of your greenhouse. So, whether you are a gardening enthusiast or just starting out, remember to take care of both your plants and your health!
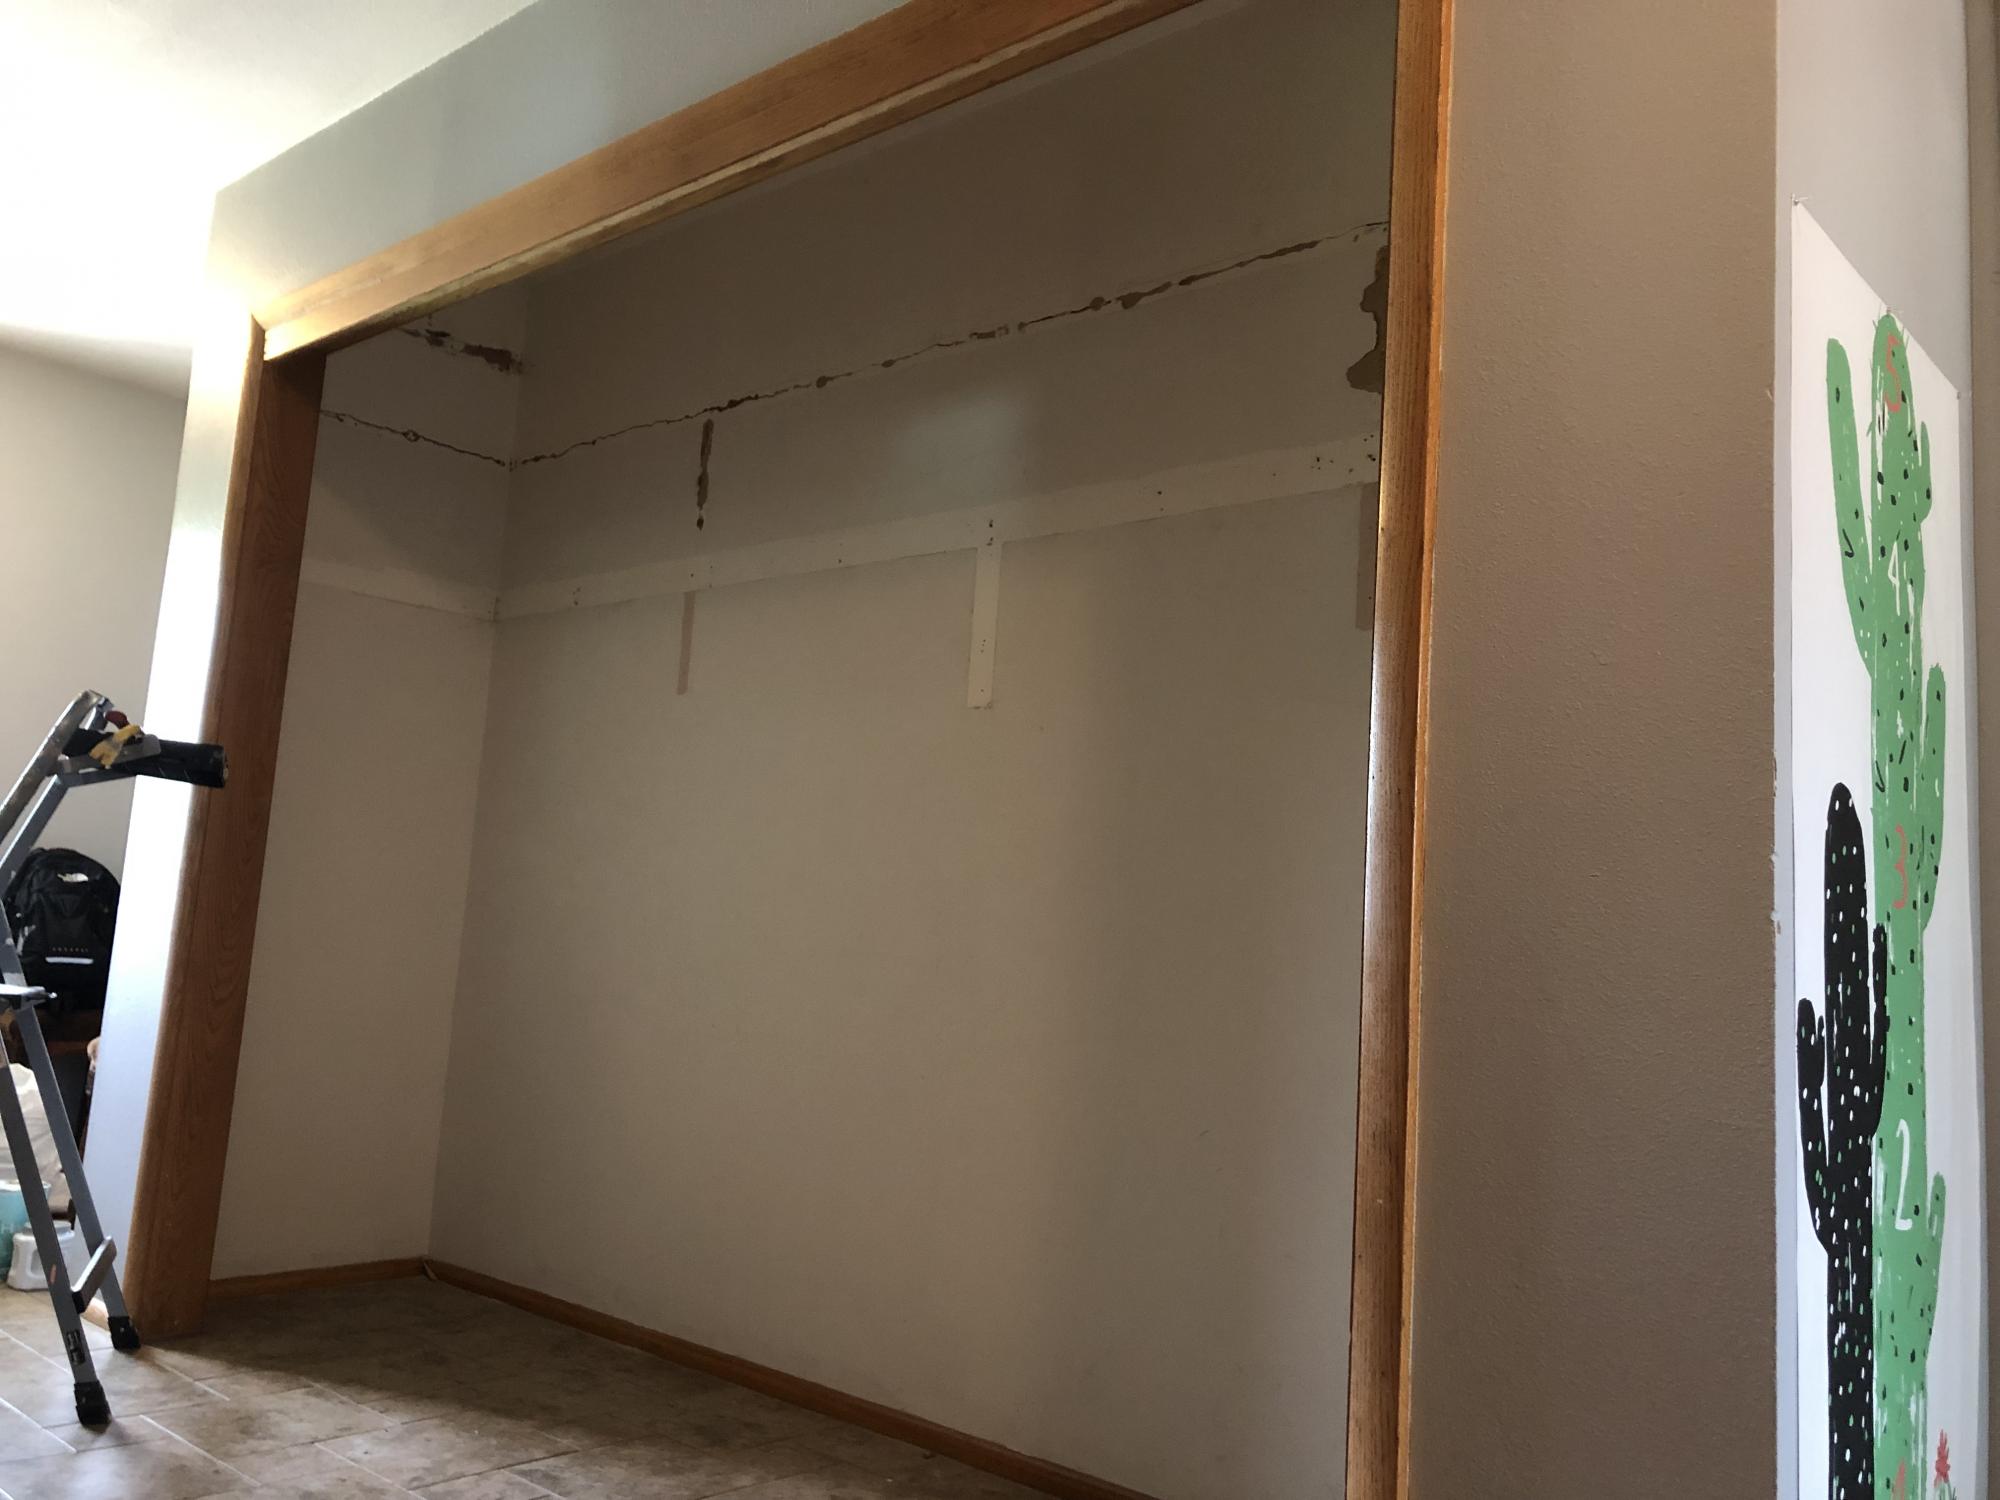
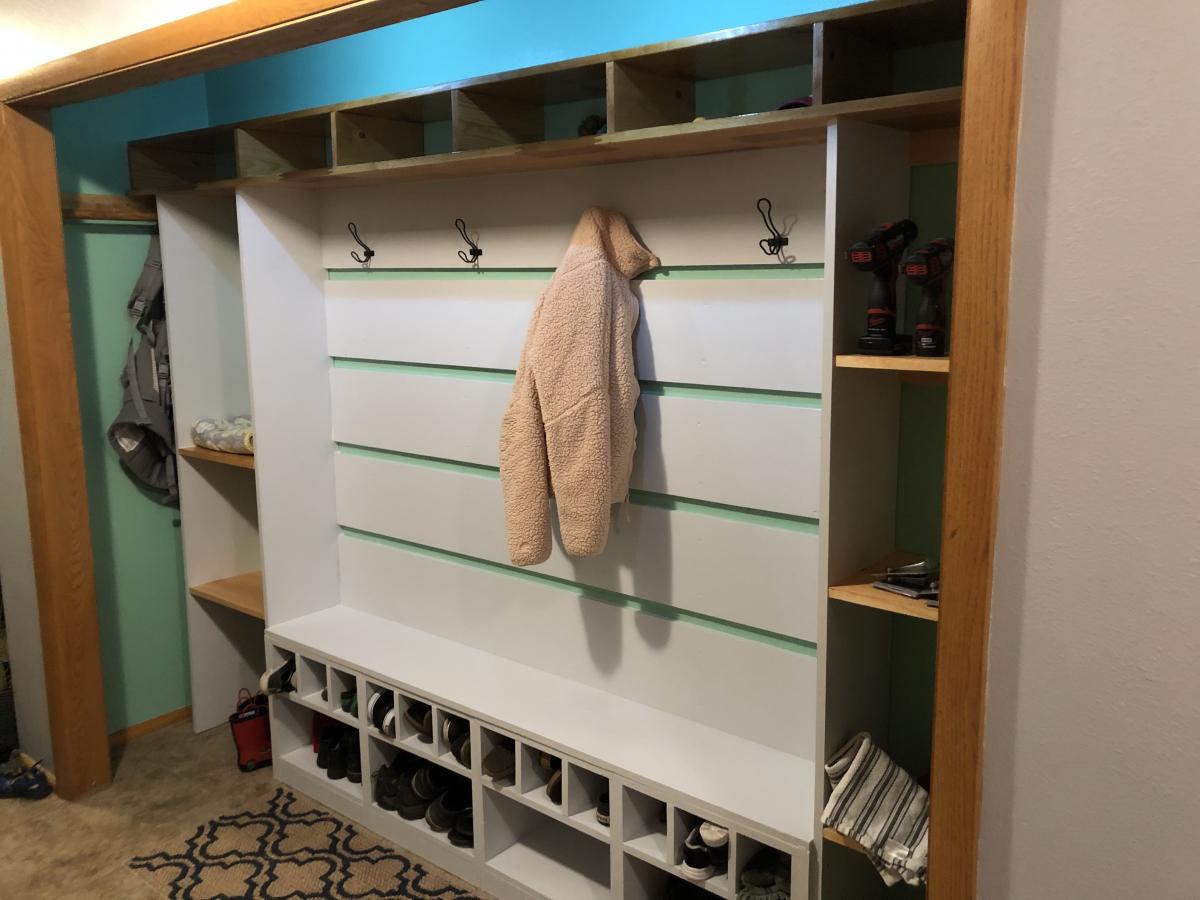
We have a 10 ft closet in our entry which offered plenty of space but had three closet sliding doors. Only one could be open at a time. Had two upper shelves and a rod. Wanted to get things more organized and have a place to get shoes on. Always give my 1 and 3 year old easier access to dress/undress themselves. First attempt at building anything. As I went along changed things based on materials and to get around issues with our closet or my skill level/available tools.
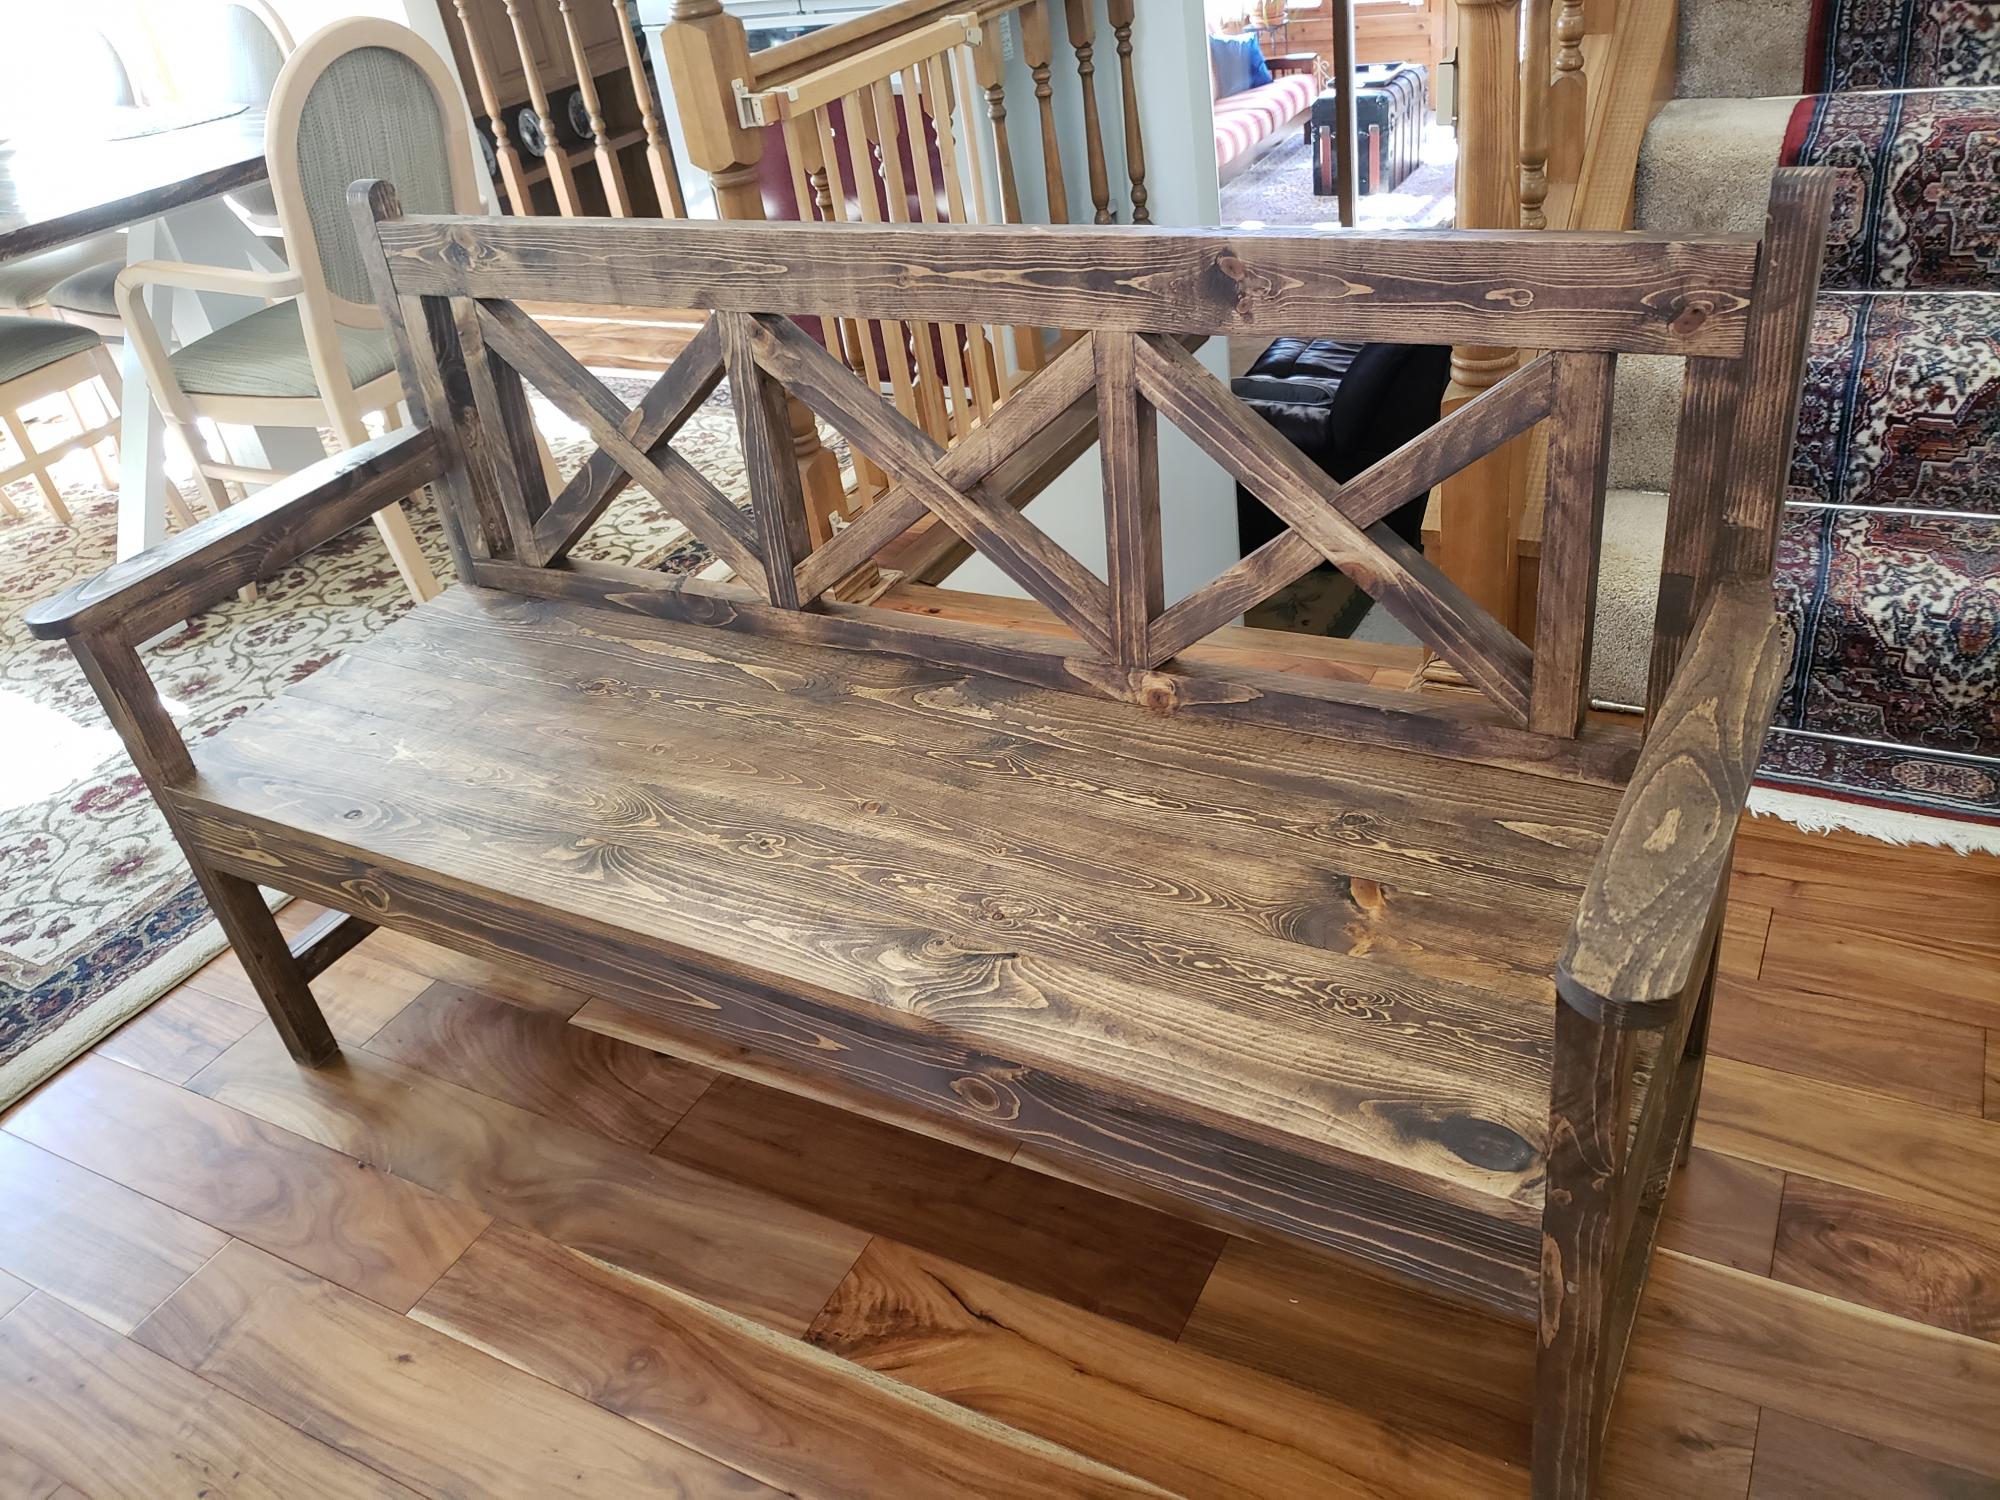
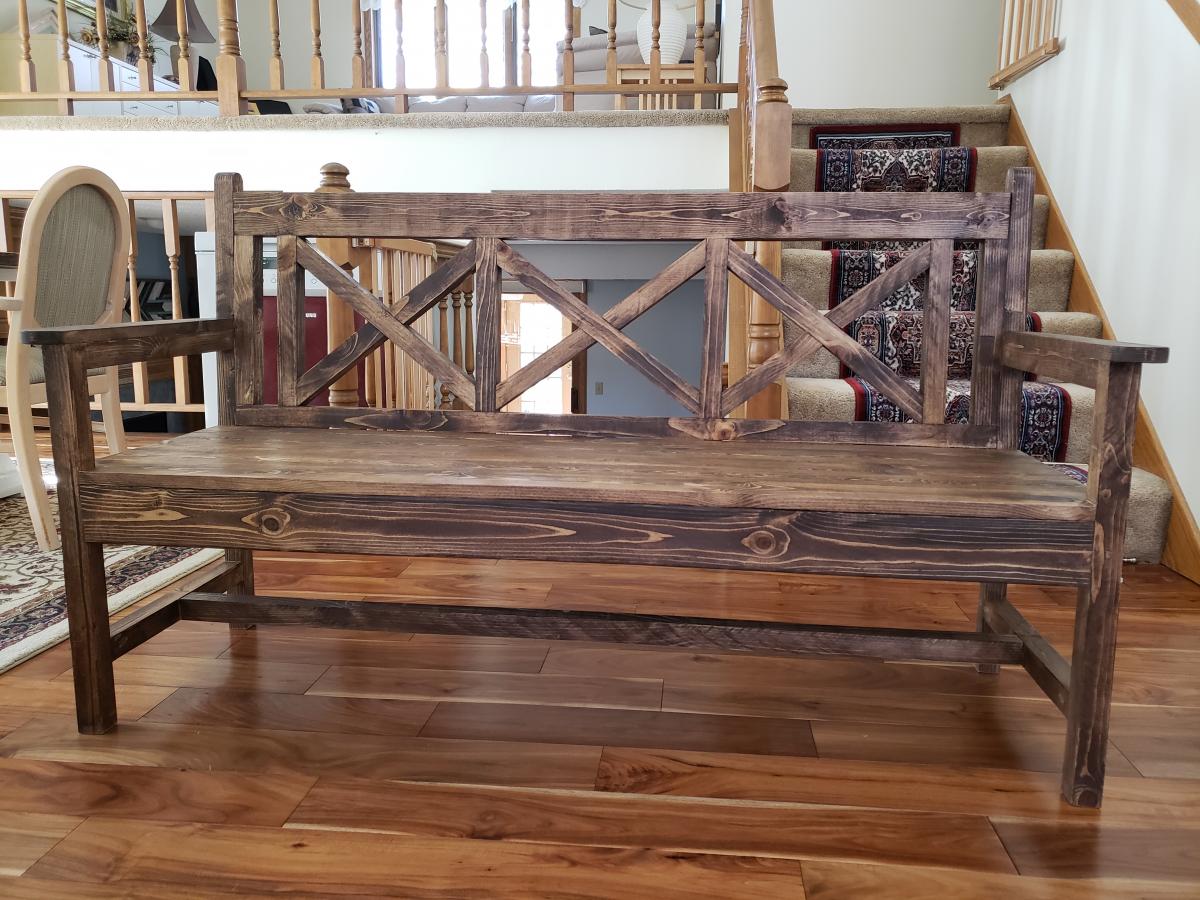
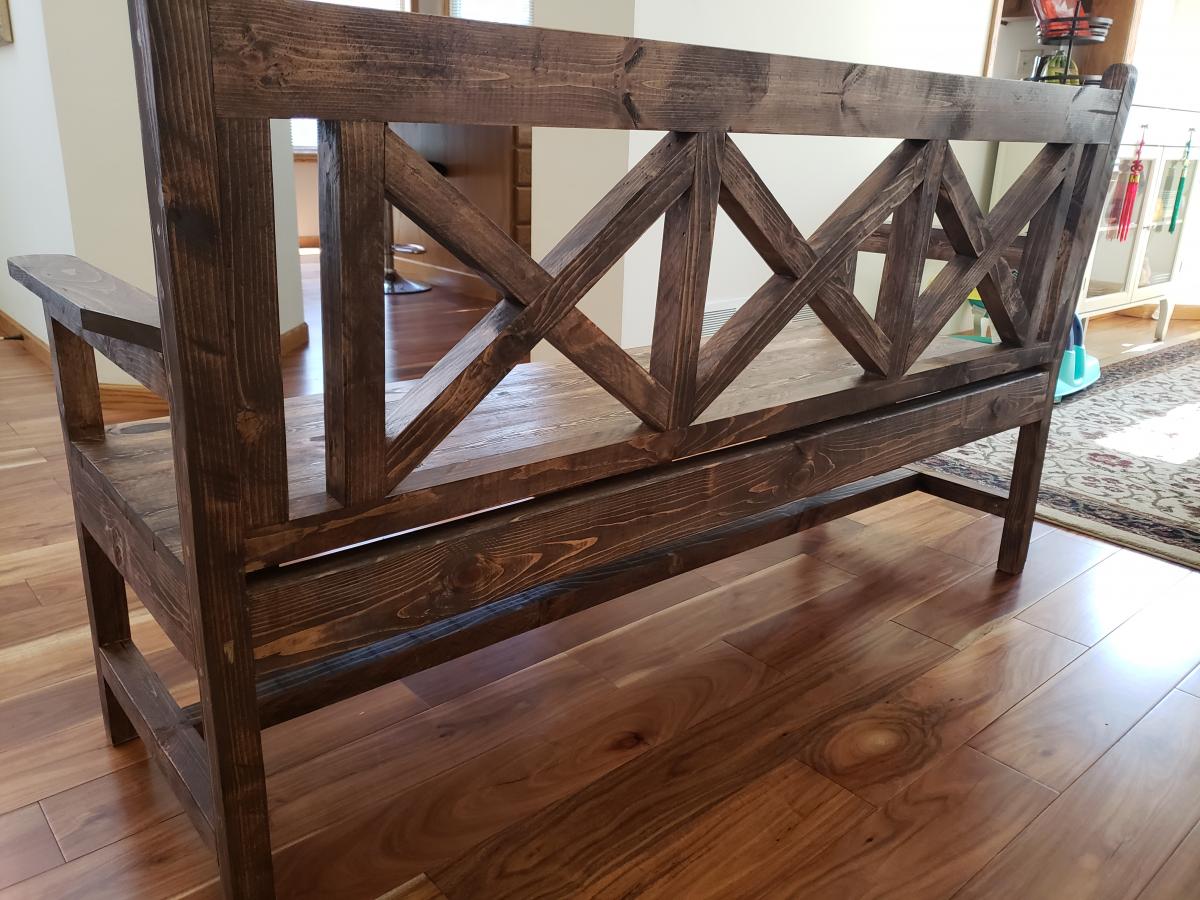
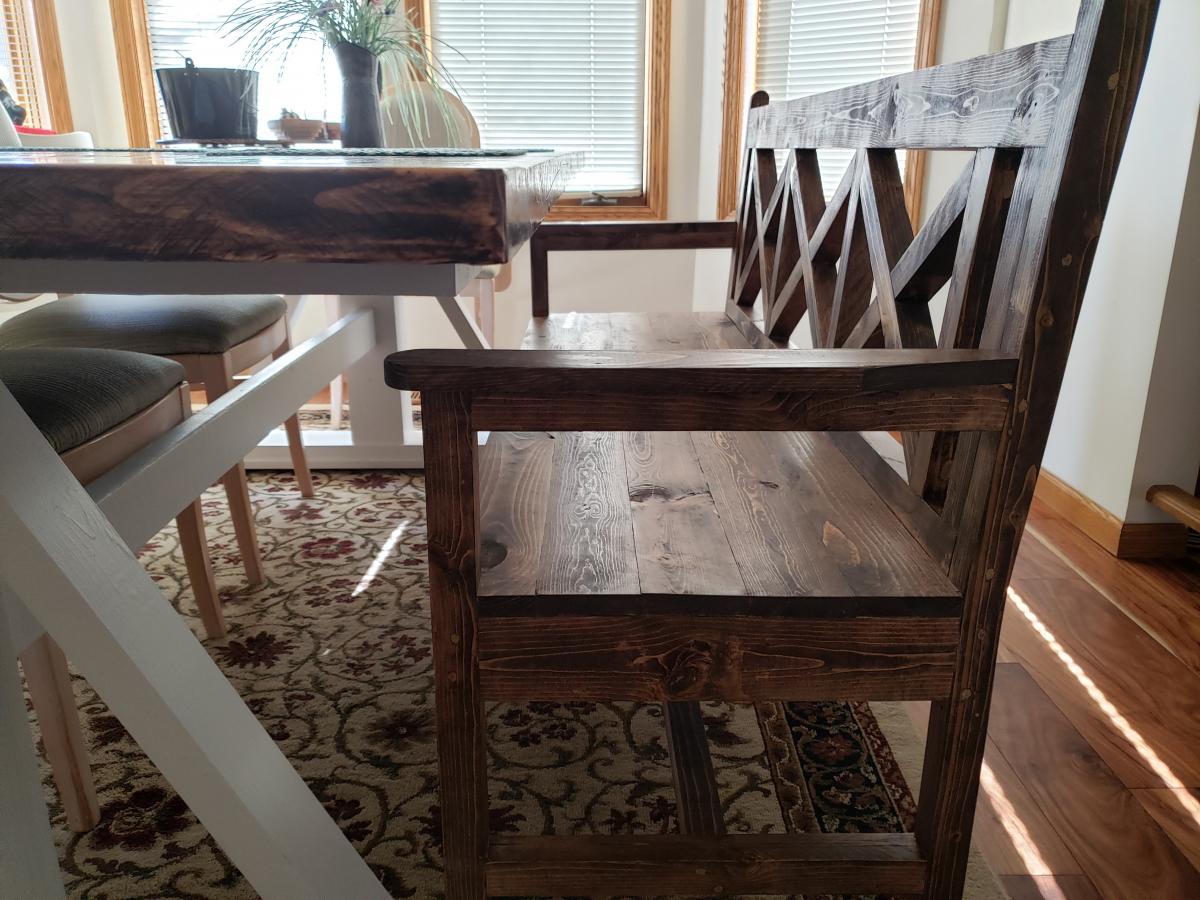
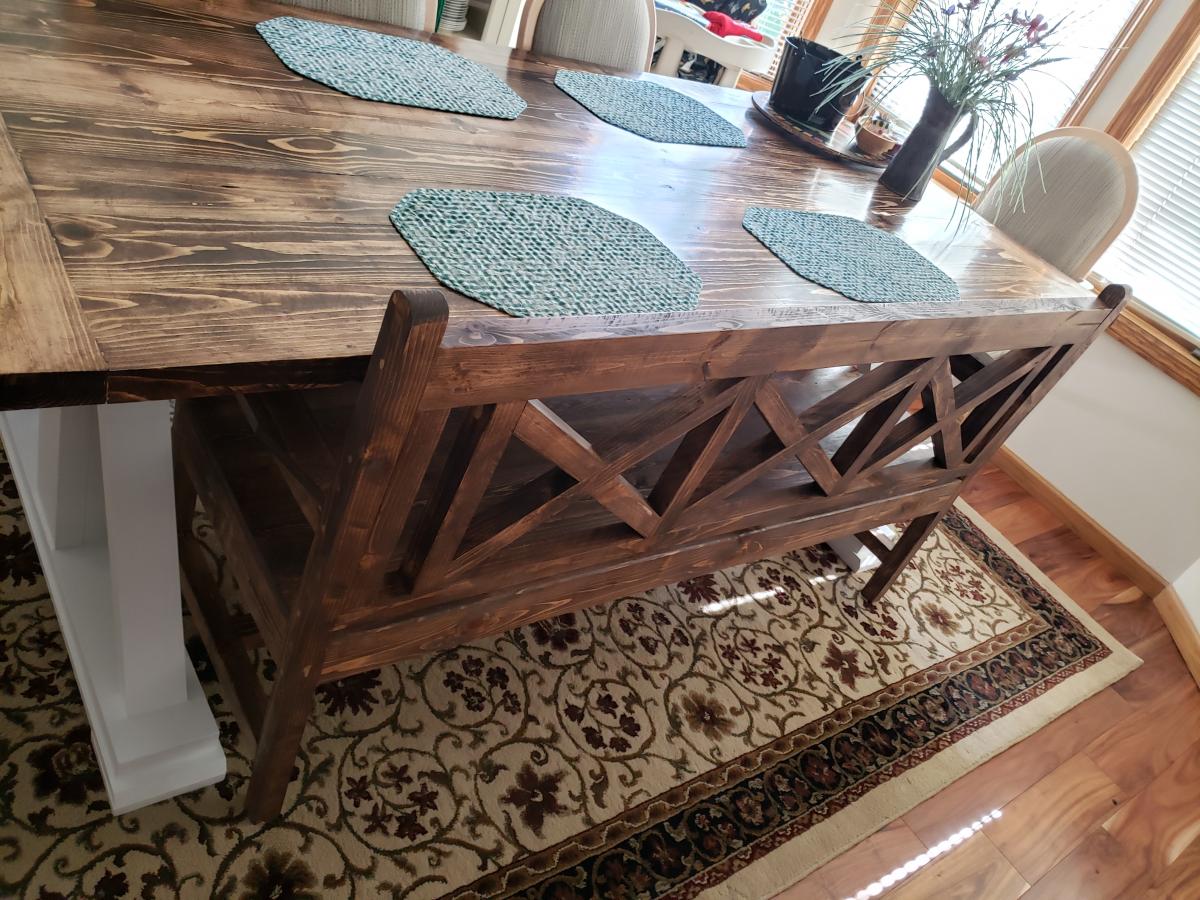
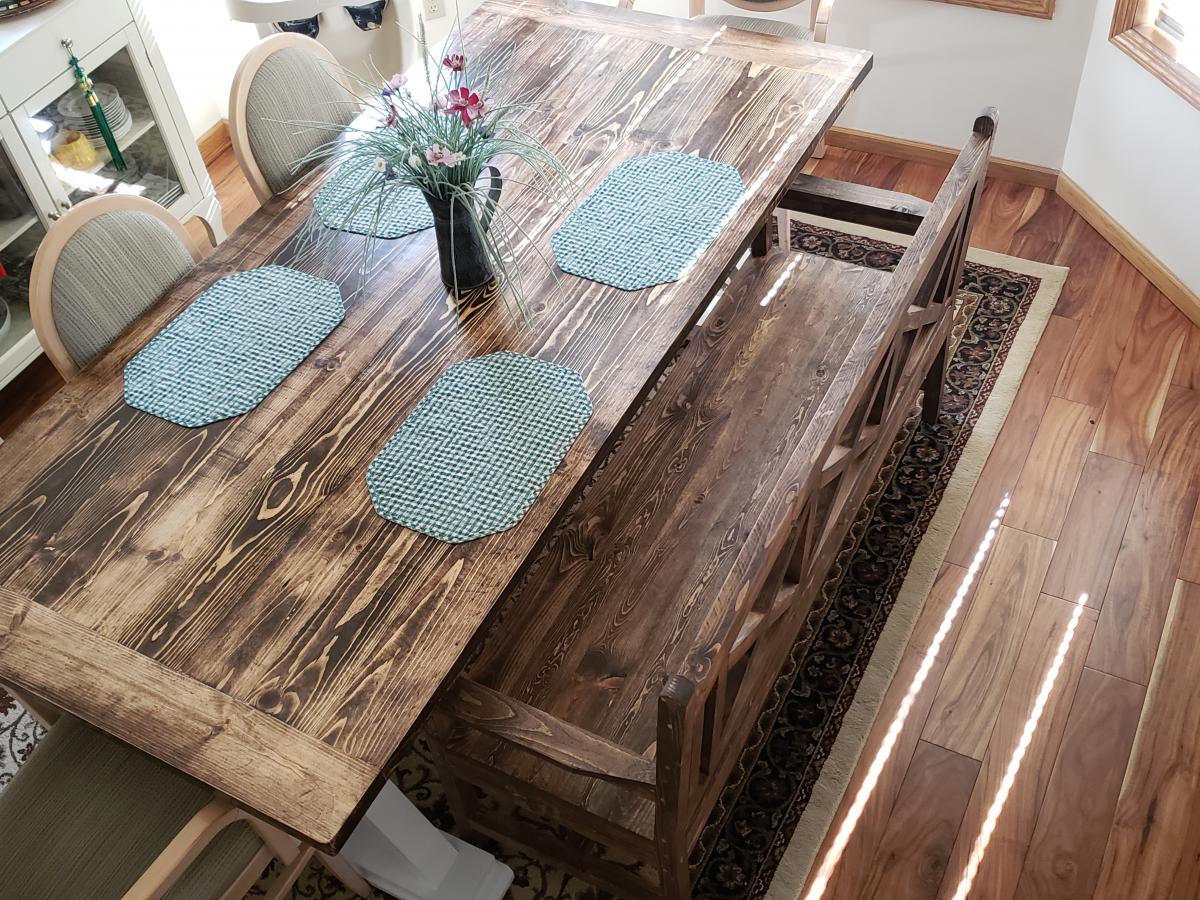
I made this bench for my Farmhouse dining table, modified for 3 seats.
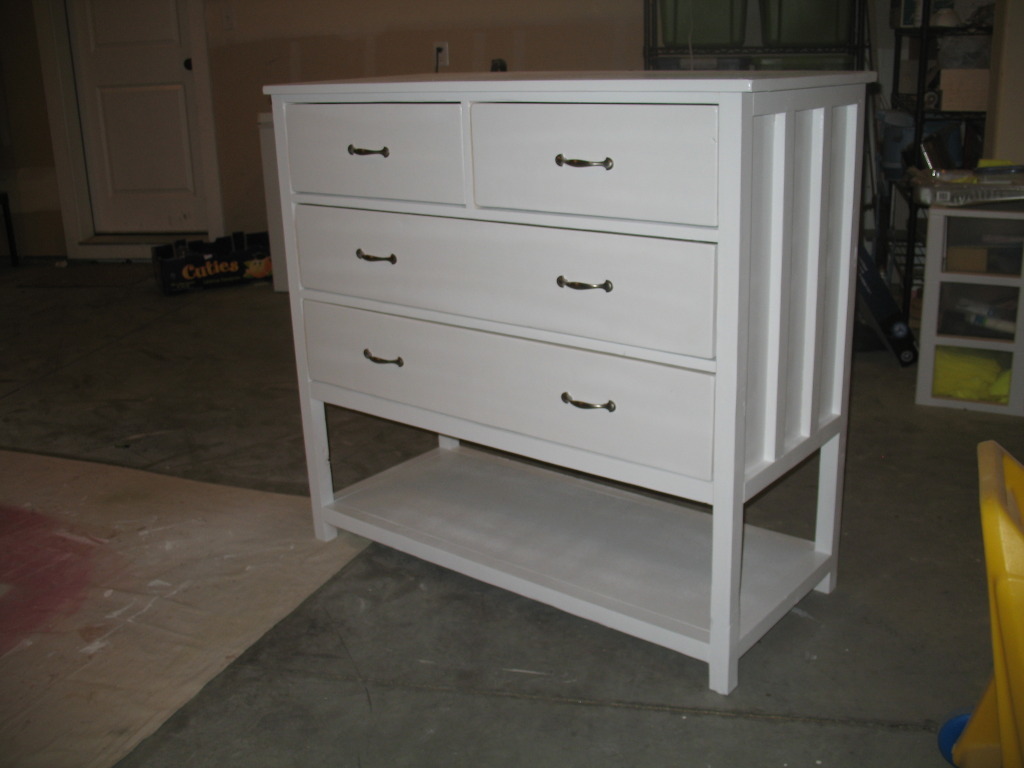
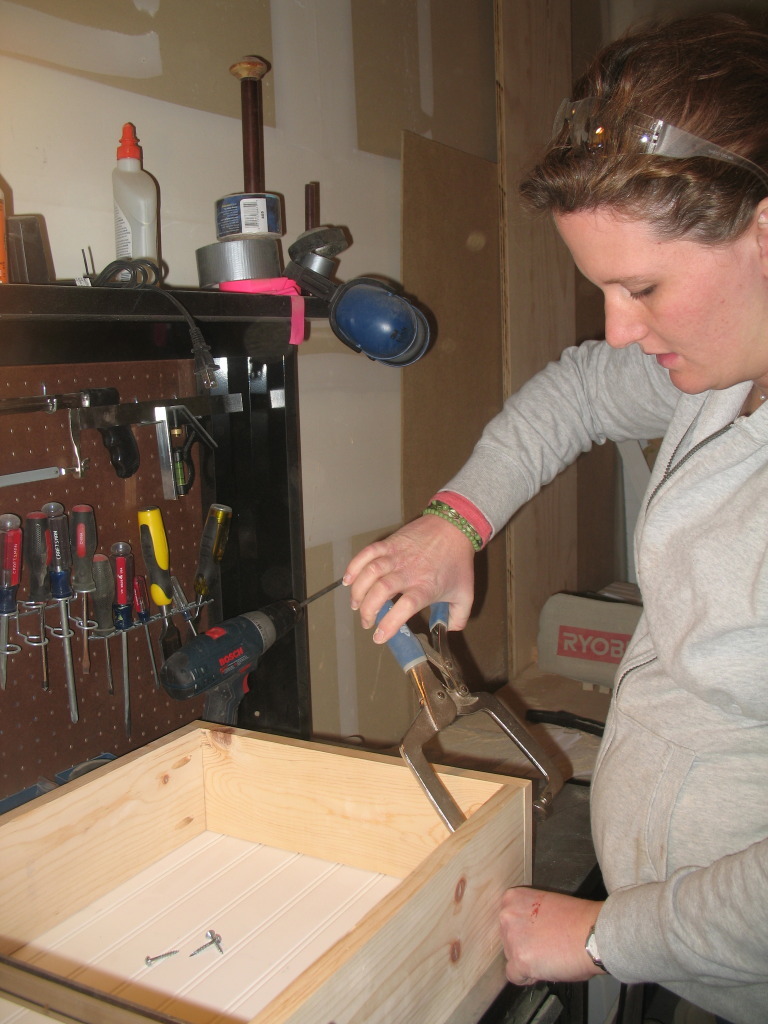
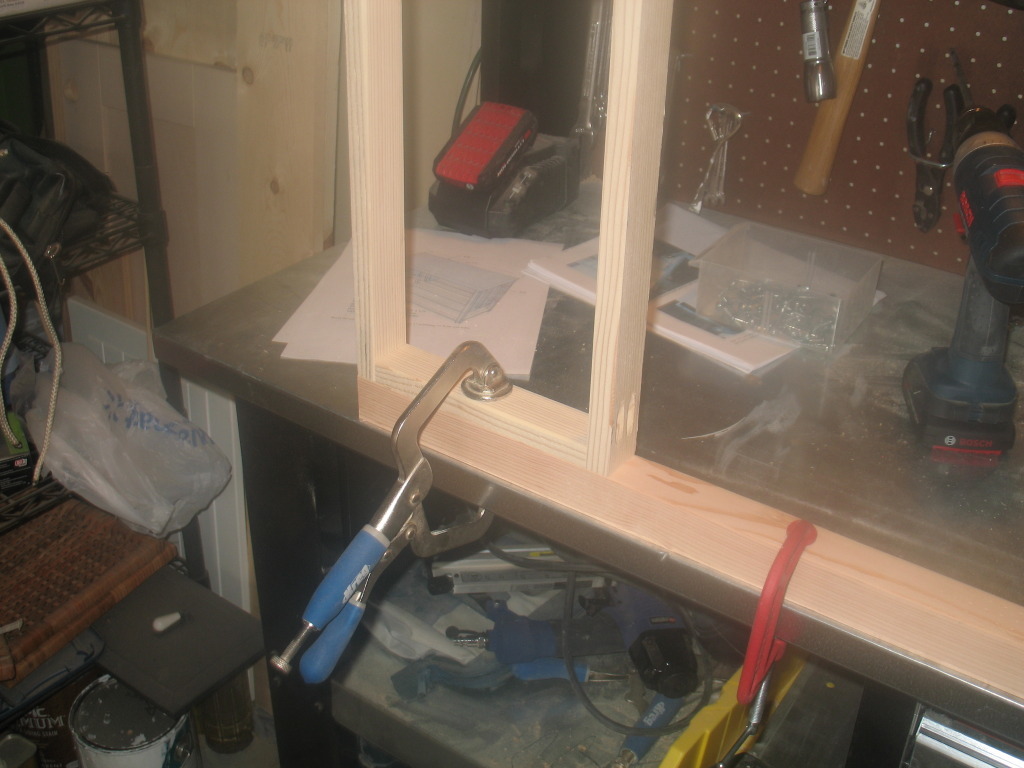
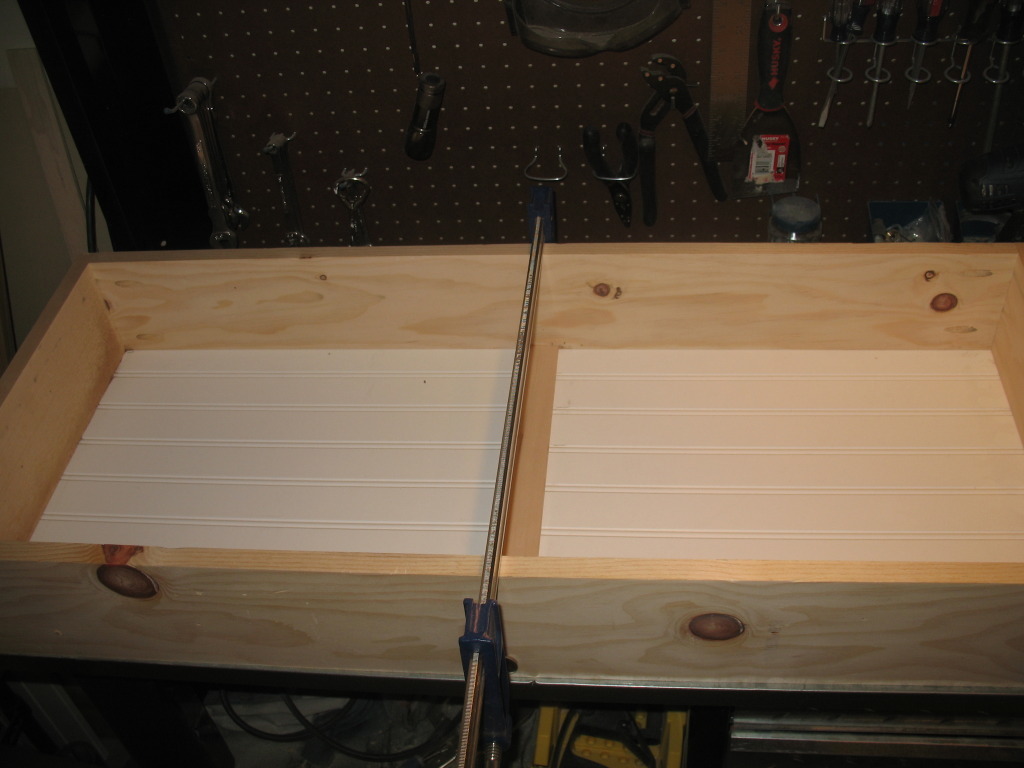
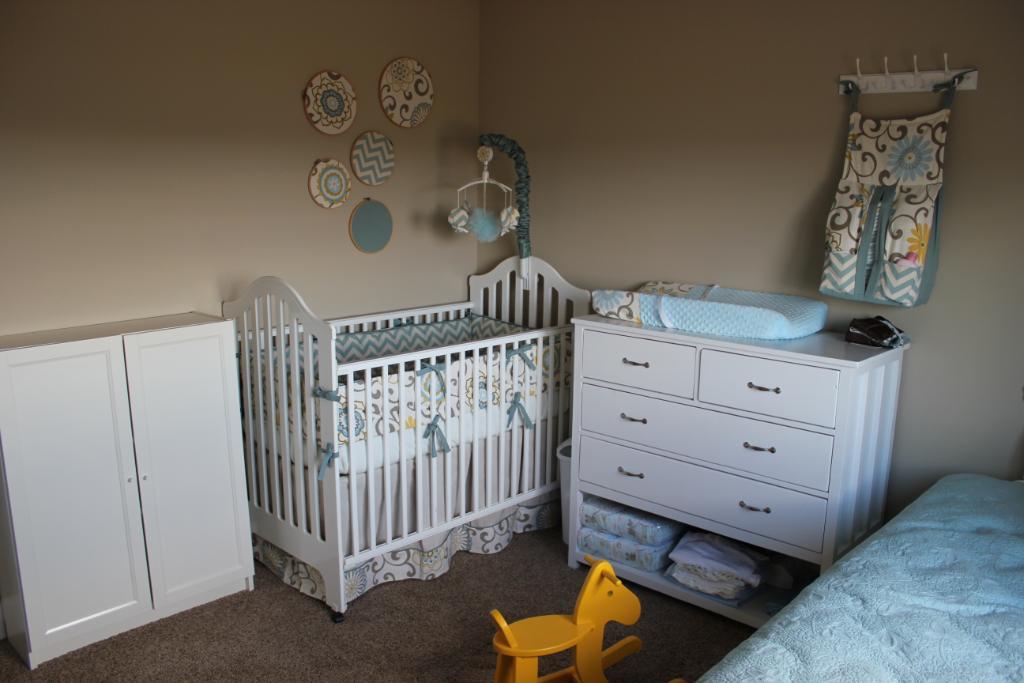
Saw this on Ana's site just in time to make it for a changing table for baby number 4. This was our most difficult plan to take on so far, but it turned out to be pretty straight forward. The details on the plan were a great help - using the spacers to make the drawer openings perfectly spaced, and attaching the drawer fronts on after attaching the rails were great tips. We also used dowel drawer slides for the top 2 drawers, which we really ended up liking.
Sat, 03/17/2012 - 01:15
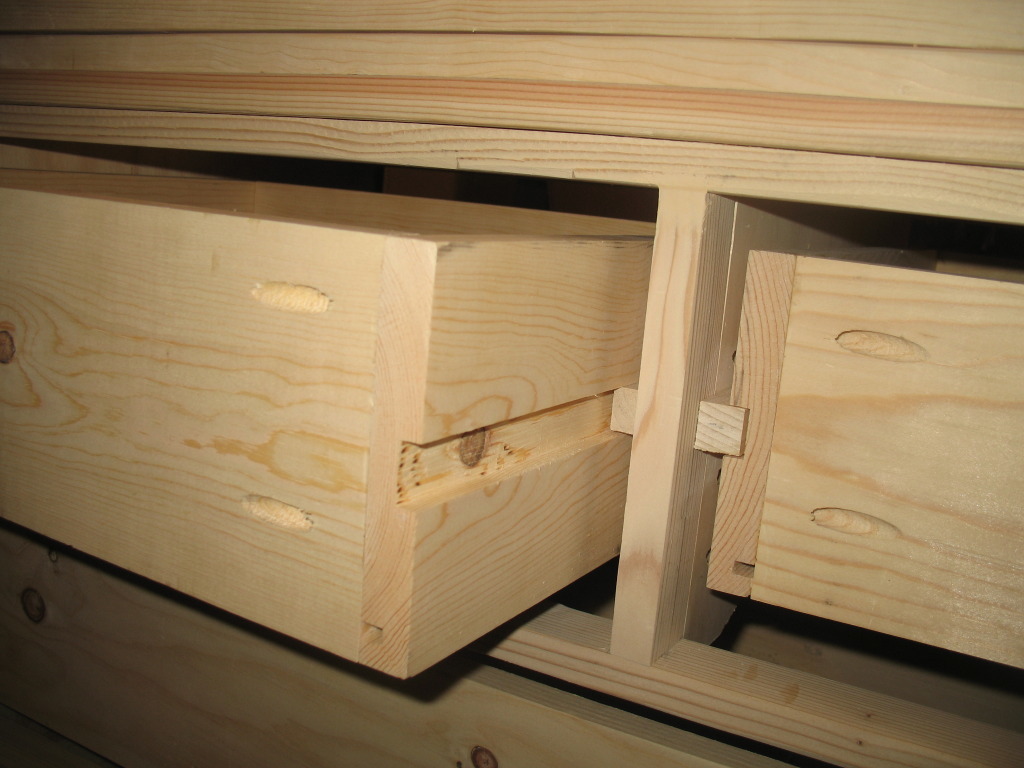
Did you just use a router for the channels in the top drawers? If yes, what bit? If no, how did you do them?
Beautiful work! Your baby is very lucky! :)

Sat, 03/17/2012 - 03:04
Those grooves are probably made with a dado stack on a table saw, but your could easily do it with a router and a guide. Table saw is easier though.
If you don't own a dado set already, don't buy the cheapest one you can find. I made that mistake, and wasn't overly happy with the results of the cut. When I bought a better dado blade set, I was a lot happier with the quality of my cuts.
That turns out to be generally true: I'm always more happy with the result of a better blade. I also needed to tune up my saw to make sure the blade was properly aligned with the guide slots, and that my fence was parallel to the blade. If you don't do that then the best blade in the world won't help. Also, buy full-kerf blades, not the thin kerf blades they sell at the home improvement store. The full kerf blades wobble less and give you cleaner cuts.
Sat, 03/17/2012 - 05:04
clay,
kathy asked mollie a question, why don't you let her answer it?

In reply to clay, kathy asked mollie a by rob (not verified)
Sat, 03/17/2012 - 06:33
This is a community, there's no need to be rude. Sometimes the authors don't know there are comments, and it's nice to hear more than one solution to a problem. So let's please just appreciate the contribution from all the members, yes?
Sat, 03/17/2012 - 14:56
Brookifer86,
I can appreciate where you are coming from, and I appreciate your kind suggestions.
I can also identify with Rob's comment directed at Clay. Which I did not find rude.
Clay tends to comment on nearly almost every post on Ana's site with a dismissive and know-it-all attitude, giving outdated advice and rude corrections. It has gotten pretty old. Obviously I am not the only one who sees this.
Remember, one person's authoritarian advice on how to do things isn't the only way or even the best way to approach a project. It is simply their experience and their own personal way of doing things.

Sun, 03/18/2012 - 12:16
I'm grateful for all the help on this blog! When it comes to woodworking, there always seems to be more than one way to do things, and I want to hear EVERYBODY'S ideas; it makes me a more knowledgeable woodworker and helps me overcome planning obstacles I would otherwise not get passed.
Clay, I've read many of you posts and appreciate the wisdom you share. And to the complainers: sometimes our thoughts are not always conveyed on Internet discussions. Some personalities can come across as abrasive/arrogant unbeknownst to the author simply because of their writing style. I've seen it time and again on blogs and forums. I know what I want to say, but it doesn't always come across *quite right* when I'm typing it out.
Either way, I want to hear more about these drawer glides! Clay, you posted a great link on the original plan that suggest always using hardwood for drawer glides or at least a hard/softwood combo. Makes sense, any other want to chime in?
Sun, 03/18/2012 - 12:39
Just because I asked him to let Mollie answer the question doesn't mean I was calling him rude. I just think it's common courtesy to let someone who is asked a question to speak first. I definitely appreciate Clay's wisdom and I agree that there are many ways to do something.
What if it were in person though? What if someone kept asking you a question but someone standing off to the side kept answering it before you? Sure they answer correctly every time and give credible insight but after getting cut off over and over, don't you think it might get annoying?
Don't you think the teacher gets a little piffed when that one kid in the back raises his hand and belts out the answer every time and doesn't let any of the other kids answer the question? Sorry for the rant...
anyway the issue isn't about good or bad insight. The issue is just manners. I'm sorry if that comes off brash, but let the person who actually built it answer first.
Sun, 03/18/2012 - 13:18
Lucky for us, we're not in person and we can just "scroll down," lol. I remember recently, one of the blogs I regularly read posted about just this. Her article was spot-on and amusing at the same time...partly because she describes these notorious commenters, and because I know I've been guilty of "thread dumping " myself. There are personalities that clash online and in the real world too. It's worth a glance for a little perspective-and a laugh. http://www.homestoriesatoz.com/2012/02/how-deal-negative-comments.html
Sun, 03/18/2012 - 16:30
I seem to have stepped on some toes, and for that I'm sorry. I'll certainly take your points in mind in the future. I'm afraid that's distracted from the main point: this is a really amazing piece of furniture. Molly, your house must be pretty amazing if you're building furniture like this. I'll bet your children grow up to be pretty amazing if they've got a mom who builds their furniture.
Mon, 03/19/2012 - 12:44
Beautiful changing table! I have only been building a little over a year and I always appreciate the advice on this site. Thanks for sharing so much Clay:-)
Sun, 07/29/2012 - 21:13
I just saw there were comments here on my brag post. So, Clay, thanks for answering for me.
We used our table saw - although we don't have a fancy blade. We should probably get one. My husband just ran it through the table saw several times to get it the exact right width. The blade was lowered so that it would only cut 1/4 inch into the wood. And the slides were hardwood - square dowels you get get at a home improvement store.
Wed, 08/08/2012 - 08:08
I love the plans for this piece, to begin with. Great job on your build. I LOVE this in white! Especially for a baby room or a little girl's room. Thank you so much for sharing your pics and ideas!
Mon, 01/21/2013 - 20:45
Fantastic job on this piece! I think this would be perfect in an adult's bedroom also, with the bottom shelf for a blanket or quilt. I would love to make this.
Sun, 03/31/2013 - 16:01
Hi,
I was wanting to do the same thing...make this for using as a changing table. What are the dimensions of your dresser? Did you change the size of the drawers (did you use something different than a 1x8)? At what measurement did you place the lower shelf relative to the ground and how much space is there between the top of that lower shelf and the bottom of the 1x2 that frames the bottom drawer?
Any help / details that you can give would be so appreciated!
Thanks!
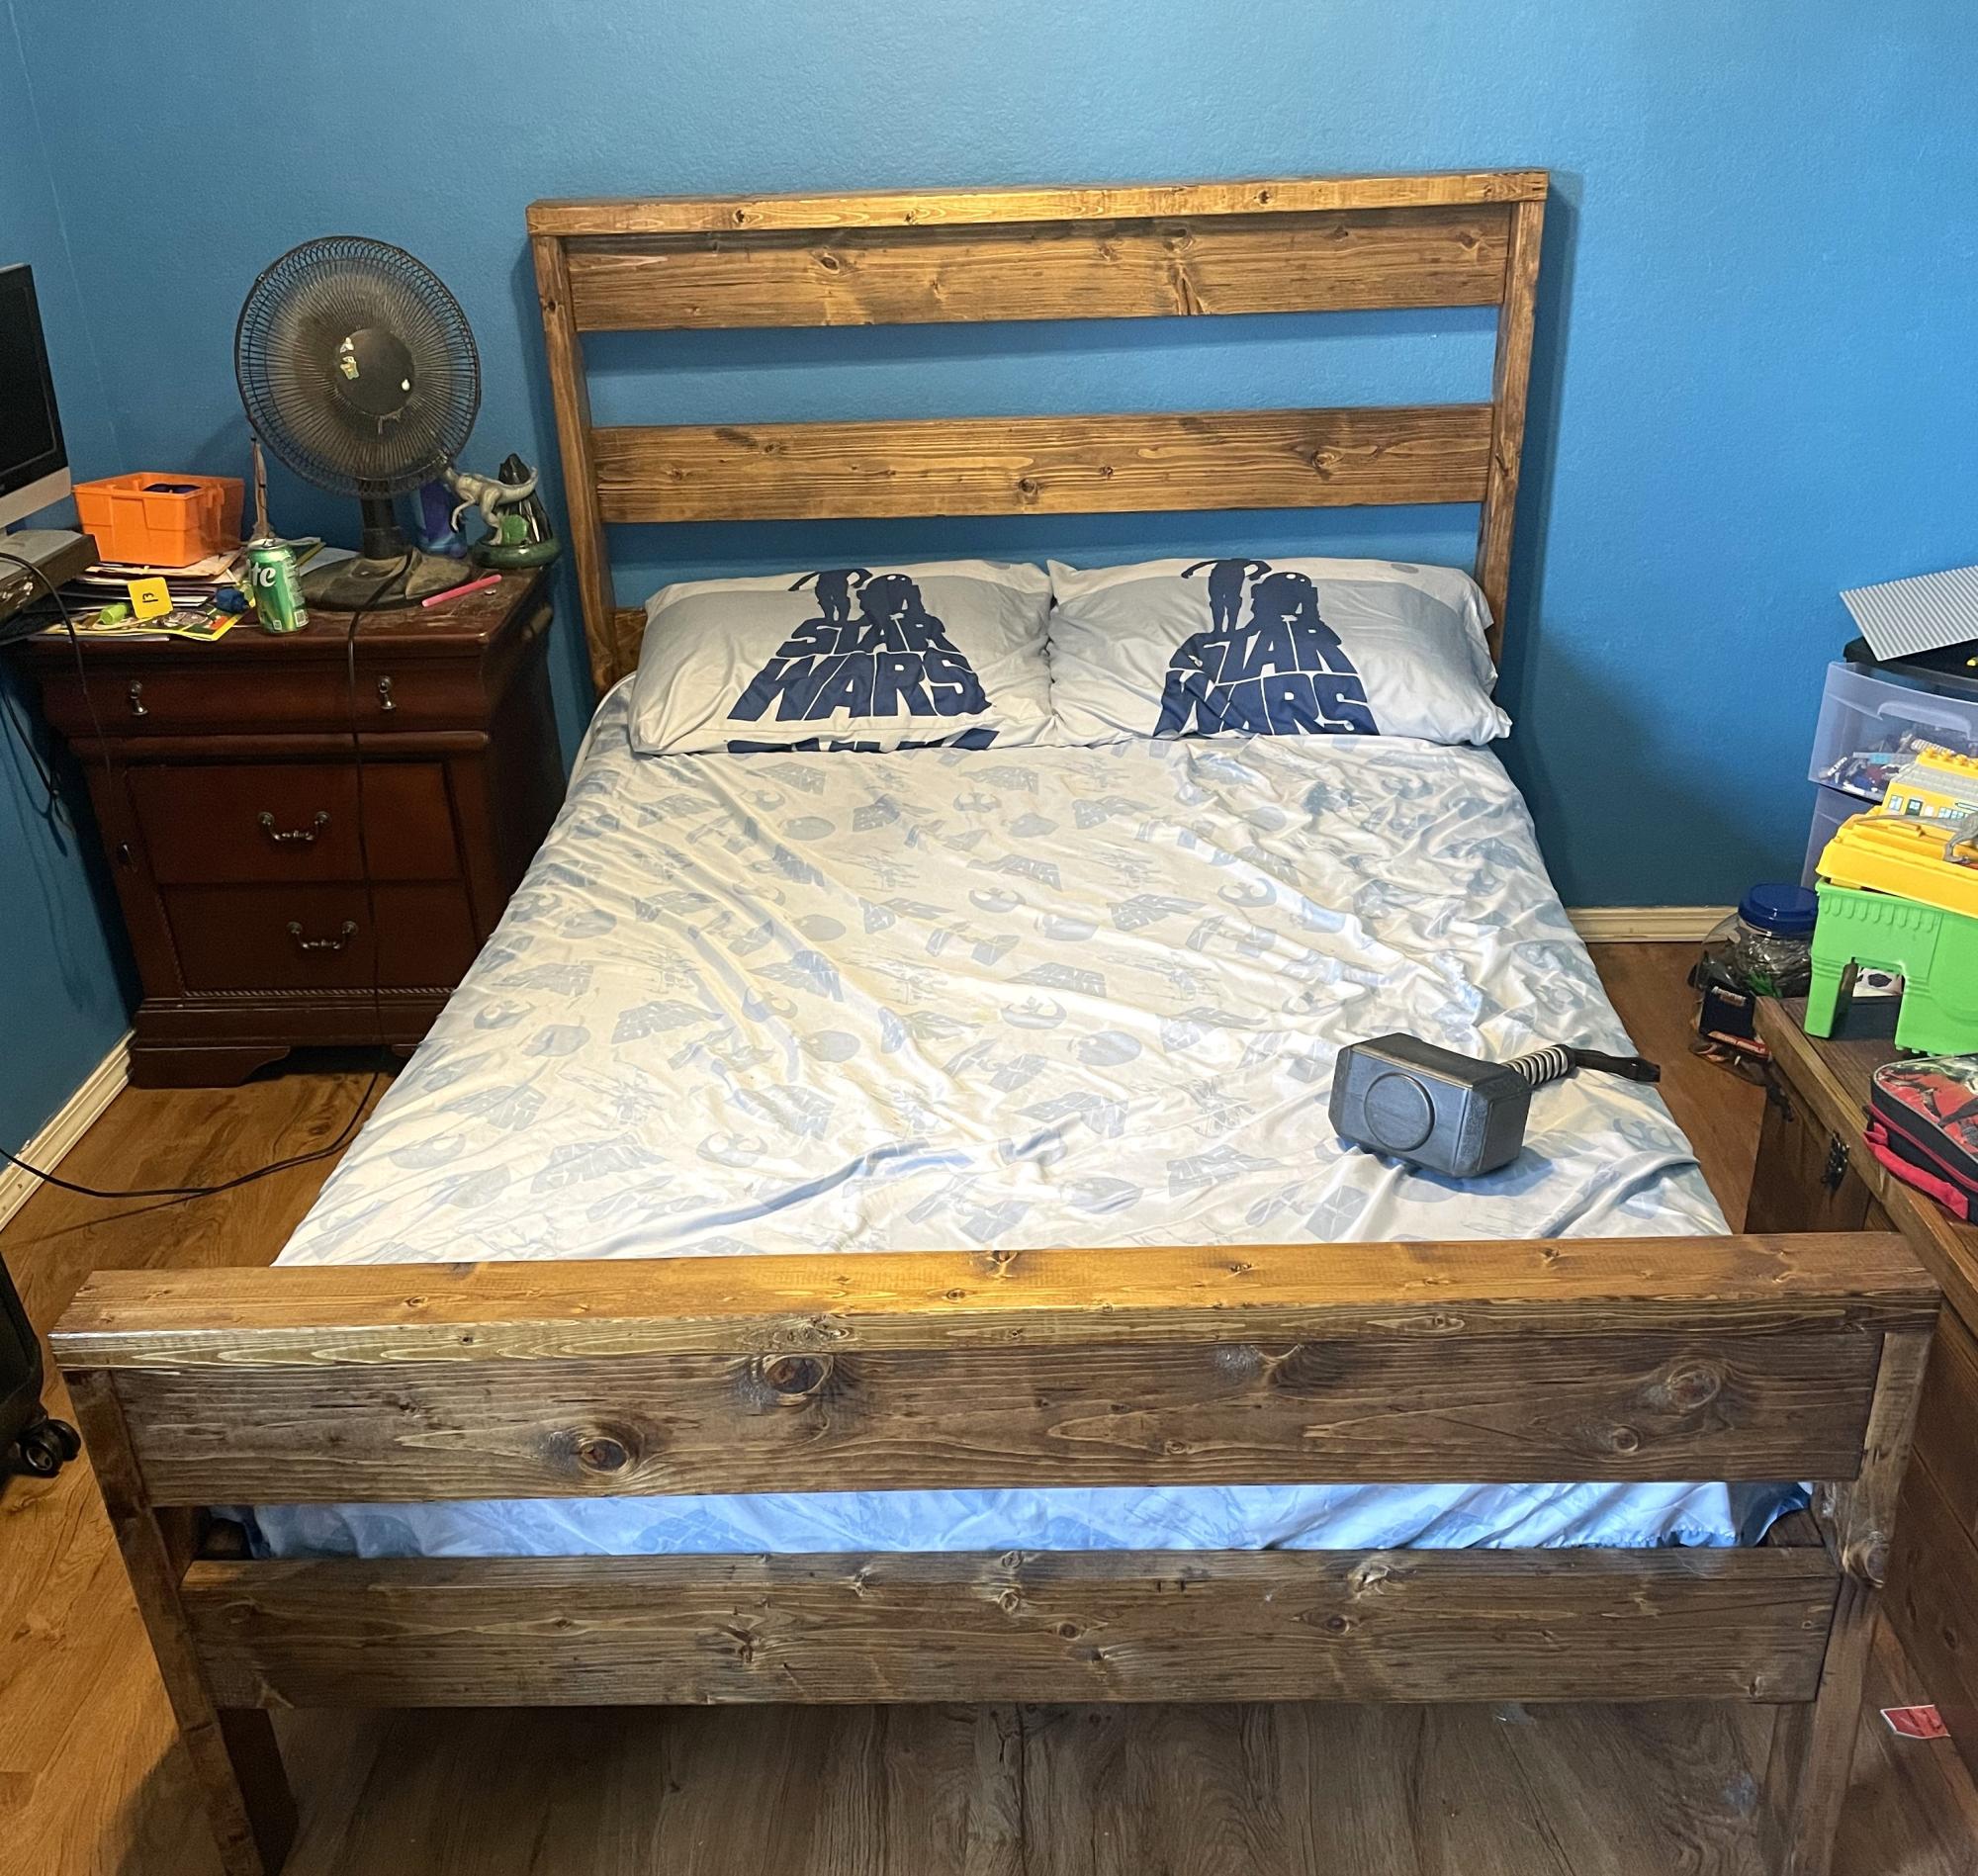
New bed for my boy. Great plan and not expensive.
Sean Hight on Facebook
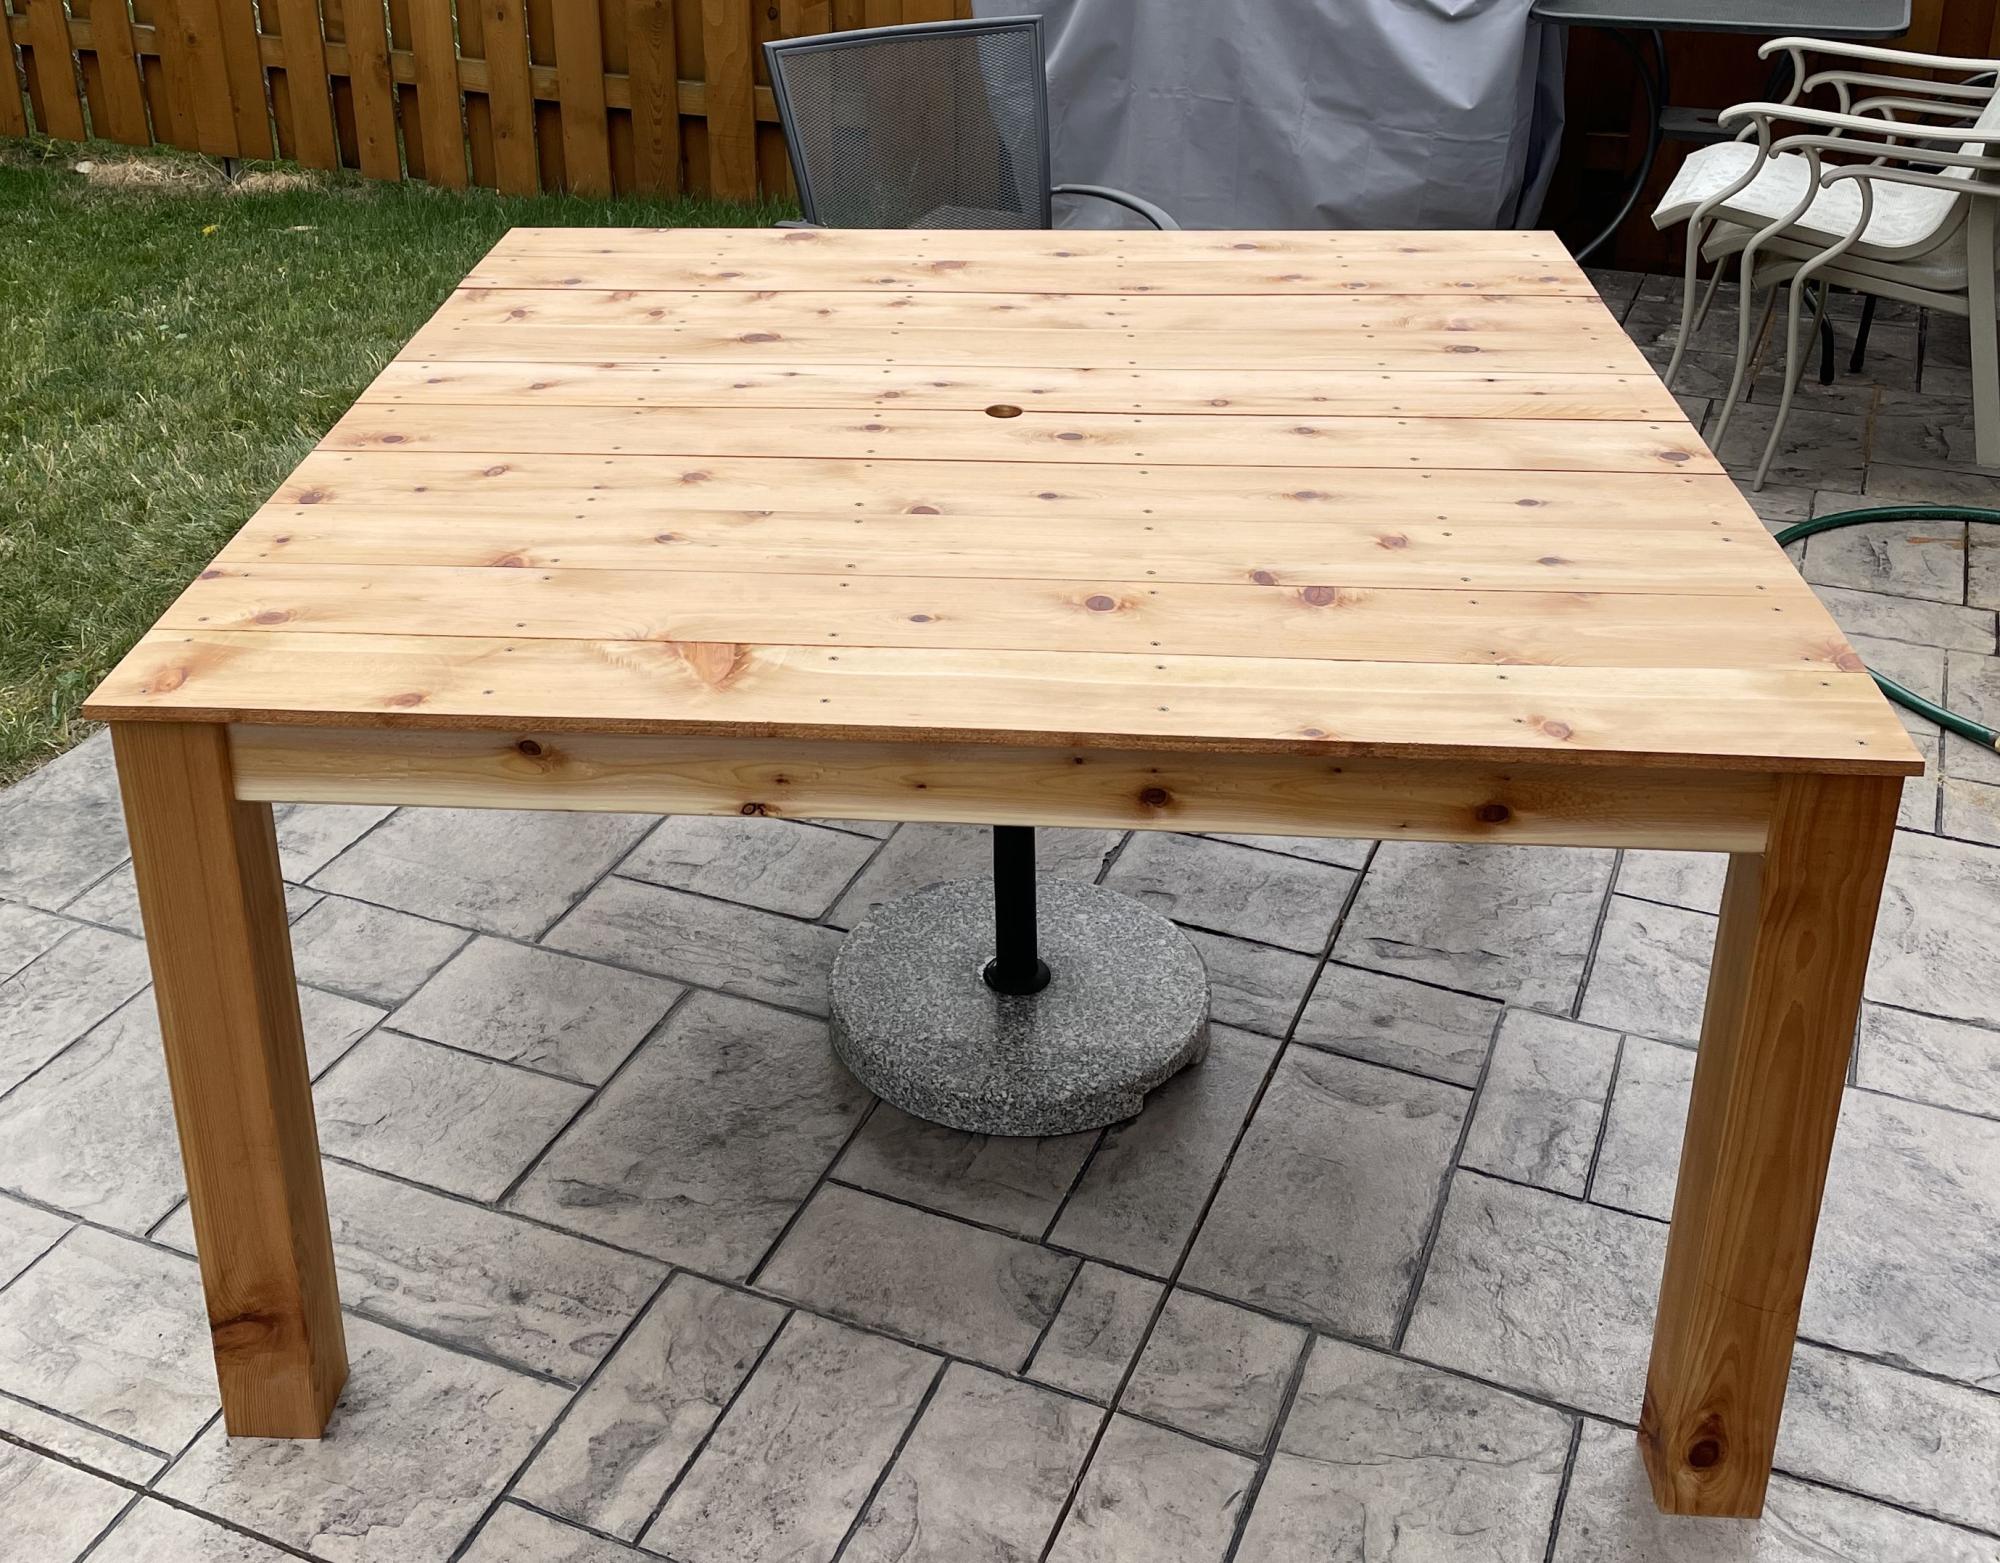
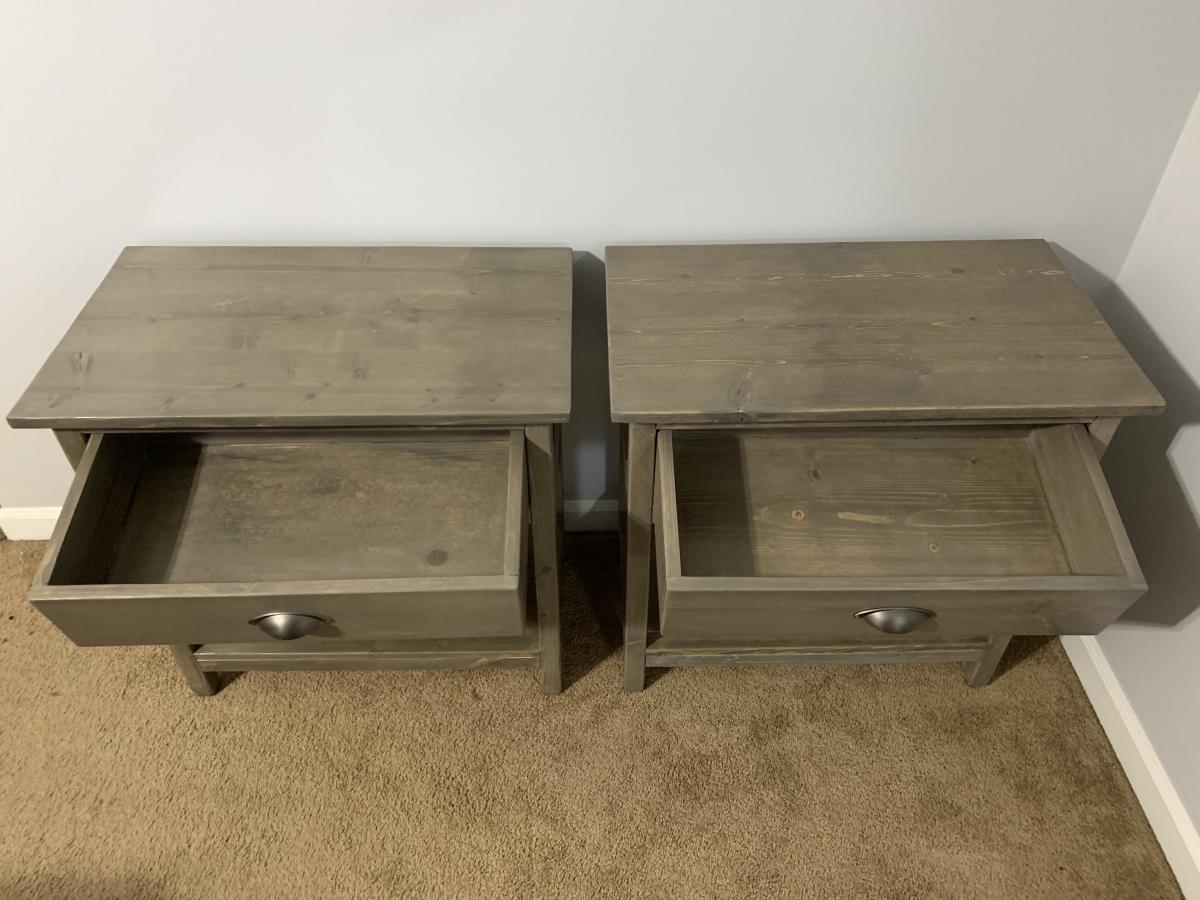
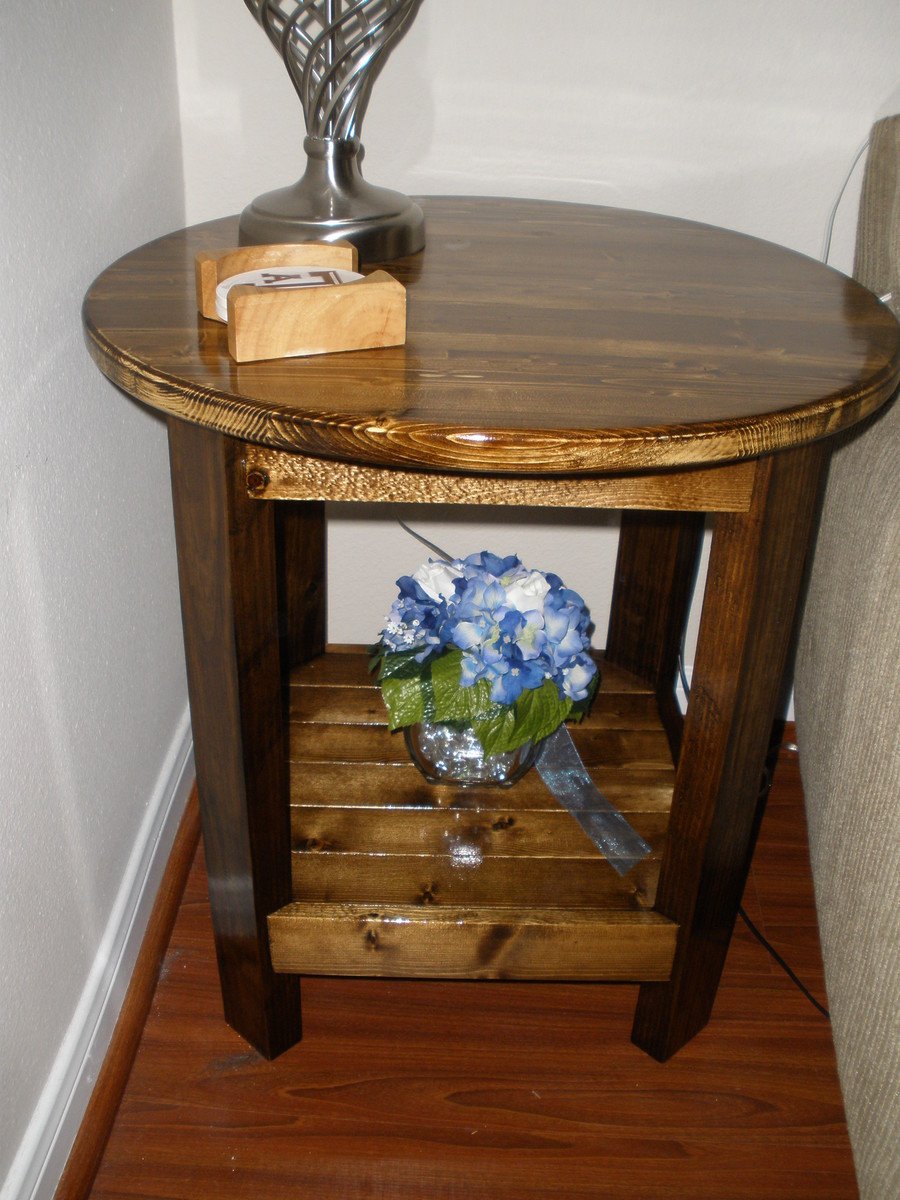
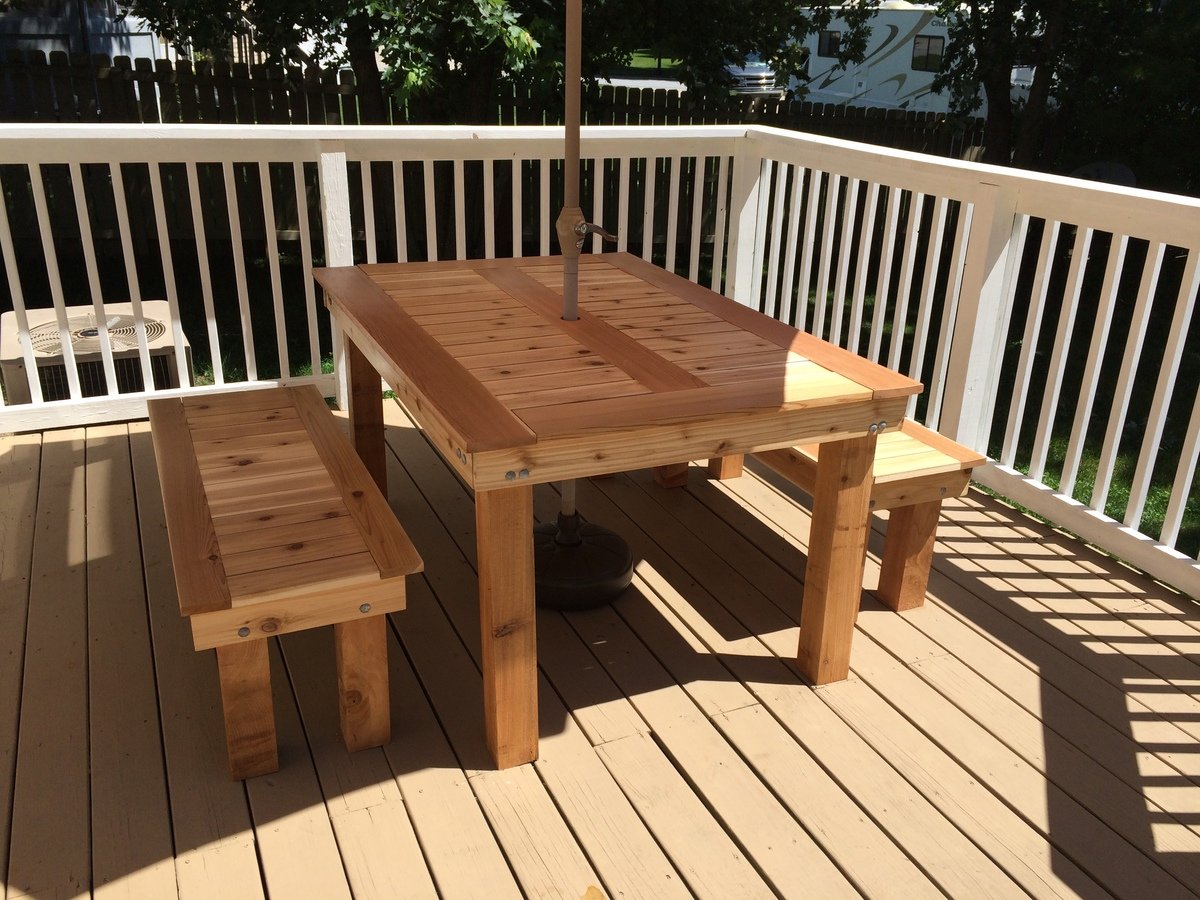
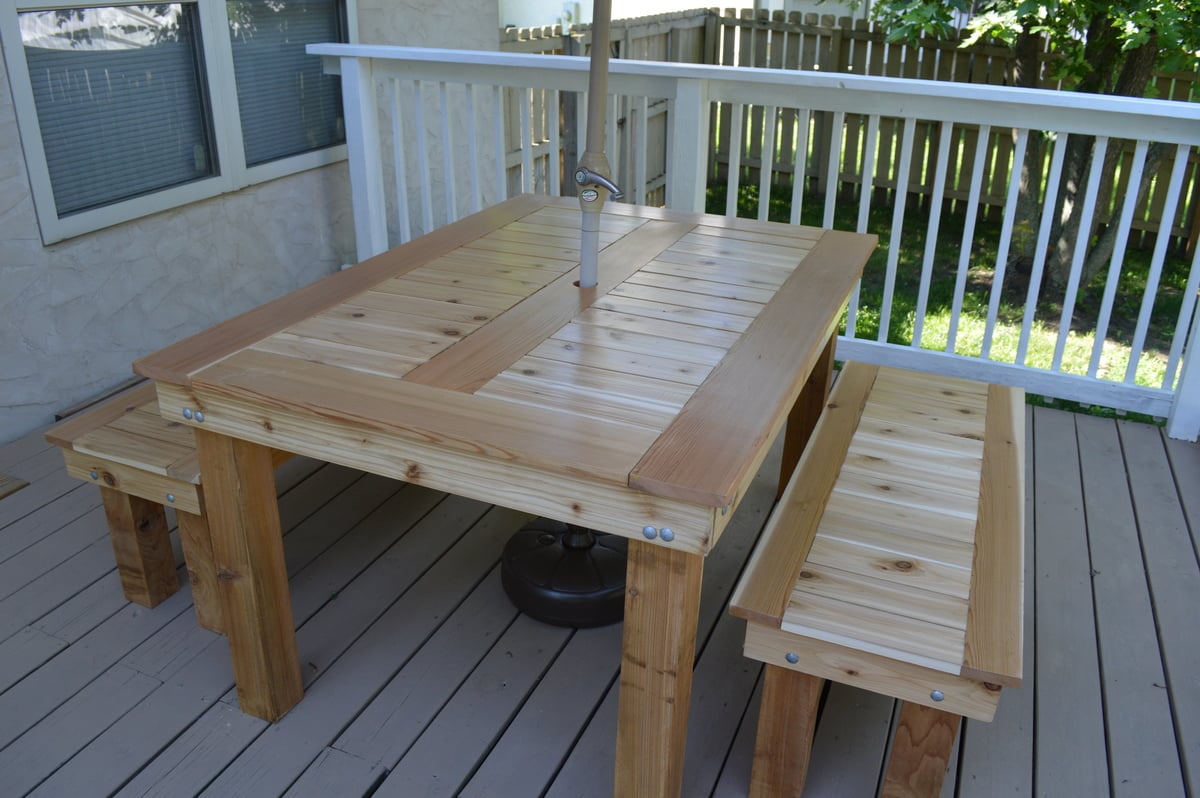
Square Outdoor Table
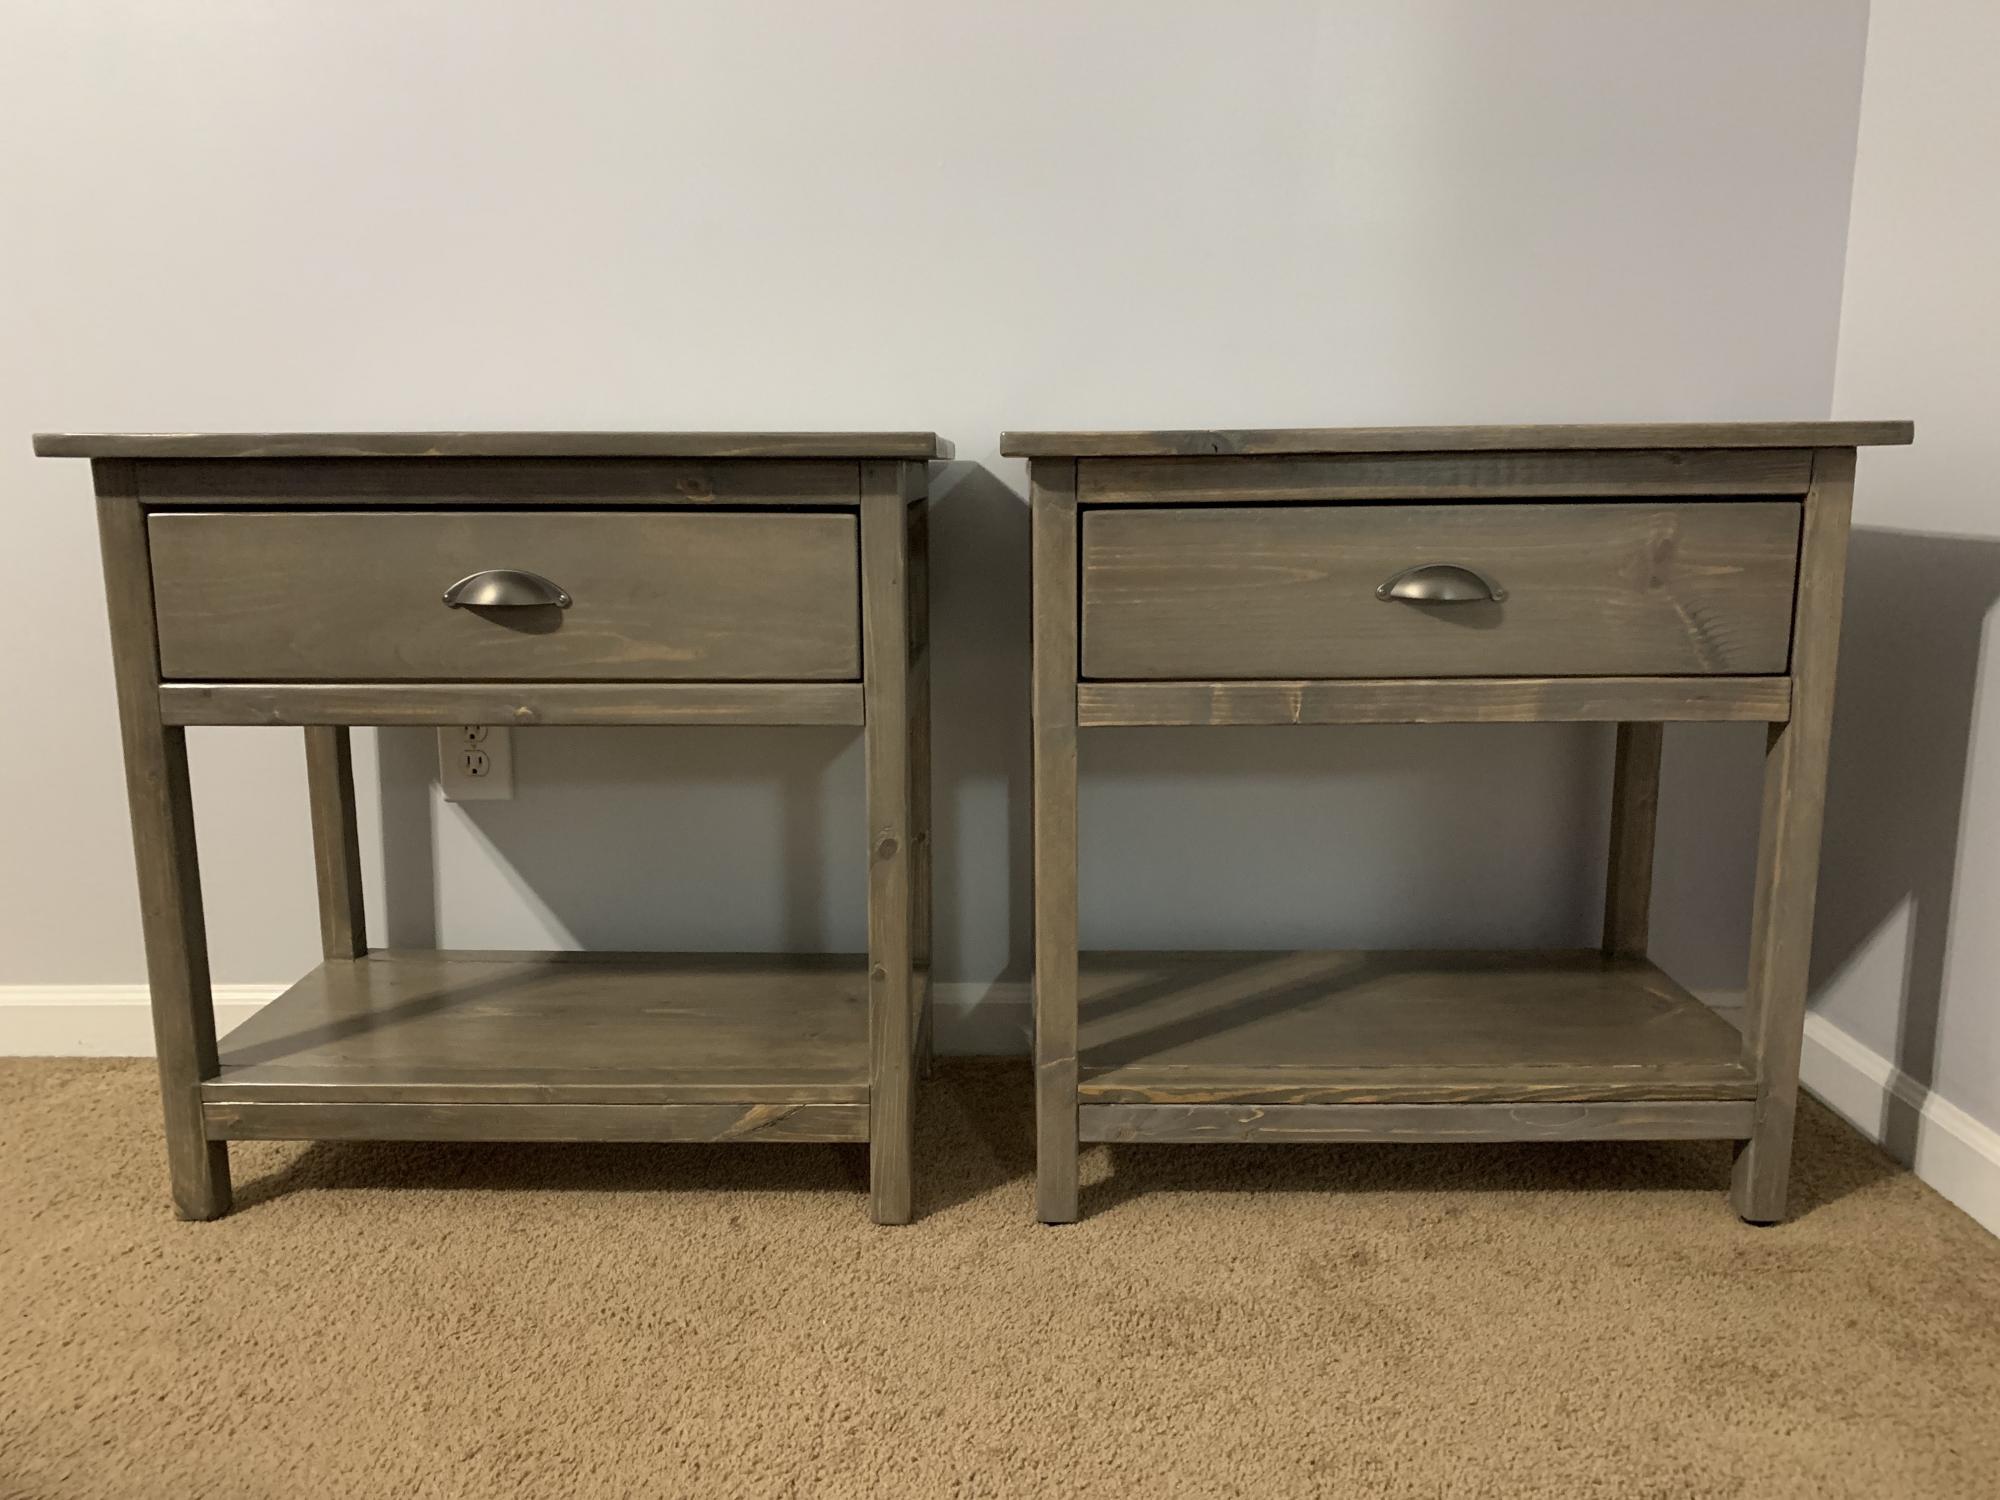
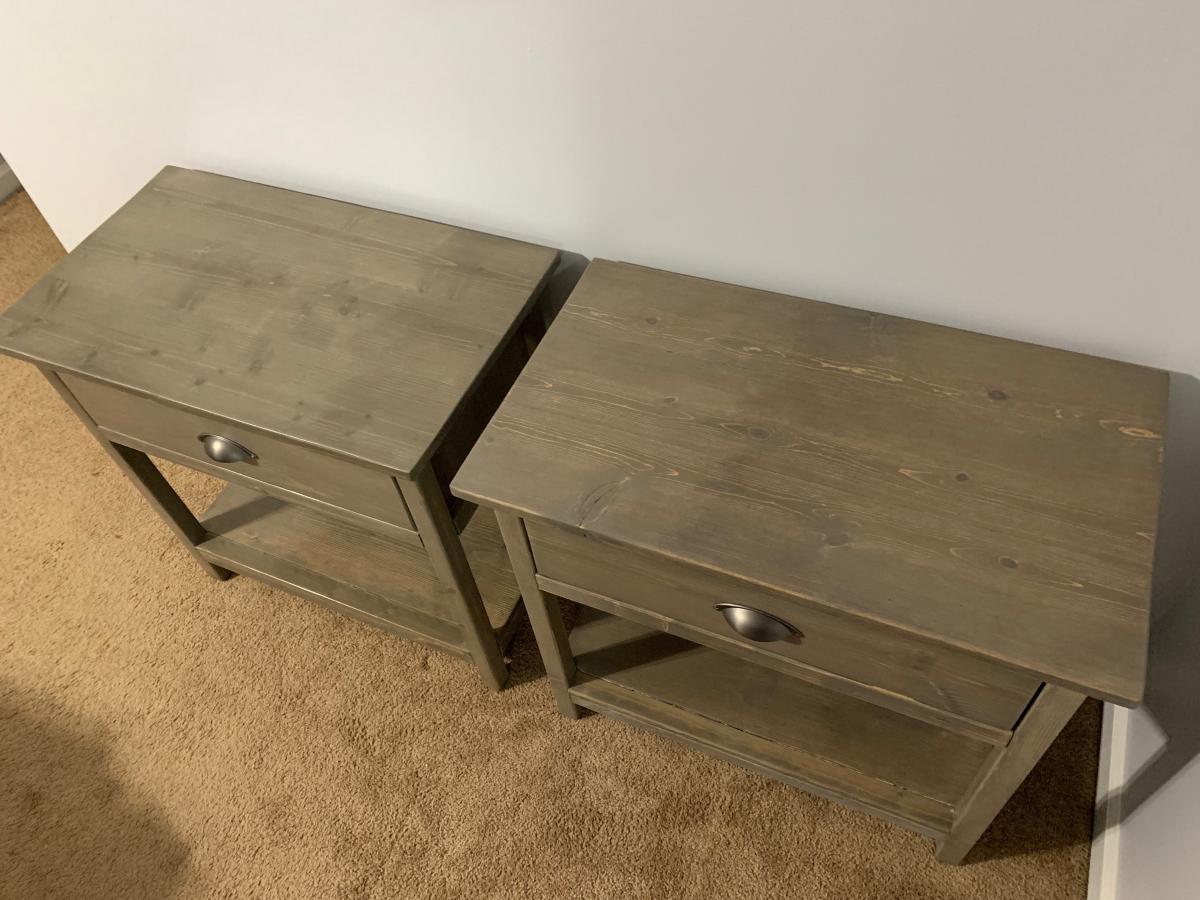
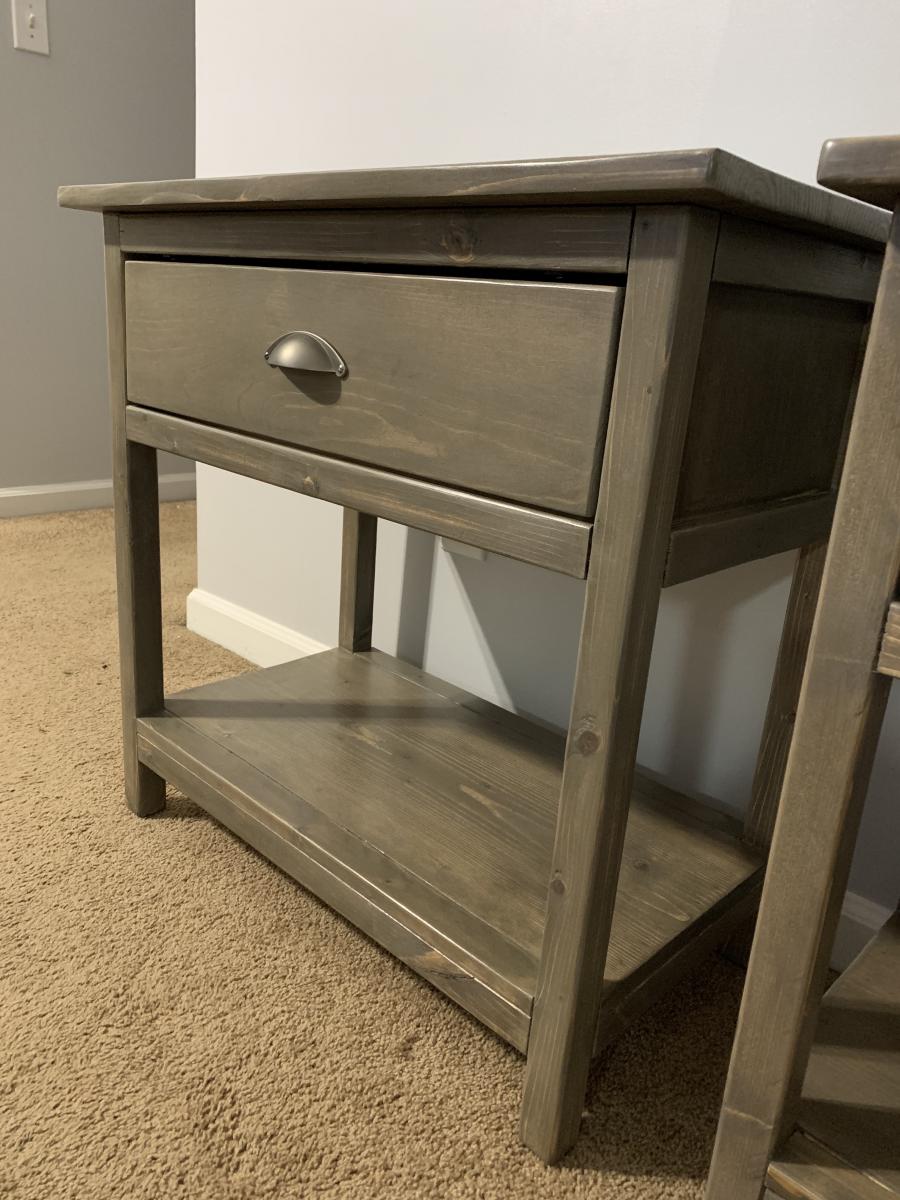
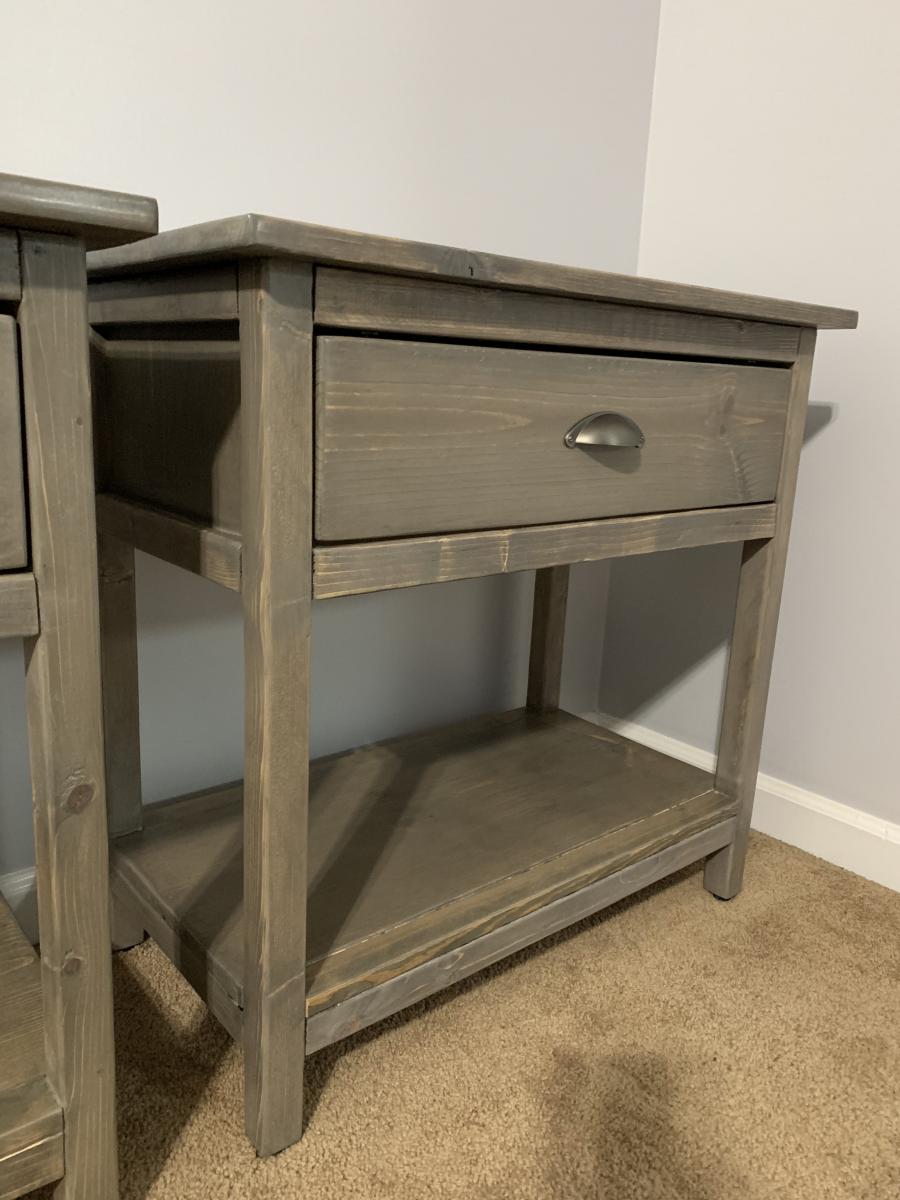
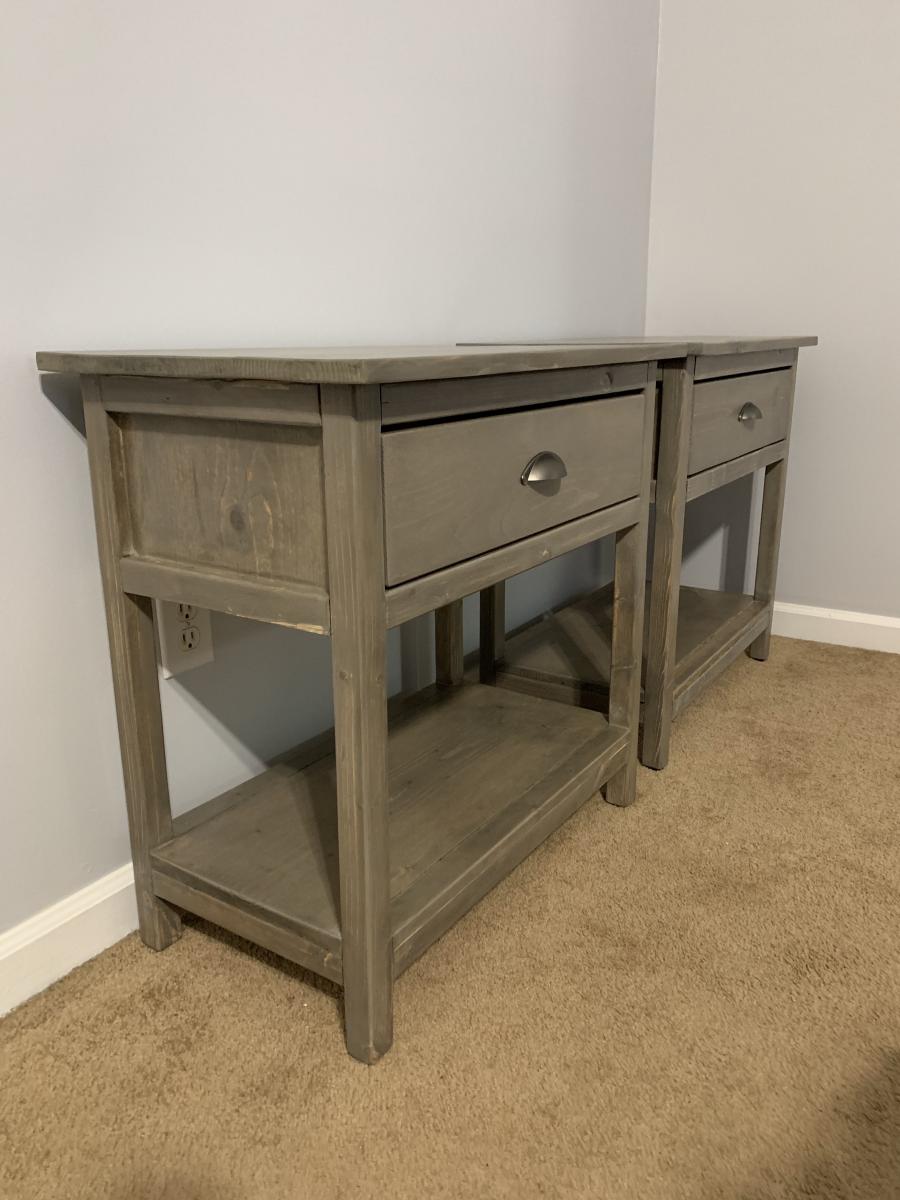
Made these side tables and they turned out great! I did buy some drawer stops from Swisco to keep the drawers from falling out.
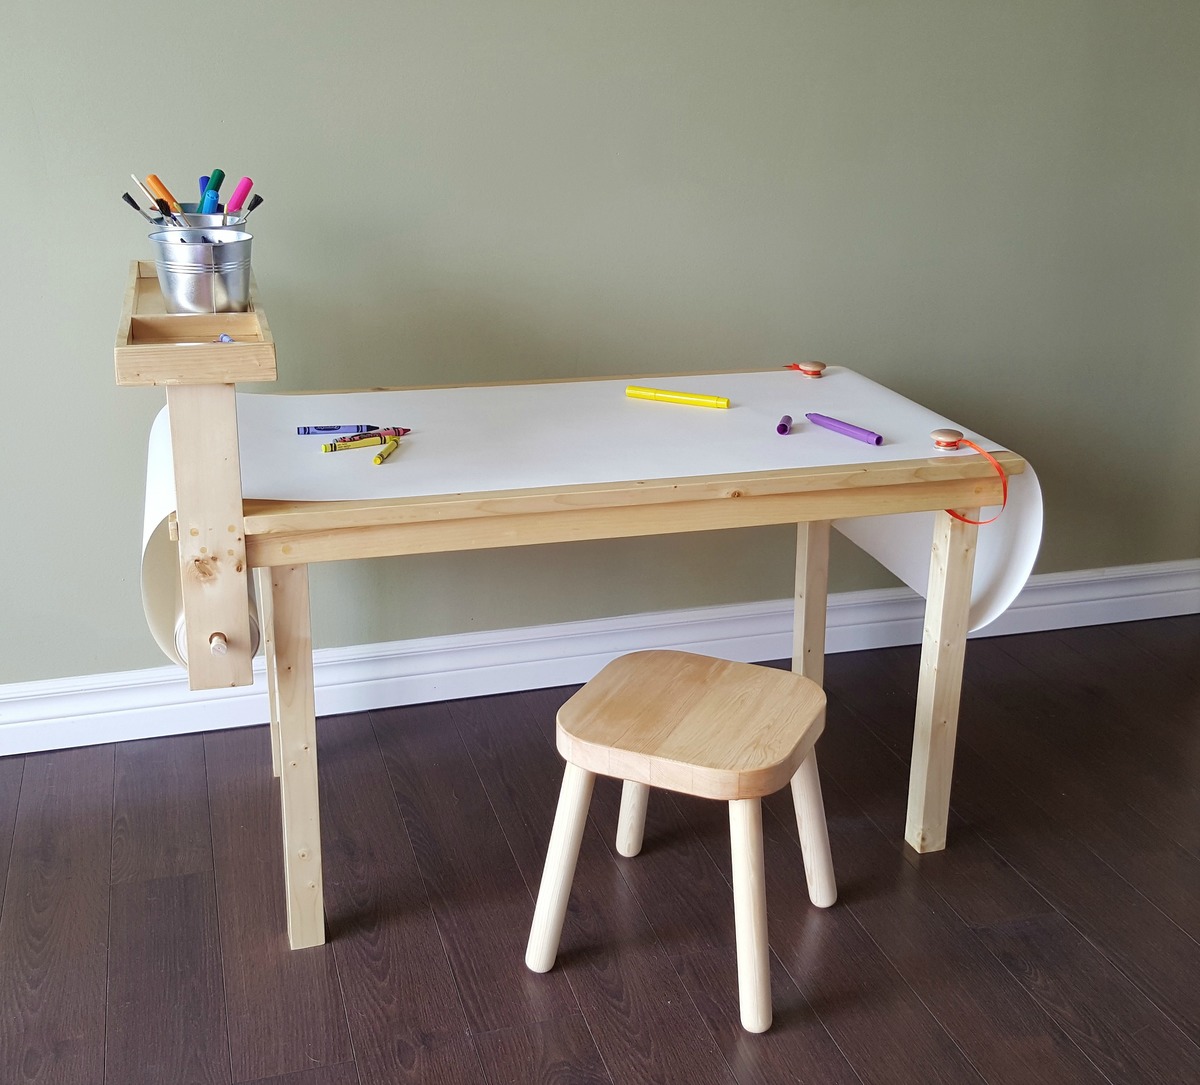
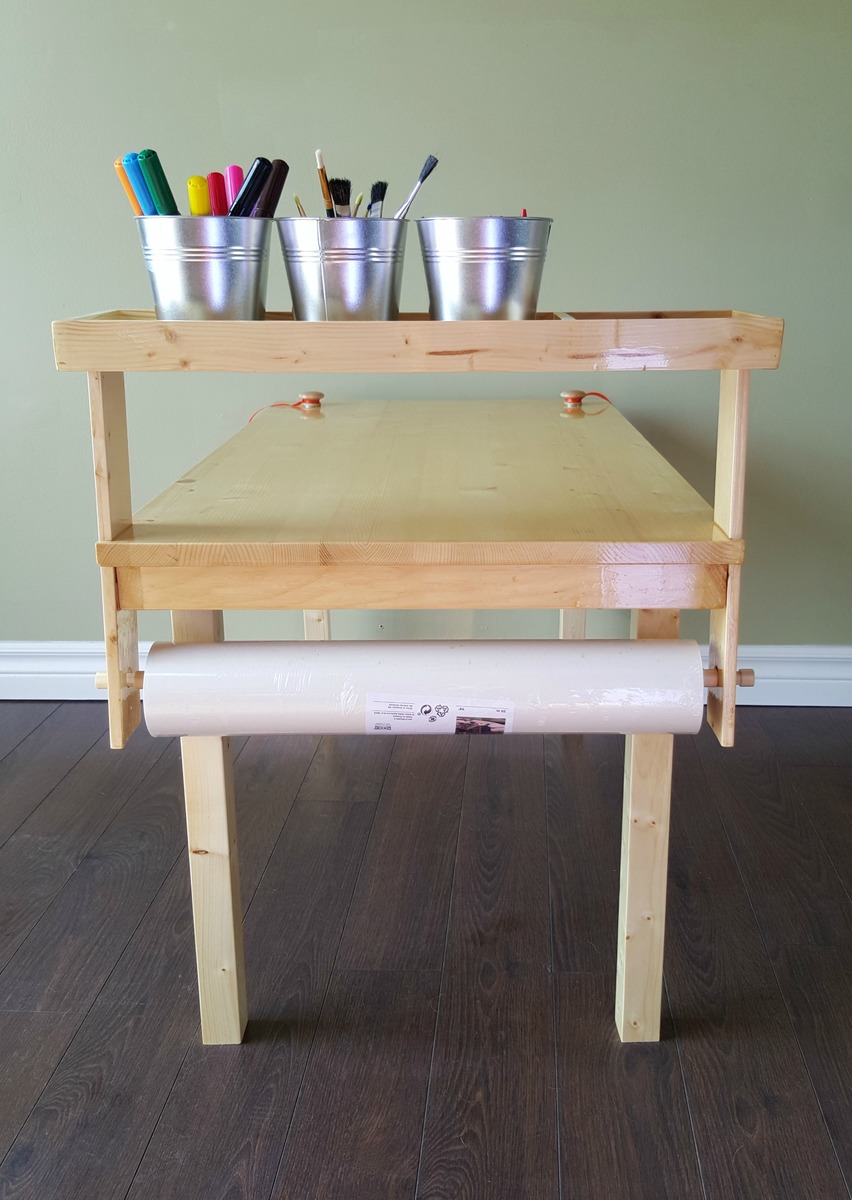
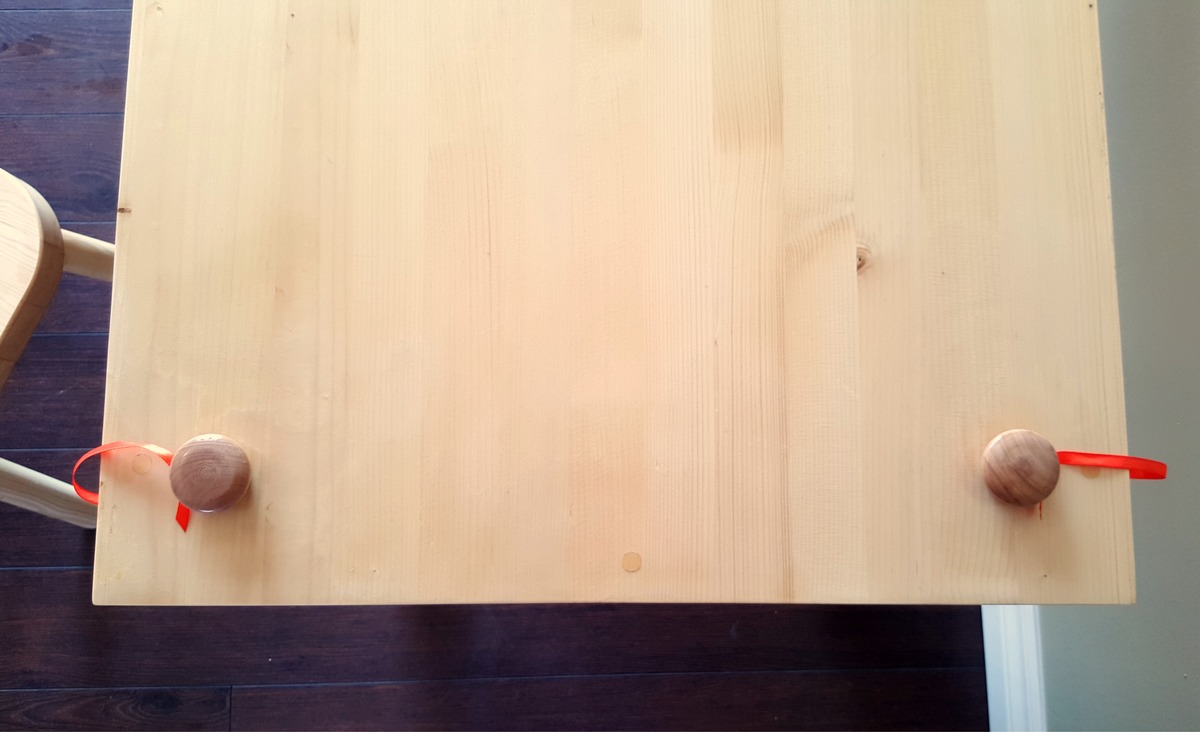
This table was a birthday gift for my 3-year old cousin. It was fun to brainstorm ideas to get it exactly the way we wanted it instead of buying one pre-made. Once we had our plans it was an easy build, done over a weekend. A full list of materials as well as step-by-step instructions can be found in the blog post linked. The top is a 20x36 pine shelf board with a 1x2 pine apron attached underneath. There are vertical support boards to hold a raised tray for supplies, and to hold the paper roll under the table. Note that the table legs are inset at one end to accommodate the paper roll. We added two magnets to the face of the table and tied two knobs (with metal washers glued on) to the underside. The paper can then be sandwiched between the magnet and the metal and won't move around while the artist is at work. It's our favorite feature! There are also magnets glued to the inside bottom of the tray to hold the buckets in place and keep them from being knocked over easily. This project was so much fun! I love having the chance to share it with you all!


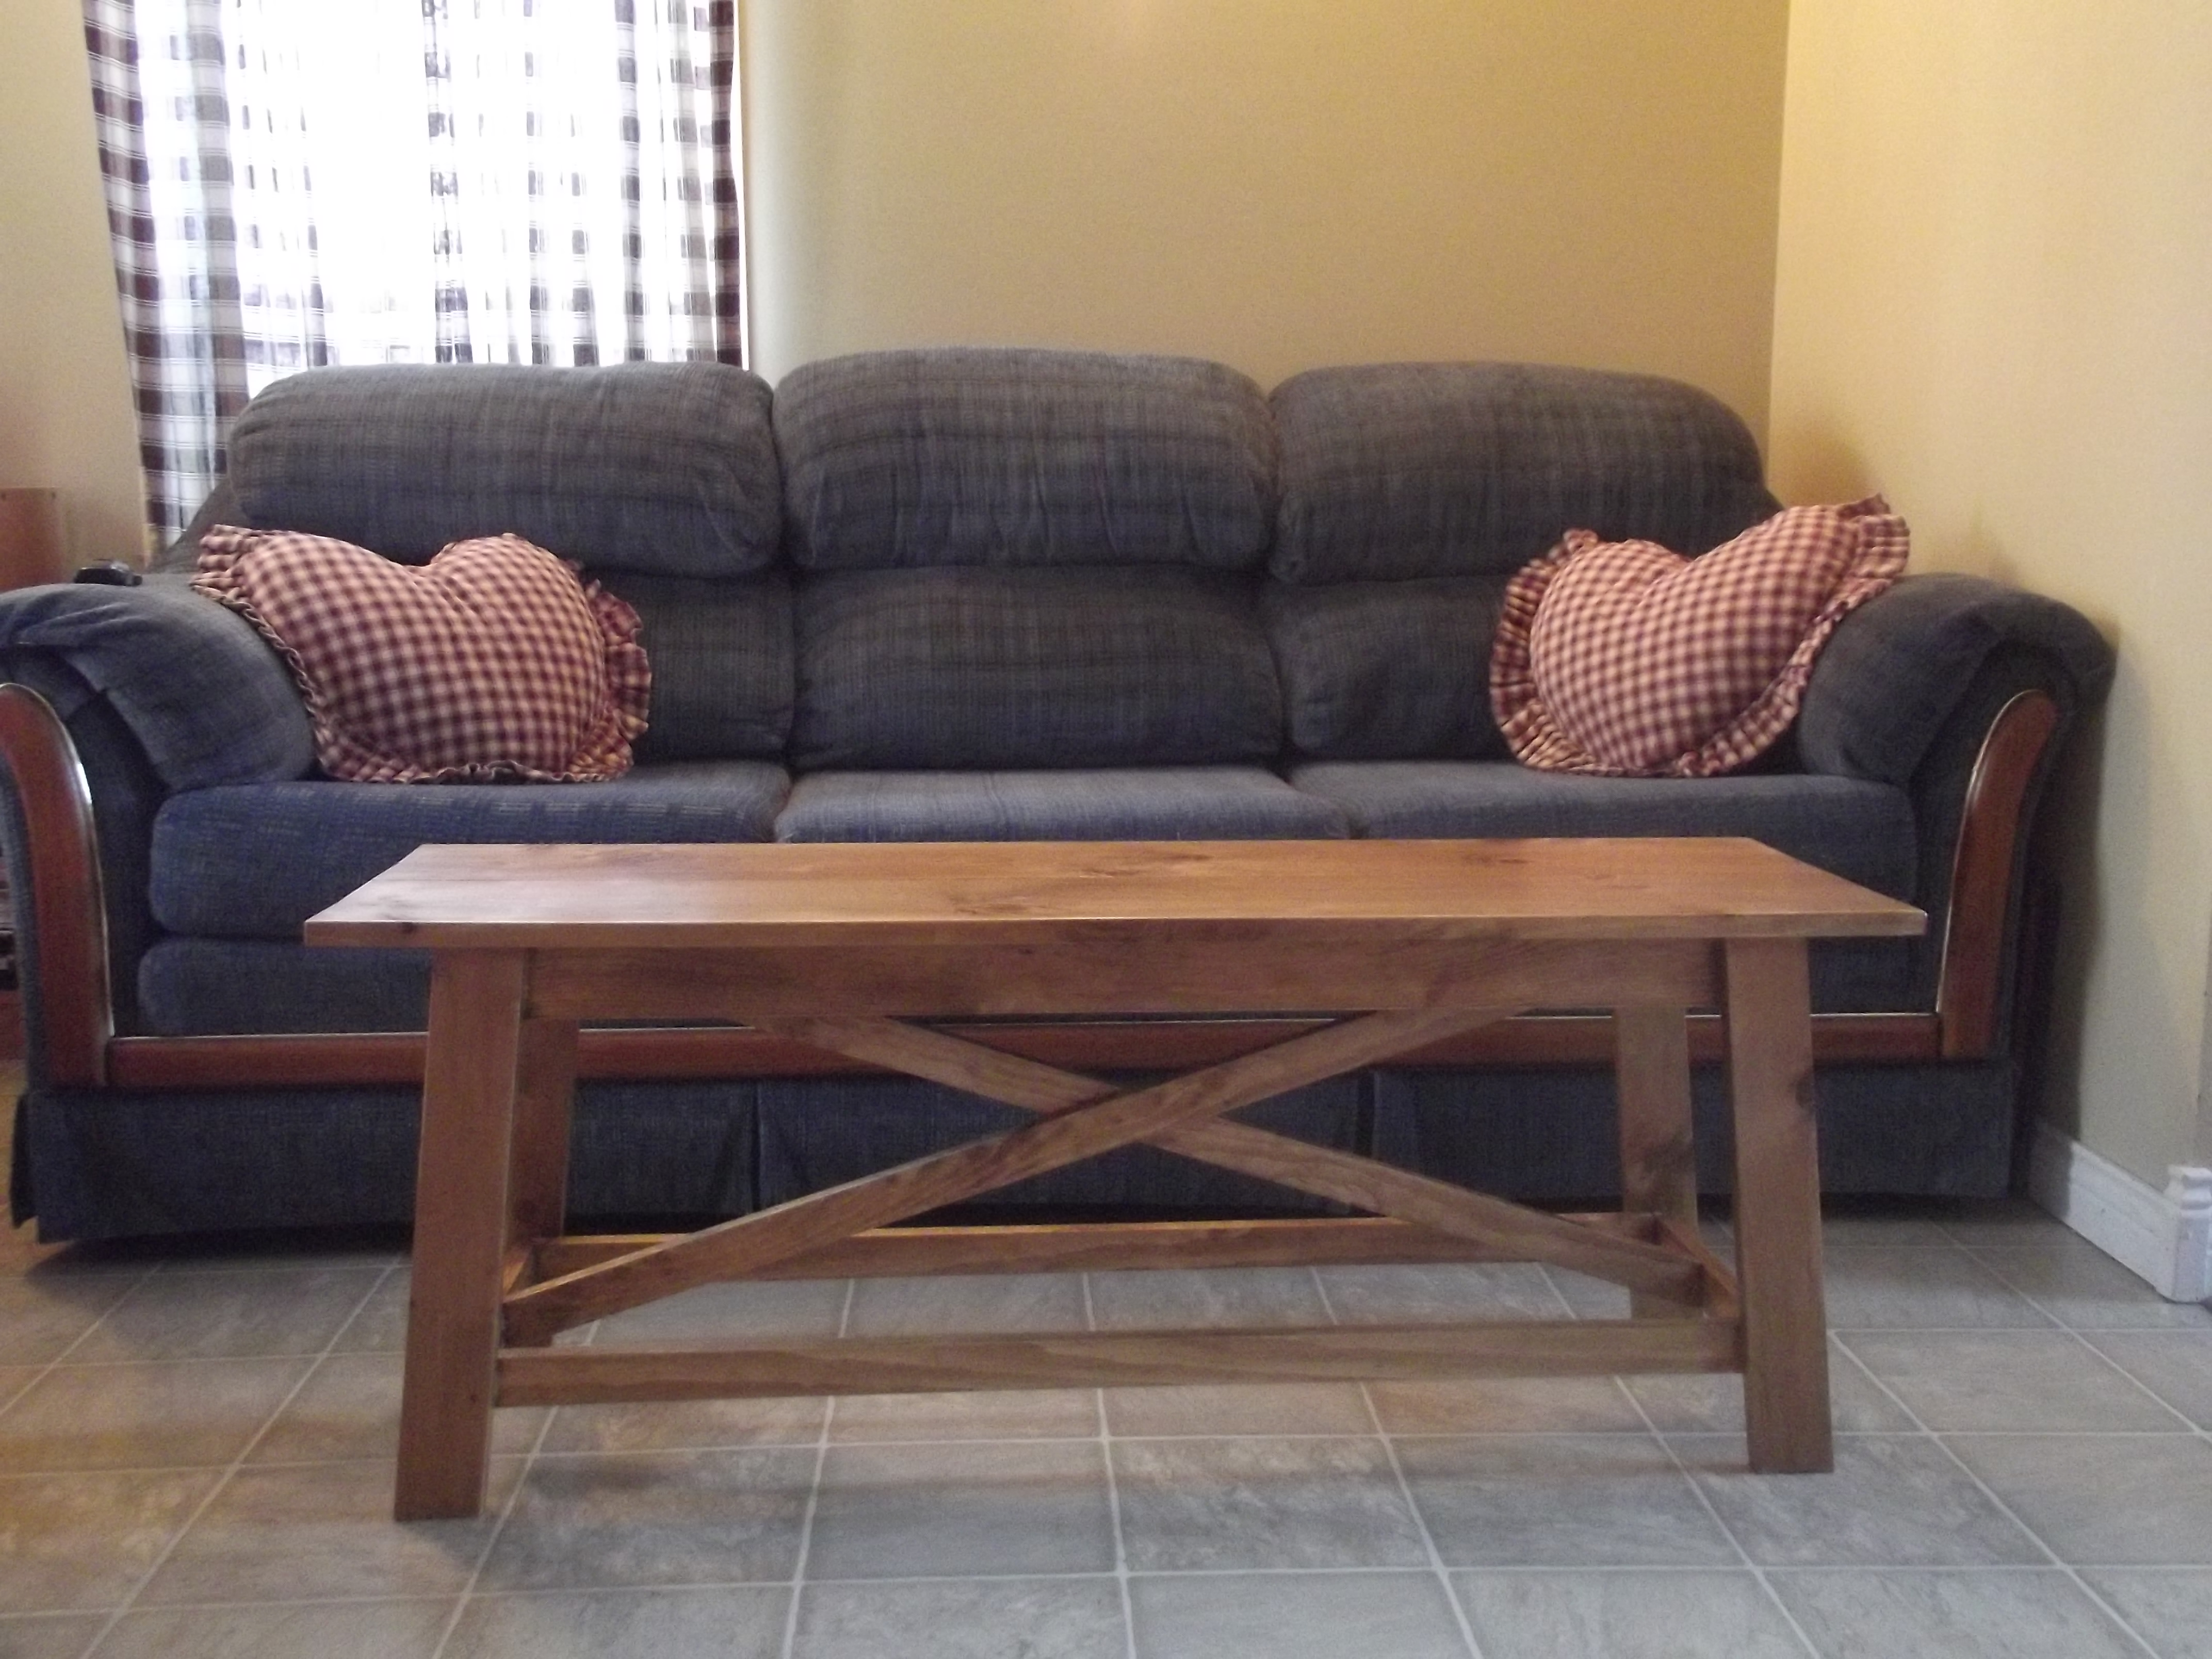
I made this coffee table from Ana's Rustic Bench plans in The Handbuilt Home. I needed something fairly small for my living room and this worked perfectly. I used pine and stained it with Minwax Early American. I finished it with 3 coats of Minwax Polyurethane.
Mon, 04/07/2014 - 18:34
This is lovely!!! Thanks for getting the book and doing a project from it, love how this bench turned out!
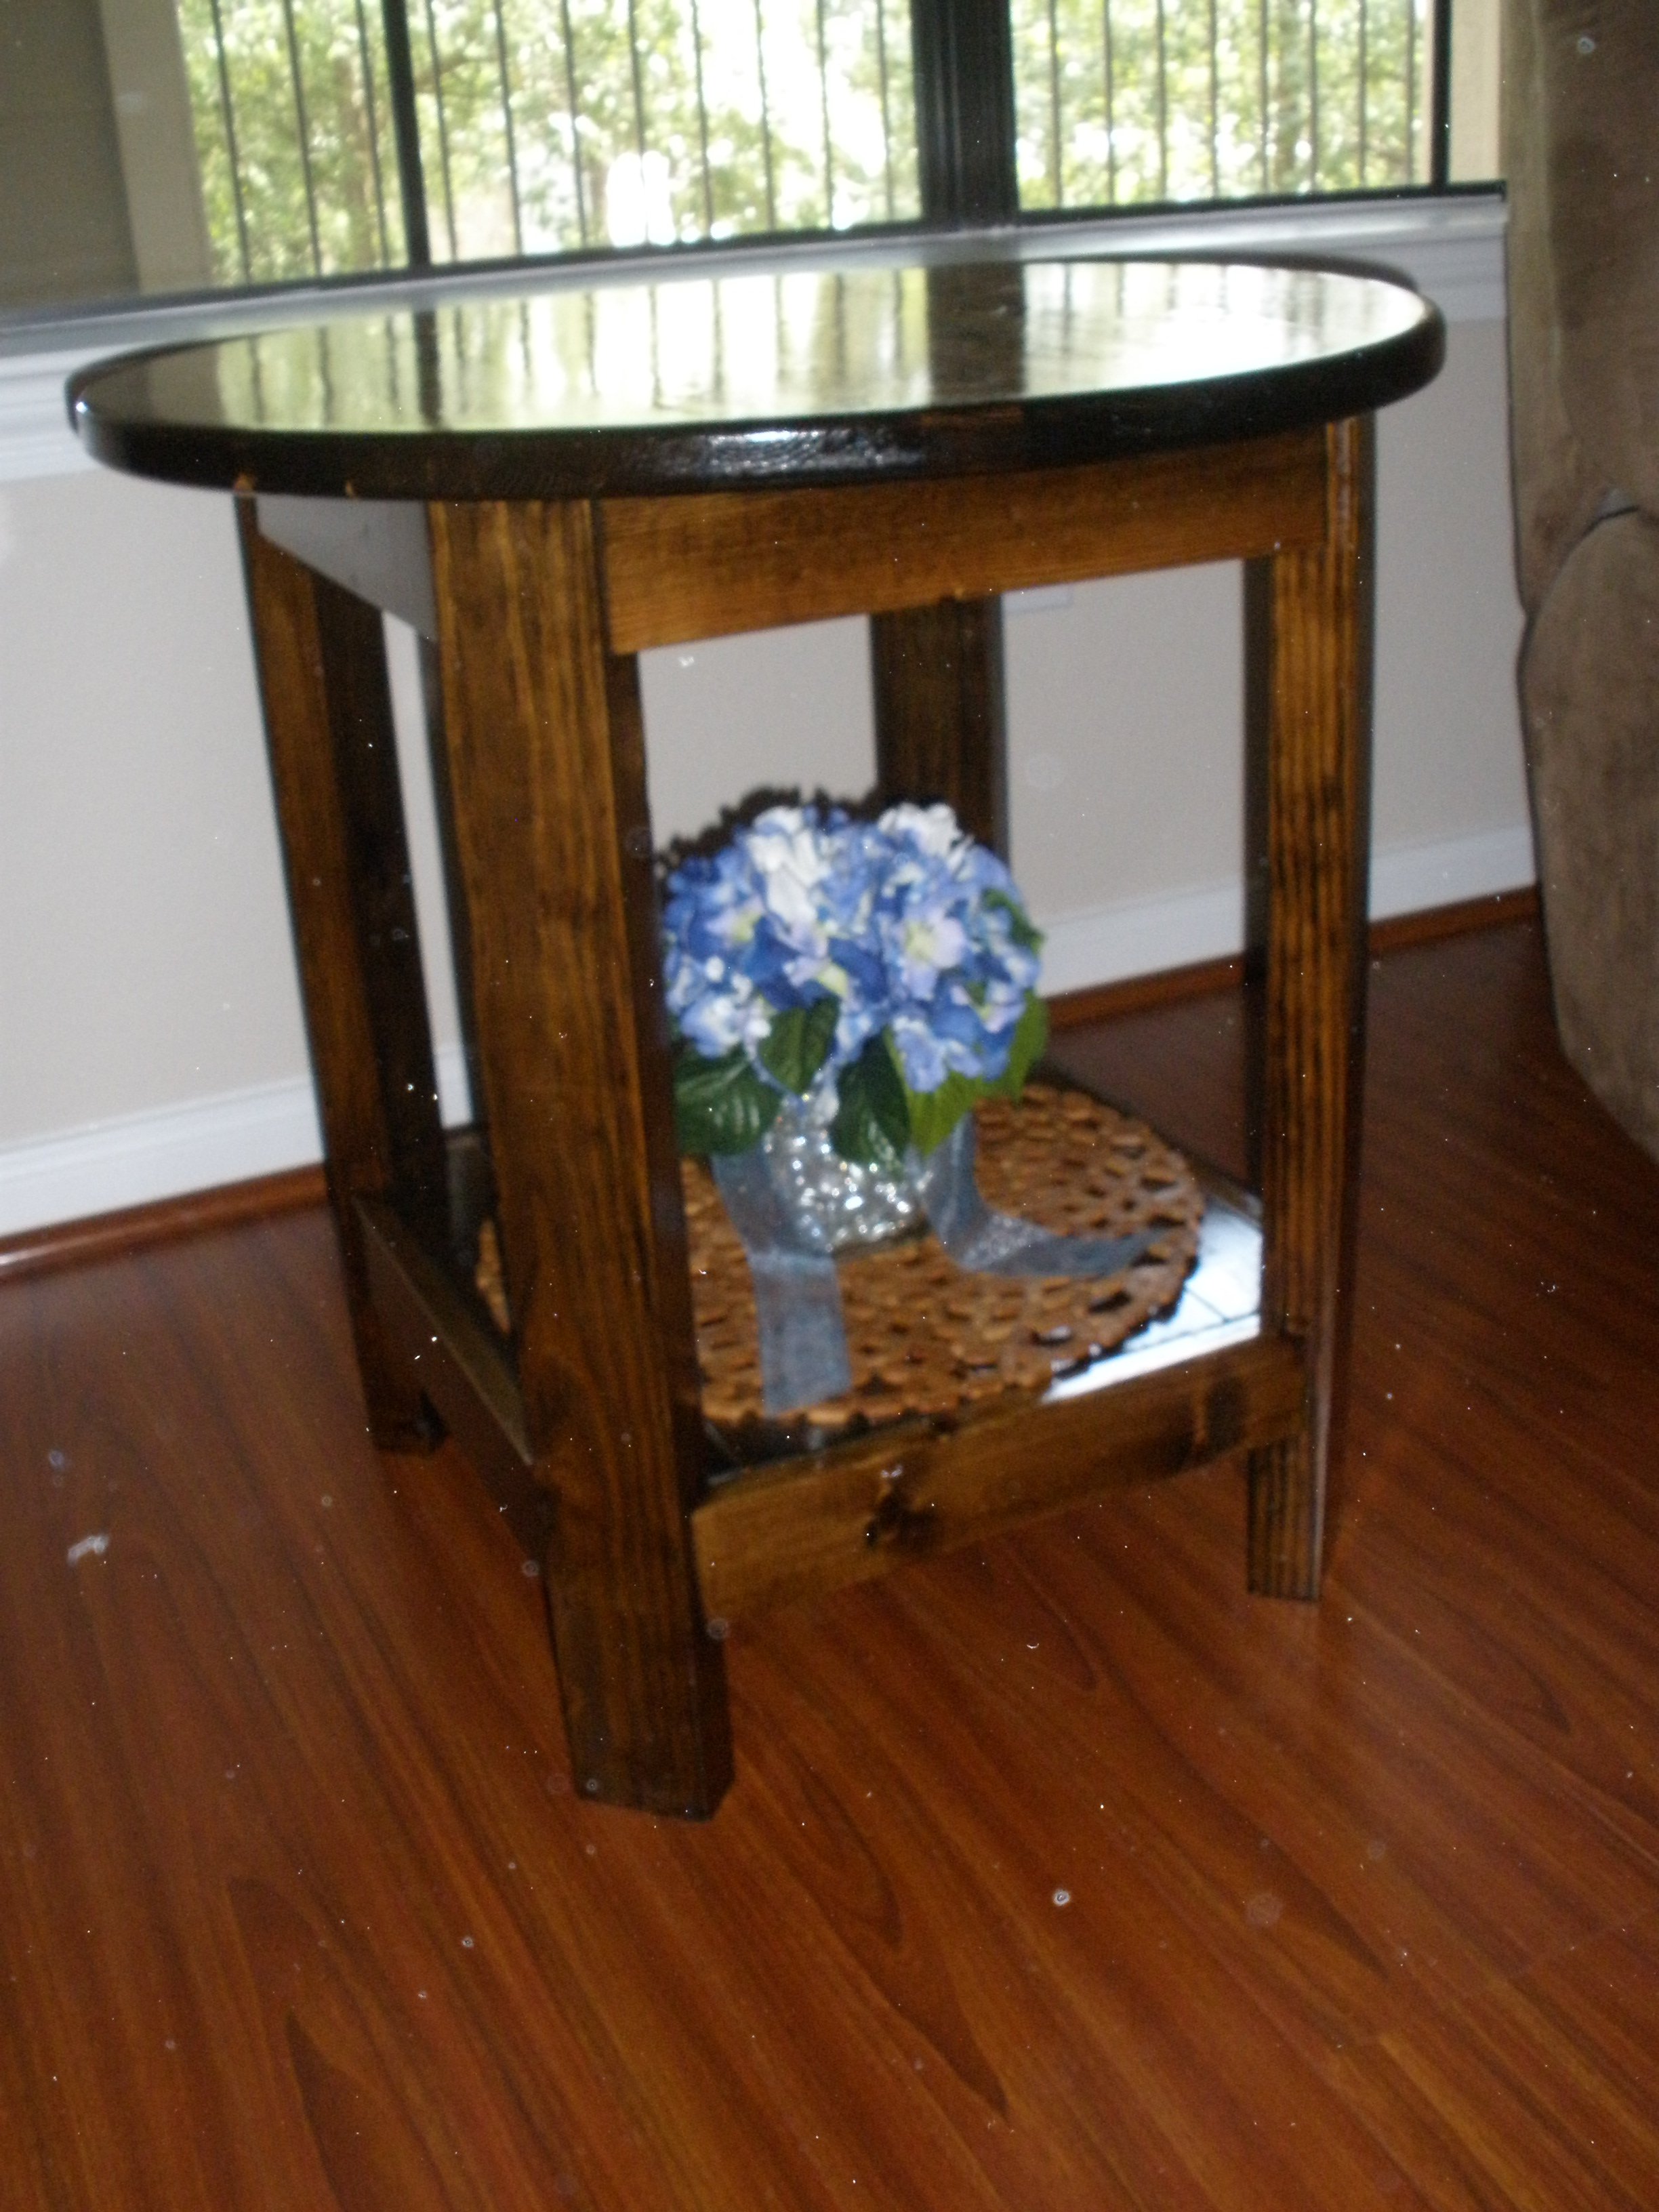
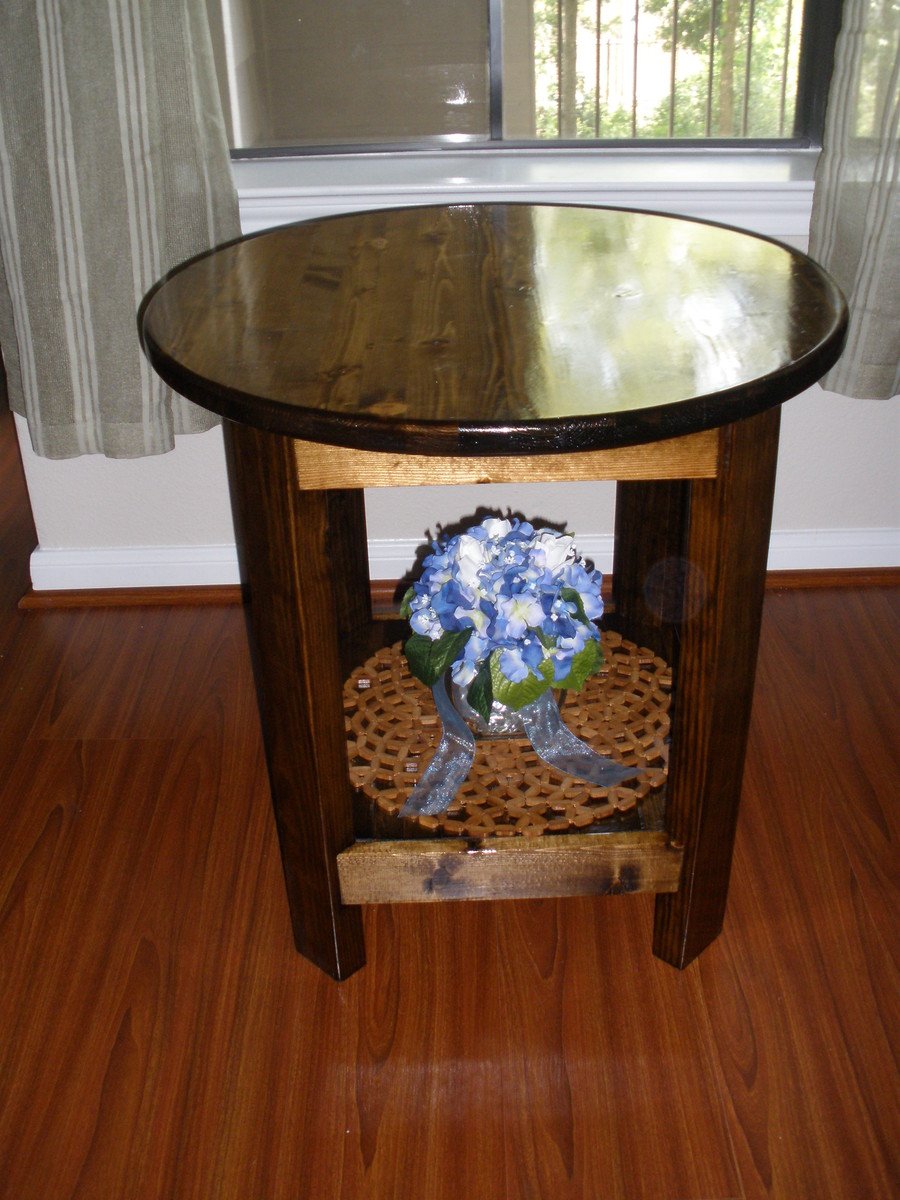
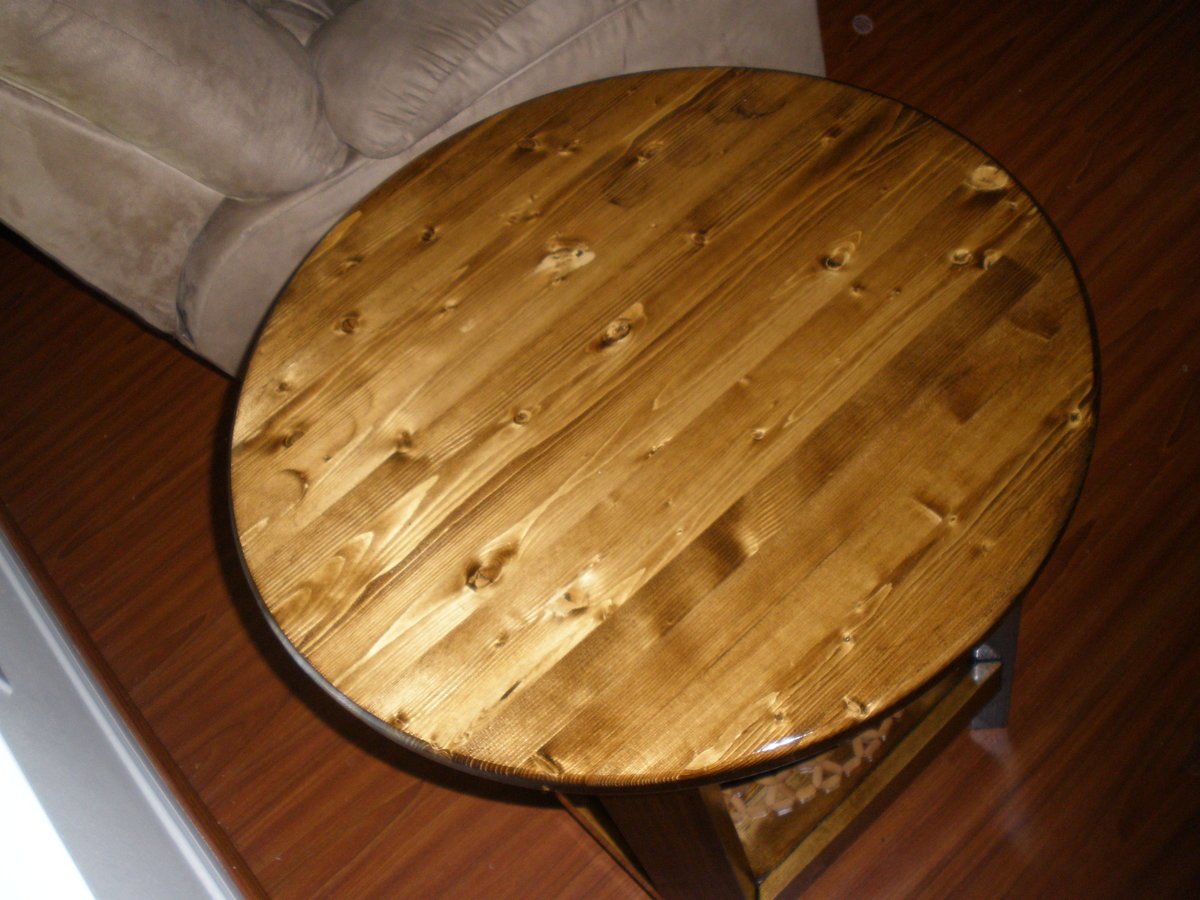
These tables are part of the Benchright collection. They are not terribly hard to make, especially if you buy the 24" diameter round table top from Lowes.
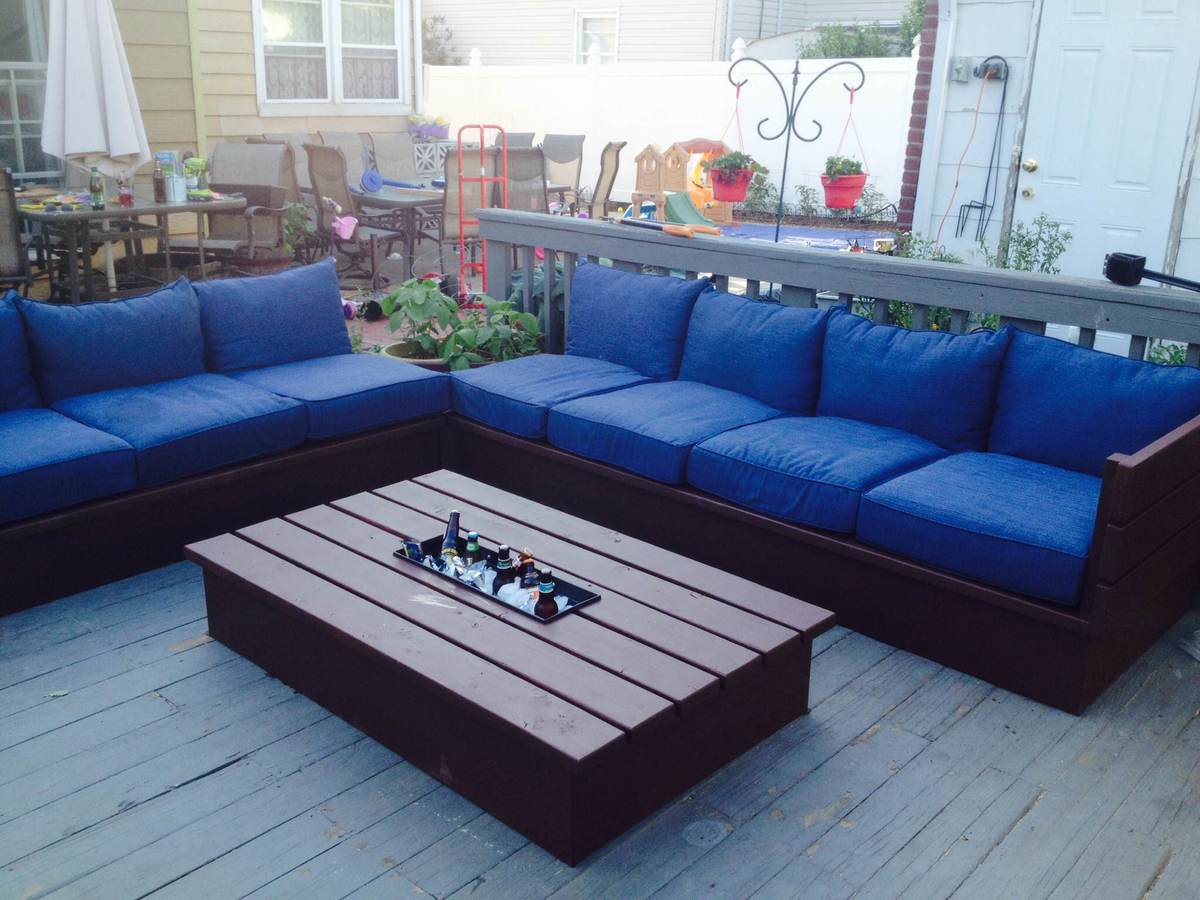
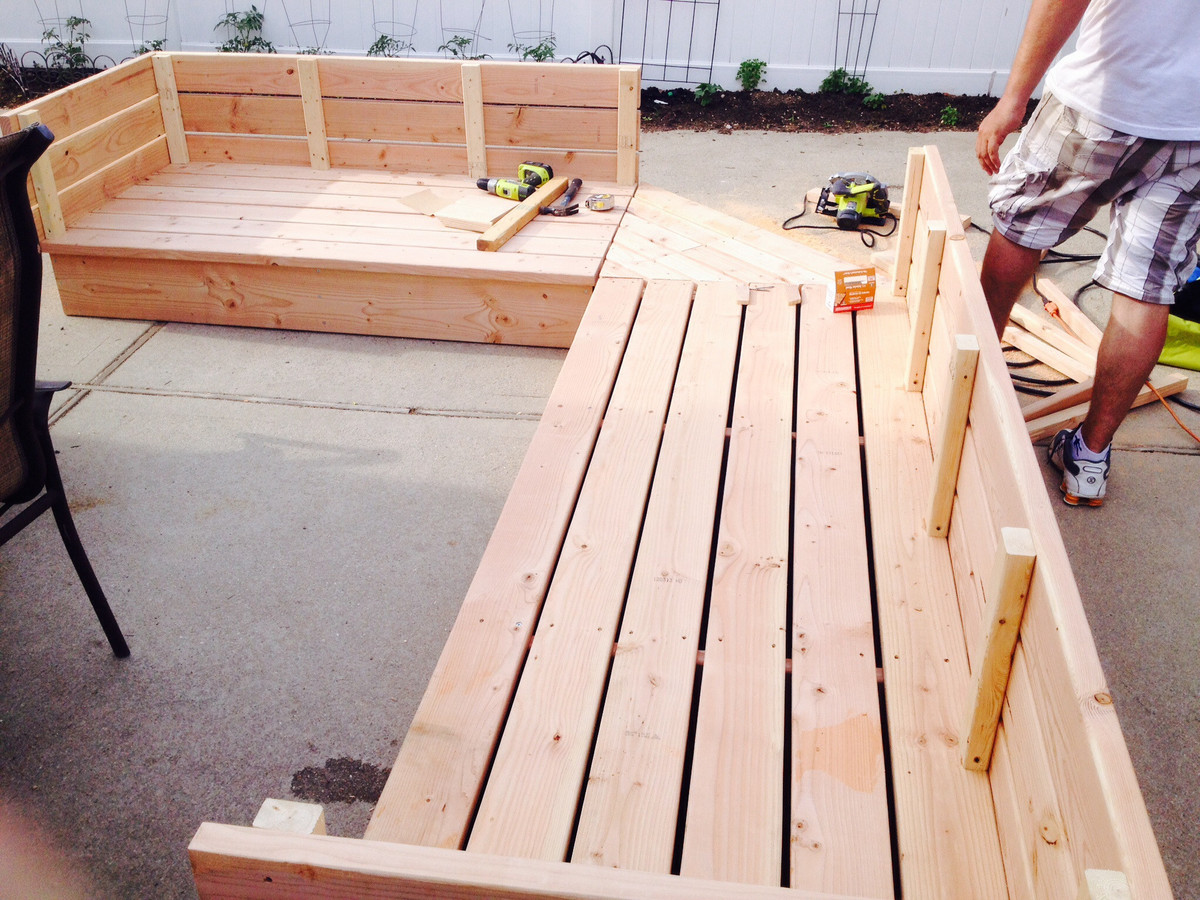
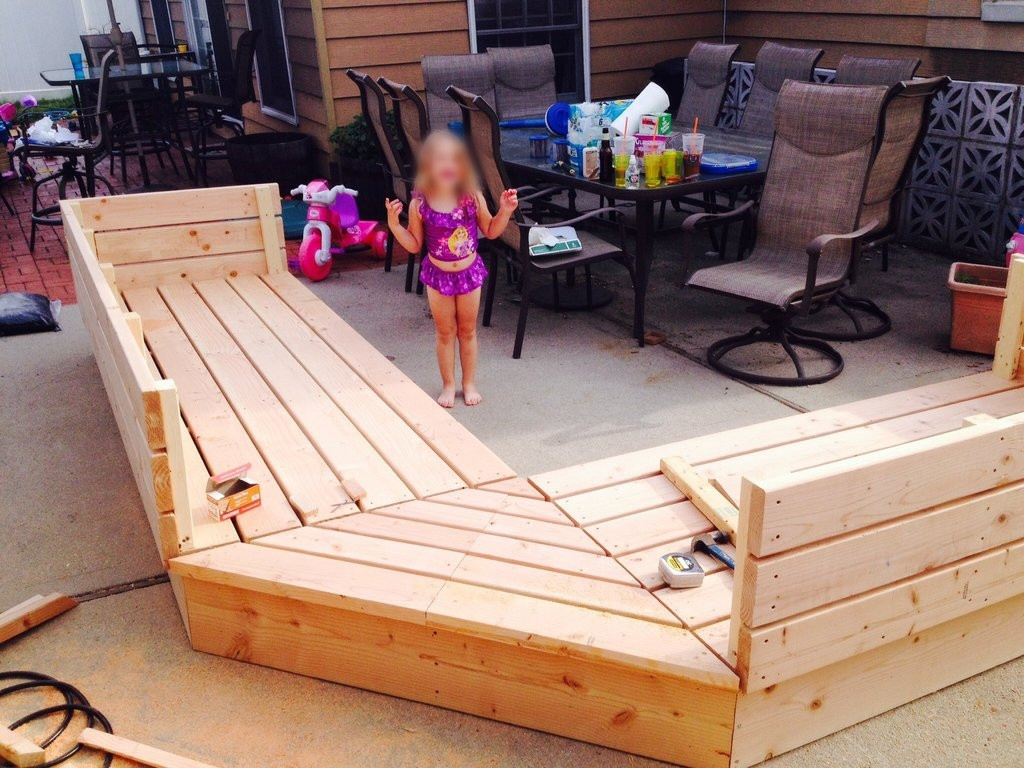
Saw the Outdoor sectional on your website and I just had to build it! Made some variations to the original plans, one being making it higher off the ground and the other was a necessity because Home Depot didn't have the right size wood and I wasn't about to go running around from store to store, so I used scraps to make a corner piece that fits perfectly. The most timely aspect was the sanding and removing all the rough edges. Also used Bondo to fill in all the holes that were on the outside to give it an all around smooth finish. The end result is just about the same though and the family and friends are in love with it! Thank you so much for the plans! Really could not even come close to justifying what it would cost to buy a sectional like this. Cushions were a huge concern and rightfully so. After building, I started searching and was mostly getting prices in the plus $800 range. It was breaking my heart knowing I was going to have to pay more than double what the entire sectional cost me. In the end though, was able to land some 25 x 25 x 6 cushions at Lowes for 50% off ($50 a piece).
Tue, 06/17/2014 - 14:11
You sure have outdone yourself, love the space! Thanks for sharing!

Mon, 03/16/2015 - 09:06
I love this modification. Did you use 2x8s or 2x10s for your base? It looks like you angles the back. How did you go about doing that? Thank you for posting this?! Great work!
Mon, 06/29/2015 - 18:00
nice build, when you get some time can you put up your modifications please:) would love to build this! Love the colours you used and how it looks!Me too..you cook like me, i make it my style...thats how i do my salsa ..my way i like it...
Mon, 06/29/2015 - 18:00
nice build, when you get some time can you put up your modifications please:) would love to build this! Love the colours you used and how it looks!Me too..you cook like me, i make it my style...thats how i do my salsa ..my way i like it...
Mon, 06/29/2015 - 21:50
sorry about the end of my comment, must of pasted a message in their somehow? My bad.

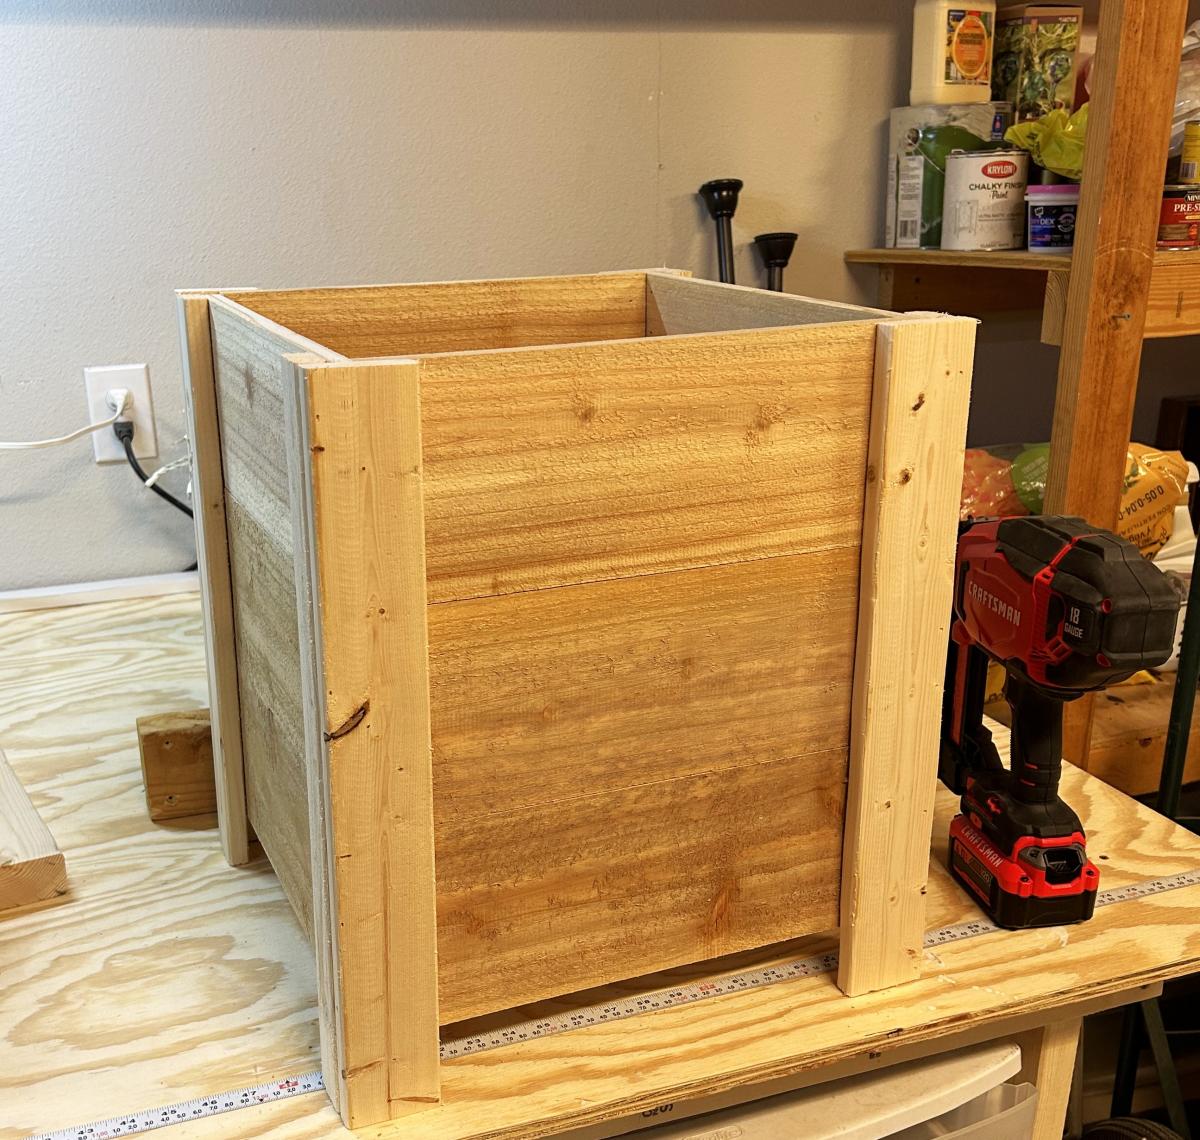
Easy Build DIY Planter Box with Cedar Fence Pickets
Followed these plans and made these planter boxes for the front porch! I couldn’t believe I was able to complete a project like this so quickly! Instead of paint, I opted to use some grey stain I had leftover from another project. Thanks! I love them!
Beth

My wife and I loved the version that Finns-Dad made but we wanted it to be rectangular. The top is 1x6s around the edges with 1x4s in between. The frame is 1x4s. The bench tops are all 1x4s with 4x4 legs. There are 3/8 inch lag bolts in the legs. We did 4 coats of the urethane.
This was my first major project, and while there are many things that I would do differently if given the opportunity, we're still very pleased with it.
Thu, 01/01/2015 - 09:04
I really like the changes you made to this table, it looks really nice.
Made a folding Workbench for my small workshop.
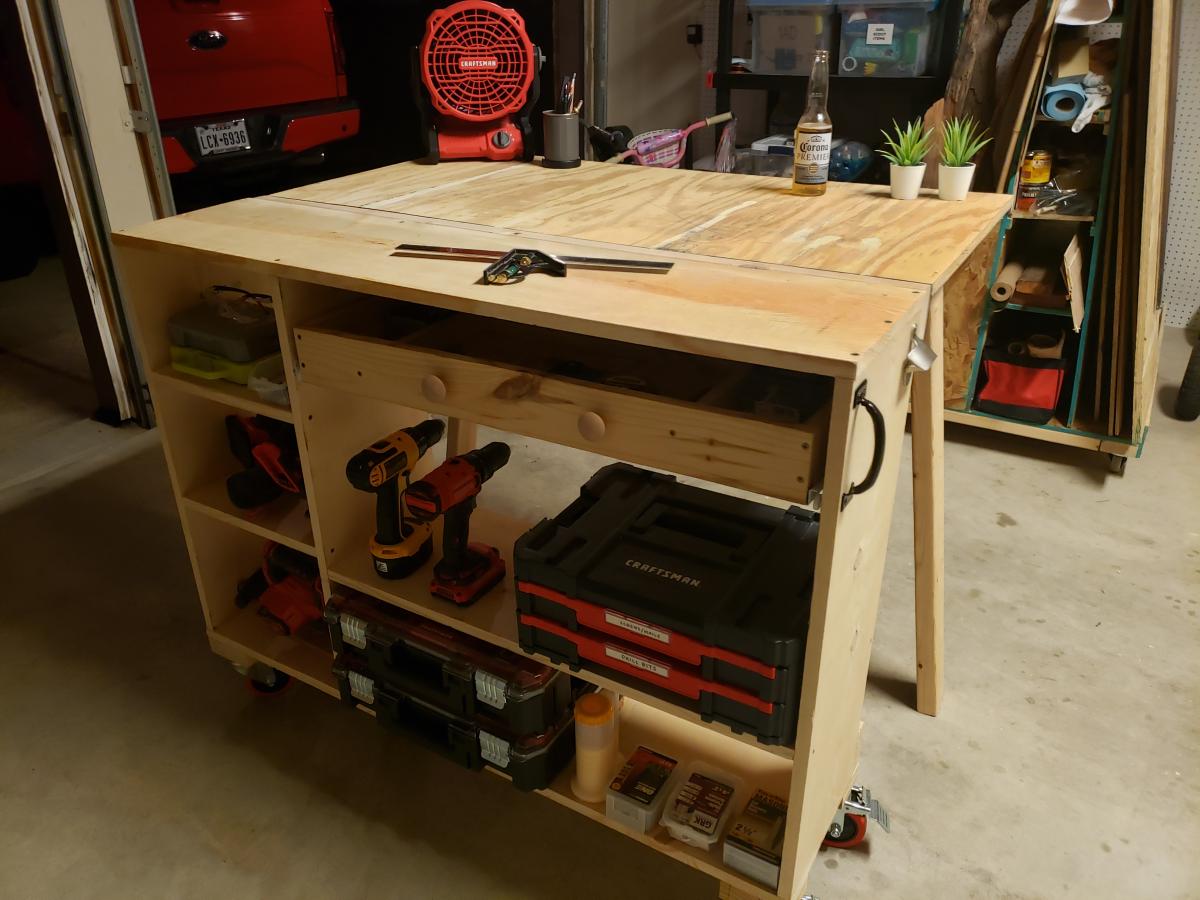
Unbelievable that just a few months ago I couldn't even get the corners to match up on a frame! Now I'm completely addicted to creating my own things. And saving soooo much money. Thank you Ana!

Thu, 01/02/2020 - 04:36
Very nice. I am a big money saver, and I used a coupon as well, so I am curious how you met the cost of $150? I think my cost ended up being about $220 after our trip to lowes. Are there better times of the year to buy lumber, Did you already have the screws and brads available? My last question is if you tried staining and went with paint in the end, or if you knew you wanted to paint from the beginning? I got all my dimensions cut yesterday, so going into the weekend will let me know if staining will be a success or not. Pine isn't the friendliest to take stain.
I cant believe how big this thing is. I have had queen all my life :)
Looks Great!
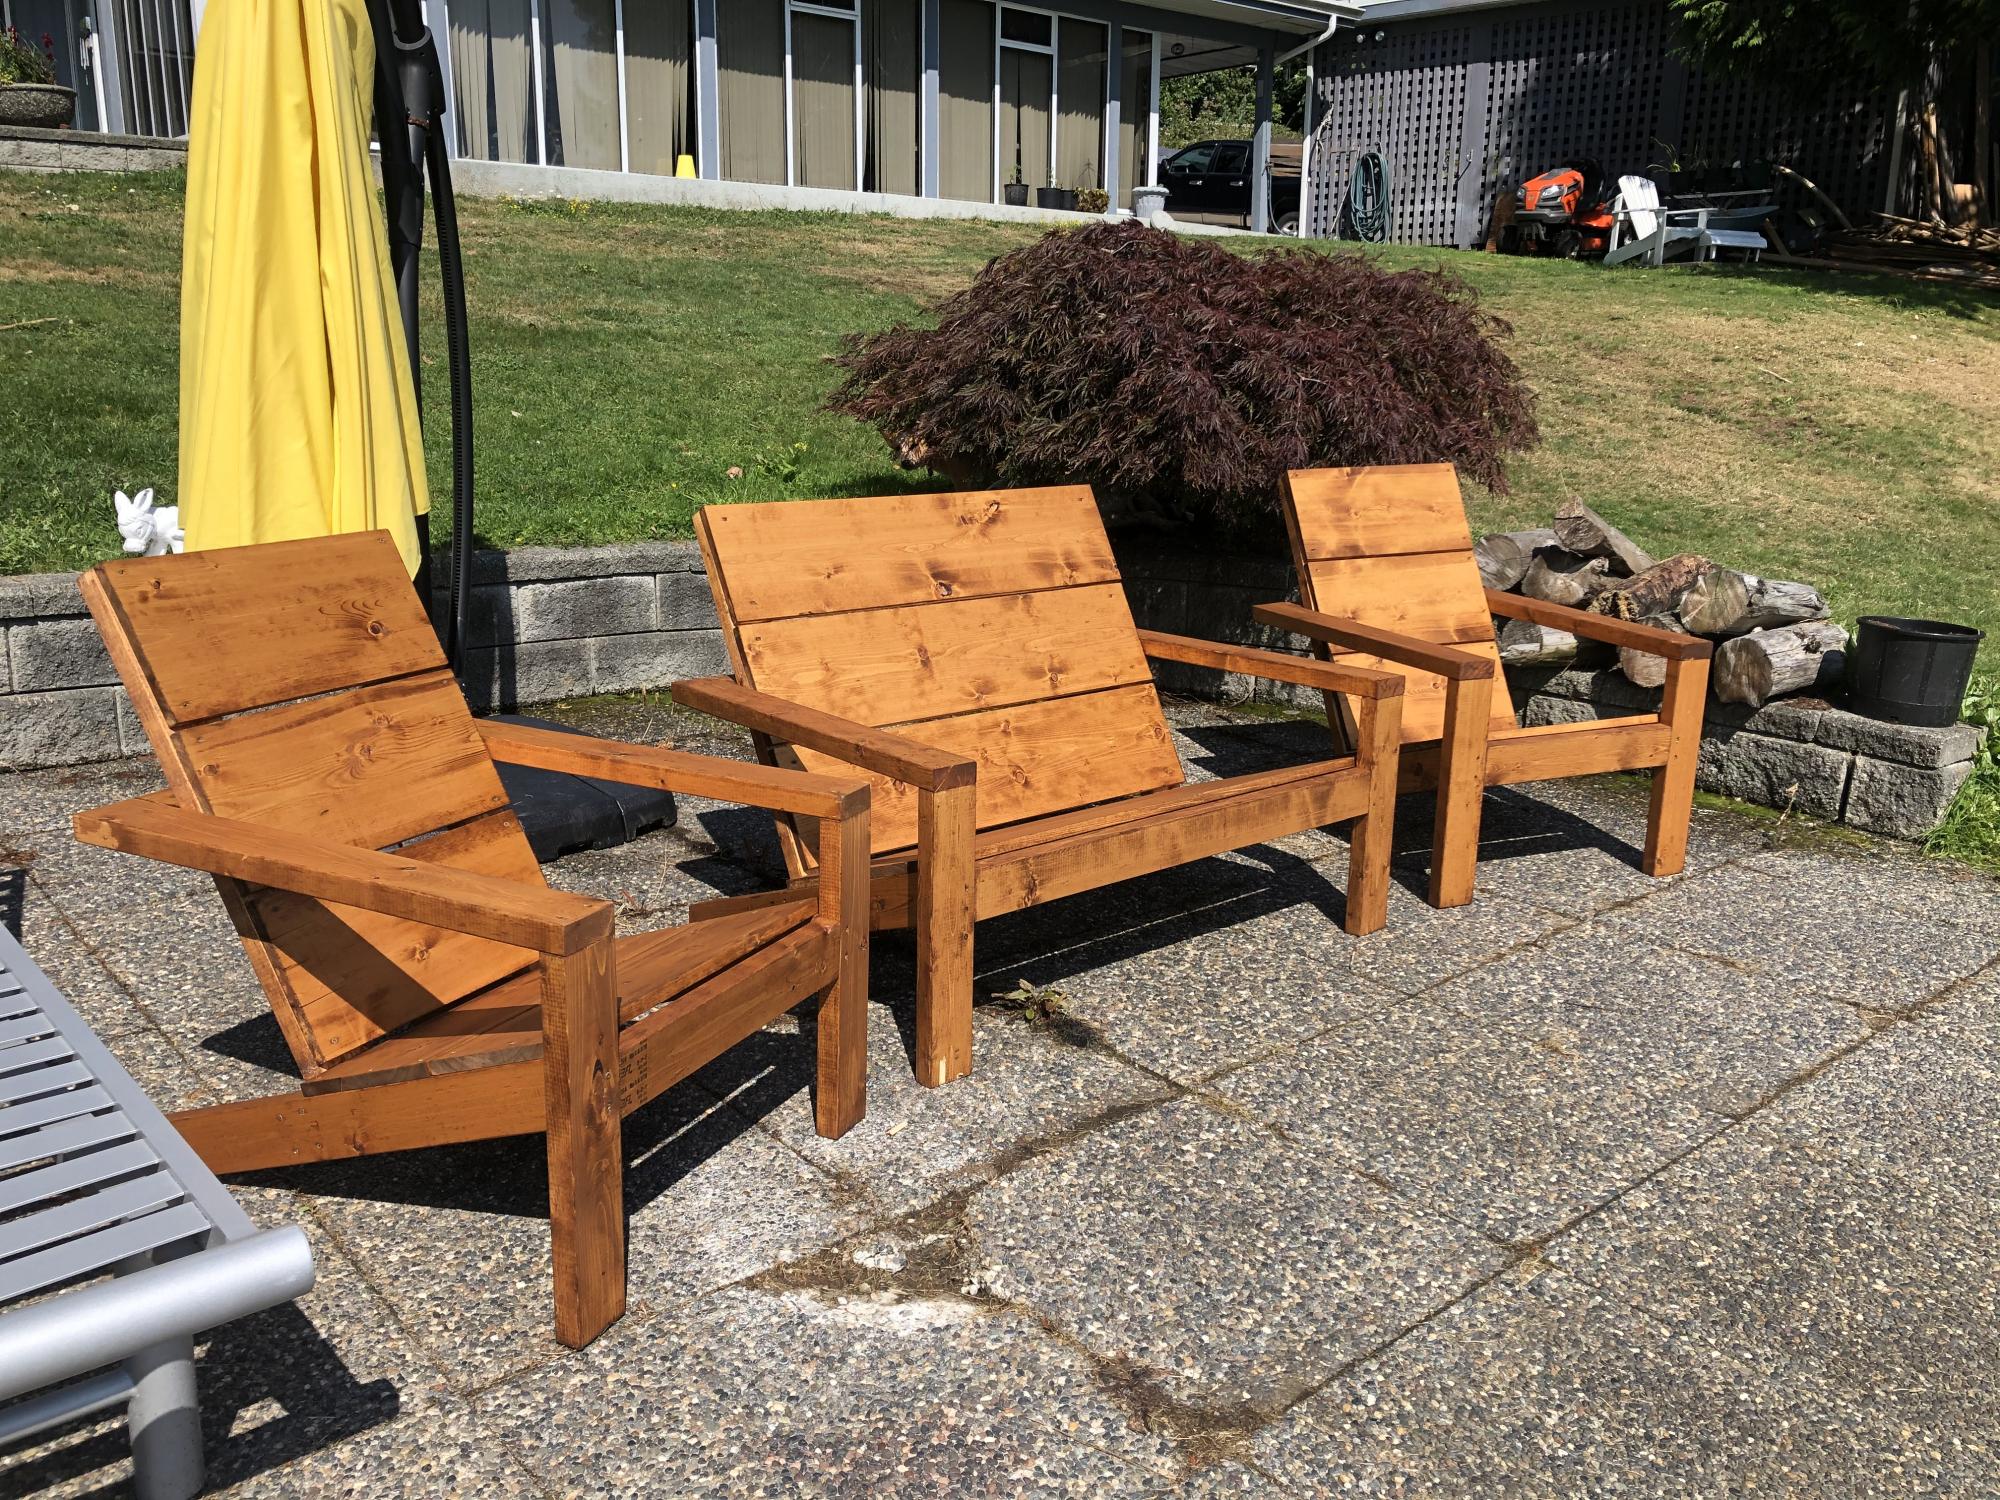
We loved the Modern Adirondack Chair pattern so much that we adapted it to have a matching love seat. It turned out beautifully!

Tue, 07/06/2021 - 17:08
Did you have to add any additional supports or just make the horizontal supports and seats/ backs longer?? Love this so much!
Tue, 08/31/2021 - 14:04
Yes, I added additional supports underneath. Two 2x4s going running along the 1x10s.
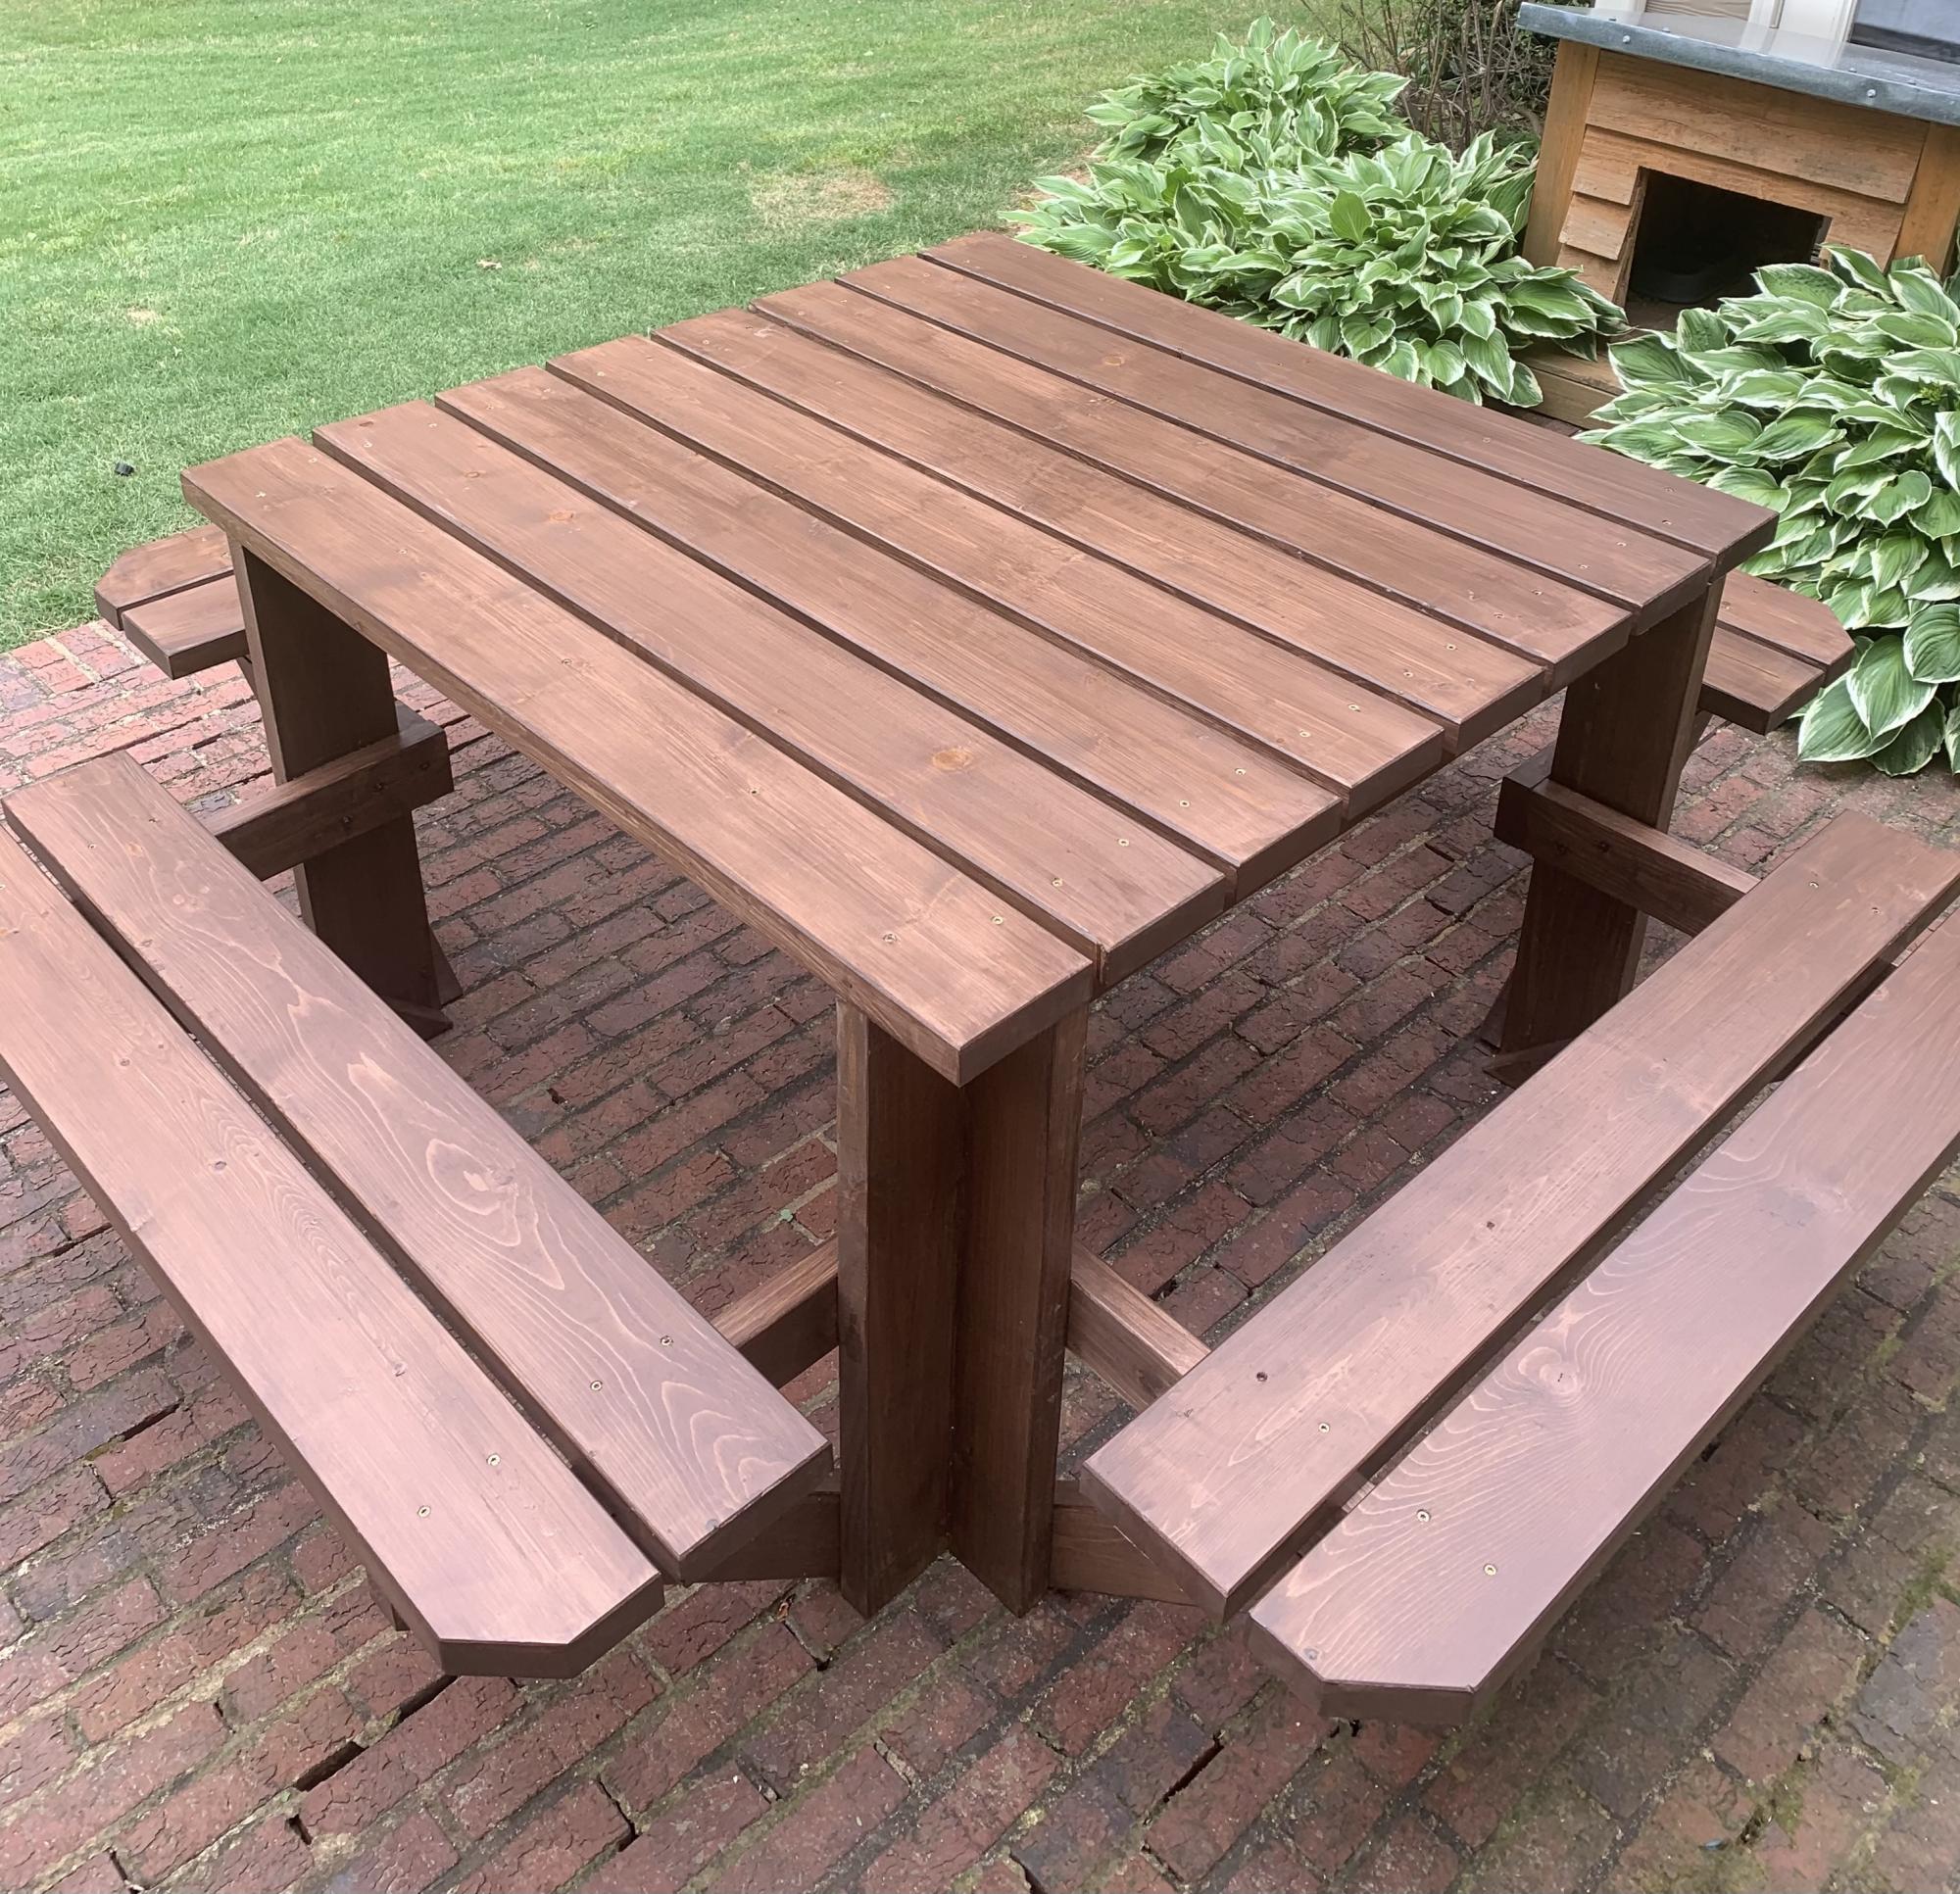
Followed Anna White’s plans except I beveled all the edges and flooded the table leg bottoms with penetrating epoxy sealer. The table looks great!