Community Brag Posts

Custom Modern Chicken Coop

Submitted by Anonymous (not verified) on Wed, 08/30/2023 - 08:49

I made this coop twice as wide like Ana suggested since I have 4 chickens and wanted to make sure there was some extra wiggle room in case “chicken math” got the best of us. I made a nesting box to mount on the outside. I also used plywood for the sides like Ana did in the video. I installed a Run Chicken automatic door that opens at sunrise and closes at sunset. I added some hasps and clasps to make sure all my doors would close tightly. I put hardware cloth across the top before installing the roof panels. I stapled and buried hardware cloth around the perimeter for predator protection. I also spray painted the hardware cloth flat black so that it would be easier for us to see inside the coop. I stained the rest of the wood with Varathane Semi-Transparent stain, color “Carbon Gray.” I also added some roosts and cedar shingle siding for some extra protection during our New England winters at to match our house. Working 2-4 hours a day, off and on, with a bum shoulder and weak hands, this took me about a week! Thanks for the great plan, Ana!

Built from Plan(s)

Comments

Seasonal And Holiday

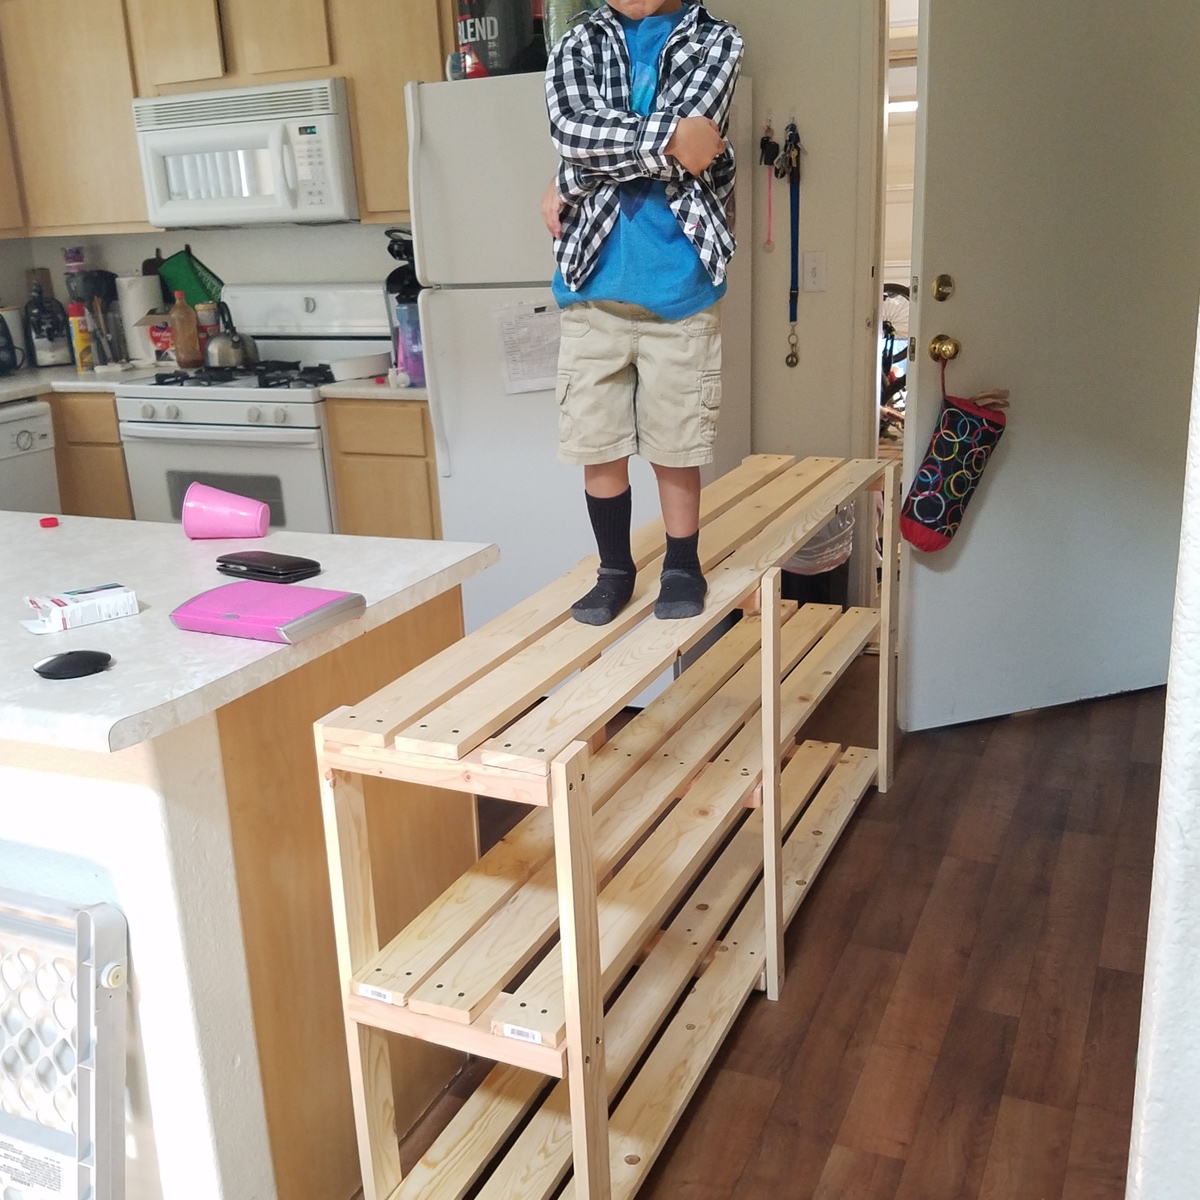
Toy room shelving

Submitted by Ybrown118 on Mon, 05/02/2016 - 15:14

Super easy project. My space is smaller so I modified to 6ft instead of the 8ft used in the plana. I plan to make the white board crates to finish the project. 

Built from Plan(s)
Estimated Cost
$31
Estimated Time Investment
An Hour or Two (0-2 Hours)
Recommended Skill Level
Beginner

Di Bello Family

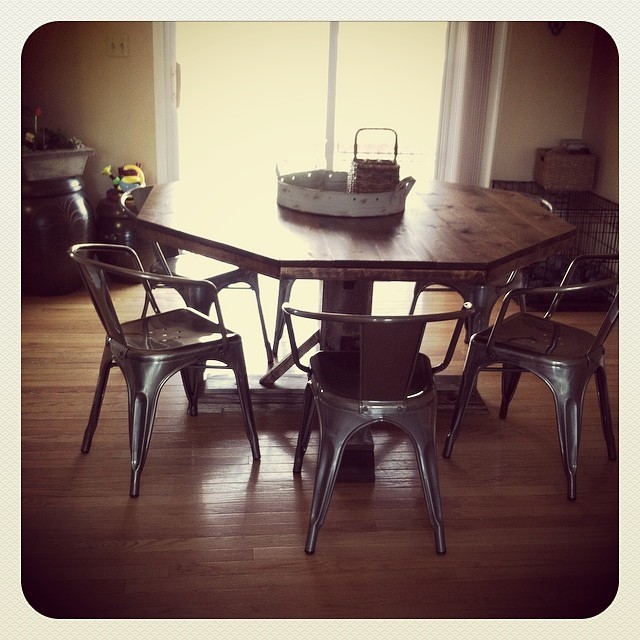
We needed a table for the breakfast nook in our new home that we will be moving to in June. We were so excited about this table that we built it ahead of time and sold our other dining room table. We love this table! Thank you so much for the awesome plans.

Estimated Time Investment
Week Long Project (20 Hours or More)
Recommended Skill Level
Beginner

Comments

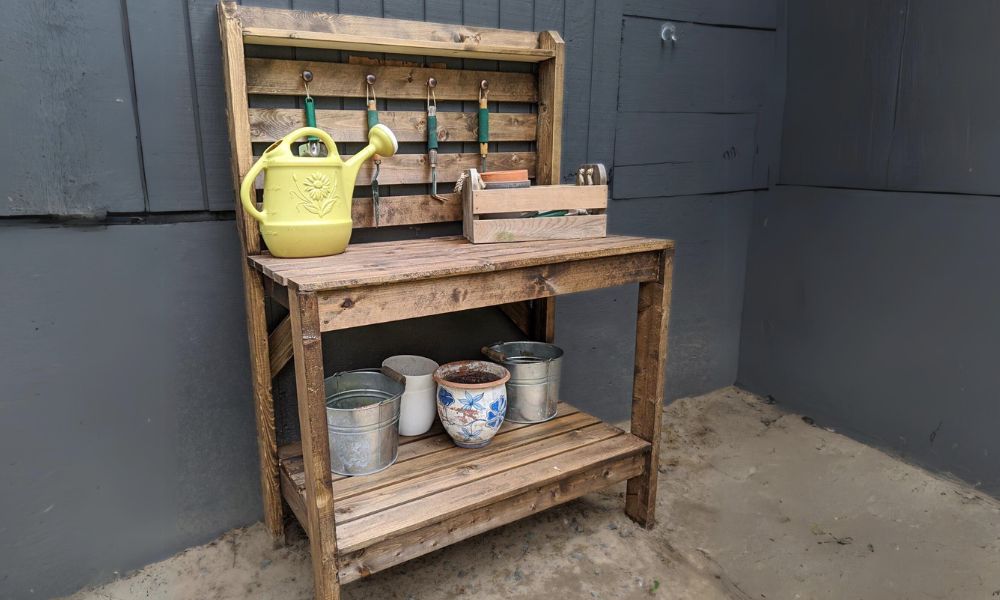
Simple 2x4 potting benxh

Submitted by Anonymous (not verified) on Sun, 05/24/2020 - 16:10

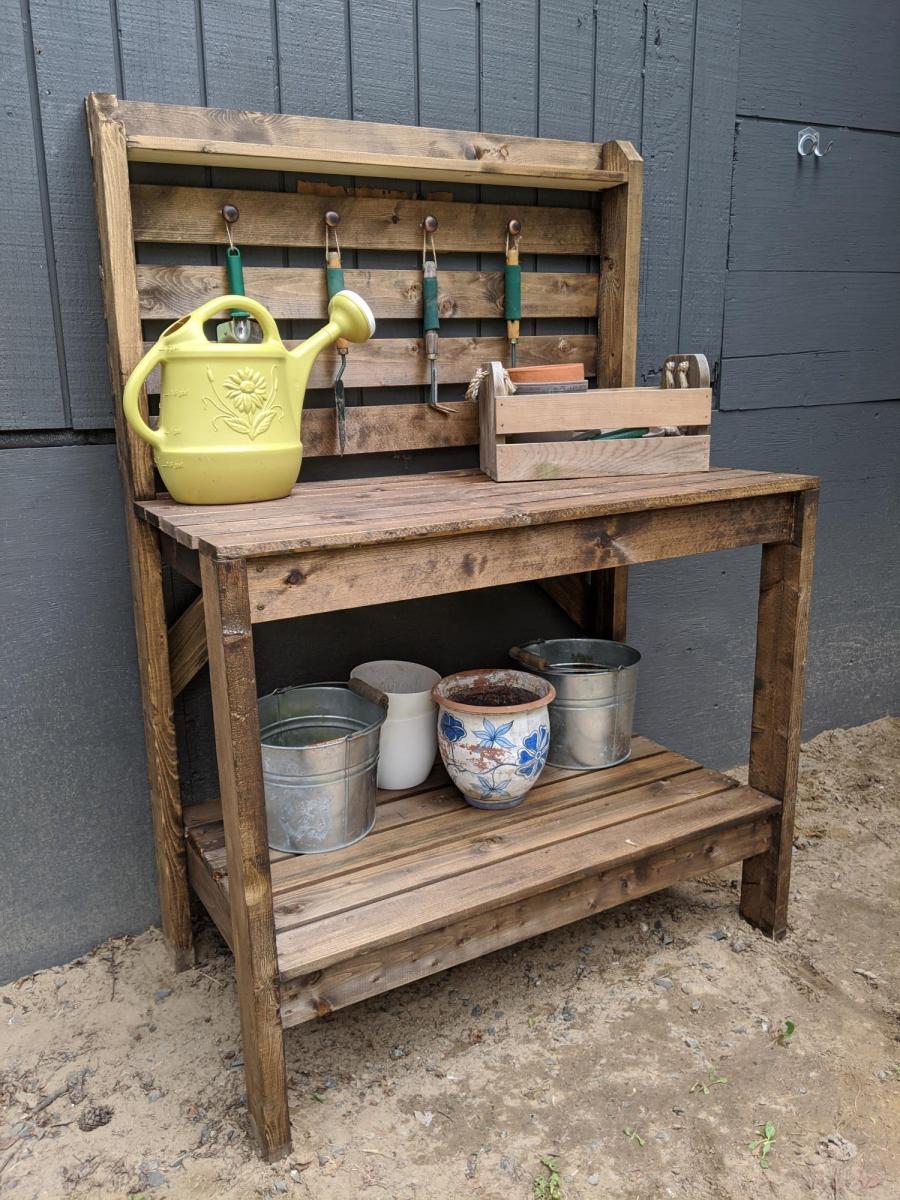
Loved this project! The plans were so easy to follow, even for a begginer. Thank you so much!

Estimated Cost
$55
Estimated Time Investment
An Hour or Two (0-2 Hours)
Finish Used
Walnut stain
Recommended Skill Level
Beginner
Seasonal And Holiday

Double Pedestal 6' Farmhouse Table

Submitted by g82martin on Sat, 05/17/2014 - 20:38

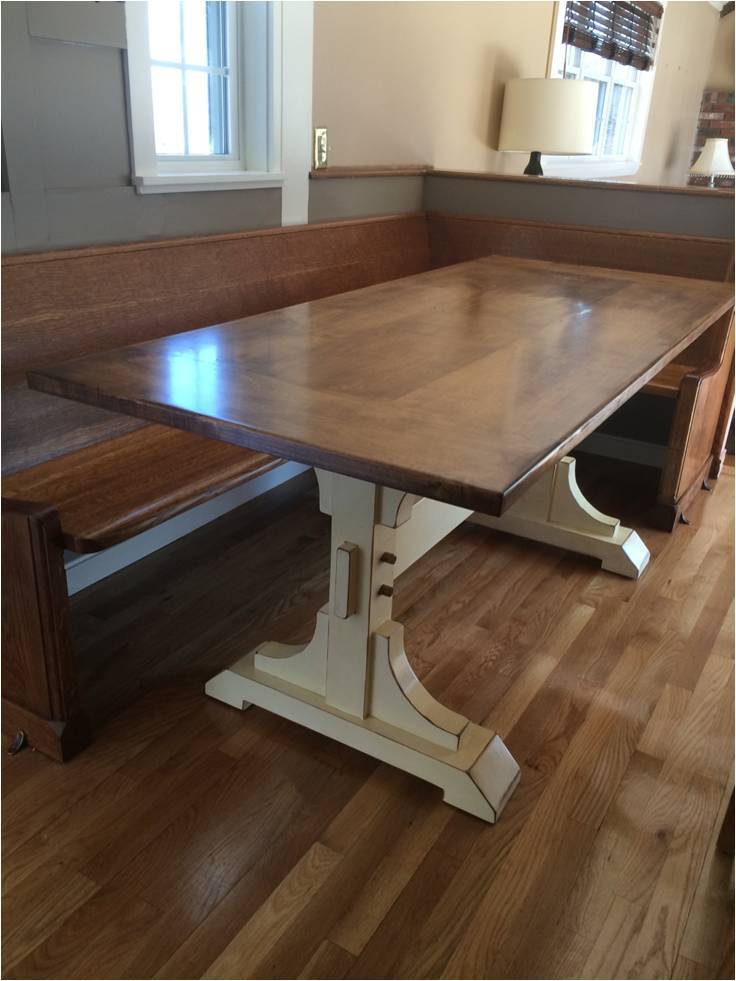
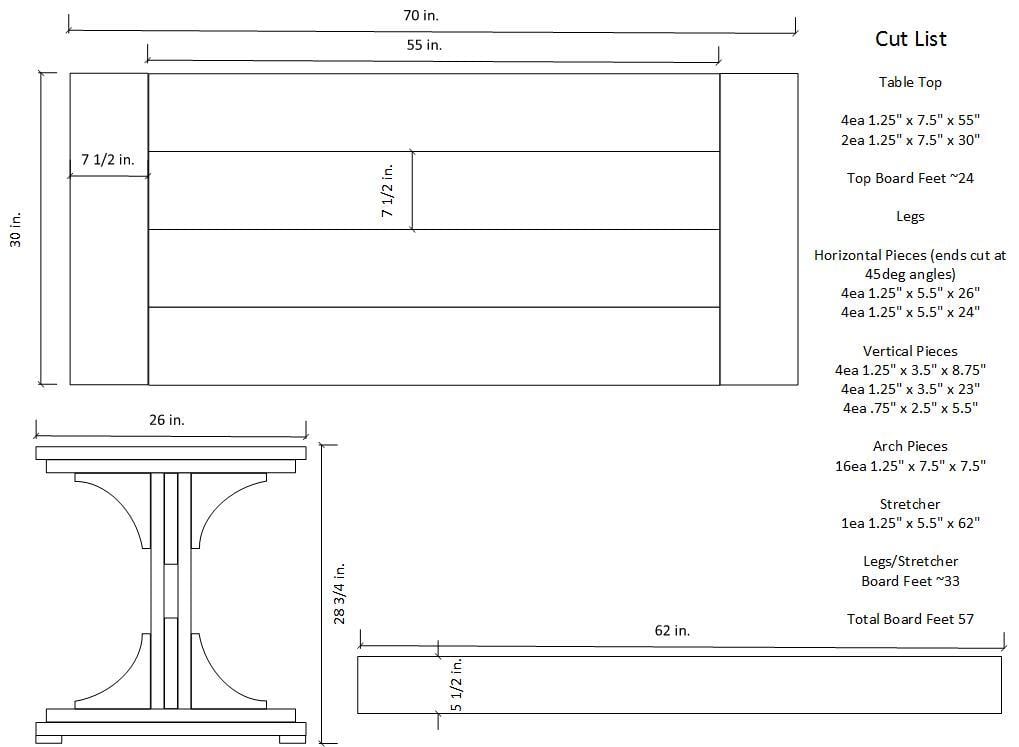
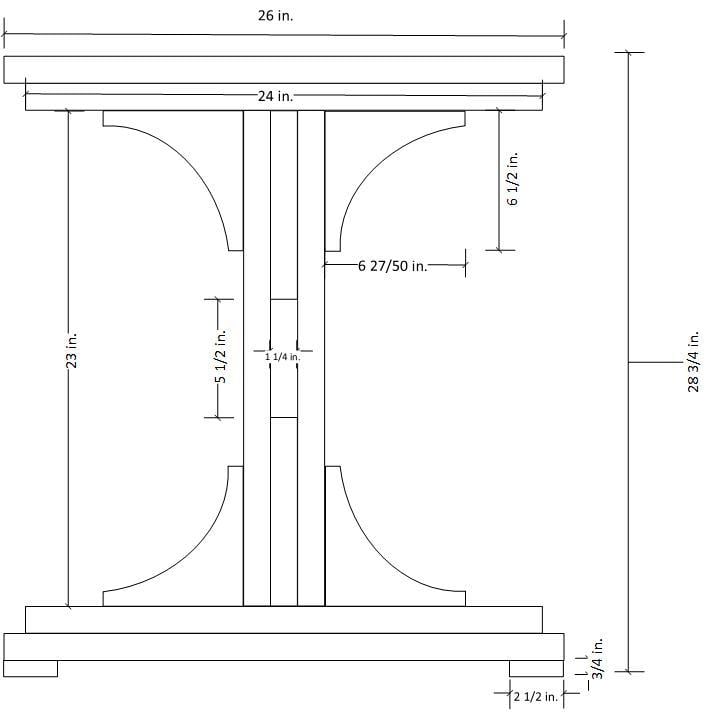
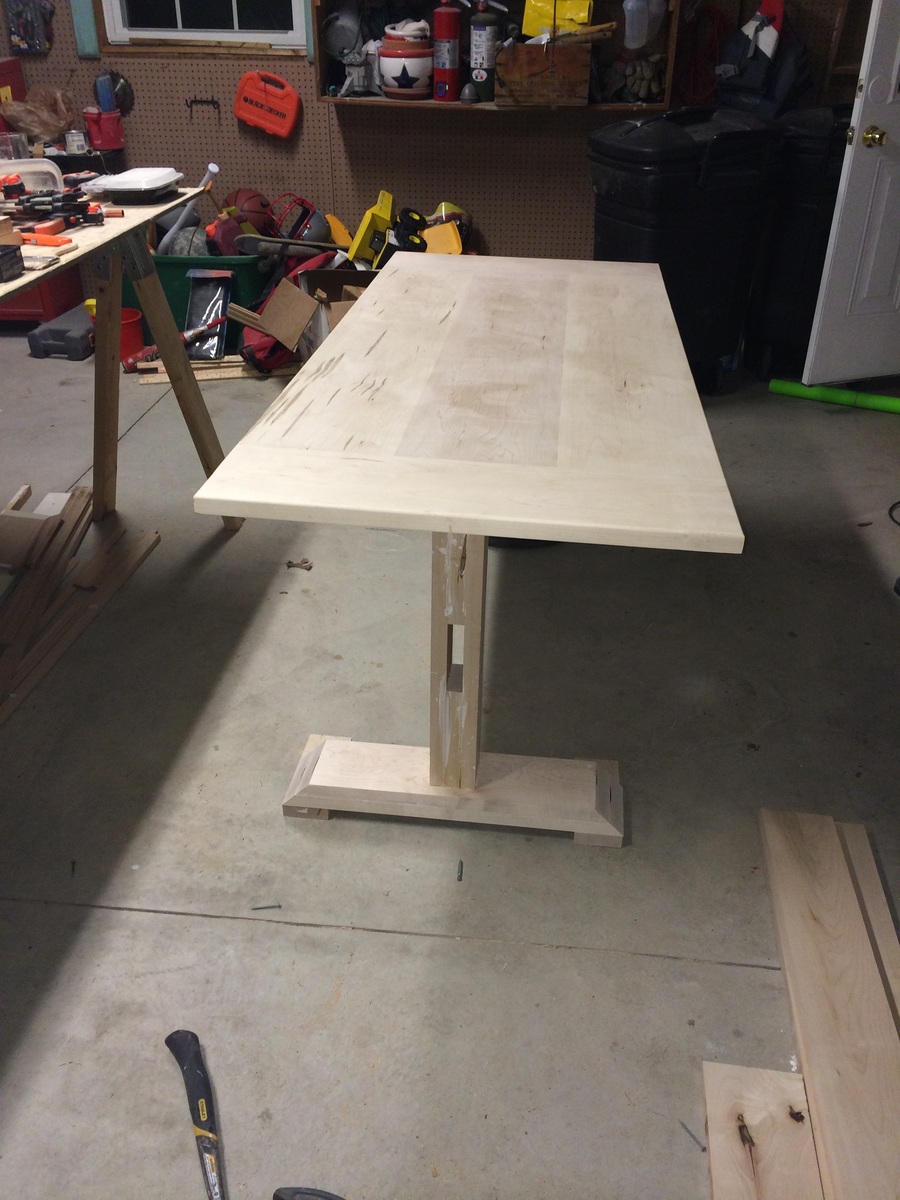
Farmhouse table made from distressed (worm hole) maple.

My neighbor was able to get me the 5/4 distressed maple for about $2/bd ft - I ended up buying 100 board feet and had plenty leftover. The finished board feet for this project was about 60 if I remember correctly. So the $200 was the bulk of the expense. The only other costs were sand paper, I bought a Kreg Jig, screws, Minwax Marker, paint, stain and urethane (much of which I already had).

It came out better than I anticipated. The antique white finish was not difficult at all.

Tip - When following the instructions for the finish here, I applied the first coat of urethane with a brush almost immediately after applying the Minwax marker to all of the sanded edges. I did this in haste, but ended up with some unexpected results that really added a nice touch. The stain from the marker incorporated a bit into the urethane as I brushed it giving it an antique, yellow hue. At first I thought I made a big mistake, but it turned out to add a really nice look.

Built from Plan(s)
Estimated Cost
$250
Estimated Time Investment
Week Long Project (20 Hours or More)
Finish Used
Antique White using Minwax Stain Marker - http://ana-white.com/2012/09/antique-white-using-minwax-stain-marker
Recommended Skill Level
Intermediate

Comments

g82martin

Mon, 05/19/2014 - 07:29

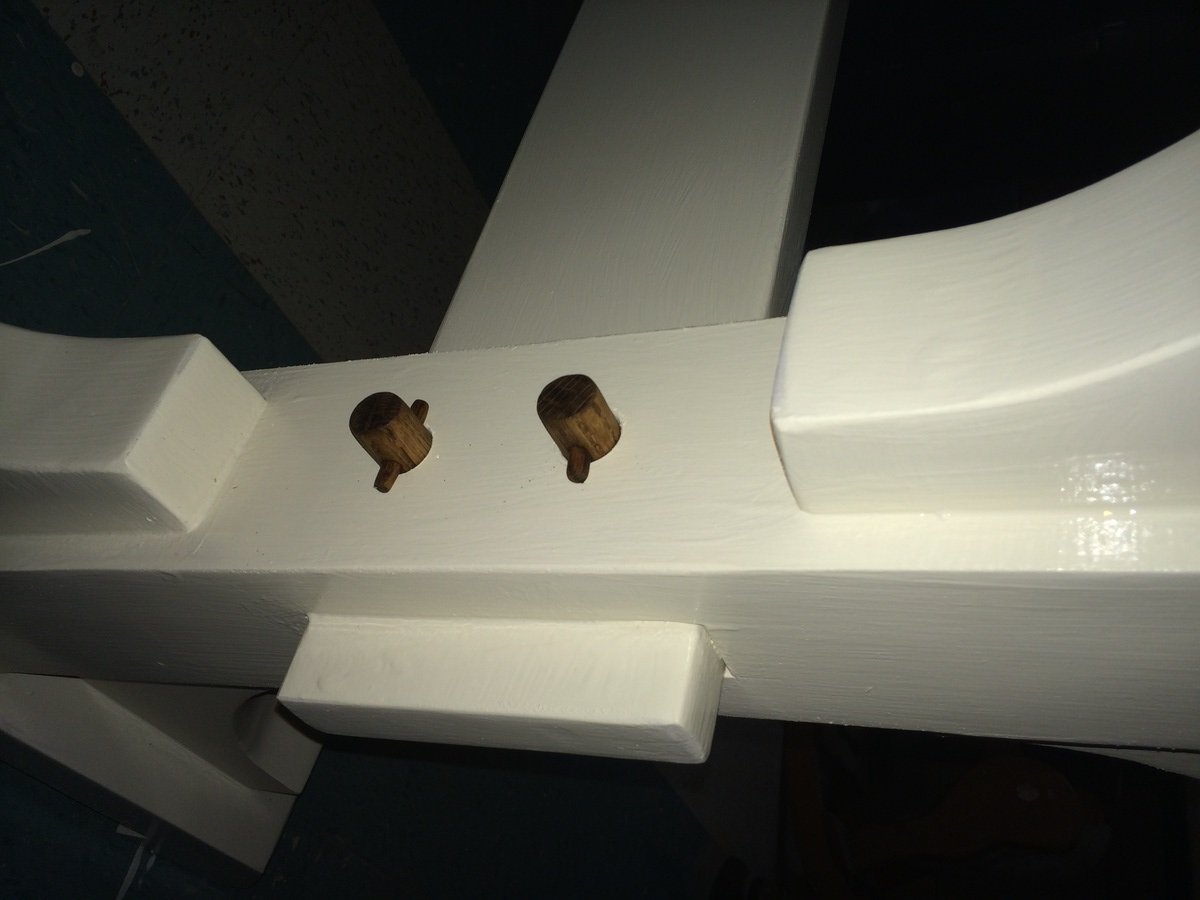
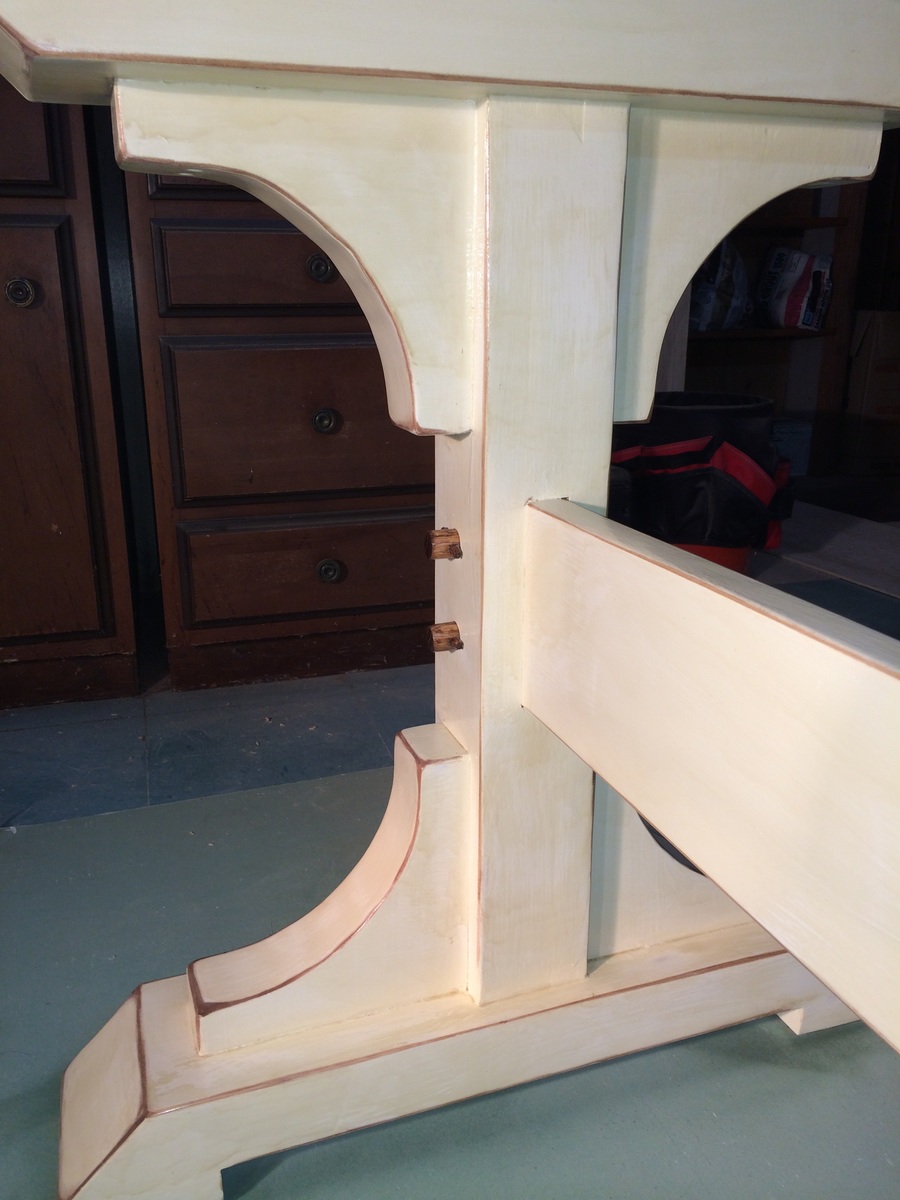
CSaintD - The top can be removed as I did not glue it. I set 3 dowels on top of each of the 2 legs so that the top would always lign up correctly if disassembled and reasembled. The stretcher could be removed, but would probably cause some damage to the finish as it was a tight fight when I finished it. The stretcher would be removed by removing the dowel pegs that I fabricated on each leg.

g82martin

Mon, 05/19/2014 - 08:26

I cheated a bit on the top. My neighbor who got me the wood works in a furniture reupholsery shop. He planed and joined the boards for me, which saved me a good amount of time. I'm confident I could have done this at home with my table saw, miter saw and hand plane, but what he did in 2 hours probably would have taken me 10.

bclute

Mon, 05/19/2014 - 08:06

Table looks great! Great antique finish on the base and your table top looks nice a smooth.

bclute

Mon, 05/19/2014 - 08:06

Table looks great! Great antique finish on the base and your table top looks nice a smooth.

KathrynK13

Fri, 01/01/2016 - 12:00

I love the table...but I wanted to ask about the booth?  Is that a church pew?  Did you make it?  Any tips for recreating it?

Lenaluv87

Fri, 08/05/2016 - 20:35

Love the dowels you added! Planning on building this exact table pretty close to your dimensions and have a very long church pew as well! Trying to decide between L-ing my pew and cutting to straigjy 6'. Do you mind sharing the dimensions of your pew? And how did you miter the pew?

Firehouse Loft Bed

Submitted by Anonymous (not verified) on Wed, 04/03/2024 - 07:32

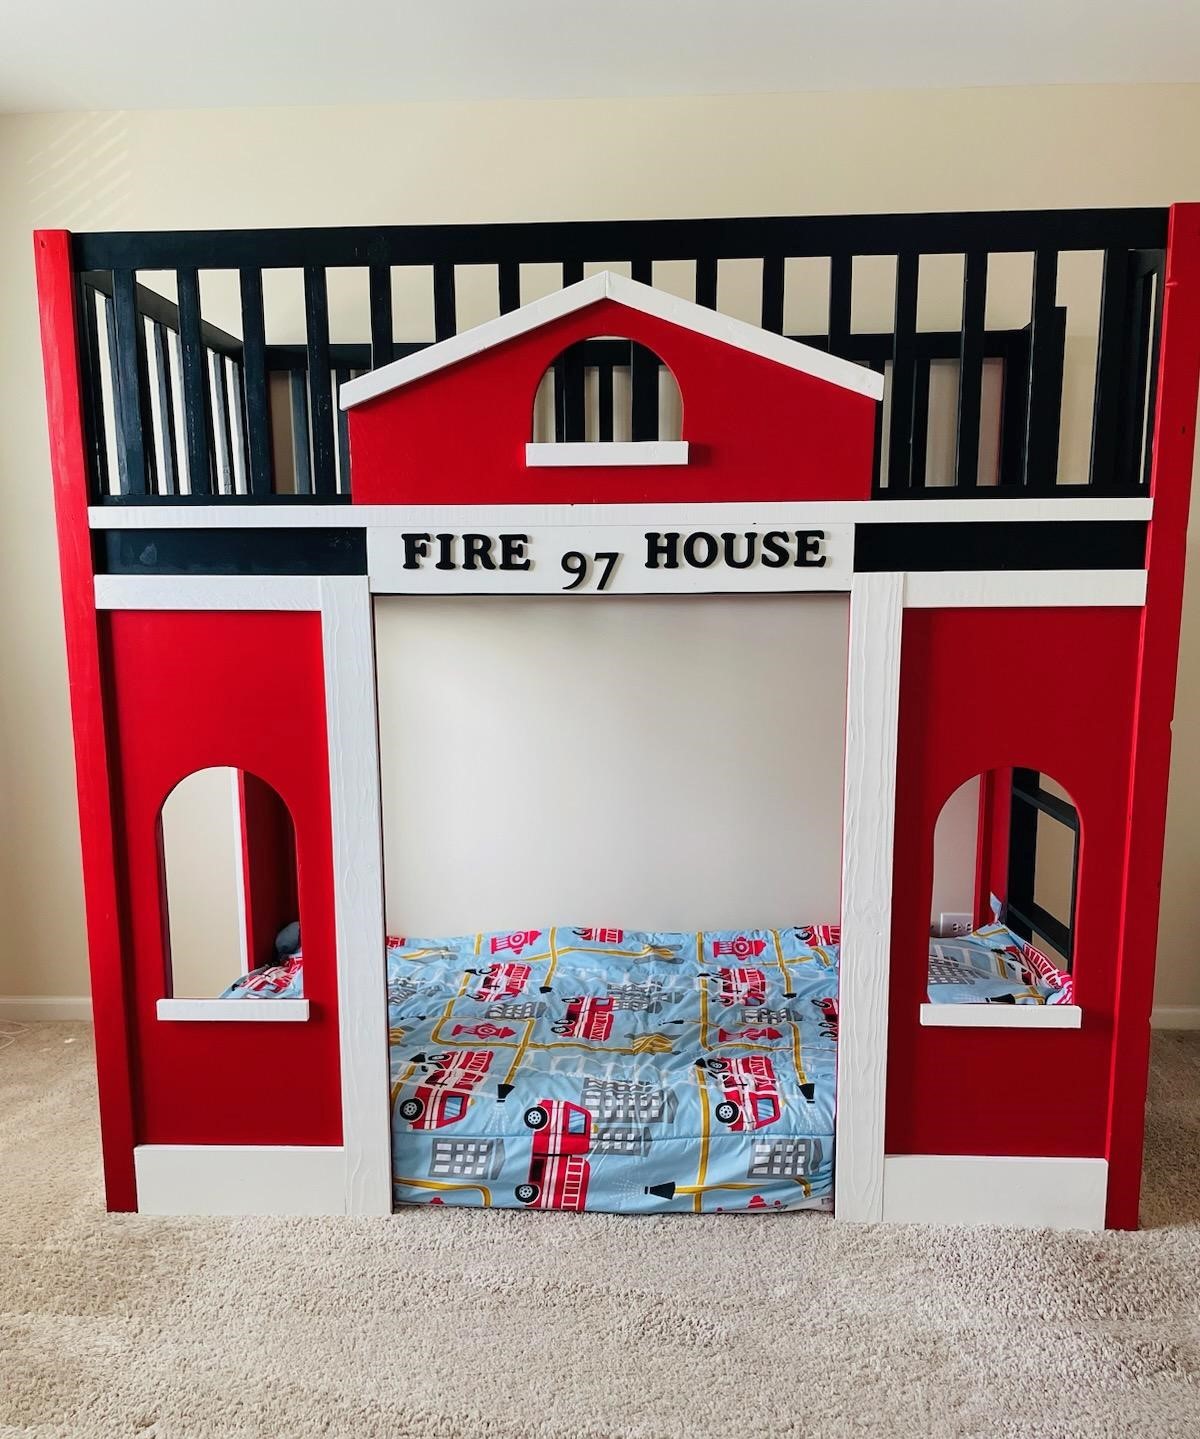
Our son moved up to a big boy room and we made him the Fire Station bed. He LOVES it. Not quite ready for him to use it as a loft bed so he is sleeping on the bottom for now.

Kaity

Built from Plan(s)

Tilt-out recycling sorter --Modified Build

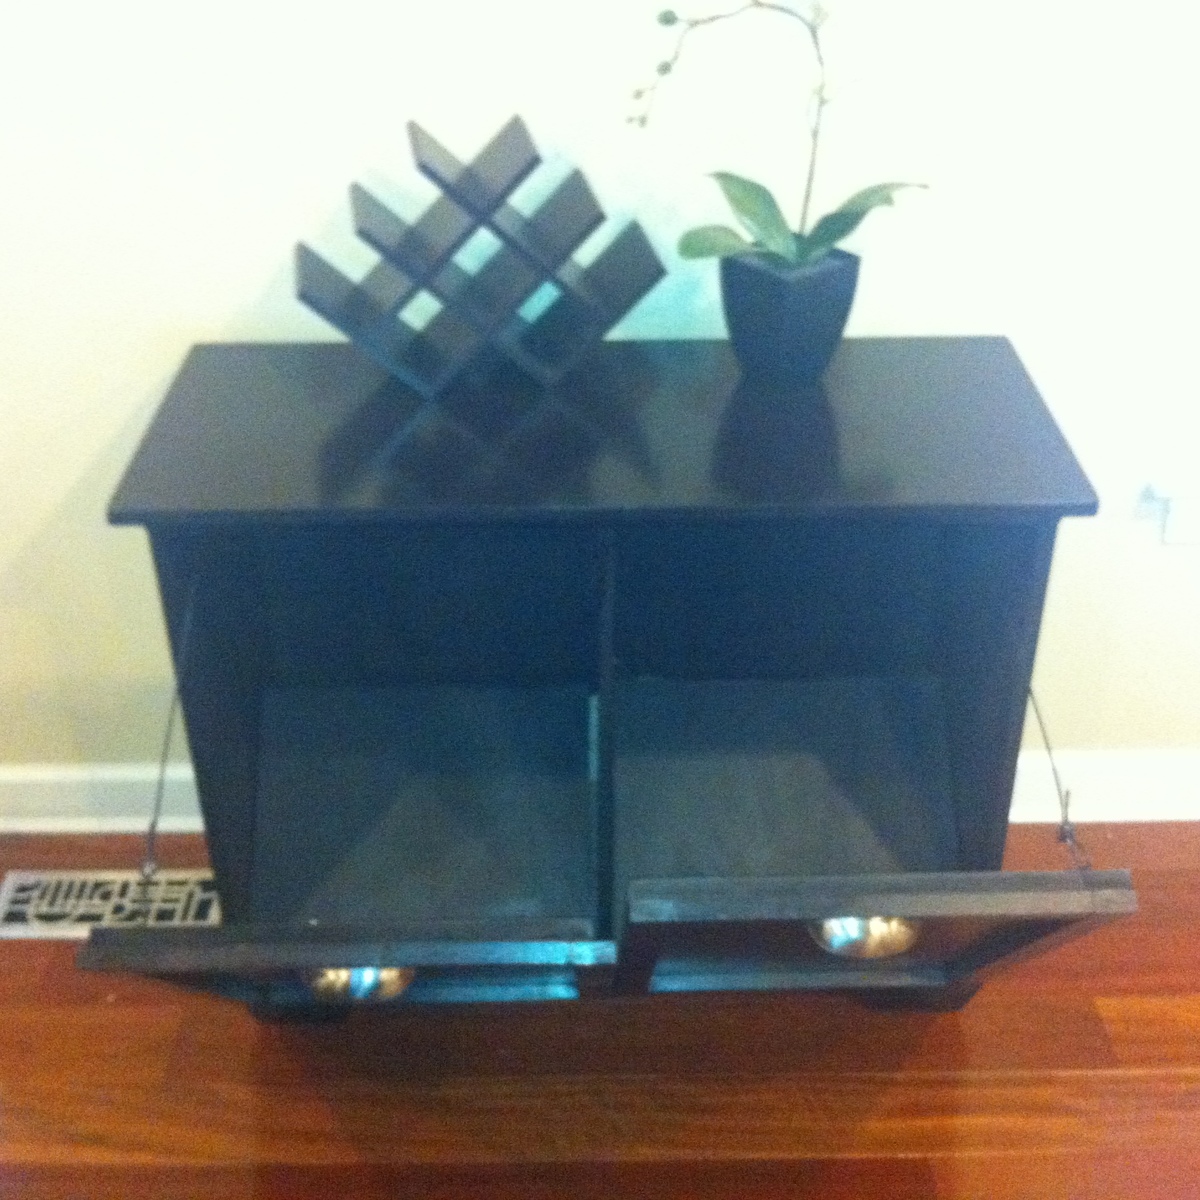
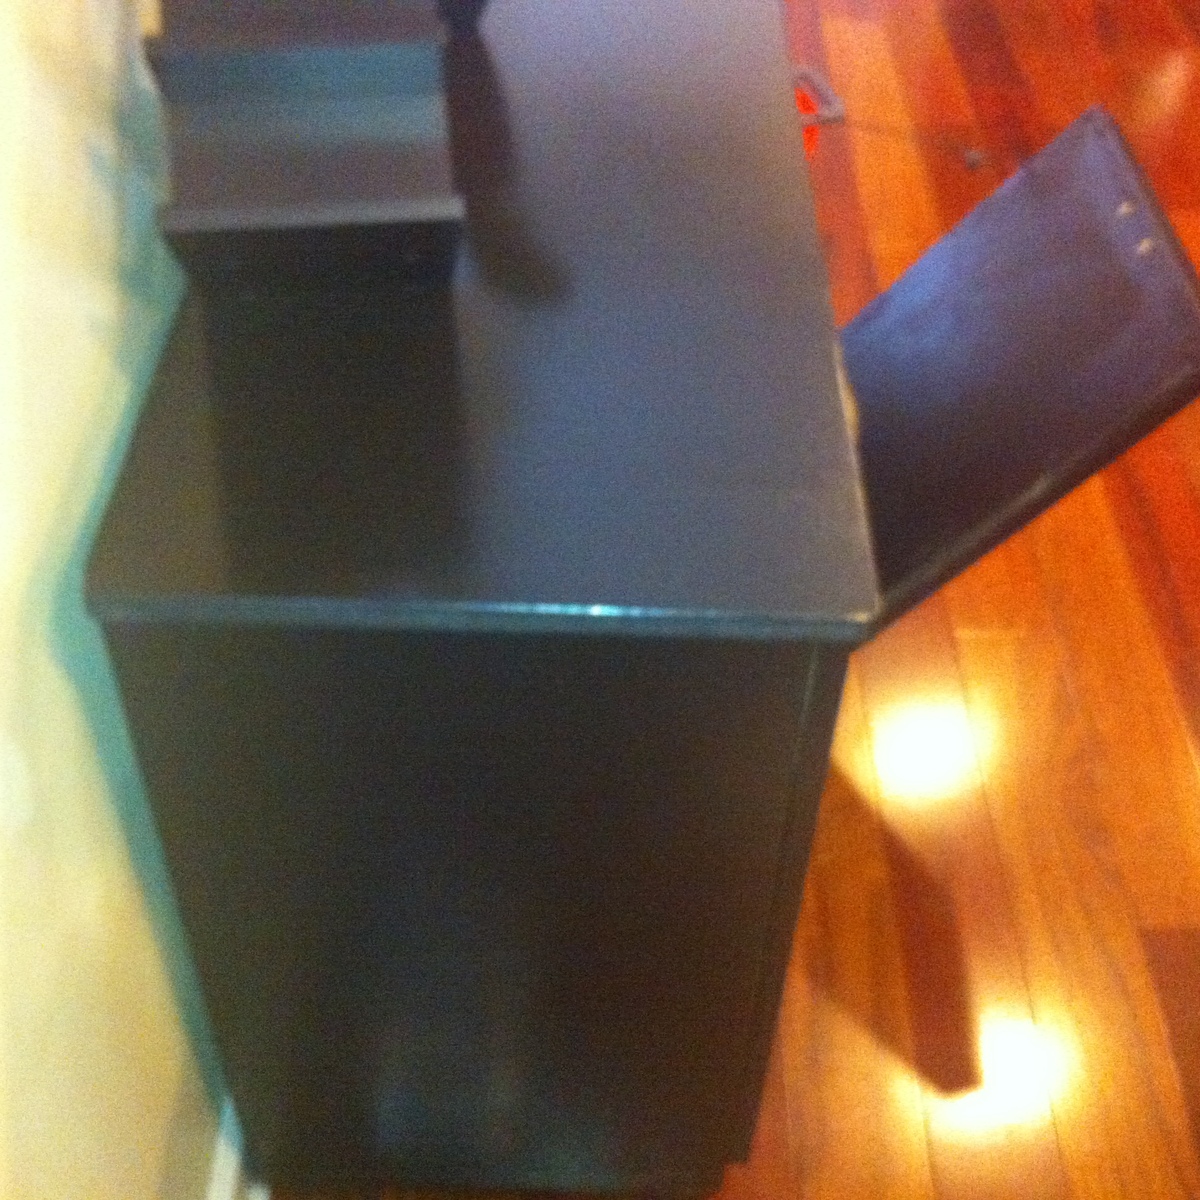
I attached the tilt out portion using a Kreg jig and eventually removed the brace (it wasn't necessary and removing the brace gave it a cleaner look.

I used 2 x 2 as a trim around the outside which also allowed me to hide the hinge.

Other than that -- followed the build pretty closely. I used a cable on either side to stop the tilt out from falling to the floor (which allows me to leave it open as well.

This was my first project and it was a battle to figure out how to install the hinges and I did not love my jig saw work with the plan feet so I bought and installed furniture replacement feet which turned out much nicer (IMO).

Good luck!

Built from Plan(s)
Estimated Cost
$150.00
Estimated Time Investment
Weekend Project (10-20 Hours)
Finish Used
General Finishes Java Gel
Recommended Skill Level
Intermediate

Lounge Chairs

Submitted by rhn0489 on Mon, 07/06/2020 - 11:50

This is a realtively easy build. Simply follow the instructions and it will come together beautifully. I have down a couple of these so far and this one was actually narrower than the plans called for. The lady I built them for wanted the center section to match her cushion width as closely as possible so I simply used one less cedar 1x4. It turned our perfectly.

I have found most of the plans I have built from this site are pretty simple and most of my time has been spent on the finish.

Estimated Cost
$270
Estimated Time Investment
Weekend Project (10-20 Hours)
Finish Used
Helmsman Clear Gloss.
Recommended Skill Level
Intermediate

White King Size Storage Bed

Submitted by Anonymous (not verified) on Tue, 10/18/2016 - 06:04

Took be about 2.5 weeks to build this bed, working evenings and a couple full days on the weekend. I HIGHLY recommend getting a Kreg Jig. It made life so much easier.

To go from a queen to a king, simply add 16" to all of the width pieces. All of the length pieces will be the same for a queen and king.


I added one 2x2 support beam down the middle of the bed, with two 16 3/4 inch legs attached to it, for added support.  I screwed the slats into all 3 of the 2x2 support beams.

The drawers are the trickiest part. Make sure you follow the plan in order, waiting to install the drawers until after you have screwed the storage bins to the headboard and footboard.


Estimated Cost
$400 for everything (wood, paint, screws, drawer slides, etc.)
Estimated Time Investment
Week Long Project (20 Hours or More)
Finish Used
white Olympic One semi-gloss paint
Miniwax polyurethane
Recommended Skill Level
Intermediate

2x4 outdoor couch

Submitted by Anonymous (not verified) on Sat, 07/18/2020 - 18:46

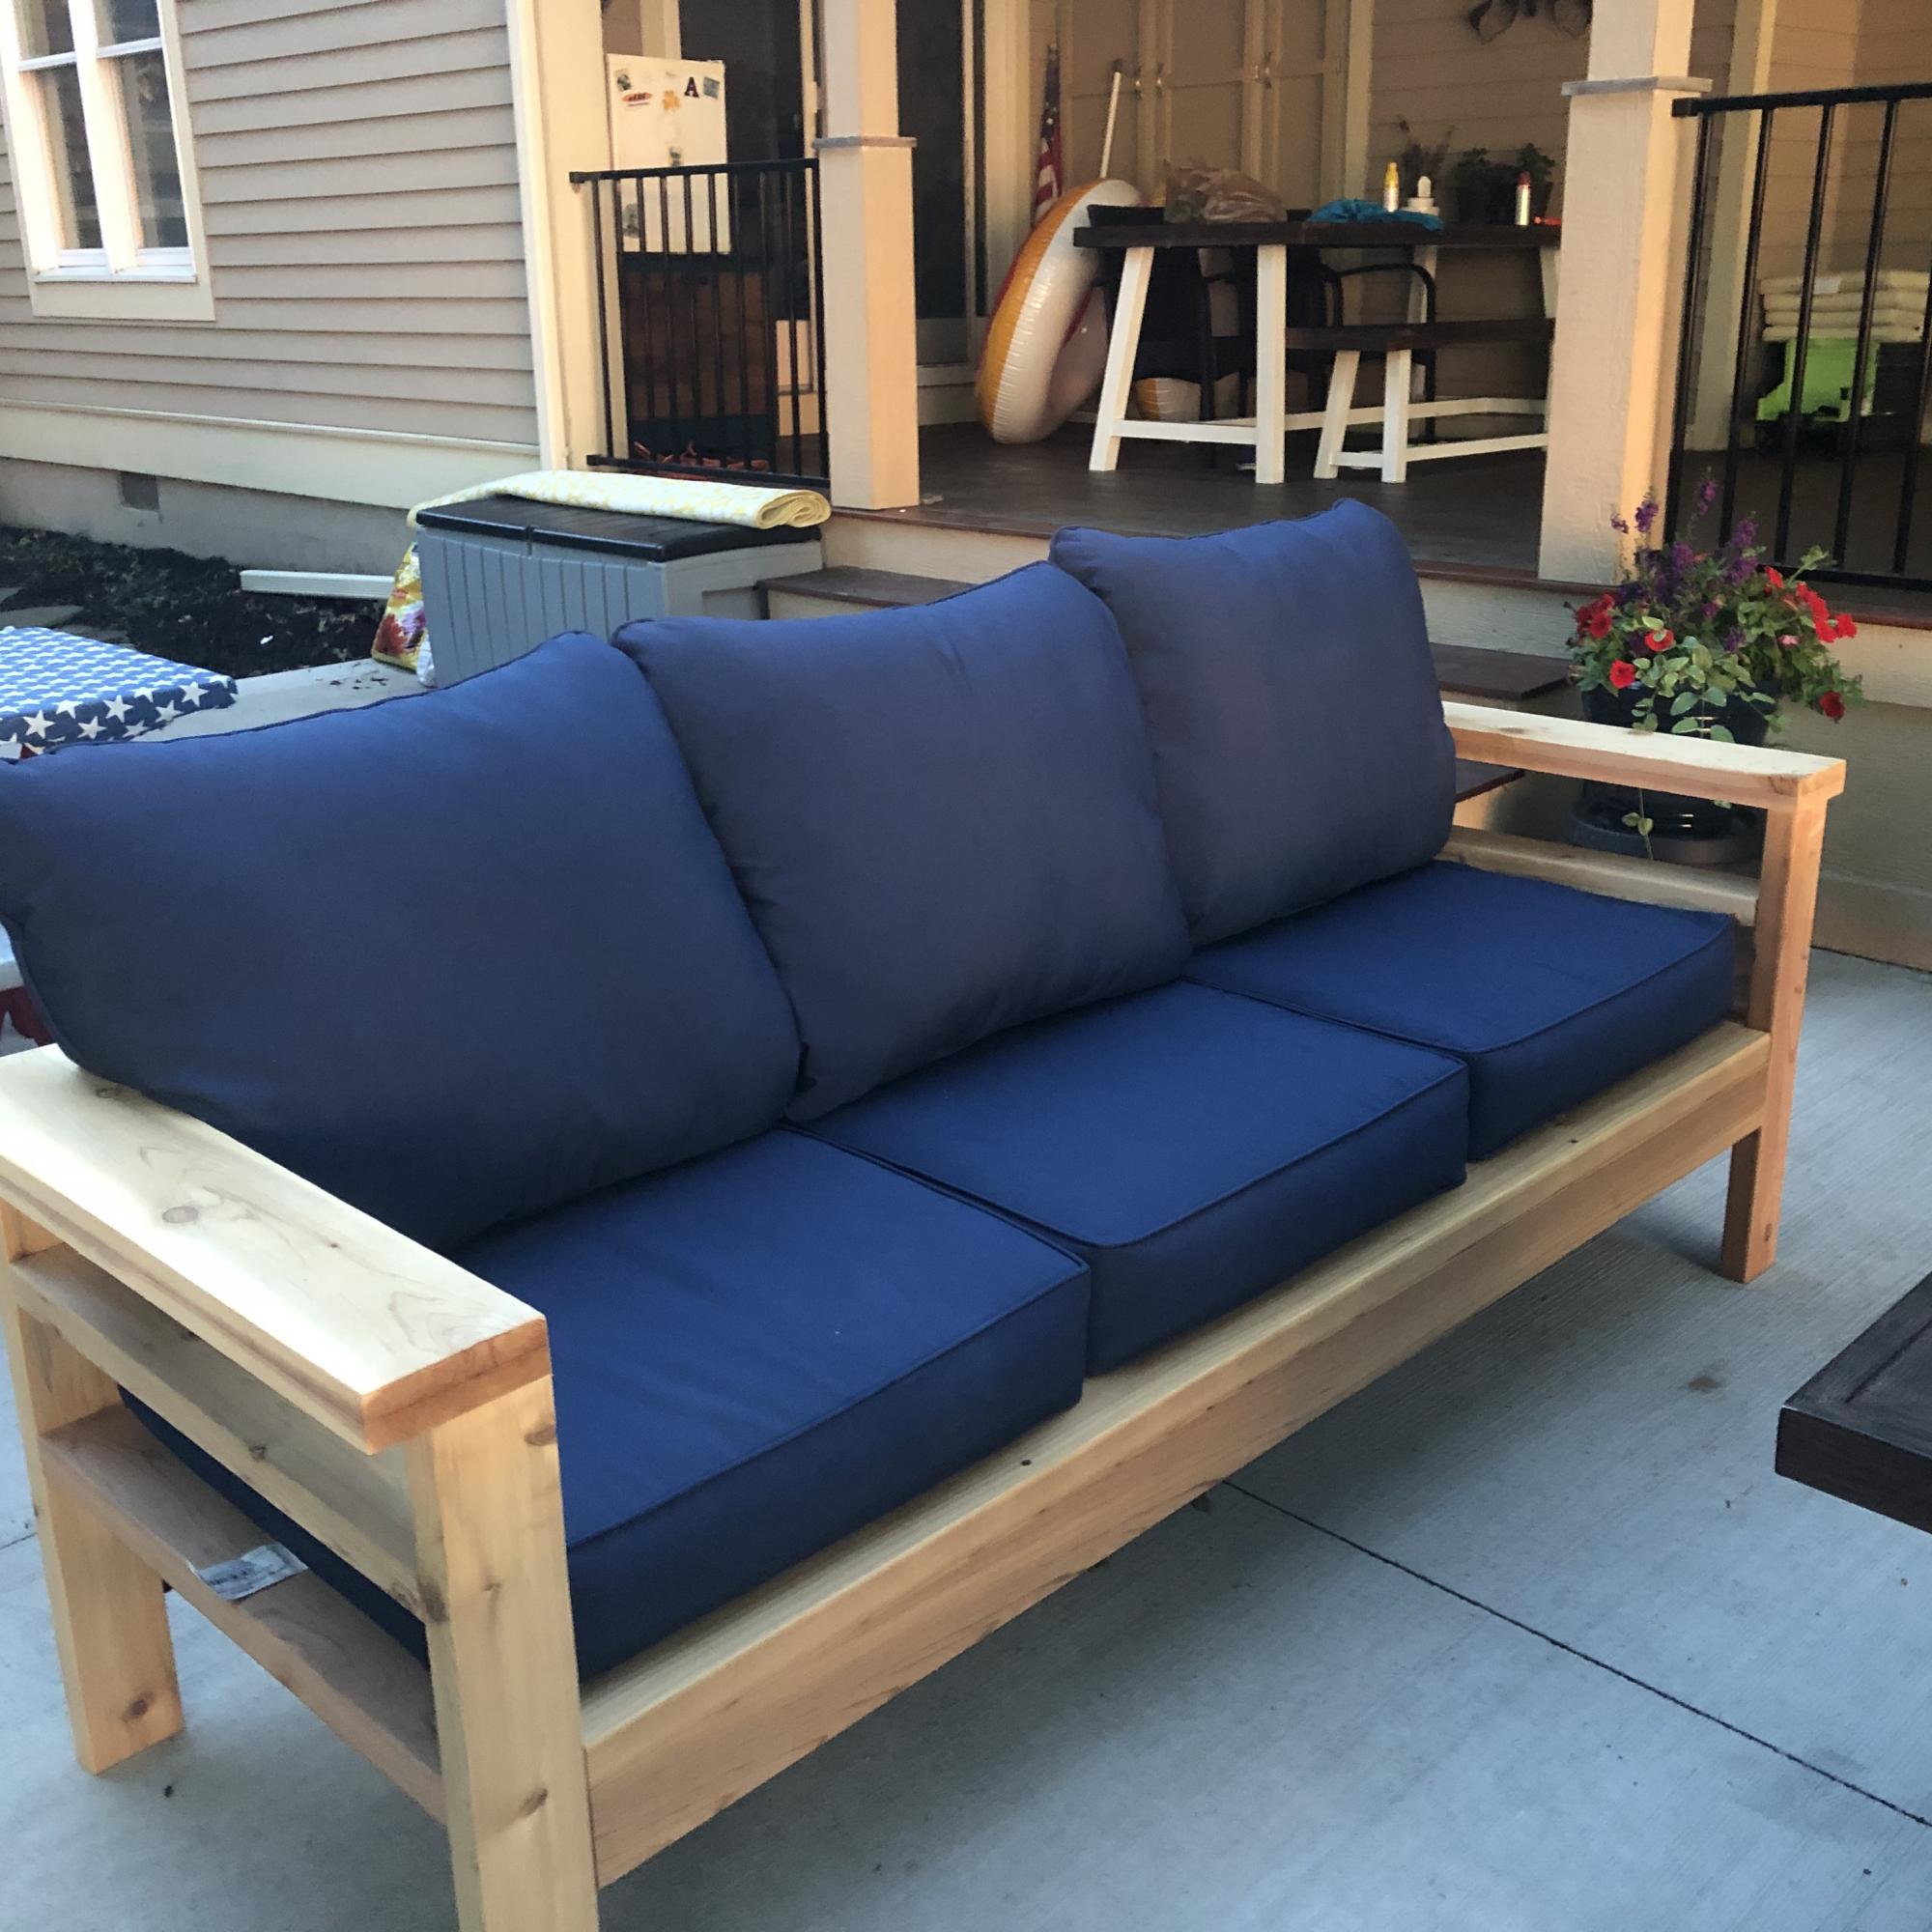
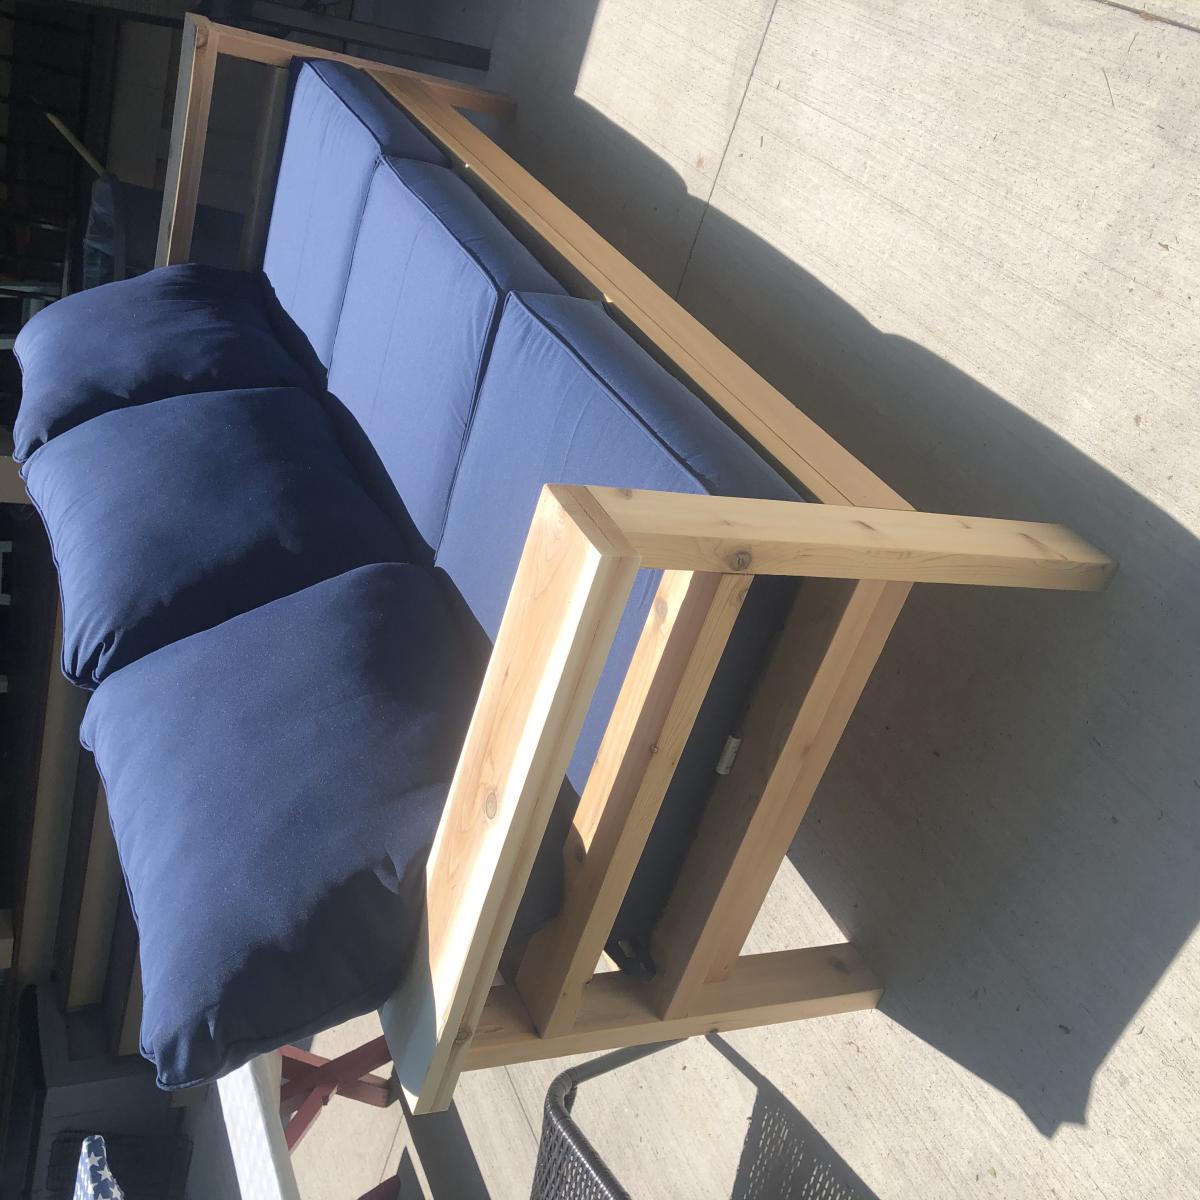
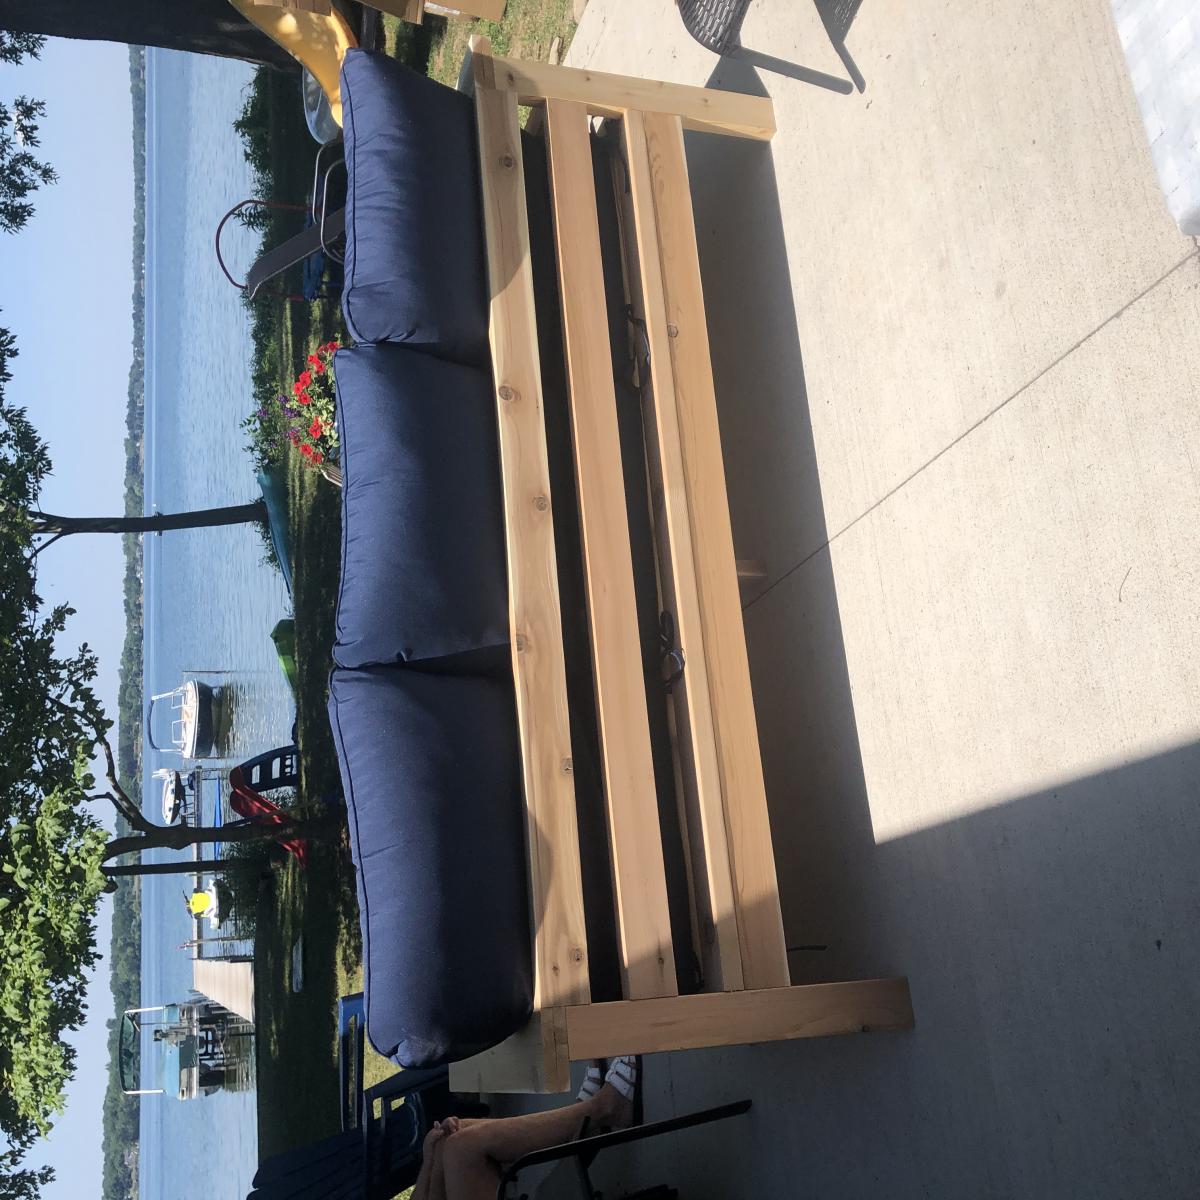
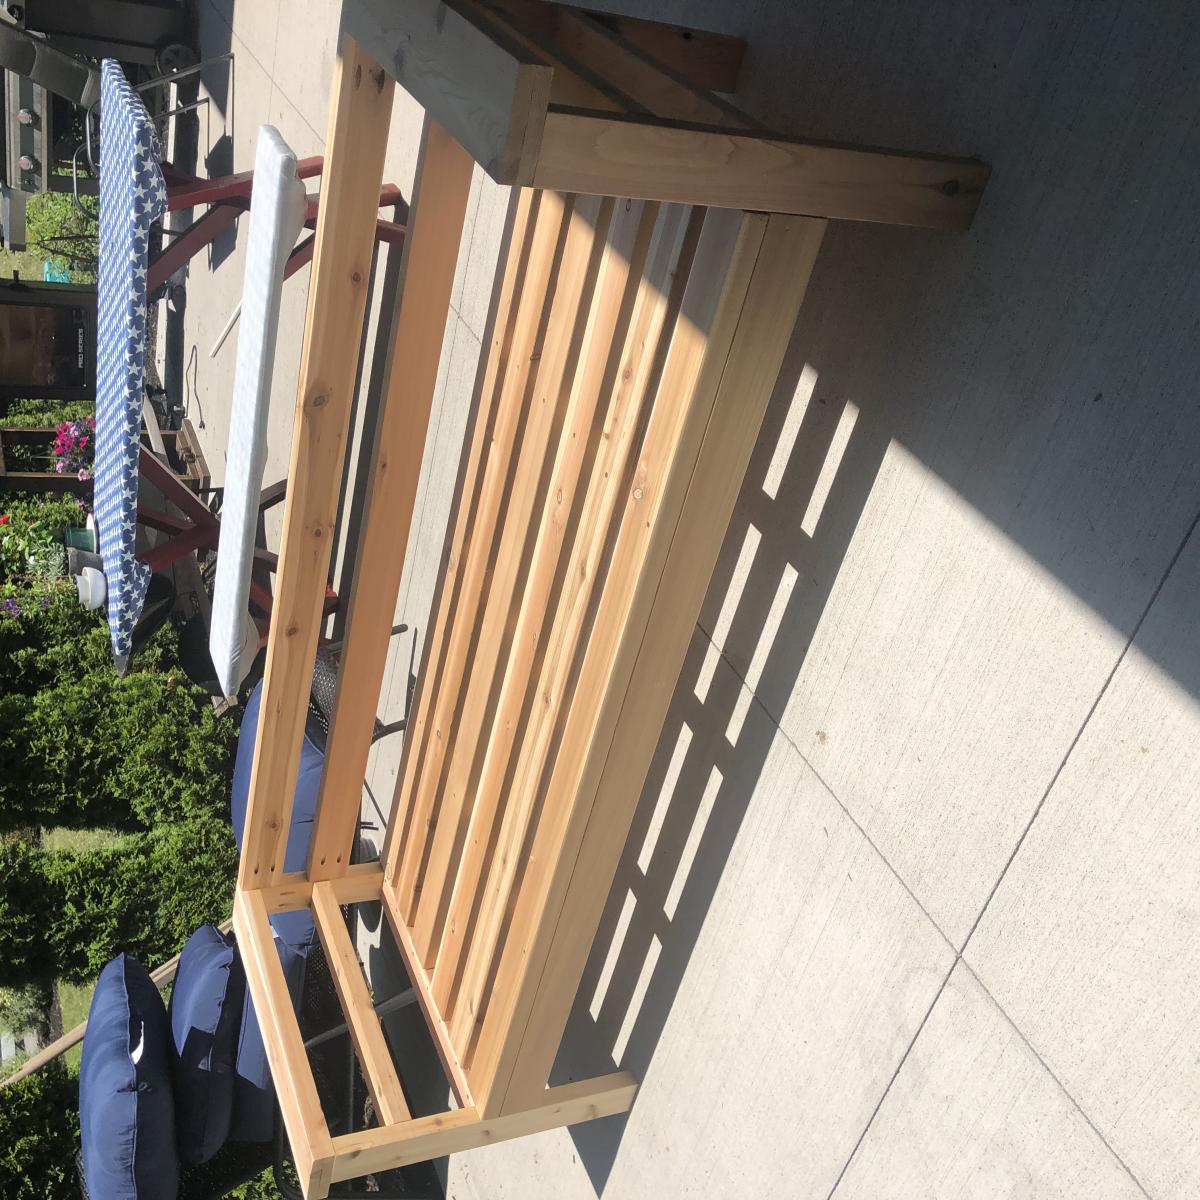
I used cedar and added the extra boards so the cushions would stay put. We also made the arms 2x6 boards so we wouldn’t need end tables for the couch. The plans were super easy to follow. I mostly used pocket holes so the screws wouldn’t be visible. Love how it came out! Thank you for the plans, Ana!!

Built from Plan(s)
Estimated Time Investment
Day Project (6-9 Hours)
Finish Used
Nothing yet. Deciding on whether to let it grey on its own
Recommended Skill Level
Beginner

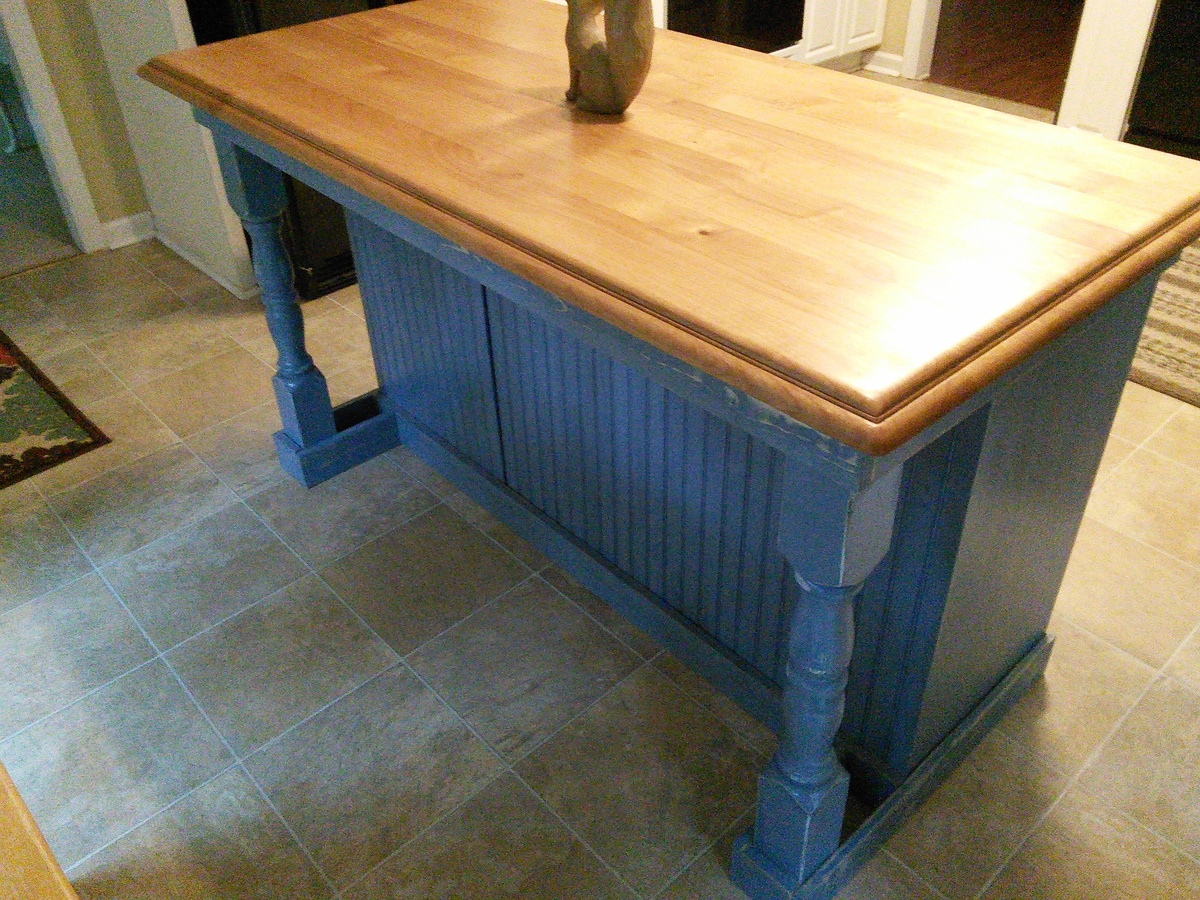
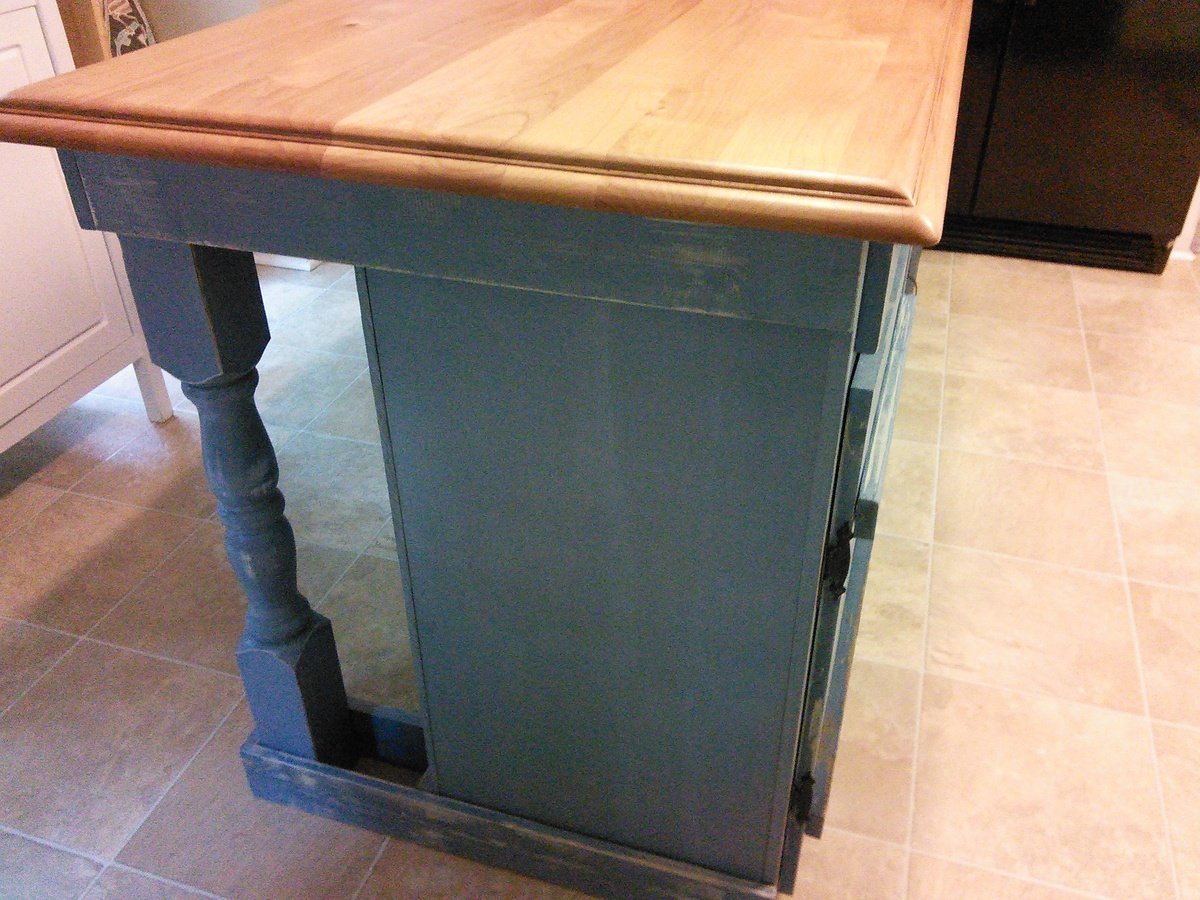
Farmhouse kitchen Island

Submitted by Scrapwood on Mon, 10/20/2014 - 11:26

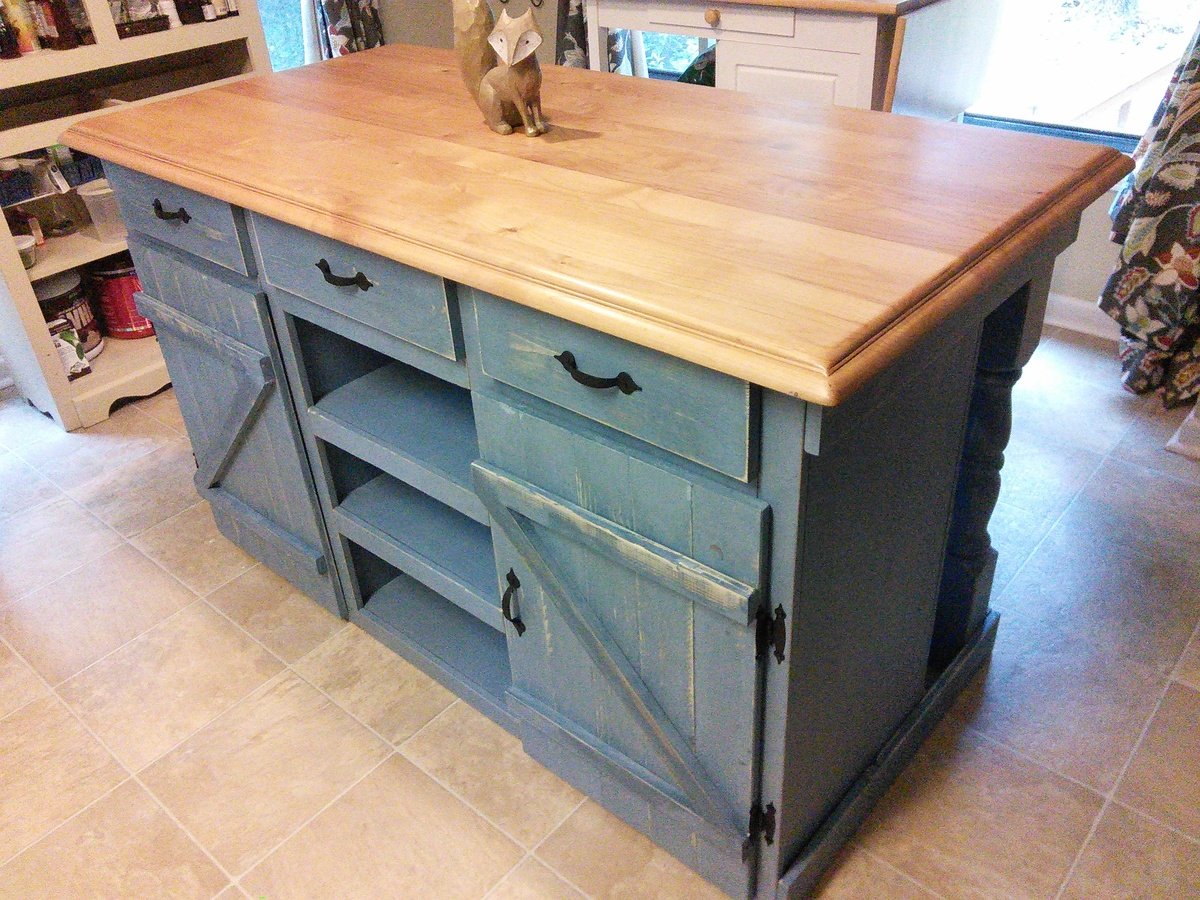
I used the Ana White "Country Kitchen Island" plans to build.  The only changes I made was the table top, bead board instead of pine planks, three drawers, and mostly 3/4" plywood.  For the island top, i used the top of a maple desk and applied butcher block oil.  To make things easier I used plywood to keep everything square and used bead board (very easy to install) instead of having to join boards together.  After putting the shelves together I just used pine boards to cover the edges of the plywood.  I also installed three drawers for convenient storage.  

Estimated Time Investment
Week Long Project (20 Hours or More)
Recommended Skill Level
Intermediate

Comments

hbharshman

Wed, 10/26/2016 - 13:48

Do you have more details on how you did the drawers? demensions, etc? Did you just extend the divider vertical bards that are inside all the way up? Or did you build cut 3 holes out of the front facing horizontal board? If you did that were you able to add tracks? 

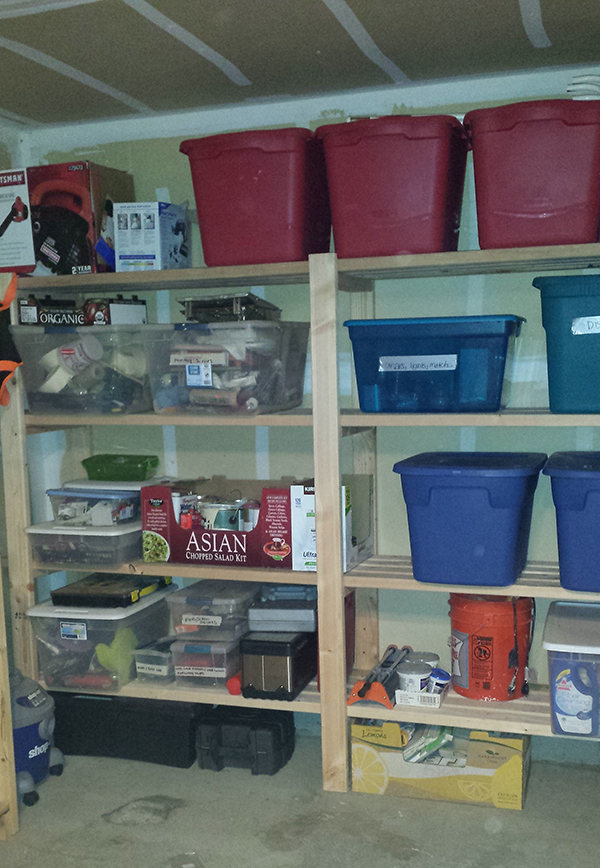
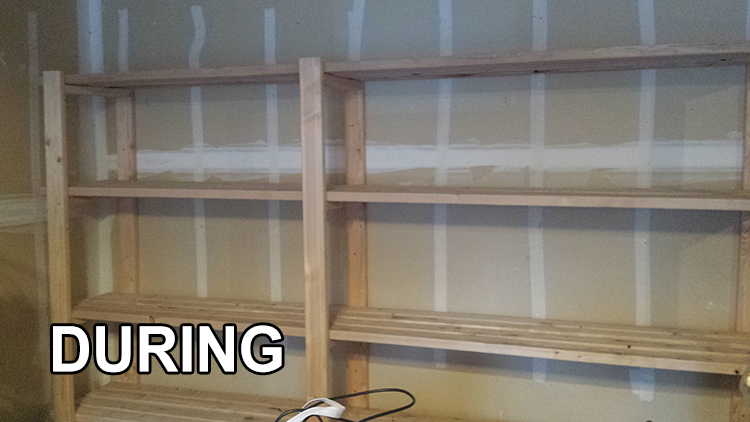
Garage Shelves

Submitted by coolove on Sun, 11/02/2014 - 23:16

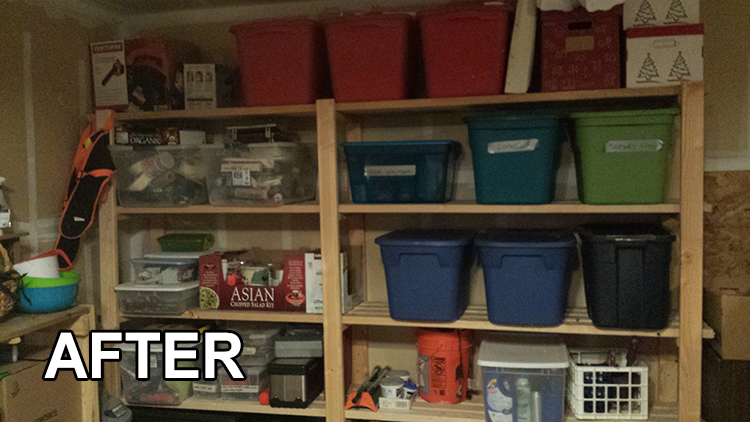
This project was a bit of a challenge. My garage has uneven flooring and a concrete lip around the edge of wall so I had to make the back legs 10 inches shorter than the front. Overall, it turned out well and everything is completely leveled much to my amazement. I'm thinking of making more shelves on the other end of the garage to free up more space.

Estimated Cost
$90 including extra nails.
Estimated Time Investment
Afternoon Project (3-6 Hours)
Finish Used
None.
Recommended Skill Level
Beginner

Sandbox with seats

Submitted by Anonymous (not verified) on Mon, 02/13/2017 - 22:09

This was my first project ever. I had a lot of fun and it didn't quite turn out right but next time it will be perfect.

Built from Plan(s)
Estimated Cost
$65
Estimated Time Investment
Day Project (6-9 Hours)
Finish Used
Thompson water seal in cedar
Recommended Skill Level
Beginner

Easy, cheap garage shelving

Submitted by Anonymous (not verified) on Thu, 03/23/2017 - 20:12

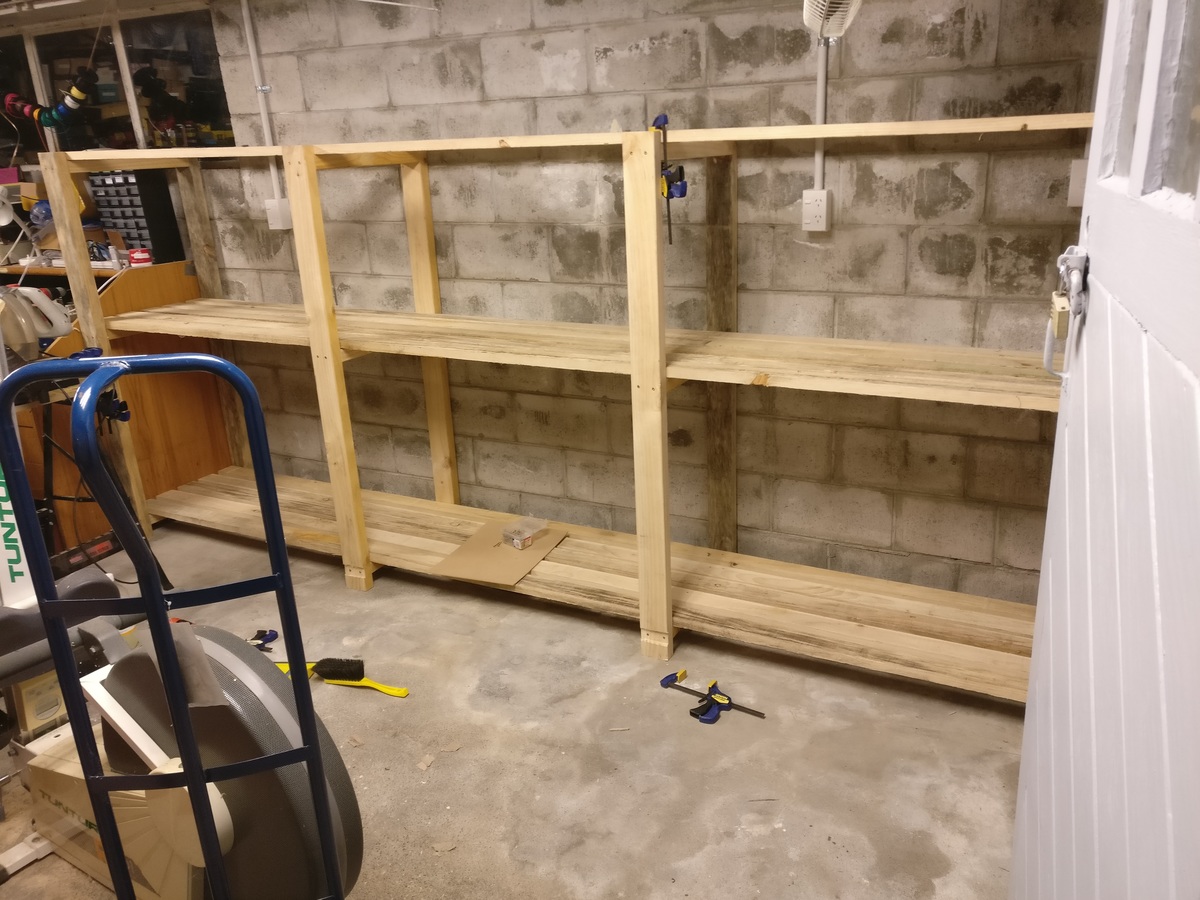
I used 1x3 box pine instead of 2x4's for the bits that things sit on, and everything fits perfectly.

Originally I was planning on a 3.6m long x 0.6m deep X 1.8m high shelf.  At the lumberyard I found out that 2x4's came in 6m lengths as standard, so I adjusted this to 1.5m high instead, which worked out fine as I think 1.8m would have been a bit tall to get heavy things on top of.  Luckily for me my power points and light switches were just under this, which I didn't think about at the time!

Originally I was going to try and cut grooves for the 'rungs' of the ladder frames to slot into, hence the insets at the bottoms of the legs.  I think that the glue-and-screw construction will be plenty strong enough, though.

This took me about 4 hours to put together, and cost about NZD$170 all up, which is about USD$120.

I've got the bug.  Making things is awesome.

Estimated Cost
USD$120
Estimated Time Investment
Afternoon Project (3-6 Hours)
Recommended Skill Level
Beginner

Outdoor Sectional

Submitted by jwhipp on Thu, 04/11/2013 - 11:38

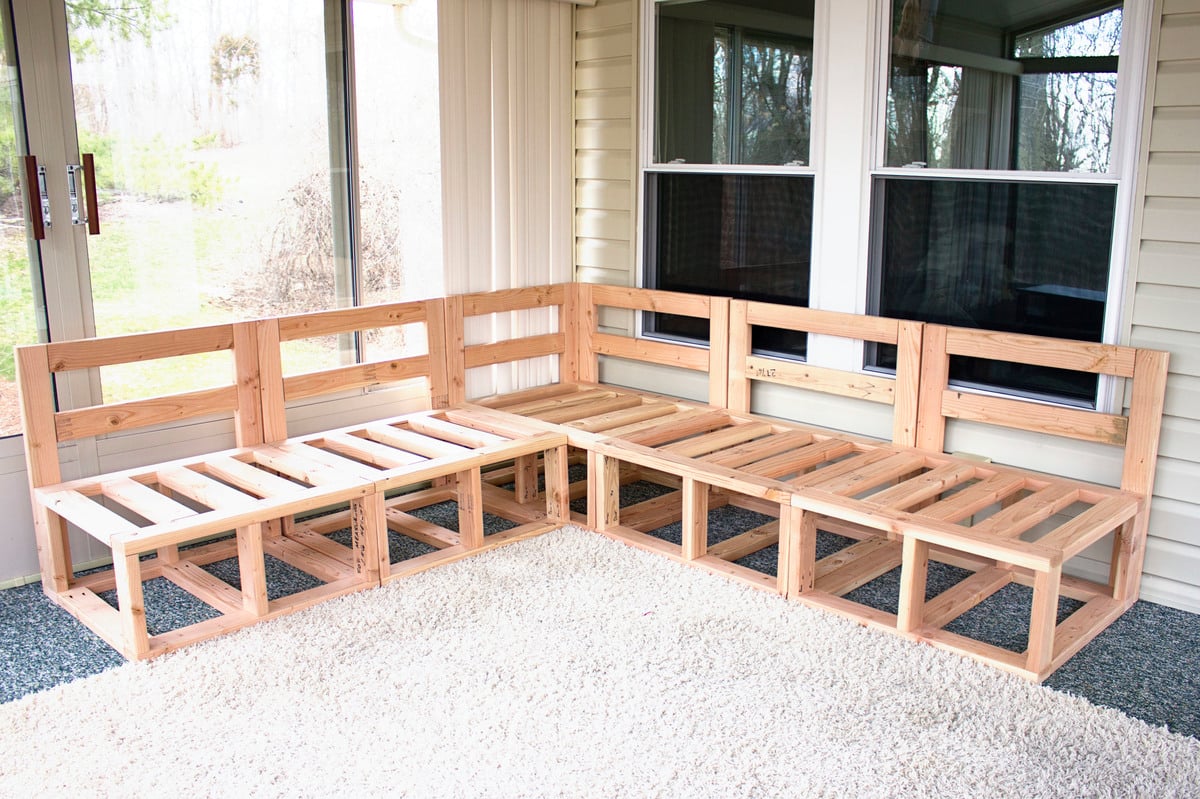
We followed the outdoor sectional plan from Ana Whites blog to create this outdoor sectional. First we bought the cushions and custom built this sectional to fit the cushions. We used 2x4's and the kreg jig for pocket screws, then covered the base in beadboard and some pine trim, gave it a good sanding and a nice paint job.

Estimated Cost
900
Estimated Time Investment
Week Long Project (20 Hours or More)
Finish Used
bead board and pine trim
Recommended Skill Level
Intermediate

Comments

Juanita_r

Thu, 04/11/2013 - 15:12

I just want to curl up there with a book and spend the day on that lounge, so pretty & inviting. where did you get the base and back cushions, they are a great colour?

jwhipp

Fri, 04/12/2013 - 05:46

Thanks! We built the frame according to Ana's design (customized dimensions for our cushions) and then covered the base in bead board and used pine trim around the edges. The cushions are from the Frontgate Outlet in Cincinnati.

Our Thanksgiving Family Project

Submitted by loniwolfe on Wed, 03/09/2011 - 16:50

My husband, step father and I built these Thanksgiving weekend (2010) and my mom got us a half bushel of oysters to snack on and made awesome steamed mussels with bread for dinner. This was a very fun family weekend.

I modifyed the plans a little to make the arms angle in a bit instead of being straight boards and also created the curved front. Then after building the first chair, Pat decided to make the second chair's back rest taller and cut angles to match the arms.

I picked intermediate because of needing a miter saw for all the different angles needed for getting the front right.
Also, It took one day for each chair

Built from Plan(s)
Estimated Time Investment
Weekend Project (10-20 Hours)
Finish Used
To my knowledge, Pat has not yet stained them, but once he does I will take more pics and find out what he used!
Recommended Skill Level
Intermediate

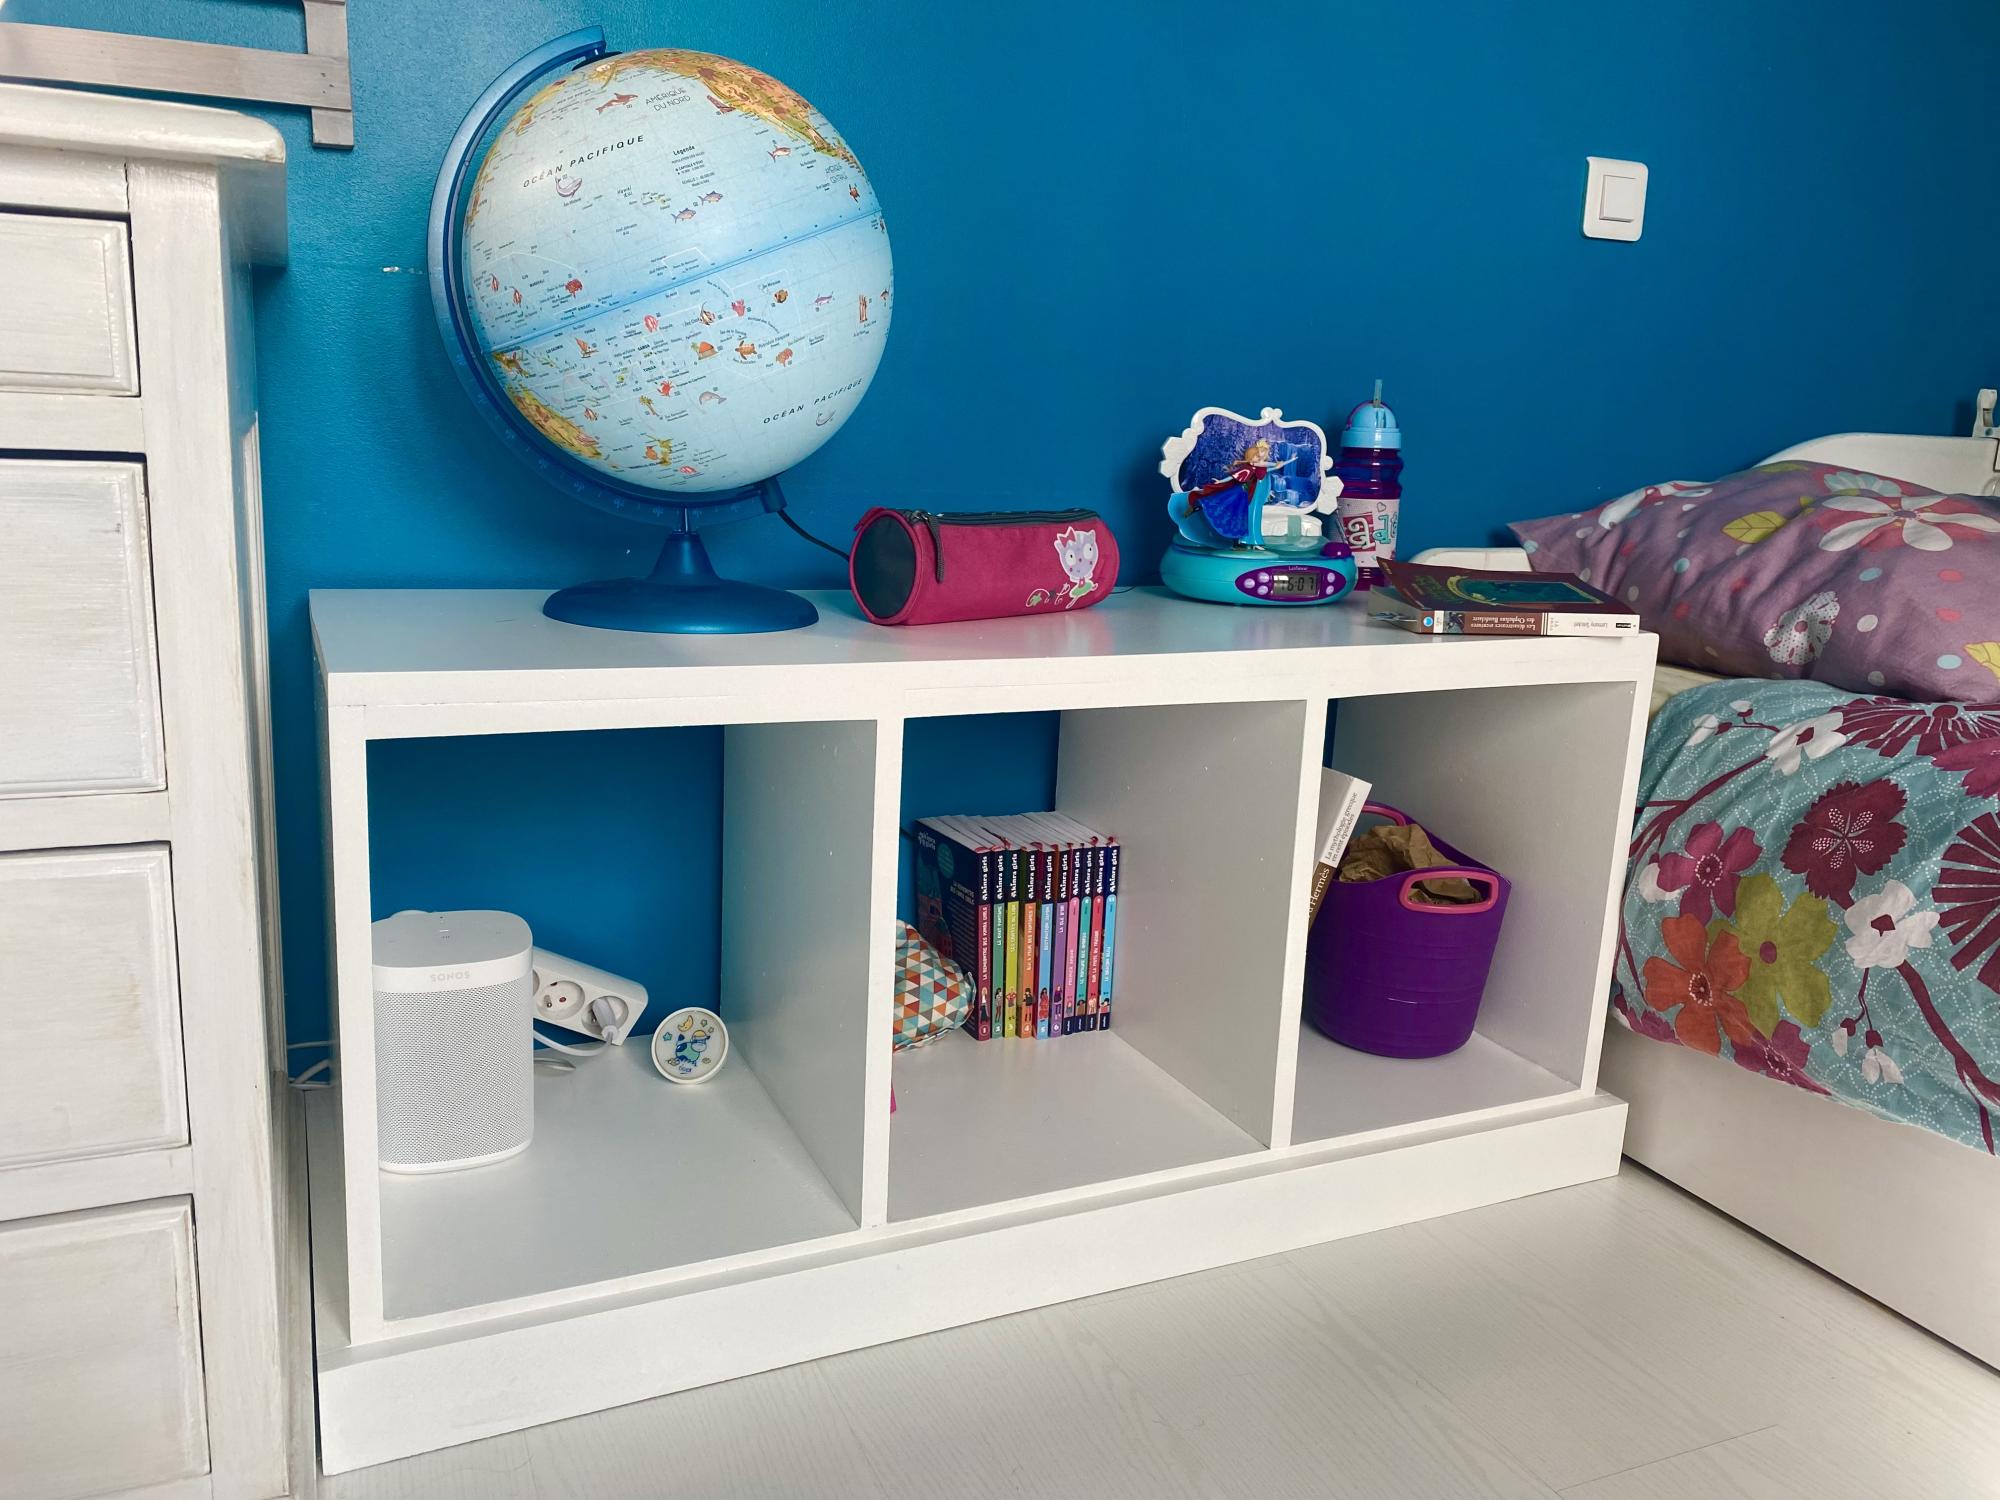
DIY Wooden bench

Submitted by Julisib on Tue, 04/19/2022 - 10:13

Thanks Ana for the plans. A new bench / bookshelves for our daughter's bedroom.

Built from Plan(s)

Comments

lawn and garden shed

Submitted by brittanyj on Wed, 08/19/2015 - 13:17

Needed a shed to store bikes and mowers, etc, so I'd have more room in the woodshop : )  I made a lot of modifications to the plan to fit my space and make it much larger.  The completed size is 7 foot tall at the peak, 6 feet deep and 5.5 feet wide.  I made it as a 3 sided shed, using the wall as the 4th to save on cost, increase air flow, and make the exterior house wall accessible.  I also made an egress in the back of the shed in order to get behind the shed if needed. 

Instead of roofing shingles, I opted for ribbed metal sheets and one clear sheet in the middle to make a skylight, so there would be light in the shed.  This is my favorite part of the project.  It was a huge pain to attach the roofing from a ladder with very limited access, but it looks great and I love the light coming in.  We have very little rain in CA, so I'll have to wait until winter/rainy season in order to test out its waterproofing. 

Since the shed sits between the house and the neighbors block wall fence, and I wanted to use as much of the space as I could, I decided to design the shed to have the side wall against the house rather than the back wall, as shown in the plan.  This took a large amount of modifications, but with careful planning and measuring, it can be done.  This also meant blocking off access to behind the shed, so I cut an egress in the back wall and added hinges so you can lift the back cut out panel, and rest it on a stop block attached to the fence behind it in order to have access.  That's what woodworking is about- problem solving.  Love it. 

As you can see by the full shed picture, it fits a large amount of stuff- 2 adult bikes, mower, edger, trimmer, chainsaw, hedge trimmer, garden tools, shovels, etc, with plenty of room for more.  I now have a free corner in my garage that I've already filled with a DIY rolling workbench and more pegboard space for tool hanging.  Woodshop increased space= happy Brittany. 

I should also mention that building the frame and adding the pickets was quite a quick and easy job.  The hardest and most time consuming part was the roof (I didn't have metal cutting tools), rolling each very heavy wall to the site (I was alone) and the previous 2 weeks in which I built the paver patio the shed sits on.  Hard work, but worth it.  I love it!

Built from Plan(s)
Estimated Cost
$280
Estimated Time Investment
Week Long Project (20 Hours or More)
Recommended Skill Level
Intermediate

Comments

brittanyj

Mon, 01/25/2021 - 13:15

It has been incredibly useful for storing! One thing about the skylight- Over time the sun has warped it and there is now a hole and crack there. So I wouldn't plan on the clear roofing being a long term solution- I will be replacing it with either thicker clear roofing or 2 layers.

Back