Community Brag Posts

Modern Toy Box

Submitted by Anonymous (not verified) on Sun, 03/19/2017 - 14:32

I had a wonderful time making this toy box and learning new techniques. Having access to a table saw really made this project turn out awesome. I was able to get 1/4" shims made that allowed for easy, precise offsets. The family just loved it!

Built from Plan(s)
Estimated Cost
$100
Estimated Time Investment
Weekend Project (10-20 Hours)
Finish Used
ProClassic white paint
Recommended Skill Level
Intermediate

Lawnmower Shed

Submitted by PipesTX on Wed, 01/07/2015 - 06:19

Modified the design to allow me to roll lawnmower directly in the end. Fun project.

Built from Plan(s)
Recommended Skill Level
Intermediate

Comments

Washer & Dryer Pedestal / Platform with Drawers

Submitted by dmccoy on Tue, 03/12/2013 - 10:26

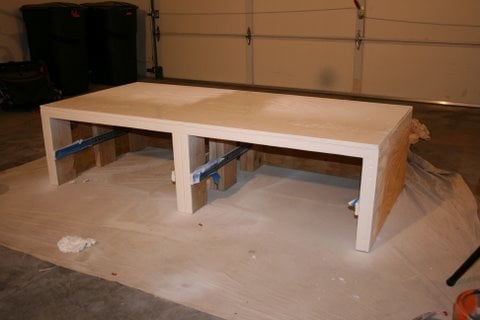
Platform (Pedestal) with Drawers for front-loader Washer & Dryer. Cheaper than buying the manufacturer's plastic pedestals and more fun to build anyway! The drawers are also much wider and deeper than the manufacturer's pedestals. We can usually fit about 3 full loads of laundry in each drawer. (That's 6 loads of laundry before we have to start folding!) It's a very easy and basic DIY project. I made a 2nd one for my brother using these plans (sans the drawers). I gotta say, the drawers are SO nice to have though. But you could just leave the front open, without drawers, and slide some laundry baskets underneath for an even quicker project. We've been using this platform now for over 2 years and there is still no squeaking or rattling. The washer & dryer haven't moved from the vibration even in the slightest. They're exactly where I placed them on the pedestal 2 years ago. There's also zero problem with the weight of the washer either...it really is a strong frame. (After finishing, I jumped up and down on it!) A couple small tweaks I would make doing it over is raising the drawers a 1/2" in. off the floor to tuck a rug underneath (as is, they sit about 1/8" in. off the floor). Also, I would cut out a couple of square holes in the back panel to access those socks that fall behind (I can't access the sides of my W&D in our particular laundry room). Lastly, I would have painted with a quality paint (I just used a few cans of white spray paint to be quicker). Step-by-Step Plans and Materials List (PDF) and many more photos found at the Blog Link below...I'm certainly no professional "Plans Writer" so email if you have questions! Happy DIY-ing! Estimated Cost: ~$200 (2x6 lumber, plywood, drawer trim, nails, screws, paint)

Estimated Time Investment
Weekend Project (10-20 Hours)
Finish Used
White spray paint
Recommended Skill Level
Beginner

Comments

nikolegraves@h…

Wed, 03/13/2013 - 10:12

I have wanted to do the pedestal project for quite a while. I am so glad I held off though. Yours are fantastic! I would never have thought of drawers to hide the dirty laundry! Love it!

gmccoy20

Tue, 04/02/2013 - 11:06

Really appreciate the help with mine brotha! We really like them (even without the drawers) and are glad you had these plans to go off of for ours.

I'll be calling you for our next project!

strahmers8

Fri, 02/07/2014 - 17:05

Hello this looks great and for the amateur carpenter I am but one item I need clarified "the top measurement at 64" is .25" greater than the bottom at 63.75"

Please explain if I am missing something
Thanks

dwm22

Mon, 02/10/2014 - 15:33

Not sure what measurement you mean that's 63.75" since there's no "bottom" to the pedestals. Or do you mean 1/4" wider than the sides? The top panel should overhang both sides by 1/4" each so that when the side plywood is attached, it will be flush. Hopefully that helps? (If I'm understanding the question correctly)

jmkc

Mon, 02/24/2014 - 10:29

Could leave the back panel of plywood out so you could reach what may fall behind? Then you would just have to pull the drawers out?

heverest

Wed, 06/22/2016 - 16:35

Back panel is very very structural and provides lot of strength. If i wanted more access than the 5-7 inch of duct space behind the pedestal gives me, then i would replace the back panel with a long 2x6, that holds the three legs from going in different directions due to all that weight.

dmccoy

Mon, 12/12/2016 - 14:58

This is the one modification I could make if i could redo these plans...I would still put on the back panel of plywood as it stabilizes the pedestal, I would just have cut out a rectangle (behind each drawer) so that I could remove the drawers and stick my hand/arm through to grab fallen clothes or vacuum the lint.

dachiri

Mon, 12/18/2017 - 19:17

Rather than cut holes in the back, I just cut the back and side boards a little small and left a gap around the bottom the whole way around.  That way I can get a vaccuum hose in there or reach through and get lost items.  Because my washer and dryer seem to be deeper than yours (I needed at least 33" depth, so I went with 3'), that also worked out well in getting the most out of the boards.  I could do the top, back, and sides out of one single sheet of good 3/4" plywood just leaving those small gaps at the bottom for clean-up and retreival.

Jperera

Fri, 11/20/2015 - 05:23

Hello,

I downloaded the pdf but have exactly the same information that the website html, where can I find a solution step by step guide?

Thank you for all the interesting posts.

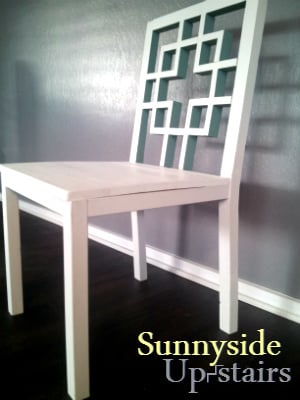
Squared2 Dining Chair

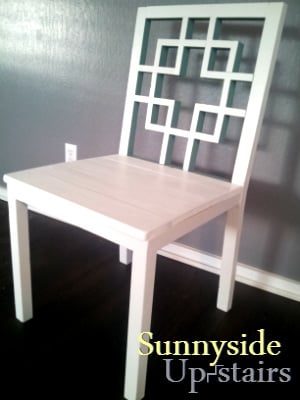
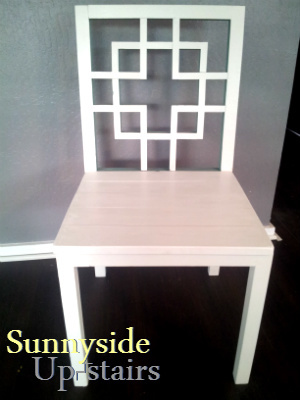
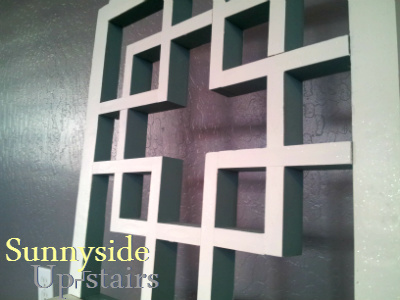
My husband and I loved the Squared2 Chair we saw on this site and we knew that we wanted to have this design for our dining chairs. As my building experience has increased, I thought it was time to try. This is my first chair: it is not perfectly executed, but I learned a few things along the way and I've decided to buy a few tools, too. I modified the square back pattern cut lengths explained briefly on my little blog.

Built from Plan(s)
Estimated Cost
$28 for me, using wood we already owned. $50 otherwise per Hawai'i prices.
Estimated Time Investment
Weekend Project (10-20 Hours)
Finish Used
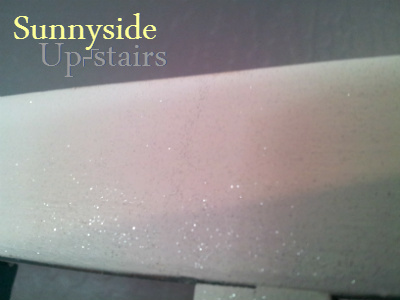
Painted top coat: sample container of Valspar Mystique ($3, already owned) + Valspar shimmer powder ($7 new purchase) and Glidden Flat "oops" teal ($3 quart, already owned) inside squares on chair back.

Sealant/Protectant: Minwax Polycrylic ($17, already owned)
Recommended Skill Level
Intermediate

Comments

I did it! A bench,

Submitted by Anonymous (not verified) on Thu, 05/25/2017 - 05:41

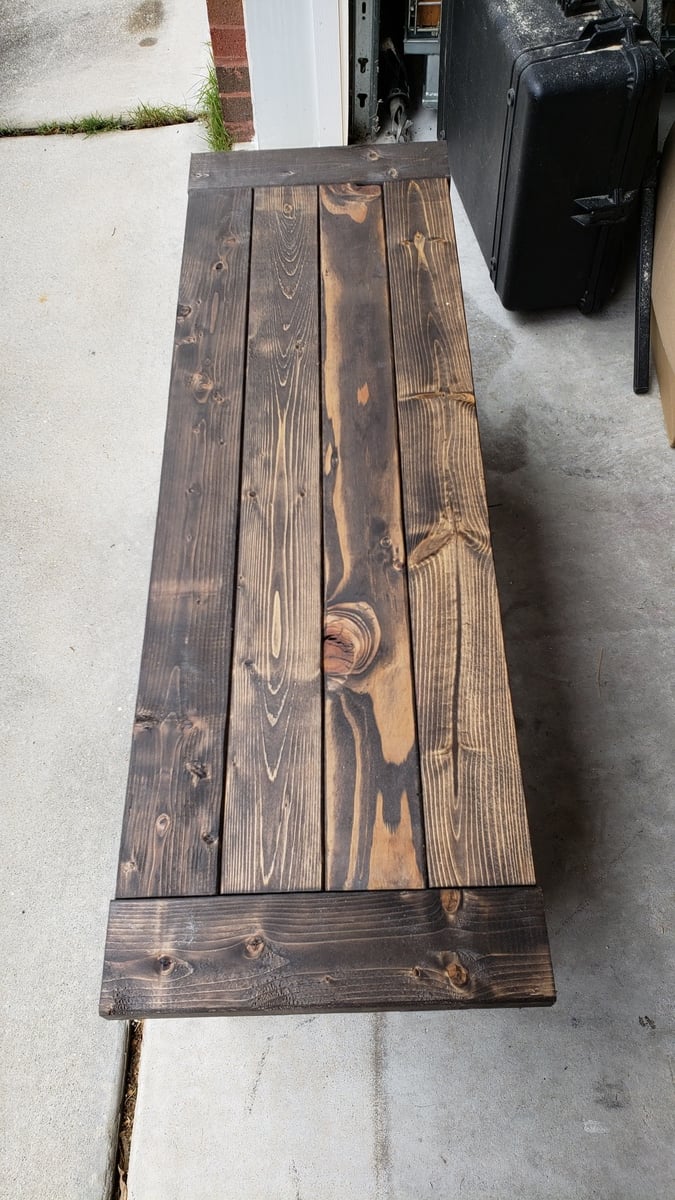
I've been doing only little projects here and there, so when I got an order for a bench, I was a little apprehensive, but of course I said YES!  I immediately started scouring the web for ideas on how to, and what the cost would be to build.  I came across Ana White's modern bench design and knew this was the one.  I priced out all the materials and gave my customer a quote which she, without hesitation, accepted.  The next day, I took a trip to the local lumber yard and purchased all I needed.  Now, here's where I messed up a bit. Like I said, I priced everything out before purchasing.  Well, I priced out the wrong 1x6s which threw me almost $35 over my original budget.  Womp womp, right?  I still made a little profit.  But this bench cost me $100 to build.  The customer ordered this bench for her garden and wanted it to be stained rather than painted.  So, the wood, the decking screws, waterseal, and the outdoor waterproof stain and sealer was my purchase for the build.  Totally worth it!  The bench turned out great!  I am delivering it to her in a couple of hours from now and I cannot wait for her to see it.  I think it turned out beautiful especially for my first!  Thank you, Ana, for making the design so easy to follow! 

Built from Plan(s)
Estimated Cost
$100
Estimated Time Investment
Weekend Project (10-20 Hours)
Finish Used
1 qt of BEHR Premium Padre Brown Semi-Transparent Waterproofing Stain and Sealer. I used a 2.5 inch stain/ paint brush to apply one coat. After 24 hrs, I then sprayed a coat of Thompson's WaterSeal Waterproofing Wood Protector on the entire bench.
Recommended Skill Level
Beginner

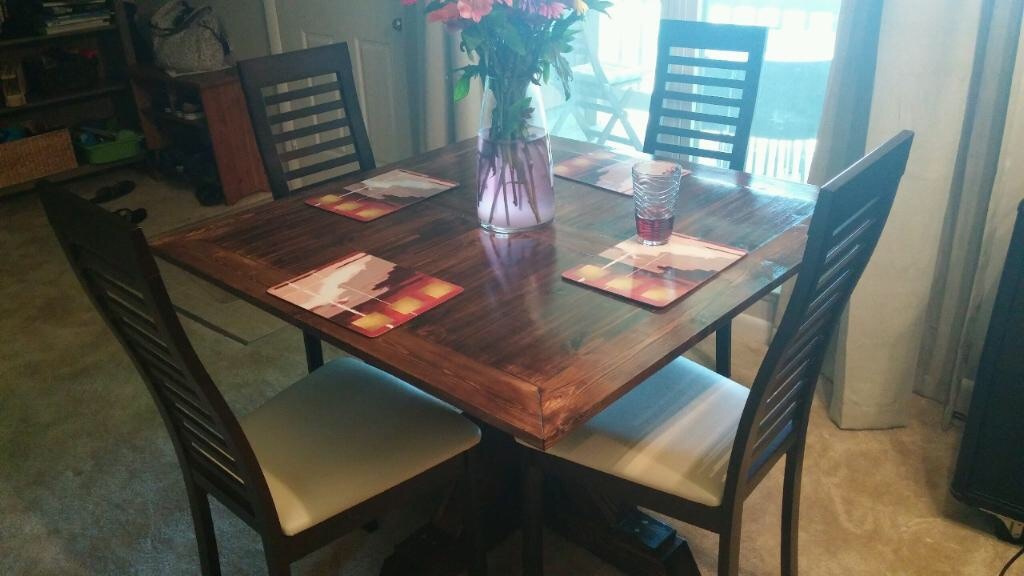
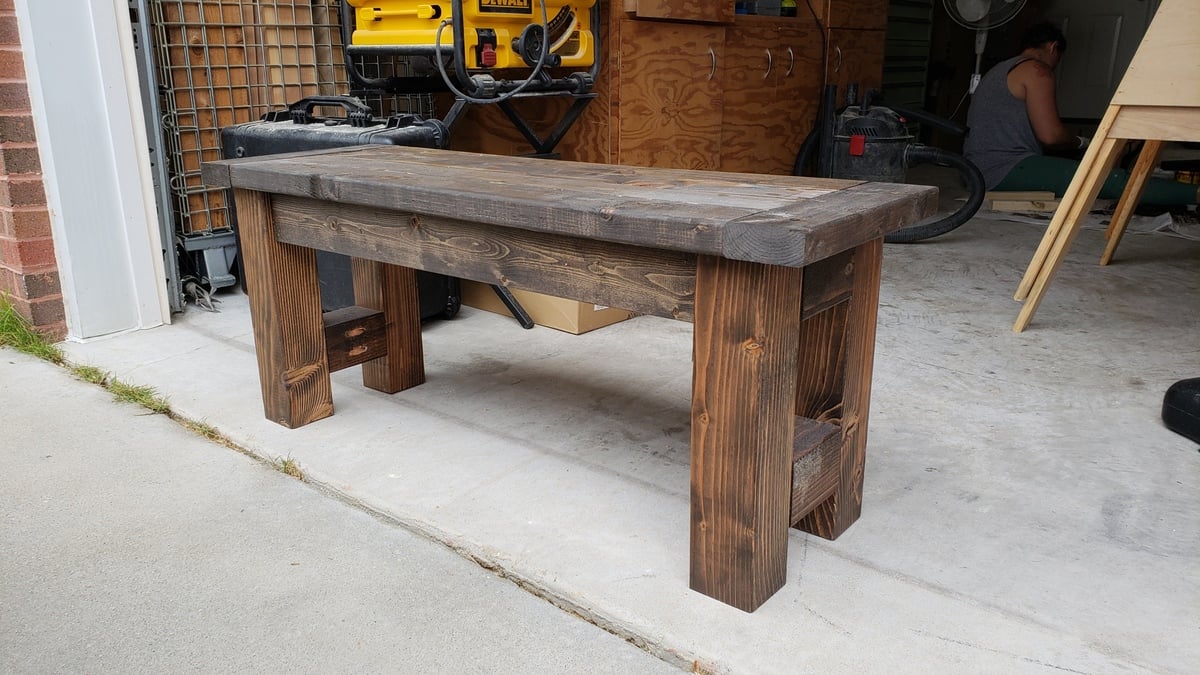
Modified version of Rekourt table and bench

Submitted by Anonymous (not verified) on Thu, 06/08/2017 - 03:59

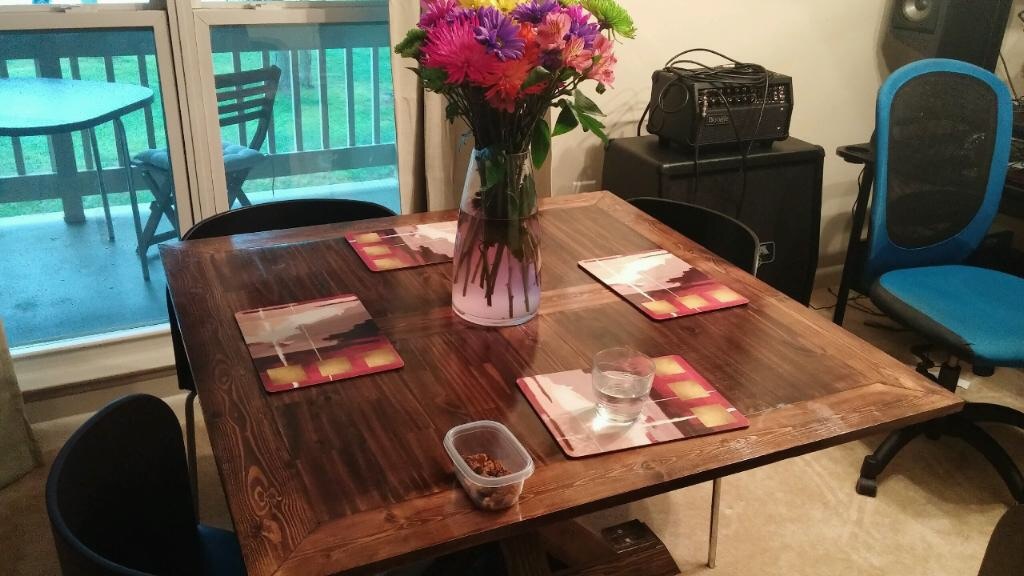
I'd built a table for my daughter and her roommates at college last year.  One of them is getting married this year and asked If I would mind building one for them.  They found a picture of this table someone had built and I tracked down your plans.  They needed it smaller so this one is 72" by 39" and I built the bench in a similar style.  


They wanted a smooth top (no grooves between boards) and no breaboard ends.  The table top wanted to warp a bit at the corners without the breadboards, so I imbedded some angle iron to keep it flat.

Estimated Cost
$200
Estimated Time Investment
Week Long Project (20 Hours or More)
Finish Used
Weathered grey stain from Varathane.. Minwax polycrylic water based
Recommended Skill Level
Intermediate

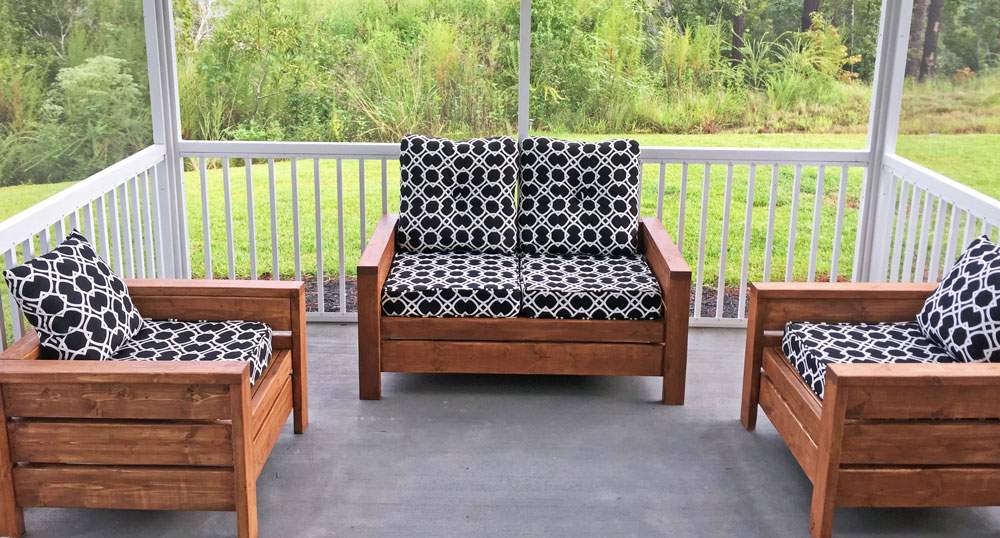
Chair Build with Loveseat Modification

Submitted by Joshh81 on Sat, 09/02/2017 - 12:26

Built the 2 chairs according to the plans, and then modified it for a bench that's 48" (our cushions are 23.5 x 23.5). Worked really well!

Estimated Time Investment
Weekend Project (10-20 Hours)
Recommended Skill Level
Beginner

Comments

Seasonal And Holiday

flag garden bench

wife and I call this our memory garden bench. our son passed away last year he was a SFC in the us army. we sit upon to remember all the good times.

Built from Plan(s)
Estimated Time Investment
Weekend Project (10-20 Hours)
Finish Used
stain and 3 coats of spar
Recommended Skill Level
Beginner

Comments

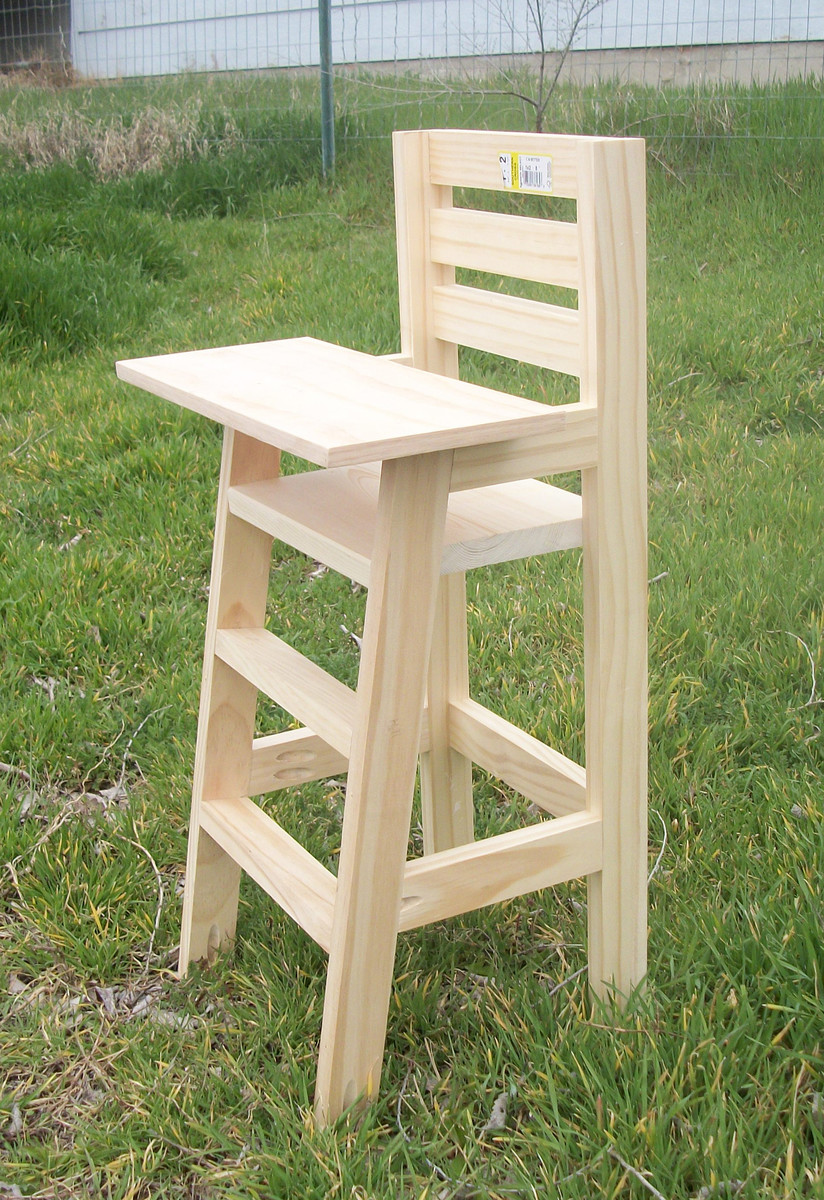
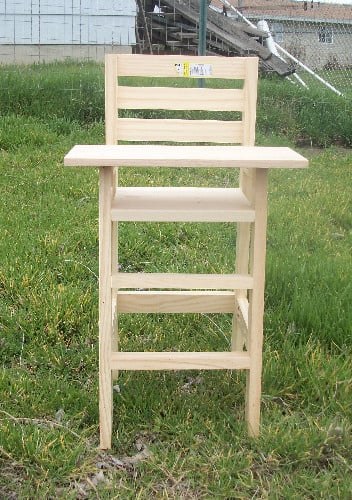
Cutest Baby Doll High Chair

Submitted by tracysmith on Sun, 03/27/2011 - 15:29

My neighbors grand-daughter is about to turn 3 and I thought this would make a great present for her.. plus, when she saw it online while visiting me (I was checking the website as usual), she said "Oh, I NEED one of those!".  I laughed and then that night went out and checked my scrap pile to see if I had everything I needed to build it.

I only needed one 8' piece of 1x2 to complete it.. .everything else I had, so great!
Estimated Cost
About $10 with paint.
Estimated Time Investment
An Hour or Two (0-2 Hours)
Finish Used
I have yet to paint this little project, but it will be painted in a gloss lavender purple so it's easy to clean.
Recommended Skill Level
Starter Project

Comments

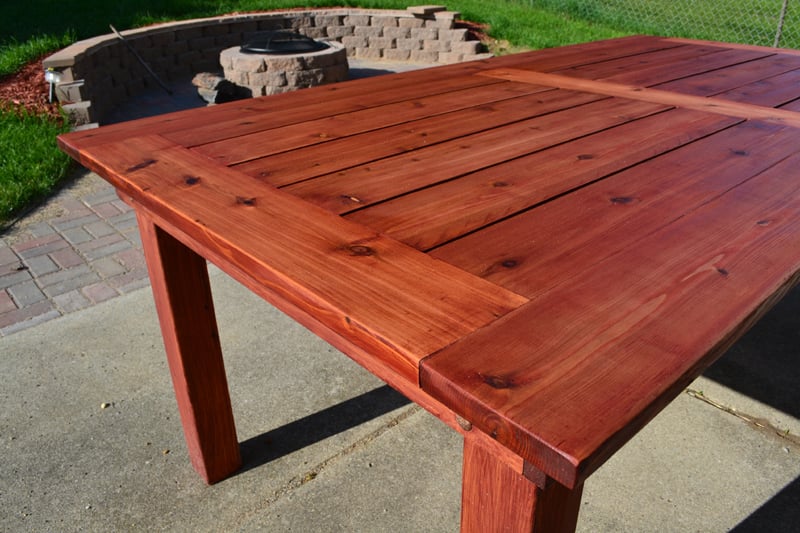
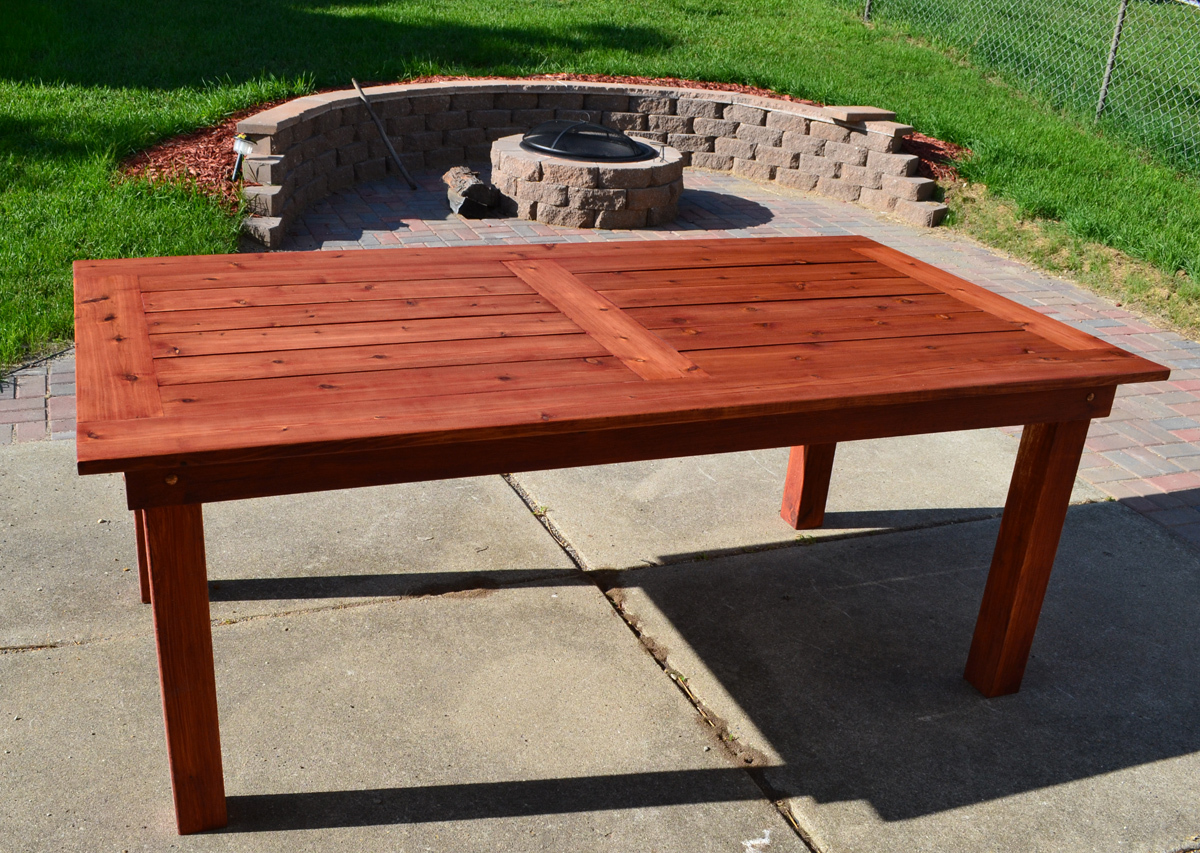
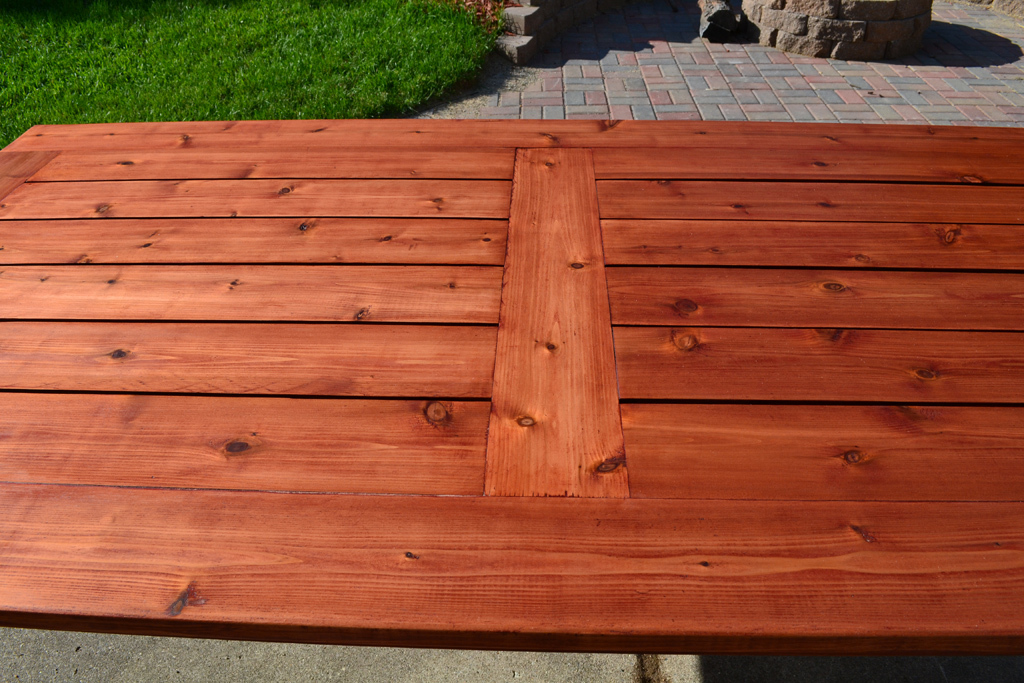
Beautiful Cedar Patio Table

Submitted by NeoMoses on Wed, 06/19/2013 - 13:48

Slightly more elegant version of an outdoor cedar patio table. This is made from 100% cedar and joined using Kreg pocket hole screws. The finish is 2 coats of Sikkens Cetol MRD that has been hand rubbed on using a cloth, with 24 hours of dry time between coats.

Built from Plan(s)
Estimated Cost
$140
Estimated Time Investment
Weekend Project (10-20 Hours)
Finish Used
2 coats of Sikkens Cetol MRD, hand rubbed with cloth.
Recommended Skill Level
Beginner

Comments

odpdxo

Wed, 06/19/2013 - 23:22

I really like the way you modified this design and I would like to duplicate it. I am curious about how you changed to framework to accommodate table top with the boards running lengthwise. The original design has the framework running lengthwise, so I am assuming you added framing that runs perpendicular. Is there any way you could include pictures and measurements of the framework under the tabletop? Thanks. Great work!

Fantastic Garden Beds

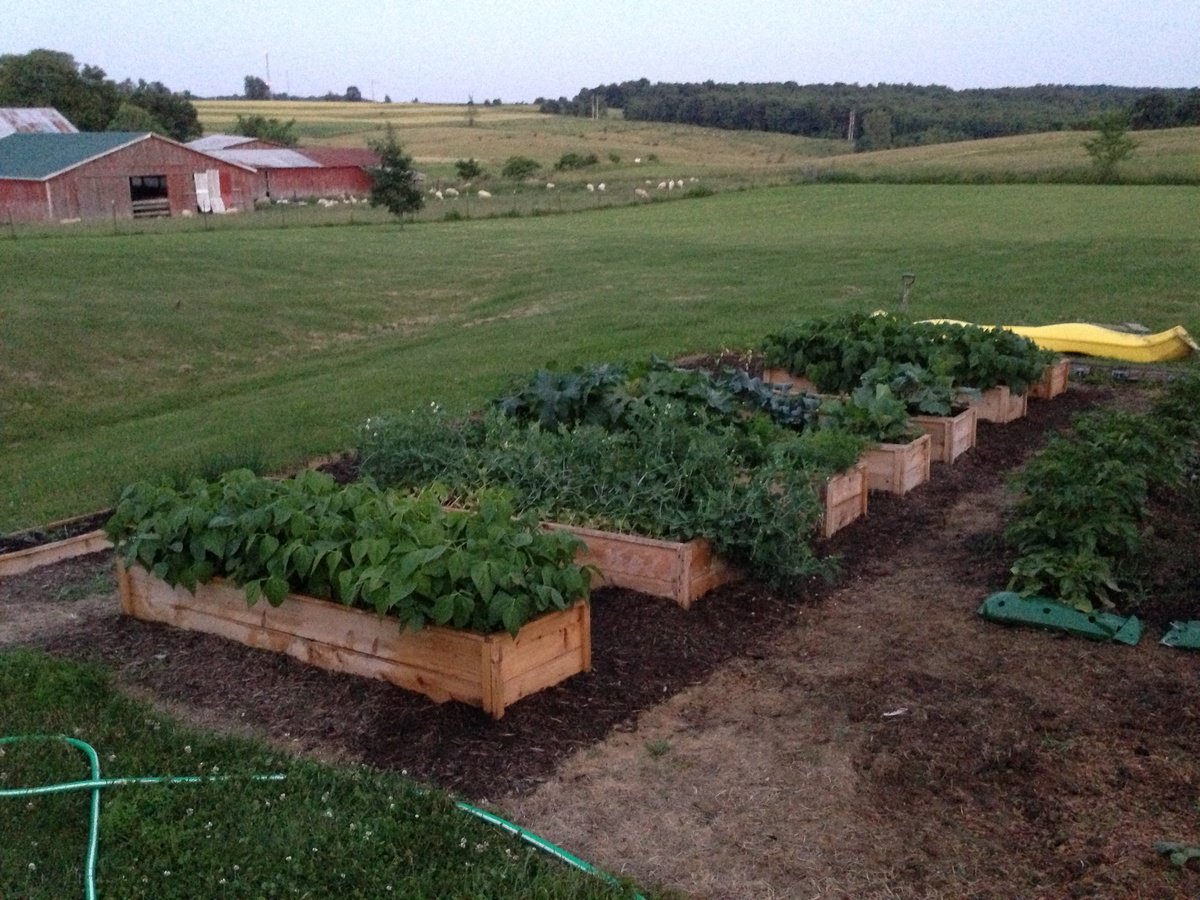
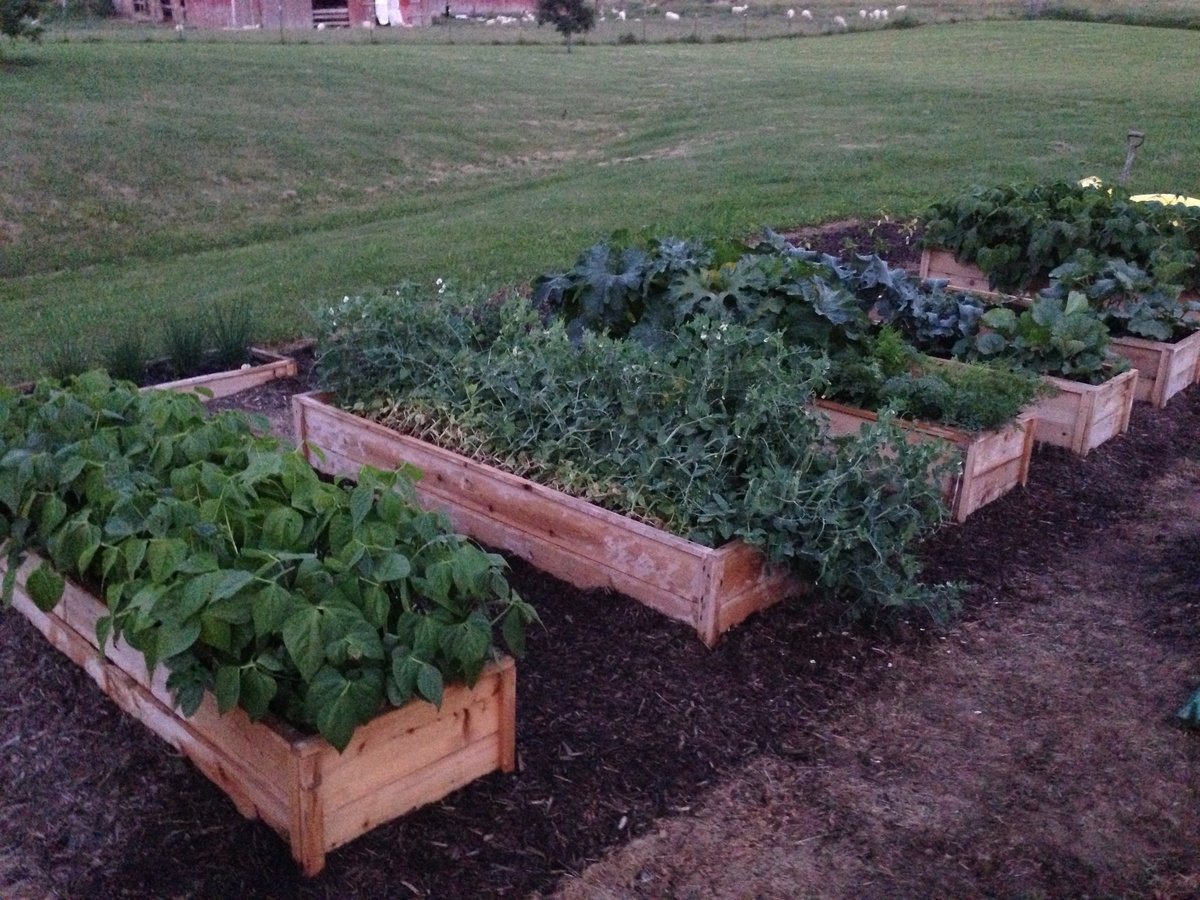
These garden beds are fantastic! They were so easy to build and look great in our backyard. We have always found ourselves with a garden covered in weeds or plants out of control. Our garden this year looks wonderful and we have hardly any weeds in the beds. Thanks for the great plans!

Estimated Cost
$15 each
Estimated Time Investment
An Hour or Two (0-2 Hours)
Finish Used
None
Recommended Skill Level
Starter Project

Comments

Seasonal And Holiday

Kids Table & Chairs

Submitted by jeffh on Fri, 01/19/2018 - 12:12

I washed the plans for the farmhouse table in hot water!

I modeled this kids table off the farmhouse table and then made the chairs out of 3/4" plywood with bright colours.

Estimated Cost
two 2x10s and four or five 2x4s, plus screws and stain for the table. All four chairs were made out of one sheet of 3/4" plywood. The stain and paint probably cost more than everything else put together, but I still have tons of it left. If you exclude the leftover stain, I'd guess about $75-$100 for everything.
Estimated Time Investment
Weekend Project (10-20 Hours)
Finish Used
Can't remember. Walnut was the stain colour.
Recommended Skill Level
Beginner

Scrap Wood Cart

Submitted by Scrivman33 on Sun, 02/25/2018 - 13:45

Saw the other project and based everything off of that. I made some adjustments on the shelf side to ensure I could lay down 3 layers of 2x6's without it hanging off too far. At first I wasn't going to go with the rail shelf system, but I couldn't find anything that I liked at the store to make actually shelves. I did cut a 2* angle on the bottom and top of the shelf framing. I figured if I put enough weight on those shelves, I woudln't want it messing with the frame of the cart too much. On the bin side, I decided to just do different heights instead of angled because I know I'll have plenty of 3' plus. I chose to put a scrap bin on the end for anything smaller than a foot. Many of those joints were done with my Kreg setup, but not all of them. The last fix I did was add a 2x4 to the insde of the shelf frame. This was to move the shelf hangers in so that an 8' board wasn't just edge to edge (I found that to be a problem when I put some of the 1x4's on there...they would be on 2, but not always all 3). So moving each side in around 1.5" gives you about 3" to play with as far as 8' lumber goes. This enabled me to turn my old storage into bench and shelves and I'm ready to get moving on projects!

Estimated Cost
$200-$250
Estimated Time Investment
Day Project (6-9 Hours)
Finish Used
None
Recommended Skill Level
Beginner

Balin Consle Table Extraordinaire

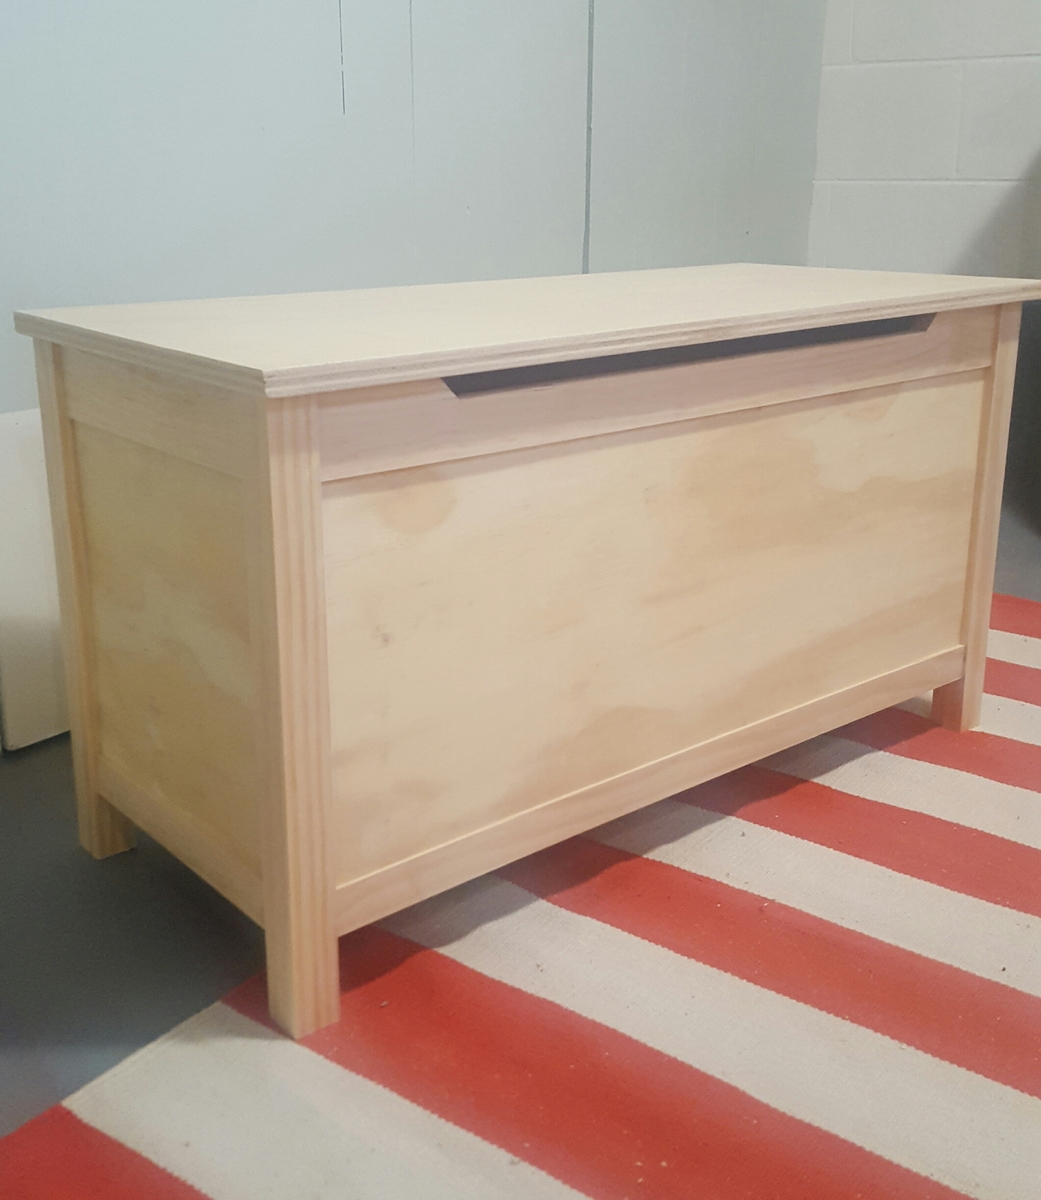
My wife and I picked this out as our first somewhat complex piece from Ana's site to make. Most of the table is made from left over 1x4s I had from a fence we made. I only needed 2 1x12s as we didn't make the drawers as deep.

Because I cut down the 1x4s for the legs (and didn't examine the plans in detail first) I made them 3 inches wide when the ones in the plan are only 2.5 inches wide. This made for a few adjustments, such as the middle two drawers being a bit narrower.

The fronts of the drawers are normal height, but the boxes are only 4 inches high inside (so they don't fill up with as much junk, lol).

The 1x12s were only 11 inches wide, so I laminated some 1x2s on the sides to make it wide enough.

I think it really turned out well and we're already planning some complimentary pieces for our living room.

Counting the left over wood from the fence it probably cost around $50 including the stain and polyurethane.
Built from Plan(s)
Estimated Time Investment
Weekend Project (10-20 Hours)
Finish Used
We stained the table with minwax walnut stain, sanding lightly after 2nd and 3rd application. After that we put on 3 coats of semi-gloss polyurethane sanding between each. Lastly, on the top we put on 3 coats of clear gloss.
Recommended Skill Level
Beginner

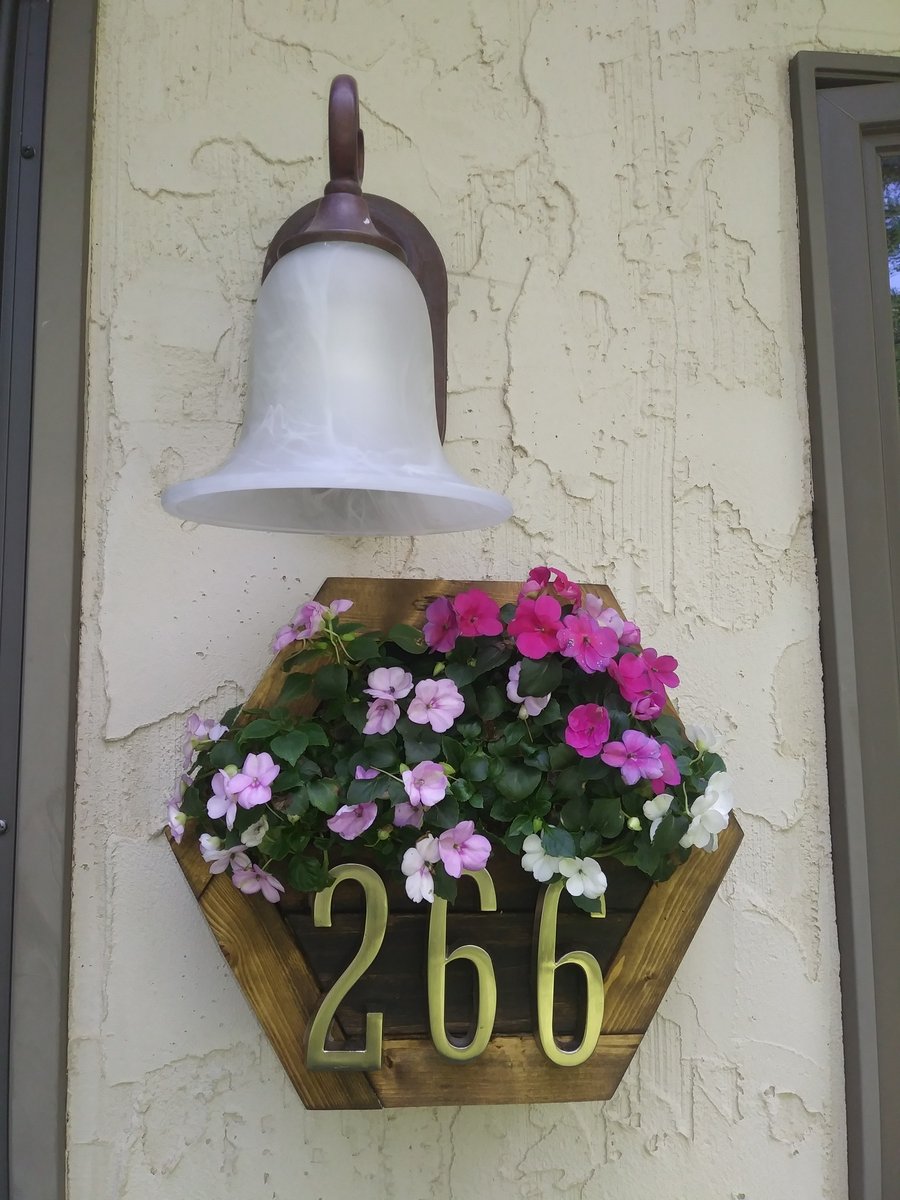
Hexagon address planter

Not much to say, just a quick project to use up some scrap lumber. Better to use it than burn it. 

Estimated Cost
$15 for the numbers, wood was all scrap 2x2 and 1x2
Estimated Time Investment
An Hour or Two (0-2 Hours)
Finish Used
Minwax English Chestnut and Thompsons Outdoor Sealer
Recommended Skill Level
Starter Project