Hanging Bunk Beds
I saw these beds featured in a Sherwin Williams paint mini magazine, fell in love w the idea, and customized them to work for my daughter's room. She loves them! Thx Ana White!!
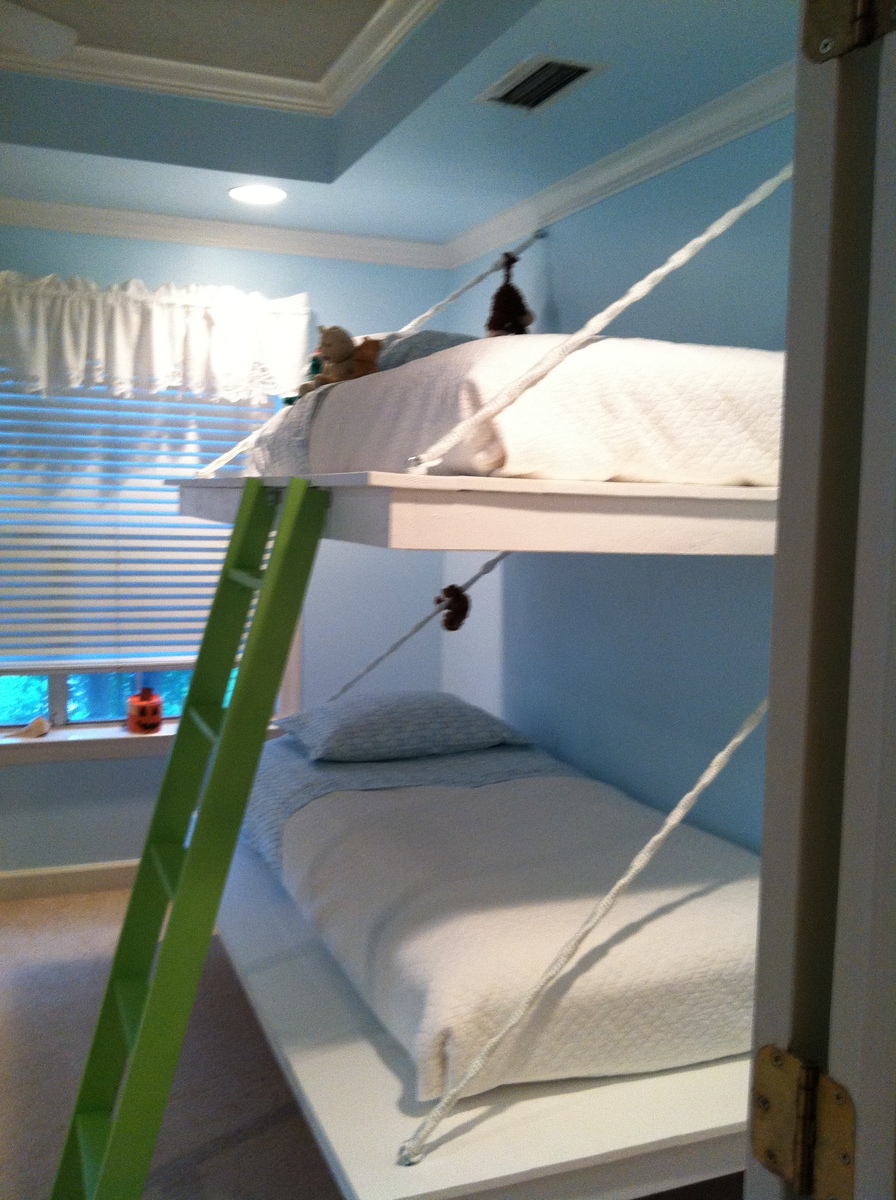
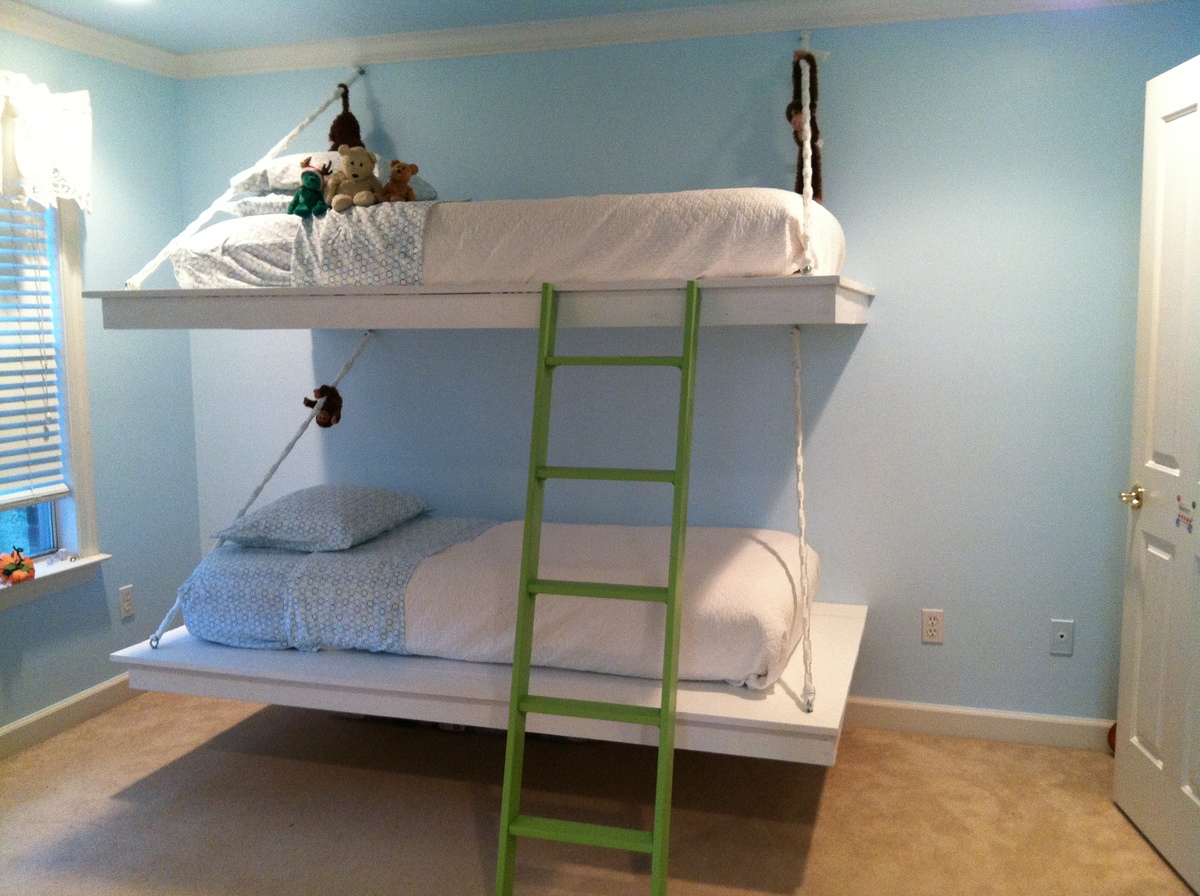
I saw these beds featured in a Sherwin Williams paint mini magazine, fell in love w the idea, and customized them to work for my daughter's room. She loves them! Thx Ana White!!


I’m a first year teacher of construction class at Waterloo High School in Illinois. We recently used your Small Cedar shed instructions with some modifications for a class project. It’s a bear getting cedar right now, so we used T1-11 for the outside and 2x4 for the frame.


Sat, 03/25/2023 - 09:14
Very fun and job well done! Thank you for sharing.
Hello, Ana.
This is my first share and I plan to share more eventually. First, please know how much I appreciate your willingness to share with and motivate your followers. Thank you.
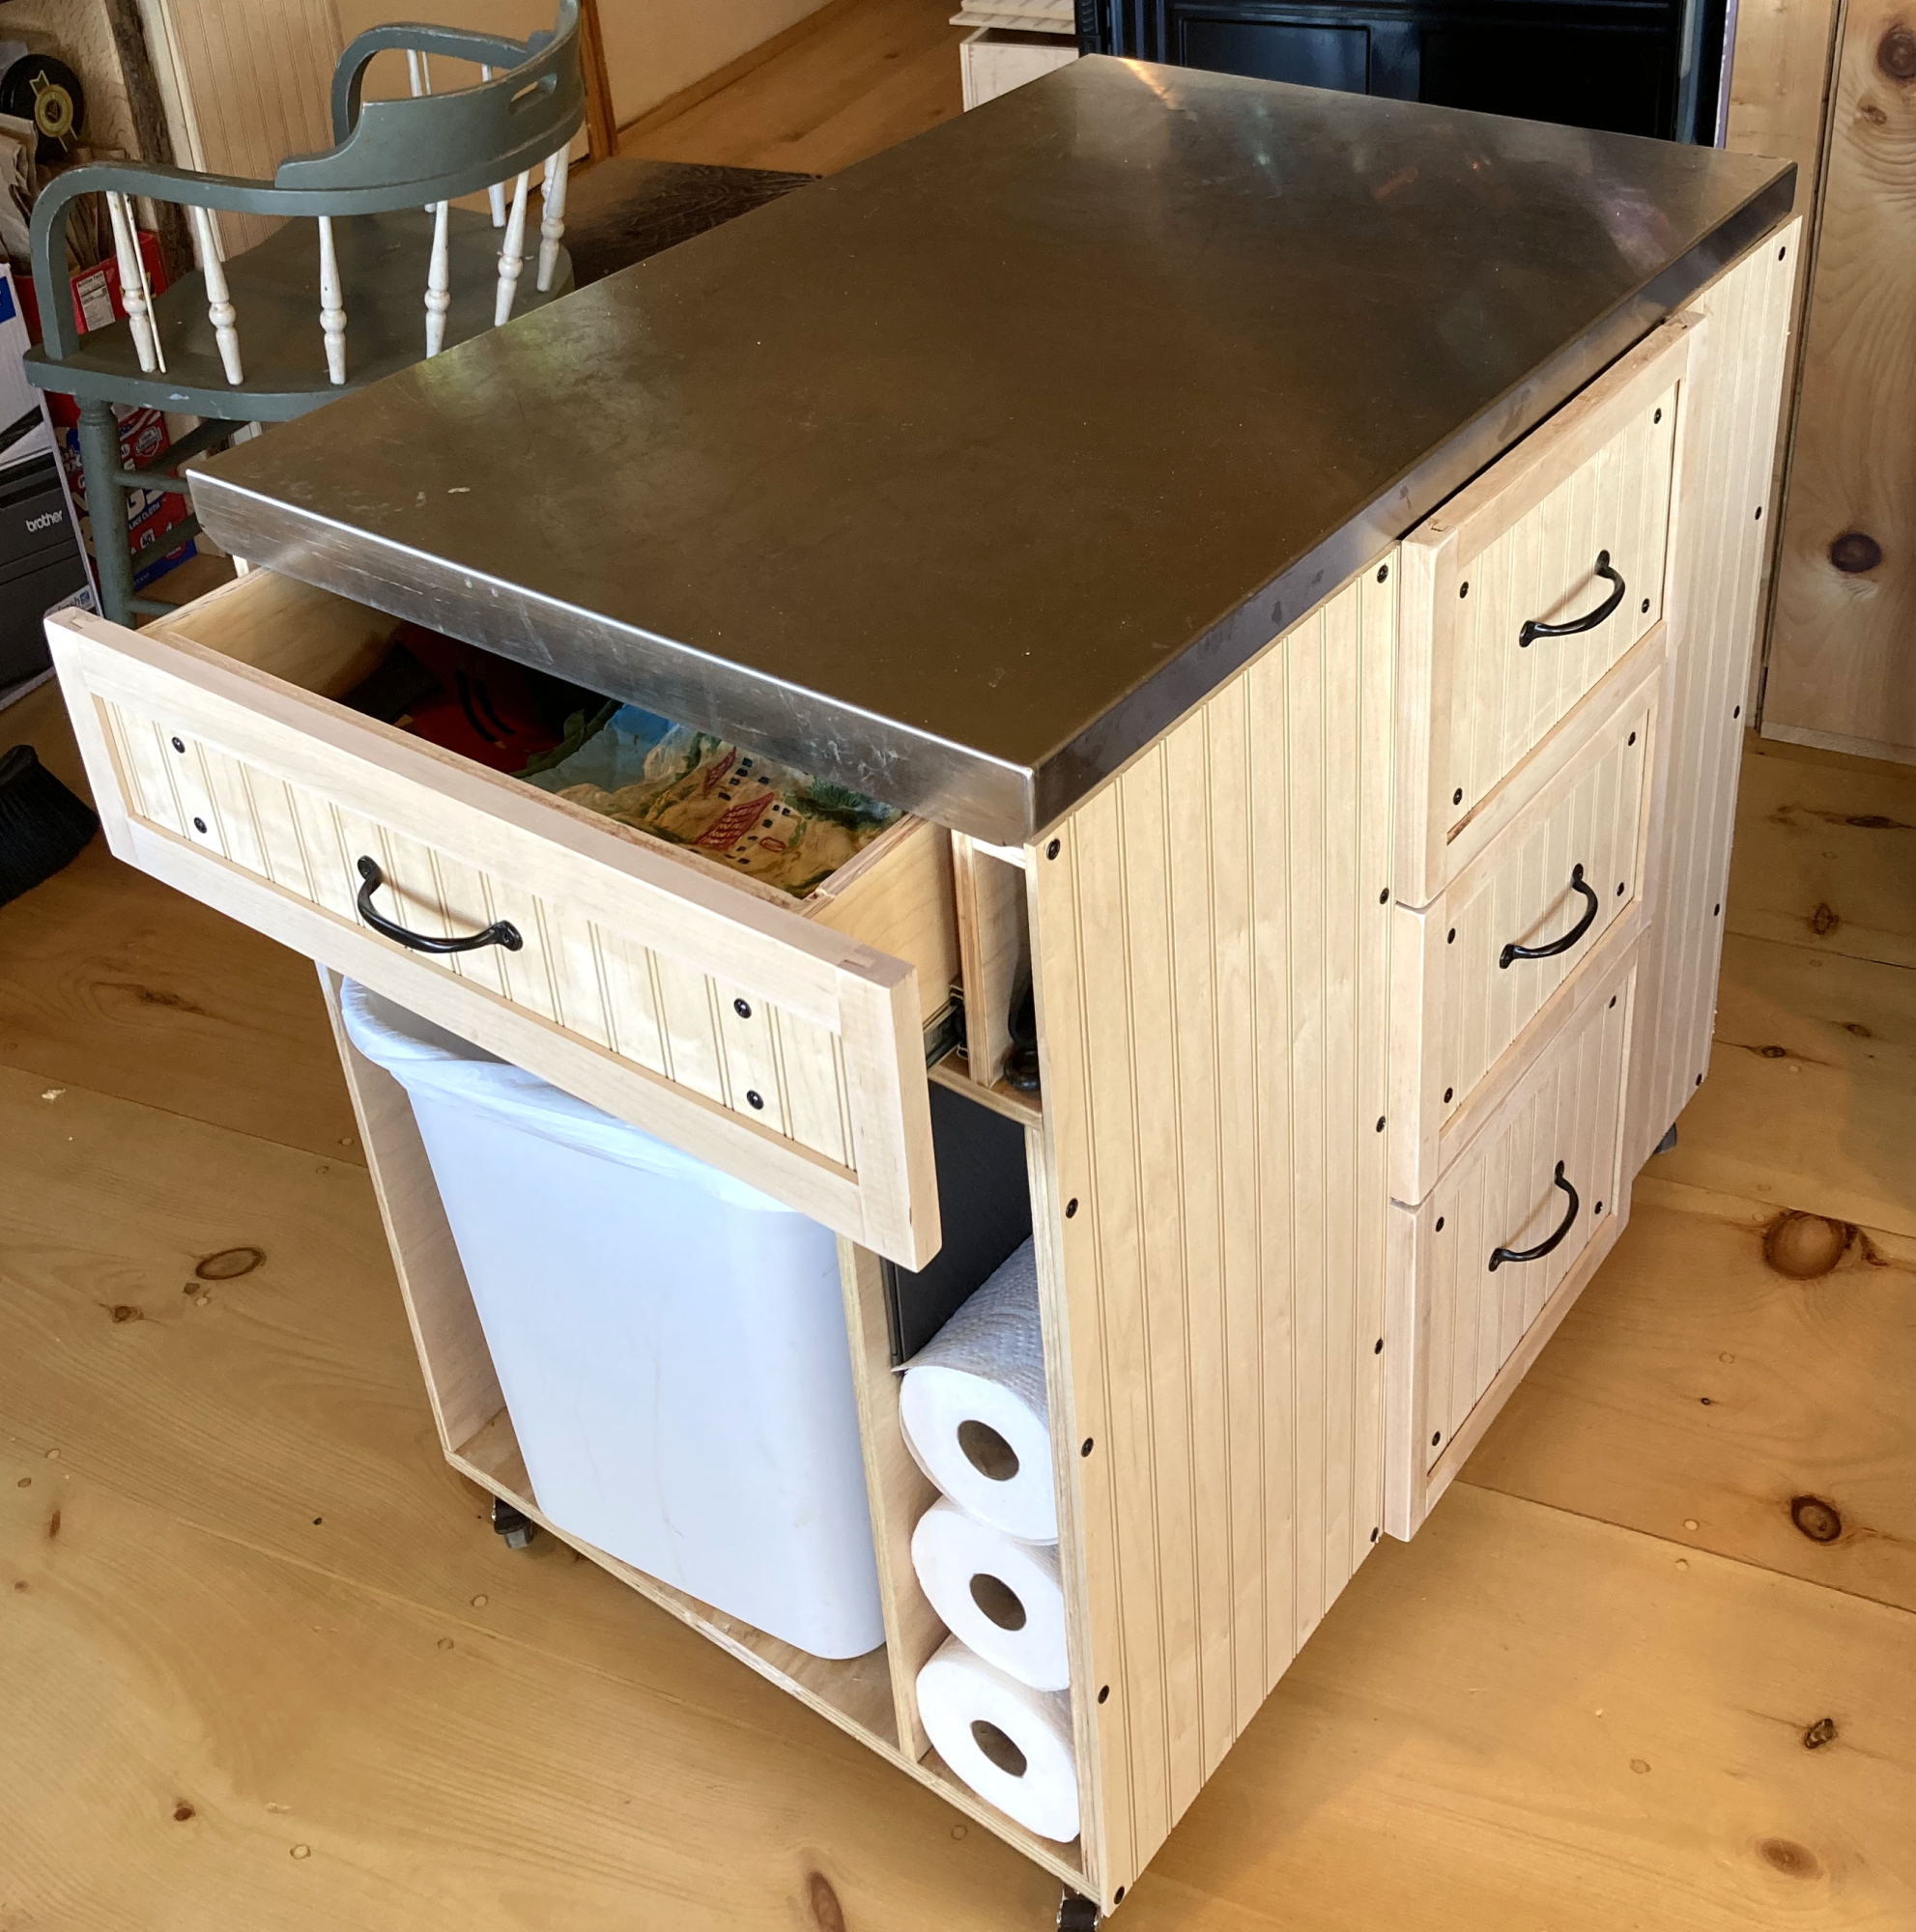
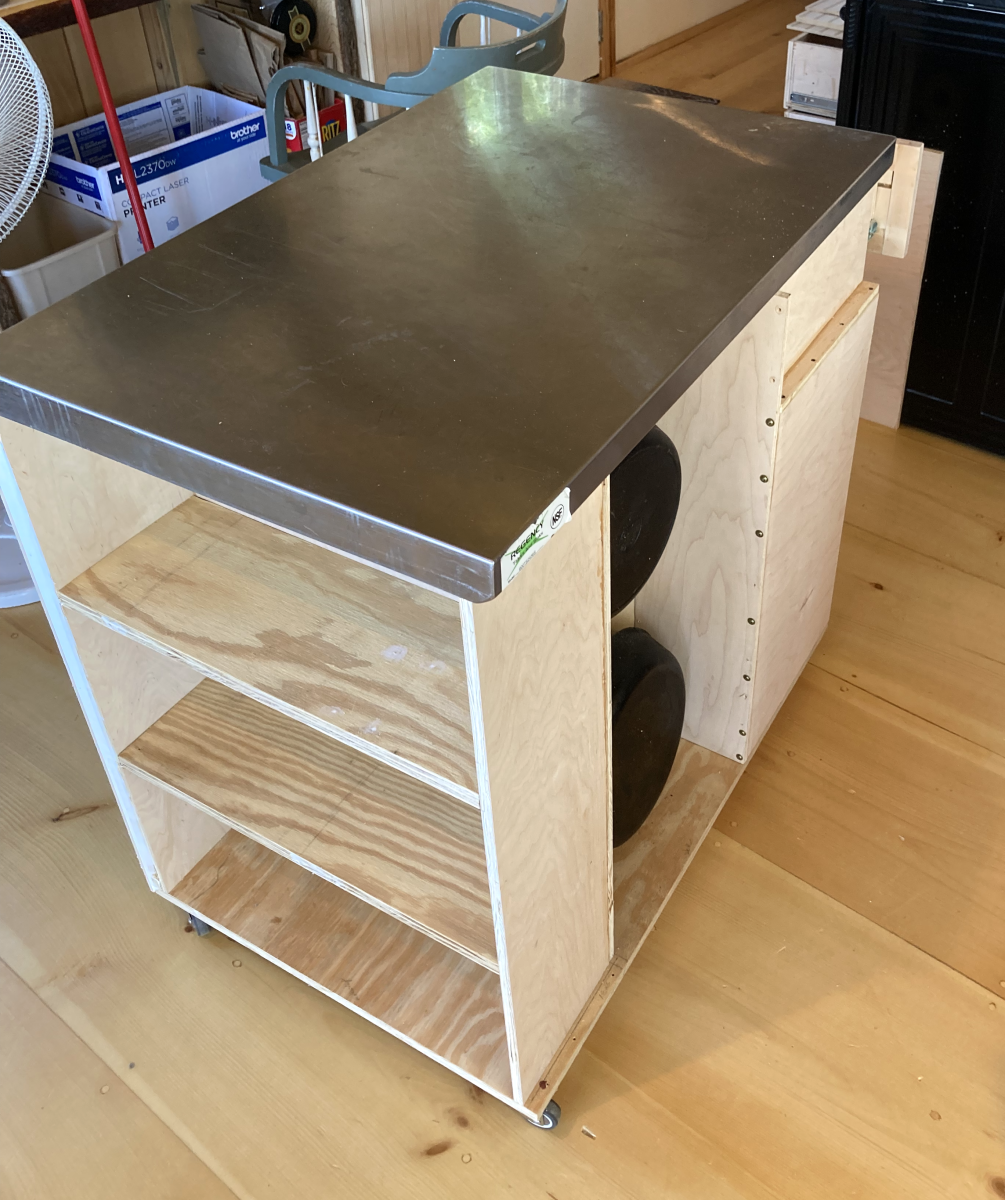
As for the cart I am sharing, I do not have any plans other than the ones that were in my head so the cart would fit under the stainless steel top. My wife wanted more surface and storage space next to the electric stove in our camp here in Maine. We purchased a used stainless steel table from a restaurant supplier, removed the legs, and prepared the underside of it so it would attach to the cart. In case it is not clear from the two photos, one end is for her cookbooks, the opposite end has a place for the garbage can and a drawer for various kitchen necessities. One long side has drawers where she puts pots and pans. The other side has a place for her to hang her heavy iron fry pans.
I learned a lot from making this and I'm happy to share it with you.
Frank
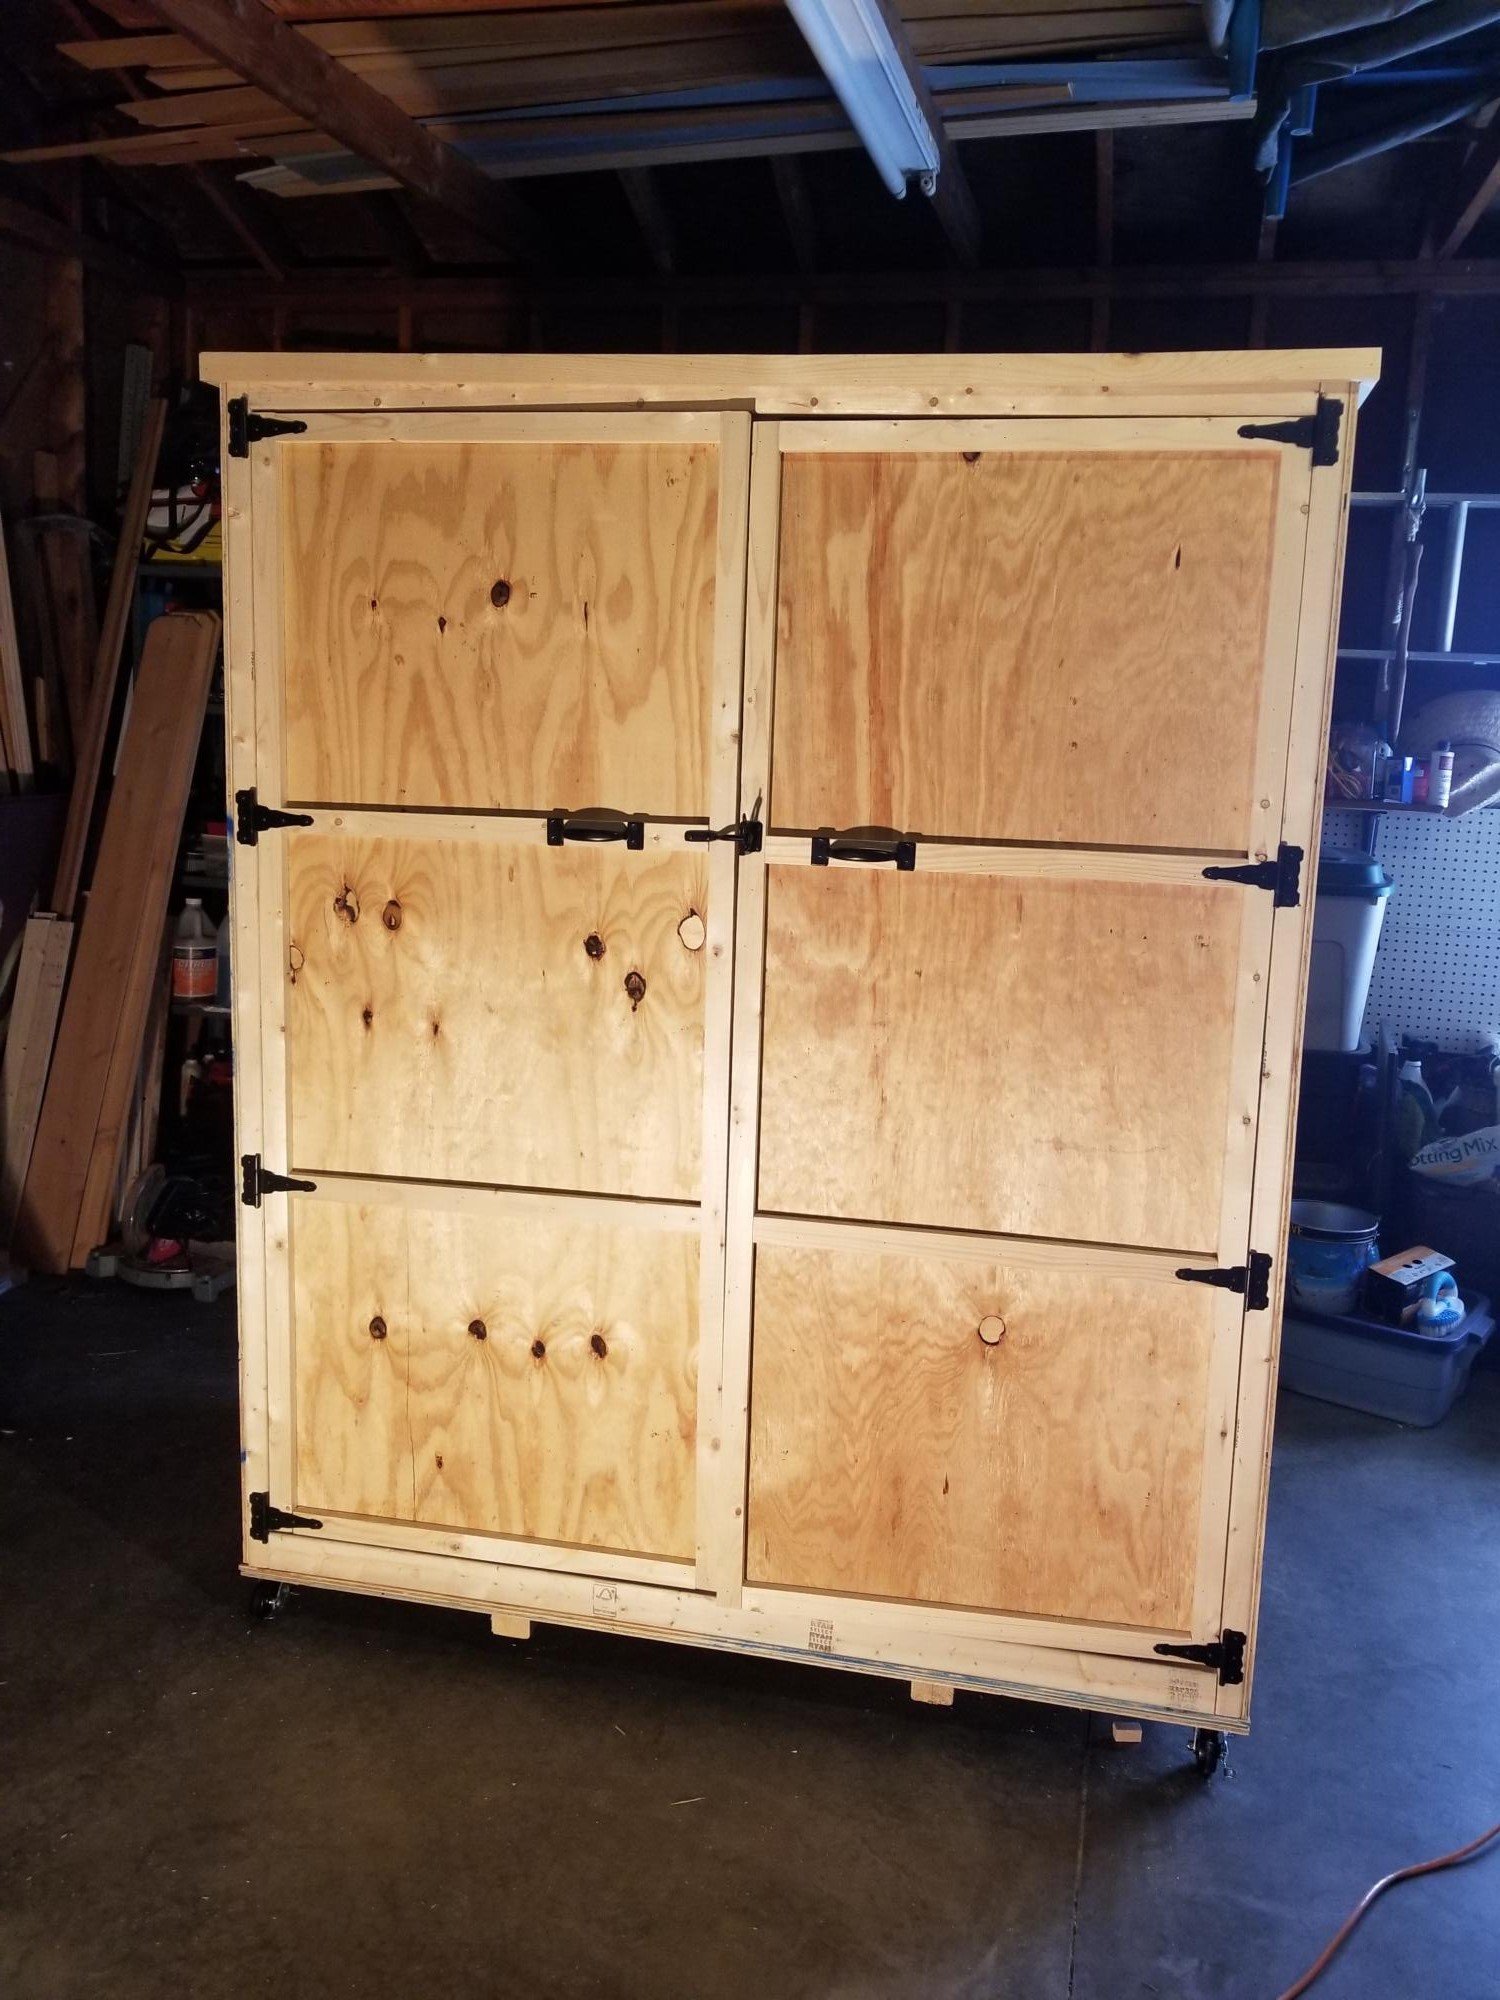
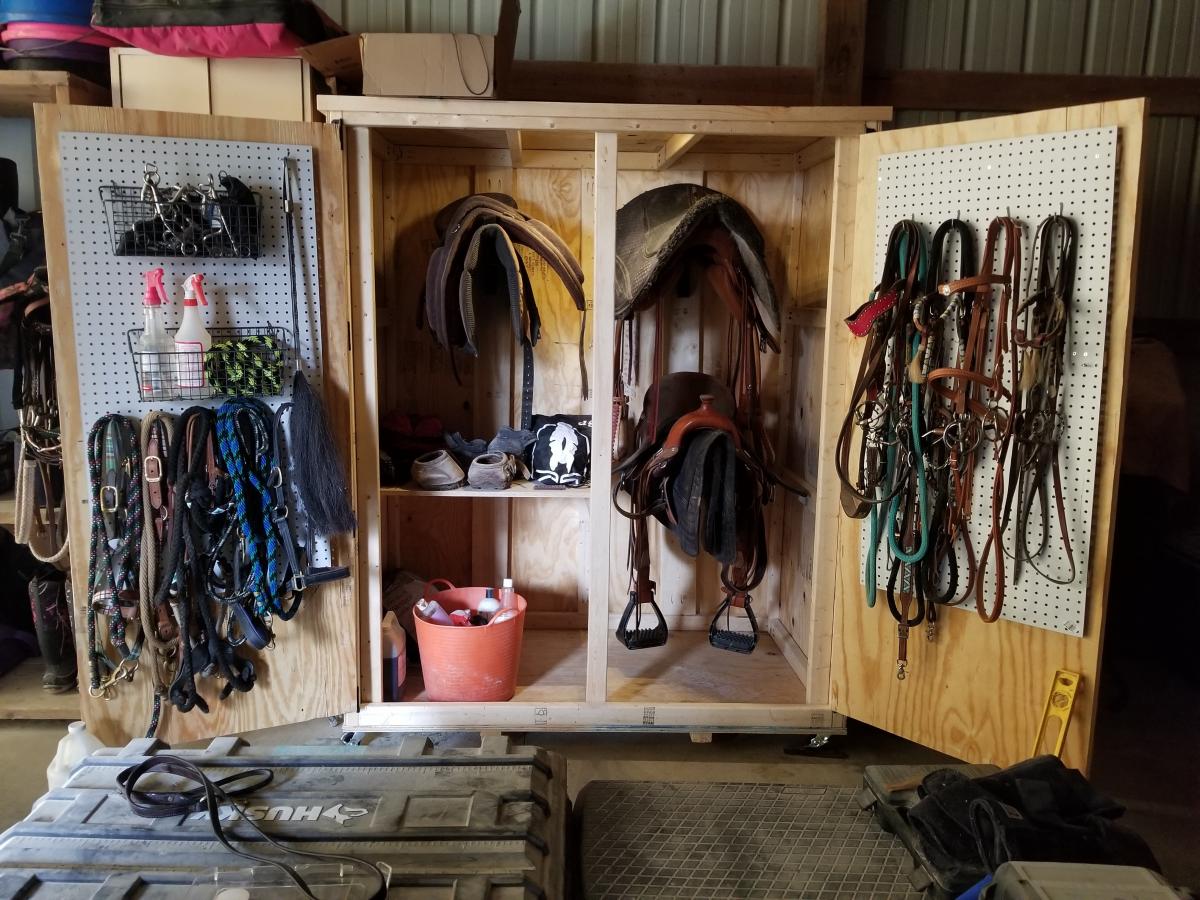
We did some conversions to the smokehouse plans to make a locker for all of my horse tack! :)
This was our first build and it was quite a big project to take on to start with. We had so much fun and learned so much along the way.
Our biggest lessons were to hand pick our wood and make sure we get the straightest pieces possible. We had to wrestle some wood to make this bed work! Clamp everything especially when using large bolts as the pieces would pull apart from each other. We even used a ratchet strap at one point becuase our small clamps weren't cutting it. I'm sure there's a better way and we'd love to hear about it but we made what we had work. We also had to figure out how to attach the side rails and at what height. We ended up using 3 4-inch screws on each end to screw them into the posts.
We love this bed not only because it was a labor of love but because its such a solid beautiful piece.
Sun, 03/01/2020 - 11:29
Very nice! I love the lighter wood too, but my wife likes the darker stain, so we compromised in the middle for the finish. Why arethe post always so red? I can appreciate the natural tendency of nature to add color, but the 4*4's are always red-er in color. Do they always use a different pine or certain part of the tree for those?
Mon, 01/18/2021 - 11:27
I believe the posts are actually Douglas fir and not pine judging by the look and color of the grains.
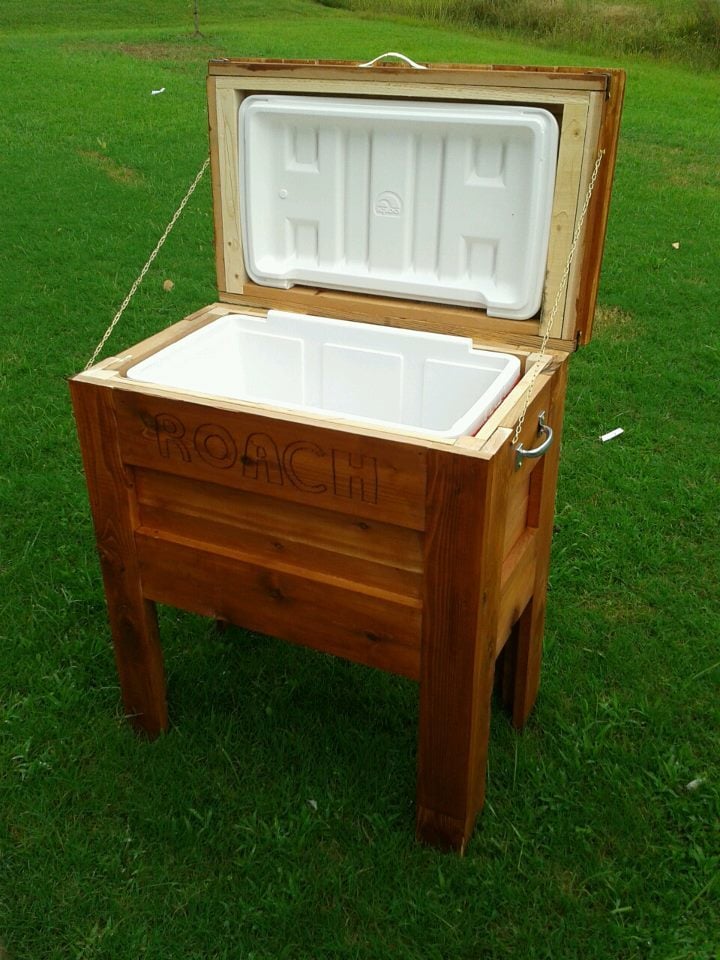
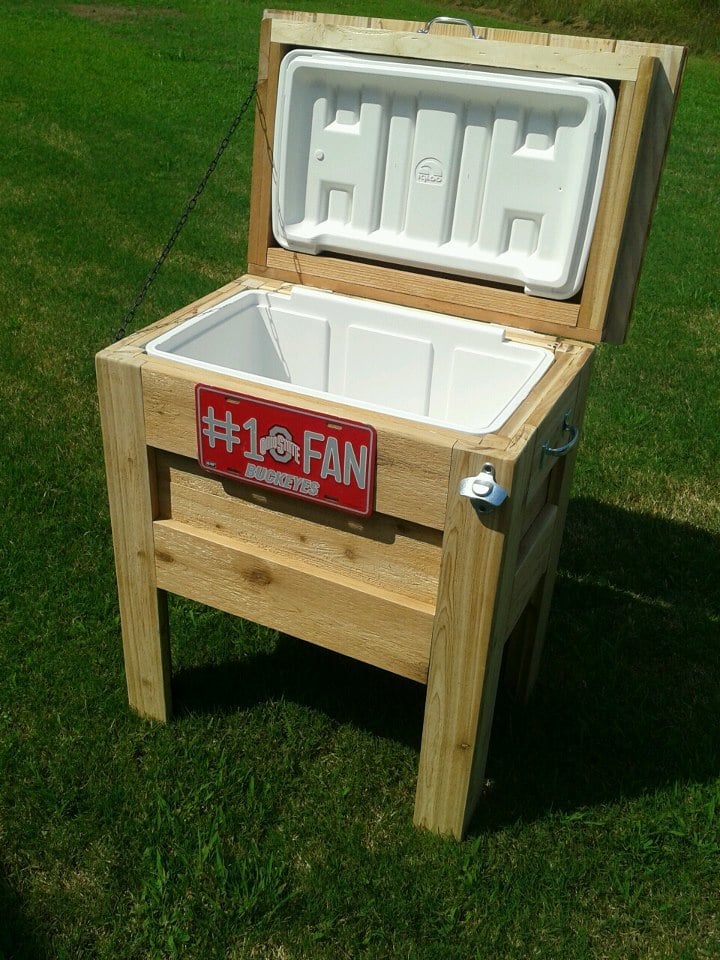
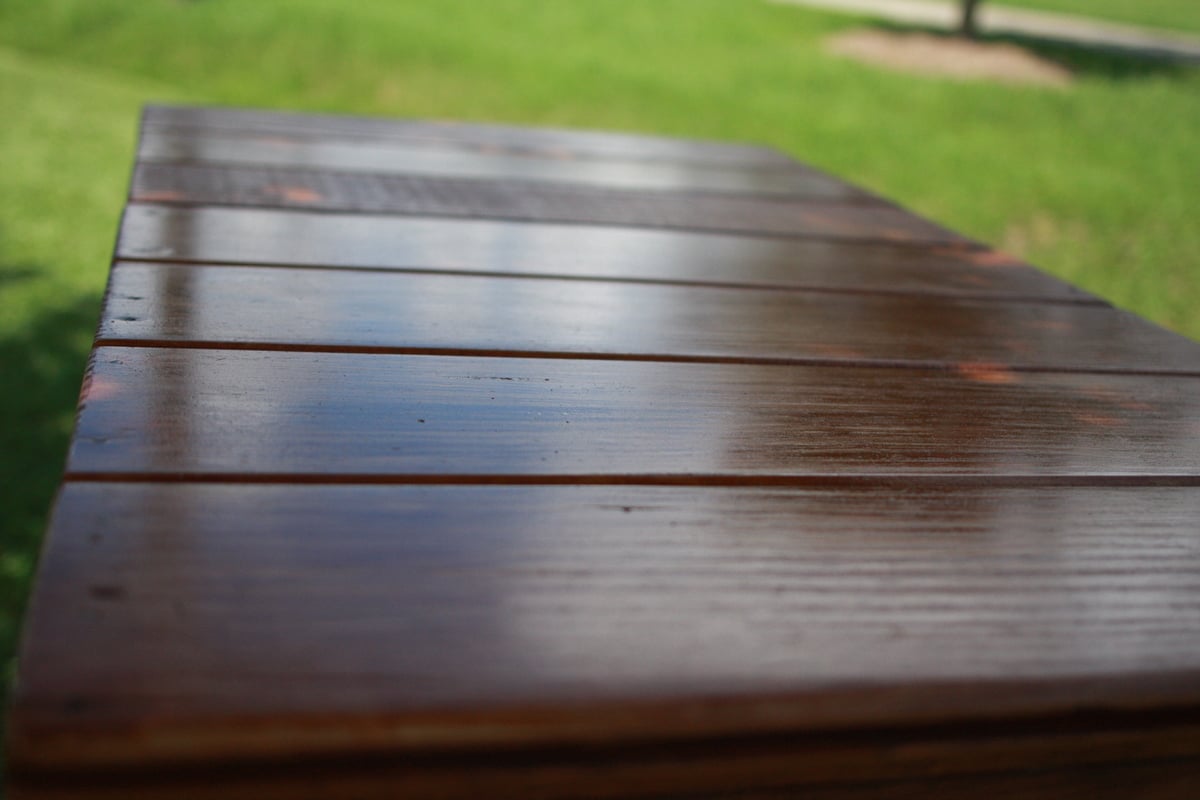
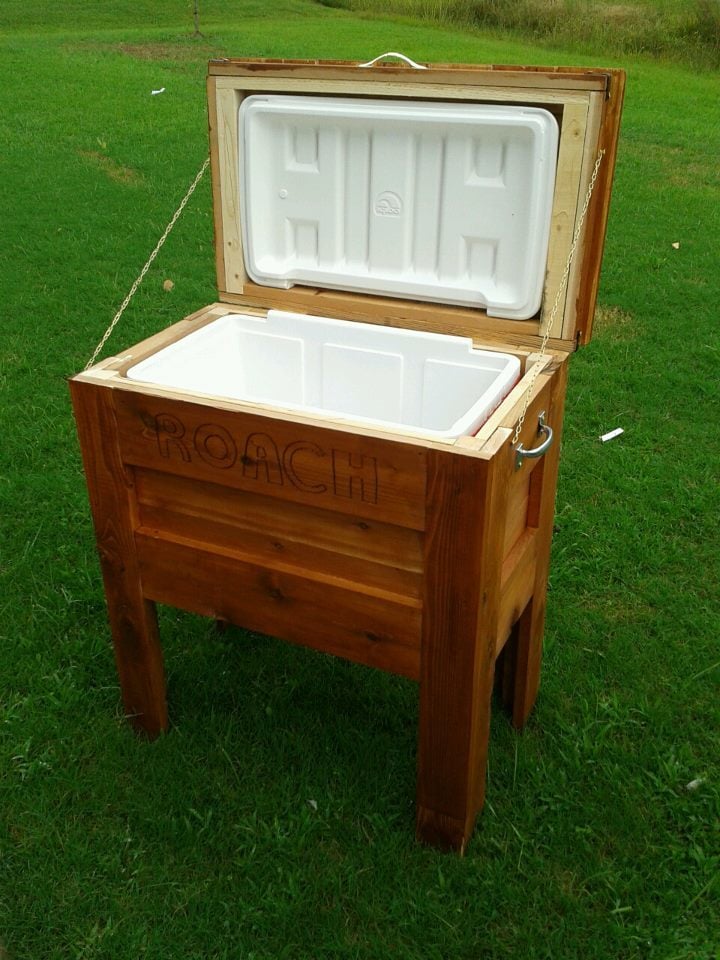
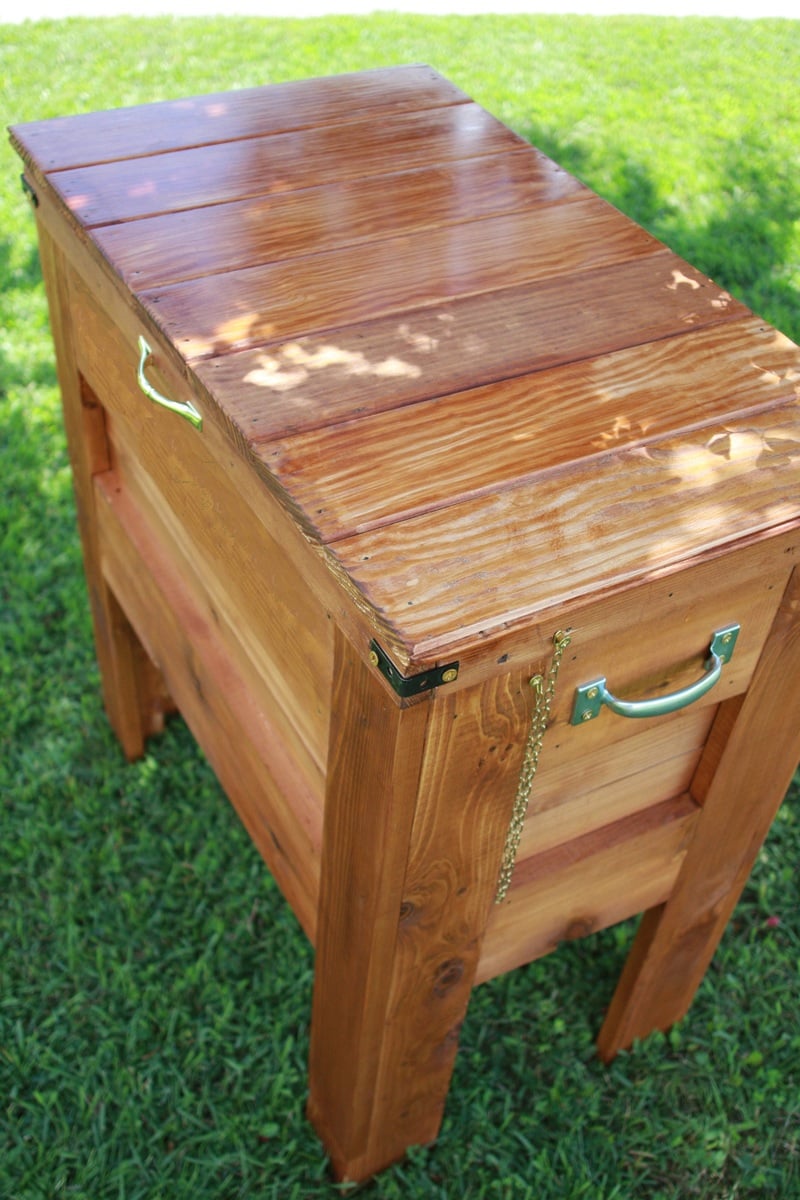
An Outdoor Wooden Cooler is the perfect way to accent any deck, patio, or garage. Can be made from Cedar, Pressure Treated, Cyprus, etc. Sizes can vary from small 28 qt coolers to Large 120 qt coolers capable of holding hundreds of drinks. These coolers can be themed for your favorite sports team, favorite hobby, or anything of your choice. Engraving or wood burning is available.
Fri, 08/31/2012 - 09:52
Well, actually, two. My beer loving son-in-laws would love this, and Christmas is coming! Do you happen to have any "step-by-step" directions you'd be willing to share? I can figure out the dimensions but it would be really helpful to read - or see - the components and how you put it all together.
Thanks for sharing!
In reply to I want to make one of these by sgilly
Fri, 09/28/2012 - 11:43
I had to make a new page because of some password issues. Thanks for comments. I have no plans yet, I've built so many it's sort of muscle memory now. Shoot me an email at [email protected] and perhaps I can help.
Sat, 09/01/2012 - 10:59
I want to make one too. Is the lid tricky at all?
Fri, 09/28/2012 - 11:41
I had to make a new page because of some password issues. Thanks for comments. I have no plans yet, I've built so many it's sort of muscle memory now. Shoot me an email at [email protected] and perhaps I can help.
And no, the lid style I like is nothing more than some tongue~n~groove boards cut to length, attached with pocket holes and nailed to the lid frame. Tongue~N~groove is optional of course, you could just use regular boards.
Thu, 03/14/2013 - 21:08
I don't mean to hijack Adam's great build, but I have some step-by-step plans available for a cooler I built with a similar style. It has a 2x2 frame with old fencing facing. For those of you looking for plans/tutorial http://www.killerbdesigns.com/rustic-cooler-a-how-to/
Thu, 05/07/2015 - 07:20
My husband used a similar design to Adam's but made it a double. :) He also added wheels and a bottle opener/cap catcher. Great work Adam!
http://purposefulproductions.blogspot.com/2015/04/diy-wood-drink-cooler…
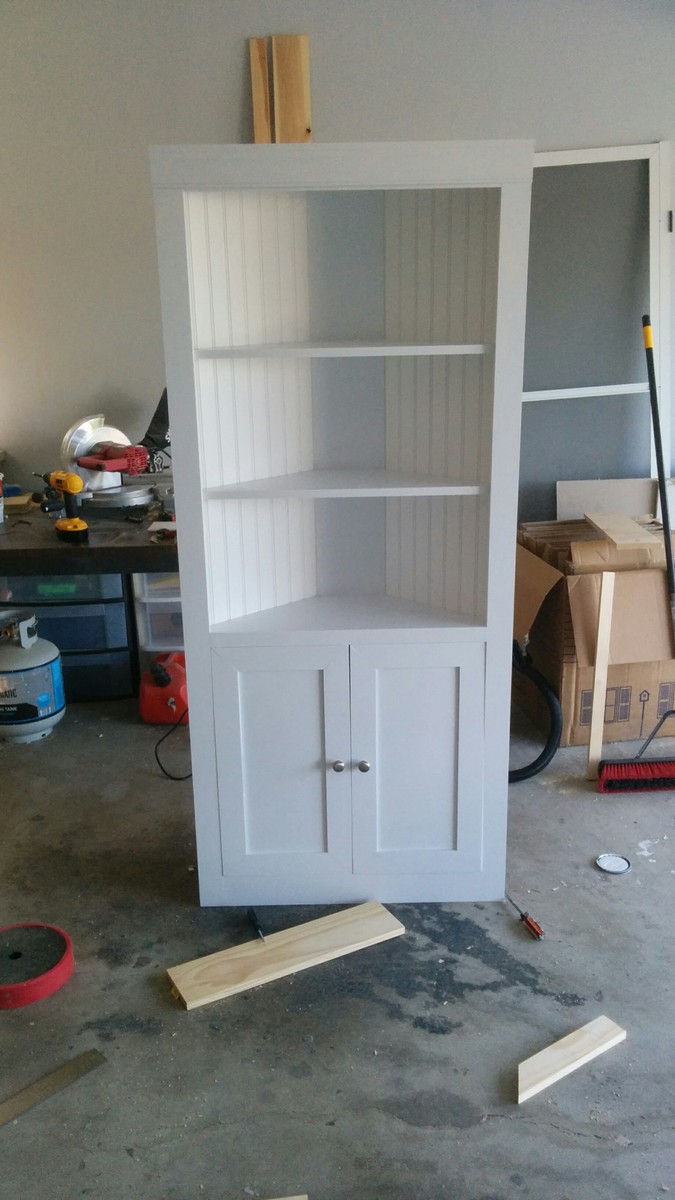
Thanks ANA for the plans!!
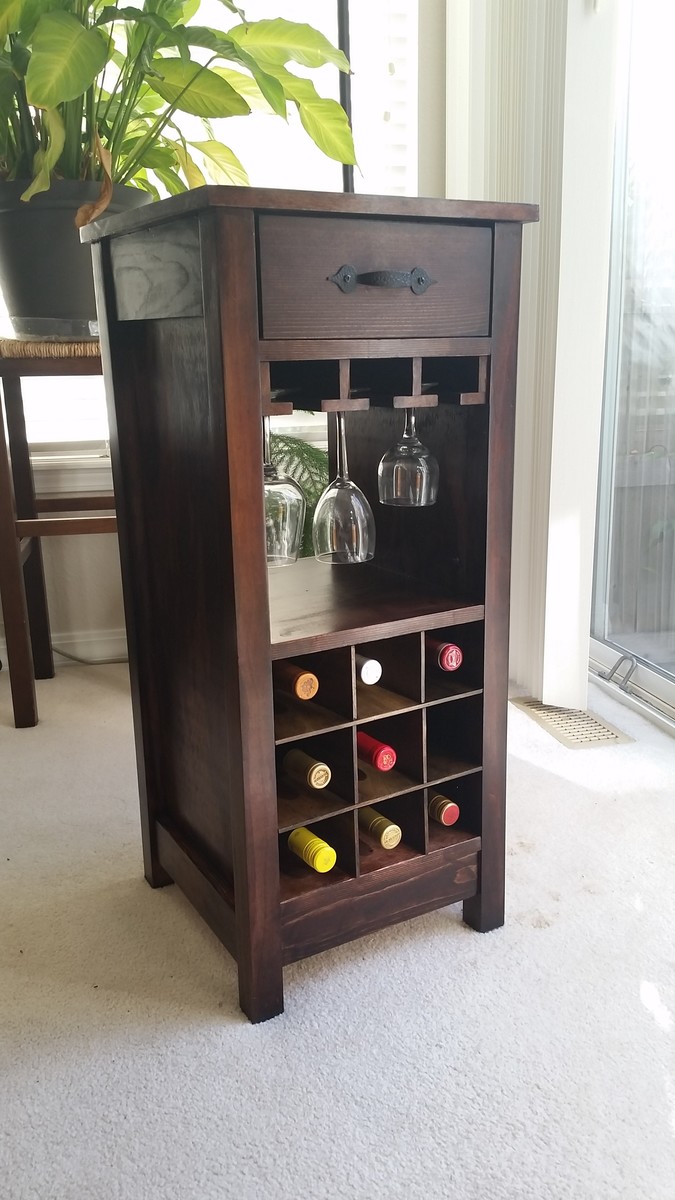
Be aware: some of the measurements and materials needed in the plan are off. For example, you need 1/8" hardboard for the bottom of the drawer but earlier in the plans it shows 1/4". Also, if you have larger wine glasses, you'll want to plane down your stemware holders so the distance between them is 3 1/8" instead of 3". It would have also been a good idea to pre-stain those before adding them in. Regarding stain, it would also look really good with a light stain. Another really nice thing about this project is that people are really impressed with it though it is fairly straightforward. :)
Fri, 06/10/2016 - 07:09
Thank you. :) I don't remember exactly, I believe it was regular Minwax wood stain, walnut and/or red mahogany. I will try to find what I actually used.

My 1st coffee table and I'm in love with how this came out. Really proud of myself for this one!
Mon, 01/18/2021 - 11:09
Gorgeous, thank you for sharing your first coffee table, it turned out amazing!
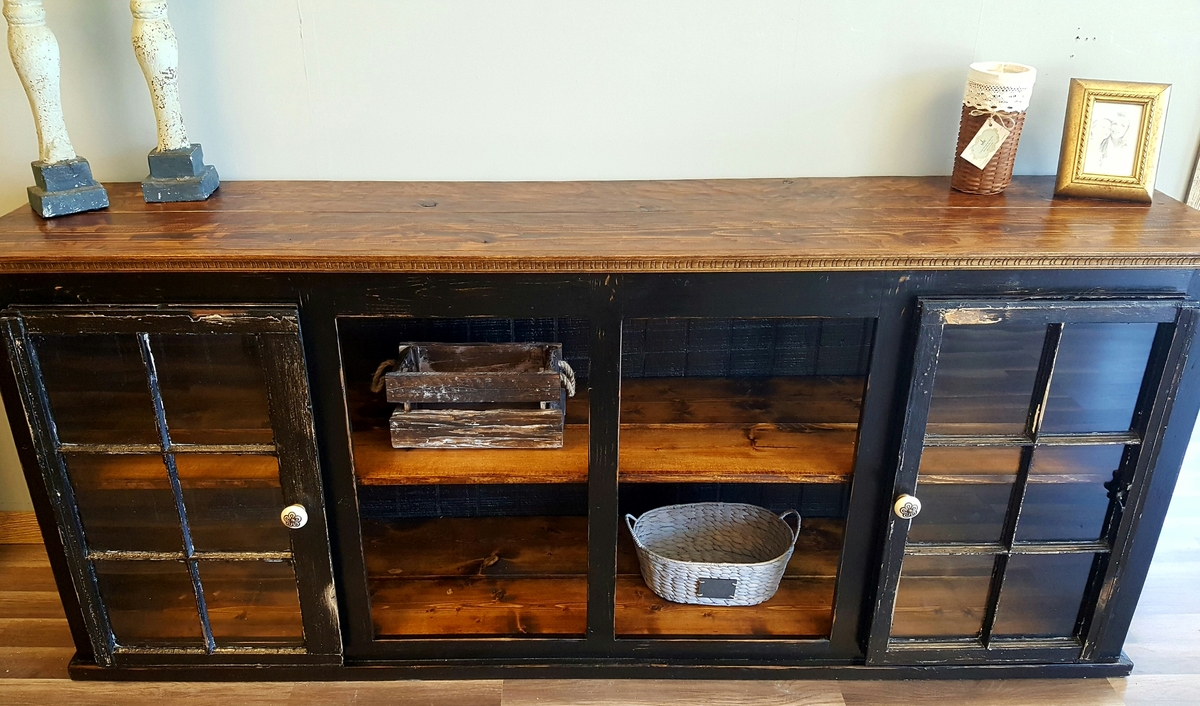
I took a different direction on the doors instead of using the barn doors I used old wooden windows in place of them.
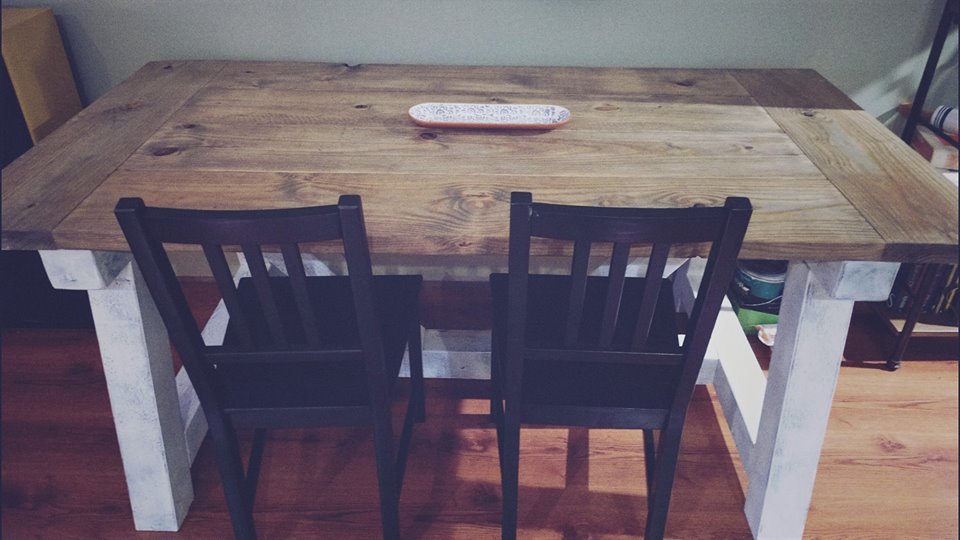
First DIY. Took roughly 17 hours completed over 3 days. Used untreated pine from Home depot for top and untreated cedar (the only 4x4's available) for legs.
Total cost $270
Top stain: weathered oak (2 coats)
Top finish: Rustoleom polyeurothane clear satin
Legs: undercoat of Behr's Nautical blue and two thin coats of a white paint we had on hand. Then we distressed with an orbial sander and a 220 grit paper.
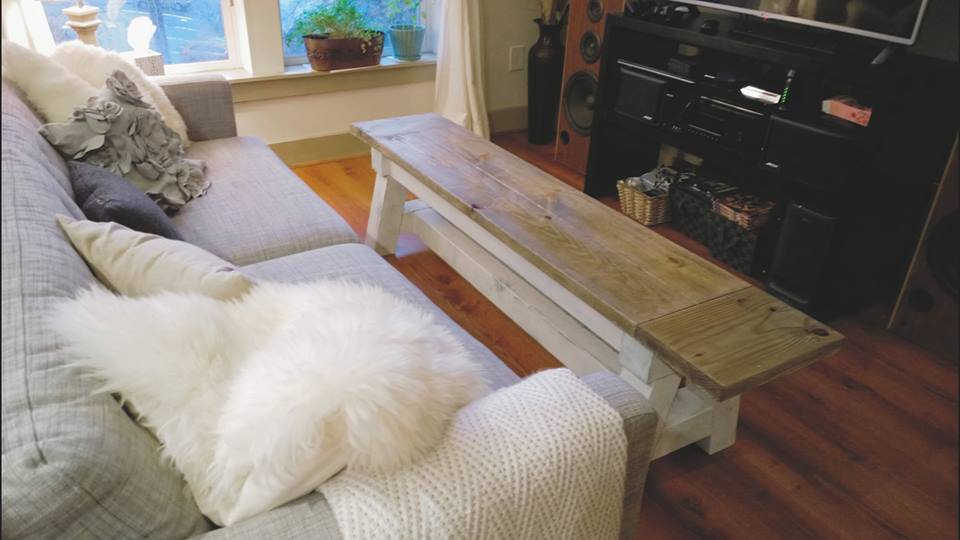
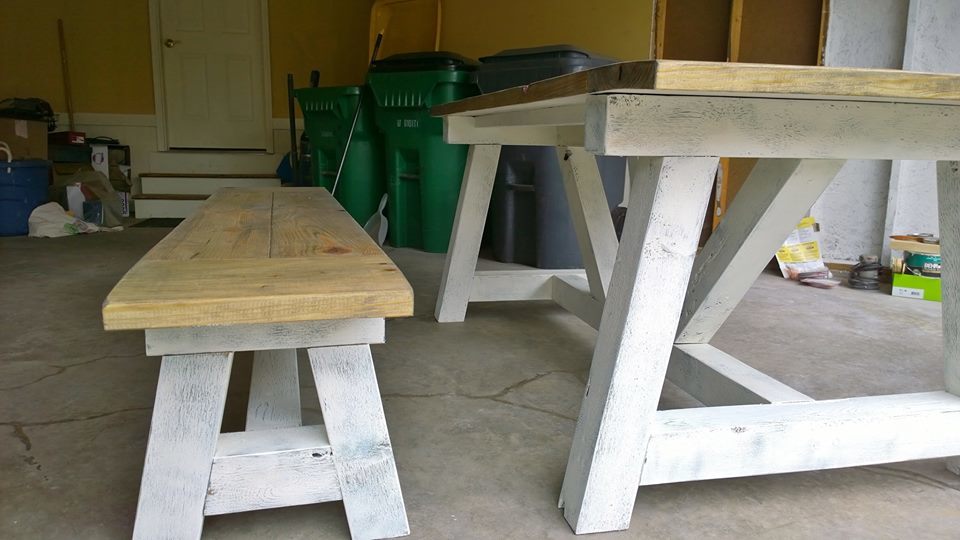
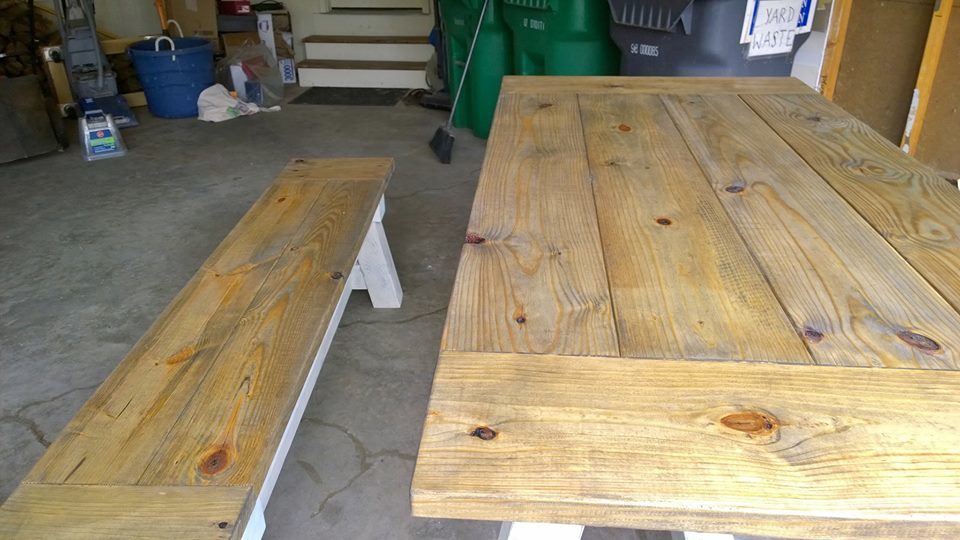
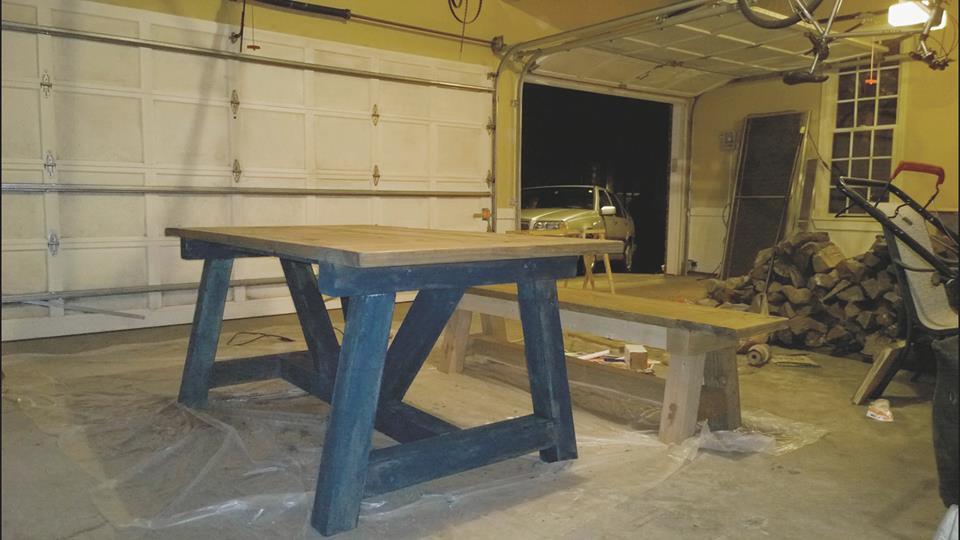
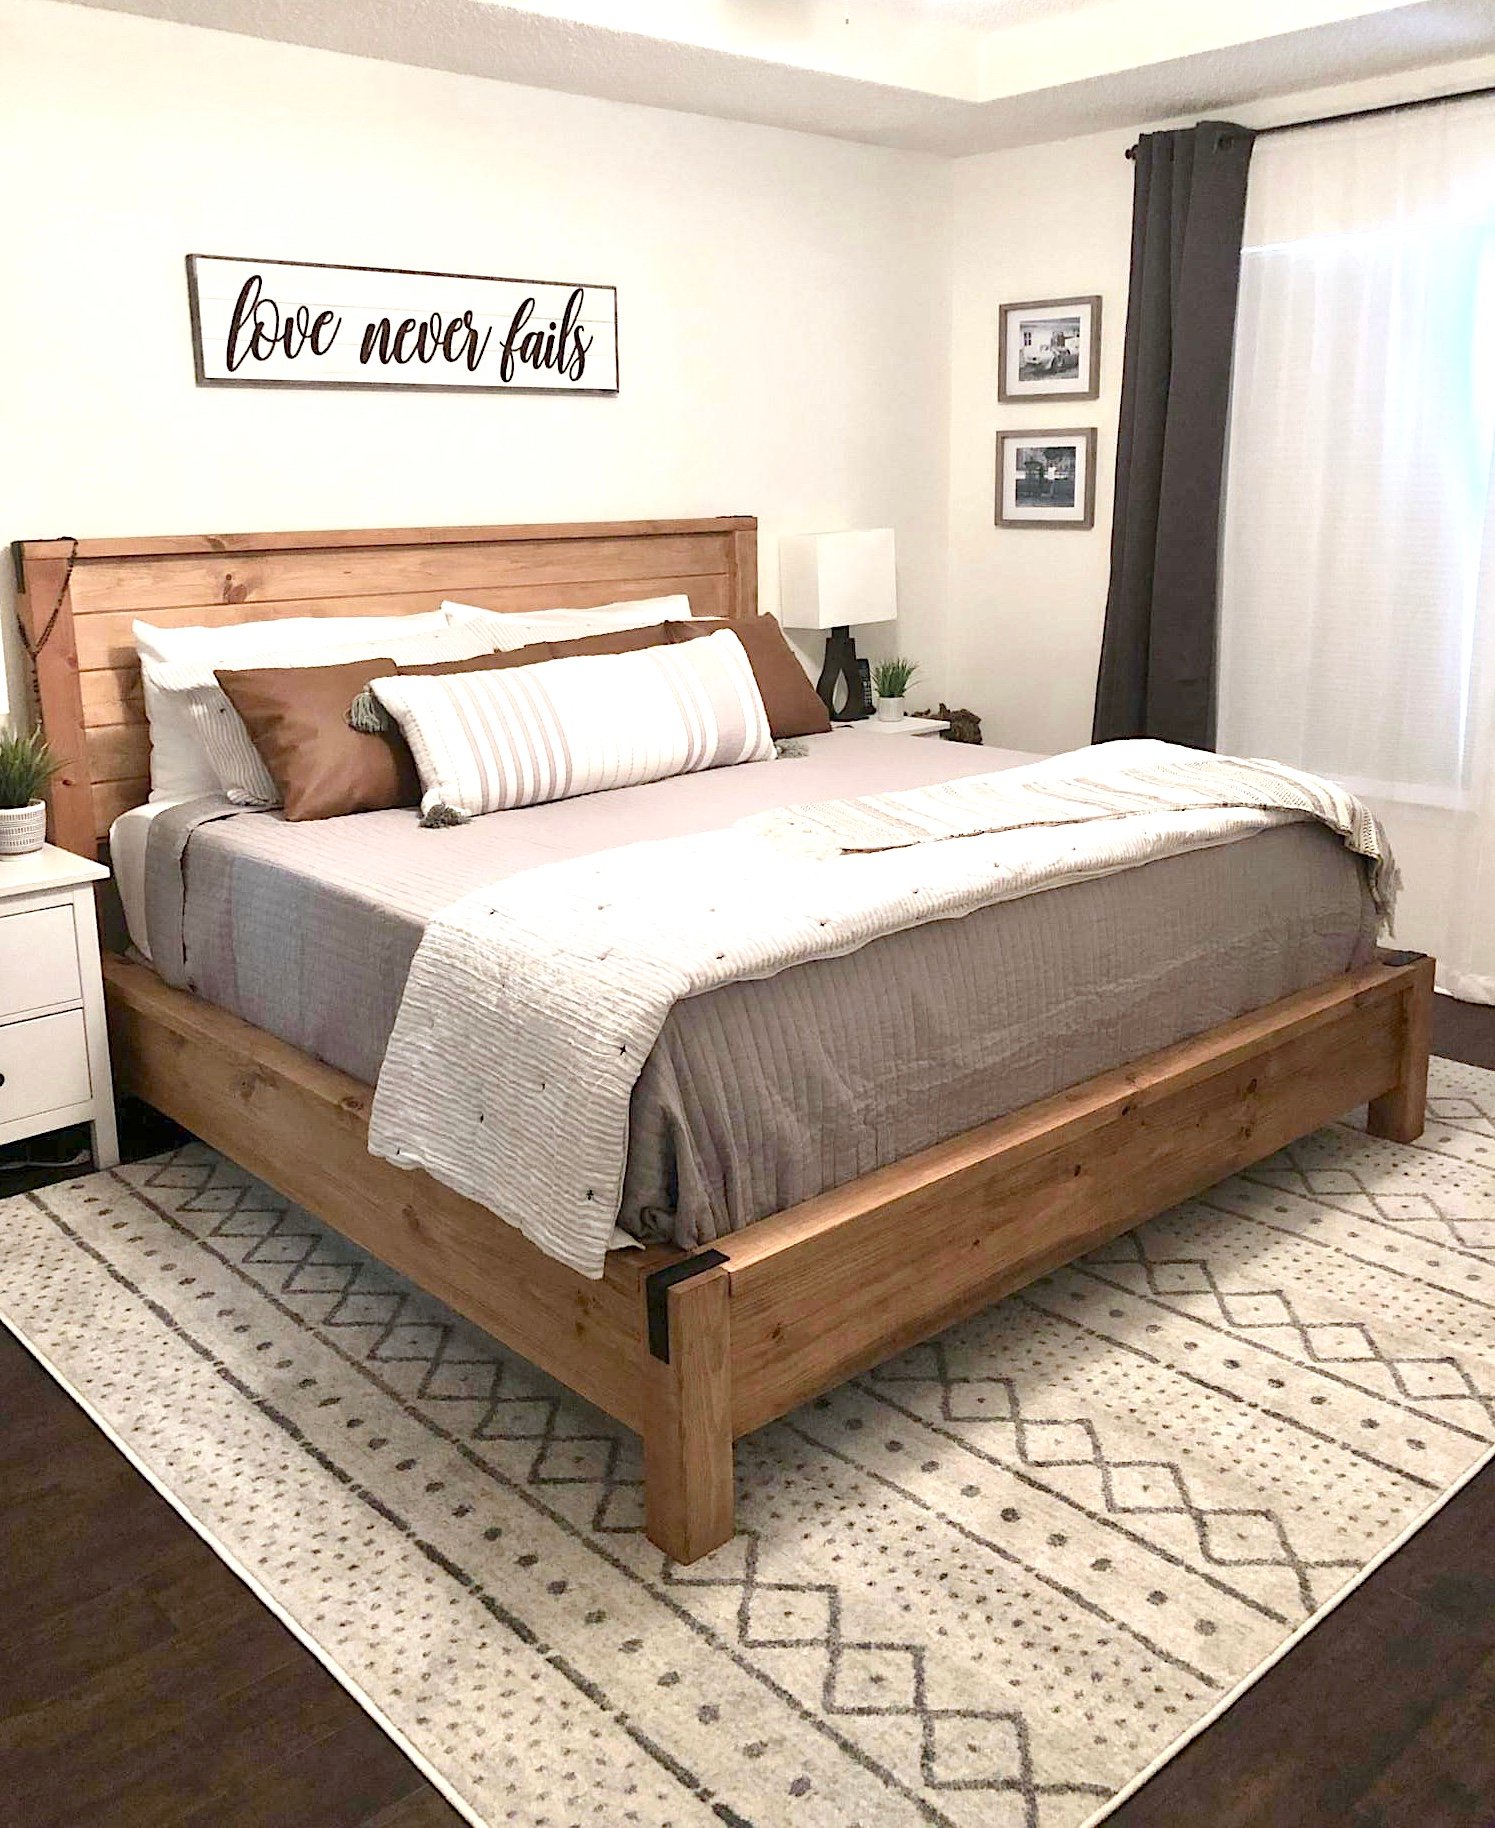
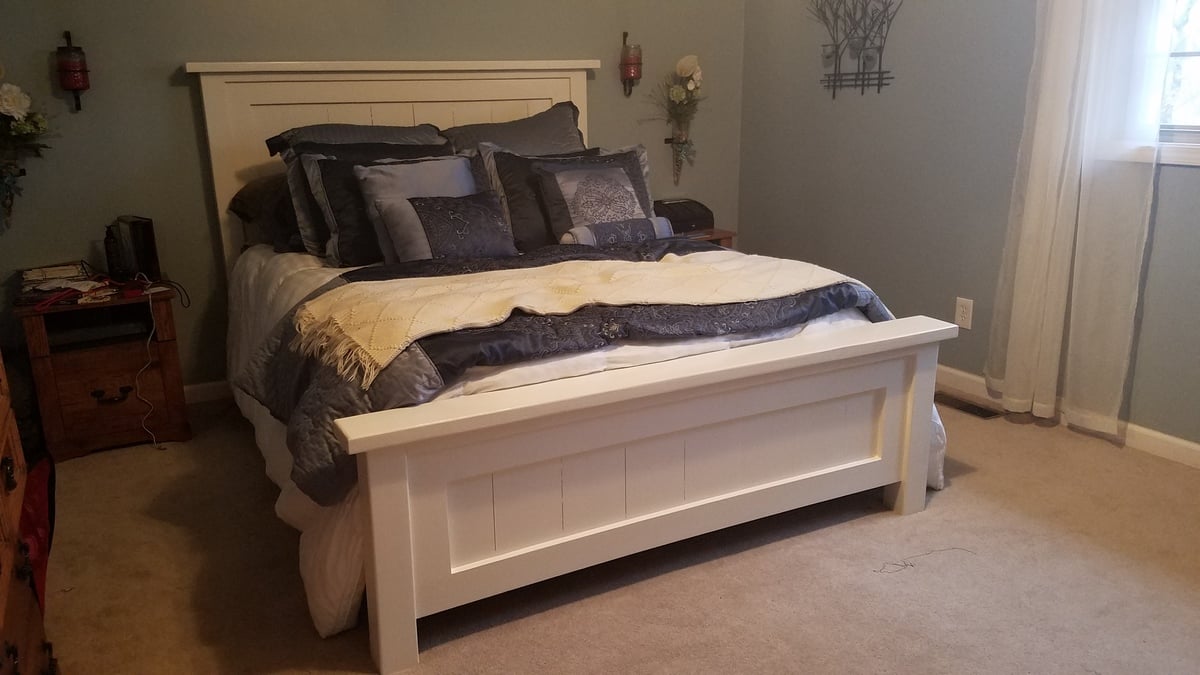
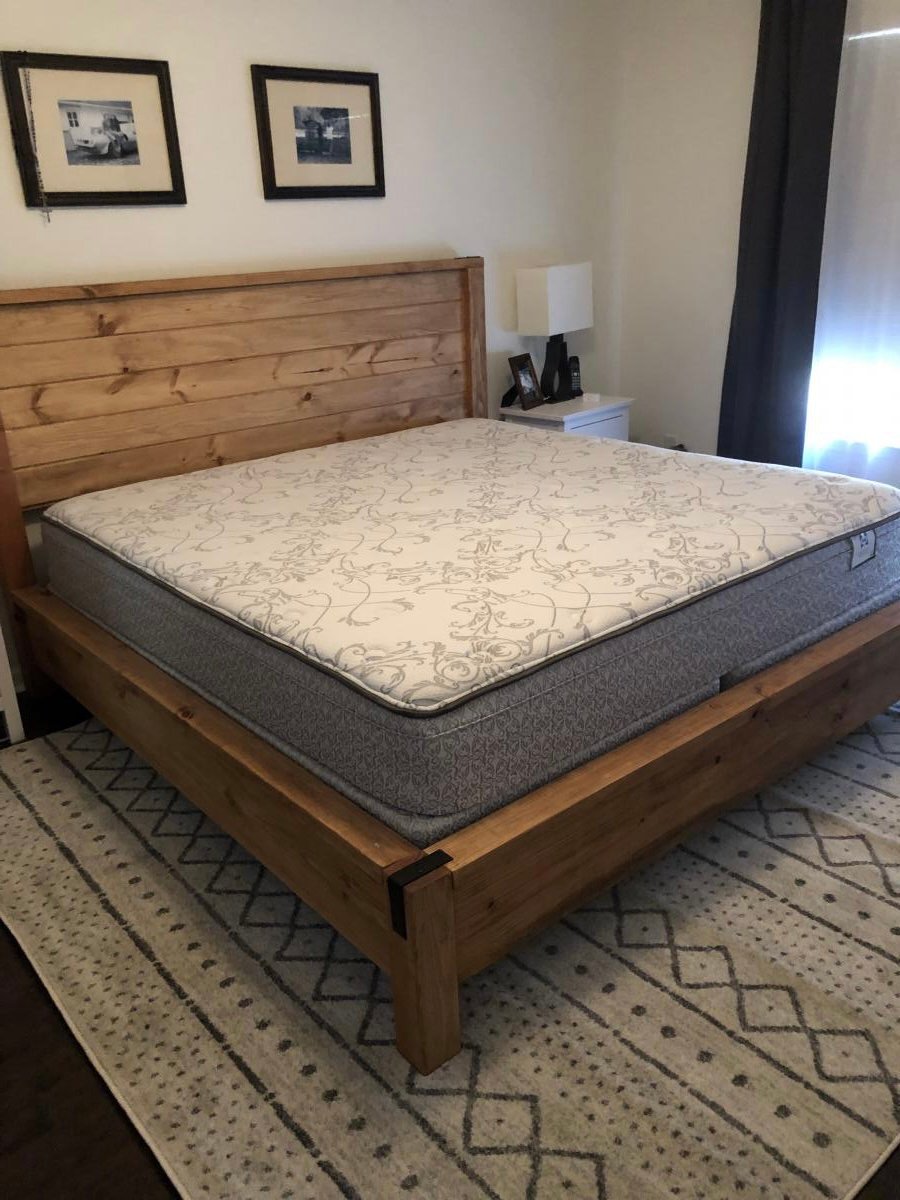
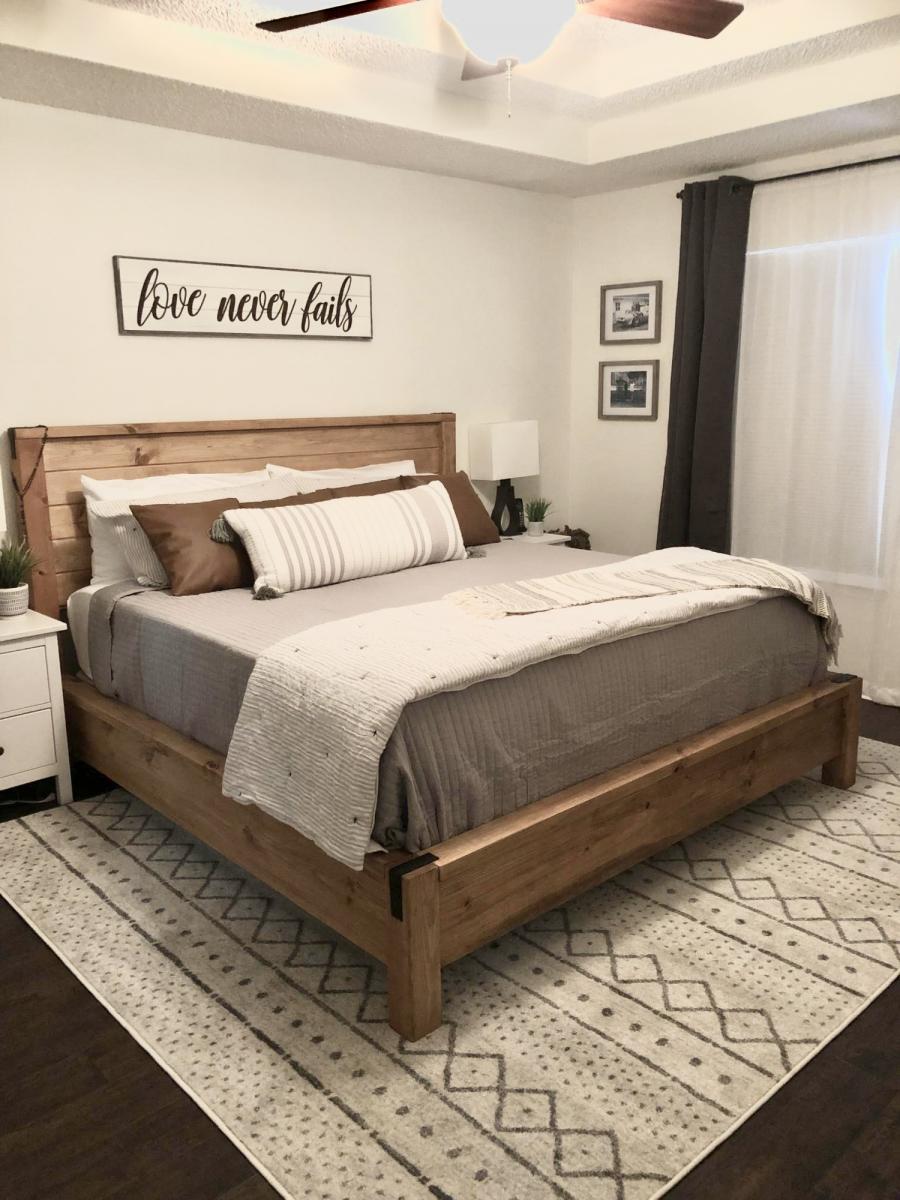
Made this bed from Ana's plans. Modified it with rail so I can add my box spring. Cost was approximately $160 for lumber, screws and stain. Absolutely loved the plans and easy to follow or modify if needed.
Tue, 02/23/2021 - 20:12
This is gorgeous! Is there anyway you could post your modifications? Very nice work!!!
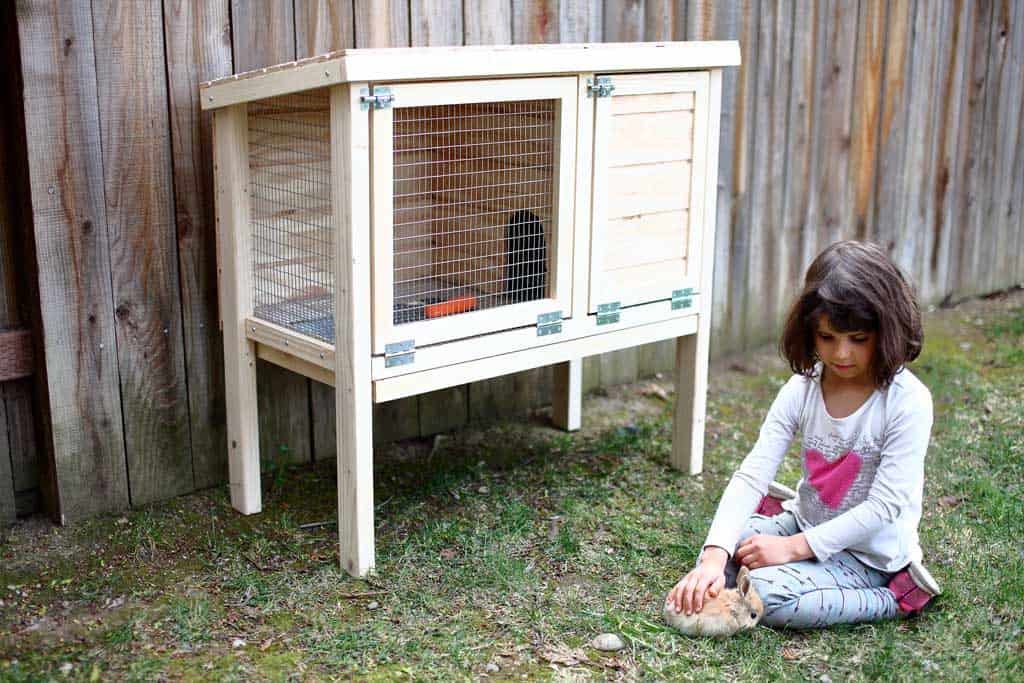
Looking for a cute, interactive pet to add to your home. What about bunnies? These creatures make great indoor pets. But before getting the rabbits, they will need a hutch to live in. To solve this problem, I’ve made detailed plans on how to build a DIY rabbit hutch that could be used indoor and outdoor.
The hutch has a litter pan under the floor that could be removed for cleaning. Since the hutch is only 3 feet wide, it could be easily moved around.
See my website for additional pictures and how I've built it, TheDIYPlan.com

Love how this rustic buffet / console table turned out! It was made as a companion piece for a Farmhouse - style table. Modified to be shorter (64"), and made without the decorative hardware or the "X" detailing from the original plan.
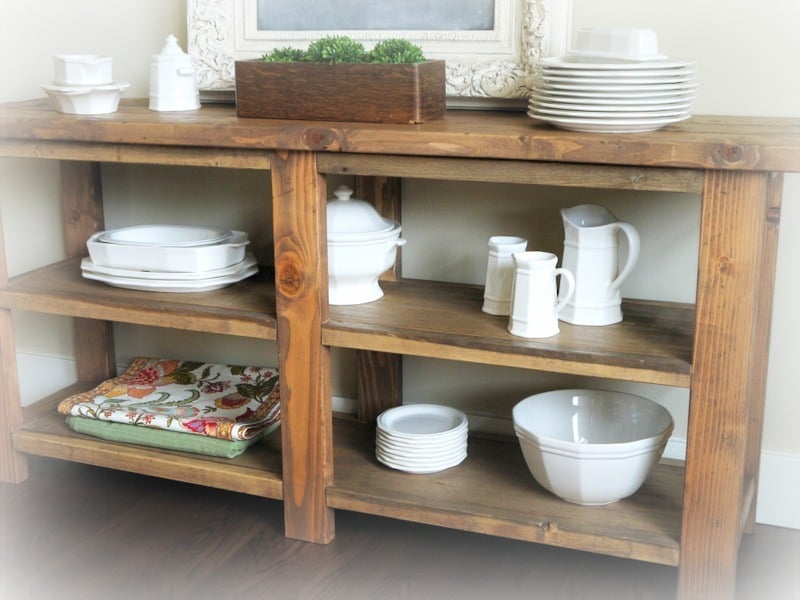
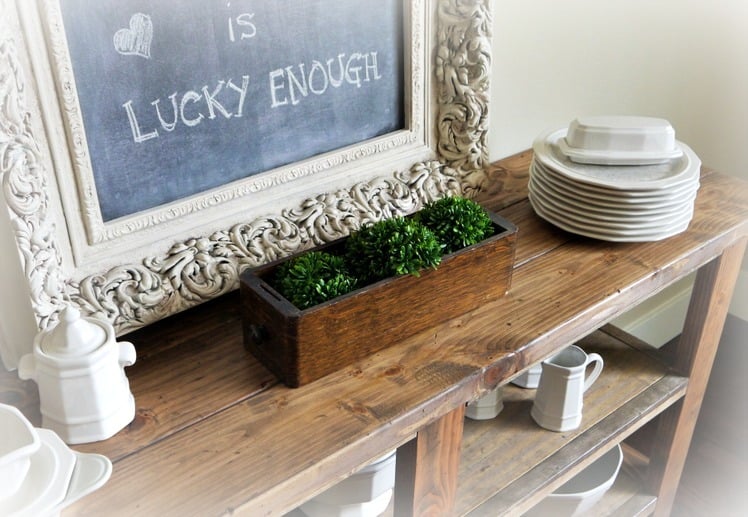
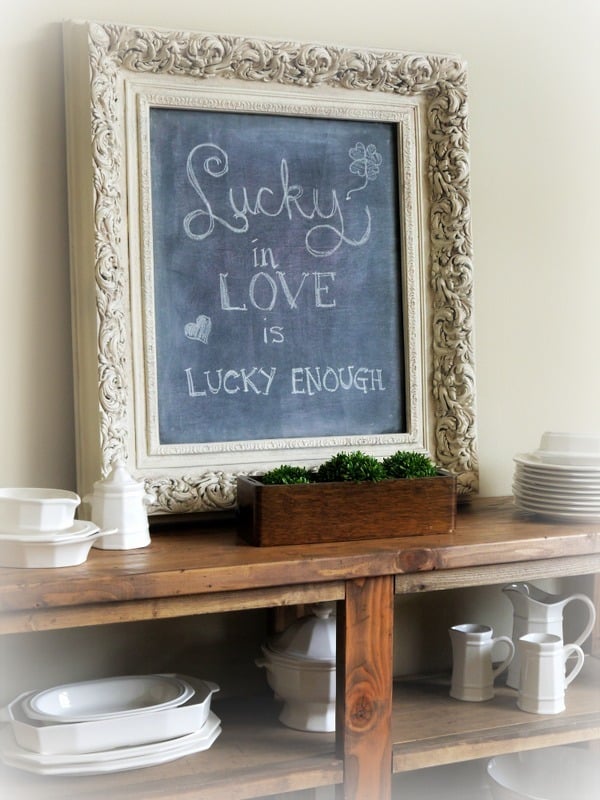
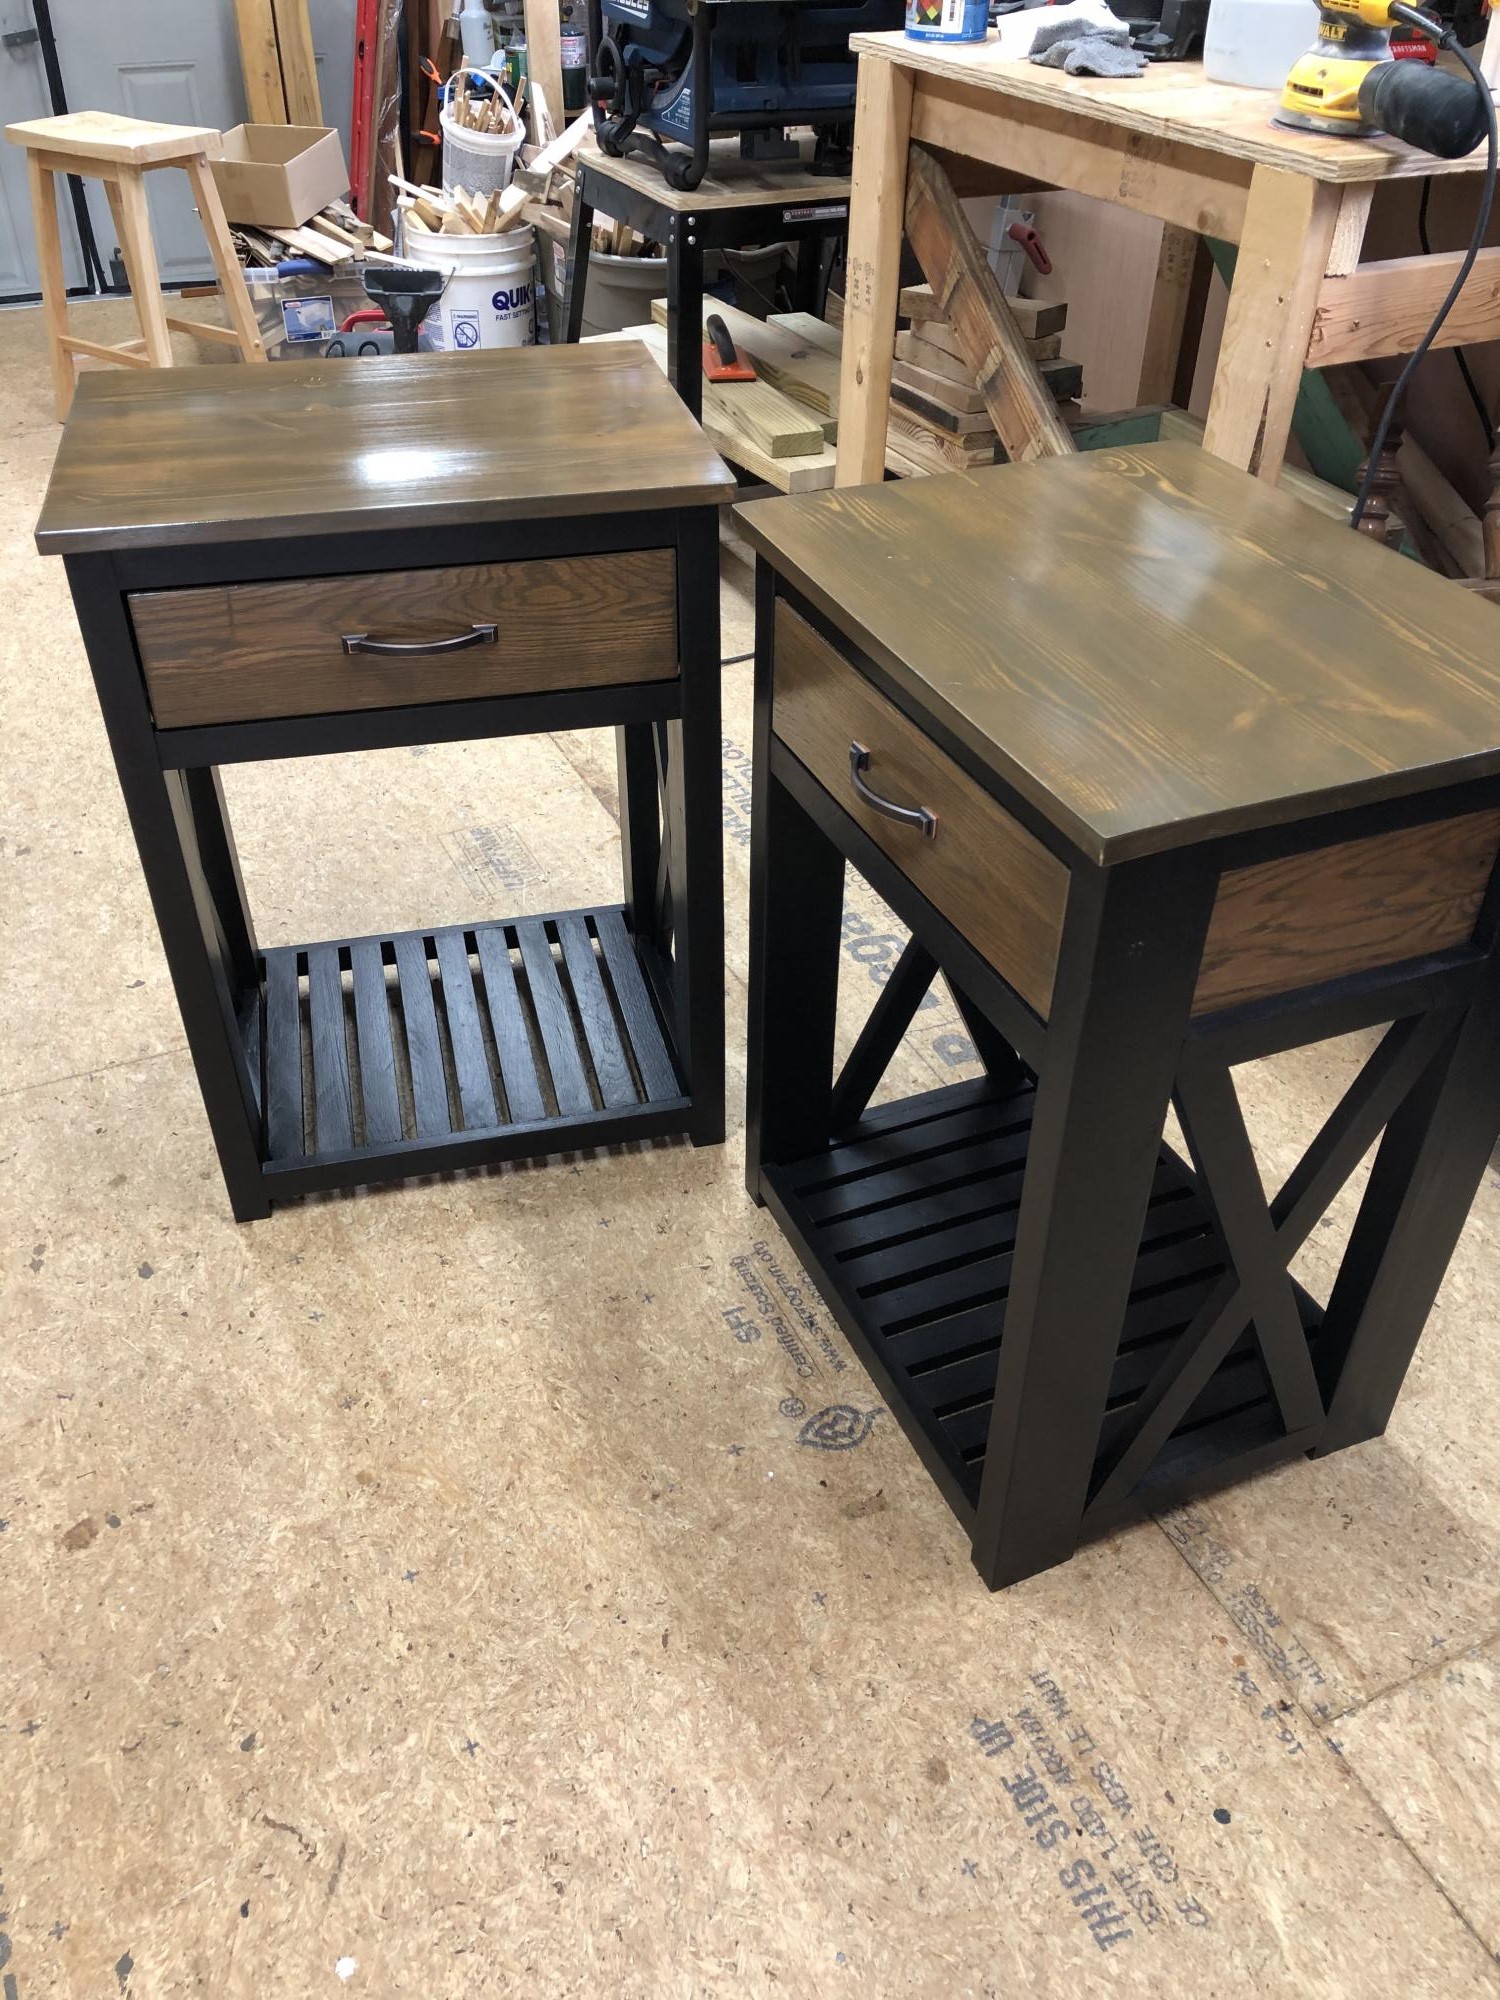
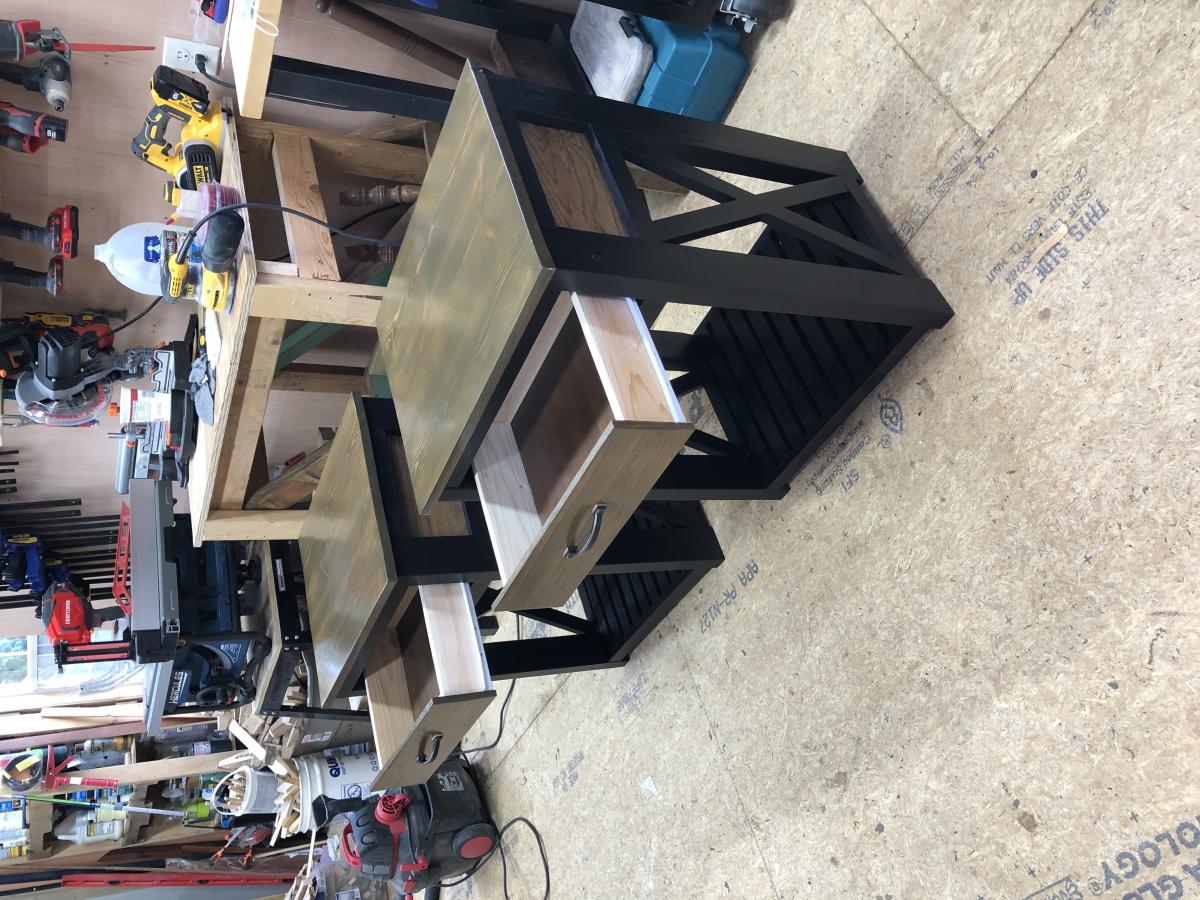
I made these for my granddaughter out of various repurposed wood.
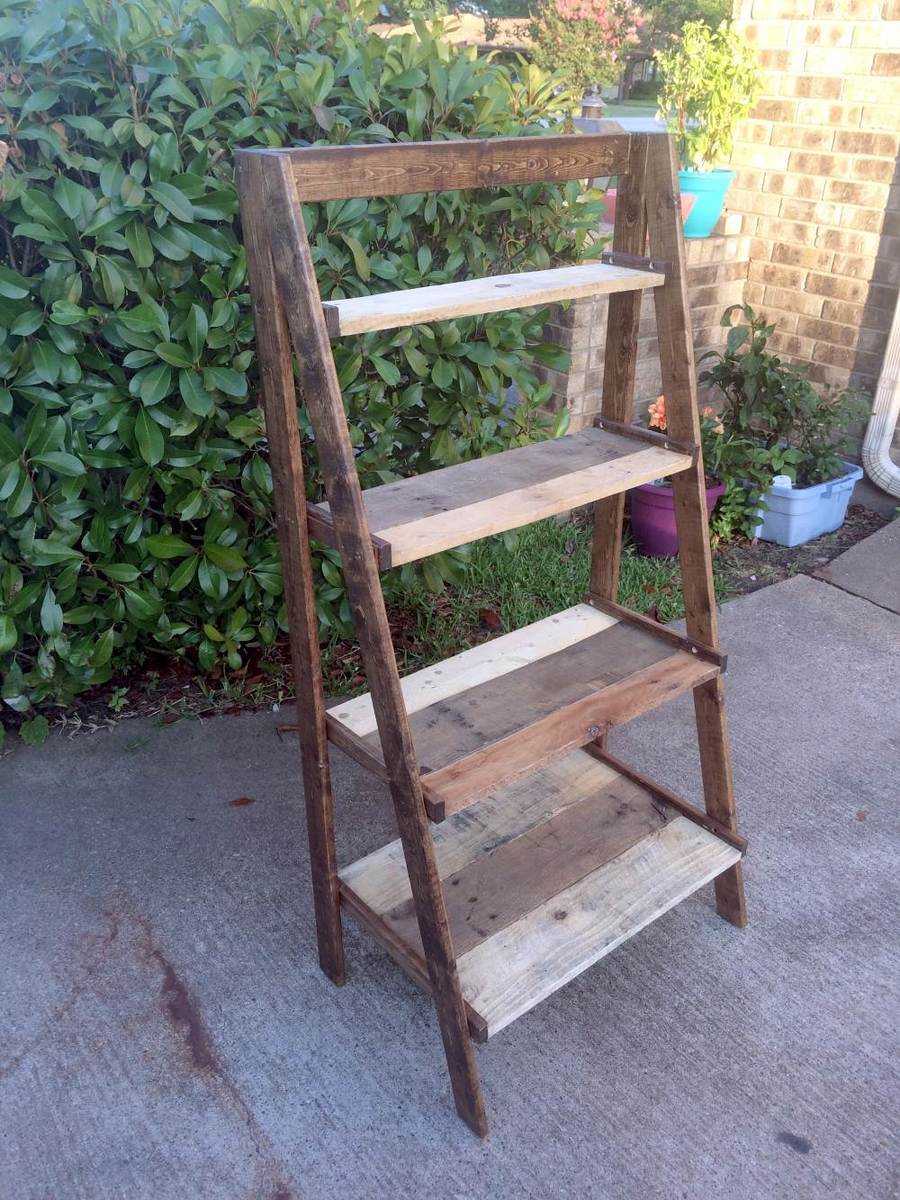
Made this one with shelf edges/trim just on the sides. Somehow my top shelf didn't span the width so had to add a little shim on each side but it all worked out! We had all the pallets and used 1x3s for the frame because some of my pallet wood was heavy hardwood. It was not without frustration because I was working with uneven/warped pallet wood but it hits the rustic look. I am happy with how it turned out.
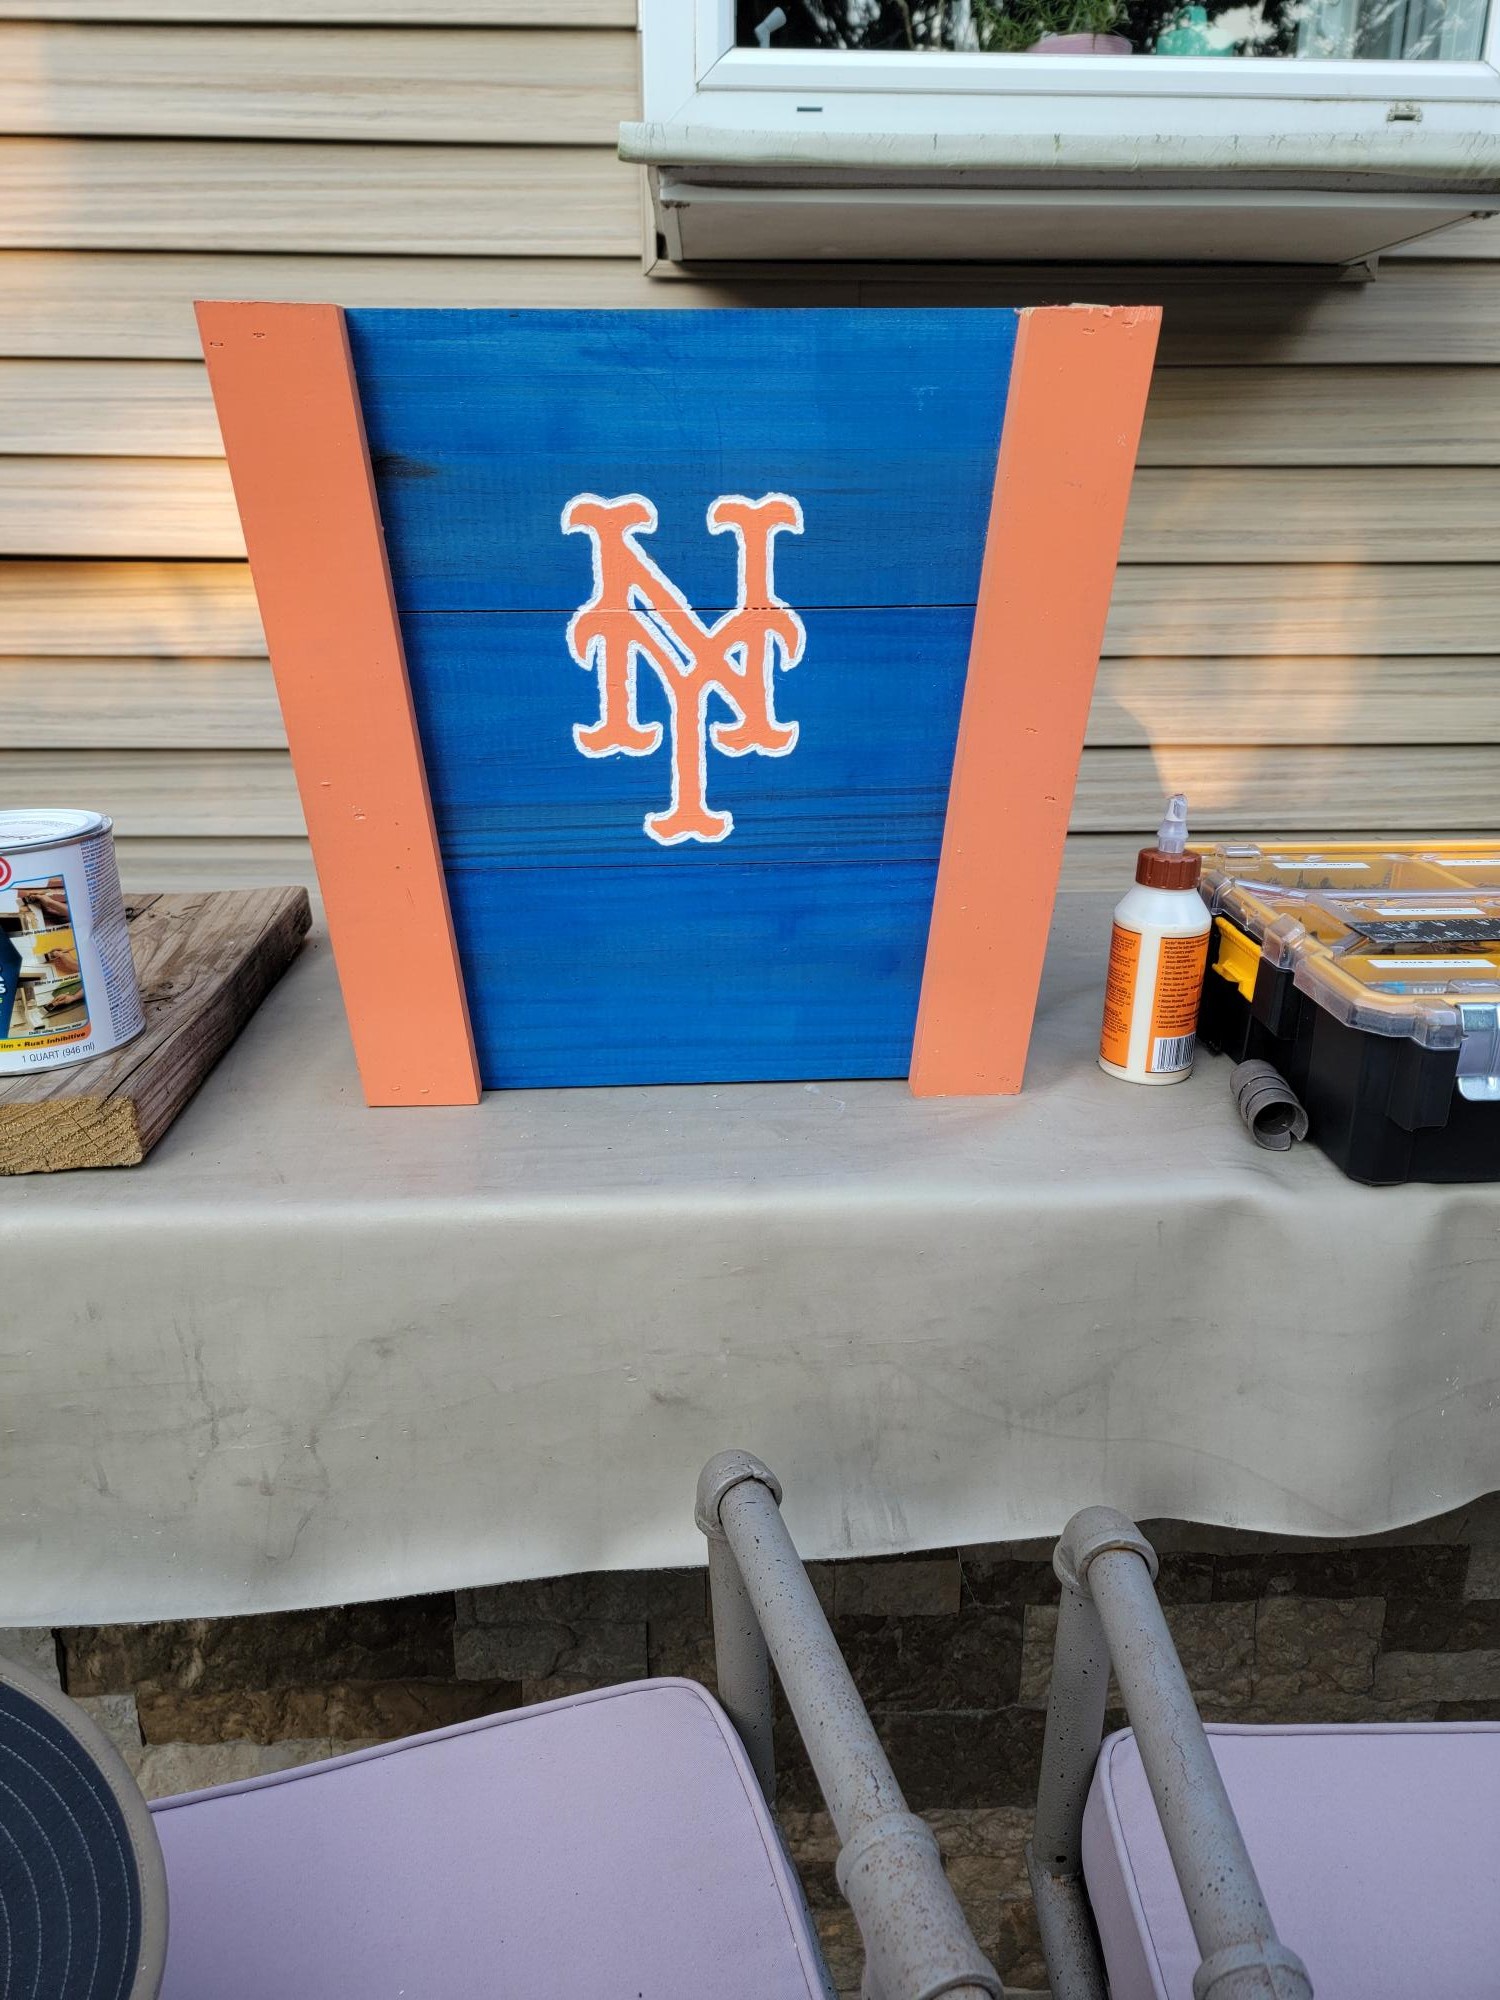
Started with the 3 plank plans from Anna's project, then dremeled the logo.
This project was a blast to make. And, it really is doable and a lot less time then you would think. And finishing it with milk-based paint is even more enjoyable. I used screws and a drill (pre-drill!) and it was wonderful.
Here's some advice for the plan:
- Mount the back of the headboard with a piece of wood and use a metal support as shown here. Just make sure the board is wide enough to be level with your back trim, or else the metal support won't be even when you screw it down. And when you pre-drill this board, make sure you don't go all the way through, or else you will have holes through the front! It stunk to have to putty them all in, but thank heavens for putty.
- Although the instructions say to make your top 1 x 3" trim to fit in line with the top of the headboard, I made mine one inch longer on both sides, and then the 2 x 4" one inch longer to go on top of that 1 x 3" on both sides. That was just the look I wanted. Although you can get your wood pre-cut, I would recommend cutting it all yourself, especially since you will need these cut afterward once the rest of your headboard is put together.
- Ana's 'get started' tips are very helpful. Be sure to check them out first!
- Make sure, make sure, make sure you dry thoroughly between coats. Patience is a virtue.
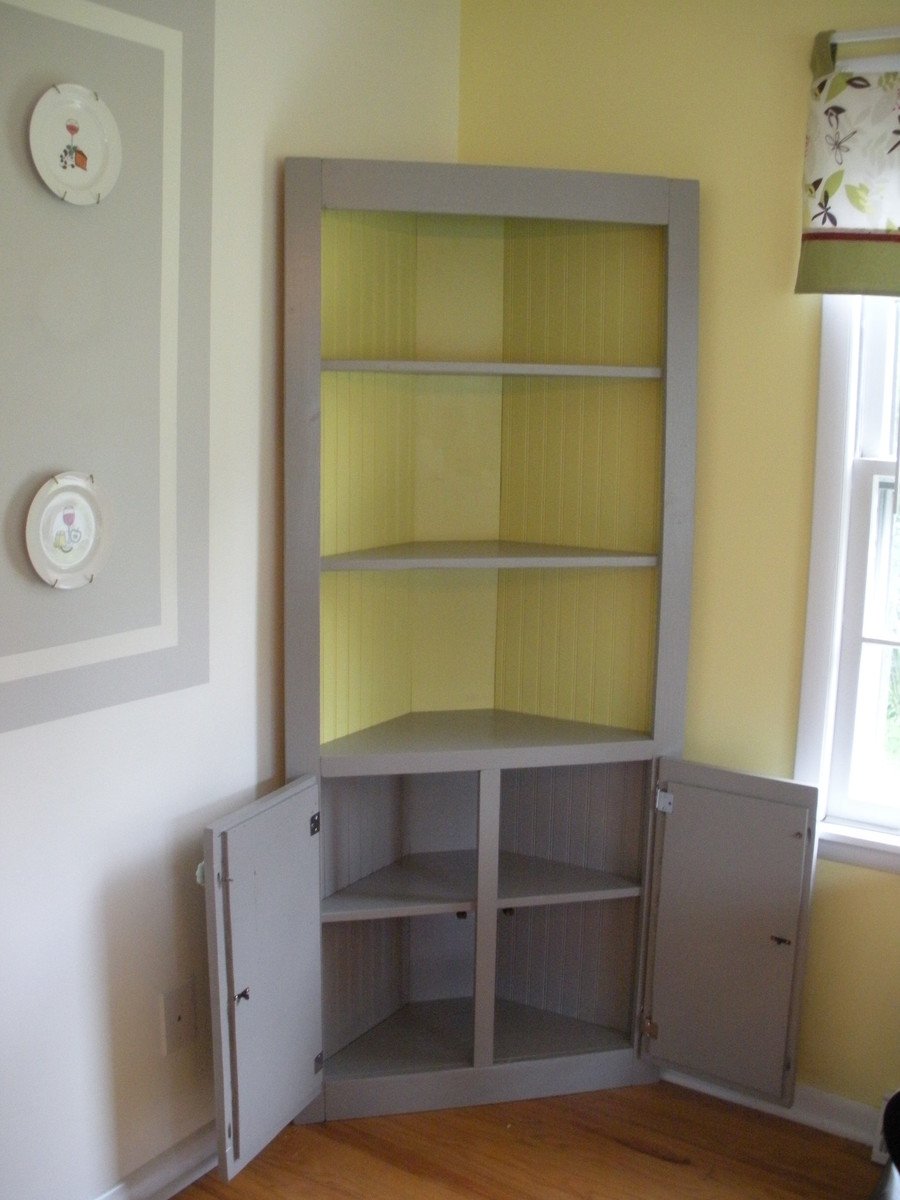
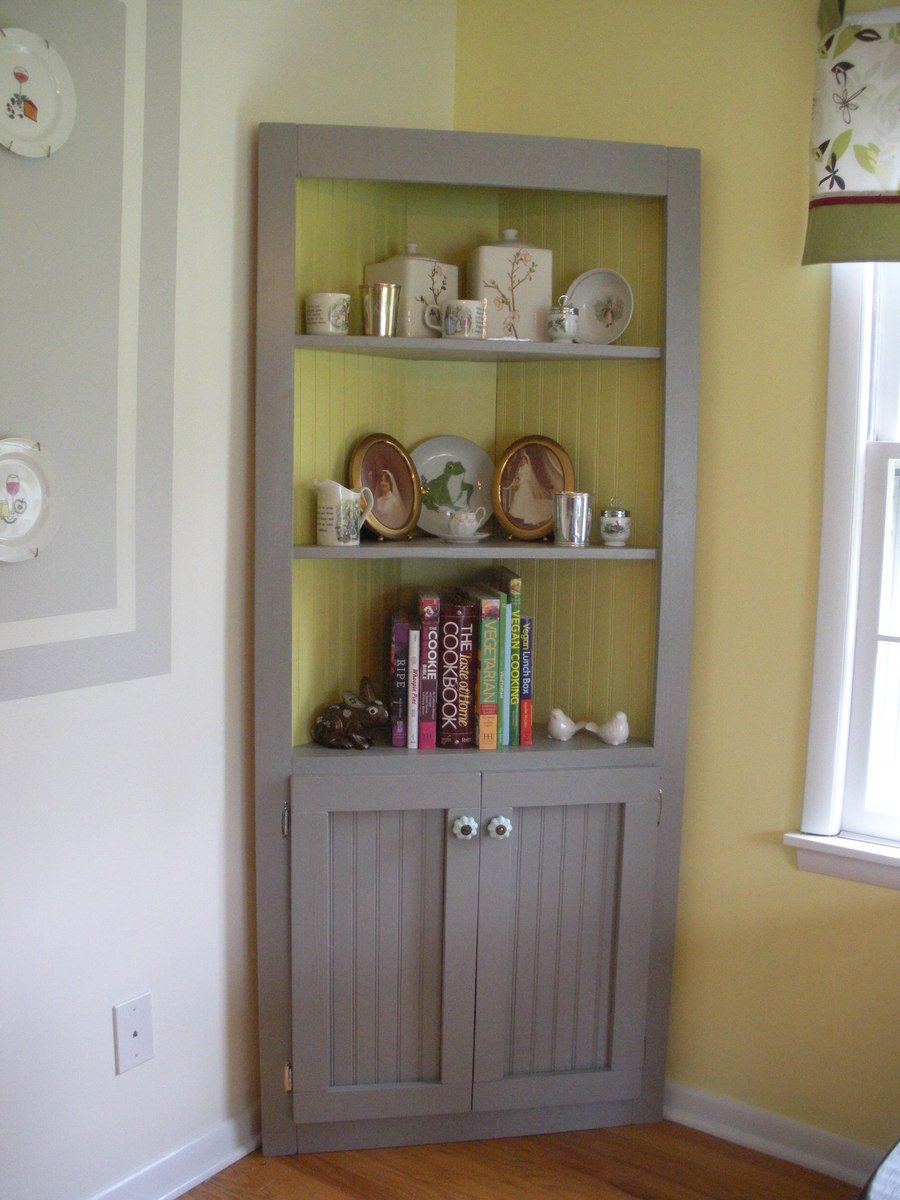
This project took me the majority of a three-day weekend to complete, but it was well worth it! I had the lumber store cut the beadboard panel for me so that it would fit in my car. This was also the first time I built something with doors on it, which was a bit of a learning curve, but came out alright in the end. I used pocket holes to build the face frame, and attached the shelves to the frame first before attaching them to the 1x8 back. I used 1 1/4" pocket hole screws and 2" wood screws. I left off the trim at the top and didn't bother to cut out the footer, but I think it still looks pretty cute.
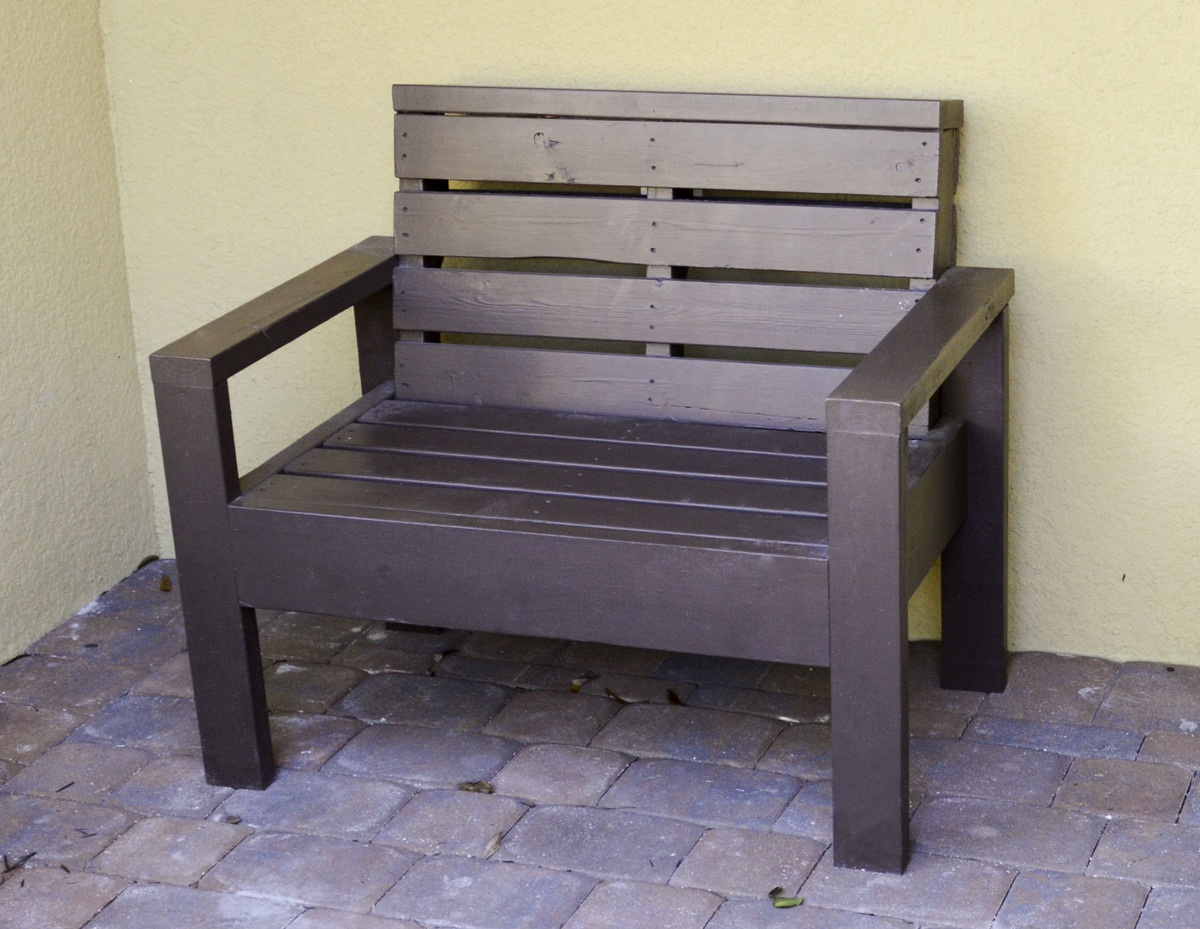
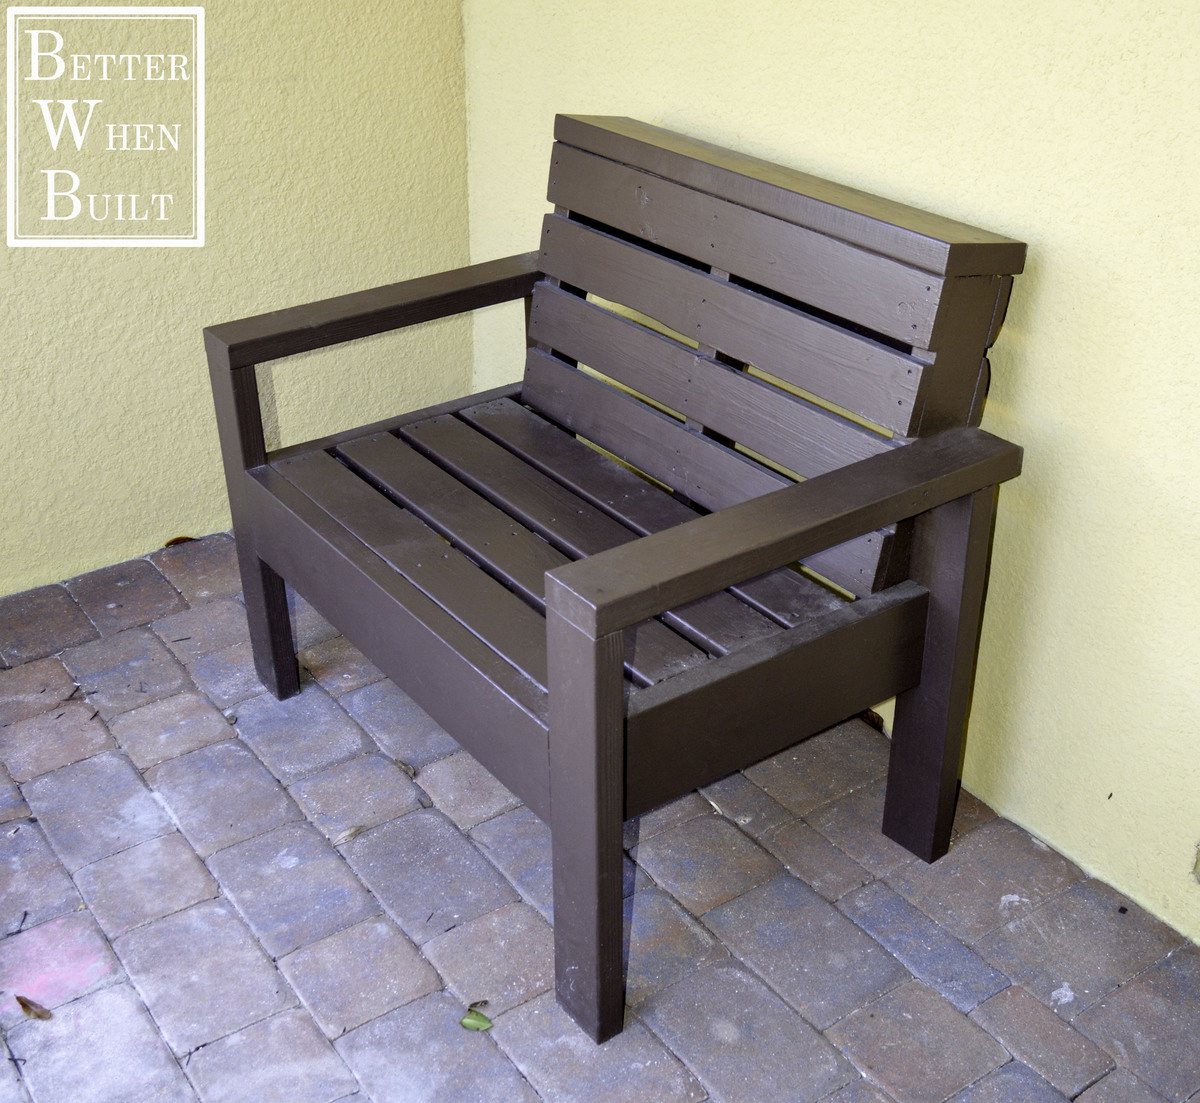
A friend gave me a pallet that I wanted to make into an outdoor bench. I found Ana’s plans for a simple outdoor loveseat and they inspired the frame for the bench. To make the bench I cut the pallet in half and then I adjusted Ana’s plans to make the frame to fit around the pallet.
The pallet was free and I used scrap wood to build the frame so my only cost for this project was paint.
Comments
joseph.ribecca
Wed, 10/16/2013 - 18:08
Day Bed
What kid of wood did you us for the bed base, and you just ancored them in the wall studs, With screw hooks?
sln3wc
Sat, 03/14/2015 - 12:18
I LOVE the green ladder. the
I LOVE the green ladder. the white bedding is beautiful
Wvchanger
Fri, 10/21/2016 - 20:39
Hanging beds
How did you tie your rope? I made the beds but having a difficult time finding a secure way to tie the rope so it's study and won't slide