Community Brag Posts

Breakfast Bar inspired makeup vanity

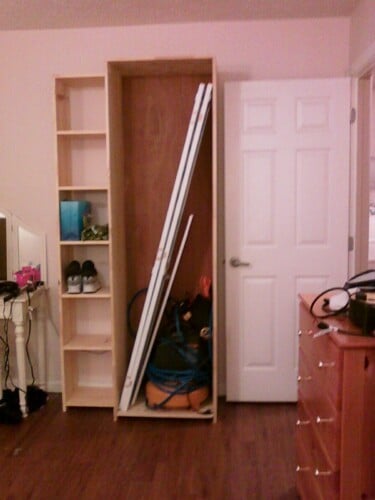
I built this makeup vanity to fit a 40" wall. I was inspired by the design of the DIY breakfast bar. The hutch sits on the top and has plenty of storage. The front drawer fronts are hinged at the bottom, this storage space holds a hairdryer and iron or makeup with a cord pass through at the back. The stain is a mixture of three colours.

Estimated Cost
300$ approx.
Estimated Time Investment
Week Long Project (20 Hours or More)
Recommended Skill Level
Intermediate

Comments

whancock

Sat, 11/05/2016 - 07:47

Can you link to the plans you based your inspiration off of? I can't seem to find it on the site. Thank you!

First Project

Submitted by dragondad on Thu, 08/06/2020 - 11:34

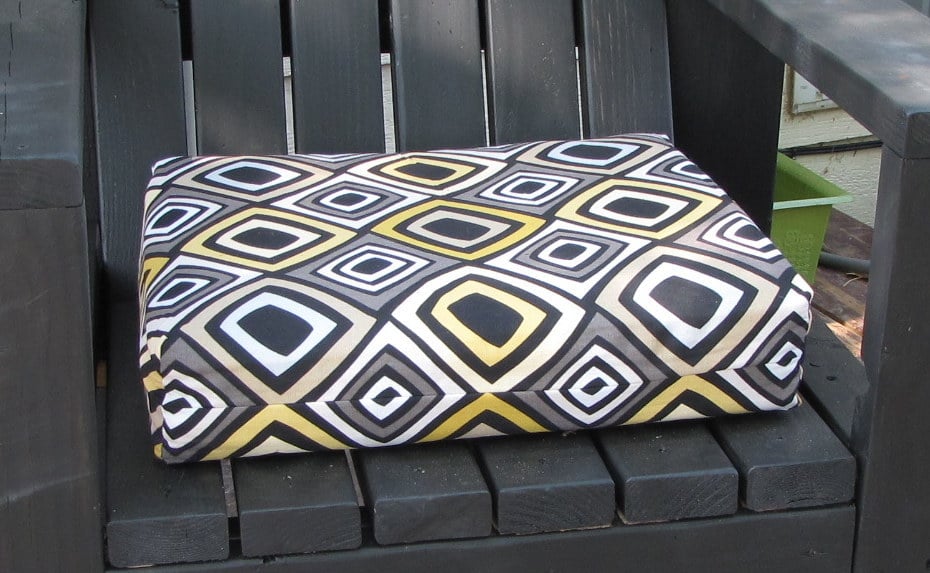
Well, I started with one chair and finished with a full set. Not bad for a first timer. Definitely room to improve. Little tip if you're going to make this amazing set... raise the backs as they are too low with thicker cushions. I built a casing to go on top after the fact. Pretty happy with how it all turned out. Thanks Ana for the plans... now onto the next project!

Comments

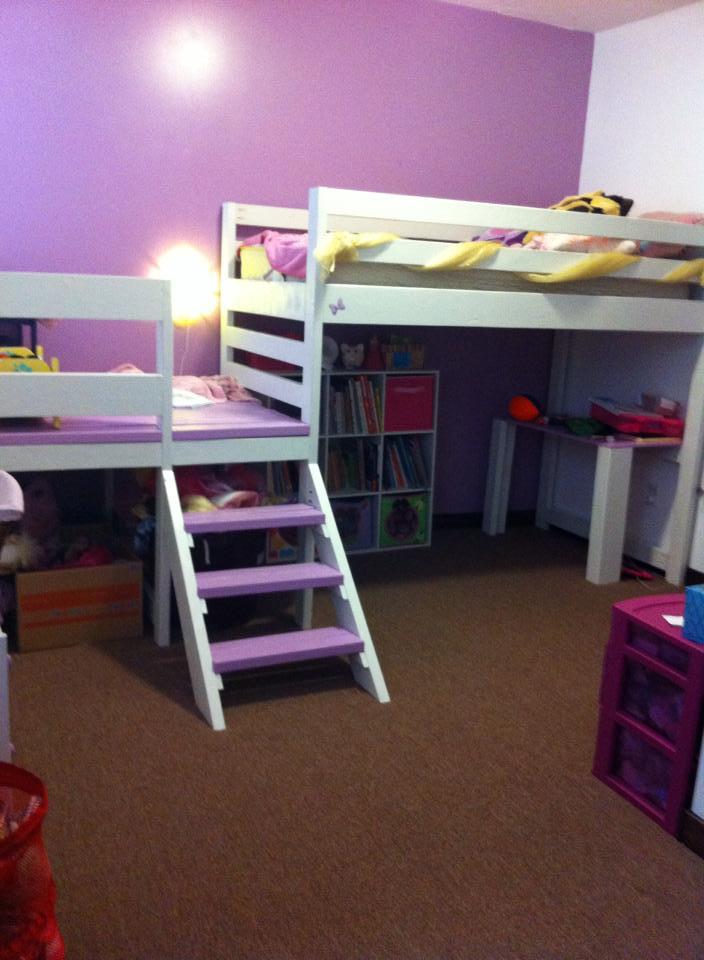
Camp Loft Bed

Submitted by carongirls on Sat, 09/27/2014 - 15:48

I extended the landing and added rails. 

Estimated Cost
$200
Recommended Skill Level
Beginner

Comments

wrigleysmama

Mon, 06/01/2015 - 12:06

I love your modifications with extending the landing. Do you have more pictures that show the whole thing? Did you by chance write down any notes with what you did differently? We are building this bed next week and would love to make a "deck" like you did.

In reply to by wrigleysmama

Ana White

Sun, 01/22/2017 - 10:39

Hi, Ana here!  I might suggest something like this -

[[{"type":"media","view_mode":"media_original","fid":"3154931926","attributes":{"alt":"","class":"media-image","height":"834","typeof":"foaf:Image","width":"891"}}]]

Basically just increase the length of the side pieces first to however long you would like the deck to be.

Then, if you need extra support, add legs on the inside of the platform where needed.  On the front side if you are doing railing you could even extend the front leg up so it is part of the railing too.


You may need to add additional supports for the deck boards, shown in green above, but this should be easy enough to do.


Hope this helps!

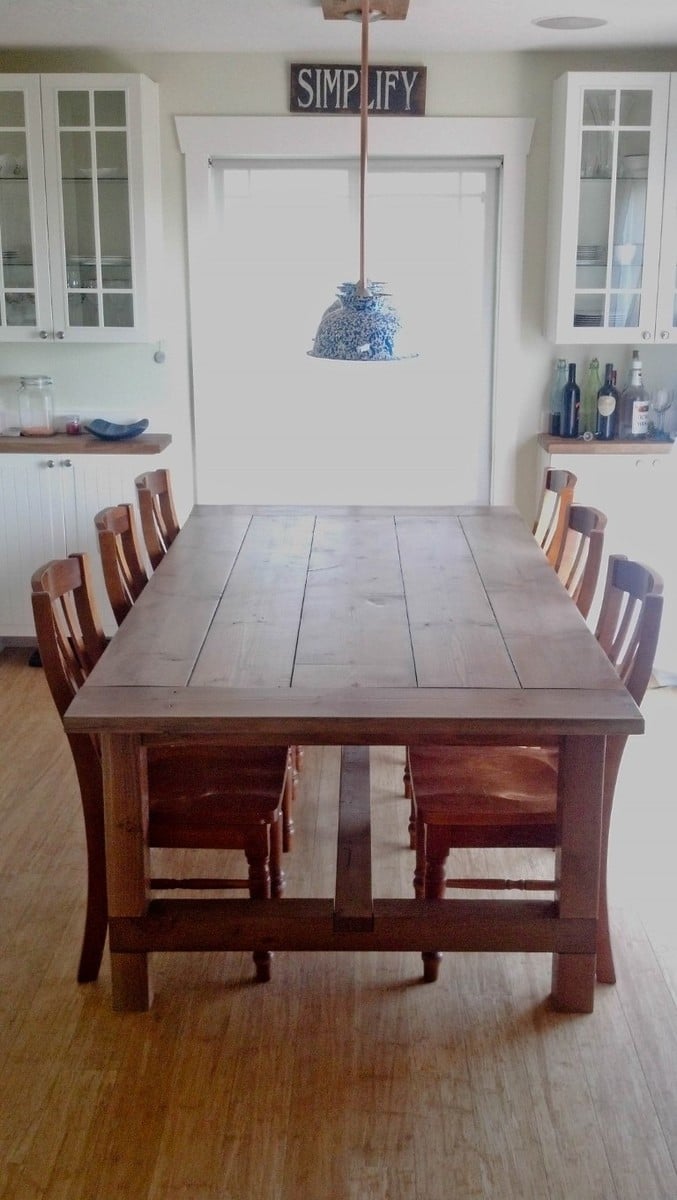
Farmhouse Table

Submitted by deckroid on Fri, 04/26/2013 - 10:15

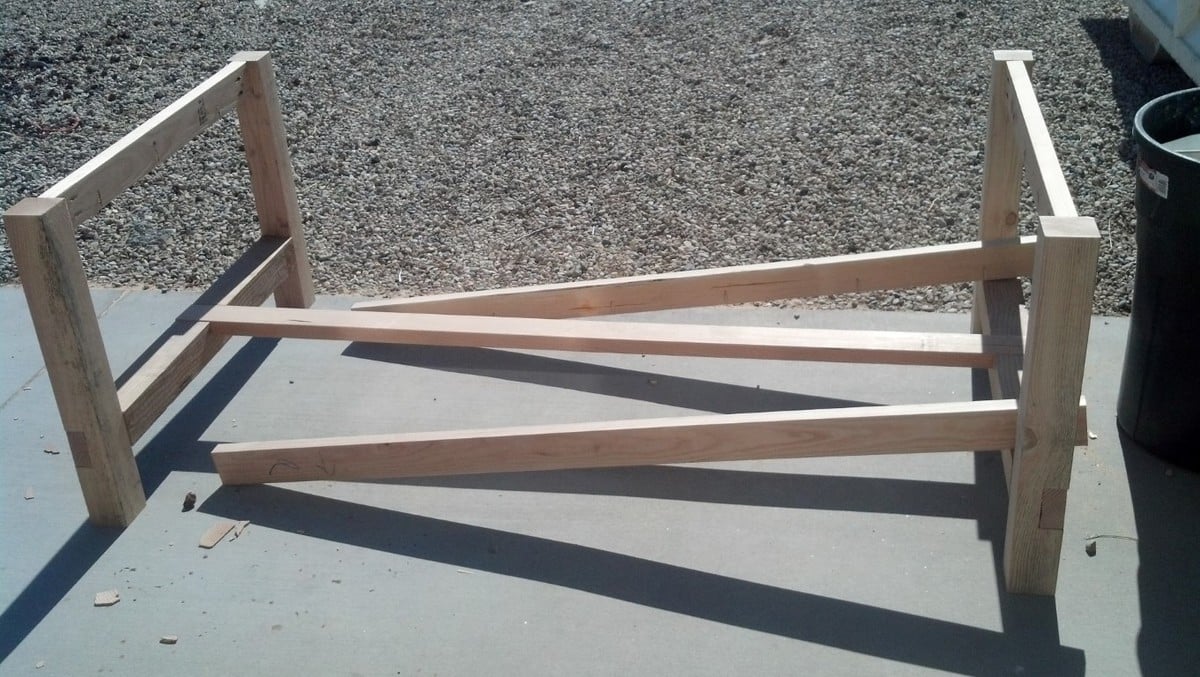
My wife and I really love the farmhouse look and feel. We saw one of these tables at a furniture store for $2000 with no chairs. I had already bought the Kreg Tool, something that I cannot believe I have done without for so long, when I went to build some $10 Shelves that Ana has on her site. My wife asked me how hard it would be to build the table and I told her I have never done anything like it. I also told her if she didn't like the end project, we could use it as a picnic table outside. It was fantastically easy with the plans and Kreg Jig. Thanks to Ana for all the helpful tips!

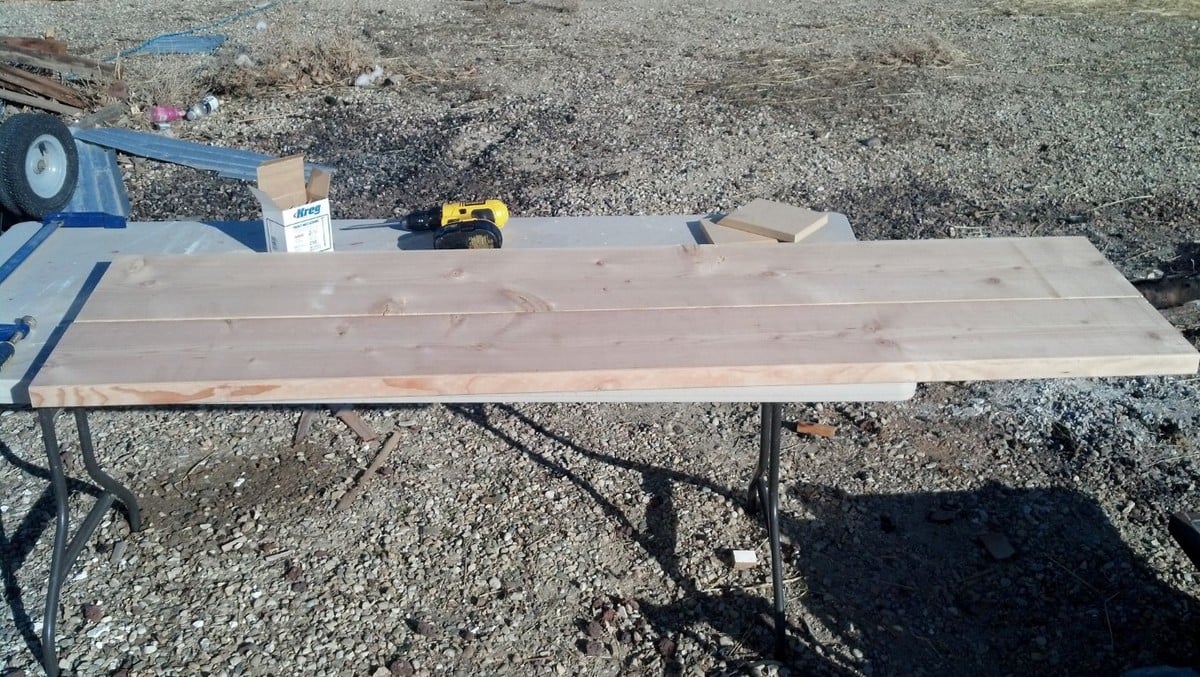
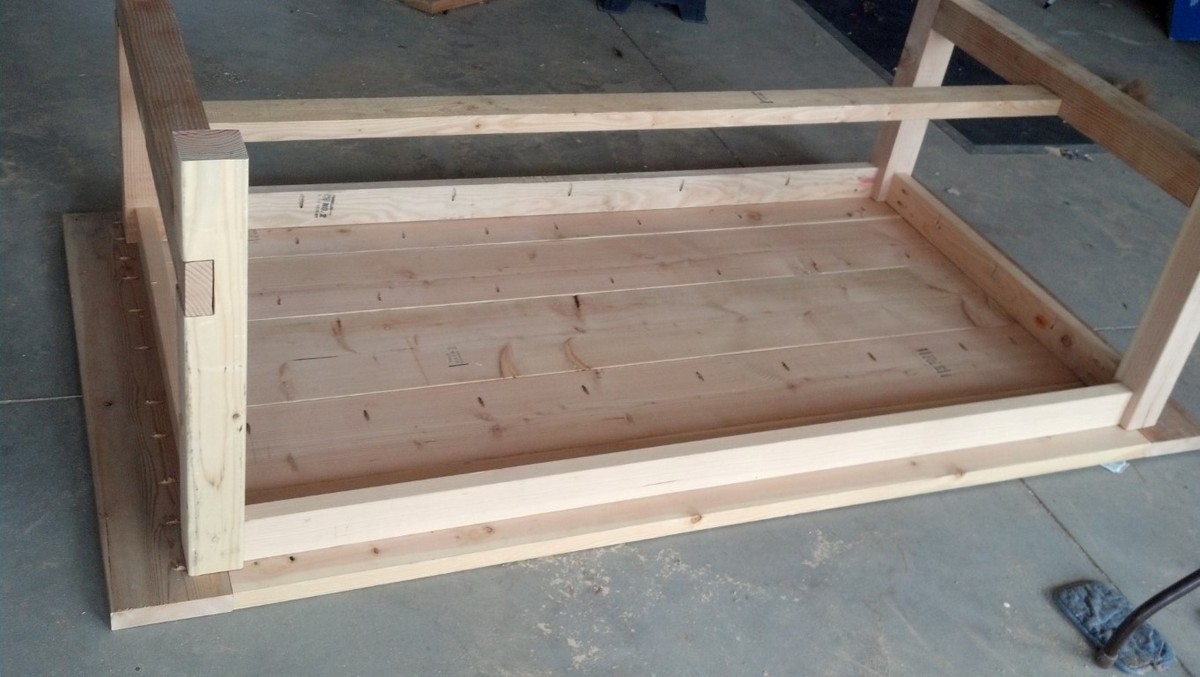
Now to the build. We decided that the table needed to be a bit wider and longer for our needs, so I adjusted the plans. It came out to 90"x48". The center board is a 2x12 with the other 4 being 2x10s. The end pieces are 2x8s that I had from building garden boxes. The benches that I also built were from scrap lumber, they are not pictured here as they need one more coat of stain and then three coats of polycrylic. They are 52" long and go on the ends where the kids can use the cross beam as a foot support.

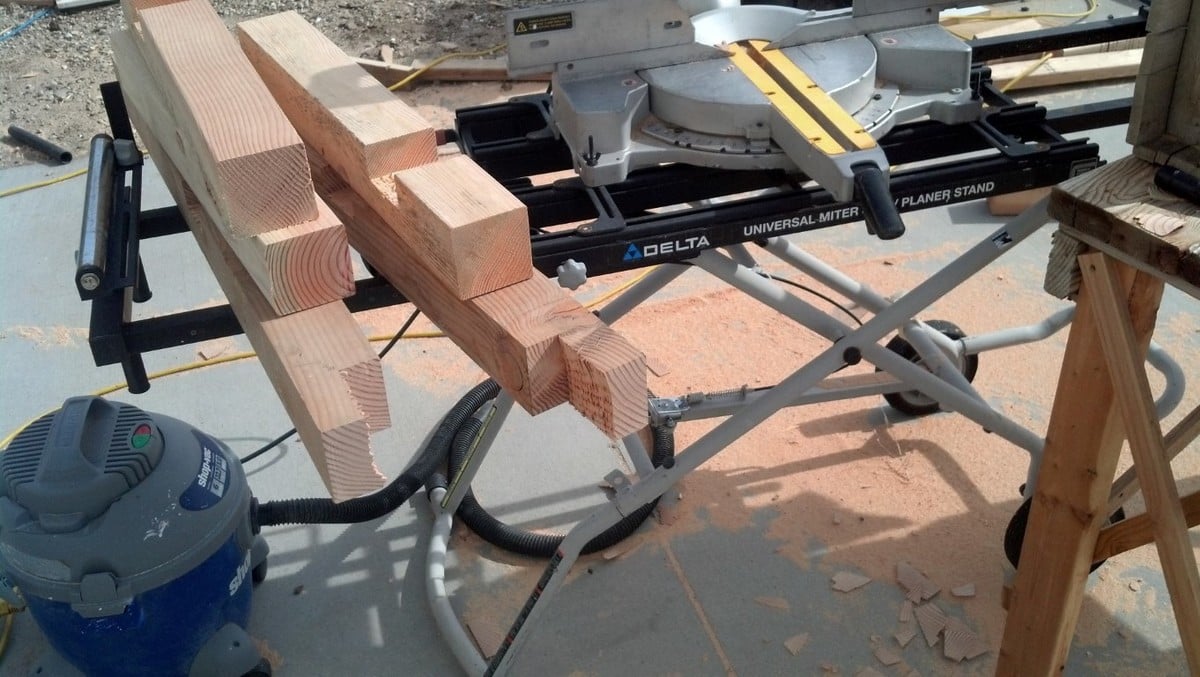
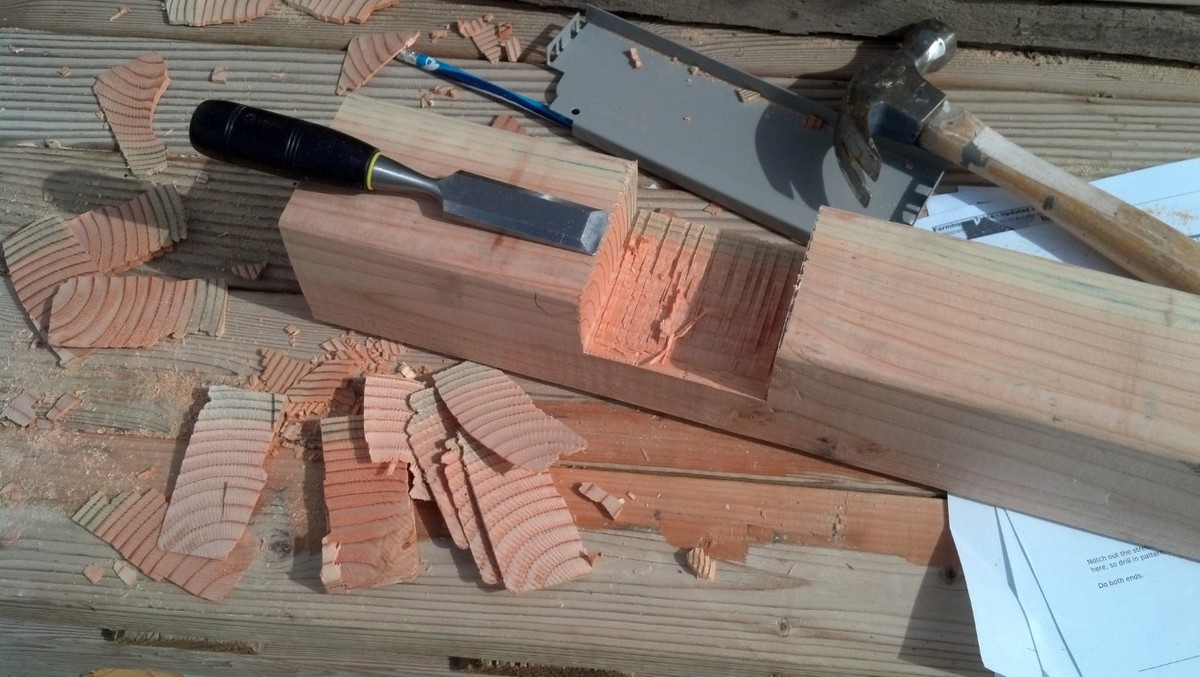
Building this project was rather quicker than I thought. Of course, borrowing a radial arm saw helped out a bunch with the legs. Once it was all together, I sanded the table three times. I used 80, 150 then 220 grit. The palm sander got a real workout over the space of about a week and a half.

Finishing the project, I decided to follow the plans and went with Minwax Weathered Oak and topped that with Minwax Polycrylic. The legs and underside of the table received 2 coats of each, but the top I gave 3 coats of stain and 2 coats of the Poly with a very light sanding in between each coat.

The table then sat completed in the garage for 3 weeks as I had to find enough help to get it into the house. This is one heavy bugger. If we ever sell the place, it stays! There are ~150 screws and all but 12 of those had pocket holes.

Fantastic build and now I am going to build the farmhouse king size bed. And a murphy bed. And more shelves. And a shoe cubby with coat rack. And a wine rack. And a greenhouse... the list goes on and on...

Estimated Cost
$80 for Lumber
Estimated Time Investment
Week Long Project (20 Hours or More)
Finish Used
Minwax Weathered Oak and Minwax Polycrylic
Recommended Skill Level
Beginner

Comments

Junker Dic

Fri, 04/26/2013 - 14:09

Could you have used heavy duty steel leg braces? These could slipped into saw kerfs on adjacent sides of the apron. Then used hanger bolts to fasten the legs. This would allow the legs to be removed if needed.

deckroid

Fri, 04/26/2013 - 15:09

I thought about making the legs removable, but really, it was much easier this way and very sturdy. I had a lot of fun building this.

Jake

Sat, 04/27/2013 - 18:55

You have just joined the league of addict builders. You really did a great job on this table. Did you get the lumber from big orange or blue and have it jointed? The boards look really good and the fit is tight. Anyway I am sure we will see more of you in the future.

deckroid

Wed, 05/01/2013 - 07:19

Hey everyone!

Thanks for your kind words. The chairs were from our previous table we bought some years ago. I was astounded to find that Ana's plans were the same height as our previous table. Great fit for the chairs.

As for the lumber, I got it from a local building supply company (one of the last, sad to say) and they were only a bit straighter. I got them tight by using clamps. Clamps and LOTS of pocket holes.

George

wjc129

Thu, 05/02/2013 - 18:45

Great Job! Thanks for the extra pictures. I am working up the courage to build the farmhouse queen bed myself. If it works out I might tackle this table, as I like your plans.

goalist

Thu, 08/08/2013 - 11:08

This table looks great and I've decided that its going to be my first project, I just have two questions.

1. What version of the Kreg Jig did you use for the pocket holes?
2. Did you use satin or semi-gloss for the Minwax Polycrylic?

Thanks

amytrz

Wed, 08/26/2015 - 10:53

Hi! You did a wonderful job on this table.  I would like to attempt it but am having trouble figuring out what type of wood to use.  The only wood I could find in the 2x8 and 2x10 dimensions was contruction lumber fir.  Is that right?

Thank you!

deckroid

Fri, 01/01/2016 - 11:03

Sorry about not answering... my wife told me this has been pinned over 17k times on pintrist and that there are still some questions... 


I used pine, but fir would be great too.  The lumber dimentions for the top were 2x10s and a single 2x12 for the center piece. 2x8s for the ends.  Really, though, any dimemtion works. Just keep going until you get the size you want.


George

Farmhouse table with no stretcher and benches

Submitted by Anonymous (not verified) on Sun, 06/25/2017 - 11:12

7 1/2 foot table using basic Ana White plans. I removed the stretcher to allow for more seating... but reinforced the underside to help make it structurally stronger. I also didn't add breadboards as the boss didn't like them. Painted the benches and legs of the table white.... stained the top with miniwax classic grey with a few coats of poly.

Estimated Cost
$350 (including wood and screws)... I used finished boards for the top so those were more expensive.
Estimated Time Investment
Weekend Project (10-20 Hours)
Recommended Skill Level
Beginner

4x2 Patio Seating

Submitted by Anonymous (not verified) on Tue, 10/05/2021 - 02:12

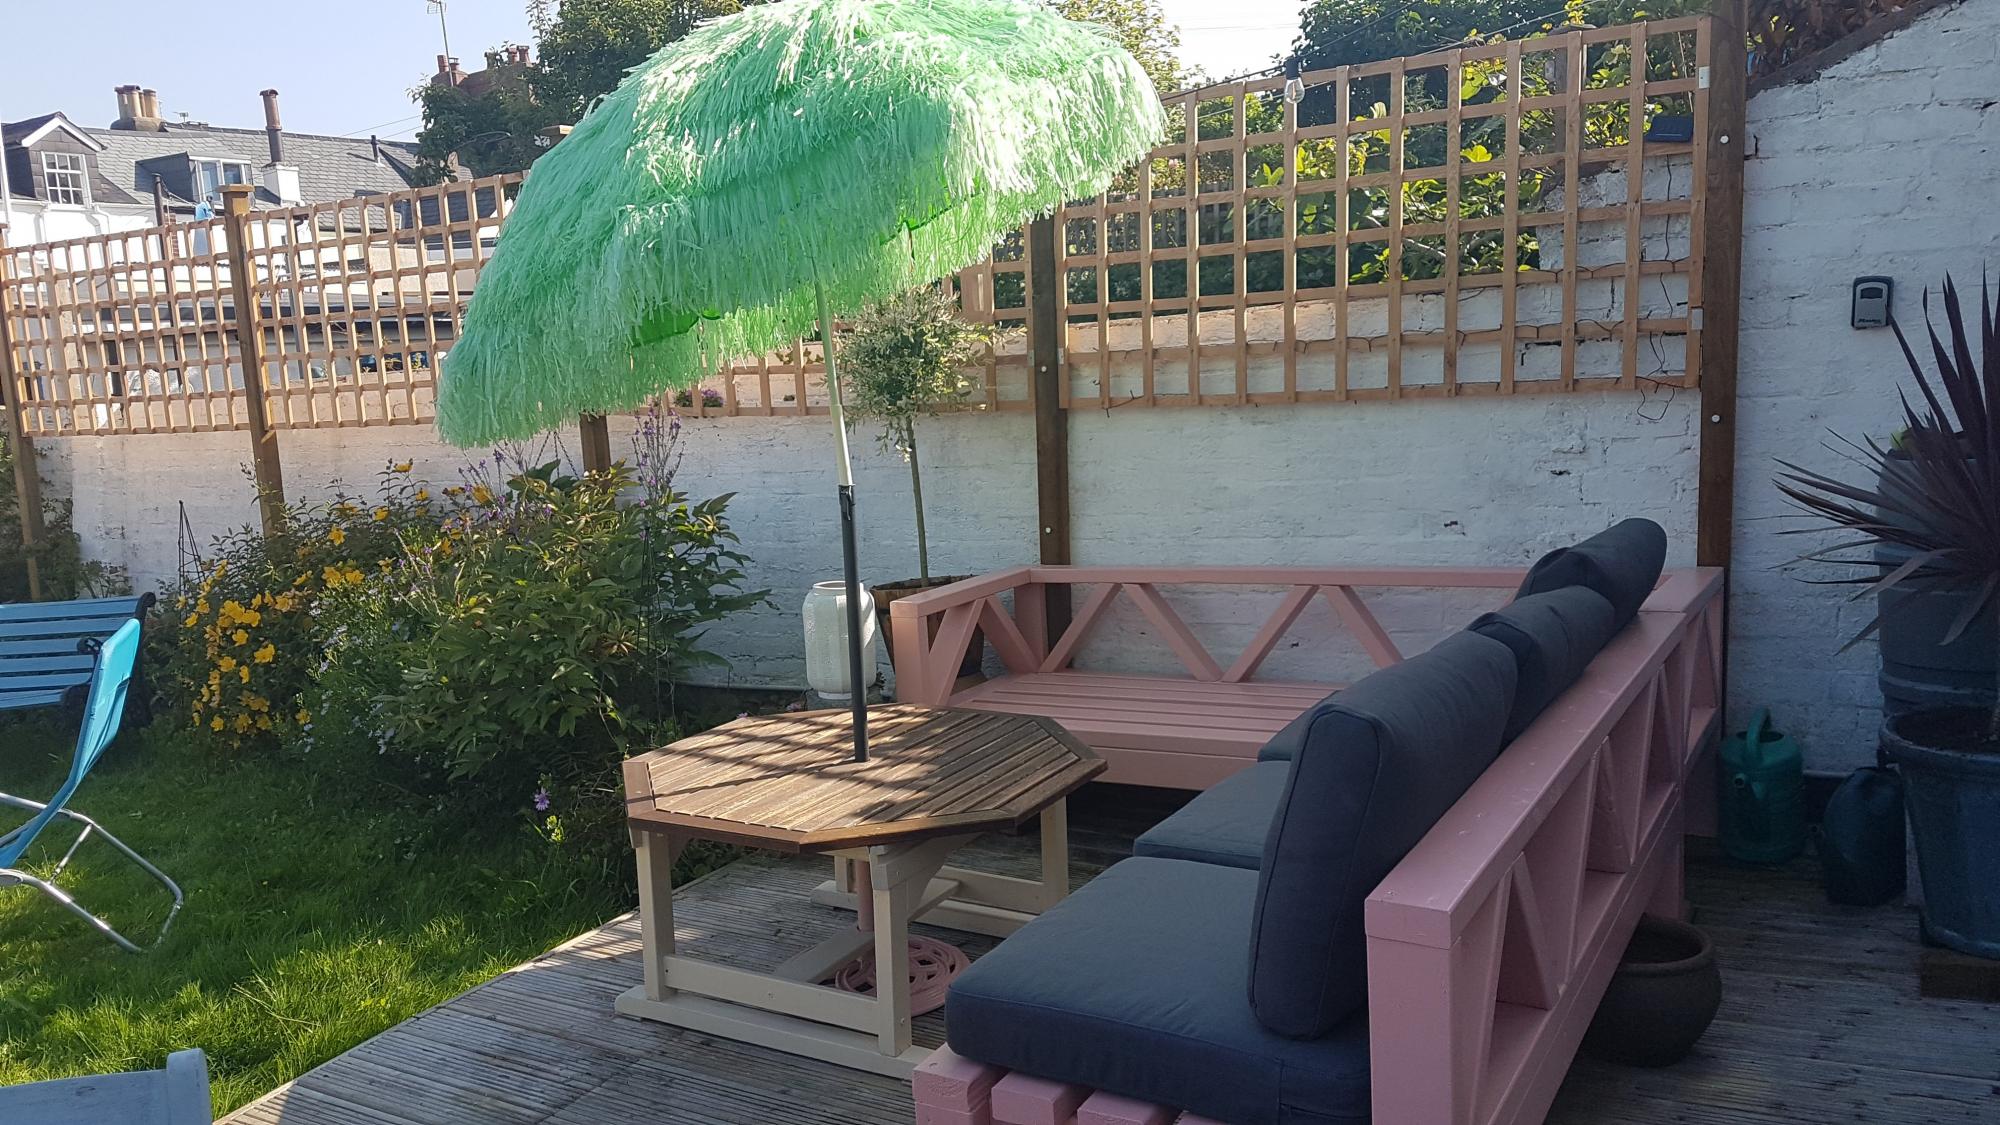
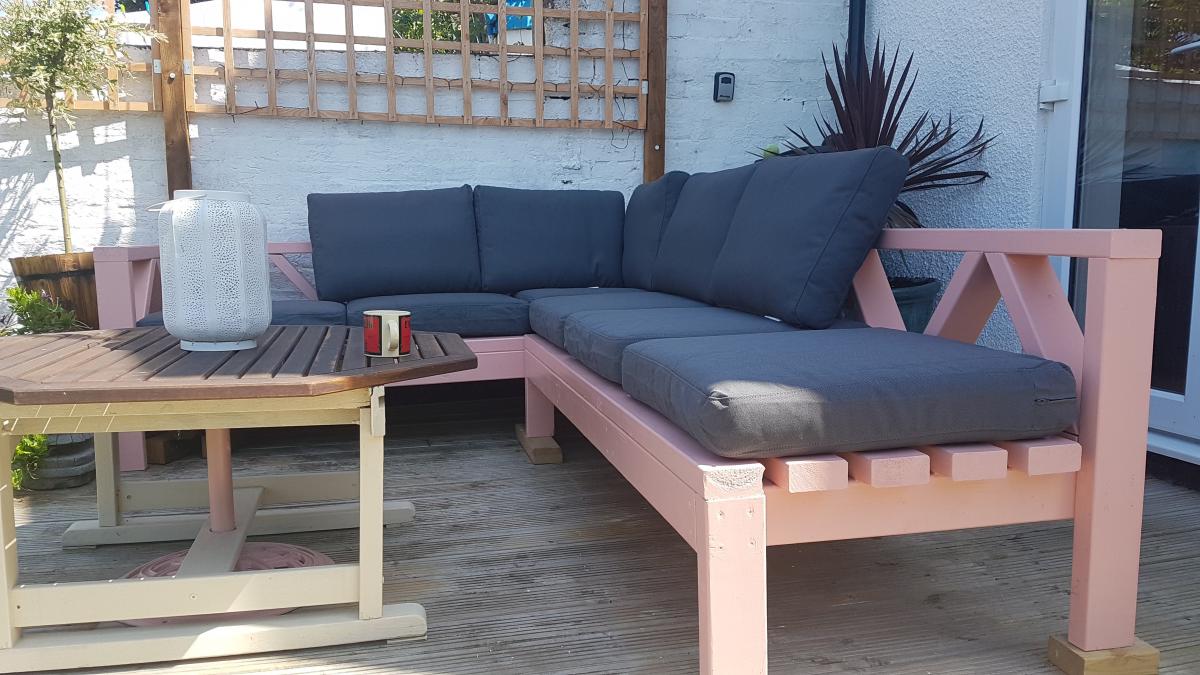
Easy to make 4x2 Patio Seating with Ikea style cushions.
Added the diagonal designs on the back.

Comments

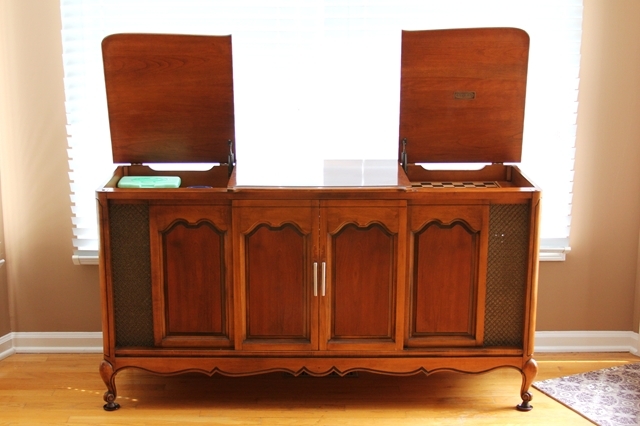
Indoor Dog Kennel

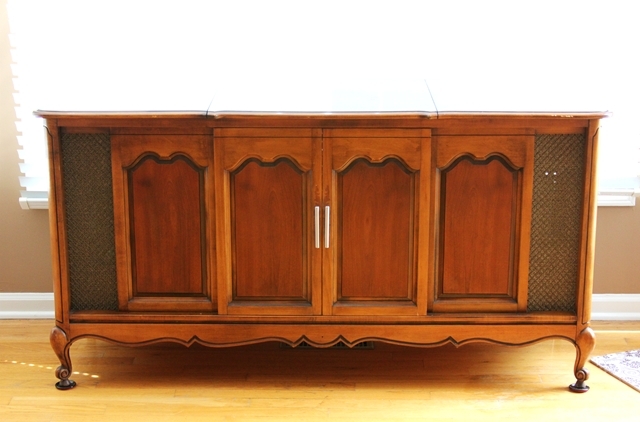
I love my dogs, but their wire kennels were an eyesore. Removing them completely was not an option, but I was tired of looking at them. I went back to my first-ever rehab project, and took it one step further to create a one-of-a-kind castle for my pups.
The original piece of furniture was an old console-style TV cabinet. Sliding doors on the front revealed the TV, and two lids on top contained the tuner and a turn-table.

Armed with screwdrivers, hammers and a dremmel, all components were removed form the cabinet, leaving just the shell. (PLEASE be sure you remove all sharp, potentially dangerous, screws, staples and what-not’s from the inside of the cabinets, to avoid injuring your pet! The dremmel allowed me to cut off and grind down stubborn screws.)

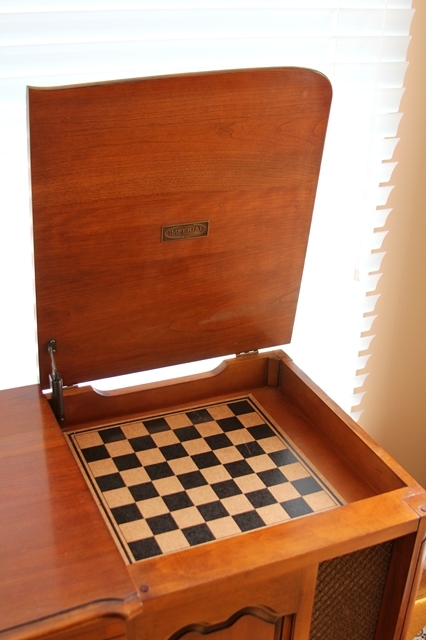
To cover the holes in the top cabinets, I used old checker boards. The cubbies are now a great place to store dog treats and leashes.

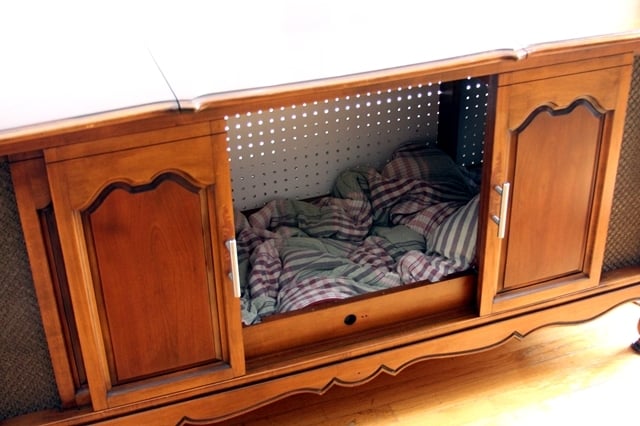
OPTIONAL: The back panel of the cabinet I used had holes from the TV components. I elected to replace the back board with a new sheet of peg board. (The peg board allows for much-needed ventilation.) In order to get the size perfect, I traced the old back onto the new and marked the original screw holes.

I vacuumed the inside to remove all construction debris and polished the exterior with Pledge. Then, I inserted an old comforter into the kennel, and stood back as my two pups launched themselves into their new abode.

The doors can stay open during the day for them to enter at their own will, and close for bedtime. And my eyes no longer hurt.

Estimated Cost
Cost of Cabinet (will vary)
Estimated Time Investment
Afternoon Project (3-6 Hours)
Finish Used
I did not elect to change the finish, but it could be painted to match any decor if you want.
Recommended Skill Level
Beginner

Comments

Barbara Cash

Thu, 08/11/2011 - 18:41

This was such a great idea. I love the old console. I love to build but I love it so much more when I can use old wood or repurpose parts of old furniture and industrial pieces. I feel creative. The checker boards are great. Do you have a blog?
Beffus (not verified)

Wed, 08/24/2011 - 09:33

I wish I thought of this or saw it long ago! I have 2 huge ugly crates in my living room...I am now on the hunt for 2 much better looking living spaces for my "other babies"! Love love this idea so much looks beautiful!

Beadboard Cabinet

Submitted by jamie_C on Sun, 08/28/2011 - 20:26

Since we don't have a garage or any really good place to keep our tools, they end up all over the house while we're working on a project. So, we decided to build a cabinet that would look nice in our house, and also house our tools. We chose the armoire plan because it has plenty of space.

This project took us forever, so it's hard to really estimate the actual working time. We began working on it back in June, then we were evacuated because of a forest fire.... By the time we got back into our house and we were organized again it was the end of July.... and now finally the end of August it's finished. It took us a while, but it's a great addition to our house!

We modified this cabinet by using 1/4 inch beadboard backed with 1/4 plywood for the doors. We also modified the size of the armoire to make it deeper.

Built from Plan(s)
Estimated Cost
$125 approximately?
Estimated Time Investment
Weekend Project (10-20 Hours)
Finish Used
Sanded, then painted the outside with a quart of "creamed coffee" oops paint, and painted the inside with a sage green paint from Habitat for Humanity Restore.
Recommended Skill Level
Beginner

Comments

Headboard

Submitted by Anonymous (not verified) on Fri, 02/24/2023 - 09:17

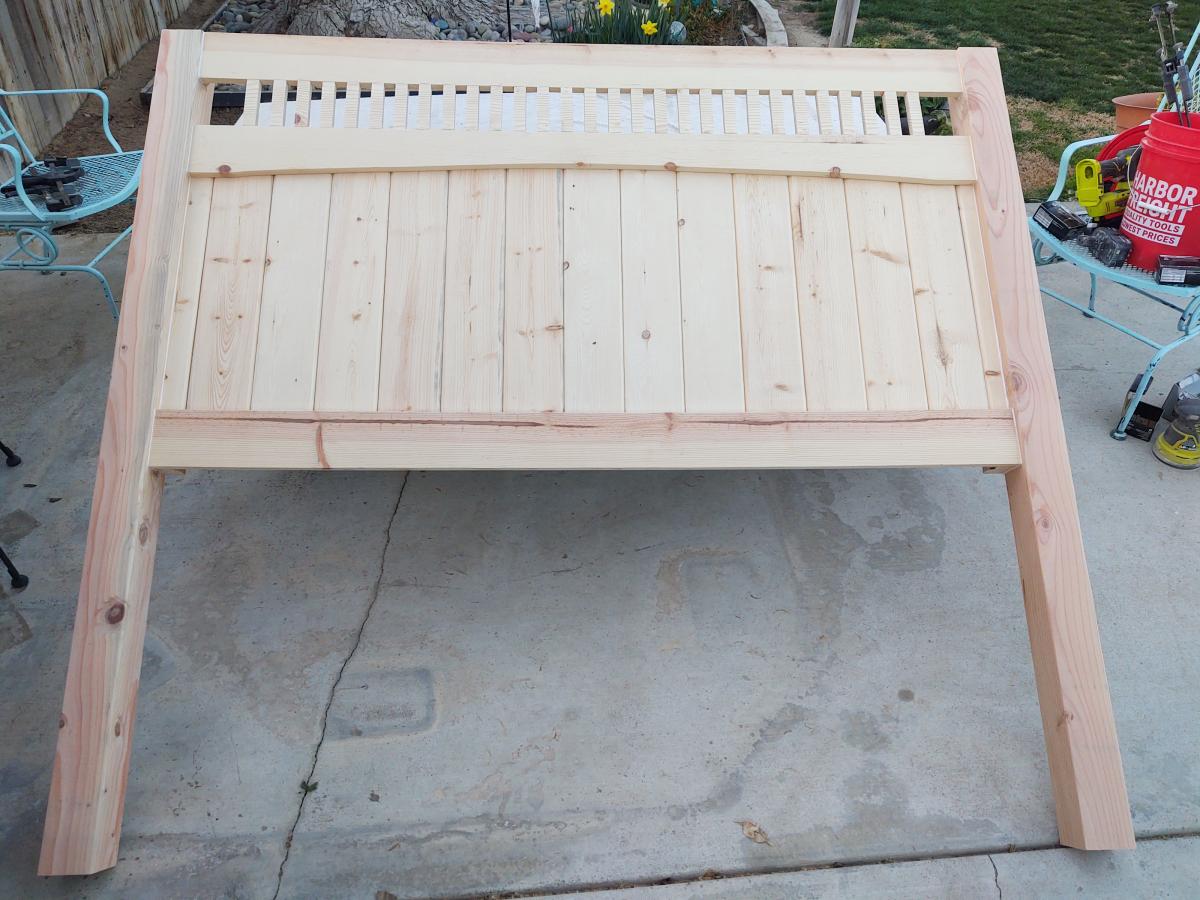
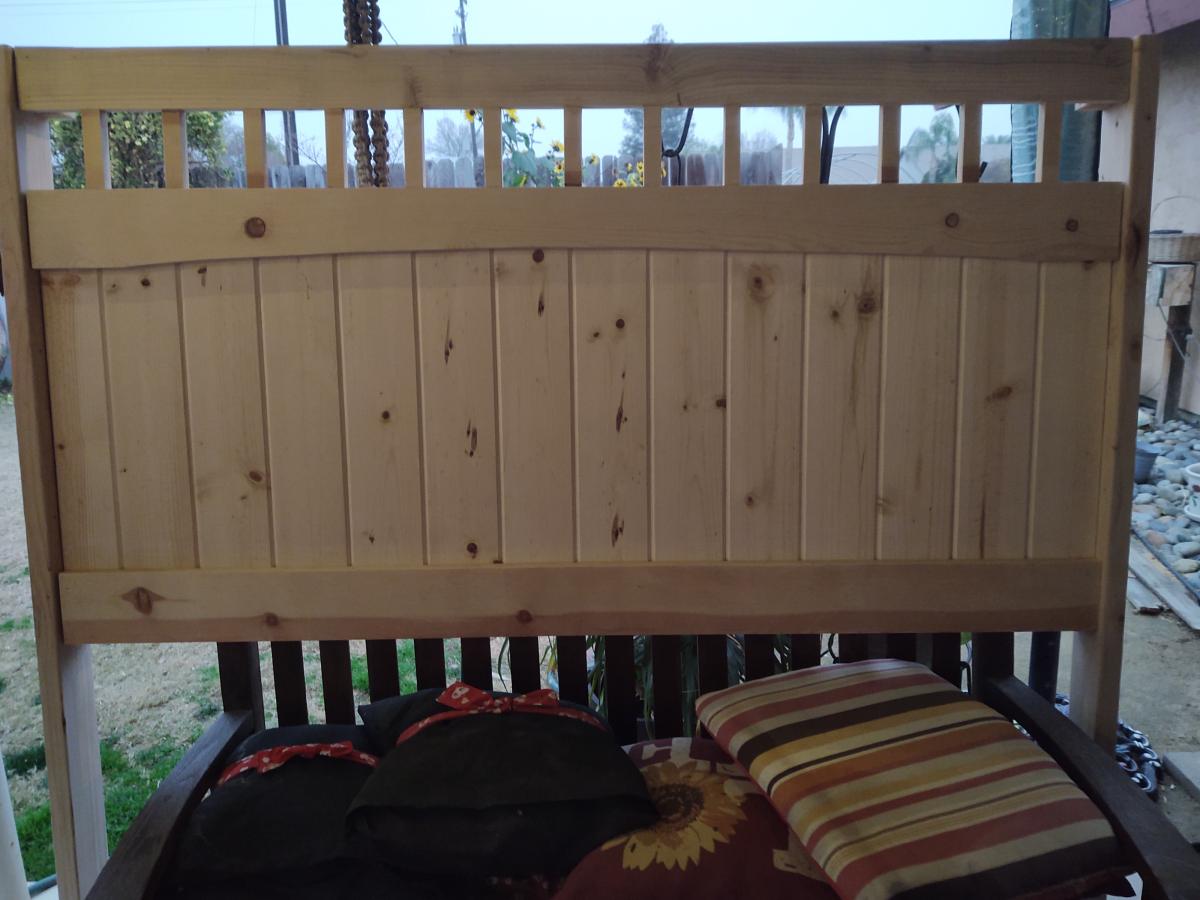
I followed your basic farmhouse bed plans and modified them. I have made three headboards now. Each time someone sees them, they want me to build one for them!

Built from Plan(s)

Pallet Headboard and Shelf

Submitted by Anonymous (not verified) on Fri, 07/14/2023 - 12:51

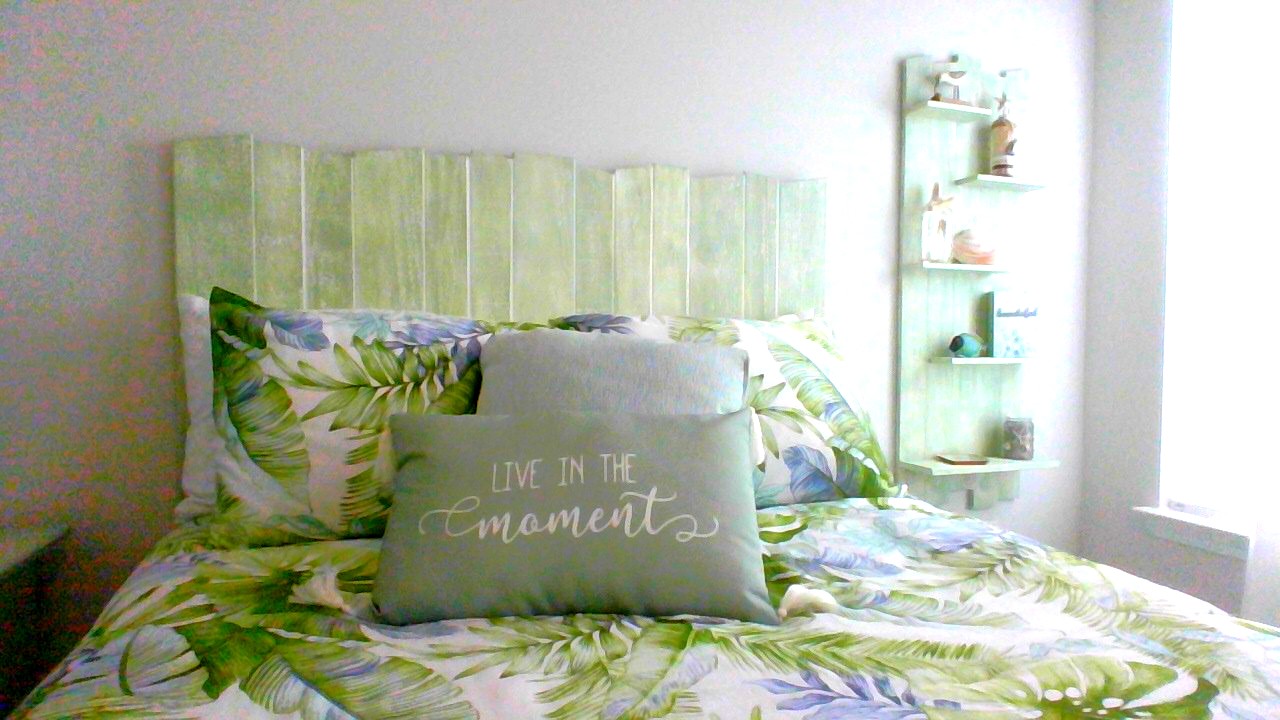
Hi Ana. Just wanted to thank you for all the free plans, and inspiration you gave me to start building projects out of pallet material. The headboard and shelf were made for a guest room in our new home in South Carolina. I have since built a blue headboard and shelf for our second guest room. After seeing my work, several neighbors have asked me to build pallet projects for them.


Jeff Schaefering

Our master closet from this plan!

Submitted by jec on Sat, 01/11/2014 - 07:18

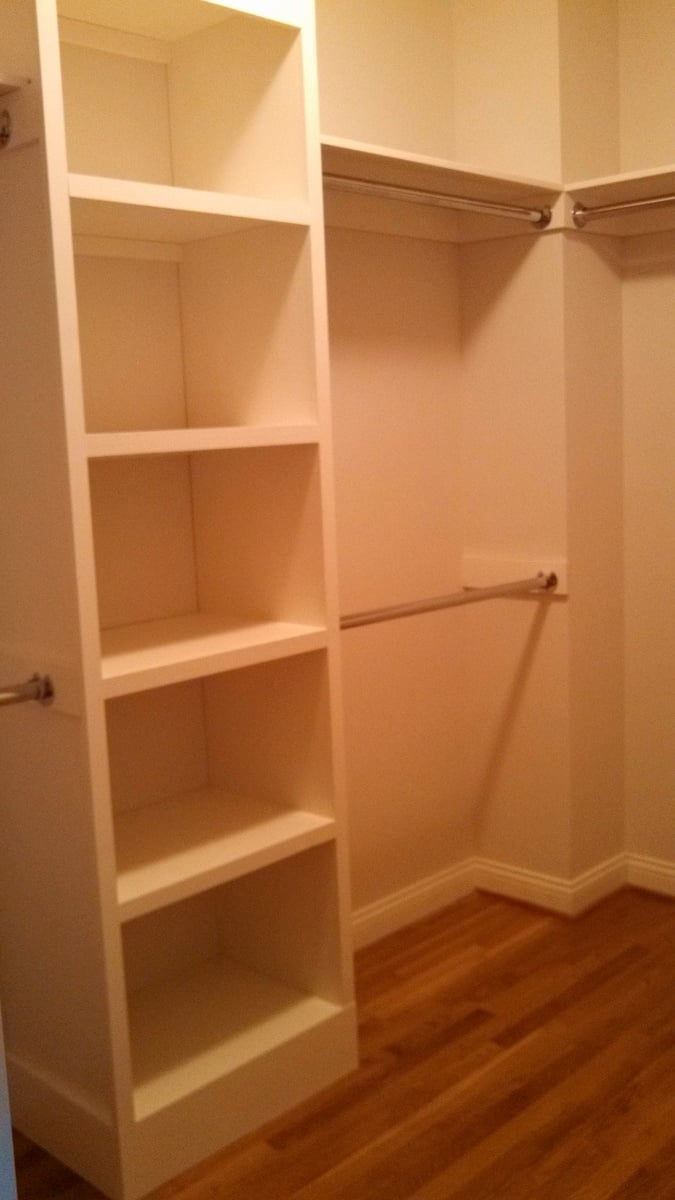
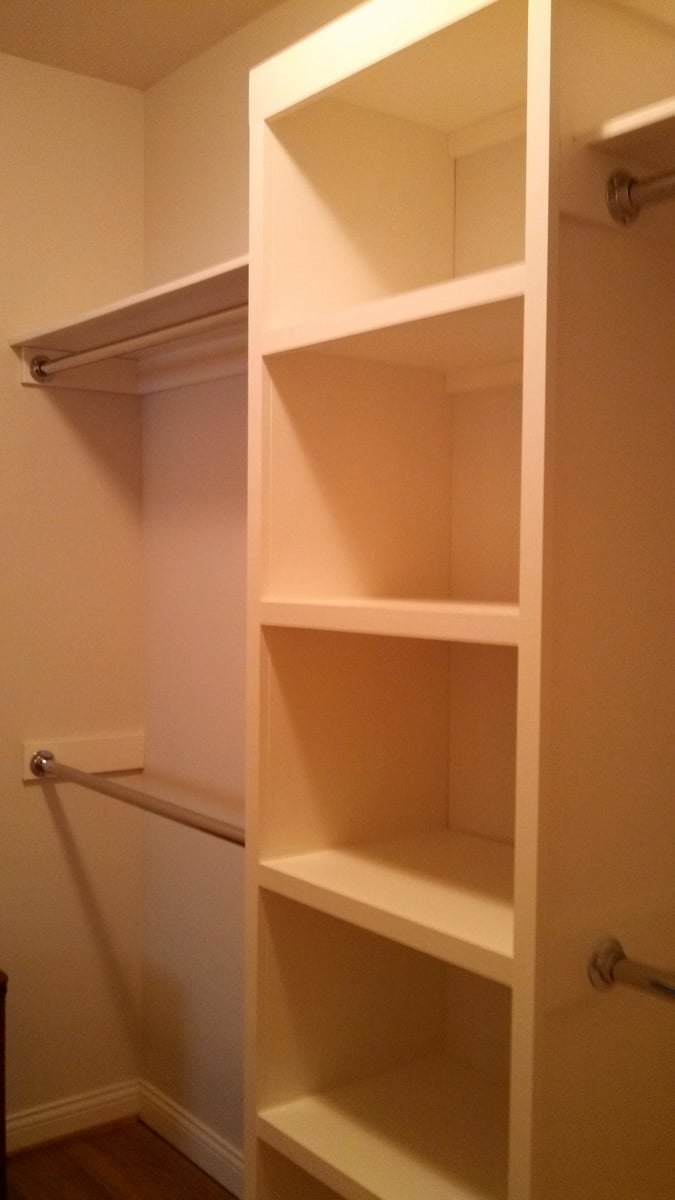
We built this master closet using the simple closet plan. It looks wonderful and wasn't too difficult to do once we determined the measurements we needed to use to fit our closet. My husband does not have much building experience at all, but he was able to do this with Ana's fabulous plans. Thank you so much for saving us hundreds of dollars! We have real wood in our closet and we love it!

We used plywood and painted all surfaces with indoor latex trim paint.

Built from Plan(s)
Estimated Cost
$100
Estimated Time Investment
Weekend Project (10-20 Hours)
Finish Used
Painted with interior latex trim paint from Porter Paint. Used 2 coats.
Recommended Skill Level
Beginner

Comments

imortison

Sun, 01/12/2014 - 19:02

It looks very nice. May I ask what dimension of the plywood you used?
They look more than 3/4'' thick to me, right? My husband and I are planning our very first project!! Any info /advice would be highly appreciated.

Simple Outdoor Lounge Chair - Beefed Up

Submitted by Radcrafter on Sun, 06/24/2012 - 10:55

Loved building this chair. Super simple to put together and very sturdy once everything came together.

I modified it to create a larger and taller chair, using 2x6 and 2x4 lumber. Because of this change I felt like my math challenged brain was completing some sort of quiz, but to keep things simple I cut the pieces step by step recalculating lengths as I went.

I marked up the plan as I went, so if anyone is interested just let me know & I'll add the changes.

http://radcrafter.com/2012/06/simple-outdoor-chair-beefed-up/

Built from Plan(s)
Estimated Cost
$20-30
Estimated Time Investment
Afternoon Project (3-6 Hours)
Finish Used
outdoor stain in solid slate
Recommended Skill Level
Beginner

Comments

spiceylg

Sun, 06/24/2012 - 18:18

I thought it looked beefier and I prefer that look. I'm curious, what size cushion is that?

J (not verified)

Sun, 08/19/2012 - 08:29

I would love to see your changes and build the beefier version! Please share!

Tammyctr

Thu, 07/26/2018 - 07:05

I have a large (400+) family member who I need to make chairs for.  This plan looks perfect (even though I will have to probably adjust width and add additional support)  Can you please send me your plans?

Doll Adirondack Chair

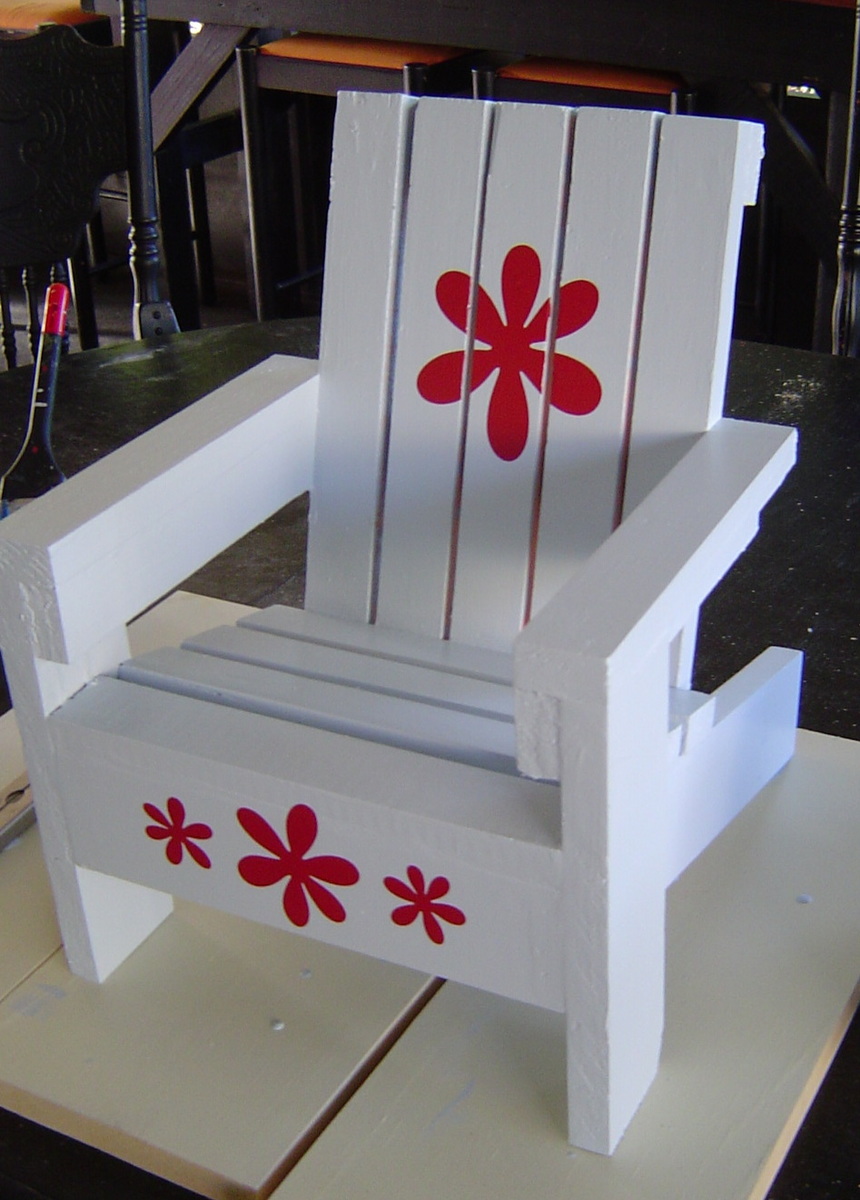
Fun project!

Built from Plan(s)
Estimated Time Investment
An Hour or Two (0-2 Hours)
Finish Used
Paint and Cricut Vinyl
Recommended Skill Level
Beginner

Comments

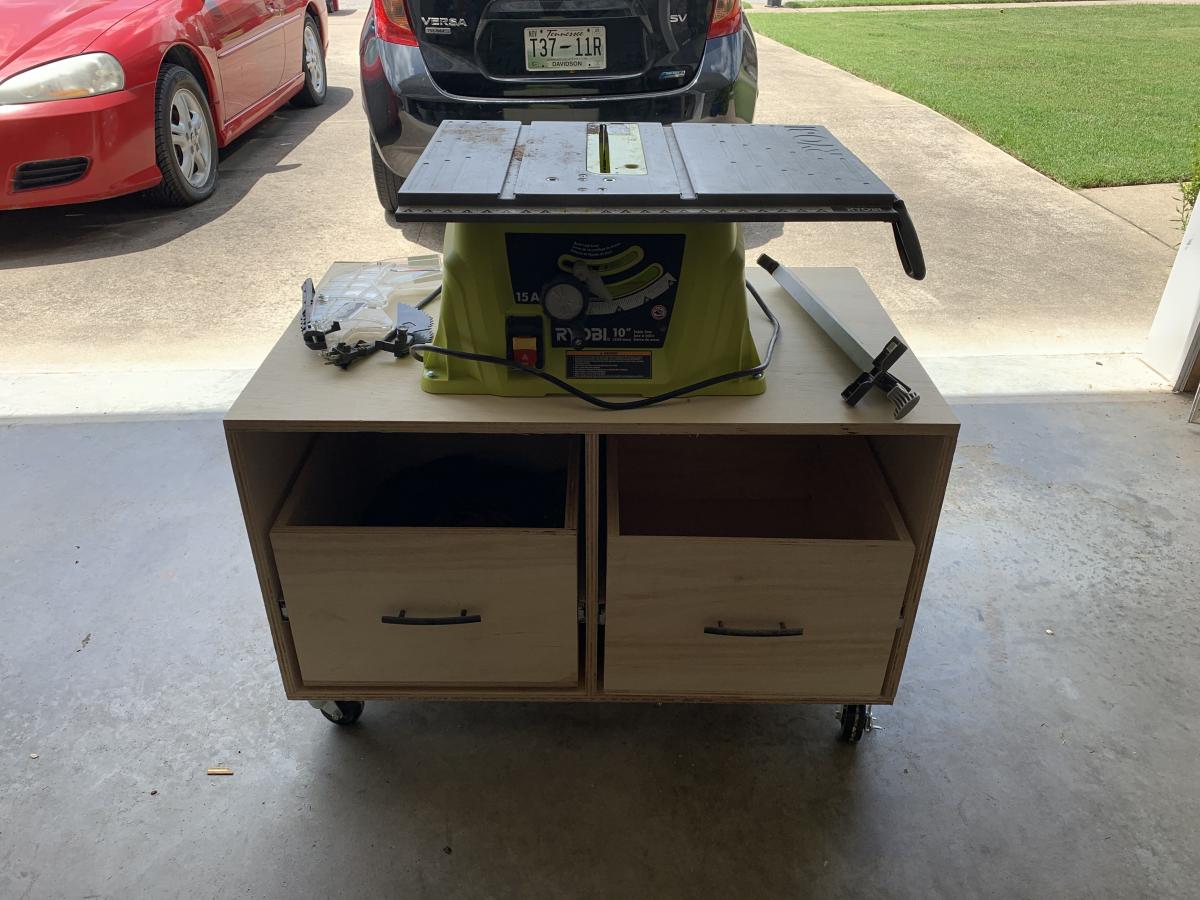
Ryobi Nation workshop and shelves

Submitted by Anonymous (not verified) on Tue, 06/30/2020 - 15:48

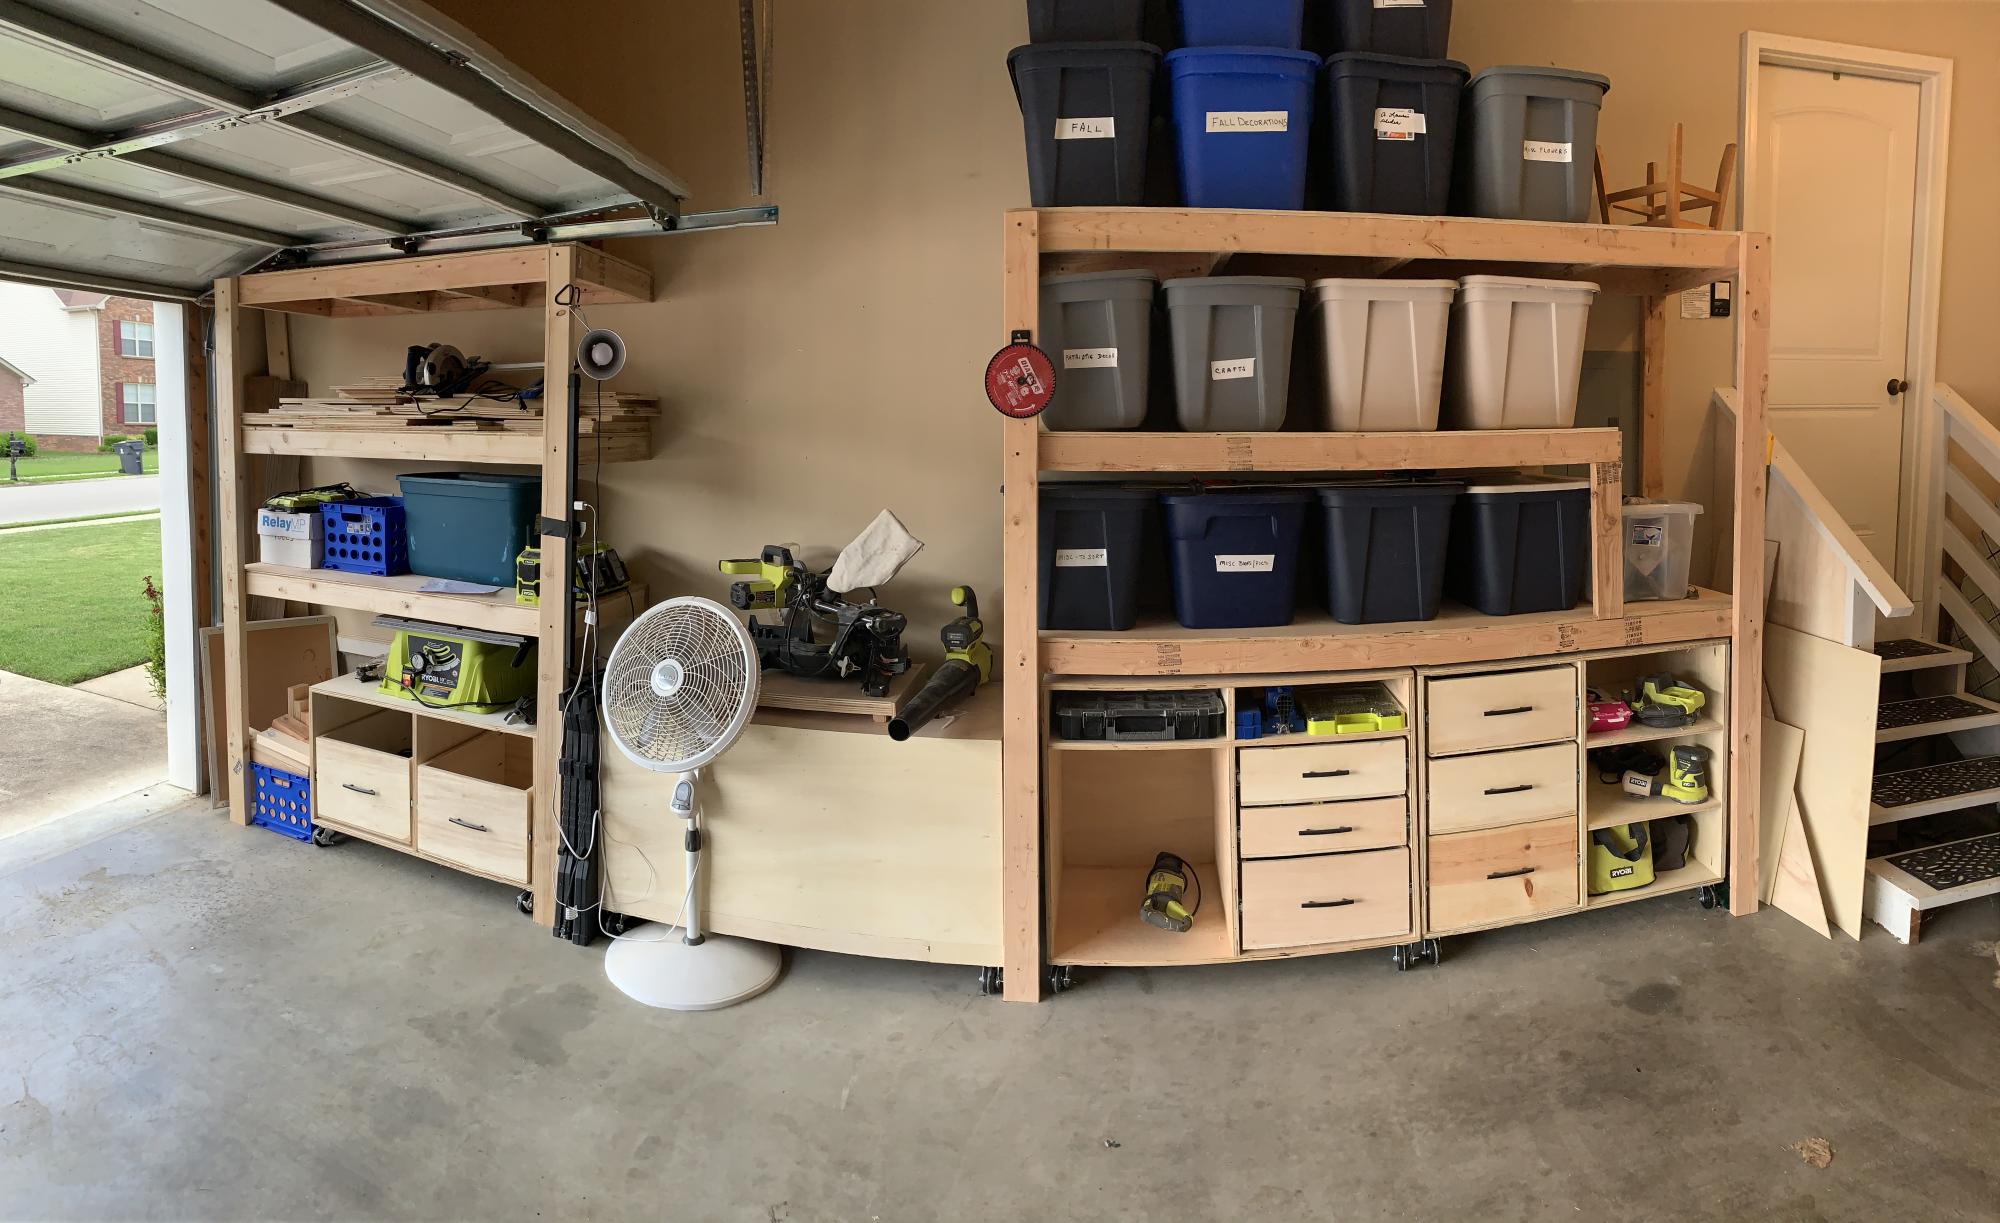
I bought a whole workshop full of Ryobi tools second hand from my brother over a year ago. I started researching workshop plans and came across Anna White’s Ryobi Nation Dream Workshop. I downloaded the plans and spent about 2-3 months working on it in my spare time. I made a lot of mistakes along the way but I’m pretty happy with it overall!

Estimated Time Investment
Weekend Project (10-20 Hours)
Finish Used
None
Recommended Skill Level
Intermediate

Comments

rcjones4

Fri, 08/11/2023 - 11:50

Do you still have these plans for the project? can't seem to find them anymore

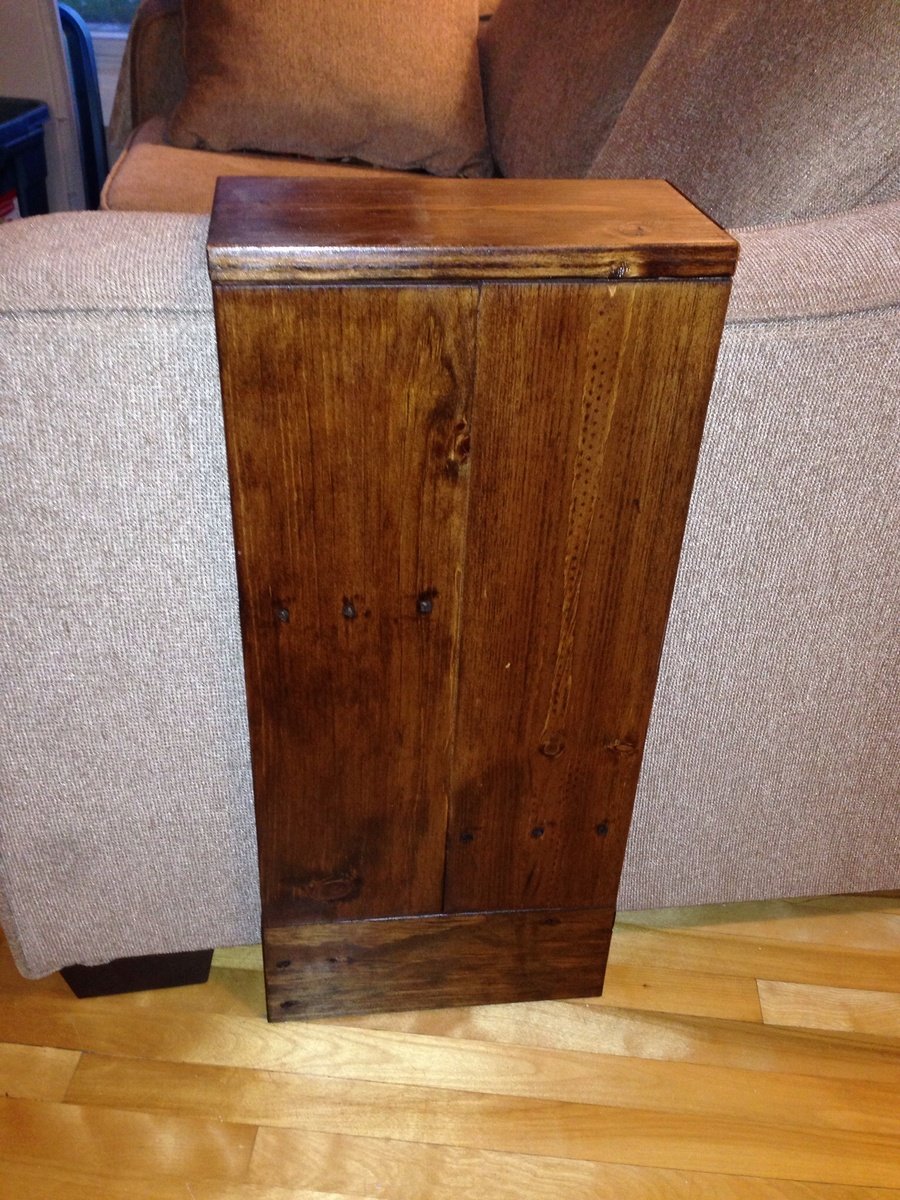
Easy small space side table

Submitted by Dedavies3 on Mon, 07/07/2014 - 17:57

This was my first project. It was relatively easy but I did make some mistakes that are now design features

Estimated Cost
Reclaimed wood
Estimated Time Investment
Afternoon Project (3-6 Hours)
Finish Used
Minwax English chestnut
Recommended Skill Level
Beginner

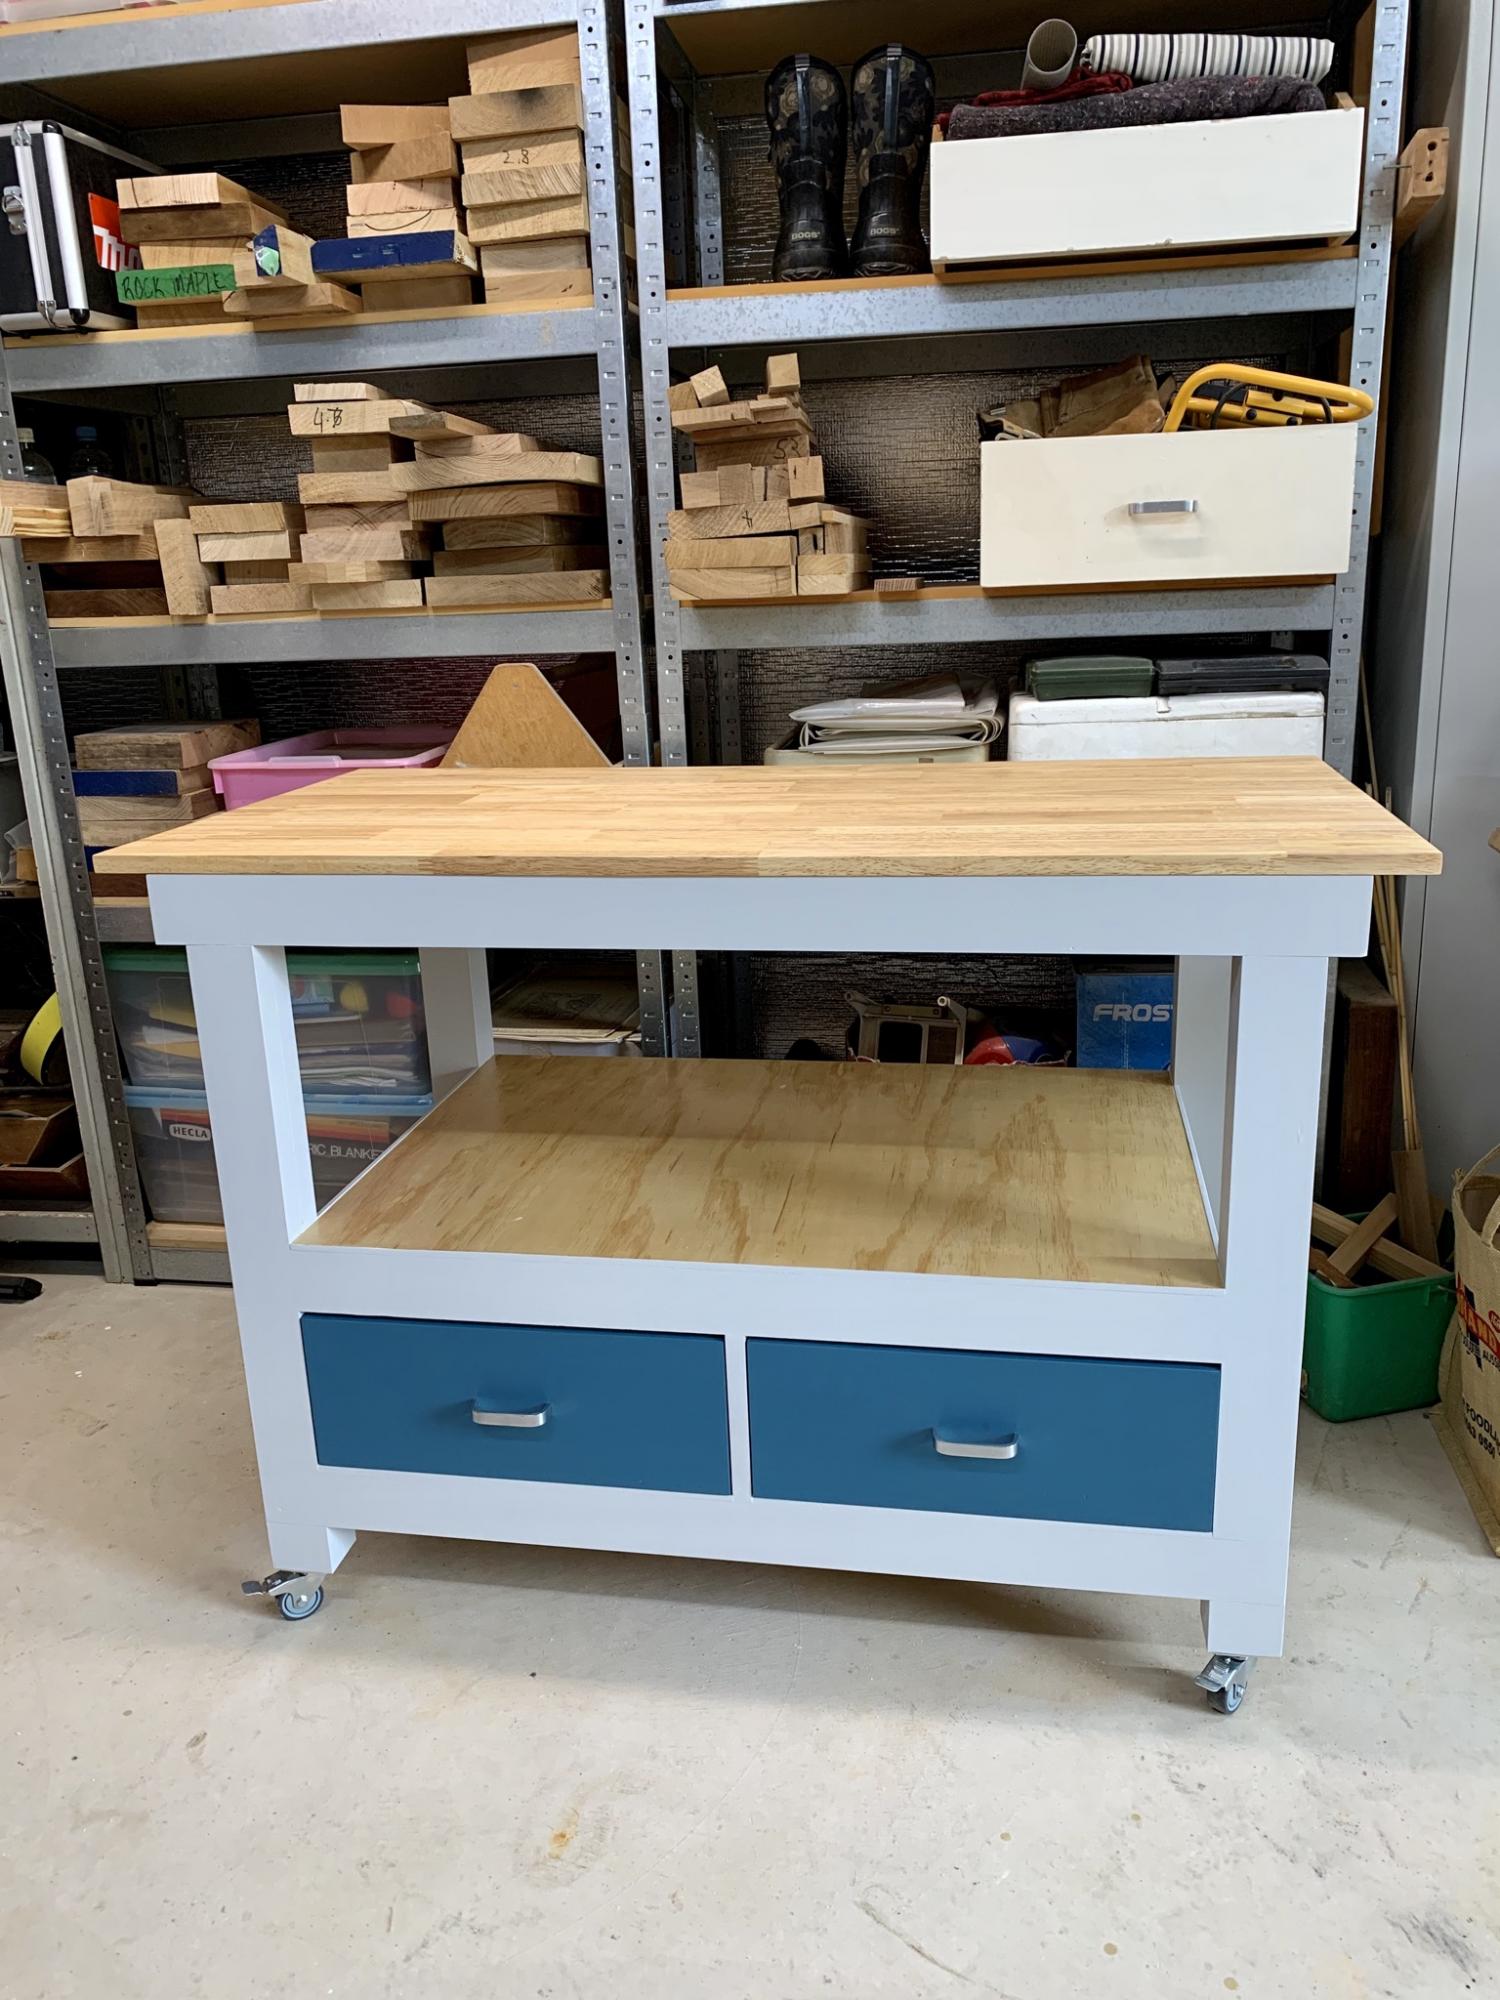
Handy workbench with drawers

Submitted by katyann85 on Sat, 07/11/2020 - 03:00

My first build. Easy to follow plans for a beginner. I incorporated 2 drawers for extra storage.

Built from Plan(s)
Finish Used
Shed workbench
Recommended Skill Level
Beginner

Comments

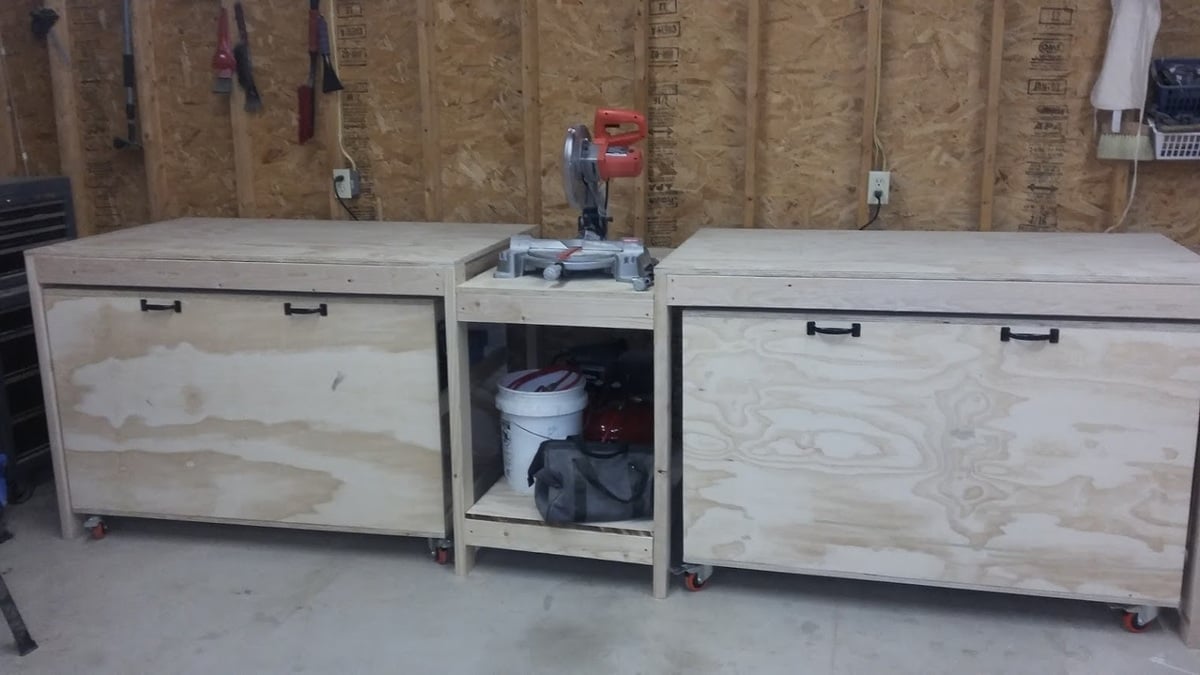
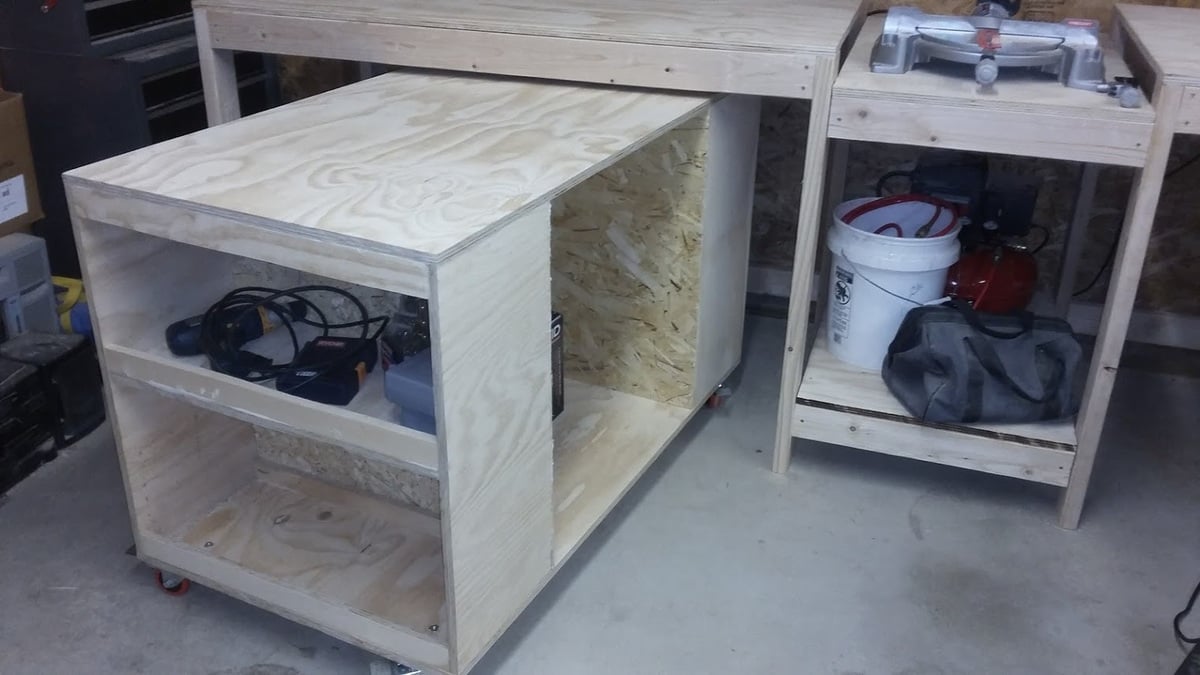
Miter saw stand with rolling tool storage carts

Submitted by UCF99ENG on Fri, 11/25/2016 - 18:04

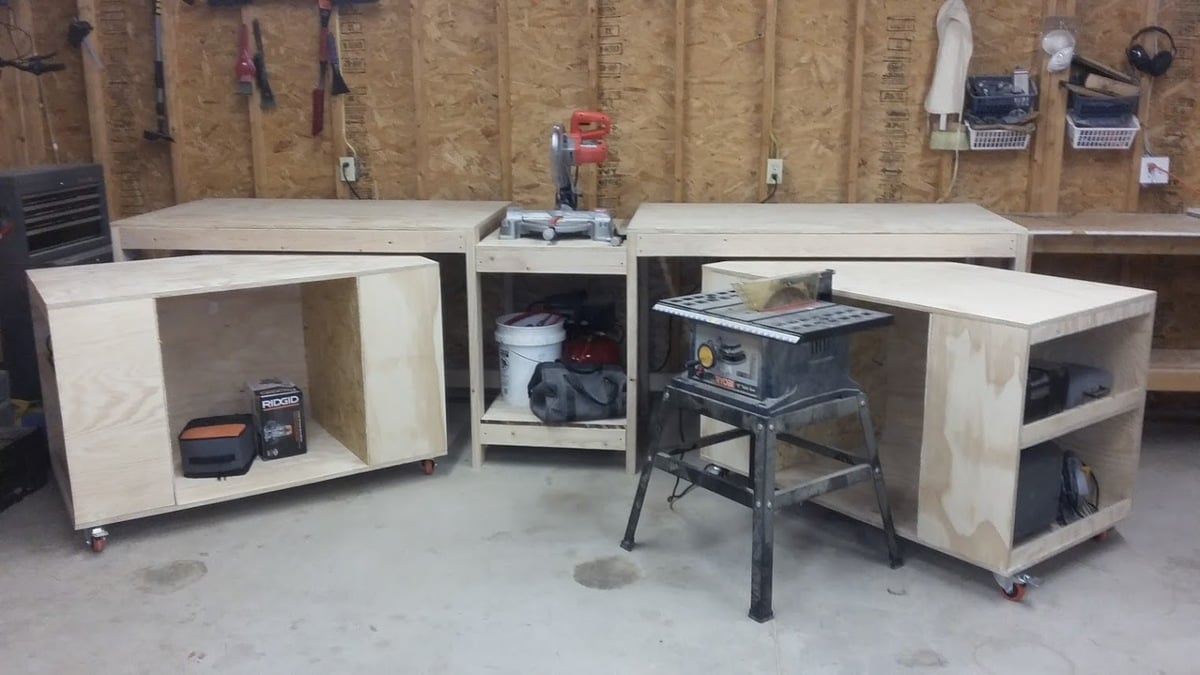
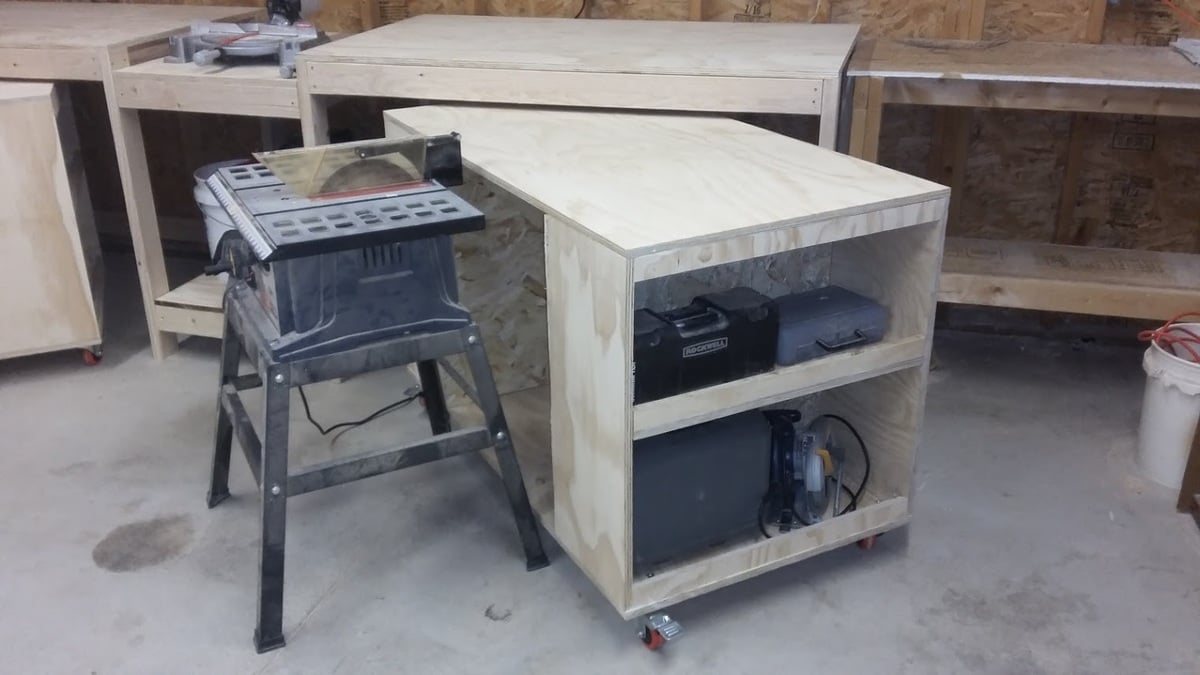
When I saw the plans for the miter saw stand that had two rolling tool storage carts, I knew I had to make it.  Having a cart used for an outfeed table is a brilliant idea.  It was a fun project to make.  I tweaked a few dimensions because I like taller workbenches because I'm taller.  Now my shop is looking more organized.

Estimated Time Investment
Weekend Project (10-20 Hours)
Recommended Skill Level
Intermediate

Comments

CSaintD

Sat, 03/18/2017 - 09:02

Very nicely done.  I am thinking about building the same system.  How is the dust control on the mitre saw working?  That is my one concern, that sawdust will be all over my other tools when I use the mitre saw.

UCF99ENG

Wed, 05/10/2017 - 20:47

I don't really have a dust control system.  I let the dust fall where it does and then just sweep it up.  I have a wet/dry vac but my wife uses it in the house because it's more powerful than many other vacuums.  If the dust gets out of control, I can just bring the wet/dry vac out to the garage and clean up.  There is lots of room to maneuver the vacuum.

CSaintD

Sat, 03/18/2017 - 09:07

Very nicely done! I am thinking about building this same system but am worried about the dust from the mitre saw getting all over my other tools stored in the rolling sections.  Do you have any issues with that?

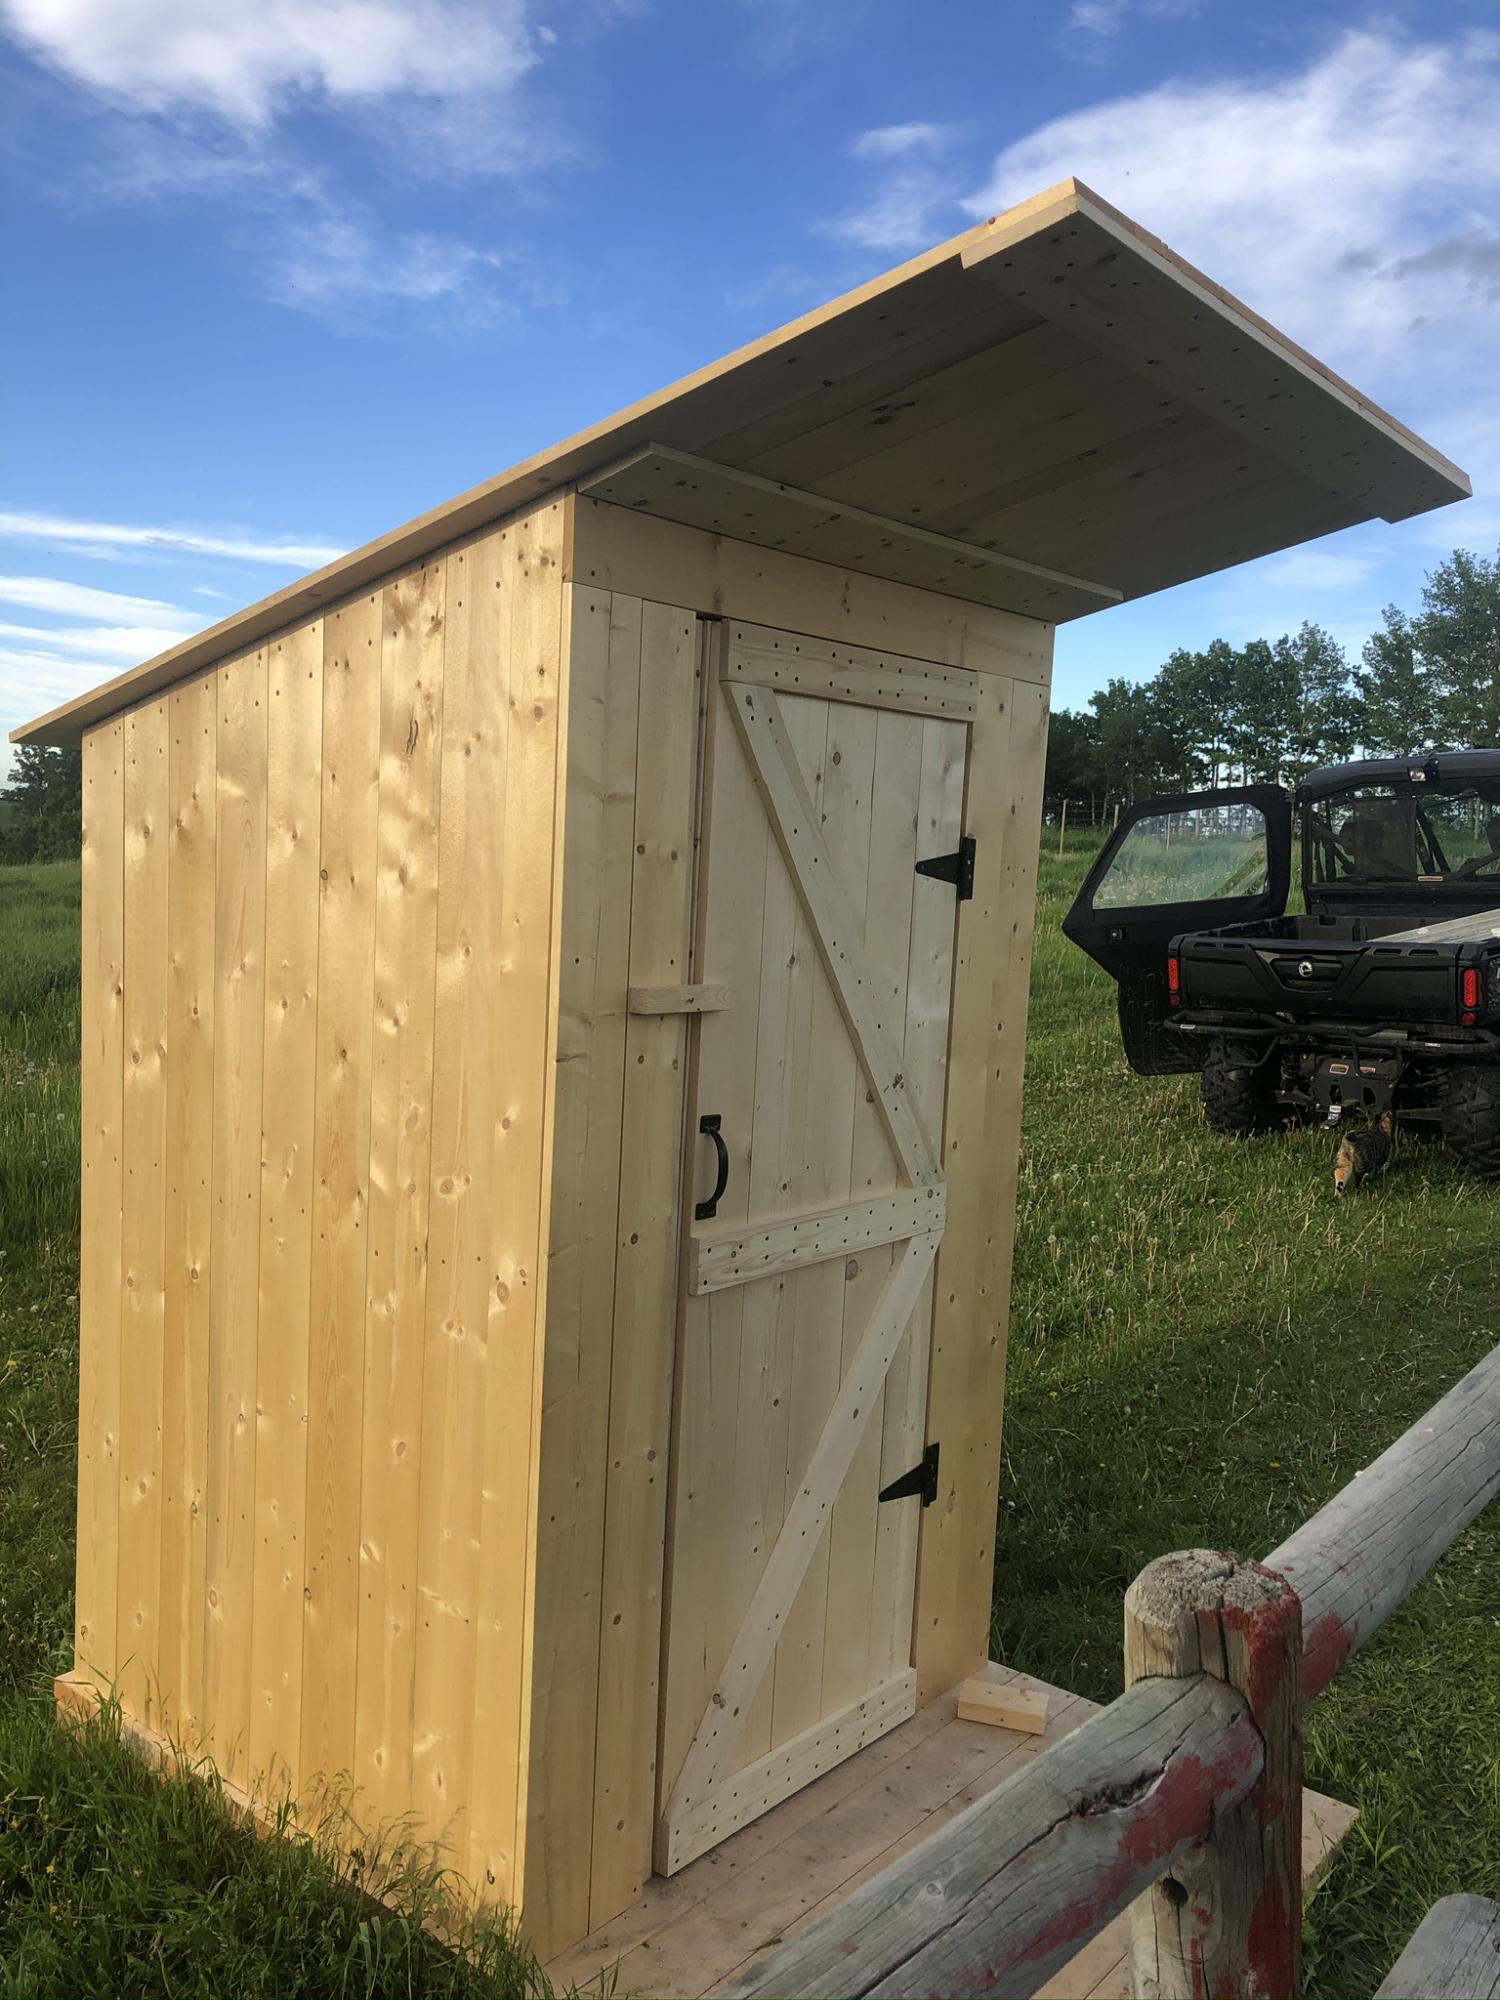
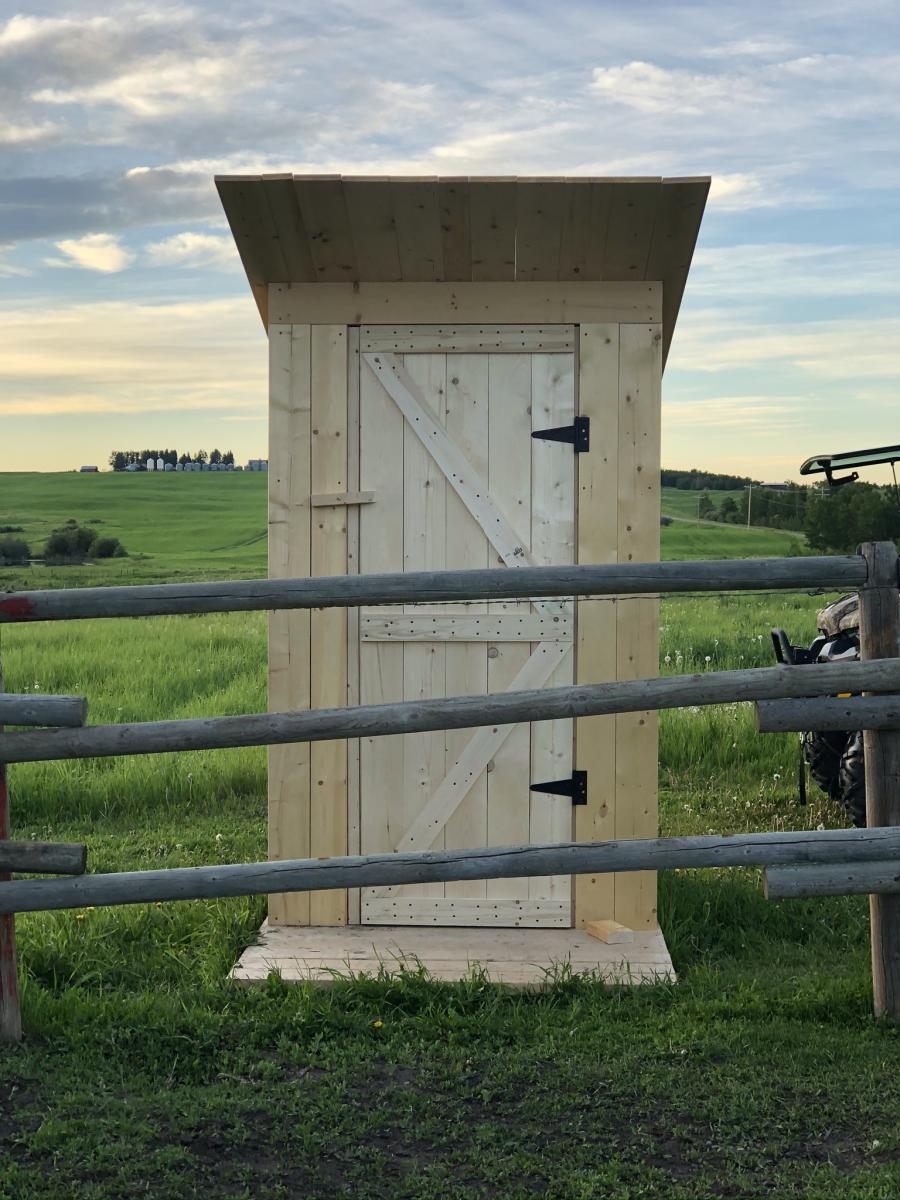
Outhouse

Submitted by Speedbump on Fri, 10/16/2020 - 21:04

I built this outhouse for beside our barn. My first large project and I’m really pleased with how it turned out!

Built from Plan(s)
Estimated Time Investment
Week Long Project (20 Hours or More)
Recommended Skill Level
Intermediate

Comments

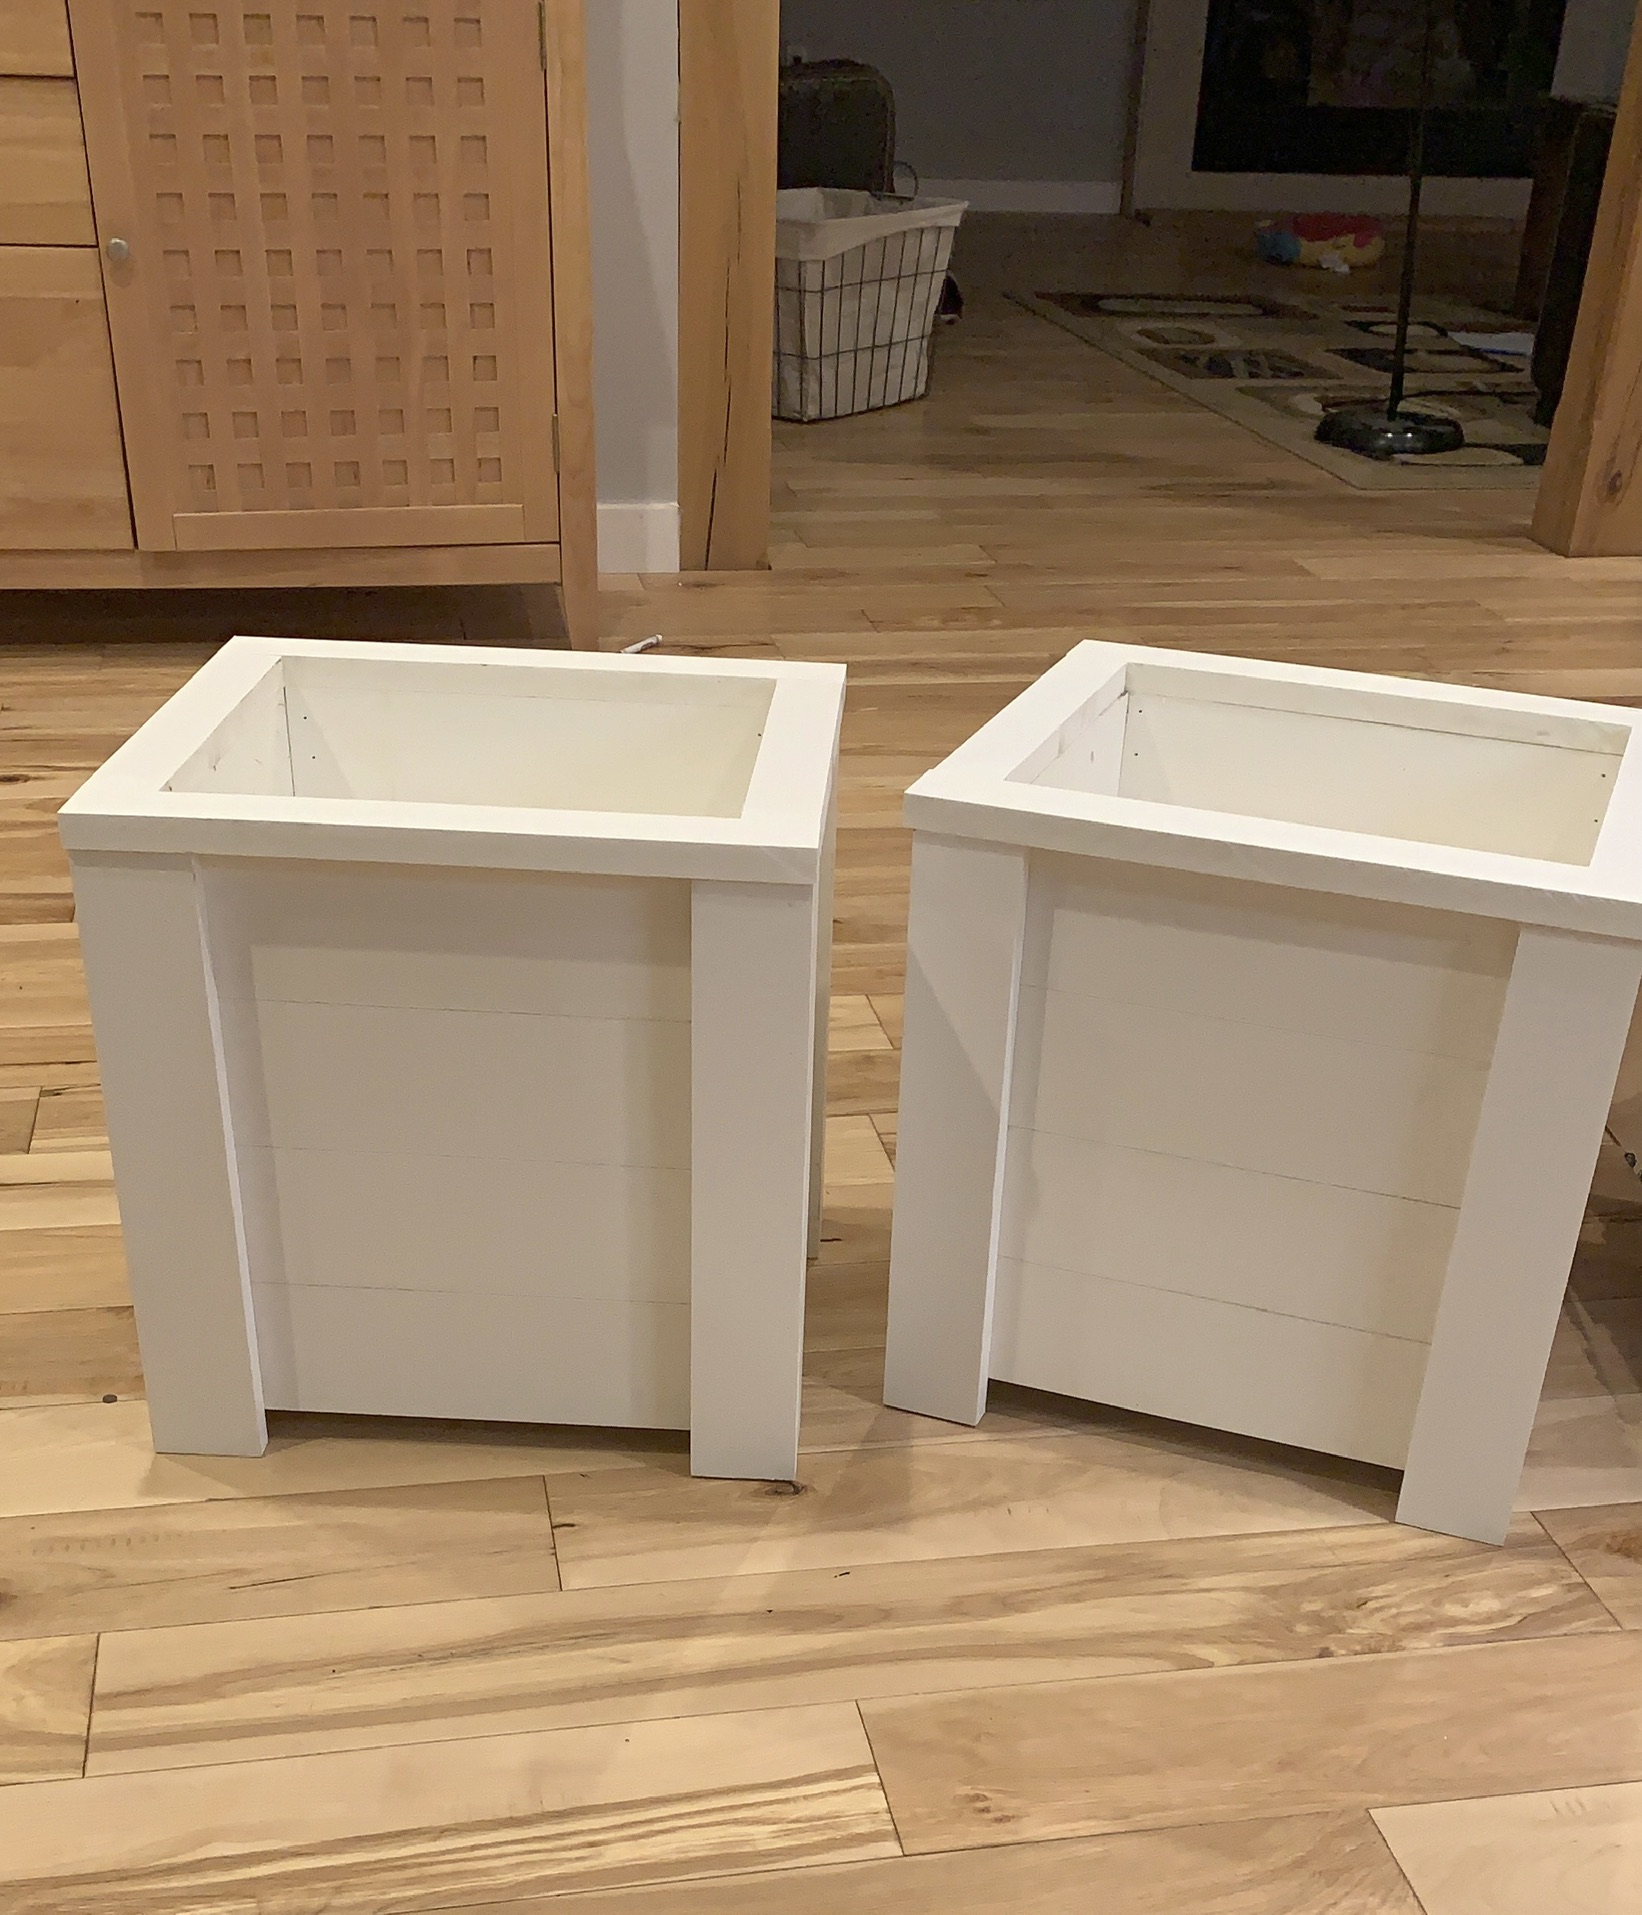
Planters

Submitted by Anonymous (not verified) on Mon, 10/26/2020 - 08:30

Just made these last night! So quick and easy, thank you so much! You are so inspiring!

Built from Plan(s)
Estimated Time Investment
An Hour or Two (0-2 Hours)
Recommended Skill Level
Starter Project

Comments

Small Chicken coop

Submitted by Anonymous (not verified) on Wed, 06/07/2017 - 12:04

We built this to go right next to our stairs. The run has hardware cloth on 3 sides and then the side touching the stairs opens up to under the stairs so they have a bigger run.

We extended the floor so that it went all the way to the nesting box. We will be adding a nesting box to the wall by the cleanout doors rather than where the plans put the nesting box. We like that this gave us more square foot per chicken on floor space. Due to this change though we had to use interier hinges so the floor could slide in and out easily. We also added a door to the bottom so the coop could be locked seperately from the run. 

I wanted to turn the space where the planter box is into a storage space and may still do that later to store food, clean out supplies, and first aid supplies. We'll see! 

Estimated Cost
$500 This includes Cedar wood for all exterior wood, hardware cloth to cover everything and have a 12 inch apron under the coop, two colors of stain, shingles, big boxes of screws (we had a million leftover), hinges and locks with keys. We definitely went the expensive route but I think it will last us a long time and hopefully we've created a Fort Knox!
Estimated Time Investment
Weekend Project (10-20 Hours)
Finish Used
Cabot Stain Newberry Blue and Navajo White
Recommended Skill Level
Intermediate
Back