Community Brag Posts

Serving Tray

Submitted by spiceylg on Thu, 02/09/2012 - 19:19

Thought I'd try two tone. A bit of a challenge after it has been assembled. Have to tape off, etc. The yellow ended up being brighter than I wanted so I decided to put stain over it and wipe it off for an aged look. The biggest challenge for me was getting the rounded ends, that the dowels go in, just right. Can be quite frustrating when you are a perfectionist but your skills aren't quite there yet. However, still happy with the outcome!

Built from Plan(s)
Estimated Cost
Not sure as I had the wood on hand for future projects.
Estimated Time Investment
Afternoon Project (3-6 Hours)
Finish Used
Started out w/a redder looking stain and wasn't happy with it. So I put English Walnut over that (oil based.) Used a Rustoleum spray paint for the yellow. Not sure of the color and it's not close by right now to look at the name. Went over that w/the English Walnut.
Recommended Skill Level
Beginner

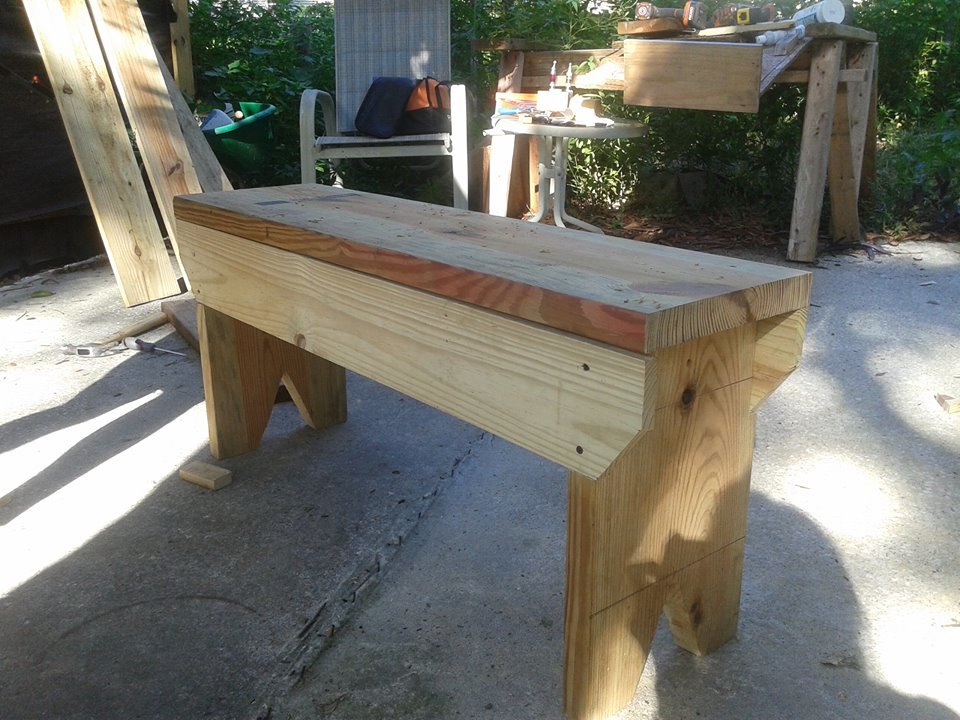
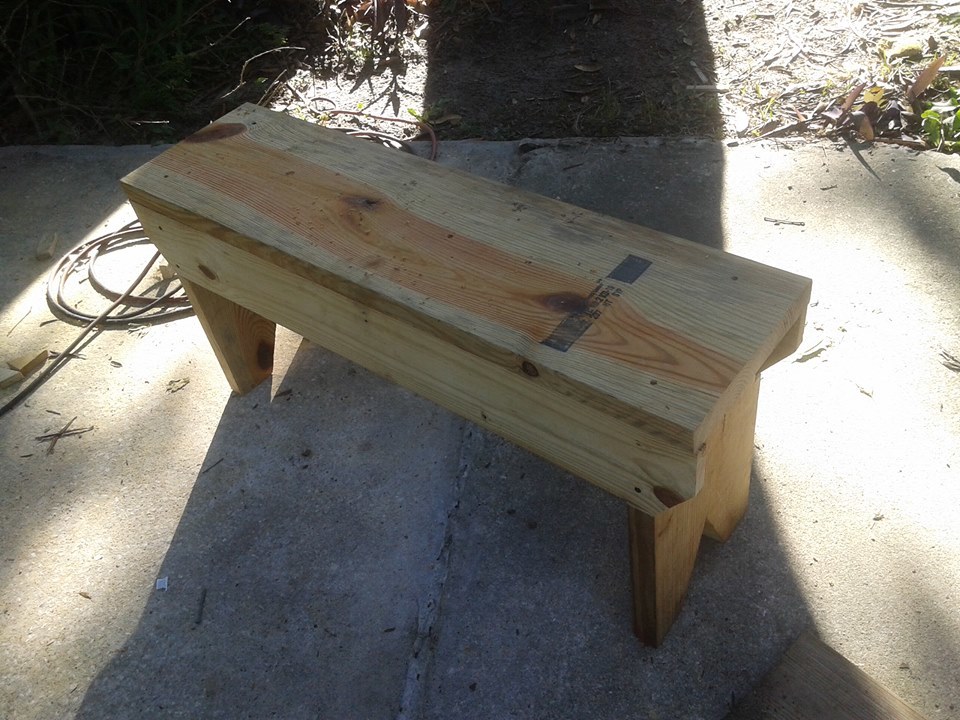
Rustic bench

Submitted by Brian on Sun, 03/04/2012 - 08:39

Fun little bench to make for our front porch. We liked it so much we built 2 more smaller ones one for each of the kids to go with mommy and daddy's bench. Bought all the material at the home store and decided to use stain since it was going to stay outside. Used the same method with all my other projects sanded using 180 than 220 grit, wood filled all the cracks and the Kreg Jig made this simple.

Estimated Cost
30.00
Estimated Time Investment
Weekend Project (10-20 Hours)
Finish Used
2 in 1 stain samples
Recommended Skill Level
Beginner

Hailey Storage Daybed

Submitted by kelli224 on Wed, 04/04/2012 - 12:09

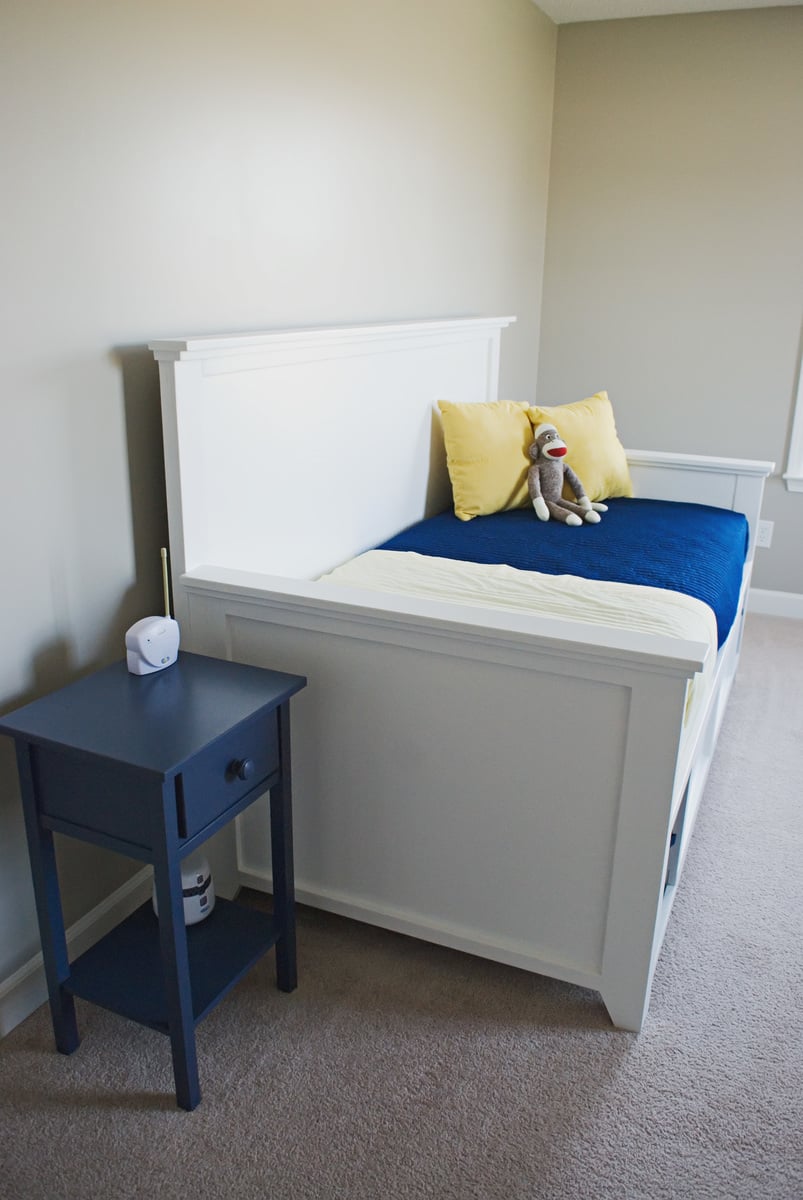
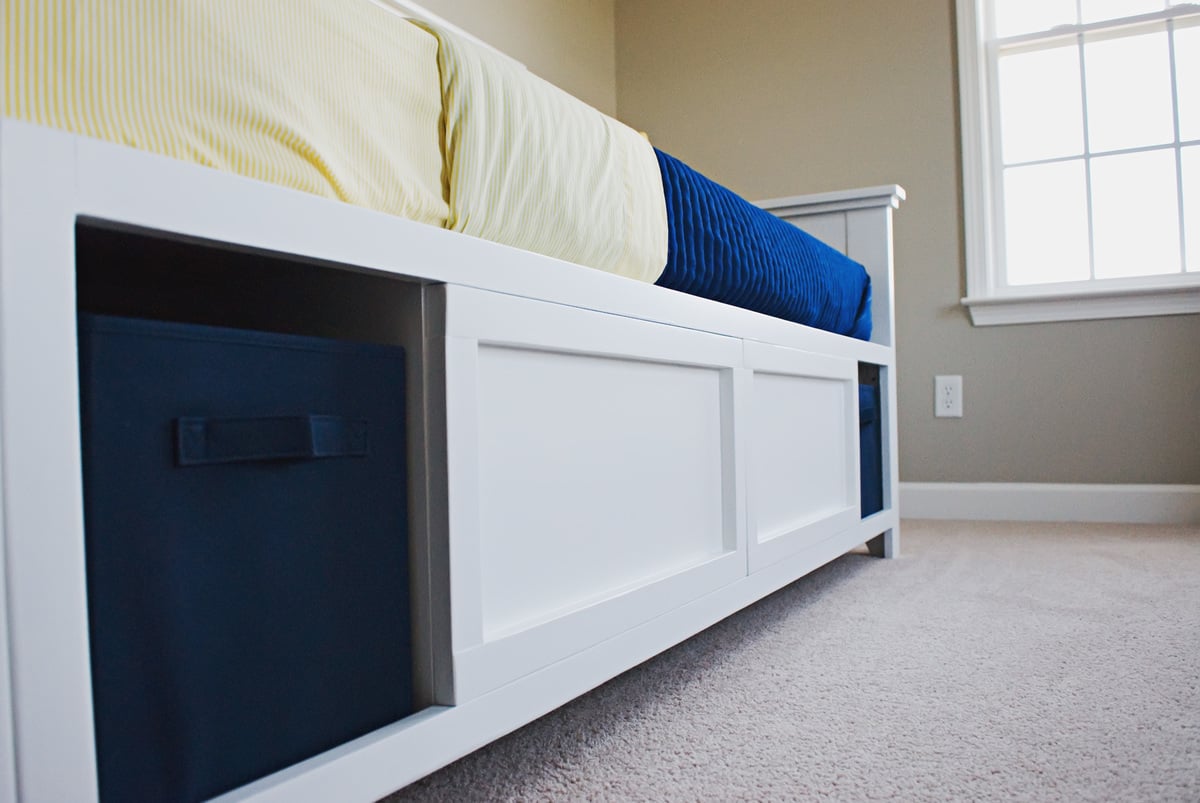
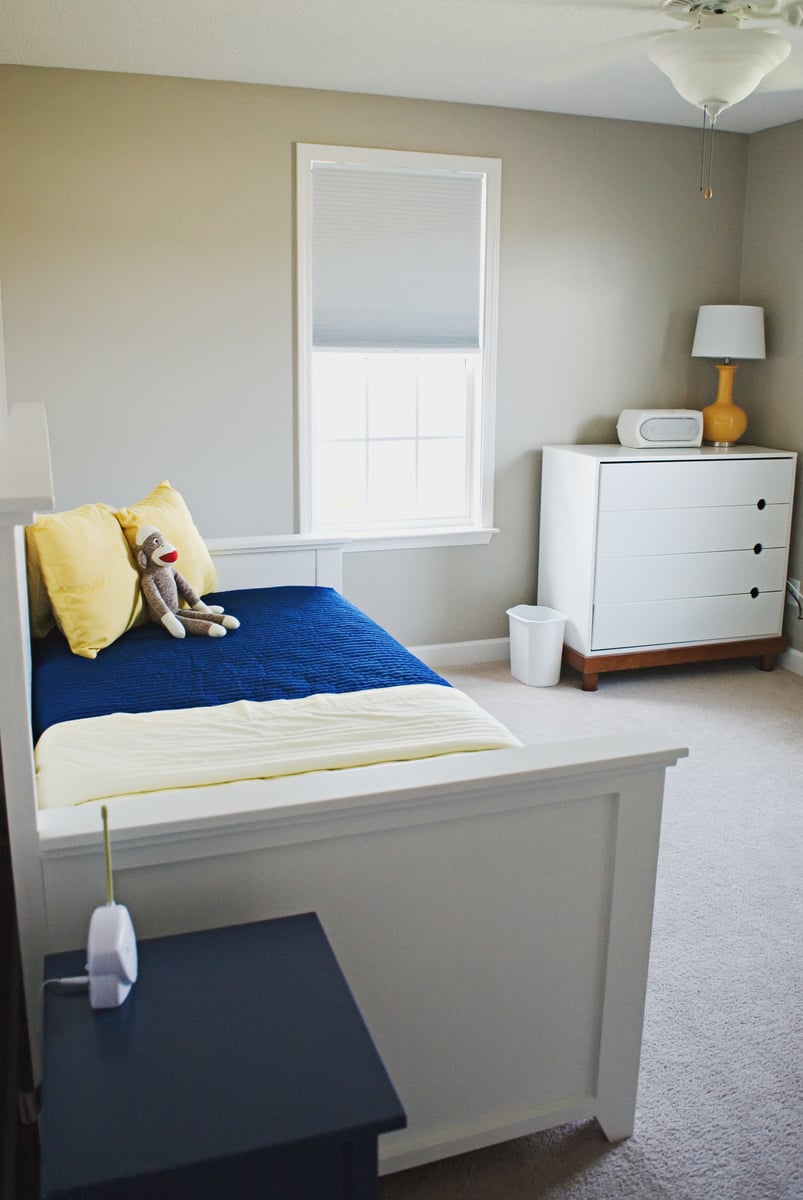
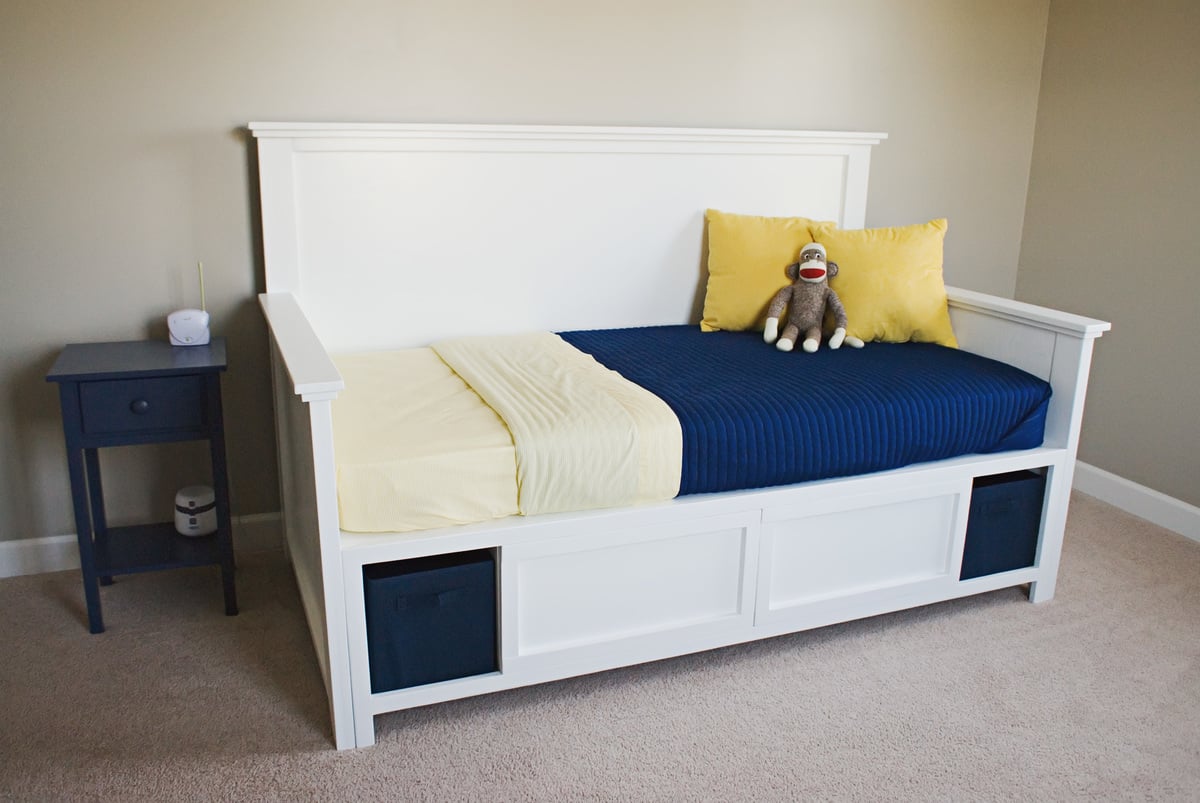
This is our second bed from Ana and definitely our favorite. This bed is one nice, sturdy piece of furniture. It went together easily and everything was right on. We did make a couple changes. Instead of putting two legs on the end of the bench in back, we put three - one where the center divider is and one on the dividers on each side of the center. We changed it so you wouldn't be able to see the bench legs from under the bed. It worked perfectly! Also, we added a 1x4 top trim to the back and arms instead of just stopping with the 1x3. Thank you so much for saving us hundreds of dollars!

Estimated Cost
$300
Estimated Time Investment
Weekend Project (10-20 Hours)
Finish Used
Benjamin Moore Advance Snowfall White in Satin
Recommended Skill Level
Beginner

Comments

Custom Rustic Hall Tree w/Bench

Submitted by Anonymous (not verified) on Sat, 05/30/2020 - 10:39

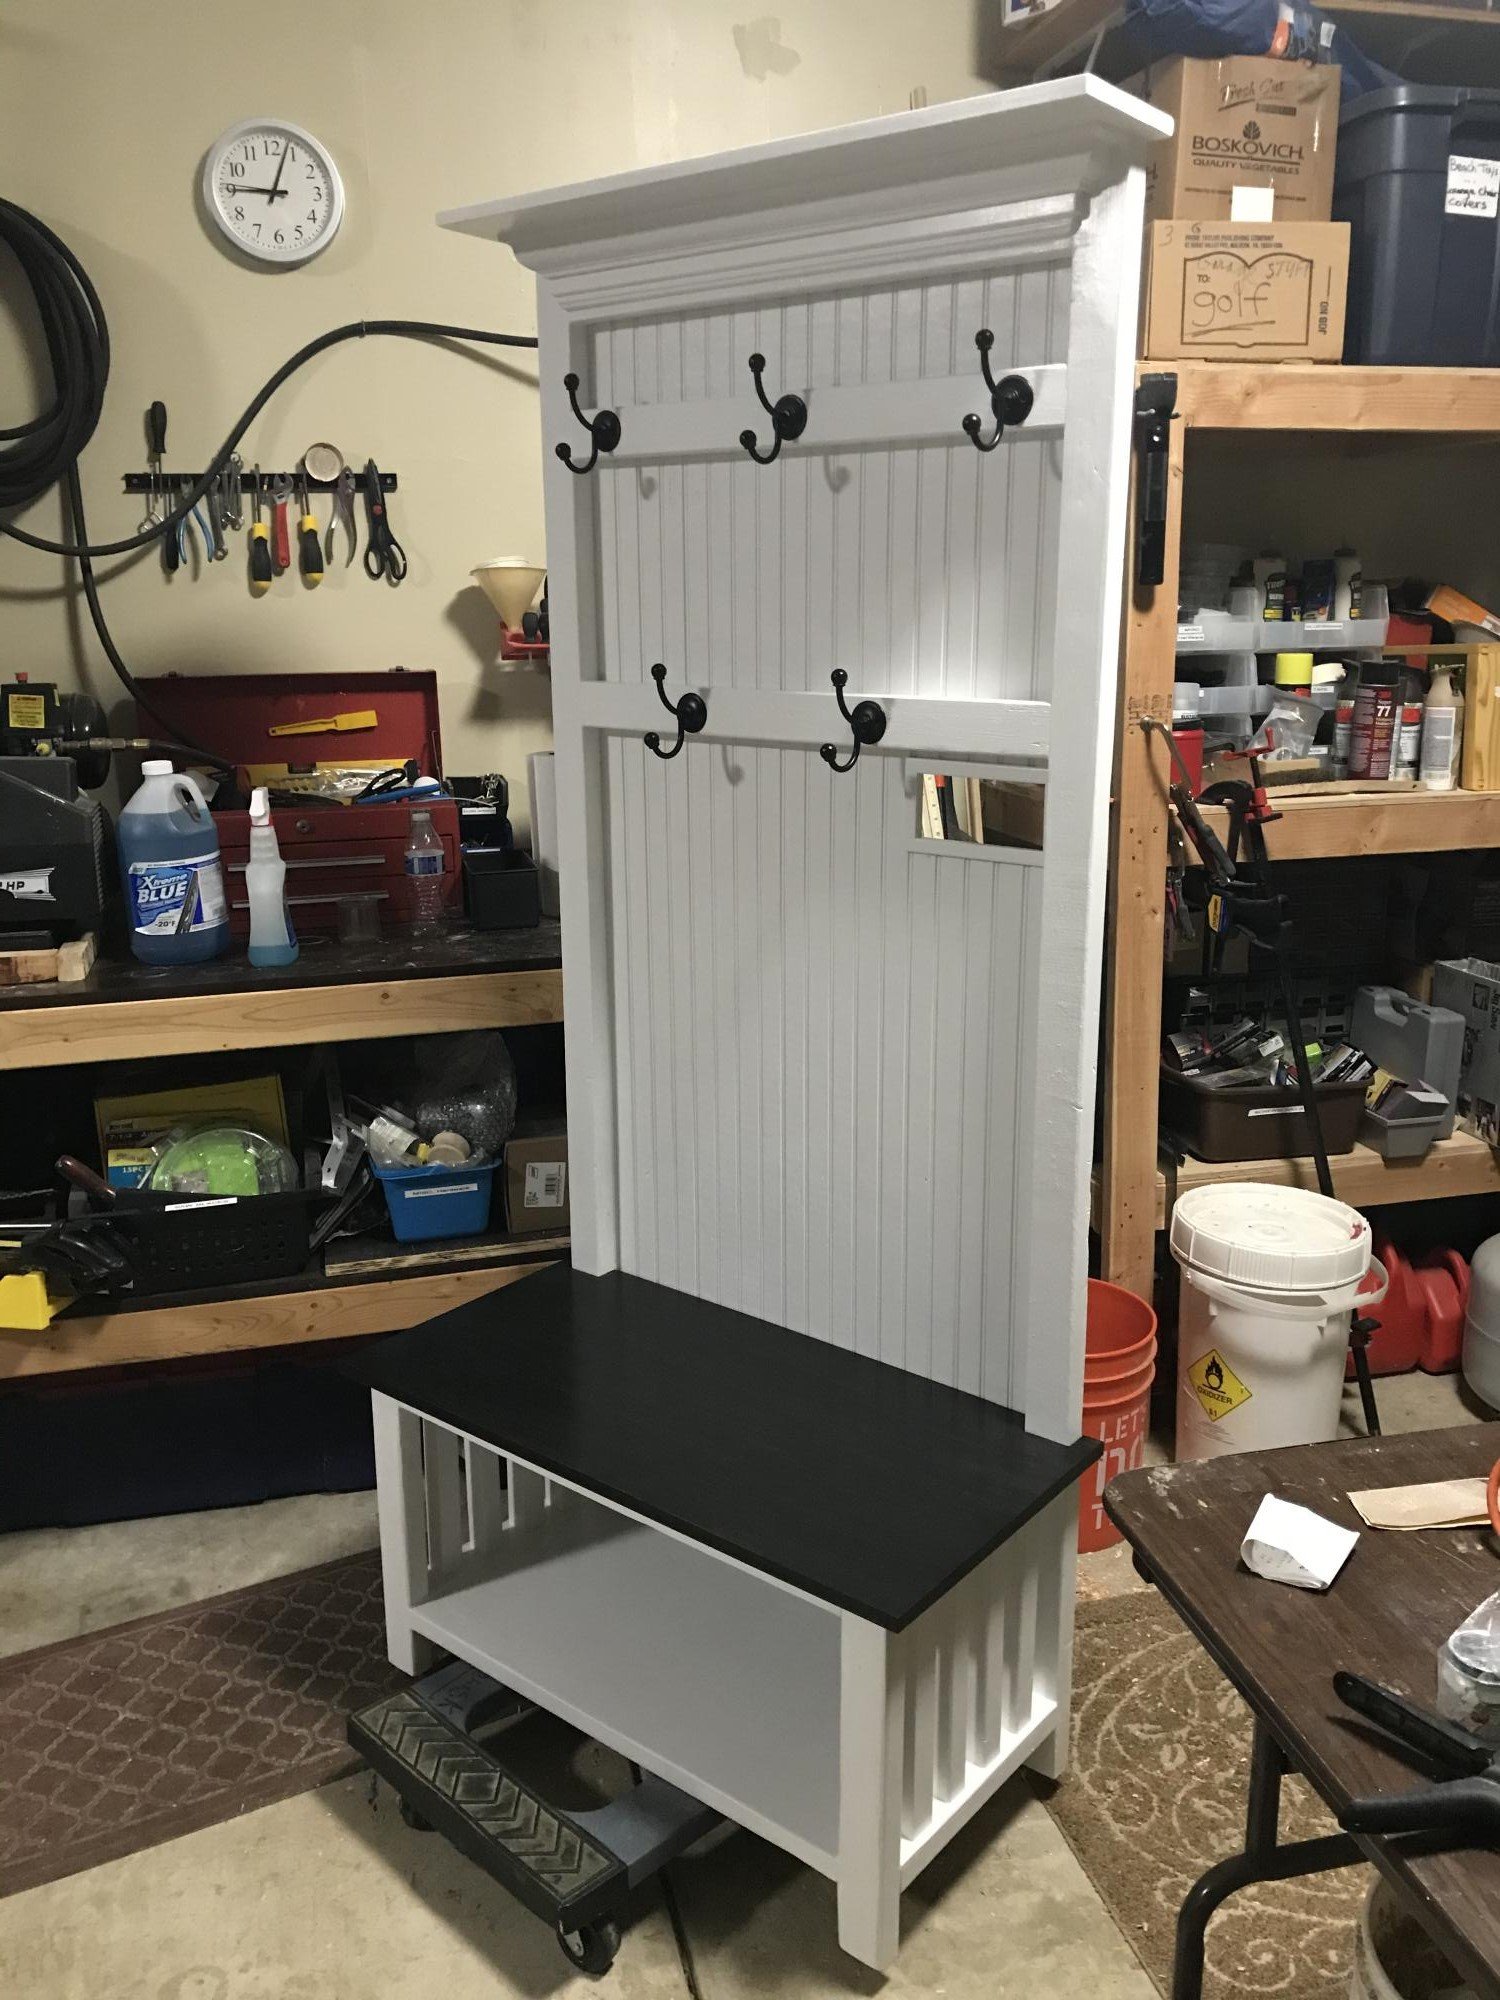
Thanks for the inspiration Ana! My daughter wanted a custom size hall tree and bench with a light switch cut out - basically your plans with an ebony stained poplar seat and bead board backing (to match her wainscoting). I had a little crown left from another project so I added a little detail to the top shelf.....And a Couple of lower level Hooks for the grandkids coats! She loved it and it was fun to make!! Mike in Columbus, OH

Built from Plan(s)
Estimated Cost
$98.00
Estimated Time Investment
Weekend Project (10-20 Hours)
Finish Used
Ebony varathane stain(seat) with varathane ultimate polyurethane oil based semi gloss Interior finish on seat(4coats)

Kilz2 primer/stain blocker interior white

Finish paint Behr marquee Semi gloss custom white to match room color.

Seat sanded to 400 all other areas to 220 before paint. Between seat coats of ur at hand used 0000 steal wool lightly with soapy water mixture.
Recommended Skill Level
Intermediate

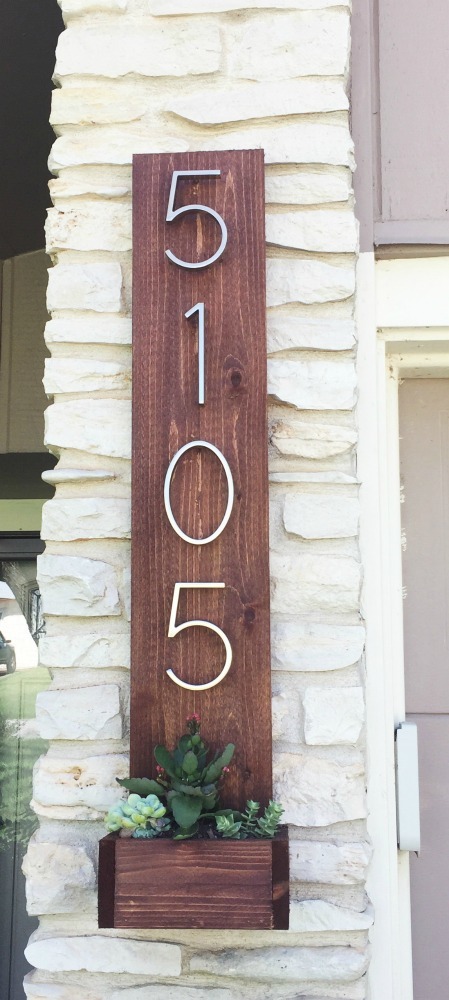
Cedar Street Number Planter

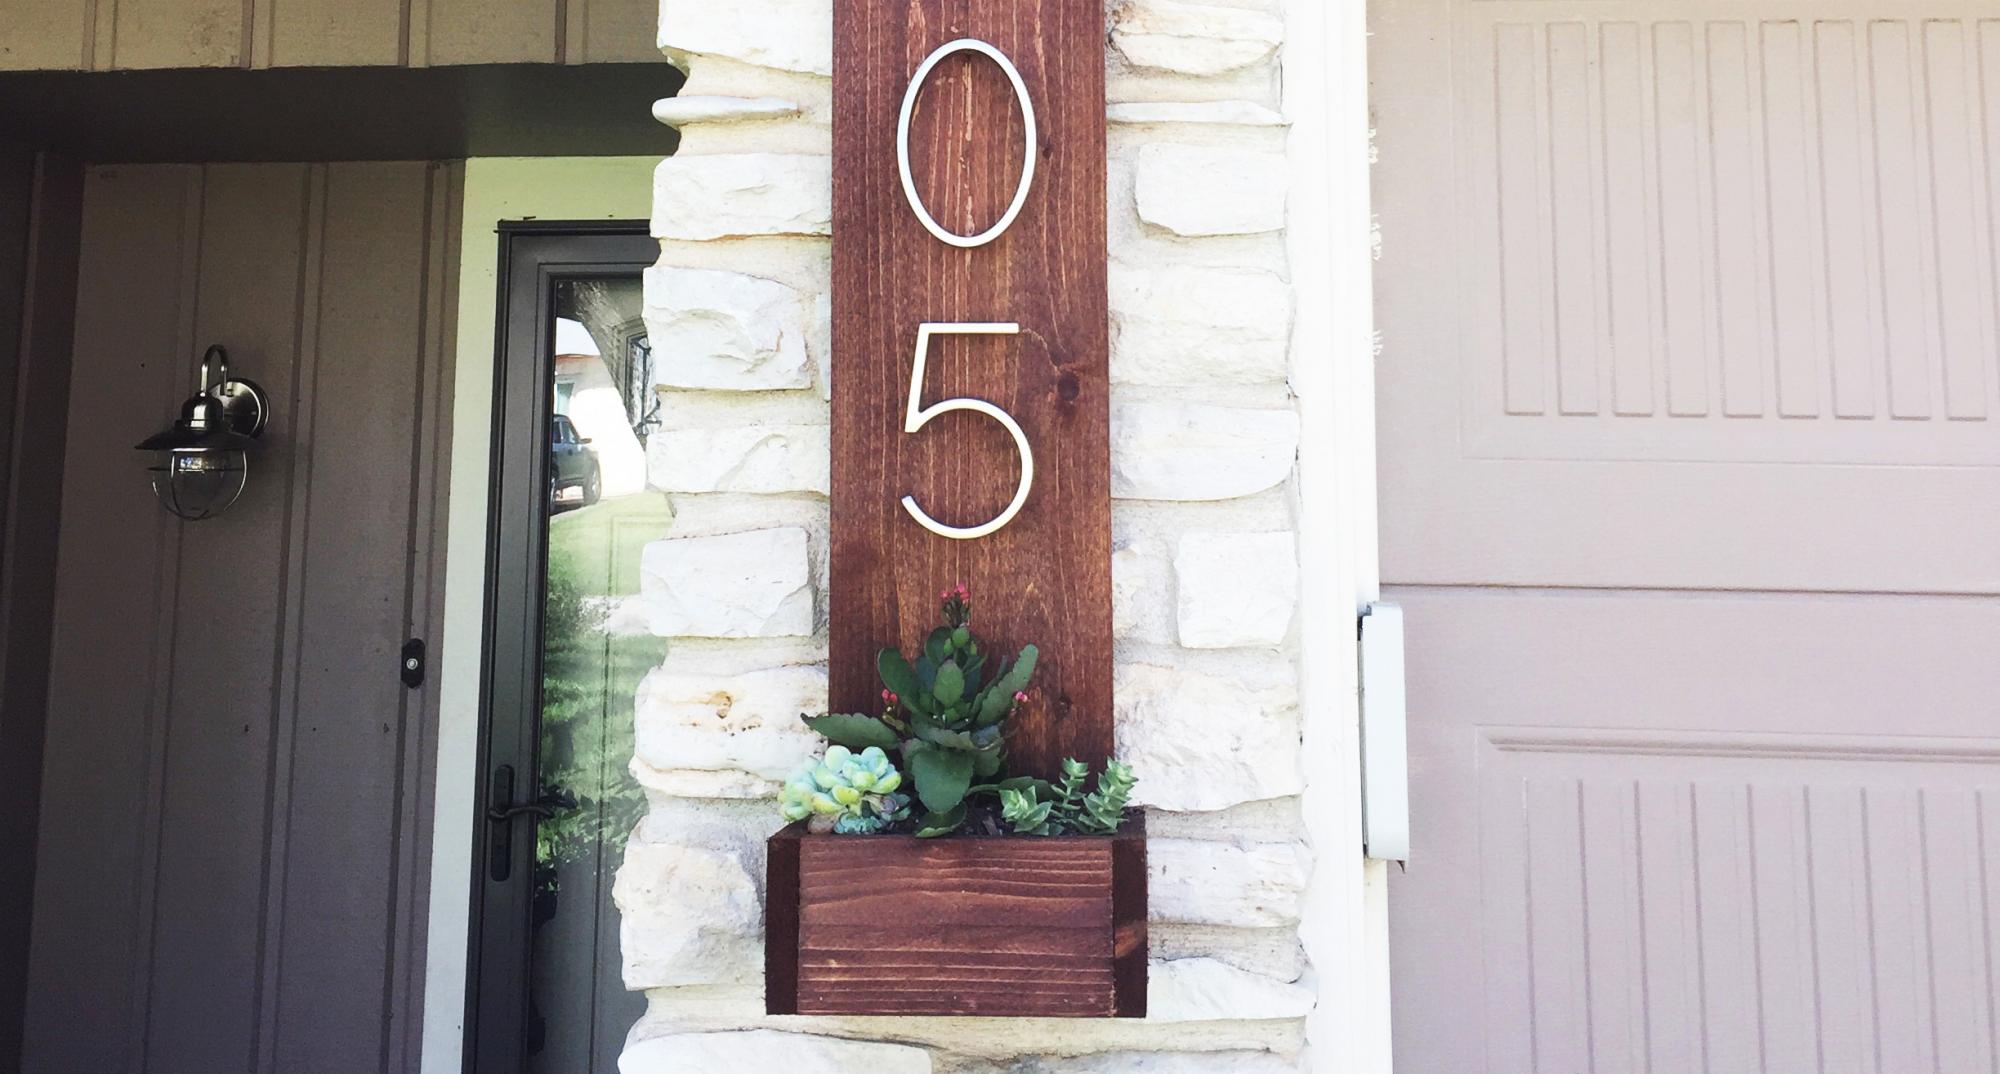
I was looking for a way to give our house some better curb appeal and decided our stree numbers could use a facelift.  The majority of money spent on this project was for the numbers since I had enough spare cedar laying around.

house number planter

Estimated Time Investment
An Hour or Two (0-2 Hours)
Finish Used
Sedona Red
Recommended Skill Level
Starter Project

Comments

Simple 2x4 Bench

Submitted by jennibee on Sun, 09/14/2014 - 17:03

I made this in an afternoon. Loved this project. It is made with 2x4's using a Kregs Jig and mitre saw (plus additional tools like a drill and square).  This was my frist time using the Kregs Jig and I am sold!!

The free plans were taken from another website. They are very detailed and there is even a video (I recommend it as he gives a great tip for making sure the back stays equal/level to each other before putting the back on). Even though you can build this by yourself, I did have help for the heavier sides once they were assembled.  I plan to build the additional side table soon and finish them both with sanding and staining when the weather seems less iffy for rain.

If you are looking for a good beginner project that doesn't take forever or have complicated steps, this is your project.

Built from Plan(s)
Estimated Cost
Around $50
Estimated Time Investment
Afternoon Project (3-6 Hours)
Recommended Skill Level
Beginner

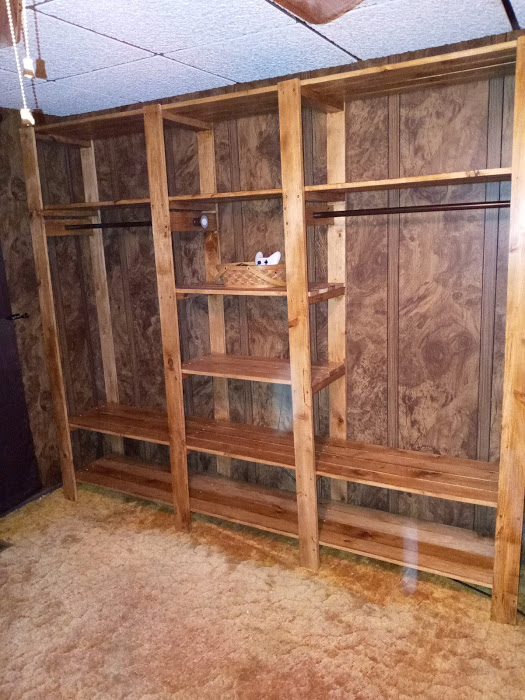
Closet Shelves

So I was complaining to my wife that our one closet in our bedroom was becoming too cluttered. She asked me to build her one. I told her that if she found the one she wanted me to build, then I would build it. She found this one and so I built it for her. Let me just say that she is very happy with it and it came out very great. I did find a couple of shower curtain rods that were brown to used instead of the iron pipe. It made the whole project cost around $80.

Built from Plan(s)
Estimated Cost
$80
Estimated Time Investment
Weekend Project (10-20 Hours)
Recommended Skill Level
Beginner

Comments

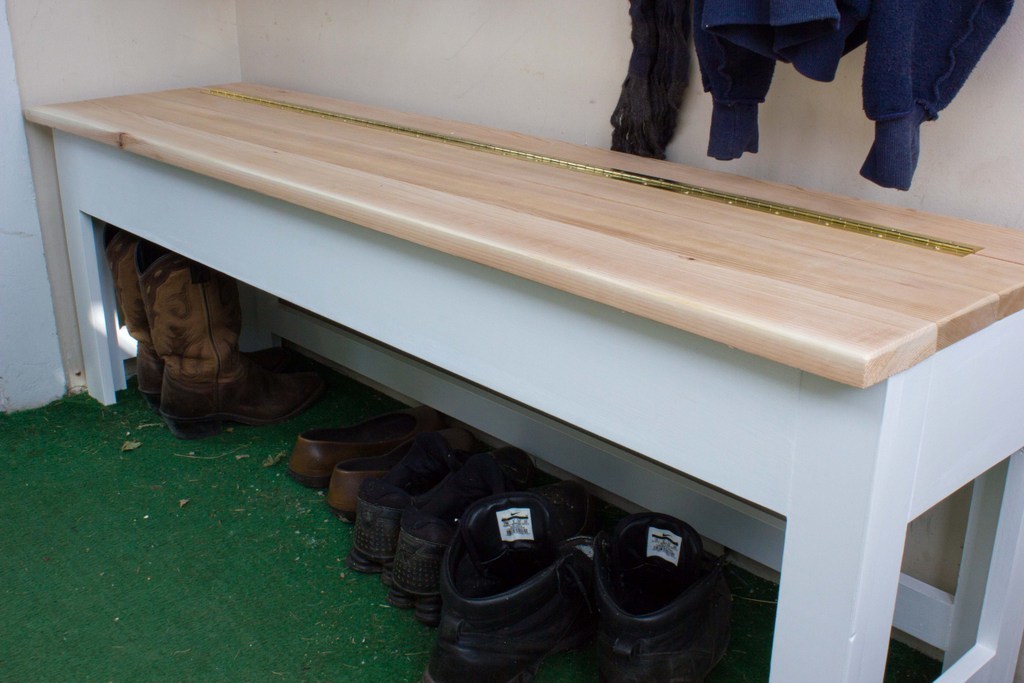
Storage Bench For the Mudroom

Submitted by romanweel on Fri, 02/22/2013 - 11:00

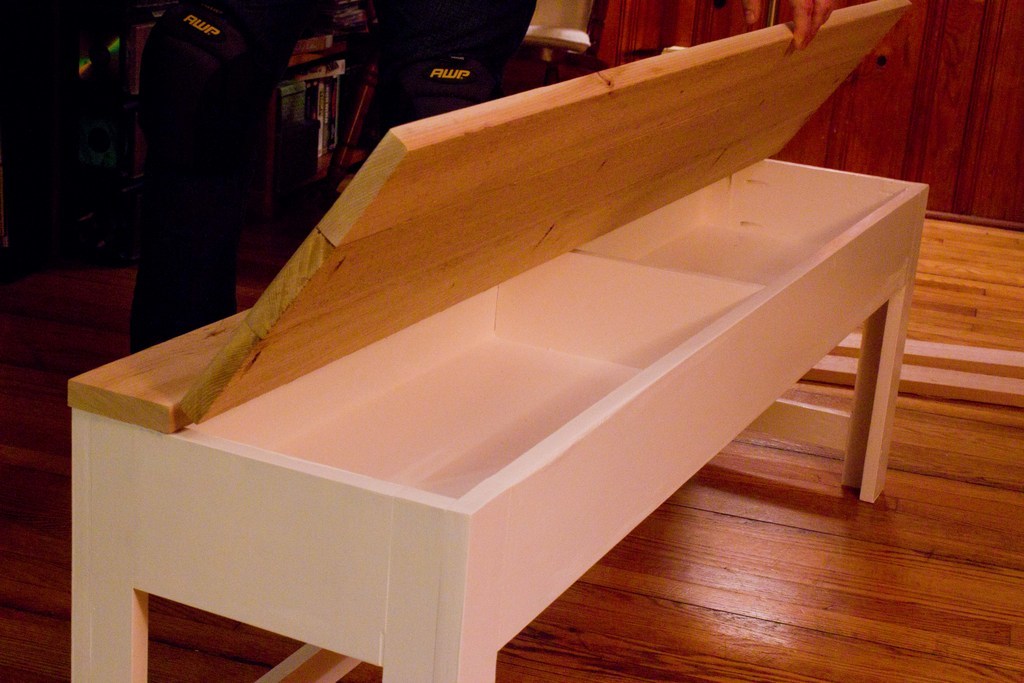
This was for our mudroom, obviously. I wanted to use up some ply that I had ill-advisedly had the store cut into quarters, so each of my storage compartments are 48" long, supported in the center by that divider piece you see in the second pic.

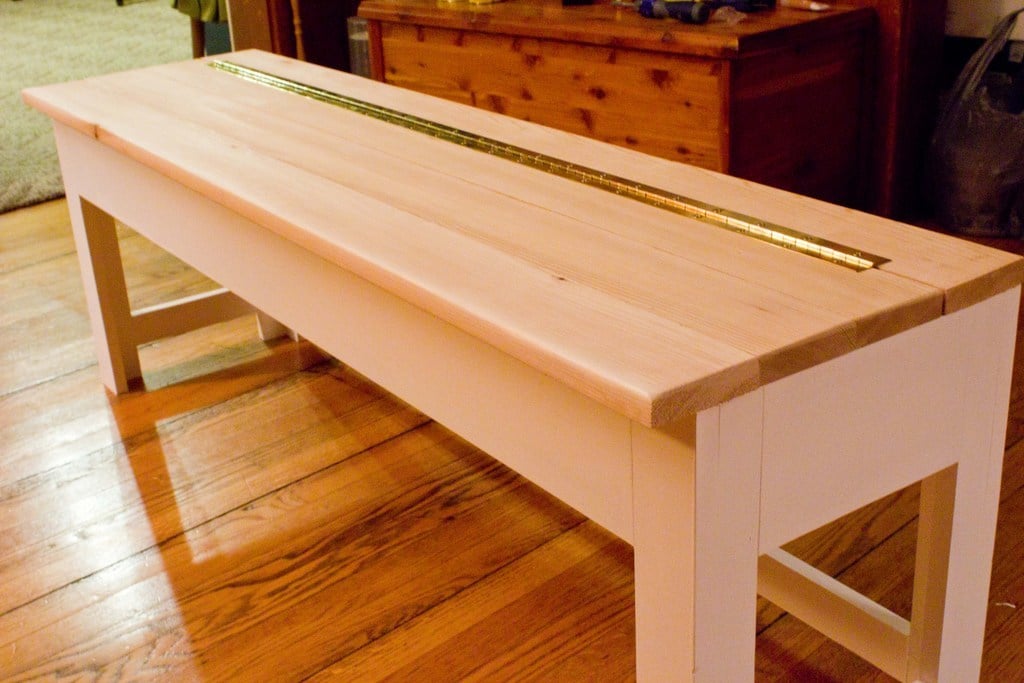
The beauty of DIY of course, is that you can modify everything. But if you do, you spend a week on a 4-hour project (but you do use up a lot of scraps). I cut nearly every piece out of plywood with the exception of the 1x3 front legs. It was time-consuming, but I think it was worth it as it allowed me to impulsively deepen the storage from 3.5" to 5". It also meant I only had to purchase the cedar, one pine 1x3, and a hinge.

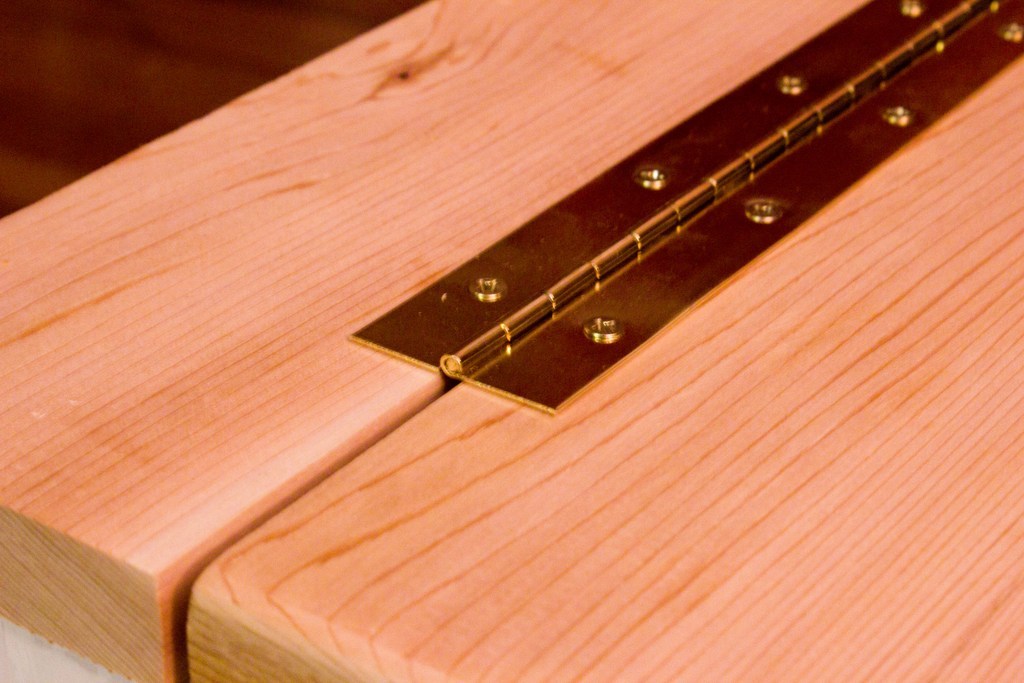
The top is bare cedar boards which we'll allow to weather naturally. The hinge is the longest piano hinge they had at the blue store at about $7. The white is just a base Behr ultra with no tint because it's classic and we already had it.

Estimated Cost
$30
Estimated Time Investment
Weekend Project (10-20 Hours)
Recommended Skill Level
Starter Project

Comments

yurra-bazain

Mon, 03/18/2013 - 10:41

Now I may have to copy you on this one, some day in the distant future when I finally get to our garage entry renovation. :) Looks great!

Modern Farm Table

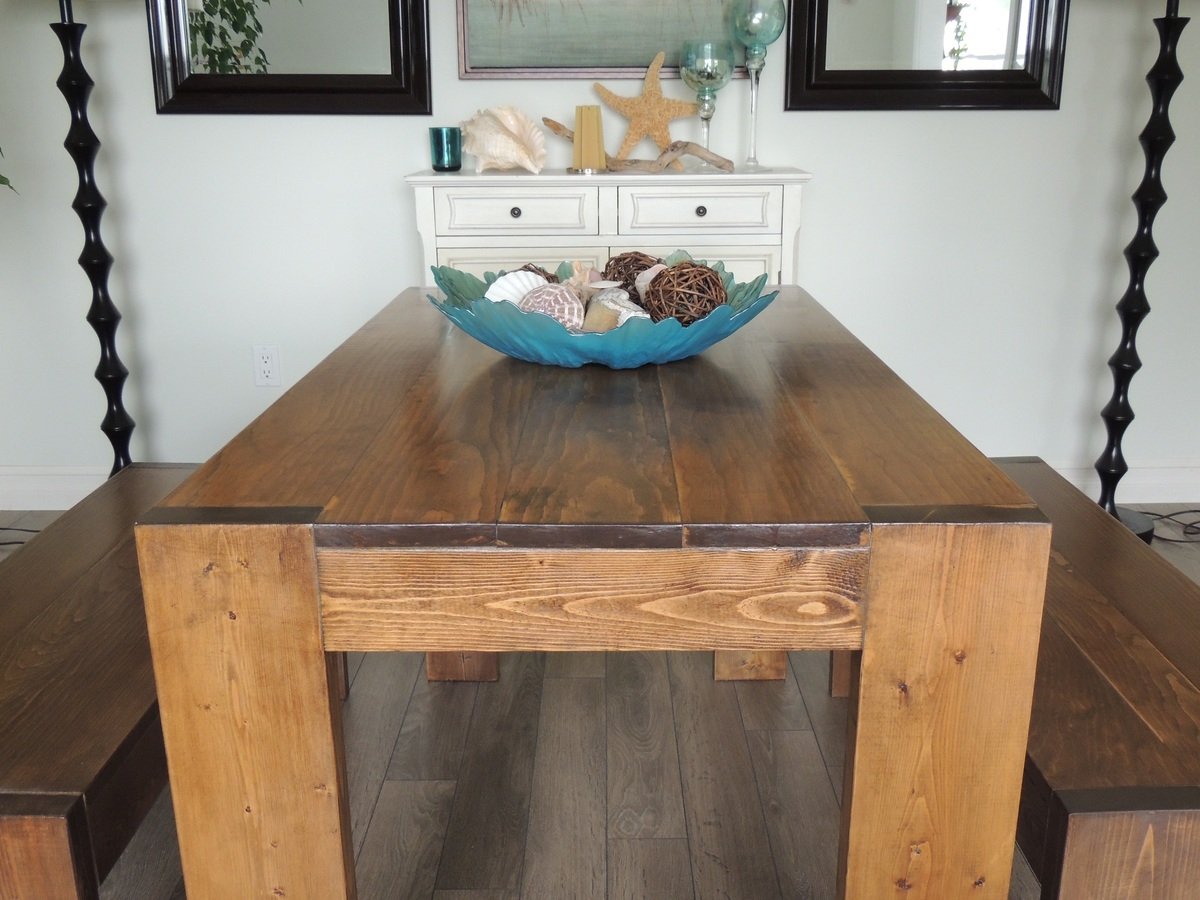
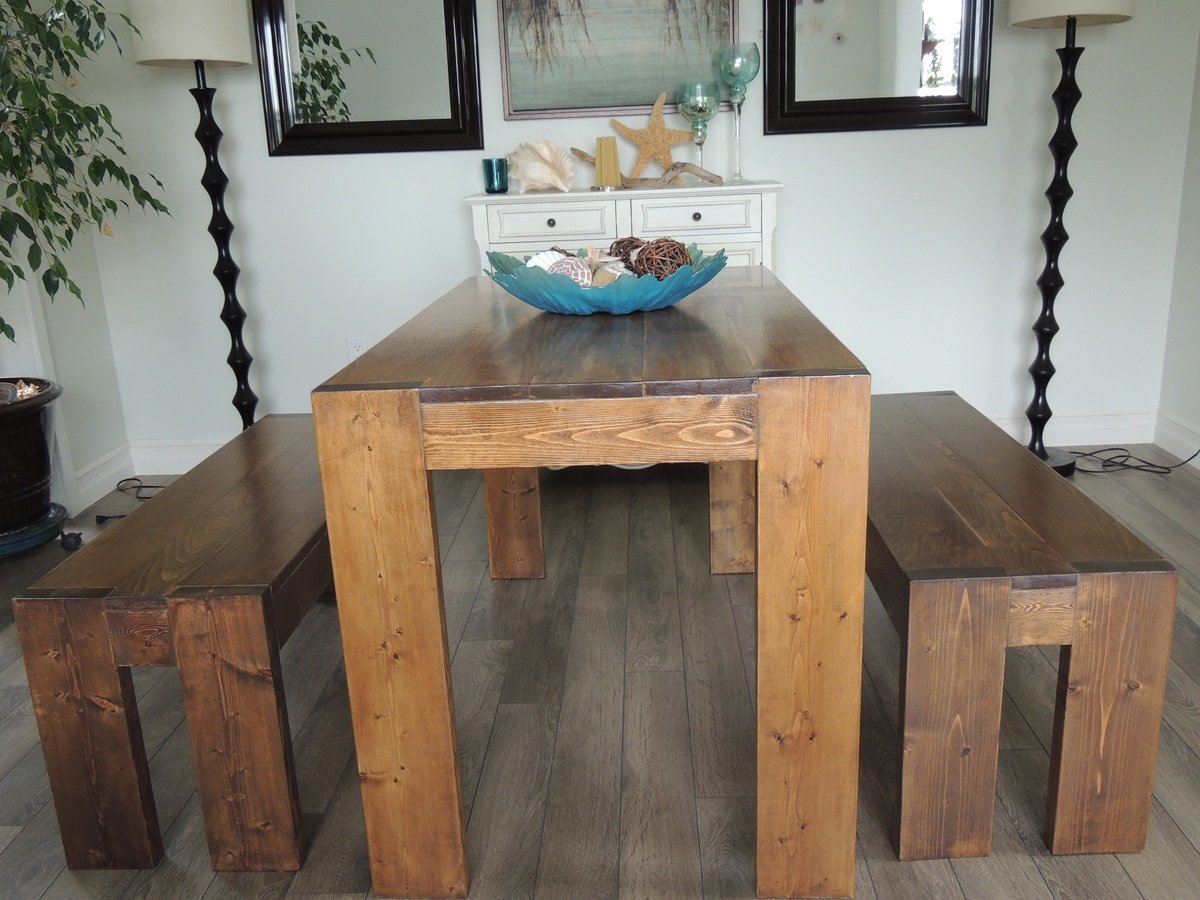
This was my third project. The building is now getting very easy, it's the finishing that's the hard part. For some reason the wood wasn't taking in the stain very well even though I followed the right steps. Condition, sand, and then stain. In the end after many applications I was or I should say my sister who I was making it for was happy. I had to modify the size to make it fit in her space.

Estimated Cost
I really have to start keeping track, I didn't. Maybe between 150 and 200 with all the stains.
Estimated Time Investment
Weekend Project (10-20 Hours)
Finish Used
I used minwax conditioner before sanding and minwax stains. Special walnut,weathered oak, and pickled oak. I started with the special walnut followed by a coat of weathered oak then the pickled oak. I wasn't happy with it at that point so I put another coat of sw and honestly I lost track. When I was finally happy with it I put a top coat of minwax spar urethane.
Recommended Skill Level
Beginner

Farmhouse table and bench - white base with stained top

Submitted by Anonymous (not verified) on Mon, 05/15/2017 - 19:36

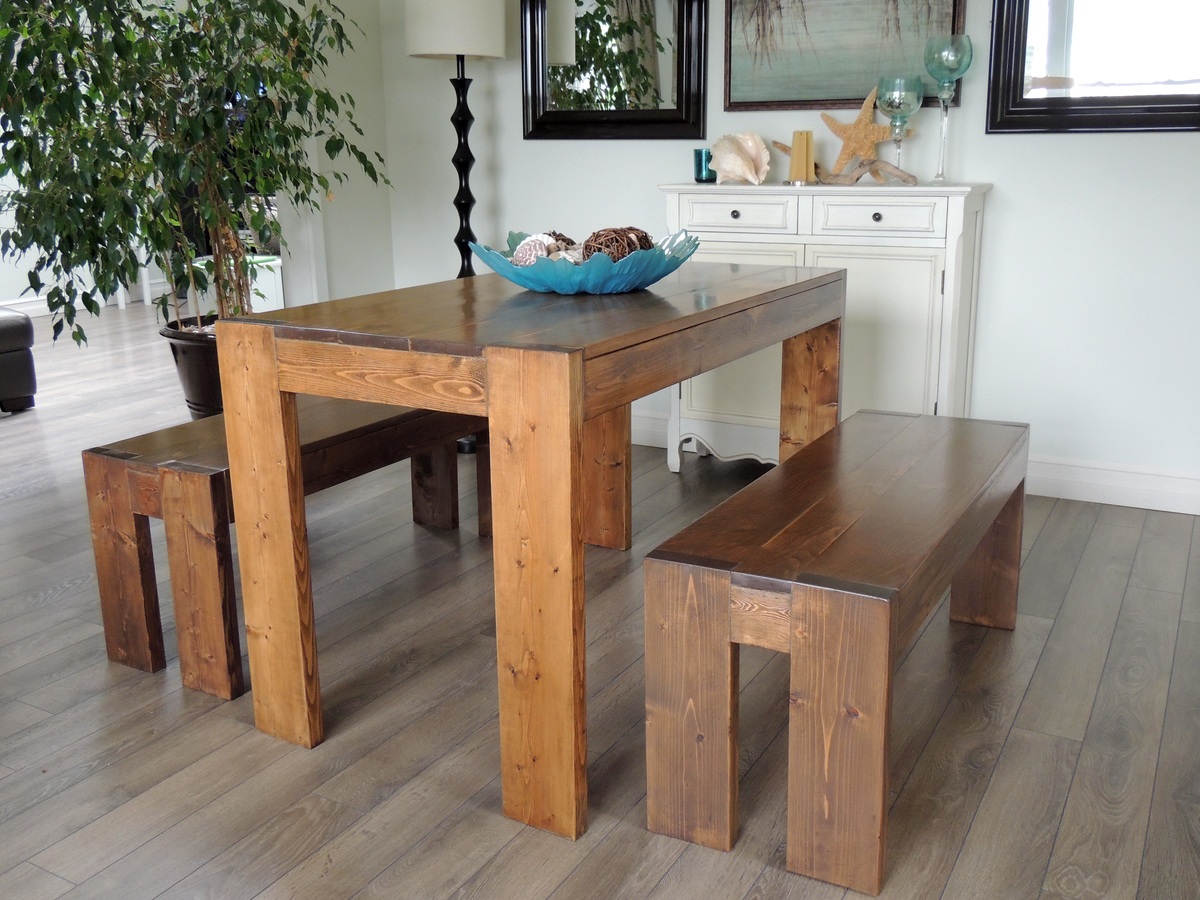
We went off the Farmhouse table and bench design but had to customize the length of the table and bench so that it fit in our kitchen space. The table was our first ever project and we made a few mistakes but learned from them and built the bench and are hoping to move up to the Farmhouse bed and then the fullstorage bed. 

Estimated Time Investment
Afternoon Project (3-6 Hours)
Finish Used
Used everlasting in chalk paint for bottom and top then brushed blue over the top let dry then stained the top with minwax dark walnut and wiped off. Applied a few layers until desired look. Dry brushed more blue and white in between stain layers then used polycrylic semi gloss finish
Recommended Skill Level
Starter Project

Outdoor Modern Comfort Collection using Ikea cushions

Submitted by MaiaAg on Tue, 06/22/2021 - 12:01

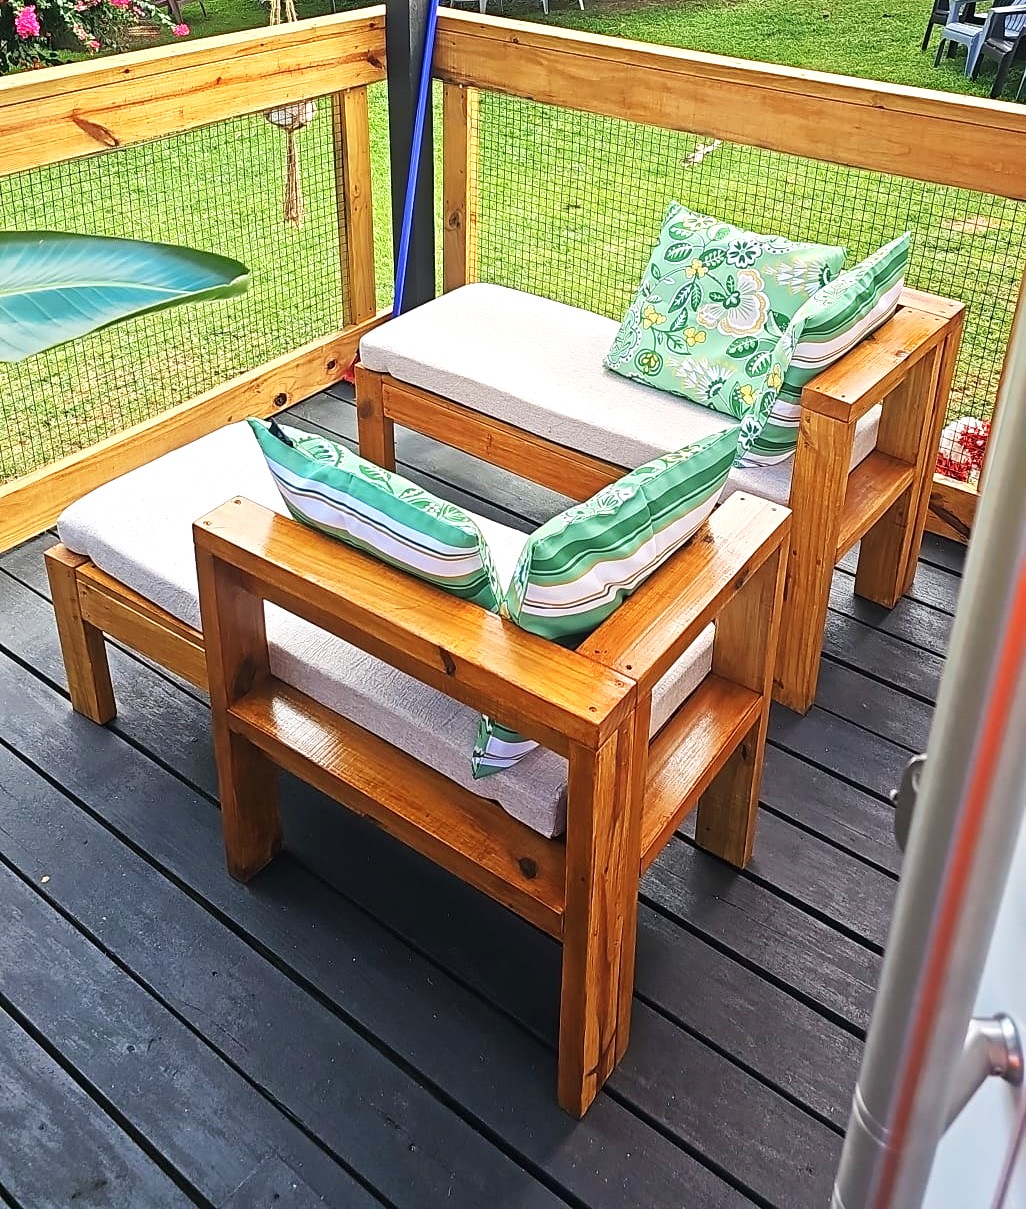
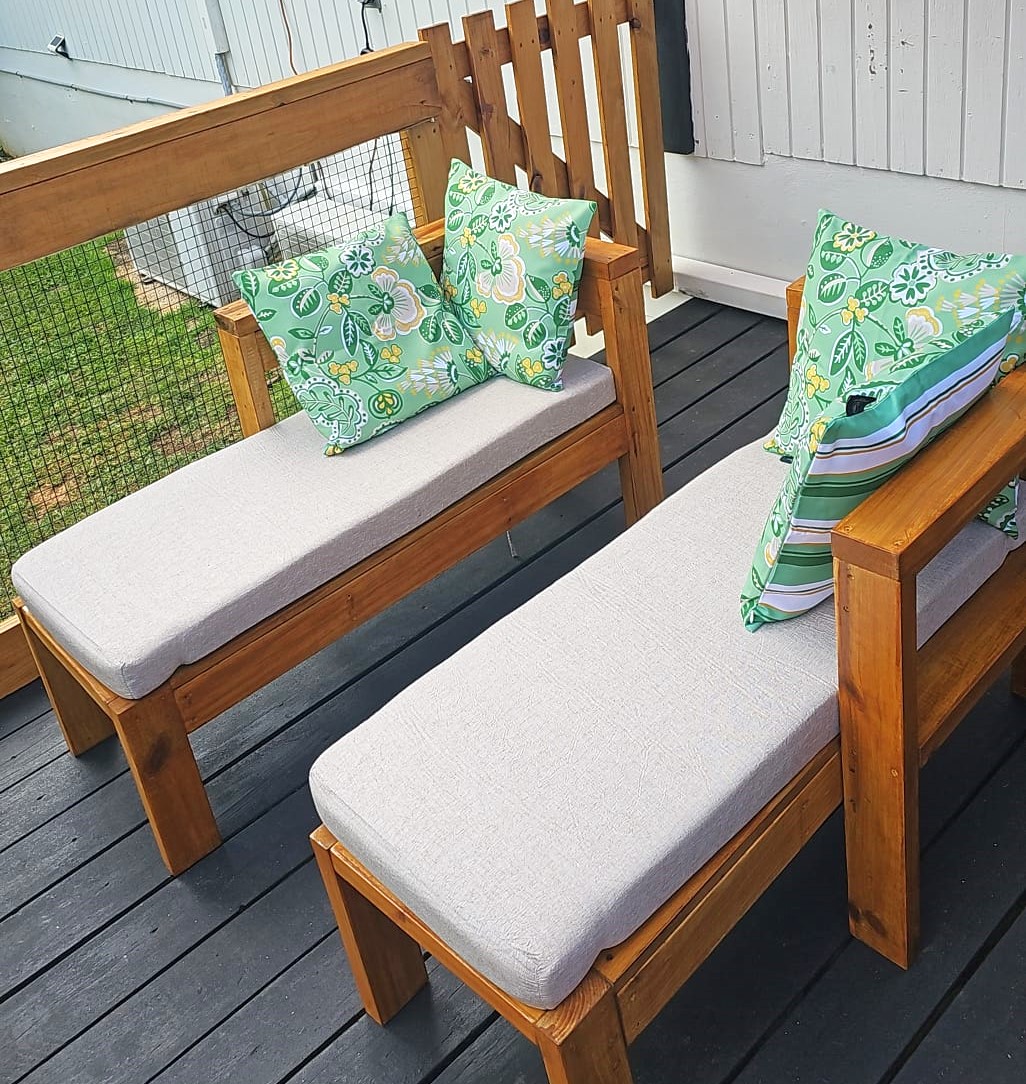
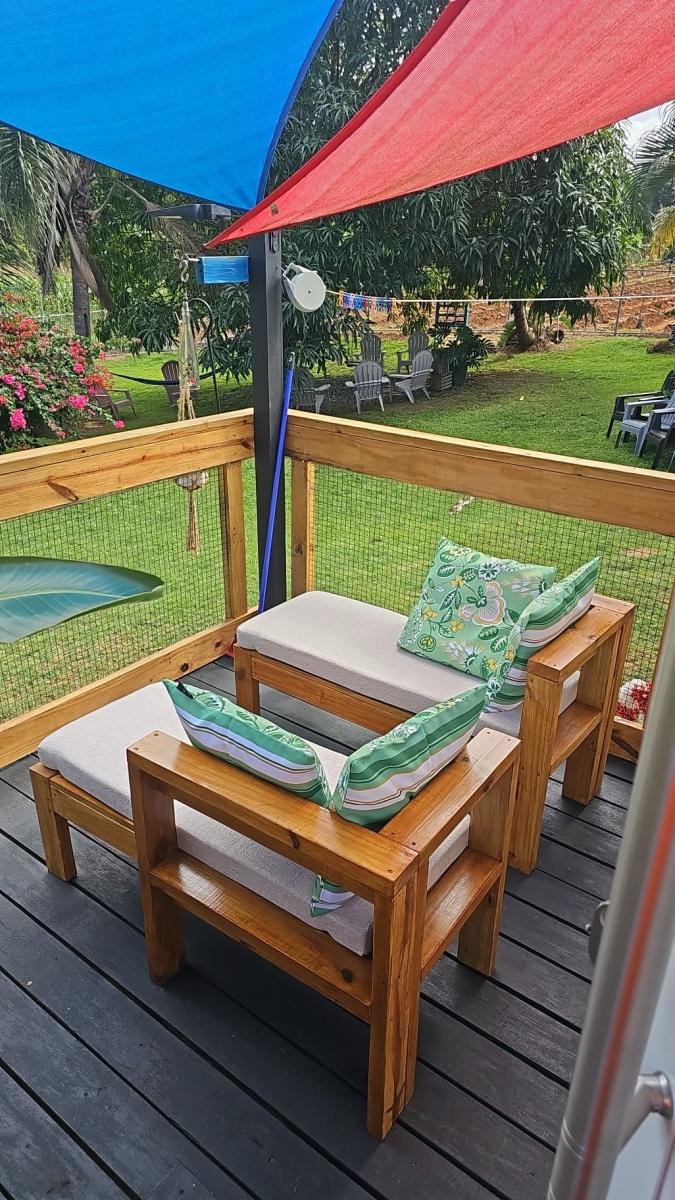
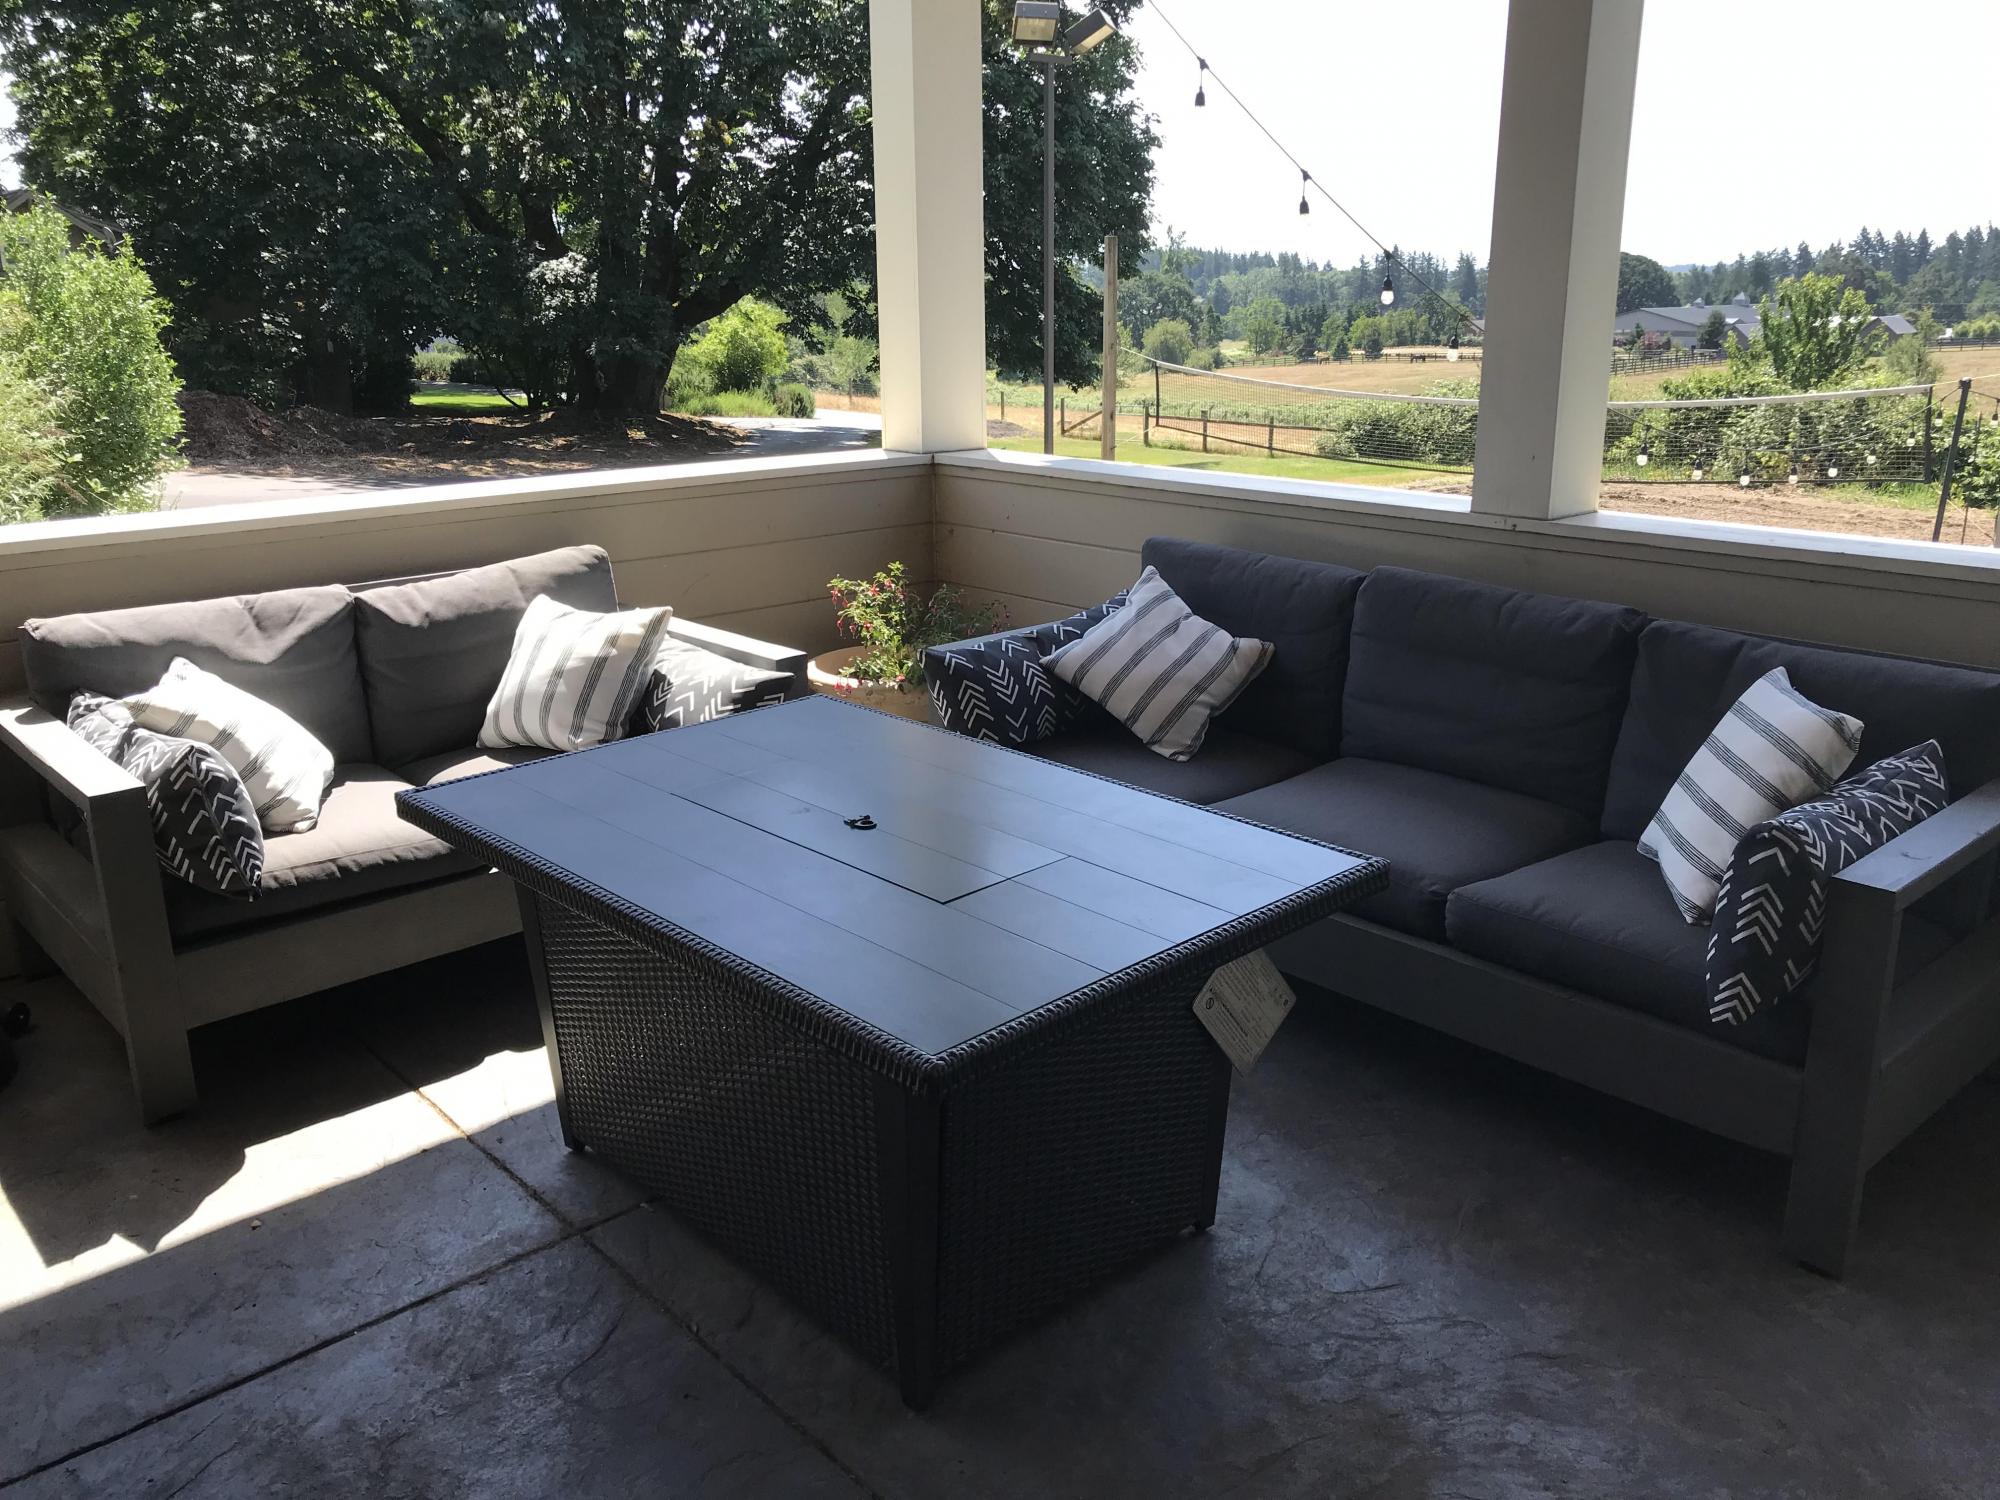
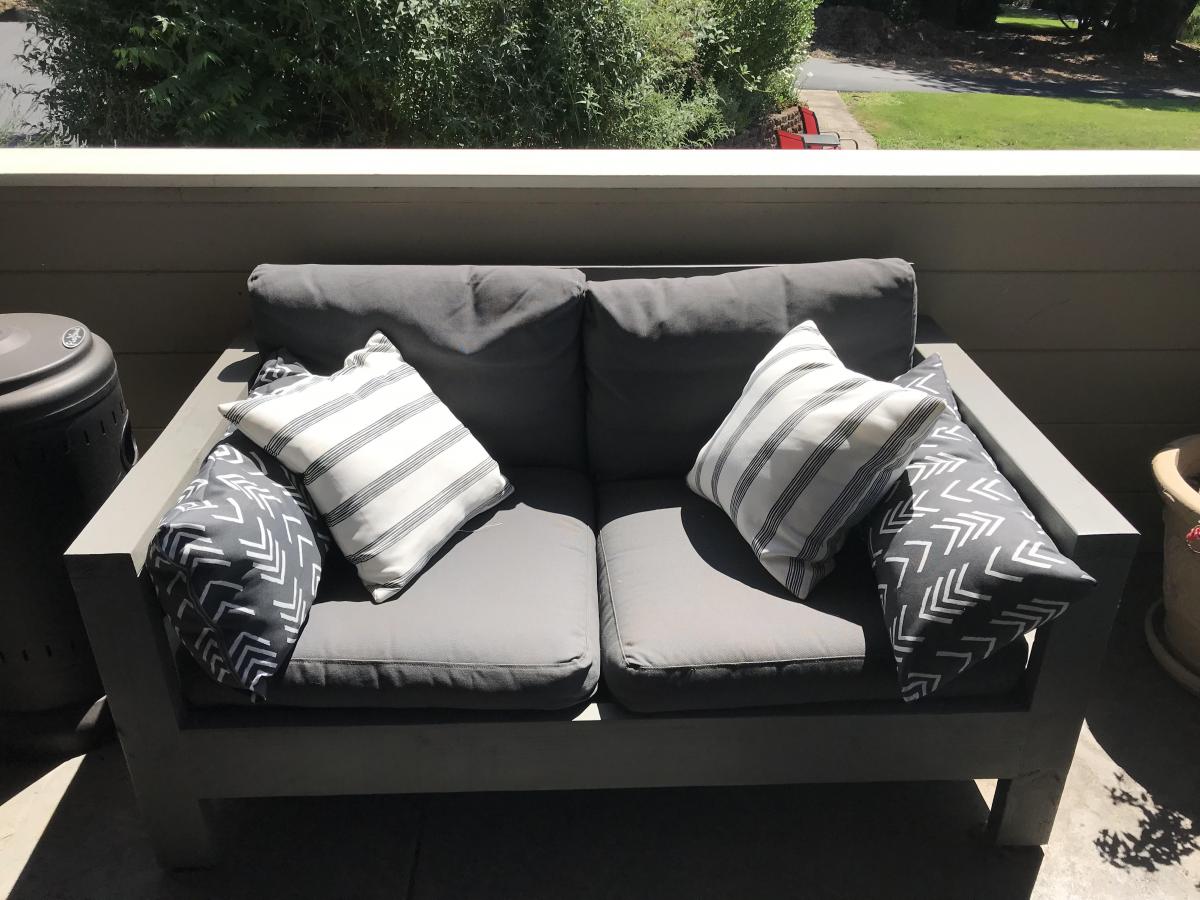
We were needing a set for our covered patio and didn't want to make the leap to purchase a set until we knew which configuration would feel right for the space. We decided to start with this set and we are so happy with it. We get so many compliments and requests for the plans. We modified the plans to fit Ikea cushions. We also added rubber footpads to the bottom of the legs to keep it better waterproofed. I built the couch first and then stained it . .. so for the loveseat I stained the big pieces before assembling. I'm not sure one approach was any better than the other. It was an easy build and super quick--the bulk of the time was spent on staining and waiting for stain to dry. We highly recommend this plan. The only thing we may change is to go back and add a cross piece in the arms so that the throw cushions don't fall through. Overall, a great value and super comfortable.

Estimated Cost
$450 including cushions
Estimated Time Investment
Day Project (6-9 Hours)
Finish Used
outdoor stain
Recommended Skill Level
Beginner

Comments

wooden cooler stand

Submitted by stealth517 on Sat, 04/18/2015 - 20:48

This is the cooler stand presented by Jenny from Birdsandsaoap. Very easy to build and always ends up with someone asking to buy it or have you make them one.

Built from Plan(s)
Estimated Cost
$120.00
Estimated Time Investment
Week Long Project (20 Hours or More)
Finish Used
Minwax gloss polyurethane.
Recommended Skill Level
Intermediate

Comments

Kids Country Bench

Submitted by Jenny Anne on Mon, 03/14/2011 - 14:26

Hi! I made the Kid's Country Bench for my first ever woodworking project. Making this bench was the first time I've used a jigsaw (purchased for this project) and the first time drilling a pilot hole. My husband answered a couple of questions along the way, but I did all the work myself and am so proud. I did change some dimensions to accommodate pretty baskets I wanted to use. This is going to be very helpful for corralling two little boys' shoes in my entry.

Built from Plan(s)
Estimated Cost
$50
Estimated Time Investment
Day Project (6-9 Hours)
Finish Used
I really wanted to stain this and prime and paint later as a last resort, if needed. My concern was the wood putty. I didn't get the "stainable" stuff since I've only heard bad things about it. I got some that would supposedly blend pretty well. You can see that it's too dark for my stain, but I'm ok with that in the end. I think it' makes it look like reclaimed wood or something. You can also see on the end where I drilled two holes in the wrong spot (oops!) despite measuring twice, cutting once. (That doesn't help if you're measuring the wrong number!) :-)
Recommended Skill Level
Starter Project

Adirondack Chair

Watts Built on Wolfe Way

Estimated Cost
$150 for all 4
Finish Used
Behr Transparent Weather Proofing all-in-one Cedar Naturaltone No 501
Recommended Skill Level
Intermediate

Comments

Bike Storage

Submitted by vendo on Wed, 10/13/2021 - 10:10

I live in a smaller rental with limited garage space, so I needed a place for my kids bikes. This is what I came up with. It required minimal screw holes in the treated fence posts and I attached a rail system(rubbermaid fasttrak) for the bikes to hang from. I used Ana's easy shelves plan for the upright supports and then just added some corrugated roofing and cedar fence pickets (which I had on hand) to finish off the top.

Repurposed bed frame dog kennel

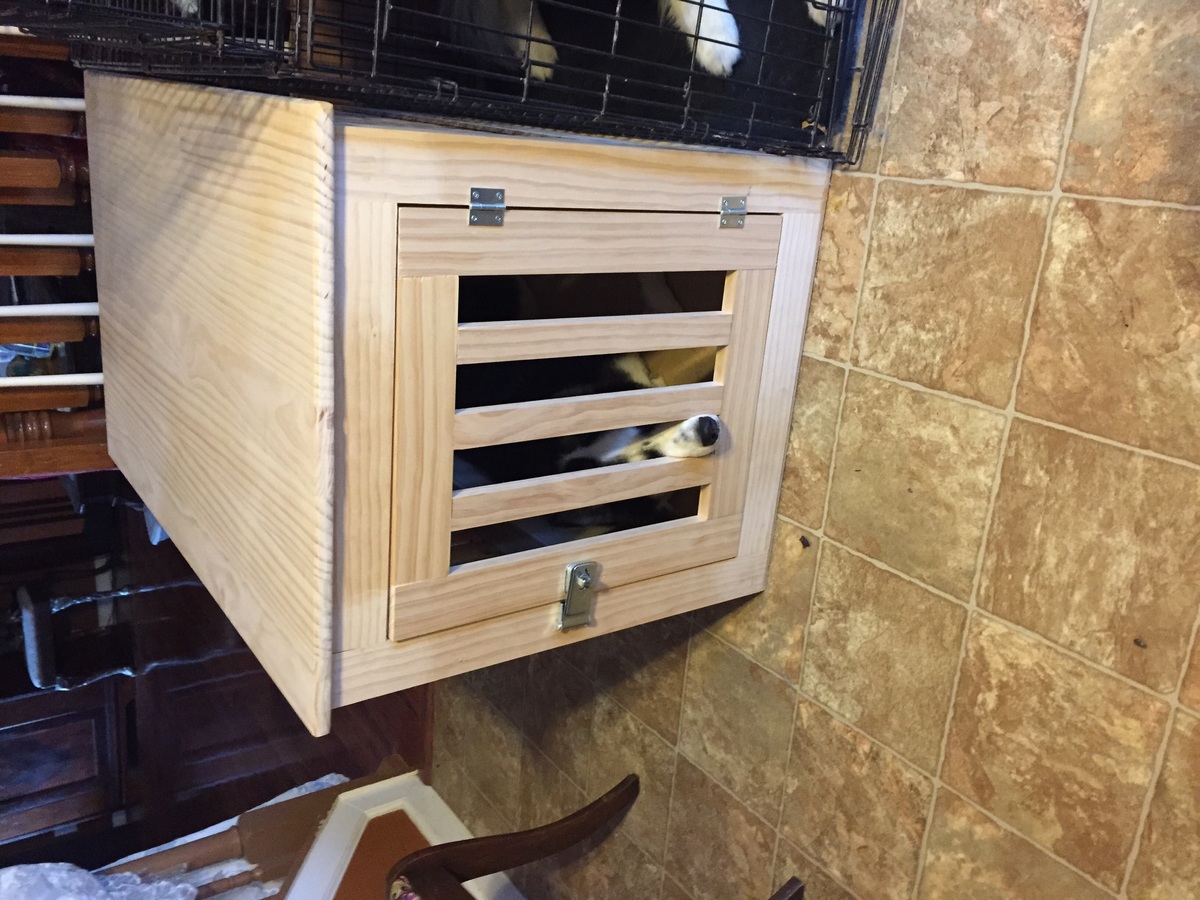
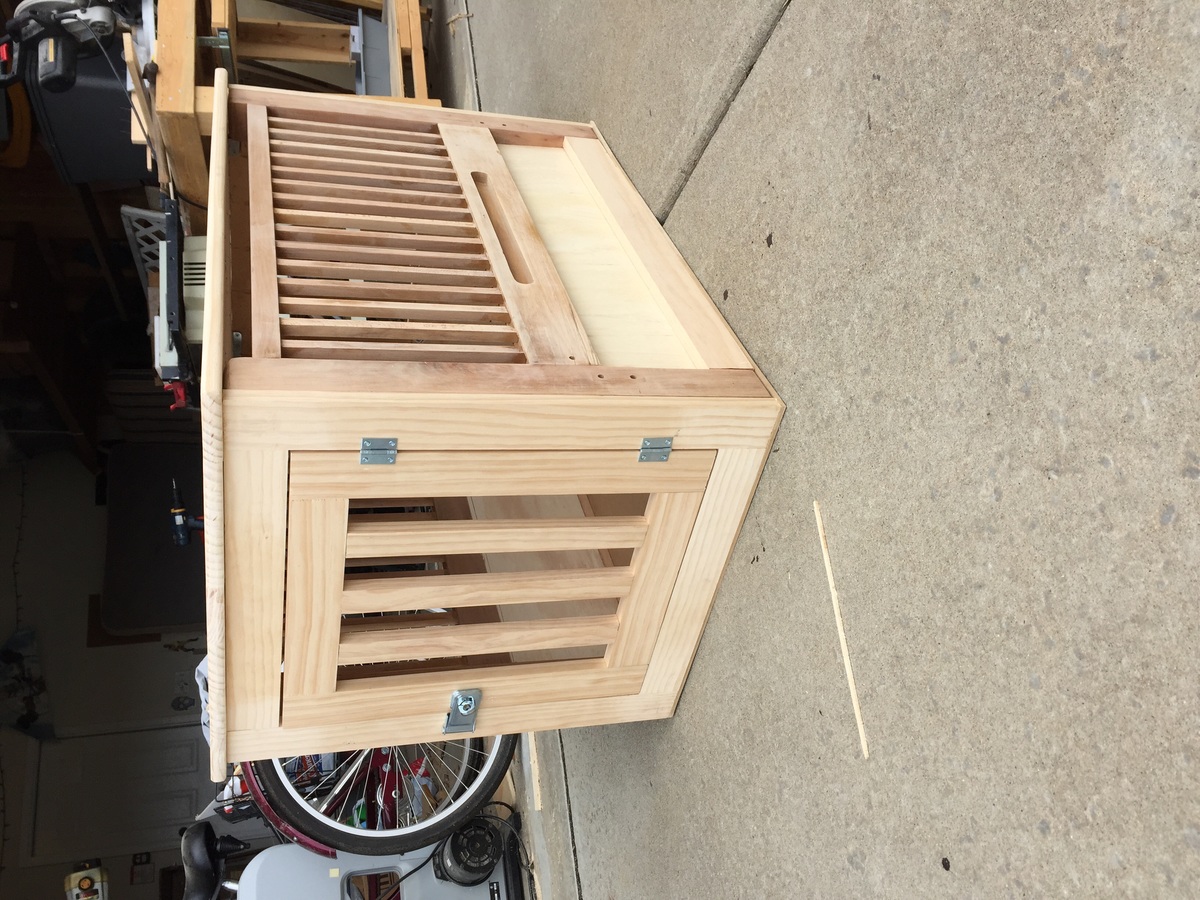
Used the inspiration of Ana-White dog kennel and made ours with an old bed frame that wasn't being used anymore. I'm very happy with how it turned out. I just need to paint and stain it. You can see the side is from the bed headboard and footboard.

Estimated Cost
$75
Estimated Time Investment
Weekend Project (10-20 Hours)
Recommended Skill Level
Beginner

Garage shelves with doors

Submitted by CarolinaL on Thu, 01/11/2018 - 03:59

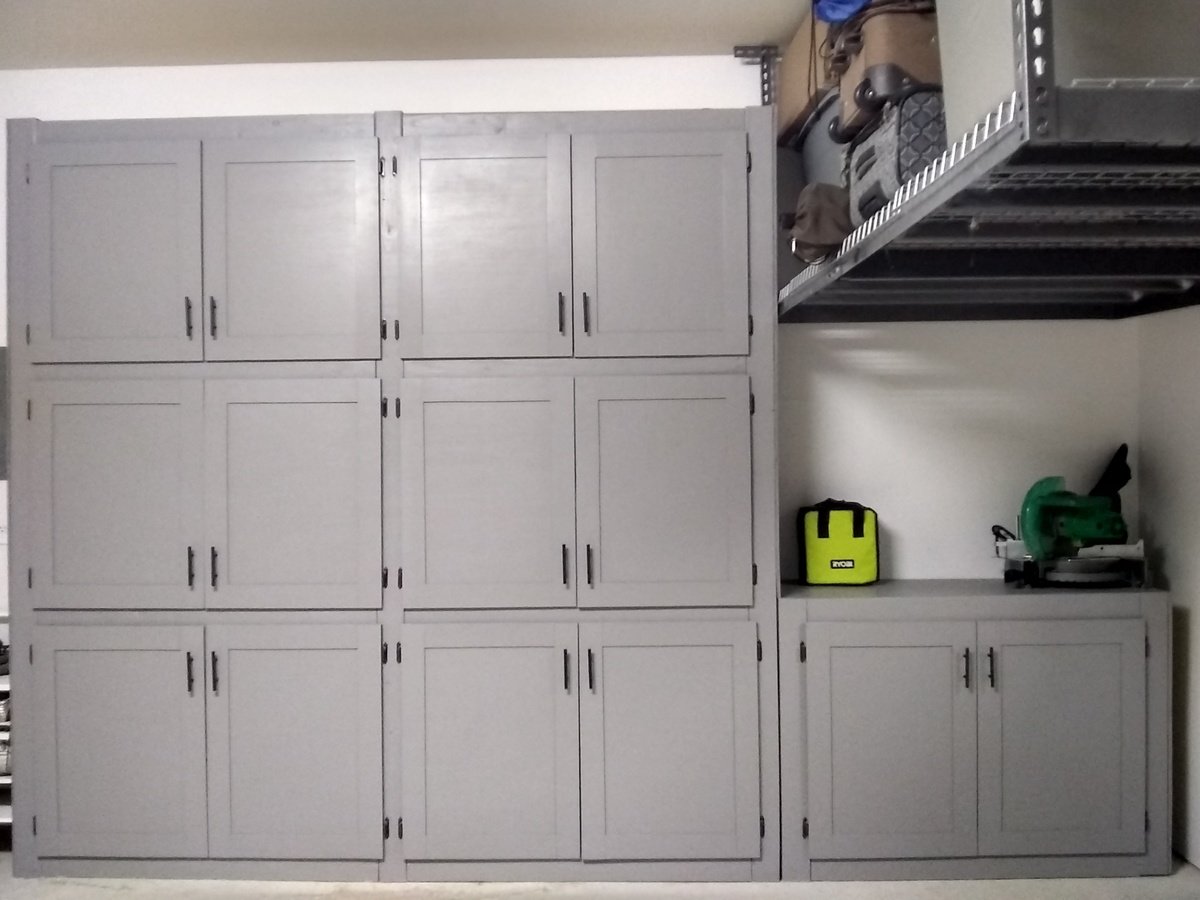
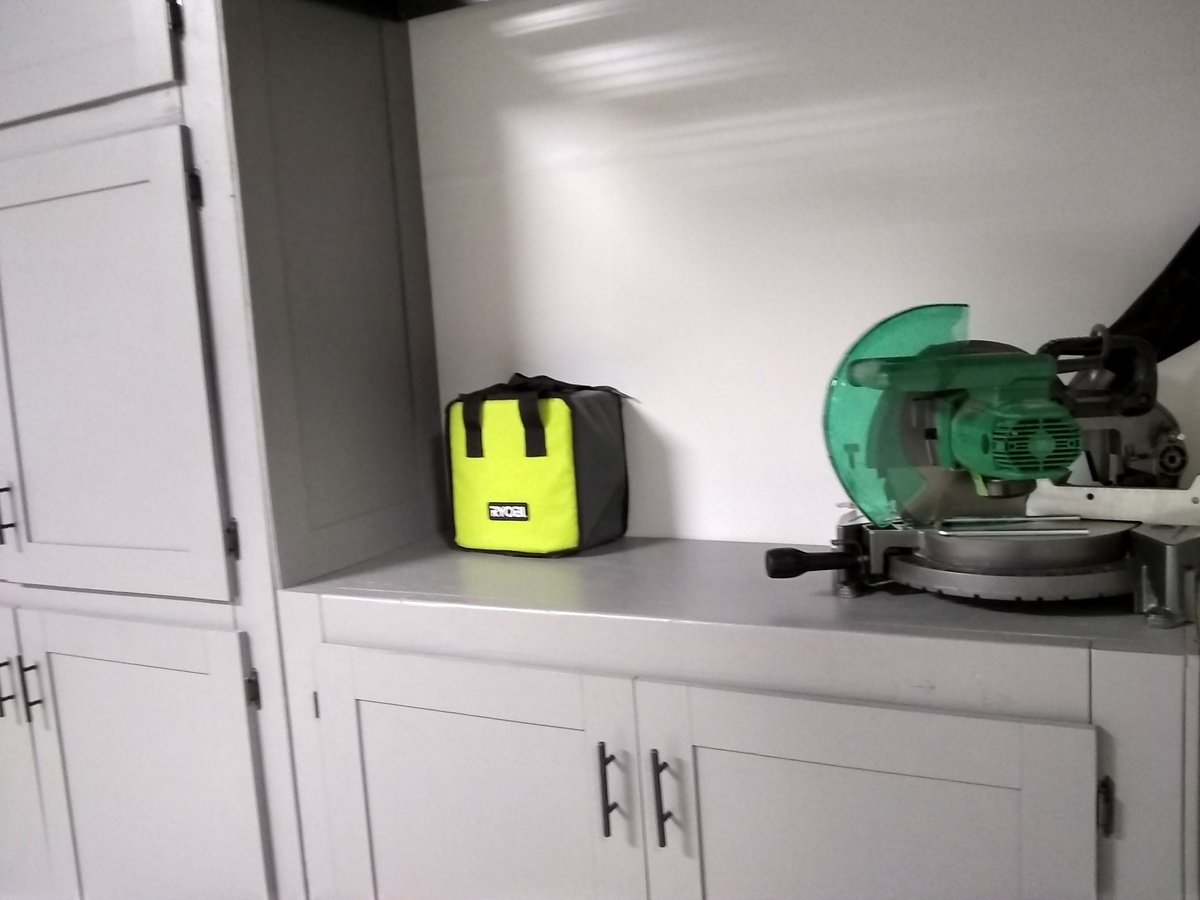
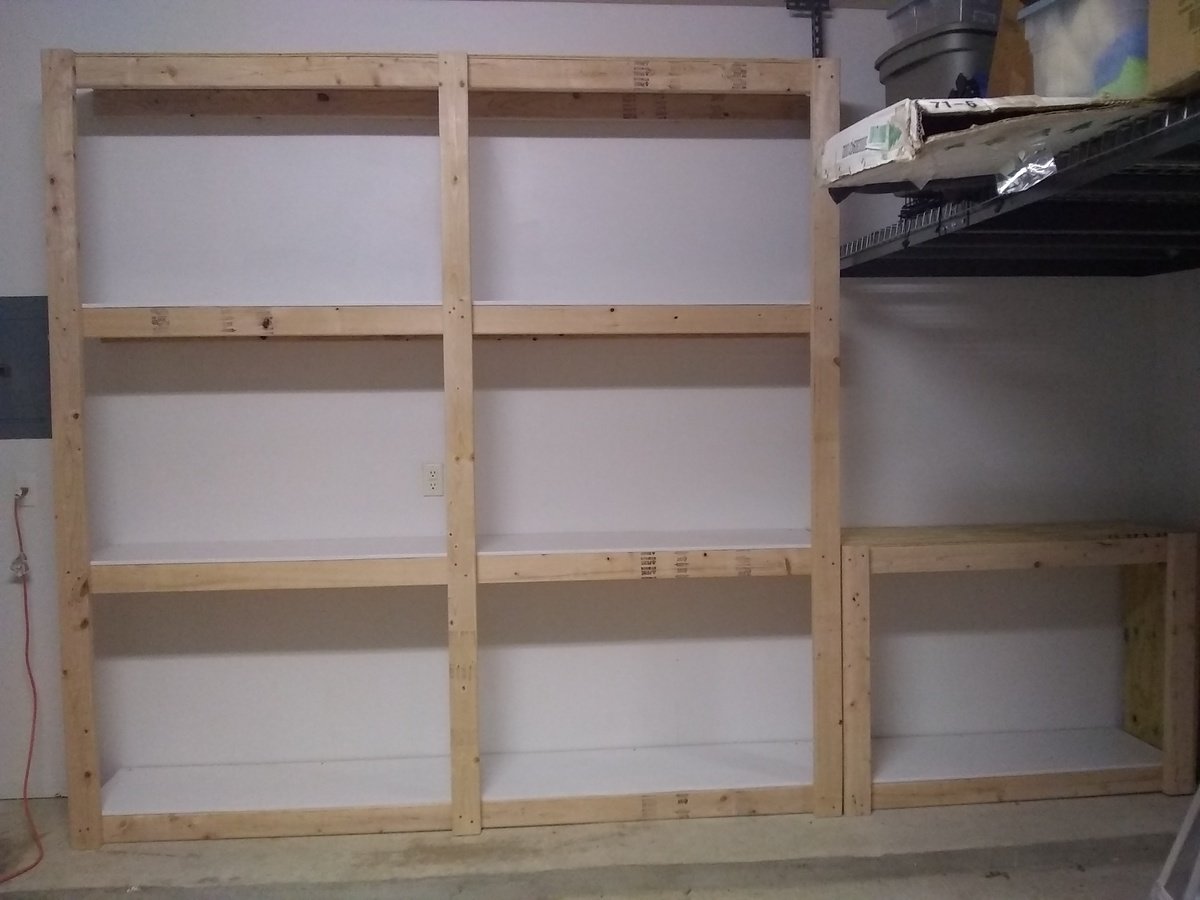
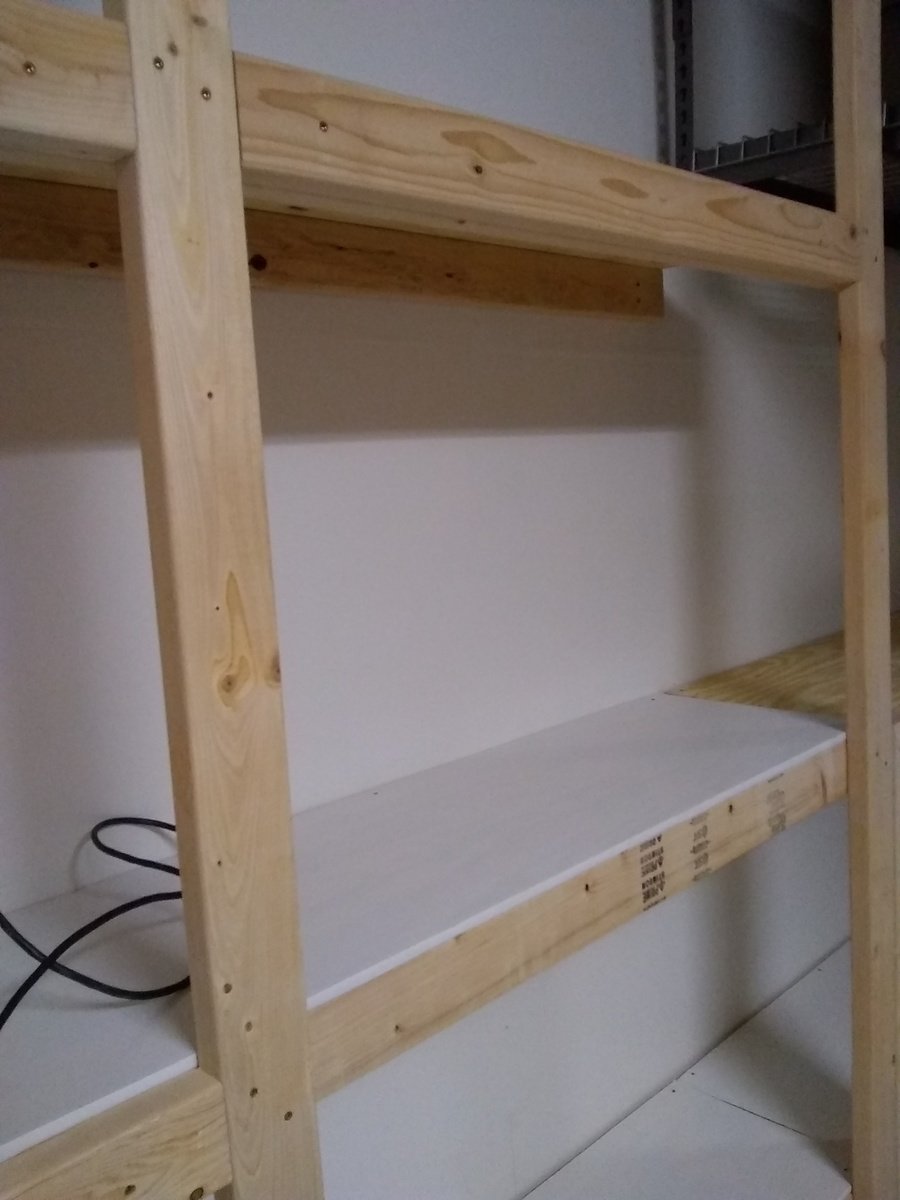
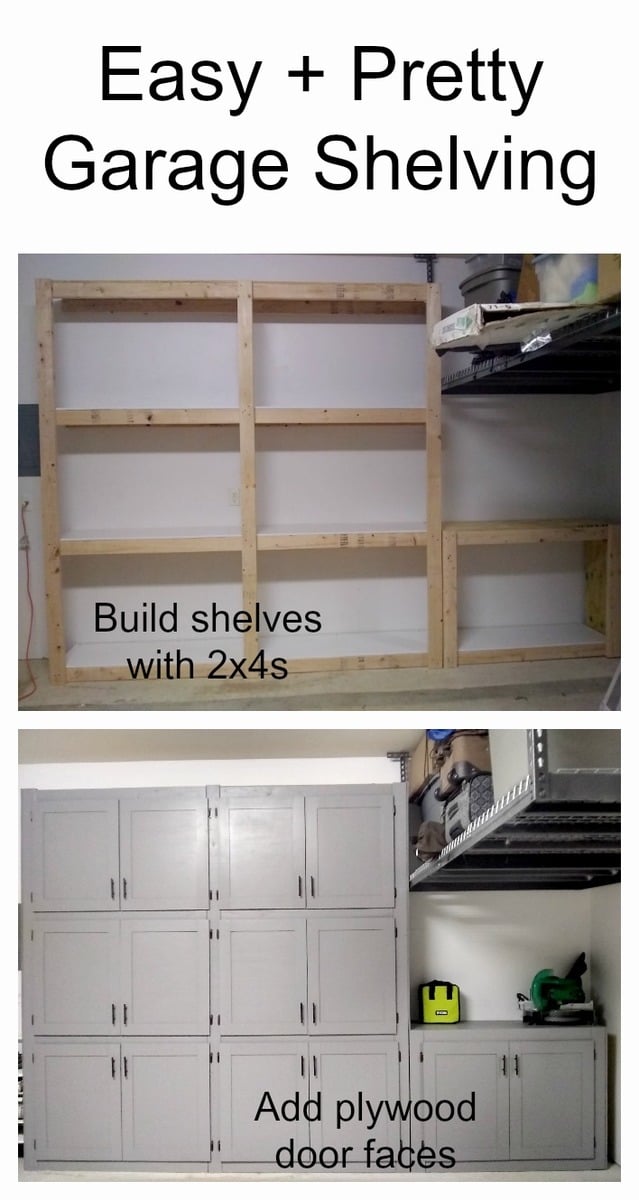
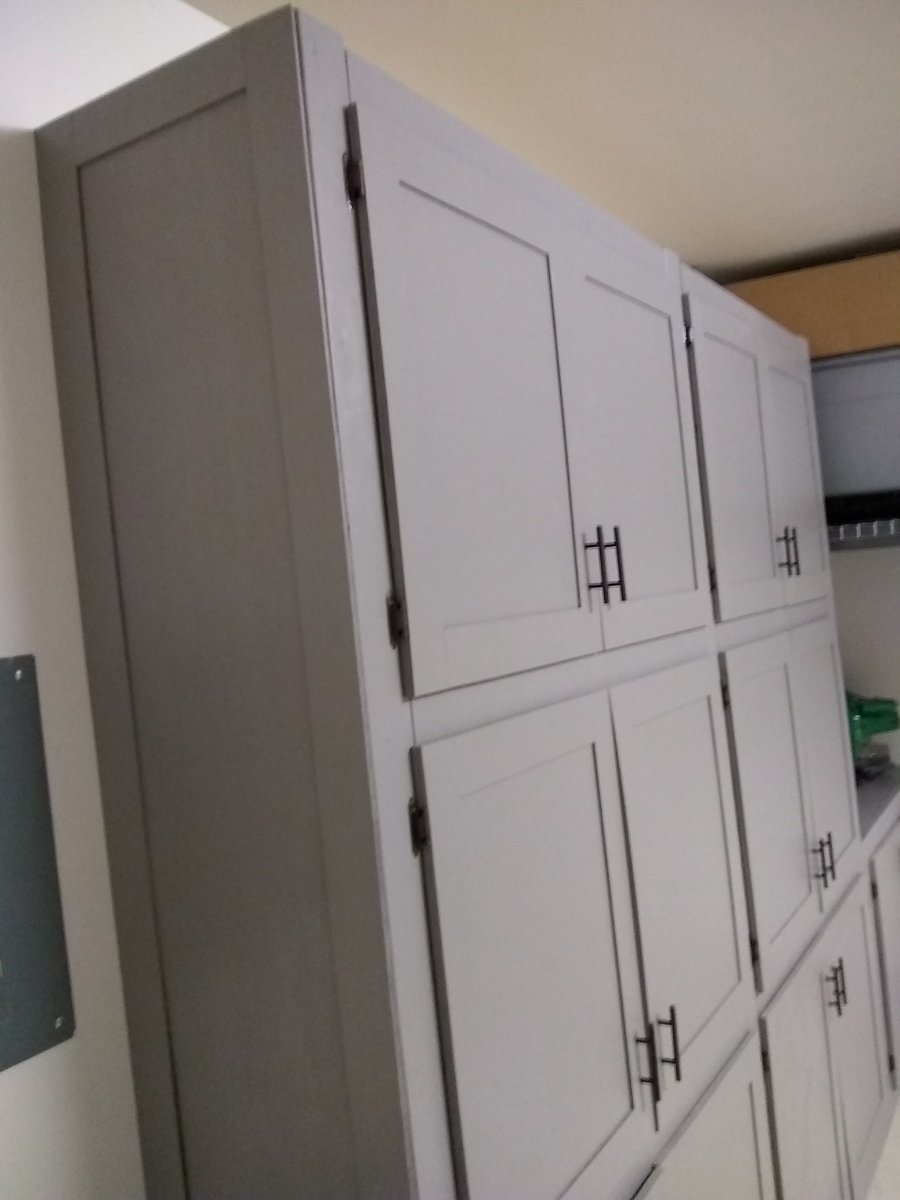
I have been wanting garage cabinets for a long time but couldn't afford them. When I saw these shelves I knew it would be easy to add side panels and create doors for the sections. The size is 8'x8' with the 4'x3' under the ceiling rack. I put a 2"x4" in the middle to divide each section, measured and cut doors from 5mm lauran plywood. I also cut the stiles and rails from the same material to give it interest but mainly to make it thicker to avoid warping as much as possible. I added 2"x4" to create a facing for the doors to rest on. Also used overlay hinges to simplify the hanging as much as possible. I was able to follow the design plan and the only thing I did was add a shelf at the bottom. The cleats were definitely not necessary, it's very sturdy. 

Making the doors

The first thing is to learn how to measure for cabinet doors. There are plenty of sites and YouTube videos showing how to correctly measure. If you are doing the same type of doors like I have, with no middle divider, then be sure to pay attention how to correctly measure for those instead of a single door.

The easiest way to make the doors will be getting 1/2 in sanded plywood and use a table saw to cut each door to size. Skip the shaker style trim and put the hardware on and be done. Make sure the hinges will be able to hold the weight of the door.

Unfortunately, I didn't have a table saw but I did have a router and a jig saw, and found a great video on YouTube on how to use a router to cut straight edges without a table saw. I measured out one door and used that outline to cut two identical doors. It turned out that each section was slightly a different width so I had to do two at a time. However, if you have a circular saw you can rig it to make a table saw and make a guide to rip the doors. It all depends on what tools you have available to you.  

I have a compact plunge saw and was able to cut the 3 inch strips for the shaker style with it. Honestly, that was the most tedious part and most time consuming by far. That also had to do with the fact that because the plywood is only 5mm thick I cut strips for both the front and the back to make it over 1/2 inch thick to help minimize warping and give the hinges something to grab.  

I used the miter saw to cut the stiles and rails to size and a 23 gauge nailer with 1/2 nails and glue to get them on the door. I glued and nailed the front and the back of each side at the same time because the nails are a bit longer than two pieces of plywood. I then turned it over and nailed the other side. The great thing about using a 23 gauge is that I didn't have to fill any holes because they are so small you can hardly see them at all. 

The last thing is to use your sander to ensure all of the pieces are even. I used a 60 grit and then followed it with a 220 where needed. 

If you want to avoid cutting the strips but still want to have the shaker style, Home Depot sells 1/4 thick Polystyrene flat moulding that will add vertially no weight to the door but the cost can easily add up if you have a lot of doors.

Lastly, if you are wondering why I got such thin plywood that ended up creating more work. The reason is because I wanted to save money on hardware and I didn't trust the inexpensive hinges I got off eBay would hold a heavy door for many years.
 

Estimated Cost
About $300 not including some tools I needed to buy anyway.
Estimated Time Investment
Week Long Project (20 Hours or More)
Finish Used
Interior satin
Recommended Skill Level
Beginner

Comments

Cedar Garden Shed

We needed a way to get all of the lawn & garden stuff out of our garage and organized. I found Ana's plans for the Small Cedar Shed & adjusted them to fit our space. We used 2x4s as our studs & added front walls on the sides. Our shed measures 9.5'x30". We had a concrete slab poured for our foundation. We are experienced DIYer's but had never taken on a project of this scale from scratch. This project was much easier than I was anticipating, and we were able to complete it in one weekend! Similar shed kits were way more expensive and not the size that we were looking for. Thank you so much for the inspiration!
Built from Plan(s)

Comments

Seasonal And Holiday

My first woodworking project - 5 Board Bench

Submitted by krisque on Sun, 08/09/2015 - 17:53

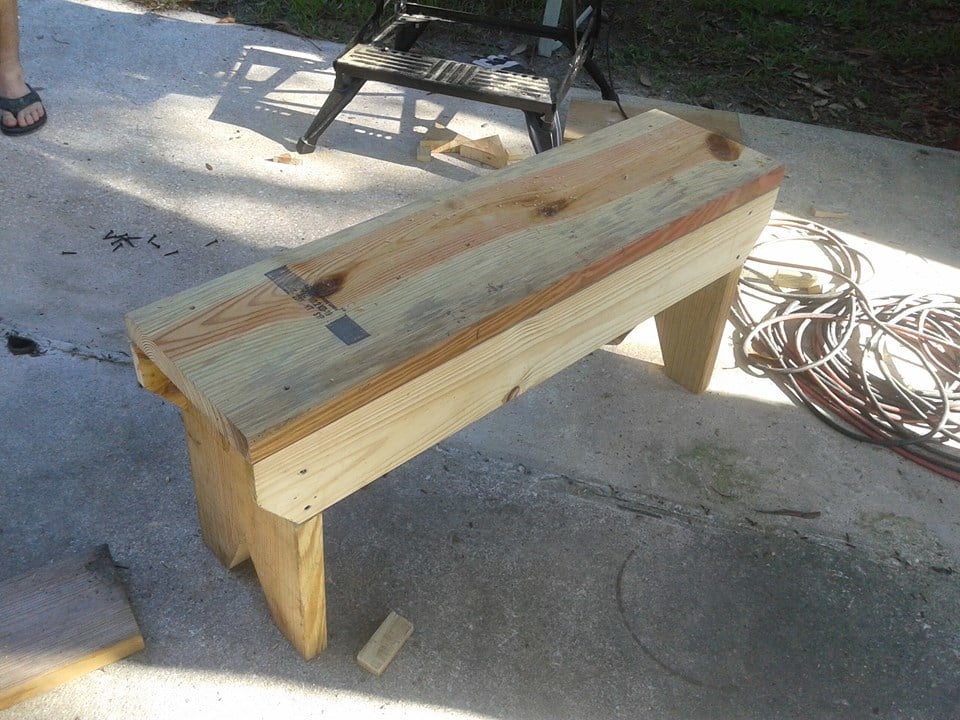
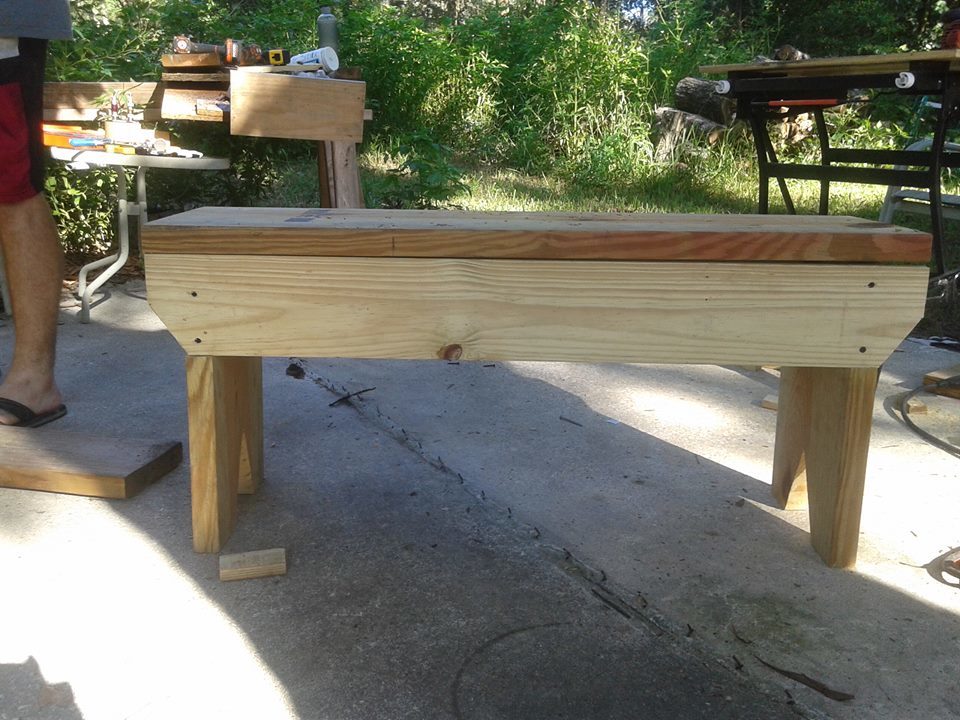
This was my first project so I picked one from the starter section.  My fiance helped me to get familiar with the tools and learn to make the cuts.  I am hooked.  My goal is to learn well enough to get to the point where I can build built ins to make the most out of the small space in our home and maximize it. Since we started late in the day and it's Sunday, I will putty, sand and paint it next weekend.  Gives me an excuse to go to Home Depot for materials for my next project wink We made some modifications though, we subbed 2x12 for 1x12 and 1x6 for 1x4.  I wanted a thicker seat, and the local Home Depot was out of 1X4's.  We had 1x8's but instead of ripping them in half we just made the jigsaw cuts a little deeper.  We also used the 2x12 for the legs so those were a little thicker and sturdier.  We'll likely make another and an outdoor table eventually.  Thank you for a wonderful site!

Estimated Cost
I can't remember, we bought the materials some time ago and I have been wanting to do this for so long but kept procrastinating.
Estimated Time Investment
An Hour or Two (0-2 Hours)
Finish Used
Recommended Skill Level
Starter Project

Comments

Smokeydog

Mon, 08/10/2015 - 05:45

Congrats on your first project.  Good job!  Wood working can become a little addicting.  I really didn't get into it until I discovered Ana's site and now I  am hooked.  Have fun!

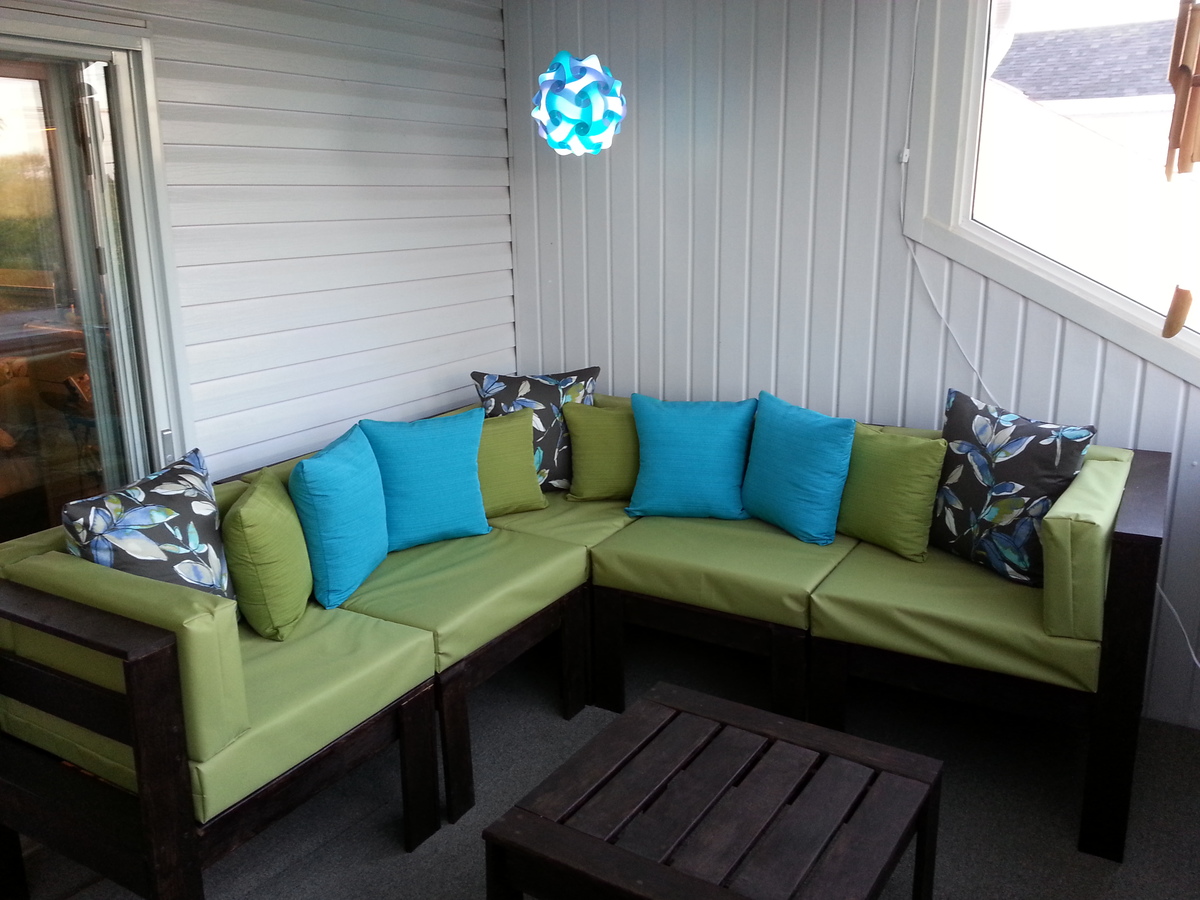
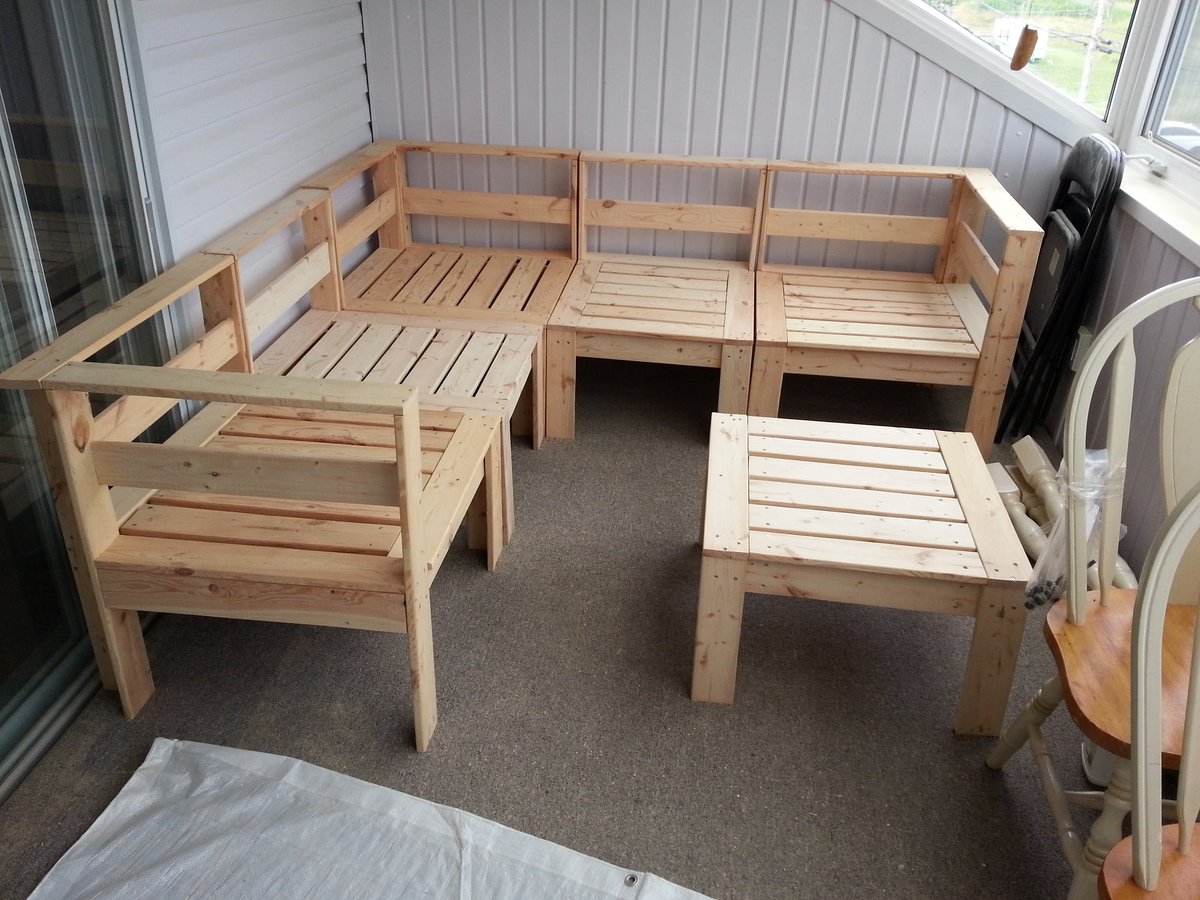
Outdoor sectional for the veranda

Submitted by happybunny on Sat, 08/22/2015 - 22:35

First ever woodworking project!

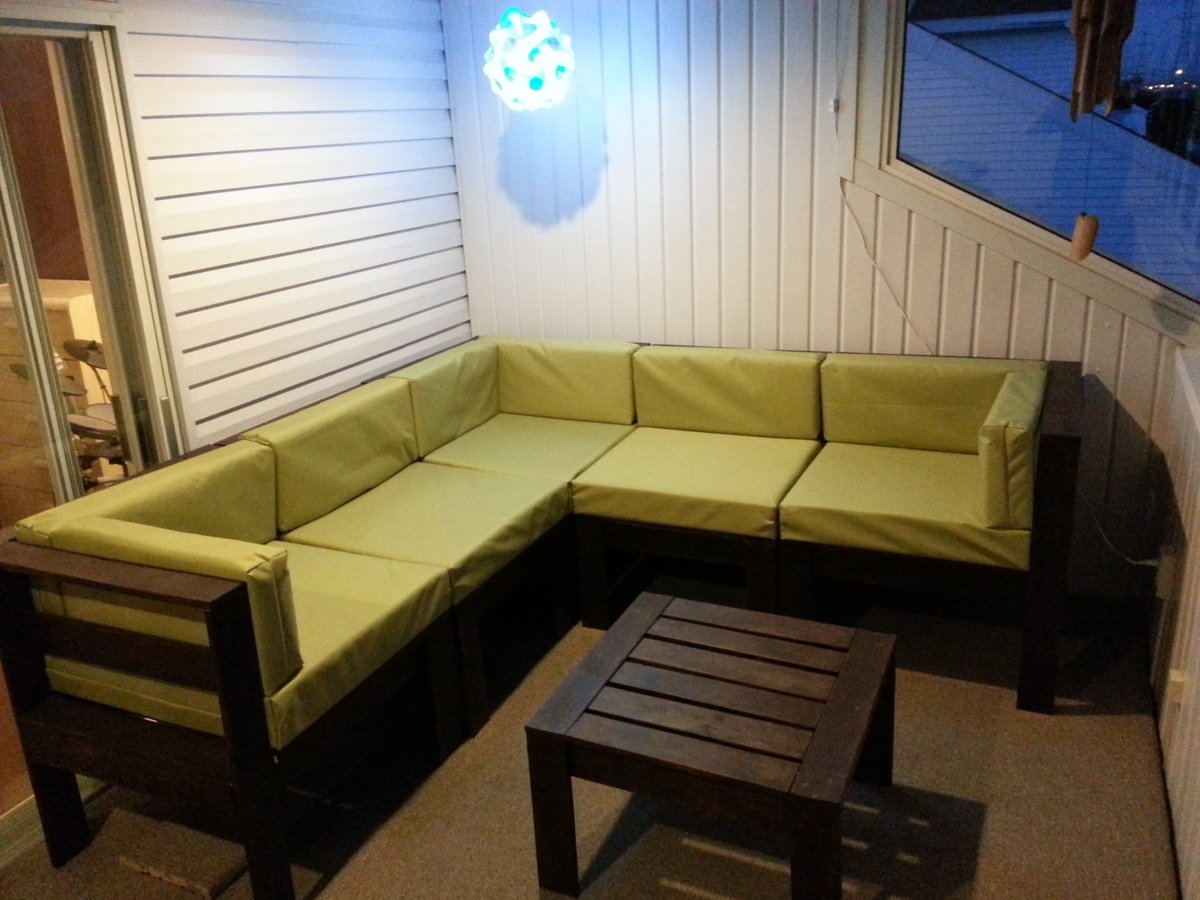
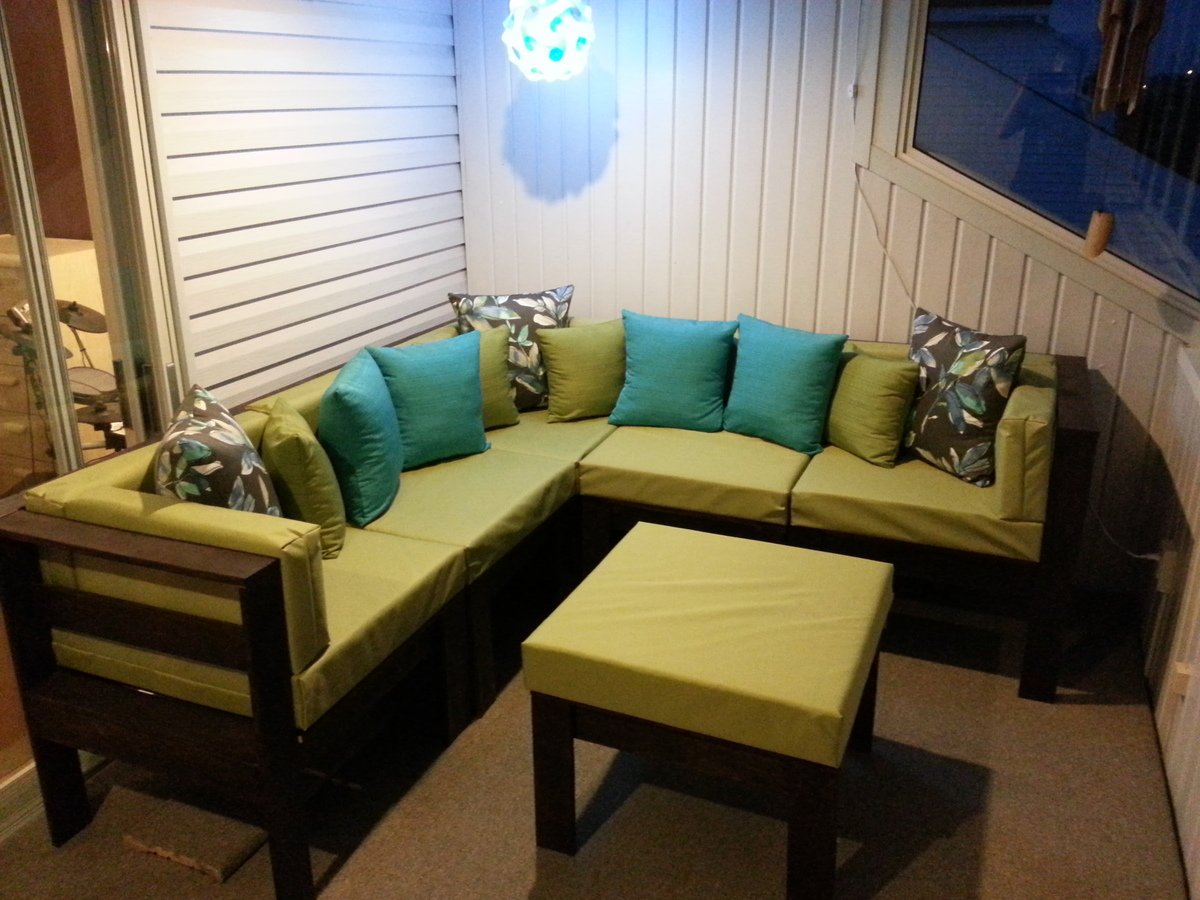
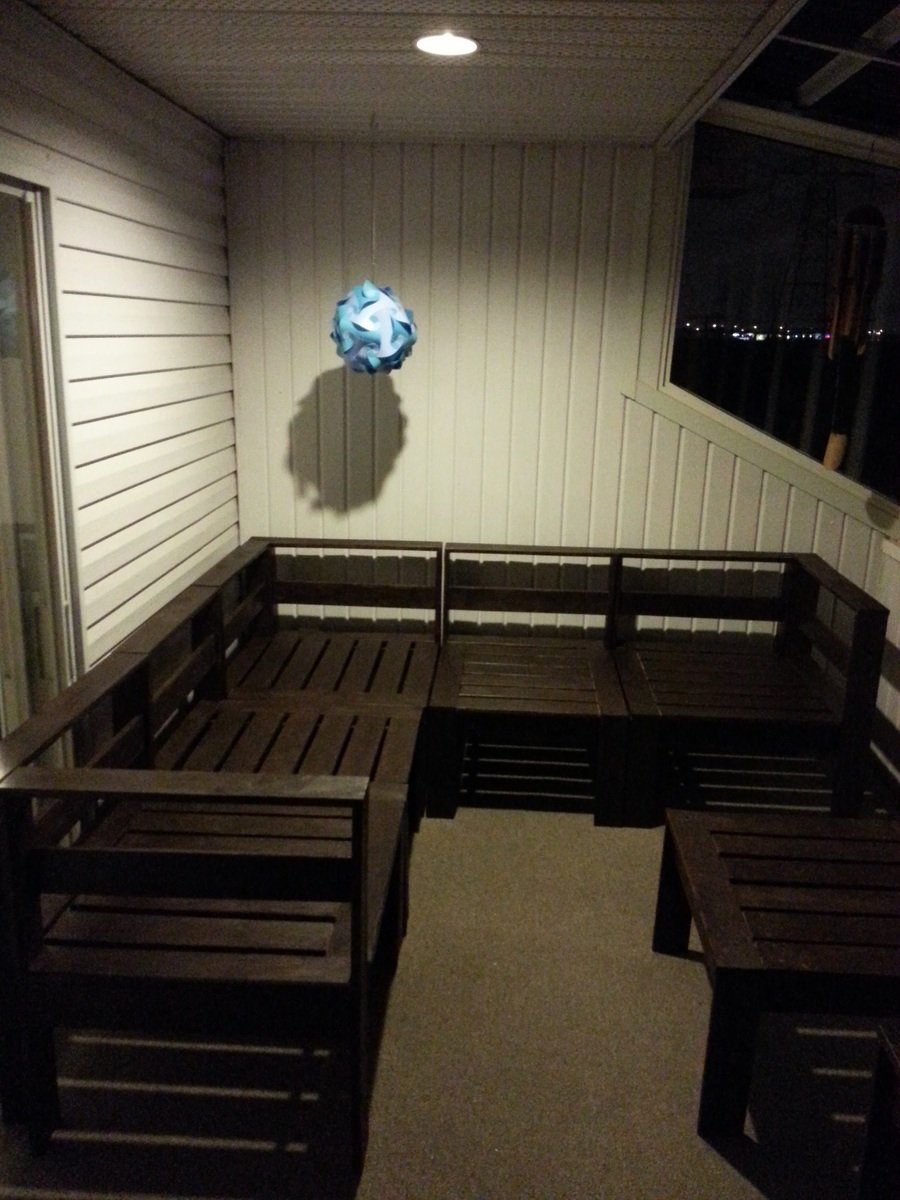
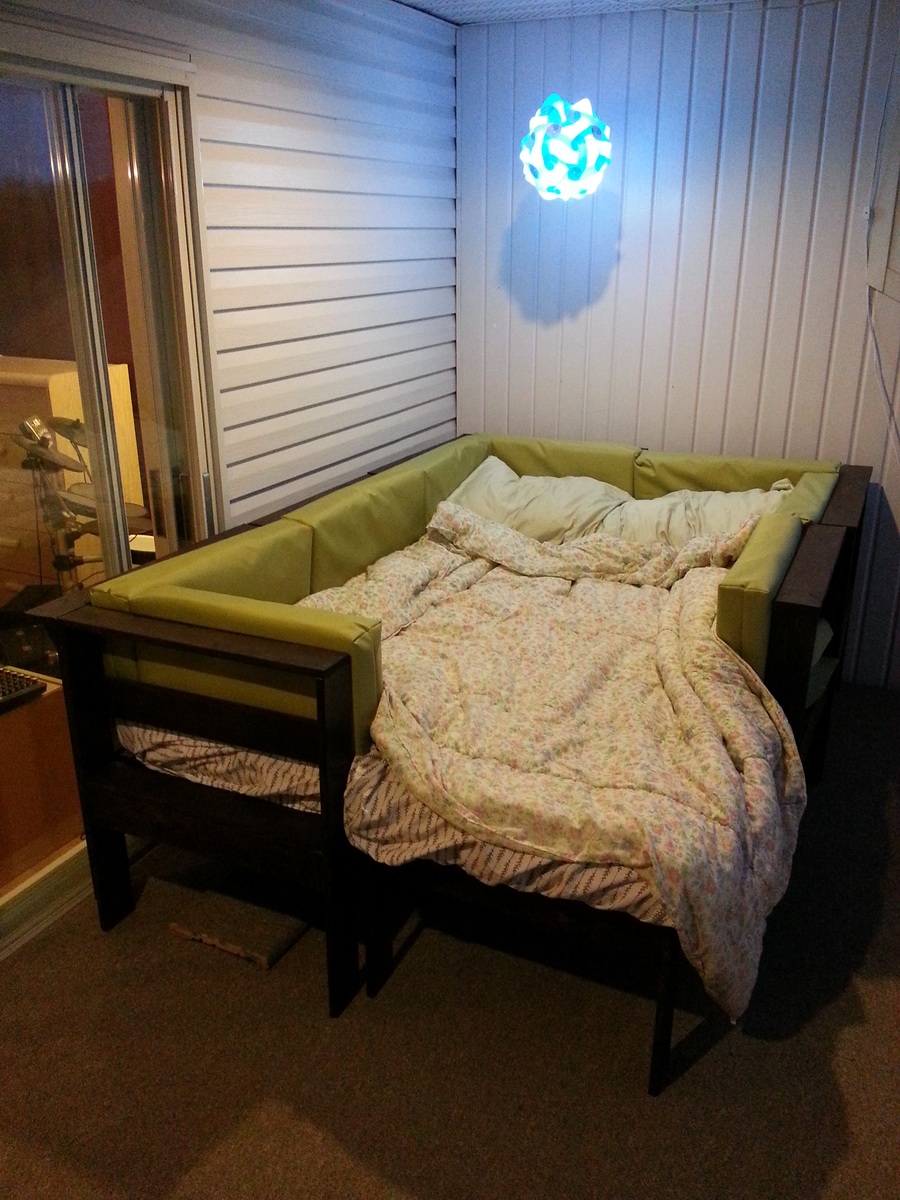
I wanted to add a sectional in my veranda, but all the models at stores around my place were at least a 1000$ and didn't had the proper dimension. The plan given on this website was ideal for my space, since my veranda is limited in space (was converted from a balcony, 7'x14').

The whole project went slowly since I did it part time, but overall it went well. However, the entire project from A to Z was time-consuming since I decided at the beginning to do the wood working AND the sewing part, and I'm a beginner that doesn't have any experience in any of these fields. I did literally everything by myself, from cutting 148 pieces of wood with a rented mitre saw, sanding each single one of them, staining the assembled chairs and table after assembly, cutting various pieces of foam for my cushion with 72"x30" sheets of foam, and lastly do the sewing of all the green cushion AND the smaller squared cushions. That was a lot of things to learn for a first timer and fortunetely I was enough motivated to do them, and most importantly patient. I had the moral support of my girlfriend during the whole project and showing the progress of the project to my friends, family and coworkers did help a lot to keep me motivated to finish the project.

I learned a lot from this project, whether it's wood cutting, sanding, assembly, staining or machine sewing. These skills will help for future projects for sure!

Thank you very much Ana for helping me, with these simple plans, learn new skills that enabled me to create something amazing!!!

Estimated Cost
Wood: 90$
Screws: 30$
Wood filler: 8$
Stain: 40$
Foam: 175$
Fabrics: 150$

Total: around 500$
Estimated Time Investment
Week Long Project (20 Hours or More)
Finish Used
Sico semi-transparent English oak outdoor stain, applied after assembly.
Recommended Skill Level
Intermediate

Comments

Back