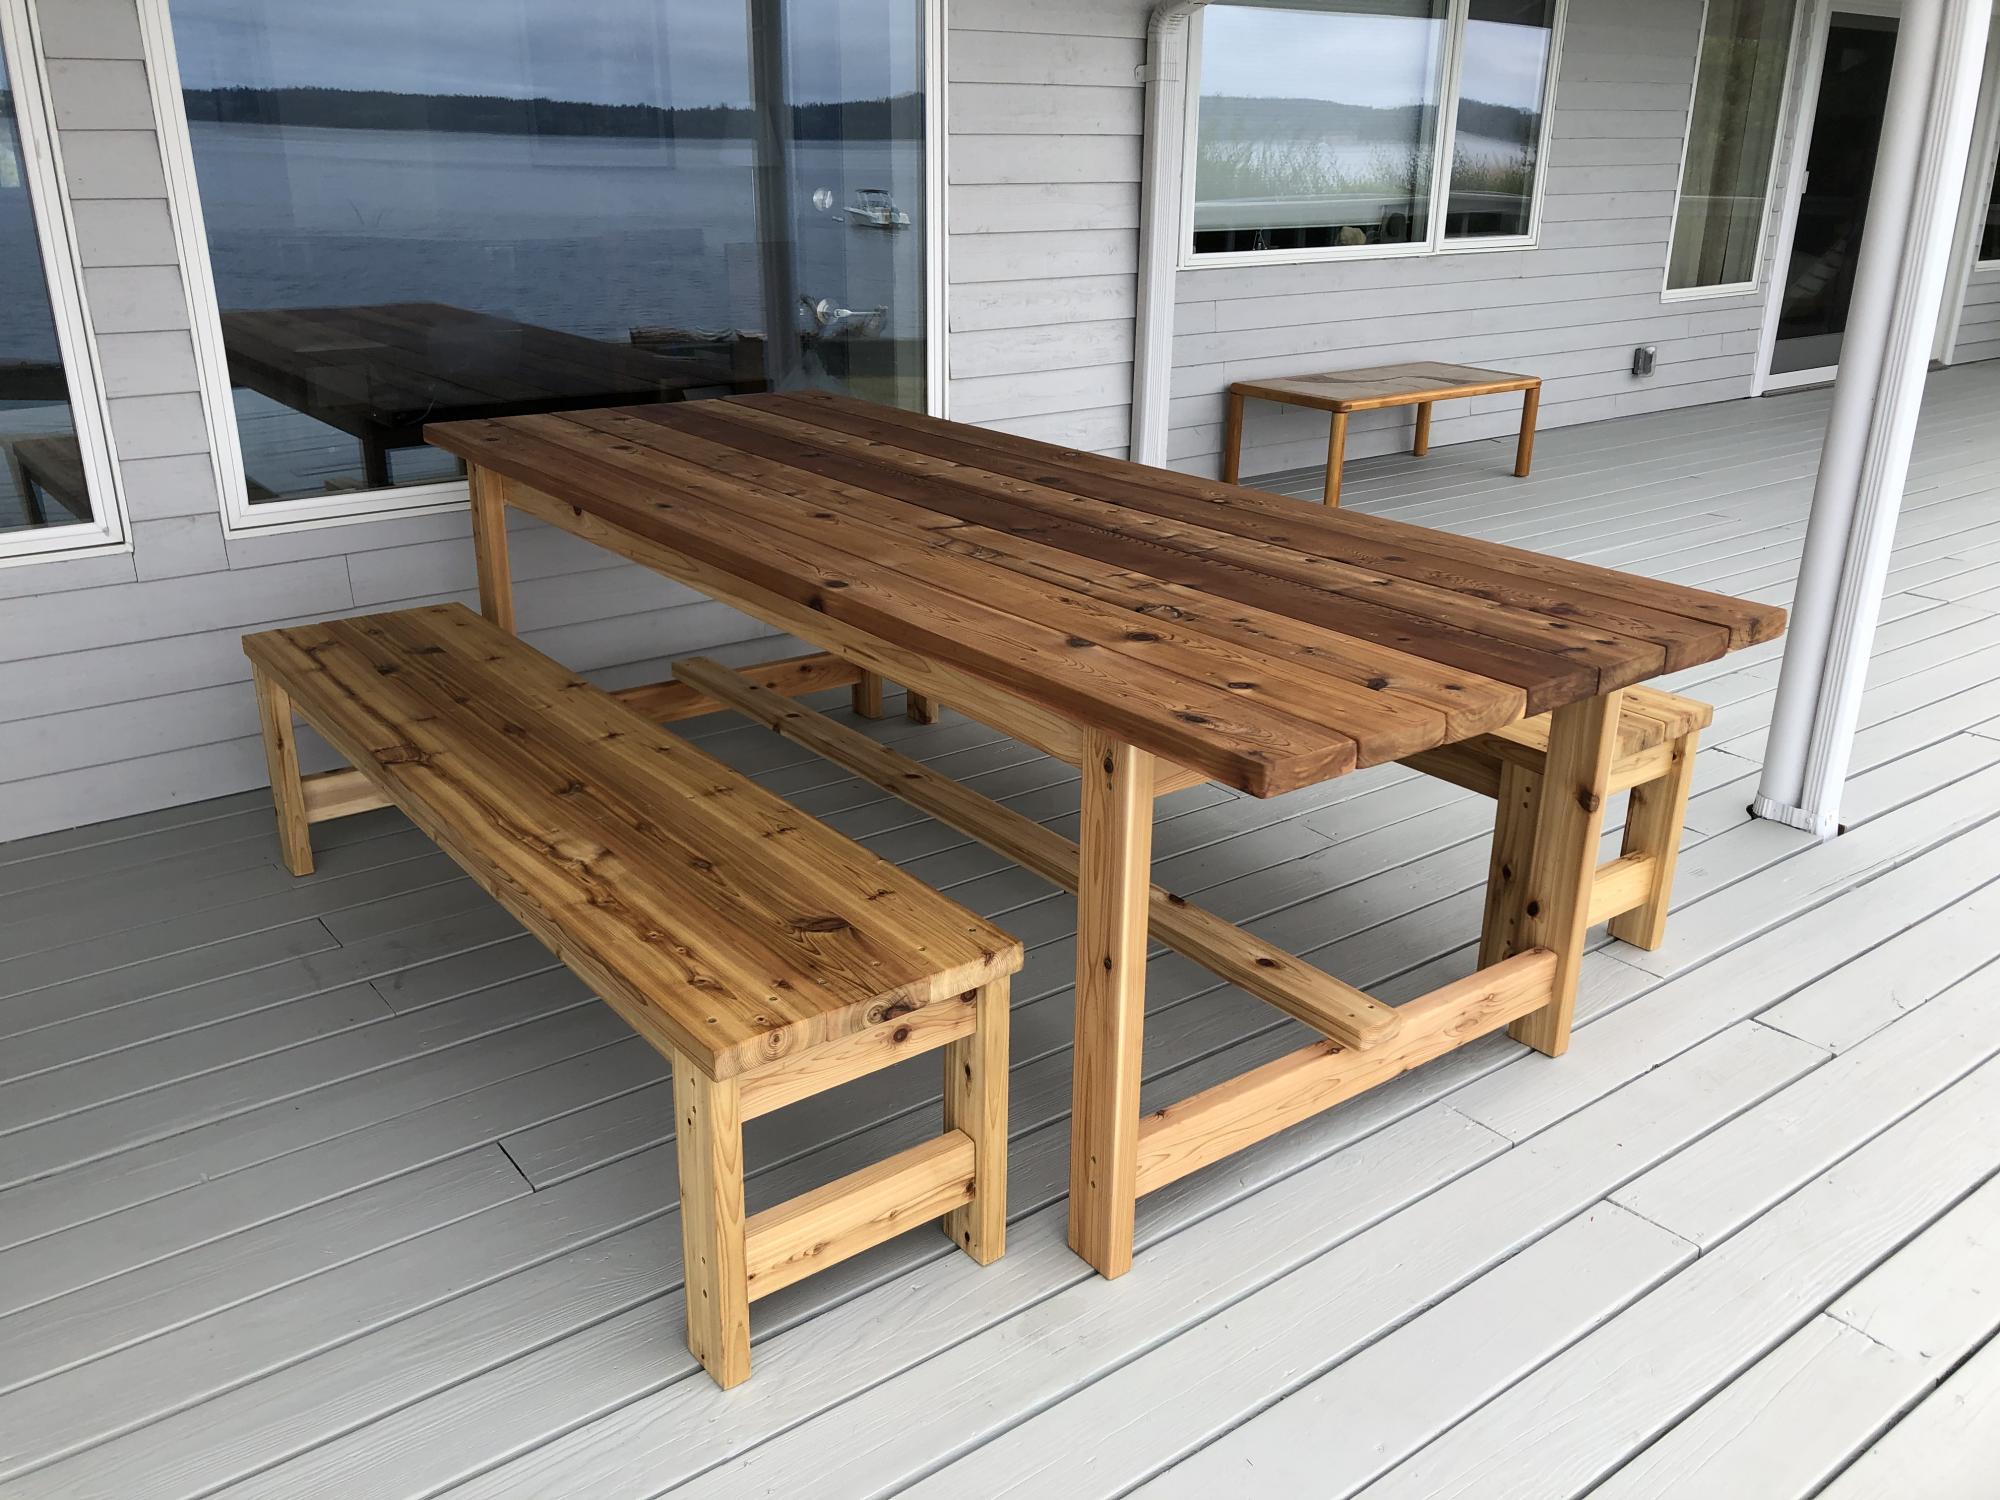
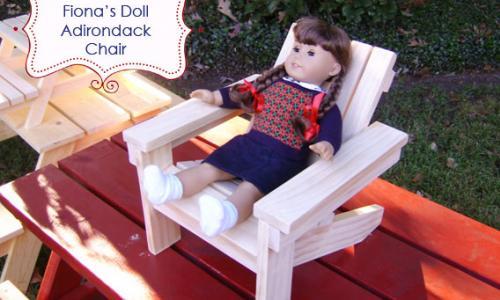
Adirondack chair mm measurements
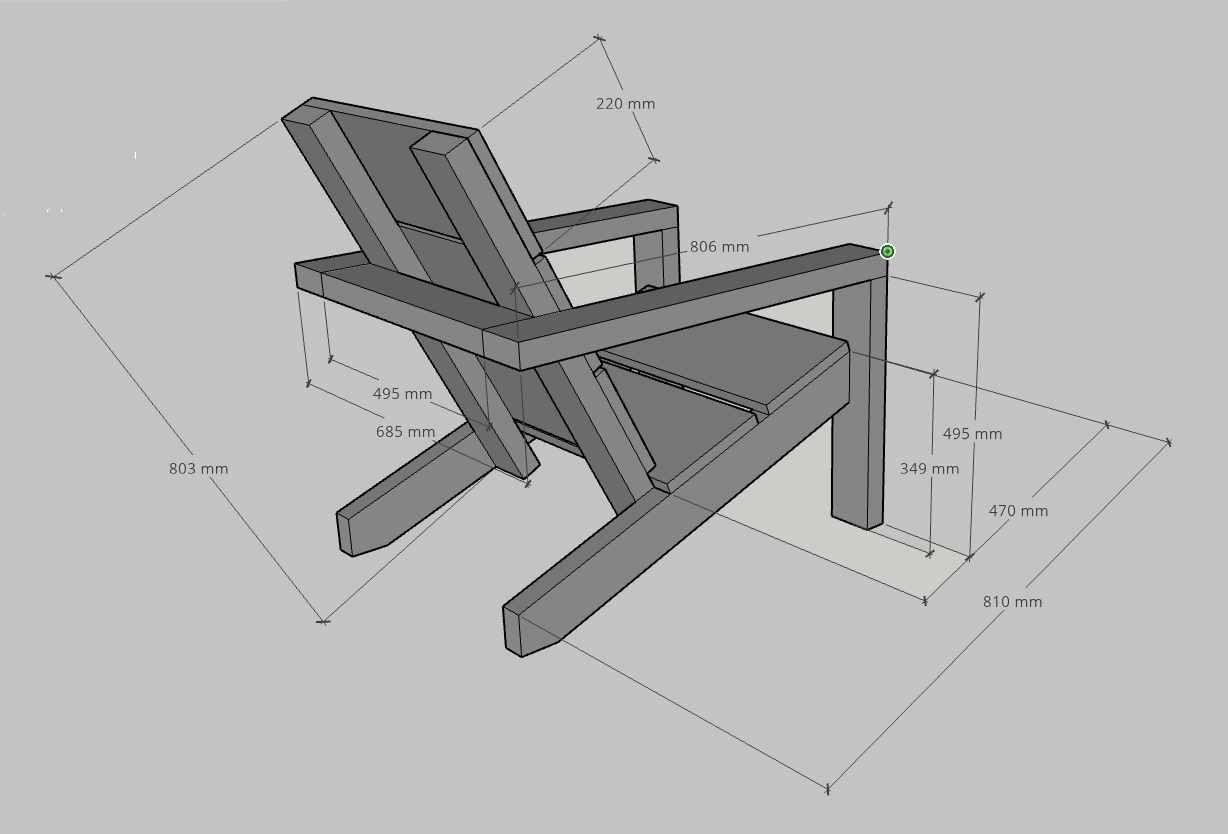
Unfortunately I didn't have the chance yet to build these amazing chairs, but in preparation I figured out what the measurements would be in mm's so I thought maybe other people would like to use it as well :-)
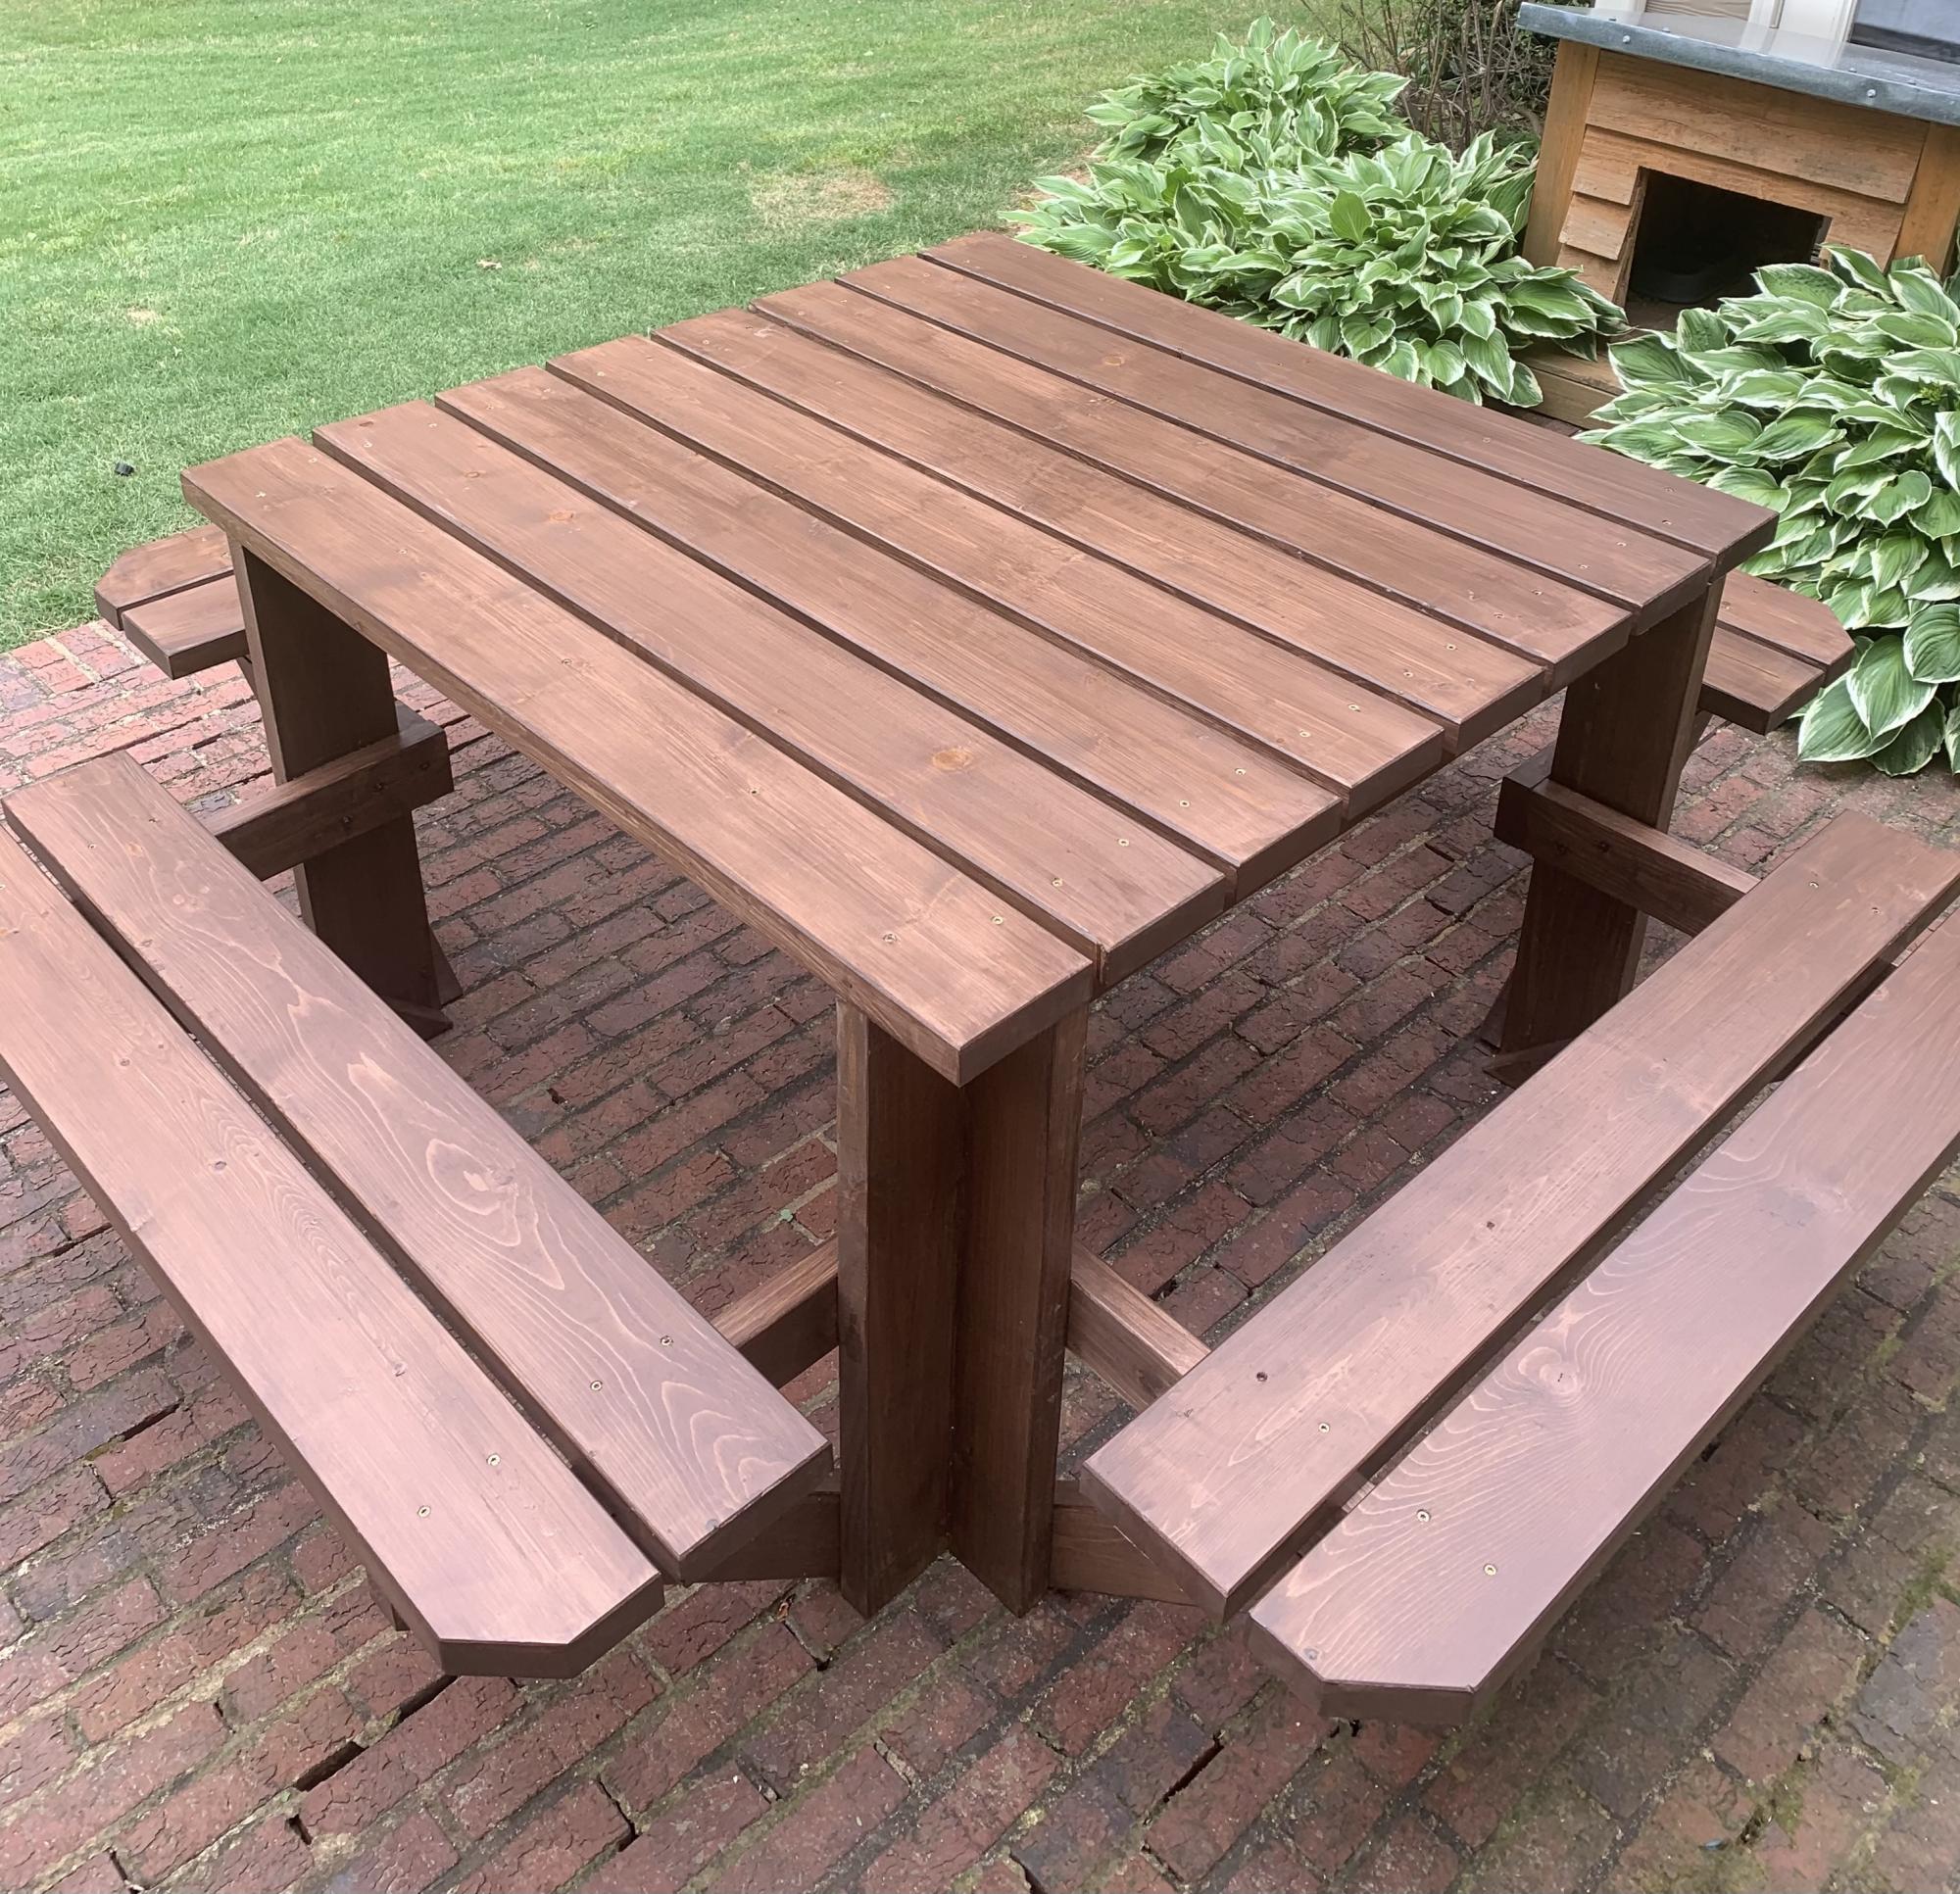
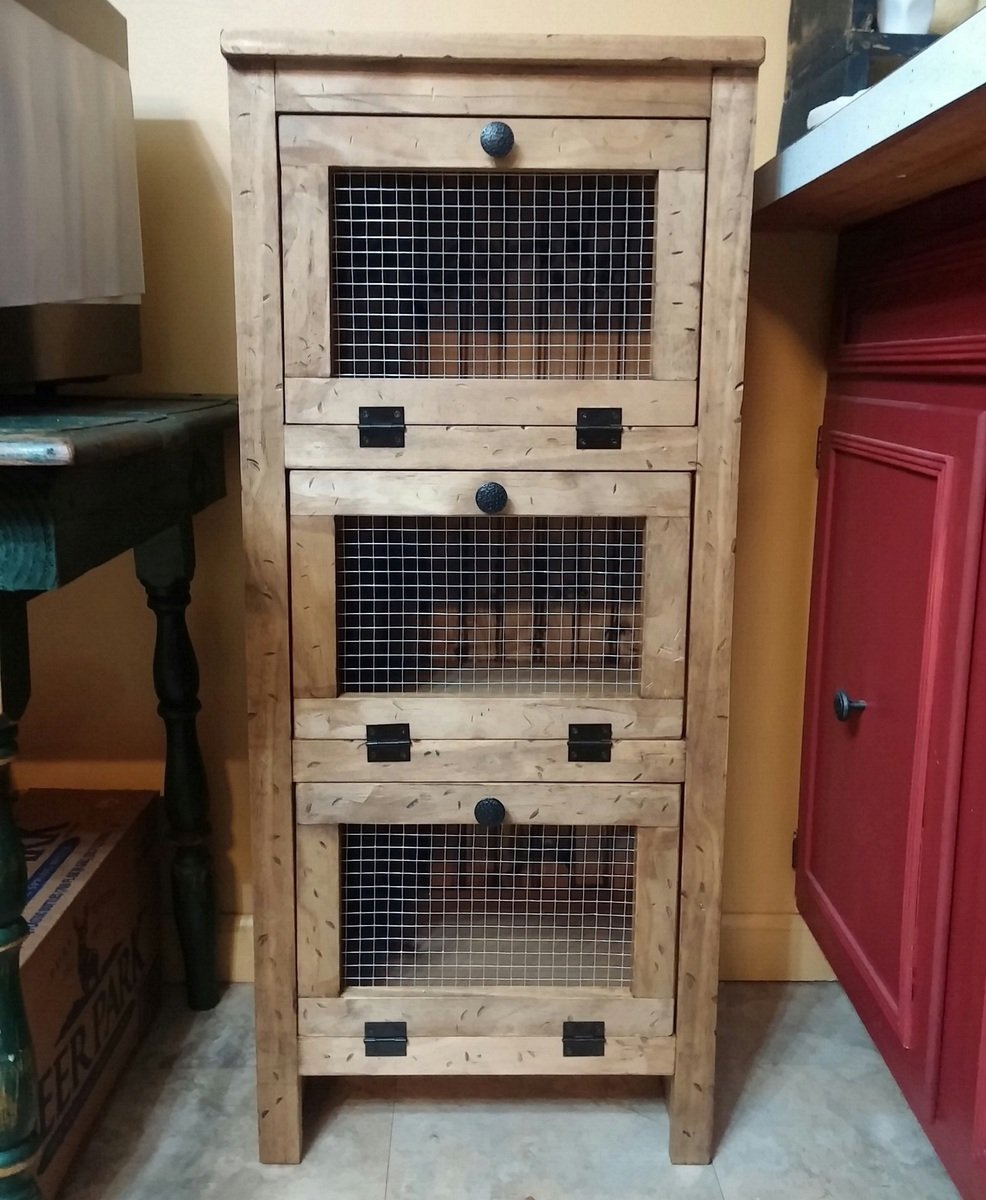
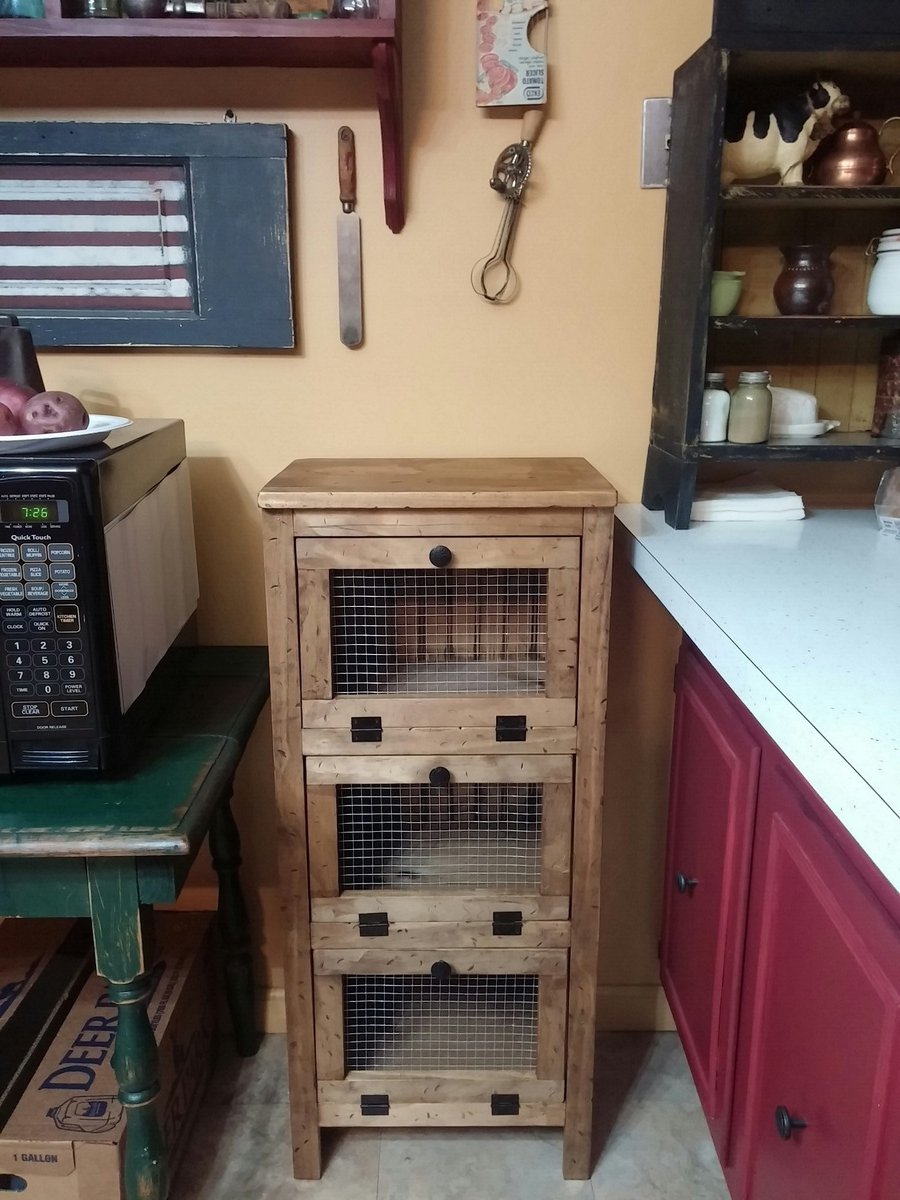
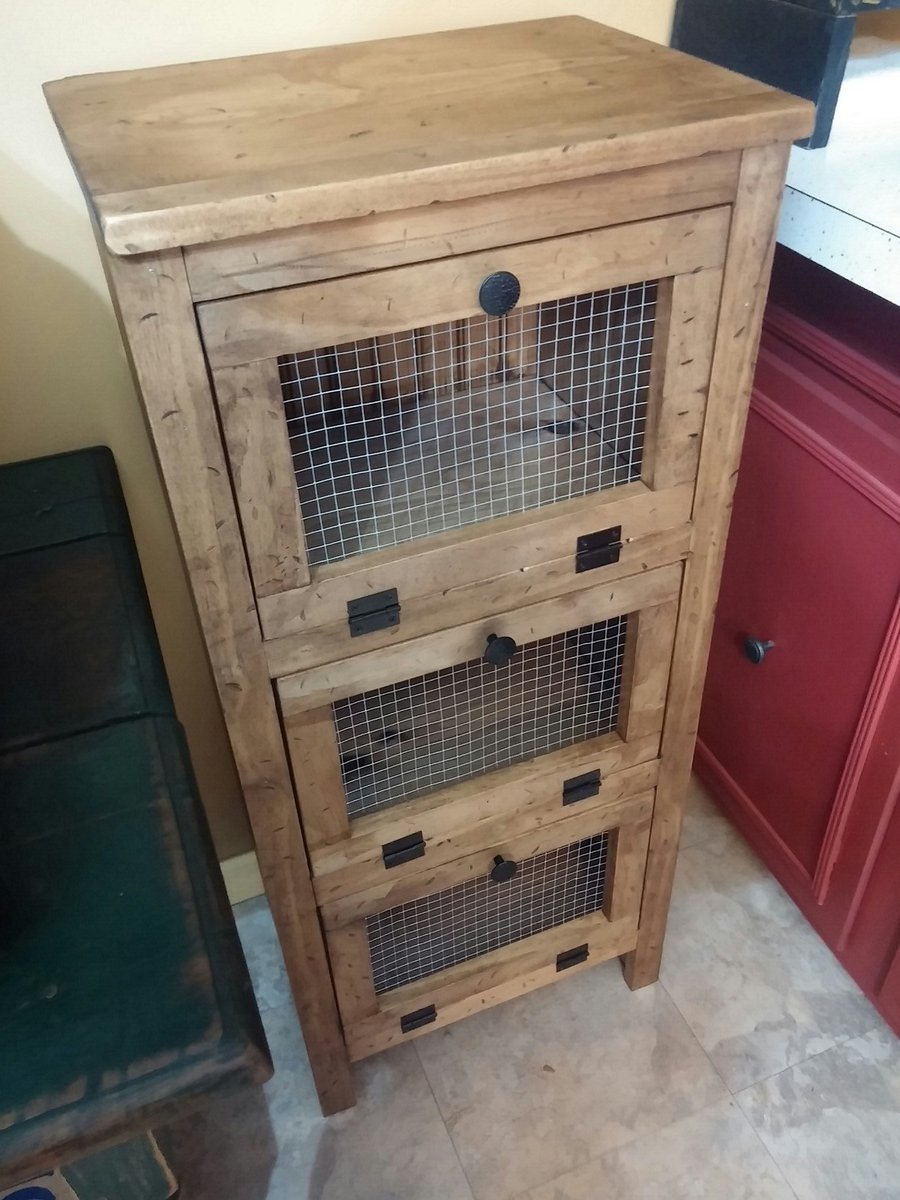
Built this deck dining table and benches from Lowes cedar, and the results way exceeded my expectations! The plans were so well written, it was easy to slightly modify (made both table and benches wider and longer) and the build was very simple. The clear directions helped give me the confidence to do this and we have got so many nice compliments. There was nothing this sturdy and simple even available to buy. I even built a coffee table and bar table after modifying the plans a bit. Thank you Ana!
I repurpose furniture as a hobby and I got tired of having my tools hanging on a wall on the other side of the garage so I bult this rolling tool caddy. It is made out of 3/4" plywood, a couple of 2x4's and some heavy-duty casters. I built one about 3 years ago and realized that there were some things I wanted to do differently so I sold it and bult this one. My wife gave me a subscription to SketchUp and I had fun drawing it up and tweaking it. I left an over hang of 3" on both sides so I could store my clamps. I also attached an electrical cord reel on the right side and reversed the ends so the male end can plug into the wall and I can roll the unit across the room allowing me to be able to charge my batteries. The back side has a 44 drawer storage organizer and also a few shelves for additional tools like a router and a multi-tool. I'm not nearly the craftsman many of you are and I'm sure you could do a much better job. I didn't build it to look pretty but to be functional and it works for me.
Fri, 01/21/2022 - 08:28
This is EXACTLY what my husband needs!! Are you willing to share your plans so I can build it for him?
Fri, 01/21/2022 - 09:16
I really like this idea. I have my tools hung up neat all around the garage, but I keep walking back and forth for tools and batteries. It would be great to roll this over to a project and have everything you need right there. Nice work. I will modify one for my needs.
Fri, 01/21/2022 - 10:06
there are some very thoughtful features on this, notably the wings at the top and the bottom for clamps and extra tools and the different shelf heights. Well done! I'm going to build one just like it and a power strip for battery storage.
Fri, 01/21/2022 - 11:25
This is awesome - great job.
please post plans!
Fri, 01/21/2022 - 14:21
Very cool!!! I would appreciate it if you would share your plans…so that I could attempt to make me one.
This is my first, of hopefully many projects to come. I modified Patrick's Jelly Cupboard plans to be 40" tall and added the tins to the doors. I used spruce and pine board from a local lumber yard. The finish is Miss Mustard Seed milk paint inside and out. With kids in the house I didn't want to use stain with the heavy chemical smell so I mixed the milk paint with a lot of water to look like a stain. That product is so easy to use and looks great. Needless to say my wife loves her pie safe. Thanks Ana for this site and the inspiration to give this a try. I'm hooked!
Sat, 10/31/2015 - 09:36
This is really beautiful! Might I ask where you got your tin inserts? Thanks!
Tue, 12/01/2015 - 11:13
Thank you for the comments. I ordered the tins from Irvin's online. They were quick to ship and were packaged well. Here's the link
https://www.irvins.com/category/Kitchen-Cabinet-Punched-Tin-Panels/08_2…
I modified the Grandy Console to be dog crates for my Grand Pups so we didn’t have to have crates set up in the house. Middle divider can be raised to make one big crate.
I'm so happy to have found your site! I've been wanting a potting bench for a while. Today the Hubs and I built this one in Daffodil Yellow! It is only partially painted, but I already love it! The hubs wants to build a modified one for his heavy electronics equipment. Thanks a Bunch!
We are remodeling our 3 bedroom house into a 4 bedroom. In doing so, my youngest is getting the smaller room. We decided to go with a Murphy bed to allow more play time space. I do not particularly like the fact that this bed doesn’t sit off the ground but overall love the simplicity of making it. We turned it horizontal and just love the overall product. I can mot wait to make something else from this site!
Tams
Modified to make an L shaped bench . Absolutely love it! Thank you!
Built by Holli Peterson
My cupboard is quite a lot bigger than the one in the original post but is super sturdy.
It was a relatively easy project to build. My main issue was that I used chipboard for most of the cupboard and ironed on veneer on the cut sections which threw my door frame measurements out of whack and I had to shave a bit of my door off with a plane to get it to fit in neatly.
Sun, 08/12/2012 - 11:47
Hi there. I love this!!! I was wondering if you remembered the dimensions of wood used or what not? I want to make one or two of these for my basement laundry room for storage but am new to this so not sure how much I would increase all of the wood etc from the original plans. Thanks!
Mon, 08/13/2012 - 02:48
Hi! So glad you like it! I used SketchUp to create my dimensions to fit my space. Have you ever used it before? It's a free designing tool and really helps me to visualise if the wood's all going to fit together or not.
Here are the wood measurements I used:
Chipboard, white, 19mm
Part/Length (mm)/Width (mm)/Amount
Top:1200/436/1
Side x2:2000/400/2
Bottom shelf:1124/350 /1
Shelf x4 :1124/350/4
Frame top & bottom:1162/100 /2
Frame side x2:1800/100/2
Door frame top & bottom:476/100/2
Door frame side x2:1594/100/2
Door backing MDF 3mm
Part/Length (mm)/Width (mm)/Amount
Back:2000/1162/1
Door back:1700 /360/2
If you have any other questions, I'd be happy to help. Good luck!
Have two boys who where in need of more floorspace to play. Saw the great plans for the Camp Loft and decided to make a double wide. One platform and two beds.
All in all went together as designed. Eliminated the stairs for a ladder. Works great if you have a long wall.
Thu, 11/29/2012 - 15:14
Really smart with the platform in the middle - I'm sure they love it!
This is my DIY for a farmhouse bed. Inspired by Anna white and Pottery Barn. I wanted a sturdy look and used 4 x 4 posts and decided to make a king!
Check out my blog:
http://www.woodworkingfourdummies.com/blog/king-farmhouse-bed-diy
Cheers,
Ian
Followed Anna White’s plans except I beveled all the edges and flooded the table leg bottoms with penetrating epoxy sealer. The table looks great!
Hand-made vegetable cupboard. Fun and easy project.
I followed Ana's awesome Firepit Bench plans and was able to build this beauty! We added a lantern hook, a hook for marshmallow forks and a bottle opener on the back. My husband already said that we two more to go by the firepit. :) Thank you, Ana, for sharing your plans and making them so easy to follow.
My husband used your plans to make this for our pet chicken that we hatched in a homemade incubator. I painted it though!!!
I made this cabinet to house my murphy bed. I used the Toy or TV Armoire plans as a start and adjusted the measurements as needed.
Tue, 06/02/2020 - 16:22
Do you have plans or details about the door materials/ hinges?
Thu, 12/03/2015 - 07:30
This was an actual "original murphy bed" that i found on craigslist for $100
Wed, 02/02/2022 - 02:55
Awesome! What style hinges did you use to make the doors fold back flush with the sides?
Maddie needed a little extra boost to comfortably reach the bathroom sink. She loves this stool!
I modifyed the Simplest Stool to be oober short, and painted the design using leftover wall paint samples
Fri, 11/04/2011 - 12:32
Thanks! Thats what I'm hoping! That's also why I'm debating on whether or not I'm going to paint her name across the top like originally.
Fri, 11/04/2011 - 15:56
Some time ago we found a small piece of furniture that had been made by my grandfather. How'd we know? He'd carved his name along with "for Betty" on the bottom of the piece. It wasn't a particularly pretty piece of furniture and we wondered why it had been kept as long as it was - until we found the engraving (that's really too nice a word, primitive carving is more like it!). If in doubt about putting her name on it, just put it underneath. Someone will find it years from now and know how much love went into making it!
We looked for a simple plan for a bed and found this one on Ana’s site. Easy to build in a weekend.
Mon, 06/03/2019 - 11:35
Thank you so much for sharing a photo! I've been looking forward to seeing how the bed turns out! Great job!
I combined the features I liked from both of these. I was able to snag some wood table tops at auction ($5.00 ea) that I painted to look like stone.
Mon, 05/22/2023 - 15:33
Superb job, the top looks super cool! Thank you for sharing.
Mon, 05/22/2023 - 15:33
Superb job, the top looks super cool! Thank you for sharing.
I meant to post this a long time ago, but I kept forgetting. Ignore the mess in the background, we were renovating our house. I roughly used Ana's upholstered toybox ottoman plan, but really, I just made it up as I went along. I constructed a plywood box the size that I needed it (i.e, big enough to fit my husband's video game accessories).
Wed, 02/22/2012 - 07:18
Fantastic job on the ottoman. And I love the fabric! Where did you get it?