Community Brag Posts

Essential Laundry Room Organization

Submitted by Anonymous (not verified) on Fri, 05/17/2024 - 08:46

We built this bench using Ana's Entryway Bench Plans. We modified it by adding adjustable shelves for additional shoe storage. We added the back with hooks for coats and backpacks. We’ve made this small space feel so much bigger by adding storage and utilizing the space that is in the room. We can’t wait to finish this project.

Built from Plan(s)

Smaller Farmhouse Table and Bench

Submitted by Anonymous (not verified) on Mon, 10/10/2016 - 17:46

We loved the look of the farmhouse table, and I actually helped a friend build an even bigger version for his house a couple years ago. But we needed a smaller version for our new house. So with some minor alterations, we got an awesome table and bench that fits our space. The whole thing was about 150 for hardware and lumber and finish. 

Estimated Cost
150
Estimated Time Investment
Weekend Project (10-20 Hours)
Finish Used
Tops are a red mahogany stain, a light coat of rub on poly, followed by several coats of trewax clear paste wax.
The bases are whitewashed, distressed and stained, light poly, and trewax clear paste wax.
Recommended Skill Level
Beginner

Sandbox

Submitted by megan_m on Tue, 09/18/2012 - 17:38

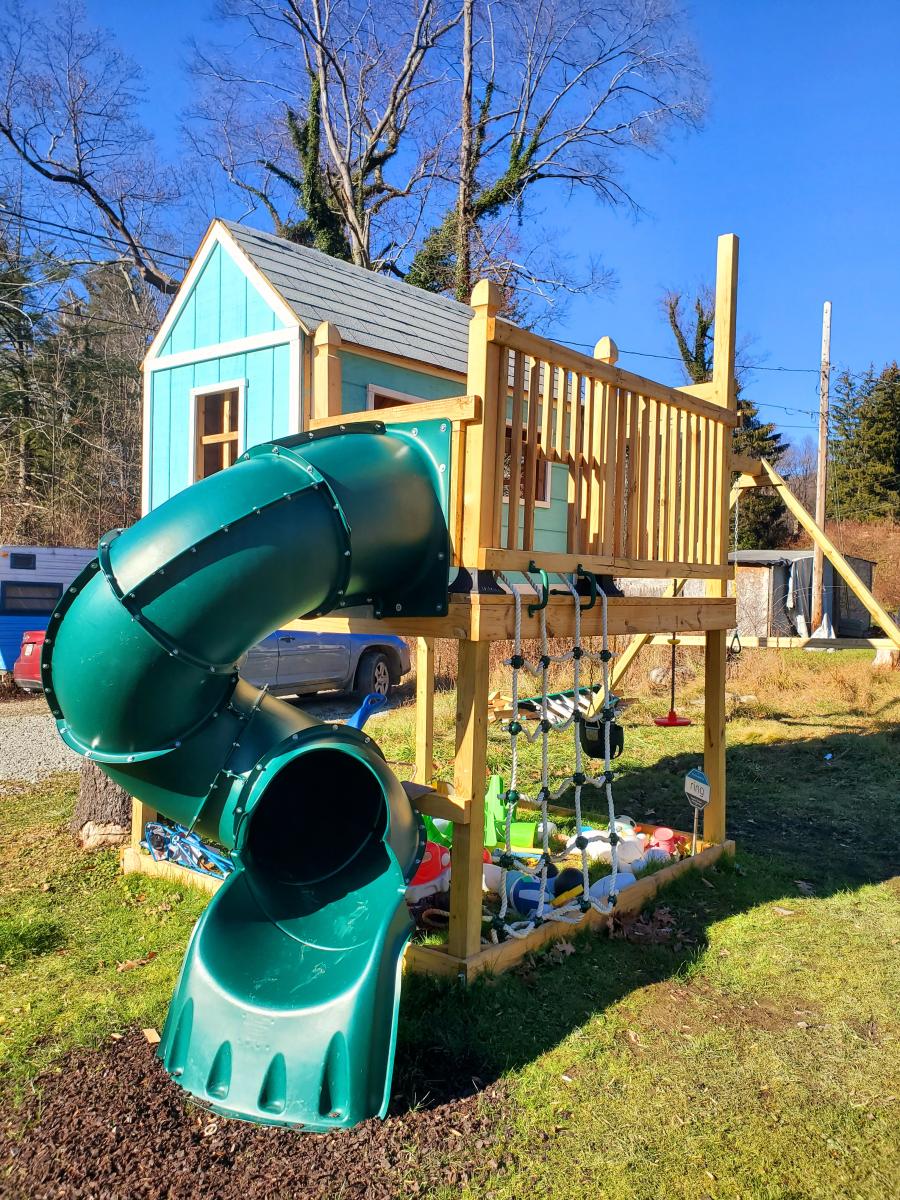
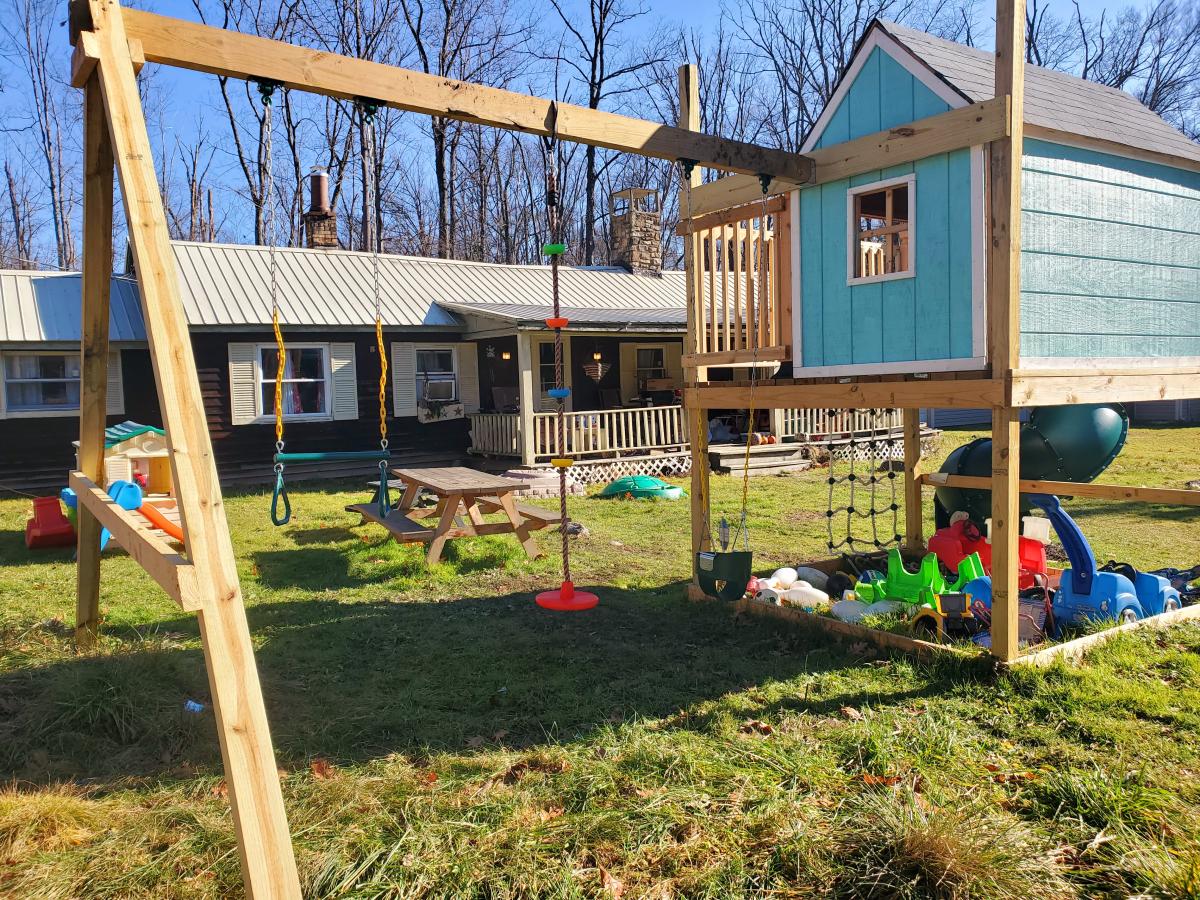
Thank you Ana for these plans!
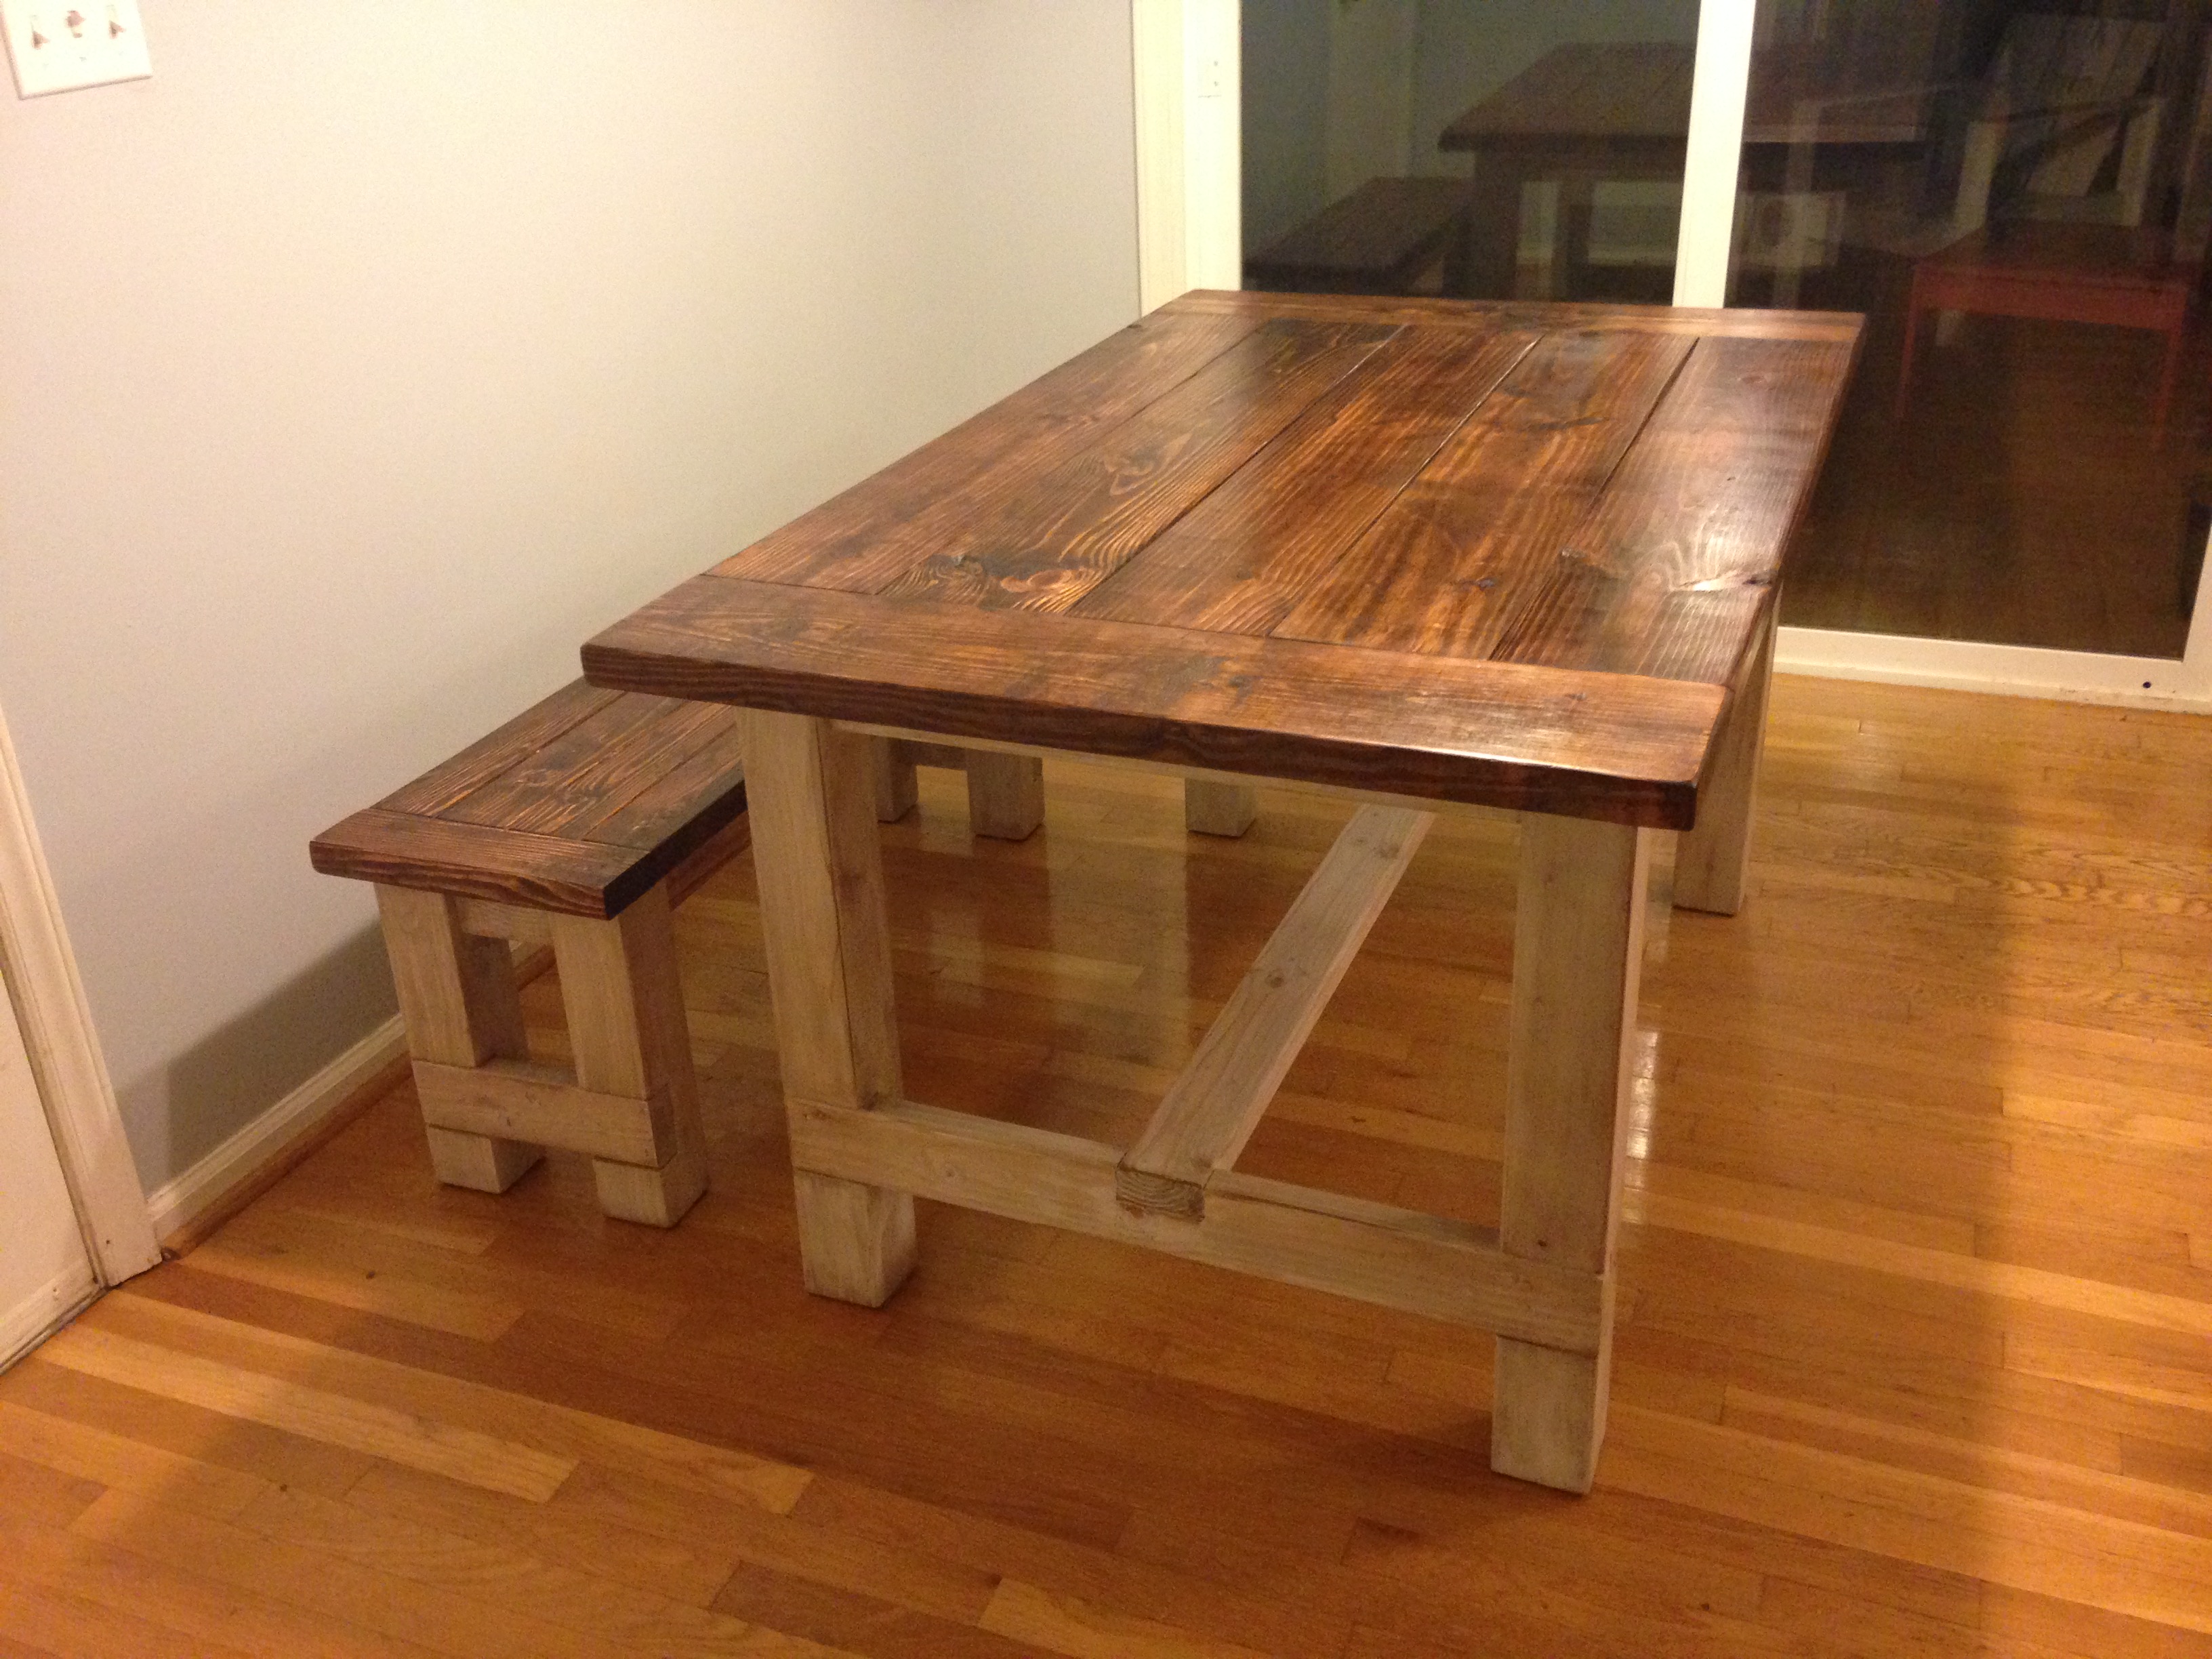
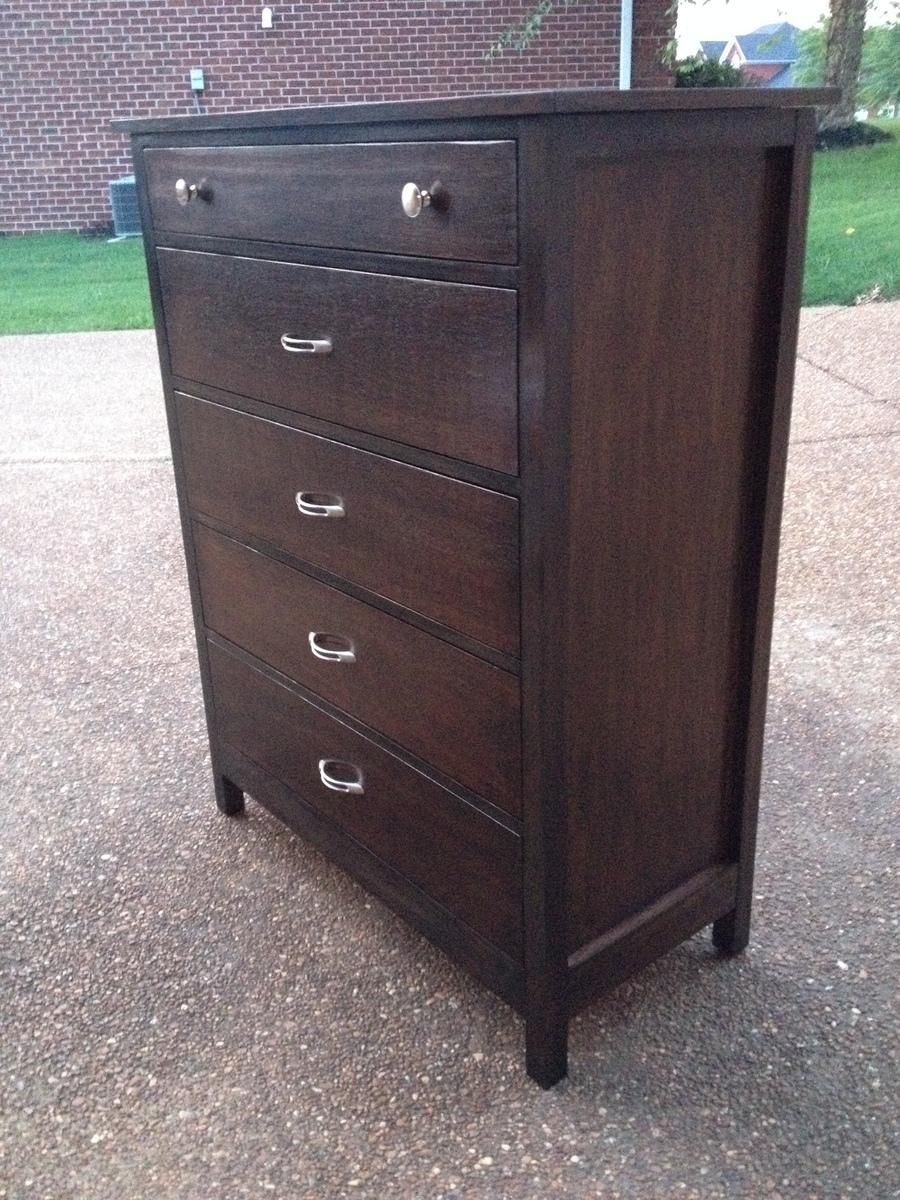
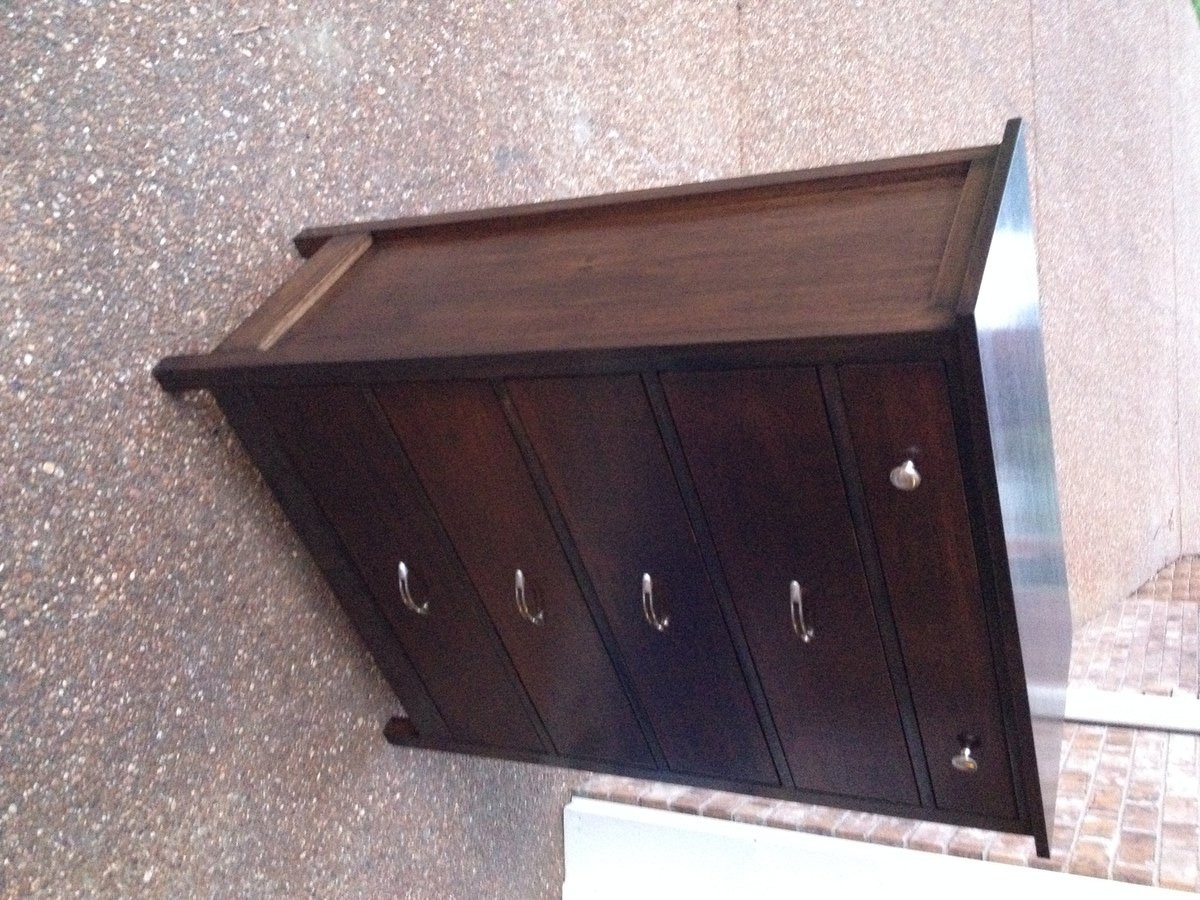
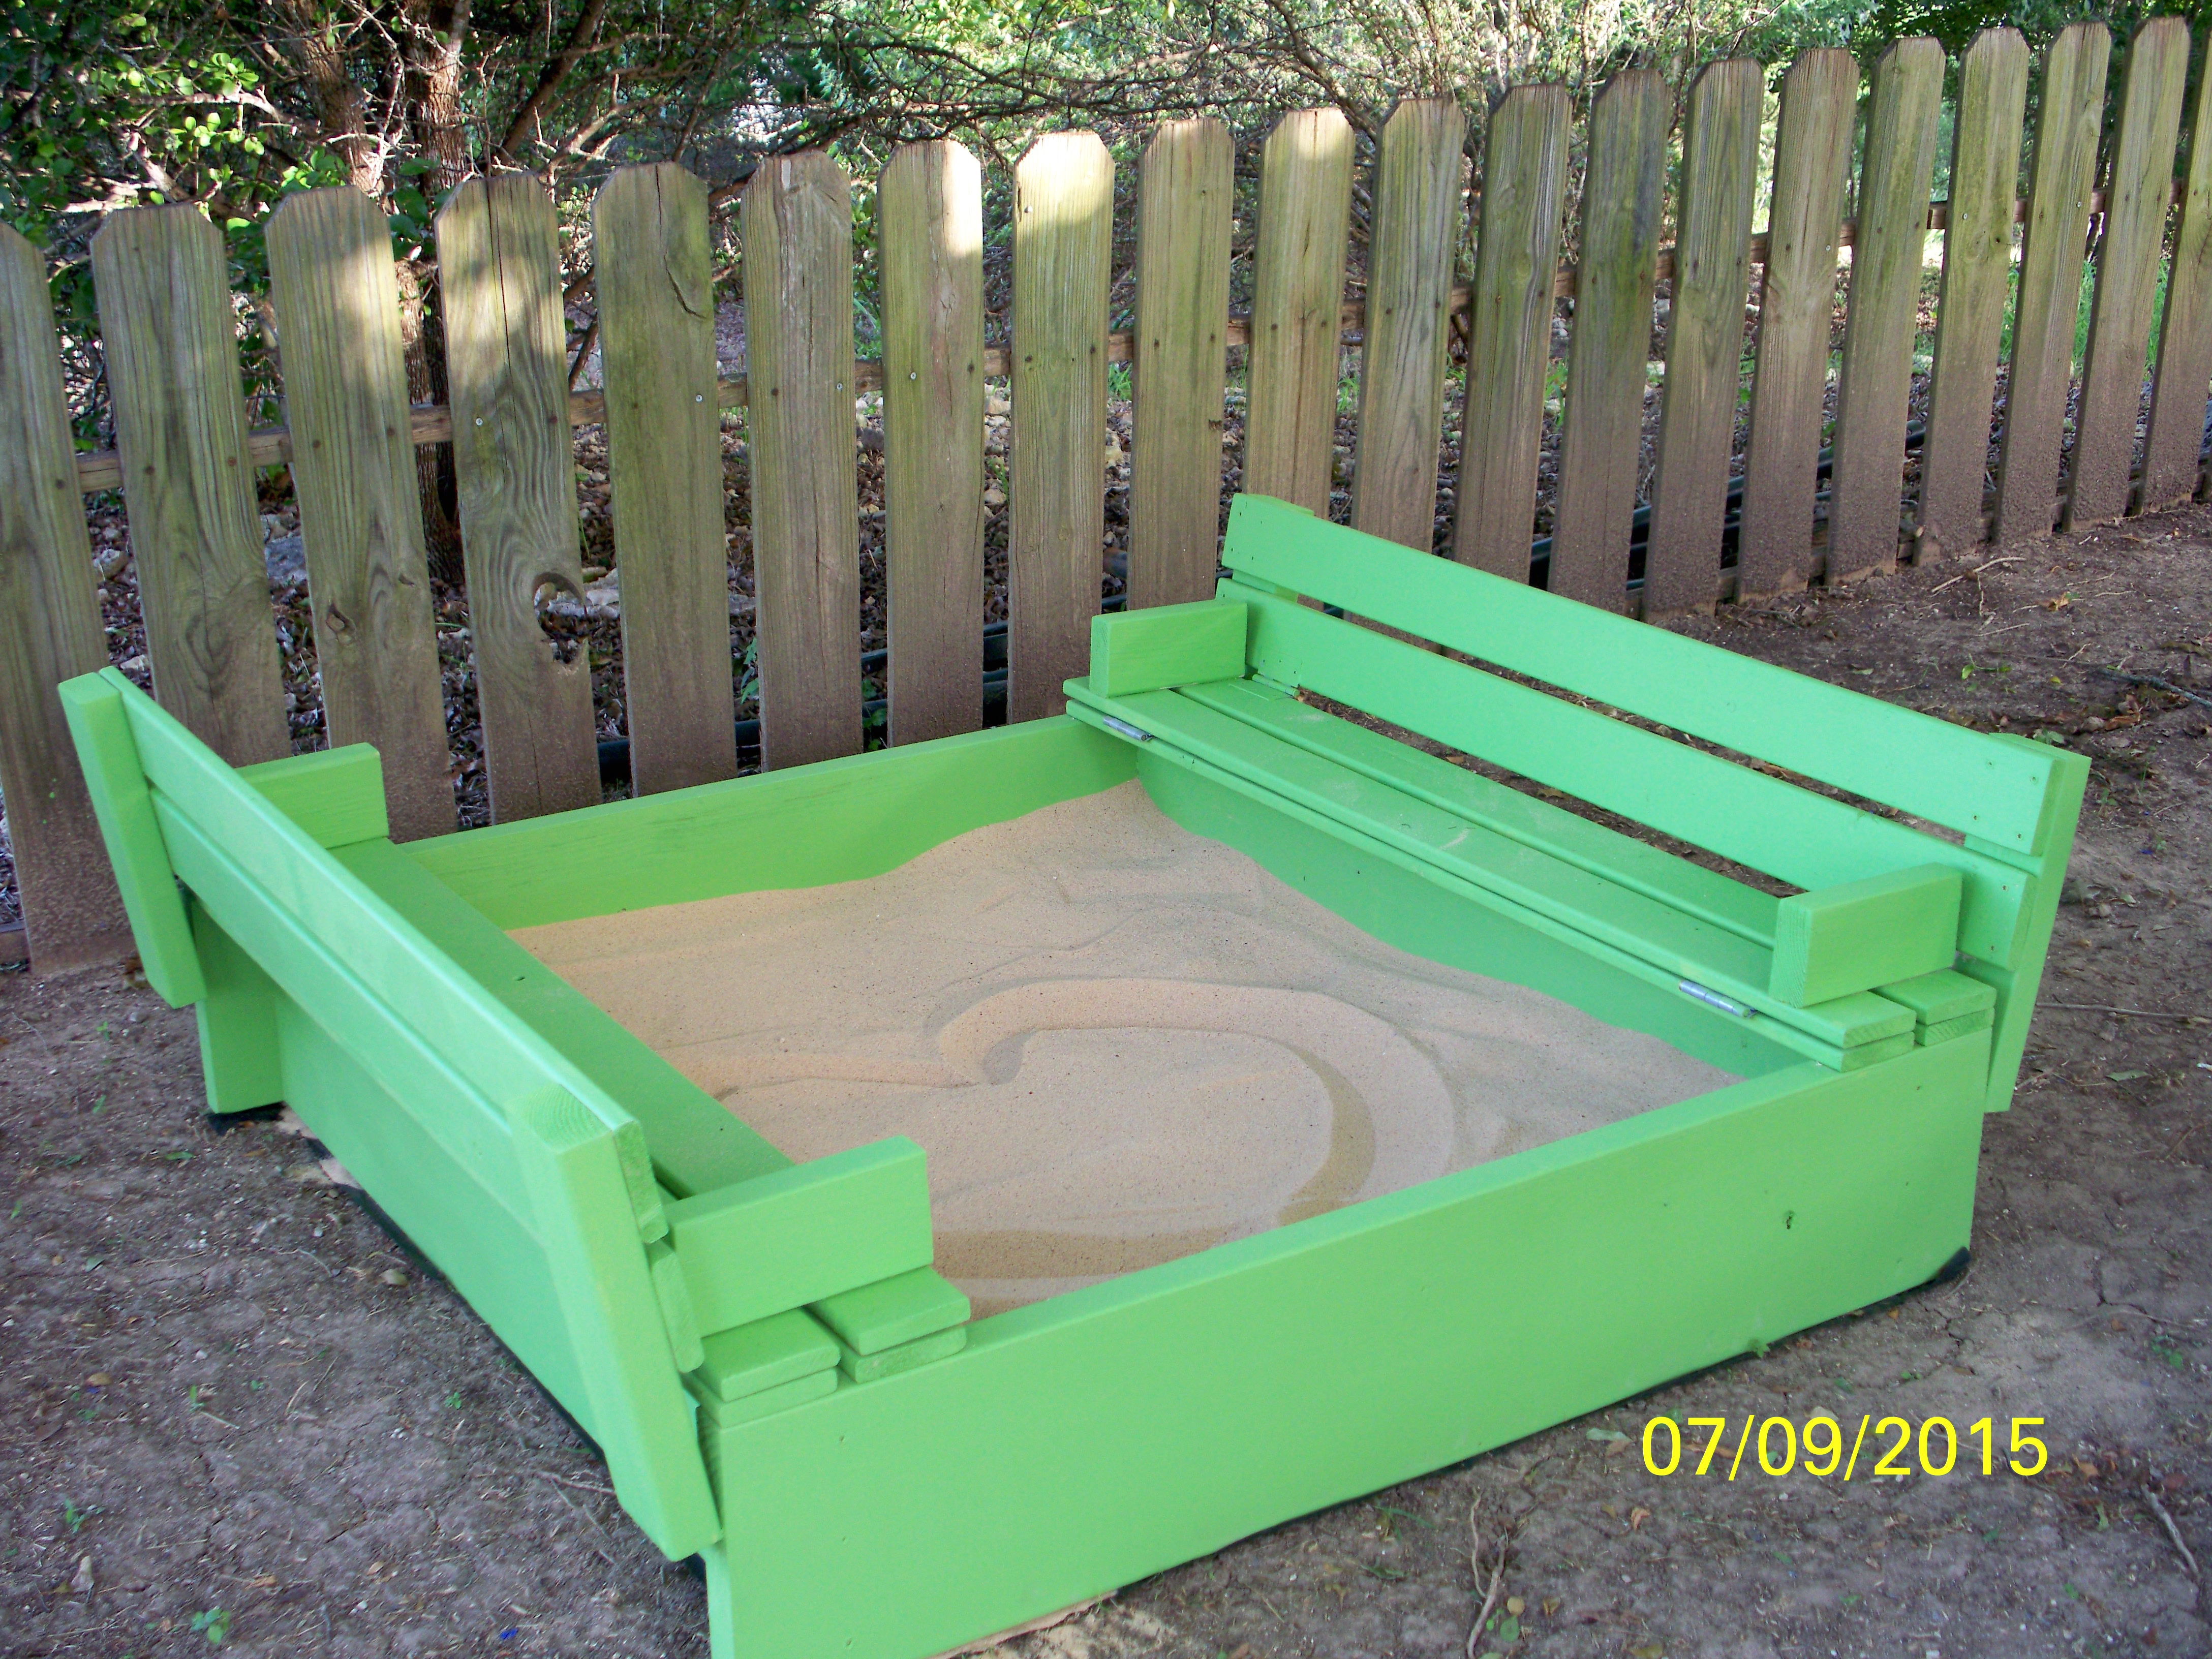
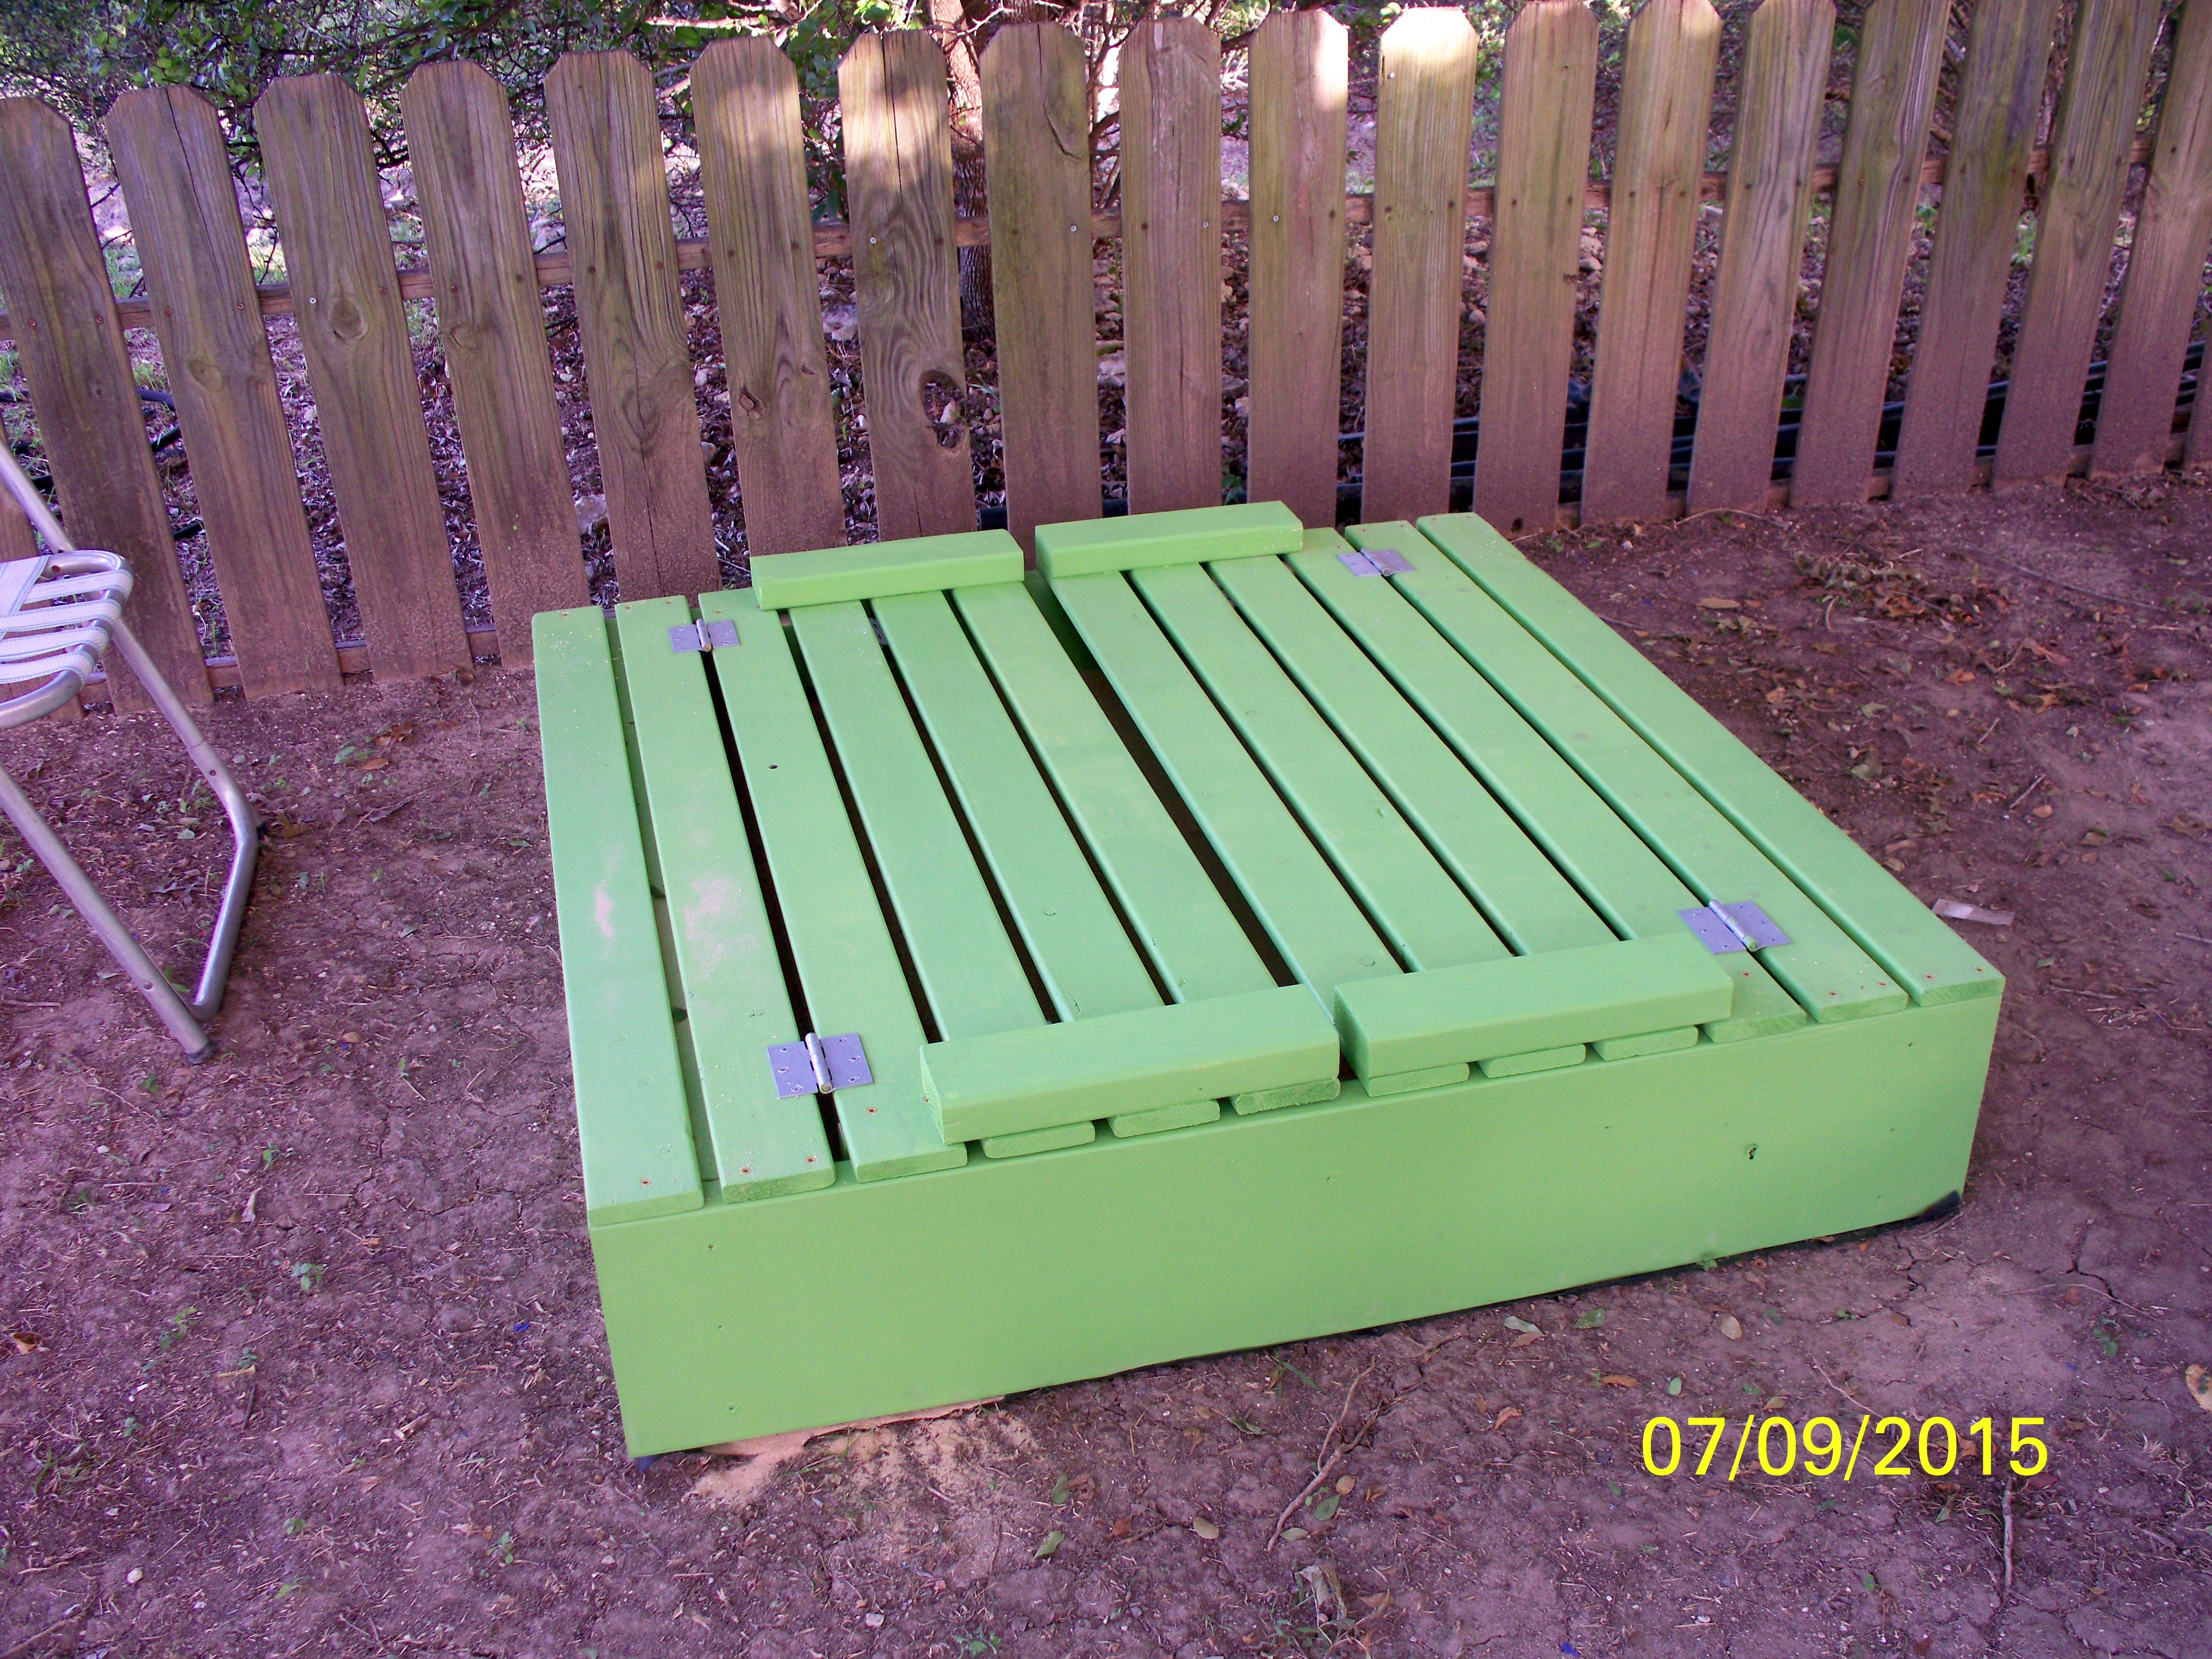
This is a wonderful sandbox for toddlers, my kids love it. I build it a couple months ago, and it's gotten quite a bit of use already. So far it's even stood up to them jumping on it when it's closed, which is the only thing I was worried about. ;)
I'm not an experienced builder but i built this in an afternoon with the kids playing around in the yard with me, so this was a great project for me!

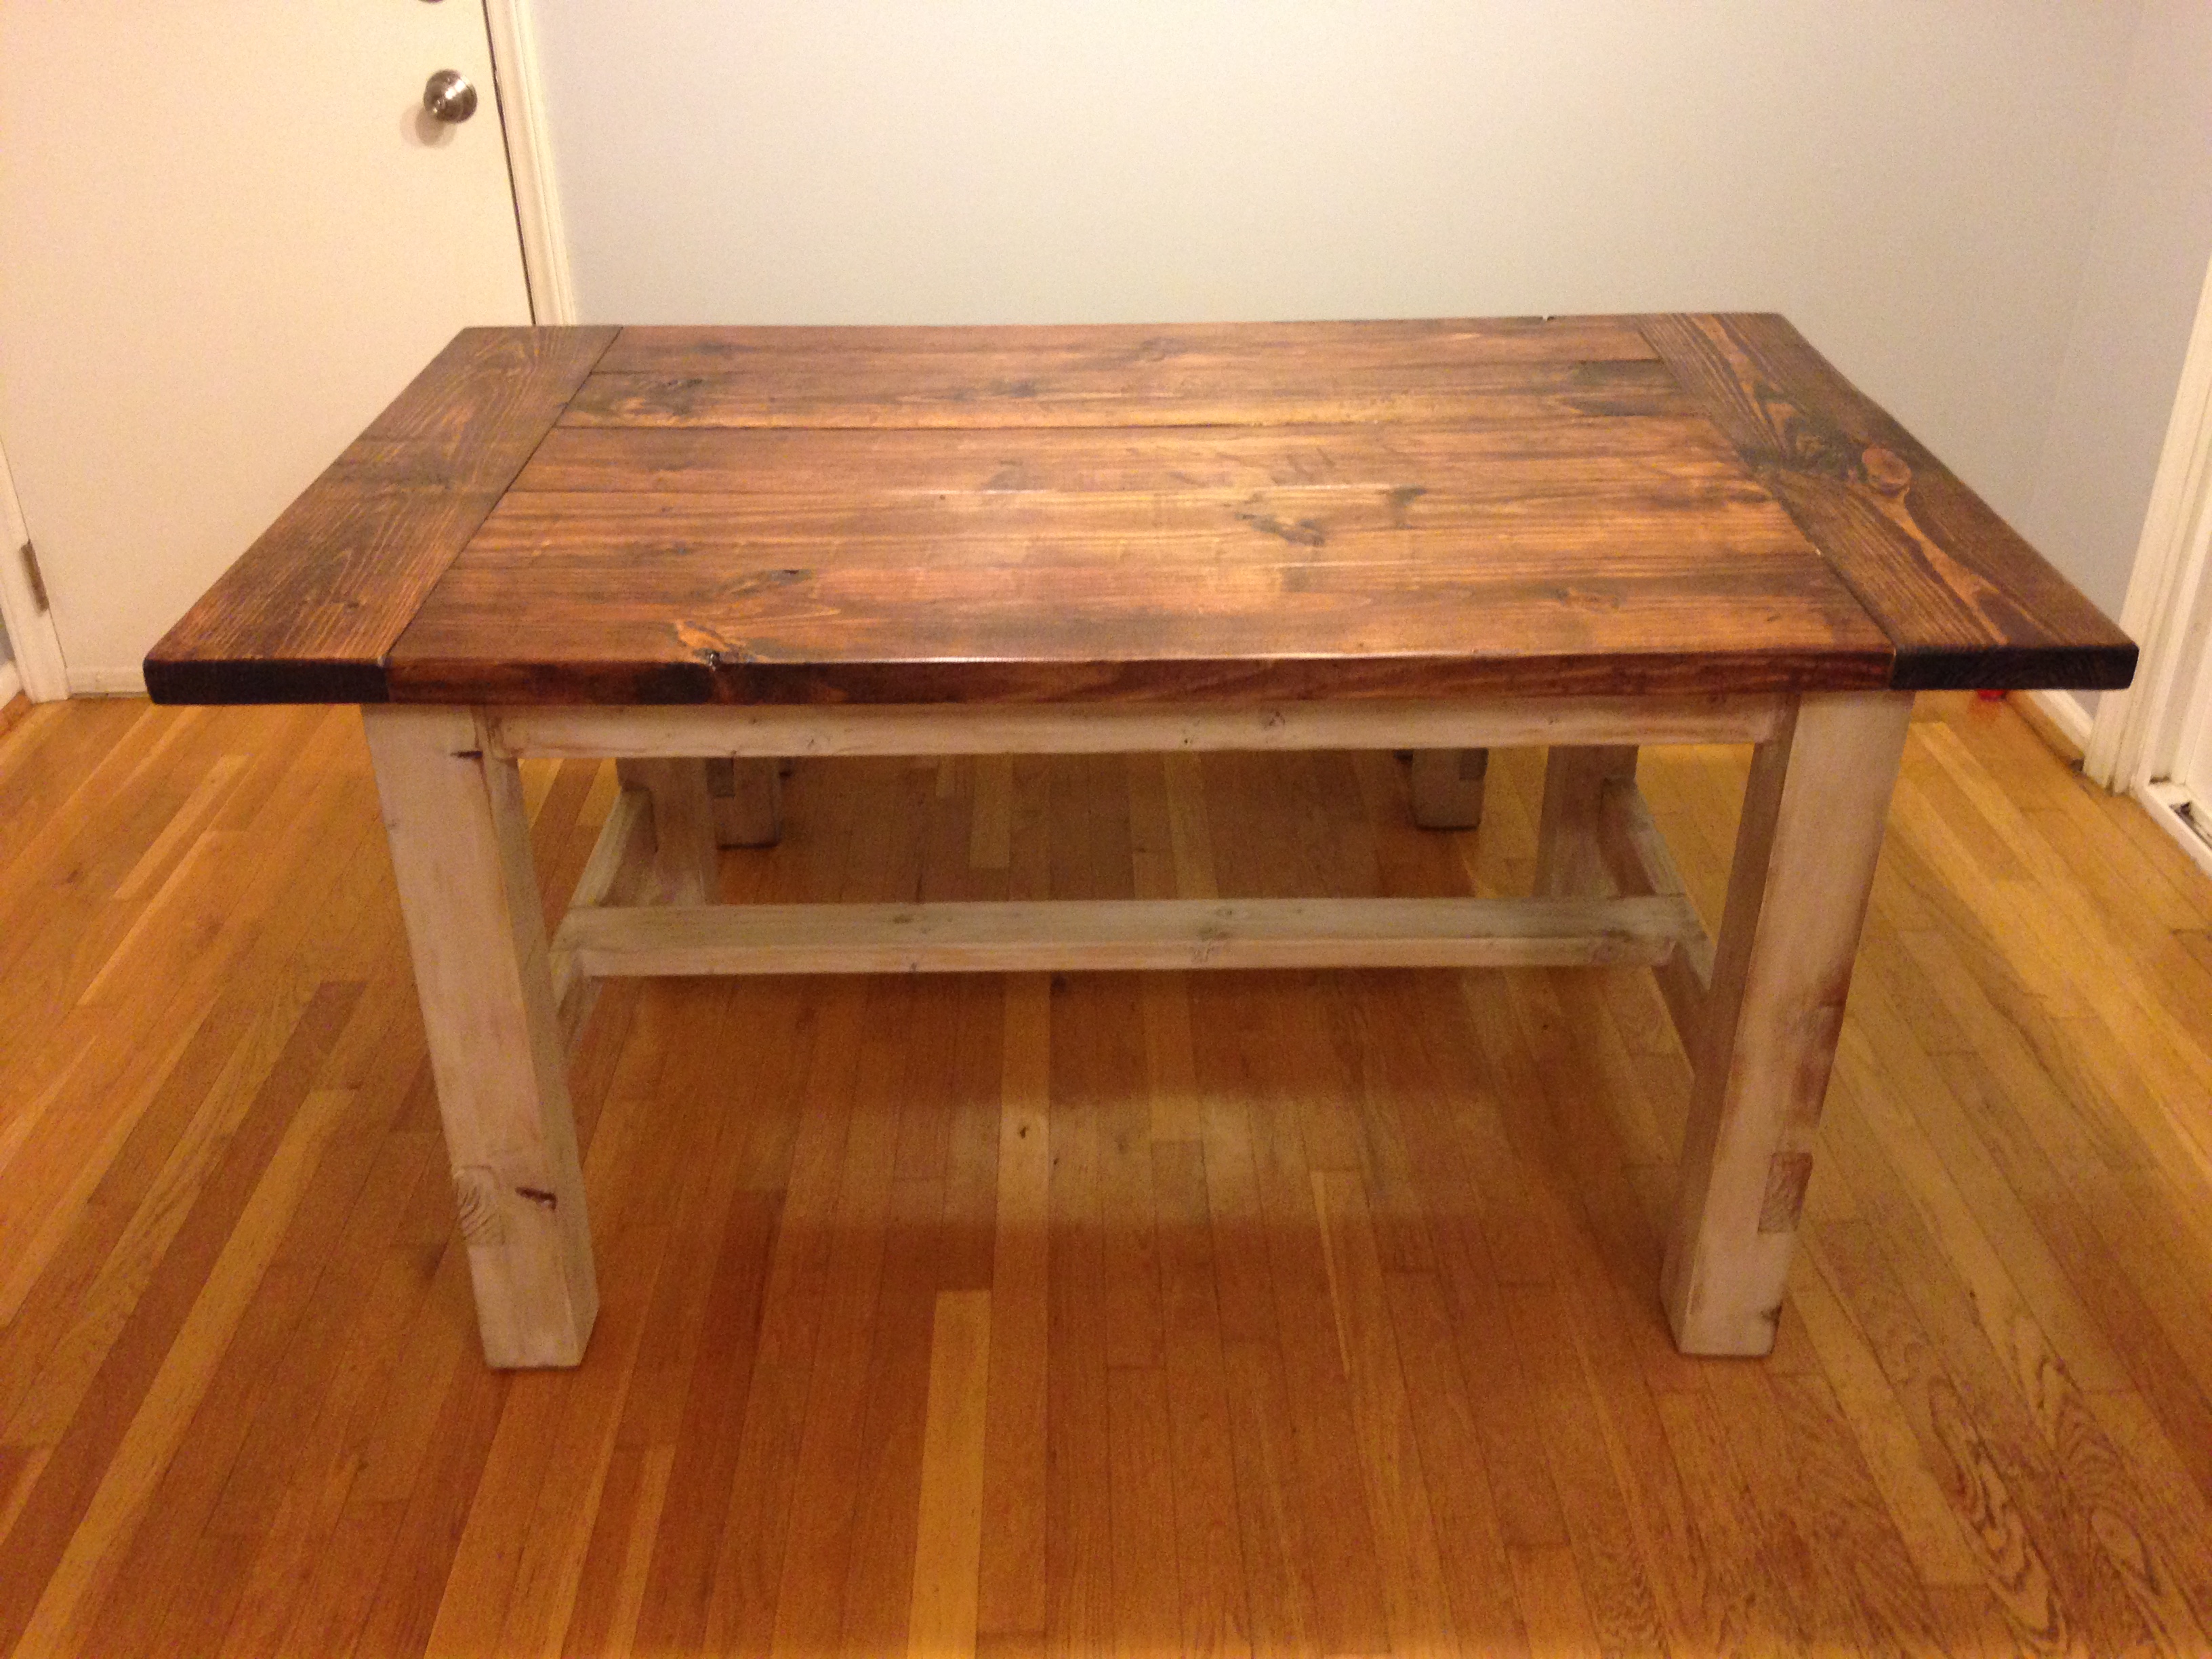
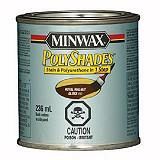
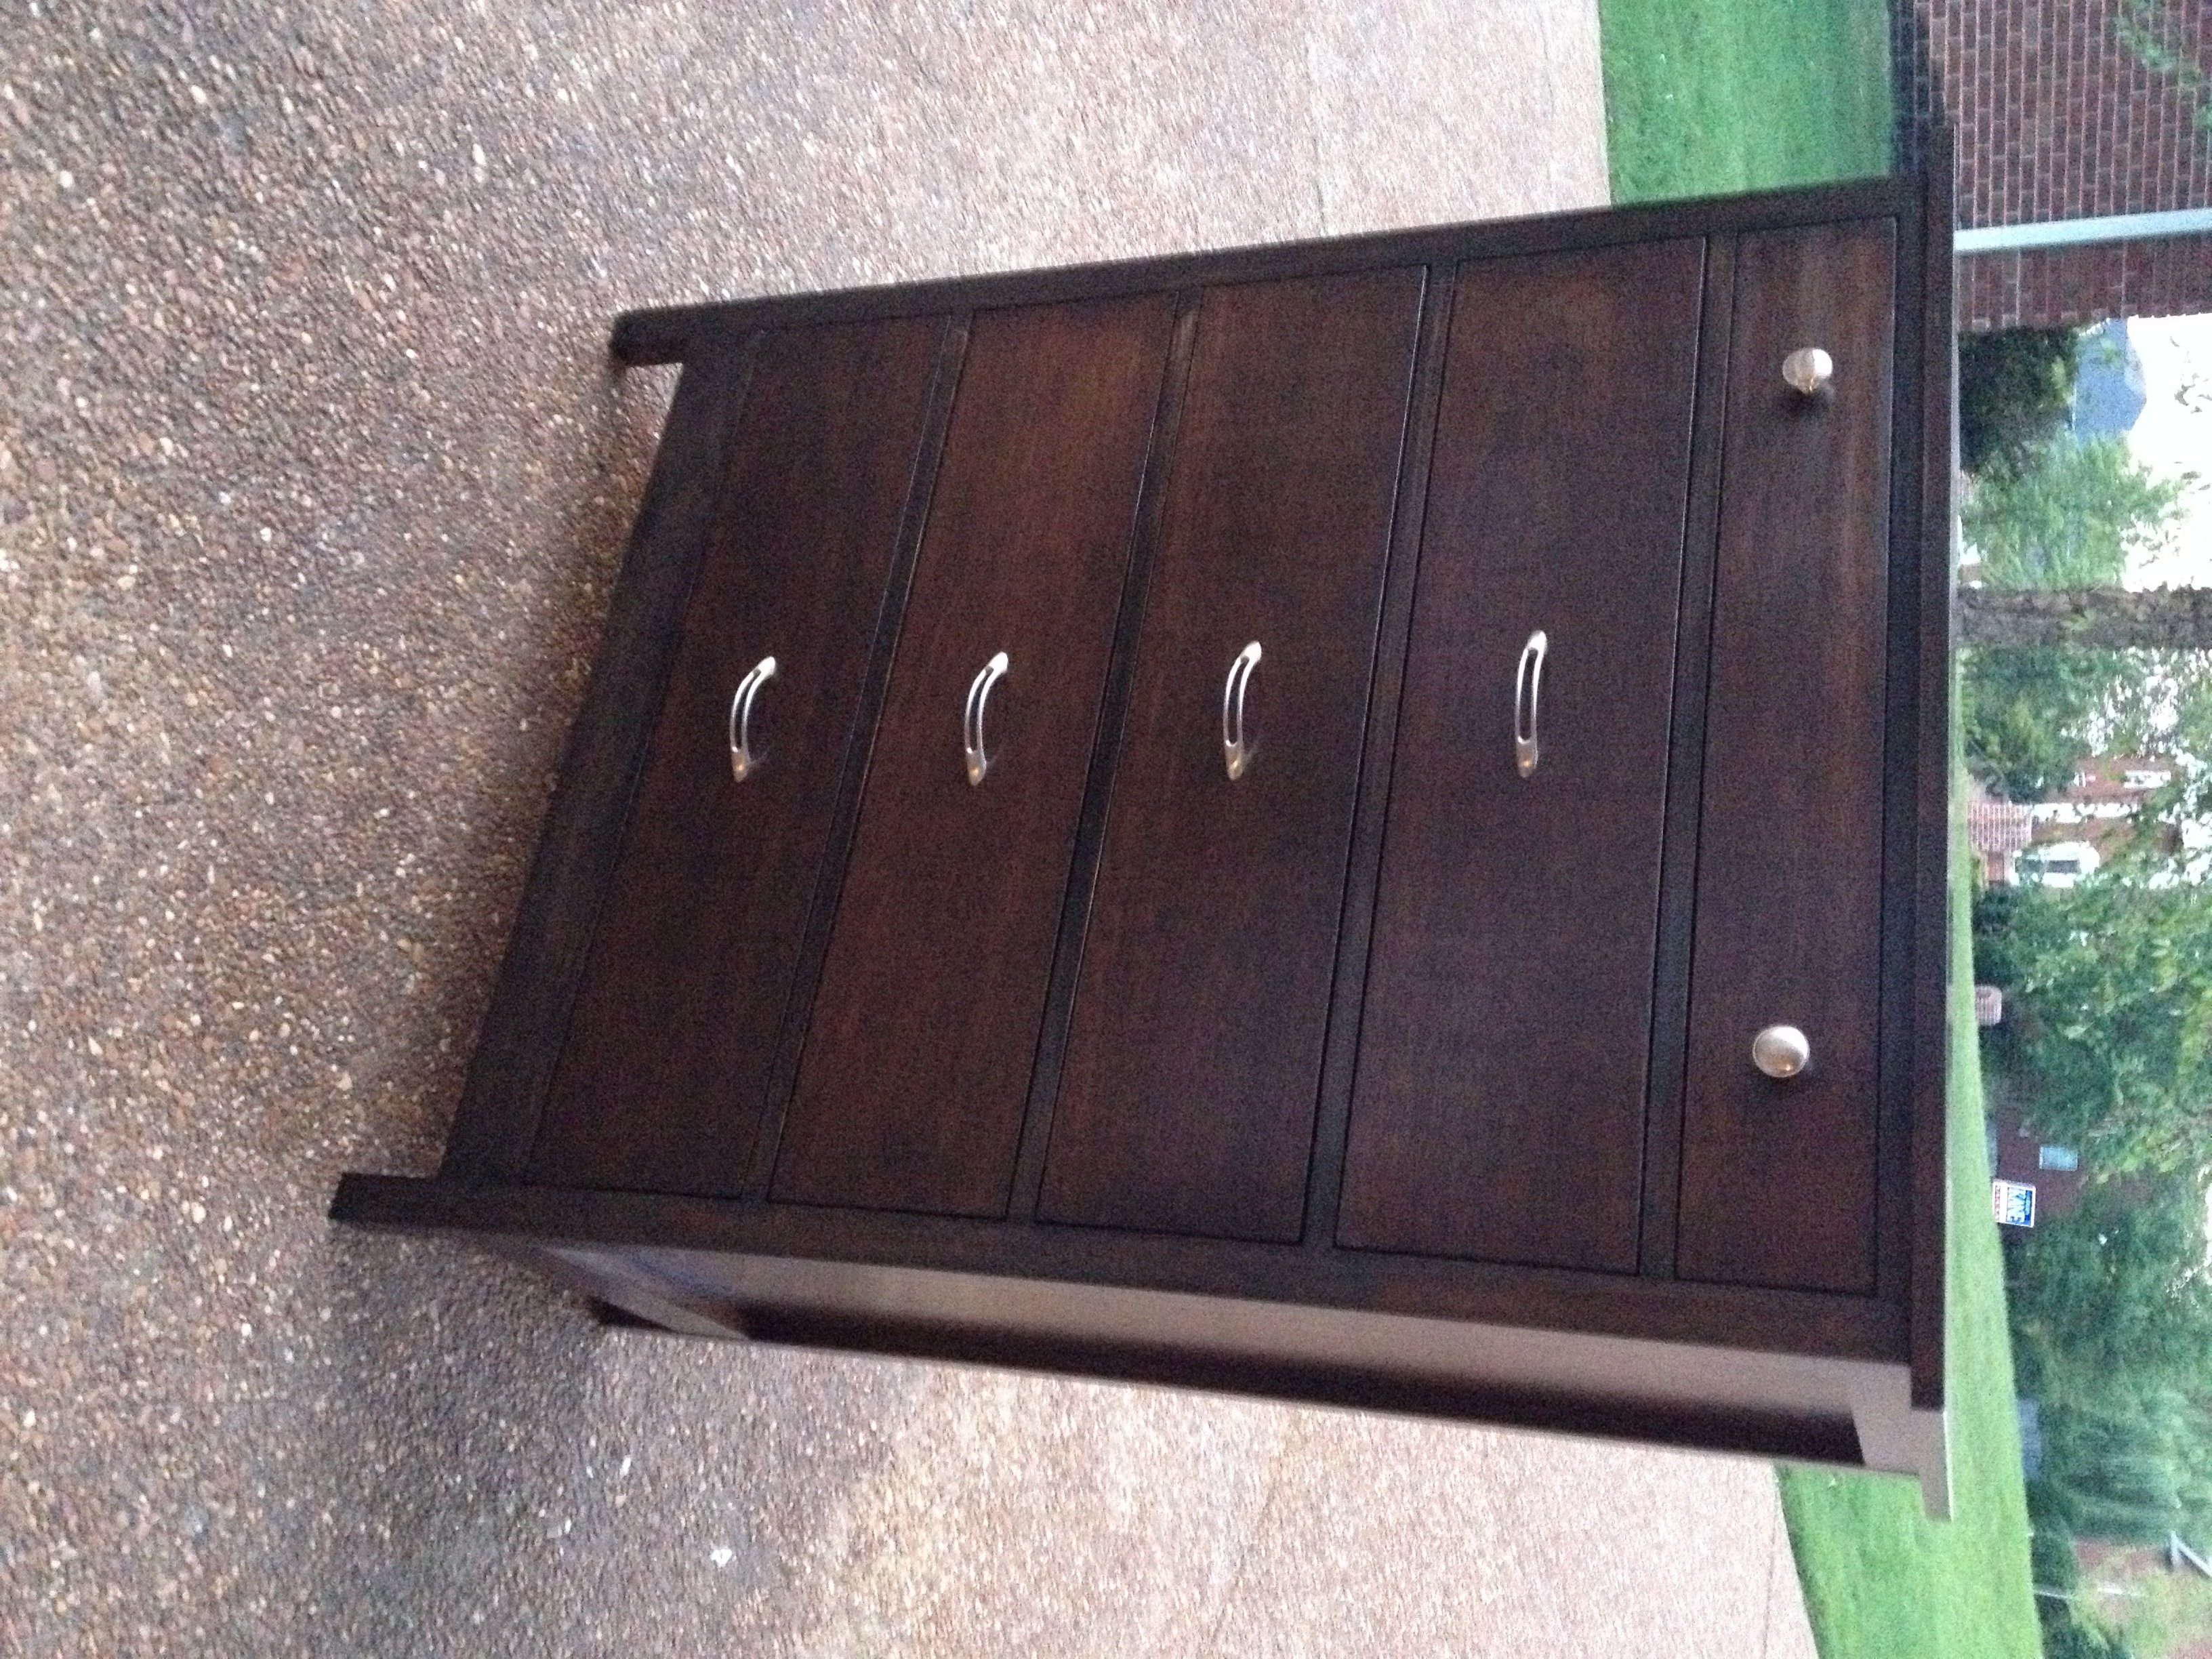
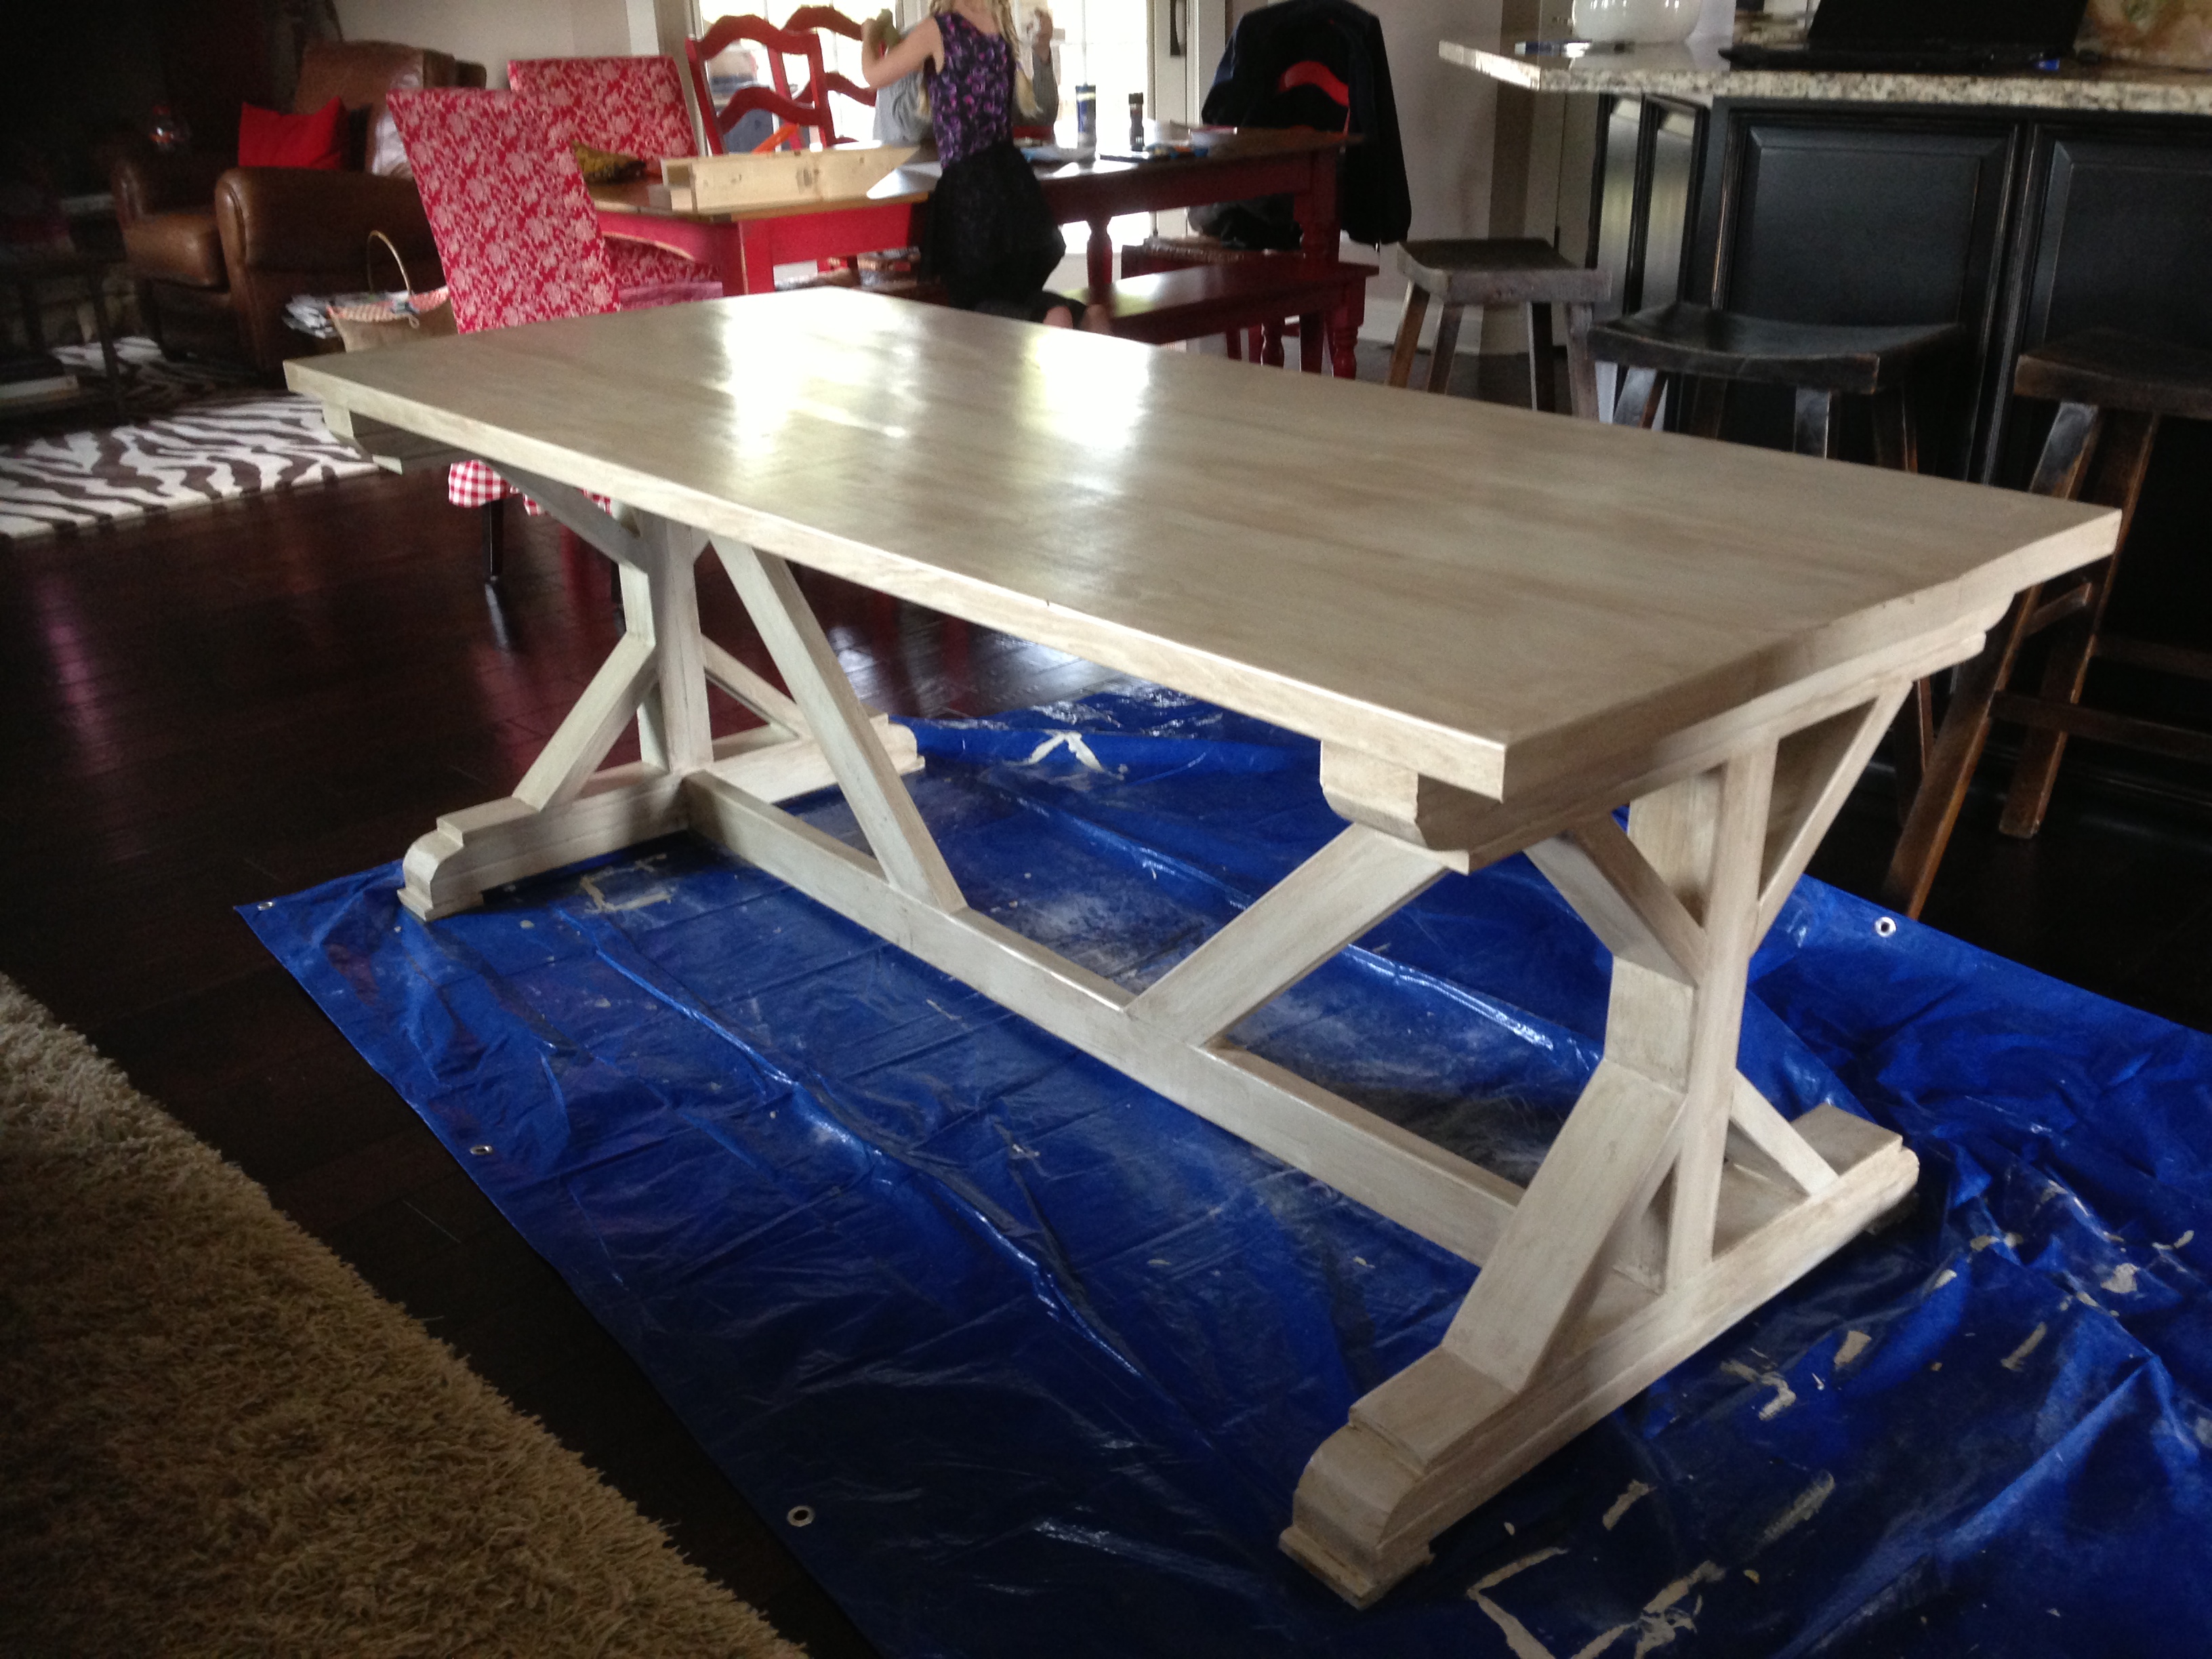
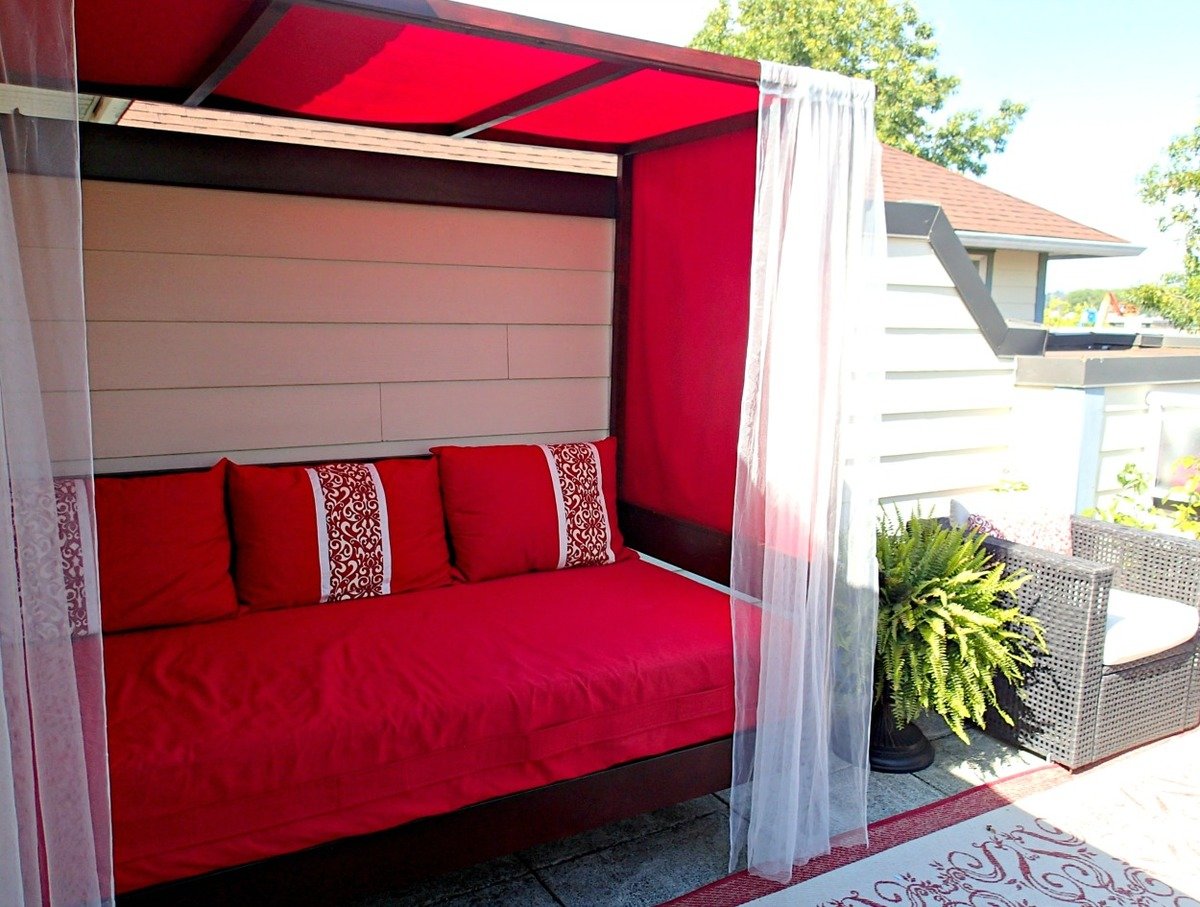
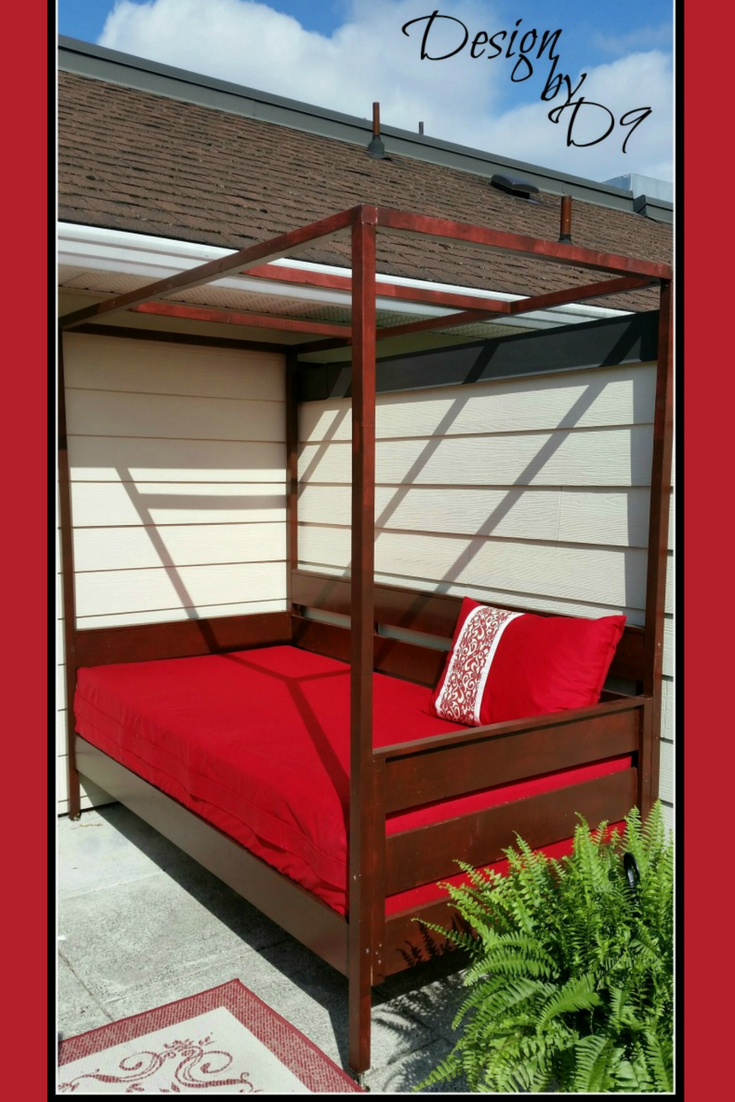
I used Minwax Polyshades, a stain and seal in one to finish this project. (I thought that would be a neat idea to skip a step, but I should have known that's usually a bad idea) I noticed that it didn't turn out to be nearly as dark as I expected and though I like how it turned out on this project just as well. I don't think that I'd buy another can when this one is used up.

Built from Plan(s)
Estimated Cost
$60-ish
Estimated Time Investment
Afternoon Project (3-6 Hours)
Finish Used
2 coats of Minwax Polyshades in Royal Walnut.
Recommended Skill Level
Beginner

Modified Simple Rolling Bar Cart

I honestly think Ana is a mind reader. Whenever I need plans for a particular piece of furniture, they magically appear on her site. Of course if she was a true mind reader, everything will be exactly as I need it requiring no modifications. That's what makes her plans so amazing. I can build bigger and better because I've learned to modify her plans to fit my current needs.

This Cart was no exception. I had to make mine a few inches deeper and change the height of the legs and it was a piece of cake. I put this together in less than 2 hours and finishing was easy too.

I did a blog post all about what I did differently including how I constructed a towel bar instead of the pipe. Check it out at www.thepursuitofhandyness.com

Built from Plan(s)
Estimated Cost
$25 Depending upon the type of casters used
Estimated Time Investment
Afternoon Project (3-6 Hours)
Finish Used
Oil Based Primer & Rustoleum Painters Touch Spray Paint in Paprika Satin
Recommended Skill Level
Starter Project

Chest of drawers

Submitted by charae22 on Mon, 08/04/2014 - 08:35

I needed this to be a little taller, so I added another drawer. Other than that, all the other dimensions were the same. I built it in one weekend, but the finishing took about 5 days (for drying time between coats). I was trying to match a baby bed (expresso) so I stained it dark. I also used plywood on the sides, top and drawer fronts instead of pine boards. It really turned out great and matched the bed perfectly.

Estimated Cost
$90
Estimated Time Investment
Week Long Project (20 Hours or More)
Finish Used
Minwax Wood Conditioner, 3 coats of English Chestnut, 2 coats of Ebony (Minwax), 3 coats of Minwax Wipe-On Poly.
Recommended Skill Level
Beginner

Comments

sharshar1960

Mon, 08/04/2014 - 11:11

LOVE the finish on this piece! Can you elaborate on the two stains? Did you alternate?

In reply to by sharshar1960

charae22

Mon, 08/04/2014 - 11:43

No, I didn't alternate. I needed the base color to be a deeper brown so it took 3 coats of English Chestnut. Then 2 coats of Ebony over the English Chestnut, to get the black, layered look. I put each coat on, then wiped it off after a few minutes. On the last layer of Ebony, I only lightly removed the stain. The brown shows through in some areas which is exactly what the bed had. I used the oil-based Minwax.

tmclifton

Tue, 09/09/2014 - 19:43

I love the finish!  Did you use the satin wipe on poly, or gloss? 

cirkit1

Wed, 10/21/2015 - 11:44

can you comment on the stain with sandeply.  did you use sanding sealer?

i have read many a comment on issues with staining sandeply but yours looks awesome.

i like the approach.

4x4 Truss Beam Table

Submitted by sven126 on Tue, 11/18/2014 - 08:40

I used old gumwood and pine for the table top. Just finished renovating 1930’s house and saved some old wood from the baseboards, fireplace mantel, etc. Used craigs jig to connect them for table top. I was only ¾ inch thick, a bit too thin for my liking, so I added bottom frame from new ¾ inch pine then enclosed the whole table top with the 1.5 inch frame from old wood leftovers. Legs all new 4X4 fir beams. Came out quite nice and definitely unbreakable! Thanks for the plans, Anna! 

Built from Plan(s)
Estimated Cost
$100
Estimated Time Investment
Week Long Project (20 Hours or More)
Finish Used
mixture of Minwax Provincial 211, Red Mahogany and Dark Wallnut
Recommended Skill Level
Intermediate

Comments

Woven Back Bench

This took approximately a week to build, but was fairly simple.  Drew arm rests freehand and applied 3 - 4 coats of Helmsmen.

Built from Plan(s)
Estimated Cost
$20
Estimated Time Investment
Week Long Project (20 Hours or More)
Finish Used
Helmsmen (3-4) coats
Recommended Skill Level
Beginner

Comments

earthbybike

Sat, 12/06/2014 - 12:27

I built this at the local college woodshop and I am very happy with how it turned out. Our comminity is so very lucky to have a community college that has a wood shop and a huge spray booth. (Wood Shop 1 & 2 as well as Cabinet Building 1 & 2)

Seasonal And Holiday

Fancy X Farmhouse table - painted!

Submitted by bettenmv on Tue, 02/05/2013 - 11:57

First project from Ana White, and loved it! Building more as we speak. We loved this table but wanted it in painted finish. We chose to fill in some of the gaps to make it look a little more finished. Very happy with the result!

Built from Plan(s)
Estimated Cost
90 dollars not including one time purchases of Kreg, nail gun, etc.
Estimated Time Investment
Weekend Project (10-20 Hours)
Finish Used
white paint and brown glaze
Recommended Skill Level
Beginner

Comments

orangesugar

Tue, 02/05/2013 - 12:12

This table is gorgeous! Do you have any more information on the paint treatment, wood you used etc....

bettenmv

Tue, 02/05/2013 - 18:44

Thank you! It was our first attempt at a glaze. We shortened the table length wise and then used 3 2x10s instead of 4. For the finish we painted the table Navajo White Behr color from home depot. We then mixed about 1 part of a Minwax espresso stain with 4 parts of Behr Faux Glaze. Then we just rubbed it on with rags and waited a little bit and rubbed it off.

Jamaunzie

Wed, 02/06/2013 - 15:29

WOW Extremely nice I am from Arizona and the color you have chosen is just perfect nice job and finish congratulations on being the proud owners of a Very Beautiful Table

wannabuildit

Mon, 02/18/2013 - 17:39

Great job! Beautiful finish. I have yet to build anything, but this is my favorite plan from Ana White and I will be starting it as soon as the weather cooperates :/
Nicely done!

worrow

Wed, 06/05/2013 - 18:58

Nice job, I just finished mine and followed plans 90% of the way. I altered the legs to look beefier. I have not finished mine yet. I spaded the top and will be using it outdoors so unsure what I want to do for the finish. But thanks for sharing.

Storage Captains Bed

Submitted by Anonymous (not verified) on Fri, 09/16/2022 - 05:03

So this was a really fun project from start to finish, I wanted a storage bed with a place for my son to showcase his Super Hero collection!

Estimated Cost
300
Estimated Time Investment
Week Long Project (20 Hours or More)
Finish Used
Paint
Recommended Skill Level
Intermediate

Comments

Simple Outhouse

Submitted by Anonymous (not verified) on Thu, 04/20/2017 - 12:26

I had my nephew build this outhouse for our new 70 acre lot - no neighbours in sight so I had him put in an acrylic window (with a view).  I left off the deck and had him put the boards tight together so 'critters' didn't get in as easily. I made a sign for above the door - 'Waste Management' for a touch of humour.  The plans were easy to follow and I love it.  Thanks, Ana.

Built from Plan(s)
Estimated Cost
Approx. $300 for material and $250 for my nephew's labour.
Estimated Time Investment
Weekend Project (10-20 Hours)
Finish Used
sealer
Recommended Skill Level
Beginner

Comments

Easy DIY Workbench

Submitted by Anonymous (not verified) on Mon, 10/04/2021 - 14:32

Ana I’m new to wood working and I really love your plans. They are so much easier to follow than a lot of other plans that I’ve seen. It makes me feel like I can build almost anything. Thank you.

Brandy

Comments

Kid's Playhouse and Slide

Submitted by docfin02 on Mon, 03/28/2011 - 18:56

I LOVE these plans. This was my first project, and although it was a big one to start with, the plans were easy to follow. If I can do it, anyone can. I added the rock wall. My kids and I love it. Total cost for me (including all lumber, nails, paint, slide, etc.) is about $850.

Estimated Cost
$850
Estimated Time Investment
Week Long Project (20 Hours or More)
Finish Used
1 coat primer, 2 coats paint
Recommended Skill Level
Intermediate
Seasonal And Holiday

twin farmhouse storage bed

Submitted by DIYMomof4 on Tue, 01/09/2018 - 11:40

My daughter loves her new bed!  The plans were easy to follow and didn't take very long to build.  It took me about 2 weeks to finish.  I suggest measuring your mattress first and adjusting dimensions accordingly.  My daughter's mattress is a bit longer than usual, so I added about an inch to the length.  I added drawers to one side and left one side as open cubbies.  I also added a 2x4 base below the storage boxes for support.  Ana has plans for this in one of her kitchen cabinet plans.  I'm so glad I did, as I've already found 3 kids hiding on the cubby side, and one of them is 14!  I didn't run the 2x4 base all the way to the head/footboard, so it wouldn't show.  This changes the height where the storage boxes attach by 1/2 an inch.  The bed may suprise you at how high the mattress sits, but I think that is normal with a storage bed.  My daughter loves sleeping up high.  Thank you so much for this wonderful plan!  I love Ana's website and have learned so much!

Estimated Cost
$350-includes wood, paint, new comforter/sheets, hardware, and wall stickers
Estimated Time Investment
Week Long Project (20 Hours or More)
Finish Used
Behr Marque satin in the plain white you get off the shelf. I primed it first, but this probably wasn't necessary.
Recommended Skill Level
Intermediate

Our new pantry

We bought a vacation home that has such a small kitchen. I knew we needed more storage. So I checked out Ana's plans and made this bad boy based on the Simplest Armoire plans.

The home is in the mountain/lakes area of northern New Hampshire, so I wanted to bring the outside colors in. I used Valspar Cabin Red paint and the Valspar Antiquing glaze over the top after distressing it a bit.

Built from Plan(s)
Estimated Cost
$200 +
Estimated Time Investment
Weekend Project (10-20 Hours)
Finish Used
Valspar Cabin Red paint
Valspar Antiquing glaze
Recommended Skill Level
Beginner

sandbox with benches

Submitted by nananana on Fri, 07/10/2015 - 13:18

This sandbox has been around for some time BUT it is still a great project to build The plans were simple to follow and would be an excellent project for beginners. We built this for our grandson and future grandbaby. Was easy to complete in one day, including painting

Built from Plan(s)
Estimated Cost
Estimated cost was $75.00 including the wood, hinges and paint.
Estimated Time Investment
Day Project (6-9 Hours)
Finish Used
We used a flat exterior paint. paint color was Cool Bamboo. We put on two coats to preserve the wood.
Recommended Skill Level
Beginner

Comments

Seasonal And Holiday

My Boys Playhouse!

Submitted by Anonymous (not verified) on Fri, 01/28/2022 - 03:18

We made a few changes to fit our needs but love the design. Way better than any kit you can buy!

Comments

Sewing Table for small spaces

I loaded this project months ago, but somehow it was removed I believe during one of the websit updates. So far in my wife's crafting life she generally cuts things out on the floor. It's not so good. Our dining room table is usually covered in food or playdough so she generally just spreads things out on the floor. I realized how much she needed a table, and armed with new power tools from Christmas and my birthday, I set out to make me a crafting table. This was my first project.

Built from Plan(s)
Estimated Cost
$40
Estimated Time Investment
Afternoon Project (3-6 Hours)
Finish Used
Minwax blue rub on stain and sealer
Recommended Skill Level
Starter Project

Comments

Three story doll house

Submitted by Anonymous (not verified) on Sun, 01/06/2019 - 13:53

I built this American girl doll house for my daughter. I wanted to give her something to keep her youth alive! 

Estimated Cost
$150-200
Estimated Time Investment
Weekend Project (10-20 Hours)
Finish Used
Light grey paint for all the walls and ceiling. Classic grey stain by Minwax for the floors. I also added baseboards to all the rooms with some small trim I found in the window trim section at Home Depot.
Recommended Skill Level
Intermediate

Comments

Tessa2009

Sun, 01/06/2019 - 21:46

Thanks Ana! This is her momma that built it for her. I wanted to tackle something on my own and challenge myself. Your plans were amazing to work with. Thanks for taking the time to make these plans so easy to understand and follow. She is very happy with the doll house! Happy New Year! -Abbey

Poolside lounge chairs and umbrella stand

We just moved to Texas three weeks ago and really needed some poolside furniture to help us enjoy the last bit of summer. We immediately jumped into Ana's projects. It took us about two weeks on-and-off, probably entire project completed in about six days (two days for each piece of furniture). We caught a sale at Lowe's and BBB and finished the project with the cushions and umbrella respectively. Now we can start enjoying the pool to its fullest!

Estimated Cost
$100-125 (just wood and screws)
Estimated Time Investment
Week Long Project (20 Hours or More)
Finish Used
After sanding, we used the brush vacuum to clean it off. Apply wood conditioner. Then two layers of dark walnut stain, and finally a single layer of semi-gloss clear coat.
Recommended Skill Level
Starter Project

Comments

Mudroom bench

Submitted by Anonymous (not verified) on Thu, 12/01/2022 - 17:16

Ana I came across your open bottom garage bench design and really liked the concept. Inspired by your design I put this together in our laundry/mudroom and am really pleased with the result. As you described, being able to clean under it is a huge benefit and the whole bench was less than $200 even with the solid oak boards I joined and edge routed for the top. Thanks for the inspiration and all of your project posts.

Comments