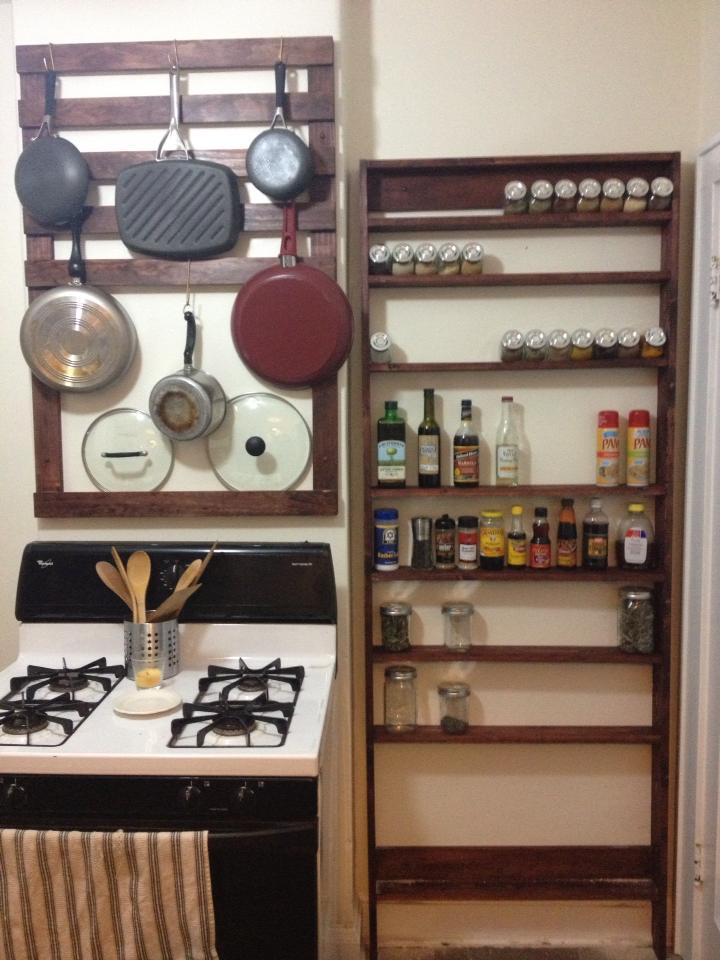
This was a very simple pot rack and spice shelf using 1x3 for the pot rack and 1x4 for the spice shelf.
Spice Shelf is 7ft and the most complicate part was cutting the uprights for the large baseboards in our house. I used a profile gauge but this wasn't quite enough. Eventually I did some sanding on the spot to get the best fit. Having gained my addiction from Ana for Kreg Jigs the shelves and mounting pieces were added with pocket hole screws. By placing the screws on top or on the bottom I was able to avoid the necessity of plugging holes. Shelf spacing is completely custom for our needs and the large bottom portion will receive a cross brace in the front to hold in our shopping bags. Butterfly bolts were used to mount the shelving through the lathe and plaster walls.
The pot rack is simply a 1x3 ladder where I used a 1x3 for the spacing between the rungs. Large bottom to hold pot lids. Hooks were hand bent using a jig to ensure they were all the same. Mounted to the old brick chimney in the kitchen using TapCons.
Both items were finished in MinWax Mahogany and had one coat of of poly to keep the rustic feel.
Length of project depends on drying times.
Any questions please let me know!


Comments
Ana White
Wed, 01/02/2019 - 12:14
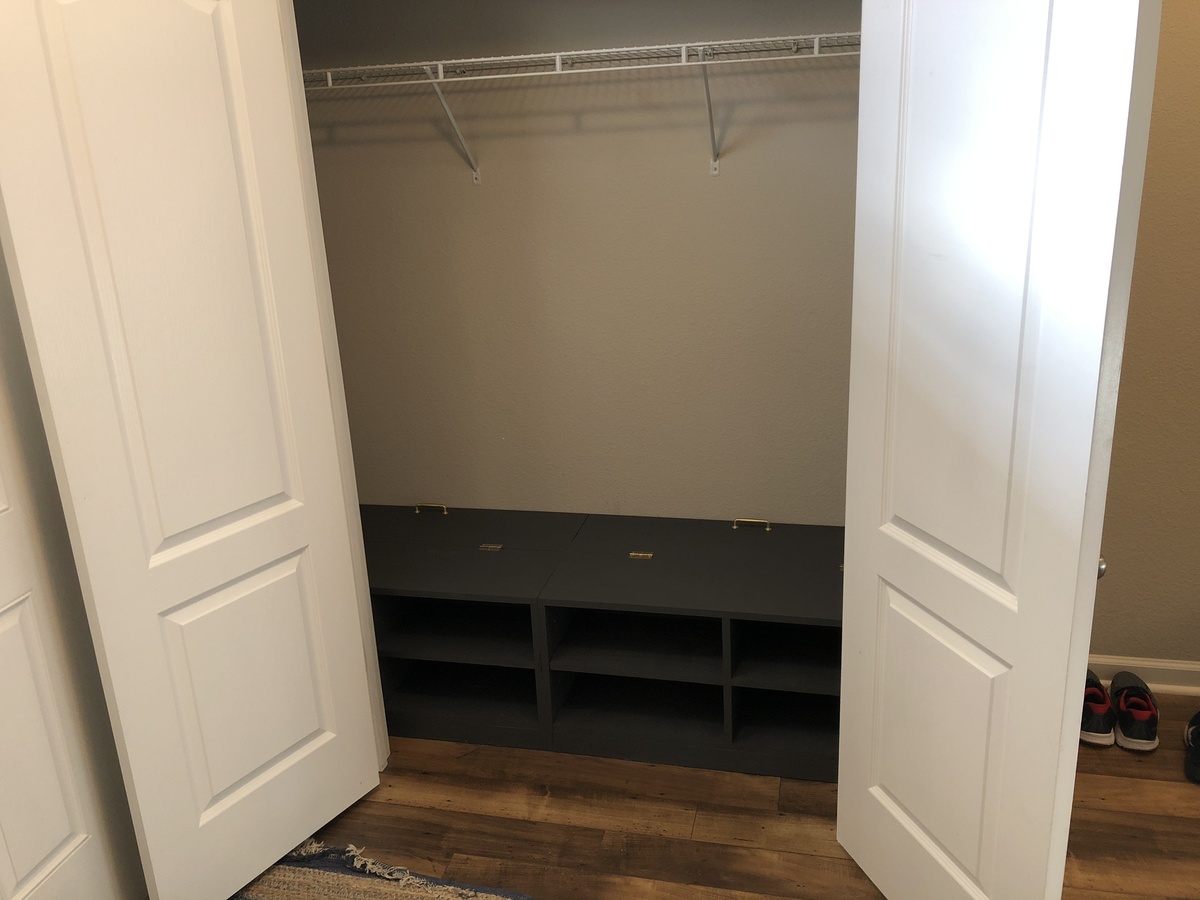
This is awesome!!!! I'm so
This is awesome!!!! I'm so excited to see the closet built and to read that it is working well for you! Share some more pics sometime!