Community Brag Posts

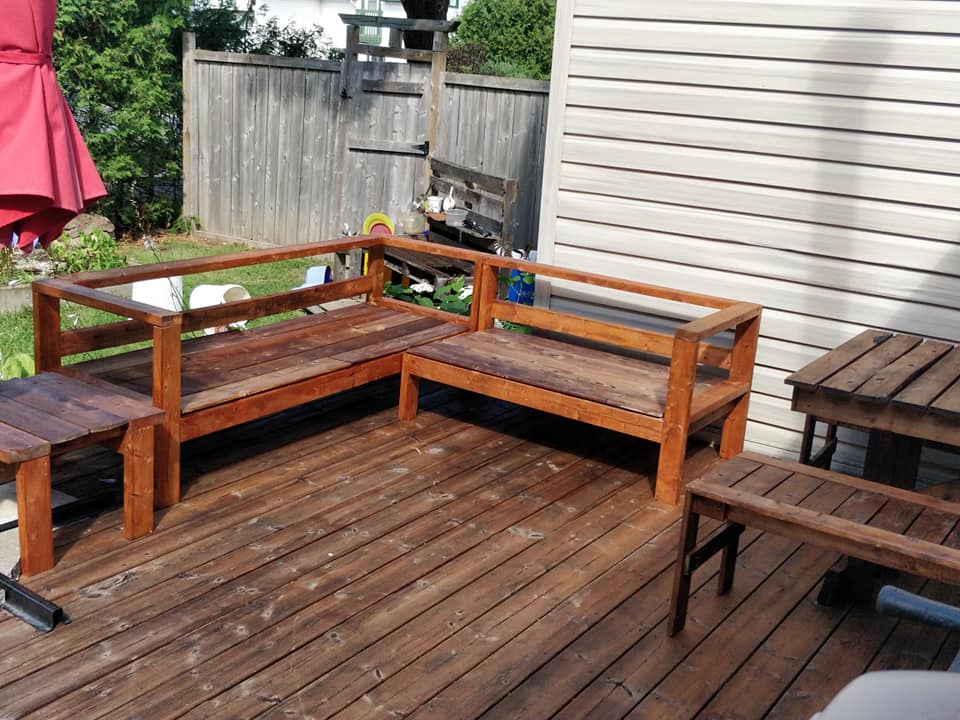
Outdoor hangout using 2x4 and fence boards
Submitted by sylvialh on Sun, 06/16/2019 - 18:13

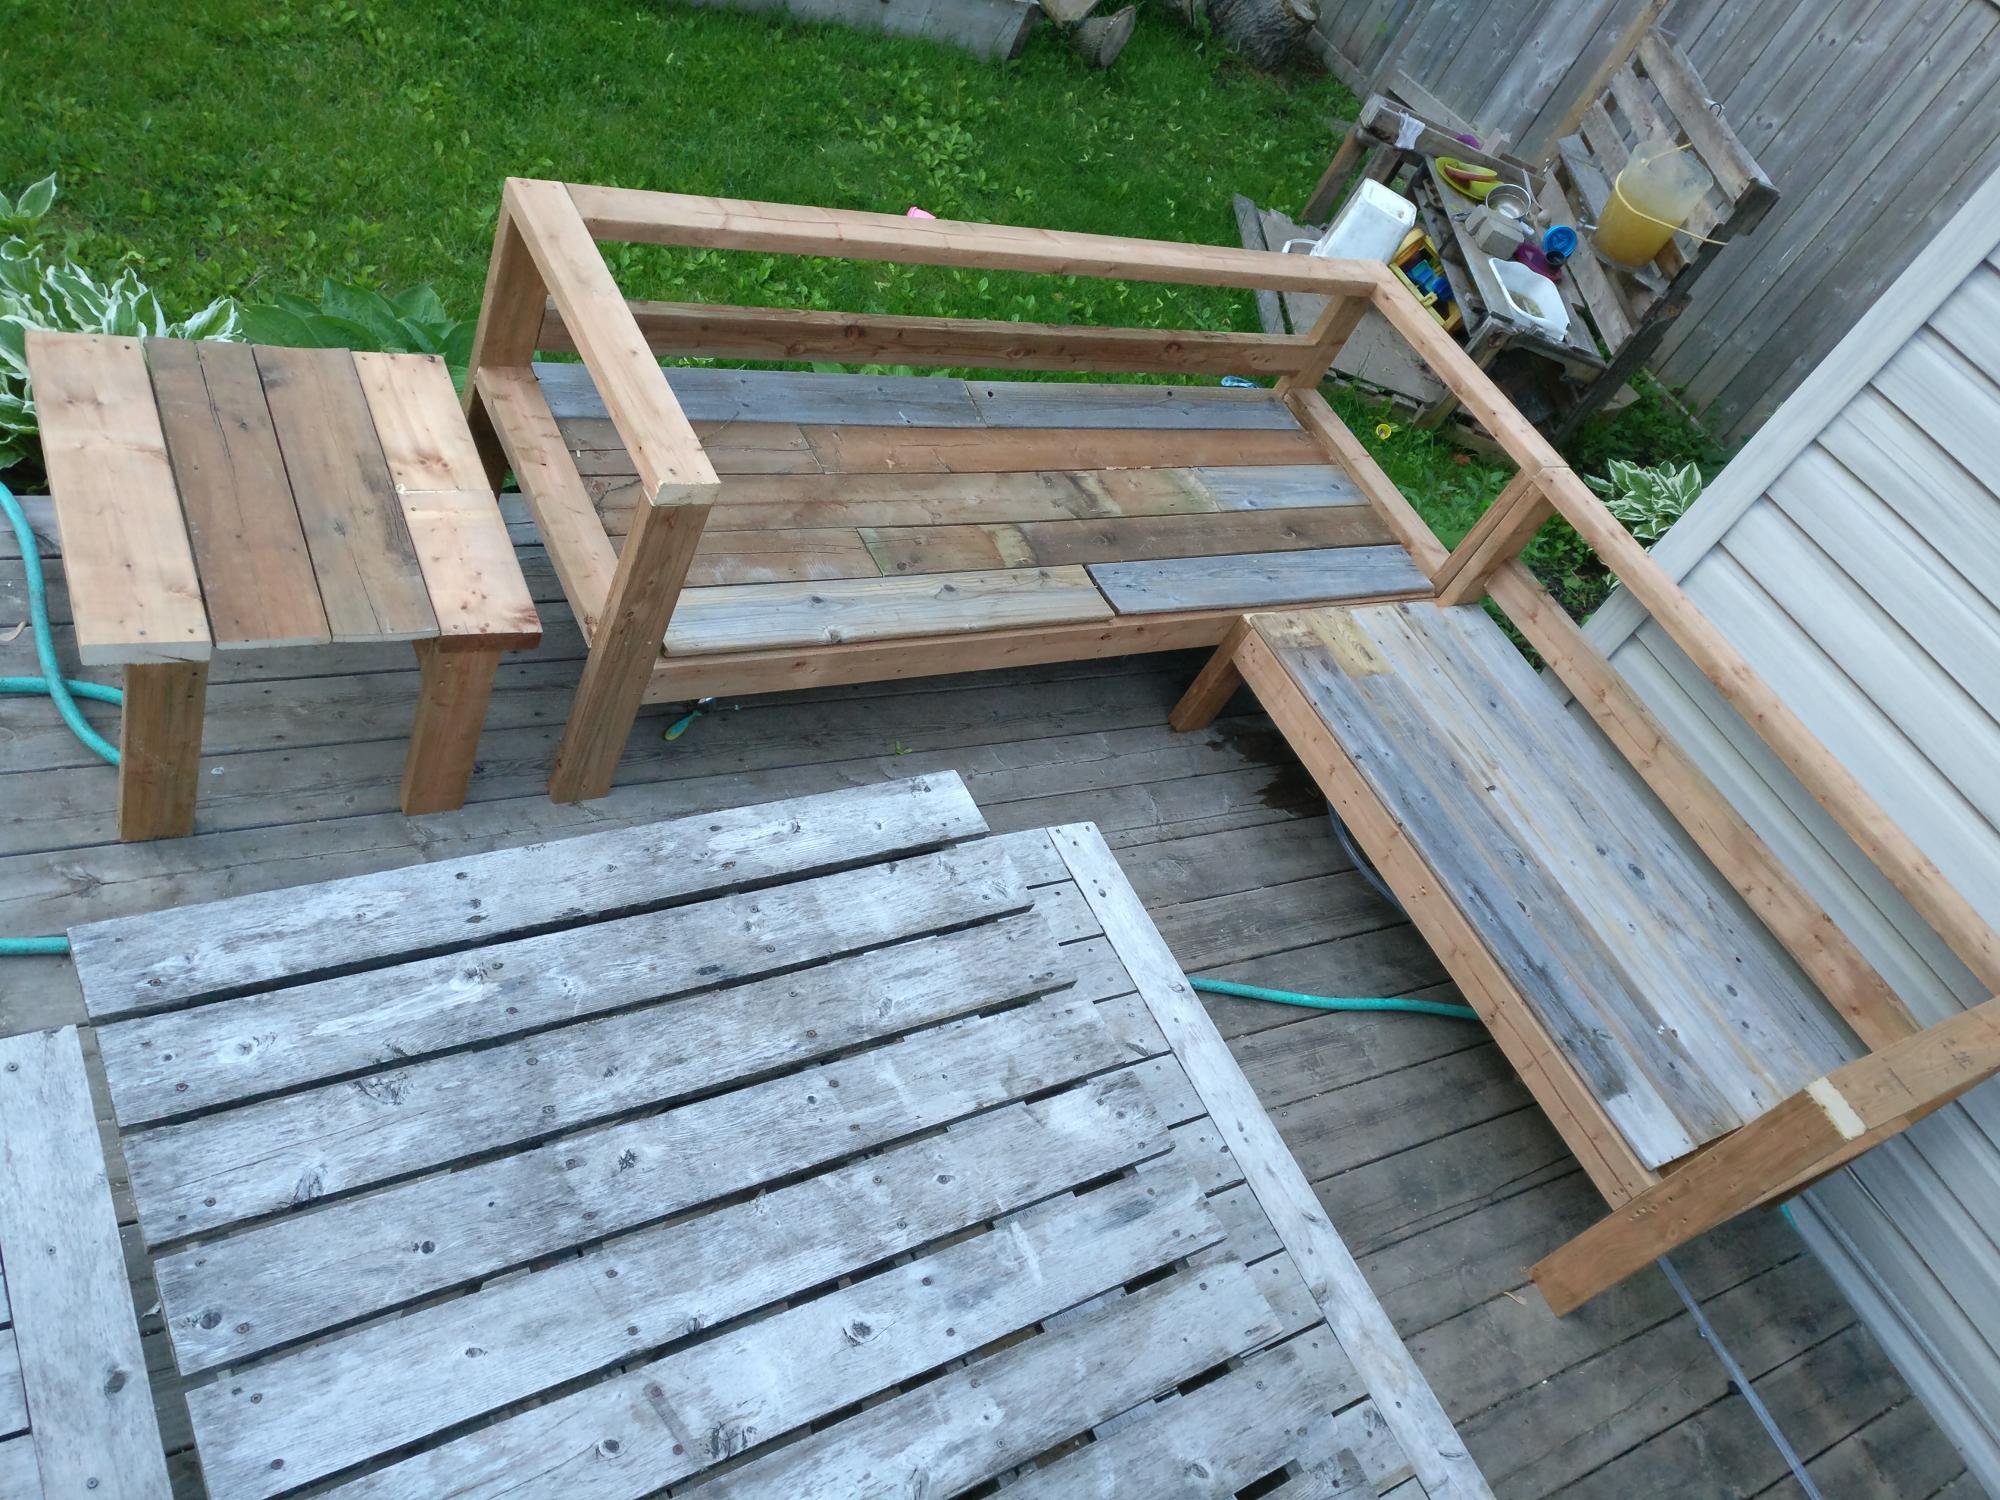
Bought enough lumber for one sofa but ended up using old fence boards for the  decking so had enough lumber to make the sectional and a shortened coffee table. 

Great way to save some cash even if u have to buy the fence posts. 

Added a reinforcing piece to the one armed sofa between the legs using a kreg jig to stabilize the legs a bit more. 

Waiting on my foam from Amazon to finish off this project!

Used inspiration from the beer/wine cooler patio table and made the middle of the table removable to add a buck underneath later. 

Note the 5 year old patio set, also an ana white project from back in the day!

Super quick build!

I did find that the measurements for customizing it for your cushion size seemed about 1.5 inches too big for all the depth pieces so I sized down but I haven't received my foam yet so maybe I'm wrong but Smth to think about. I didn't want my cushions to slide around so I took that into consideration when building. 
Estimated Cost
60$ CAD for the high density foam for each sofa (3x24x72) plus throw cushions for the back.

11 2x4x10 - cost varies depending on cedar or PT
Fence boards were reused

Outdoor Fabric to cover the foam
Estimated Time Investment
Afternoon Project (3-6 Hours)
Finish Used
None yet
Recommended Skill Level
Beginner

Farmhouse Bed King

Submitted by moldah on Wed, 01/11/2012 - 15:15

This was the plan that started my addiction! We had just gotten new mattresses, and we needed a new bed frame. All of the furniture stores have dark stains, and we wanted something natural and bright. I was searching one night found your site, and that was it. A few changes, increased the height of the headboard and footboard, wanted a slight overhang on the top of each as well. Also added an additional 2x4 between the legs of the headboard for support.

Estimated Time Investment
Week Long Project (20 Hours or More)
Finish Used
Natural
Recommended Skill Level
Beginner

Comments

Kate (not verified)

Wed, 01/11/2012 - 17:15

That looks great! The natural finish looks really great with your bedding. I love the higher headboard - we're planning to do the same with the farmhouse bed I'm planning so that my husband will be able to sit up in bed without hitting the back.

Did you end up using the boxspring, or is the mattress just in slats? I couldn't tell from your picture.

moldah

Wed, 01/11/2012 - 18:23

Hi, thanks for the positive response :) The mattress and box spring both are on here. In fact, I kept the bed itself on the original metal frame below, and added the side rails to hide it. Purchased the hardware for the side rails from Rockler

MichaelAndMelissa

Fri, 01/13/2012 - 08:42

All I can say is wow. Definitely showing this to my wife today. We had plans to do something like this but yours is up up and away! Excellent job!

moldah

Fri, 01/13/2012 - 15:48

I'm glad you like the lights. I go back and forth on them. I hated that I had to drill holes into the wood to run the cord, as it does not give us the option to remove later on. Also, if you go with the lights, you might want to put some double sided tape on the back. Thanks!

RyanJ (not verified)

Tue, 01/17/2012 - 11:15

The bed looks great. The routered edges are a nice touch.

Did you attach the bed to the original metal bed frame at all?

moldah

Tue, 01/17/2012 - 14:20

Yes, the 2x4 I put between the headboard legs for support, I did drill a hole on each side, and attached the top of the bed frame to that with bolts.

Szetoklin (not verified)

Tue, 04/03/2012 - 09:41

My husband just forwarded me a link of your bed.
It is SO SO beautiful!!! Love the reading light. Where did you get that by the way?
The bed is so pretty. Love the natural wood look and the knots.
We too have mostly dark wood stain in the house and love this light color look. Did you stain it or coat it with something?

igapo

Sat, 04/28/2012 - 15:26

Hi Moldah,

Very impressive and great addition with the lights. Can you tell me how tall your final headboard and footboard are? Thanks.

Elizabeth "Lizzie" (not verified)

Sat, 06/16/2012 - 04:46

LOVE IT! I love doing things like this and I am inspired by seeing your pictures!! I am especially impressed with the Star Wars case noted on your endtable LOL Right there I know you have great taste in films, too!!! I am going to do this project! Great job!

Usmc3mama

Fri, 08/09/2013 - 20:35

Since there were no plans we are making one similar. Thanks for sharing

Marybaileycole

Wed, 09/04/2013 - 17:10

Wow, this is so beautiful! Great Job! We are very amateur builders and I had a couple questions. Do you have a blog with more details? How did you achieve the routered edges? And also, do you mind sharing the cost of the project? Thanks!

rangers_31

Sun, 11/03/2013 - 08:44

By how many inches did you increase the height of the headboard and footboard? I am thinking about doing the same when I build this bed and was hoping for some guidance.

Farmhouse King Bed- Beetle Kill Pine

This was our first build and it was quite a big project to take on to start with. We had so much fun and learned so much along the way. 

Our biggest lessons were to hand pick our wood and make sure we get the straightest pieces possible. We had to wrestle some wood to make this bed work!  Clamp everything especially when using large bolts as the pieces would pull apart from each other. We even used a ratchet strap at one point becuase our small clamps weren't cutting it. I'm sure there's a better way and we'd love to hear about it but we made what we had work. We also had to figure out how to attach the side rails and at what height. We ended up using 3 4-inch screws on each end to screw them into the posts.  

We love this bed not only because it was a labor of love but because its such a solid beautiful piece. 

Estimated Cost
$200
Estimated Time Investment
Week Long Project (20 Hours or More)
Finish Used
Minwax Polycrylic Water based - 4 coats, sanded using a 220 grit sanding block in-between each coat.
Recommended Skill Level
Intermediate

Comments

Huffaker6971

Sun, 08/18/2019 - 13:47

This is exactly what I've been looking for. Are there plans for this build?

sxewhodey

Sun, 03/01/2020 - 11:29

Very nice! I love the lighter wood too, but my wife likes the darker stain, so we compromised in the middle for the finish. Why  arethe post always so red? I can appreciate the natural tendency of nature to add color, but the 4*4's are always red-er in color. Do they always use a different pine or certain part of the tree for those?

Shoe cabinet!

Submitted by JMasters on Thu, 01/26/2017 - 13:43

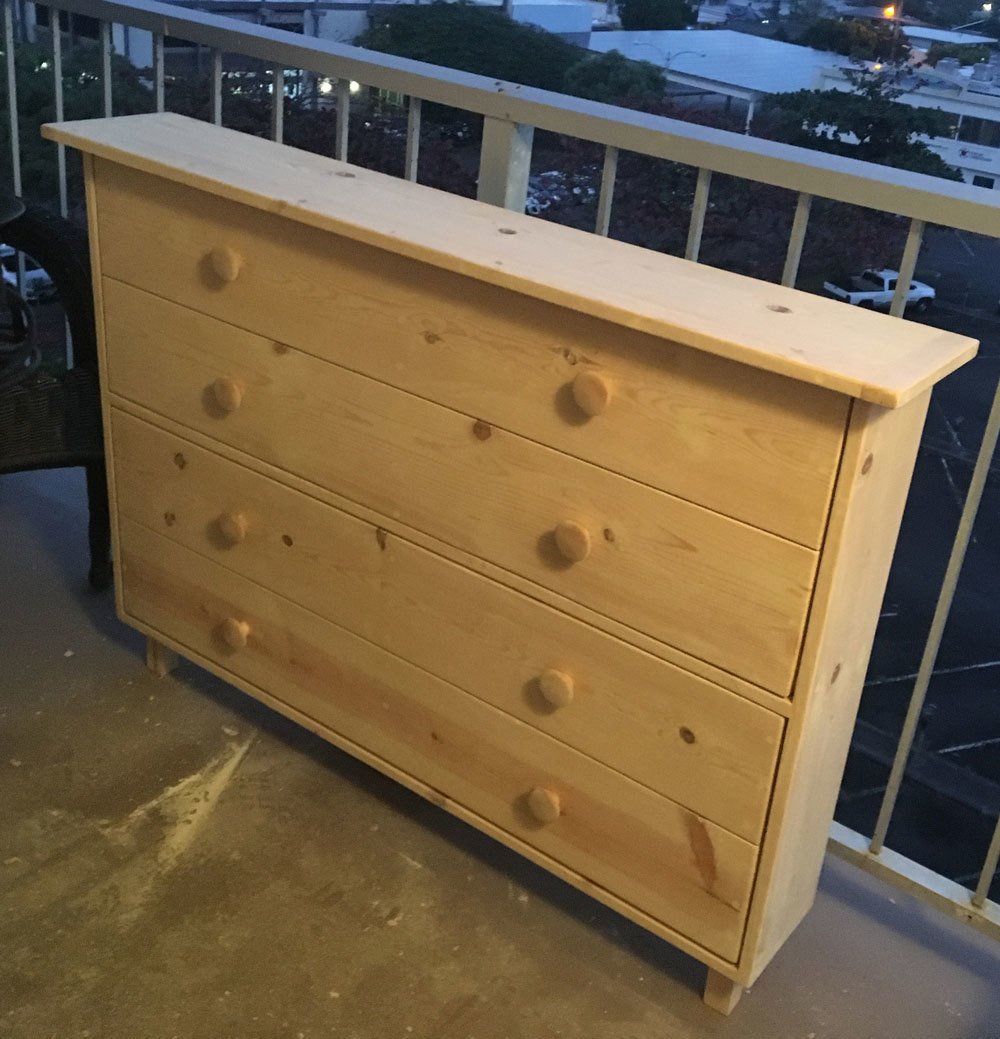
Created my own version out this plan. 

Built from Plan(s)
Estimated Cost
$80
Estimated Time Investment
Weekend Project (10-20 Hours)
Recommended Skill Level
Intermediate

Narrow Modifed End Table

I wanted a table like Ana's narrow cottage table, except I just wanted an open shelf instead of a drawer for a basket.

Here is my version modified to fit my needs. Thanks to Ana, of course. :)

Built from Plan(s)
Estimated Time Investment
An Hour or Two (0-2 Hours)
Finish Used
Undecided...

Step by step and cut list on my blog.
http://thequaintcottage.blogspot.com/2011/07/diy-simple-end-table-for-small-spaces.html
Recommended Skill Level
Beginner

Basic Wooden Desk Chair

Practically to spec. (When I make a mistake I adjust to accommodate :) if possible)
Ana's plan was exactly what I was looking for. Love the result. Love pocket hole screws!

Built from Plan(s)
Estimated Cost
under $40
Estimated Time Investment
Day Project (6-9 Hours)
Finish Used
Minwax American Chestnut Stain & Minwax Polycrylic Clear Satin
Recommended Skill Level
Beginner

RH Inspired Shanty Hutch & Sideboard + glass doors

Submitted by mandi10uga on Fri, 09/09/2016 - 10:50

This was my first woodworking project ever - and am thrilled!! Thank you Ana-White.com!! I needed a beautiful china cabinet for a fraction of the retail cost. Once I found plans on this website, I bought some power tools and got started! I only worked a couple of hours each weekend so it took a while to finish.


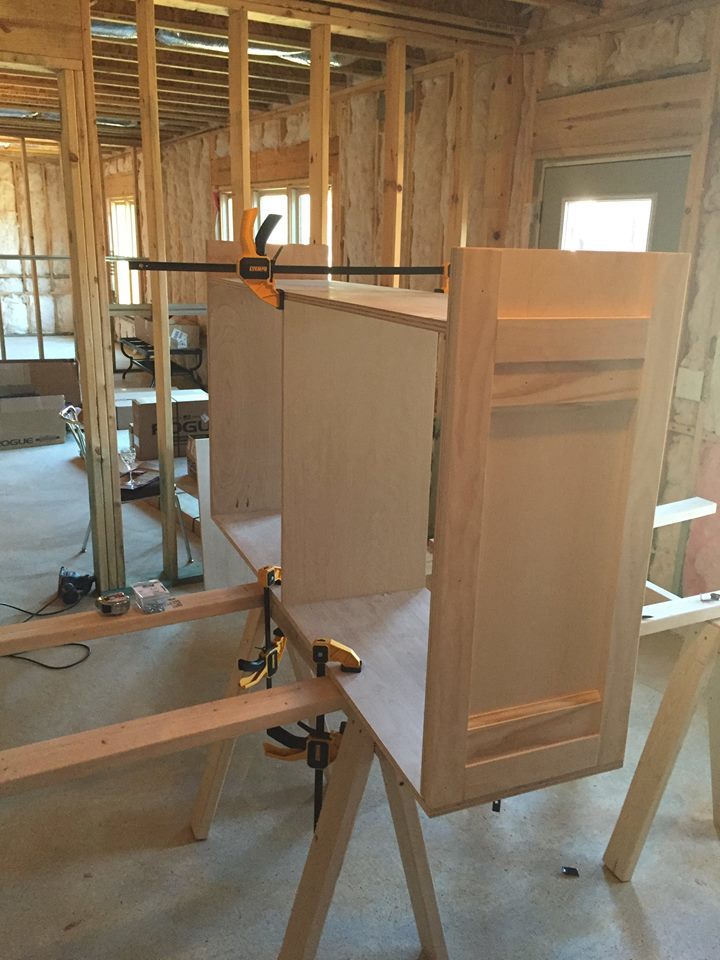
I modified the Shanty sideboard and Shanty hutch plans in a few ways: Shorter overall width to more comfortably fit my dining room, shorter height (which I now regret), fewer shelves in the hutch, different method to attach shelves, and added glass doors to the hutch. My shelves were not perfectly flush with the cabinet walls (oops) so I couldn't use pocket holes to attach them. Because I detest traditional shelving hardware, I just secured 1/2-in quarter round to the walls and rested the shelves on that.


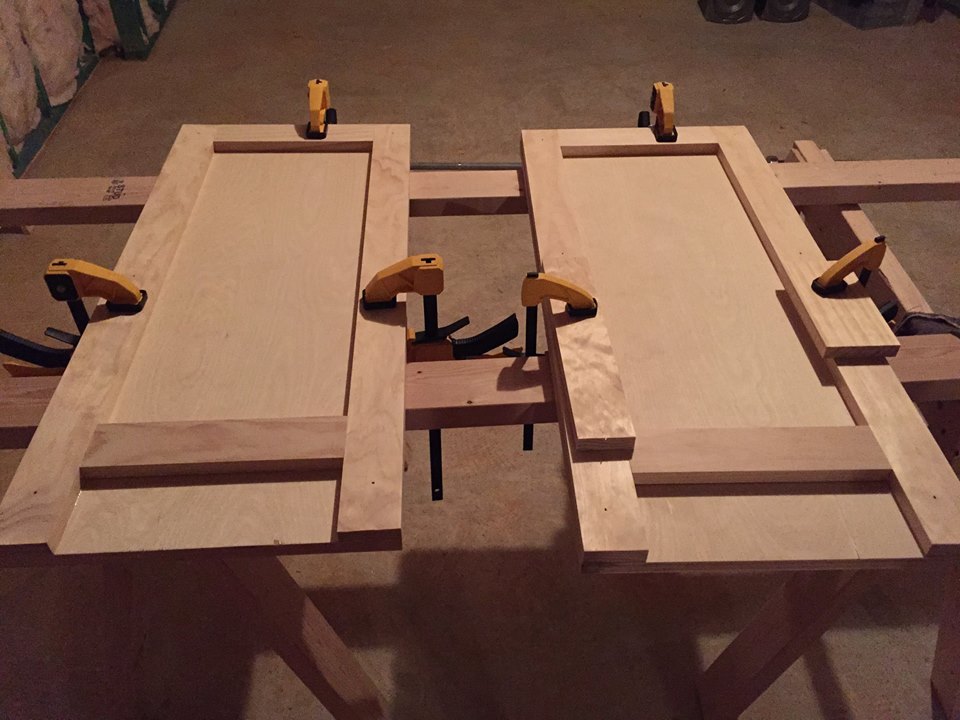
For the glass hutch doors, I built frames similar to the sideboard doors' frames -- two frames for each door, for a total of 8 frames. On 4 frames, I used a rabbit router bit to create an inset for the glass I bought and had cut at Lowe's. I secured the glass with glazier's points and silicon caulk, then attached an un-routered frame to the back of each door with screws. I chose to keep the screws on the back visible and accessible so that I could easily replace the glass if needed without destroying the door.

Built from Plan(s)
Estimated Cost
$630 plus $70 for fancy door knobs
Estimated Time Investment
Week Long Project (20 Hours or More)
Finish Used
Followed Ana-White staining tutorial and used Minwax Weathered Oak (1st coat) and Minwax Special Walnut (2nd coat). Used matte polyurethane clear coat.
Recommended Skill Level
Intermediate

Comments

PATIO TABLE WITH BUILT-IN BEER/WINE COOLERS

Submitted by Joagirard on Fri, 07/04/2014 - 21:05

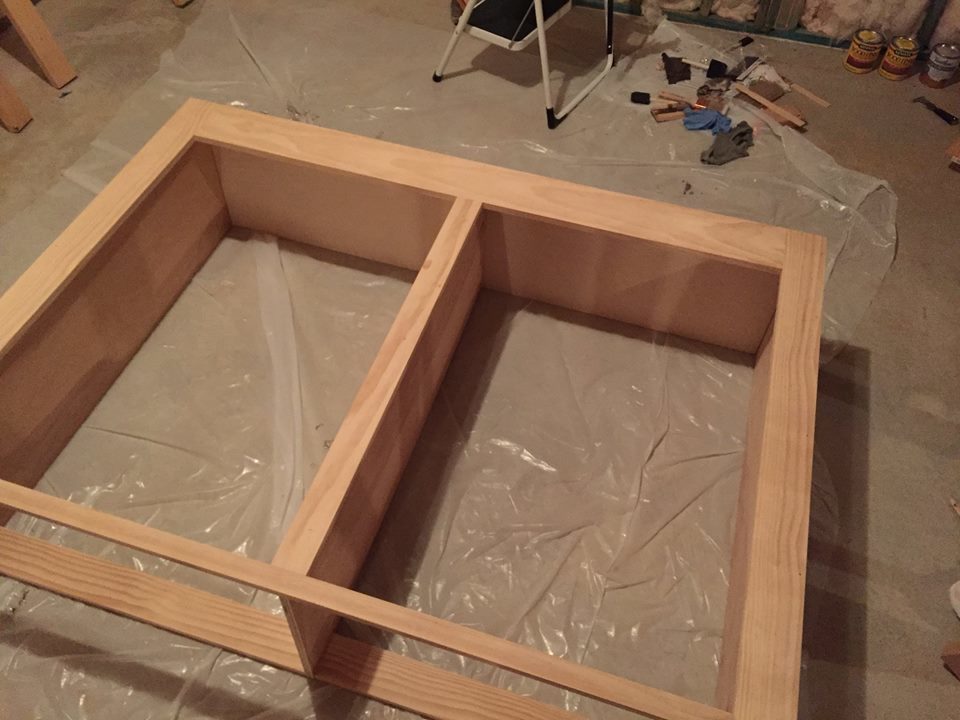
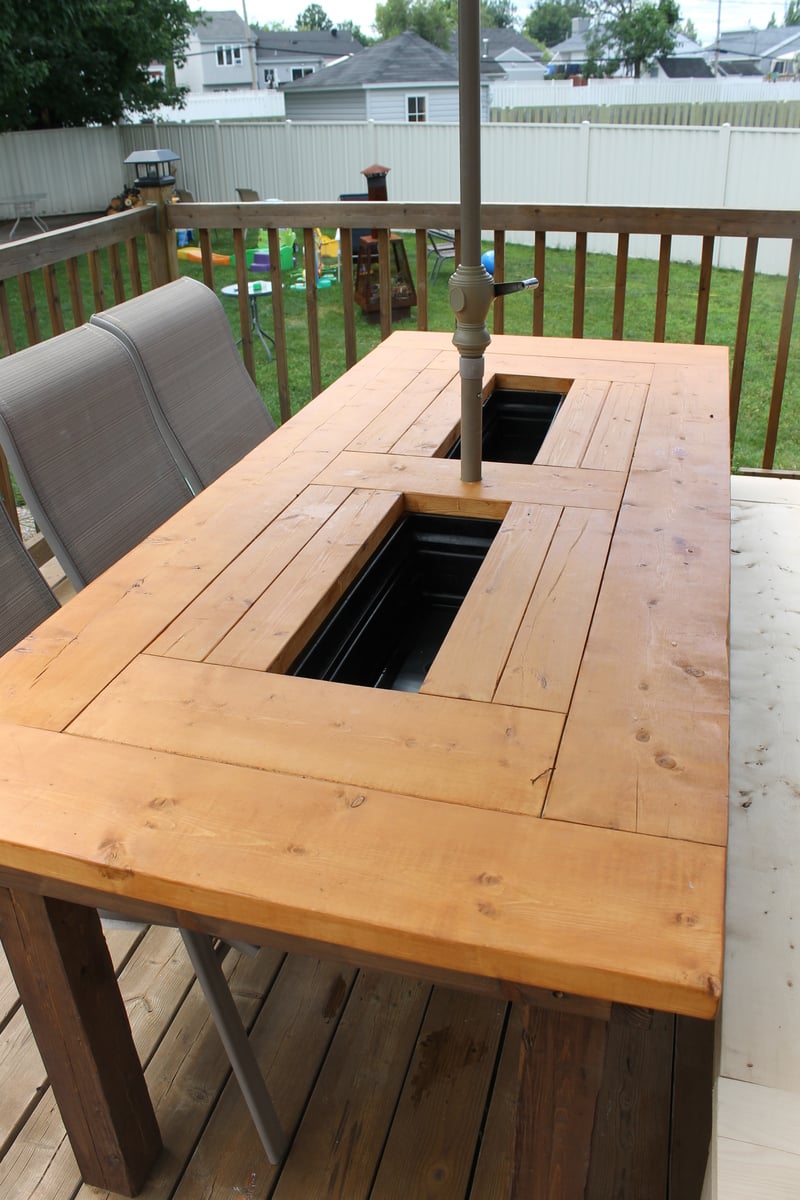
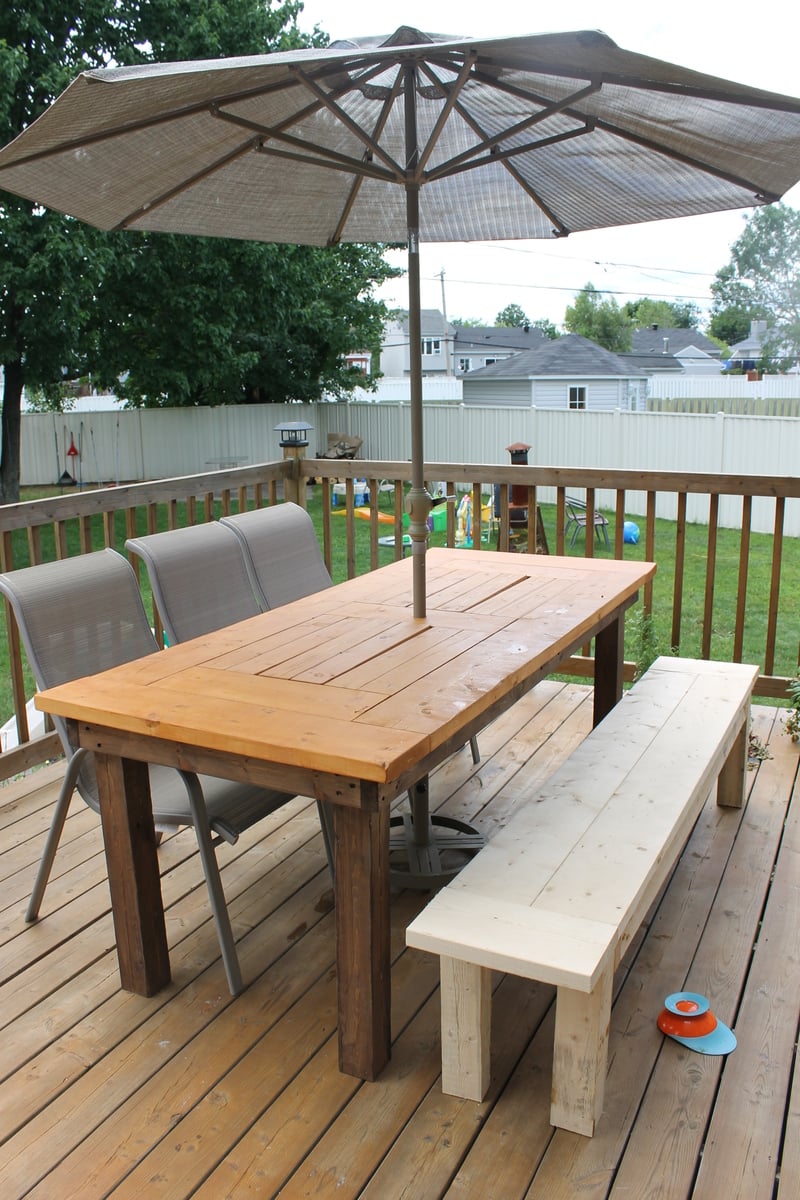
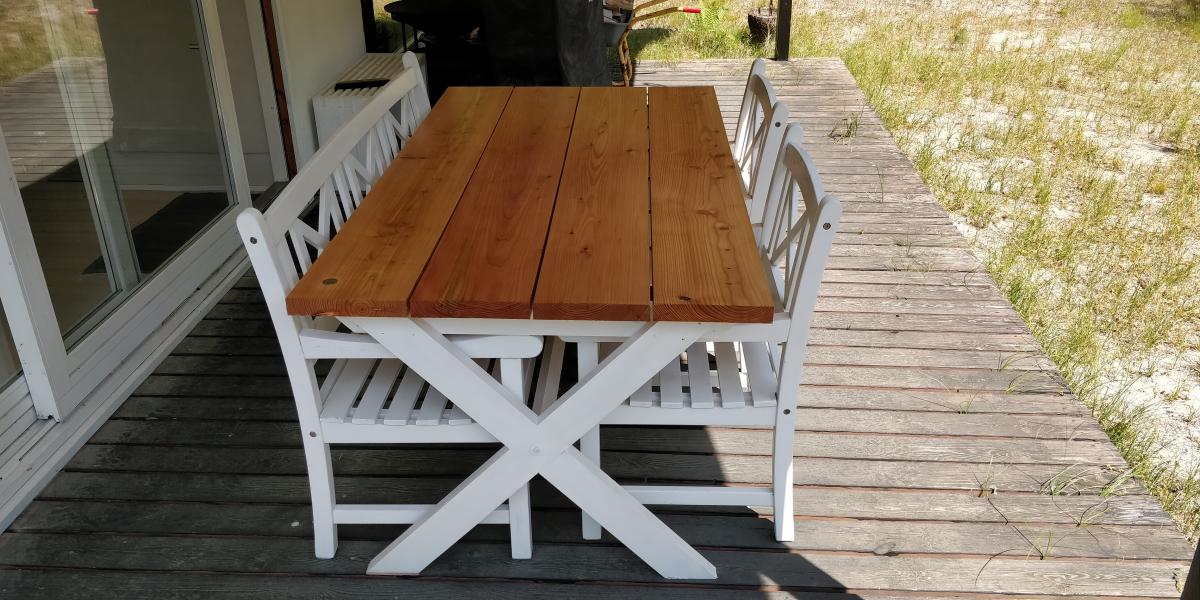
My sister was in love with my 4x4 truss table i made and needed a patio table so we decided to take one day to make 2 tables, one for each. We convinced both daddys to take care of the kids while we made the table by telling them the tables were gonna have beer coolers inside! Attaching the to of the table was a lot a job. If you plan of doing this you really want to have a kreg jig. It works well, we love it. I made a bench to go with it. I made my how plan for it.

Estimated Cost
200$
Estimated Time Investment
Weekend Project (10-20 Hours)
Finish Used
Sico outside wood stain color oak. 3 coats for the top and 3 coat sico chocolate for the bottom. All applied with a brush.
Recommended Skill Level
Intermediate

Farmhouse toy box

Submitted by Jayna on Fri, 02/12/2021 - 13:34

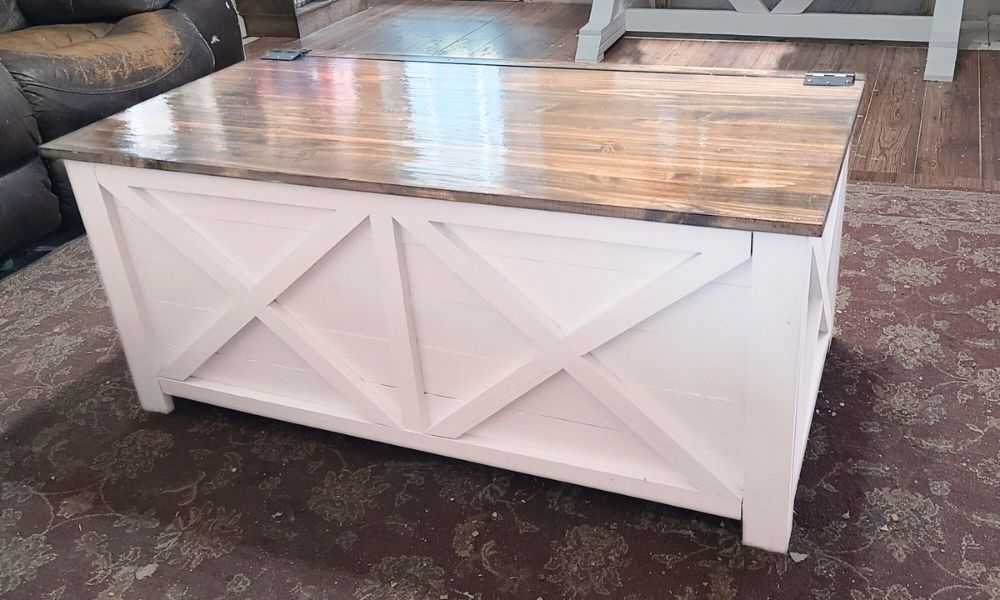
Made a few adjustments to the farmhouse toy box. Made it a little bigger and added Xs out of 1x2s around it to give it a little extra something! I'm using it as a storage coffee table and I couldn't be happier with it! So in love!

Built from Plan(s)
Estimated Time Investment
Day Project (6-9 Hours)
Finish Used
Minwax dark walnut stain, three coats of Varathane clear gloss polyurethane, and painted with Valspar white paint.
Recommended Skill Level
Beginner

Dog Kennel for Animal Rescue auction

Submitted by jasondk on Fri, 03/20/2015 - 09:10

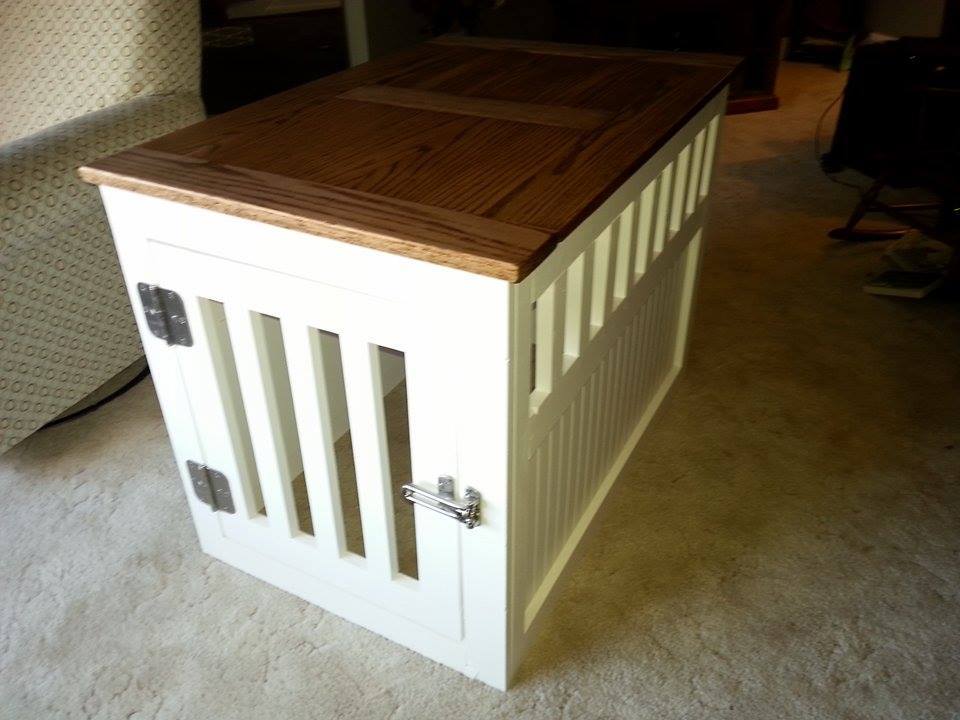
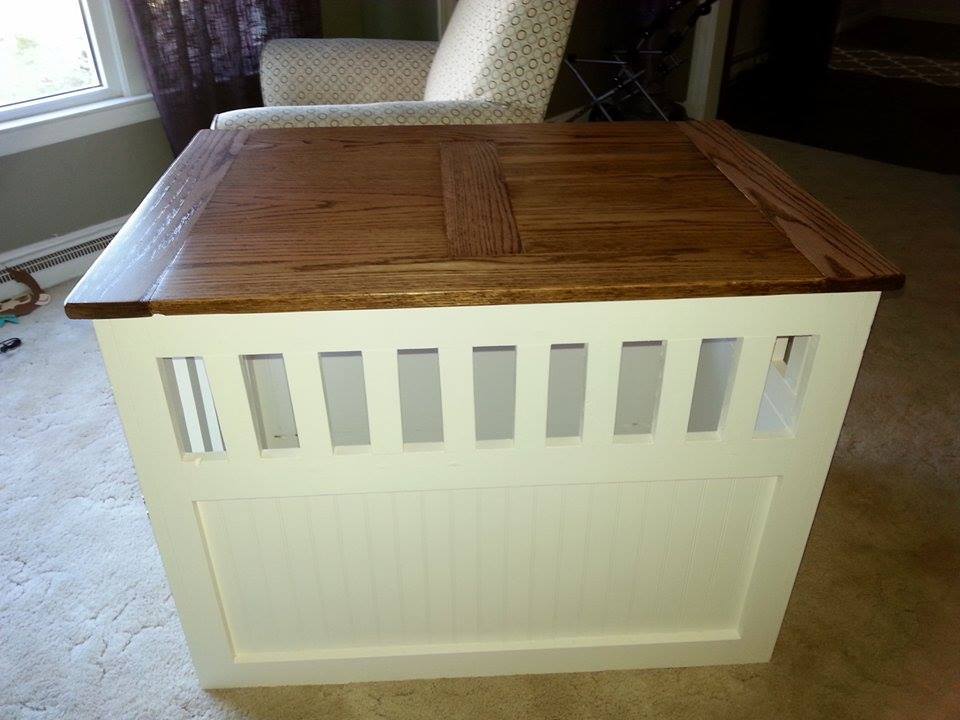
Made this for a animal rescue charity dinner auction. The bottom is made out of all scrap pine i had laying around. The top is made from 1x4 oak.

Painted the base with an off-white and the top was finished with Early American Minwax and topped with a water based poly.

Built from Plan(s)
Estimated Cost
$45
Estimated Time Investment
Weekend Project (10-20 Hours)
Finish Used
minwax early american and poly
Recommended Skill Level
Intermediate

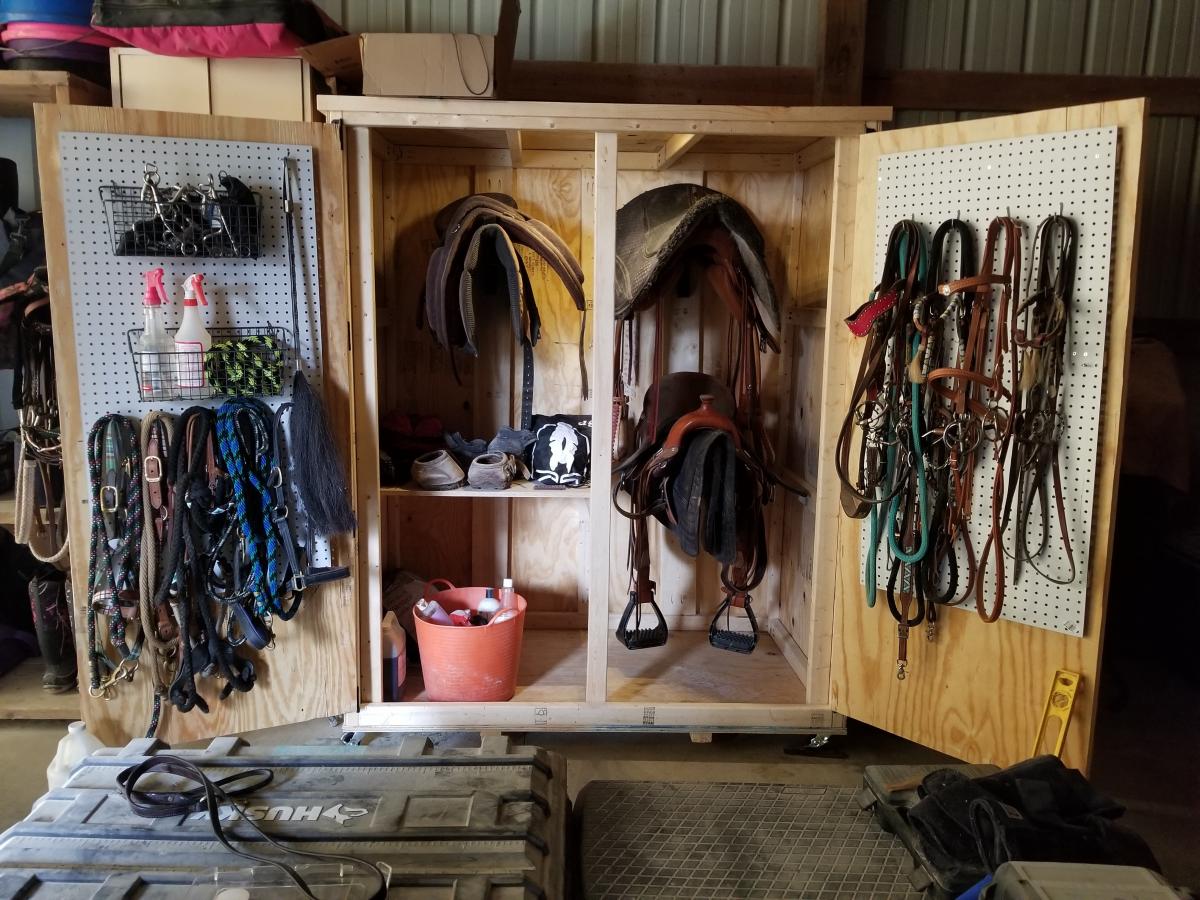
Used 2X2s to support the wings.

I essentially stuck to the main plan - except to support the wings I used 2X2 boards and standard hinges.

I was worried that there may not be enough space for my Ryobi 10" sliding miter saw because of the slide however, it fits nicely and there is plenty of space.

Thank you for the wonderful plan. This was my first project of this size and I am very happy with the results!

Built from Plan(s)
Estimated Cost
More than I expected. $39 for the plywood (sanded), $16 for the 4 hinges, $17 for the 4 caster wheels. The boards I already had.
Finish Used
None
Recommended Skill Level
Intermediate

Comments

jennibee

Fri, 05/01/2015 - 08:10

This is great. I am currently getting my Dad's help to turn an old kitchen cabinet into a miter saw cabinet with wings like this. (it was a 1940's solid wood kitchen cabinet we took out of the house when we remodeled). I really like your 2x2 support struts. Have you considered putting a shelf in the middle of your box? It would add extra support and also more room to store stuff.

richsessums

Sat, 05/02/2015 - 09:09

Good idea. I did consider adding a shelf however I have now decided to use the lower area to store my small router table. I discovered that it would fit in the spot however it leaves not enough room for a shelf.

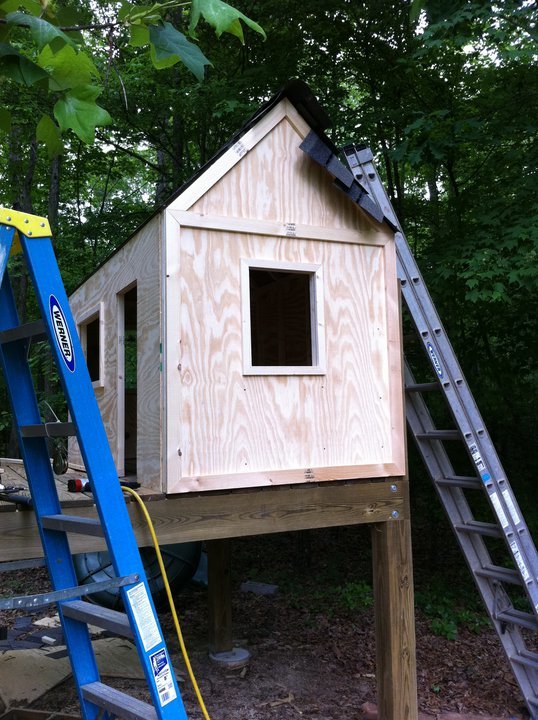
Playhouse in-progress

Submitted by DoctorEw on Mon, 05/02/2011 - 06:49

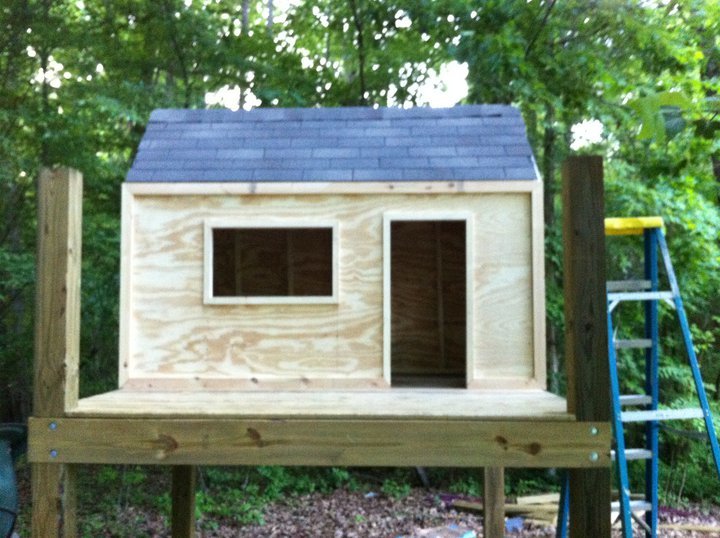
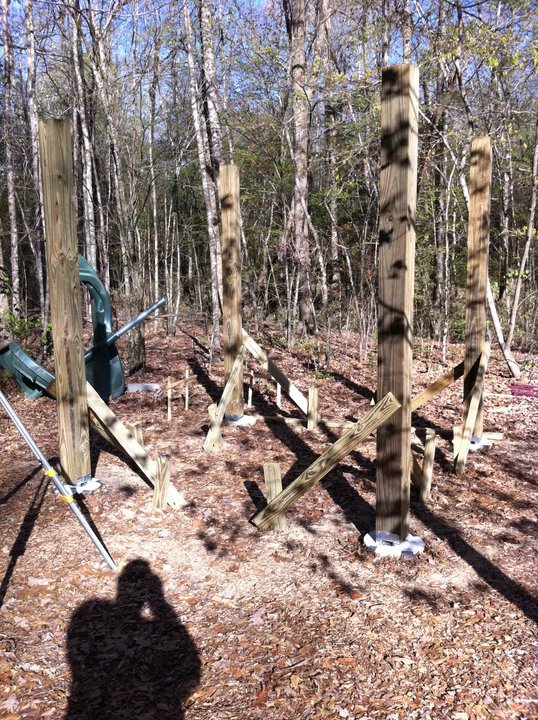
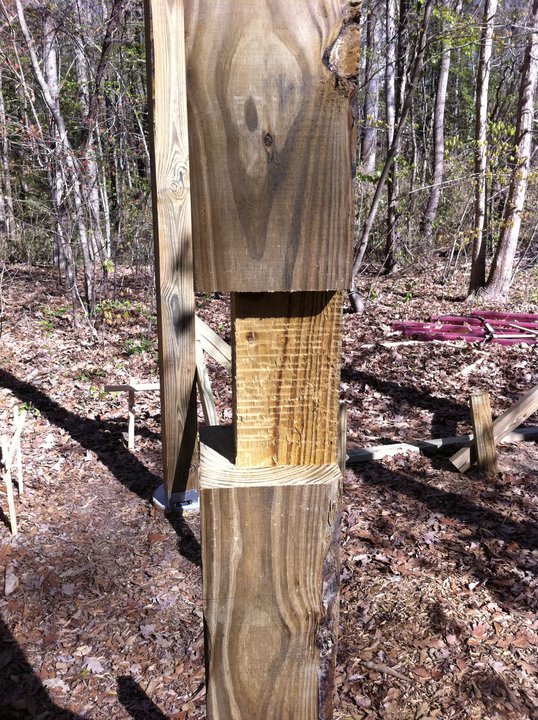
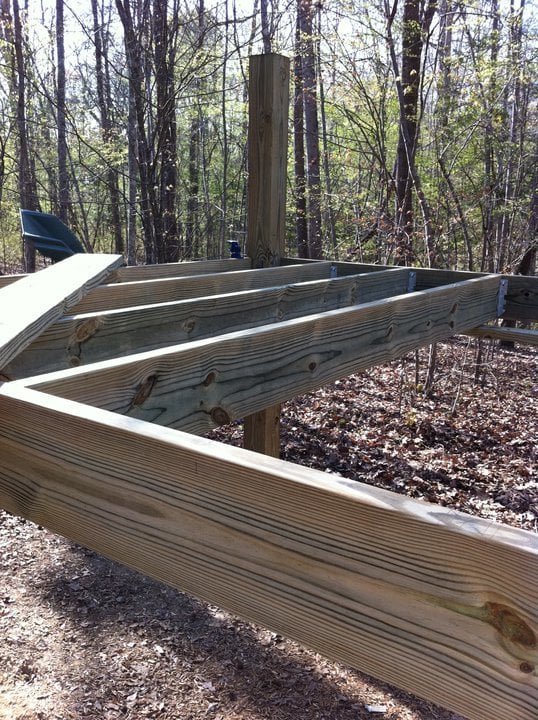
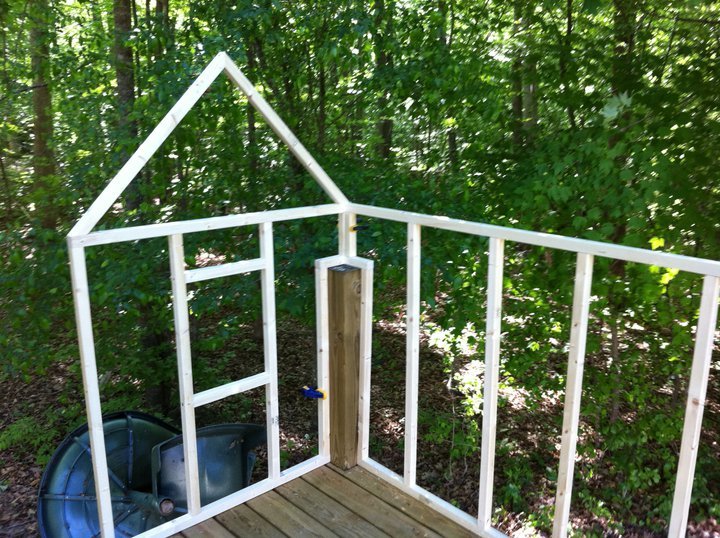
Due to rain (and horrible ability) this project has been taking a LONG time it seems. =) We had one of those "cheap" playsets from one of the warehouse clubs that would scare me to death anytime my girls got to swinging on it. So... we knocked it down and I took some liberty with the details from Ana's playset plans.

Estimated Cost
~$600 so far (concrete, wood, fasteners, shingles, etc..)
Finish Used
Will paint
Recommended Skill Level
Intermediate

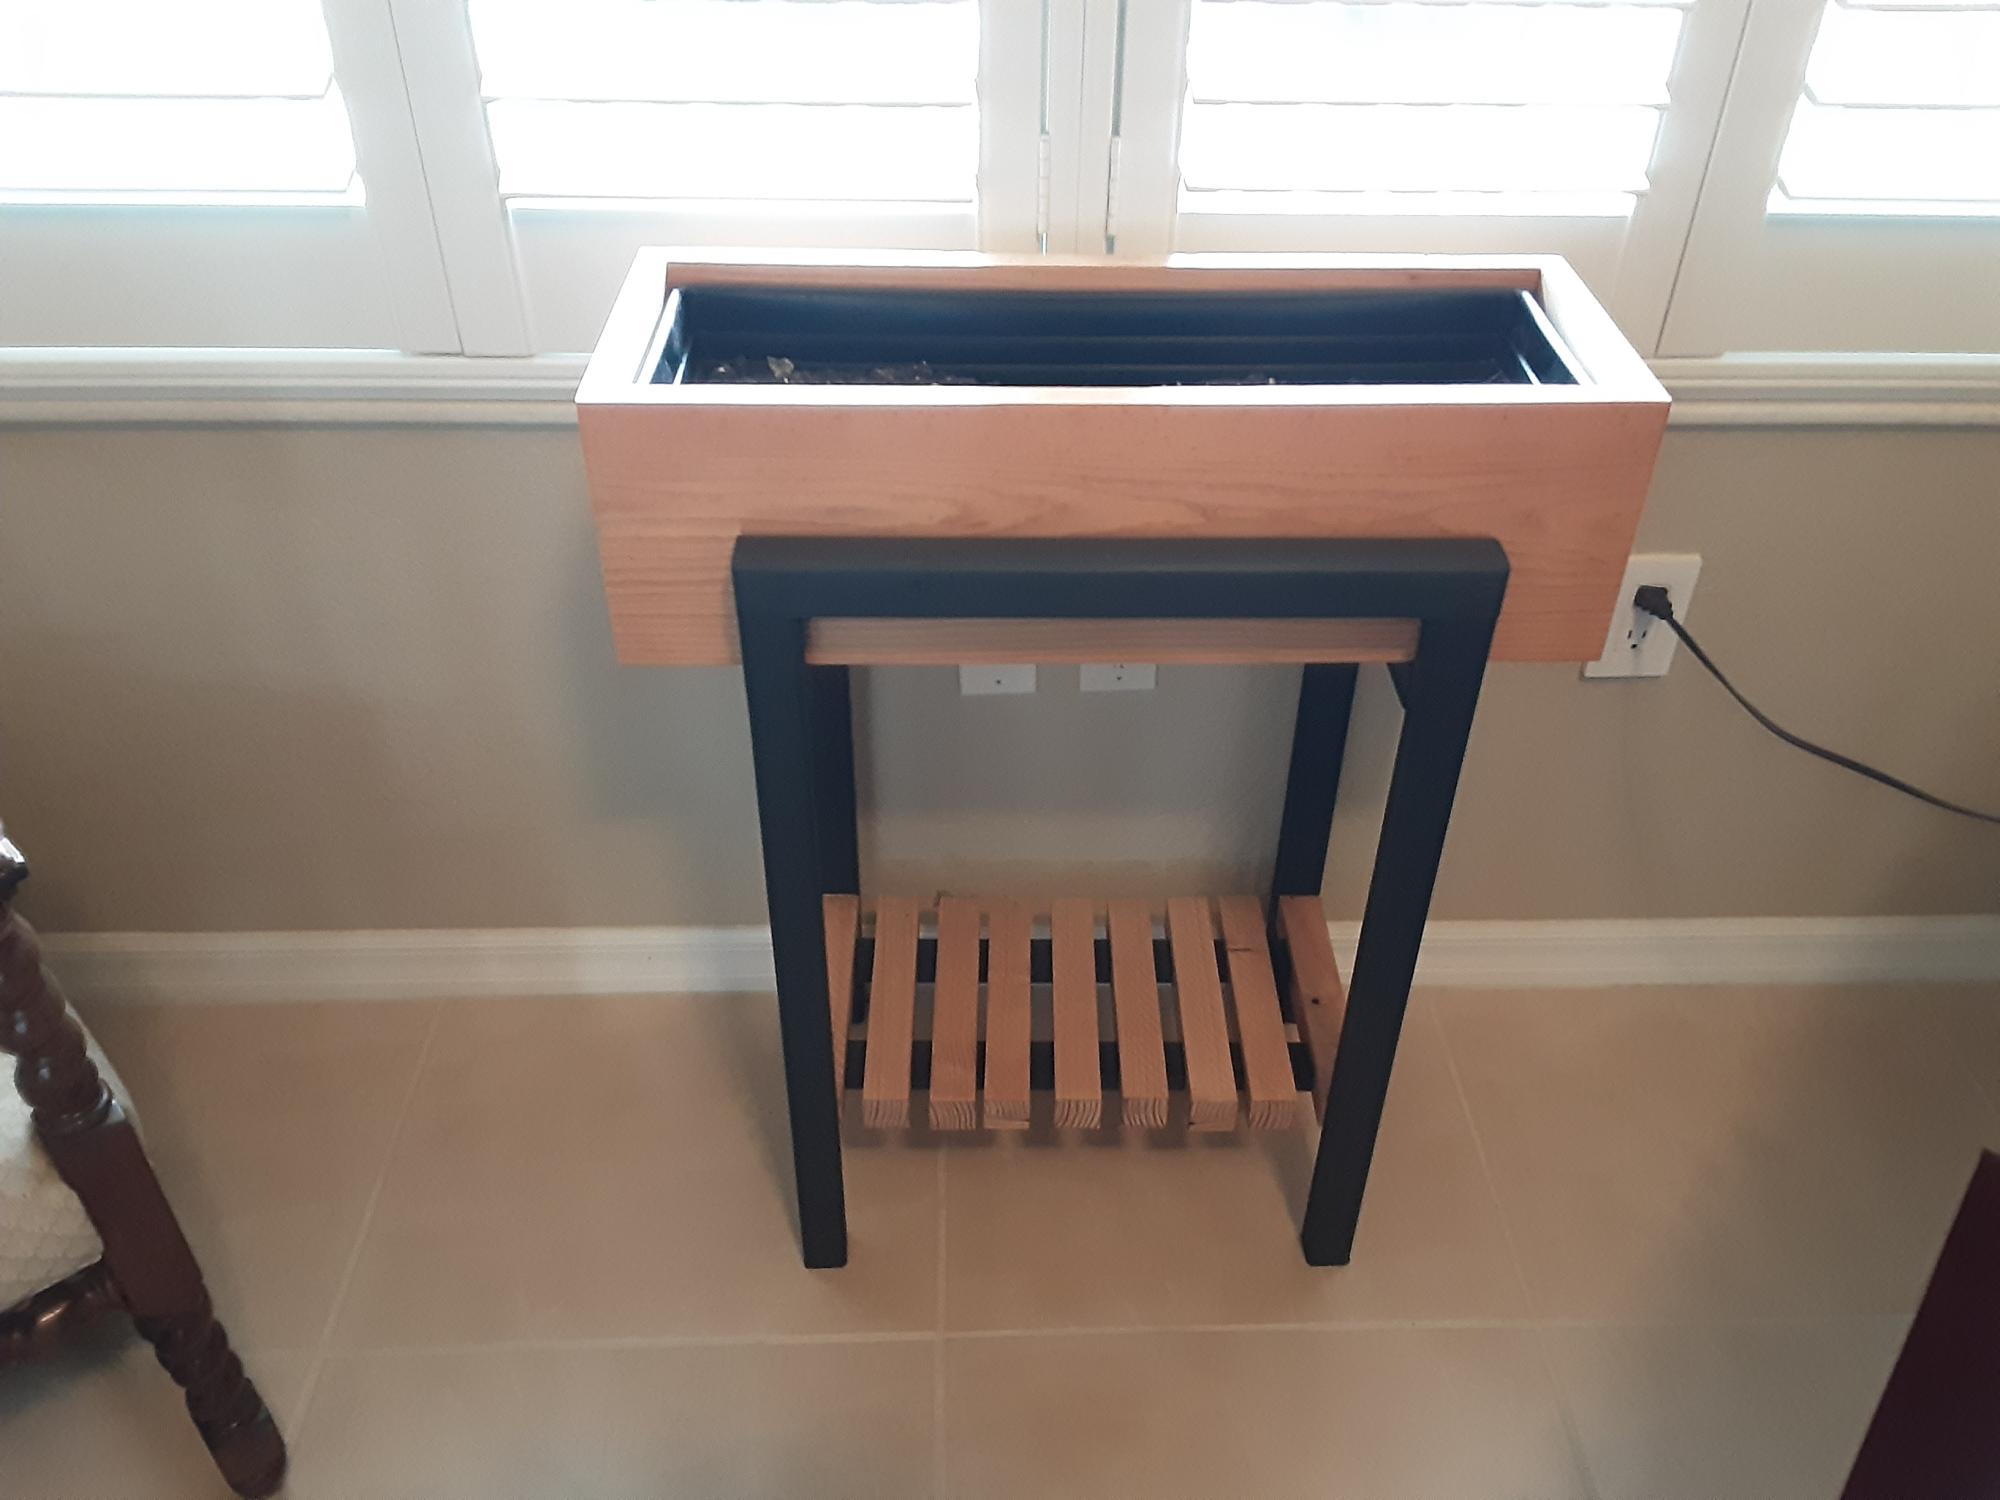
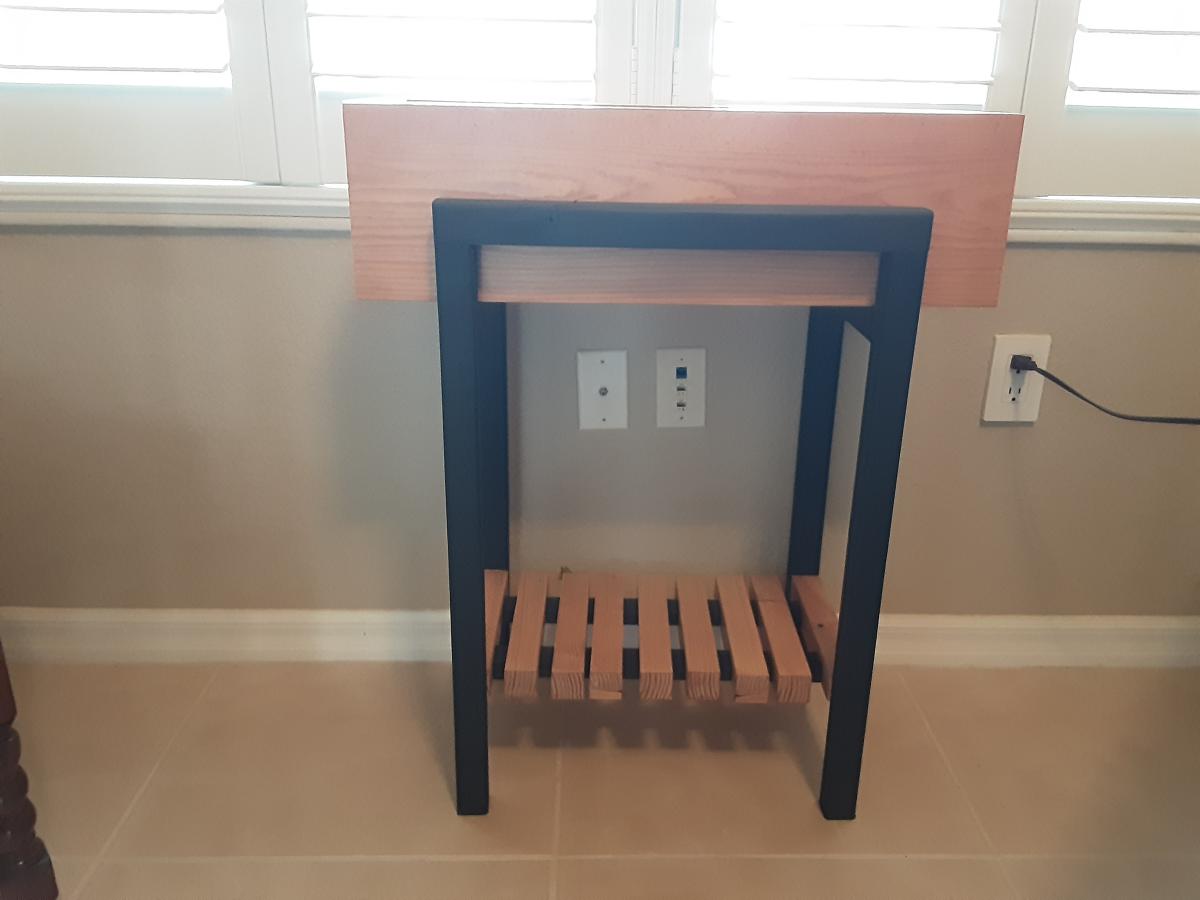
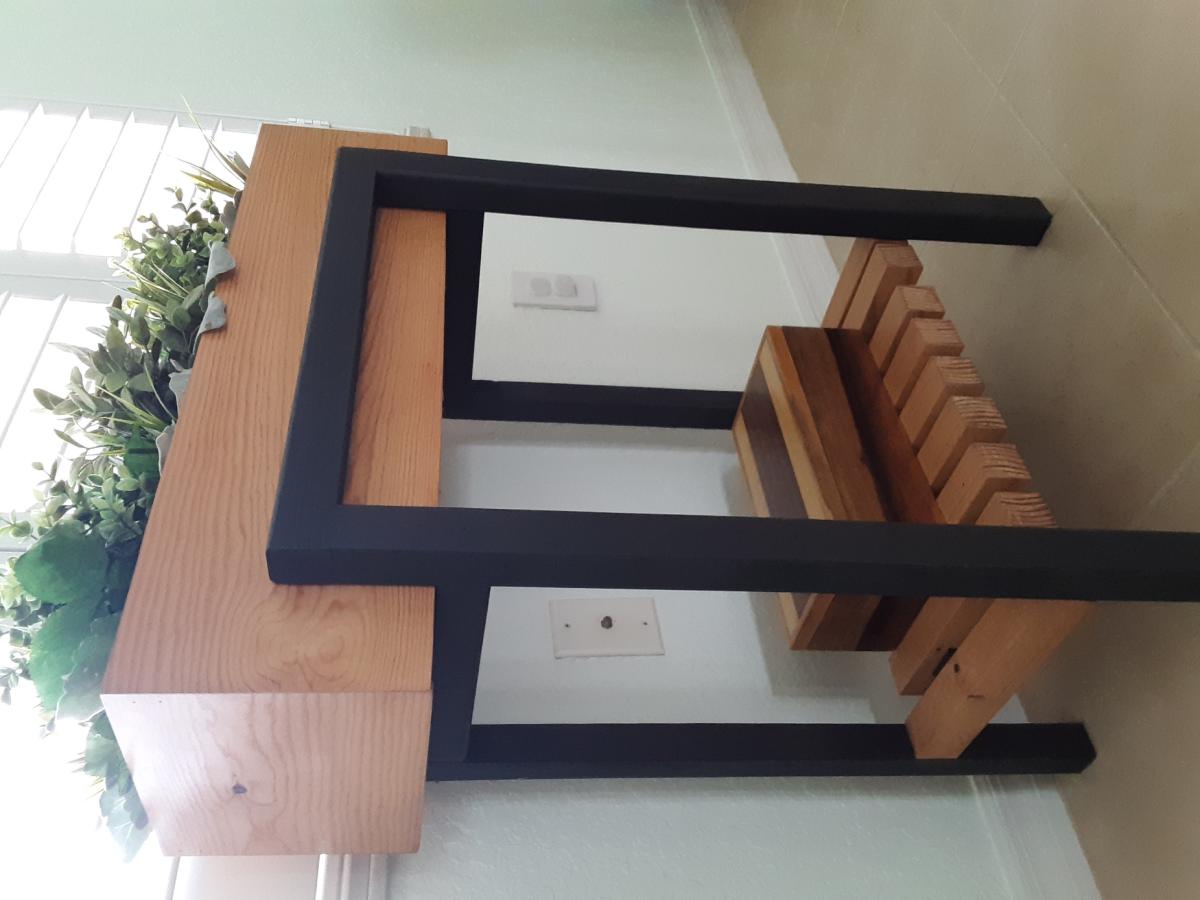
Raised Planter Stand

Submitted by Anonymous (not verified) on Sun, 04/30/2023 - 13:02

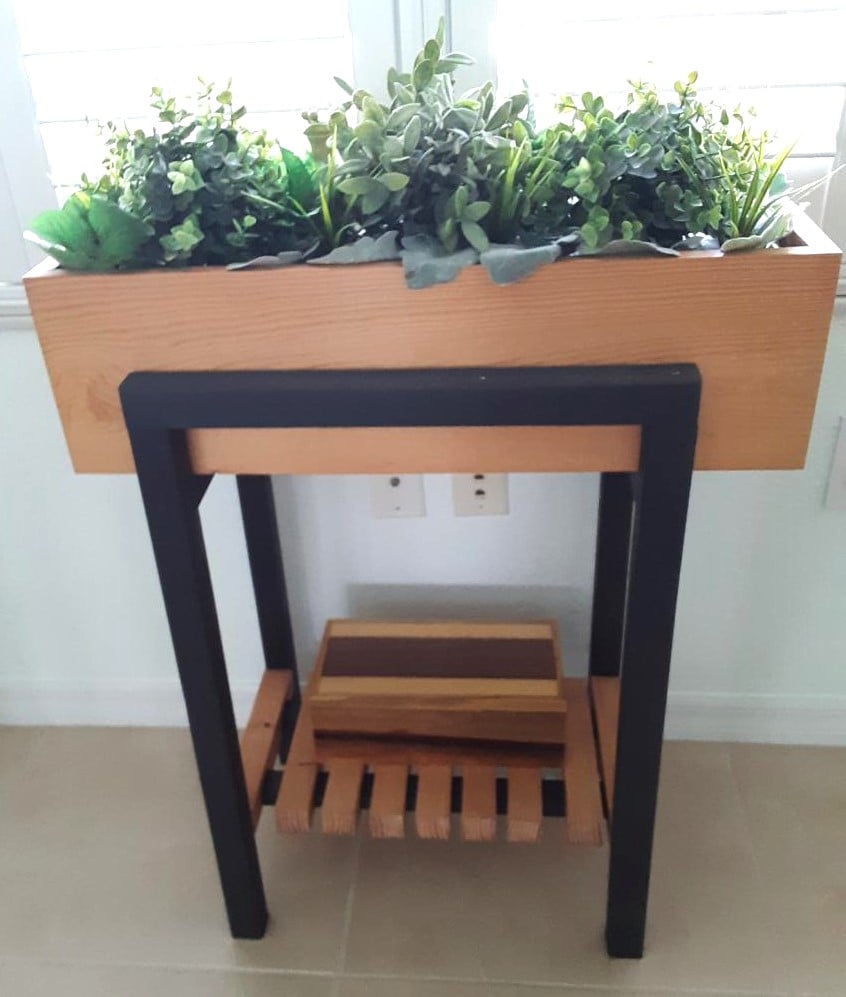
Created the stand for the raised planter using 2X2 assembled using dowels. Painted the stand mixing black with a bit of white to simulate metal. The actually plastic window box fits within a wood open box with mitered corners fir clean log. Bottom of the stand provides a shelf using (9) 2X2s with a dado placed on either end to fit on the runners of the stand.

Built from Plan(s)

Comments

Kid Table & Stools

My wife and I did this table and stools for our son’s class art project. We did something similar last year and they auction the items off in a fund raiser in March. More details and information on the blog – www.atouchofarkansas.com.

Estimated Cost
$100.00
Estimated Time Investment
Weekend Project (10-20 Hours)
Finish Used
Extra paint we had from other projects, so the estimated cost includes buying paint, but if you have some already, obviously you can take that off the total costs.
Recommended Skill Level
Beginner

Comments

Bench

Submitted by Anonymous (not verified) on Sat, 03/05/2016 - 10:35

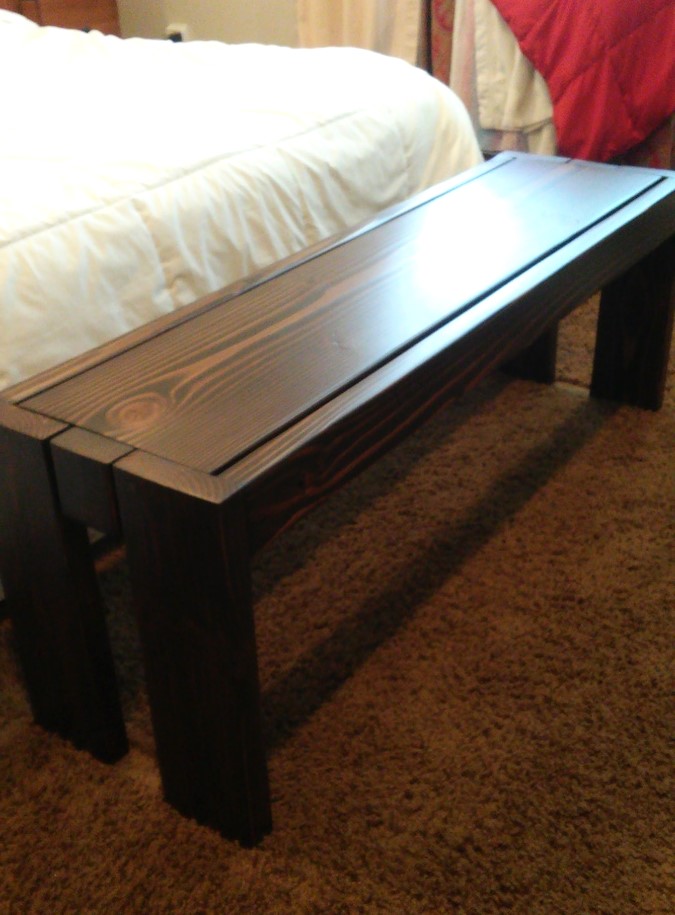
This is a first time project that my husband and 11 yr old on made. 

Estimated Time Investment
Weekend Project (10-20 Hours)
Finish Used
Entryway or bedroom.
Recommended Skill Level
Starter Project

Easy to Build Workbench

Submitted by Anonymous (not verified) on Thu, 08/17/2023 - 13:40

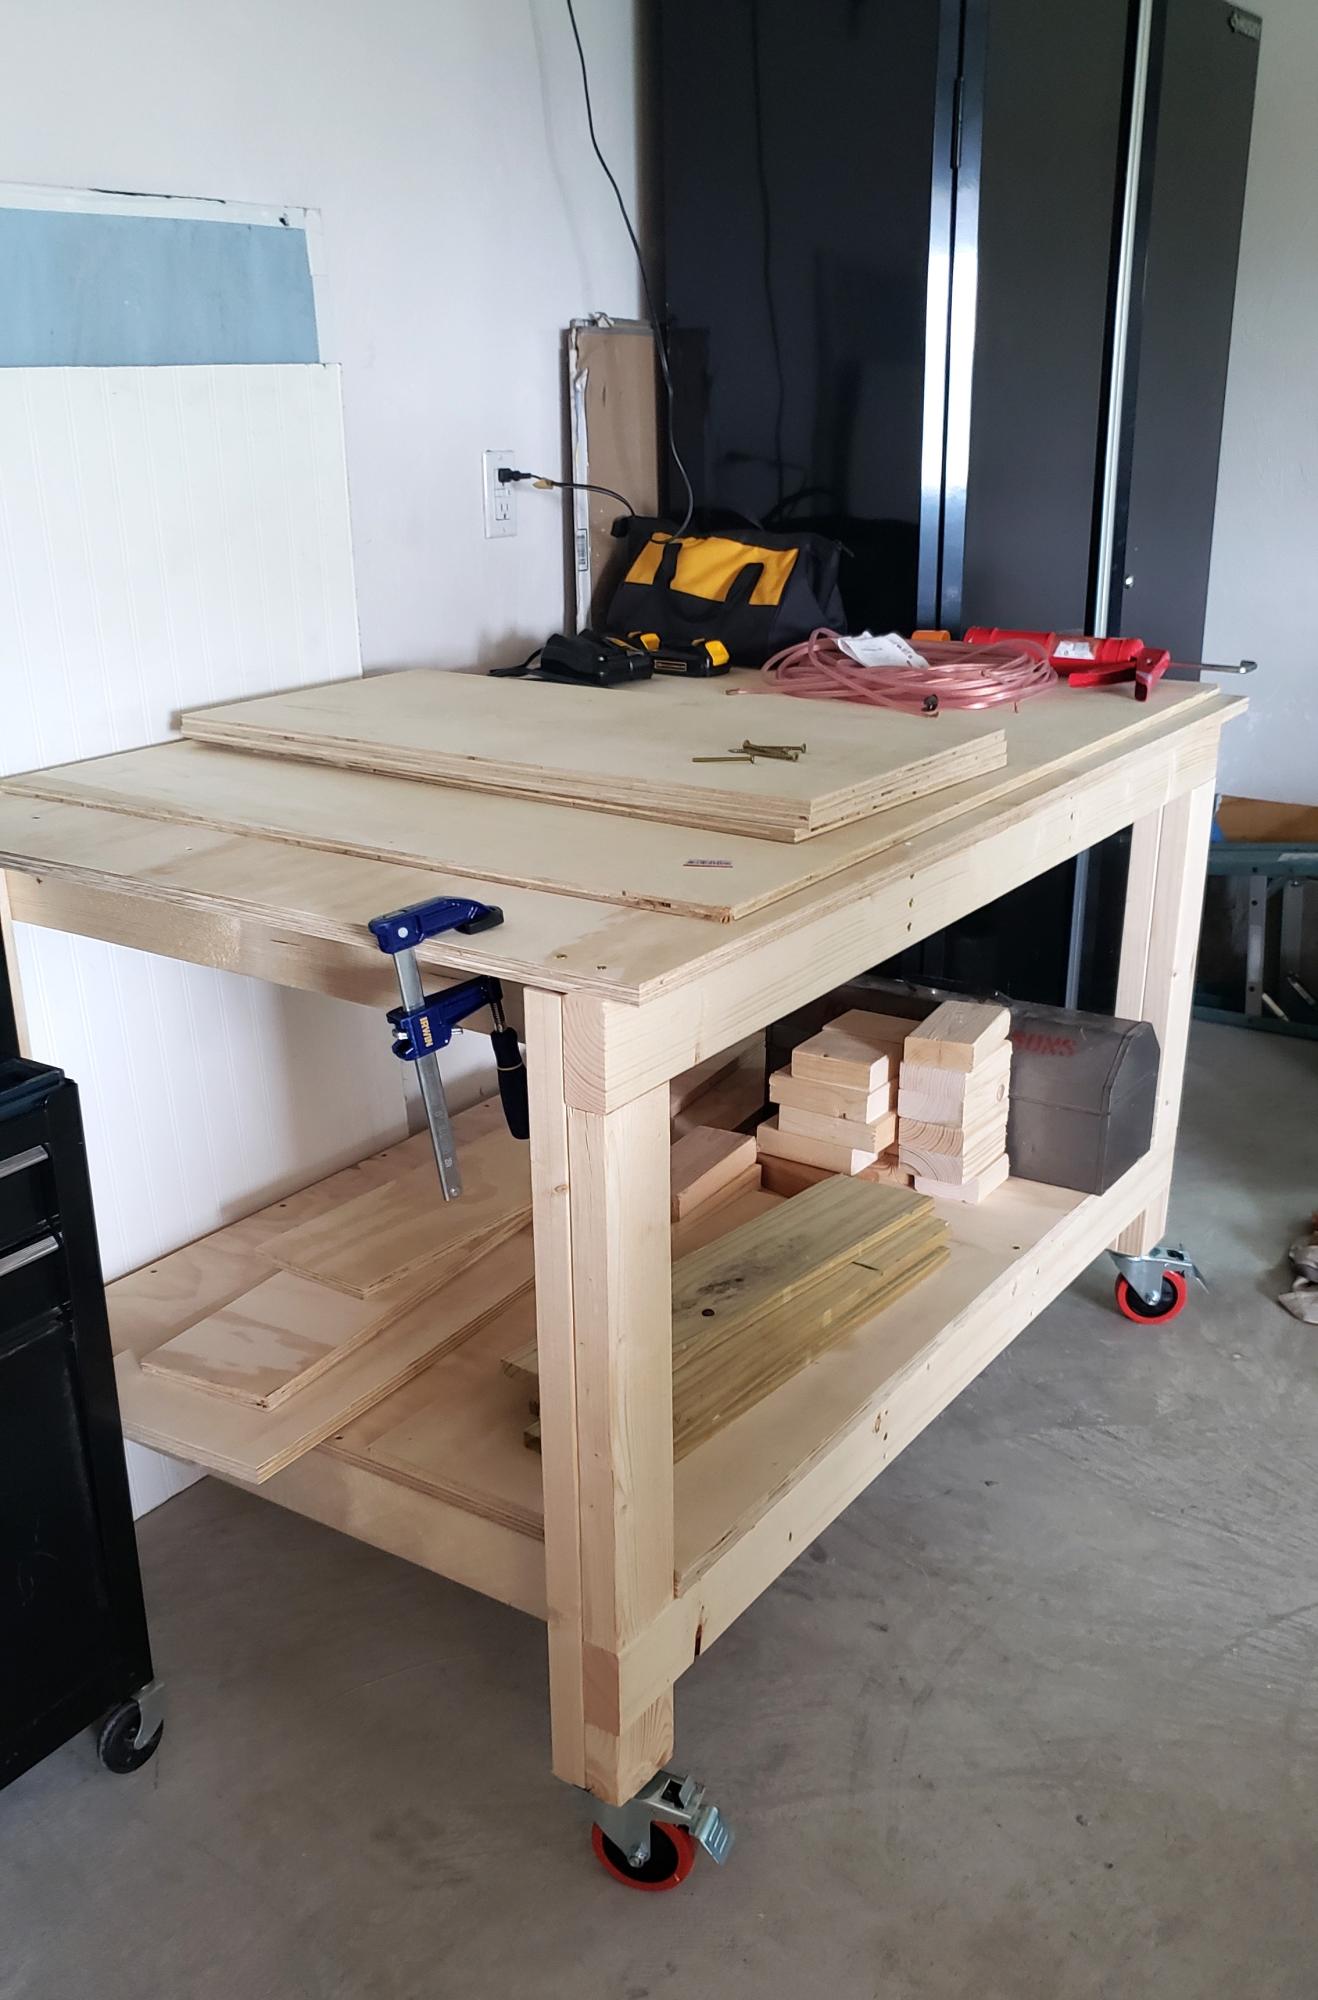
Easy to build workbench. I added an extra 2 1/2 inches (width) to the top plywood cut. This gave me a 1 1/4" lip to the front and back sides. I wanted to be able to clamp on all sides of the bench. Also added casters since I wanted to use this as an outdoor table for entertaining if needed and to simply have mobility with the bench. So far I love it!