Community Brag Posts

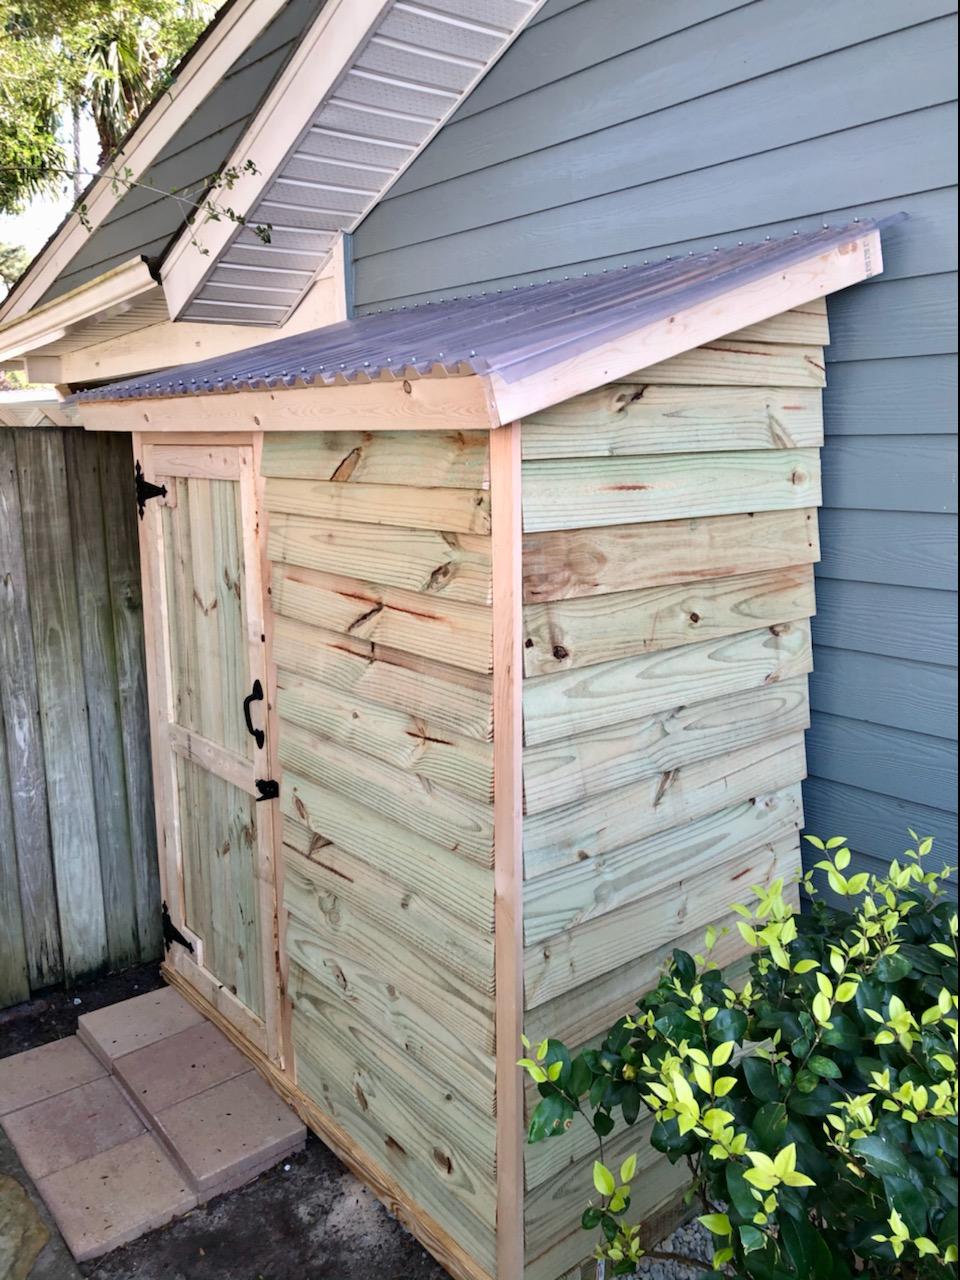
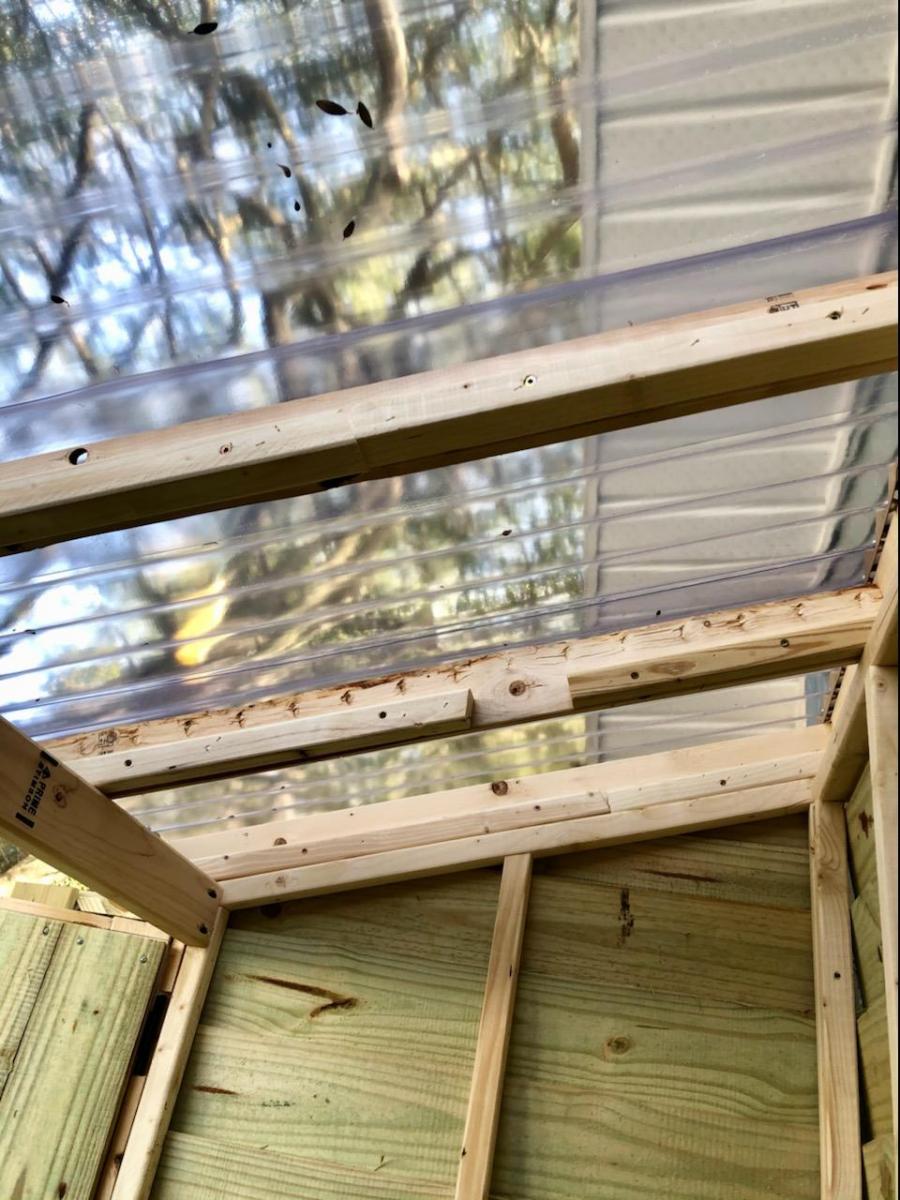
My take on "Lady Goats" cedar shed

Submitted by donbay91 on Sun, 03/14/2021 - 19:02

I absolutely loved these plans for this shed. I'm new to the site but I've been using your plans for things here at home... love it. I went with just one door to give me more places for shelves and I also went with a clear corrugated roof since it's shaded on that side of our house.

Built from Plan(s)
Estimated Cost
$300ish
Estimated Time Investment
Weekend Project (10-20 Hours)
Finish Used
No finish yet. I haven't made up my mind
Recommended Skill Level
Intermediate

Comments

Wishing Well Planter

Submitted by RobKelly3 on Sat, 03/16/2013 - 16:57

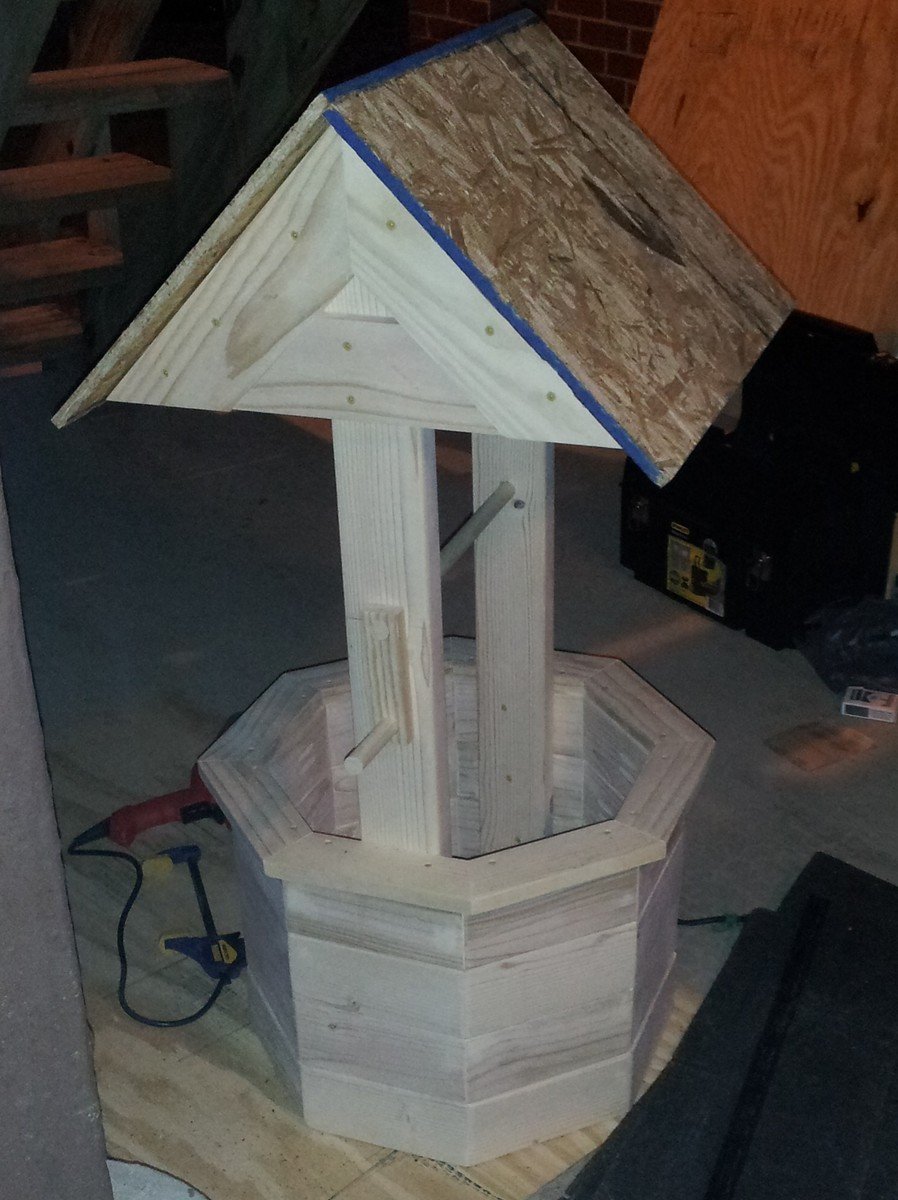
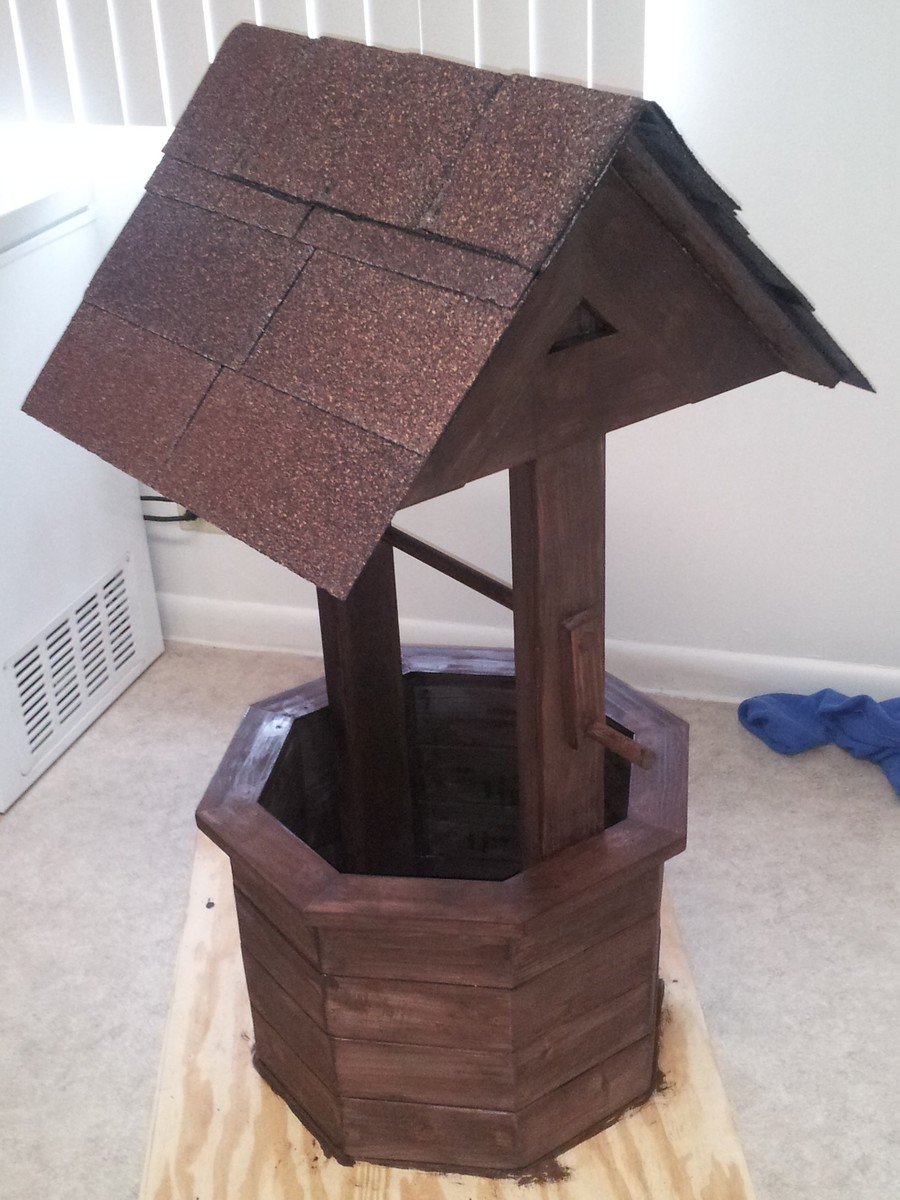
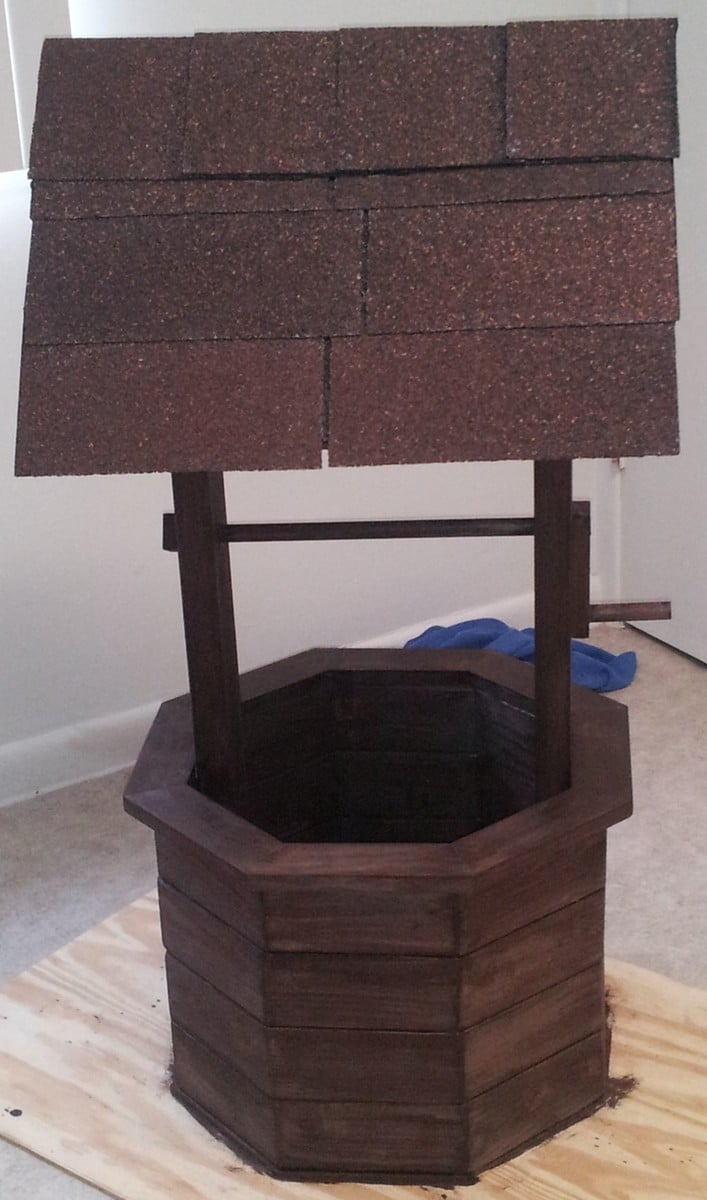
This is a wishing well I made for my sister for her wedding. It will be used during the wedding for people to drop "wish you well" cards into and afterward she can use it as a planter in her yard.
I followed ideas from multiple plans here on Ana-White.com, but I didn't follow any specific plan. Mostly I followed tips and instructions for cutting angles, drilling pocket holes and some finishing tips. This is the first "big" project I've done and I"m quite proud of it.

With everything, it measures 44.5 inches high. The well measures 21 inches across and 15 inches high. The roof measures 22.75 inches by 23.75 inches.

I hope y'all like it. I worked hard on this! :)

Thank you, Ana and everyone who contributes to this site. It's been so much fun and I've got lots of ideas for more stuff. If I was any good at all at Google Sketchup I'd put up the plans but I'm not. If anyone could help me with that, that would great. :)

Have a great day!

Estimated Cost
about $100
Estimated Time Investment
Weekend Project (10-20 Hours)
Finish Used
Olympic Maximum Stain and Sealant in One, Semi-Transparent, in Oxford Brown. Use 2inch stain brush. Used 100, 150, and 220 grit sandpaper before staining.
Recommended Skill Level
Intermediate
Comments

bellows86

Mon, 07/21/2014 - 20:04

Anyway you can please tell me the angle for the boards ont the walls. I reallly like your well, and would like to build this for my wife but im not sure on what angles to use thank you

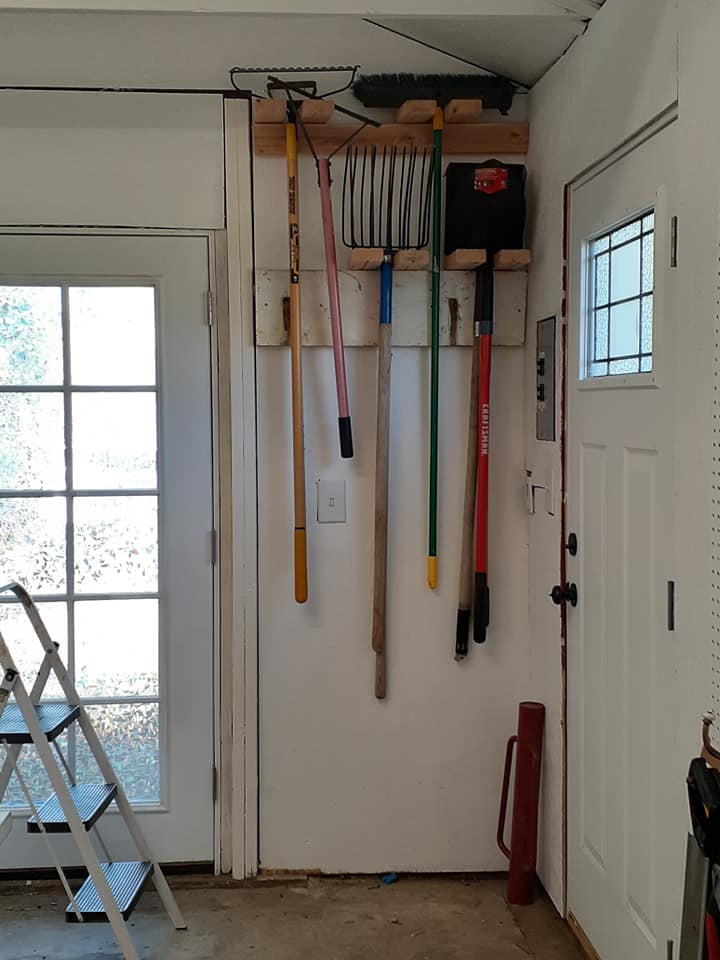
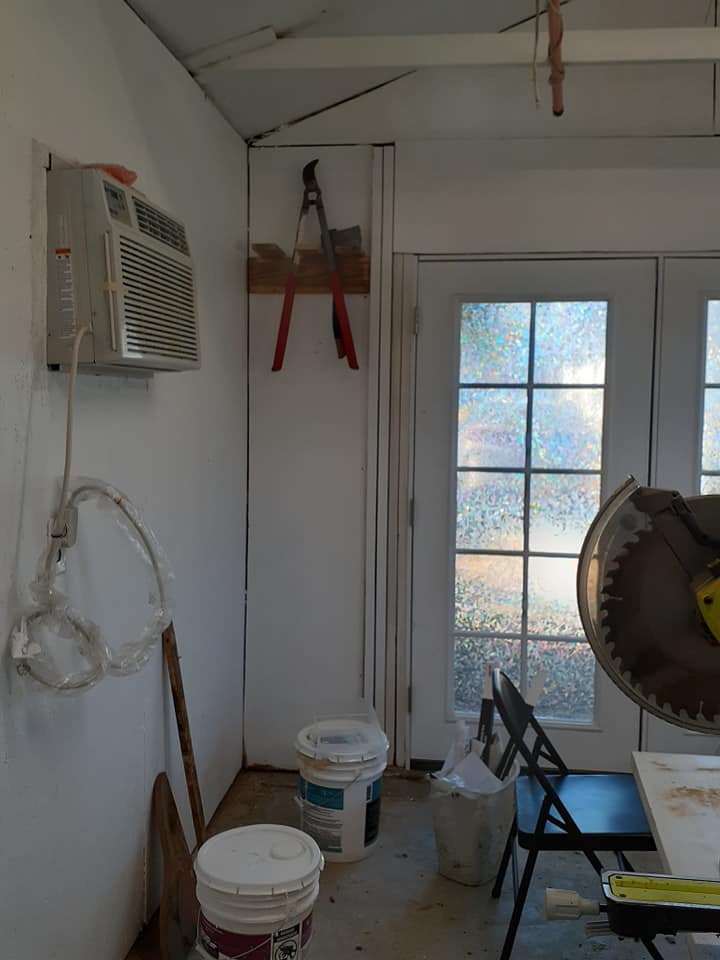
Workshop storage success!

I adapted the garden tool storage project to fit my small space. I used some reclaimed wood as well as 2 x 4s since lumber is so expensive right now. I placed the racks up high to open space close to the ground in our little 12' x 16' workshop.

Built from Plan(s)
Estimated Cost
$16
Estimated Time Investment
An Hour or Two (0-2 Hours)
Finish Used
planning to paint
Recommended Skill Level
Starter Project

Comments

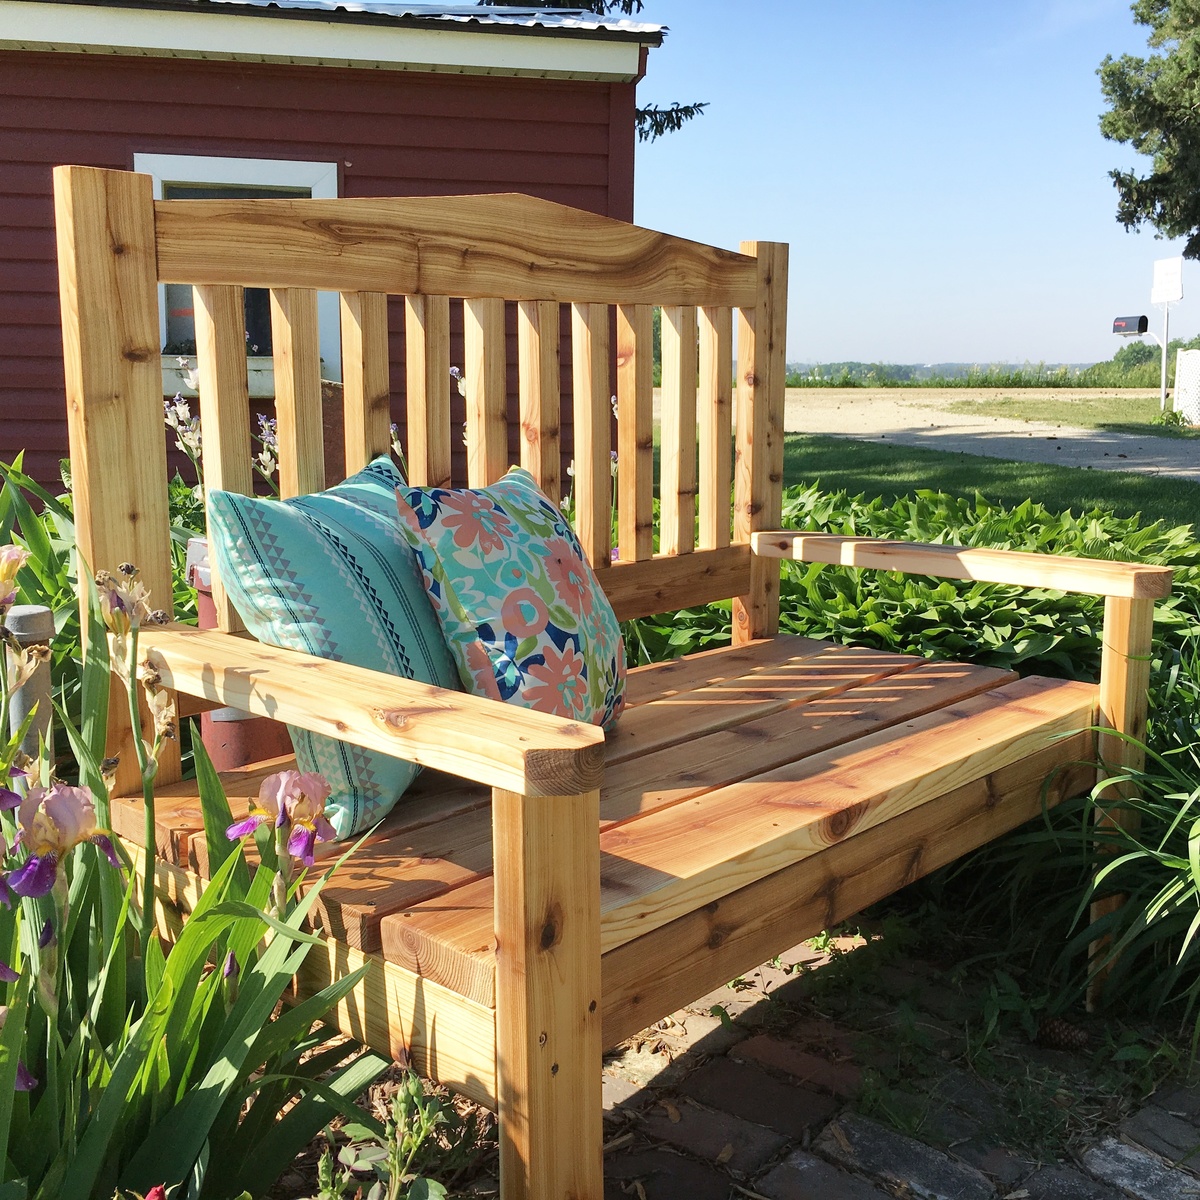
Outdoor bench

Submitted by Anonymous (not verified) on Tue, 06/13/2017 - 06:11

I used the x-back bench plans to build this bench, but trimmed the length down to 4 feet to fit the space.  It's constructed with cedar and is so beefy and sturdy. It has stood it's own against several storms already and I couldn't be happier with how it turned out. Thanks Ana for all the free plans and tutorials! 

Estimated Cost
$150
Estimated Time Investment
Day Project (6-9 Hours)
Finish Used
Thompson water seal in clear
Recommended Skill Level
Beginner

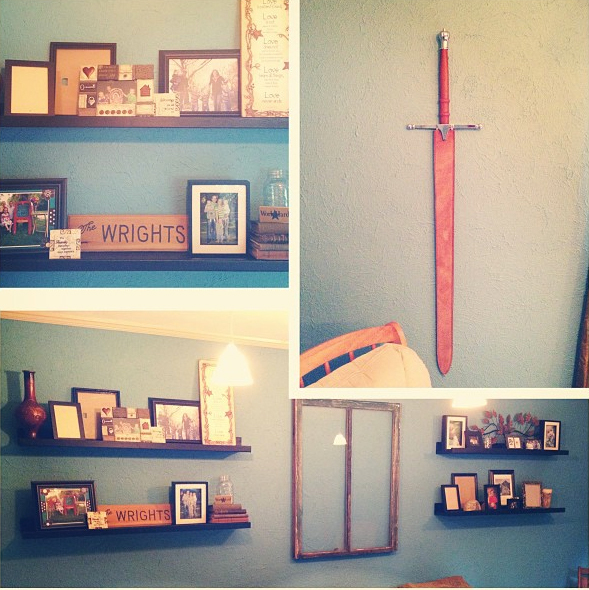
These ledges transformed an entire wall!

For Mother's Day this year, I decided to completely redo what we call our "front room" for my wife. Before the weekend, it was unorganized, colorless, and boring. We decided to start the project with new paint, which my wife picked out. I got some old windows from a thrift store, and we decided the ledges would flank one of those windows and we'd basically transform the entire wall.

The ledges were a blast to build (my wife even helped a bit!) and we're super happy with the way they came out!

Built from Plan(s)
Estimated Cost
$20
Estimated Time Investment
Day Project (6-9 Hours)
Finish Used
We just painted the ledges with a flat black. Nothing fancy at all!
Recommended Skill Level
Beginner

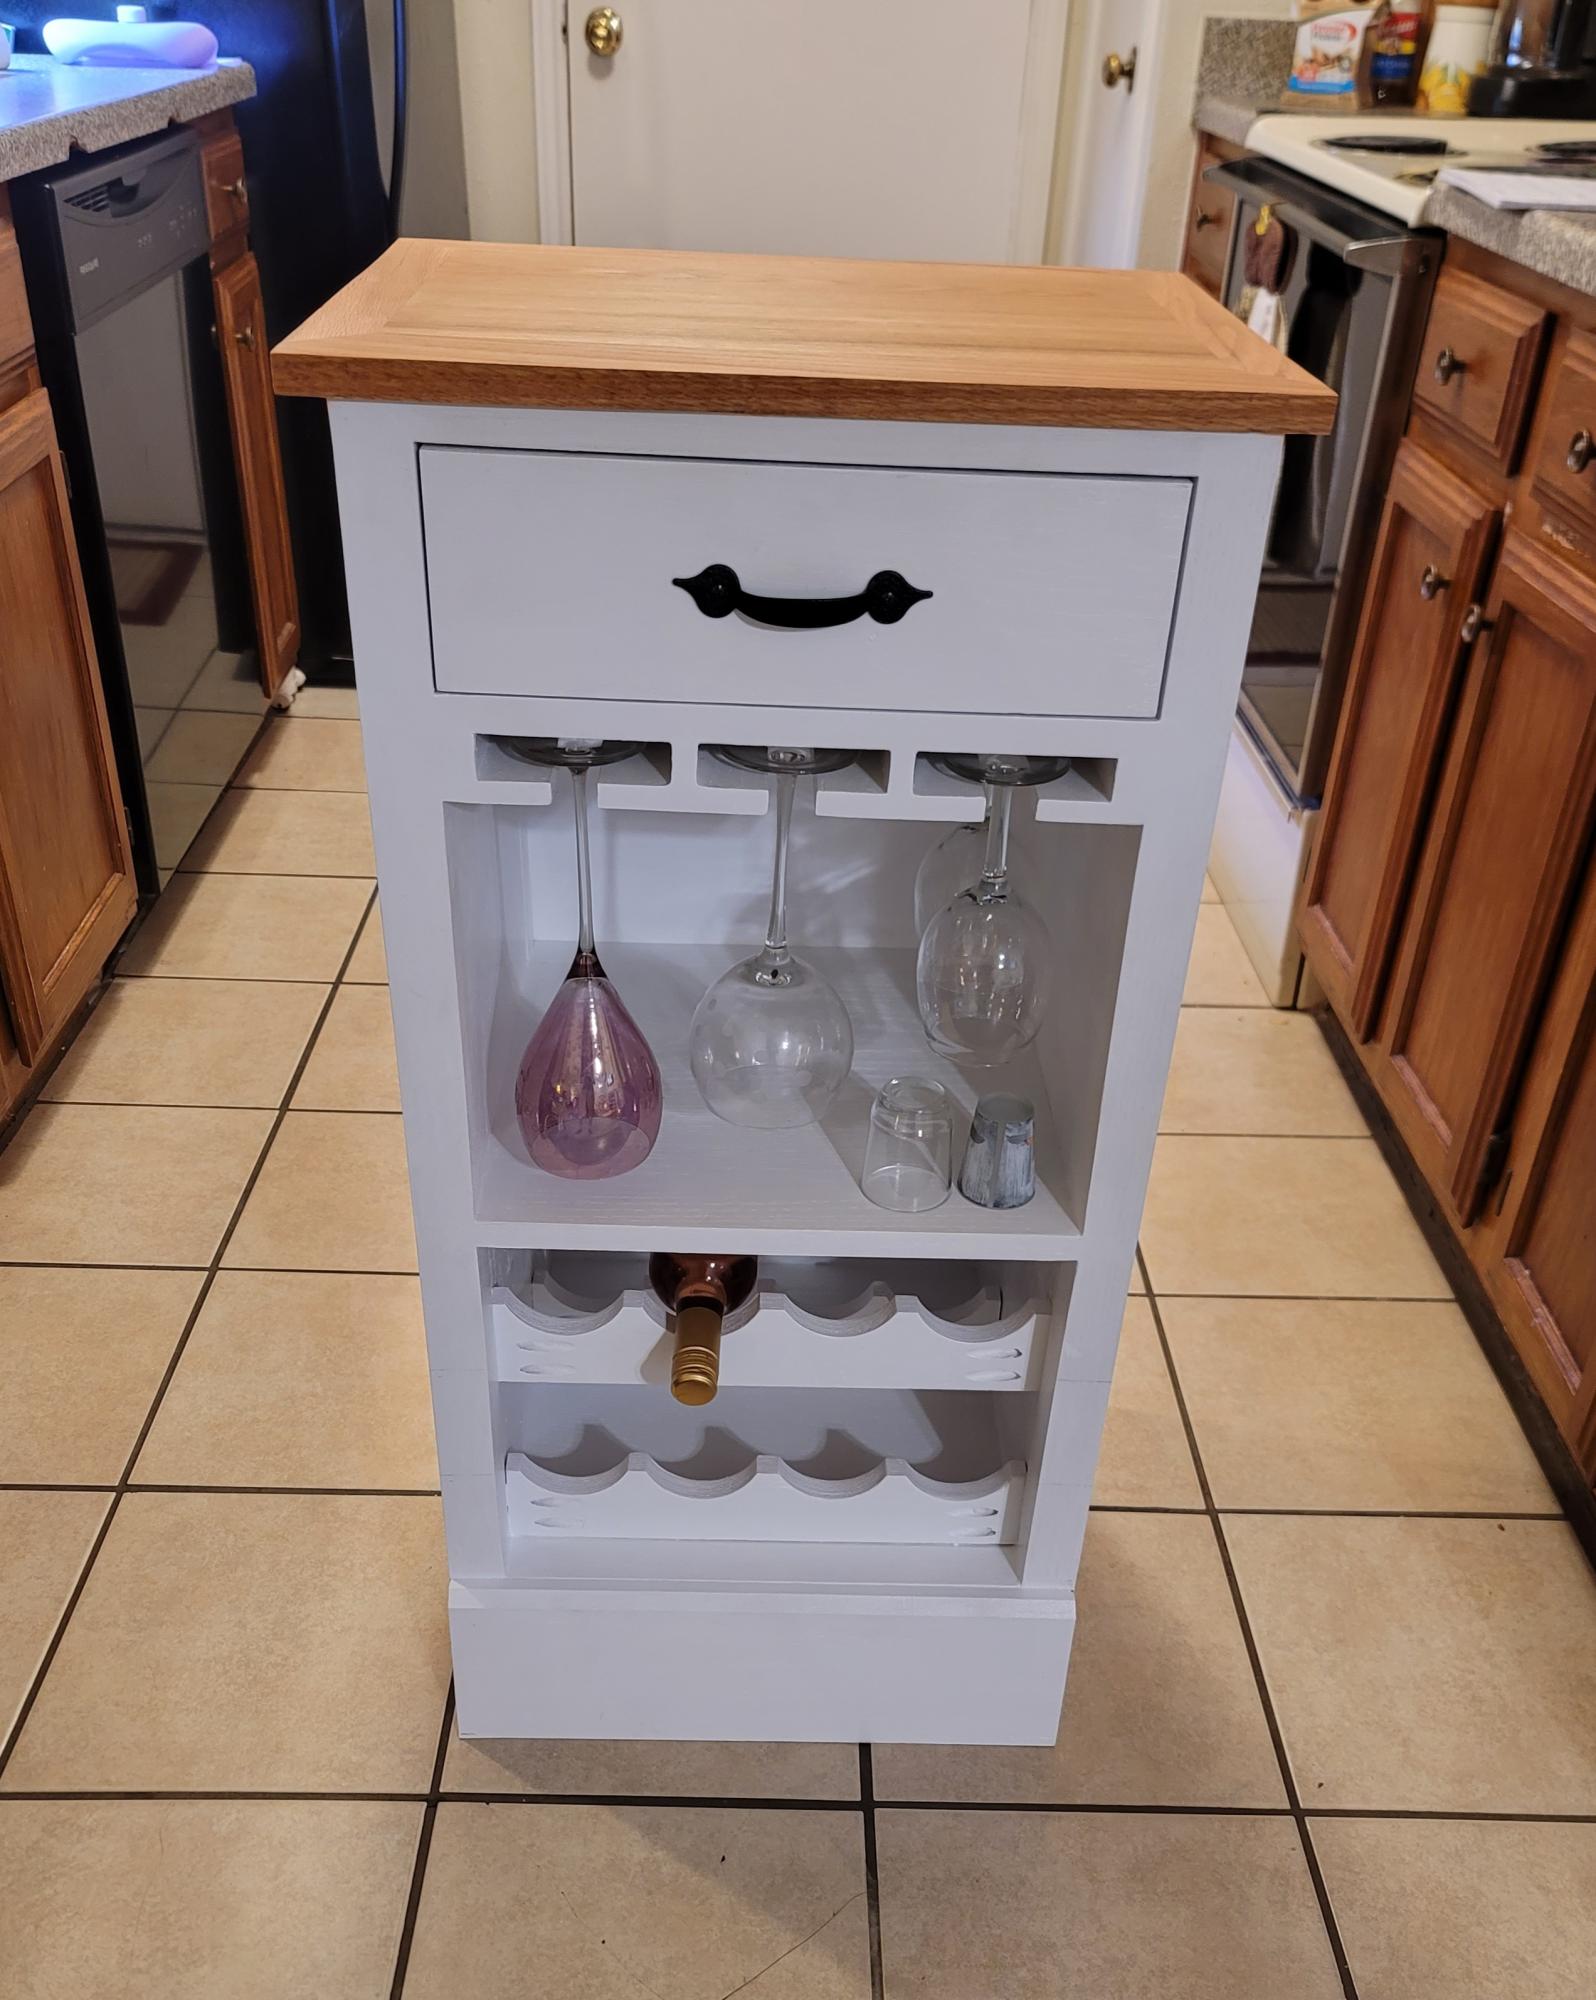
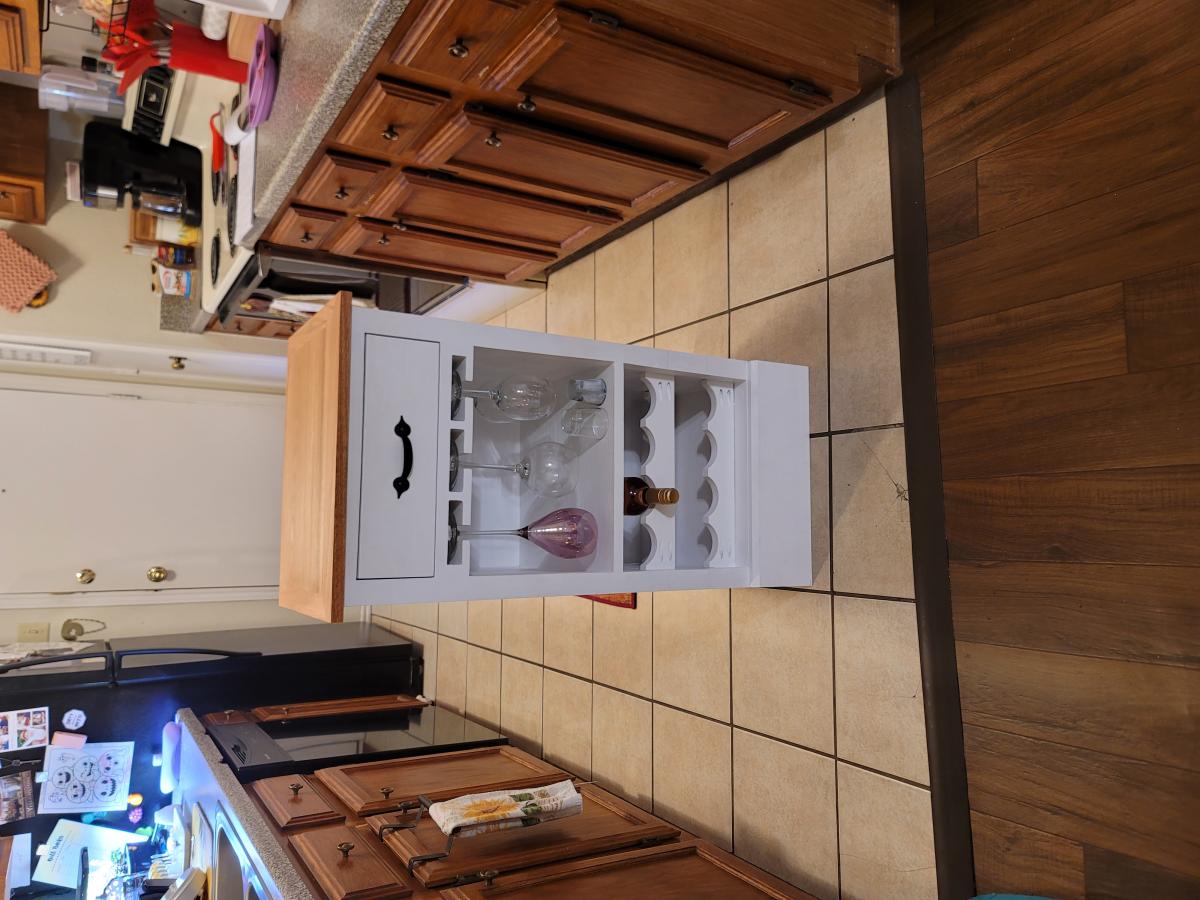
Mod wine cabinet

This was a really fun project. Thank you to Ana White for the awesome plans to make this wine cabinet possible. It's much loved, and is a beautiful new additions to a new home. I enjoyed making it, the plans were very easy to follow.

Built from Plan(s)

Comments

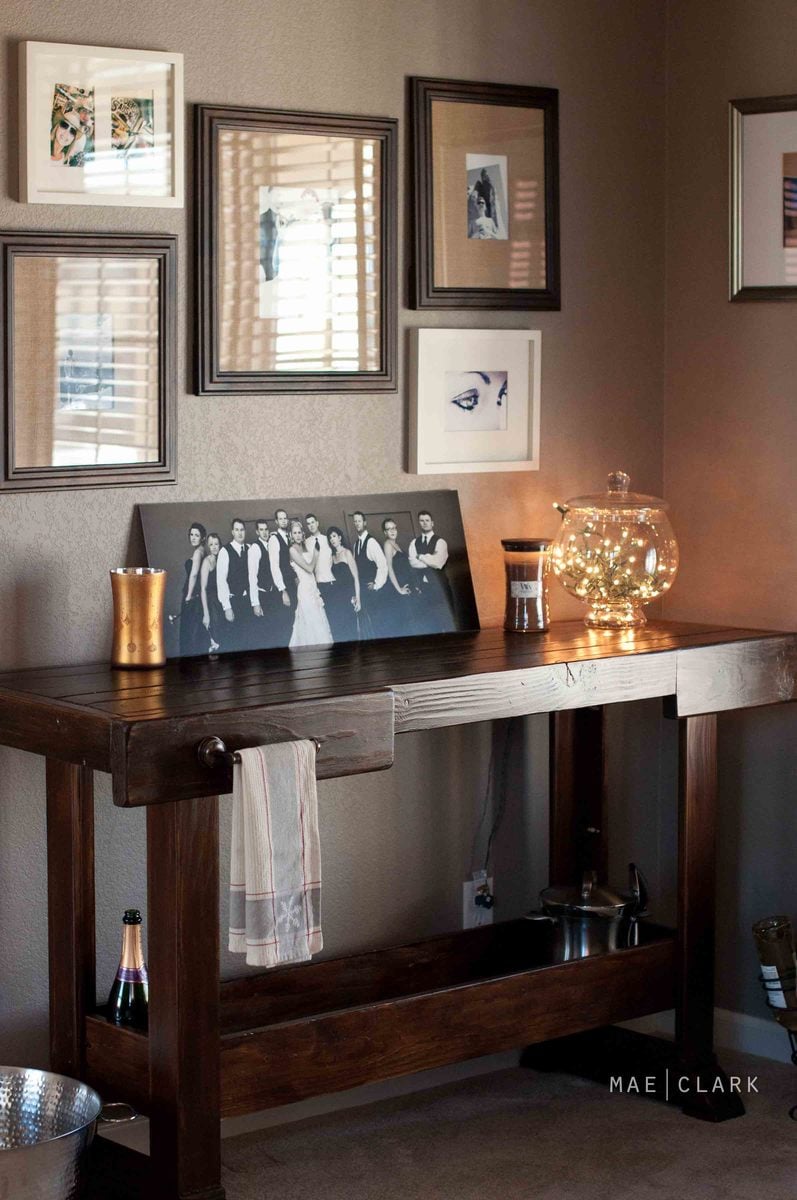
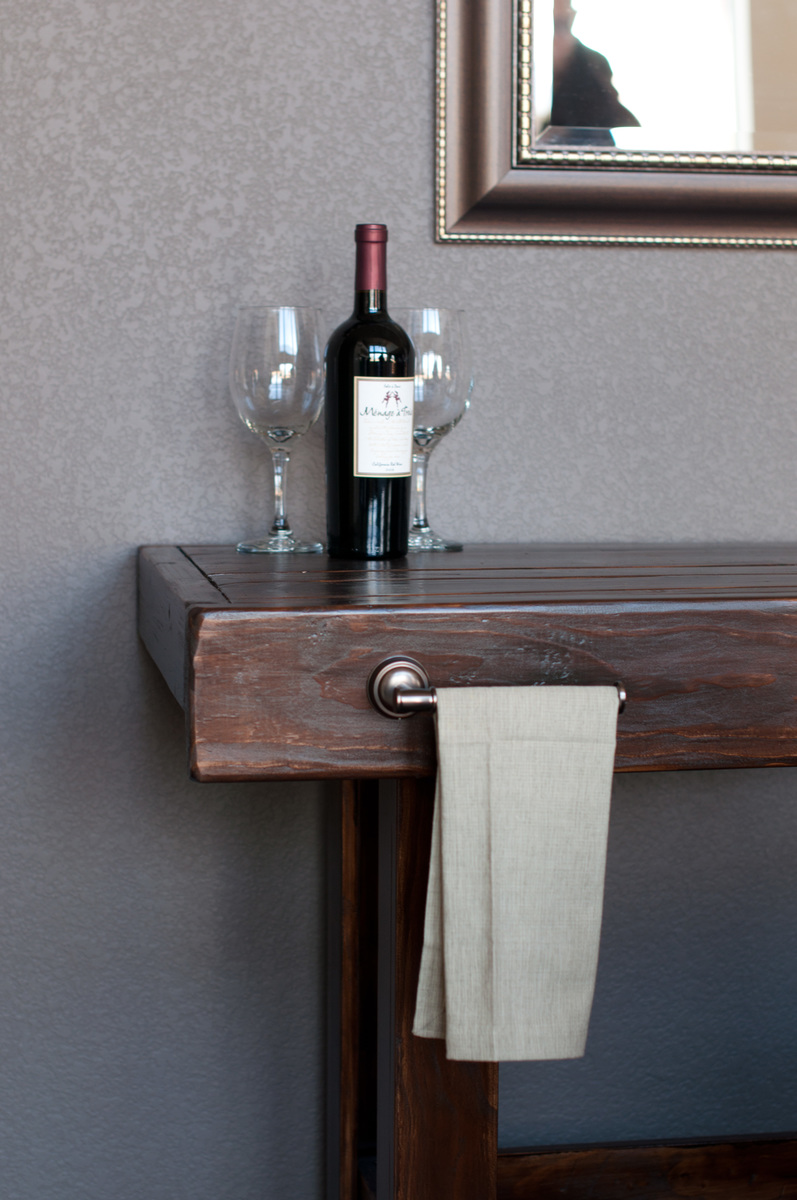
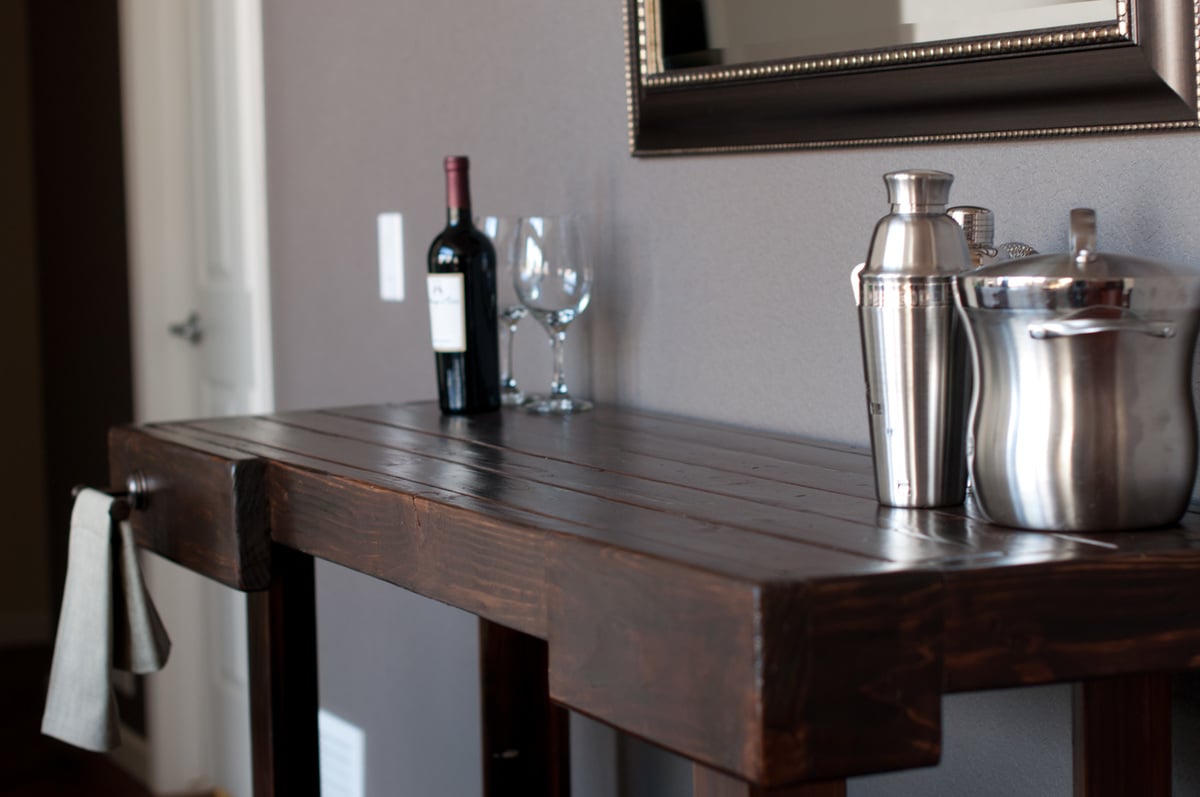
Workbench Console

Saw this bar in the PB catalog and loved it! SO excited when I found it on Ana's site... This project was a little more time-consuming than the others I've done. A ton of 2x4's are used, and we bought stud grade 2x4's...definitely got our money's worth out of our palm sander. The table top gets pretty heavy so I couldn't have done it without a hand from the hubbs. We built four separate pieces - the table top, the lower shelf/box, and the legs. We stained everything, then assembled the pieces. Finished assembling this the morning of my work Christmas party, which we were hosting. The perfect drink station!

Built from Plan(s)
Estimated Cost
$100
Estimated Time Investment
Week Long Project (20 Hours or More)
Finish Used
Dark Oak Polystain - a little distressing with hammer, nails, screwdriver
Recommended Skill Level
Intermediate
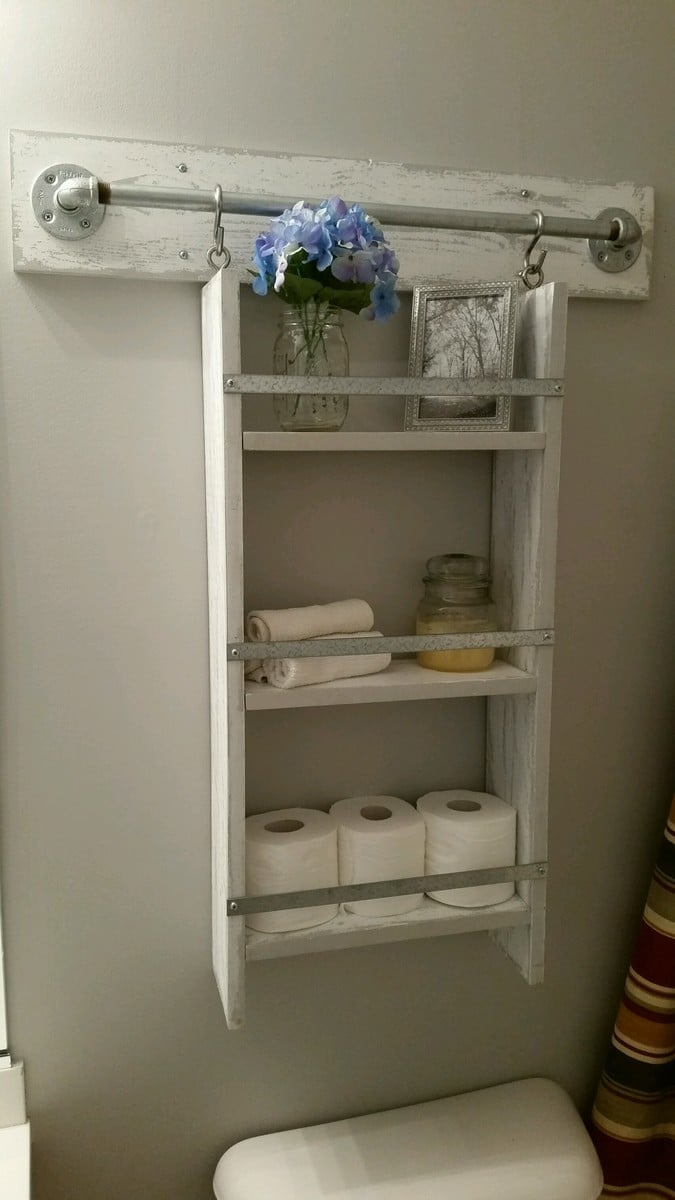
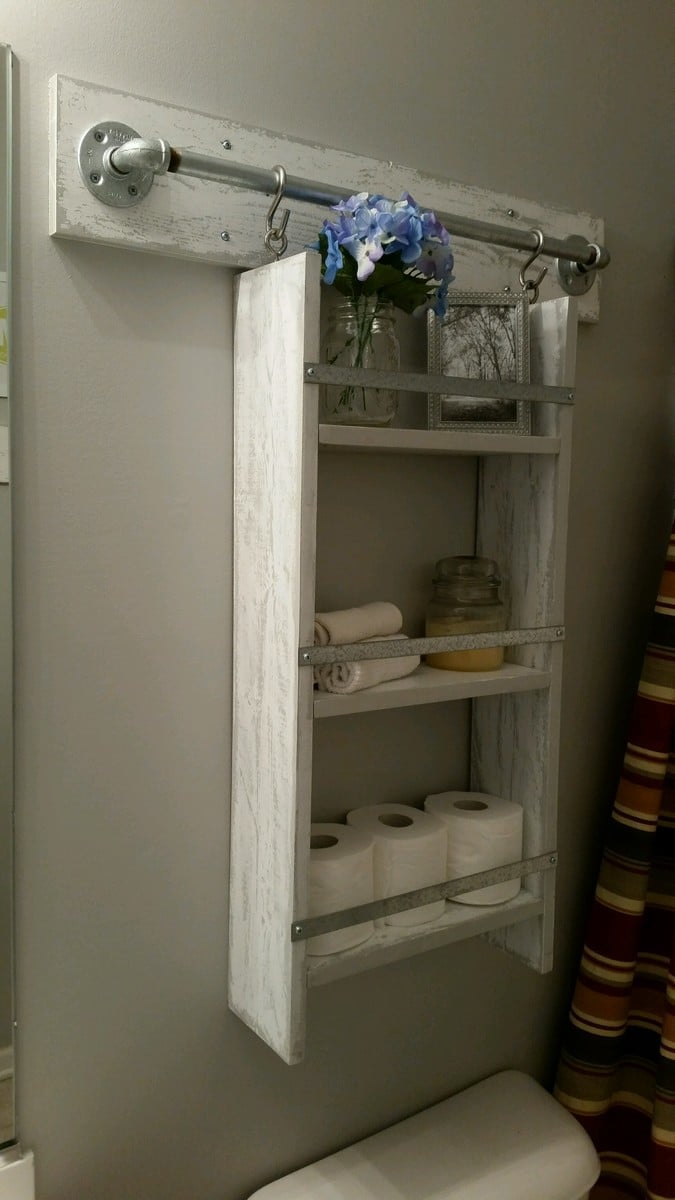
Gabriel Wall System Hanging Organizer

This was a very fun project to build. I pretty much followed the directions that were posted, but I used 1x6's instead of 1x4's because I wanted more storage space on the shelves. I also used 1/2" iron piping instead of 3/4" and am happy with how it turned out. Since the guest bathroom is gray, we didn't want to stain the wood and chose to do an easy to do "weathered" (directions below) look. Now all we need to do is replace the ugly shower curtain!

Estimated Cost
$40 (paint not included).
Estimated Time Investment
Day Project (6-9 Hours)
Finish Used
"Weathered" look – First, paint a gray undercoat of paint and let dry. Secondly, coat the piece with paraffin wax (especially the edges and corners). Next, paint a top coat of white and let dry. Lastly, scrape off the wax (with a razor blade), to your liking, to give it the "weathered" look.
Recommended Skill Level
Beginner

Comments

tgrott

Wed, 03/30/2016 - 06:41

Love the weathered/distressed look you did.  Can you share your technique for the paint job?

tgrott

Wed, 03/30/2016 - 06:42

I;m sorry!! I just noticed that you did share the paint job!  Thanks! :P

tgrott

Wed, 03/30/2016 - 06:43

I;m sorry!! I just noticed that you did share the paint job!  Thanks! :P

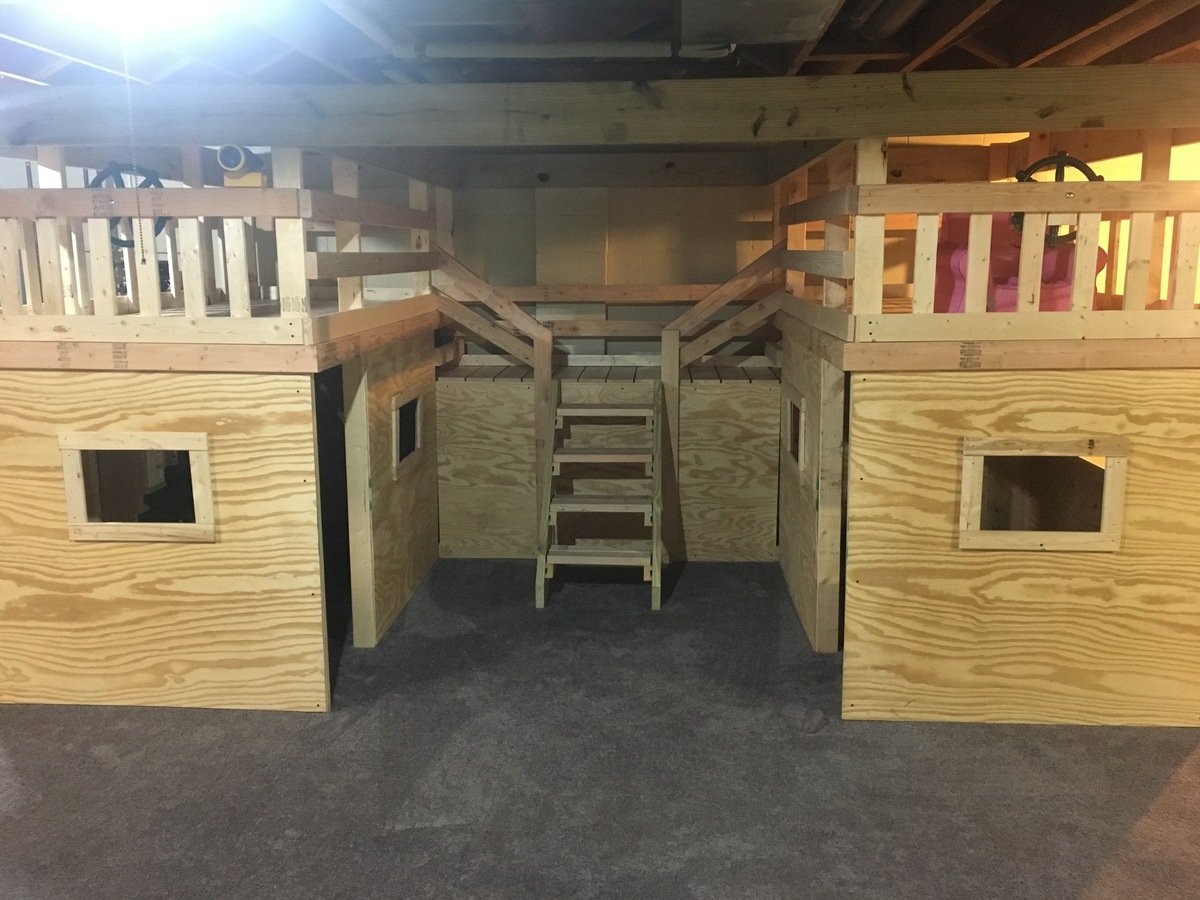
Basement Playhouse

Submitted by jimbardo on Sun, 01/28/2018 - 15:32

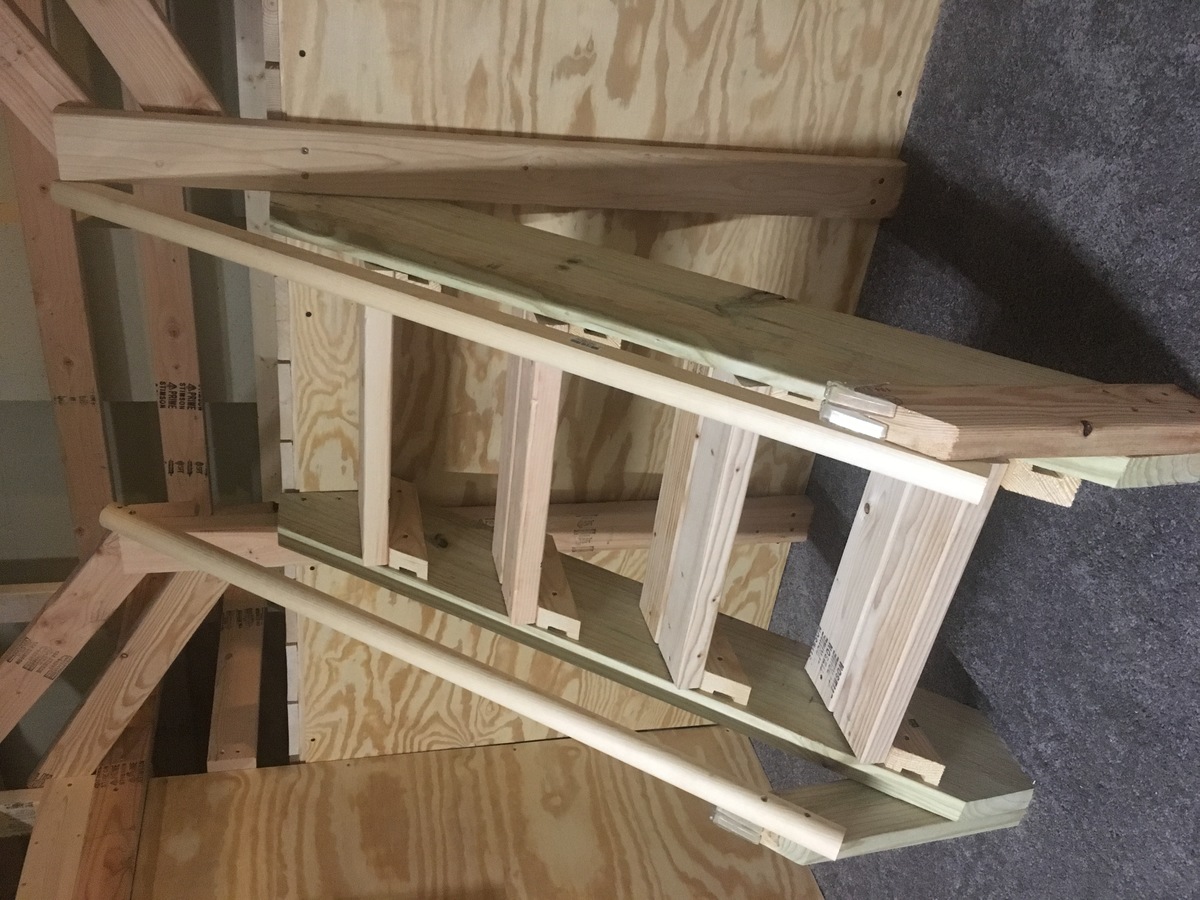
Built this for my two boys, ages 3 and 1.5. They are in heaven! I found the plans extremely helpful and allowed for simple modifications along the way (ie 7’ ceilings). 

Estimated Cost
$600
Estimated Time Investment
Week Long Project (20 Hours or More)
Recommended Skill Level
Intermediate
A Long tapered crate

Submitted by dmcarwin on Tue, 09/03/2013 - 07:52

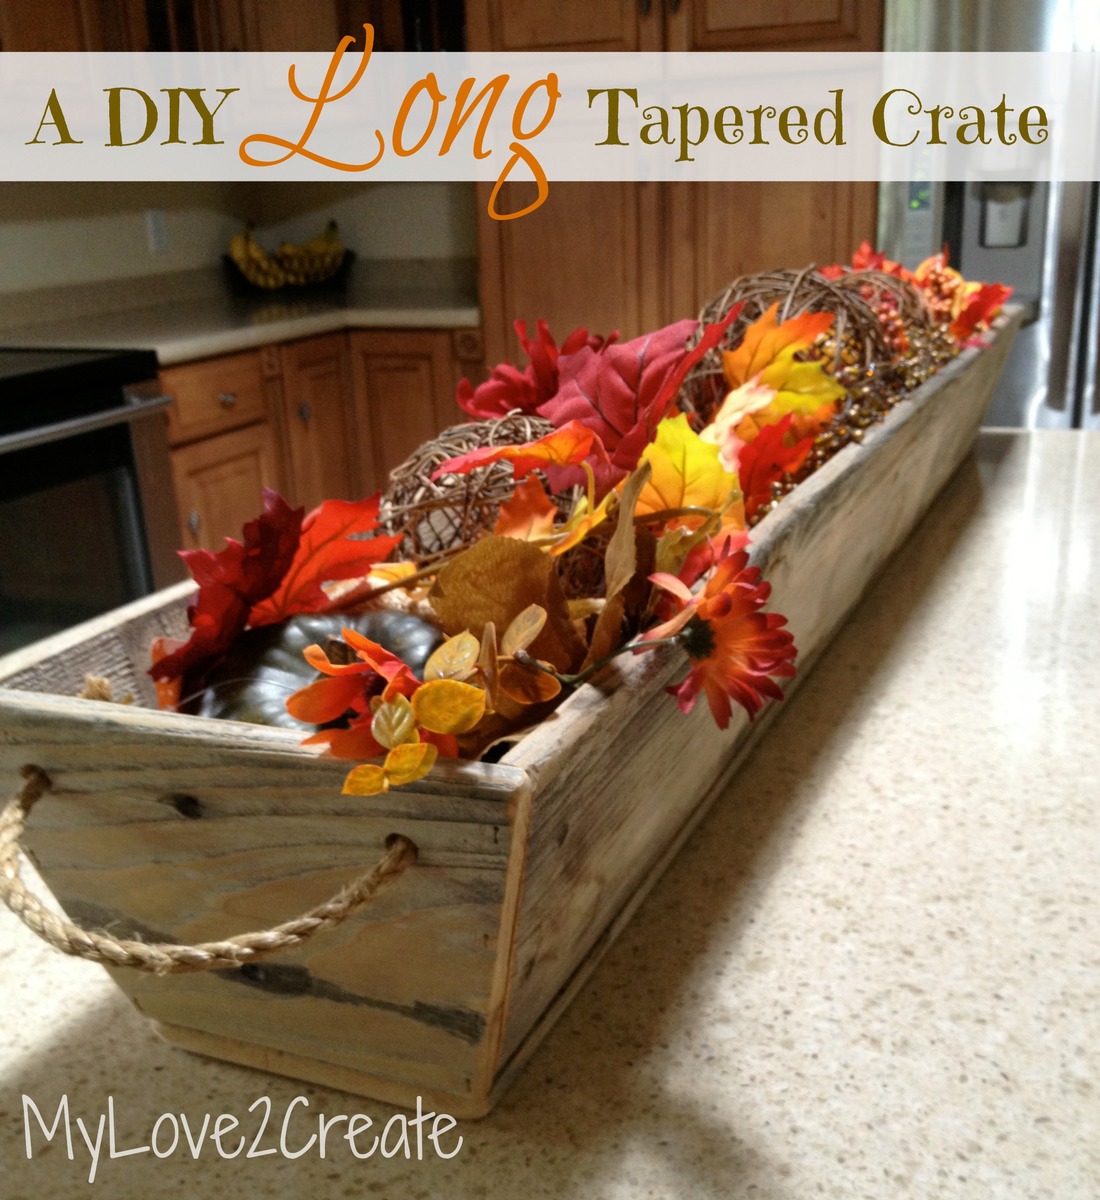
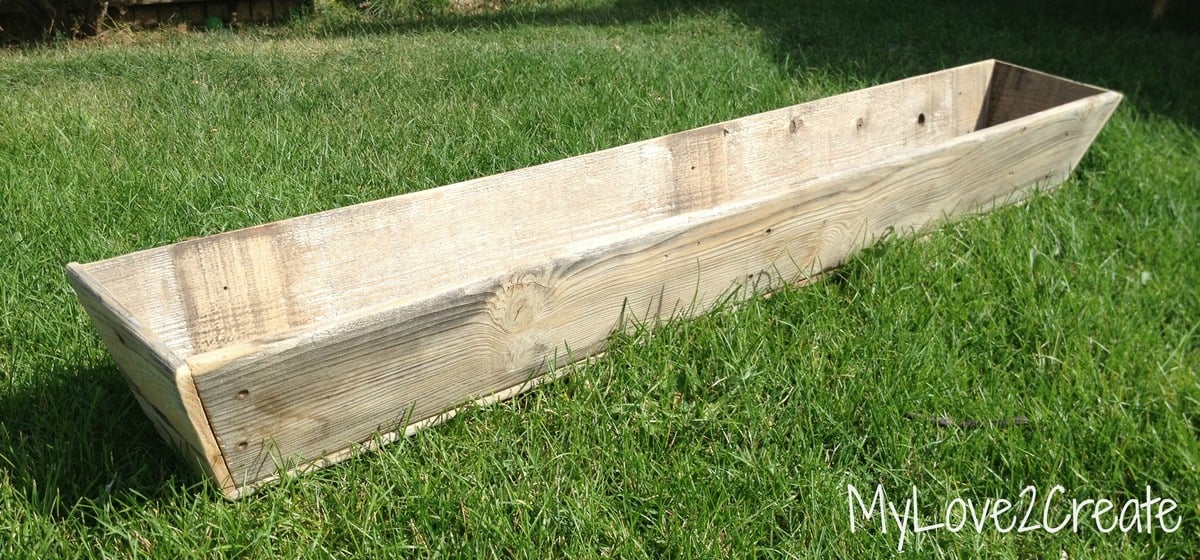
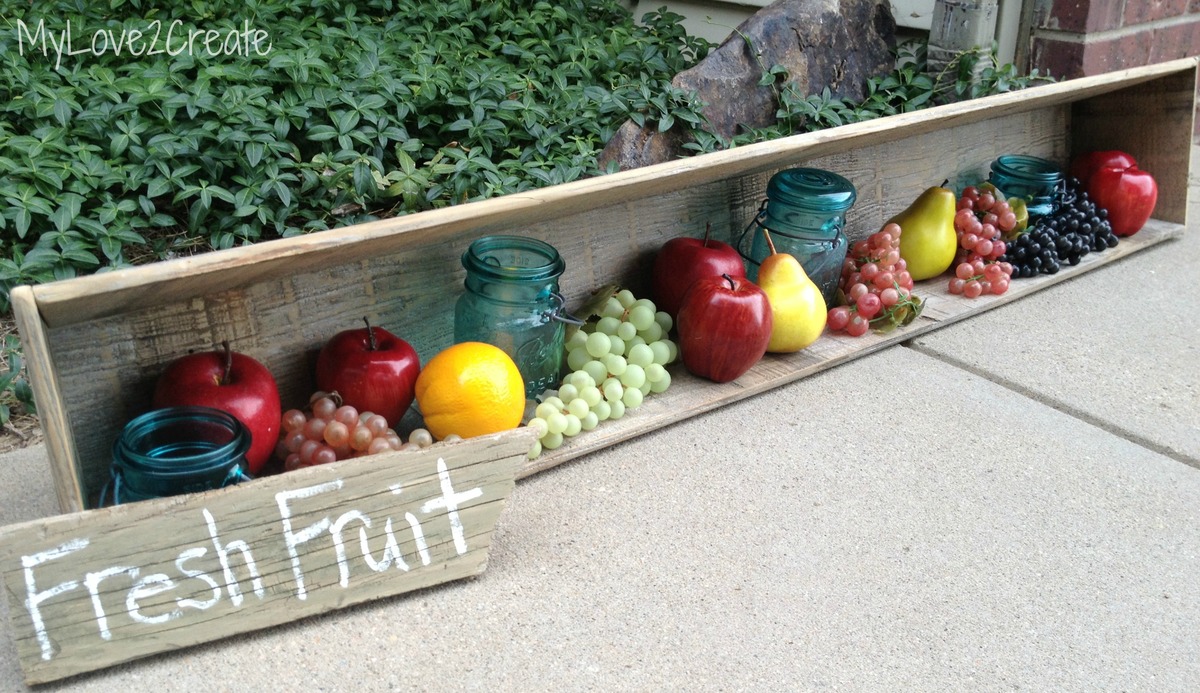
I love Ana's tapered crate! I decided to add some length to the sides and make it really long! It is super cute and makes a big statement, for only a small amount of work! Sa-weet!

Estimated Cost
Free, or under $5 if you by the wood new
Estimated Time Investment
An Hour or Two (0-2 Hours)
Recommended Skill Level
Beginner

Comments

Chunky leg bedframe

Submitted by Anonymous (not verified) on Tue, 02/12/2019 - 17:43

I got tired of sleeping on the floor like college kids, but I didn’t want to buy a junky particle board bedframe. My husband and I are novice woodworkers. Even still, we bought the lumber around noon and managed to finish the whole project in about 5-6 hours! We used a Kreg jig for the first time and it was pretty simple. I am really pleased with how this turned out, and I can’t wait to try more of Ana’s plans in the future.

Estimated Cost
$100 including the cost of pockethole screws and finishing nails.
Estimated Time Investment
Day Project (6-9 Hours)
Recommended Skill Level
Beginner

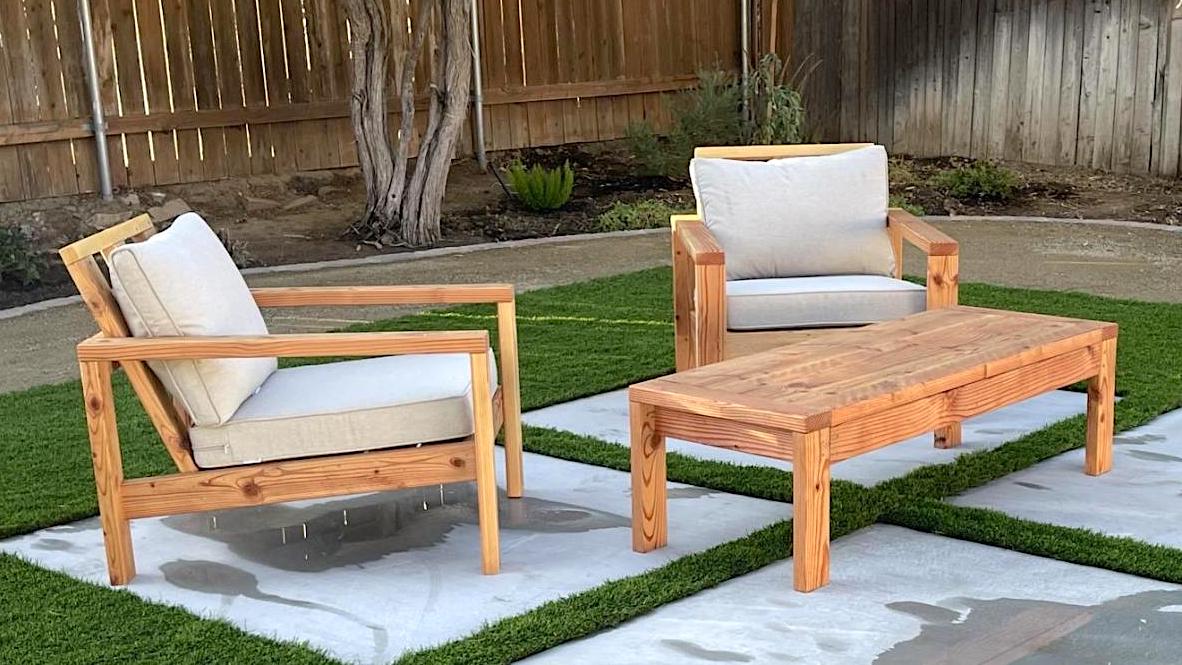
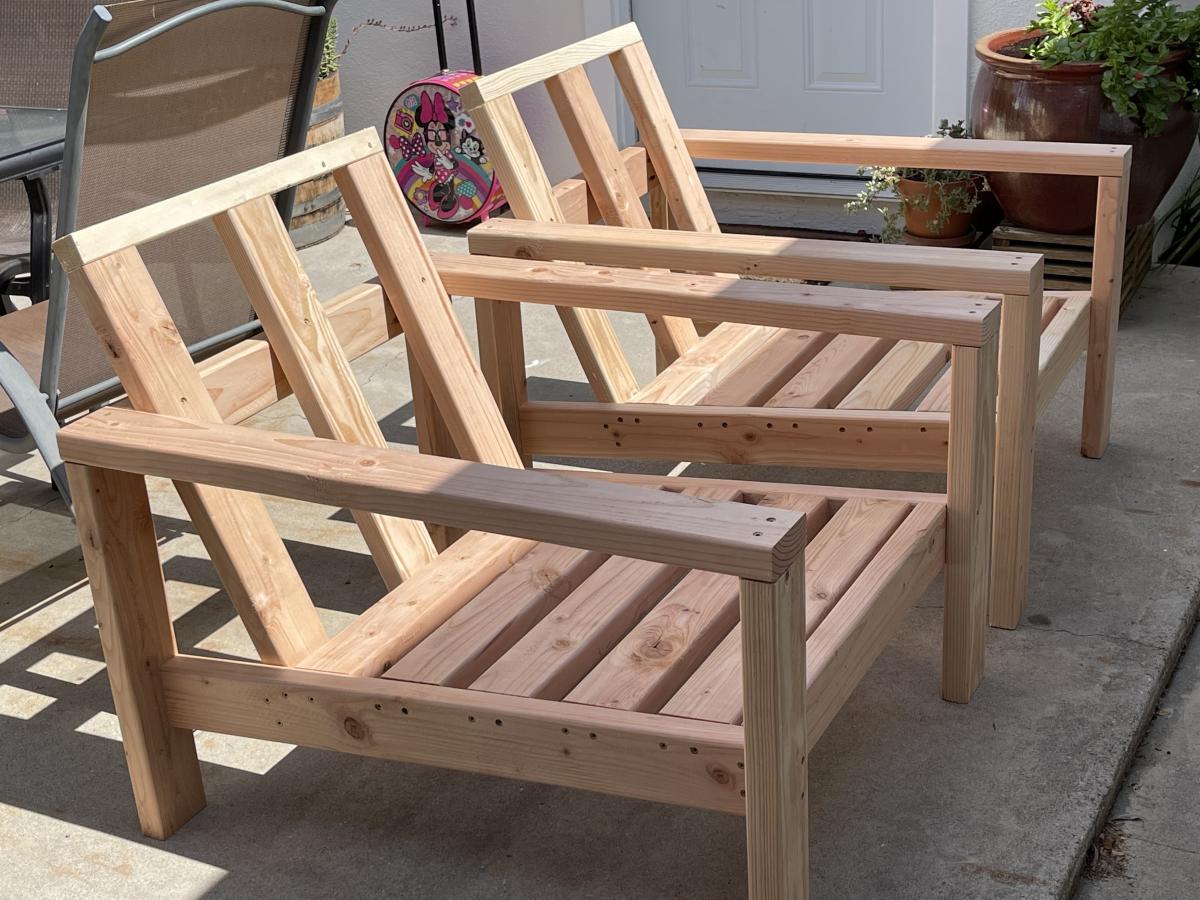
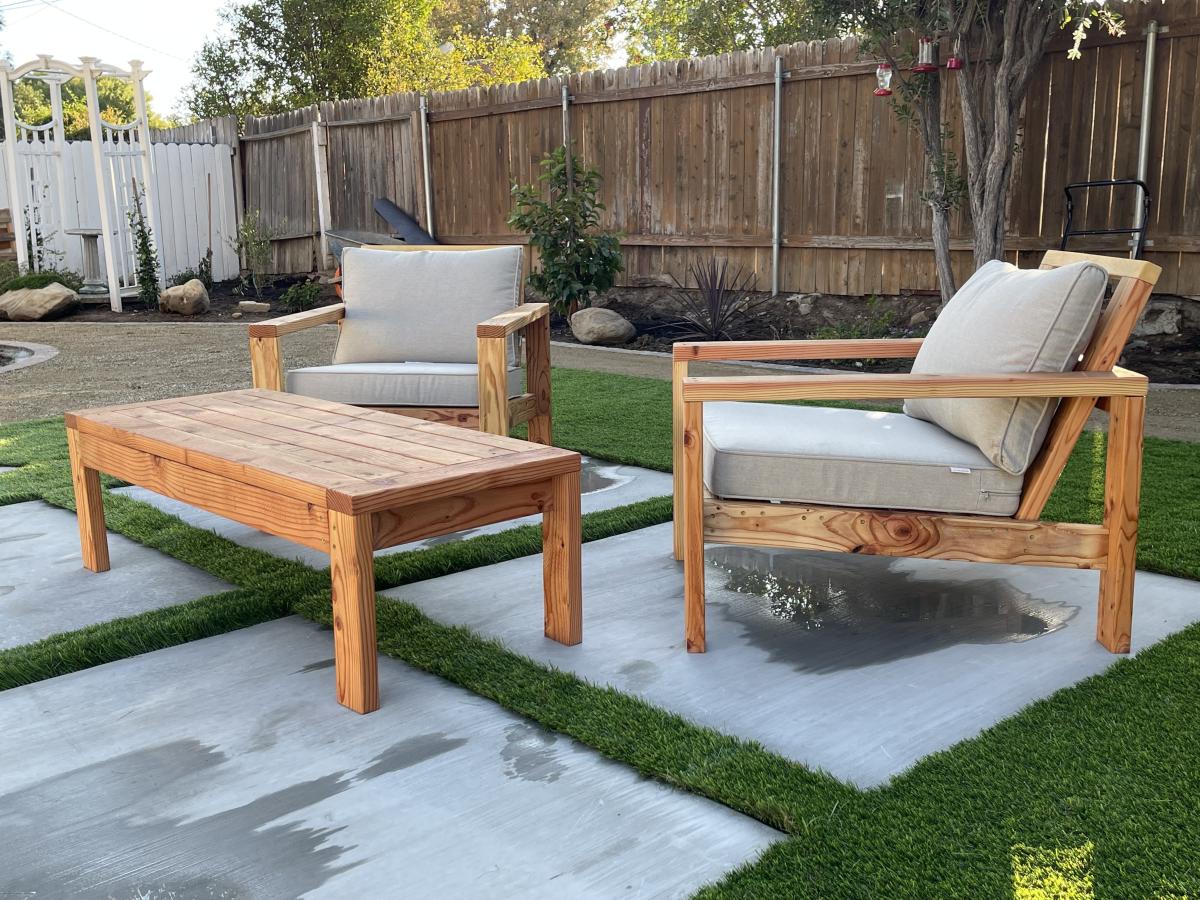
Outdoor chair frames and coffee table

I built a set of chairs and a coffee table for our newly designed outdoor area. These look amazing and people love sitting on them and hanging out outside our house.

Comments

Seasonal And Holiday

Adirondack chairs

Submitted by elfi on Sun, 05/05/2019 - 08:04

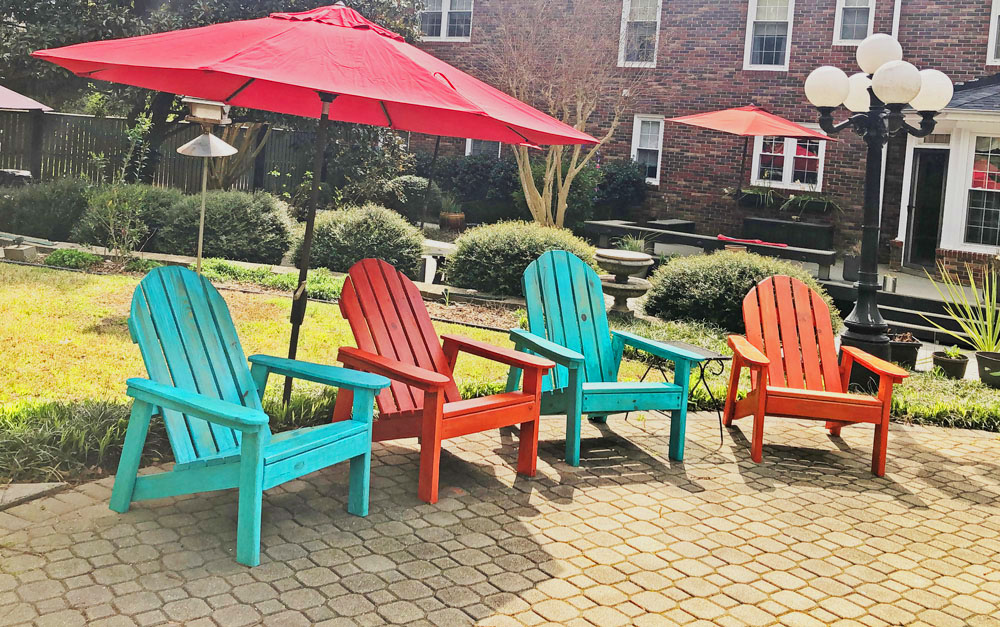
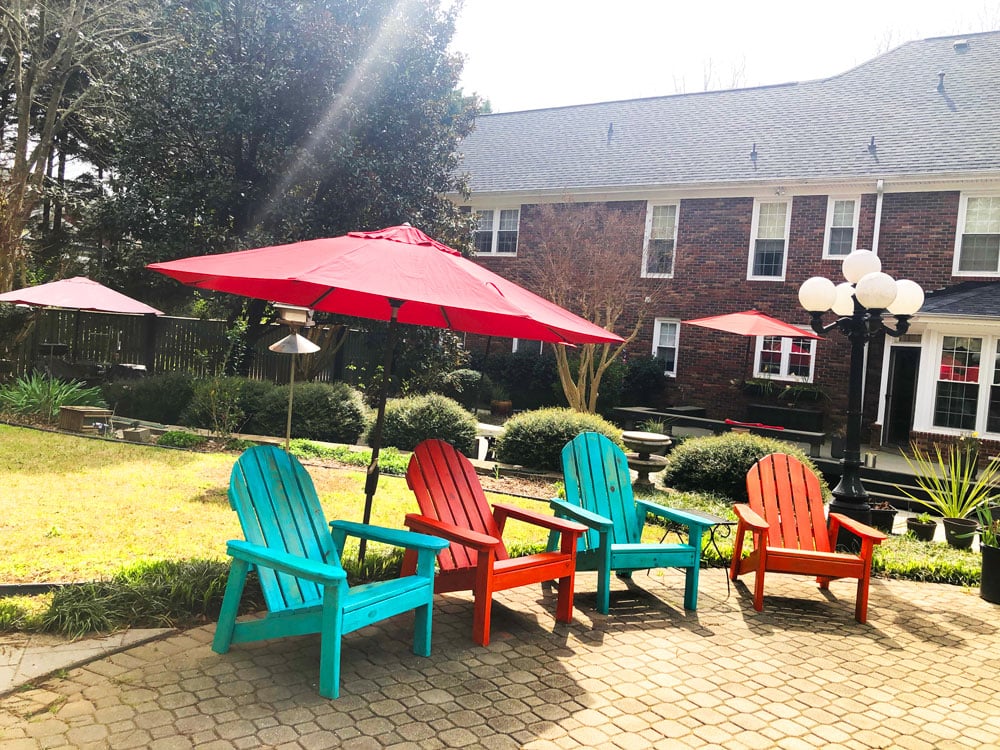
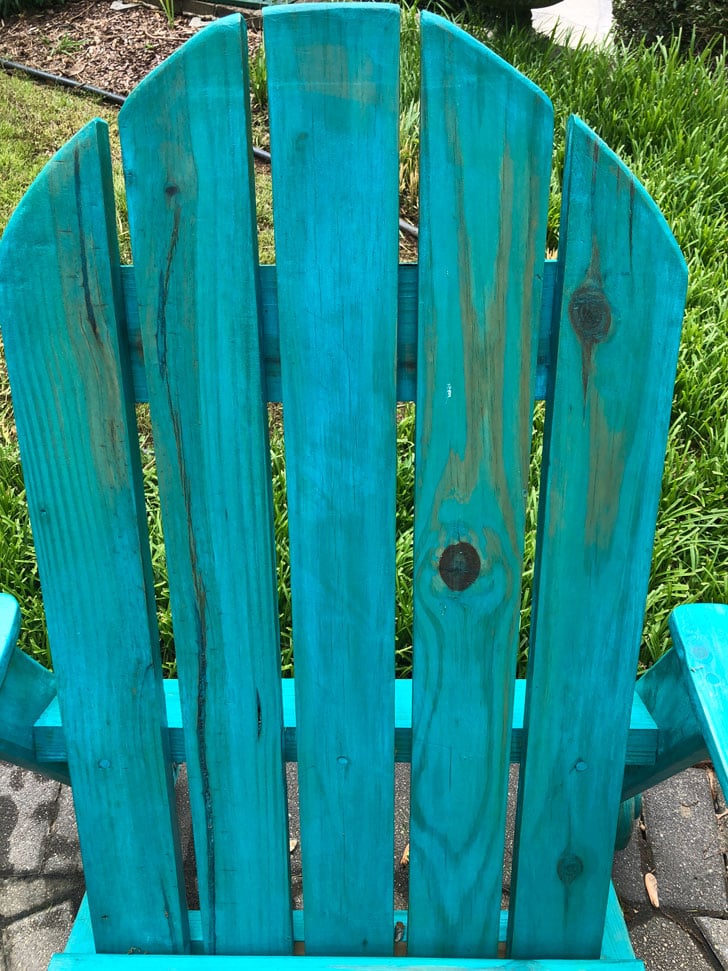
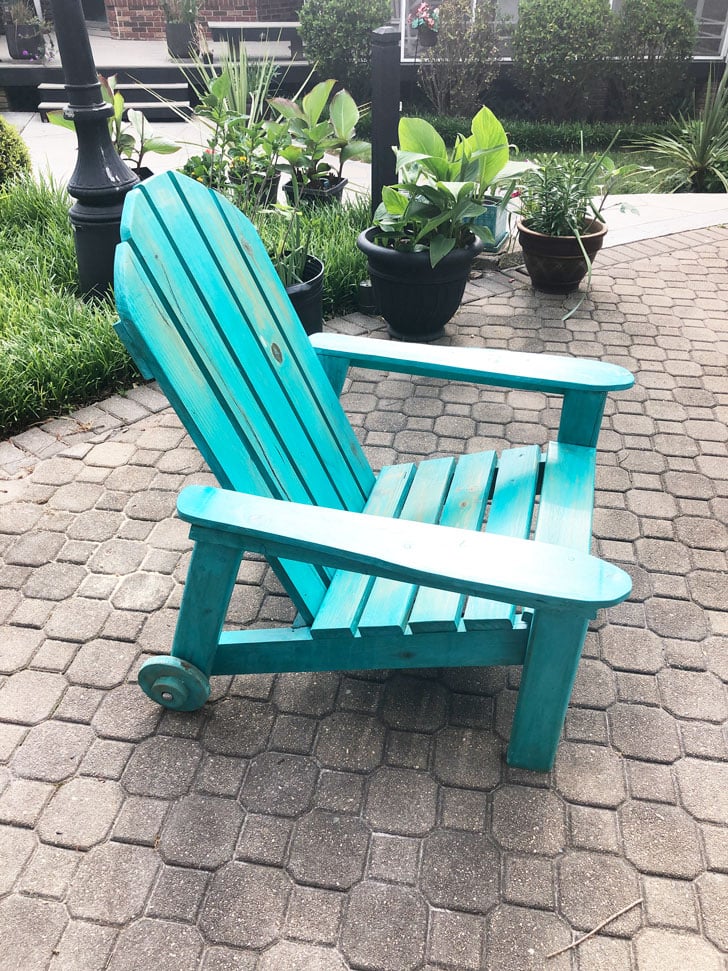
Adirondack chairs from your plans. My husband added some rounding on the arms and back. We wanted them to look like well weathered beach chairs. To get that effect we used milk paint which lets the grain show through.

The best addition are the two wooden wheels on the back leg of the chairs, I can now easily move them around my patio.

Estimated Cost
$ 30 per chair
Estimated Time Investment
Weekend Project (10-20 Hours)
Finish Used
Milk paint
Recommended Skill Level
Intermediate
Comments

Seasonal And Holiday

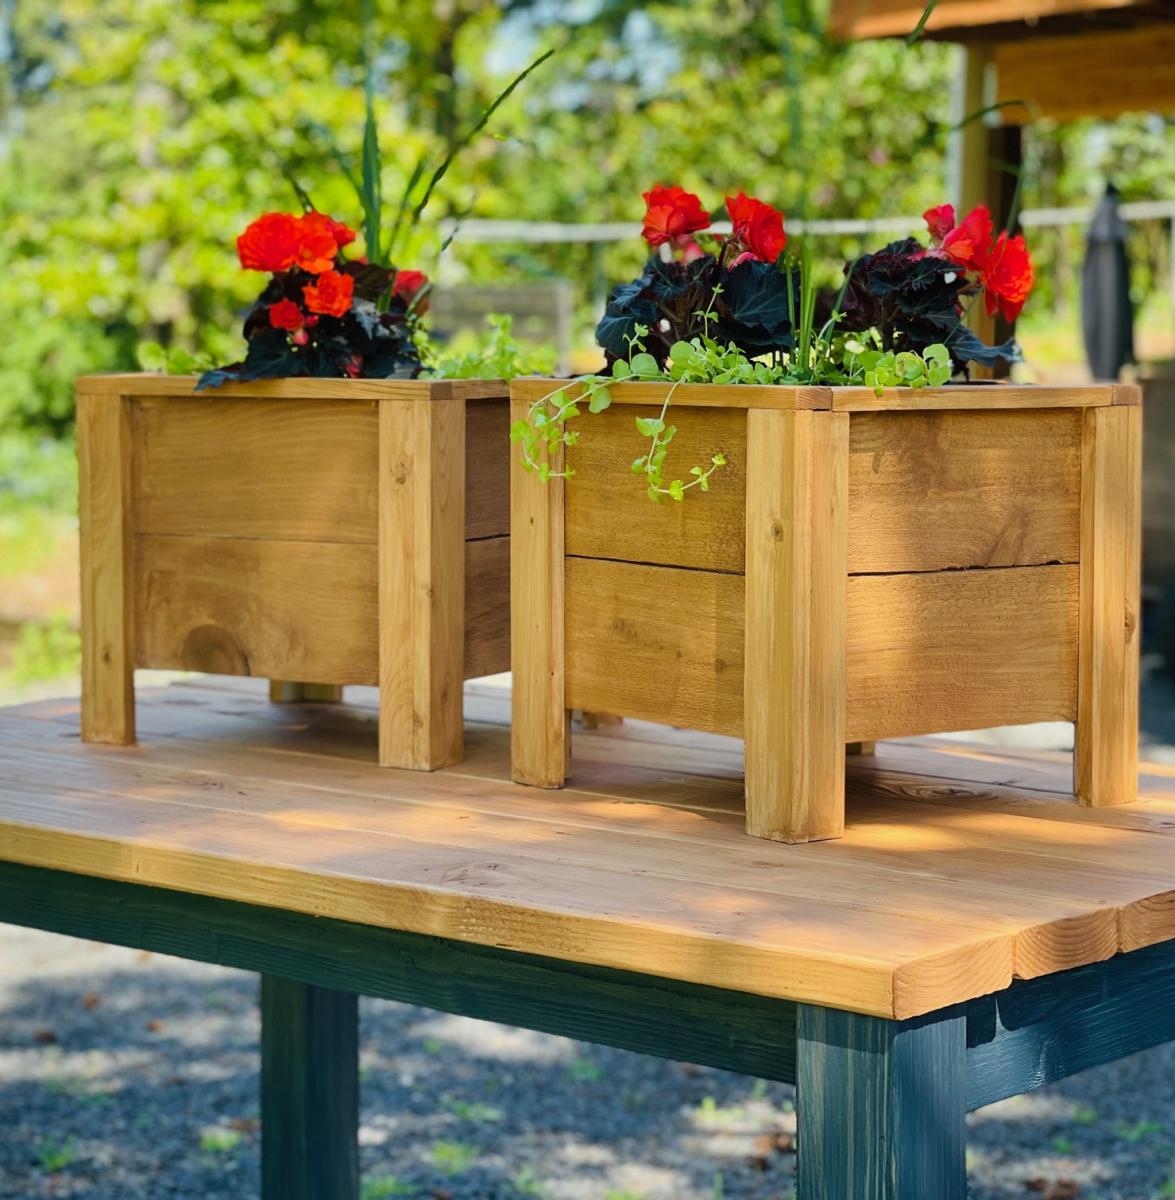
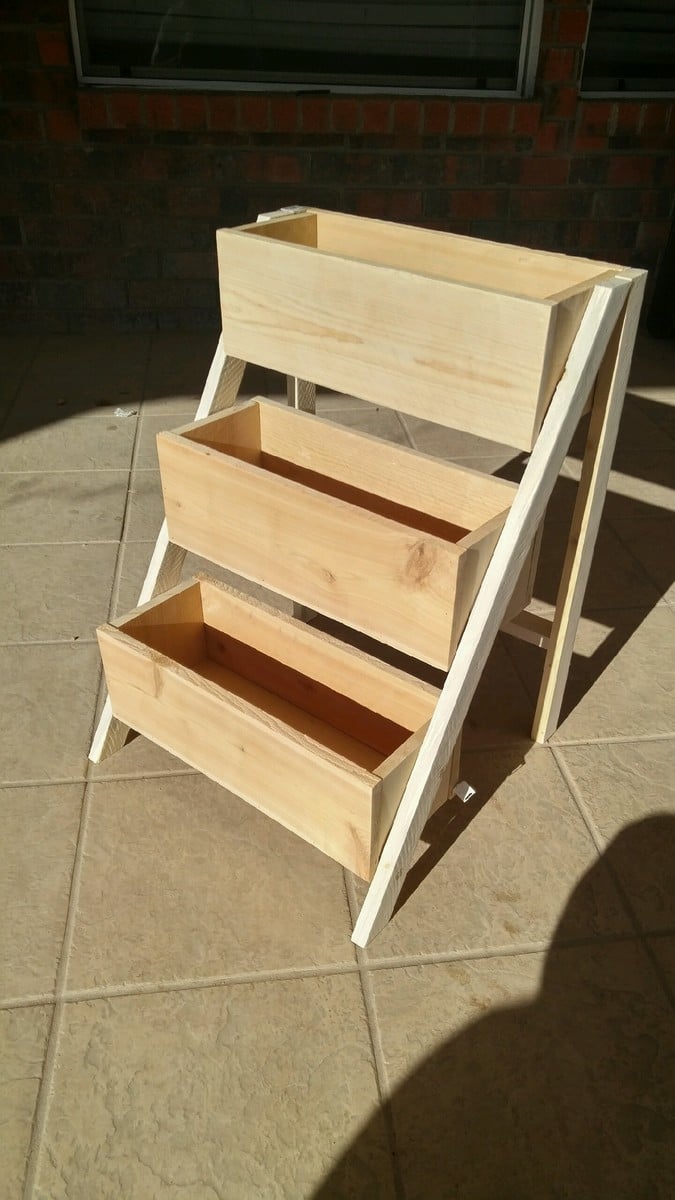
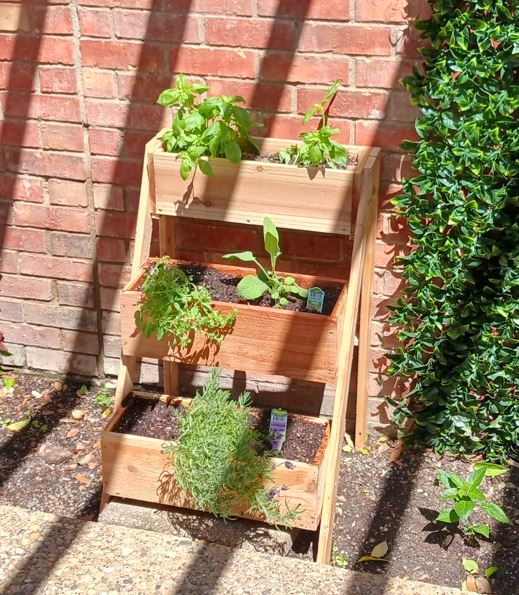
Cedar 3 tier planter

Submitted by Anonymous (not verified) on Sun, 04/30/2023 - 09:33

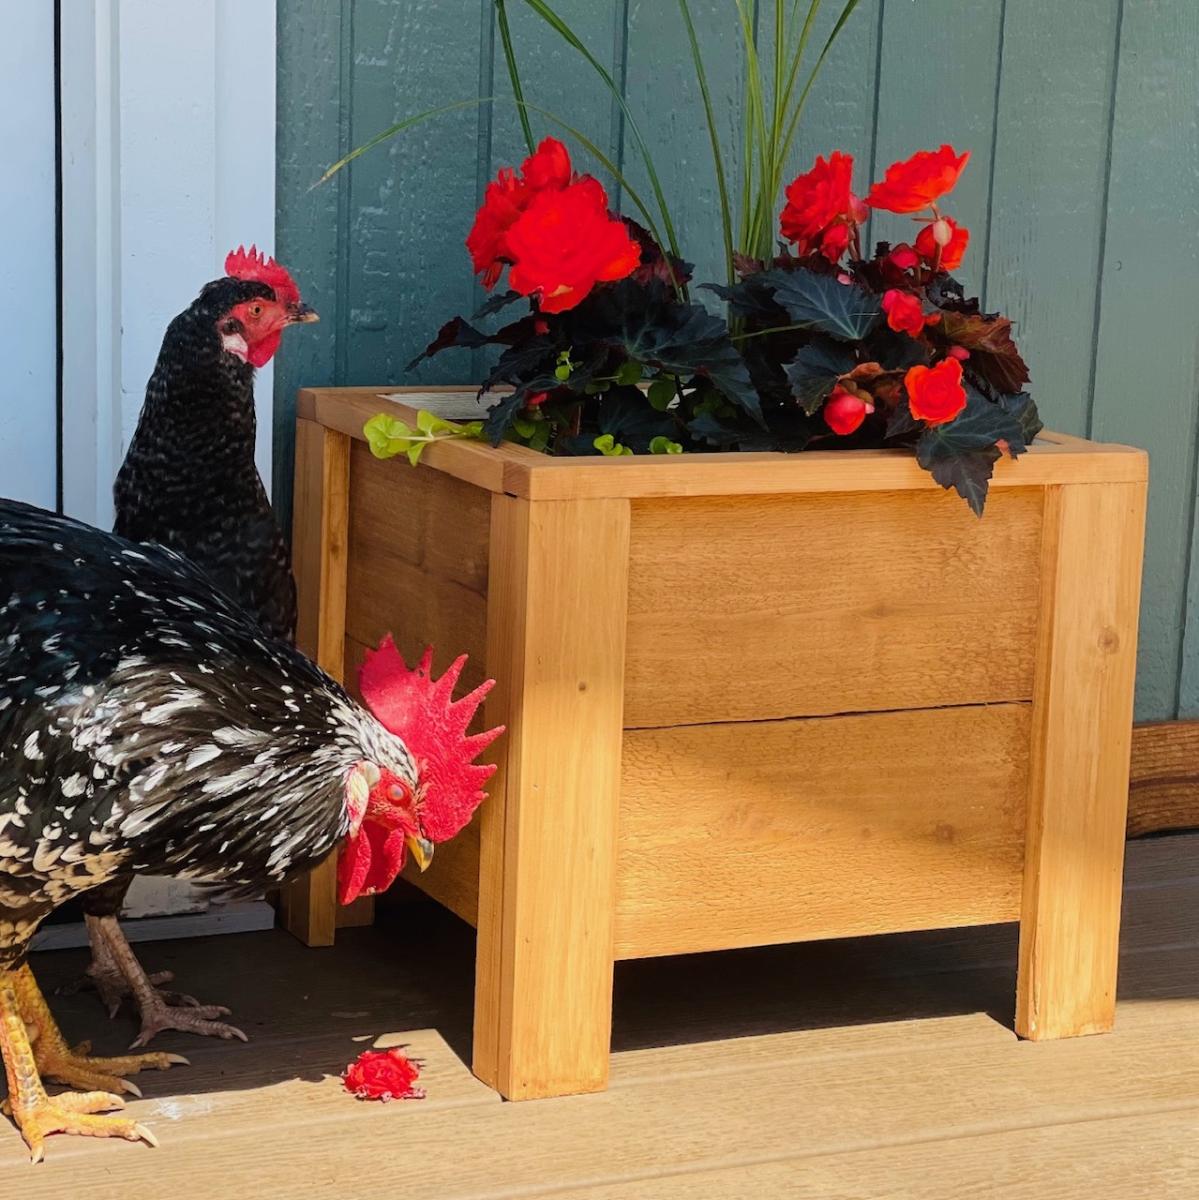
I made the boxes a little wider than the plans called for but still came out great. I'm very happy. Thanks Ana for the inspiration.

Comments

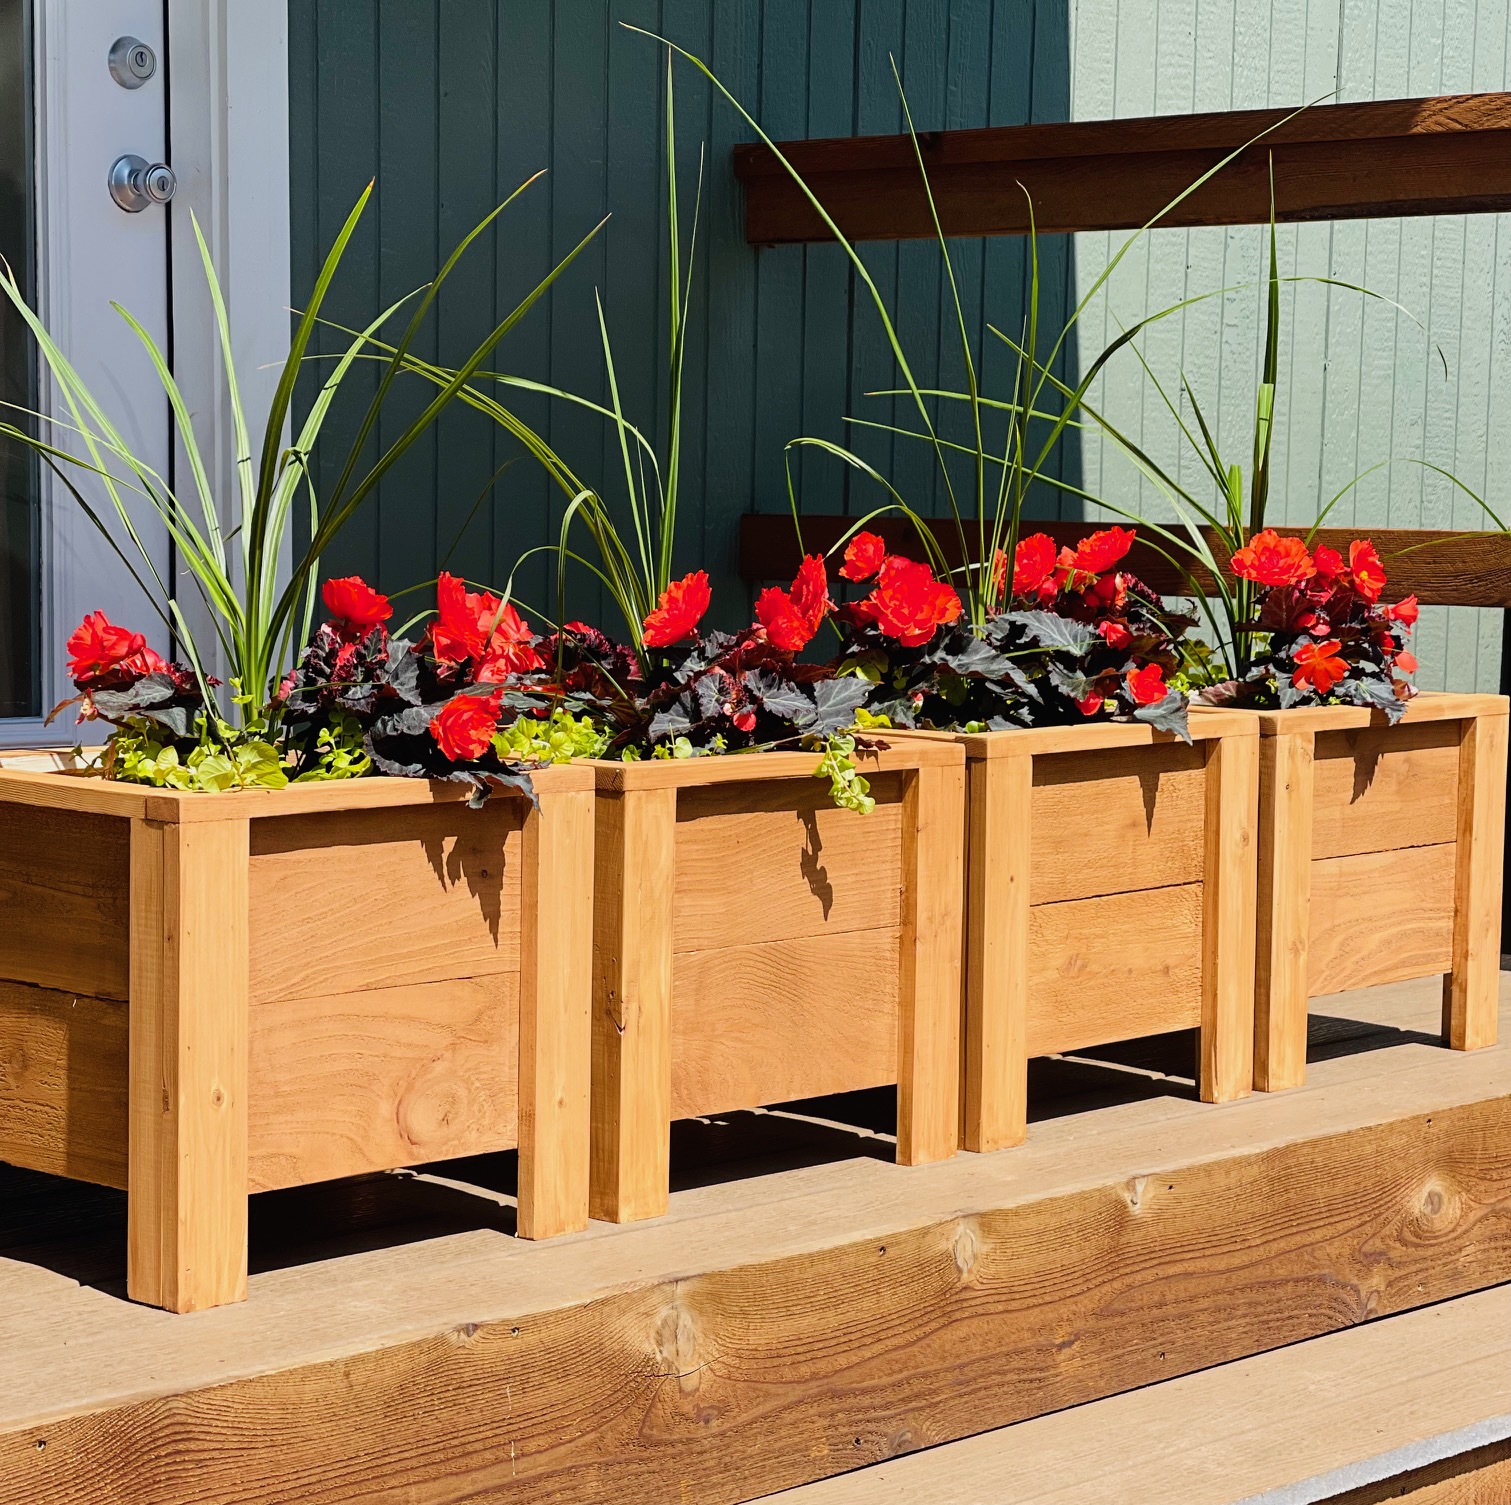
Easy Build Fence Picket Planters

Submitted by vendo on Thu, 05/11/2023 - 12:14

I've been wanting to build this plan for quite some time! Took me about 2 hours to build and 1 hour to finish. Giving these as gifts for Mother's Day! Total cost was about $15 per planter. I scaled down the design after I found the plants I wanted to put in them. Ana has the best and easiest plans!


Seasonal And Holiday

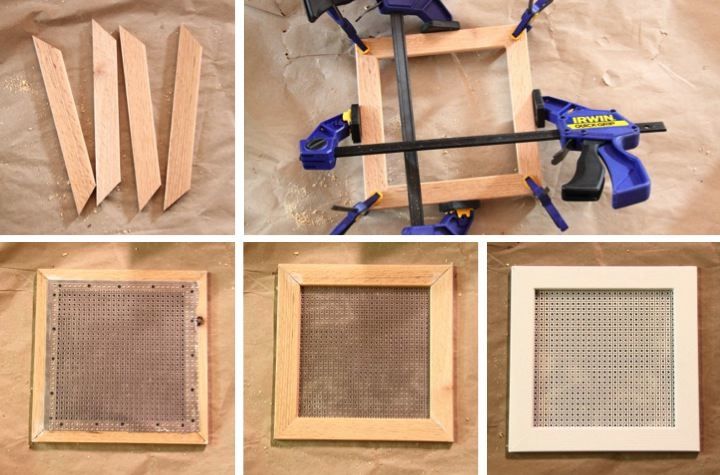
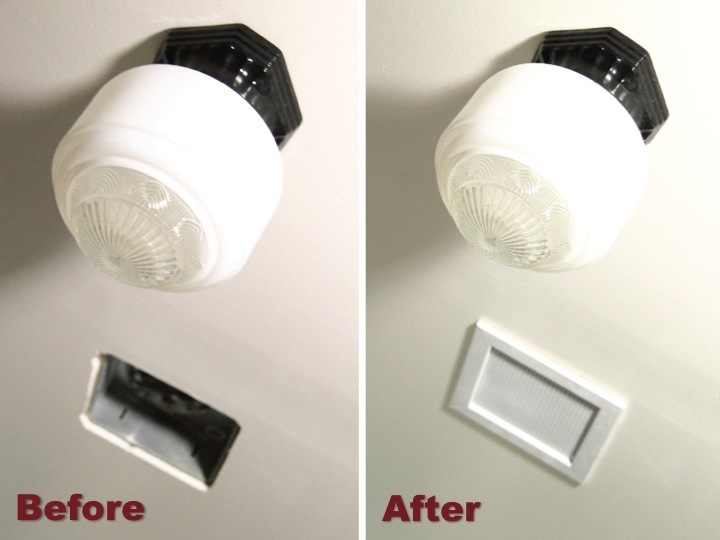
DIY Bathroom Fan Vent Cover

Submitted by lbrown on Tue, 02/28/2012 - 04:56

The plastic cover that came with the fan looked cheap and flimsy and really didn't fit in with the vintage style of my bathroom. I searched around to try and find something else that would work but was unsuccessful so I decided that I needed to make something myself.

For details on how to build it: http://www.homeandawaywithlisa.com/blog/2012/2/28/diy-bathroom-fan-vent…

Estimated Cost
$5
Estimated Time Investment
An Hour or Two (0-2 Hours)
Finish Used
Spray paint primer followed by two coats of my ceiling paint
Recommended Skill Level
Starter Project

Comments

Steven (not verified)

Tue, 02/28/2012 - 06:38

Thanks lbrown, you just gave me an idea. We are painting our entire upstairs and hate those industrial looking air return vents. This would be a great replacement for them. Thanks for the inspiration.
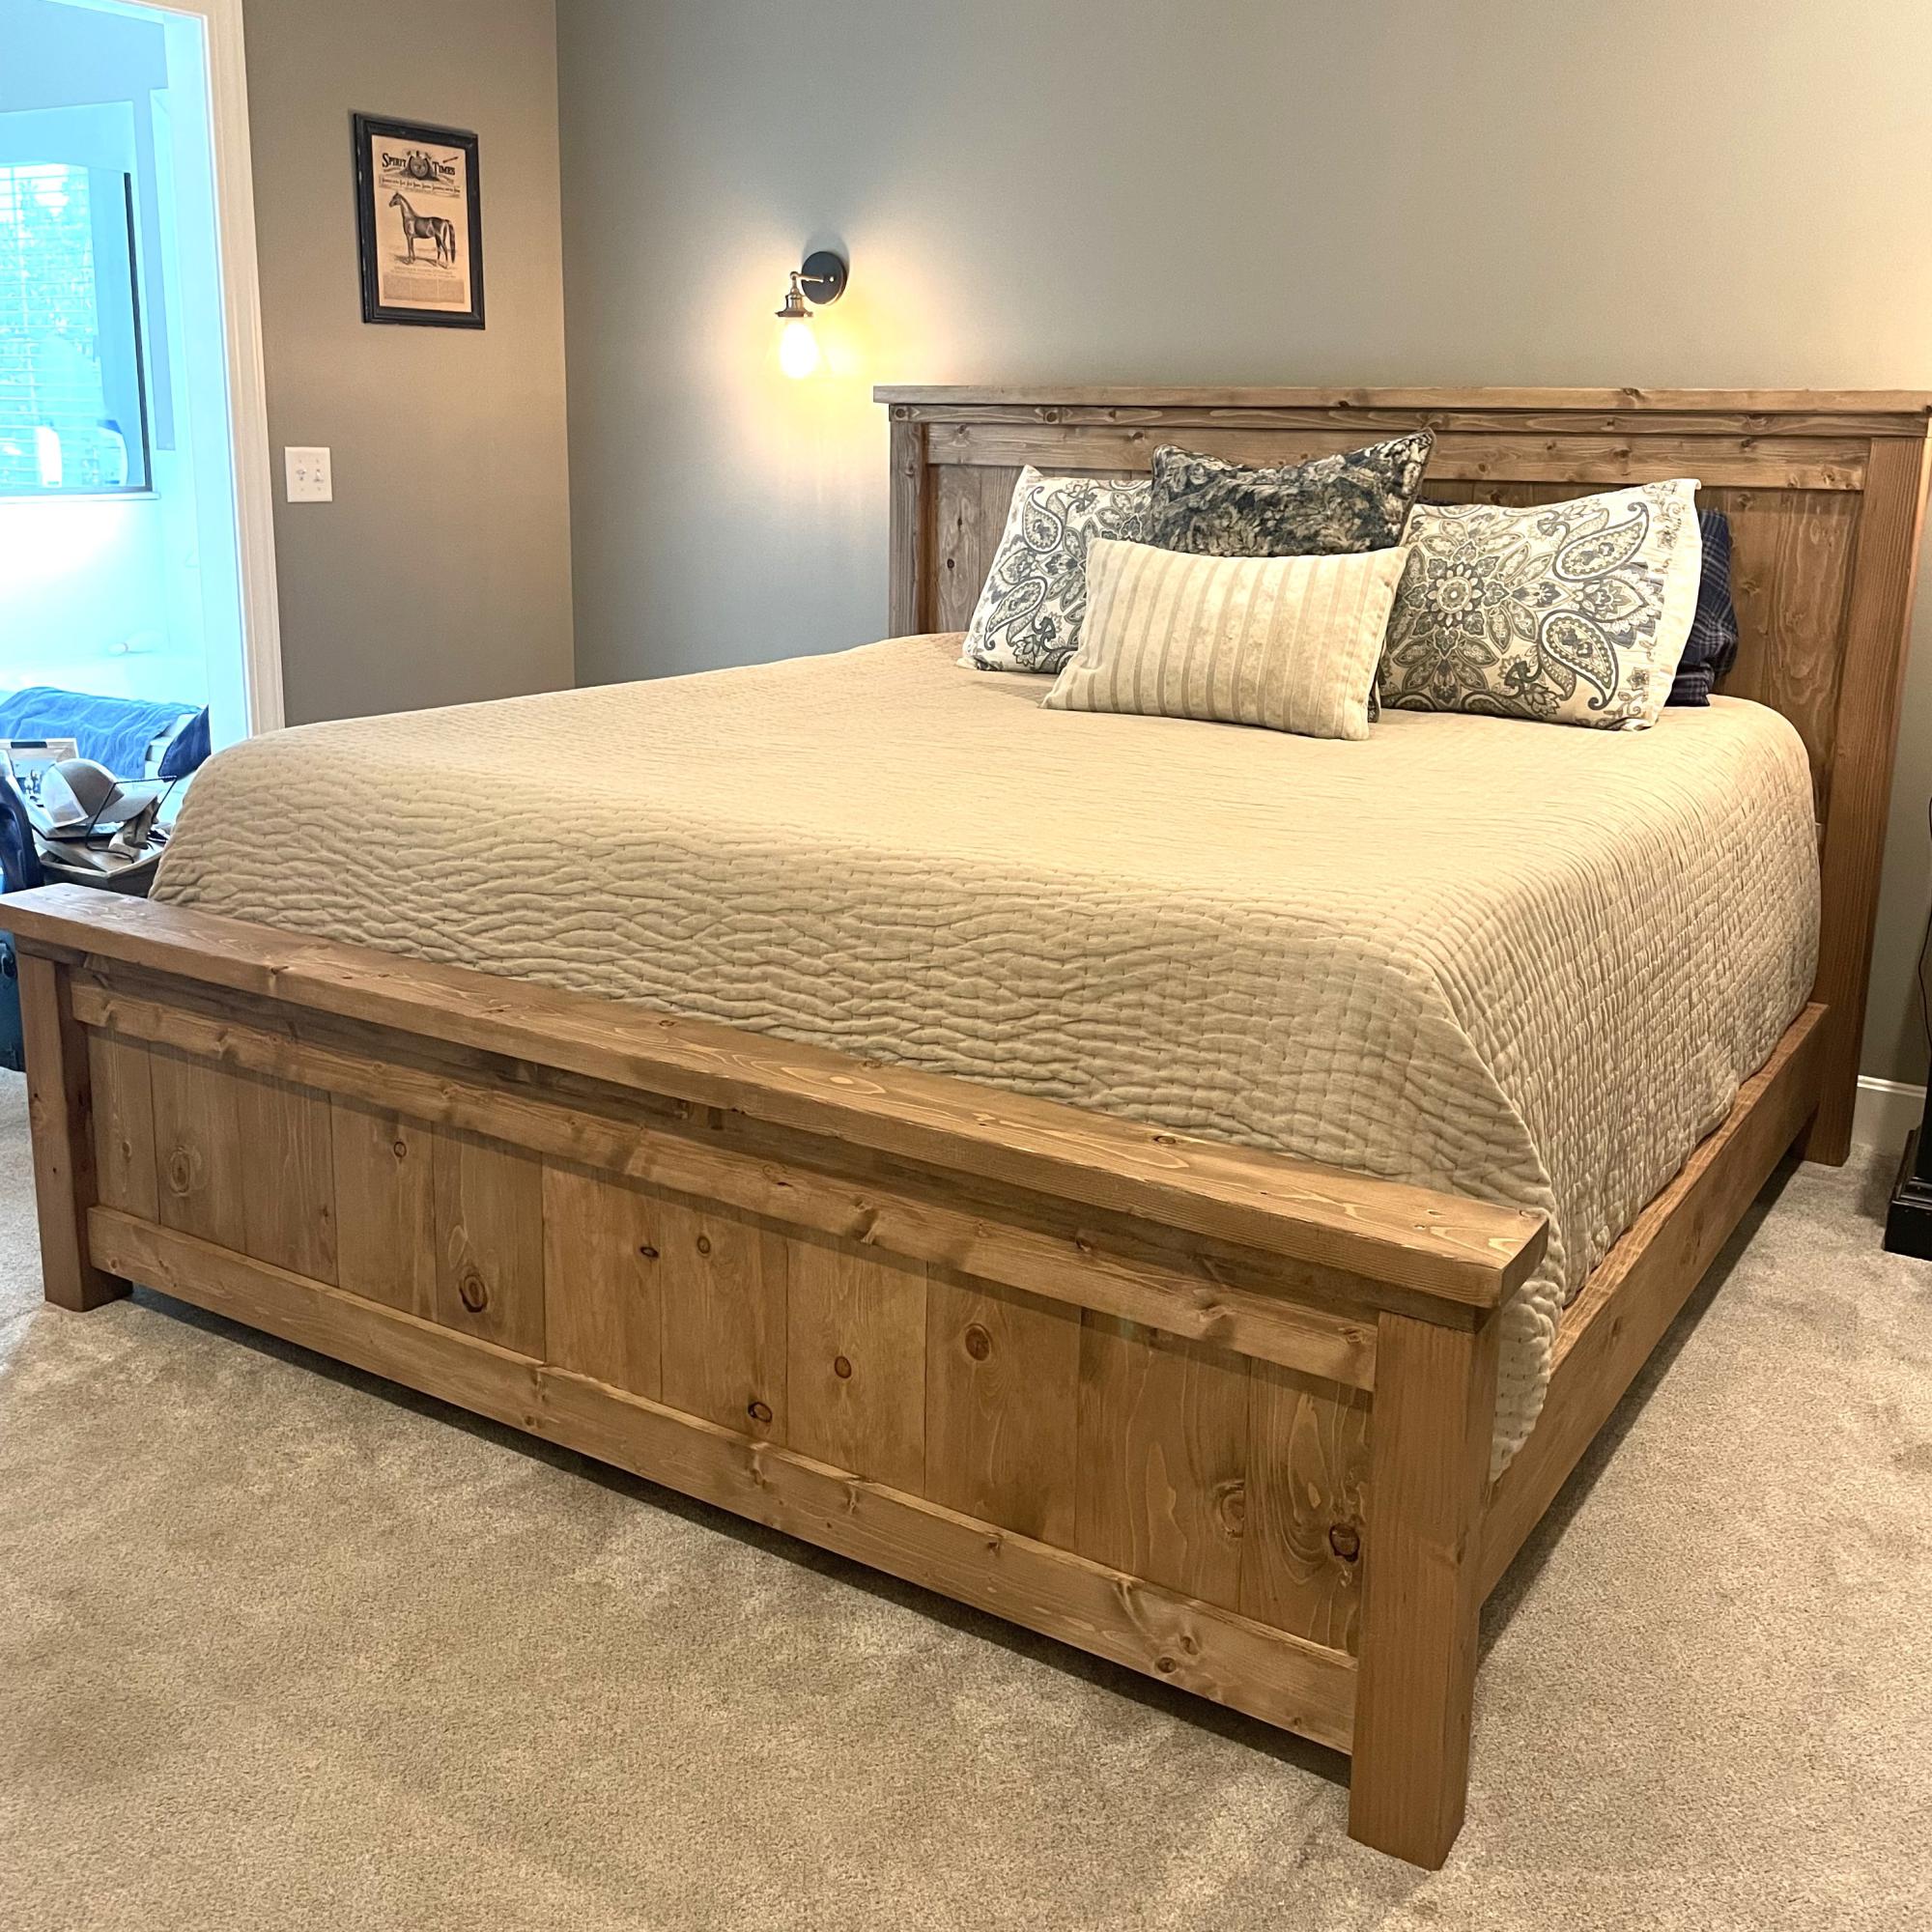
DIY Farmhouse Bed wth Boxspring

Submitted by Anonymous (not verified) on Sun, 07/16/2023 - 10:49

Wood = Pine
Finish = Minwax Special Walnut (after Pre-Stain)

This was a pretty straight forward build, but nice to have an extra set of hands. On the top board of the head/footboard, a countersink bit was used to recess the screw heads (otherwise, all fasteners in the plan are concealed). Then a mixture of glue/sawdust was used to smooth over the countersink hole. The whole project was sanded starting with 60 working up to 220.

We followed the plan, and in the photo this is the height of the bed with box springs and mattress. The bed feels sturdy and comfortable. It was a fun project and my first shot at interior furniture.


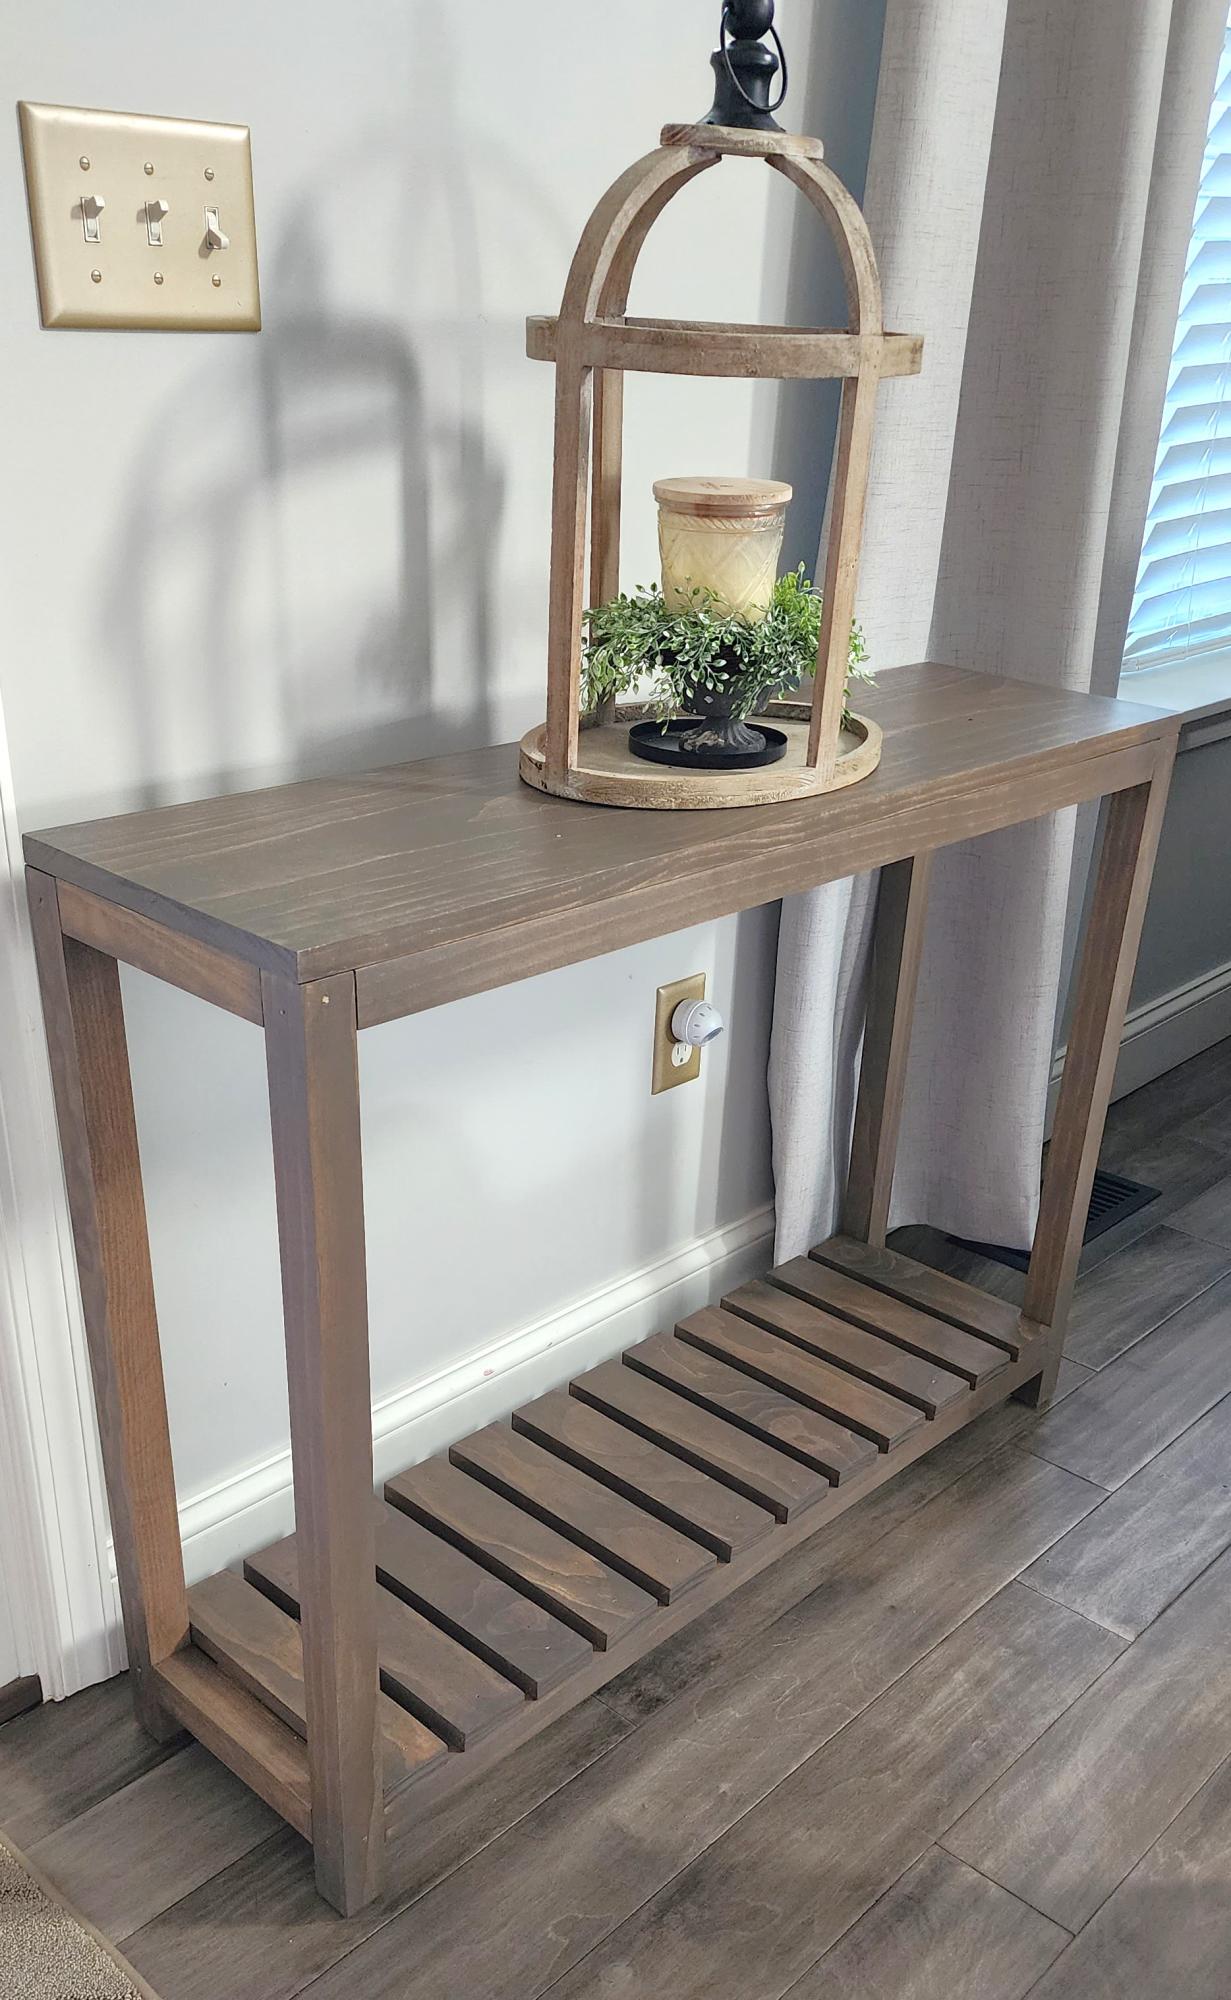
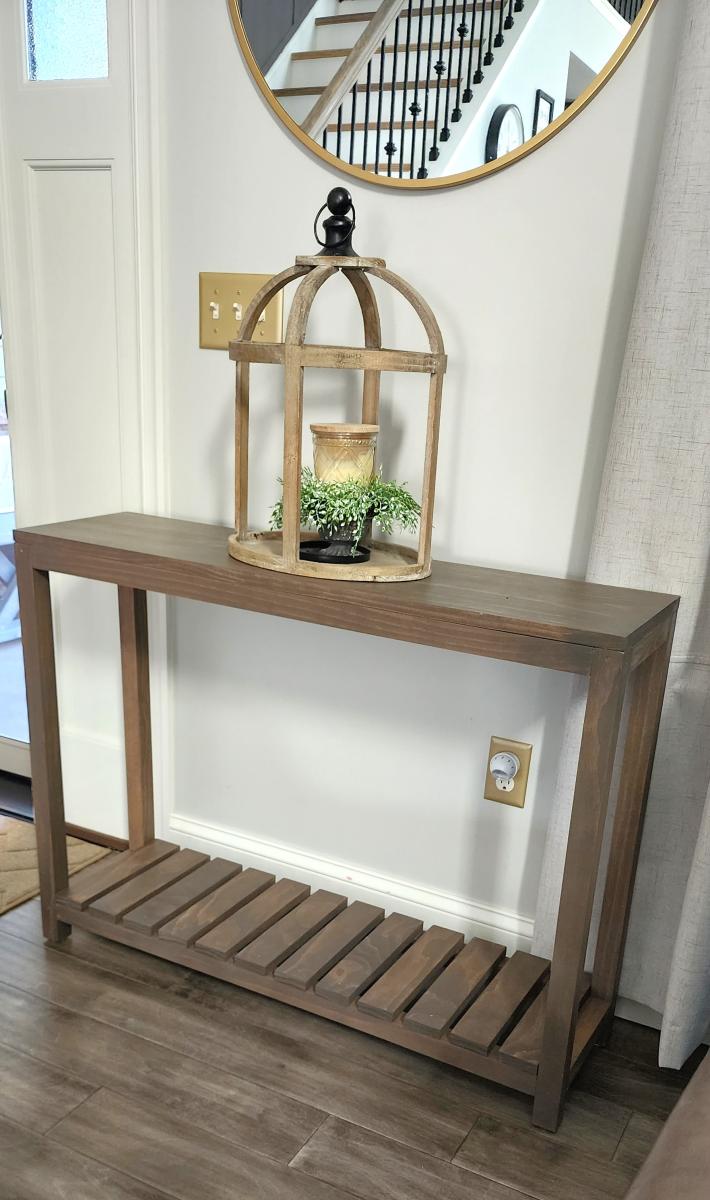
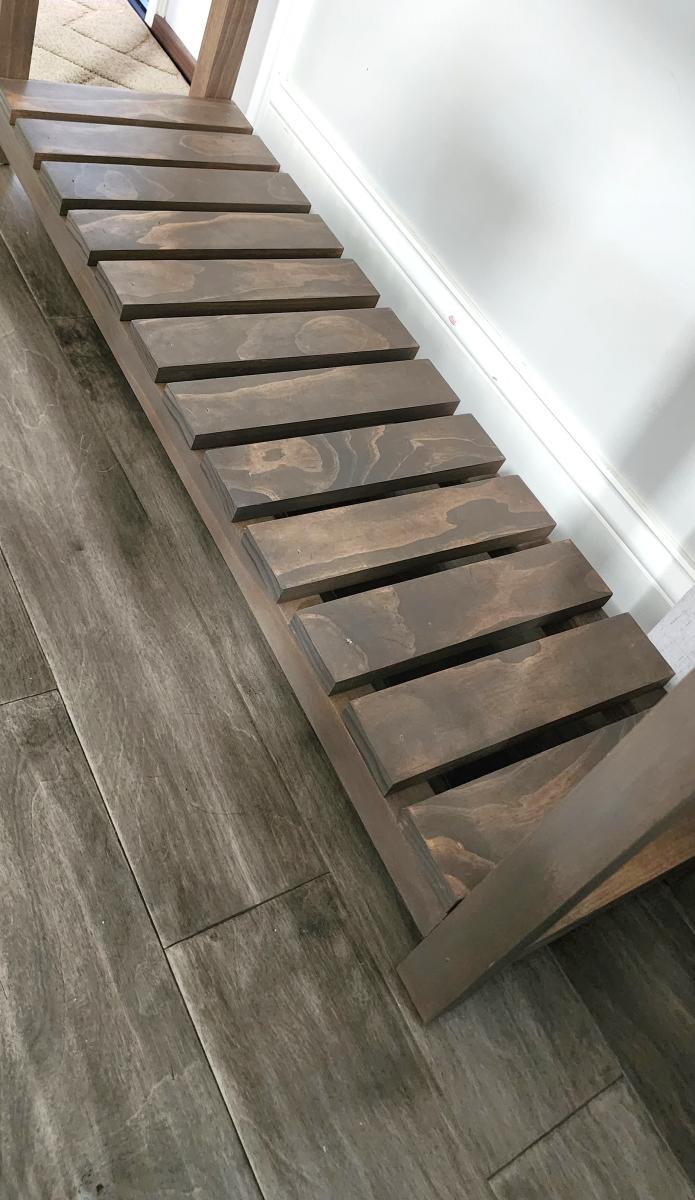
Box Frame Console with Bottom Shelf

Submitted by Anonymous (not verified) on Mon, 07/24/2023 - 13:46

Entry Way Table with Slatted Bottom!

by Missy J Zee on Facebook

Built from Plan(s)

Comments

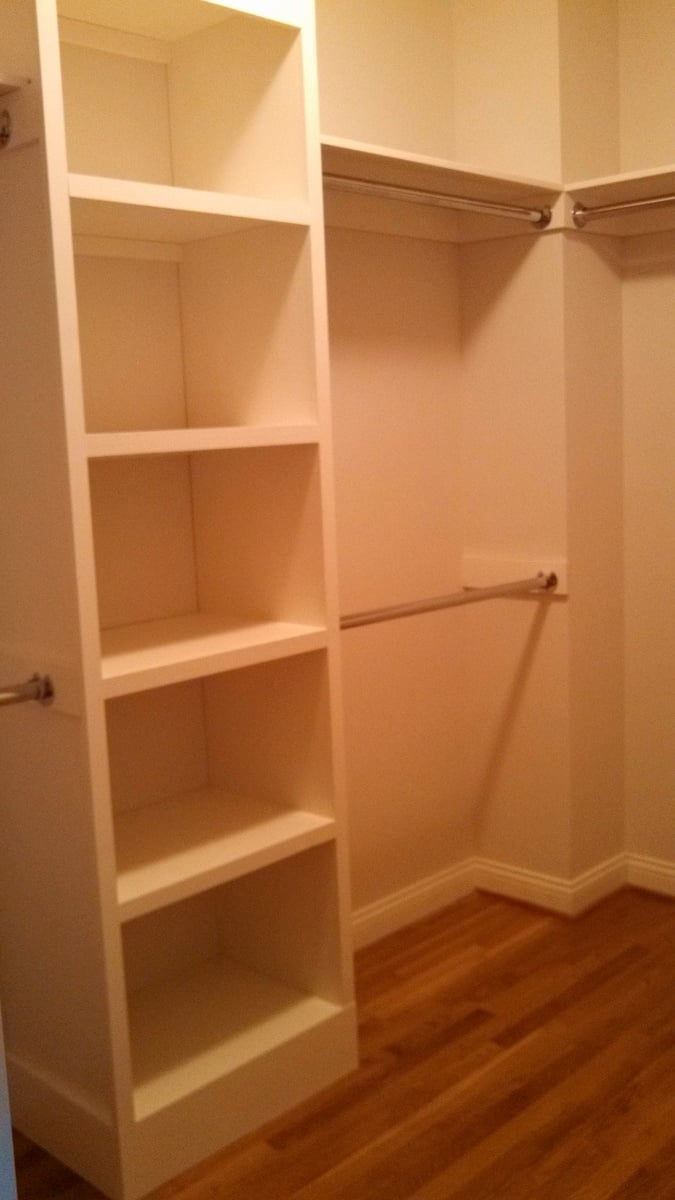
Our master closet from this plan!

Submitted by jec on Sat, 01/11/2014 - 07:18

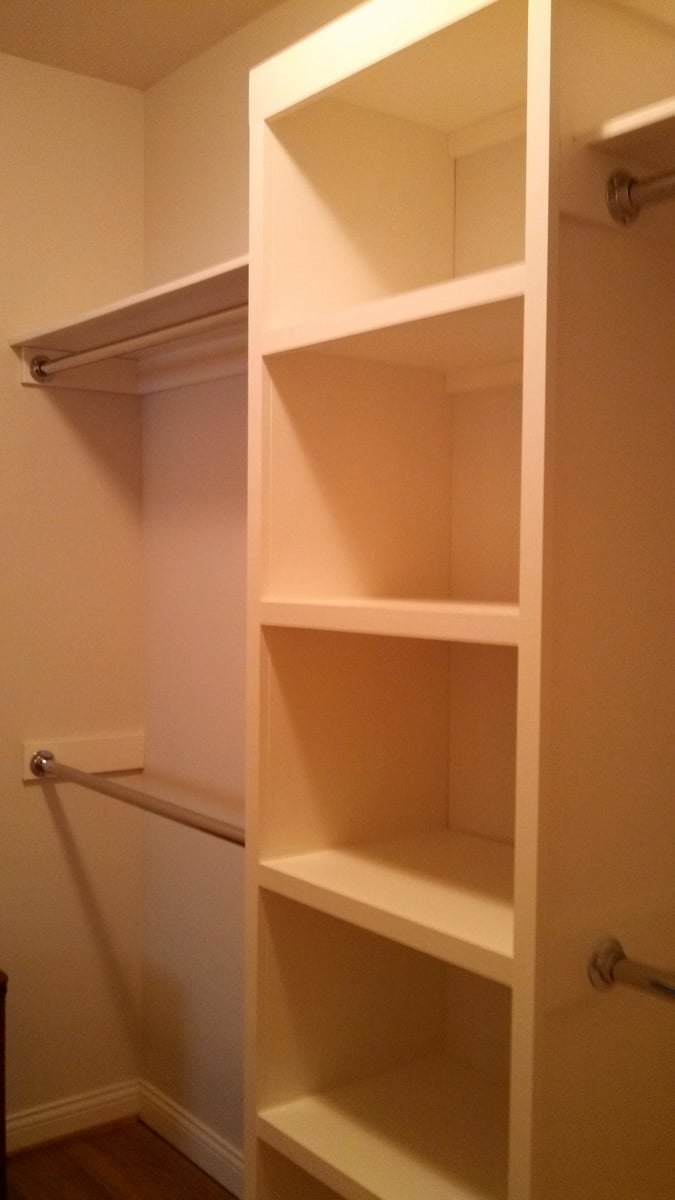
We built this master closet using the simple closet plan. It looks wonderful and wasn't too difficult to do once we determined the measurements we needed to use to fit our closet. My husband does not have much building experience at all, but he was able to do this with Ana's fabulous plans. Thank you so much for saving us hundreds of dollars! We have real wood in our closet and we love it!

We used plywood and painted all surfaces with indoor latex trim paint.

Built from Plan(s)
Estimated Cost
$100
Estimated Time Investment
Weekend Project (10-20 Hours)
Finish Used
Painted with interior latex trim paint from Porter Paint. Used 2 coats.
Recommended Skill Level
Beginner

Comments

imortison

Sun, 01/12/2014 - 19:02

It looks very nice. May I ask what dimension of the plywood you used?
They look more than 3/4'' thick to me, right? My husband and I are planning our very first project!! Any info /advice would be highly appreciated.

HERB GARDEN PLANTER

Submitted by Codding58 on Tue, 04/05/2016 - 10:18

This project was a super easy and fun build that I made for my mother's herbs. In total I spent probably around $12 in material, and only spent about 2 hours building it. Came out great!

Estimated Cost
$12
Estimated Time Investment
An Hour or Two (0-2 Hours)
Finish Used
none
Recommended Skill Level
Beginner

Comments

In reply to by jfwoodworking

Codding58

Tue, 04/26/2016 - 14:13

Being that its going to be holding moist soil, and inevitably warping some, I didn't want to waste too much money on better wood, so i went with cedar fence boards (5 1/2") for this build. It DID move around a little when I first watered, but everything has held together fine, and I defiantly think it will add to the "rustic" look for my herb garden planter. i will try to upload some pictures as it "ages"
Built in closet

Submitted by AndyH on Mon, 06/13/2016 - 19:14

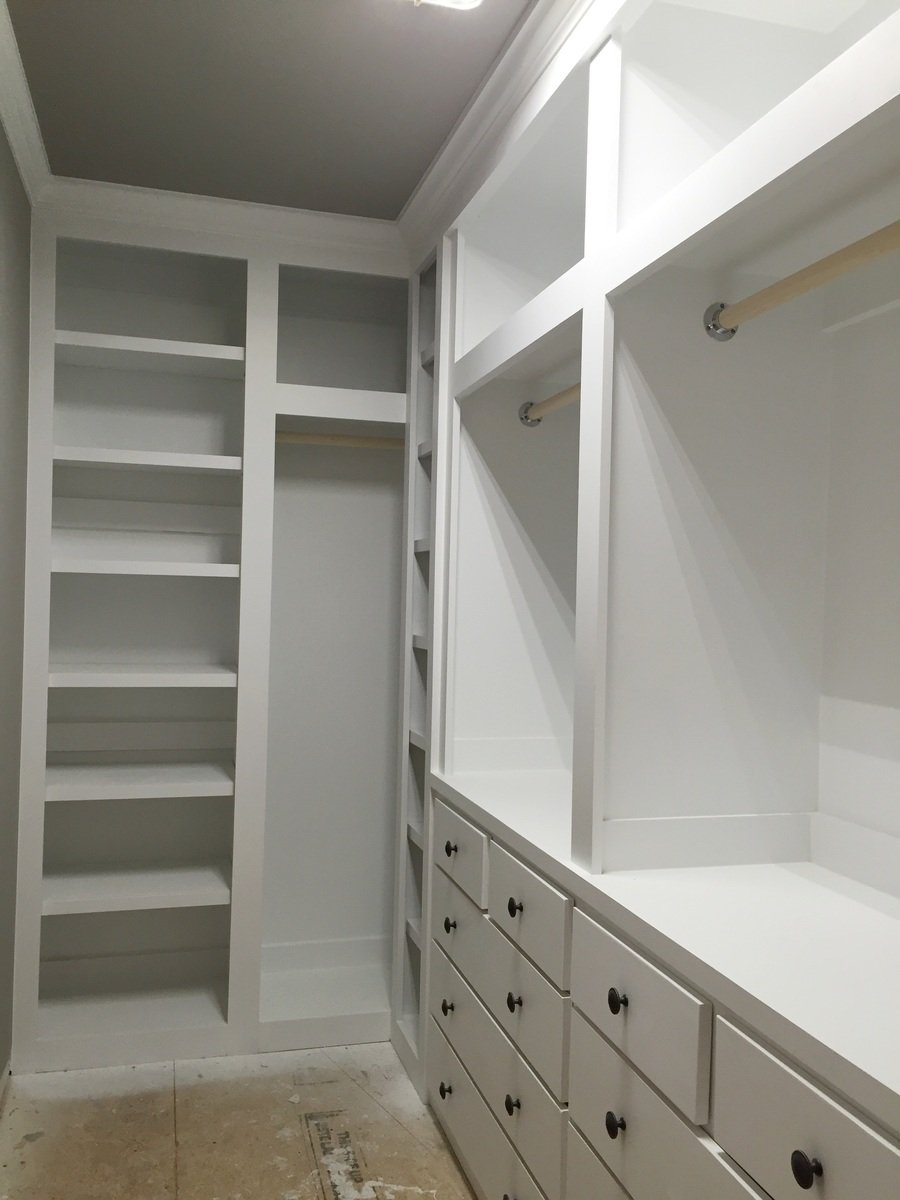
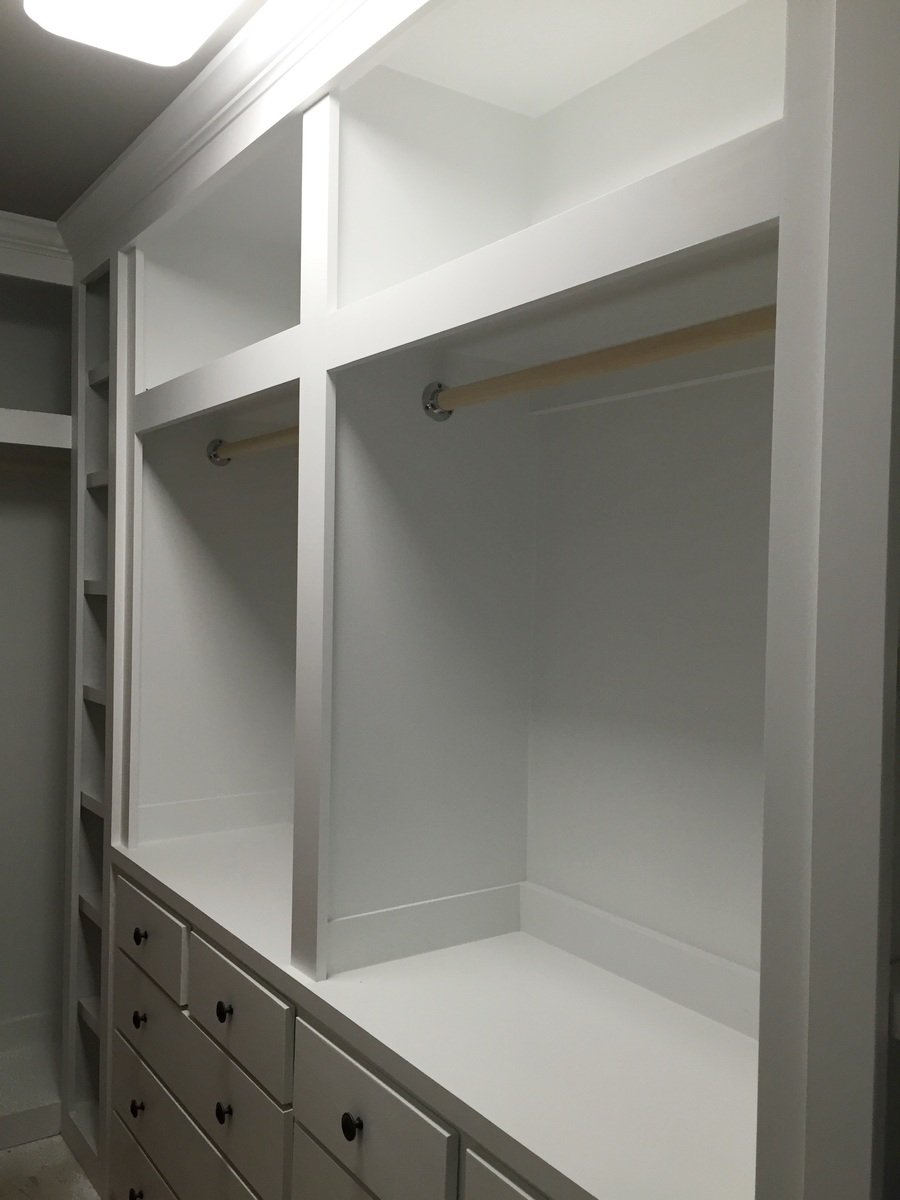
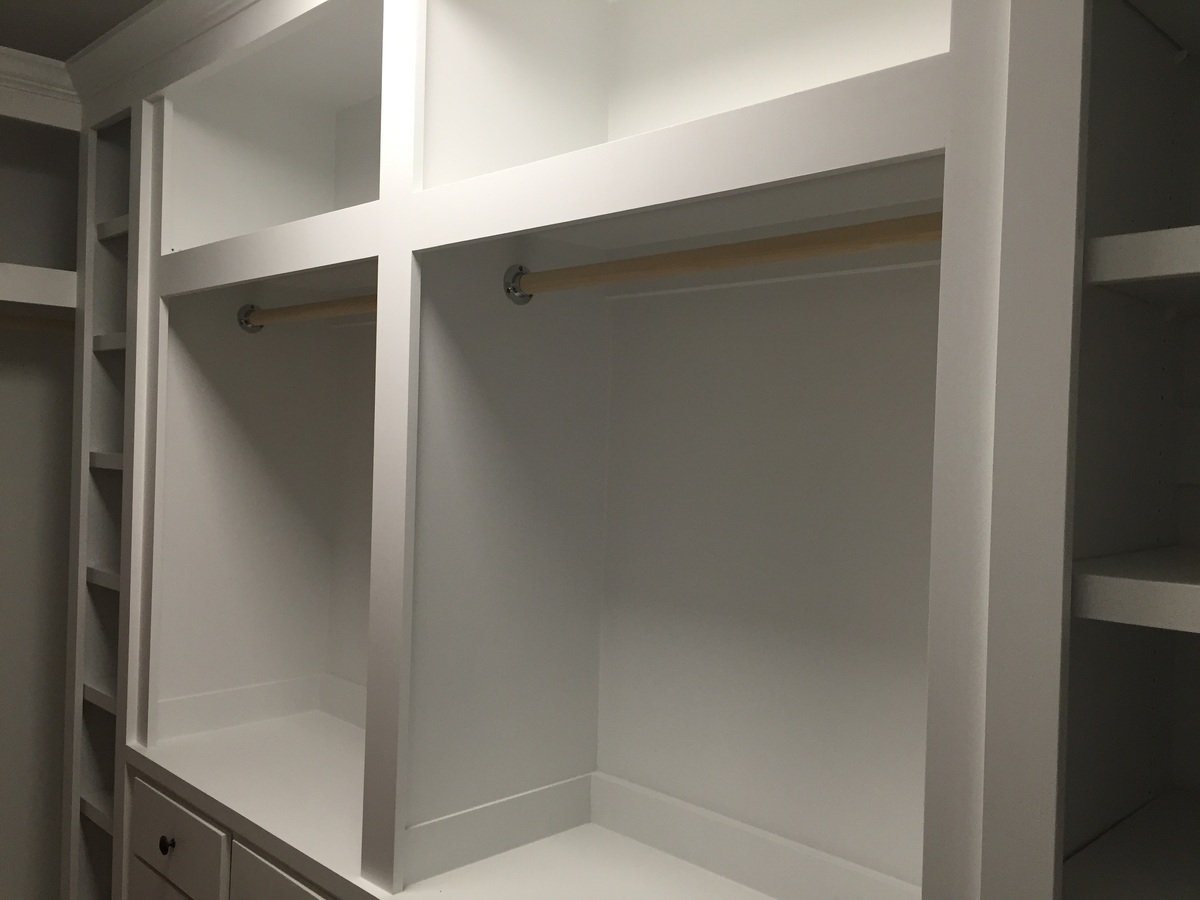
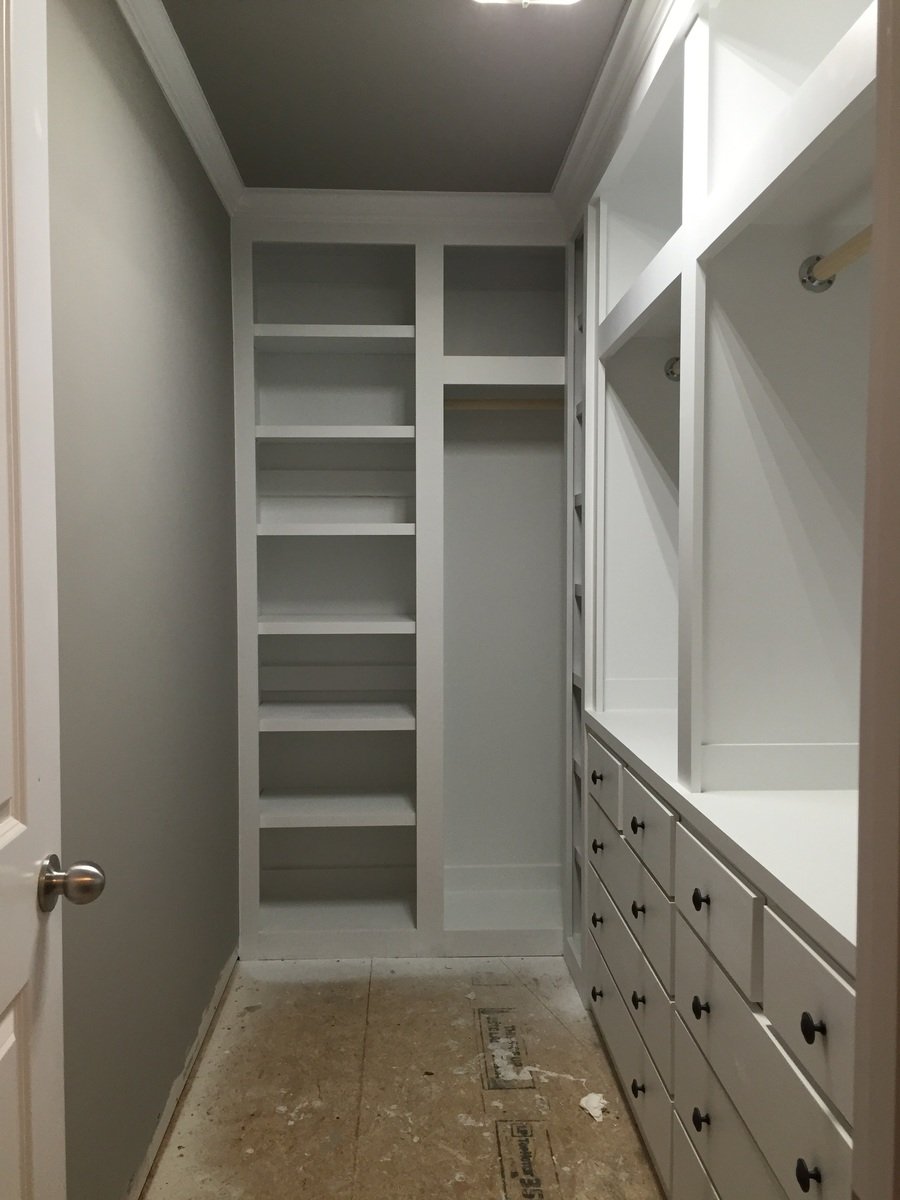
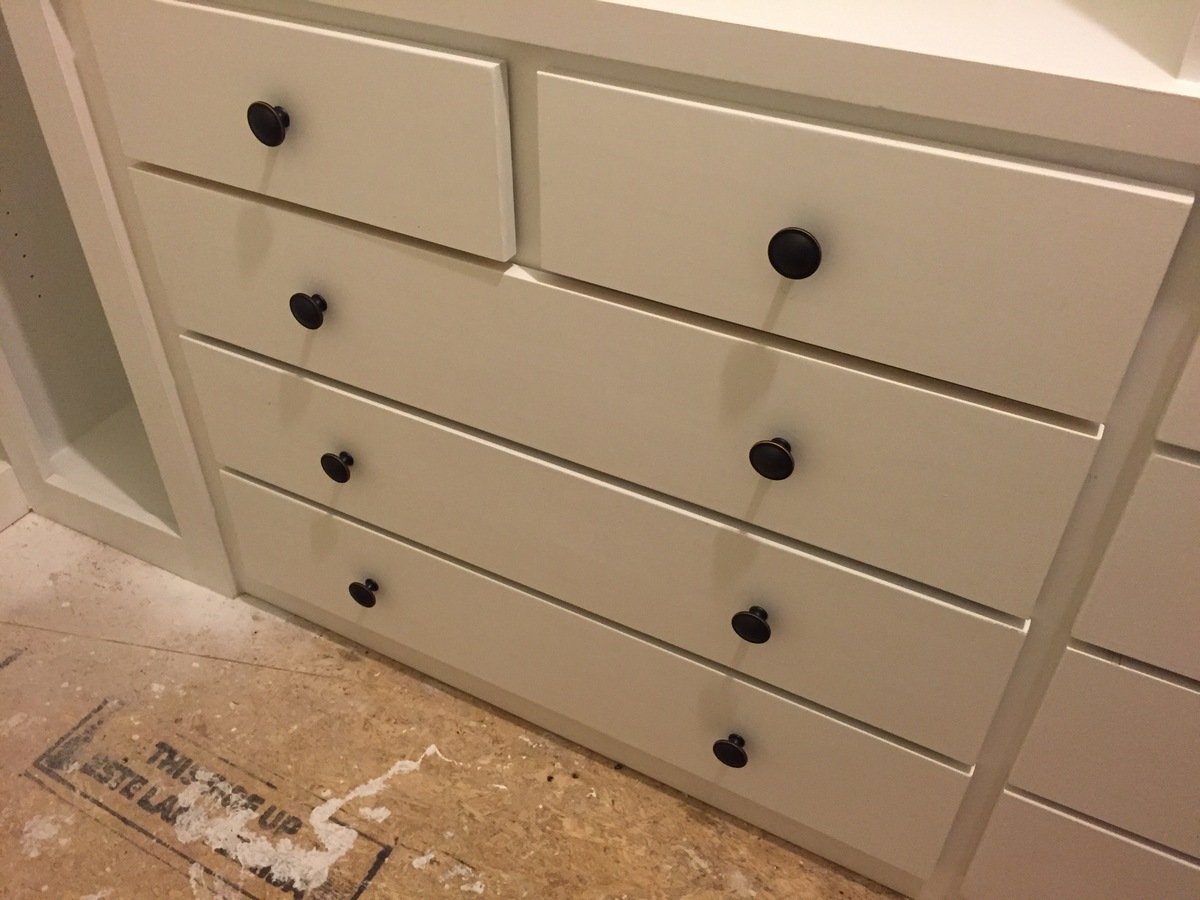
Built in closet to replace builder grade wire wracking.  Closet is approximately 11 feet by 5 feet.  consists of two shoe racks with 7 shelves each.  6 large drawers and 4 small drawers.  Two hanger sections with storage  above them.  End wall has hanger for longer items and storage above and a cabinet with shelves.

Yet to finish the floor.

Estimated Cost
$1000
Estimated Time Investment
Week Long Project (20 Hours or More)
Finish Used
Sherwin Williams Extra White satin paint.
Recommended Skill Level
Intermediate