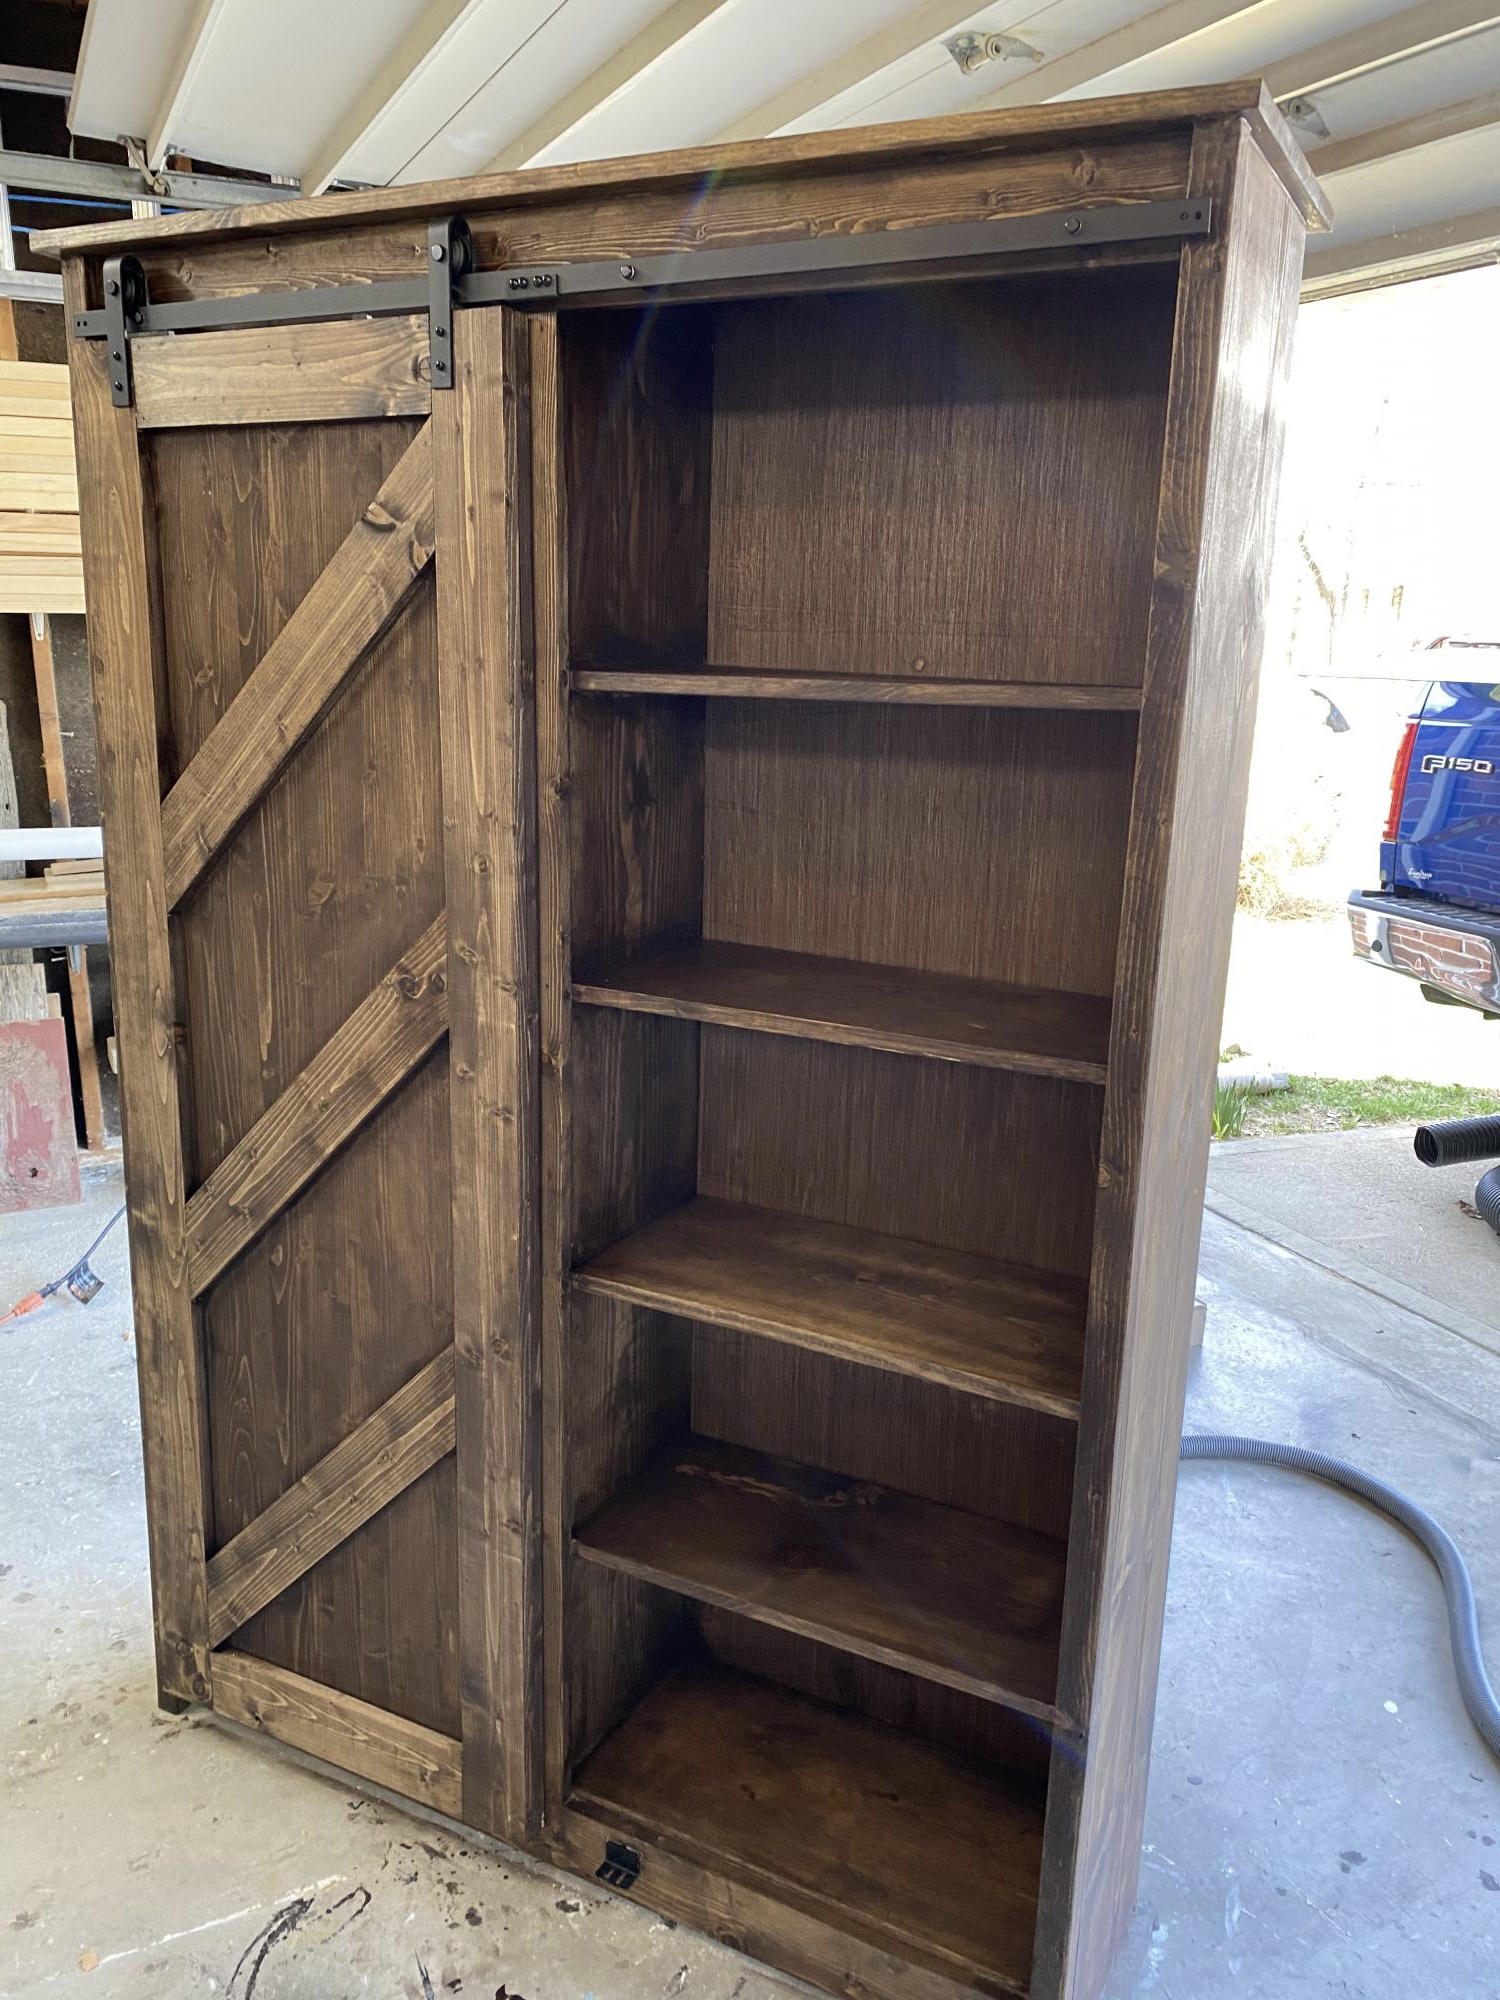
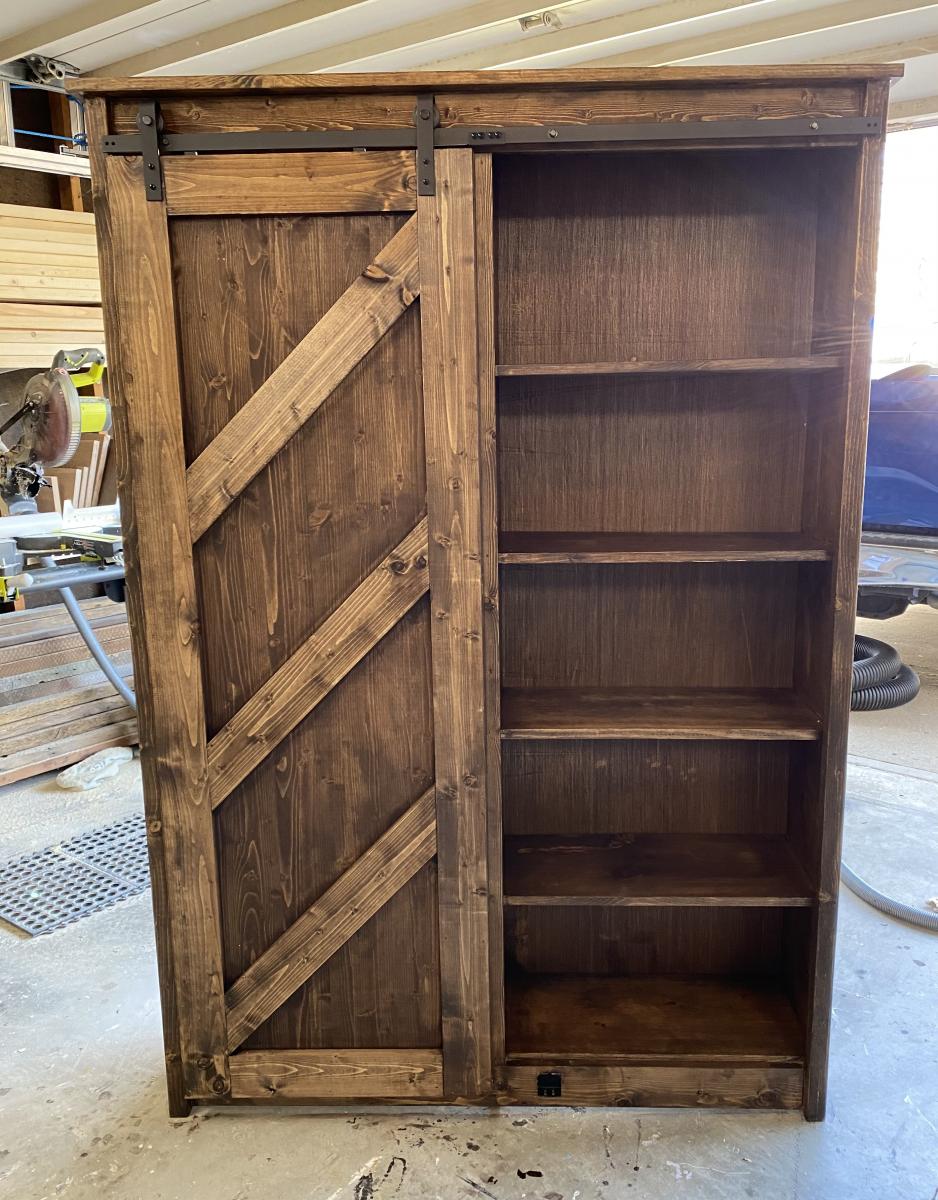
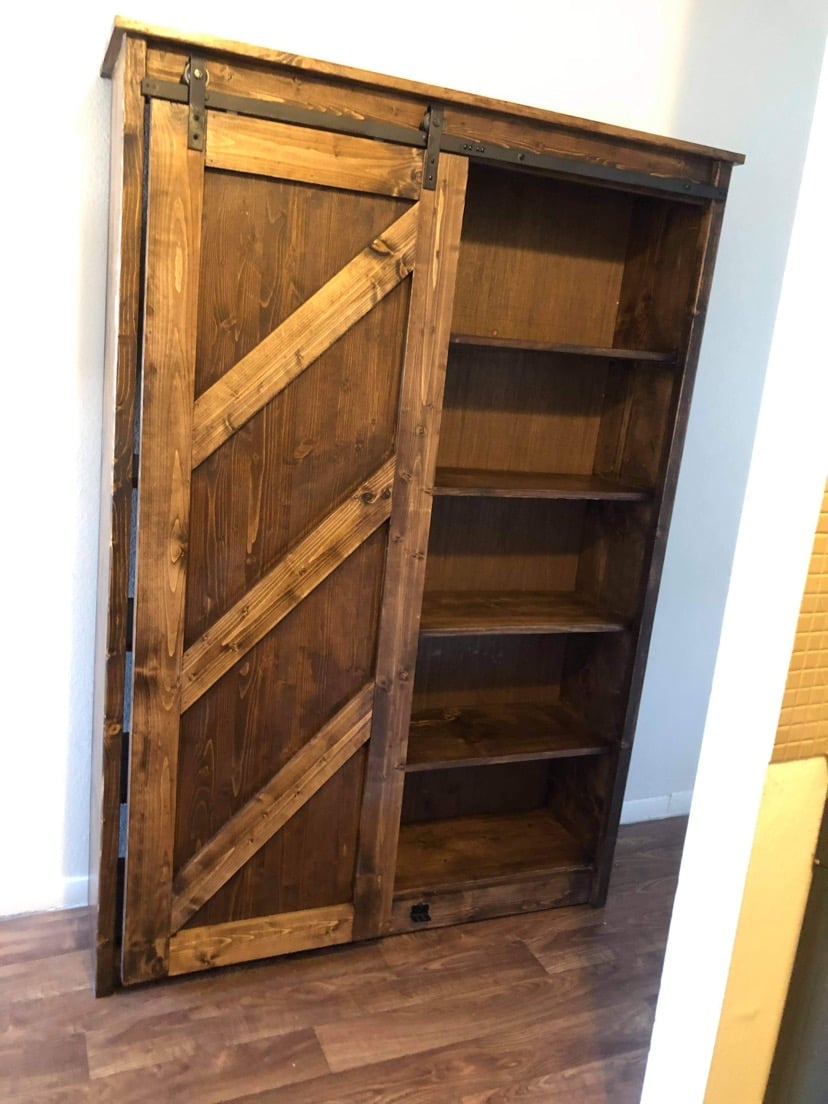
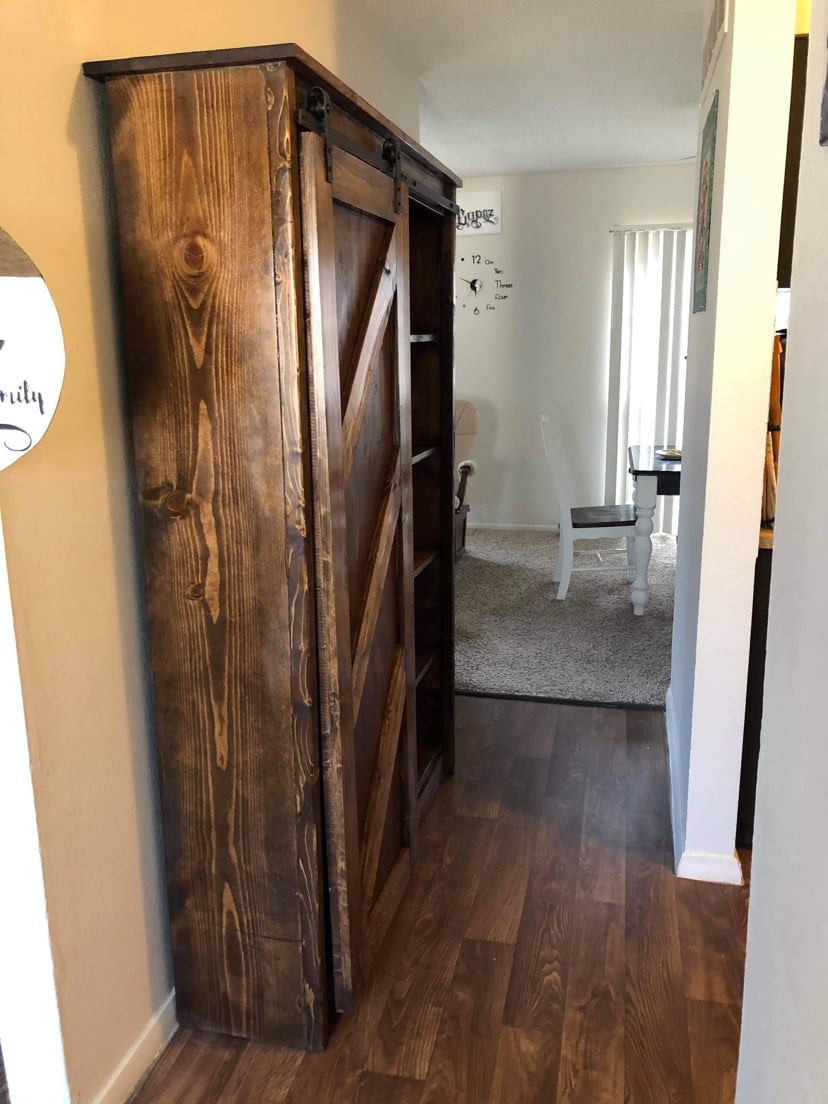
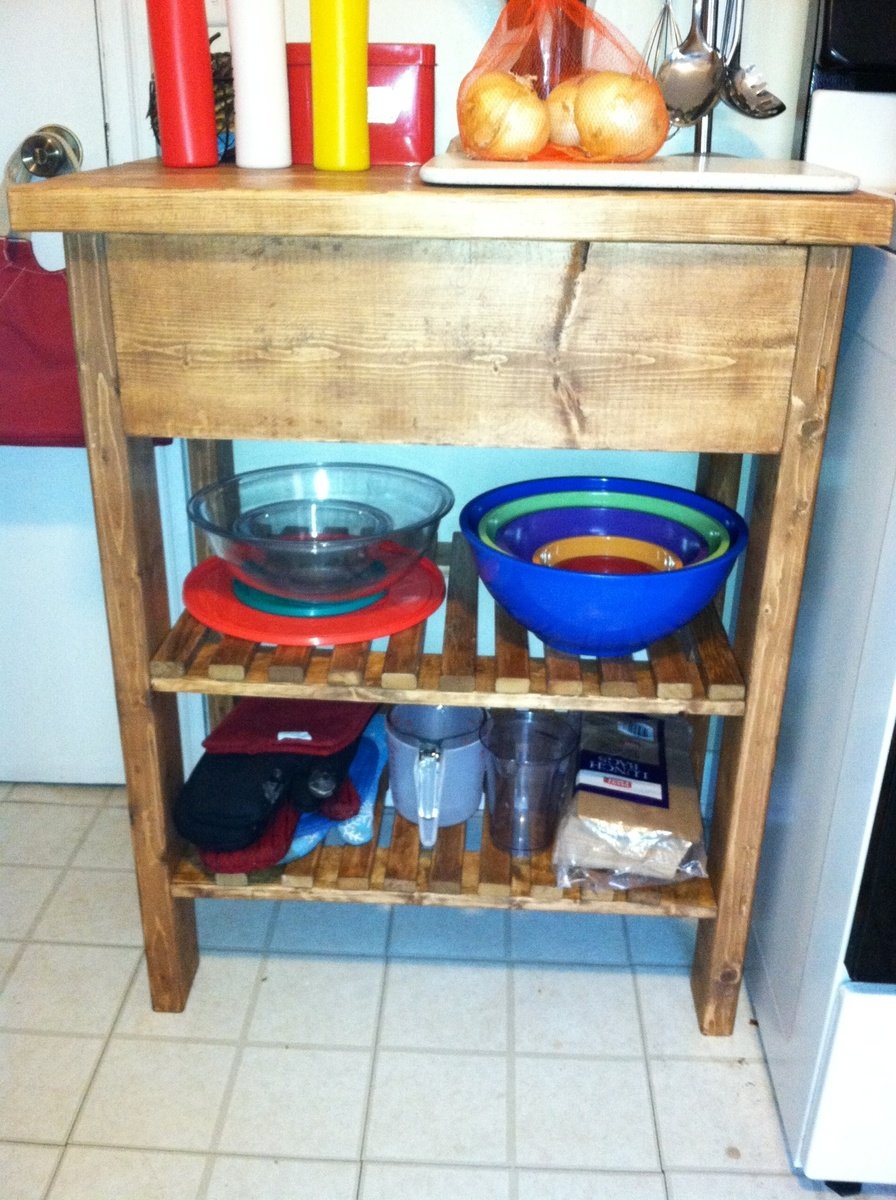
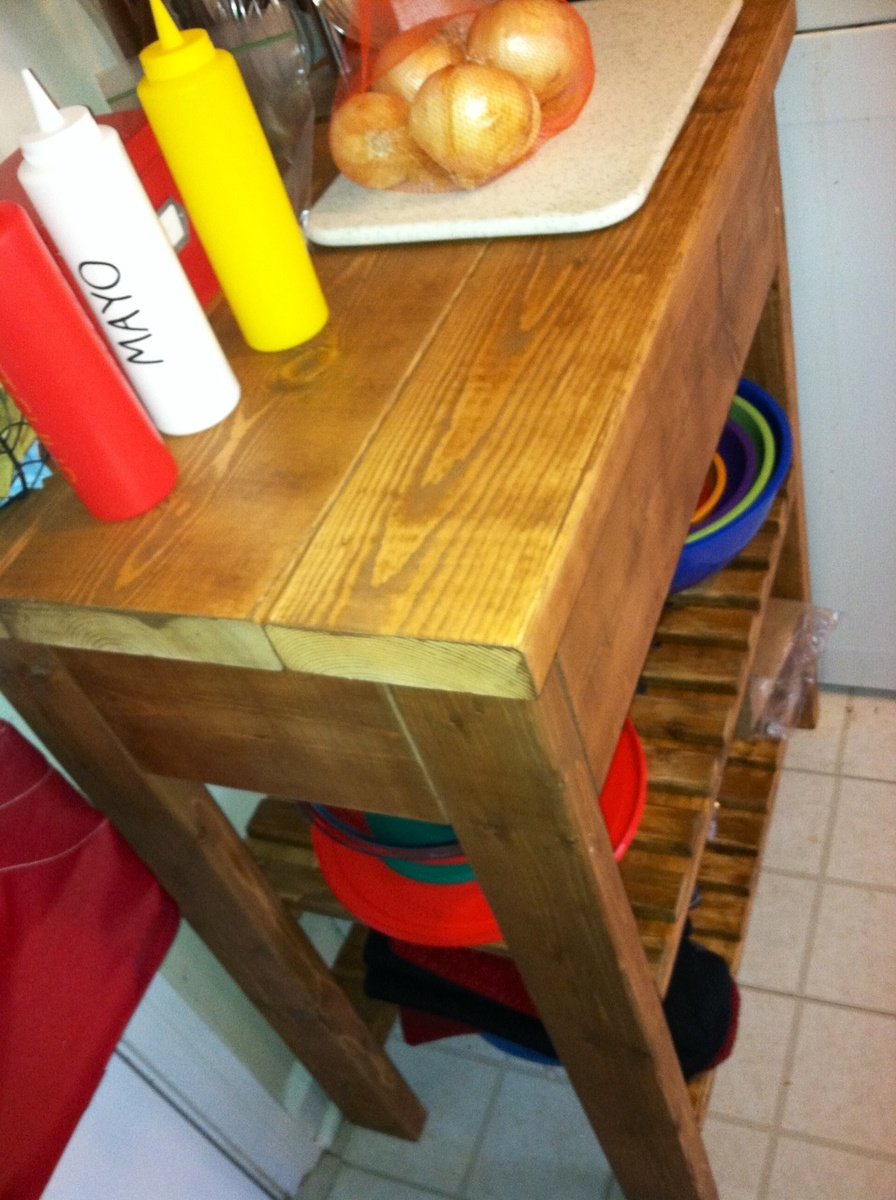
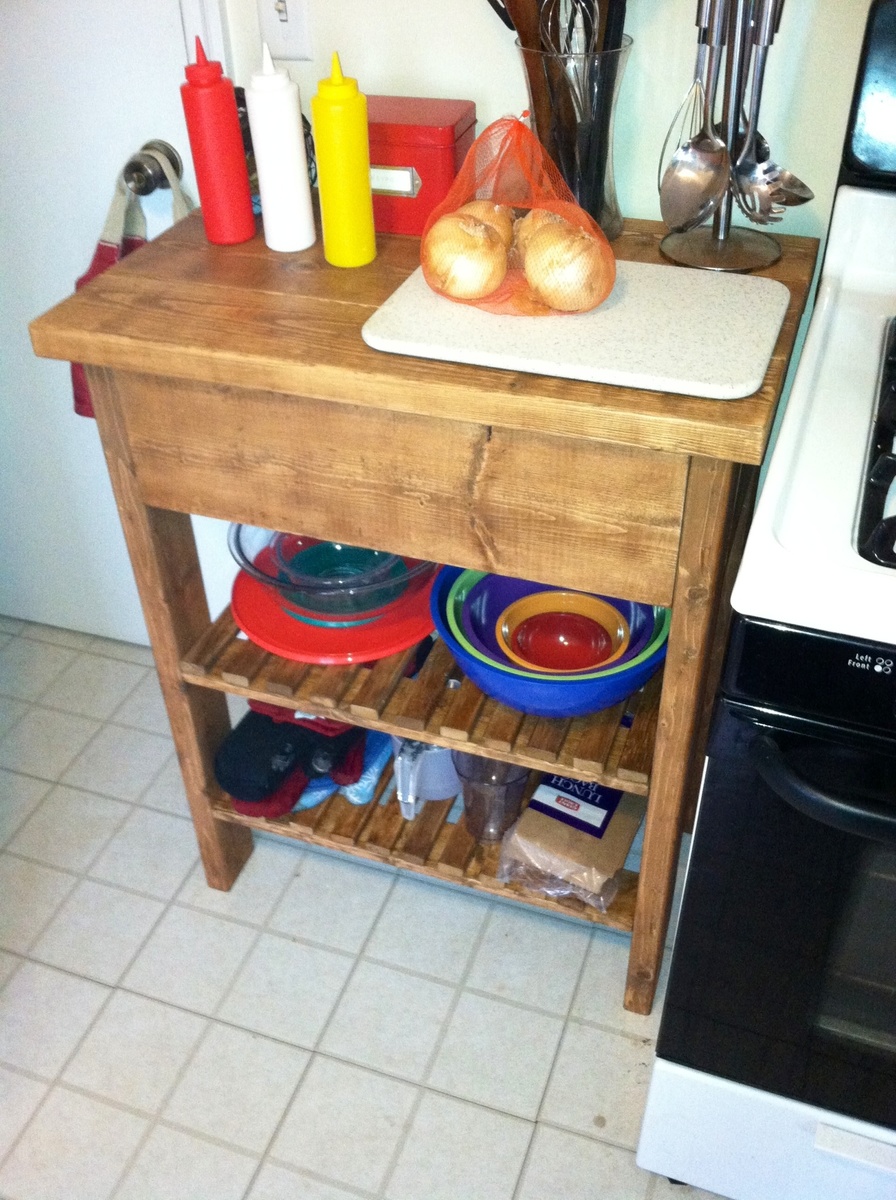
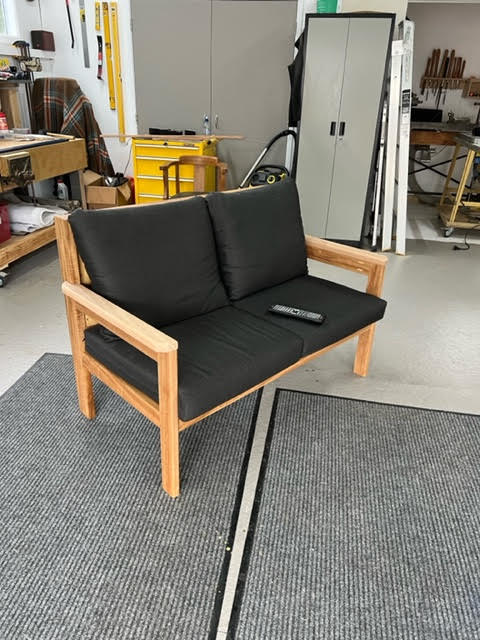
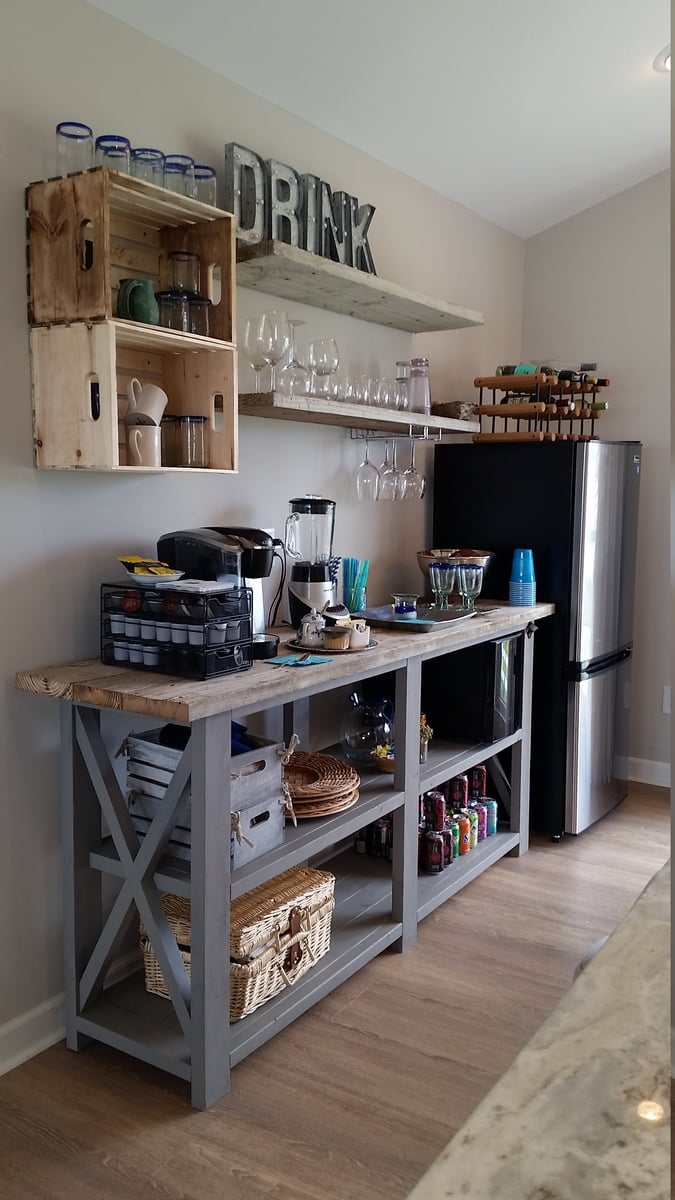
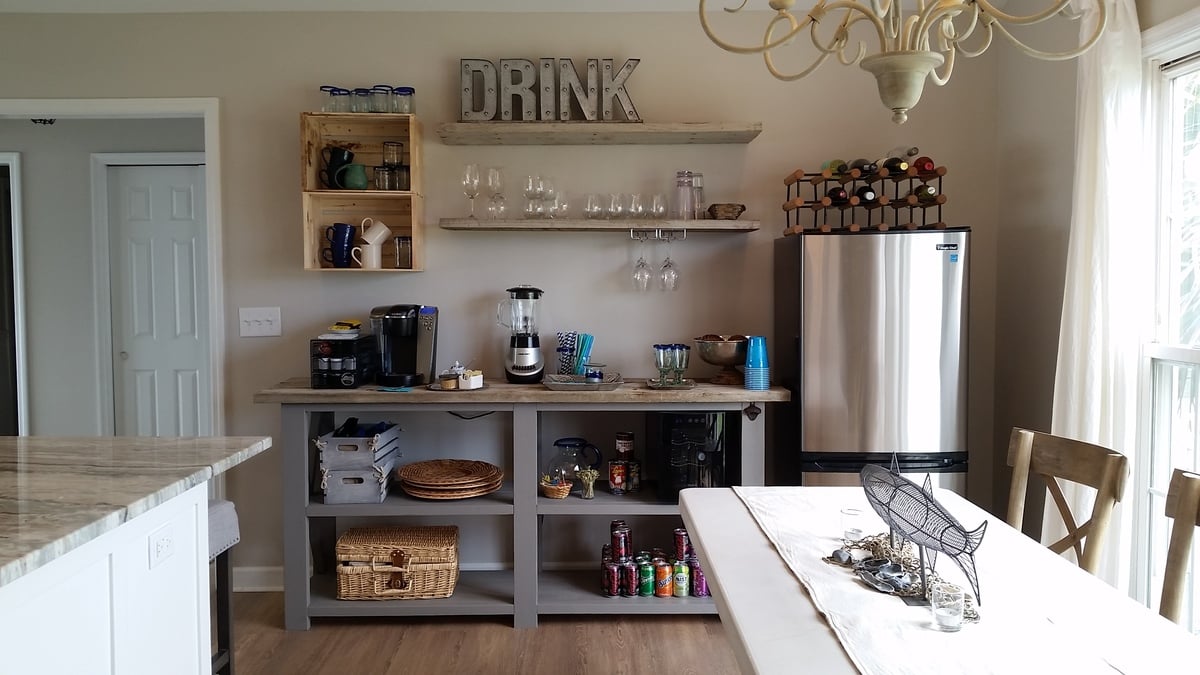
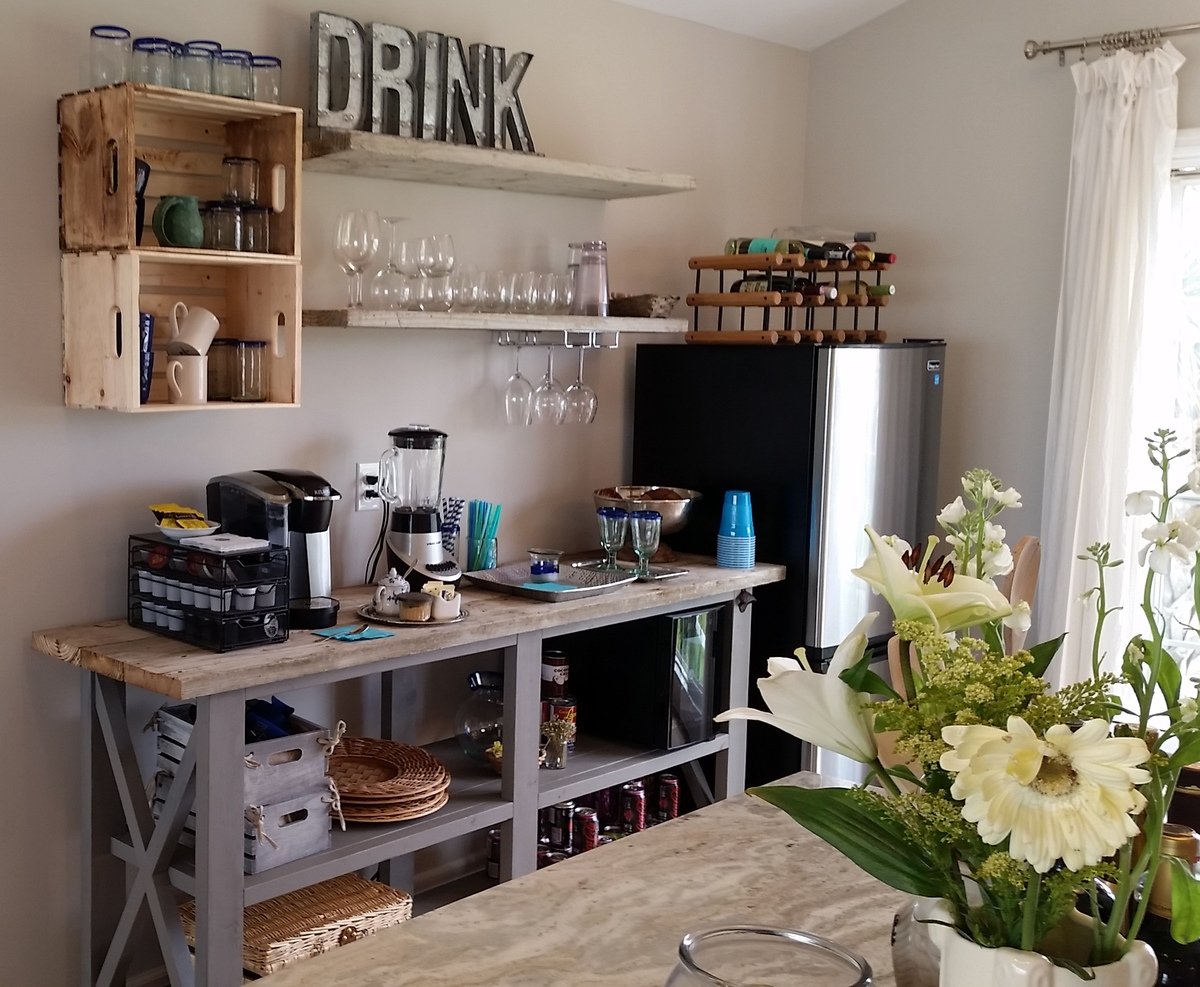
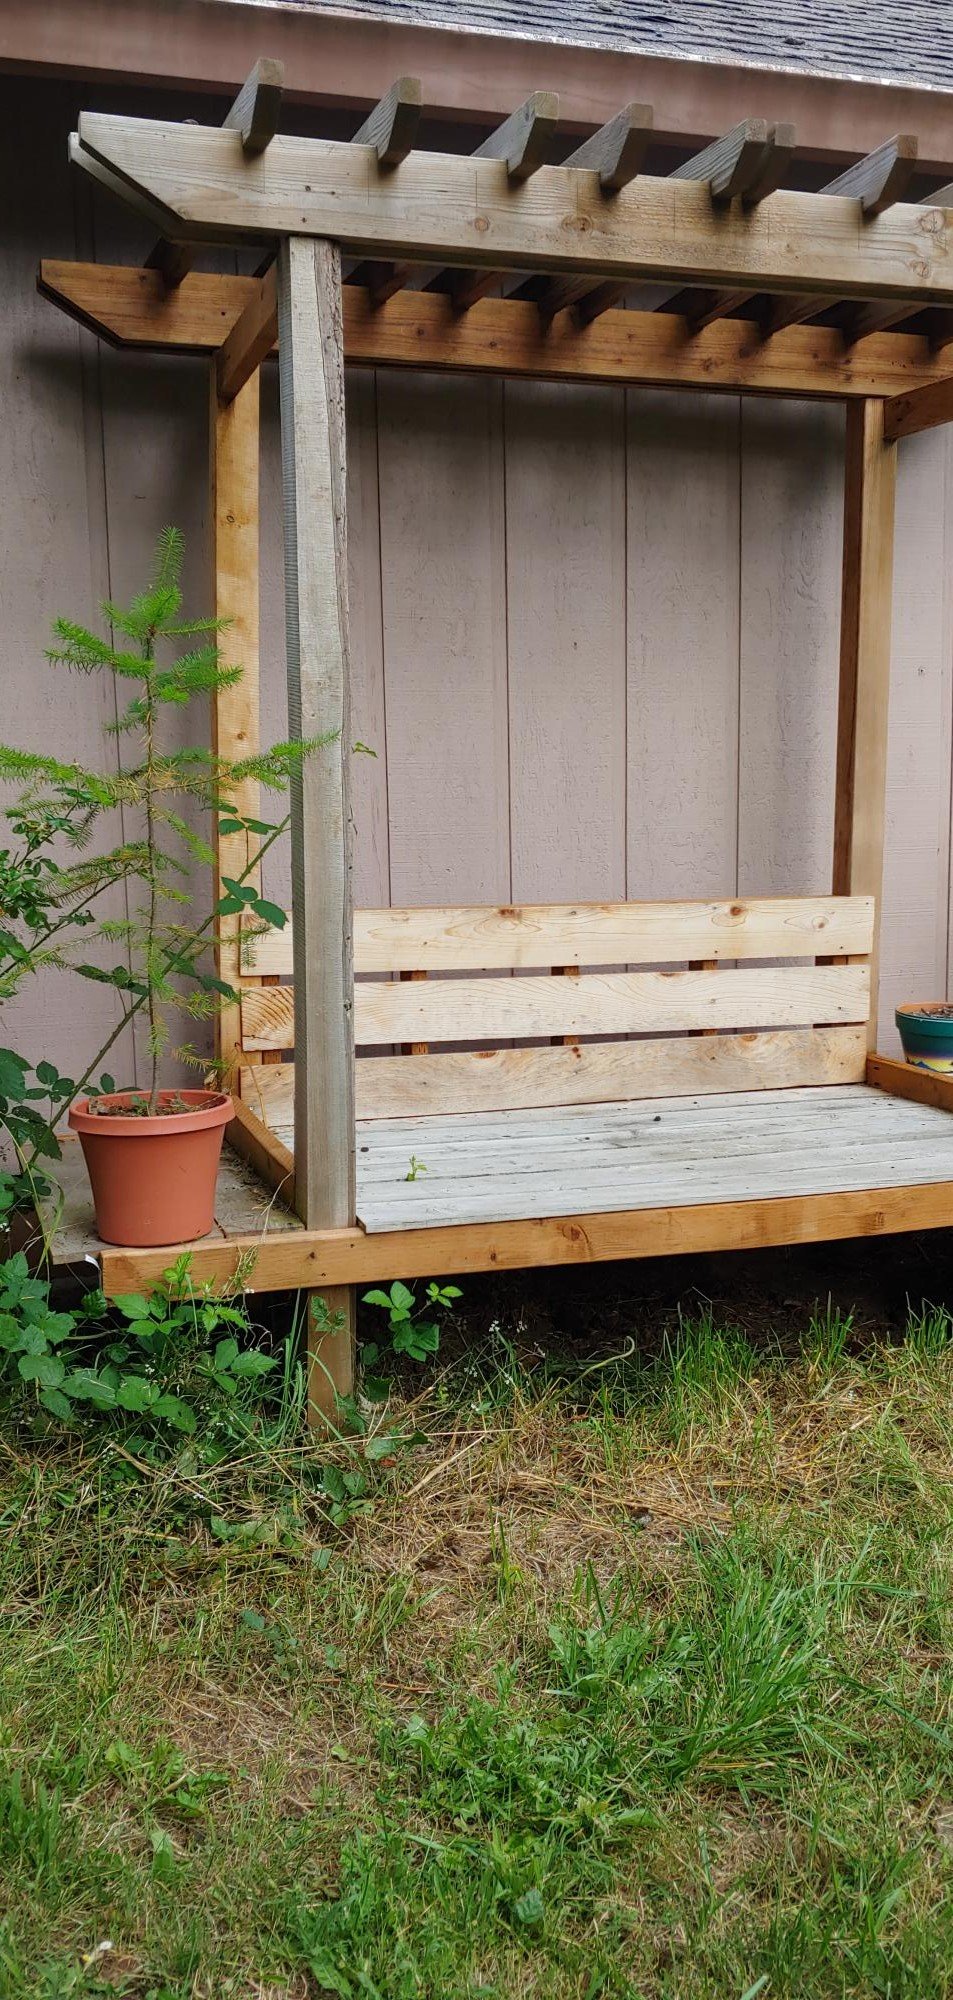
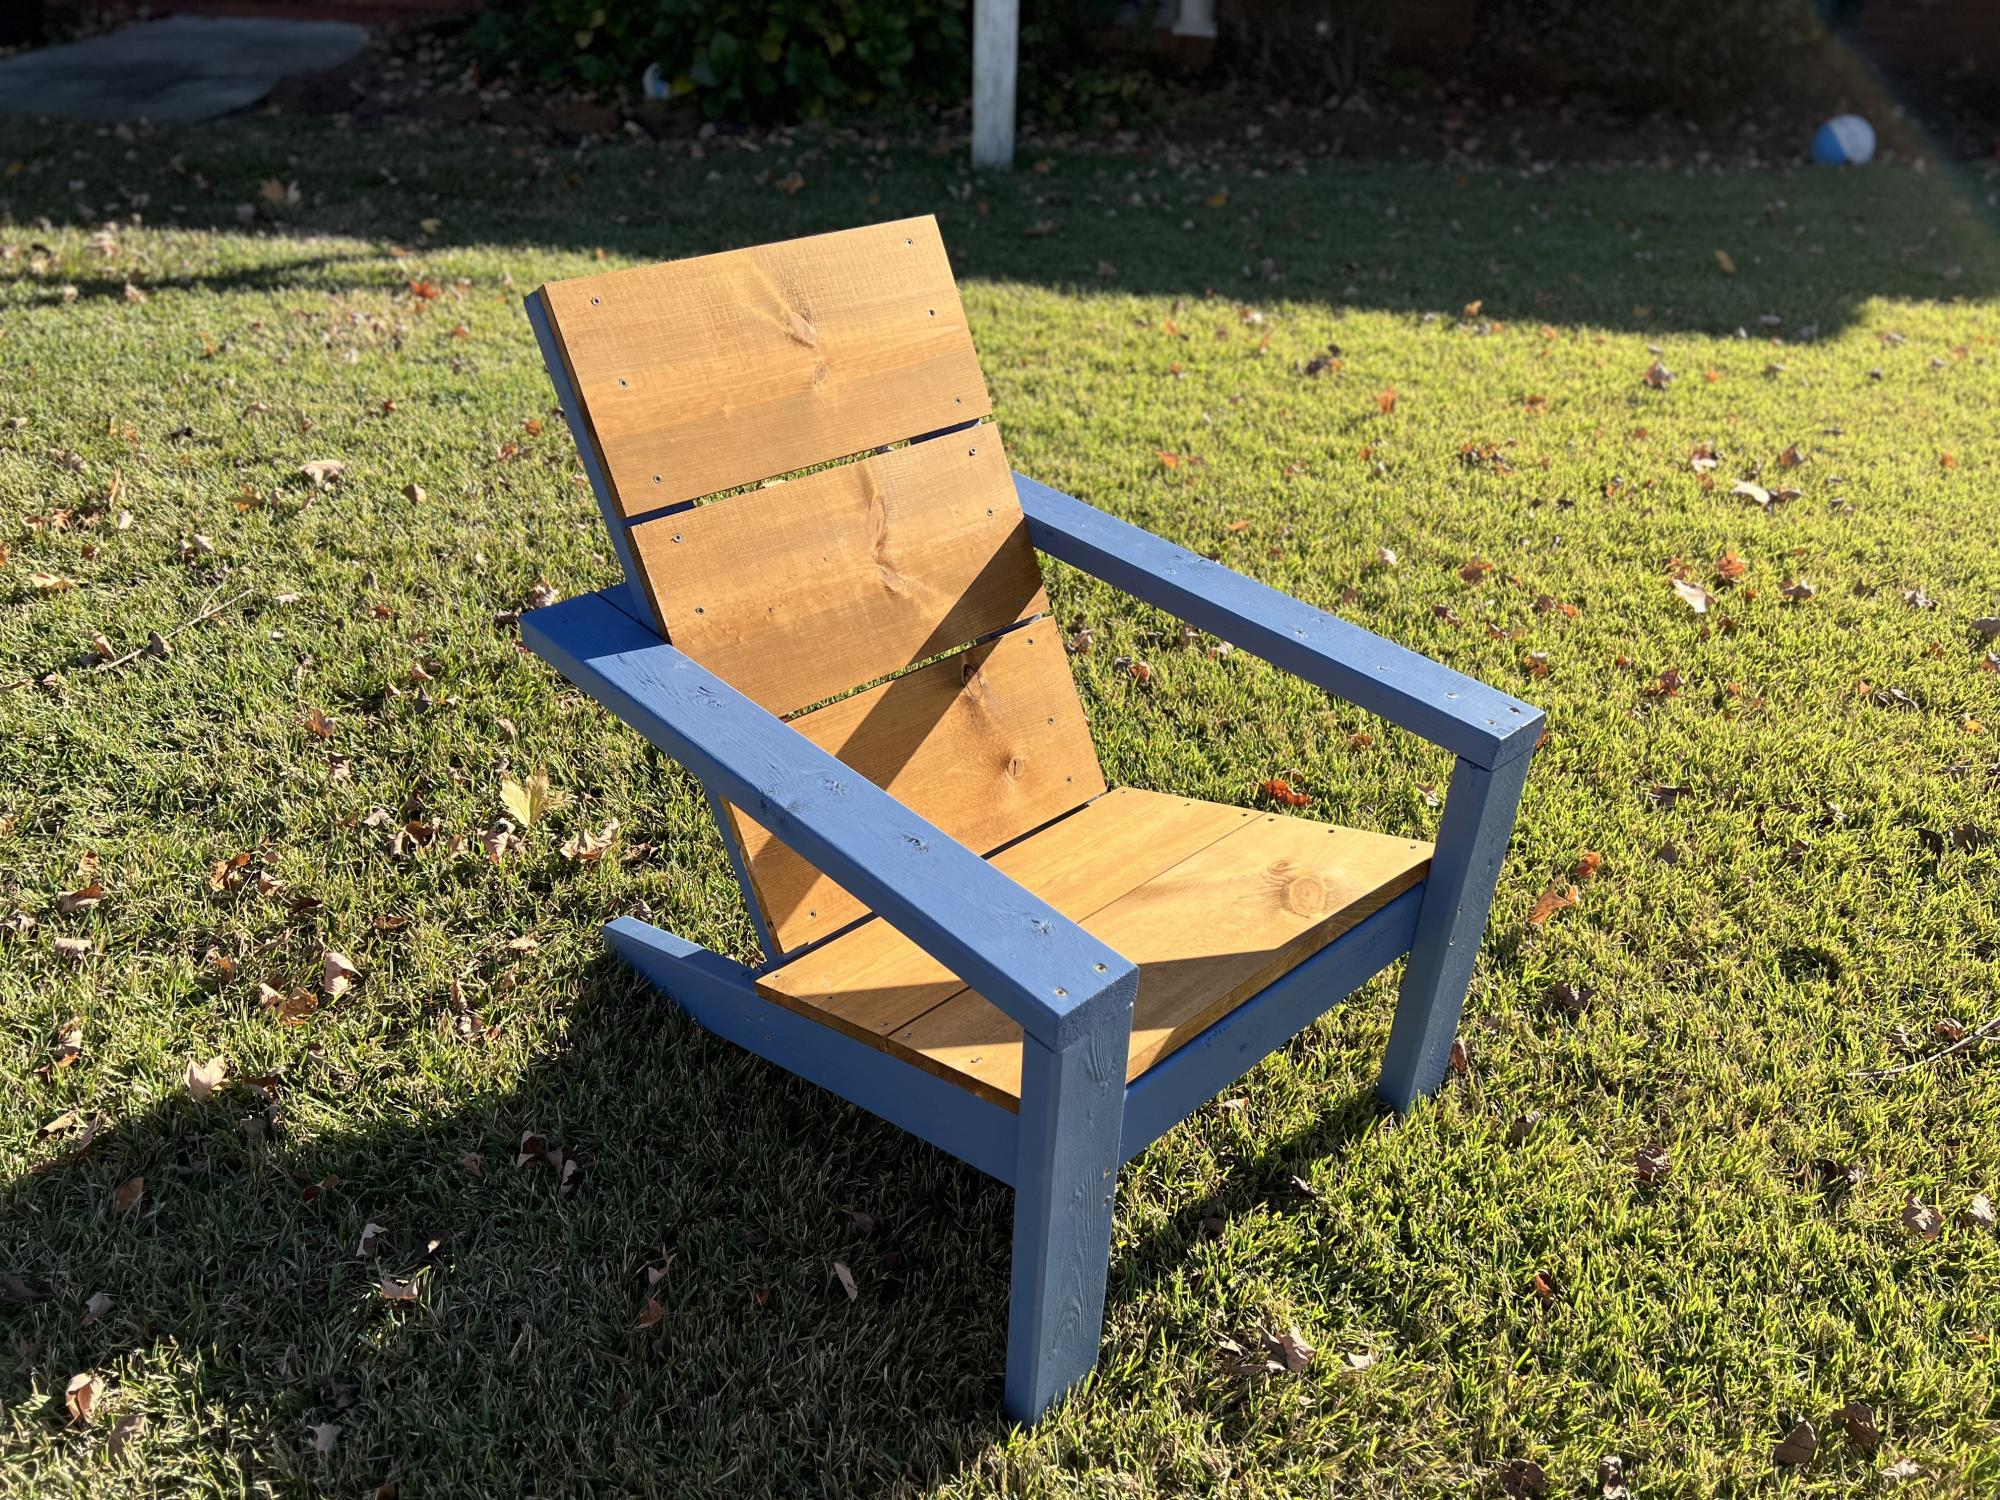
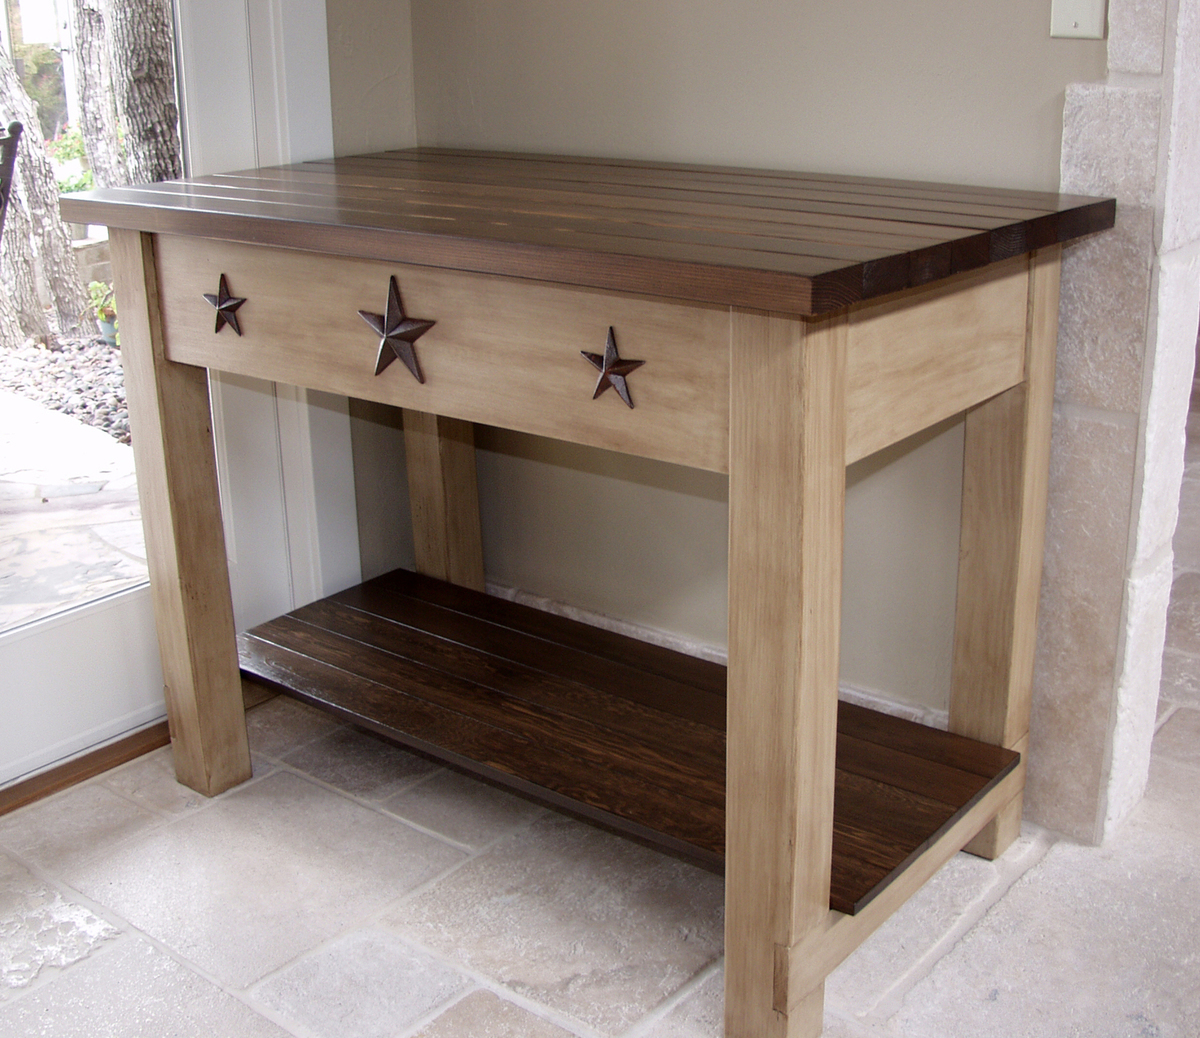
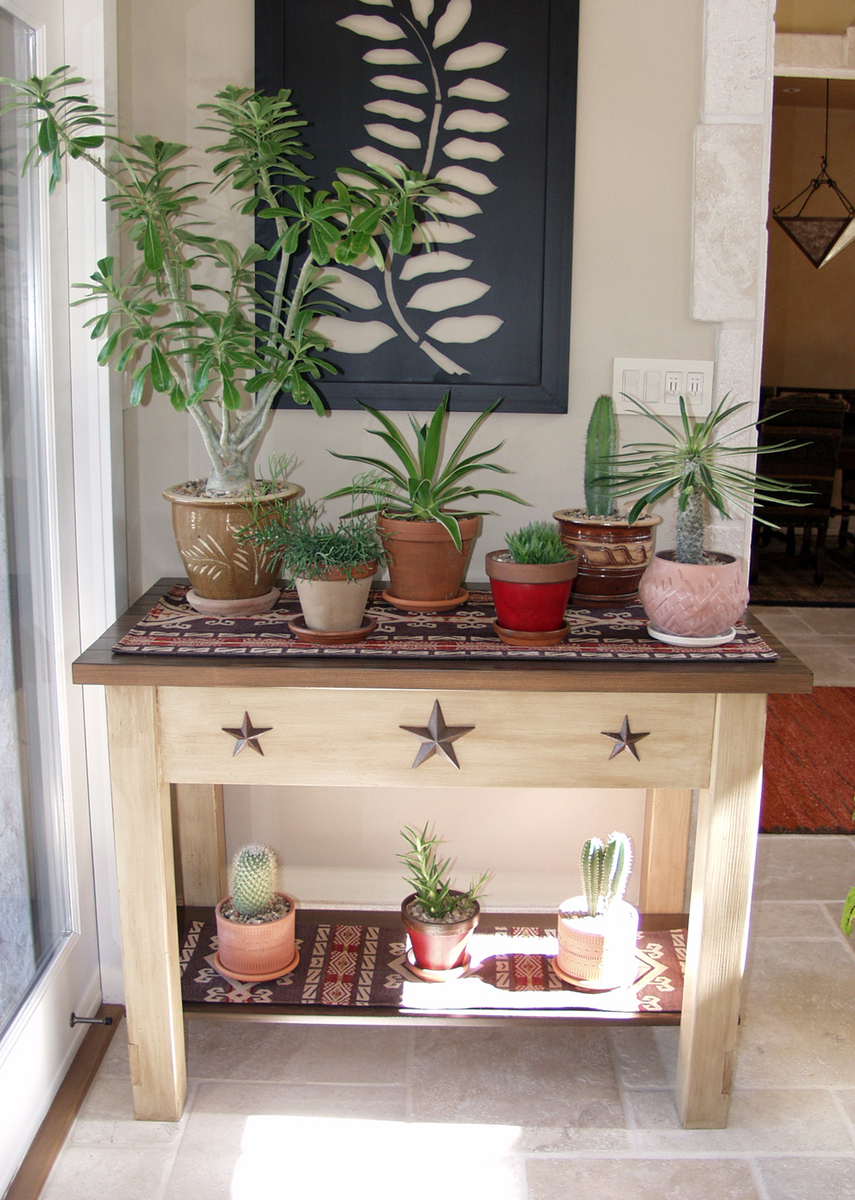
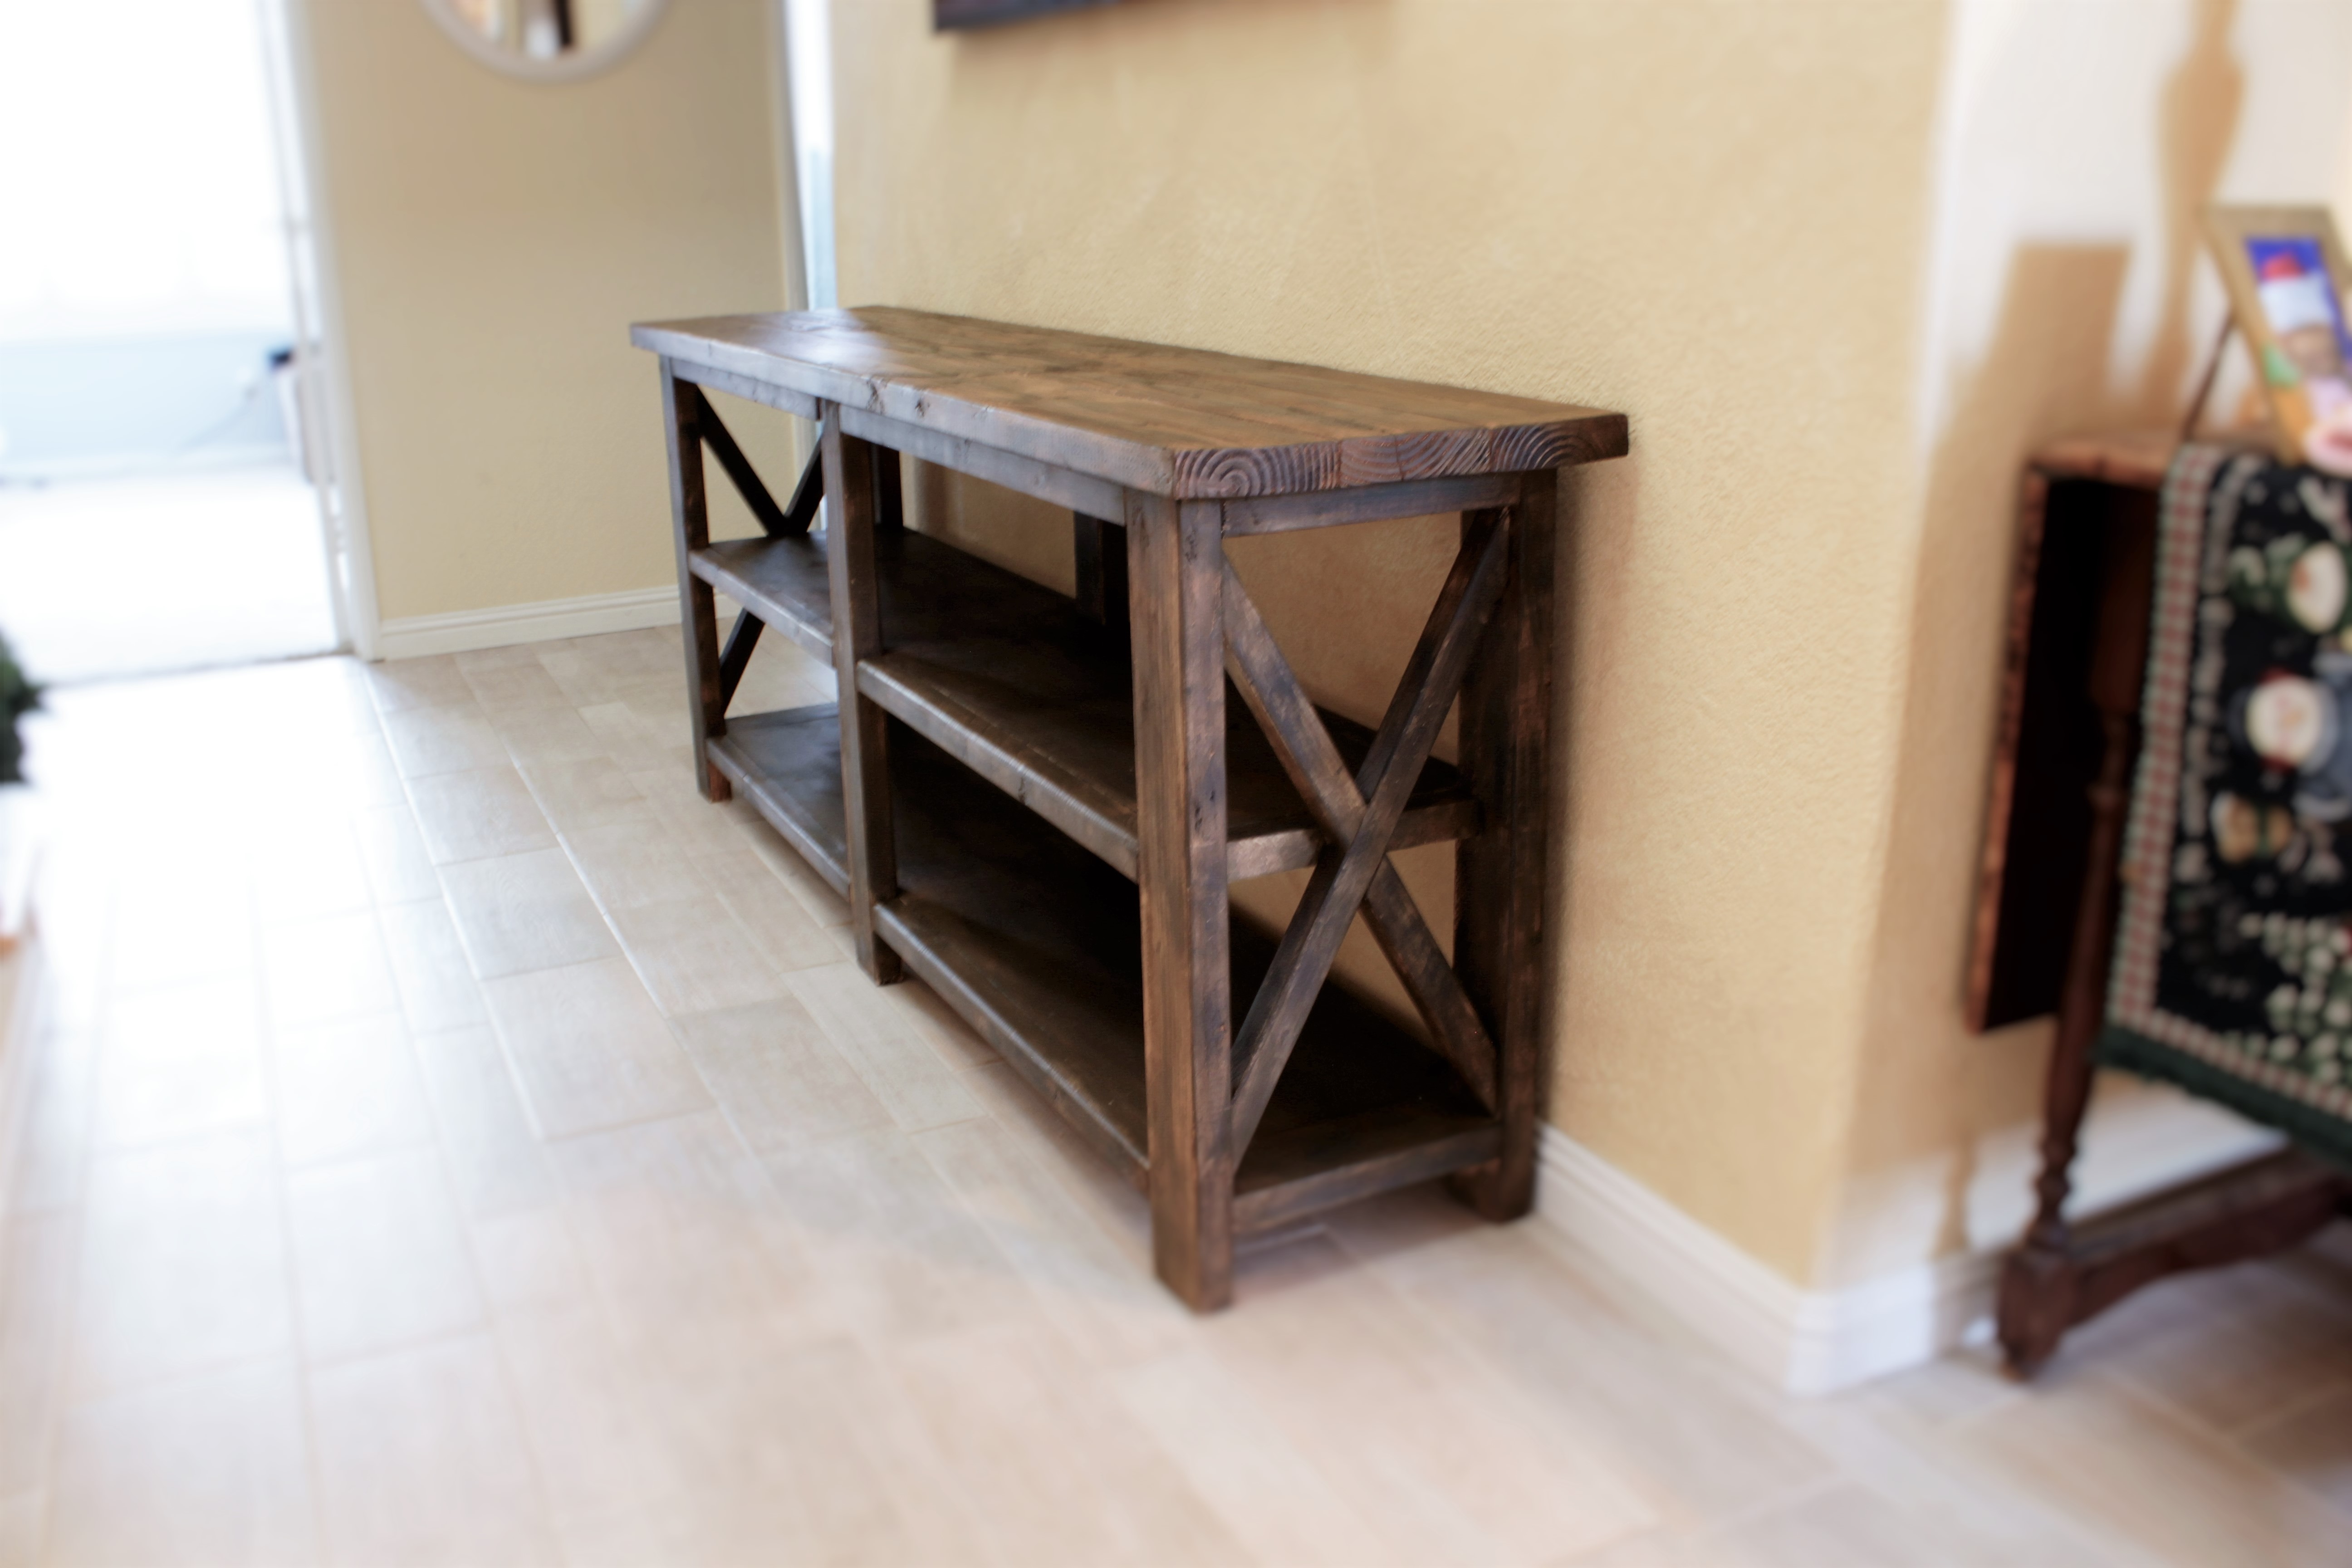
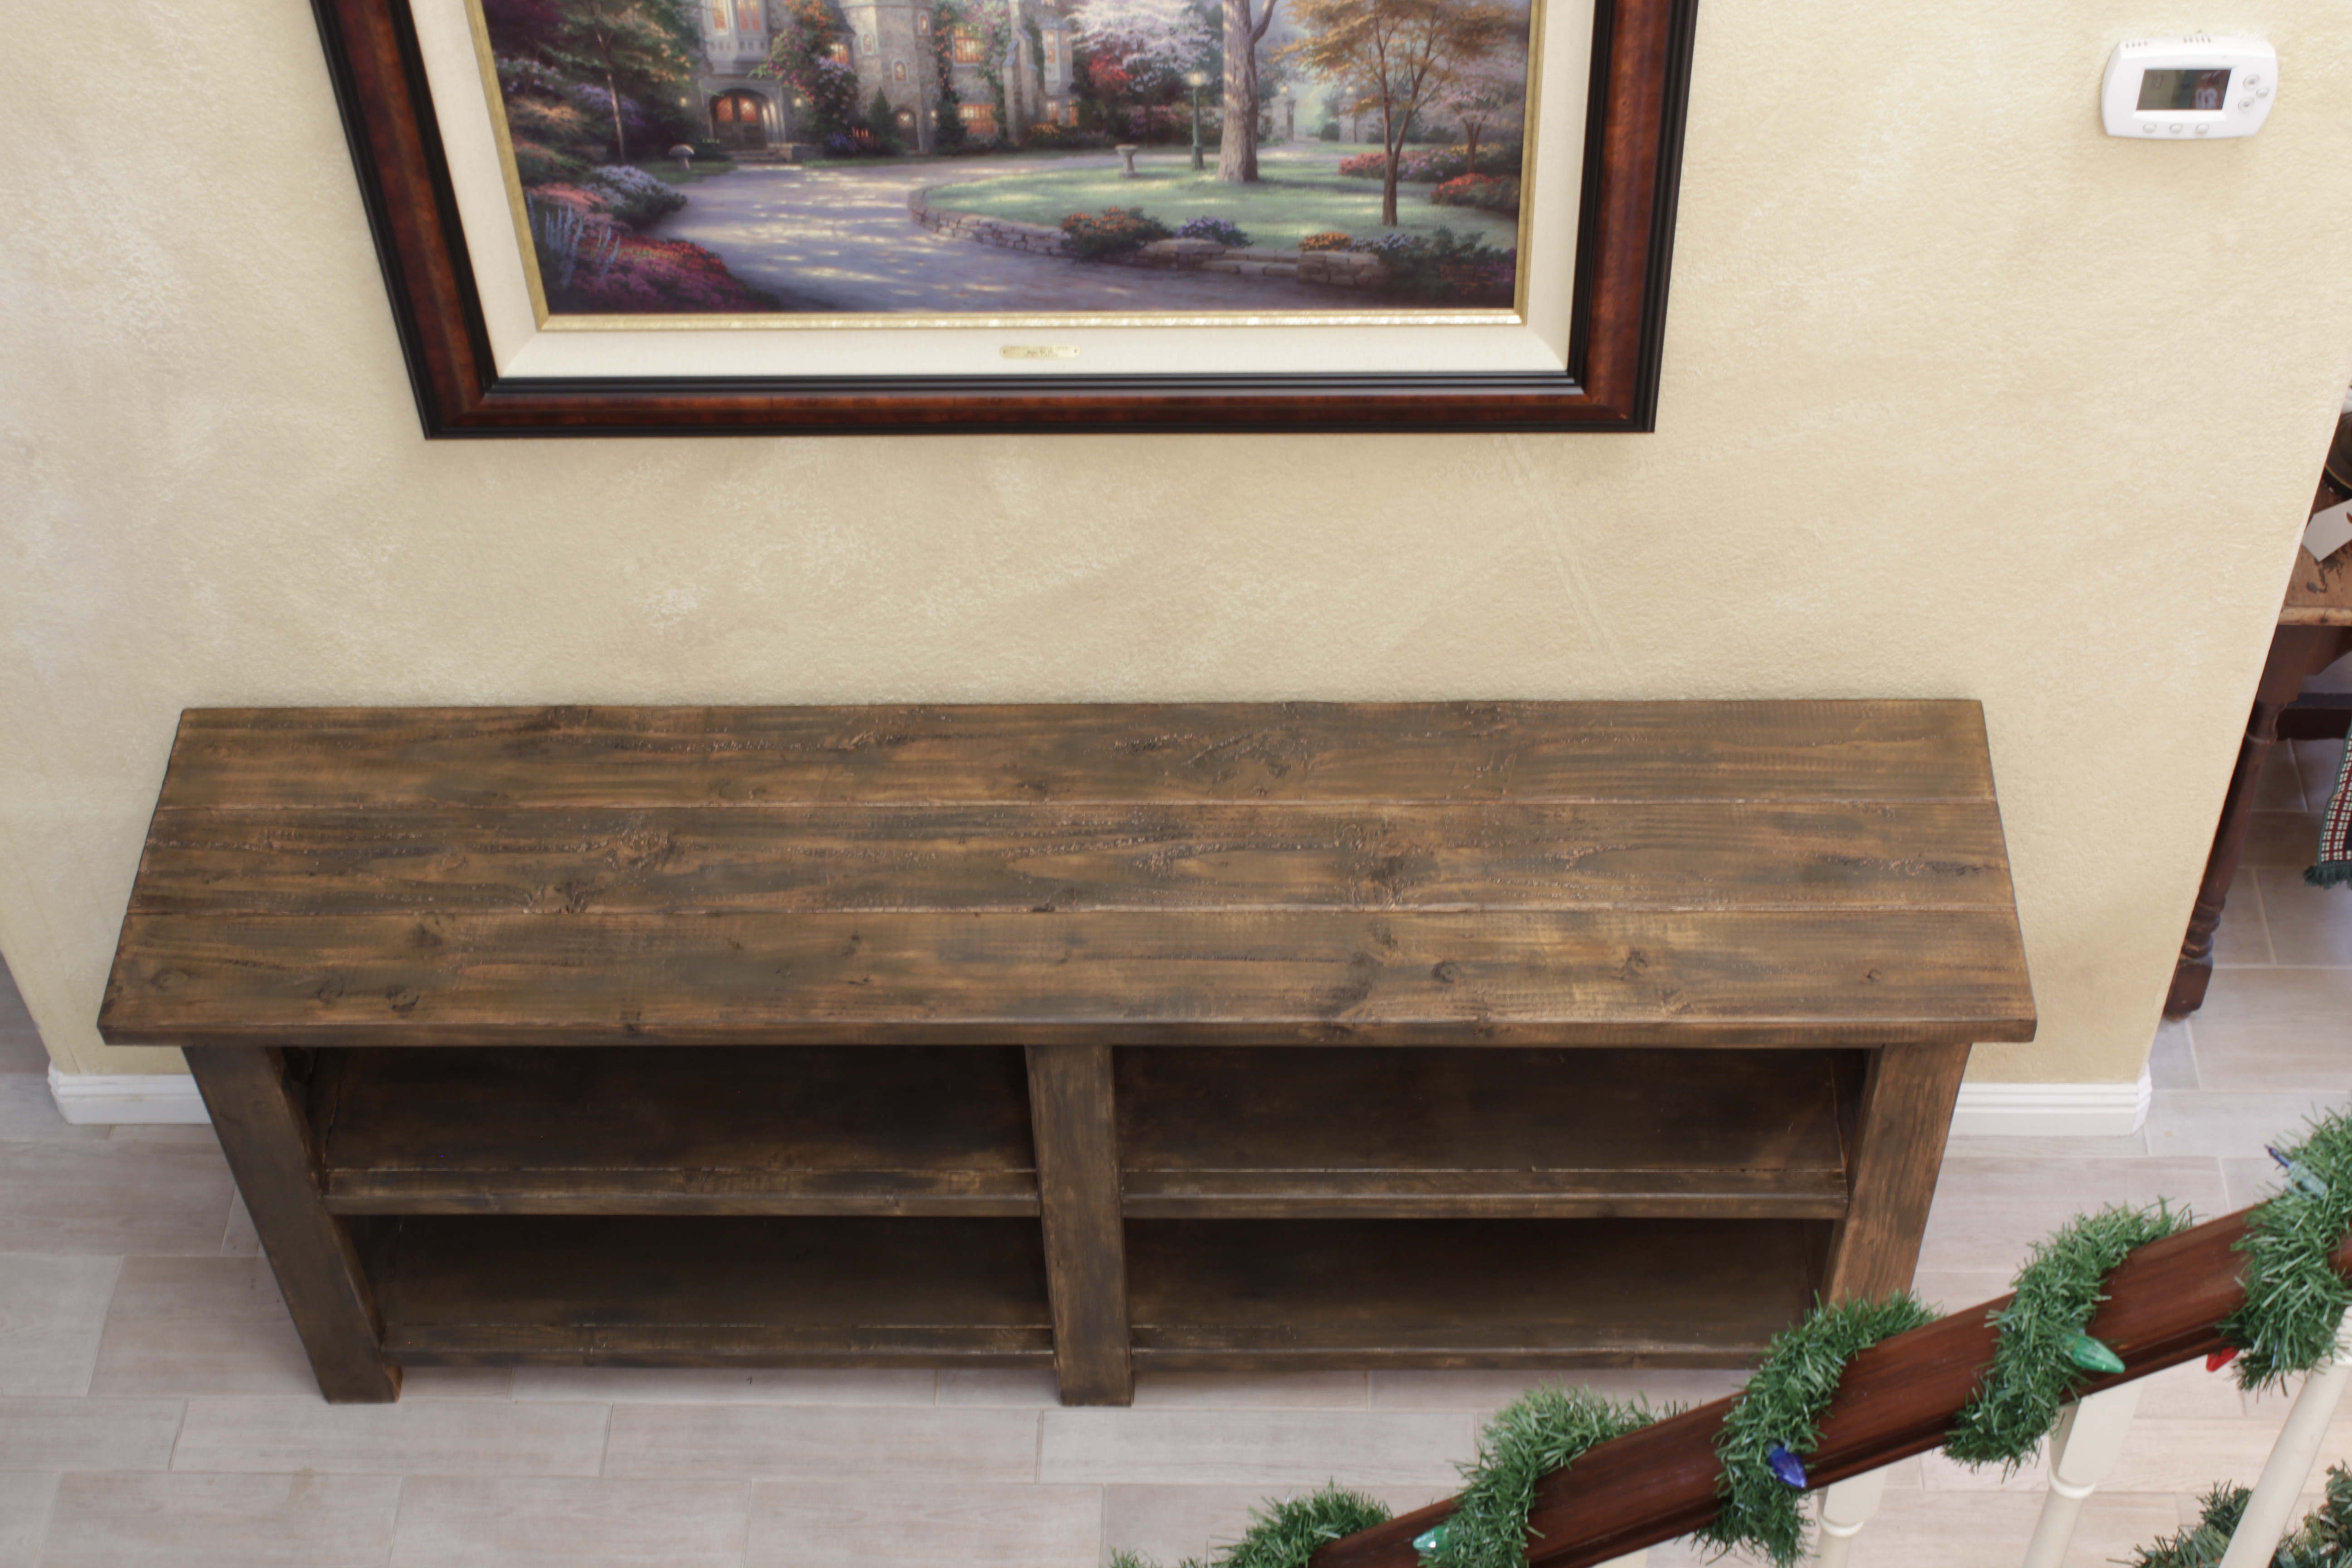
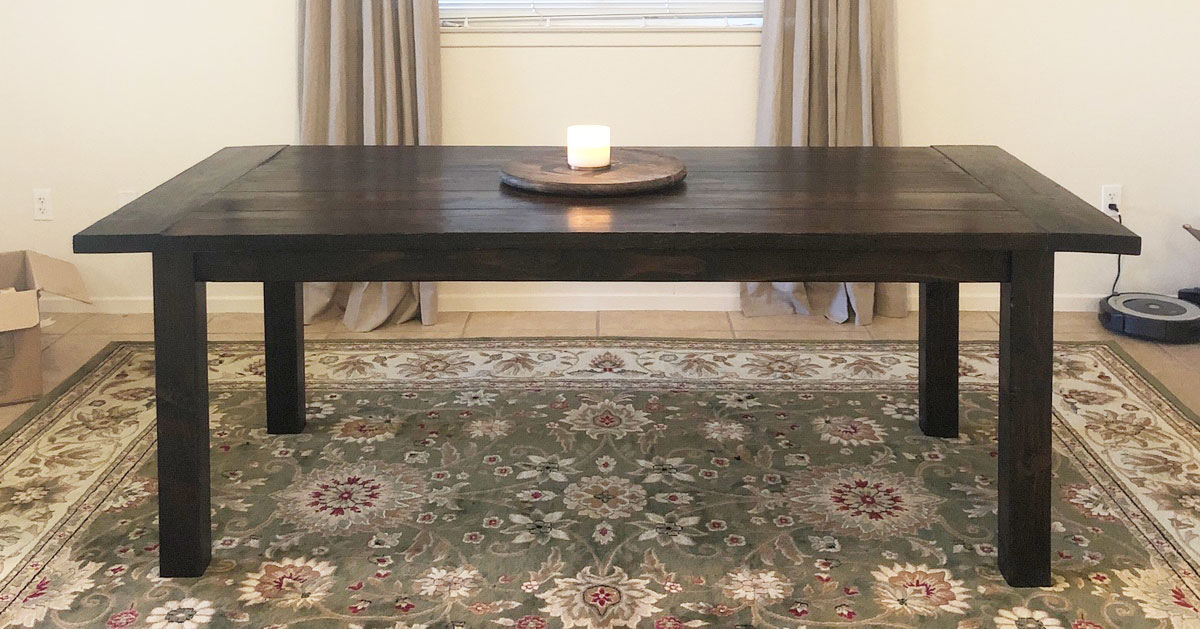
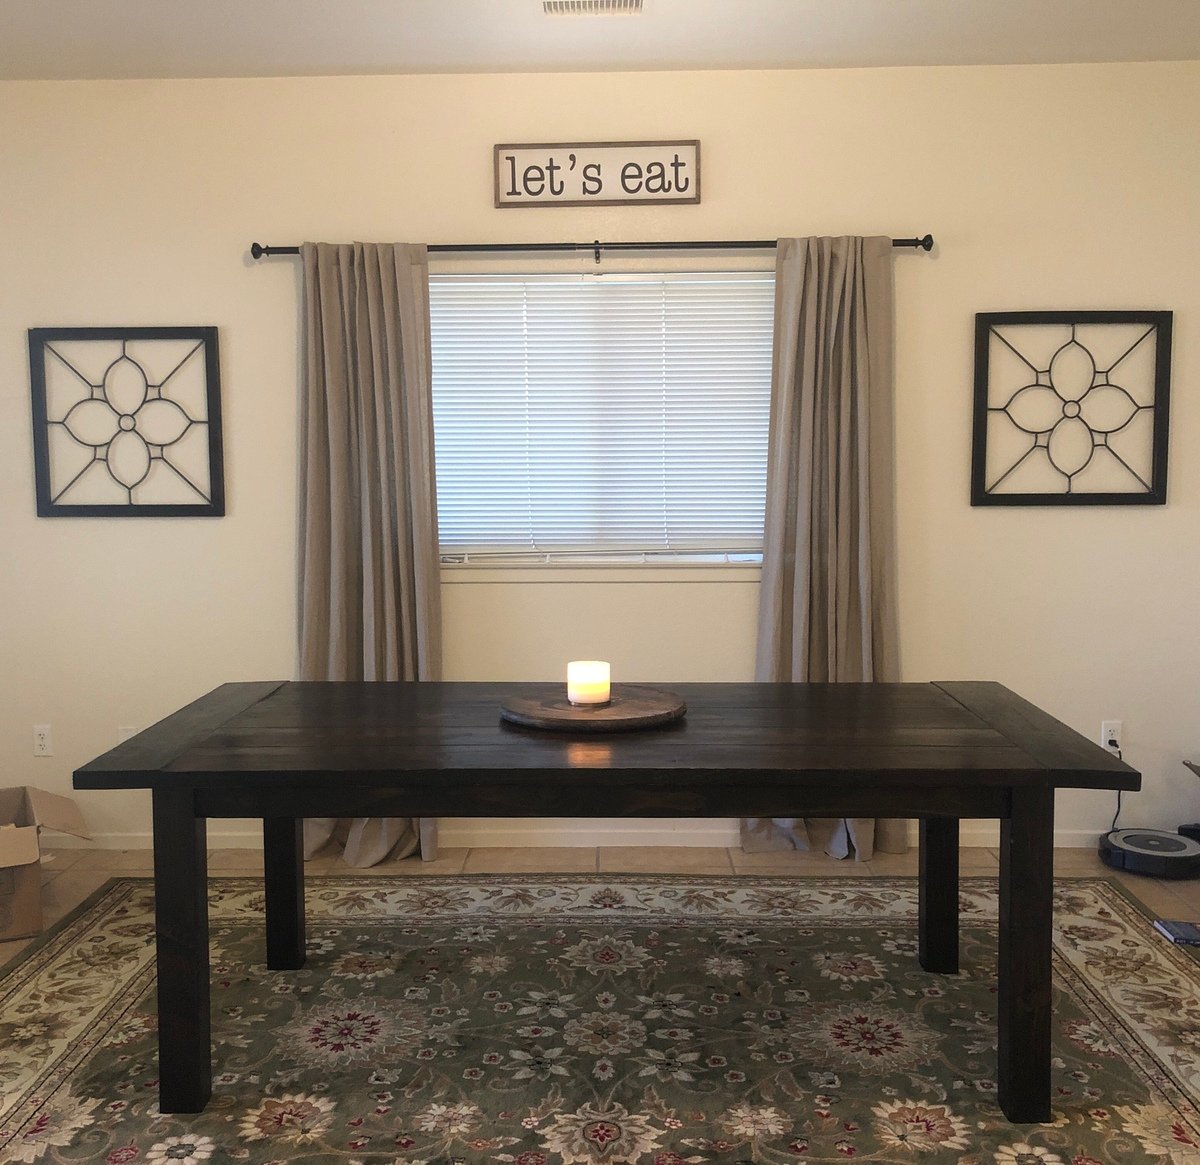
Community Brag Posts

Potting Bench

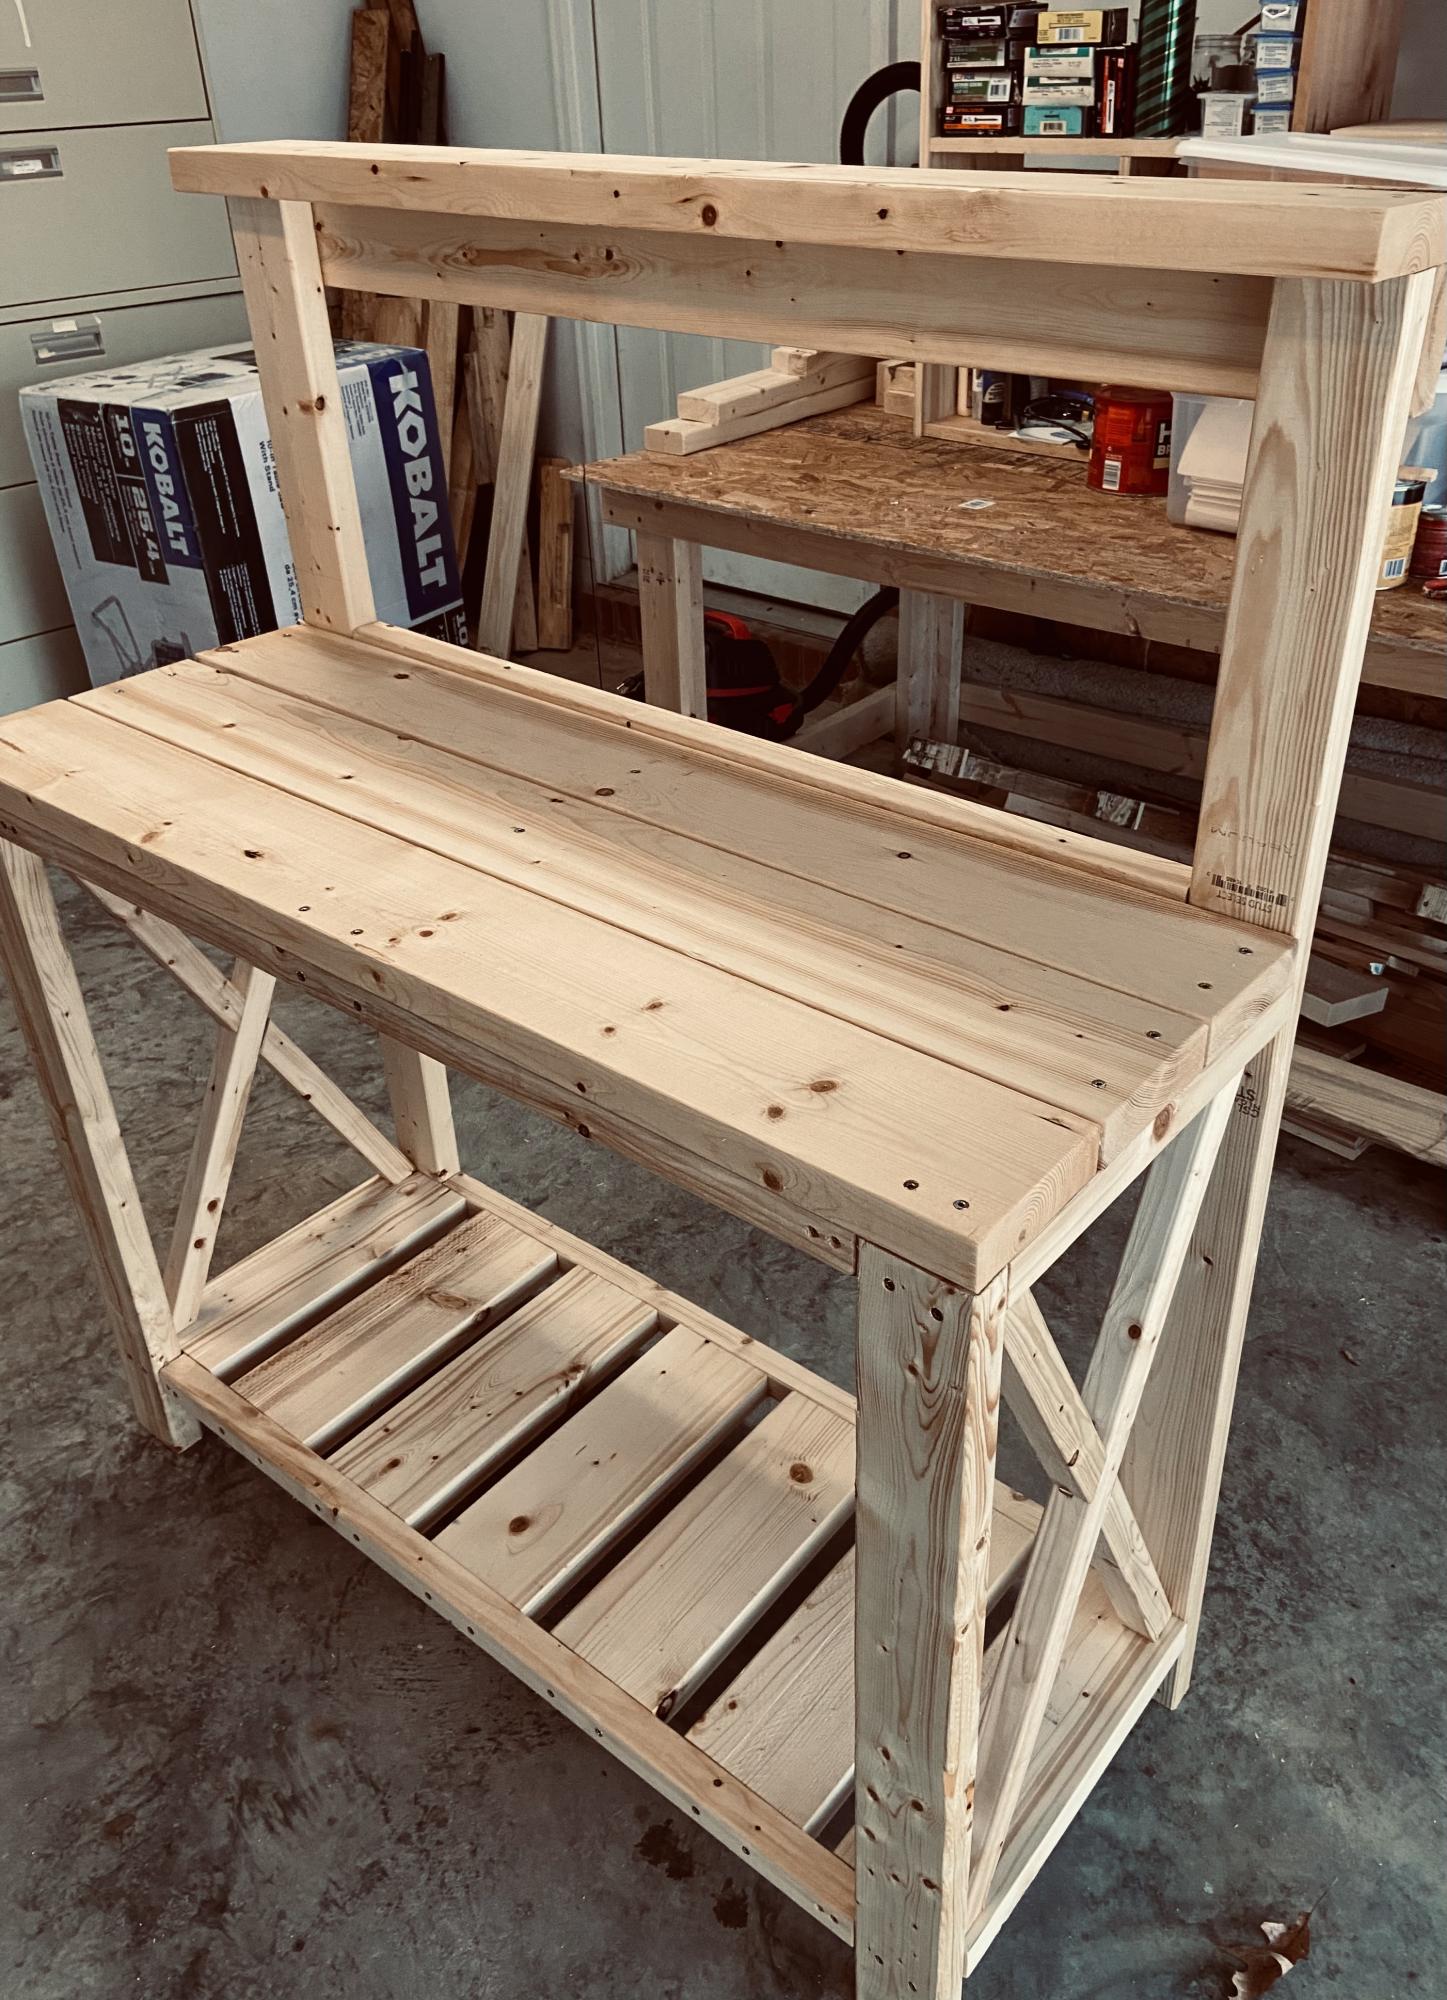
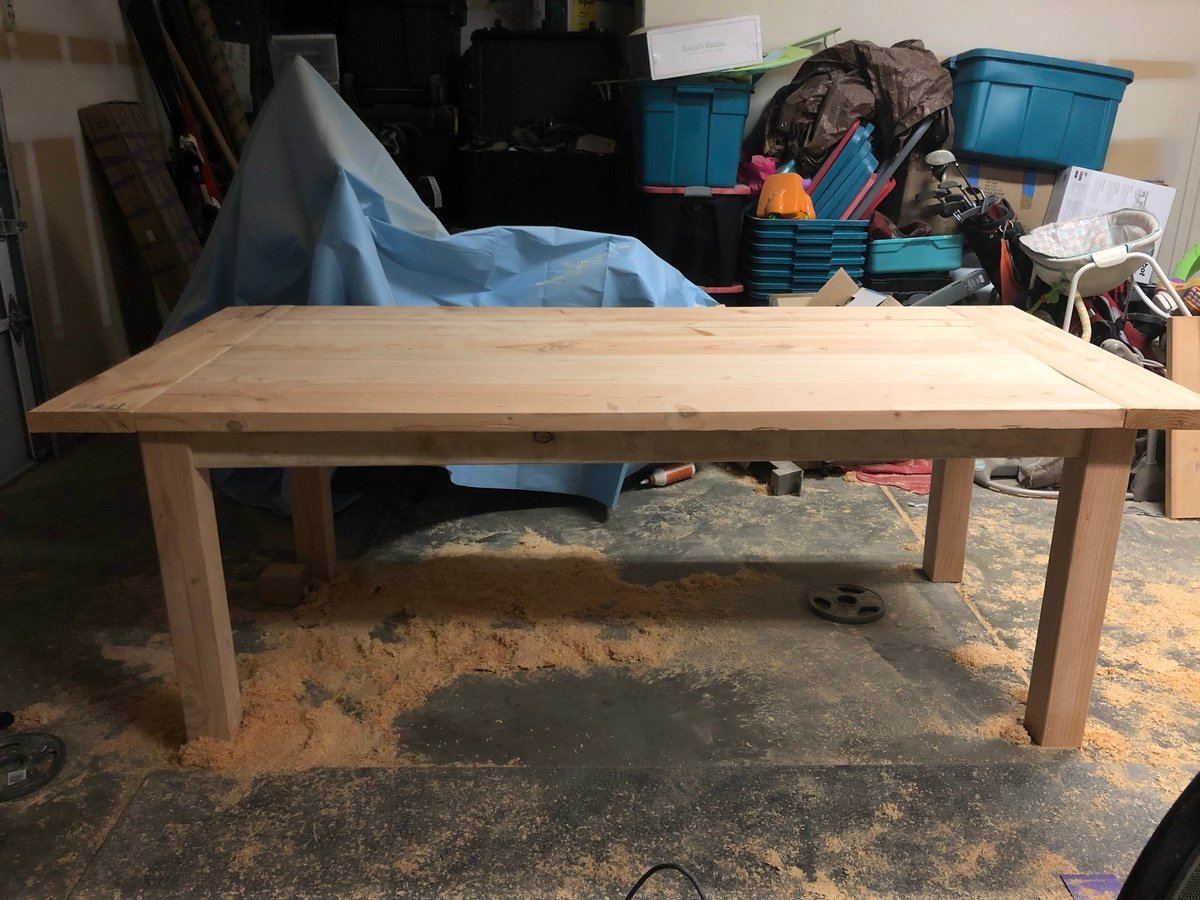
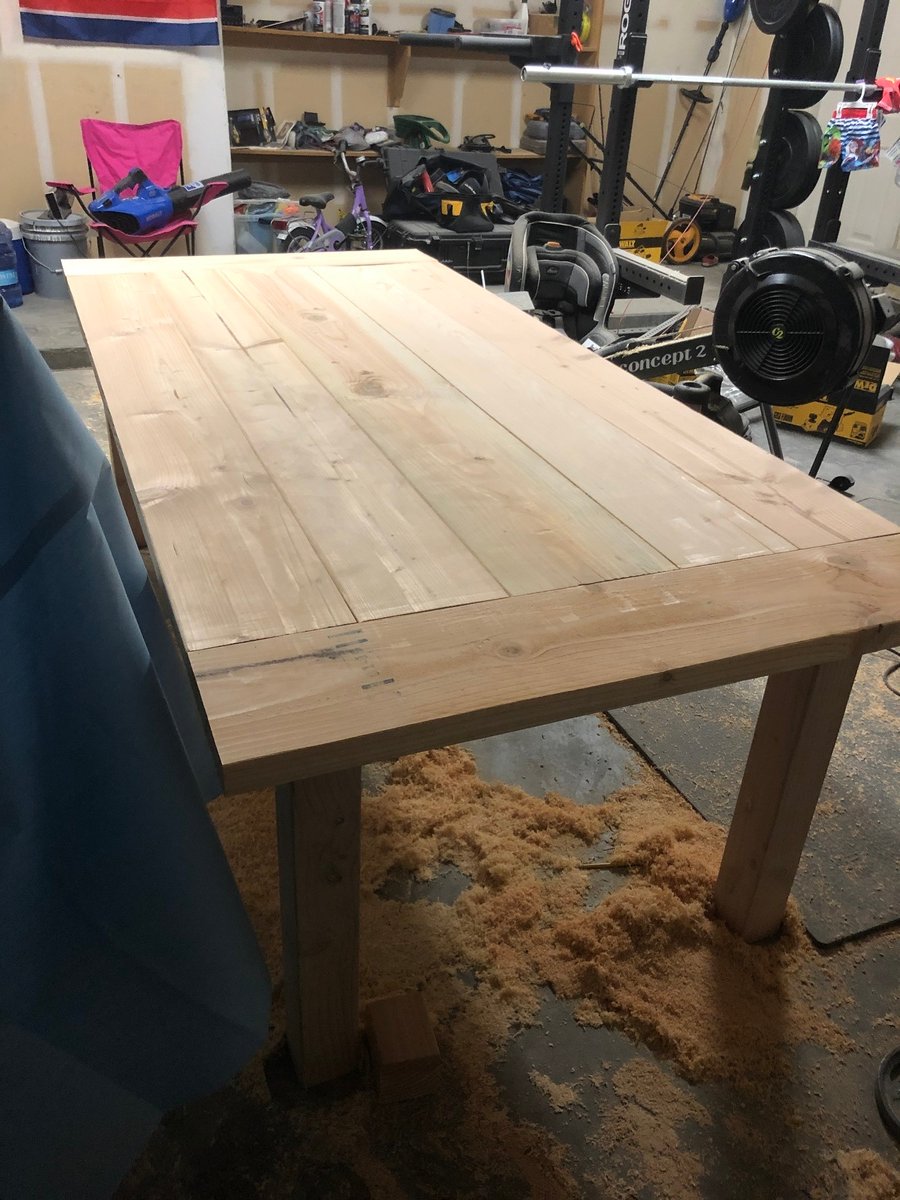
I am a complete newbie to anything woodworking. I just turned 60 and used a drill for the first time about 9 months ago. Thanks to Anna and her plans and videos, I have developed some some self confidence in this art and absolutely loving it.

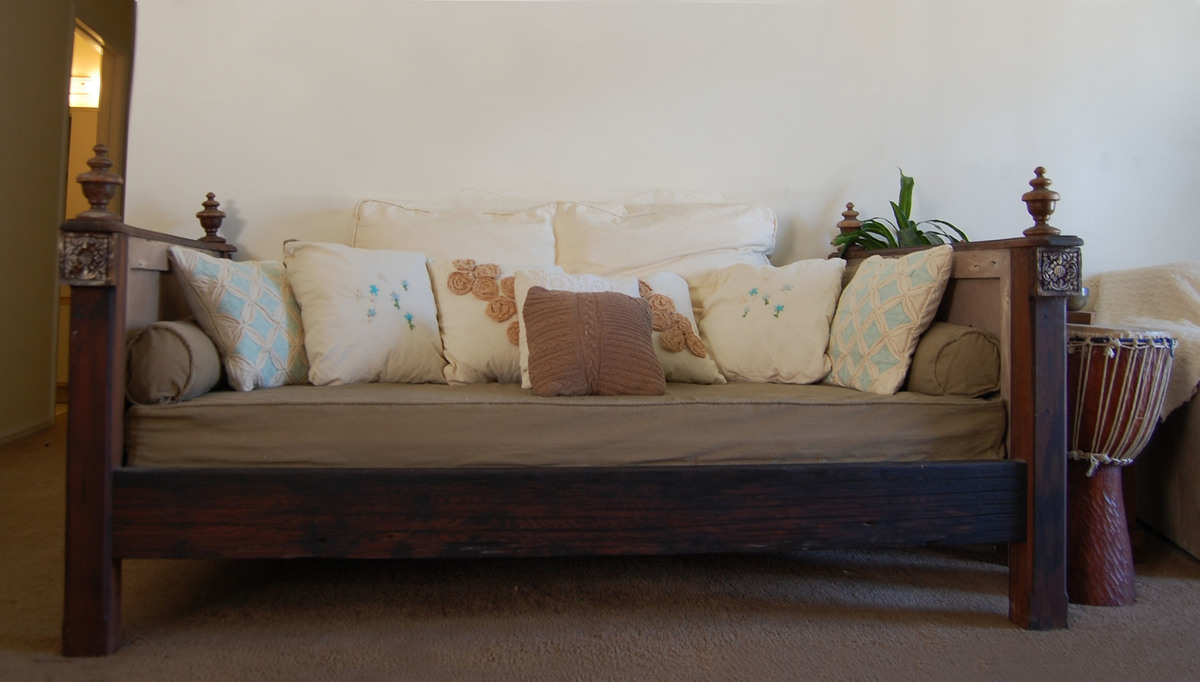
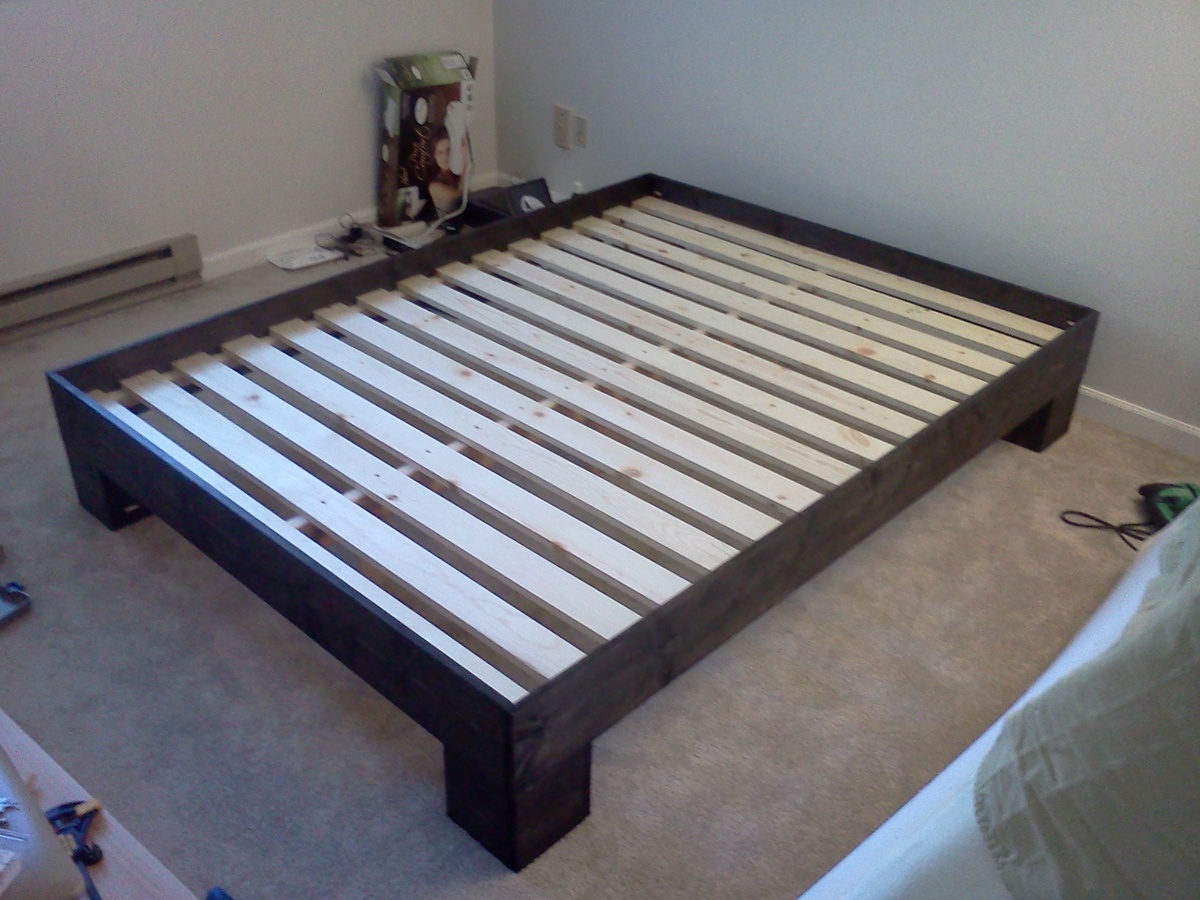
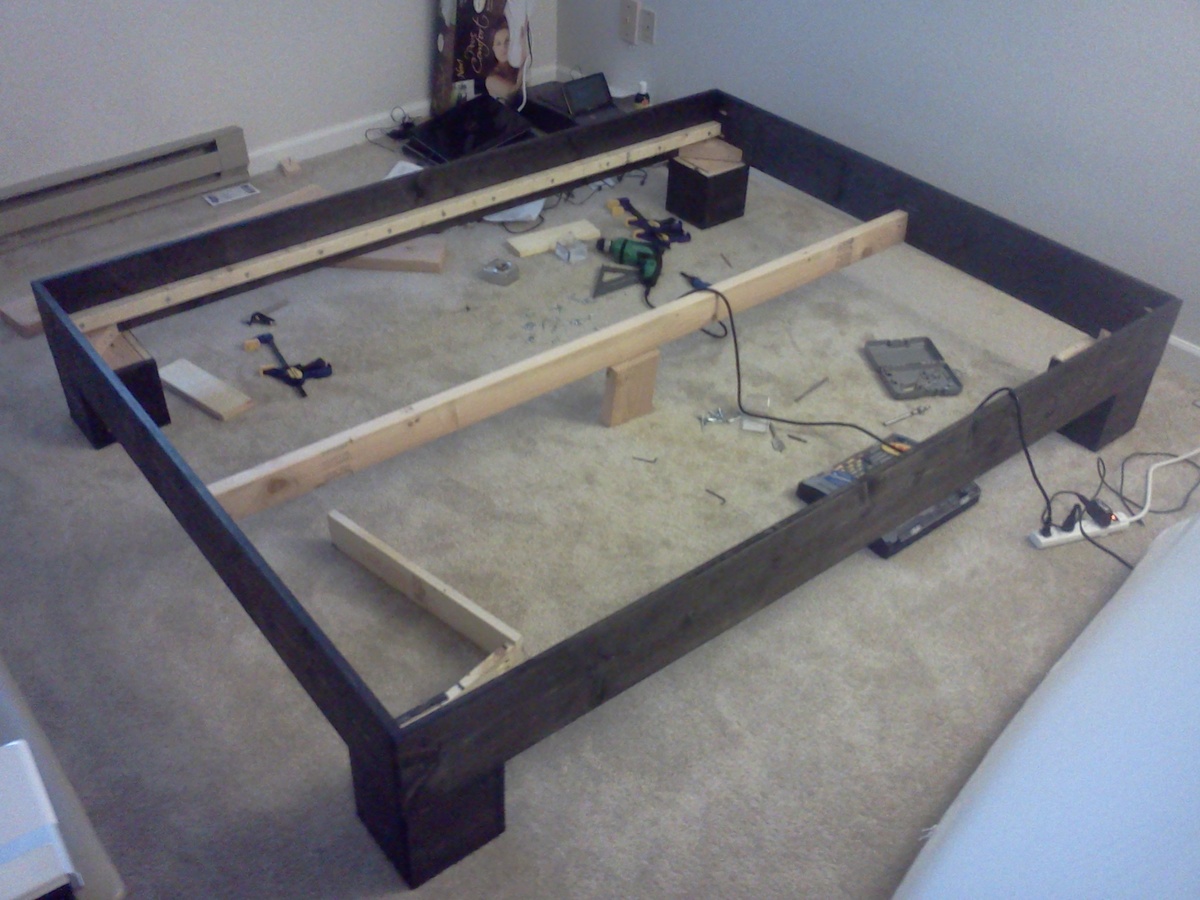
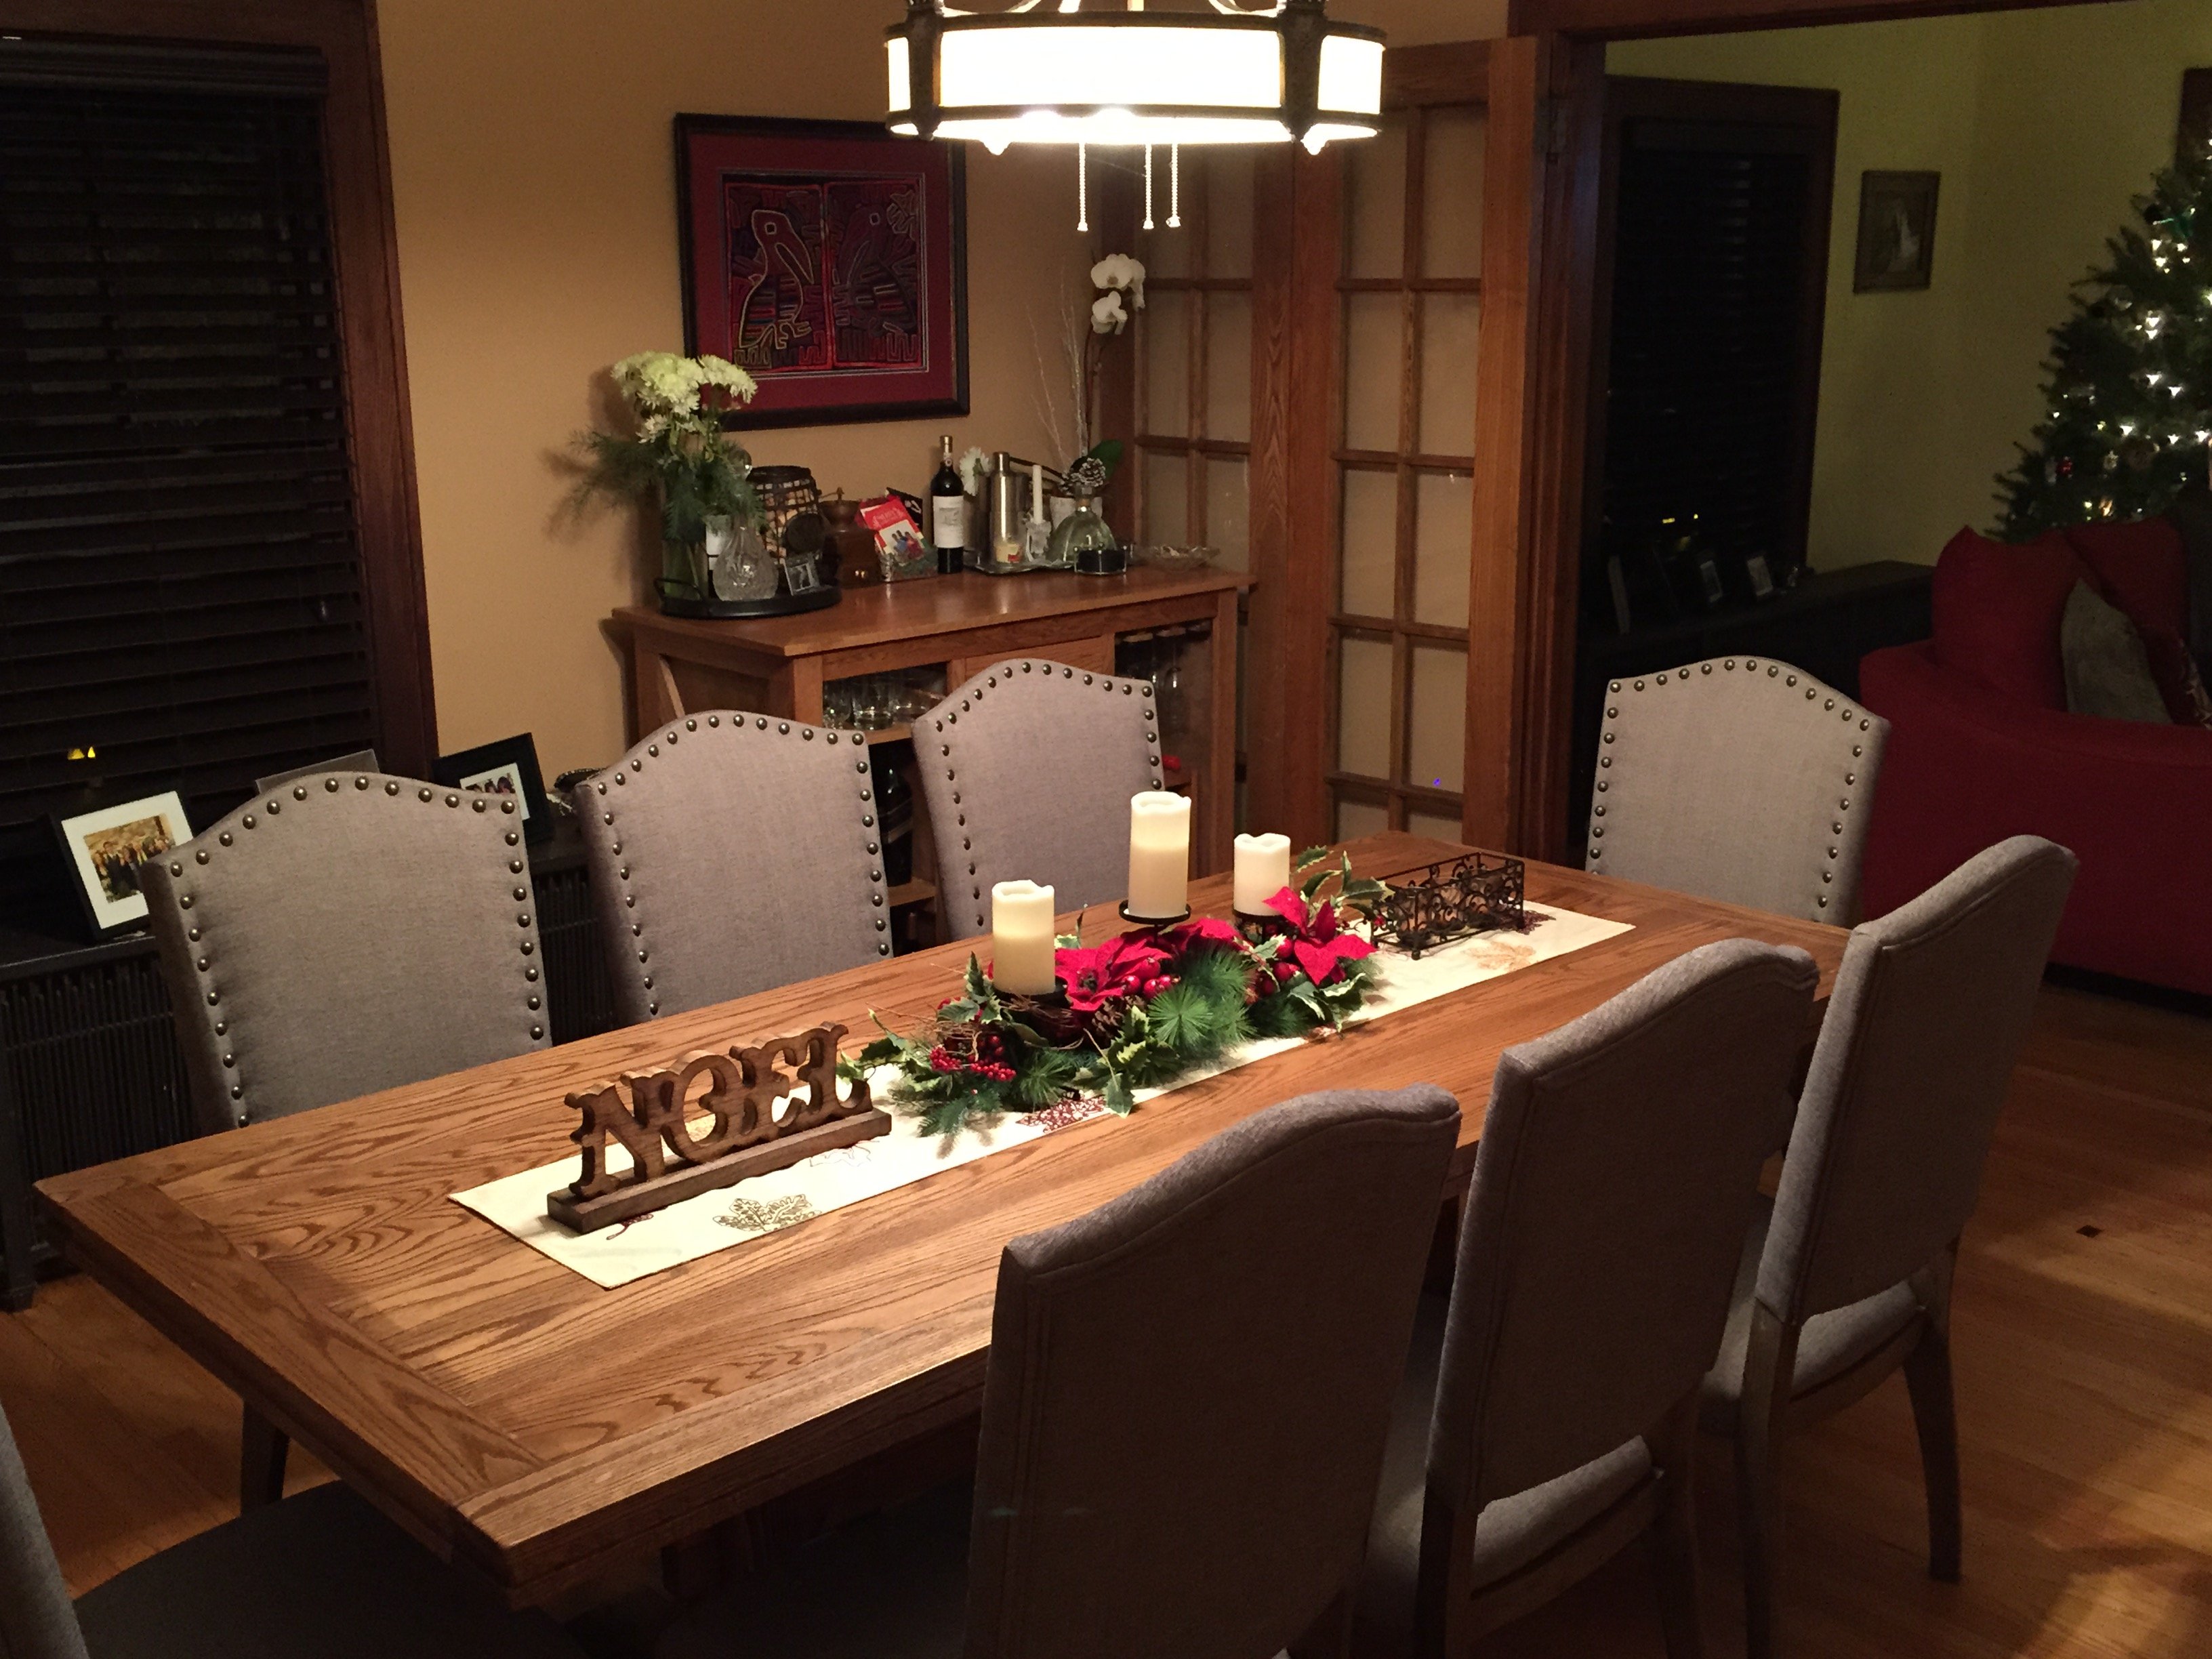
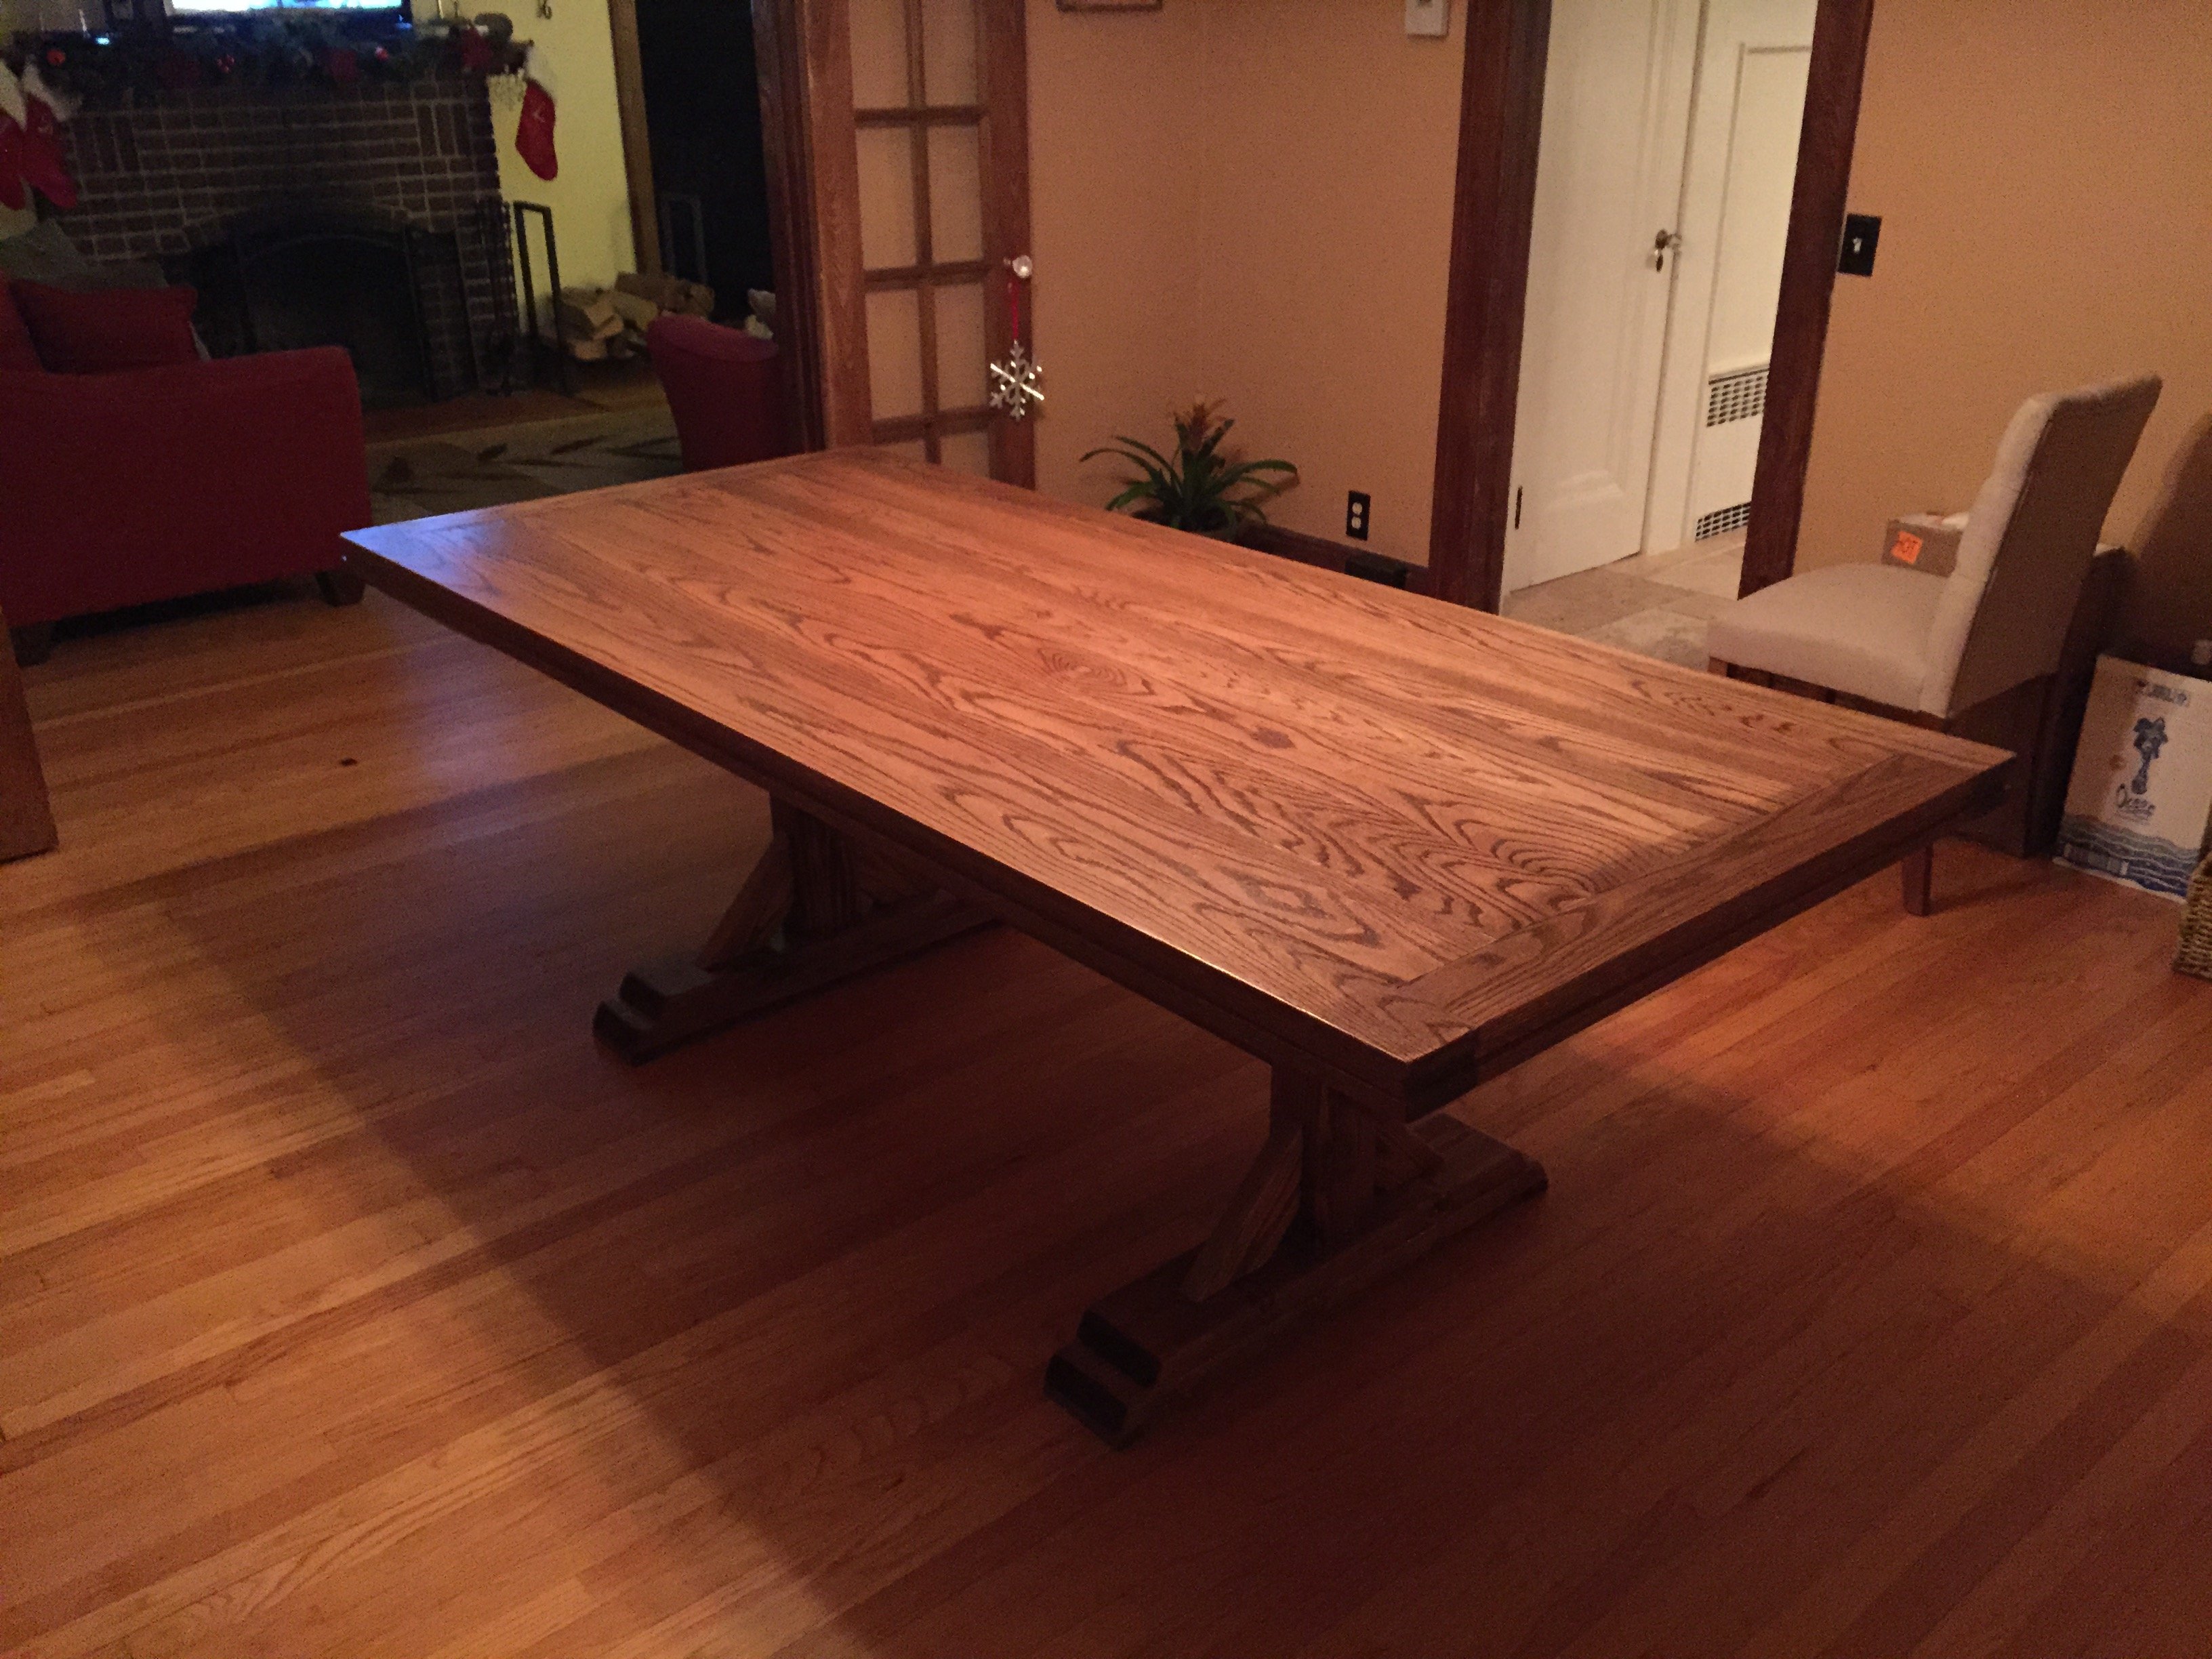
Farmhouse coffee table and king size bed is next.

Thank YOU Anna!!! You totally rock!!!!!!!!

Estimated Time Investment
Day Project (6-9 Hours)
Recommended Skill Level
Beginner

Comments

Storage Captains Bed

Submitted by Anonymous (not verified) on Fri, 09/16/2022 - 05:03

So this was a really fun project from start to finish, I wanted a storage bed with a place for my son to showcase his Super Hero collection!

Estimated Cost
300
Estimated Time Investment
Week Long Project (20 Hours or More)
Finish Used
Paint
Recommended Skill Level
Intermediate

Comments

Extra Tall Bar Stools

Submitted by TCnTash on Wed, 12/17/2014 - 09:21

My wife and I built our whole bar, from the shelves, bar, and the kegerator! We needed stools to round out our endeavor but we werent willing to shell out the kind of money required.  My wife found this plan and we morphed it a bit to meet our needs.  The KREG JIG saved us big time! The seat upholstry took us a bit of time, but we figured it out thanks to YouTube.  Great project for a weekend, took us a tad bit longer due to the arrival of our daughter but, we still got it done!

Built from Plan(s)
Estimated Cost
~$150, this got us three stools. We had bigger measurements than the plan called for, so you could definitely squeeze another chair if you stick to the plan.
Estimated Time Investment
Week Long Project (20 Hours or More)
Finish Used
Wheat color stain, and spray on Satin polyurethane.
Recommended Skill Level
Beginner

Simple Outhouse

Submitted by Anonymous (not verified) on Thu, 04/20/2017 - 12:26

I had my nephew build this outhouse for our new 70 acre lot - no neighbours in sight so I had him put in an acrylic window (with a view).  I left off the deck and had him put the boards tight together so 'critters' didn't get in as easily. I made a sign for above the door - 'Waste Management' for a touch of humour.  The plans were easy to follow and I love it.  Thanks, Ana.

Built from Plan(s)
Estimated Cost
Approx. $300 for material and $250 for my nephew's labour.
Estimated Time Investment
Weekend Project (10-20 Hours)
Finish Used
sealer
Recommended Skill Level
Beginner

Comments

Barn door bookcase

Submitted by EOdonnell on Fri, 04/02/2021 - 08:14

Fun project!

Built from Plan(s)

Comments

Awesome Adirondack chairs!!!

Submitted by Anonymous (not verified) on Sun, 05/23/2021 - 05:12

I'm a mom of two kids and new to wood working. The video instruction and the plan were so comprehensive! Thank you Ana, you inspired me to do more wood projects. I feel so accomplished and got so many comments on my new chairs. They are really really comfortable. My husband, who has a stiff back, loves the chair as it is also comfortable for him.

Estimated Cost
$120
Estimated Time Investment
Day Project (6-9 Hours)
Recommended Skill Level
Beginner

Comments

Kids Adirondack chairs

Submitted by Anonymous (not verified) on Tue, 10/05/2021 - 04:46

This was my first time building a chair. The plans were so easy to follow. The kids size fits an average child up to about age 5 or 6. If I were to build again I would add a bit of height to the backs so they could fit them even longer. My granddaughters aged 3 & 5 just loved them.

Built from Plan(s)

Texas size wooden cooler

I have used one of your cooler plans to create this one of a kind piece. Love your website - Thank you !

Built from Plan(s)
Estimated Cost
$60
Estimated Time Investment
Weekend Project (10-20 Hours)
Finish Used
orange/red solid stain
Recommended Skill Level
Beginner

Comments

Jody Knowles

Mon, 06/01/2015 - 12:20

Been thinking about making one of these. As a Texan this one definitely appeals to me !

Great job, it looks really nice.

Play kitchen

Submitted by SoCalMom on Fri, 12/22/2017 - 15:32

This was my first major build and while not perfect and I was little clunky building along the way, I’m happy with how it turned out and I think the girls will love it for Christmas. We are beach dwellers and surfers, but I’m also a former (always) a farm girl as well, so we put a surfing pig on it too. I wanted to keep it whimsical a bit so put starfish knobs for the burners. Took me a long time and more money than average probably because of learning curve as well as having to sneak work on it between working, toddler and infant. I got a Kreg and more tools for Christmas, so I am looking forward to more building! 

update: My little destroyer broke the door within 10 minutes because it was too big for her to work around. So I “remodeled” it and made the door just the top half so that is her oven. MUCH BETTER. Now she can use it far easier and it isn’t dropping to the floor. 

Estimated Cost
for actual used materials, somewhere around 125
Estimated Time Investment
Weekend Project (10-20 Hours)
Finish Used
Paint and contact paper
Recommended Skill Level
Beginner

Salvaged Wood Daybed

Submitted by kristah on Mon, 06/29/2015 - 18:44

I originally planned to make the Lydia daybed as is, but we decided to make it with reclaimed materials after being inspired by redwood we found that had been salvaged from old pickle barrels. We ended up with chunkier posts for the legs (3 1/4" by 3"), and used a thick solid piece of wood for the front (2"x 7 1/2") , which did change the dimensions of our project a bit. We attached an old shutter to the plywood for the sides, and found salvaged bed post tops for the tops. We left off the scalloped edges because they seemed too delicate for the look we had going. Also, my husband had fun with his new router on the edges. We decided to use 1x8's for the slats under the bed b/c we thought it would give more support to the latex foam we had used instead of a traditional mattress. Because we move a lot, we wanted to be able to take the daybed apart if necessary. We attached the sides to the daybed with bed rail brackets. I posted more about the daybed on my blog. Sewing the cushions/pillows took much longer than making the actual daybed!

Built from Plan(s)
Estimated Time Investment
Weekend Project (10-20 Hours)
Finish Used
Tung oil on the redwood- Milk paint on everything else
Recommended Skill Level
Intermediate

Outdoor Sofa

Submitted by Richm7 on Sun, 04/24/2022 - 11:05

Two seater couch inspired by your web site . I have altered the design a little and added an ottoman . Built from Australian Eucalypt . Nicknamed Blackbutt Gum . It’s a hardwood but finishes very nice , sanded with 240 grit , varnished with marine grade diluted 10% with turps . Look forward to your weekly plans they inspire me to build projects and give me lots of ideas . 
 

by Richard
Northland
New Zealand

Built from Plan(s)

Rustic X beach beverage center

Submitted by one wolf on Tue, 09/08/2015 - 06:52

We used old dock wood for the surface of our X table for a nice beach house beverage center (sand bar!).  We adjusted the size to fit our space (a little longer and wider) and used additional studs for the shelves instead of 1" shelving, glued and PH/PS together.  To cut the X pieces I just held the 1x1 on the end of the table where it goes and marked the lines. Then I clamped a guide board at the correct angle on the table saw to make all the cuts, starting a bit long and shaving off until it just fit.  


With all the pocket holes and screws I wouldn't consider this a beginner project. Some additional steps and pictures in your description would help also.  End result is really nice.


Built from Plan(s)
Estimated Cost
$50
Estimated Time Investment
Weekend Project (10-20 Hours)
Finish Used
Patina wood from an old dock for the surface and the base is painted flat gray.
Recommended Skill Level
Intermediate

Comments

Arbor bench from leftover trellis

Submitted by Anonymous (not verified) on Sat, 07/16/2022 - 17:57

The previous owners planned to built a rose Arbor, and left the pieces in our barn. Using the Arbor bench plan I was able to use all the pieces to build this version. Great summer hangout!

Built from Plan(s)

Comments

Chunky Leg Bed Frame slightly taller

Submitted by nagariz on Sat, 08/27/2011 - 01:06

First time really building anything out of wood. Getting a kreg jig was probably the best decision I made on this project. I made the legs slightly taller (7") for a bit of underbed storage and used a 2x4 brace instead of 2x6, so I could sit the slats down a bit lower but still keep a gap above the legs. The mattress sits 3" below the edge of the bed. I put a few legs under the center support, but they probably weren't necessary for the queen size bed. I spent about $150 for the lumber ($50 just for the bigger slats for my memory foam mattress), and about $50 for the kreg jig jr. and screws. I did not use any glue so I can take it apart later, and so far it seems pretty sturdy with no creaks. Thanks so much for the plan Ana!!! On to a headboard and bedside tables...

Estimated Cost
$150
Estimated Time Investment
Weekend Project (10-20 Hours)
Finish Used
Ebony Minwax stain one coat for 15 minutes
Recommended Skill Level
Beginner

Comments

VelvetSky

Sun, 08/28/2011 - 20:16

I love this! I am looking to build something like this, so I can get rid of my box spring.

Larissa (not verified)

Sat, 10/08/2011 - 13:11

This looks awesome for a first timer! Good job and I agree about the Kreg...it is a wonderful investment for any future projects. I have memory foam too so will probably do the same with having wider slats.

Modern Adirondack Chair

Submitted by Anonymous (not verified) on Sat, 11/19/2022 - 03:24

Easy build, turned out great. Our first project like this. We built 4!

Comments

Kitchen Island (or Cactus Table!)

Submitted by Joni on Sun, 10/09/2011 - 10:56

I absolutely loved Michaela's Kitchen Island (http://ana-white.com/2010/03/plans-michaelas-kitchen-island.html), so I modified it to suit my needs of having a table to place my cacti in the winter months. I modified the size, removed one of the shelves, and left the drawers out so that I could put my Texas stars.

Built from Plan(s)
Estimated Time Investment
Week Long Project (20 Hours or More)
Finish Used
Tabletops: Mixture of Minwax water-based stains using Antique Walnut & Onyx, topped with 4 coats of General Finish Satin EnduroVar.

Table: 2 coats of General Finish Milkpaint in Millstone, followed by 4 coats of General Finish Glaze in Van Dyke Brown, followed by 1 coat of General Finish Satin EnduroVar.
Recommended Skill Level
Beginner

Comments

BlueSky73

Sat, 05/17/2014 - 11:09

Love your version of this project! we are using your version for a bathroom vanity...any input as to the modifications you made would be appreciated!

Rustic X Console Finished With Annie Sloan Chalk Paint and Wax

Submitted by Anonymous (not verified) on Thu, 12/31/2015 - 21:34

I love this table! Thank you Ana for the plans! Everyone who sees it says it came out incredible. I used my birthday money to buy the Kreg Jig for this piece and I'm glad I did! I'm excited to continue building. This was my first real build and it was fun! I painted it with a mixture of Barcelona and Graphite Chalk paint to make the brown and then I used that brown mixture to paint it as well as Graphite so it has two tones of colors. Chalk paint from Annie Sloan. I then clear waxed for protection and finished with dark wax.

Built from Plan(s)
Estimated Cost
$80
Estimated Time Investment
Weekend Project (10-20 Hours)
Finish Used
Chalk paint and wax by Annie Sloan. I used Barcelona Orange mixed 50/50 with Graphite to get the brown. I then painted with that brown mixture and Graphite. I clear waxed with Annie Sloan clear wax for protection and finished with her dark wax. I rubbed the dark wax in the grooves and knots so they would stand out.
Recommended Skill Level
Intermediate

Double Pedestal Farmhouse Table

Submitted by Anonymous (not verified) on Sun, 01/03/2016 - 01:34

Keep on building on! This is the second peice I've built for our dining room - built a bar first. I opted to only make 2 pedestals instead of 3 that was on the plans. Dimensions are a tad smaller to fit our room nicely, measuring 90in x 40in. My wife and I absolutely love this table! I used Red Oak for the top and Doug fir for the base. Hardest part was lugging around that dense oak and looking for chairs! The stretcher was also a bit of a task as well. Had to go out a buy a rubber mallet to bang it in enough so that the slack on both ends were even. We particularly like this piece because it will be used often and many memories will be created around this table! Thanks again for the inspiration!

Built from Plan(s)
Estimated Cost
$400, but sold previous dining table and chairs for $425
Estimated Time Investment
Weekend Project (10-20 Hours)
Finish Used
Miniwax Special Walnut,
Spar Urethane
Recommended Skill Level
Intermediate

Farmhouse dining table

Submitted by Anonymous (not verified) on Wed, 04/24/2019 - 23:11

This was our first build together and first furniture piece from woodworking. The kreg jig really helped out and we didn’t have any major issues while building except for some board being warped but we fixed it with a planer.

Finished building the entire table in one day and staining and coats of poly took 2 extra days. It was a very easy build. When we move to a new area that has better access to lumber I’d like to remake this using oak/maple.

Estimated Cost
$125
Estimated Time Investment
Weekend Project (10-20 Hours)
Finish Used
Minwax Jacobean
Recommended Skill Level
Beginner