AP - Play Kitchen
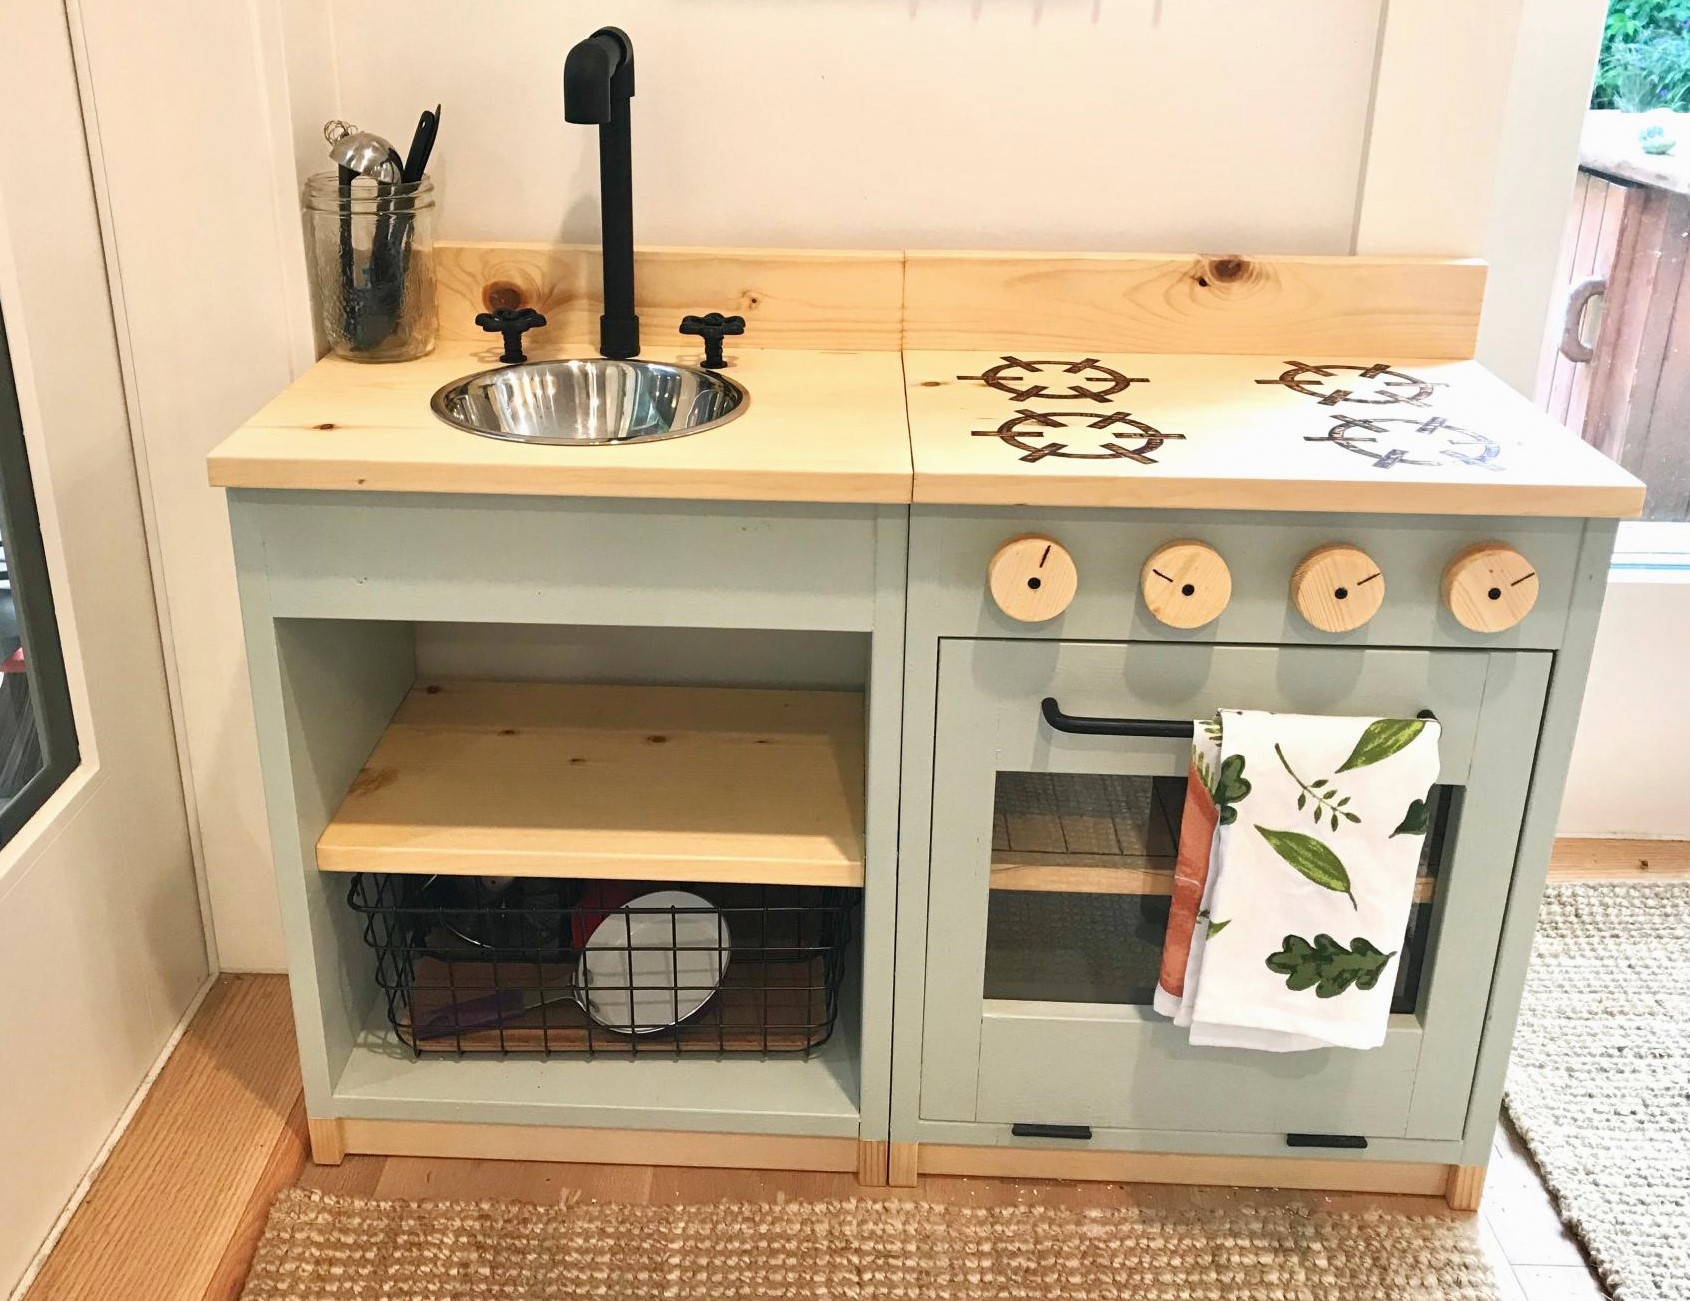
Loved the plans from the site Ana! I got inspired seeing all the lovely play kitchens that everyone had created! Thought I'd share the one I've made for my little one as well, she loves it!
Built from Plan(s)
Loved the plans from the site Ana! I got inspired seeing all the lovely play kitchens that everyone had created! Thought I'd share the one I've made for my little one as well, she loves it!

A great weekend project...the "love swing"! I used the plan from Ana for the swing seat and added two arm rests from left over 1x6, rounded them off and sanded.
I cobbled together an A-frame to hang everything, made from five 8 foot 4x4s and two 8 foot 2x6s laminated together for the stretcher. Assembled with 1/2" galvanized carriage bolts and hung with 1/4" chain.
Definitely going to want a good miter saw for the A-Frame angles (the top ones are a bit tricky to get everything lined up)
Love it! Thanks for another great plan Ana..and of course..Shanty2Chic!


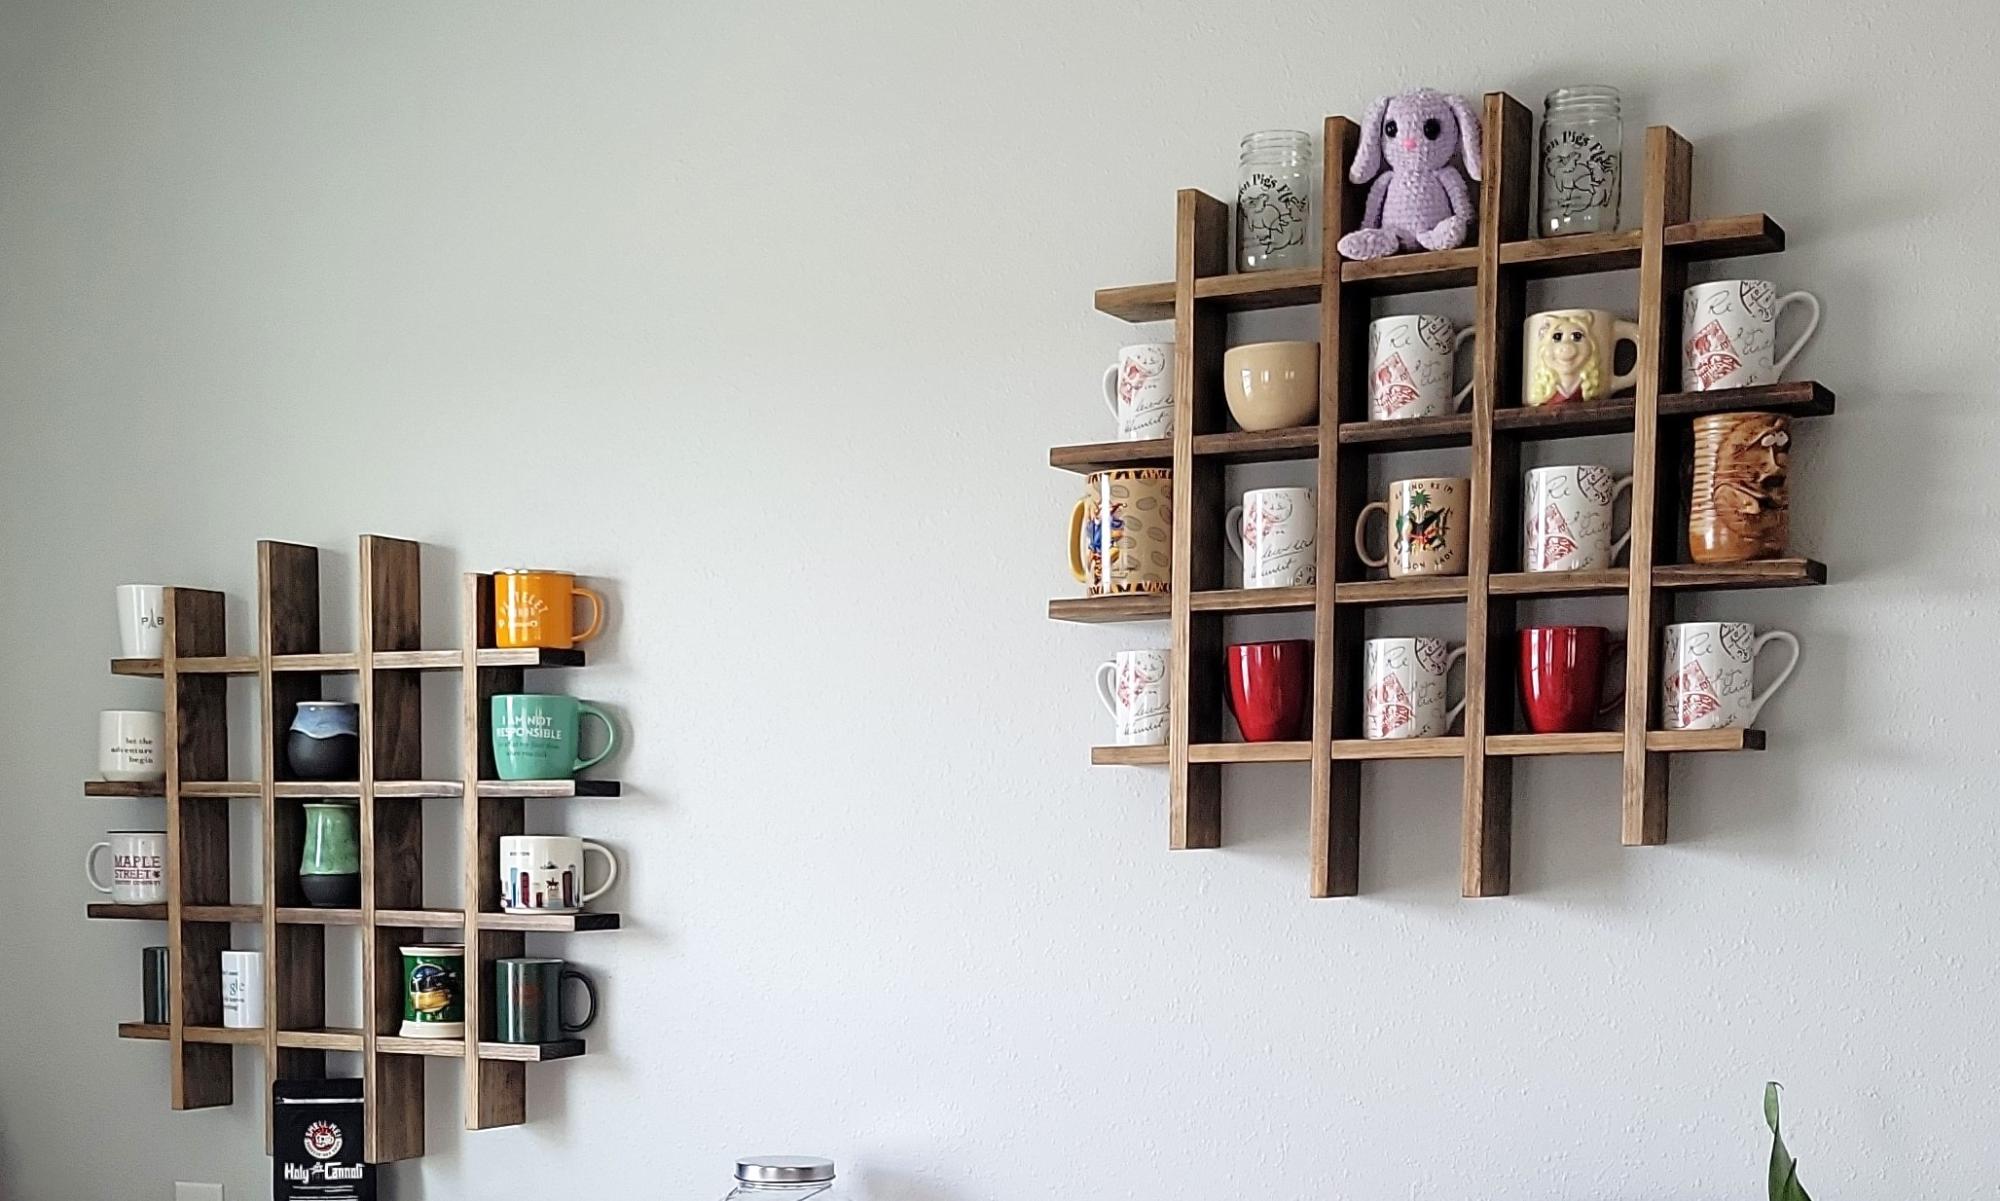
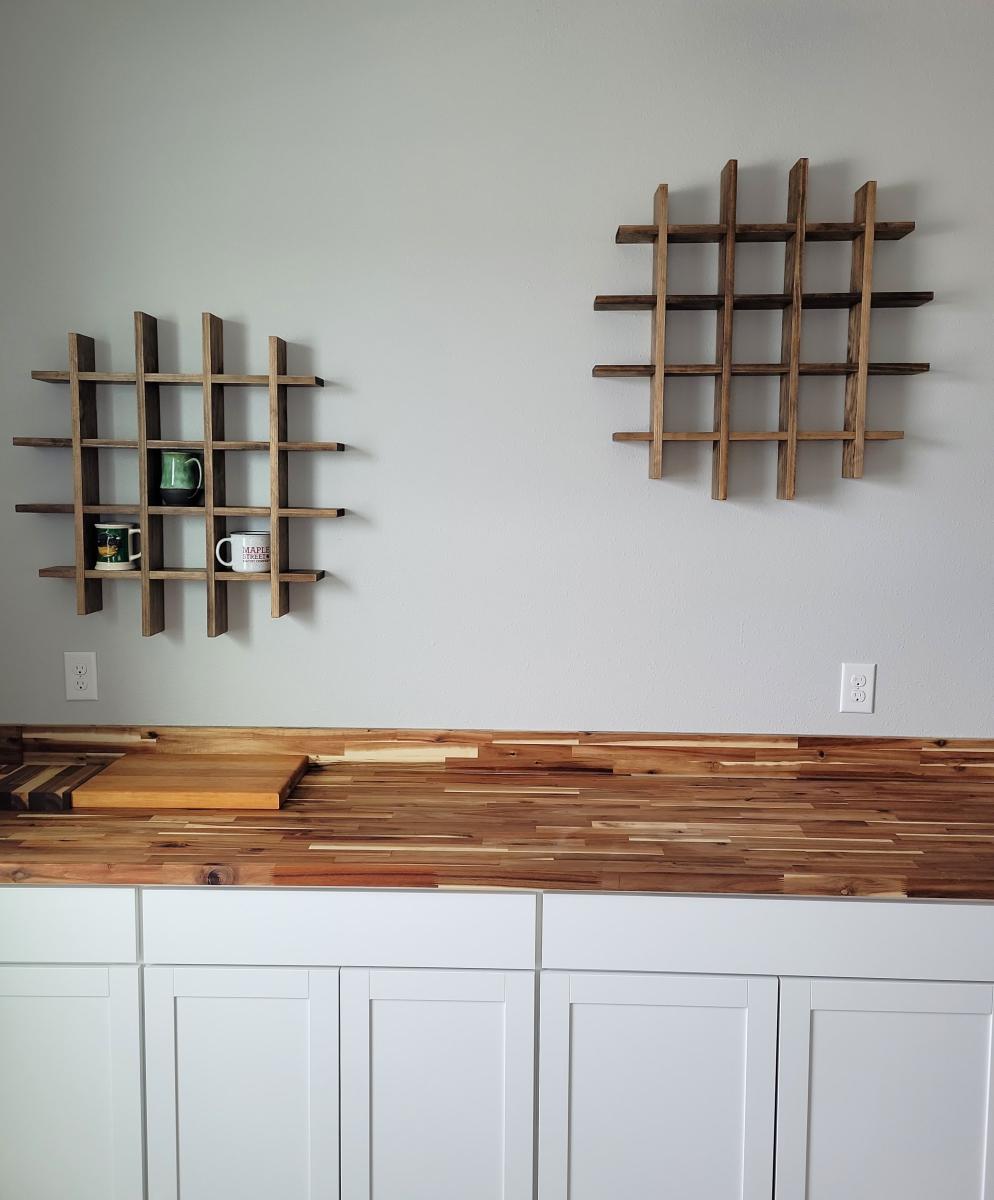
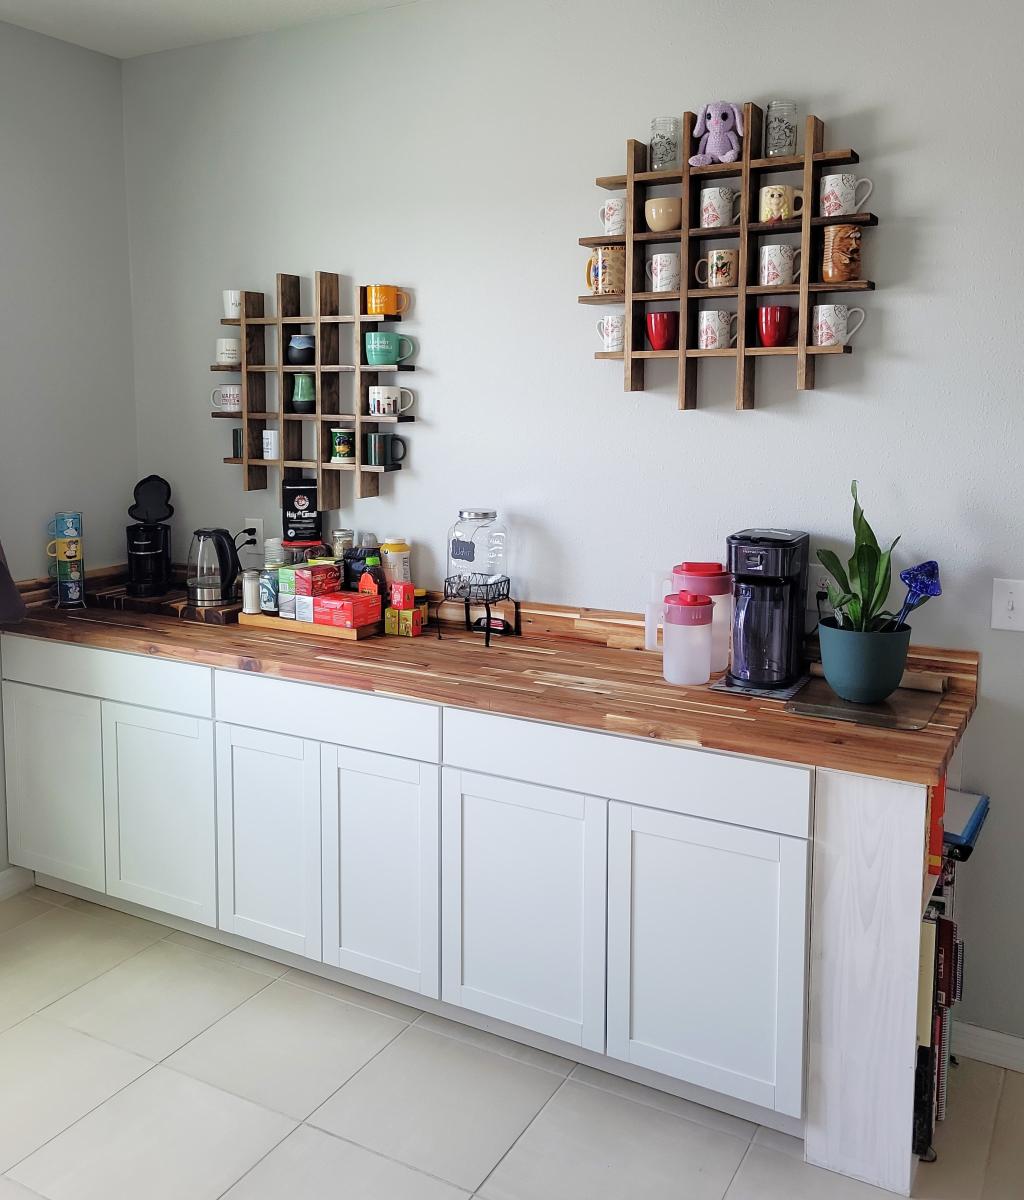
Built Cup storage shelf after adding a new set up cabinets and wood countertop.
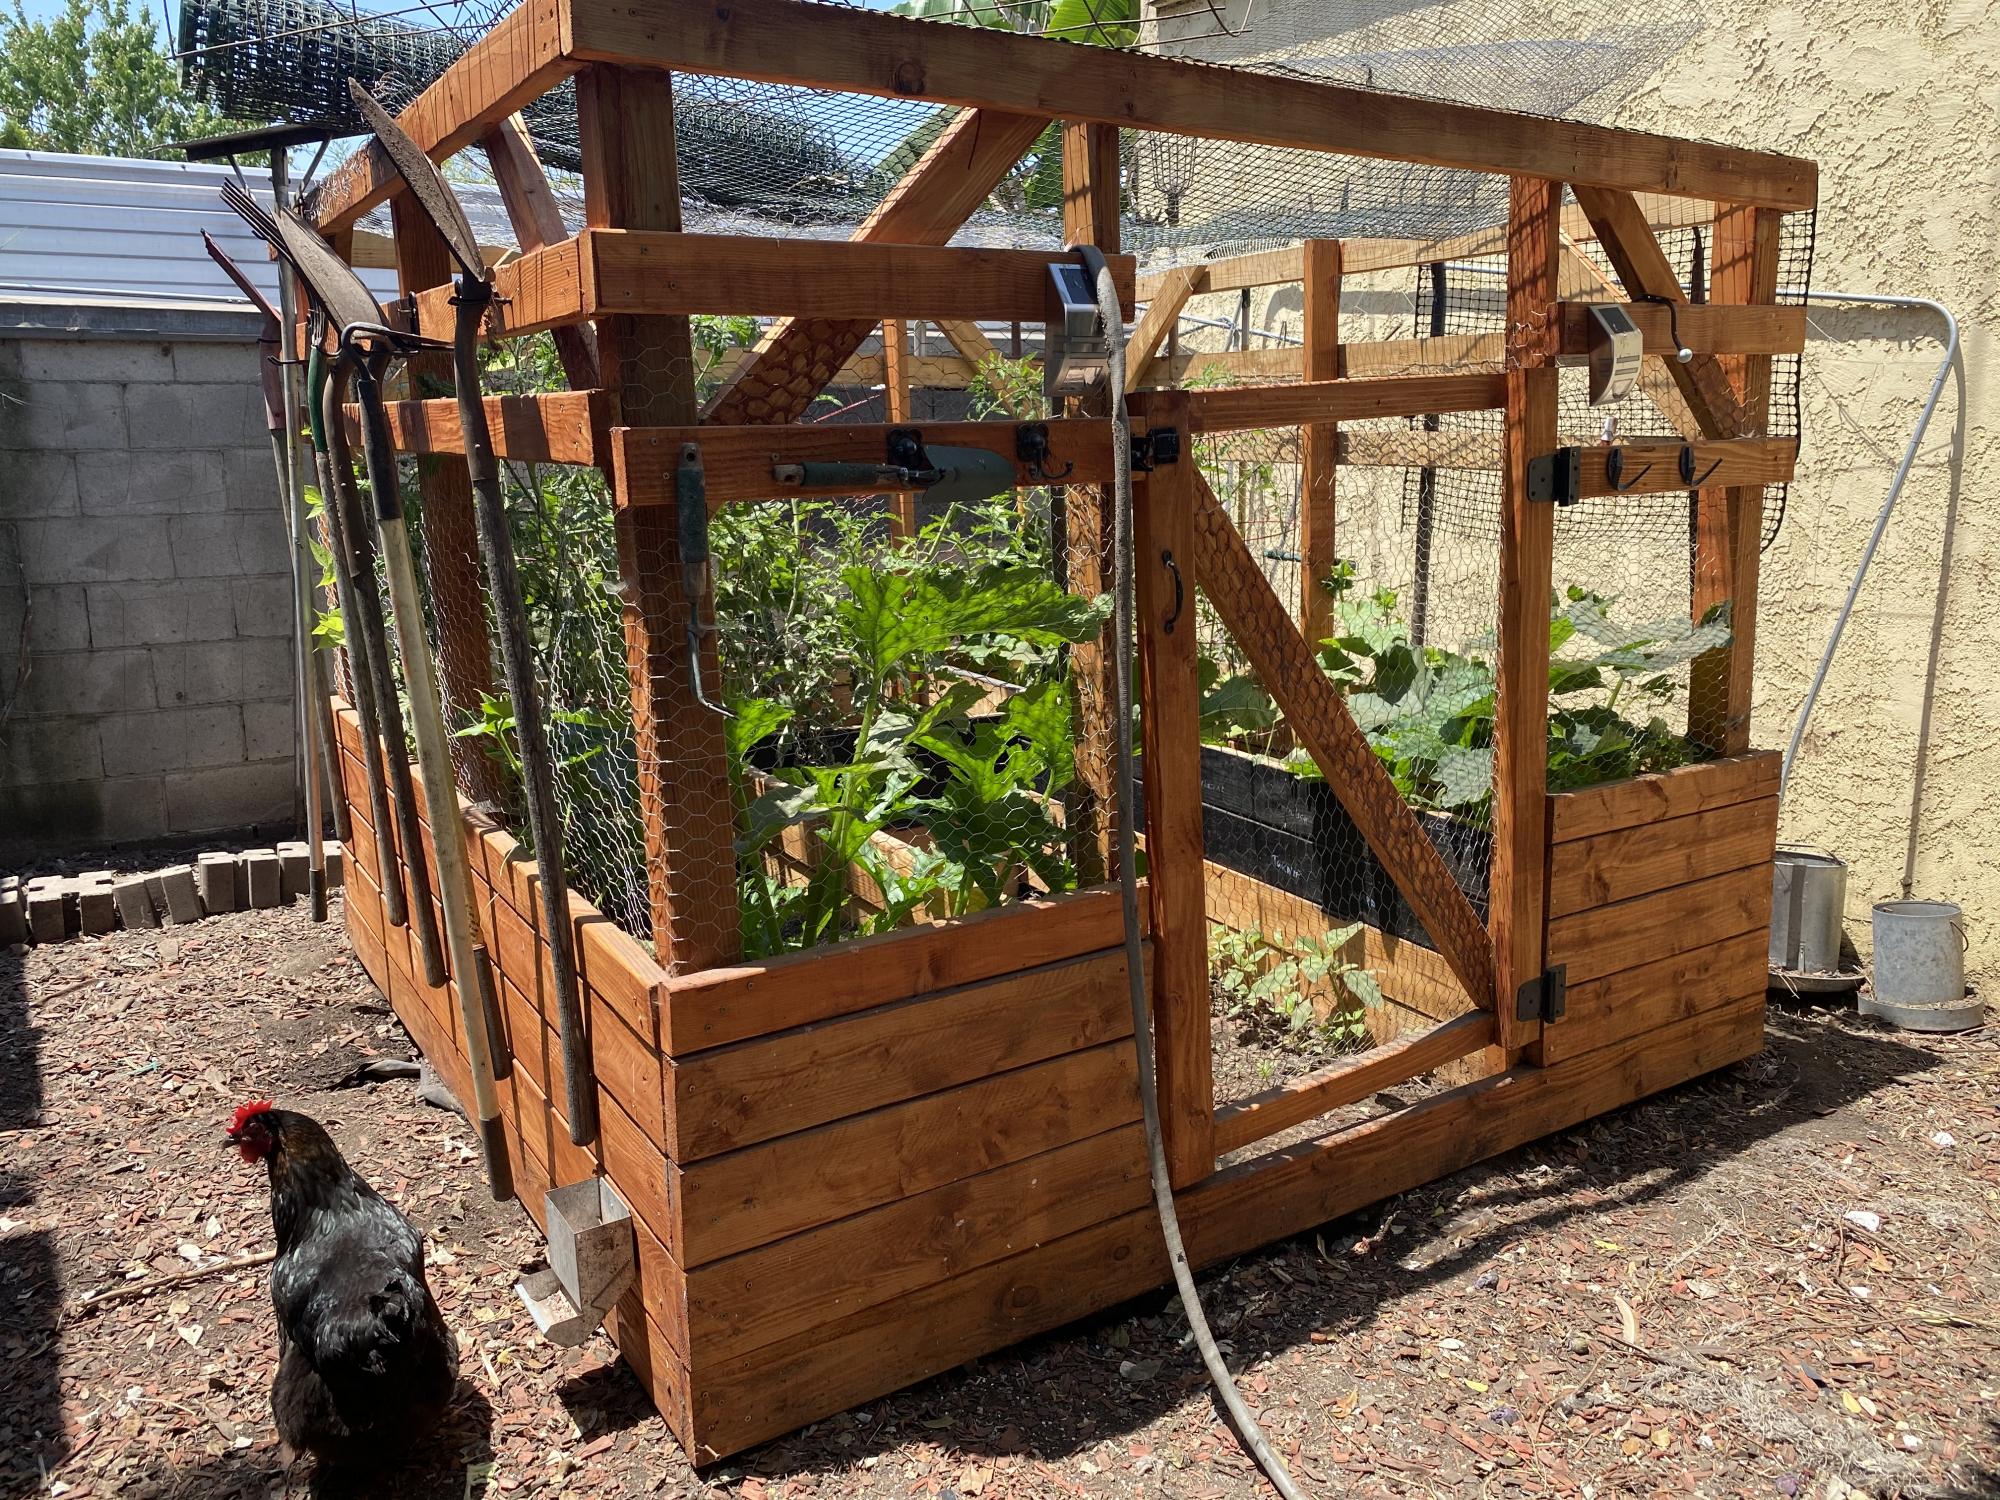
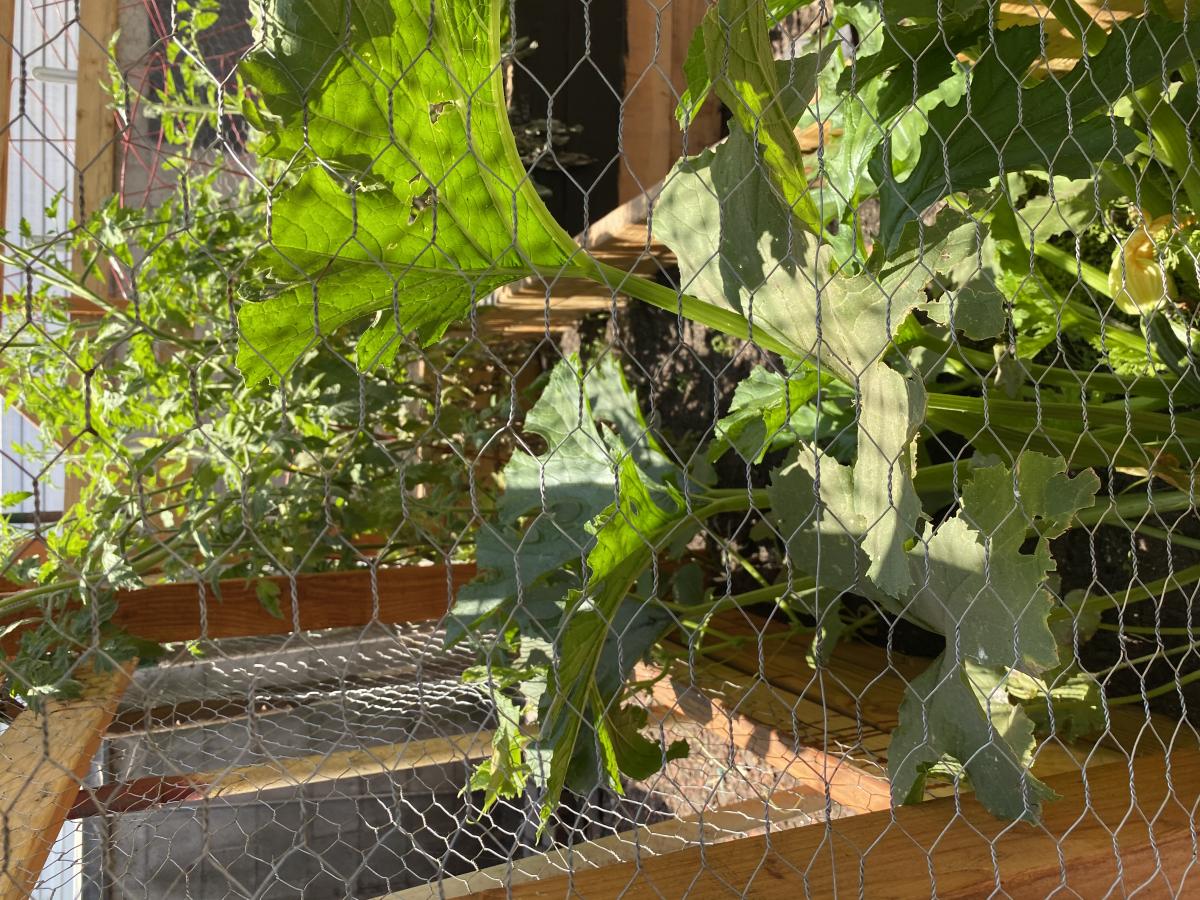
My chickens took over my garden area and being the voracious raptors they are, I needed to build a garden enclosure to keep my veggies safe. I modified a little, making my beds deeper. I also had to stretch chicken wire over the top to keep the great flyers out. I also used it as a way to organize my garden tools (which is possible because I live in Southern California with moderate temperatures and little rain. Thanks for the plans! Yvonne
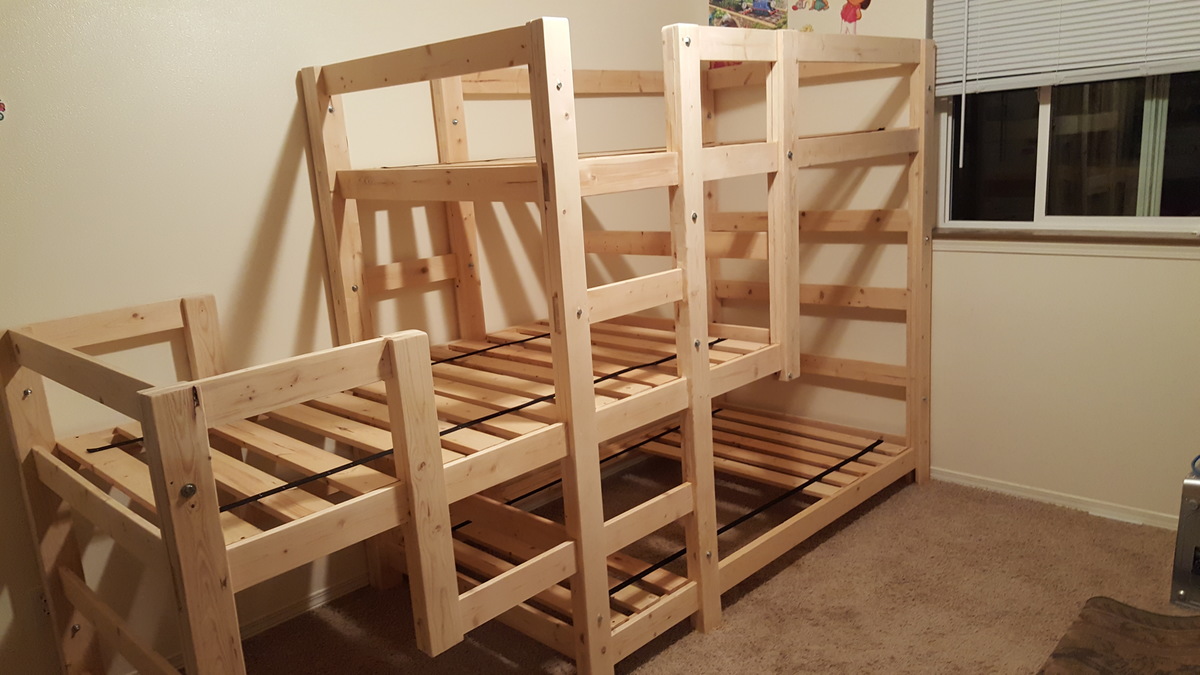
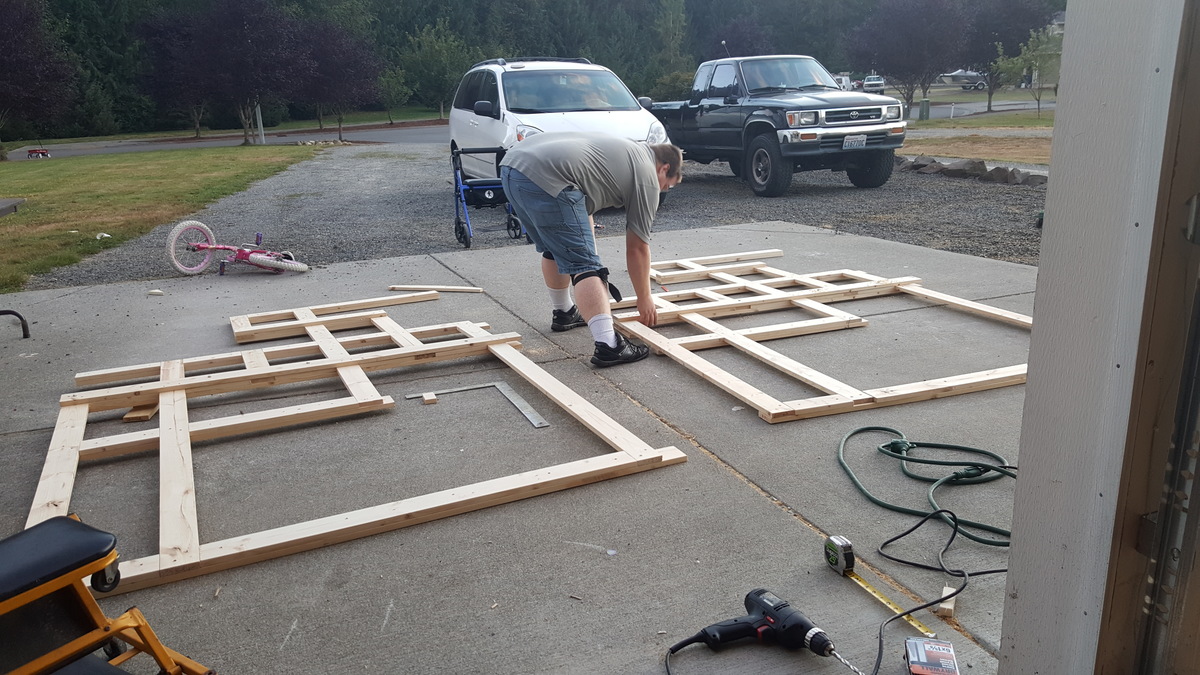
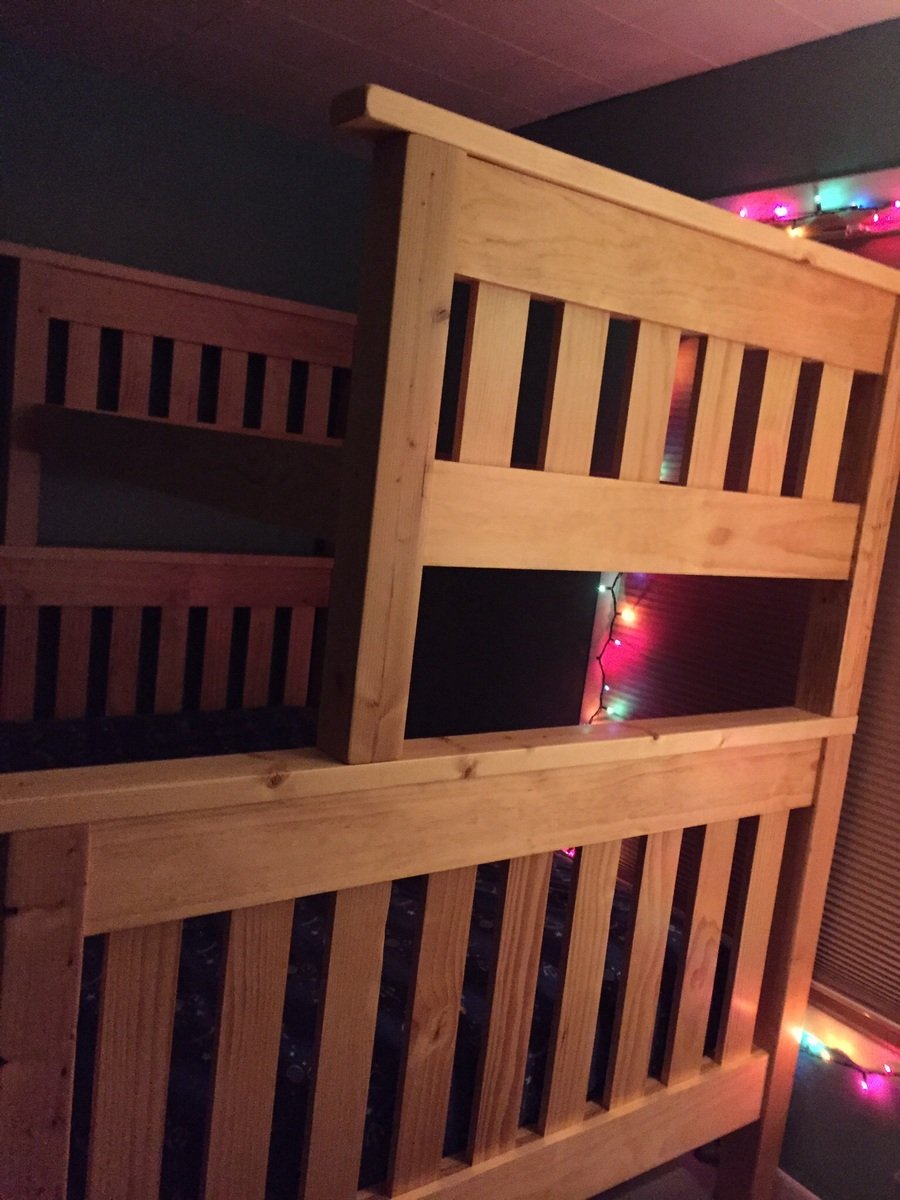
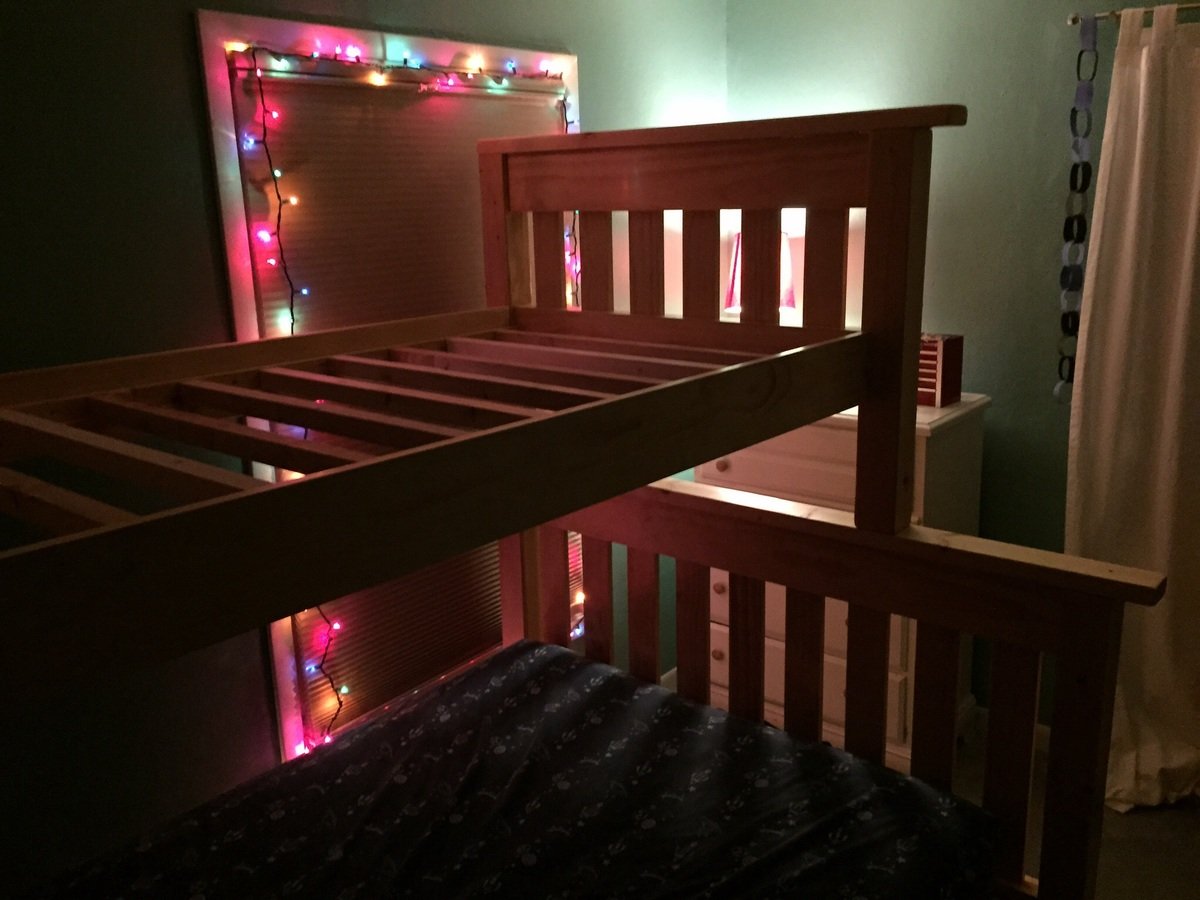
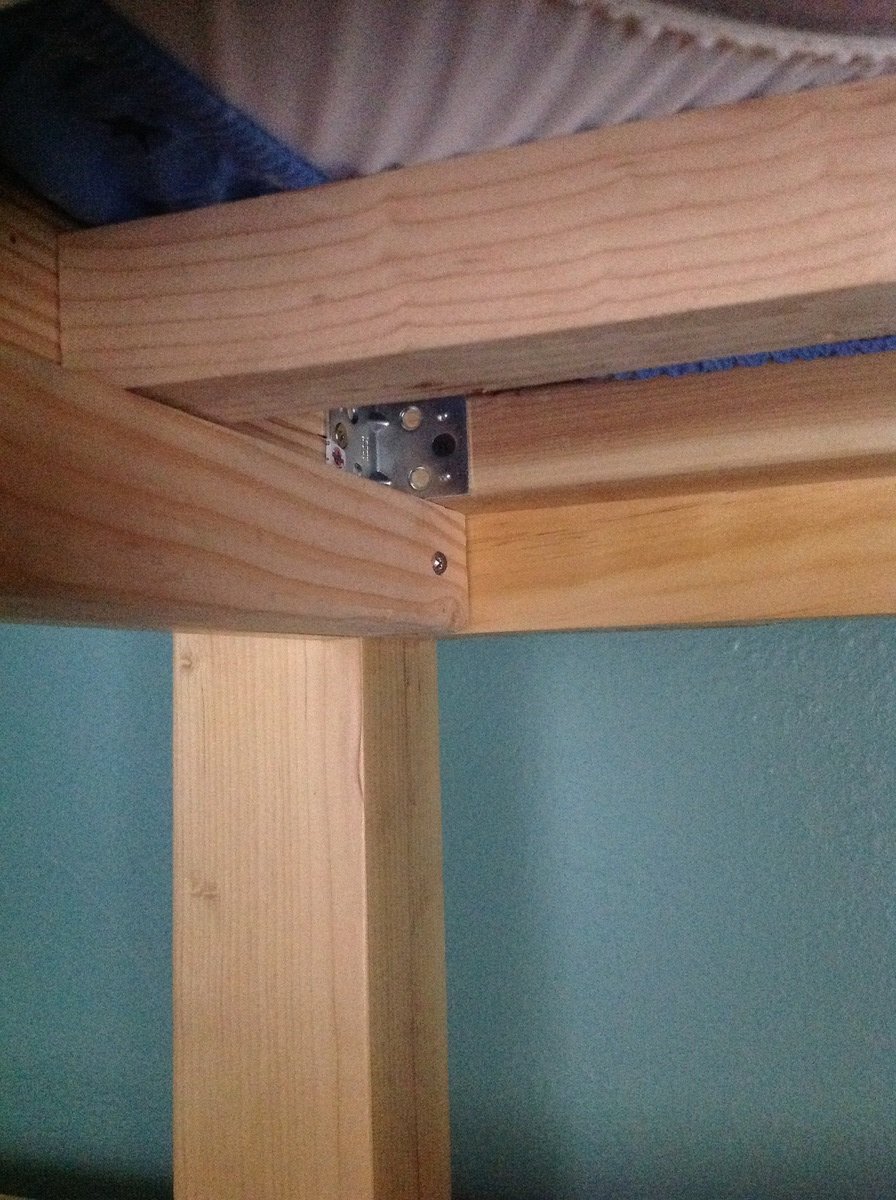
Thank you for sharing the plans for this. I really liked how out breaks down into 8 pieces to move. I felt the plans were lacking a bit of detail, I ended up downloading the sketch up app for $10. That app helped a ton! Due to lack of detail and not thinking ahead I ended up putting a couple bolt holes in bad spots and had to wood fill and move them. I also didn't understand what mirror image of left and right side were. Lol. I laid down the left side and carefully assembled, then I made the right side to look exactly like it. Lifted the left side, looks beautiful, lifted the right side and looks like a million screws. Lol. I also had to add additional wood to make it work since I essentially built the side inside out. I think I put the slats in a little closer then the plans suggested, I ended up cutting a few more if you notice the gap in bottom bunk slats. I also purchased "backpack strap" from ace hardware and laid it across the slats. I screwed the end slats and stapled the middle ones to the strap. All in all, a great project and it will last for years. Thanks for sharing. Built from http://www.ana-white.com/2013/06/plans/triple-bunk-staggered-beds

Full storage bed made from farmhouse storage plans.
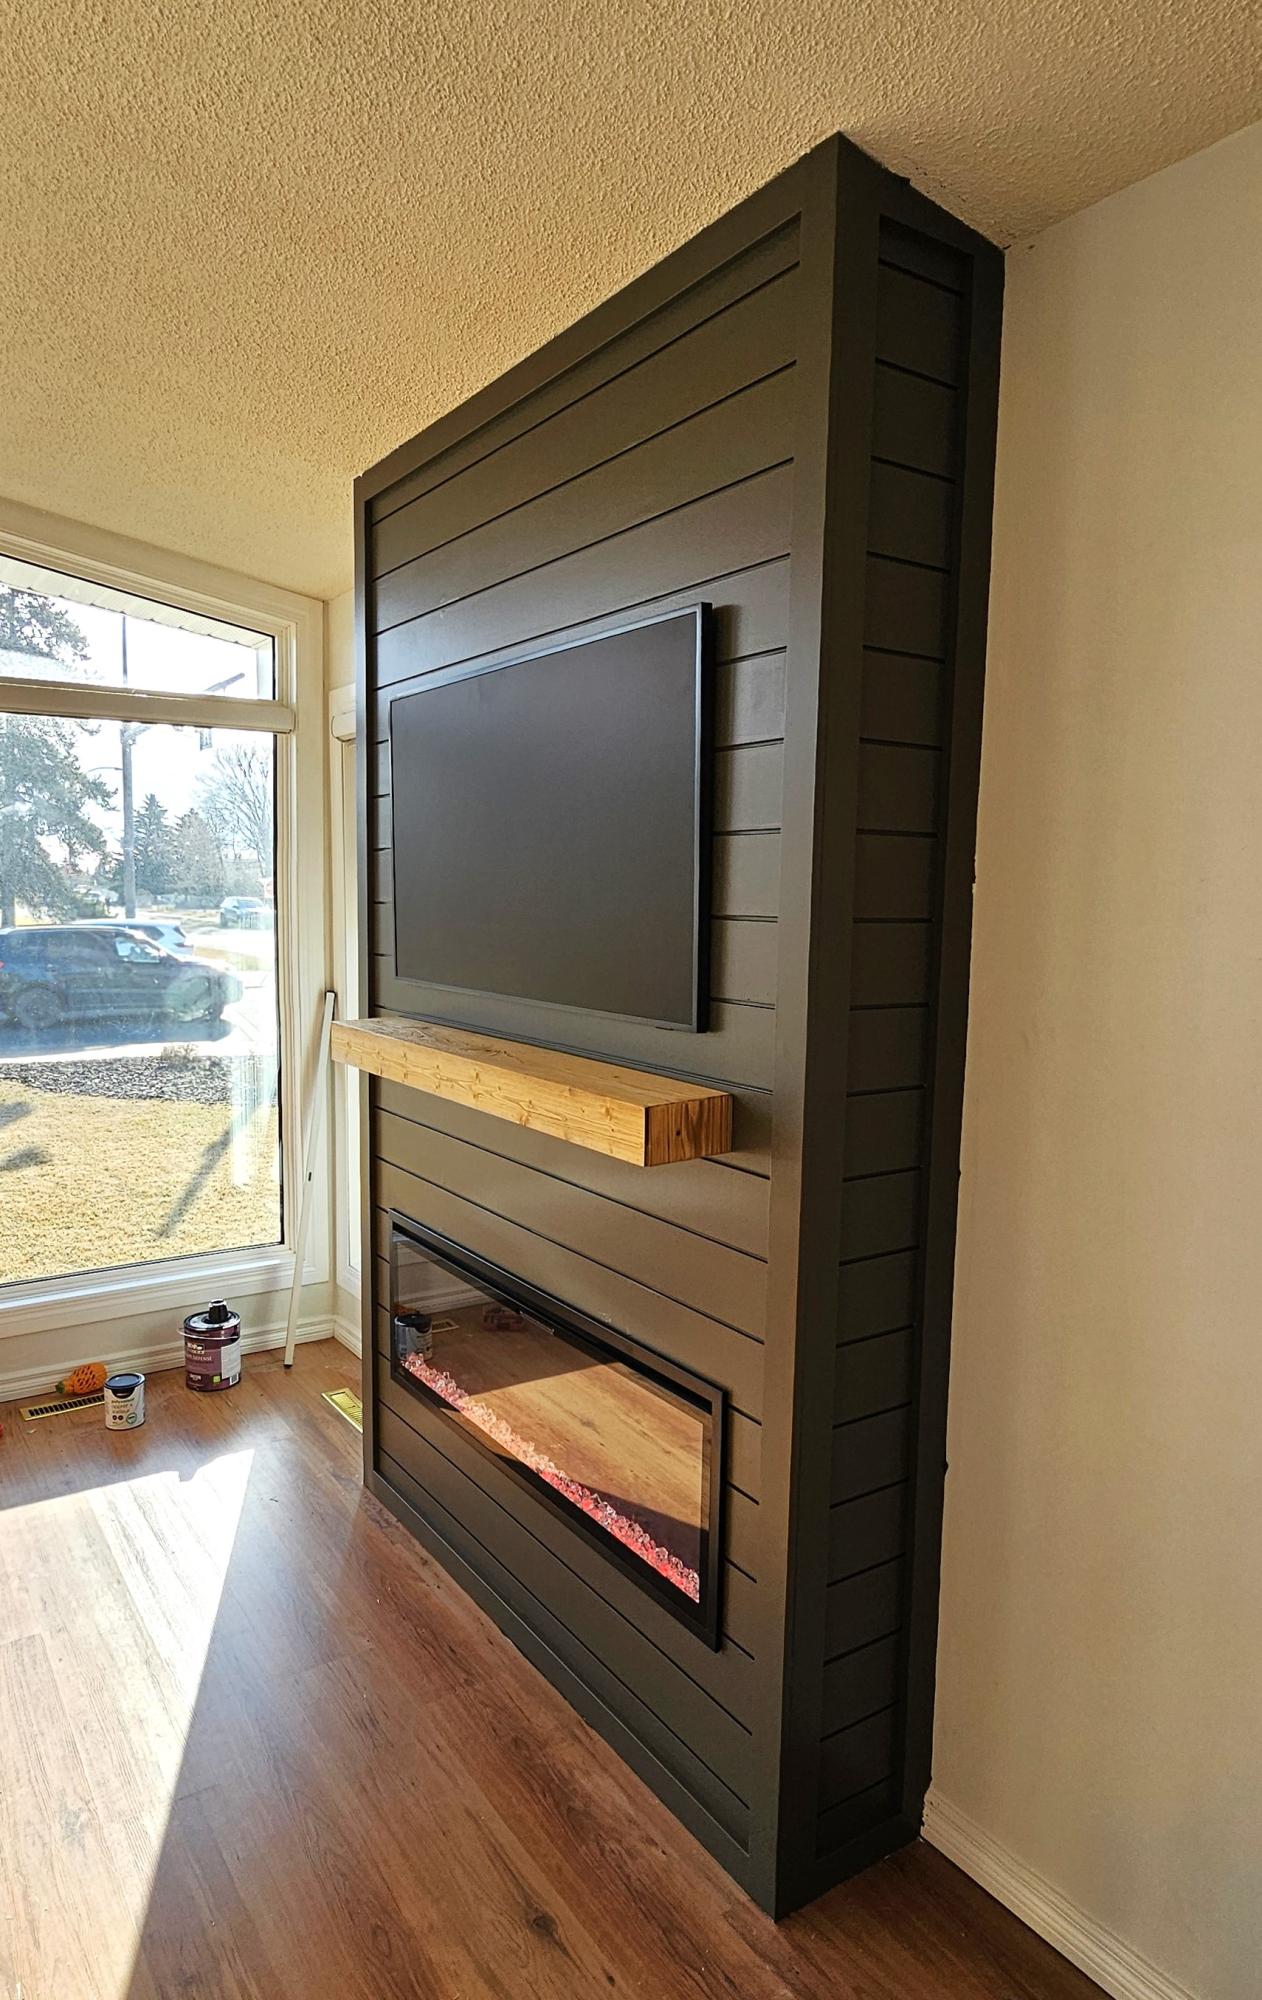
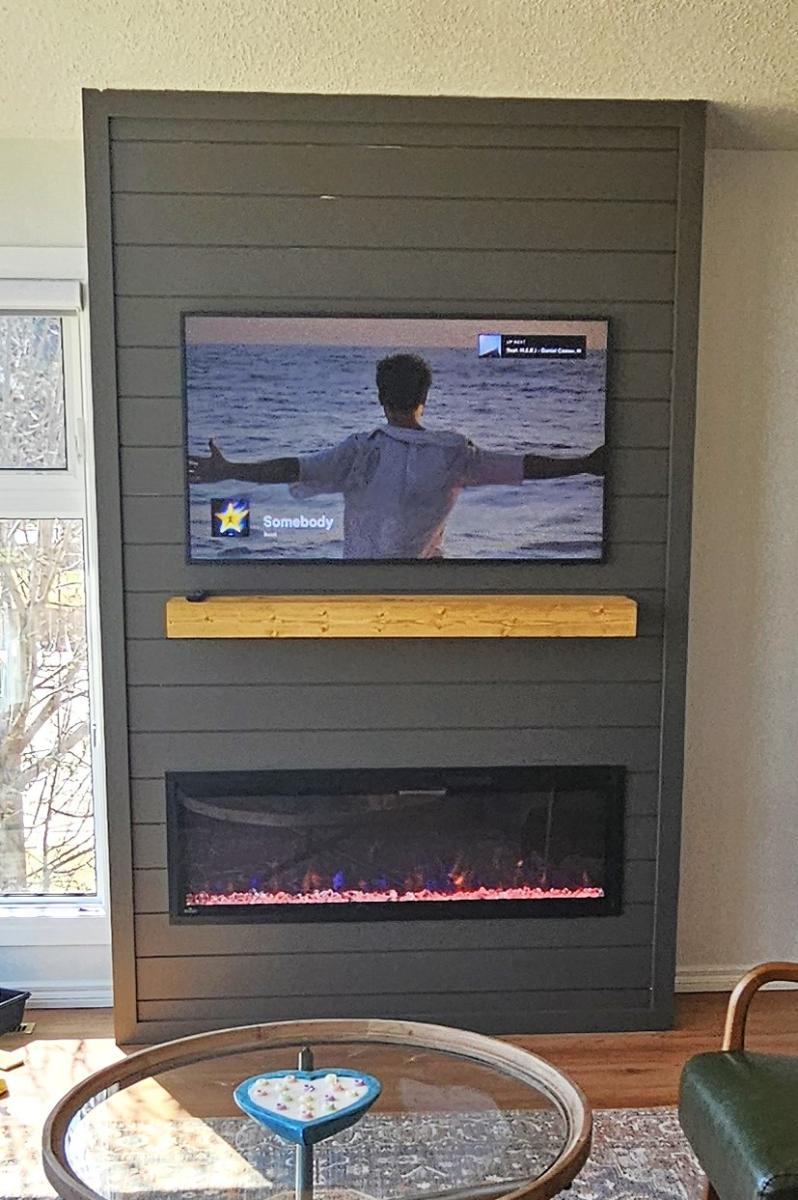
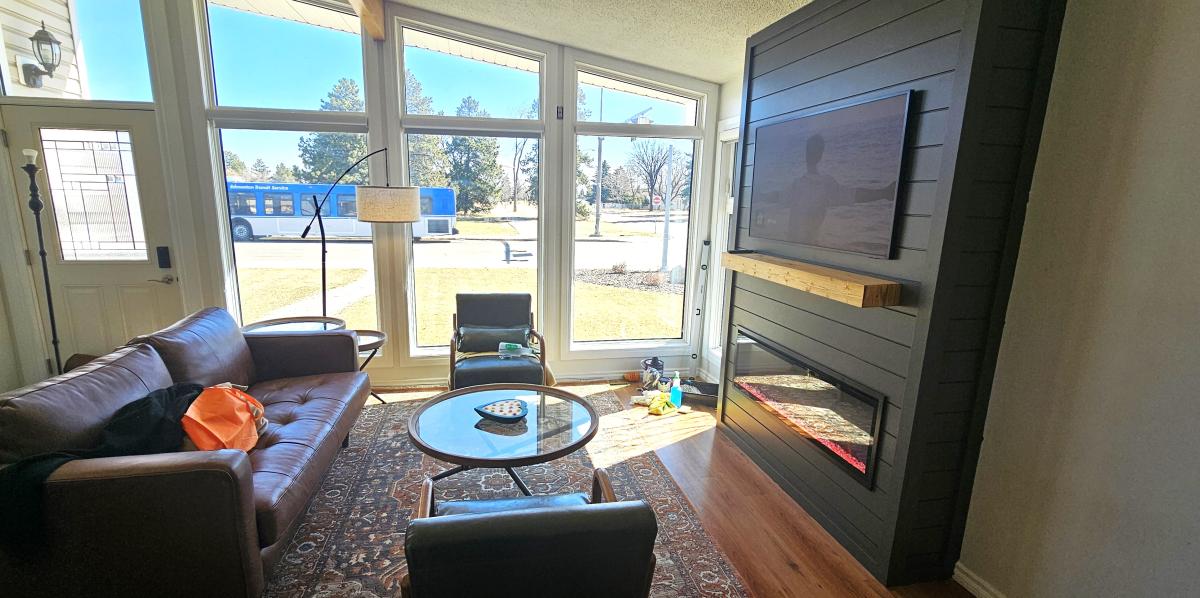
Used Ana's plans to build my floor to ceiling shiplap fireplace. Excellent guide made it easy.
Angelo
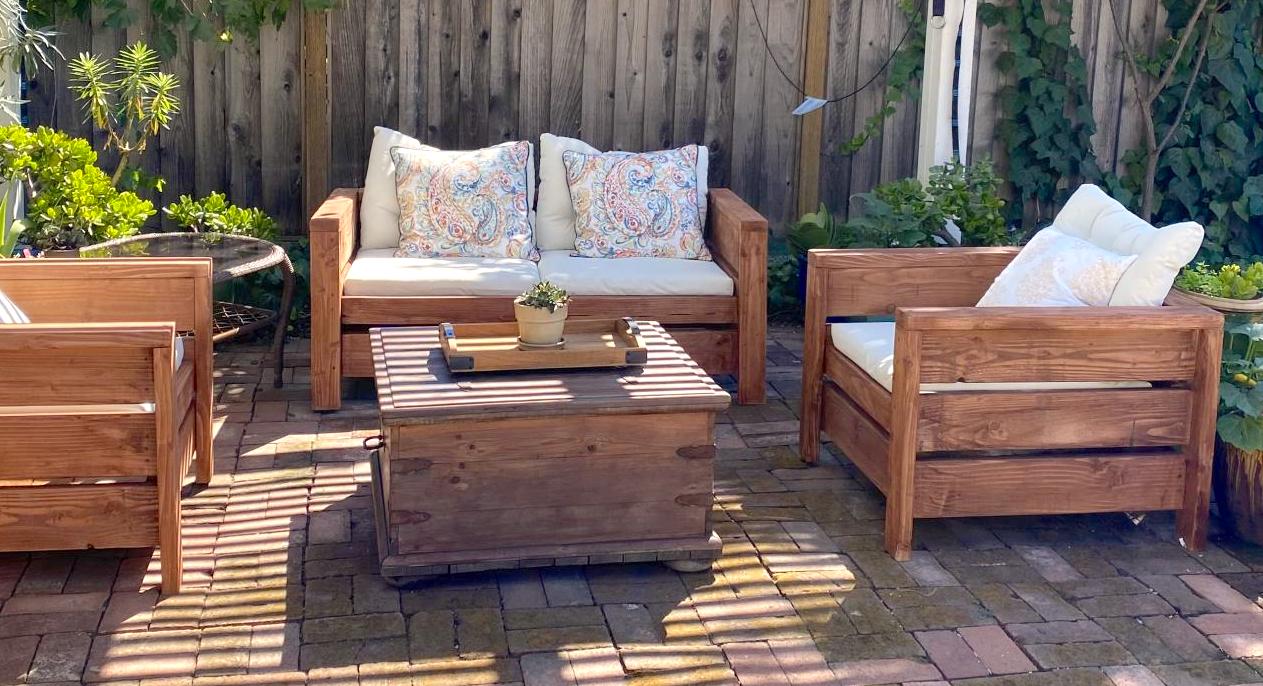
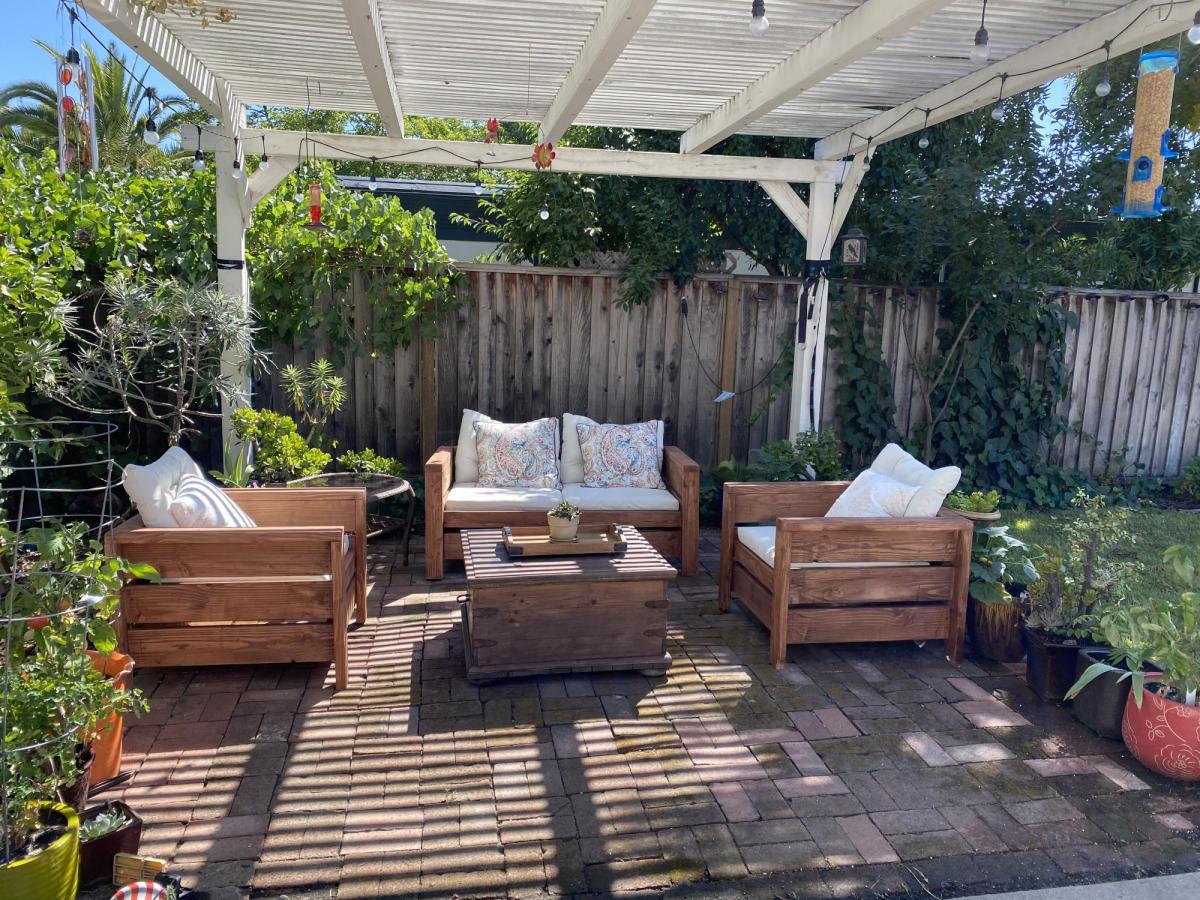
These plans were great. Easy to put together and they look quite amazing. And they are solid! Bought cushions from IKEA and the wood from Home Depot. Stained and sealed.
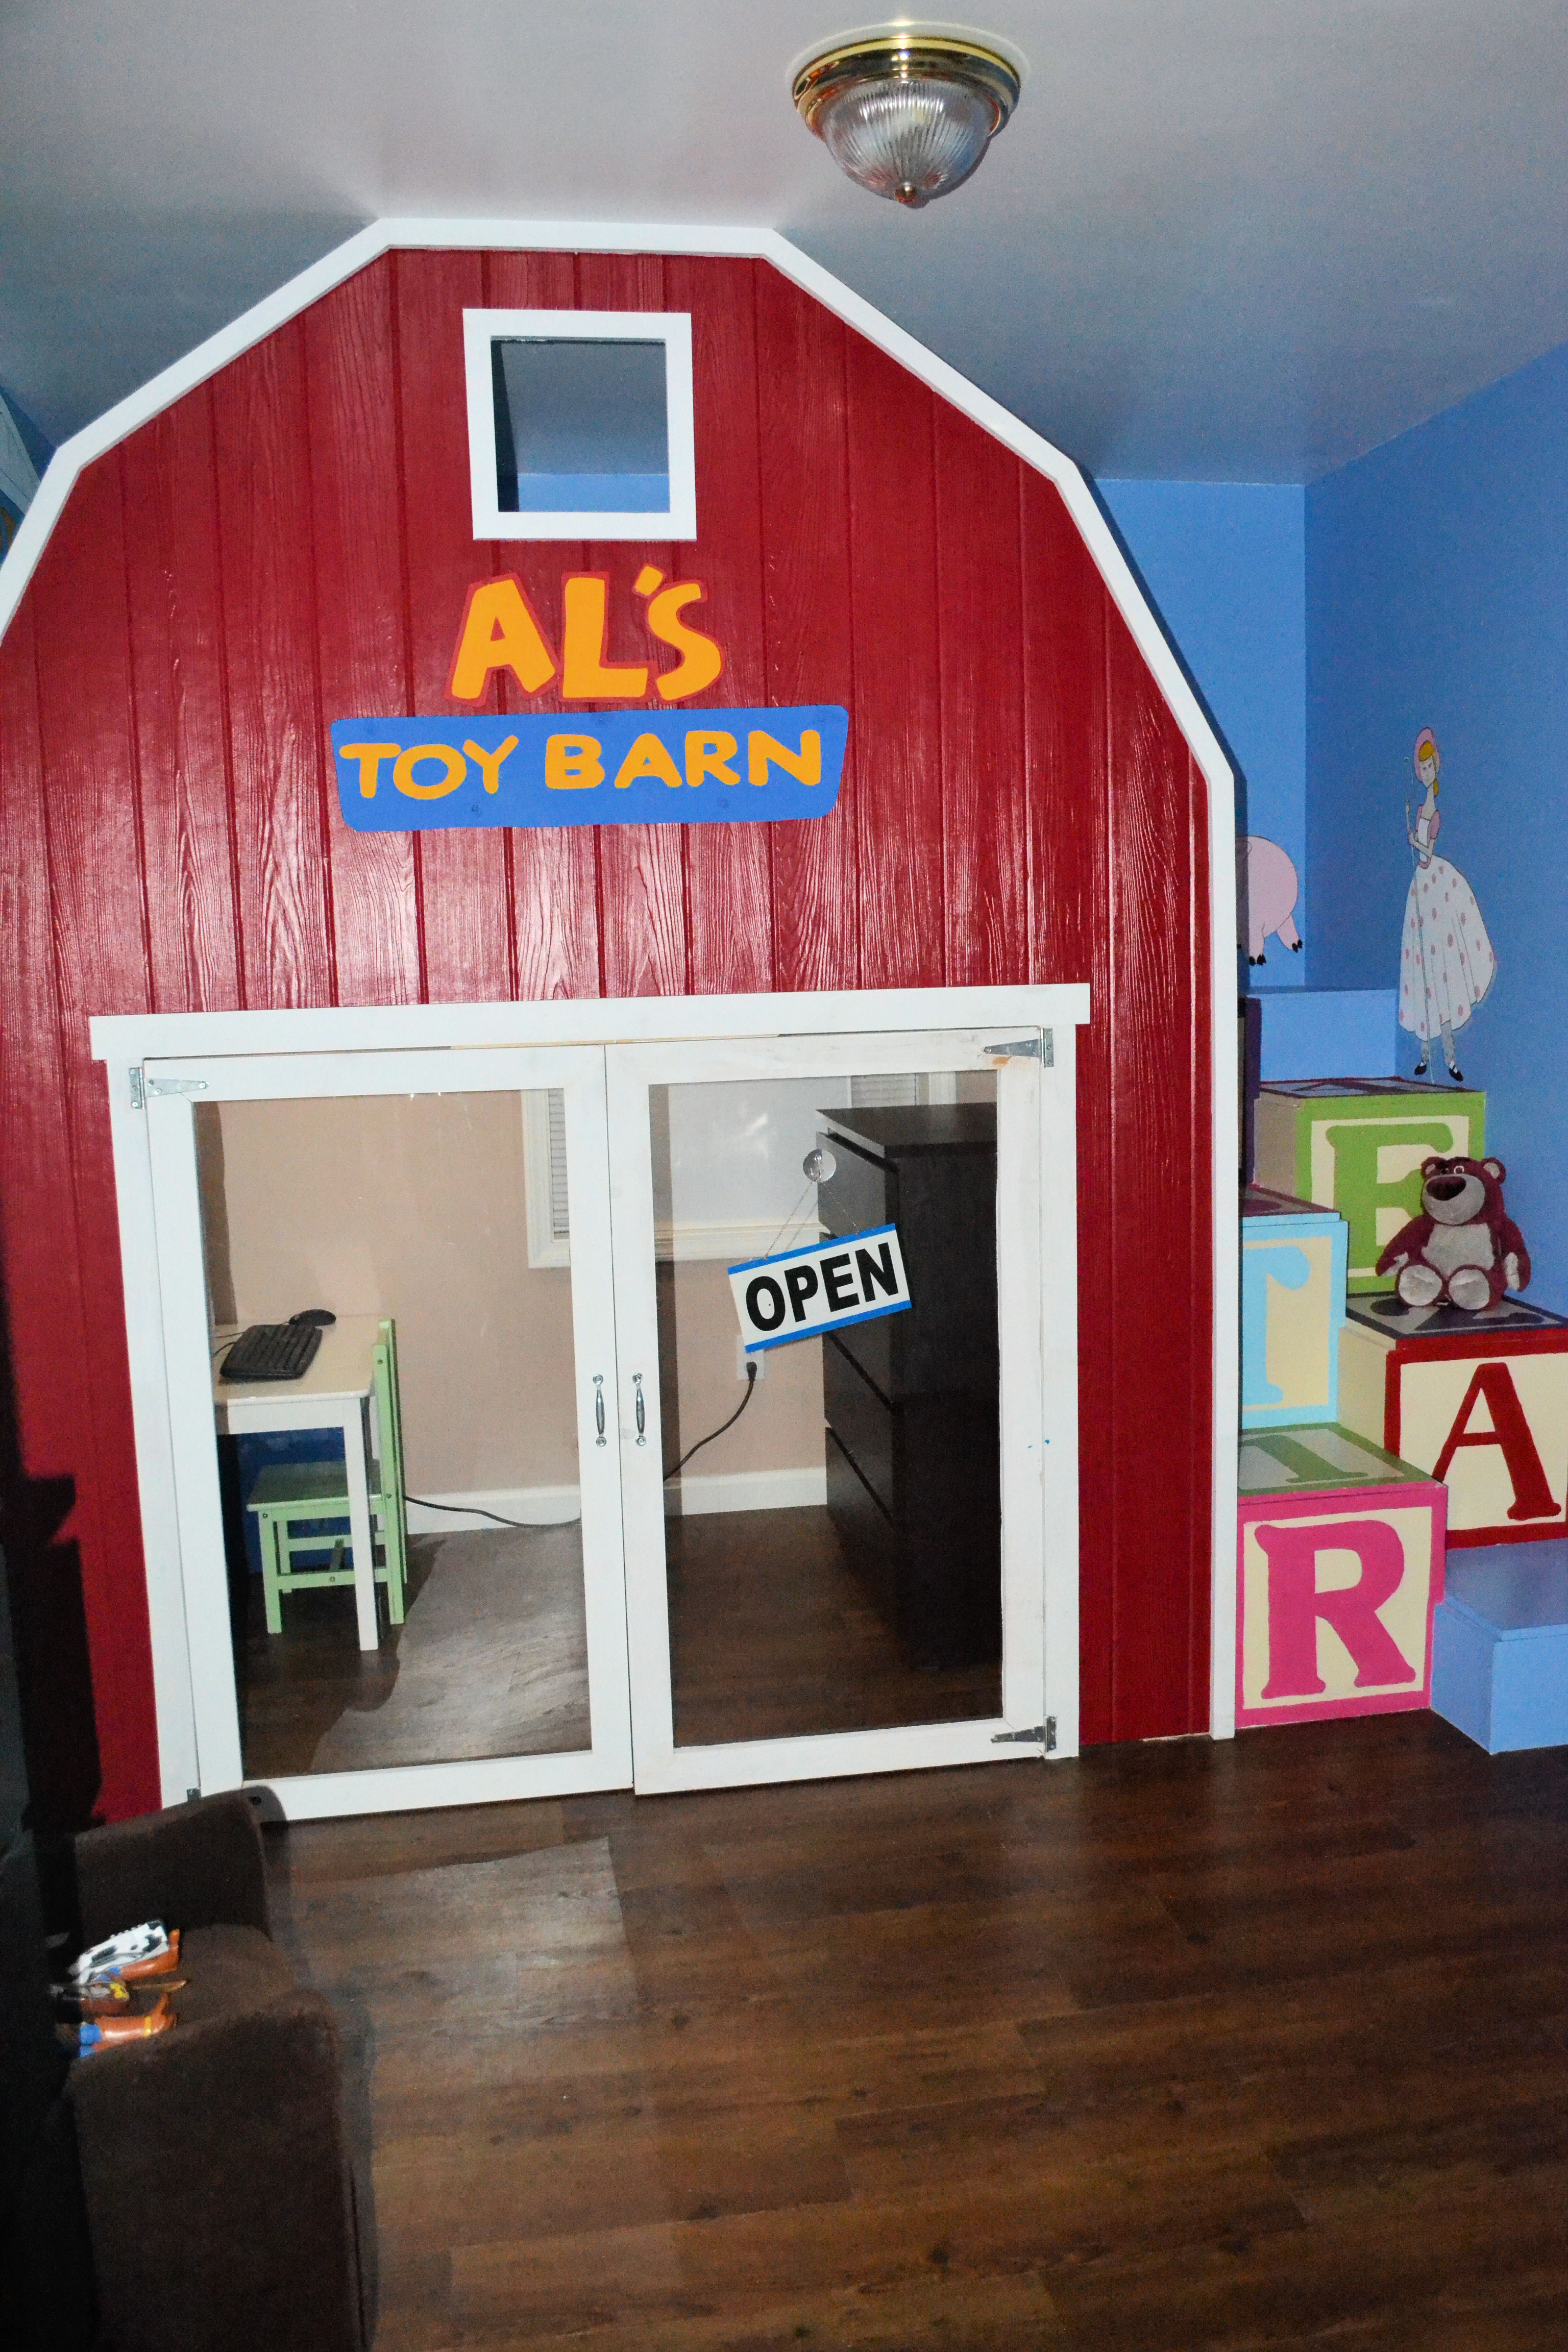
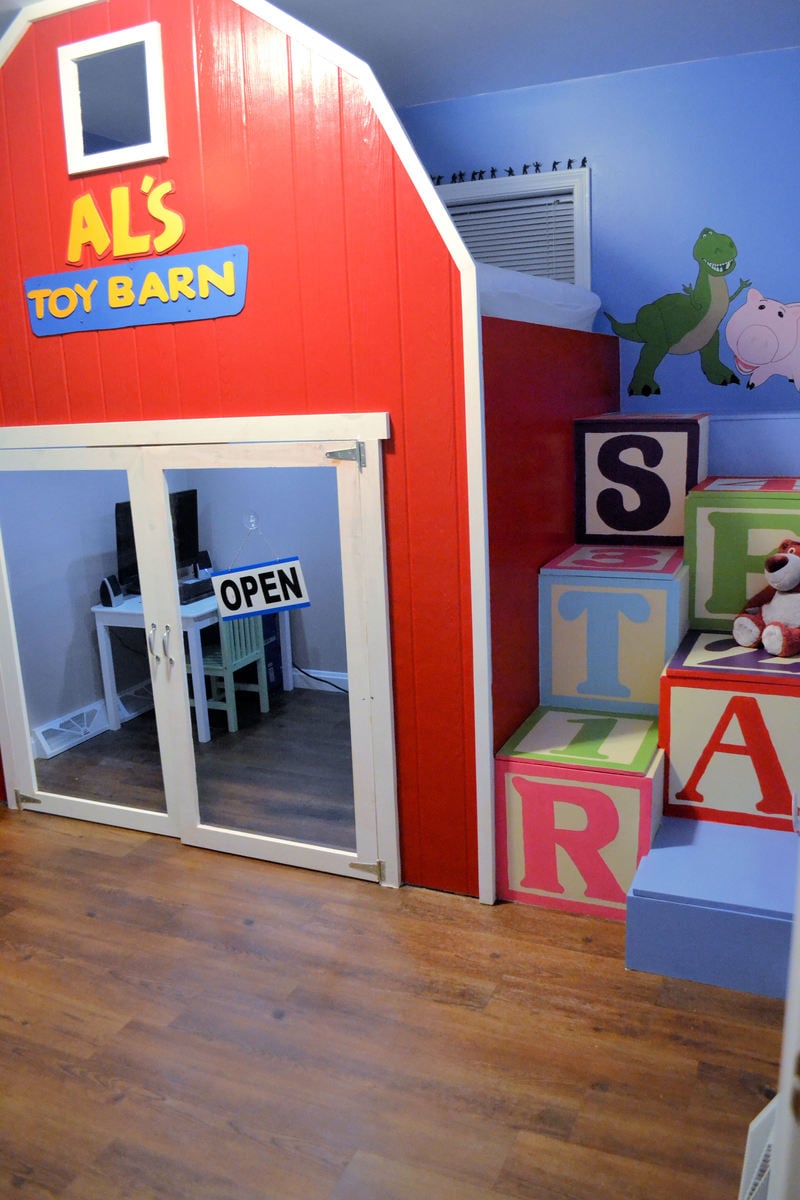
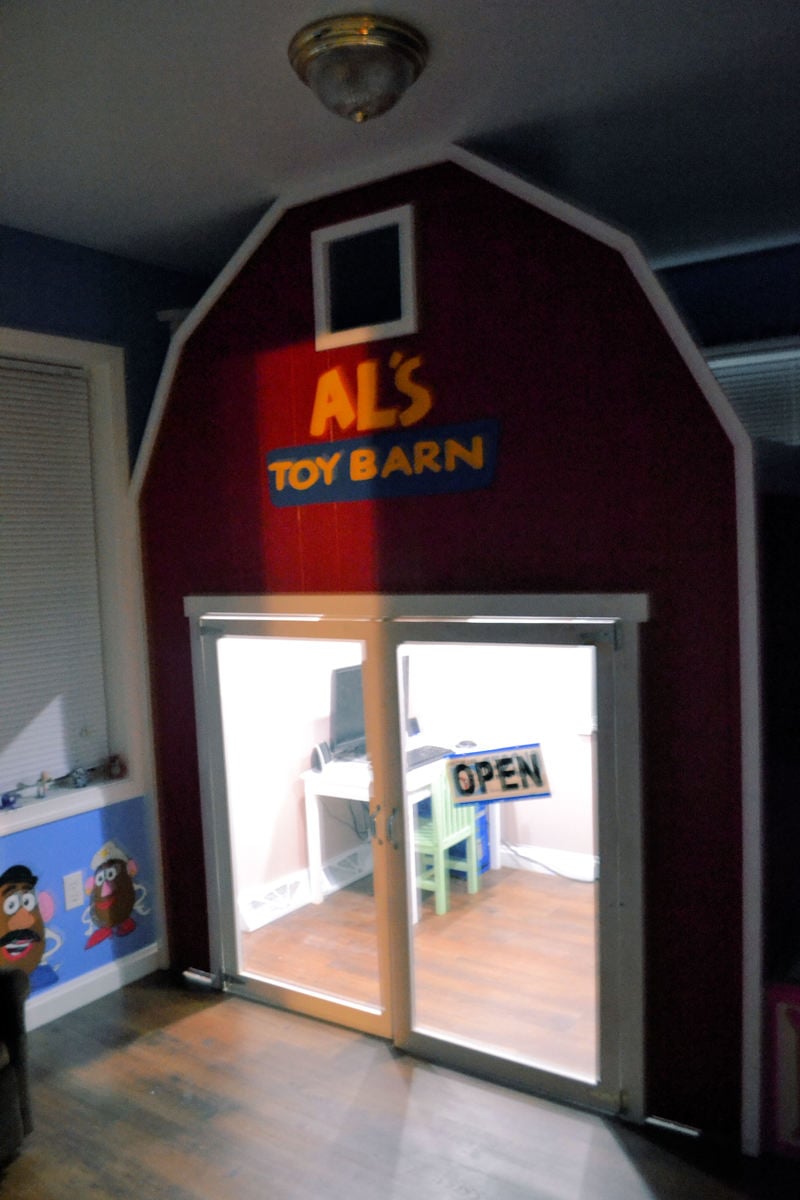
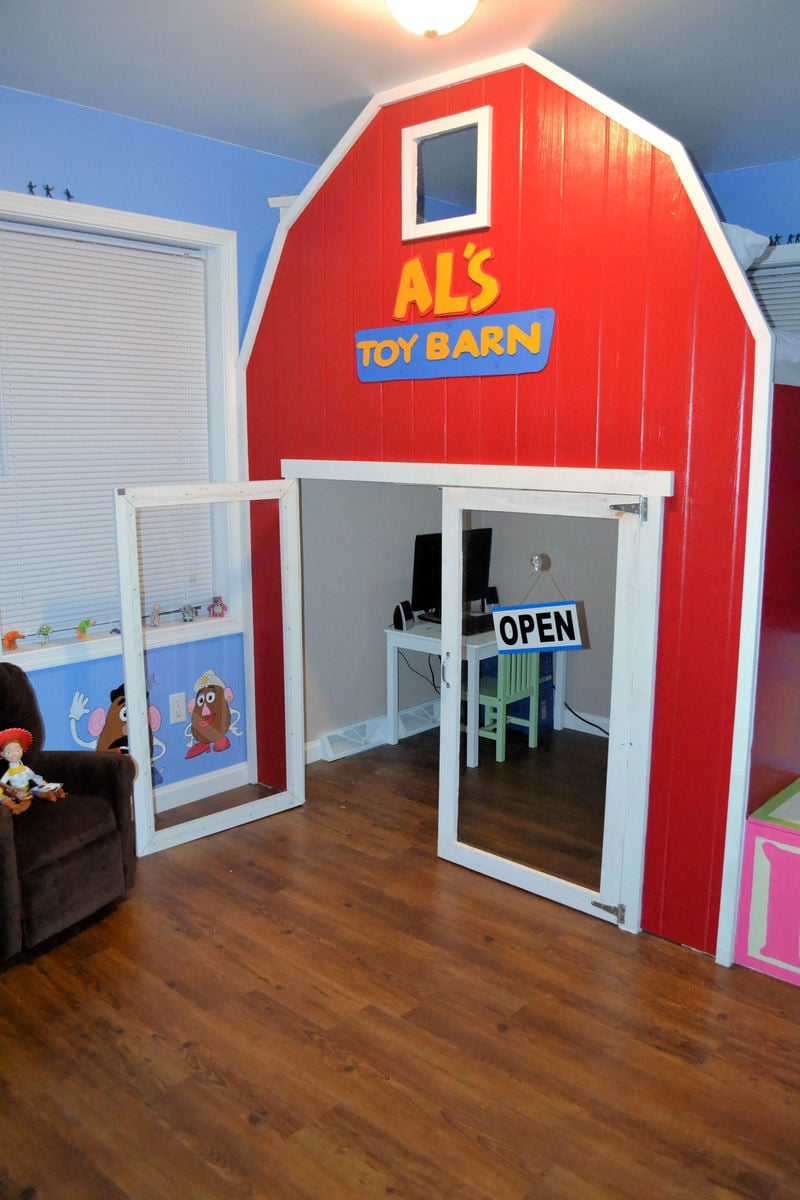
This was a big project to tackle. I'm not very good at modifying building plans, so my husband was frustrated during the beginning of this build. But we are very happy with the way it turned out.
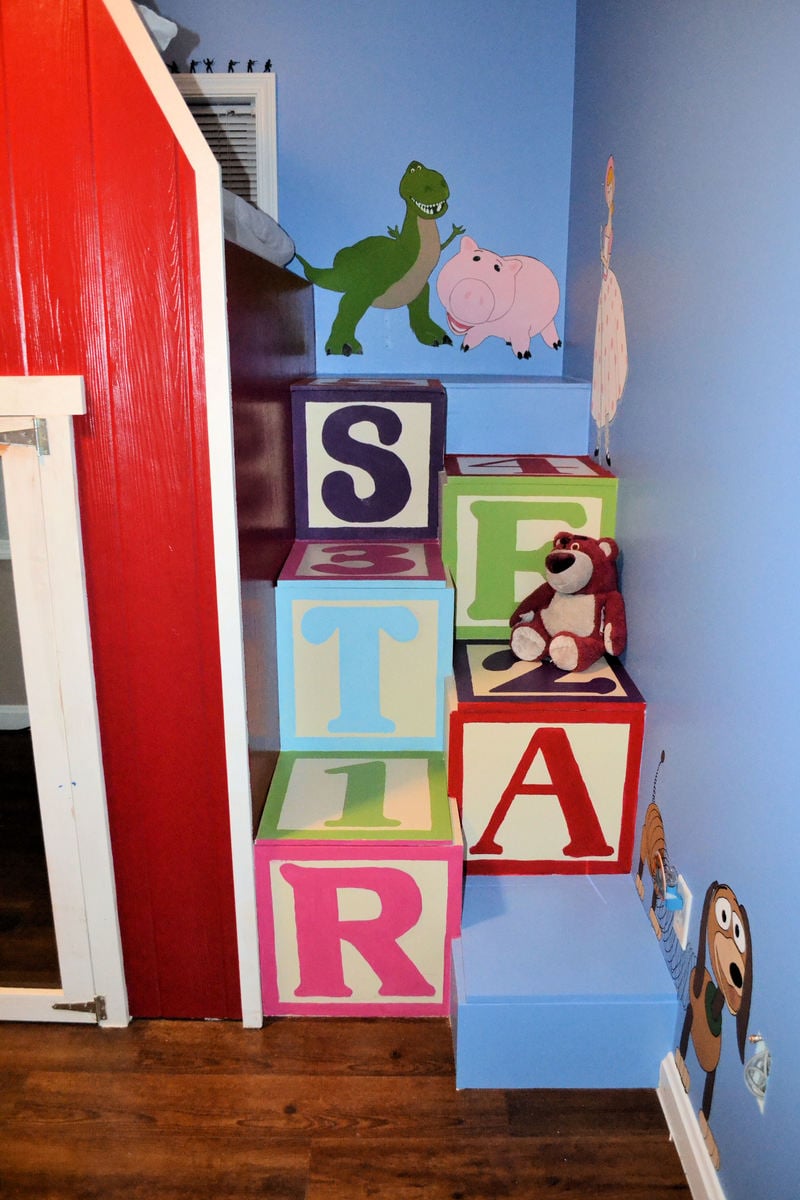
The hardest part of the build was the steps. We modified them to look like blocks, so getting the dimensions equal was tough. We also made it a full size bed so that there was more room under the bed.
We used plexiglass for the doors and LED lighting under the bed.
Sat, 09/01/2012 - 08:52
Maybe I can build something like this for my grandson when he gets older.
Sat, 09/01/2012 - 11:47
I love it!!! Very cool. We just started a Toy Story room for my son who will be 3 next month. He would love this.
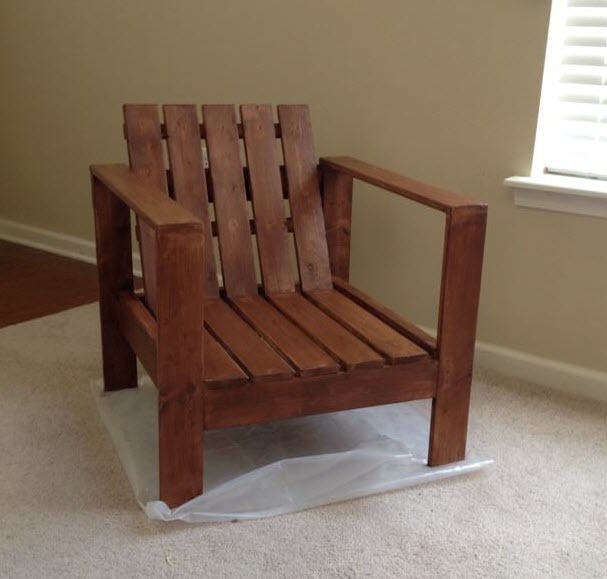
This was my first project from Ana's site. I wanted something simple and cheap to make, so all in all, this project was very simple.
I think I will paint instead of stain next time though as the quality of the wood I purchased from Home Depot wasn't the best.
Very happy with it though, and I'm planning on making more.

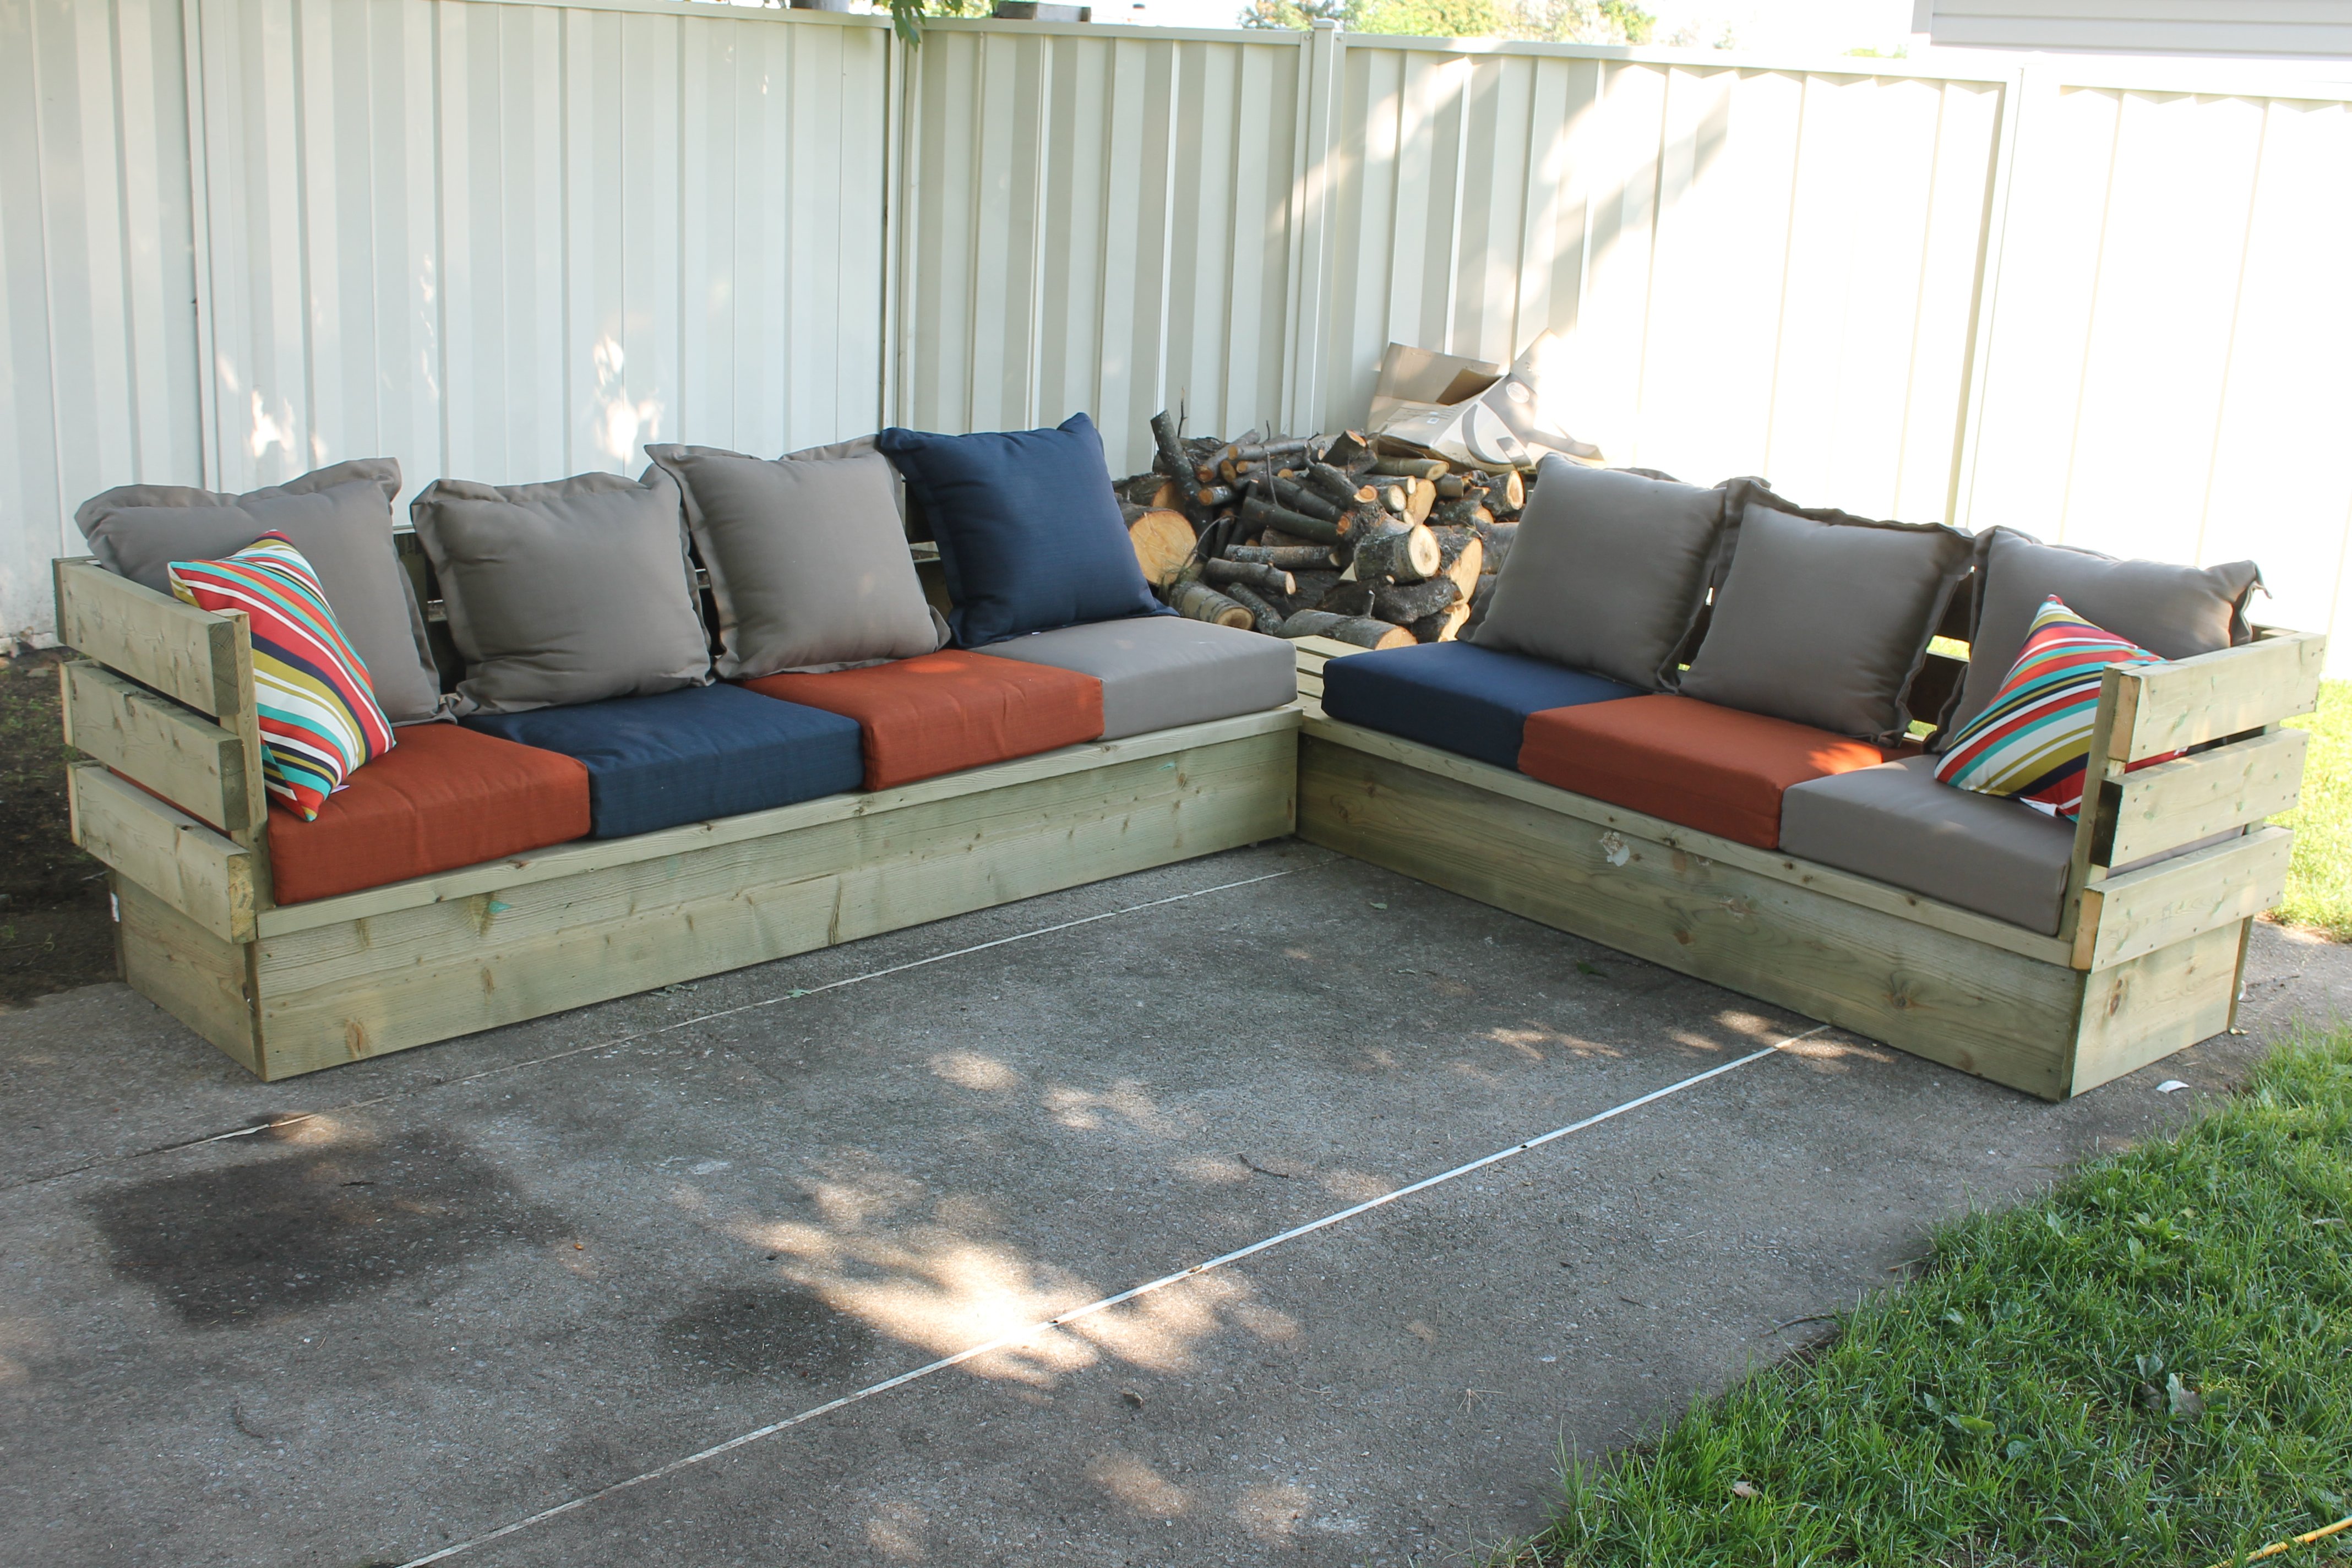
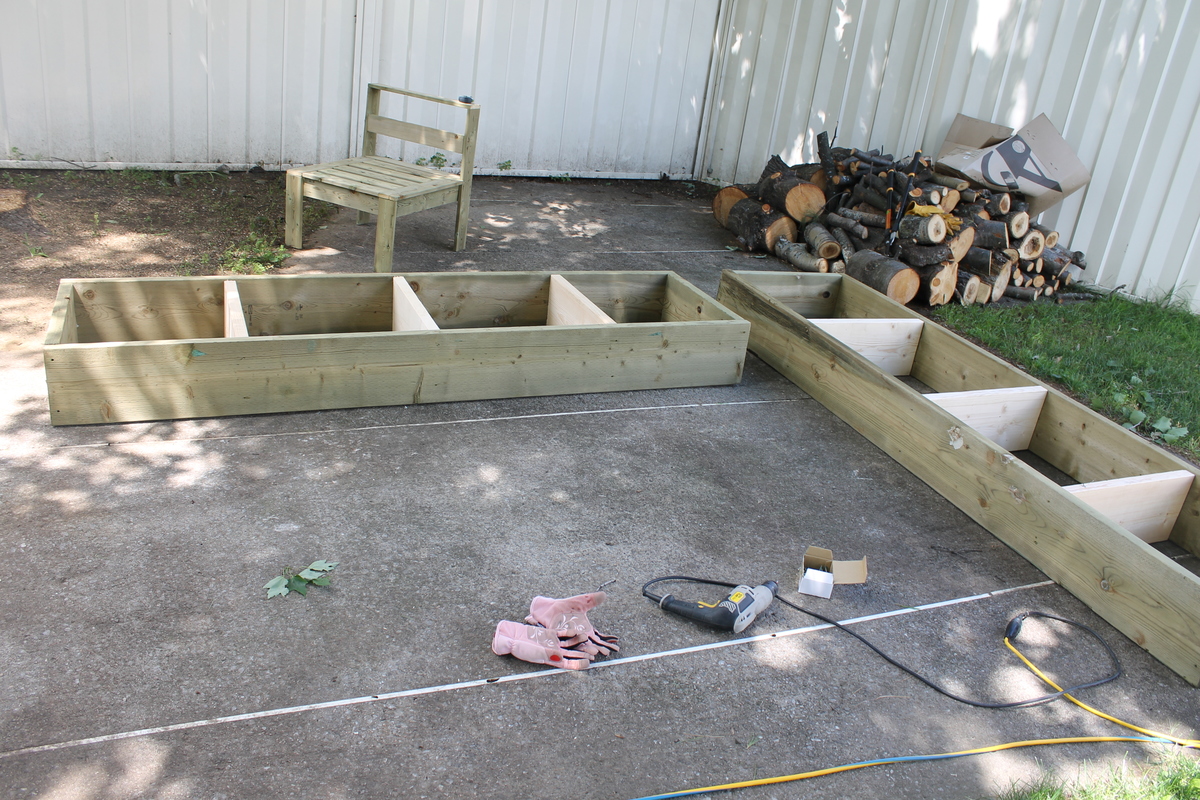
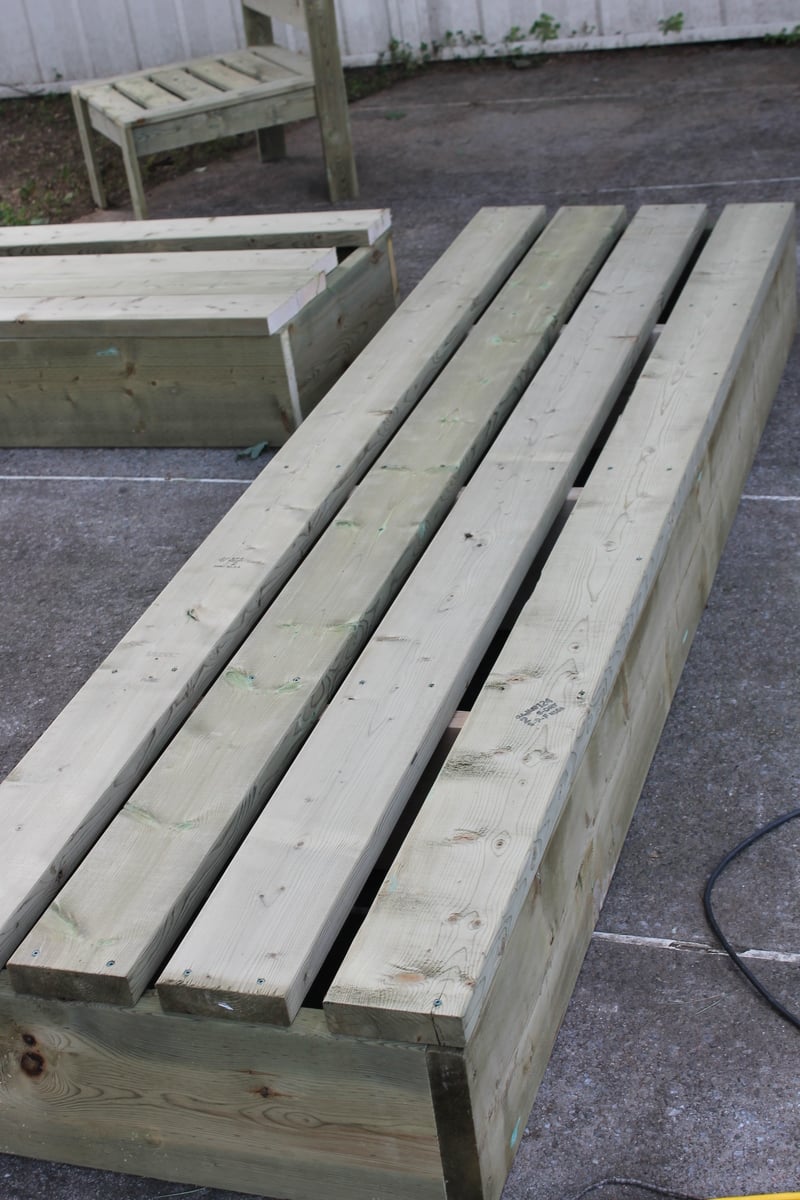
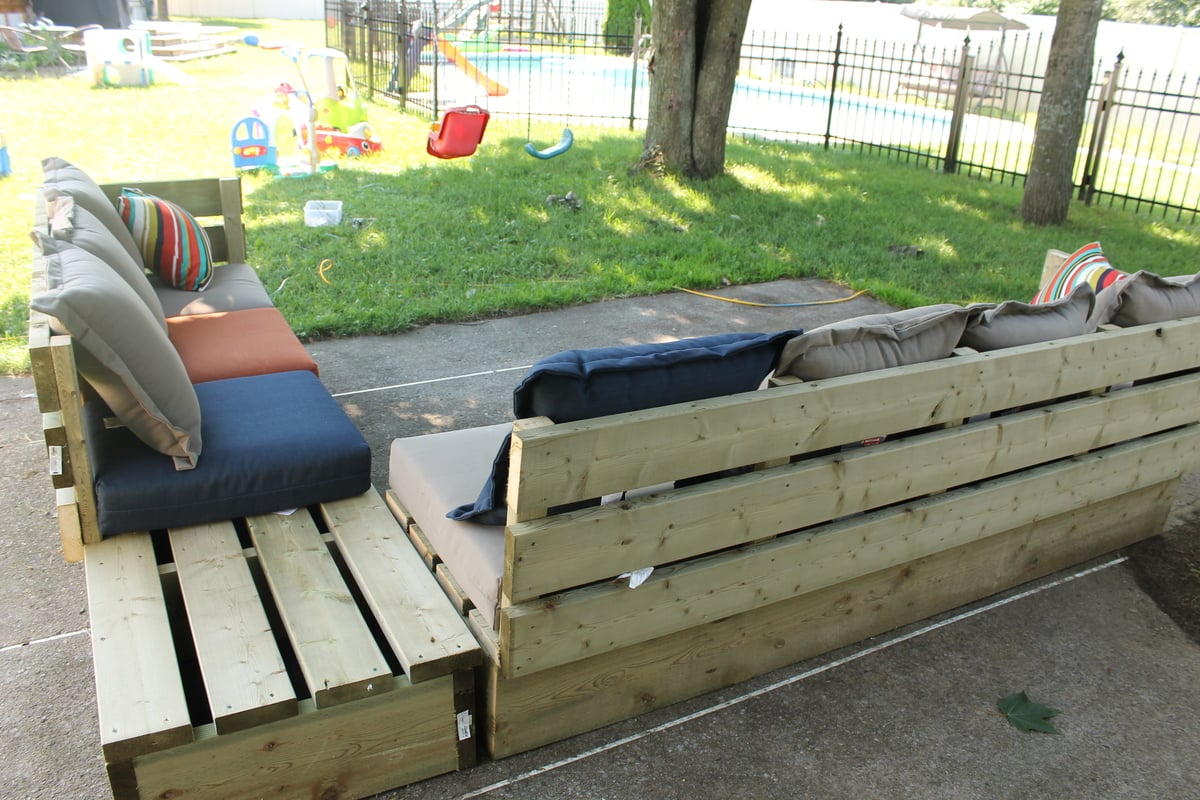
I used 4 board instead of 6 for the seating to fit the cushions i have and i changed the plan a little bit so all my cushions would fit in it. I also made it 2" higher, i just thought it would be more comfy for my 6 feet 4" husby. Took me 5 hours to do the whole sectional all by myself. I found the cushion at target at 70% sale so each of them cost me 9$ instead of 32$. I have not stained it yet, but will do with a sico brown outdoor stain.
One of my first bigger projects. Added a sink by framing it out with 2x4s before adding the top on.

I made hits for my daughters classroom. Very easy build. The pictures aren't the best, they are cell phone pictures. We were in a hurry to get it done for open house.


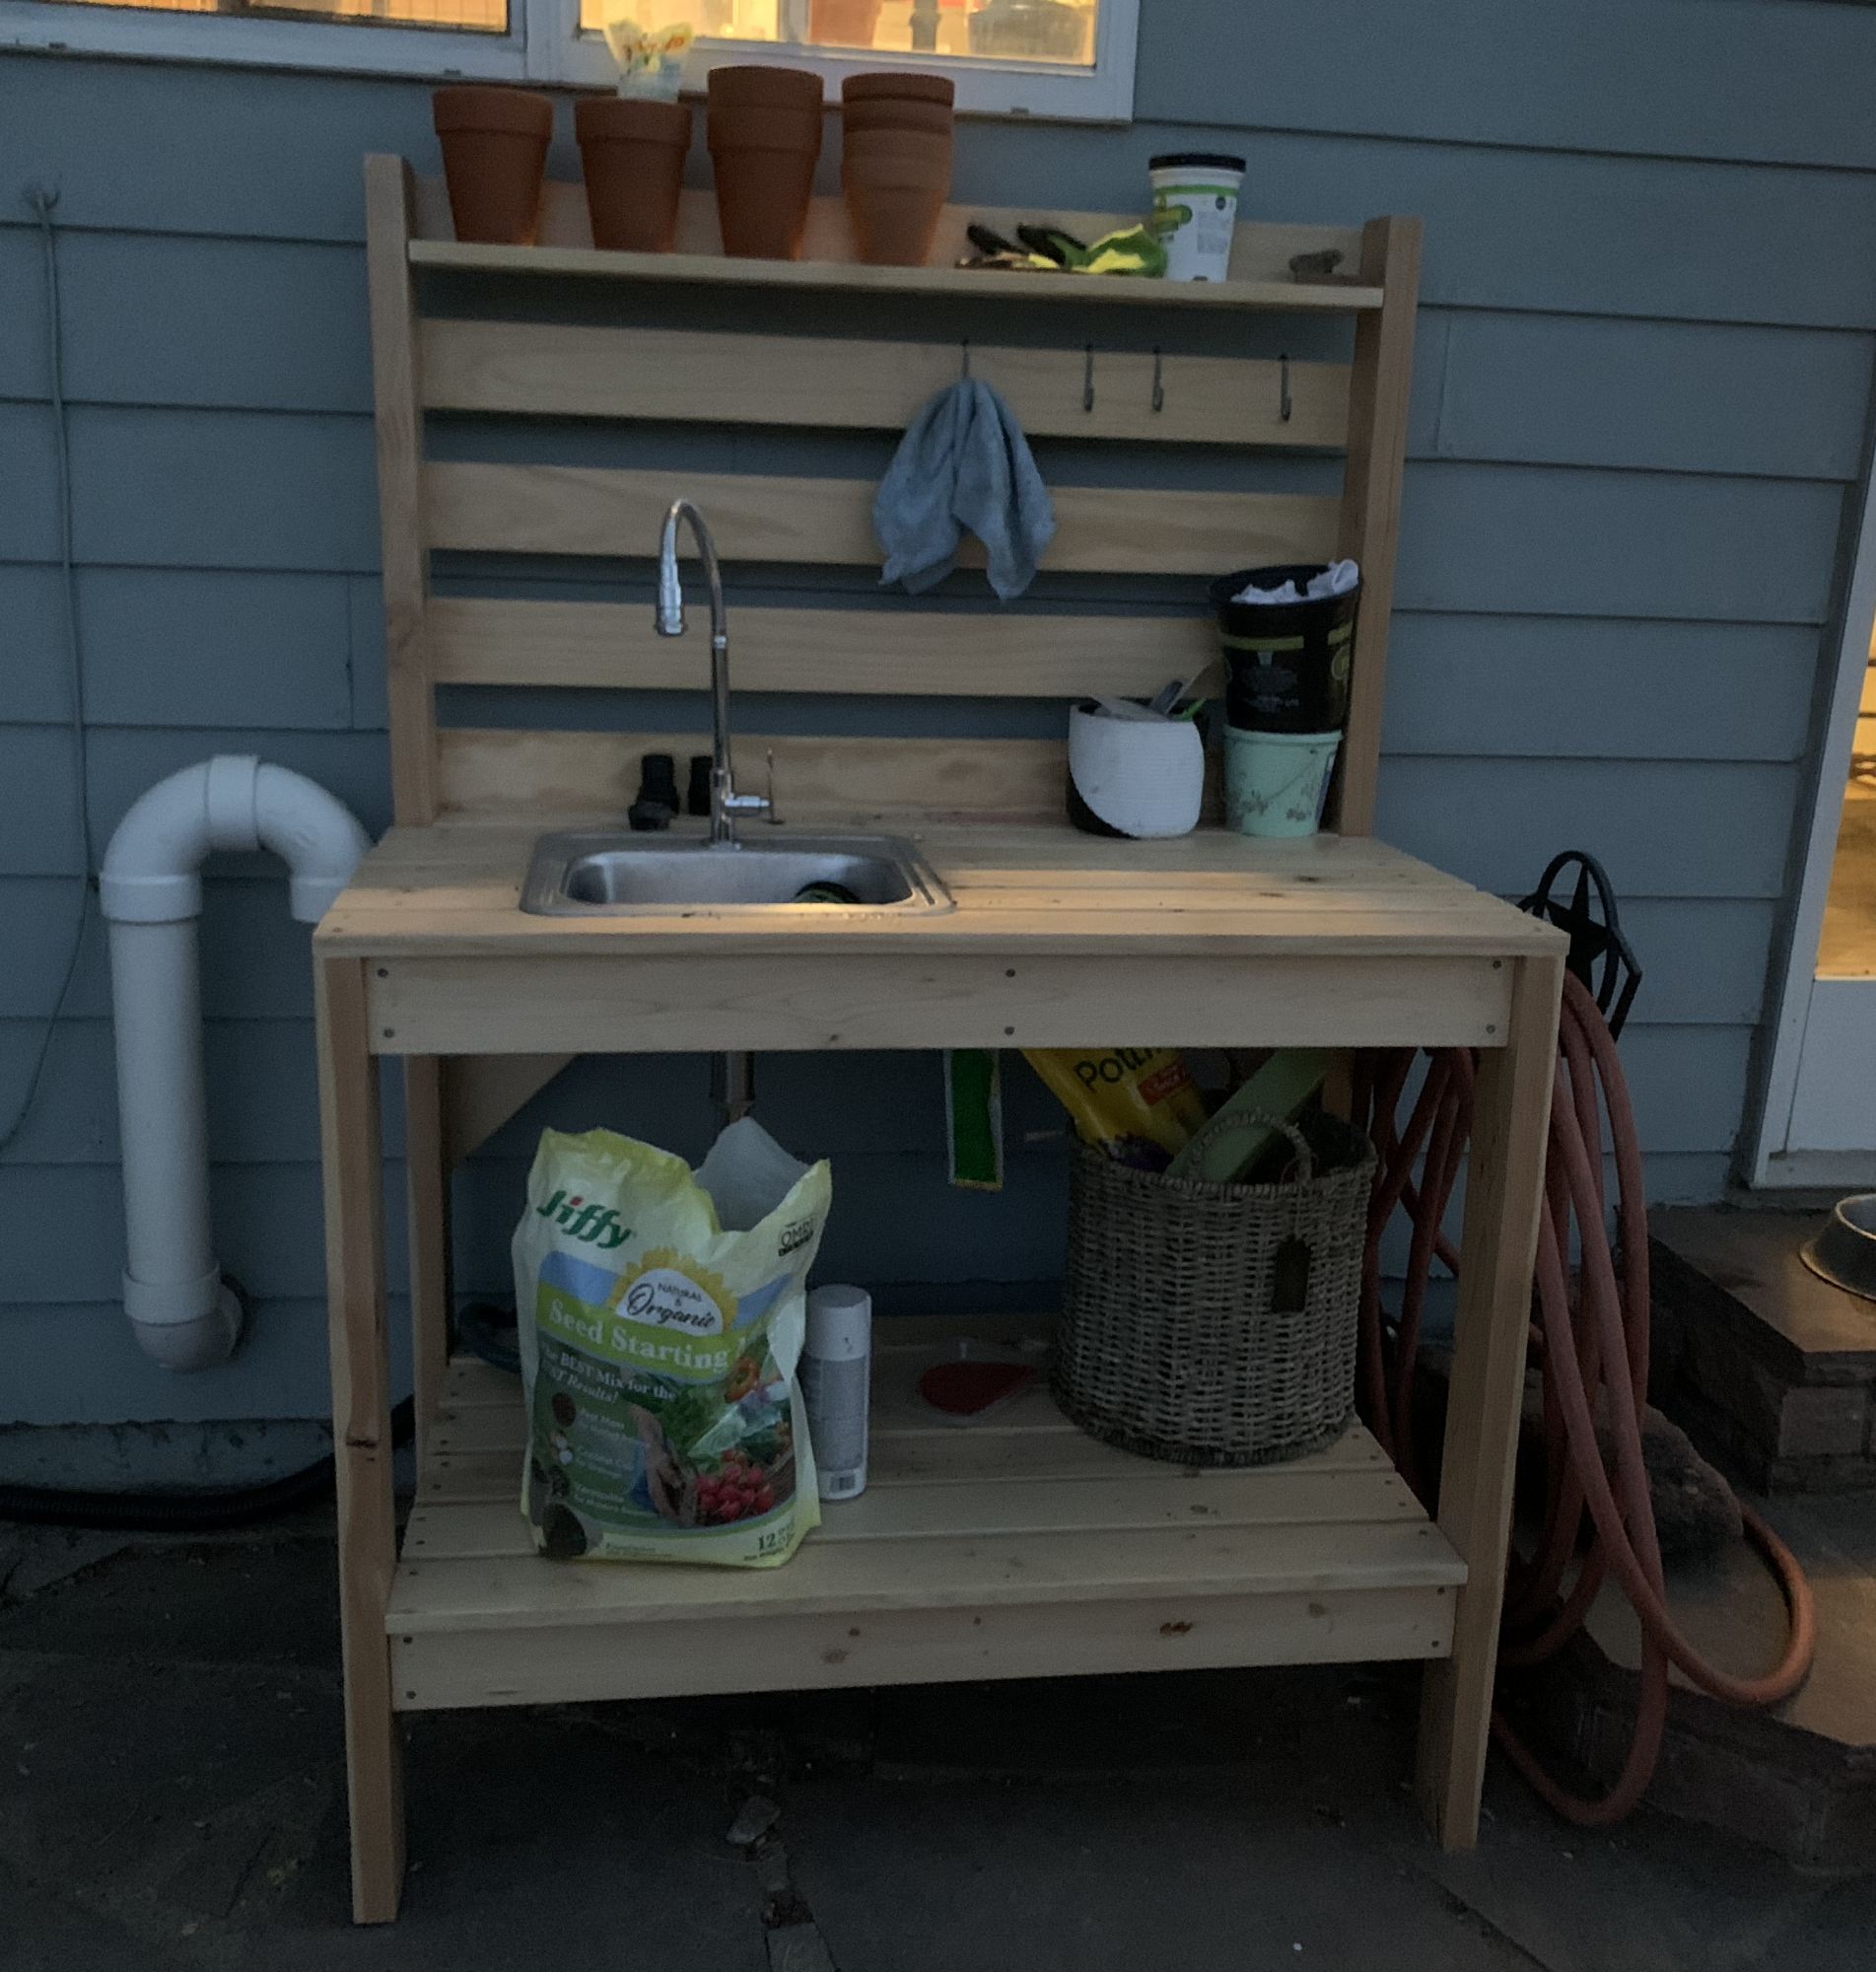
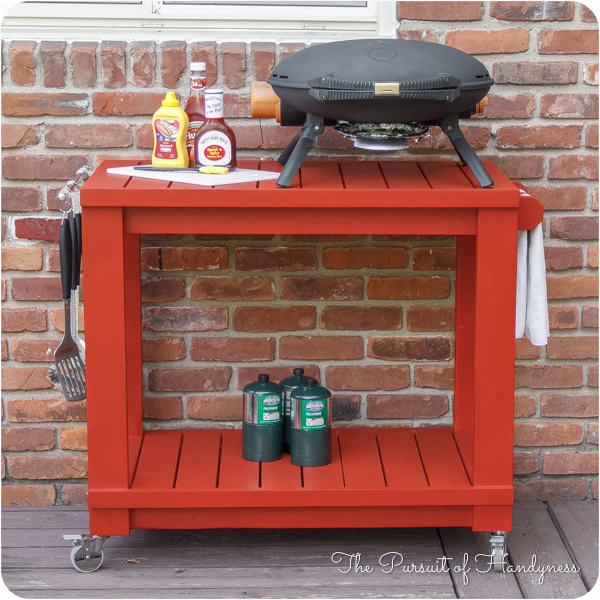
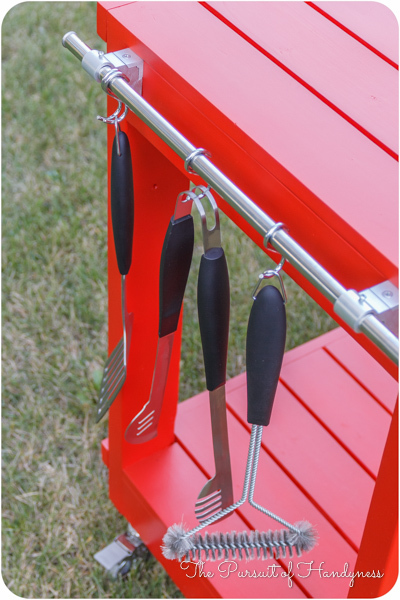
I honestly think Ana is a mind reader. Whenever I need plans for a particular piece of furniture, they magically appear on her site. Of course if she was a true mind reader, everything will be exactly as I need it requiring no modifications. That's what makes her plans so amazing. I can build bigger and better because I've learned to modify her plans to fit my current needs.
This Cart was no exception. I had to make mine a few inches deeper and change the height of the legs and it was a piece of cake. I put this together in less than 2 hours and finishing was easy too.
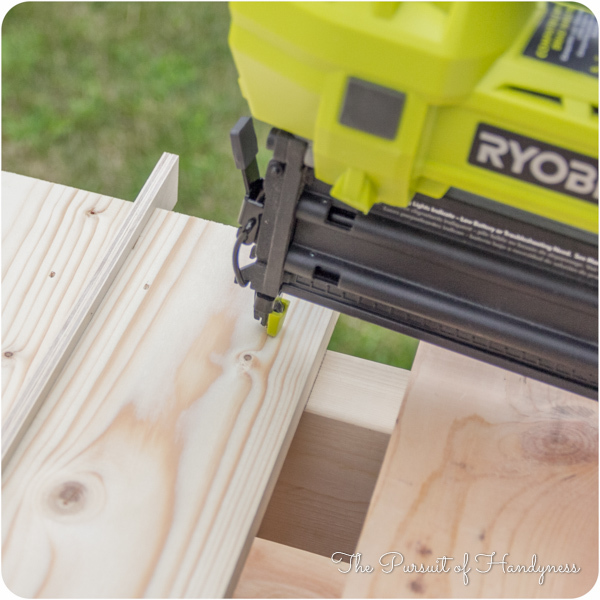
I did a blog post all about what I did differently including how I constructed a towel bar instead of the pipe. Check it out at www.thepursuitofhandyness.com


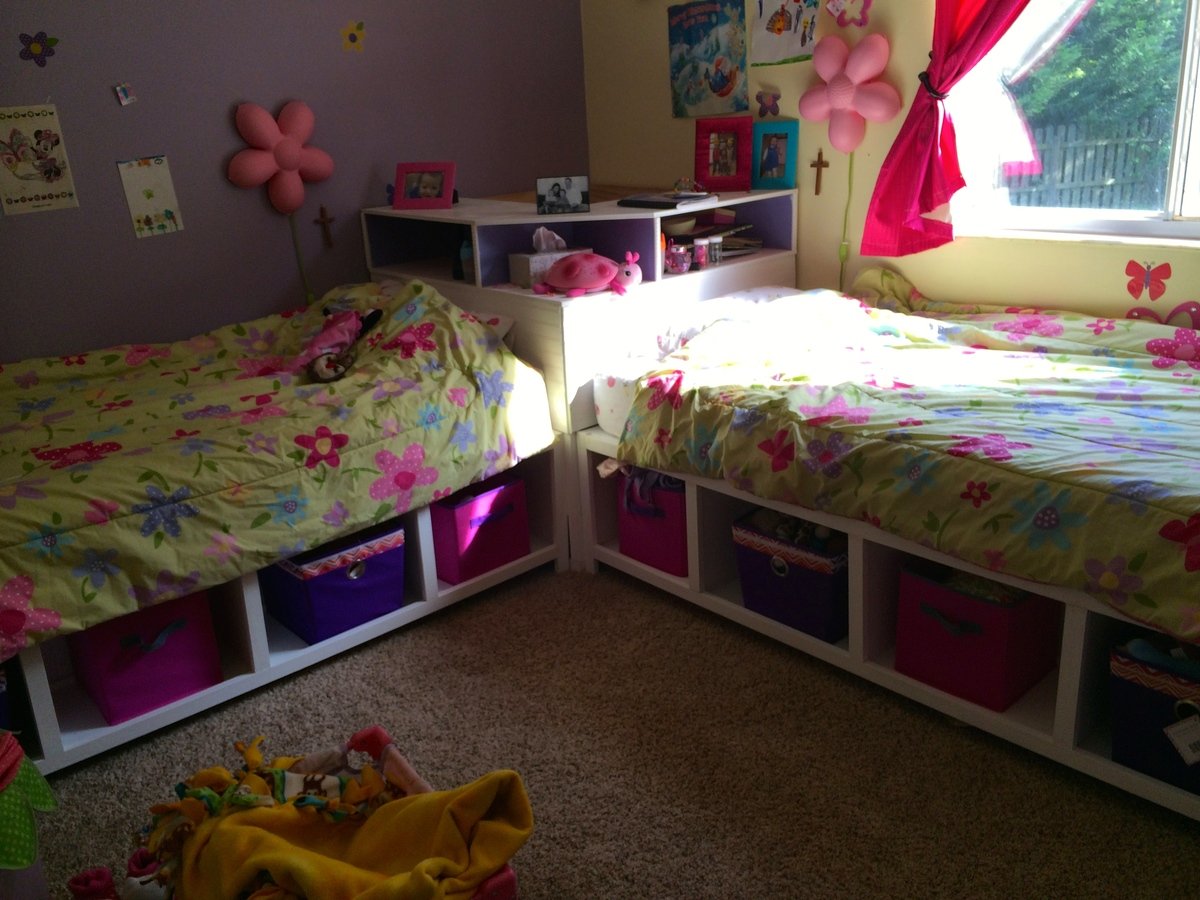
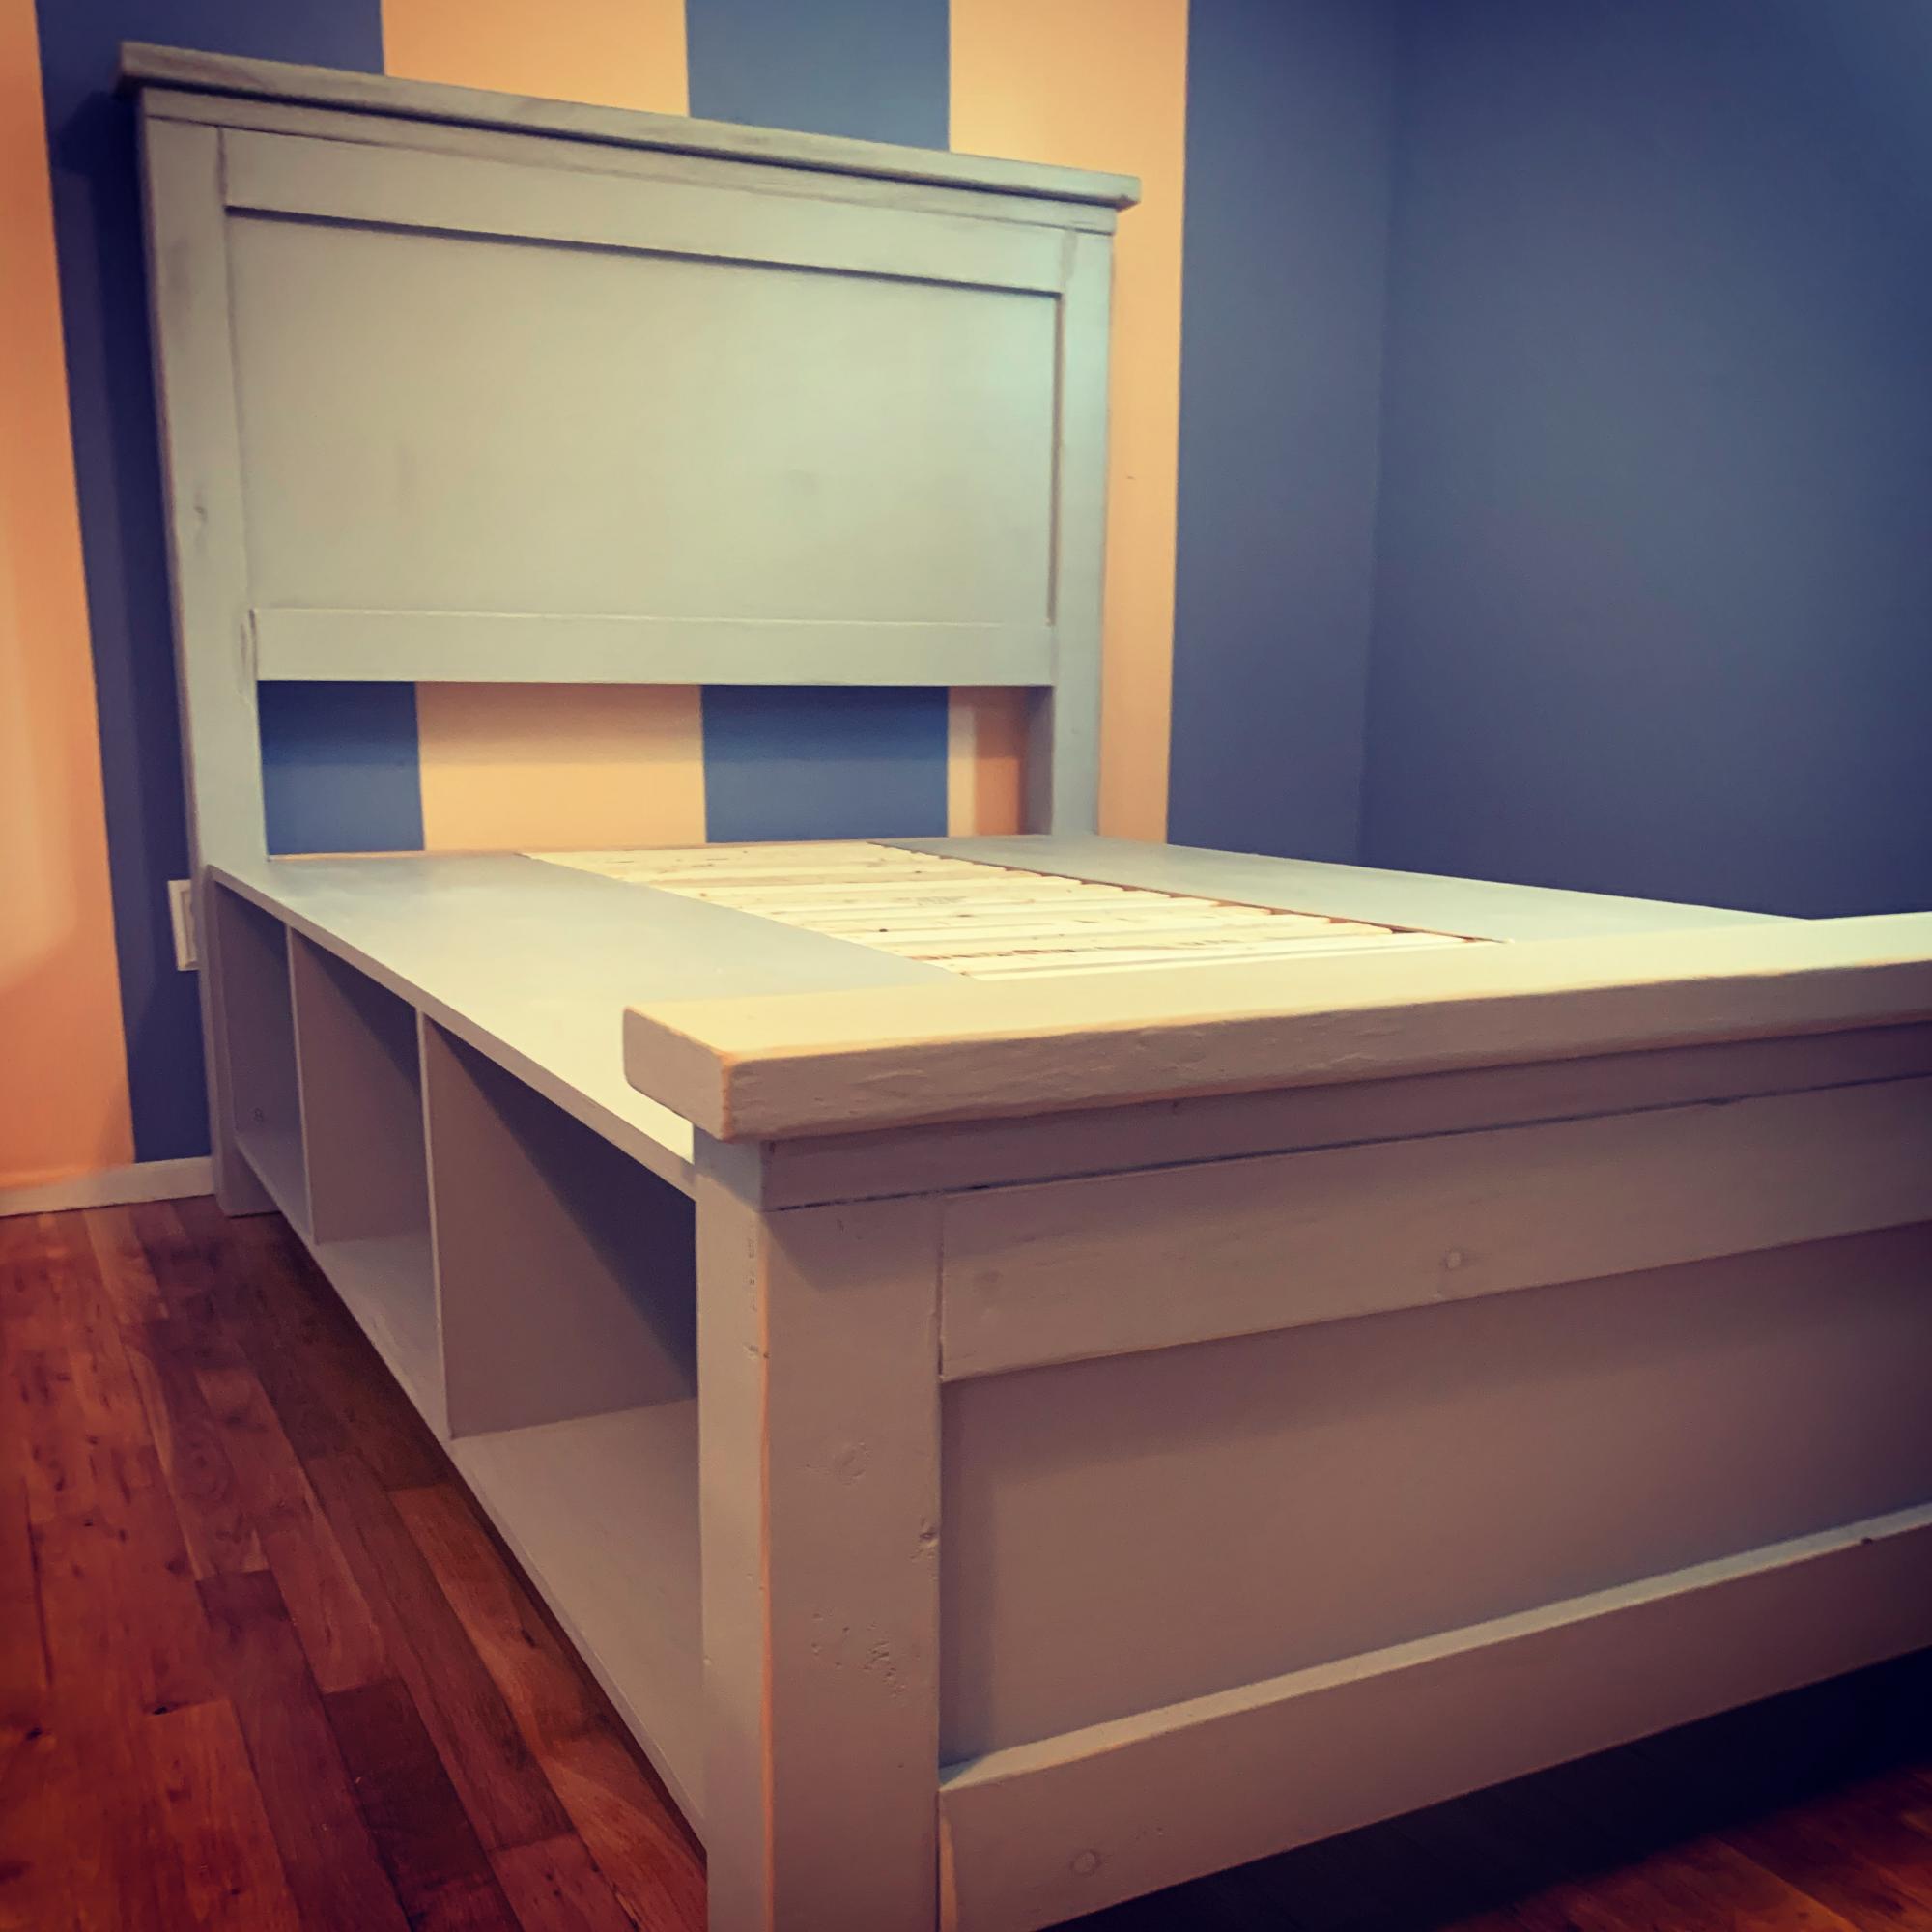
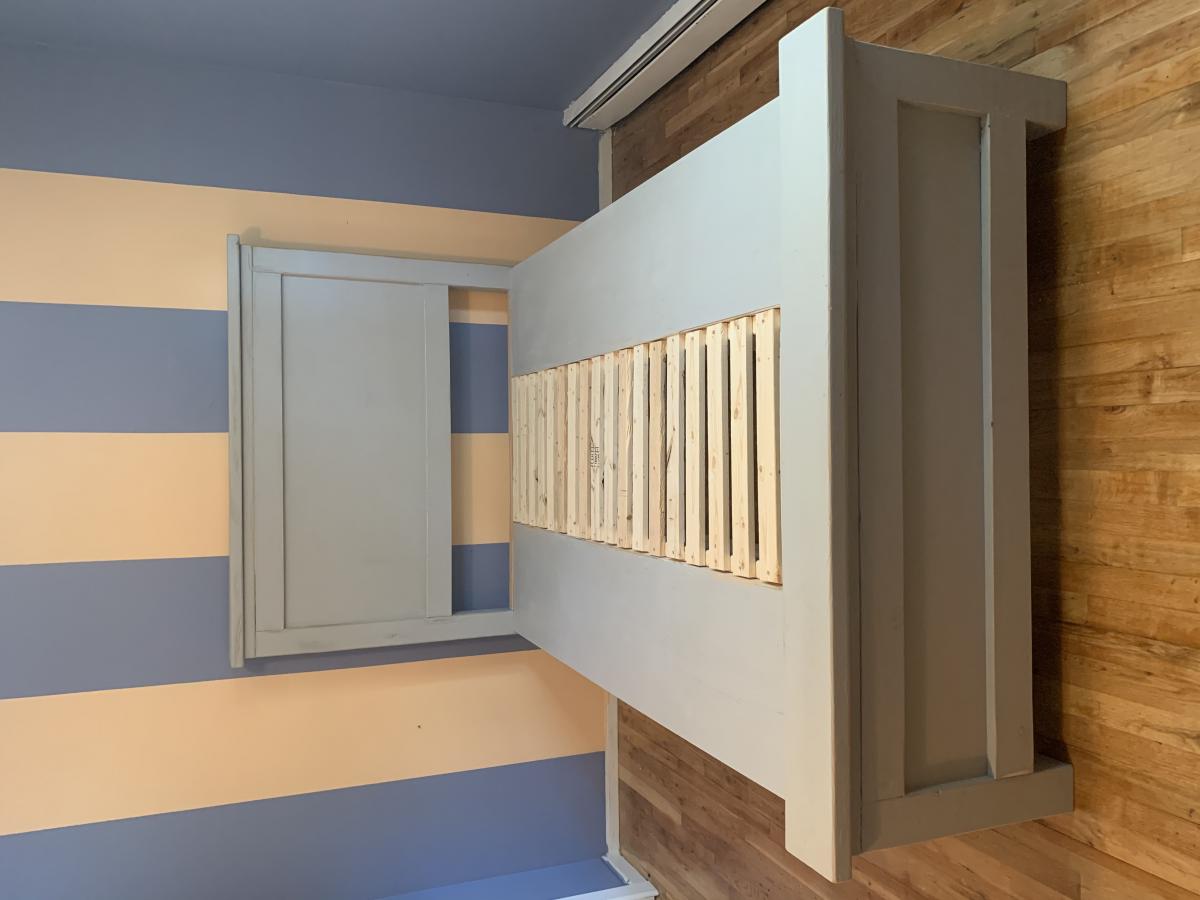
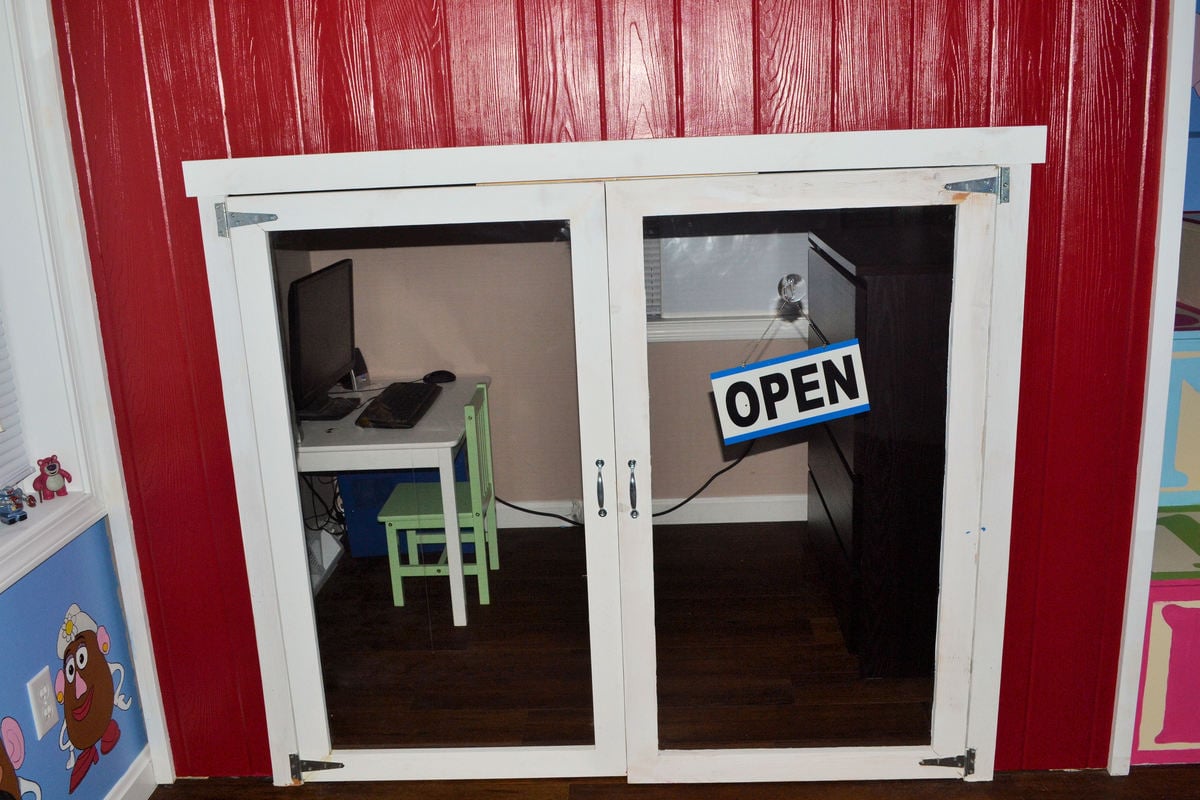
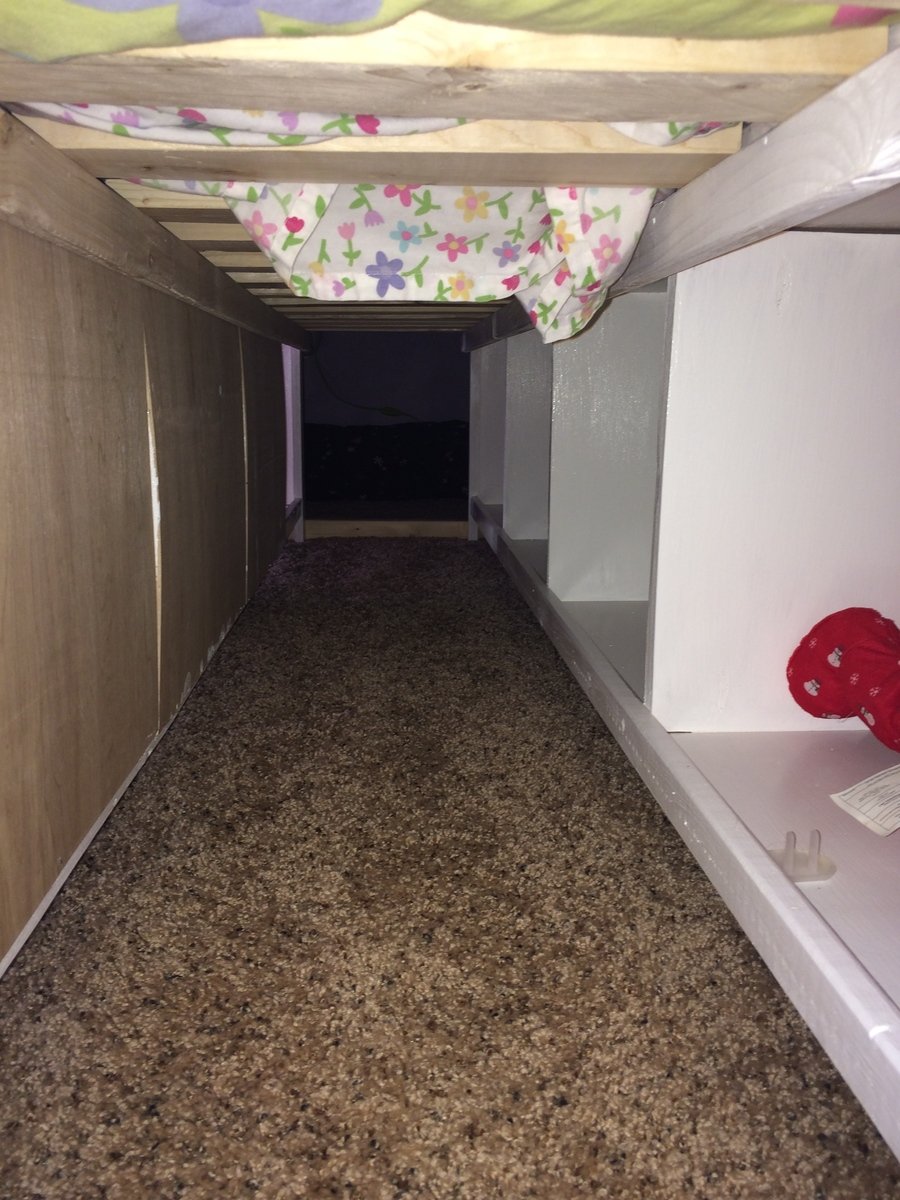
This is my biggest build yet! I combined plans from this site and then modified them slightly to create two twin storage beds, a corner headboard unit with cubbies, and a secret hideout underneath!
The beds are two benches - I left off the headboard and footboards to allow for a secret passageway for my girls to access the space under the headboard unit. I also left the backing off of the benches on the wall side of each bed so that they can be used for storage. (I also left the backing off of one of the cubbies on the room-side bench to allow additional access/exit points for the hideout.)
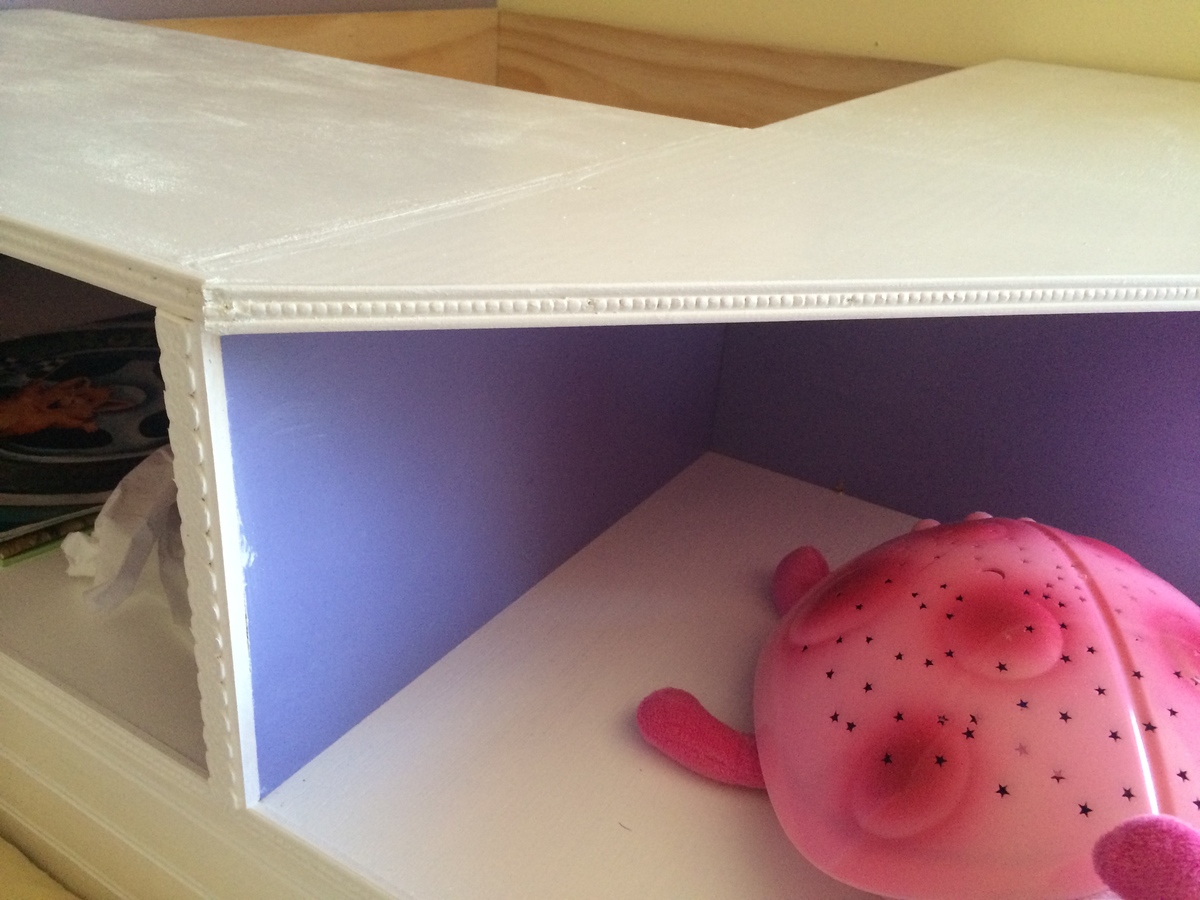
For the hideout, I followed the Corner Unit plans, except I stopped the headboard pieces at the level of the beds rather than making them go all the way to the floor.
I added trim on the edges of the headboard unit - partly to cover imperfections, but I love the look of it!
Now the girls have a secret hideout (complete with a light and pillows for lounging and reading), the space under the headboard unit is not wasted, and MOM did it all! :) I'm so proud of this project and I love the example it sets for my girls that powertools are for everyone!

Thu, 11/20/2014 - 20:46
Hi!
Your beds arefabulous! Where did you find the benches? ??
Thanks!
Holly
This was a pretty strait forward project, the only change i made was the wood used. I did not use the 2x2 furring strips i opted for the upgraded Select Pine Boards. So it changed from 3 bucks to 12 a board. I also used metal nylon feet.

Wed, 09/23/2020 - 11:37
You've been busy! Thank you for sharing all of your amazing builds!
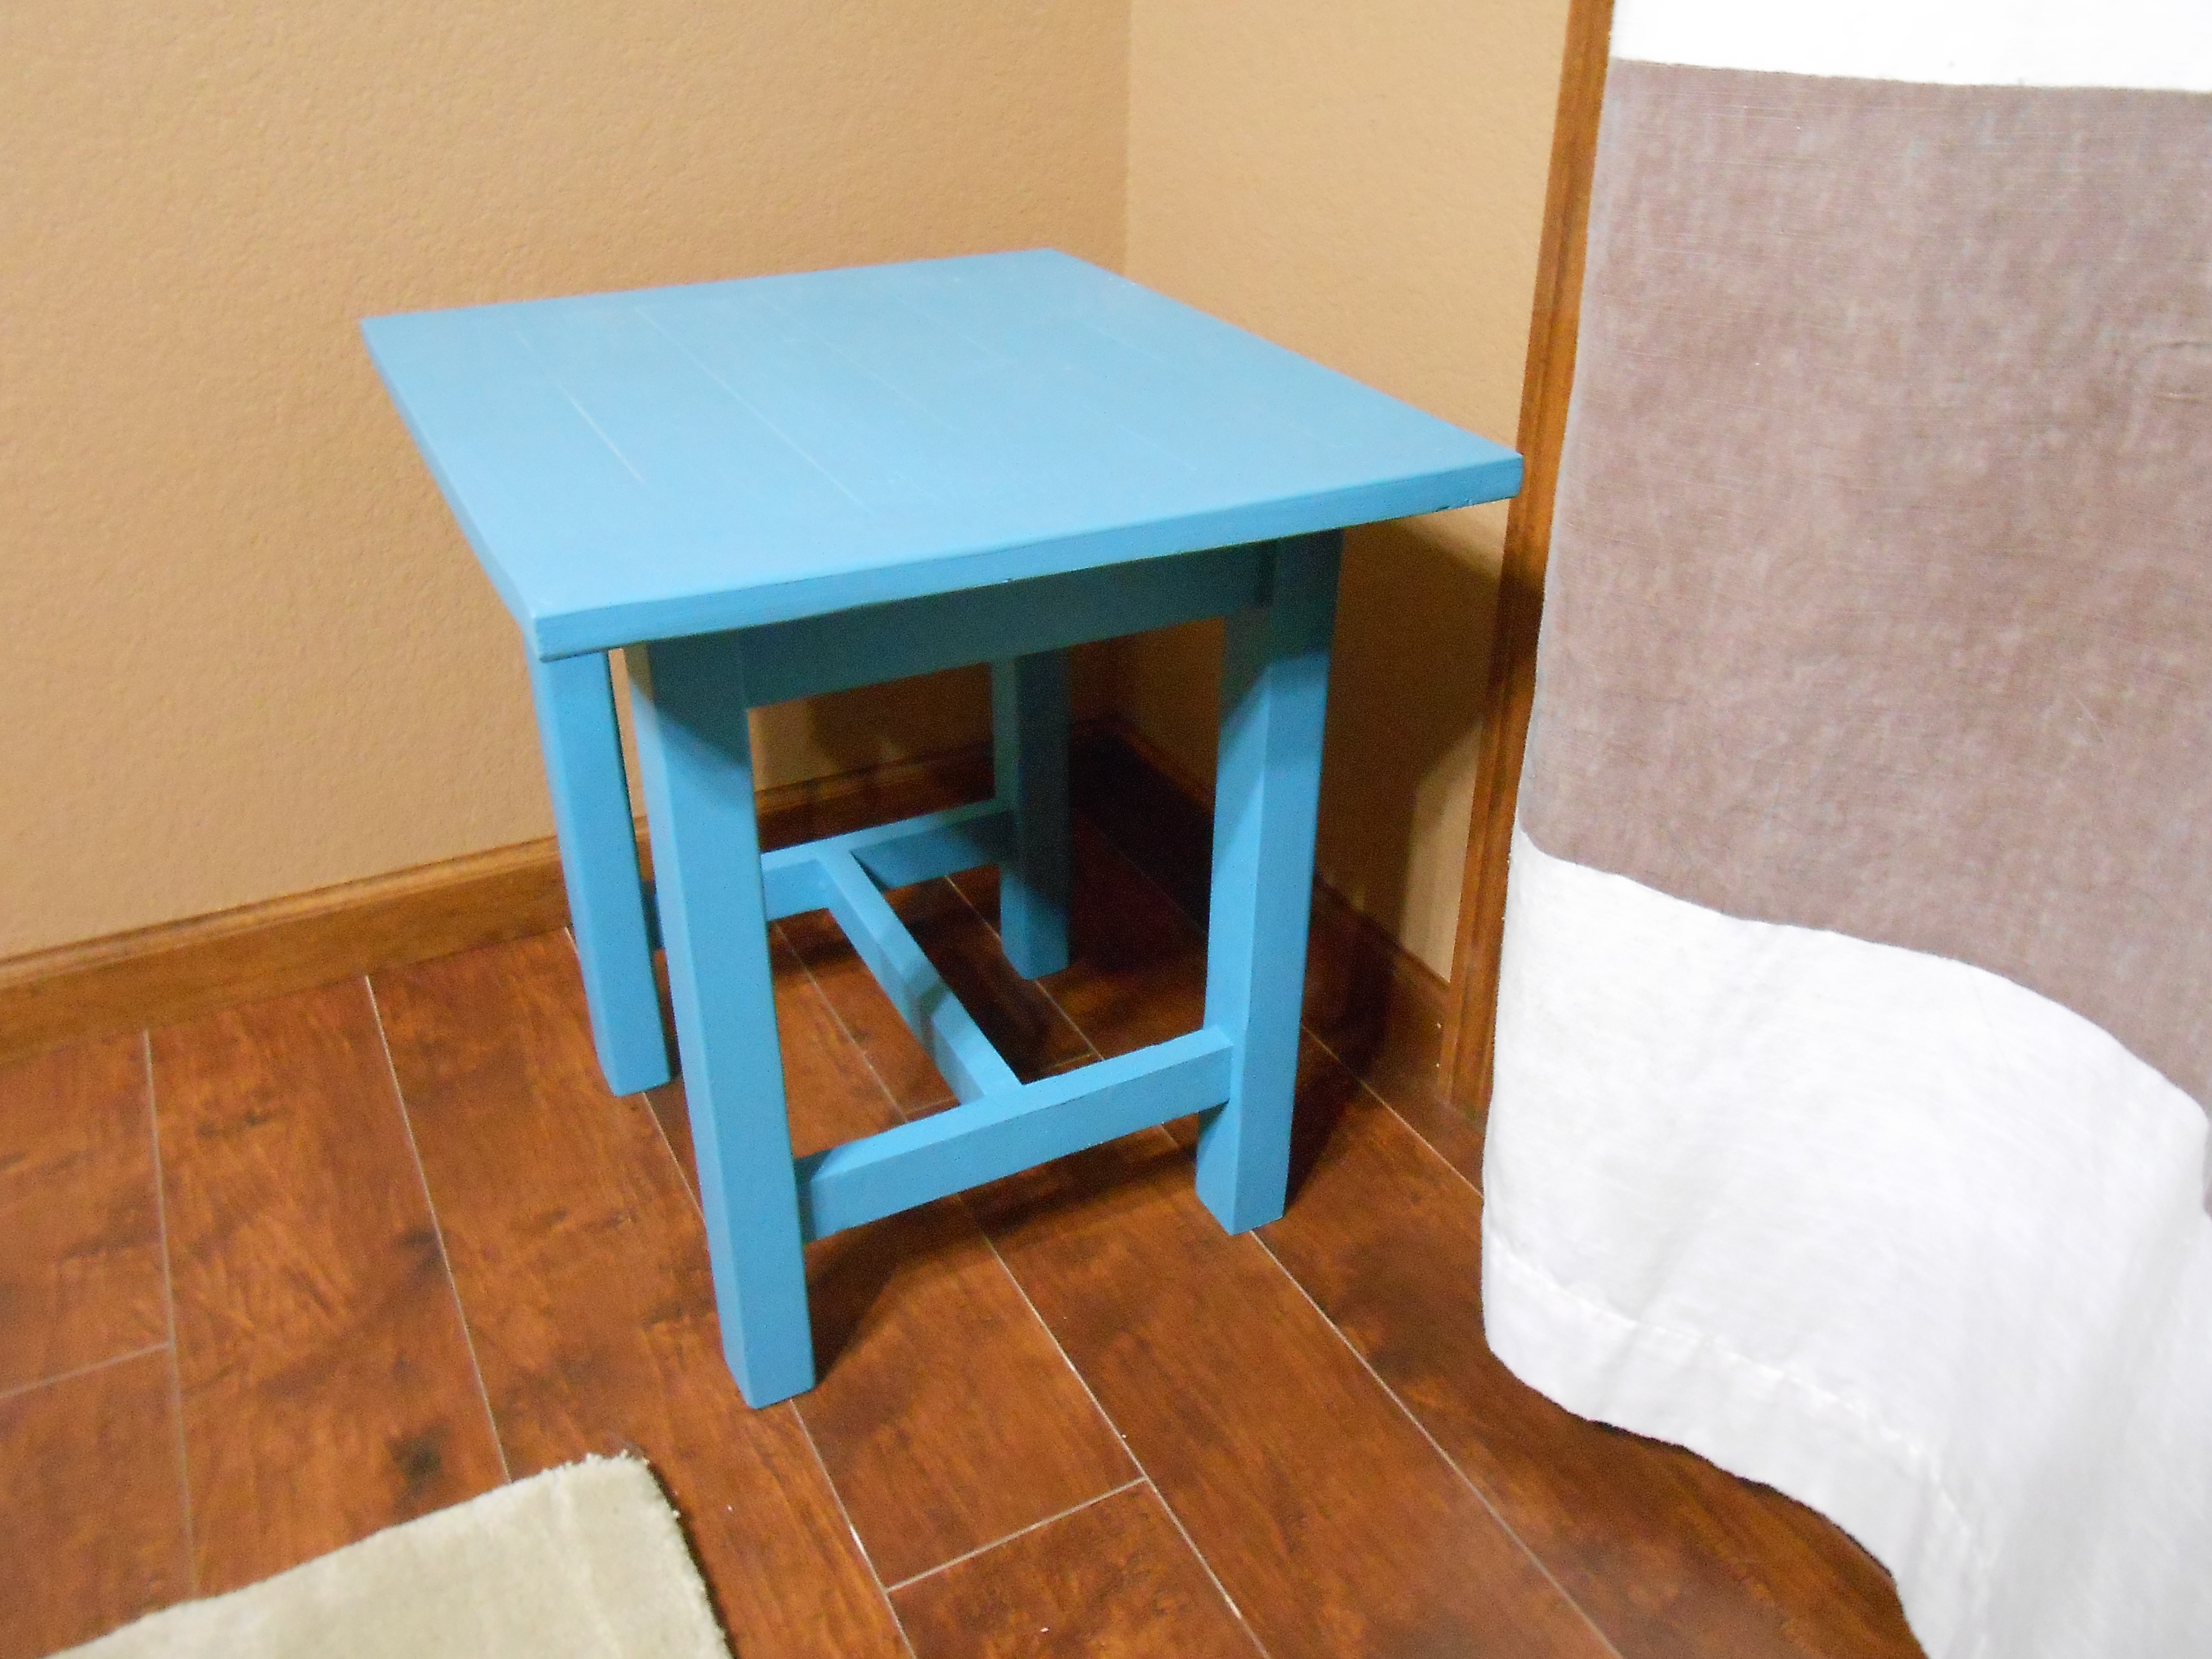
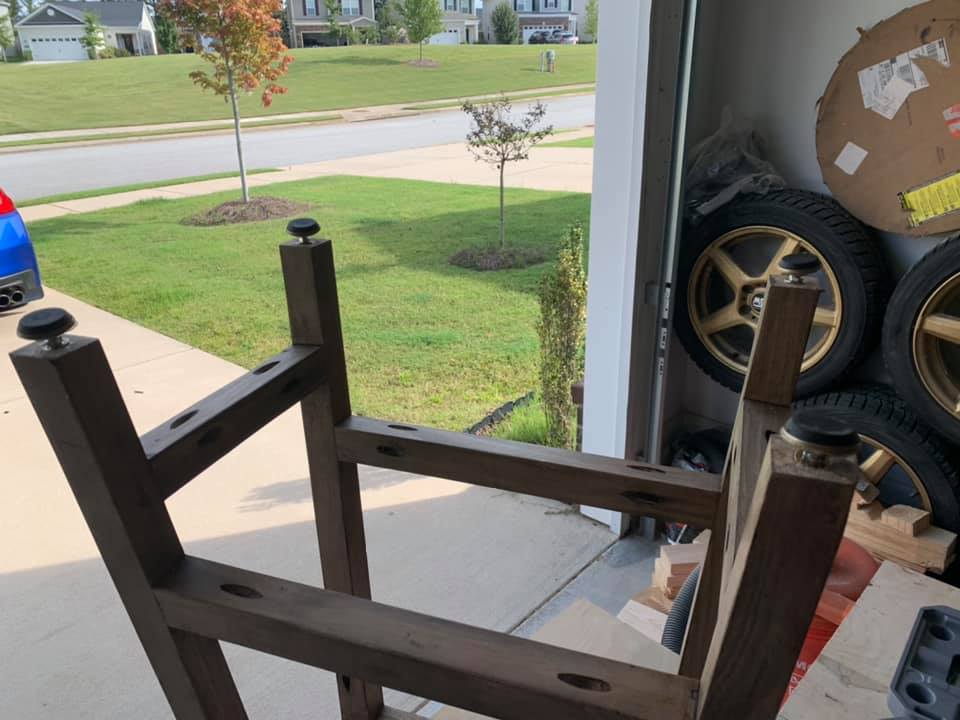
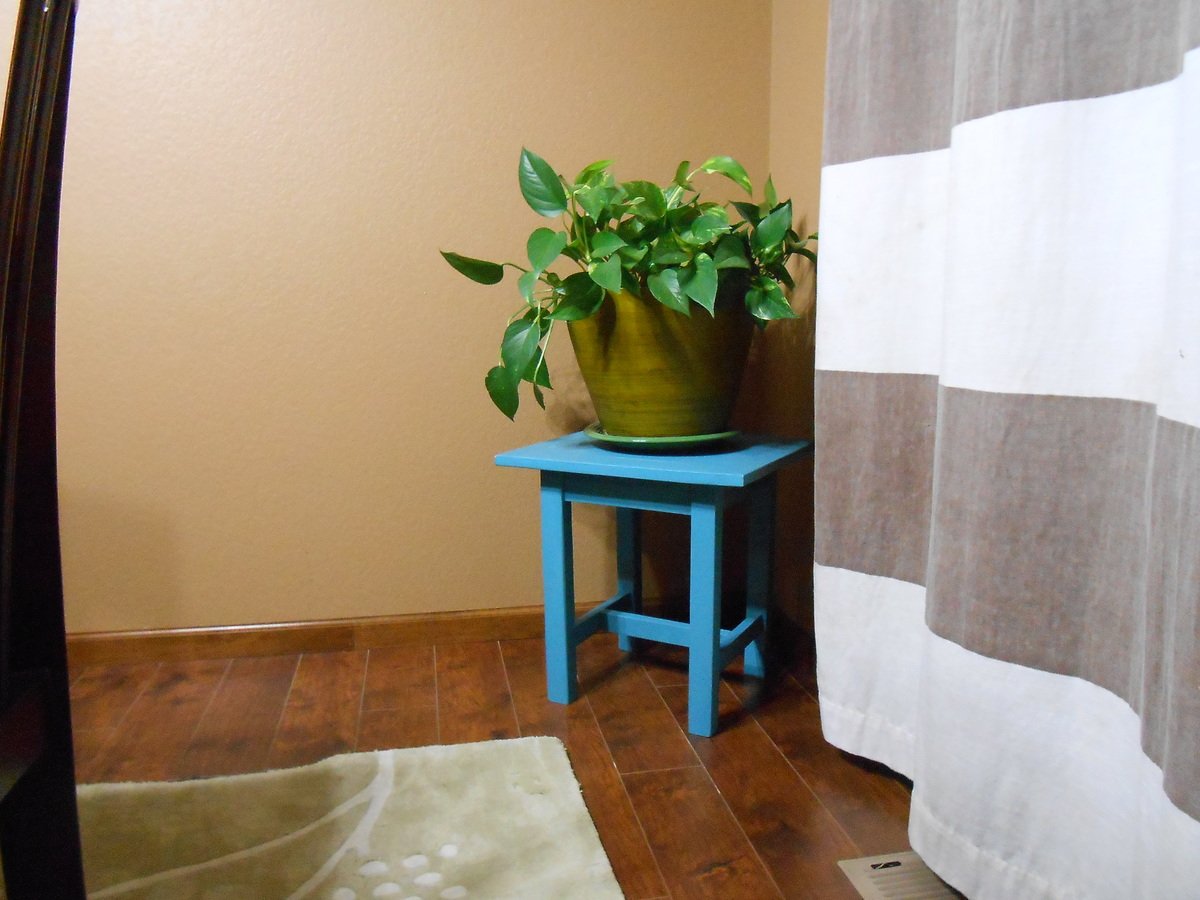
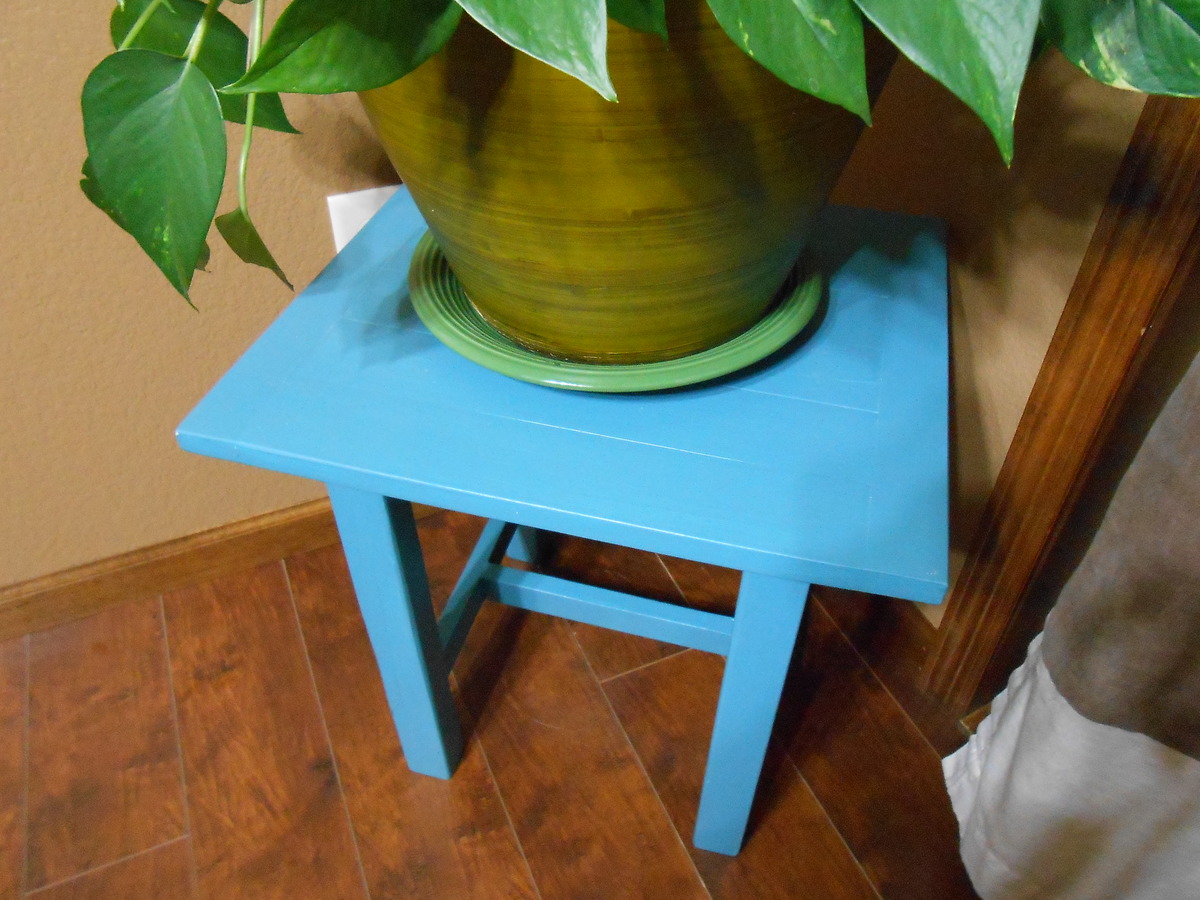
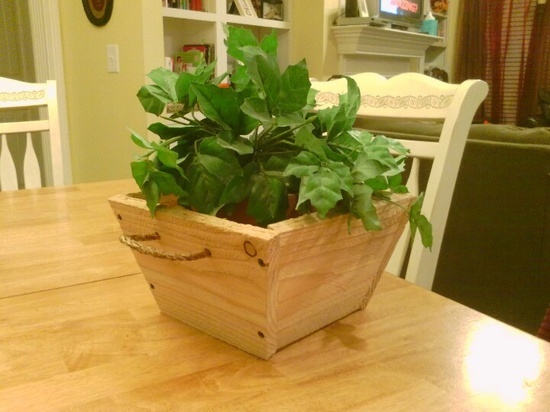
I made this plant stand using the adirondack stool plans. I did not leave spaces between the boards on the top, and I added breadboard ends.
We started this late 2013 and finished it June 2014. We used an old IKEA bed hardware for the middle support for the full mattress. We had to use Hemlock Fir "white wood" for the 4x4's (found at Menards in Wisconsin). We used Satin polyurathane from Minwax and allowed a month for the fumes to die down. My boys and guests seem to enjoy the bed.

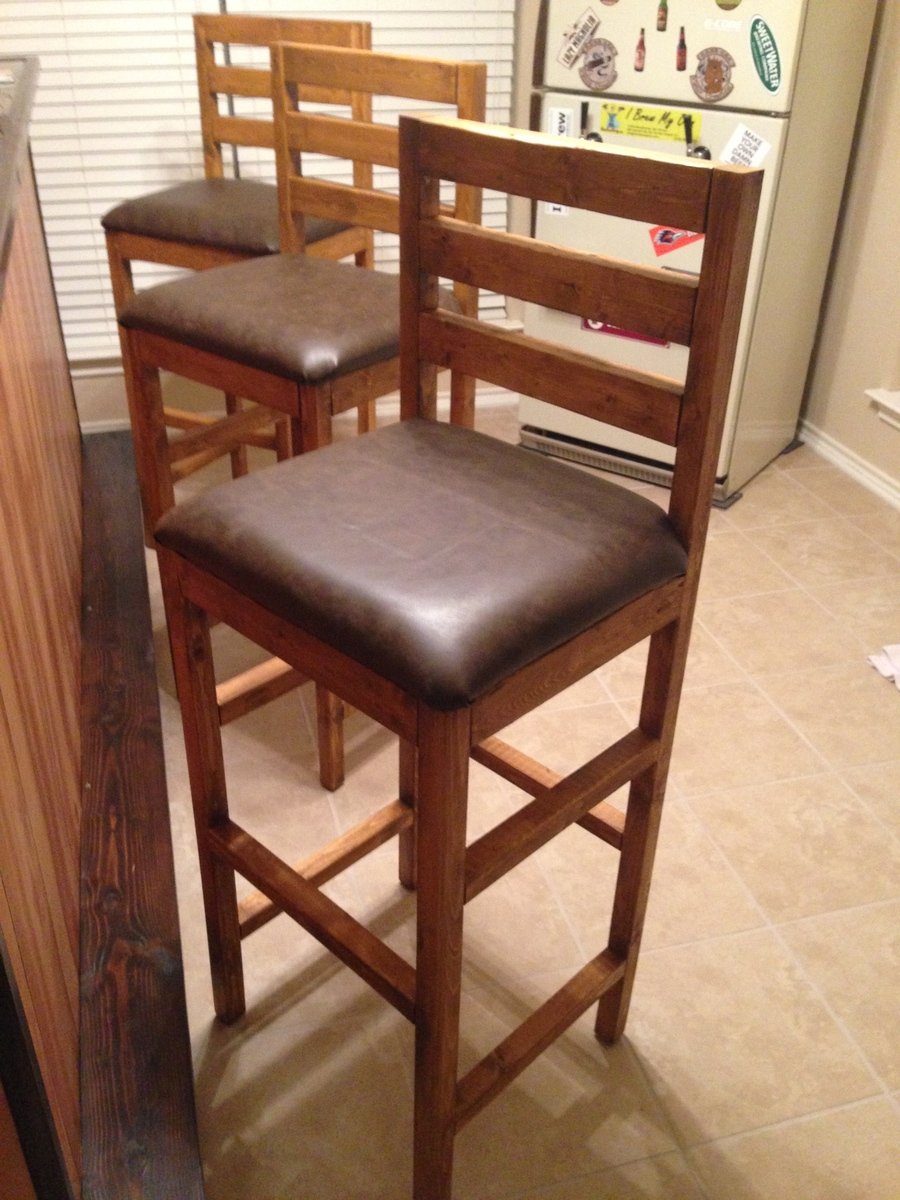
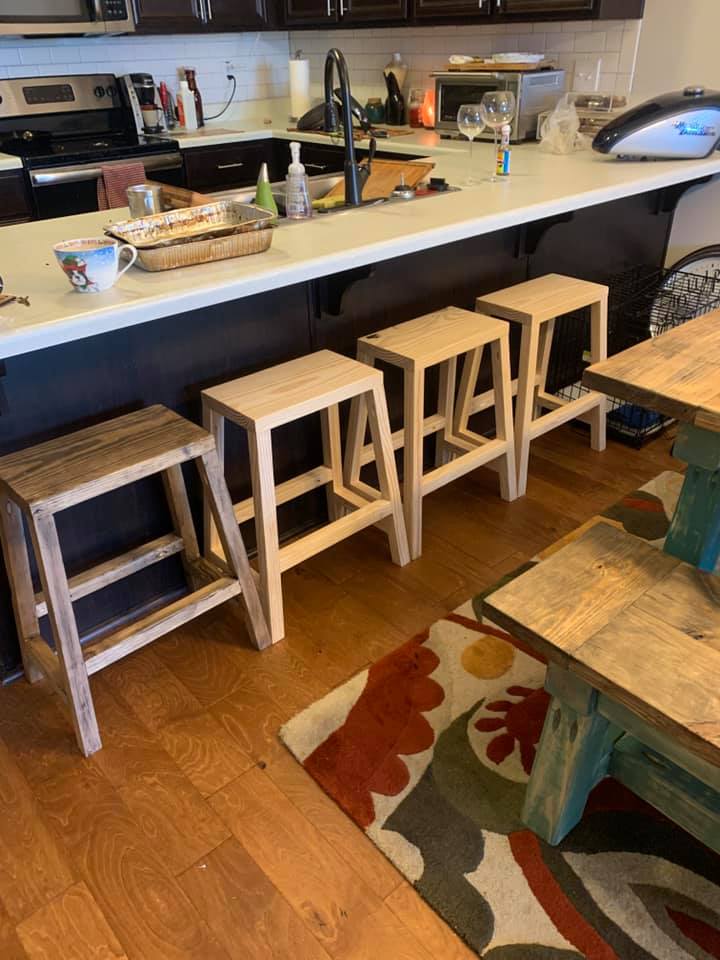
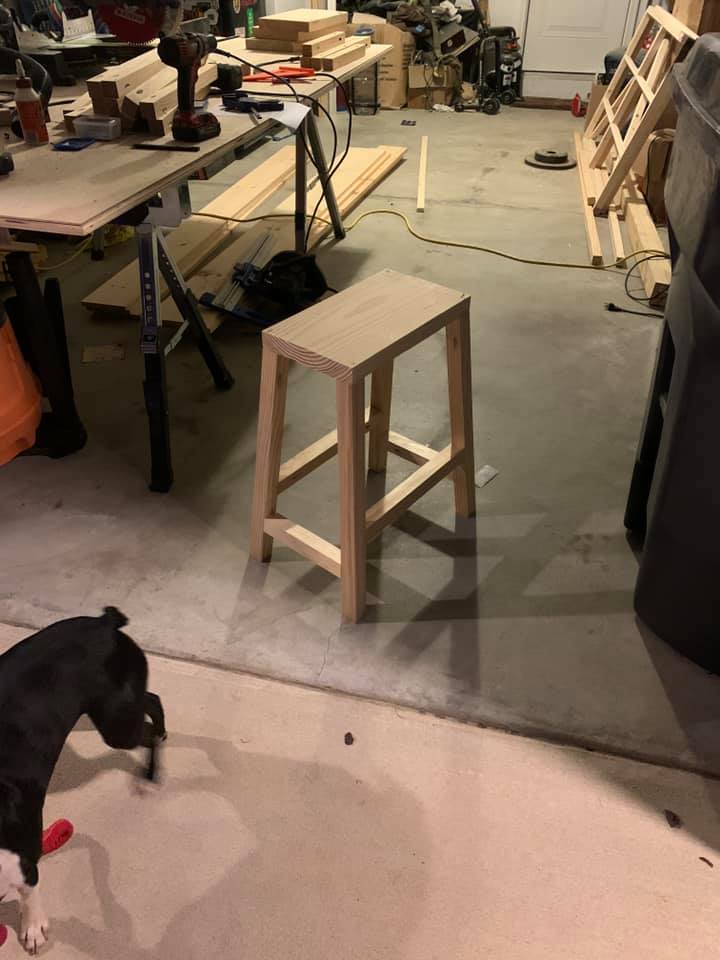
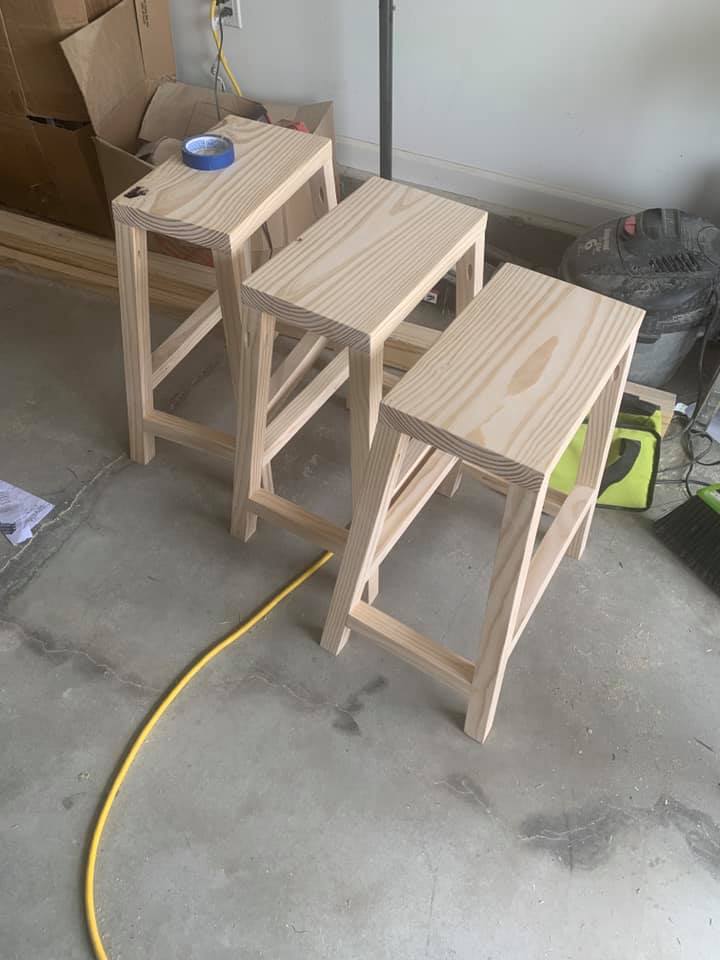
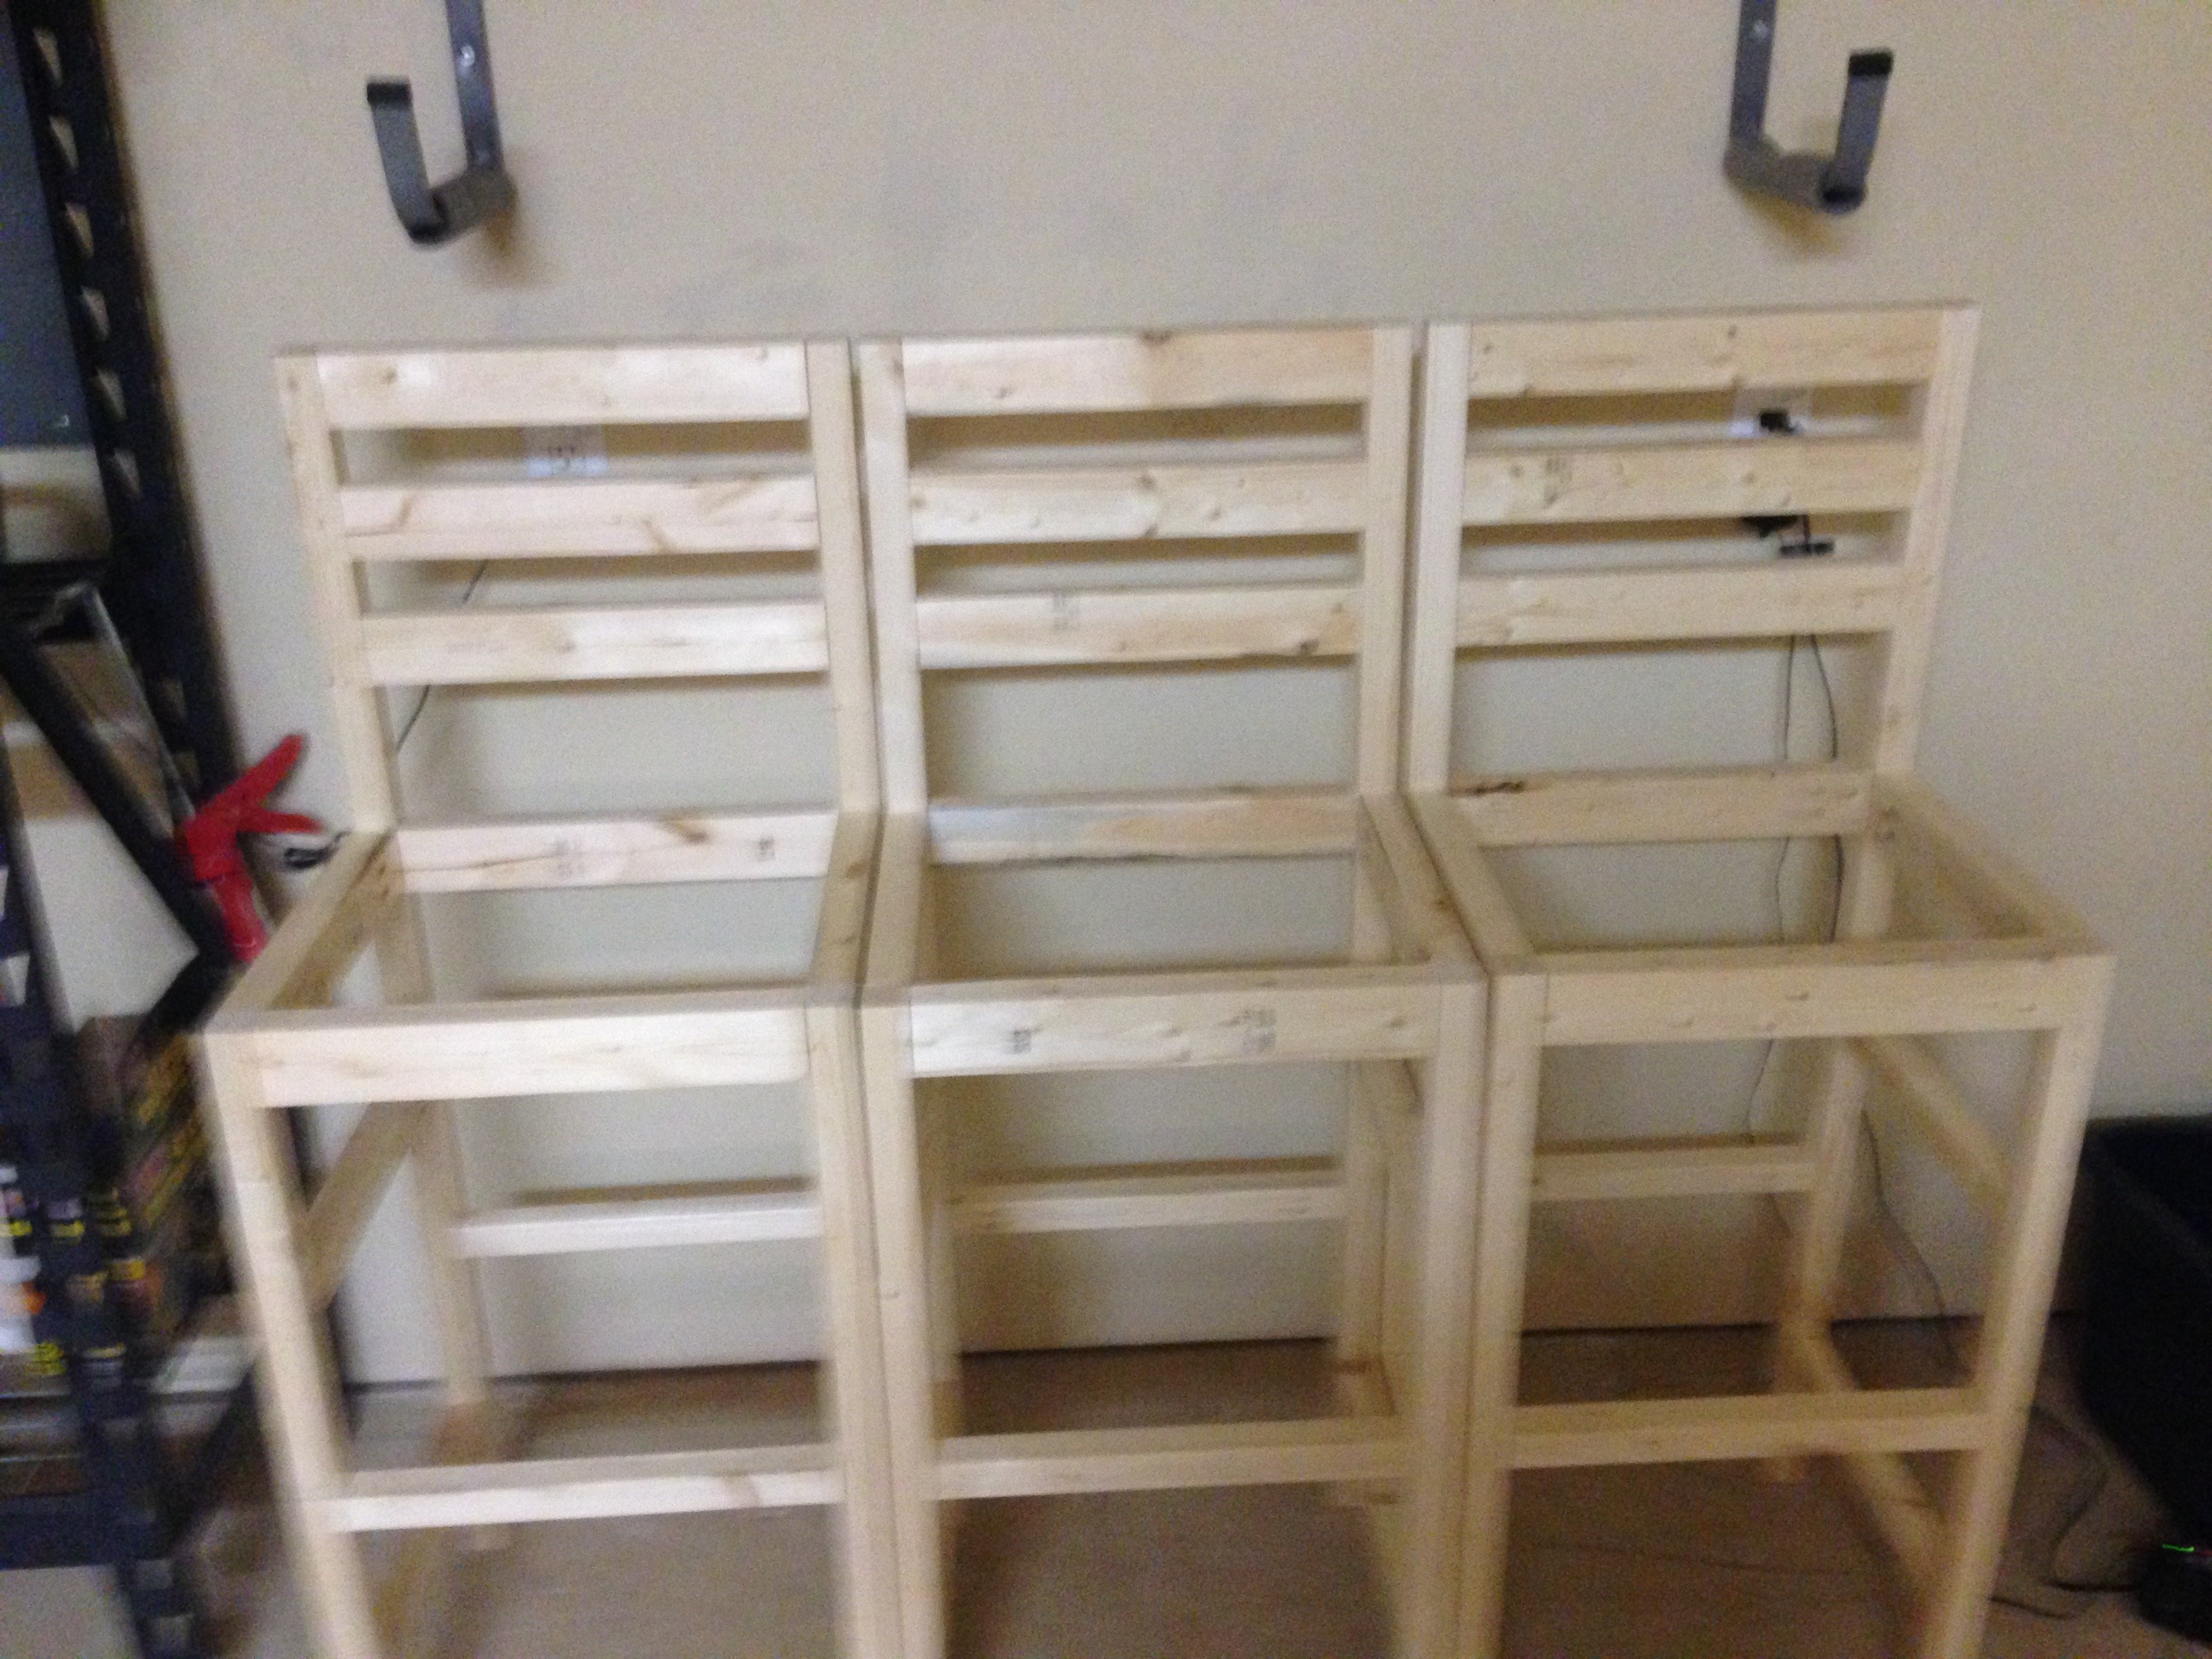
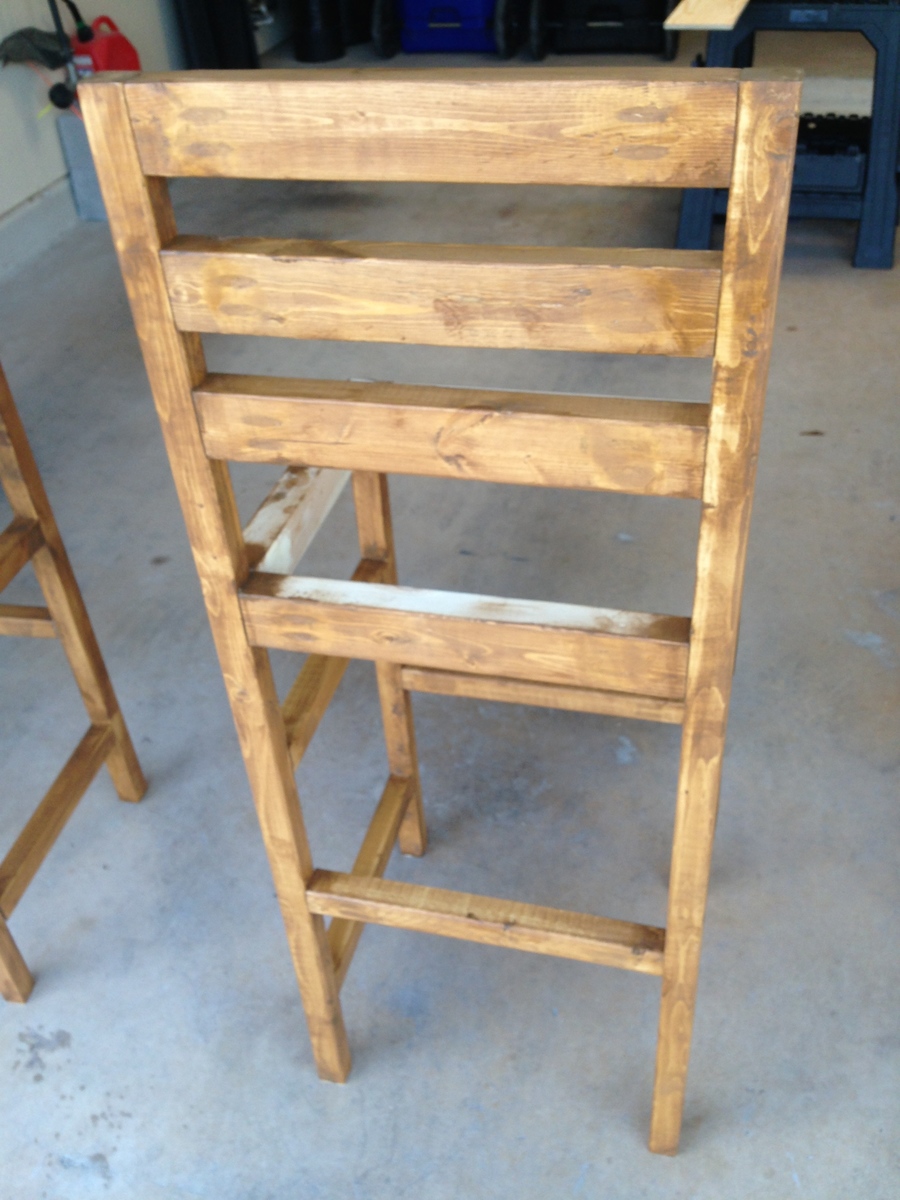
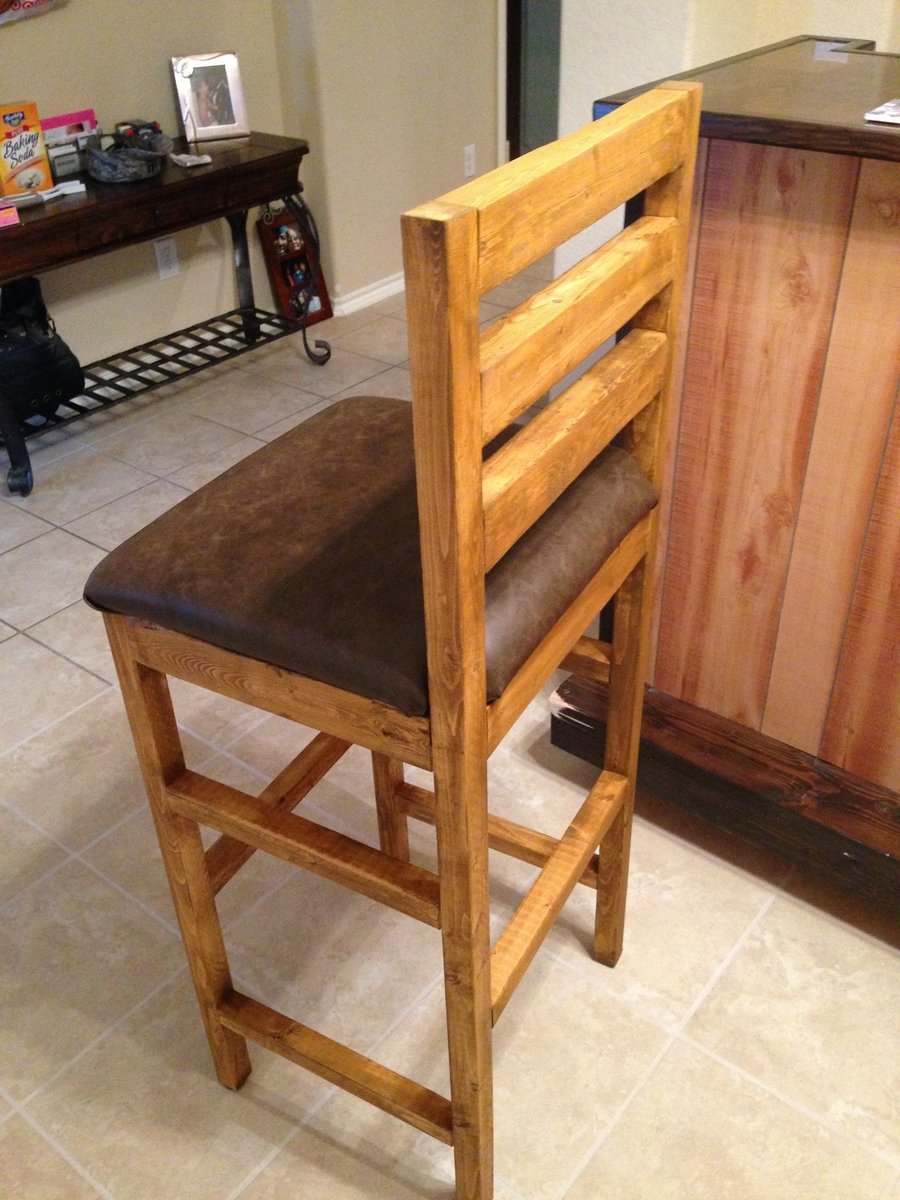
My wife and I built our whole bar, from the shelves, bar, and the kegerator! We needed stools to round out our endeavor but we werent willing to shell out the kind of money required. My wife found this plan and we morphed it a bit to meet our needs. The KREG JIG saved us big time! The seat upholstry took us a bit of time, but we figured it out thanks to YouTube. Great project for a weekend, took us a tad bit longer due to the arrival of our daughter but, we still got it done!
You were right, this really was super-easy and super-cheap!

I built this for my sister in law this Christmas from Ana's plans. I can't wait to make a second one for myself! The overall build was easy and I would consider myself a beginner level. Sadly, I didn't get a picture of the final product before I gifted it, but I distressed it to allow some forgiveness in the white paint detials and hand-painted decal on the top. It turned out great and they loved it!


