Community Brag Posts

My $30 Closet Makeover!

Submitted by scokenour on Mon, 07/11/2011 - 12:57

This project is closest to the Simple Closet Organizer, but I wanted to be able to re-use the existing components of the closet. The only purchased materials were one sheet of cabinet grade plywood and dowel rod holders (since I already had paint and screws).

Estimated Cost
$30
Estimated Time Investment
Afternoon Project (3-6 Hours)
Finish Used
sand, prime, sand, paint
Recommended Skill Level
Beginner

Comments

First Build - Redwood Adirondack Chairs

Love the results of my first building project.....a pair of redwood adirondack chairs. Angled cuts were a great way for a beginner to learn to use the miter saw.

Estimated Cost
$75 for redwood per chair
Estimated Time Investment
Weekend Project (10-20 Hours)
Finish Used
Discovered a non-toxic, non-flammable, water-based, environmentally friendly product called Seal-Once. Quick and easy two coat application in natural clear to protect wood outdoors for up to 10 years. Soaked right into redwood without leaving a shiny finish or residue.
Recommended Skill Level
Beginner

Comments

JoanneS

Sat, 09/07/2013 - 19:59

Love these gorgeous redwood chairs! The color and grain on that wood is awesome, and the clear coat is perfect for it. You did a great job on this build! I popped over to your blog and I enjoyed your post on this build very much. Well done!

Seasonal And Holiday

Now Germany has the Ana White Playhouse too

Submitted by Anonymous (not verified) on Tue, 01/01/2019 - 02:00

Thanks for the Plans Ana. Though we had to convert every number the plans helped us a lot. Our playhouse turned out really big: 8x8 foot. We had to include our heater under the window, so our tunnel is much bigger. It took us (three people) a half day shopping and two days and one night building and cost 600-700€. The kids where amazed when they opened the door a few days after Christmas.  We still think about adding some features like a slight or a bed...

Recommended Skill Level
Beginner

Shiplap Fireplace

Submitted by Anonymous (not verified) on Tue, 12/20/2022 - 19:10

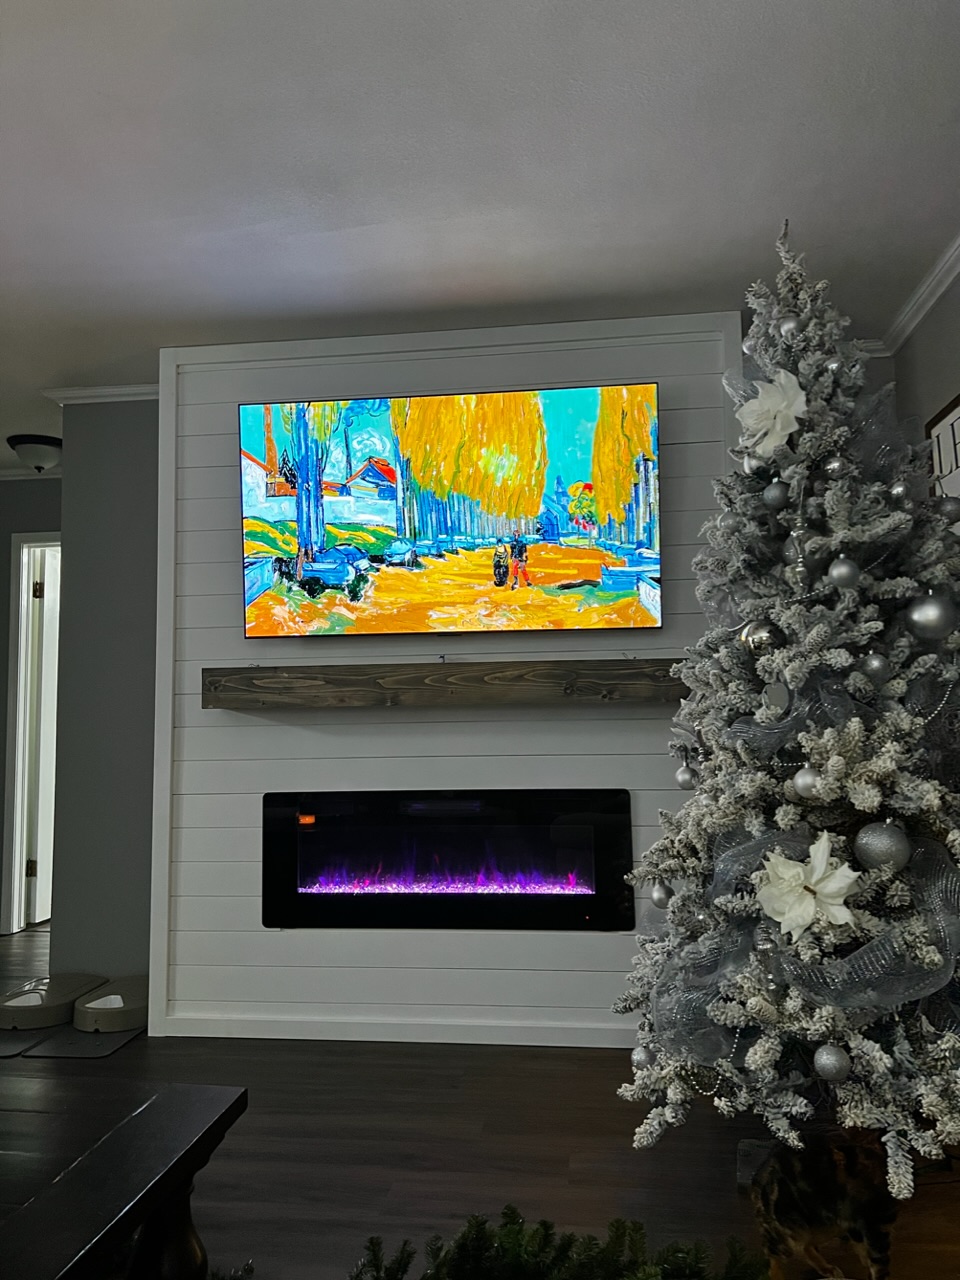
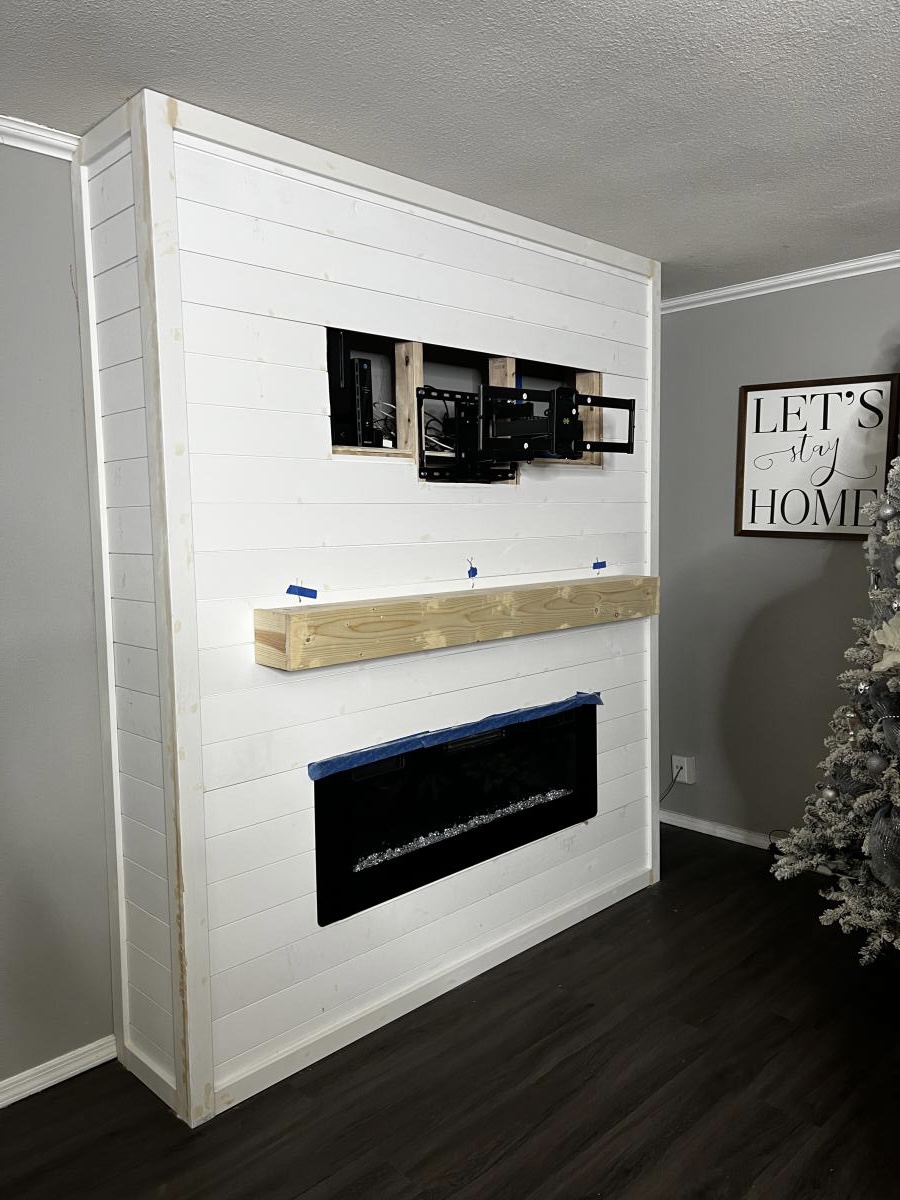
We did the Easiest Shiplap Fireplace in a weekend, thanks to Ana’s plans. I convinced my husband to help me build this by upgrading to a 65” tv and adjusting the dimensions. We also built a shelf behind the tv to hold our receiver and Xbox that is hidden when the tv is in place. Ana’s tutorial was amazingly and gave us the confidence to finally build something that’s been on our list for 2 years!

Comments

Trofast Toy Storage Solution

Submitted by CassieD on Fri, 09/30/2011 - 17:27

I had been asked a few times for these plans, but as someone else posted a similar one, I'll just stick to a blog post for now and describe my differences. I made this shelving unit January 2010, just after I found out of I was pregnant with my third child, and it's been a lifesaver since then. I desperately needed a toy storage solution (and purging), as shown in the 'eek' kids closet below. I didn't like the shape of triangular Ikea ones, as they spanned more floor space than I cared to give up. Plus, I wanted a place to put *almost* all of my kids toys, so I wanted it to be tall. I'm so glad we did, since we've moved twice (also, 'eek') since than, and it's made packing and unpacking the kids toys super (SUPER) easy. At first, I was afraid that the kids would go crazy and just tear down every bin at once, but it hasn't happened yet. Unlike the other plan that was posted, I used white sliders that ikea sold. I'm not sure if they still sell, as I don't see them online. It cost an additional $24 (they were $1/2), but seemed worth the extra money. I didn't have a router and wasn't particularly confident with our table saw skills. Plus the Ikea version had some really thin areas that made me nervous that it would break easily. I tried to keep it easy and just had to line up and screw the sliders in. Now that I'm a little more confident with a table saw, I'd give the router style a-go. I used two sheets of cabinet grade plywood, each costing about $30. I ripped down some pine boards to cover the front edges, which made the unit look loads nicer. However, I wish I would have used maple, instead of pine as they got dented almost immediately. Not a big deal though. The three shelves were sort of an afterthought, but turned out to be great for puzzles and other type toys. I didn't use backing or cross supports initially, but put some in after we moved. You can see them in the last picture below. The heater in our temporary house caused the slightly-bent sides to become very bent sides. That caused the drawers would spontaneously fall out, which was always quite the shock and disappointment. I put in some supports in the back, which I wish I did initially as it would have made manufacturing easier. Also, If I were to go back, I would put one cross support in the front-middle, as the boards are so tall, it needs something to help maintain the shape in the front. I've found that even in a perfect fitting slider, really heavy buckets would bend just enough to flex out of them to crash... so don't plan on filling one of the large buckets with matchbox cars and sticking it on the top. Regardless, we've learned our lessons, made it work better, and has been a huge success in our house for a while now.

Estimated Time Investment
Weekend Project (10-20 Hours)
Recommended Skill Level
Intermediate

Comments

Supermom77 (not verified)

Sat, 10/01/2011 - 14:22

Great work. Love the colors. Do you have directions on training the kids to put the toys back?

In reply to by Supermom77 (not verified)

CassieD

Tue, 10/04/2011 - 19:42

Haha, I guess a little. Picking up when they aren't motivated is an ongoing battle. However, I did find having a specific place to put items with labels helped a lot, albeit with screaming. Actually the labels would probably be the best motivation of all of it.

The ideal is to have the kids only play with one bin at the time, but with more than one kid, that theory very quickly gets muddled... One child wants to play with one toy and one wants play with another, then "lego houses can't be broken down" and "polly pocket is using those blocks for the house" and so on. So it's more of a end-of-the-day(week/month/year haha) pick-up routine.

However, there seems to be a light at the end of the tunnel. My oldest (almost 6) seems to have caught on that the faster she picks up, the sooner she can move onto other activities besides playing (coloring, playdough, etc.), and is starting to pick up as soon as she's done without us even asking. I think getting an allowance has also helped with that.

That was way more than I thought I was going to comment, but I guess it goes to show you should never ask a Mom her opinion on something, unless your ready for a lecture :)

birdsandsoap

Thu, 10/13/2011 - 21:44

I love that your labels have pictures on them! I thought I should have done that way back when since my children are too young to read. Easy to find and easy to put away. Good job, Mom!

Double Double Loungers

Submitted by Gimbler on Tue, 10/04/2011 - 15:10

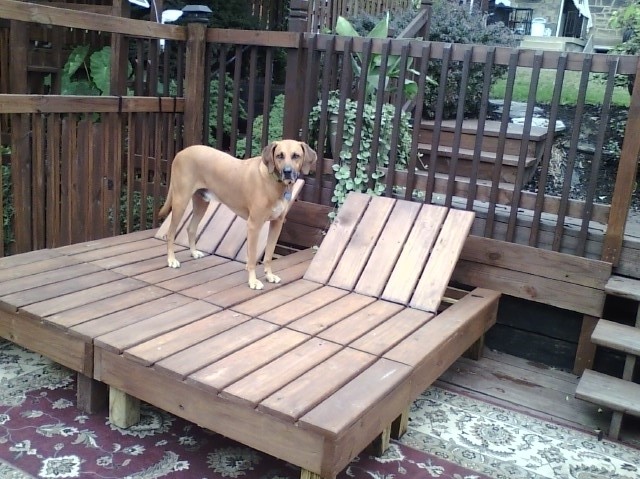
I had an idea in my head of what I wanted for deck seating/lounging in my mind but just couldn't seem to get to the "nitty gritty" of creating workable plans. Then, while googling through images of double loungers I stumbled onto Ana's site. Wow! I felt like a fish that had just found the water! With the detailed plans generously provided for a double lounger I was able to create my "vision" with just slight modifications. The loungers are actually two chairs and two ottomans that fit together or come apart depending on how much "togetherness" the situation calls for. And best of all - almost all the materials were left overs and cut pieces from another deck and fencing project. For cushions (not in this photo) I used two inexpensive "Hide A Mats" folding beds from Costco that I covered with waterproof duck fabric. I can't thank you enough, Ana, for taking the time to share your talent so freely. I'm truly grateful. As is Jake, the Redbone Coonhound, who insisted on being in the photo!

Estimated Cost
About $150 for hardware and cushions - lumber was scrap and leftovers from another project.
Estimated Time Investment
Weekend Project (10-20 Hours)
Finish Used
Olympic semi transparent deck stain.
Recommended Skill Level
Intermediate

Comments

Gimbler

Tue, 10/11/2011 - 06:34

We really enjoyed these over the summer - and if Buck is anything like Jake I'm sure he'll take advantage of any available "creature comforts". :o)

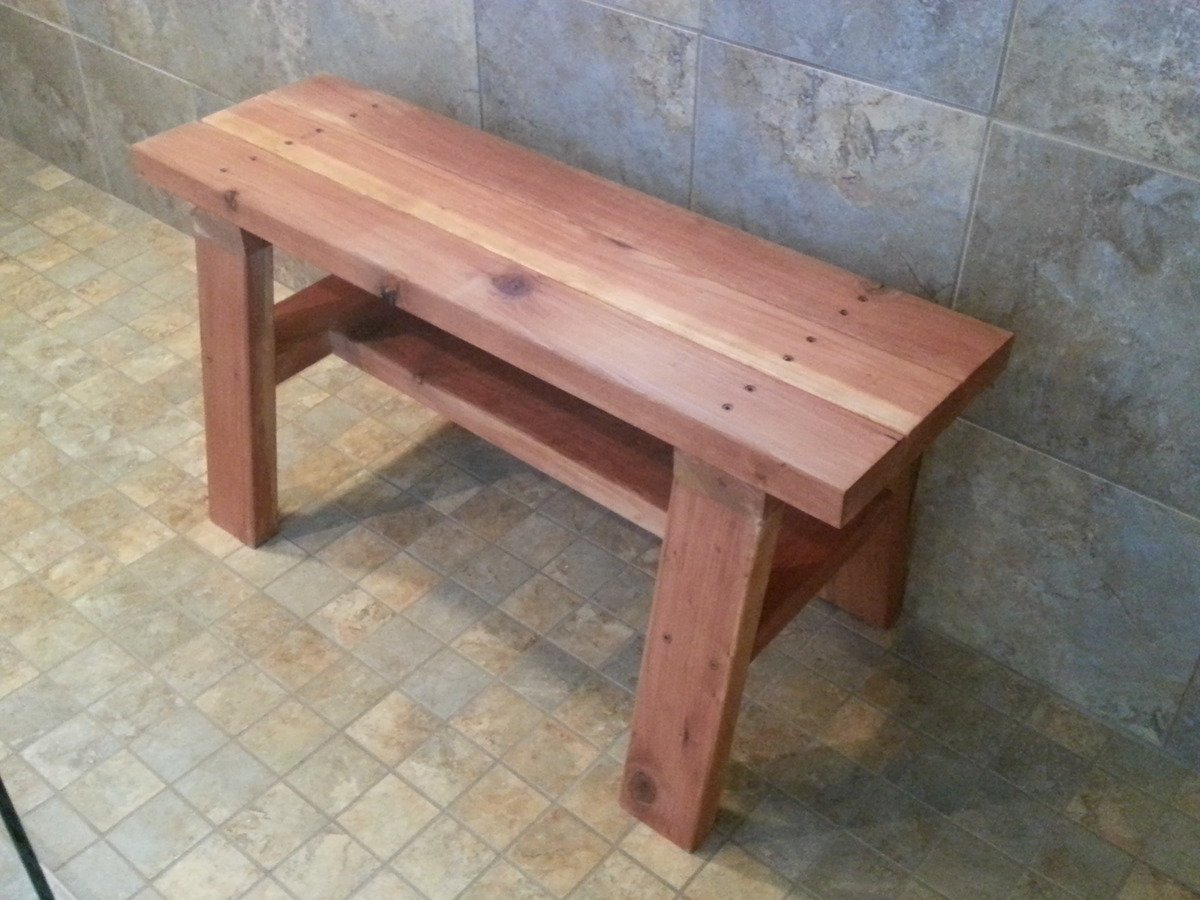
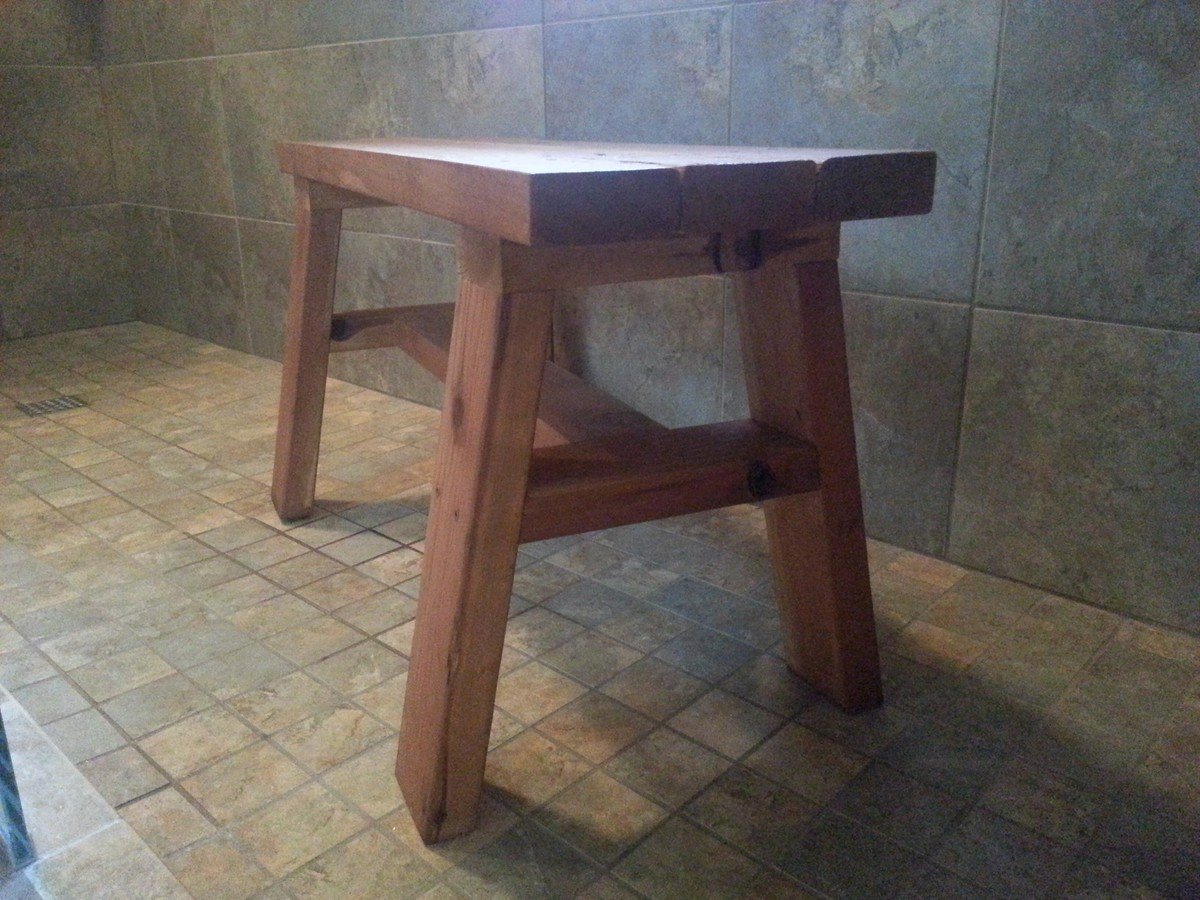
Redwood Shower Bench

Submitted by lwarteman on Sun, 10/20/2013 - 08:33

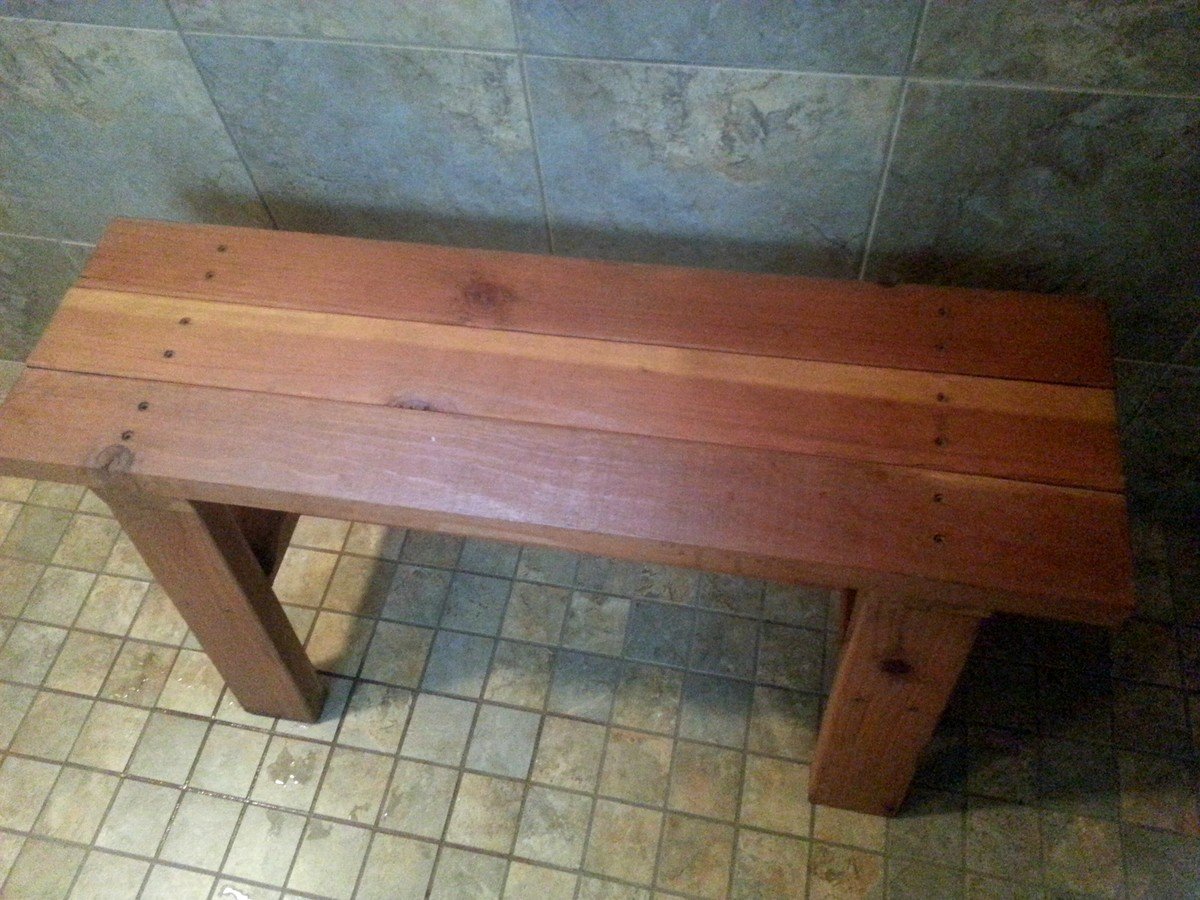
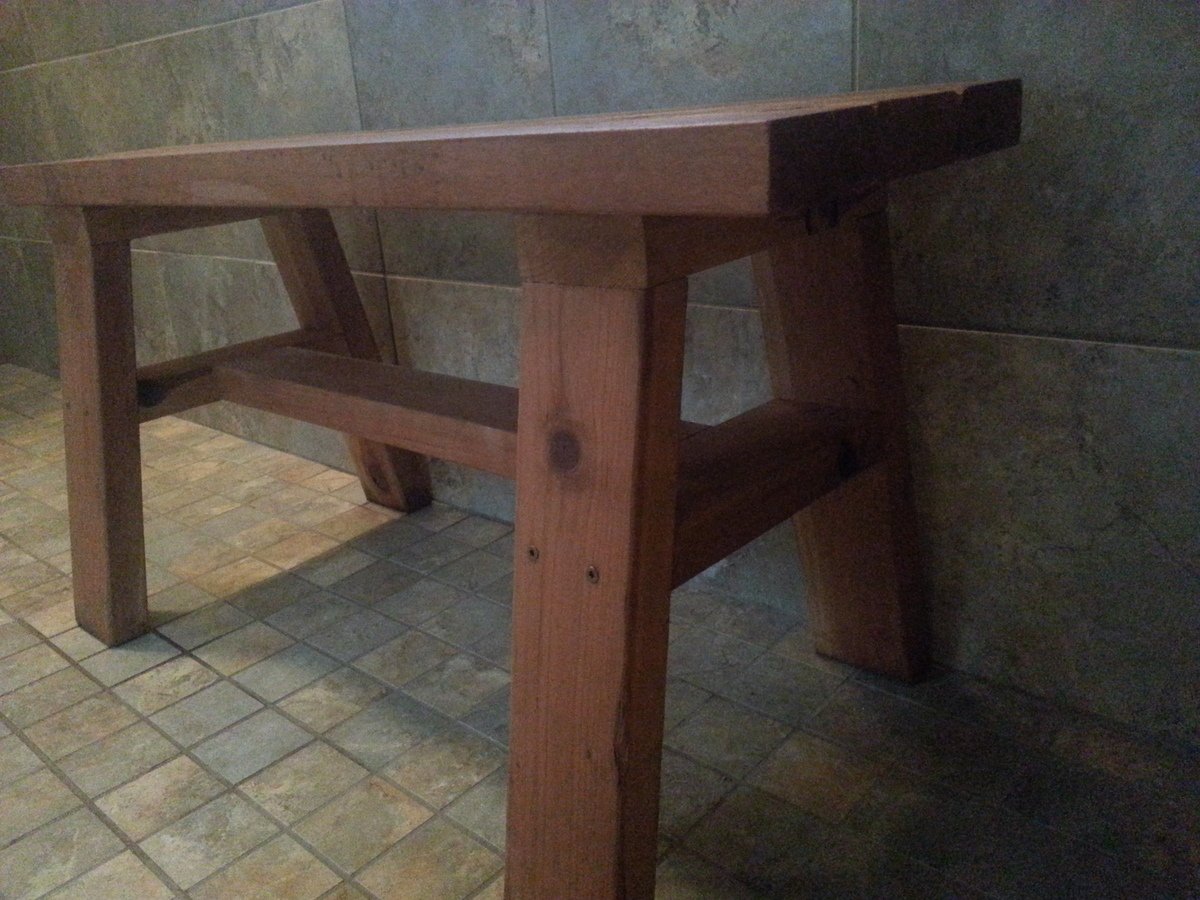
I wanted to build a small shower bench. I used the Providence Bench Plans and just made it a bit smaller with a few adjustments. This bench is 35" long and 18" tall. I did not use the cross supports on the bottom because it was so short. Also, you will see that I turned the bottom stretcher and side supports flat/horizontal. I put the screws for the seat boards through the top down just because this was the easiest way for me to do it. The plans did not show in detail how to attach the seat boards from the underside. It just said "finally, the seat boards." I guess they probably used a pocket jig. I bought a pocket jig and used it in the couple of places, but this was my first time using it. I used brown, coated decking screws in the places I did not use the pocket screws. This was my first attempt at building anything and my first time to use a pocket jig. I used a natural wood stain and Behr Weather-Proofing since it will be in a wet area.

Built from Plan(s)
Estimated Cost
$20
Estimated Time Investment
An Hour or Two (0-2 Hours)
Finish Used
Behr All-in-One Stain and Weatherproofing in Cedar Naturaltone (No. 5533). Because this is going to be in a wet area, I put 2 coats on and let each one dry 12-24 hours in between and before getting wet.
Recommended Skill Level
Beginner

2x4 Sectional

Submitted by Anonymous (not verified) on Wed, 05/03/2023 - 12:04

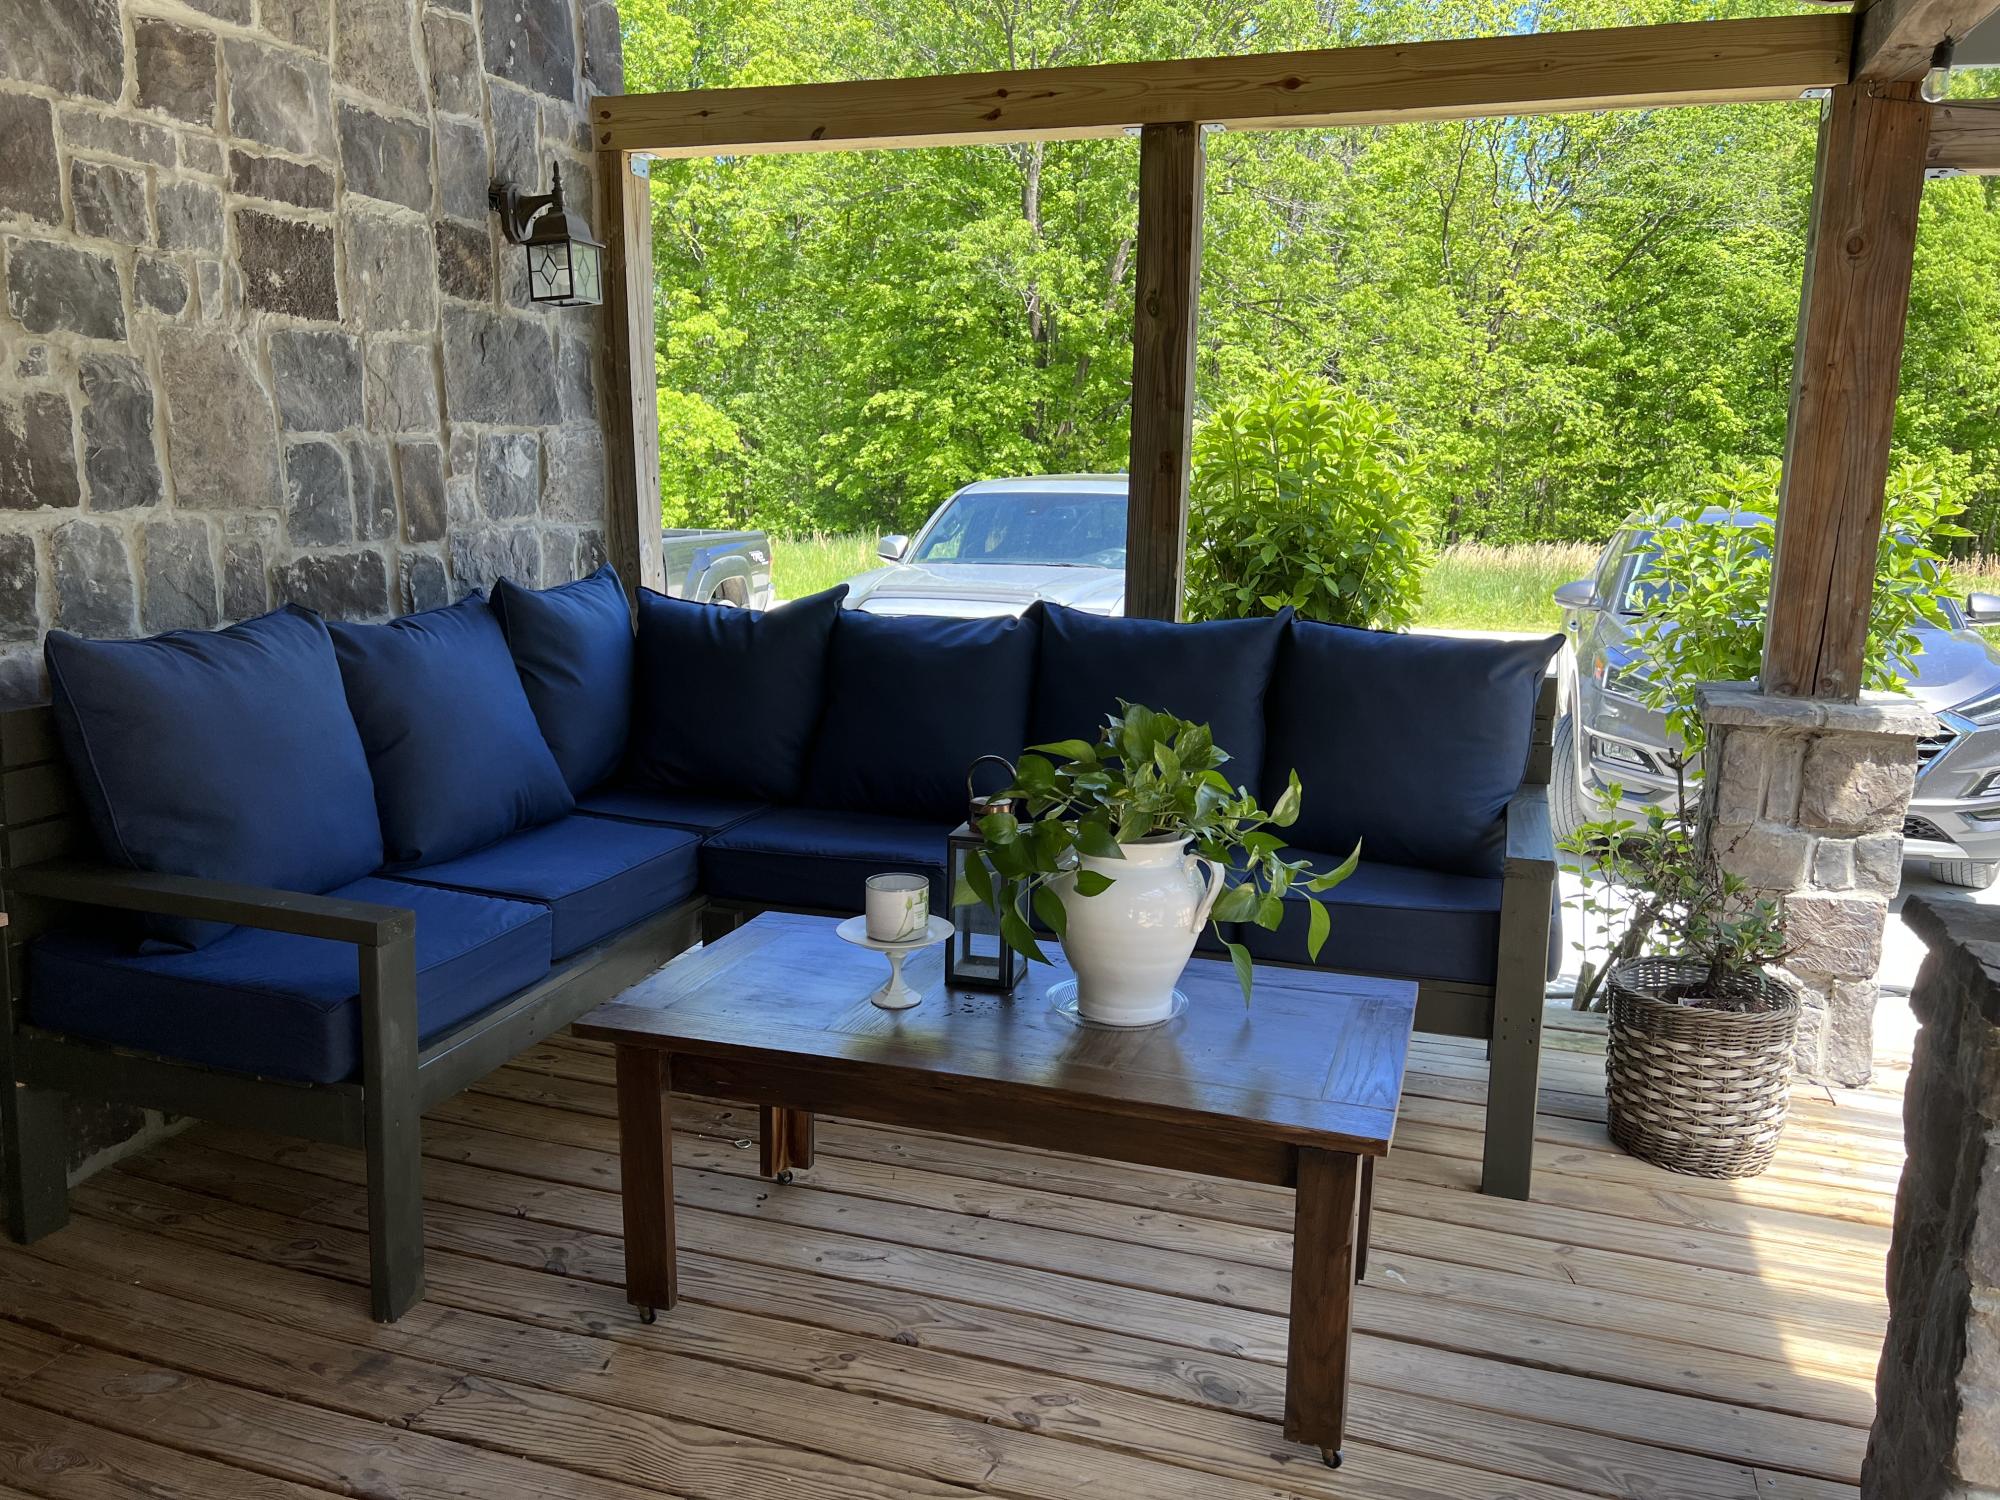
My husband whipped this up in one day using Ana’s plan. This is my new favorite spot to relax.

Comments

Farmhouse King Bed

Submitted by Anonymous (not verified) on Fri, 10/04/2019 - 10:34

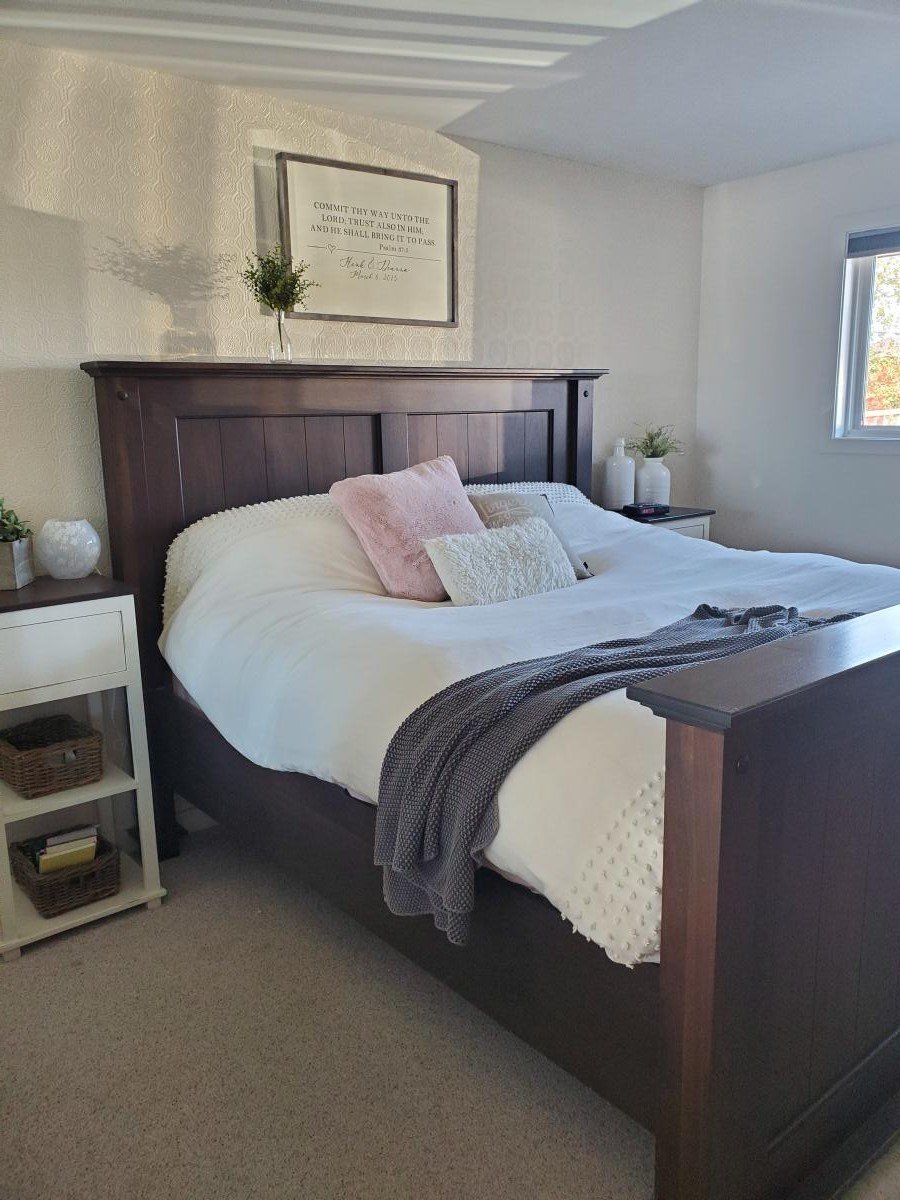
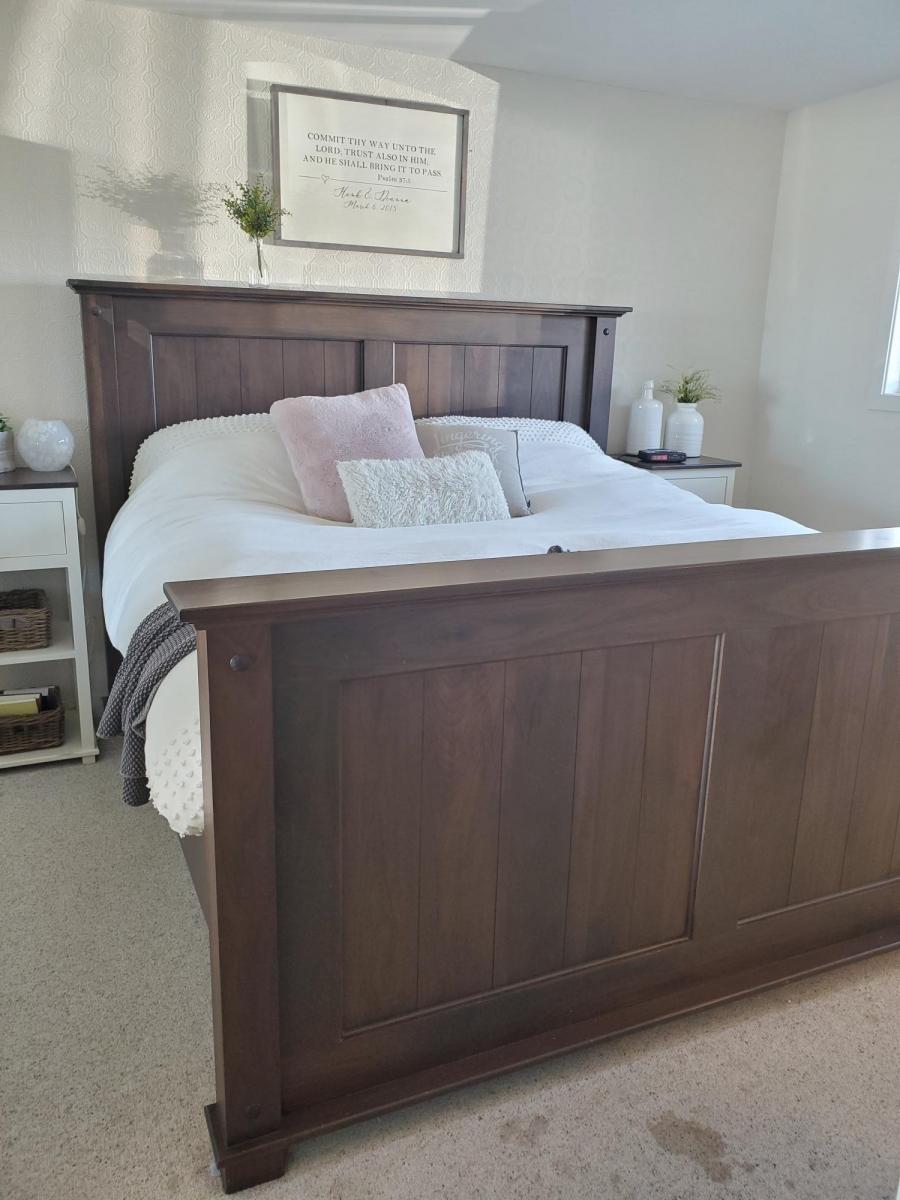
I used the Farmhouse Bed in the King size as an inspiration for this bed. I added a few things and tweaked the plan to make it my own. The cost of this bed was quite high due to the type of wood that I used, but can be made much cheaper with a softer, cheaper kind of wood and still look just as beautiful!

Estimated Cost
$600
Estimated Time Investment
Weekend Project (10-20 Hours)
Finish Used
I used a soft brown finish and lacquered it. It looks dark due to using walnut which is of course a brown wood.
Recommended Skill Level
Intermediate

Comments

Corner Cupboard Storage

Submitted by hoffer5353 on Wed, 02/08/2012 - 15:00

After Christmas I was talking to my cousin, she told me how she now needed storage to hide her new gifts she had received. Of course I wasted no time and told her about Ana's site.

So as we enjoyed lunch she pulled out her handy "smart phone" and began searching for the perfect plan for her needs.

It didn't take long for her to find the plan that suited her needs and we began planning. I got all the materials together and did some presanding so we could get this baby complete in her short weekend visit.

This plan was easy to cut and stain, however assembly was a bit more difficult as the angles made it difficult to get your bits into tighten kreg screws.

We didn’t make the bottom shelf adjustable however made it high enough for the mixer she wished to hide within it.

Other than typical door hanging issues the project turned out beautiful! The bottom cupboard doors even provided enough room for her large mixer and griddle.

Before she took her project home to enjoy she was already planning her next project.

These plans are beautiful, functional and do-able.

Thank you again Ana for making another person’s life’s organized!

Built from Plan(s)
Estimated Time Investment
Weekend Project (10-20 Hours)
Finish Used
varathane-red oak 3 coats
minwax poly
Recommended Skill Level
Intermediate

Comments

Aunt Michele (not verified)

Thu, 02/09/2012 - 08:25

Awesome job girls! I knew you'd rock it. :)

Loft bed with platform

Submitted by jbar1981 on Wed, 10/09/2019 - 13:03

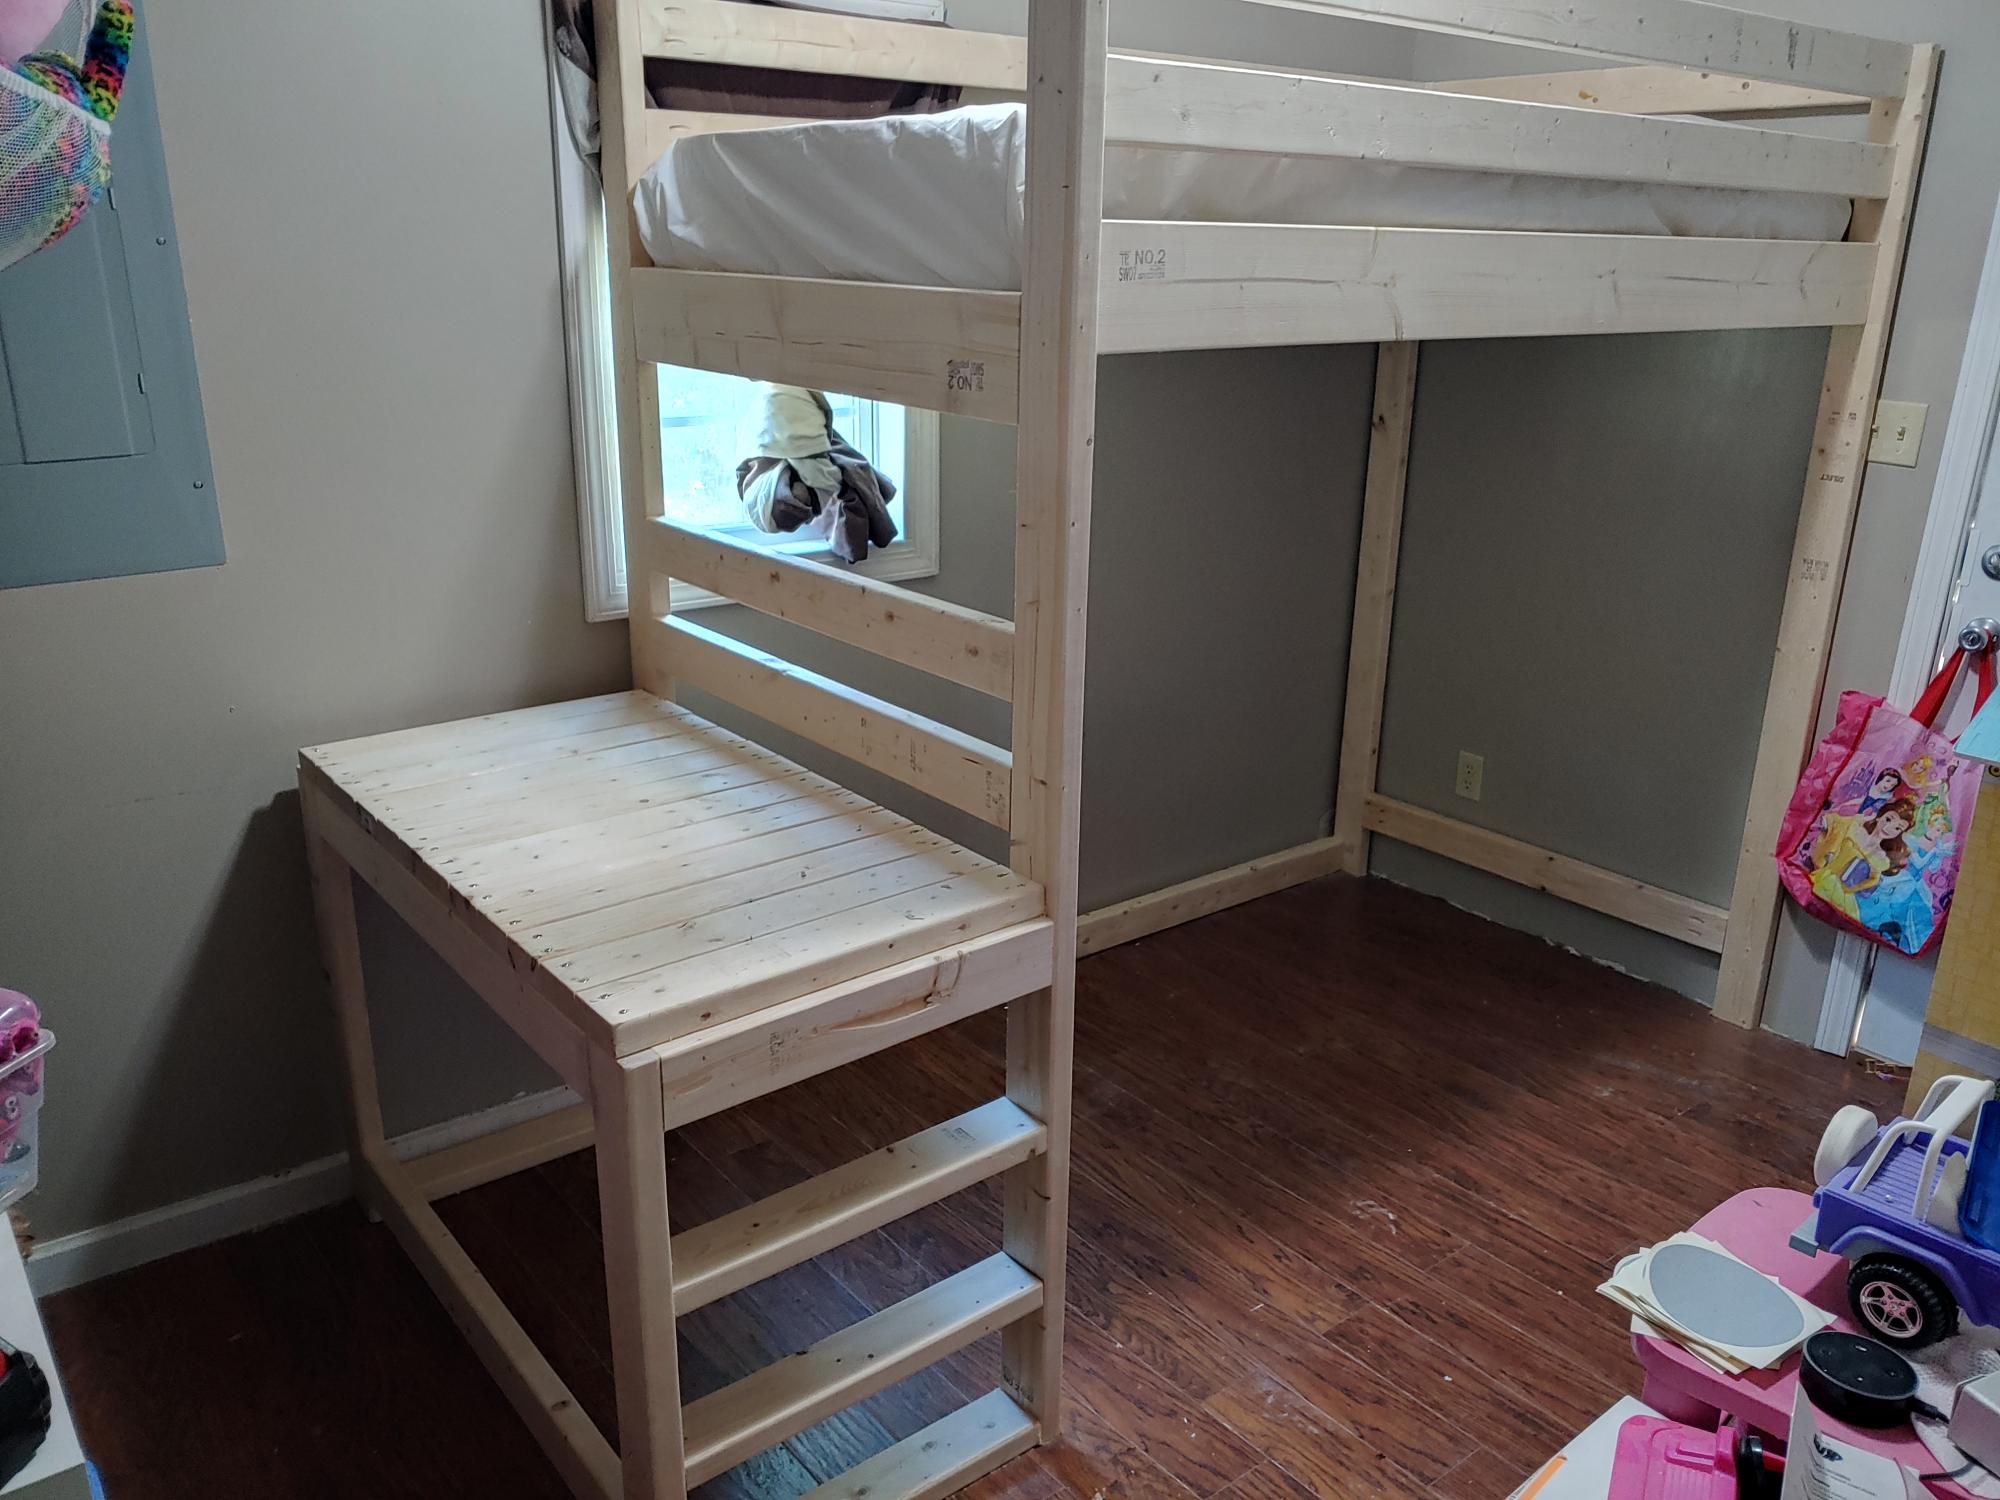
I modified a few things to fit my needs. I did a small ladder instead of steps to save room. I added a 2x4 down the middle with brackets to add extra strength for mattress area. I used my kreg drill bit to make holes for the 2x2 to also help with strength. I am a big guy and the bed was solid so no issues with weight. I added 8 inches to the main post to add height underneath for a doll house, book shelf and some other things my wife wanted under there. Excellent plans and my daughter loves it. 

Estimated Cost
200.00
Estimated Time Investment
Weekend Project (10-20 Hours)
Finish Used
Nothing yet
Recommended Skill Level
Intermediate

Playhouse Loft Bed

Submitted by dryton1 on Mon, 12/30/2013 - 09:46

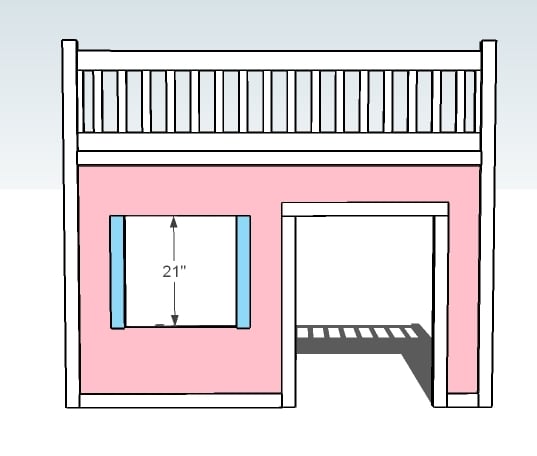
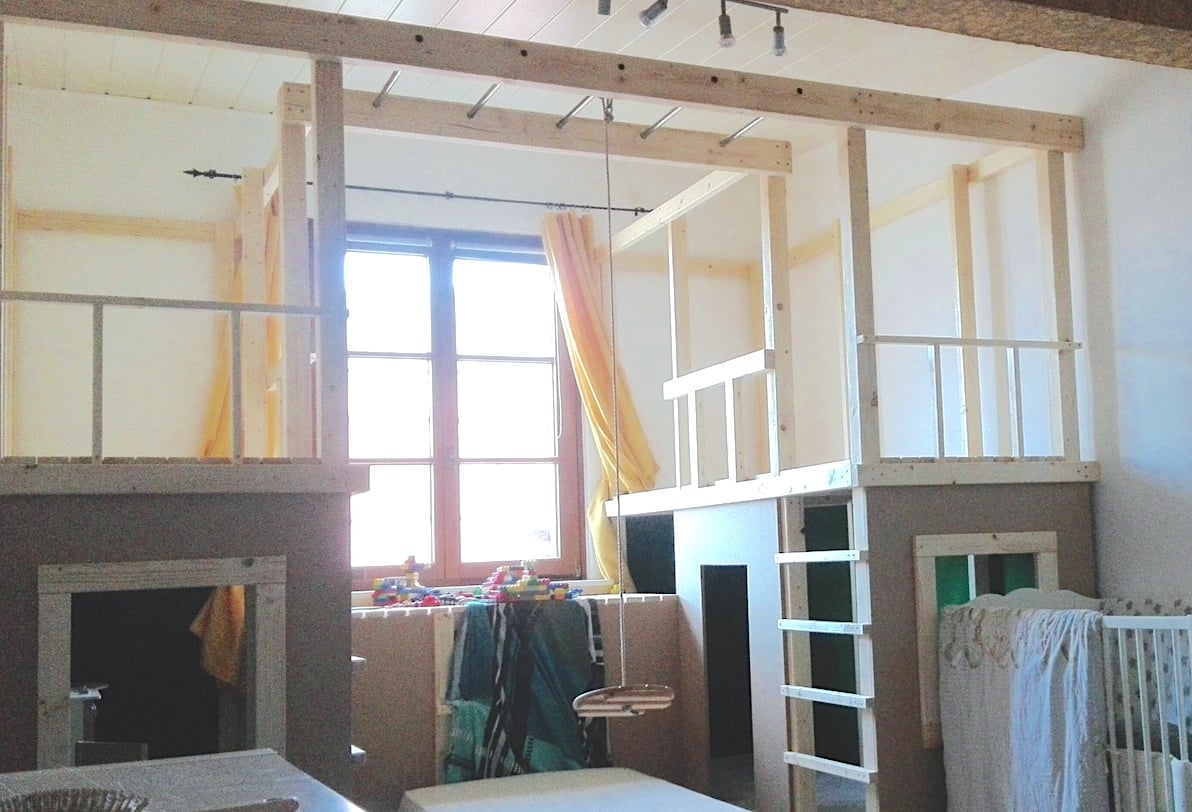
We built this kids playhouse for our 4 year old daughter for Christmas. We modified it from the playhouse loft bed with stairs, only we made it bigger and instead of stairs we installed a slide. Also rather than a ladder we put in a rock wall.

Built from Plan(s)
Estimated Cost
$400
Estimated Time Investment
Week Long Project (20 Hours or More)
Recommended Skill Level
Beginner

Murphy Bed

Submitted by bjhoove on Sat, 04/14/2012 - 21:58

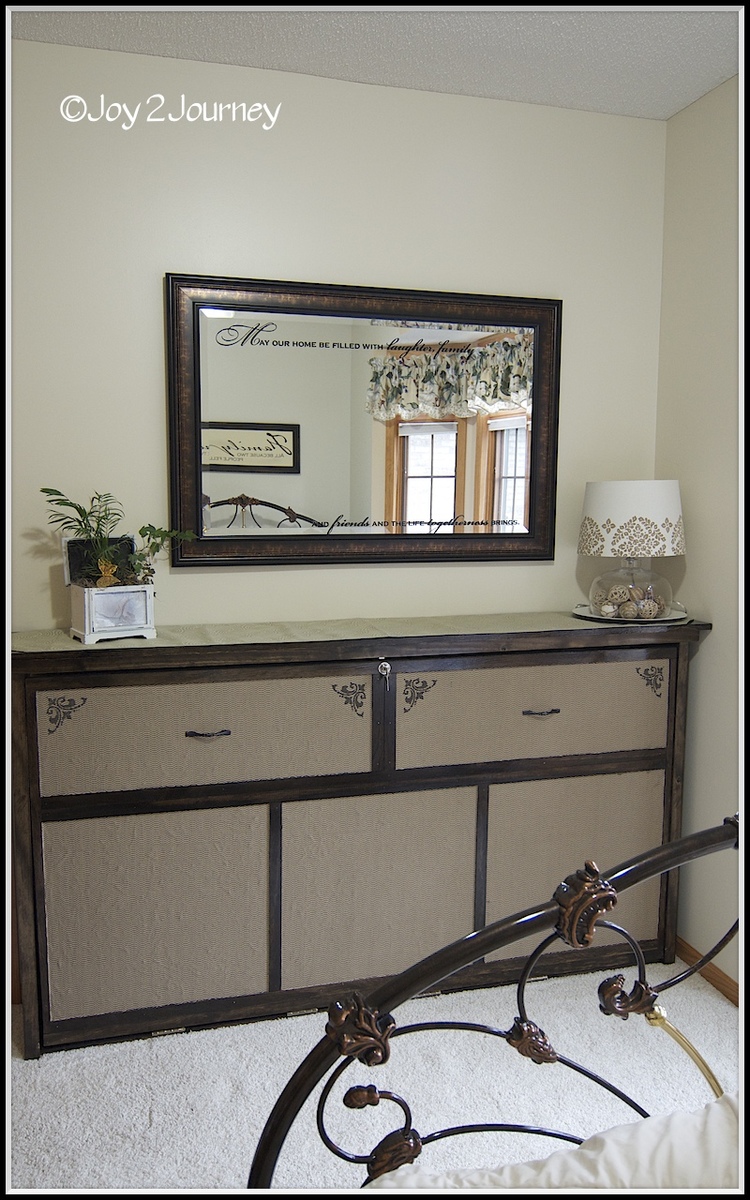
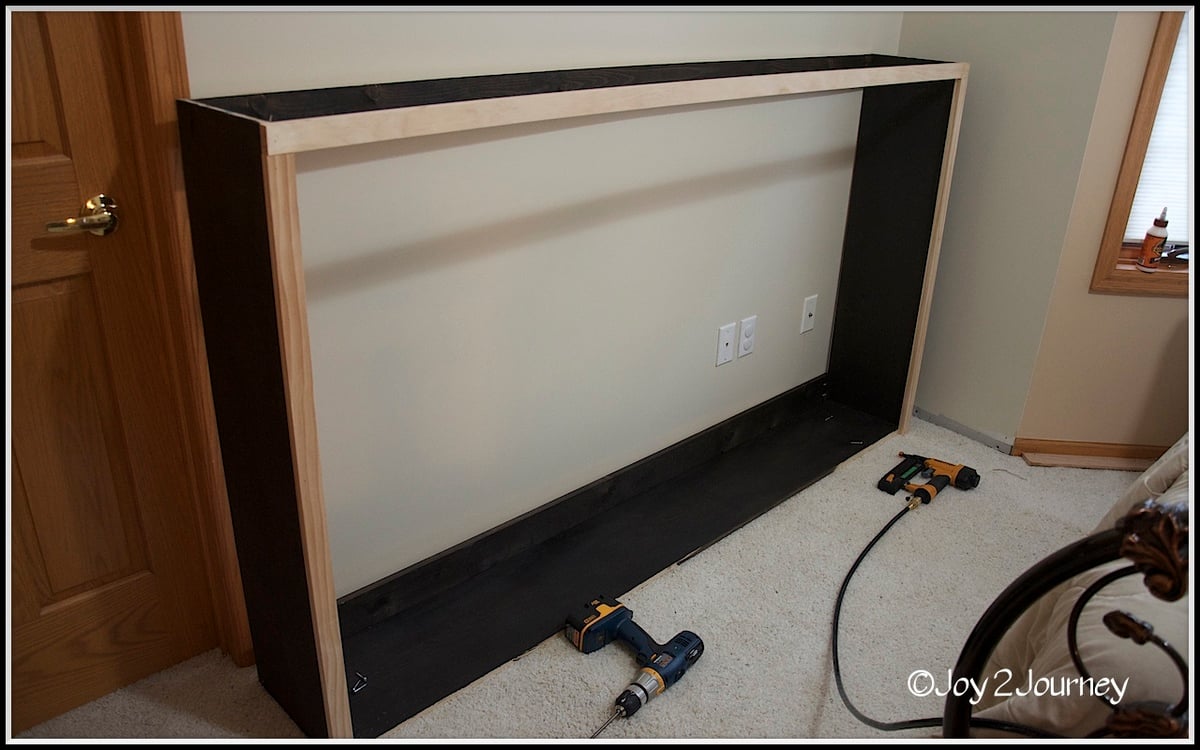
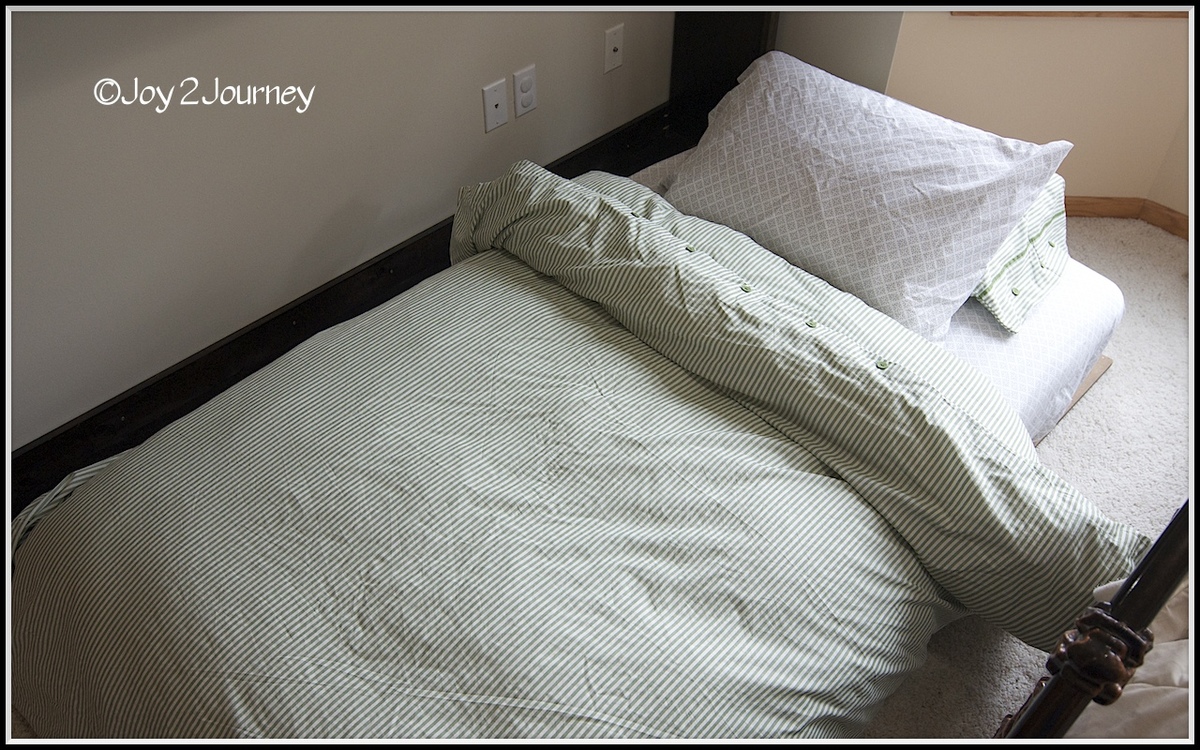
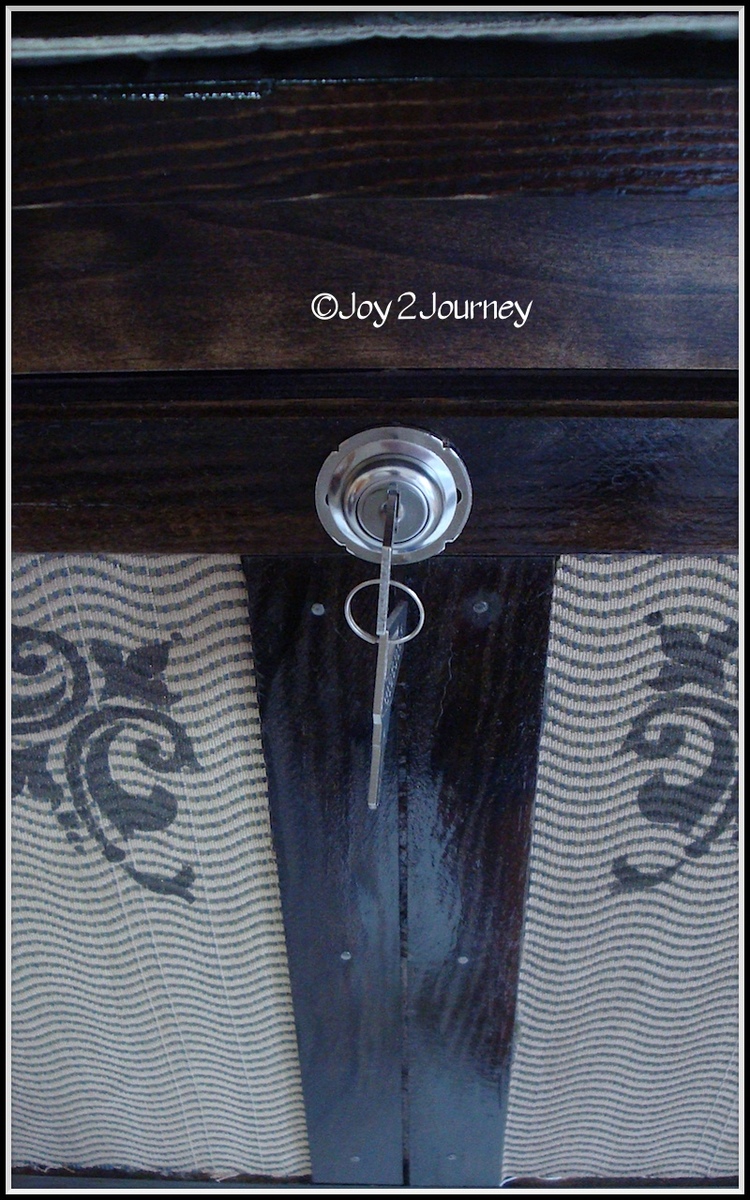
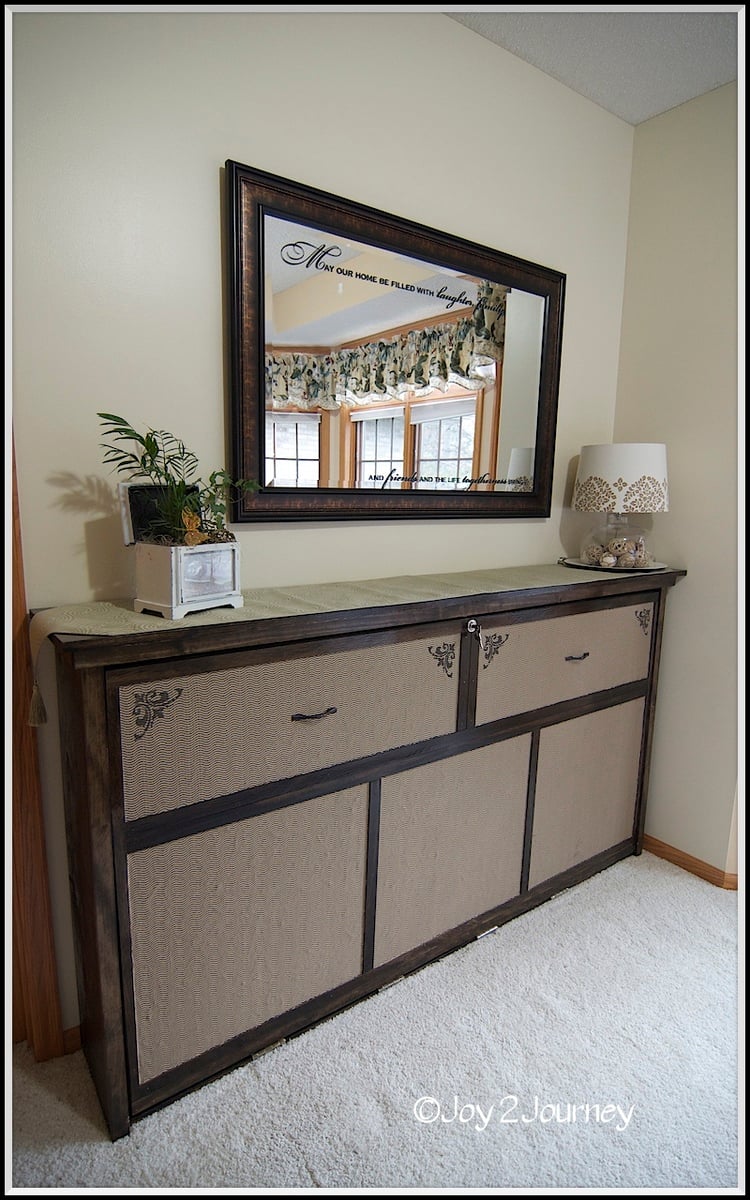
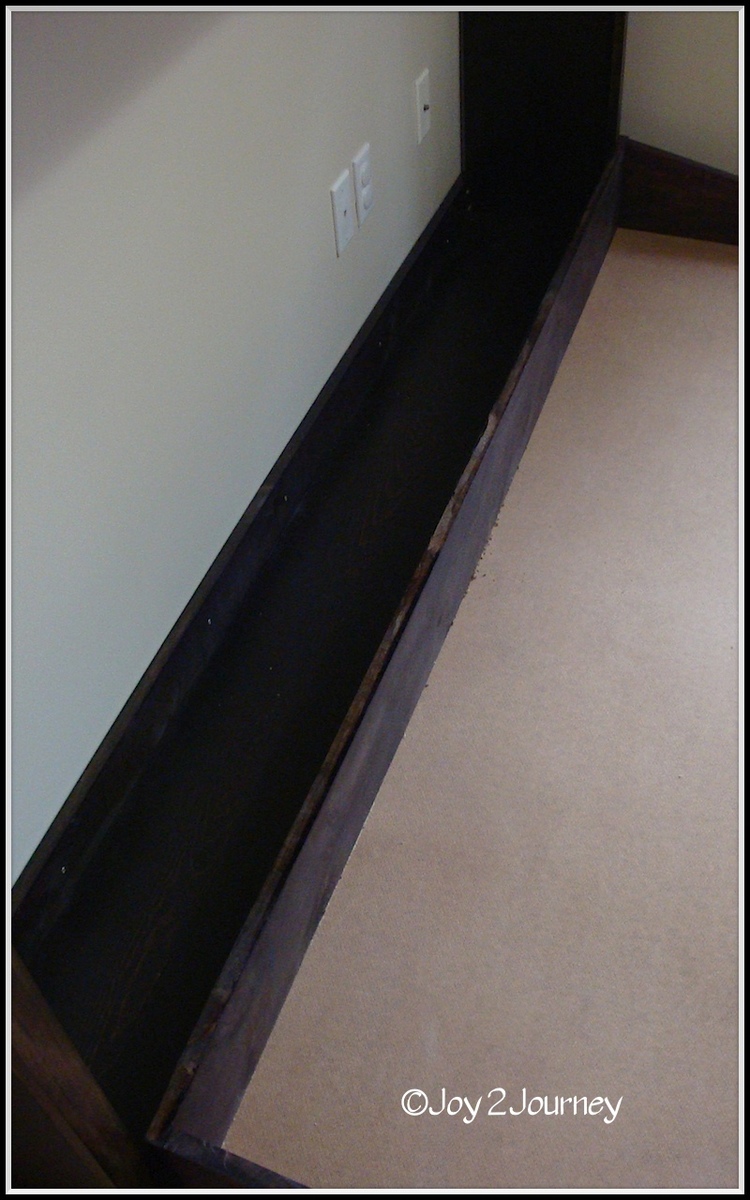
I used the Murphy Bed Plan that Ana had on her website. I modified it so that it would look more like a dresser and would fit into the space that I have. It is perfect and I have used it myself just to see if it was comfy. It was!!! :)

This project took me longer to do as I had a creativity issue that you can read about here .. http://joy2journey.blogspot.com/2012/04/m-is-for-murphy-bed-its-finishe…

Estimated Cost
100.00
Estimated Time Investment
Week Long Project (20 Hours or More)
Finish Used
Jacobean Stain and a clear Poly.
Recommended Skill Level
Beginner

Comments

JoanneS

Sun, 04/15/2012 - 11:37

What an amazing job! Really looks just like a dresser. The lock closure is a great idea for keeping it securely closed. Beautiful finish, and the fabric and stencils are so creative!

redhead_61

Sun, 04/15/2012 - 14:15

Yeah this is pretty much awesome. It looks like a piece that should be there not something that is there to provide additional sleep space. LOVE it.

CharlesJr (not verified)

Fri, 12/14/2012 - 03:36

Things derived in this material will surely have some impact on the process of making of a classical overview. You should bookmark this page and http://allfreepapers.blogspot.com for the future. The question about it is a very important for the contemporary society. They have become proclaimed national standards recently.
MeganBurrell

Wed, 01/08/2014 - 12:28

You did a fabulous job on your murphy bed. Good to know it can be made horizontally too. Thanks for the inspiration! =]

Built In Storage Bench

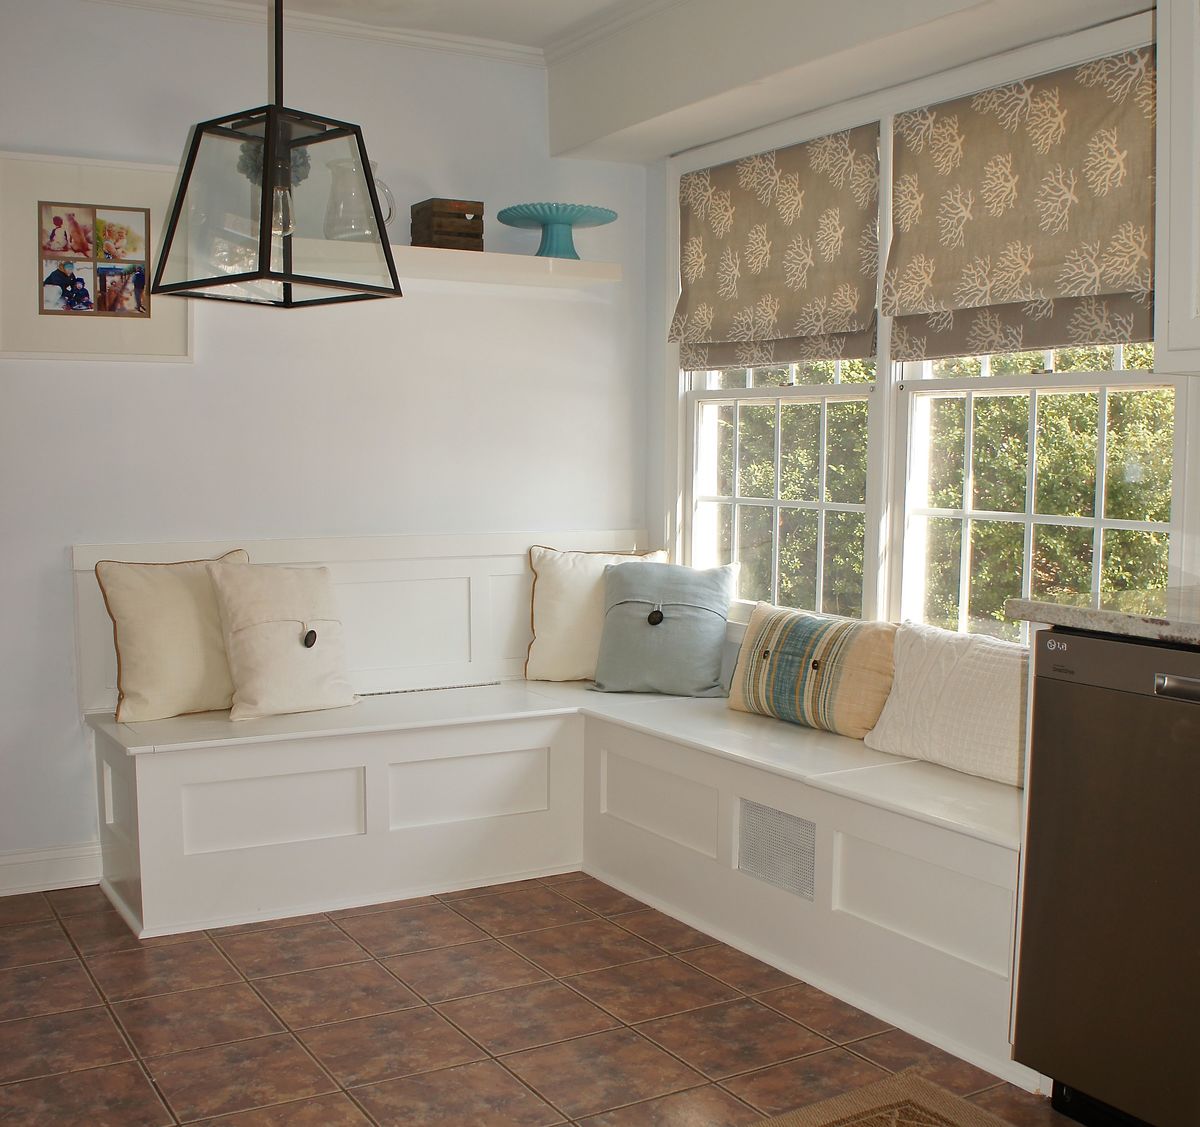
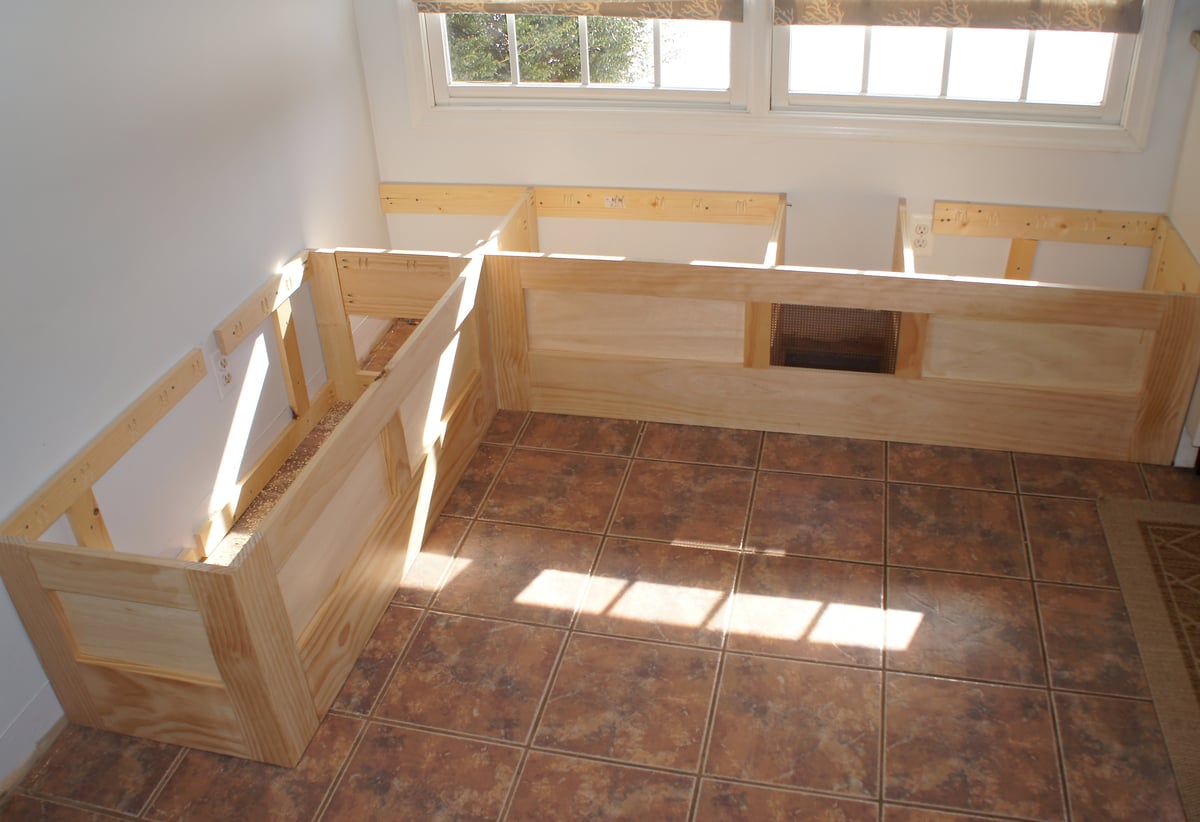
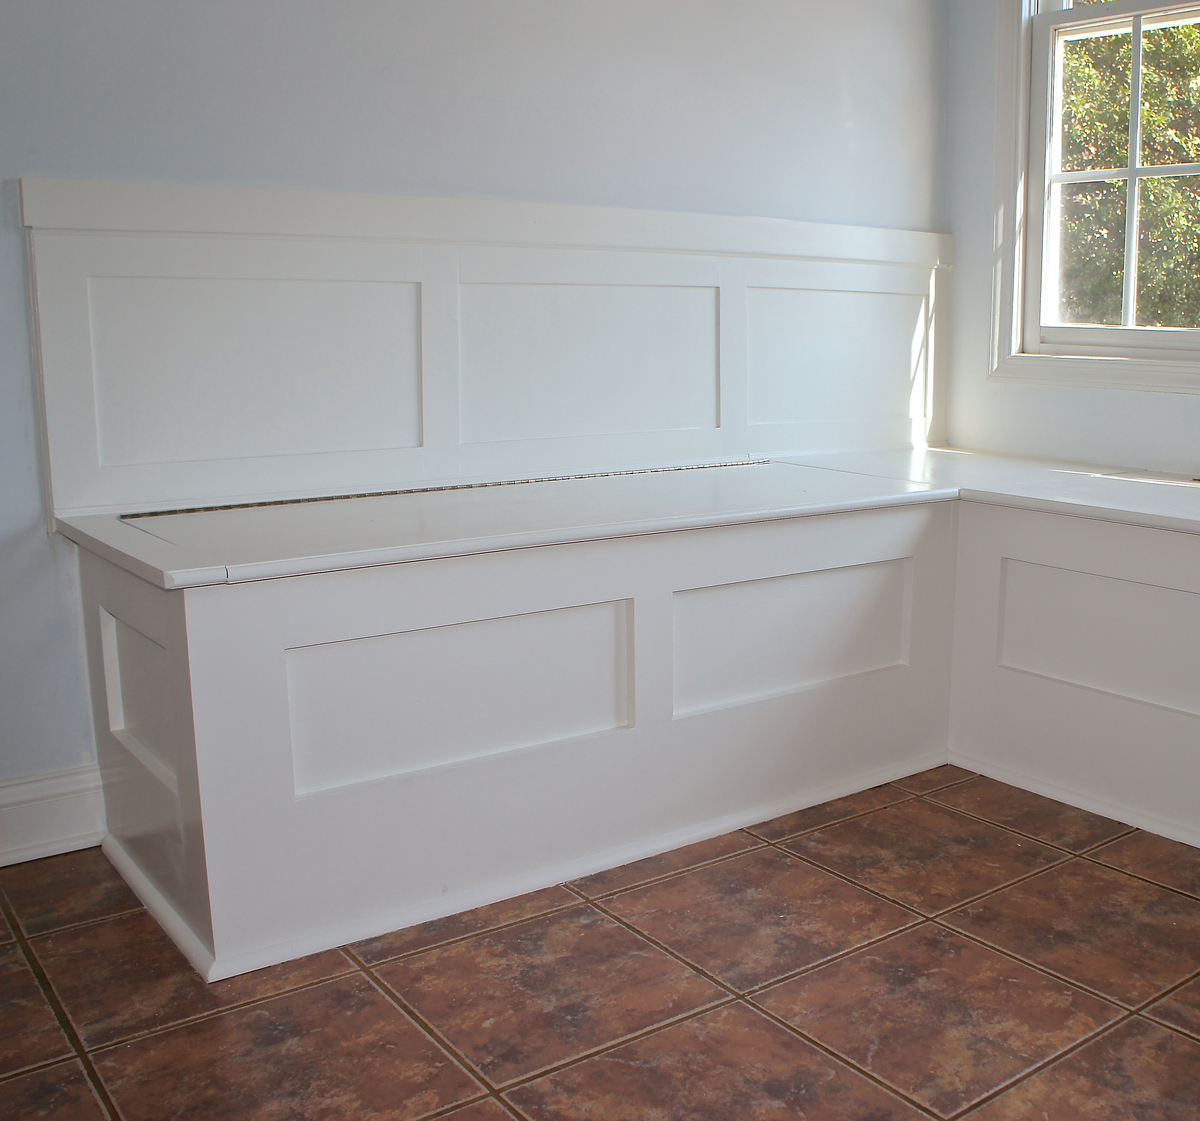
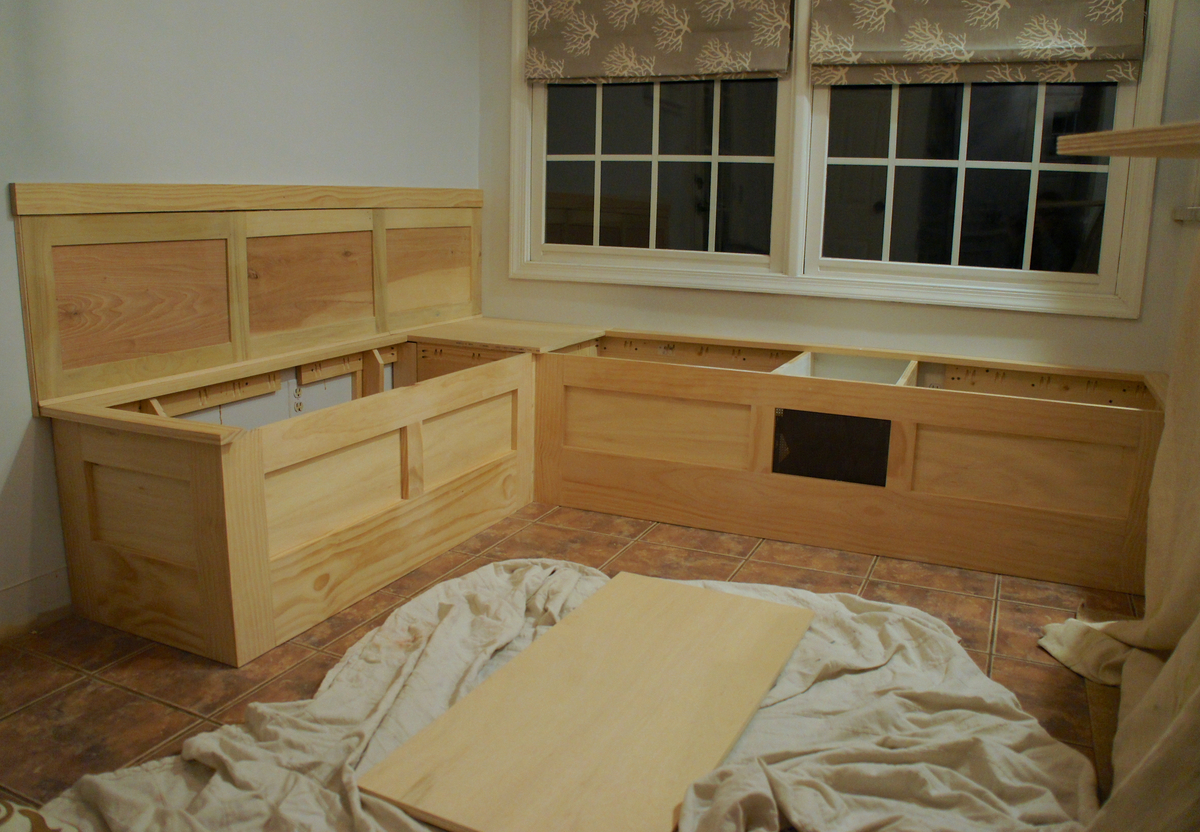
I wanted to make a built in storage bench for the breakfast nook in our eat-in kitchen, but wasn't entirely sure how to go about the process. After seeing Ana's "Mimi's Storage Bench" I thought the plan could be modified to fit our space, so I convinced my husband to give it a shot. We've done a fair amount of carpentry in our house, but this is the first piece of furniture that we have ever built. Thanks to Ana's plans and our new Kreg jig, it turned out better than I ever imagined. We absolutely love the new bench, where my toddler spends every morning eating his breakfast while staring out the window and giggling at the squirrels in our backyard.

Estimated Cost
$300
Estimated Time Investment
Weekend Project (10-20 Hours)
Finish Used
Benjamin Moore's Satin Aura paint in White Dove
Recommended Skill Level
Intermediate

Comments

Cedar Fence Board Planter Box

Submitted by iowachap on Sat, 03/15/2014 - 19:40

Using Ana's 10 dollar raised garden planter box idea, I made my own using the cedar fence boards and then used 2 x 3 x 8 studs for the L corner supports and mid center support along with top rail. This photo is the first 3, I will have a total of 6 boxes. Will post more as I progress.

Estimated Cost
20 to 25 dollars per box
Estimated Time Investment
Afternoon Project (3-6 Hours)
Finish Used
I used 6 fence boards, 2 for each side of the 6' long runs, and 1 for each short 3' section cut in half.

I got the 6' x 5 1/2 " x 5/8 " cedar fence boards at the orange box

I used 2 x 3 x 8 boards for the corners the middle support and the top rail. I got these at the blue box

I used 2 " and 2 1/2" exterior star bit screws.

NOTE: I pre drilled holes in the fence boards and screwed all the boards to the L corner sections from the inside out, so the screws are on the inside of the box, they did not poke through the 2 x 3 boards.

Instead of trying to measure how far off the side of the board I needed to go to match the vertical 2 x 3 boards, I just cut 10 11 inch long 2 x3 sections, and then used the 2 1/2" screws and made 4 L corner pieces the shorter side I screwed the short 3 foot length fence boards too, once I had both my short sections screwed to the L corner sections, I then stood one up and screwed 2 of the 6' length boards to the L corner section. Then the other side.

Once all 4 walls were done, I would then measure 3' in the middle of the 6' long side runs, and put in an additional 2 x 3 x 11" again screwed from the inside of the box out.

Now that all the 2 x 3 x 11" L corners and side support sections were connected to the fence boards I then cut 76 1/4" 2 x3 boards one for each length run, and then 2 26" 2 x 3 sections that were all cut on 45 degree angle to complete the top rail.
Recommended Skill Level
Starter Project

Playhouse

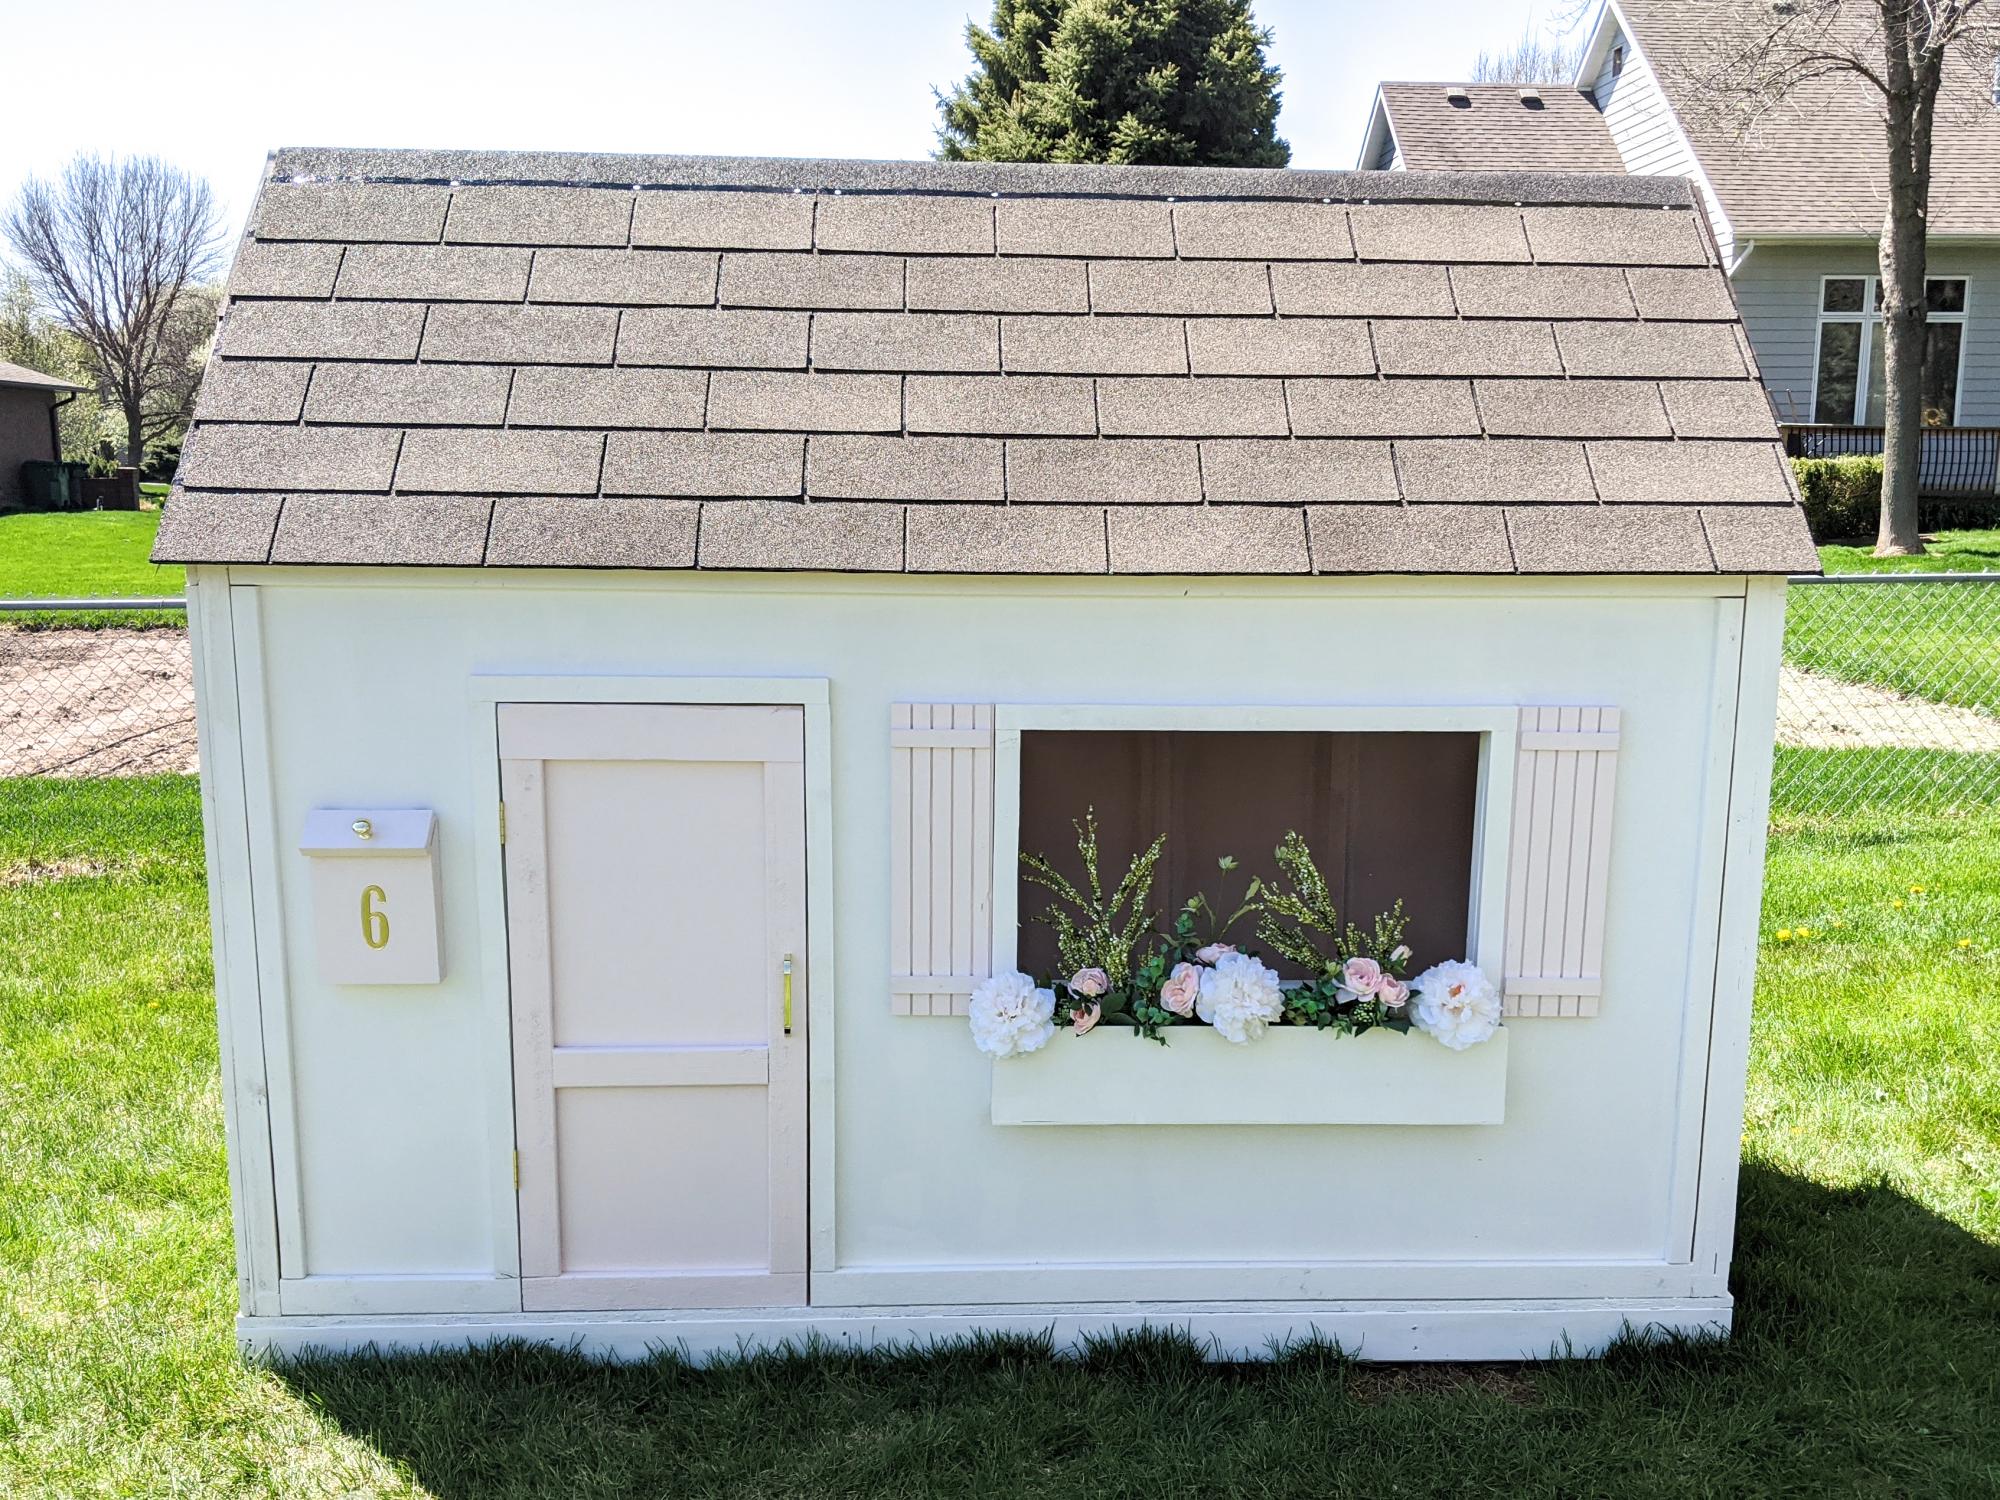
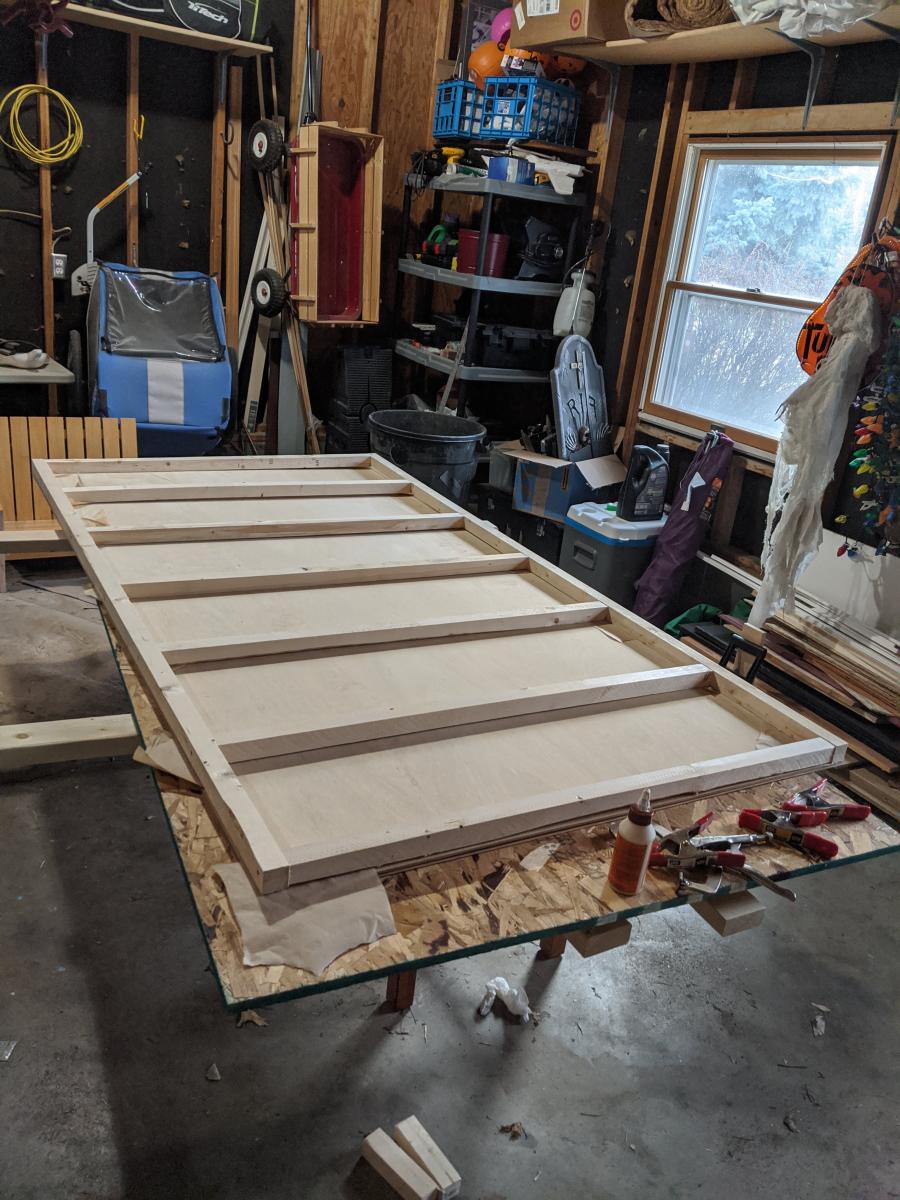
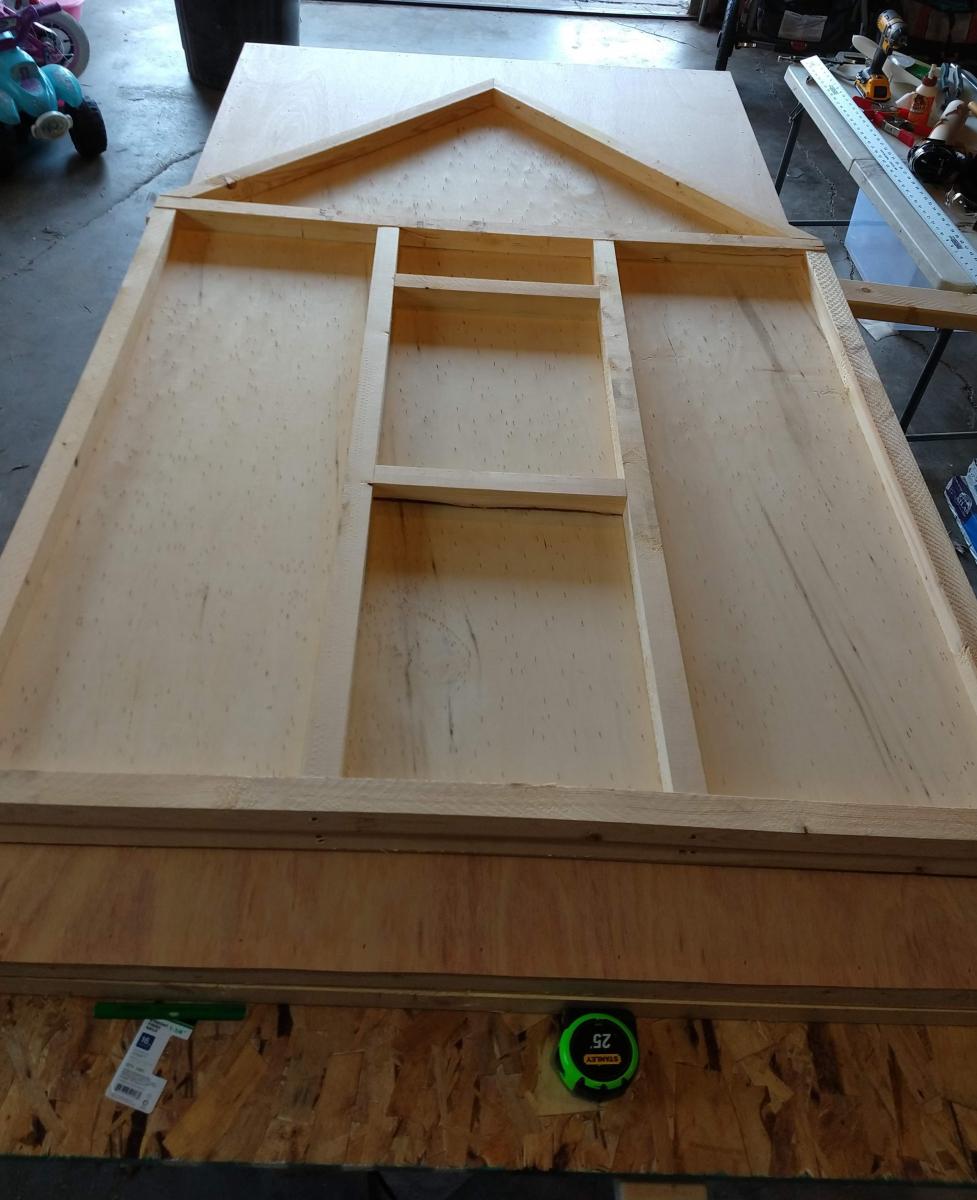
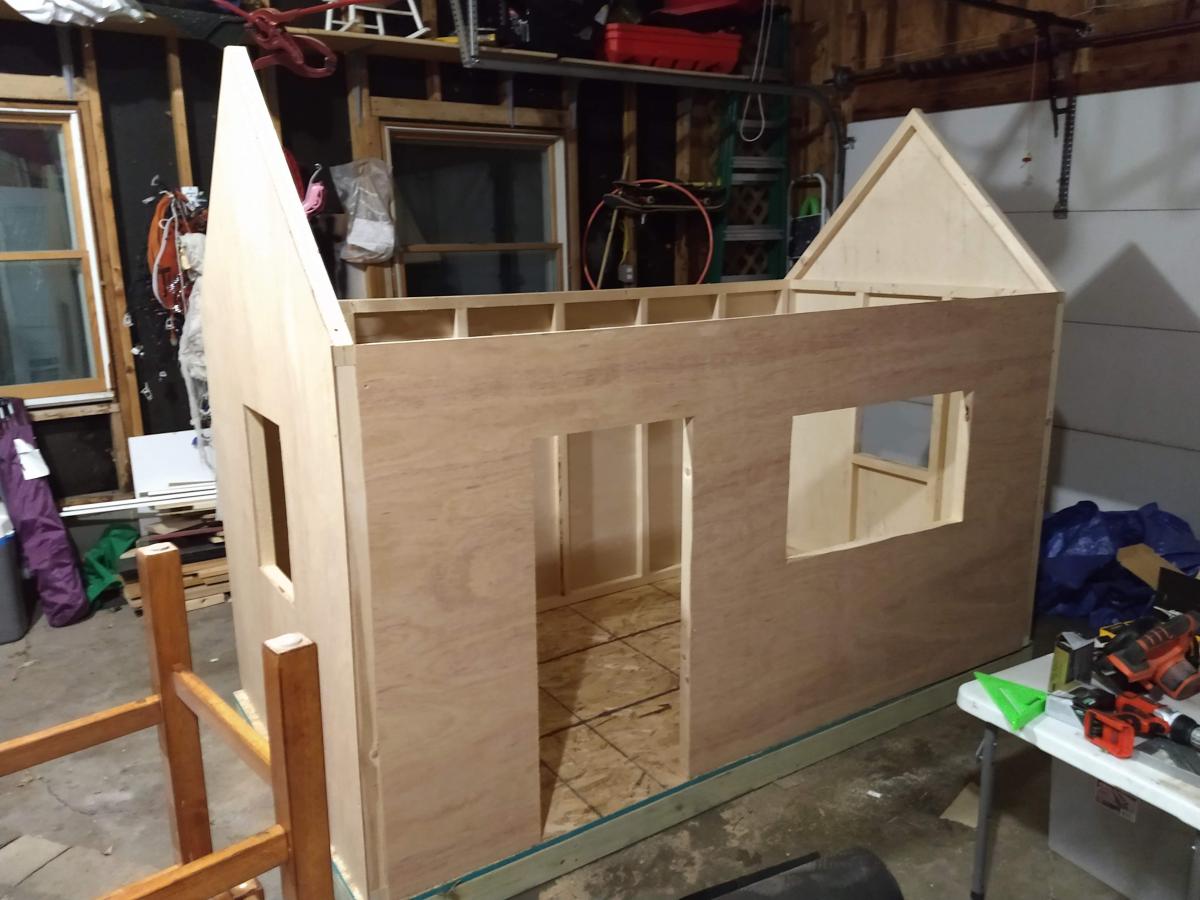
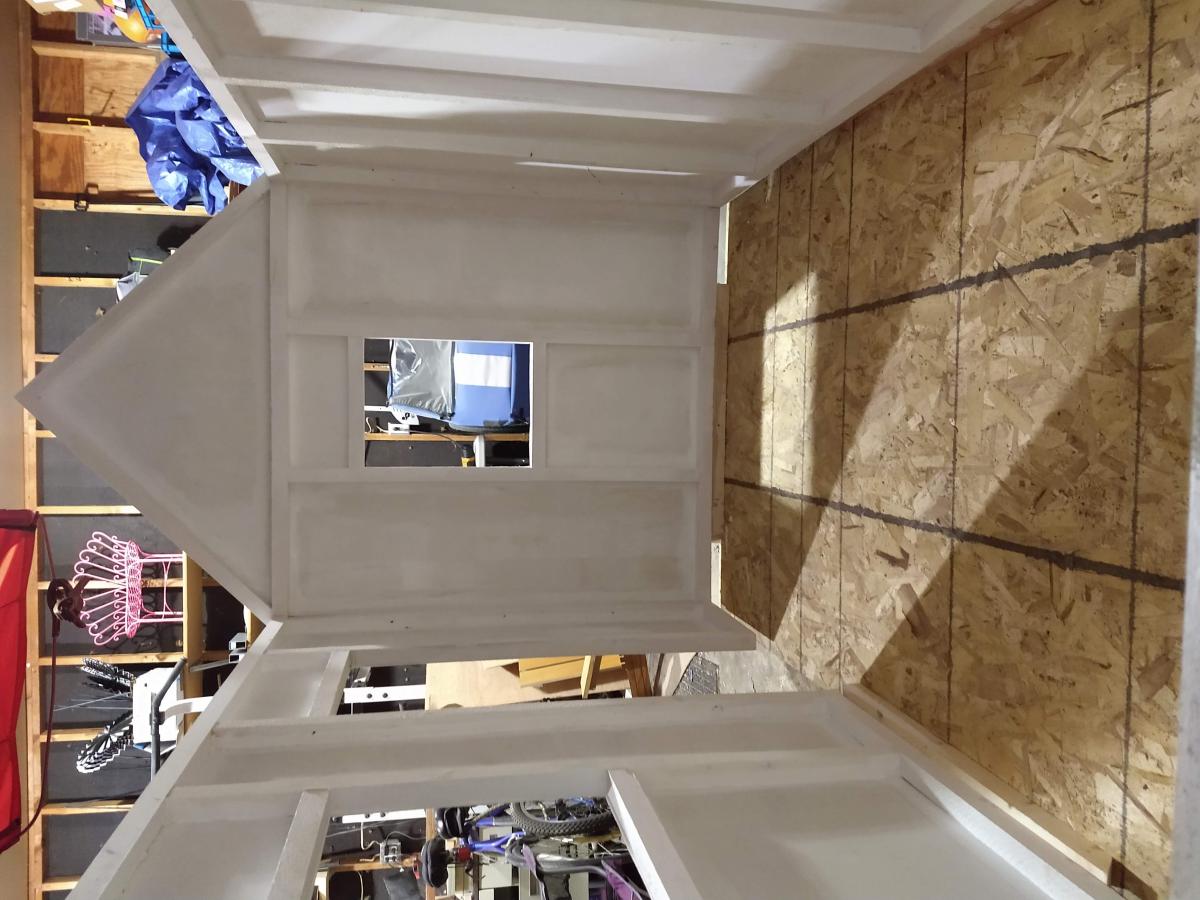
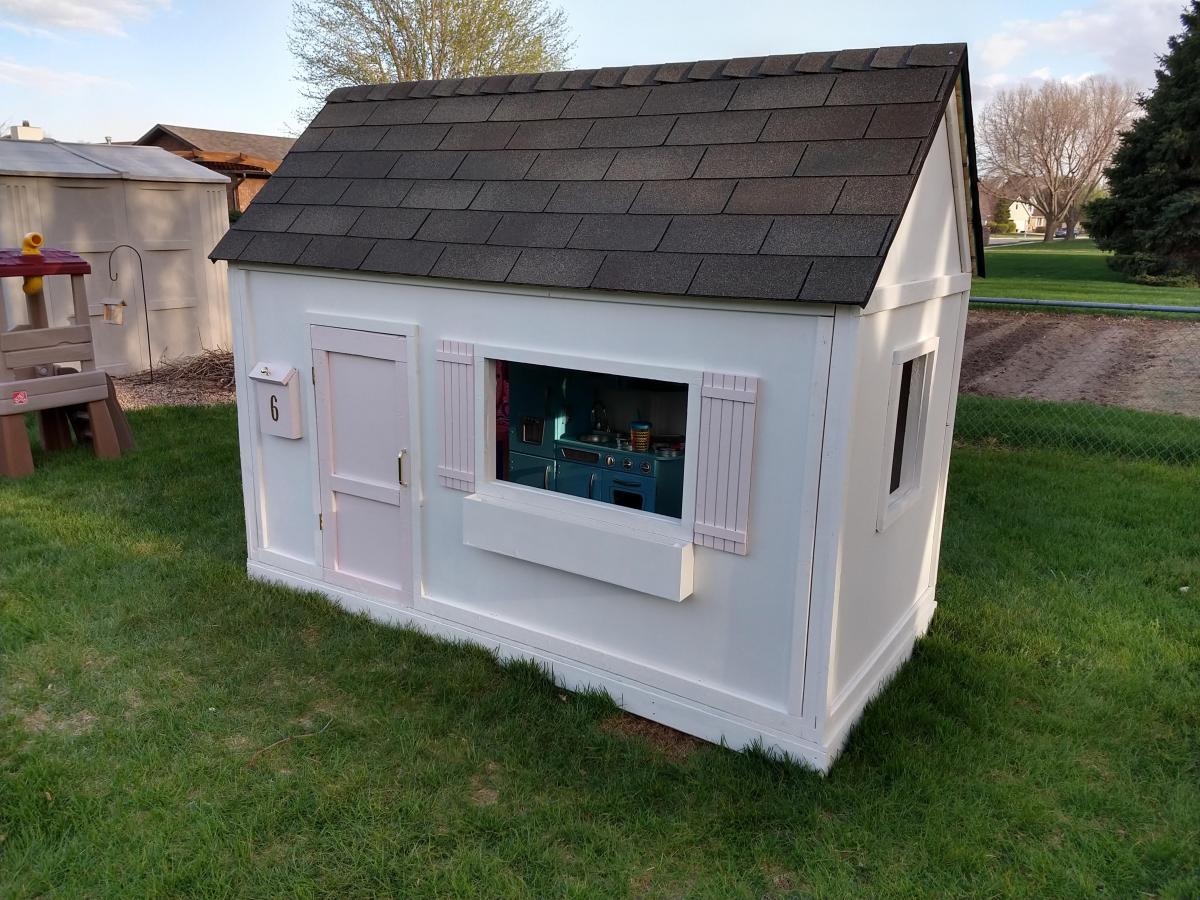
We built this playhouse for our daughter's 6th birthday. She absolutely loves it! We were looking at purchasing one, but they were way out of our budget. Ana saved the day with these plans :).

Estimated Cost
$320.00
Estimated Time Investment
Weekend Project (10-20 Hours)
Finish Used
We painted the house with white Pittsburg Ultra Exterior Latex paint. The mailbox, door and shutters were all painted with Pink Viburnum Sherwin Williams Satin Exterior paint.
Recommended Skill Level
Intermediate
Seasonal And Holiday

Modern Geo Twin Platform Bed and Headboard

Submitted by Anonymous (not verified) on Sat, 05/16/2020 - 17:44

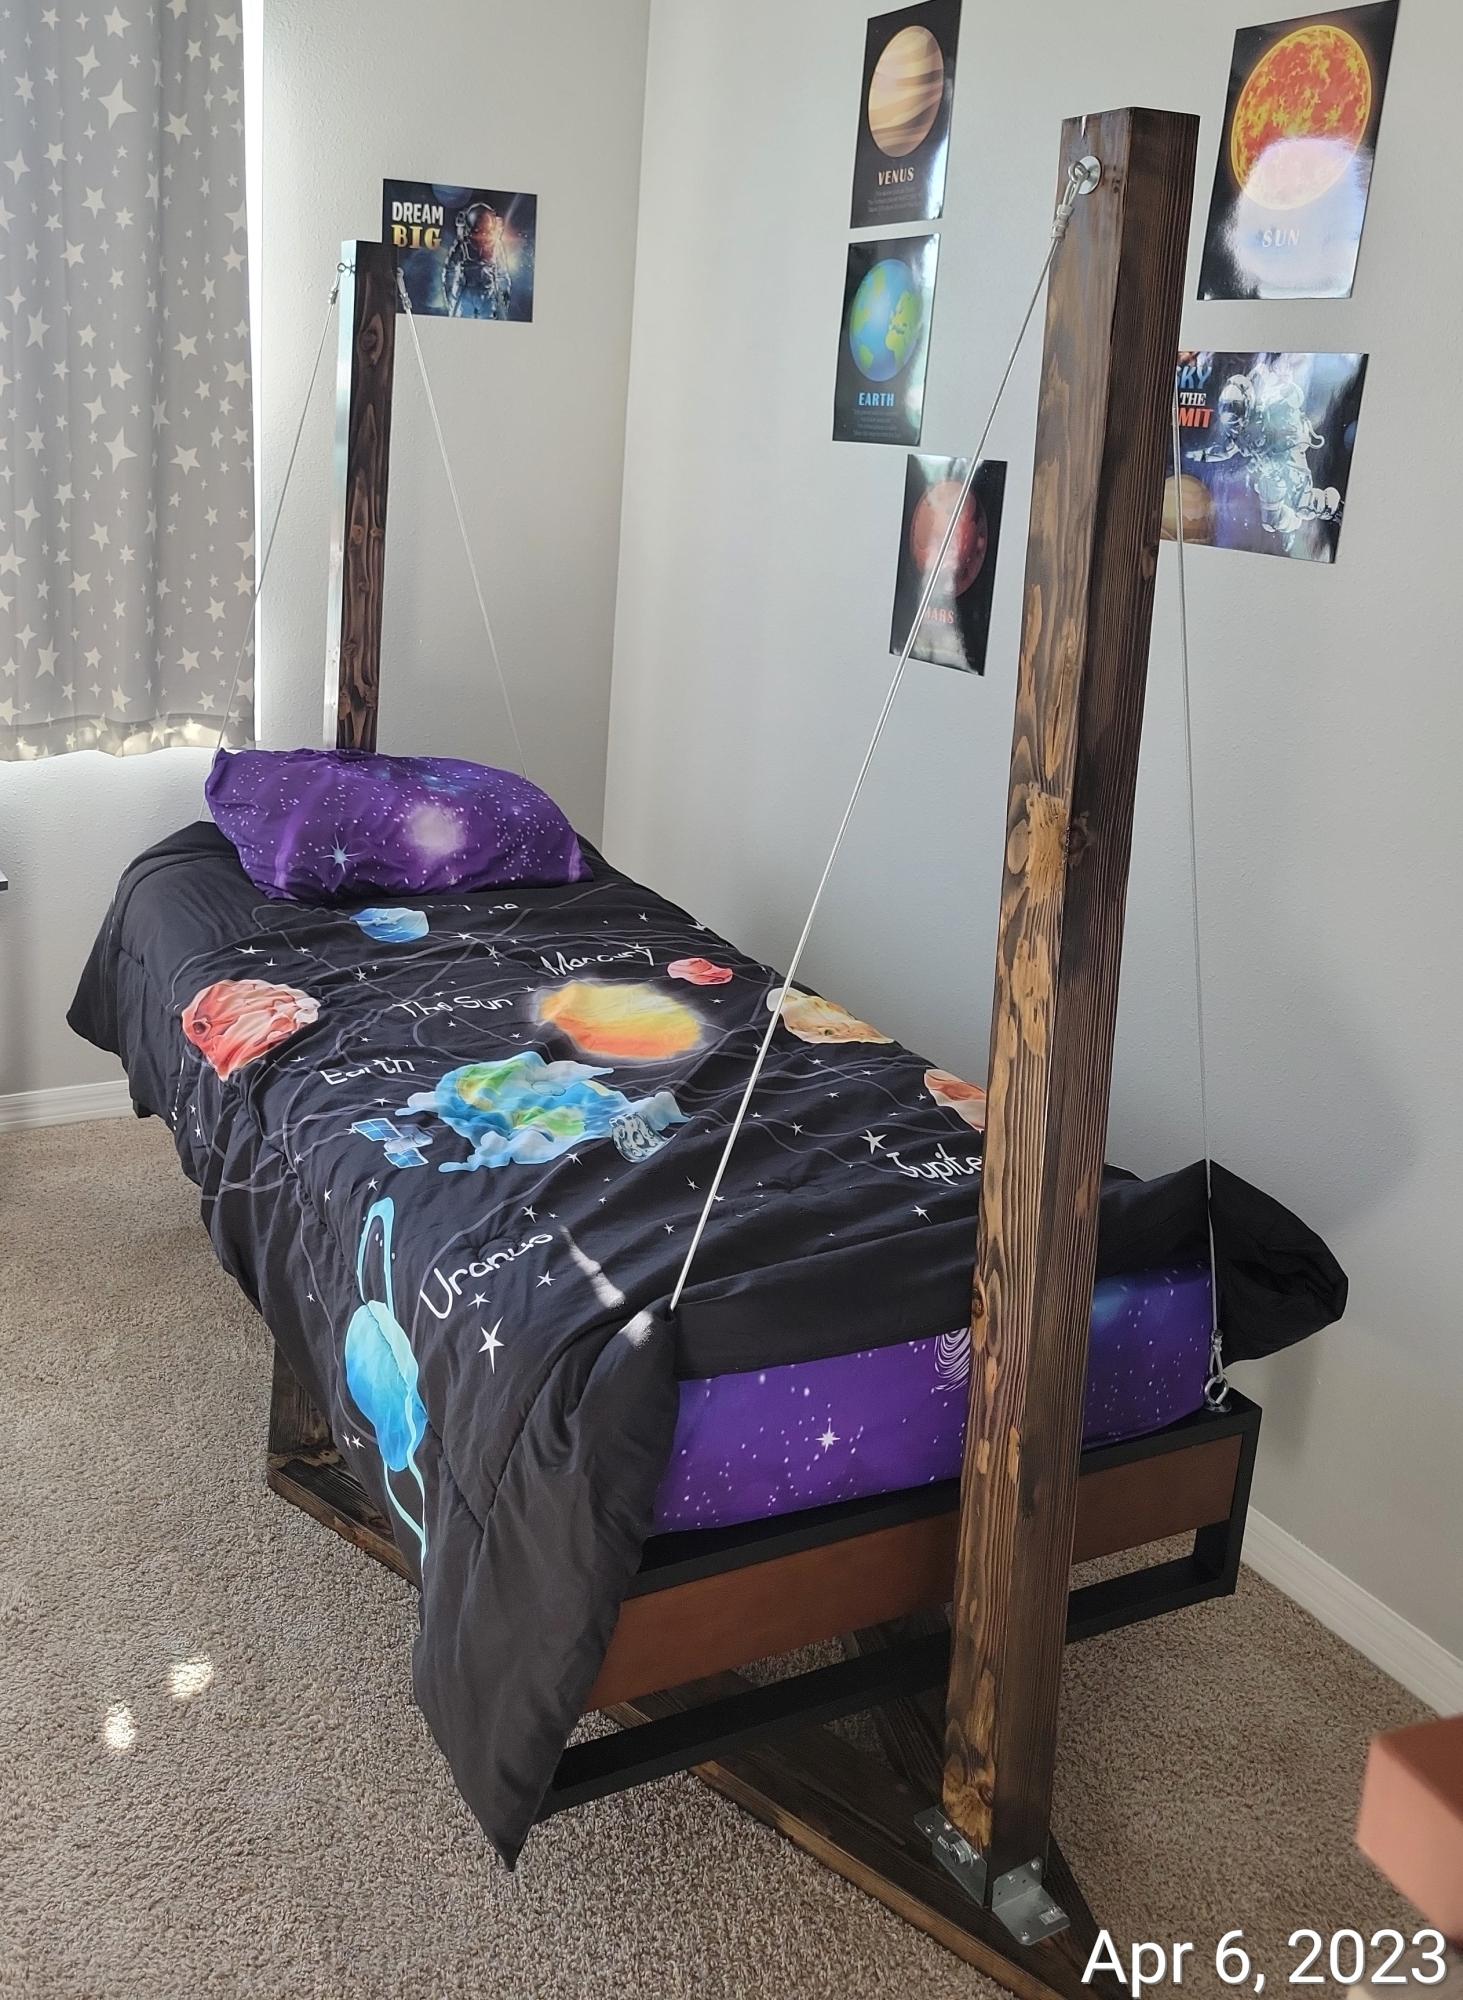
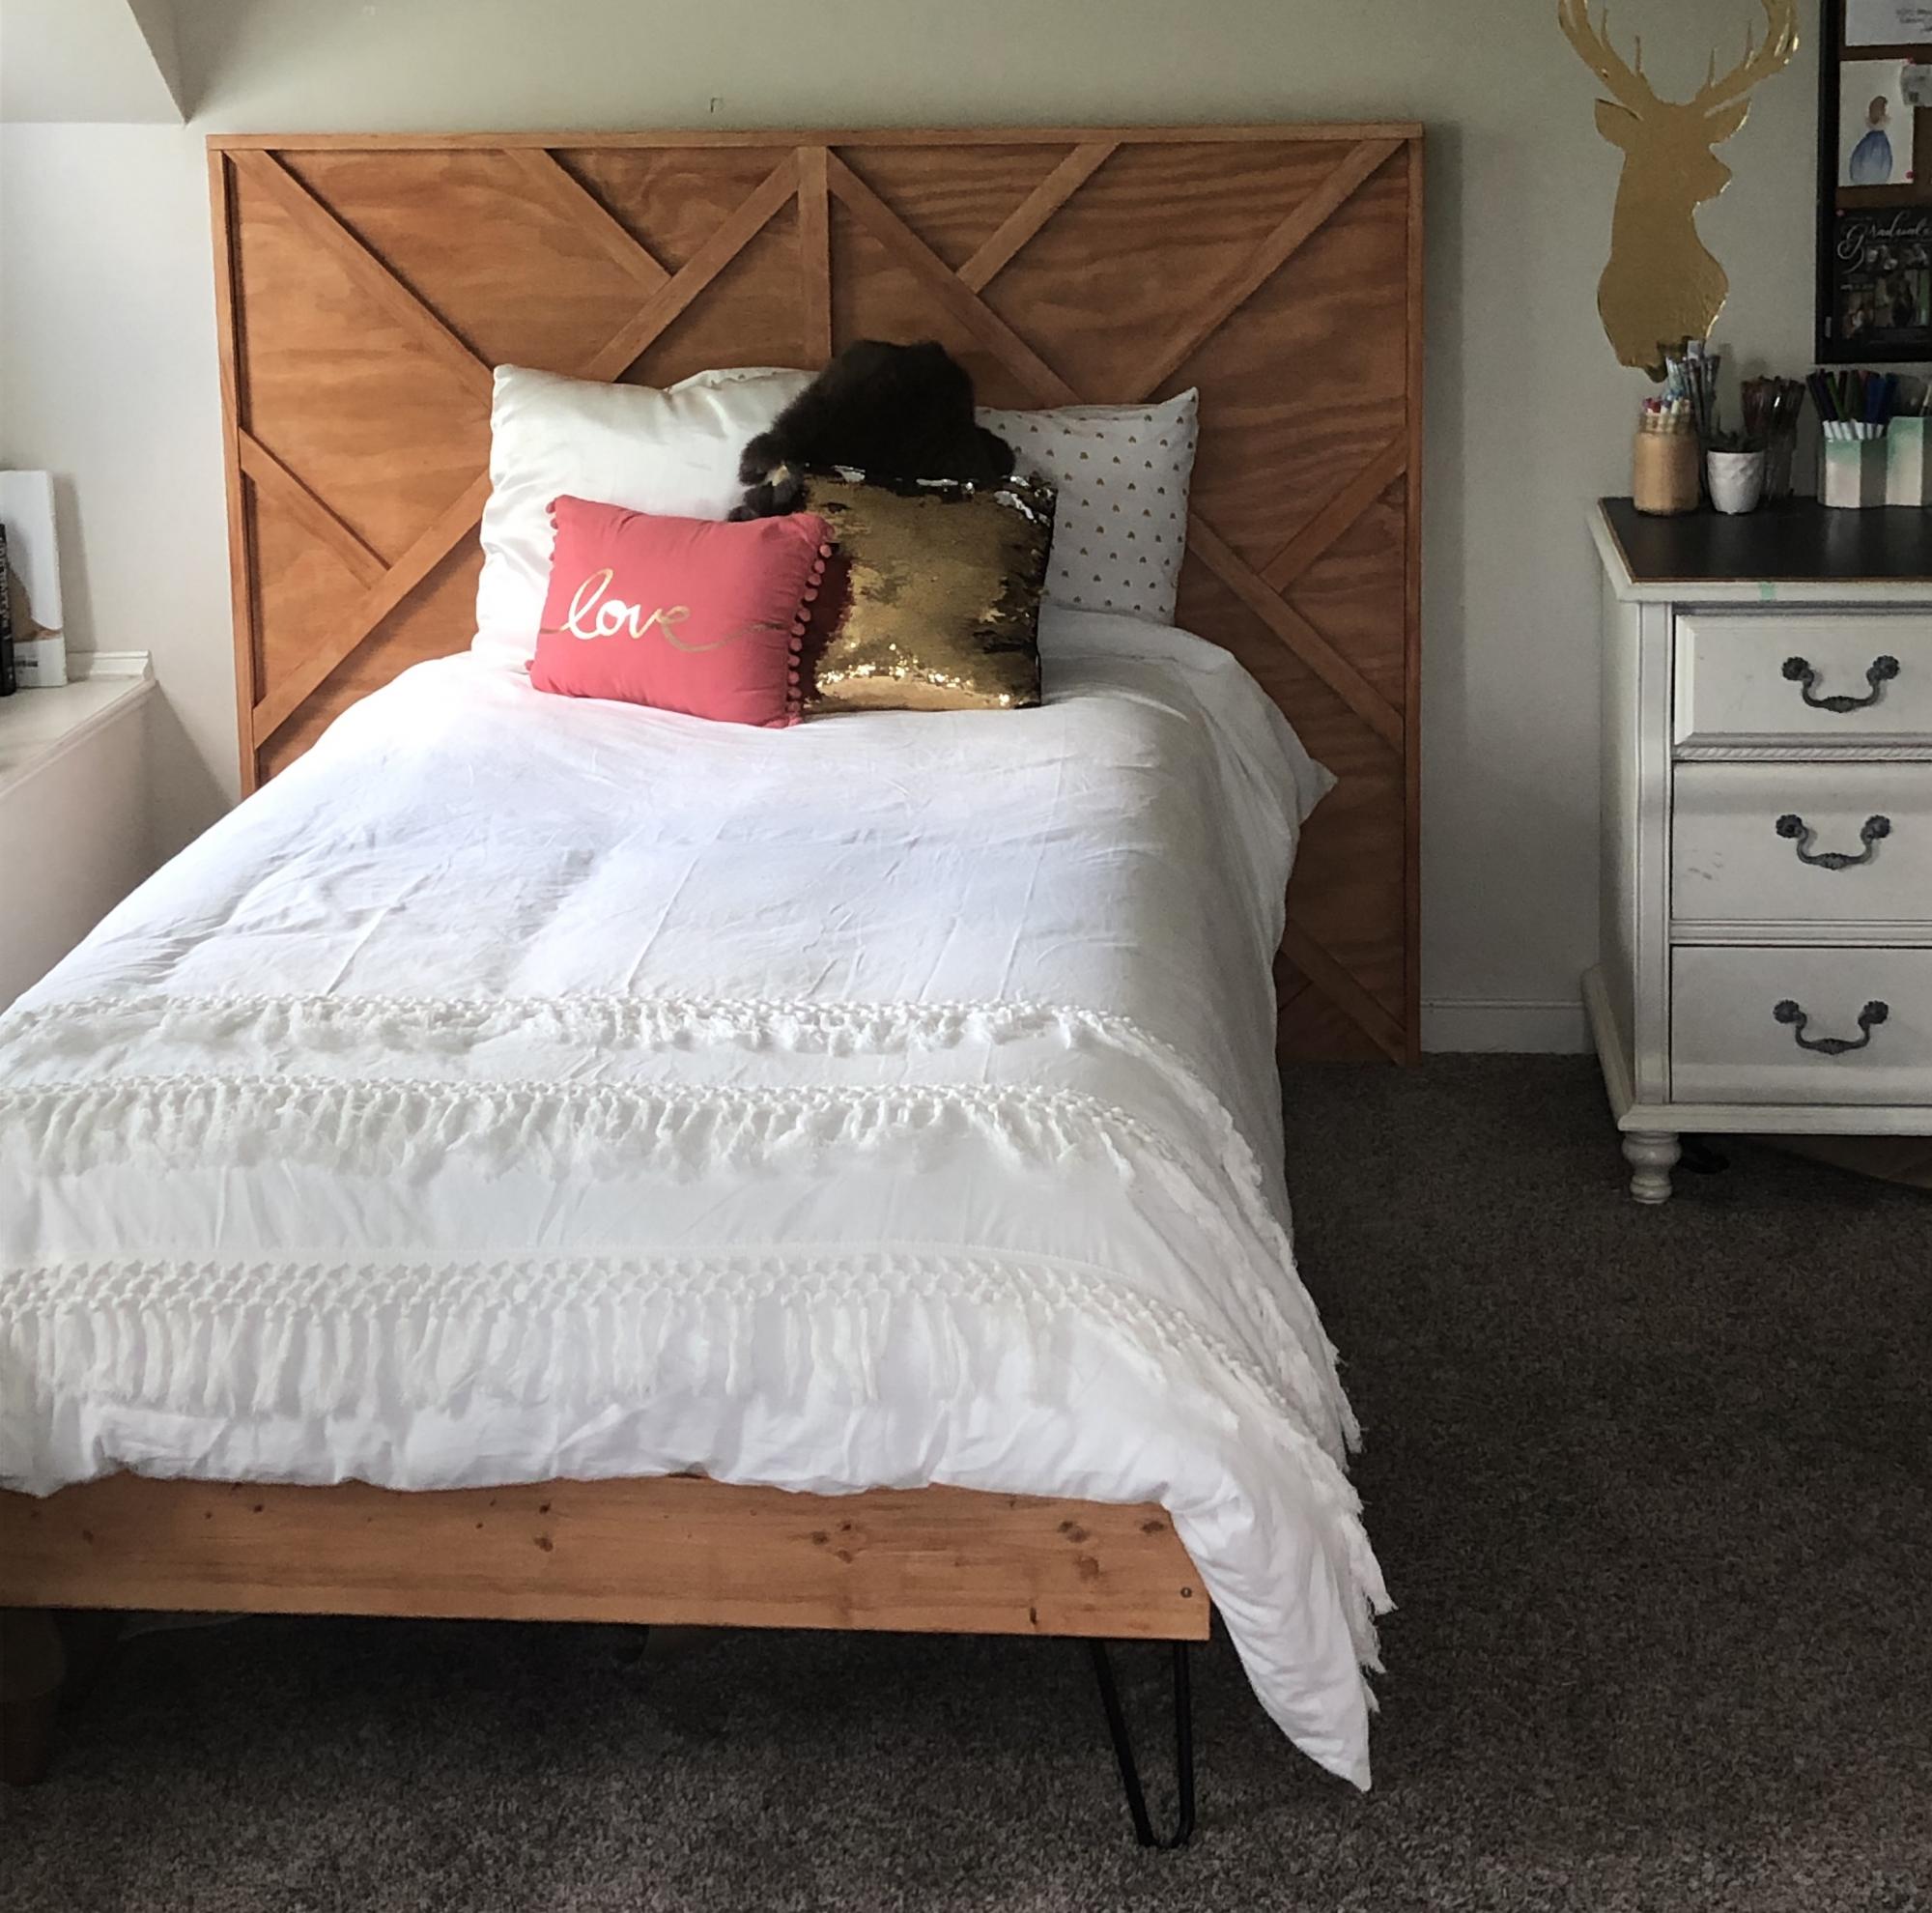
This was a fun build. I let my daughter design the slats on the headboard, and as long as all slats are either 90 or 45 degrees, the cuts and application are simple. Thanks, Ana!

Estimated Cost
$100
Estimated Time Investment
Day Project (6-9 Hours)
Finish Used
Miniwax Pecan
Recommended Skill Level
Beginner

Comments

Modified Firepit Bench

Submitted by Anonymous (not verified) on Sun, 06/14/2020 - 09:12

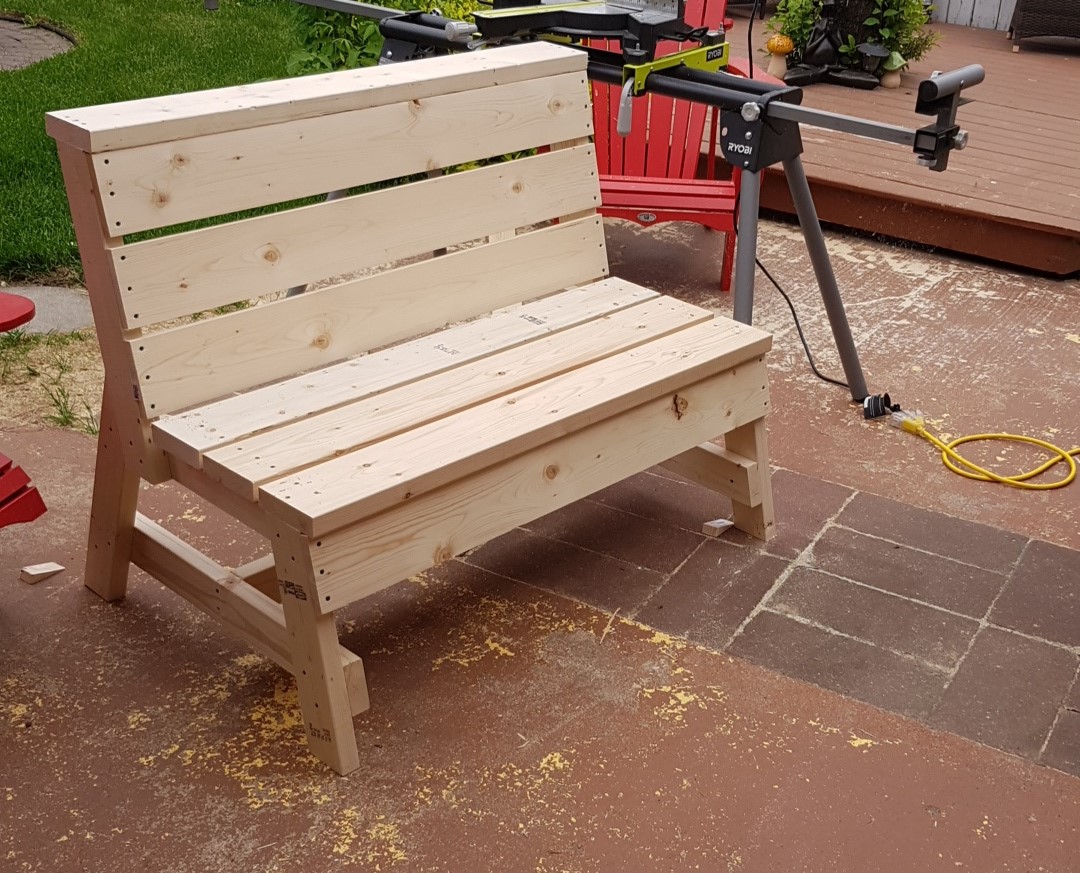
I built the one bench using the original plan with the storage and table top unit but needed two additional seating benches to go around the firepit without the bulk of the backside of the bench.

I modified the original plan as follows:

Shopping List:
(2) 2X6X8
(3) 2X4X8
(2) 1X6X8

Cutting List:
(2) 2X4X17" front legs, 15 degree cuts, parallel long to short
(2) 2X4X23" back support, 15 degree cuts, parallel long to short
(2) 2X4X20.75" back legs, 15 and 60 degree cuts, not parallel long to long
(2) 2X4X23" Back support, 15 degree cuts, parallel long to short
(2) 2X4X24.75" under seat, 15 degree cuts, not parallel long to long
(2) 2X4X30" bottom support, 15 degree cuts, not parallel long to long
(1) 2X4X42" bottom cross brace between leg sets, 90 degree cuts
(2) 2X6 cut equally in half, 3 for the seat and 1 for the top plate
(2) 1X6 cut equally in half, 3 for the back rest and 1 to be tucked under the seat overhang

Estimated Cost
$40.00
Estimated Time Investment
An Hour or Two (0-2 Hours)
Recommended Skill Level
Beginner

Comments

kkushner

Sat, 08/15/2020 - 22:52

I am the individual who submitted this modification on June 14, 2020. I was making a change to the submission but somehow sent it before correcting the cut list. The "(2) 2X4X23" back support, 15 degree cuts, parallel long to short" is repeated twice and should be only once.