Outdoor patio furniture
Thanks Ana, for the great plans and inspiration!
This project cost us about $850CAN and took us around a week (5ish hours a day) to complete. My husband and I are definitely not carpenters so it's not perfect but it's pretty amazing :)
we made several alterations to the plans including making the bottom bunk larger to accommodate a double/full size mattress. We also made the "door" to the bottom bed larger with an opening of 30". Another alteration was we dropped the mattress cleats to 9" off the ground so that the mattress dat down in the bed. The bed is for our 2 year old so we thought she would have trouble getting in if it was much higher. This eliminated the storage area underneath but she has a large closets so we didn't think it would be an issue.
The plans were great and pretty easy to follow. We are over the moon with how it all turned out!
Saw some of the other brags which includes a raised backrest so I incorporated that into my build. There's a 30 degree angle on the backrest (two 2X4's and one 2X6)
Capped railing and head/foot board for a different look. Did not like the look of the carriage bolts so sunk those in and used buttons to cover. Modified slope and added hooks to ladder so we could remove to vacuum etc. Would of added one more step if I were to do it again. My guys are little so added railings to back side top and bottom and extended railings.
Ana,
I needed to replace some old dark adirondack chairs to match a pine table. I was about to order them but with Coivid there was going to be a long delay, so I decided to build them.
Your plans were perfect, easy to follow, I built (4), production got easier with each one and learned some new skills.
Gratefully,
DS Humarock, MA
I had been wanting to build something to hide the litterbox for a long time. When I saw the Printer's Console plan, I knew this was the perfect plan for a cat litter box furniture. I loved that Jen Woodhouse's version was completely modified to her bar plan, so I thought I could modify for my litterbox idea. I modified the plans on size, as I was trying to use a bunch of mis-matched plywood. I also modified it to include a cat door, a cat passageway on interior panel, a vent on the back behind one of the drawers, and the stone top. I built a frame on the back to house the backing as an inset piece, as I didn't want it to be seen at all. I learned a very important lesson during this build. Not all 1x3s are created equal. Once I got my doors assembled, they were too big for the opening. I couldn't shave off the tiny amount needed, and couldn't make anything work short of starting over with 1x4s, sawing off a small amount, and cutting down the # of "drawers" (and handles). I wanted the inside to be fully finished (because cat pee on raw wood would not be good!). I had to finish certain "planes" prior to putting the thing together. I used kitchen and bath paint on the inside floor and sides for easy cleanup. The stone was carryover from construction on our house 12 years ago. The handles were an amazing deal @ $1.81/each .
Sun, 11/25/2012 - 09:51
That is a fantastic idea and the table top is beautiful.
Mon, 11/26/2012 - 09:38
That is the most beautiful litter box I have ever seen!
Mon, 06/17/2013 - 12:23
Love your use of the buffet. Our family has discussed making a piece of furniture like this for our smaller dog. Nice to see someone has done it! Our big dog has scheduled feedings but our little dog would prefer to be a free feeder. Poor thing chokes down his food in our pantry listening to our big dog breathing under the door waiting for him to finish. When he is done we open the door and the Big, greedy dog bolts in looking for left overs. A family member has to wait patiently for the little dog to finish so he can escape the pantry. I really don't want a doggy door in my pretty swinging bi-fold doors to my pantry which is also access to our kitchen.That would be a pain to have to keep closed all day. But this buffet idea is super cute! Thanks for the inspiration.
Fri, 01/09/2015 - 22:01
I know this is an old post, but I'll ask anyway
I love this piece and am in the planning stages for ours. Thank you for sharing!
I am Wondering how you went about the table top. Did you install a 3/4 ply on top but not flush, allowing room for mortar and tile? If so how much room did you allow for the tile/mortar? 1/2 inch? How did you keep the surface of the tile level and uniform? Lastly, did you seal the tile with anything when you finished?
Aesthetically, the tile top really sets this piece off and I really want to make my own.
Thanks
I needed a workbench and Ana's easy plans were perfect for what I needed. I have a small one-car garage that I do my projects out of. The garage also provides storage for bikes, kayaks, gardening tools, etc. I customized the dimensions a little, making the bench only 30" deep to better fit the space available, and to add wheels to be able to roll the bench out into the driveway if needed. The lower shelf provides some good storage for me as well.
Made it a bit wider, added a shelf and wheels.
Thank you for your plans. Love this! I made a few errors and would make a few changes if I were to do it again... I would make the dowels higher from the shelves (I think I made a mistake). I would also try to place the dowels closer to the front of the unit to give deeper shelf space - bigger space containers would benefit from deeper storage. But it's a great improvement over the commercial options. Combined with motion sensor LED lights, the pantry is much improved! Thanks again!
Added a backing of thin plywood to prevent the cans marking up the walls. I knew how many types of canned goods I wanted this to fit and adjusted the width to meet our needs. Love how this is going to save space in the pantry and with just a glance I can see what we have on hand.
Thanks Ana for another great plan!
This is my first time using some of the power tools that this required, however, it came out SO CUTE! I put one together and someone bought it raw. I put one together as the video showed, and then did one out of old fence pickets that were cleaned up and planed by a neighbor. They both came out beautiful. We used knobs that we had in the shop and offset them a little to be whimsical.
Vasiliki
Thanks to Ana for the custom corner cupboard hutch plans! This project turned out great using Red Oak boards and an ebony stain. My customer loved it!!
Absolutely love the finish on this table.
I made the miter saw cart today. It took me about 2.5 hrs, but I was going slow and taking lots of breaks.
Fri, 04/05/2013 - 10:46
Looks great! I really, really need to build one these. Are you happy with the way it works?
Here is the latest Table I have made. I cant get enough of this table design, the rustic bold feel blending with curved lines is awesome.
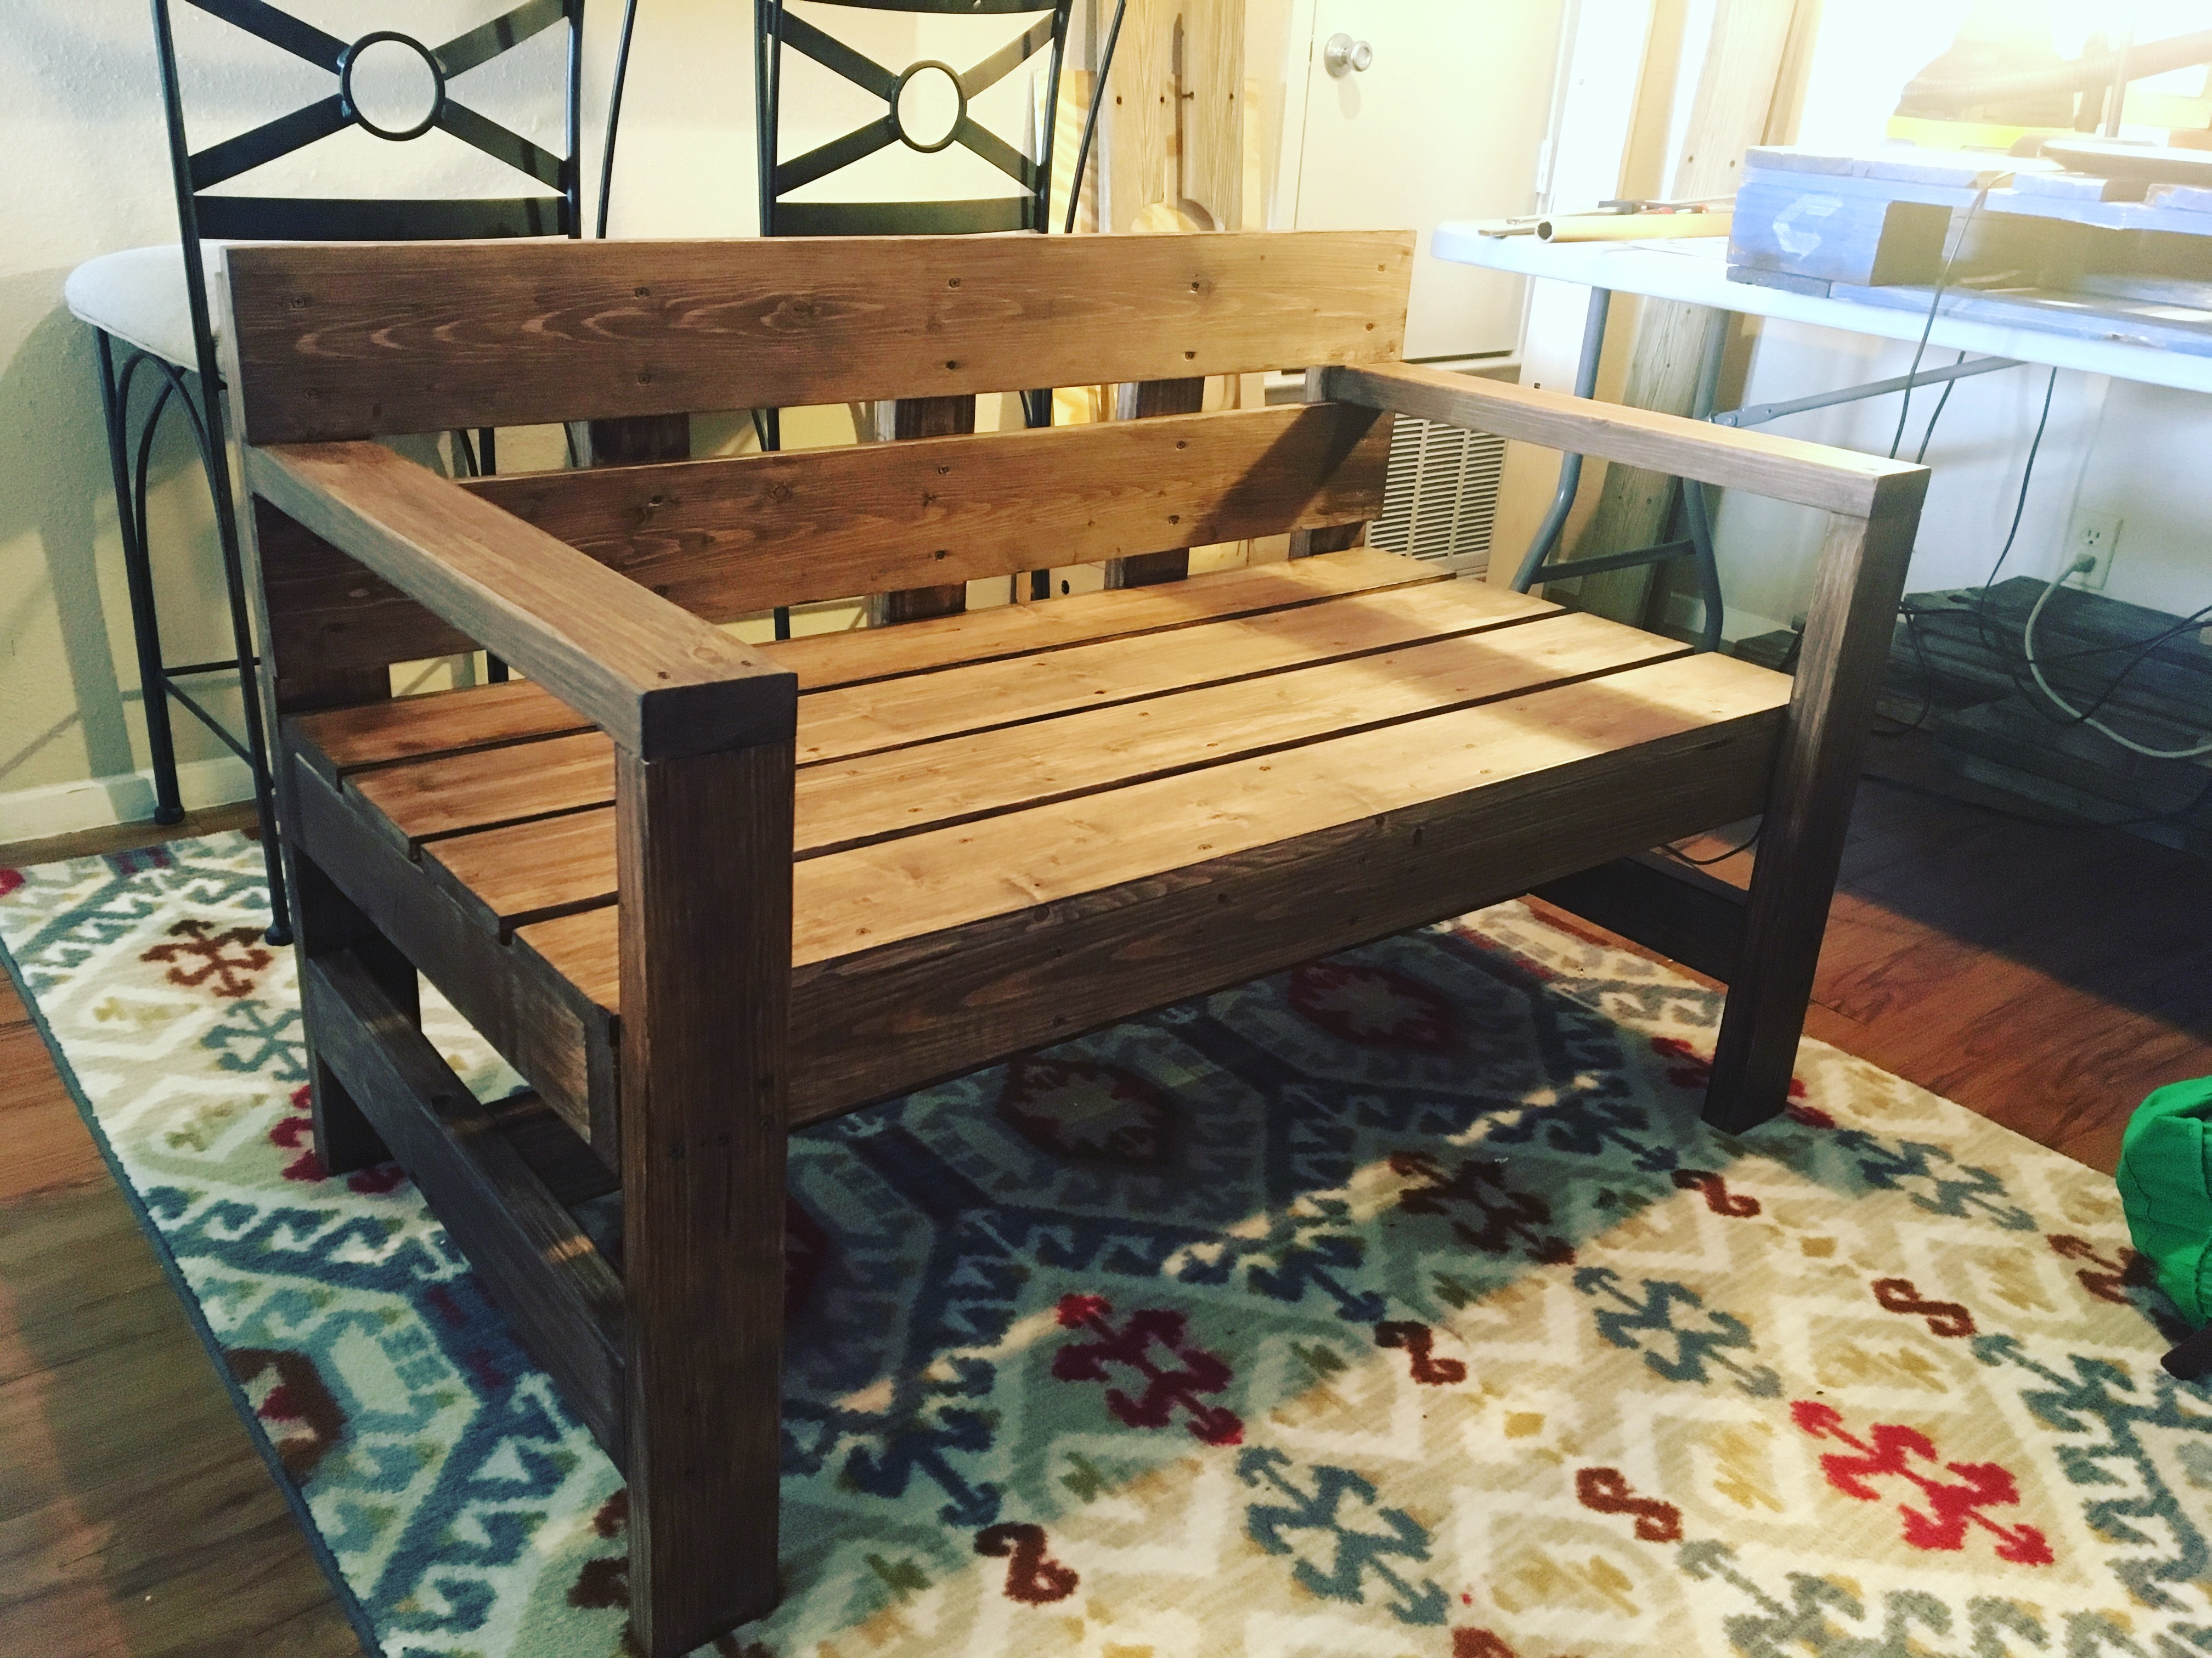
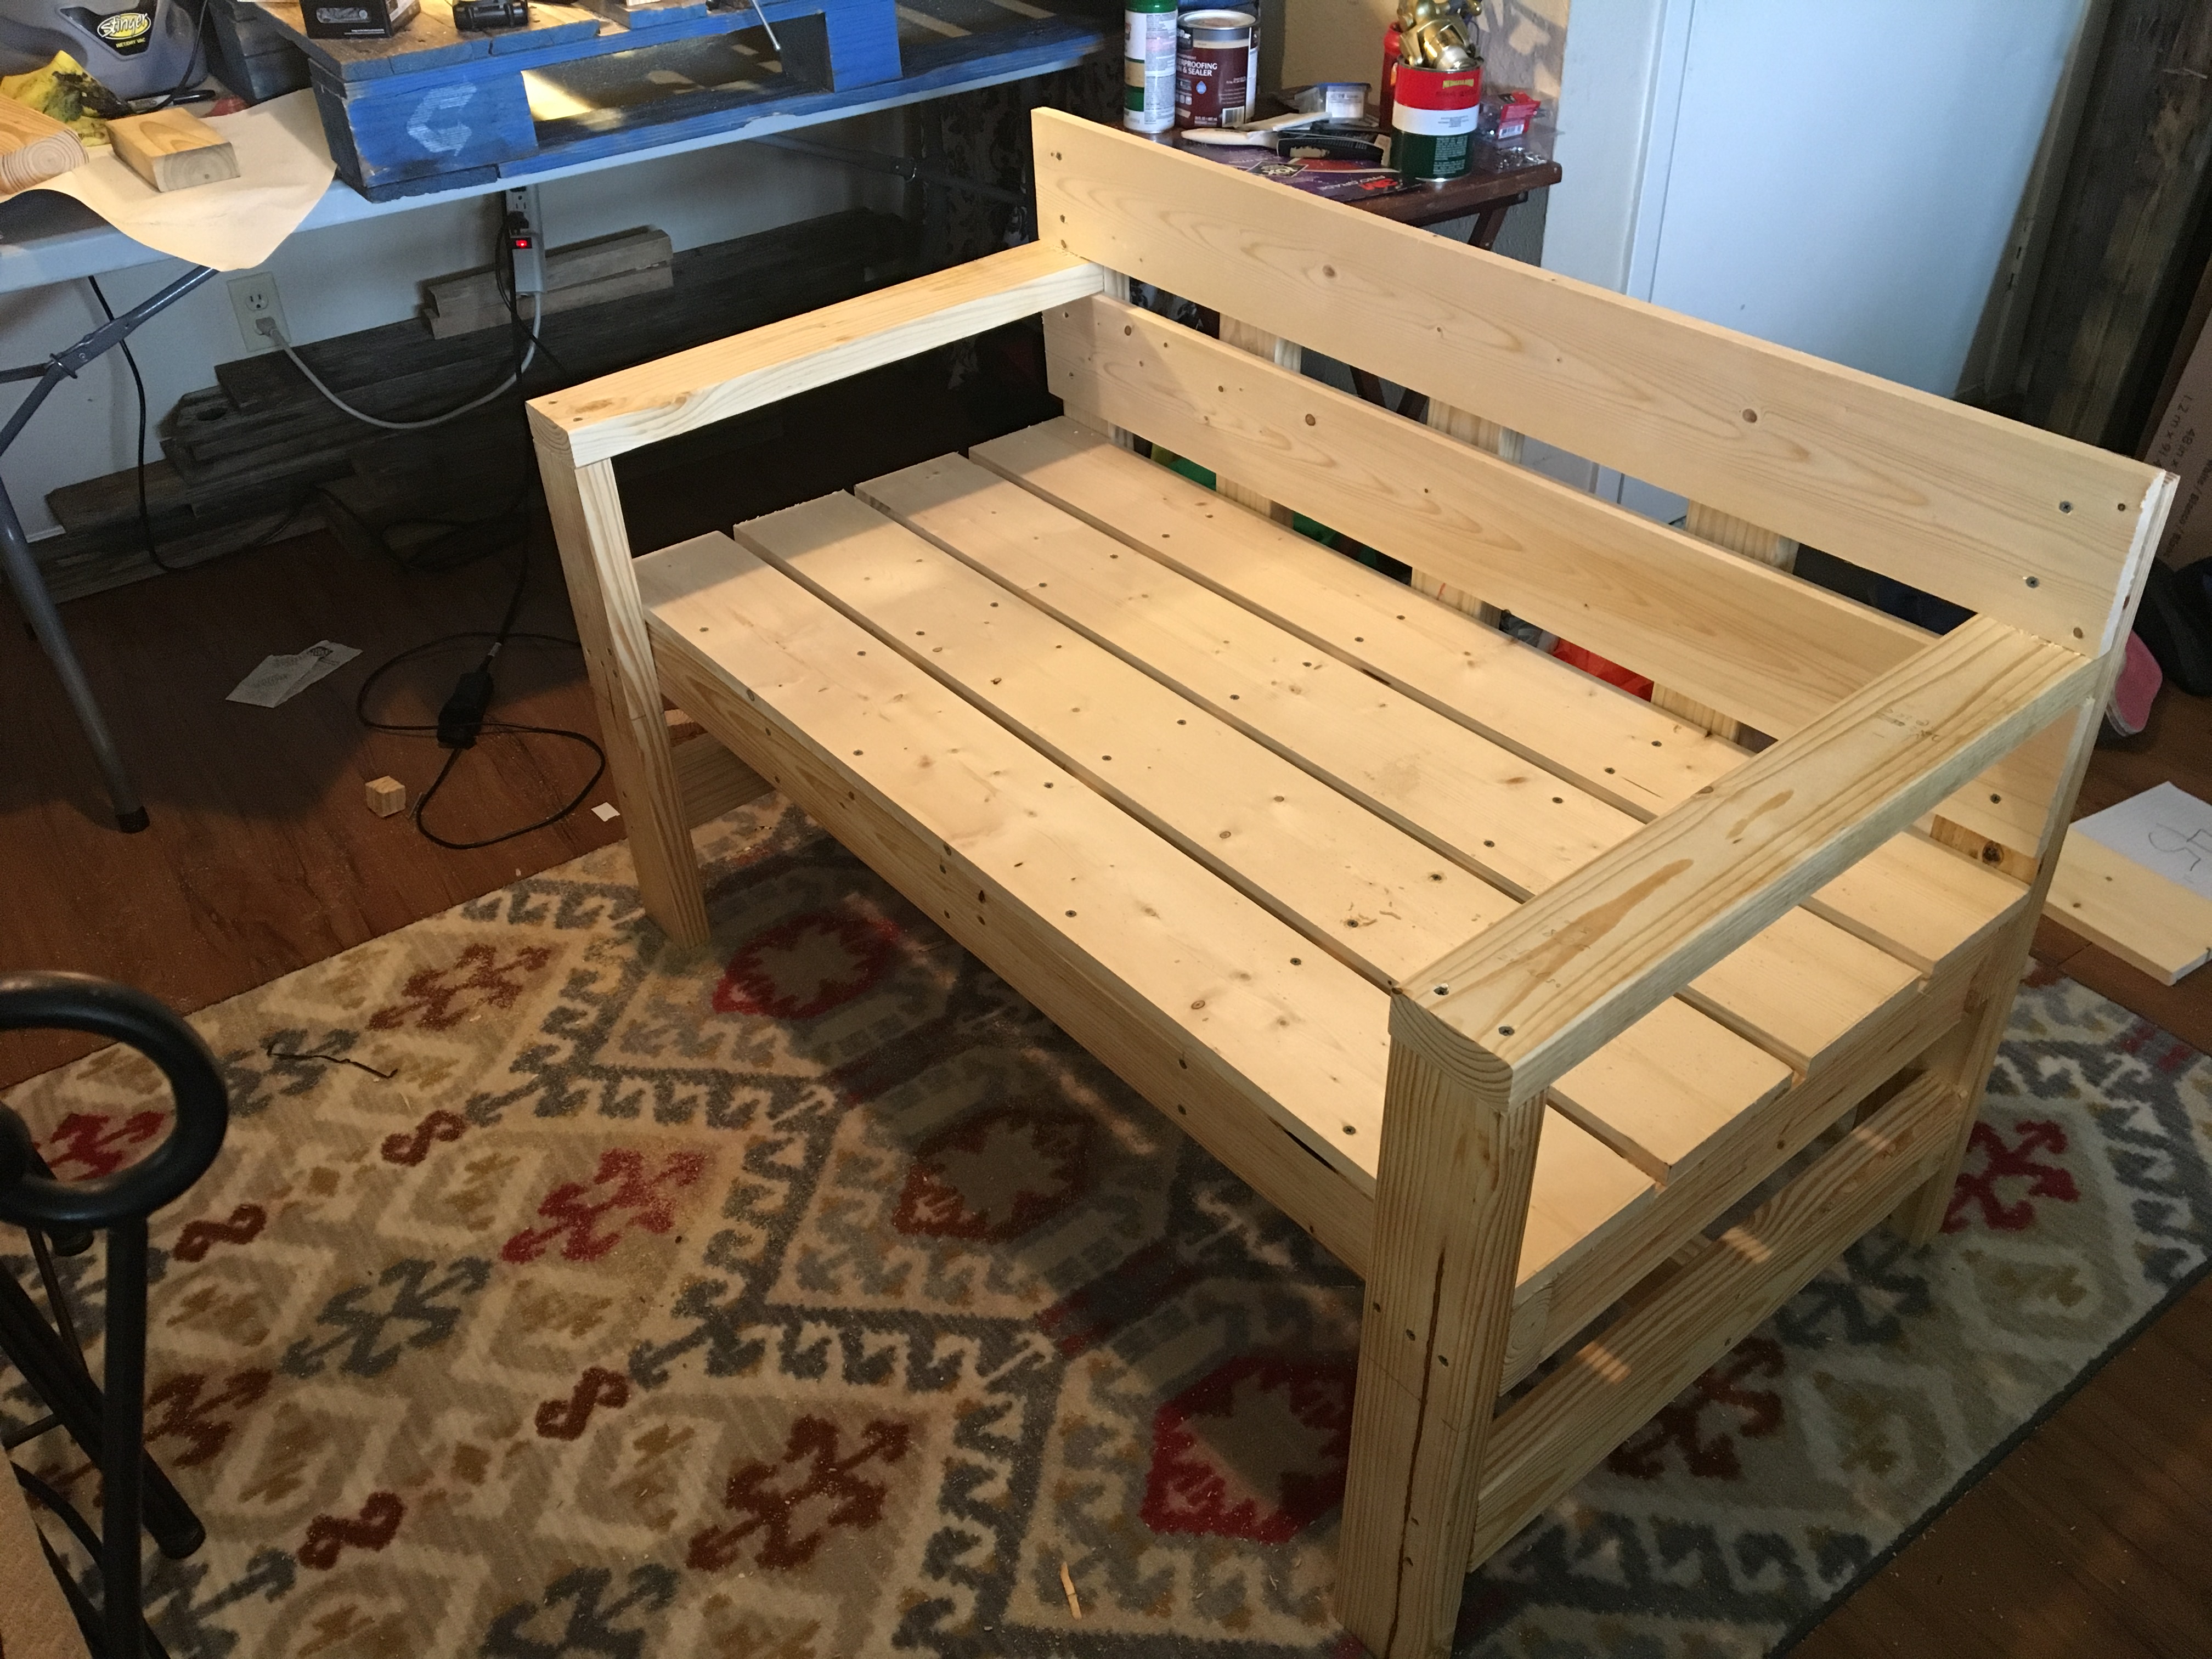
I've been doing only little projects here and there, so when I got an order for a bench, I was a little apprehensive, but of course I said YES! I immediately started scouring the web for ideas on how to, and what the cost would be to build. I came across Ana White's modern bench design and knew this was the one. I priced out all the materials and gave my customer a quote which she, without hesitation, accepted. The next day, I took a trip to the local lumber yard and purchased all I needed. Now, here's where I messed up a bit. Like I said, I priced everything out before purchasing. Well, I priced out the wrong 1x6s which threw me almost $35 over my original budget. Womp womp, right? I still made a little profit. But this bench cost me $100 to build. The customer ordered this bench for her garden and wanted it to be stained rather than painted. So, the wood, the decking screws, waterseal, and the outdoor waterproof stain and sealer was my purchase for the build. Totally worth it! The bench turned out great! I am delivering it to her in a couple of hours from now and I cannot wait for her to see it. I think it turned out beautiful especially for my first! Thank you, Ana, for making the design so easy to follow!
We have two young kids who don't want to take their shoes and put them away (as well as two adults who are the same way) so I asked my hubby to make Ana's shoe dresser. He did a great job and we were so excited with how it turned out!
I added the bottom shelf by using (4) 1x3's. I also swapped out the 1x4 back for a 1x6 to give the top shelf more height. Lots more details on my blog.
We made this and a dresser just like it. We wanted matching furniture.
We combined several ideas to create this built in mud room bench. I searched high and low for the design I wanted and loved Ana's hidden storage. It's perfect for off season stuff that would otherwise take up space in a closet. It's such a pretty, functional space that gets so much use.
We used an unfinished attic space above our garage that was connected to our bedroom to make a walk-in closet with great shelving. This project took a lot of time but we are so happy with the results! There is a side for my husband and a side for me. Although it is hard to see we also incorporated a small door/bookshelf into the room to allow us access to attic storage space.