Community Brag Posts

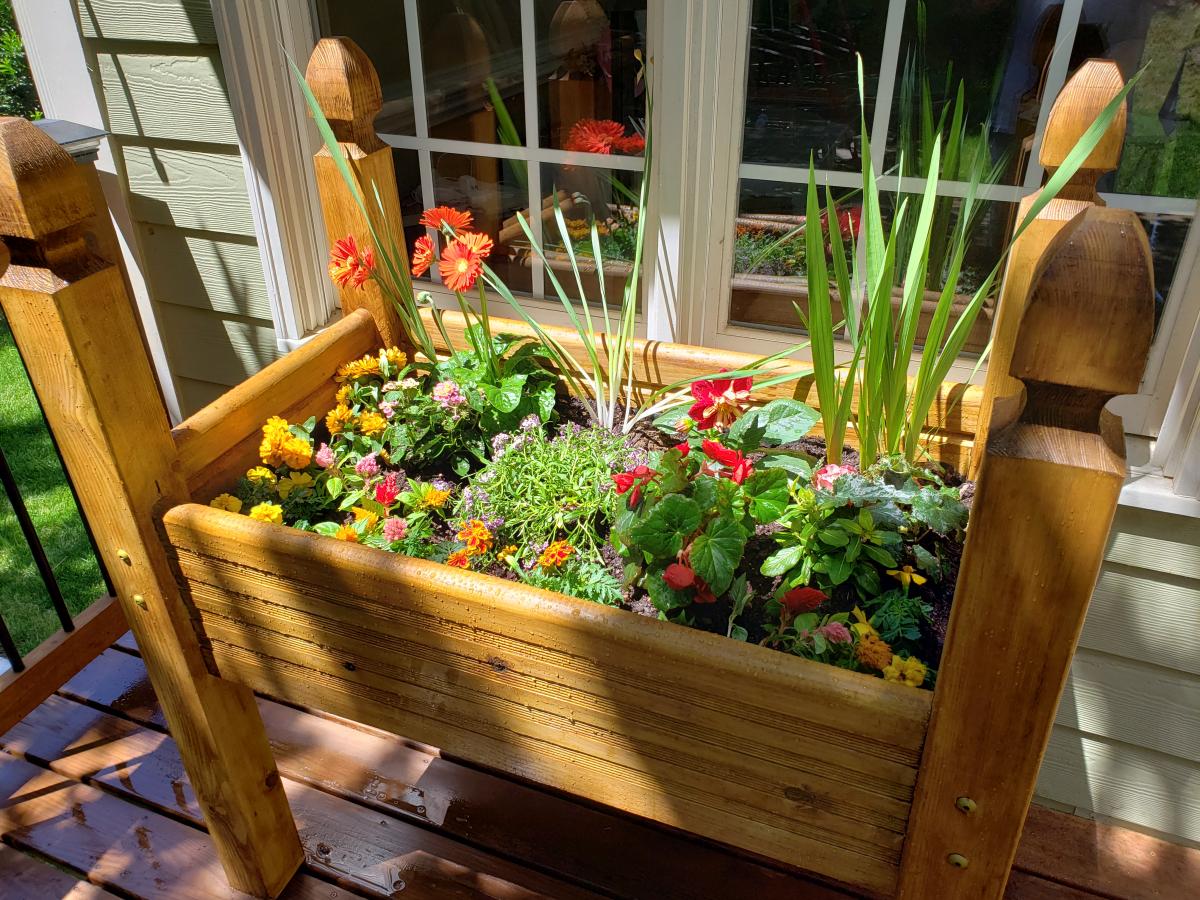
Raised Bed Garden Mother's Day Present

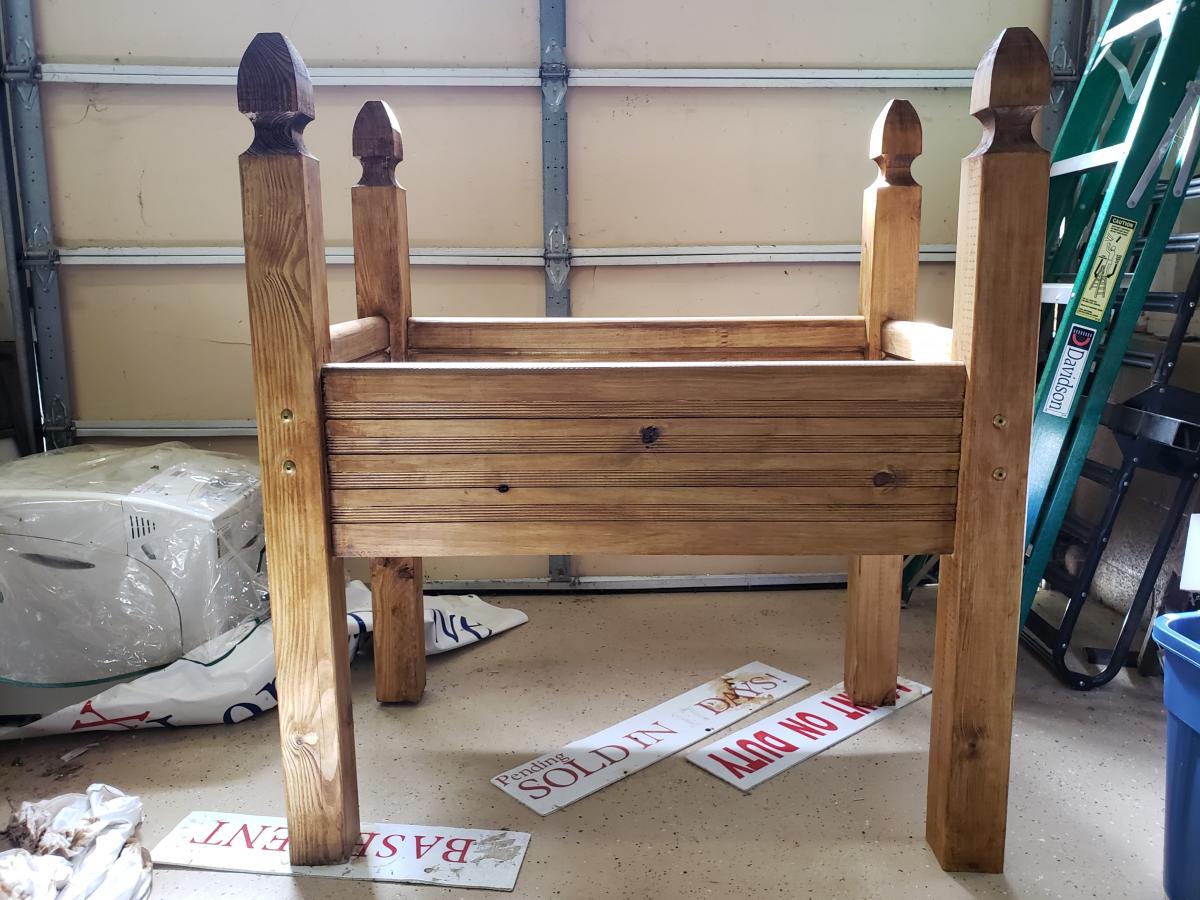
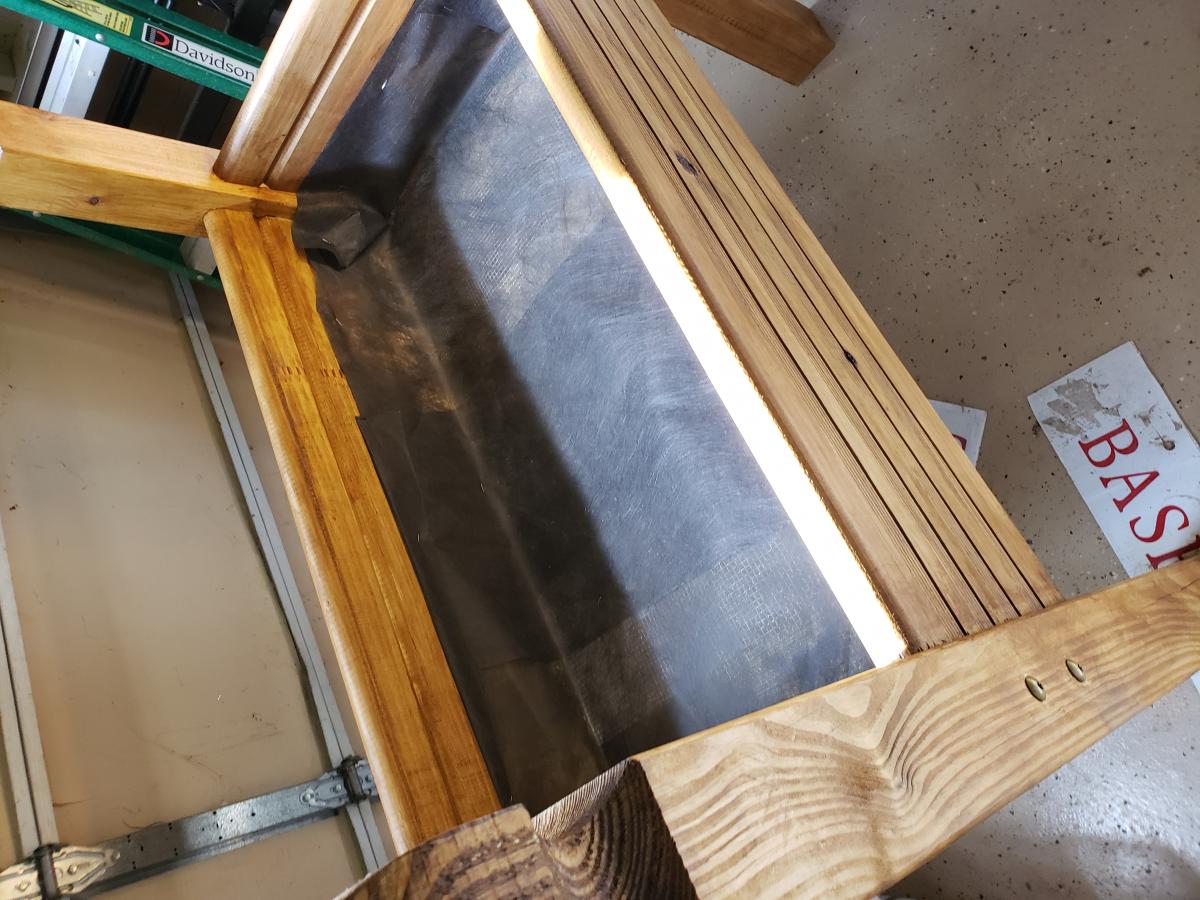
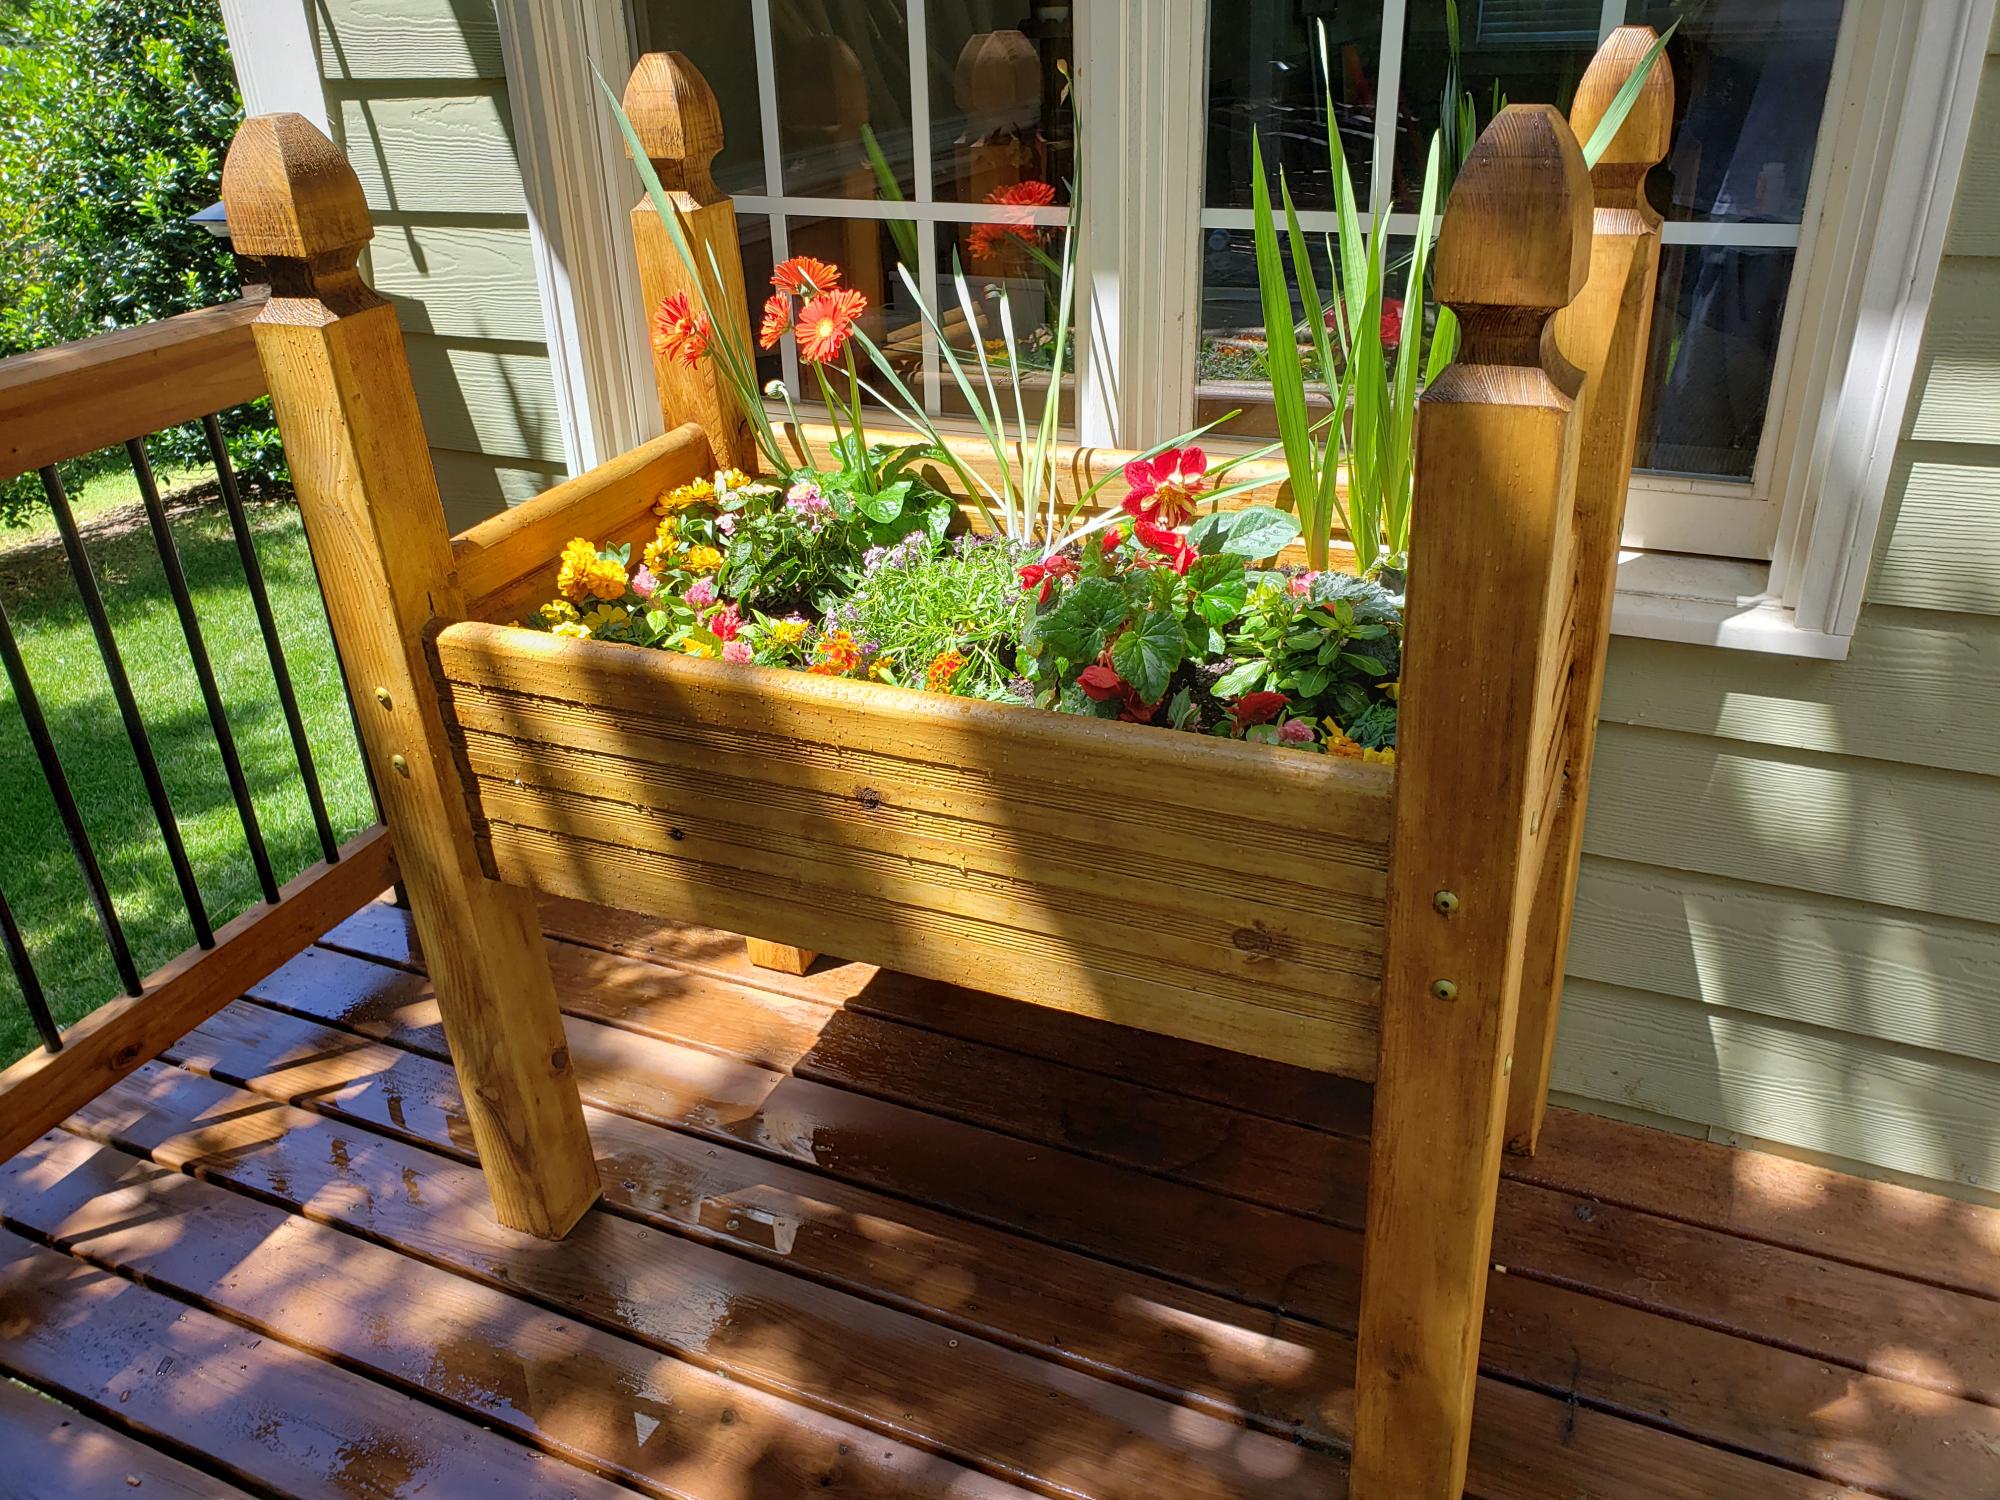
My 15 year old daughter and I built this as a Mother's Day gift. We used basic ideas from plan, but while looking for wood we came across stair treads and decking posts that we thought would work. We were very happy with the results. This thing is very solid and much better quality than the more expensive kits you can buy.

Estimated Cost
$130 plus plants and dirt
Estimated Time Investment
Weekend Project (10-20 Hours)
Recommended Skill Level
Beginner

Doggy Door or Baby Gate

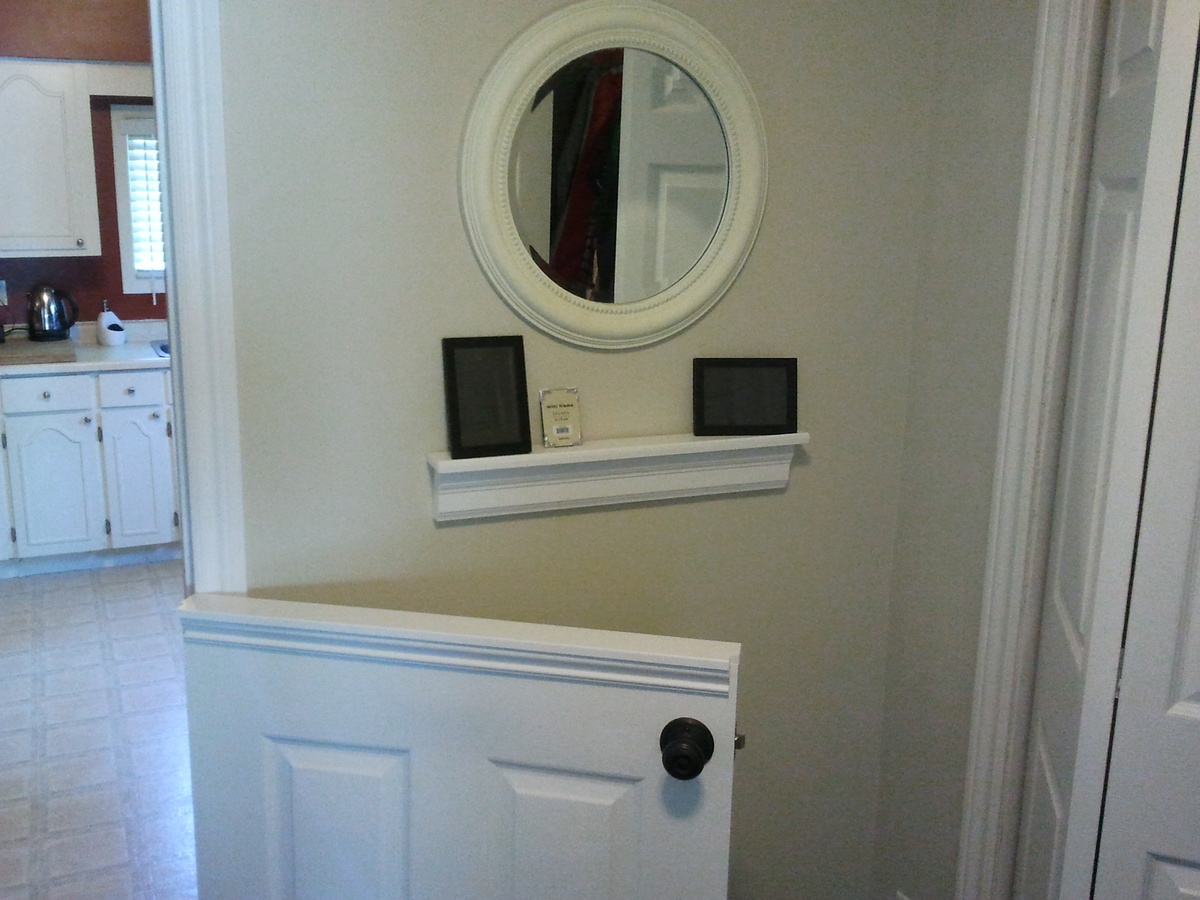
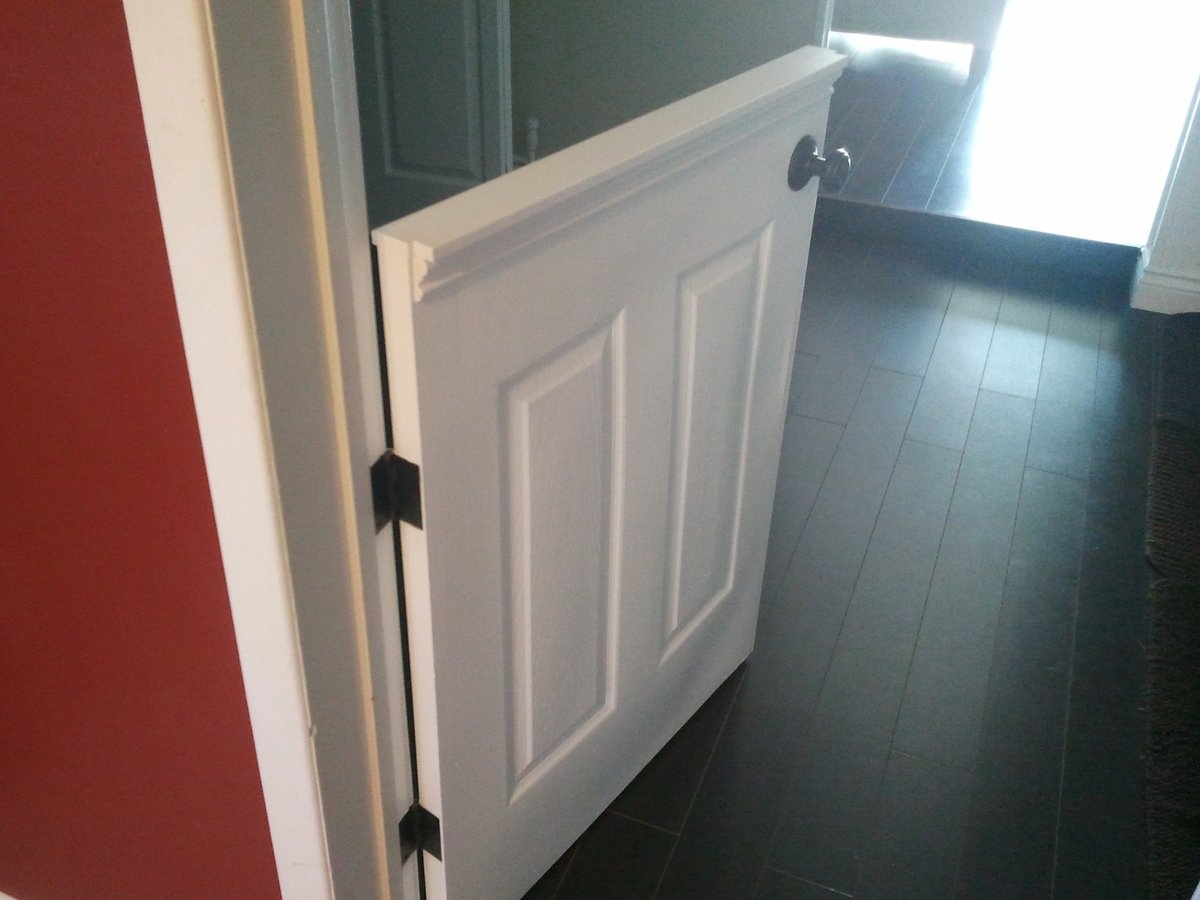
I installed a half door to isolate our dog from the laminate flooring when he sleeps at night.

It was only $25 for the hollow core 6 panel door from HD, which got cut in half.
$25 for the passage knob.
$10 for top plate and trim
Less than $5 for the hinges.

Not having to replace the laminate flooring priceless!

Some Tips:

The $25 door is not prehung. Buy the $14 dollar irwin door jig to install the door "http://www.homedepot.ca/product/door-lock-installation-kit-carbon/904157" It will come in handy if you are remodeling and installing new doors to replace those old flat panel doors. You will also have to chisel out the hinges.

When installing and marking the hinge locations in the door frame shim the door a 1/4" off the floor.

Estimated Cost
$65 materials + $15 jig = $80
Estimated Time Investment
Day Project (6-9 Hours)
Finish Used
White paint
Recommended Skill Level
Intermediate

Comments

Portable work table

Submitted by nestico on Tue, 06/16/2020 - 18:47

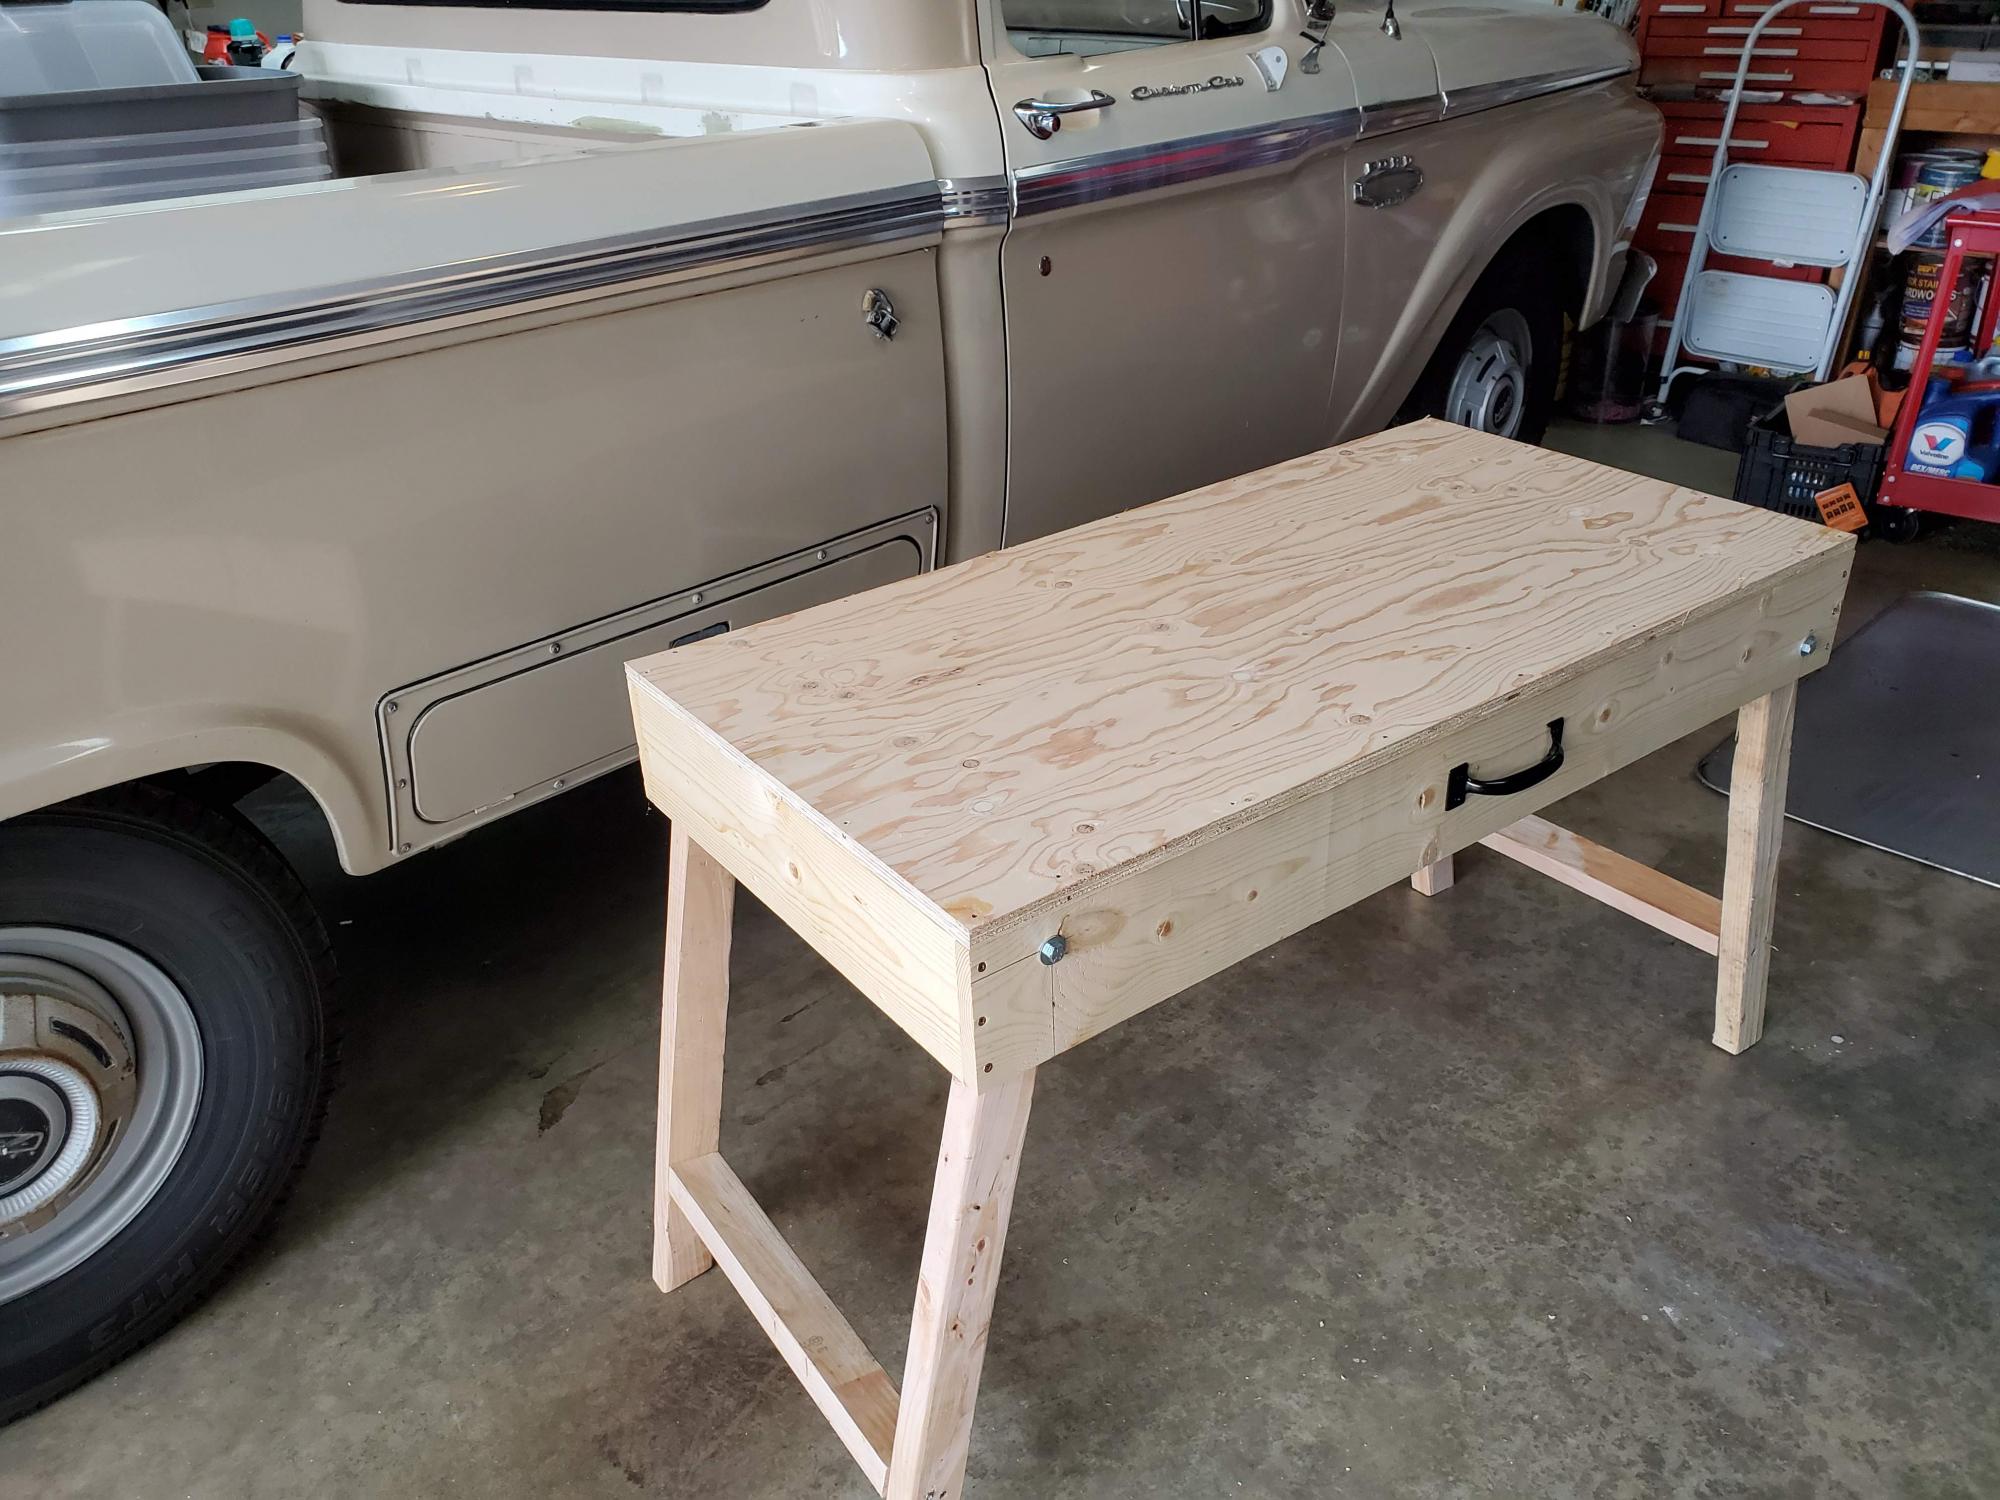
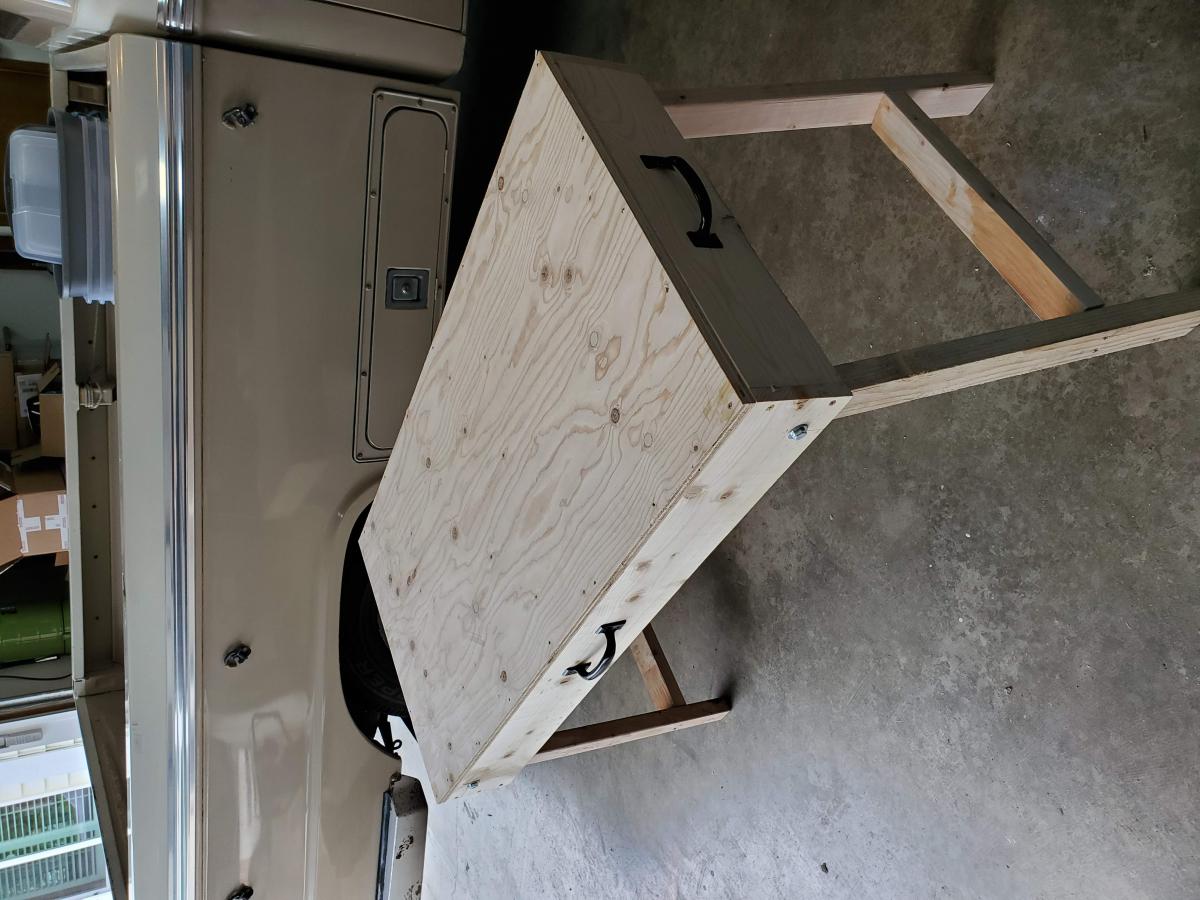
This is my first build. I thought making a work table would be the ideal first project. I'm very happy I came across Ana's Youtube channel and website. I made some rookie mistakes with the cut list. I t was my fault but a good learning experience. In the past I have dreaded any kind of woodworking project. I became very frustrated using the garage floor or some makeshift work table. This sores nicely in the garage and is very functional. I did add a handle on the side of the work table to carry it to the work site. I'm looking forward to many new projects.

Estimated Cost
$30.00 That includes lumber and hardware.
Estimated Time Investment
Afternoon Project (3-6 Hours)
Finish Used
Unfinished

Tea Bar

Submitted by Anonymous (not verified) on Mon, 05/06/2024 - 13:14

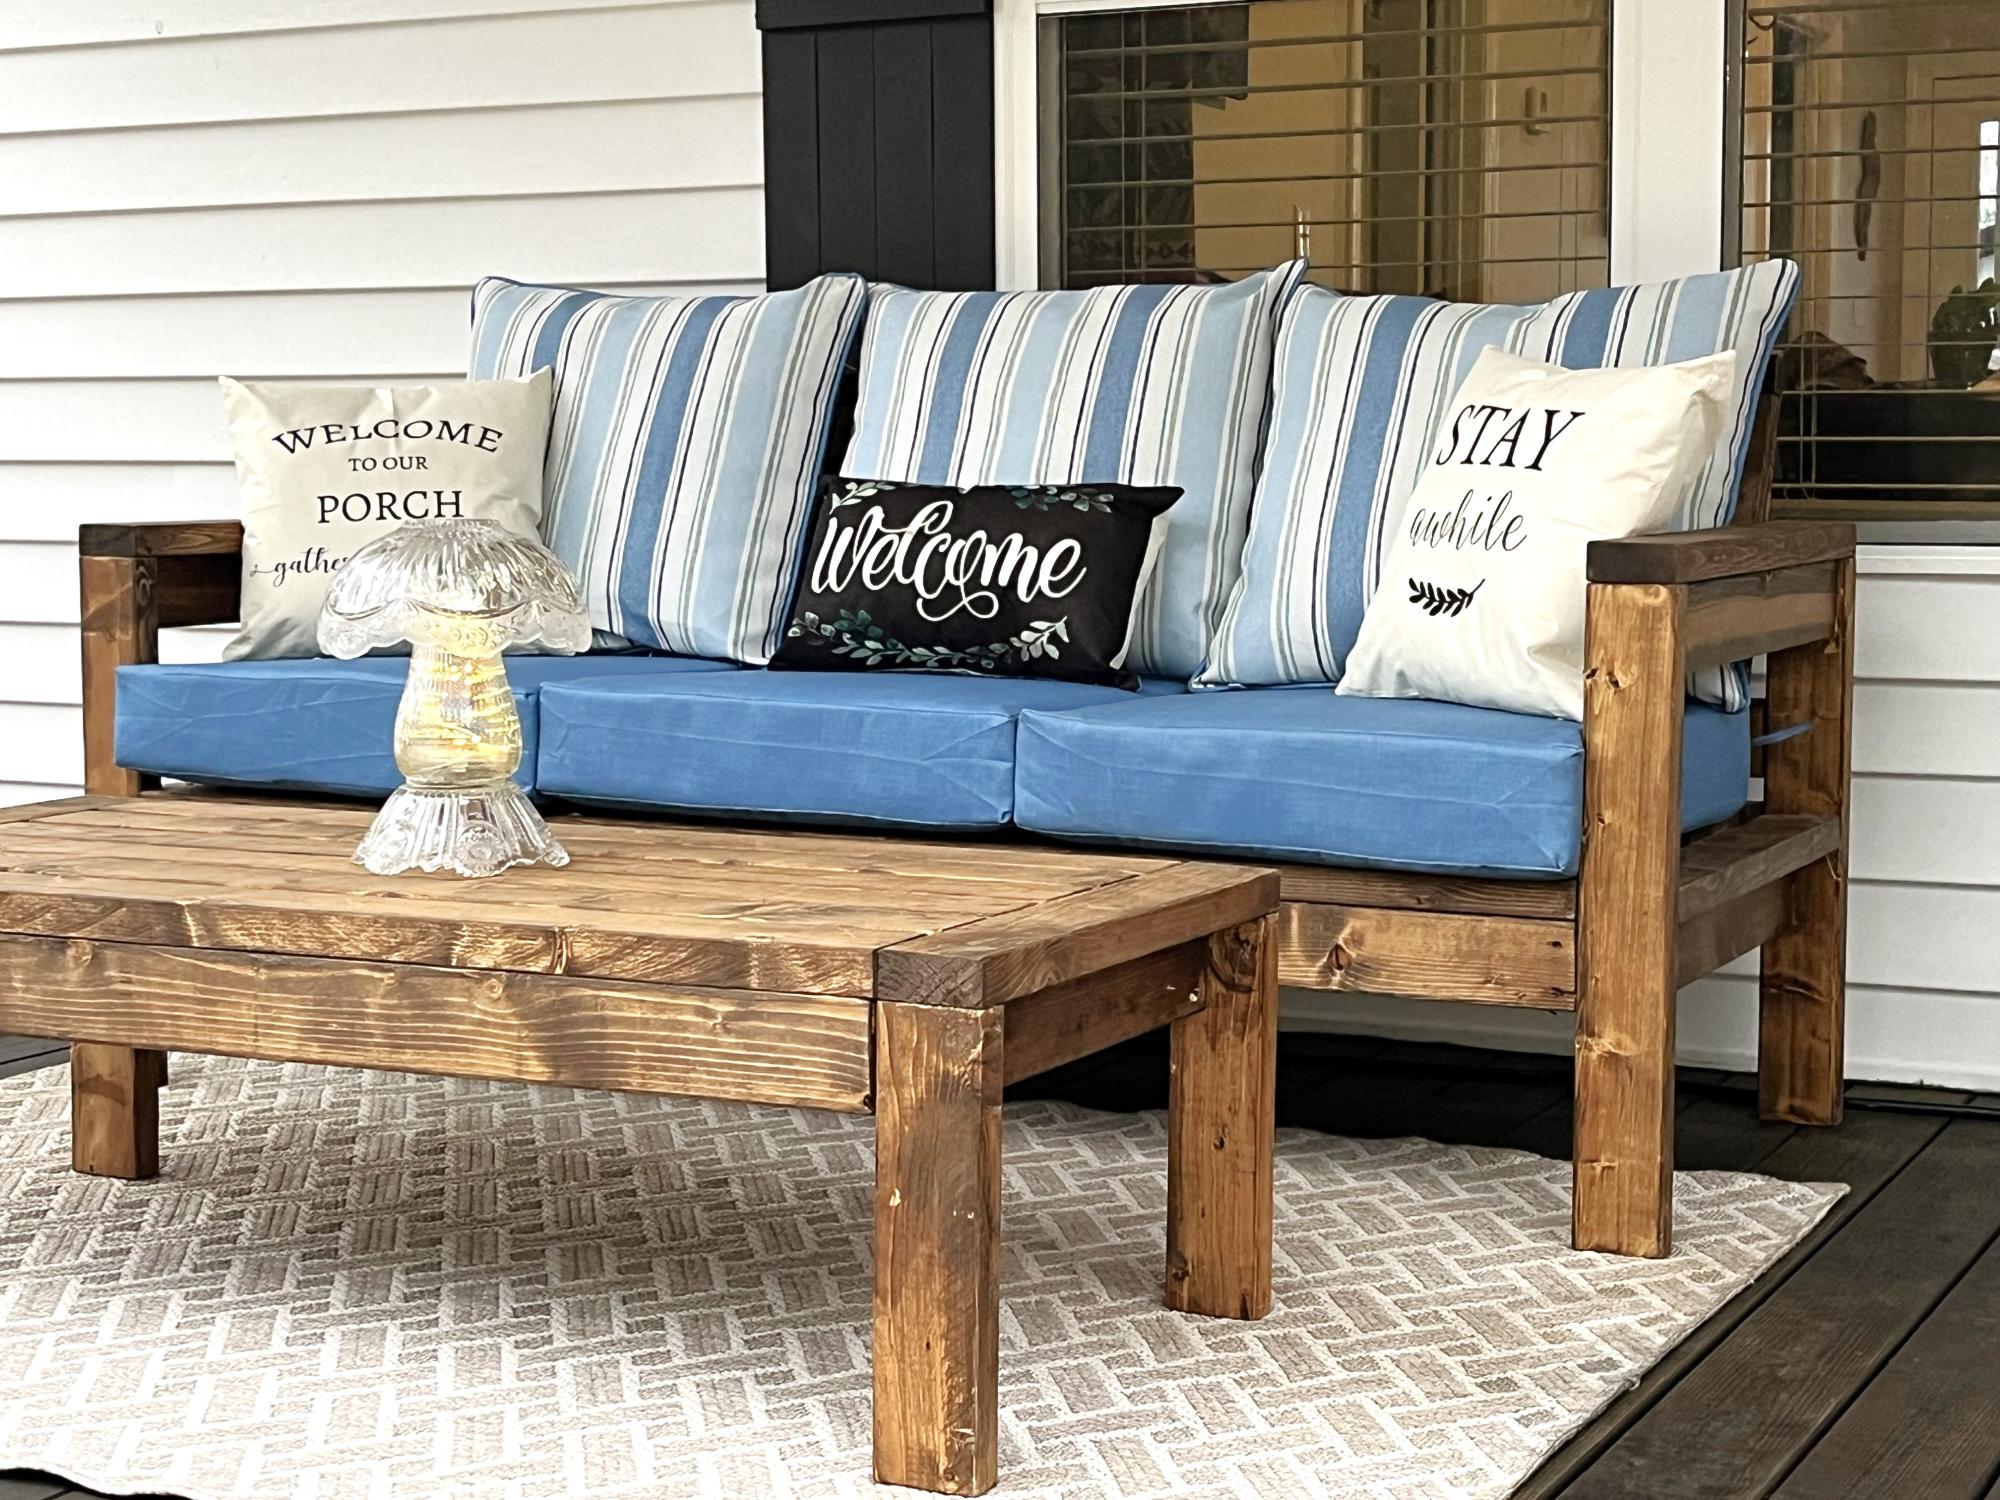
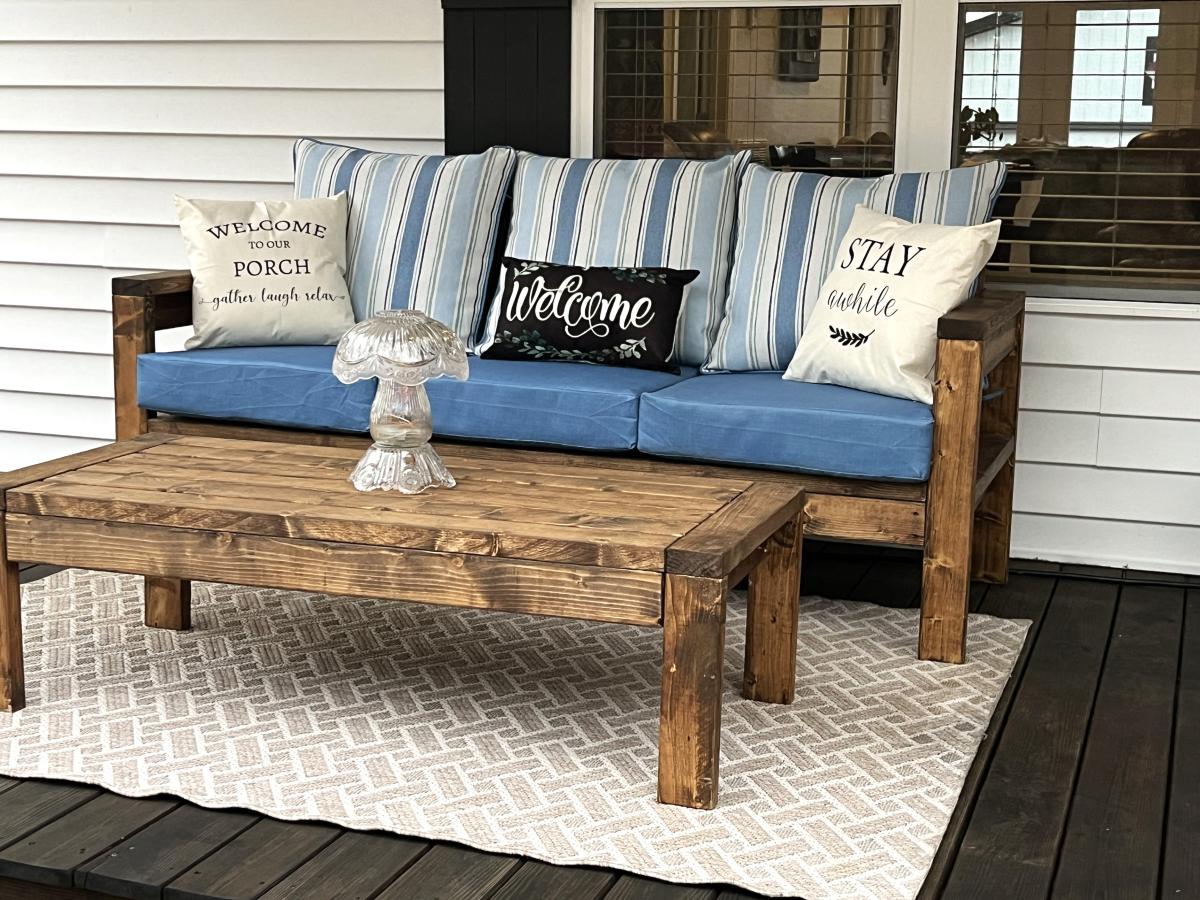
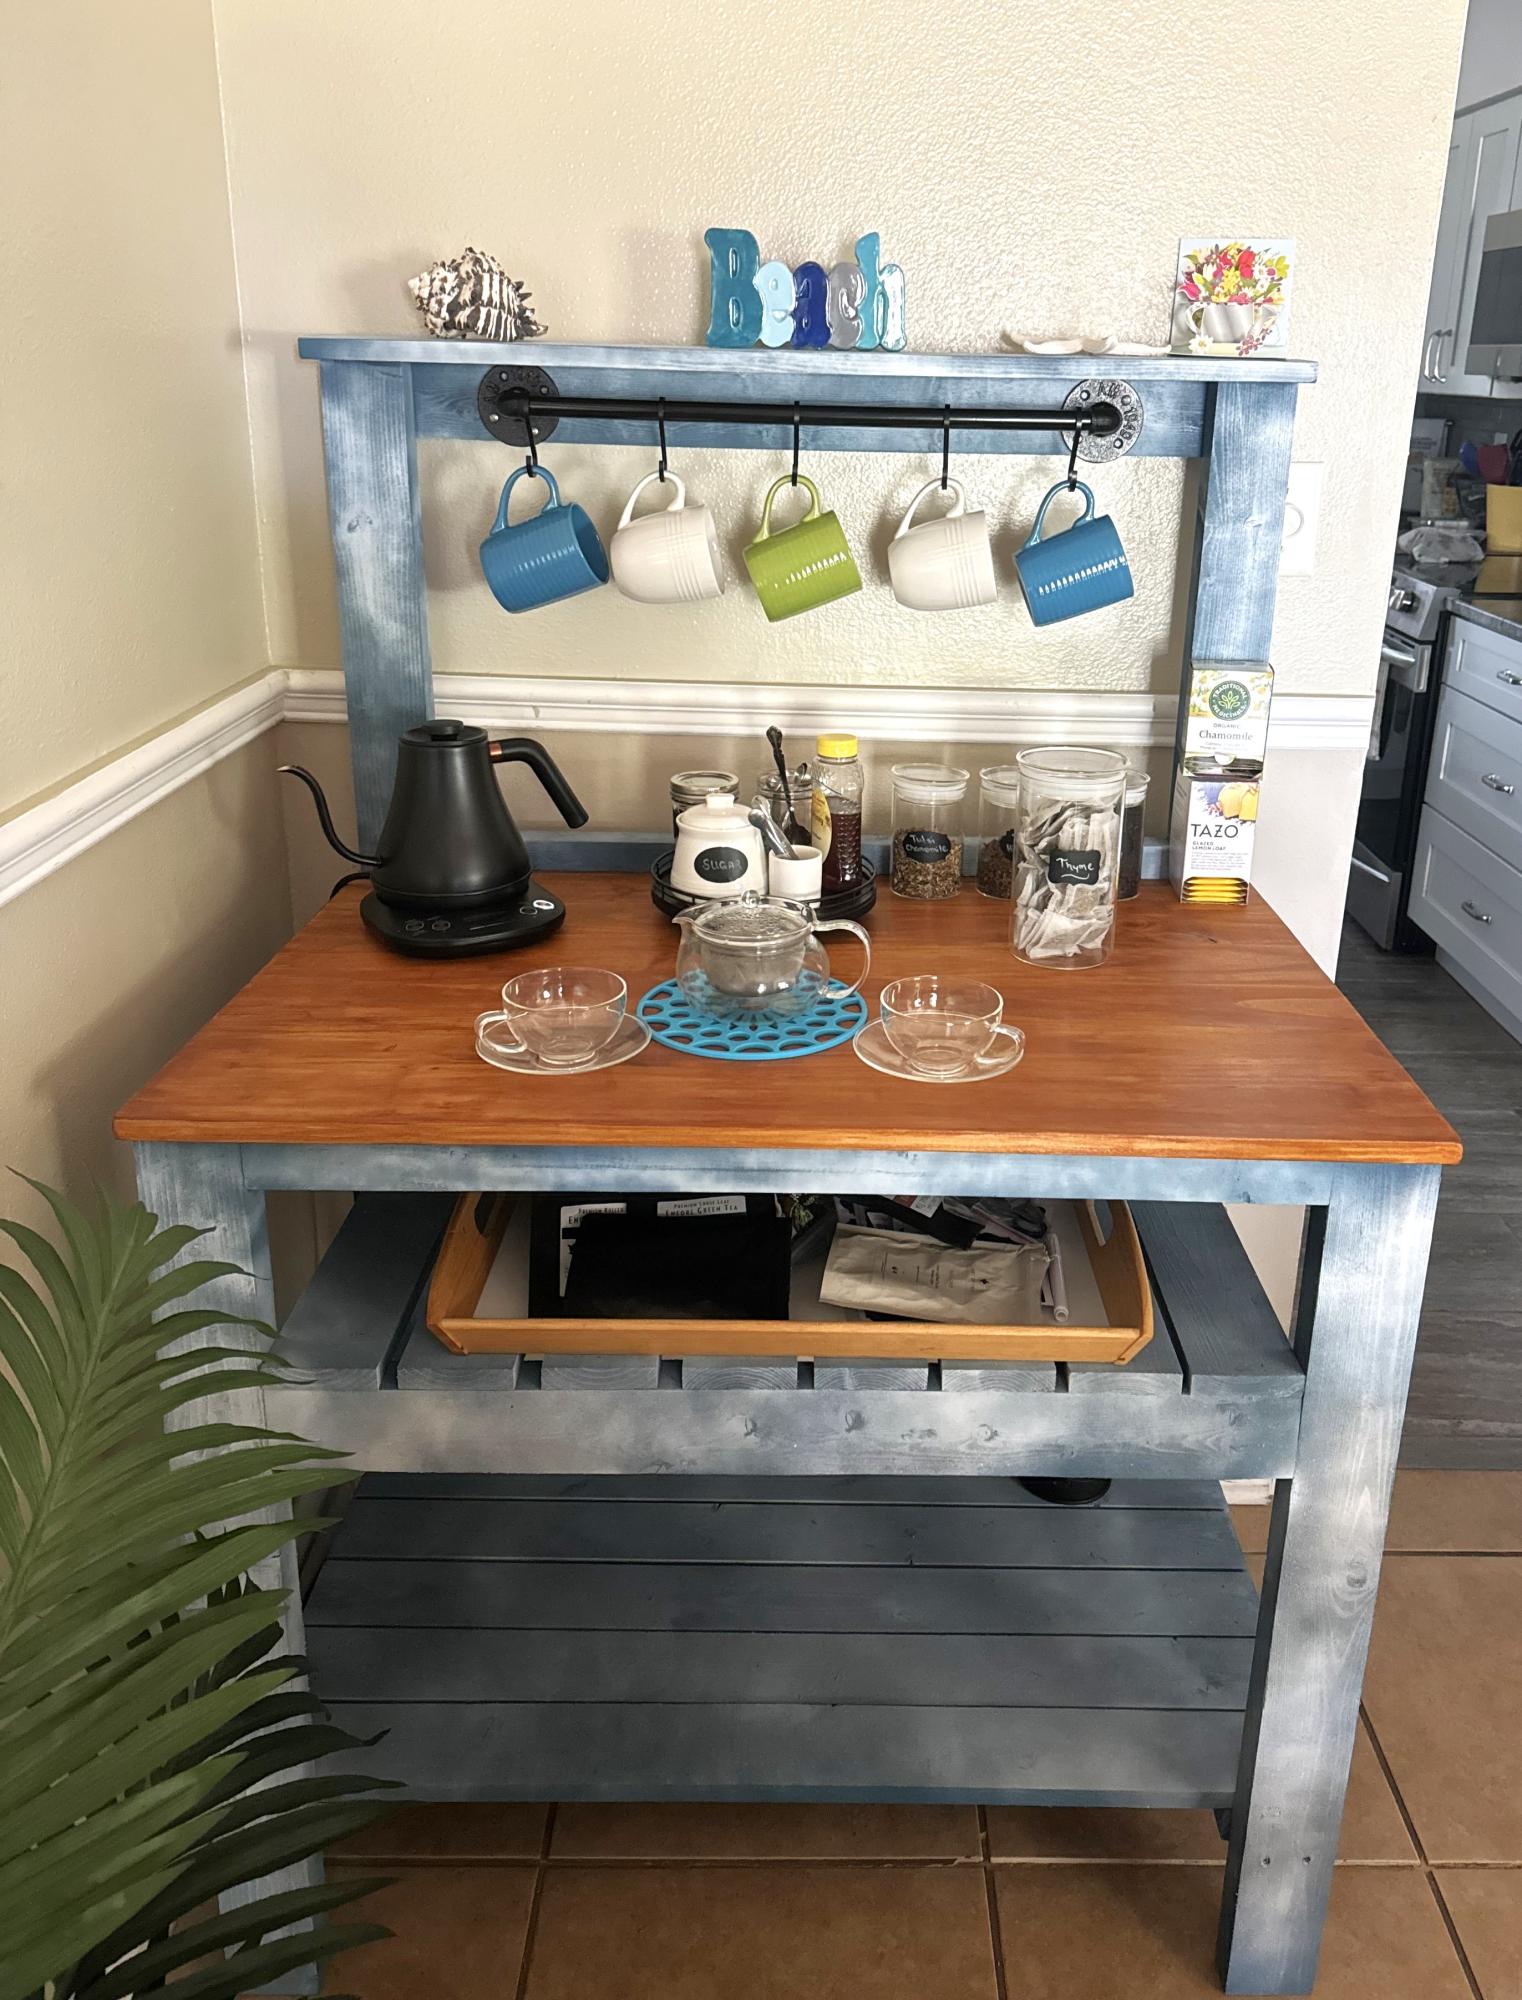
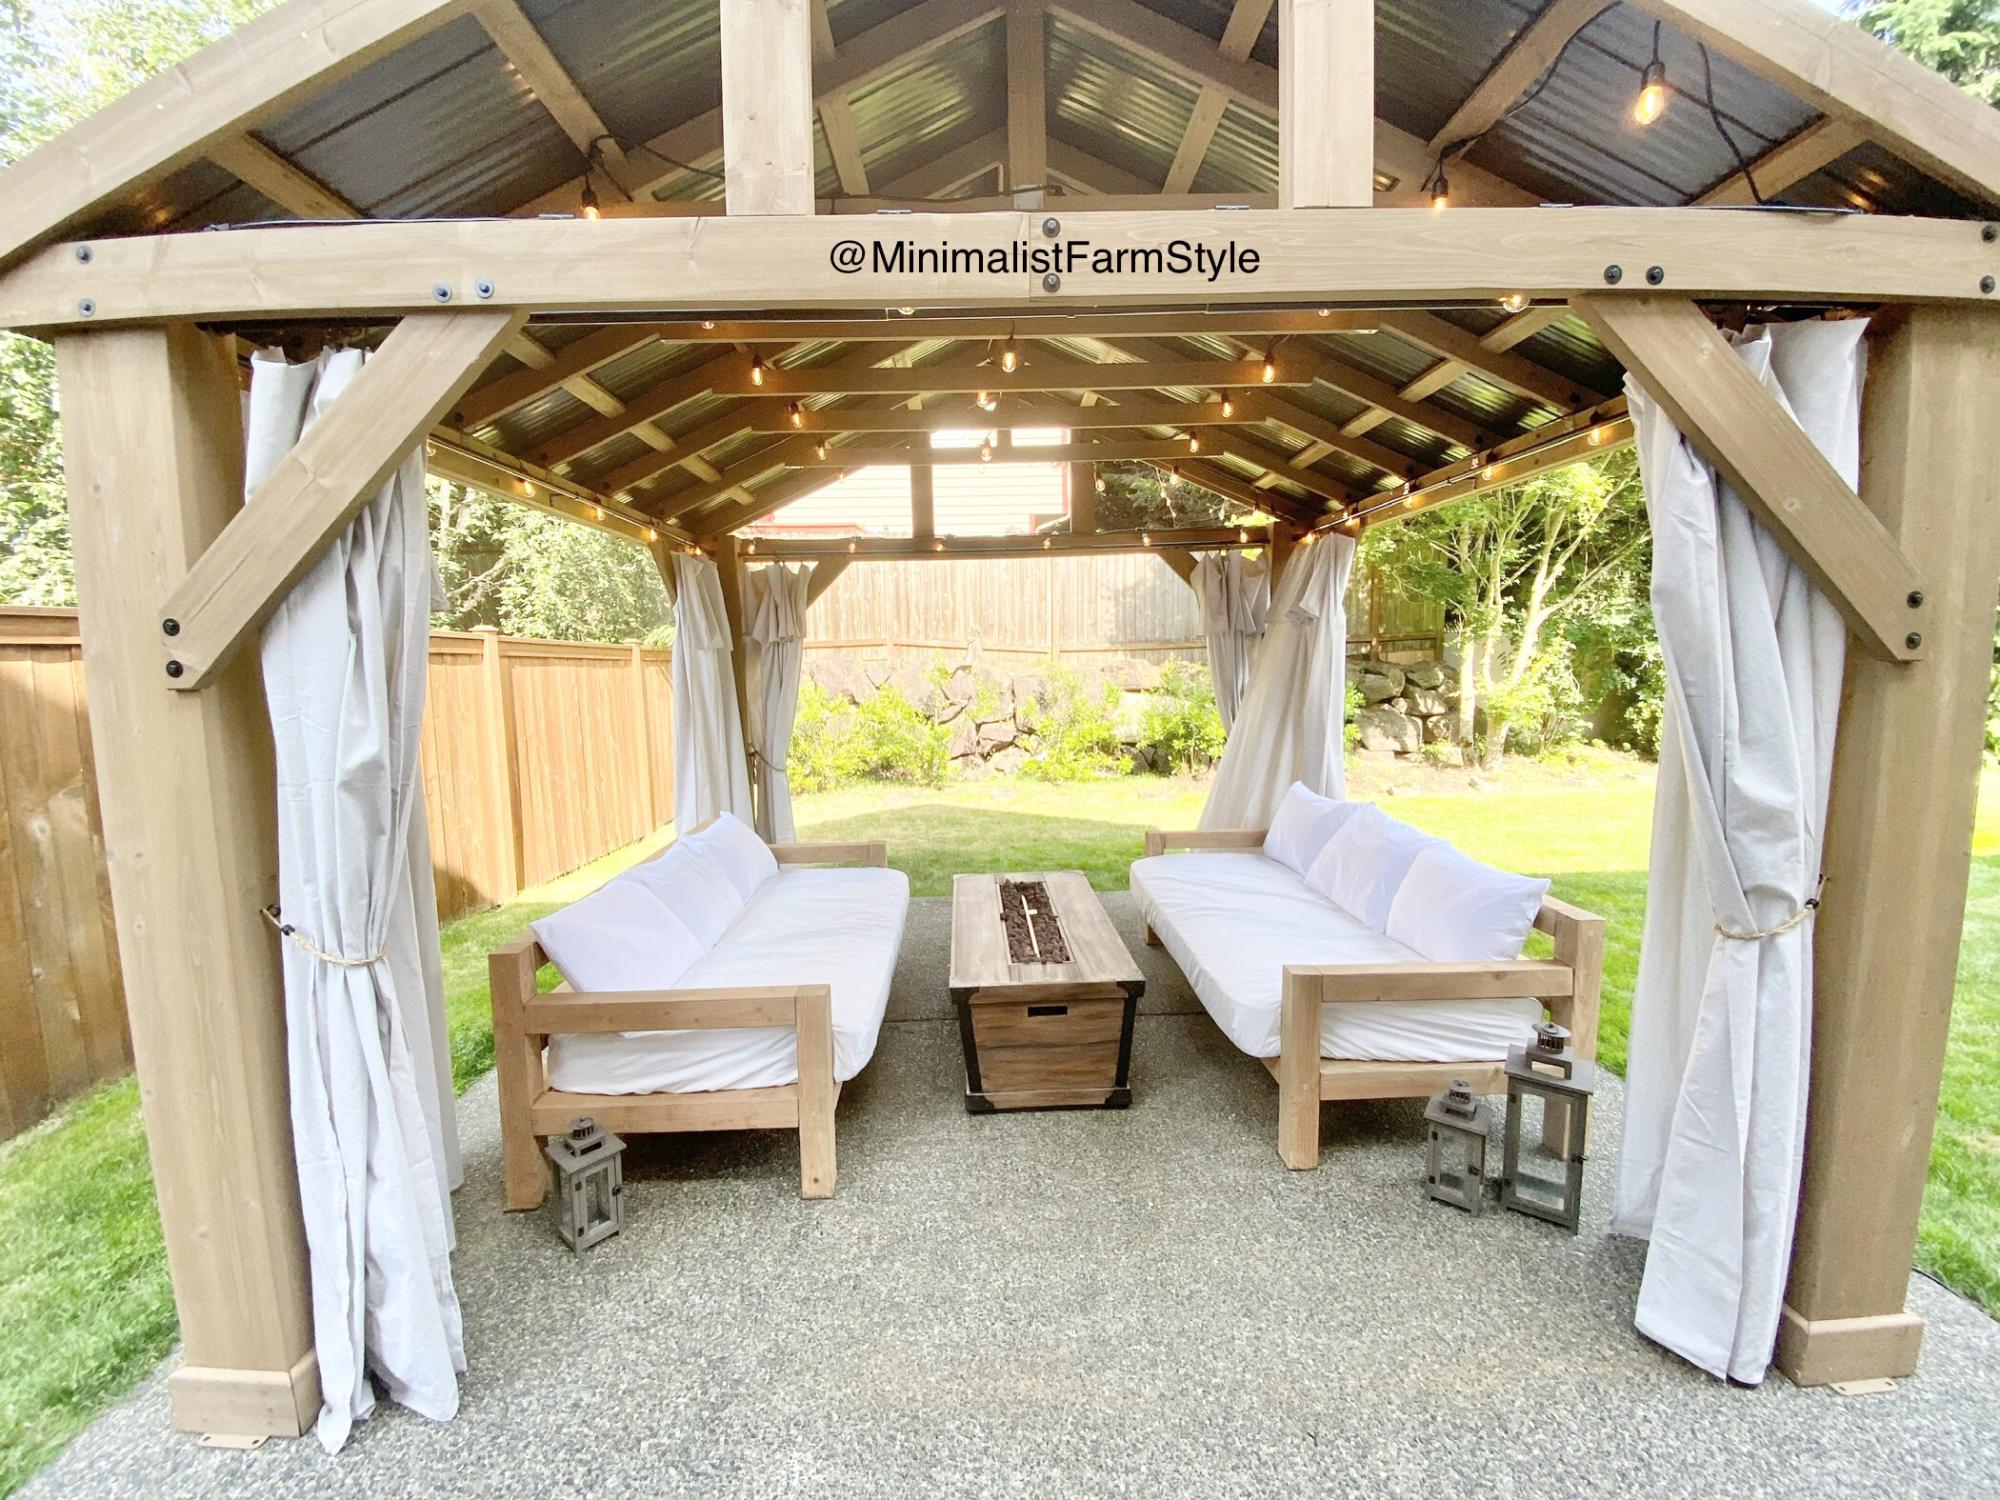
Two projects that I recently built for my wife and my daughter. My wife wanted a tea bar and a beach vibe, my daughter wanted an outdoor couch so it is made out of cedar. They both loved them.

Todd Springer

Built from Plan(s)

$12.00 Cedar Fence Picket Planter

I followed the plans exactly. The only difference is I used my Ryobi Airstrike brad nailer instead of stapler. Lowes was slightly higher in price than the $10.00 on Ana's post but at $11.97 it wasn't too far off!

Estimated Cost
11.97
Estimated Time Investment
An Hour or Two (0-2 Hours)
Finish Used
No finish
Recommended Skill Level
Starter Project

Outdoor Modern Sofa

Submitted by Anonymous (not verified) on Sat, 08/08/2020 - 07:31

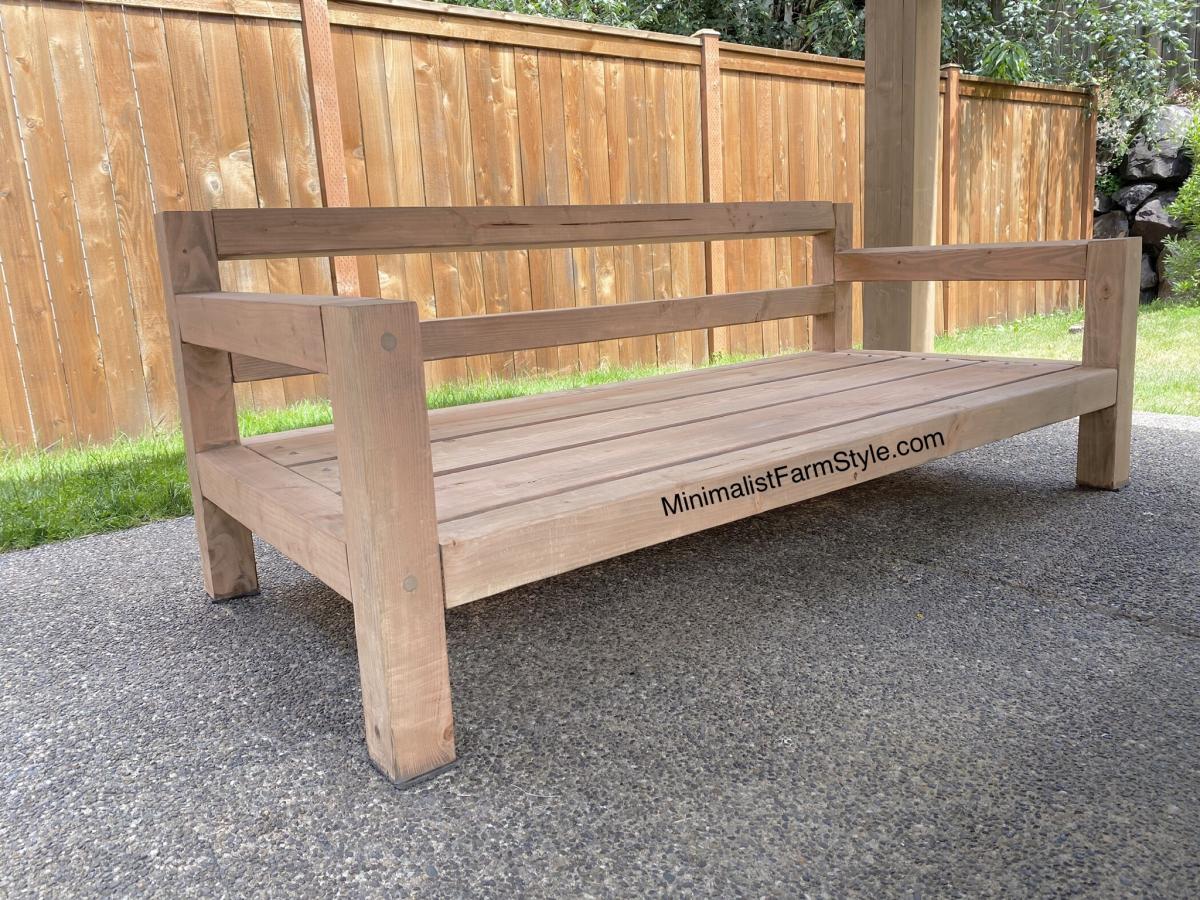
This was my first time DIYing furniture, so I definitely came up with a very easy design!

The dimensions for this sofa are modern as it sits low to the ground and has a squarish appearance.

Free detailed plan on Blog: www.MinimalistFarmStyle.com

Estimated Cost
$100
Estimated Time Investment
Day Project (6-9 Hours)
Finish Used
Watered down Varathane Water-based Java Bean.
Recommended Skill Level
Beginner

Mantel Moulding Headboard with Variations

Submitted by wyosharon on Sat, 10/11/2014 - 19:56

As suggested at the beginning of the instructions, be sure to read through the entire set of instructions before shopping and making this headboard. The parts lists calls for 3 - 7ft pieces of moulding. However, we needed more than three to do the finishing touches. Also, none of the mouldings suggested were at our Home Depot, so we improvised. Cutting some of the mouldings to go around the corners was too challenging for us, so we ended the moulding strips at the end of the bed. To give the ends a finished look, we used some of the 1/4" plywood, cut them, and sanded them. Be sure to sand all the surfaces. The instructions tell you how long to cut some pieces, but they don't say whether the board is supposed to be a 2X4 or 1X6, so be sure to go through the directions thoroughly before starting and cutting. We did use spray paint, and it took more than three cans to provide sufficient coverage, since the wood soaked up much of the first layer of paint.

Built from Plan(s)
Estimated Cost
$150-$200 depending on the types of moulding and paint/stain used
Estimated Time Investment
Weekend Project (10-20 Hours)
Finish Used
We sanded all the surfaces prior to painting. The first coating of spray paint soaked into the wood quite a bit, so we added another three coats of spray paint. The dry time adds some extra time to the complete project. We needed nearly four cans of spray paint.
Recommended Skill Level
Intermediate

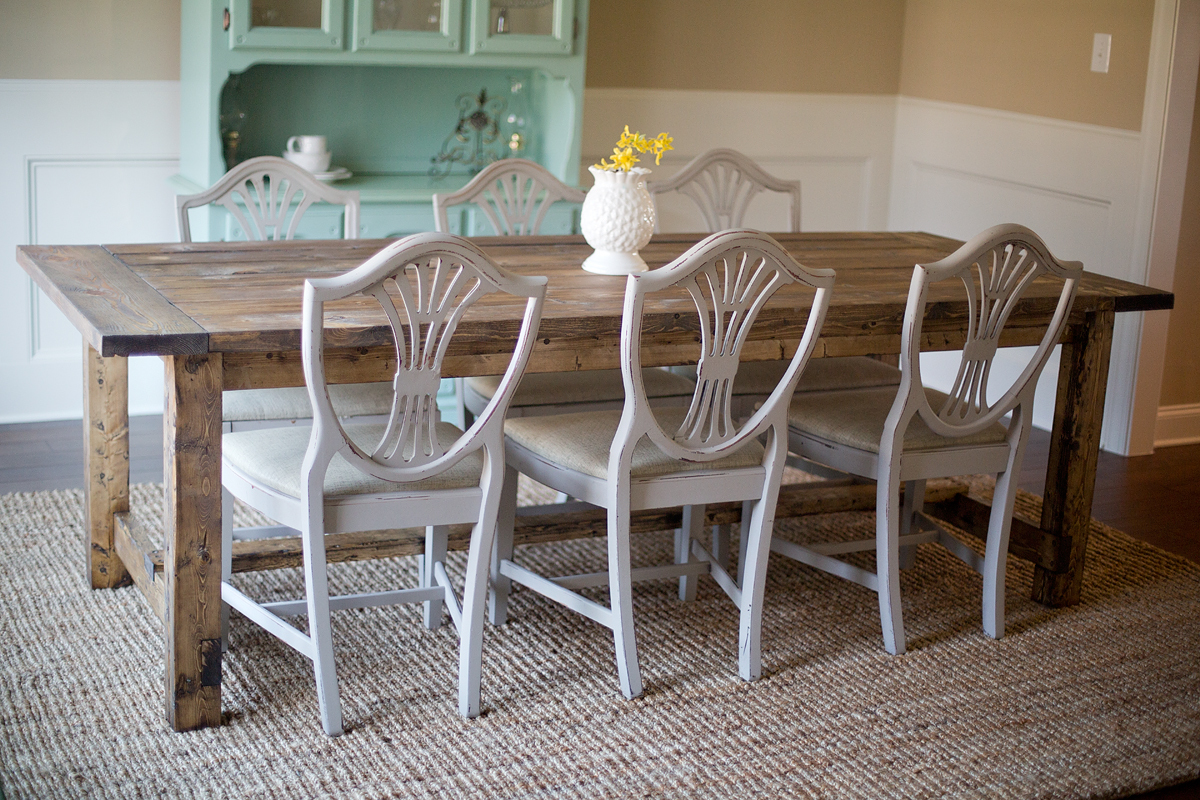
Farmhouse Table

Submitted by ssshindler on Fri, 11/07/2014 - 05:39

This is my first project and I am thrilled with how it turned out. Thank you Ana, you have empowered this stay at home mom! 

Finish Used
minwax dark walnut stain, polyvore wax varnish
Recommended Skill Level
Starter Project

Comments

sagey

Sun, 11/09/2014 - 18:41

I  love this table sooooooo much .

please explain exactly how you achieved the finish on it > is the wood reclaimed!!!!

sagey

Sun, 11/09/2014 - 18:42

I  love this table sooooooo much .

please explain exactly how you achieved the finish on it > is the wood reclaimed!!!!

Garage shelving

Submitted by mandi10uga on Wed, 03/08/2017 - 05:48

Modification:

Customized a space for our trash bin, to lift it up to the main floor level. Now we can toss trash without leaving the kitchen.  Fantastic!

Estimated Cost
$100
Estimated Time Investment
Afternoon Project (3-6 Hours)
Finish Used
None
Recommended Skill Level
Beginner

Comments

Mudroom Bench

Submitted by BeingHome on Sat, 02/23/2013 - 22:26

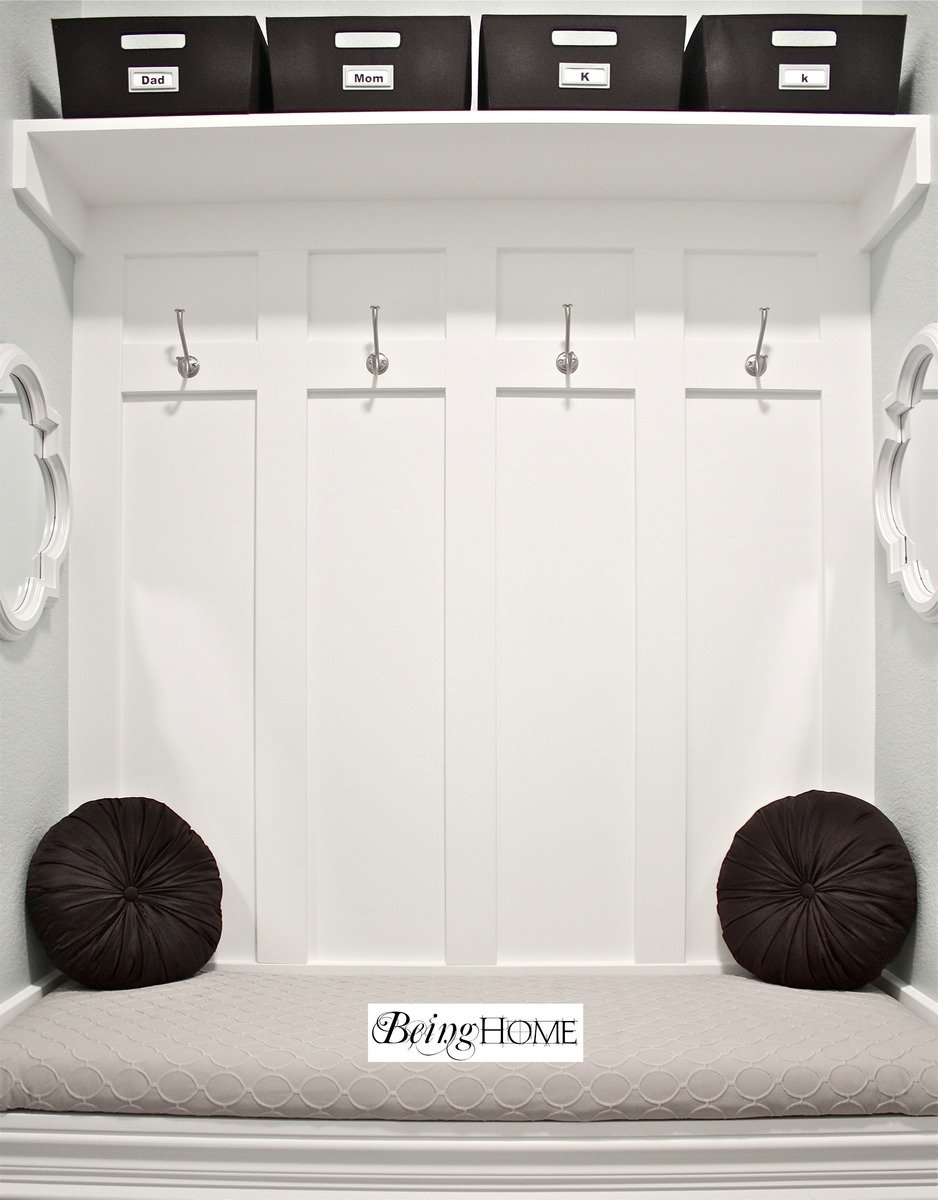
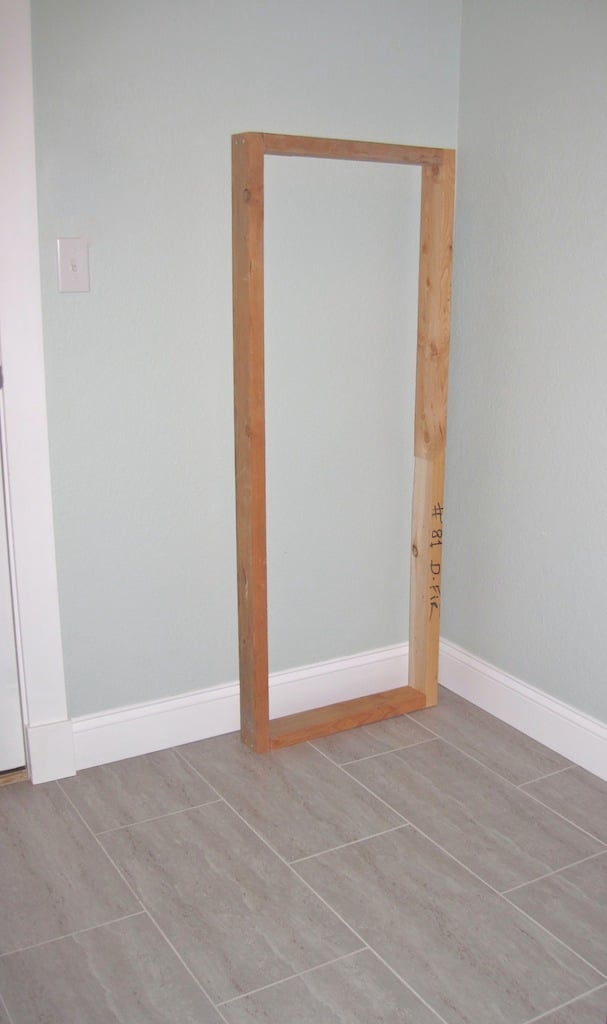
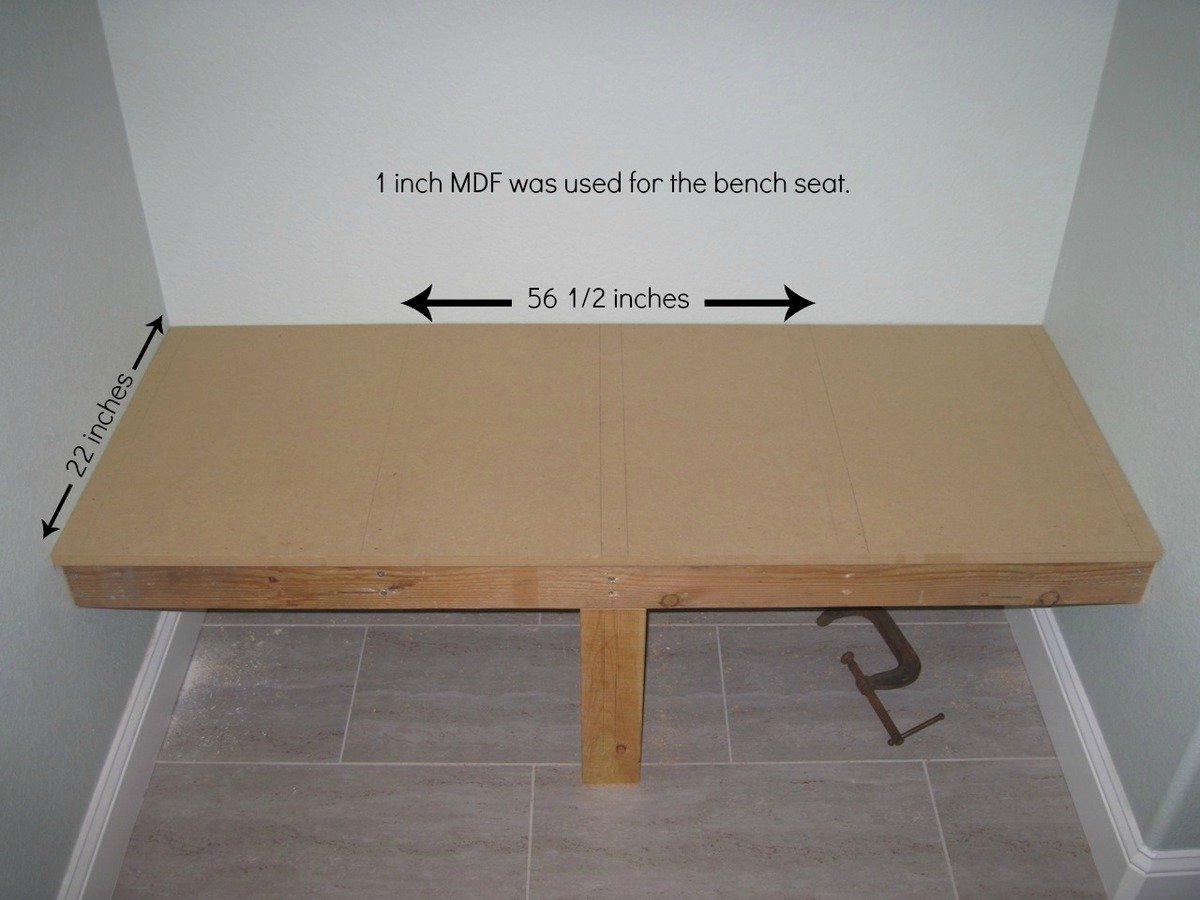
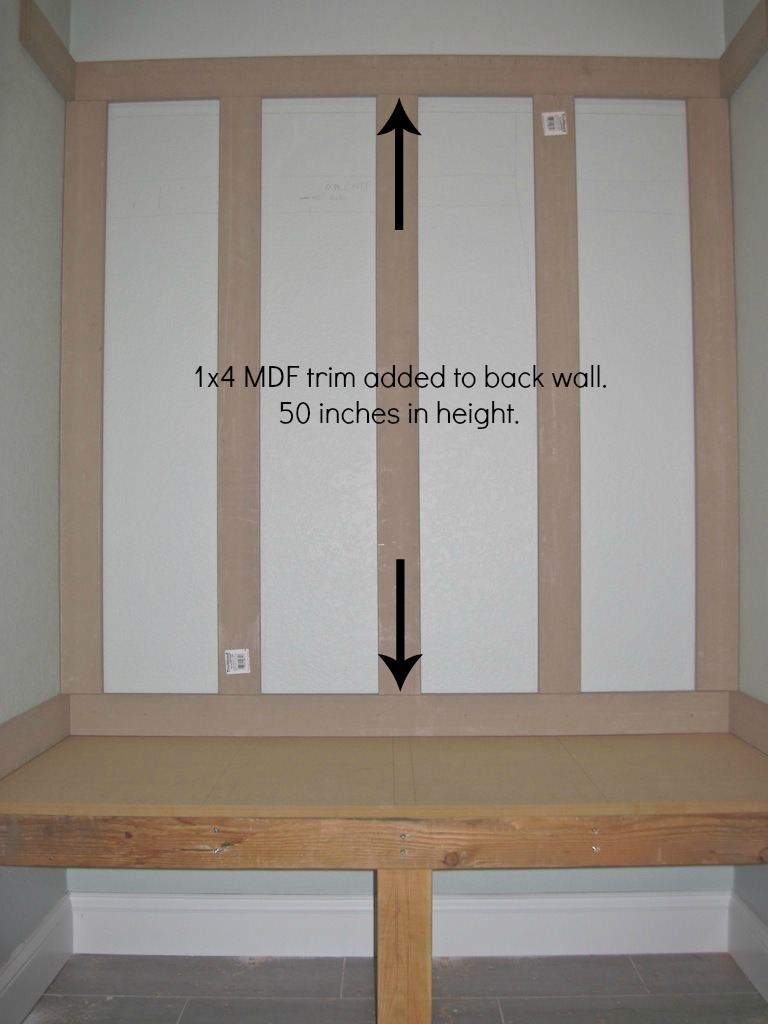
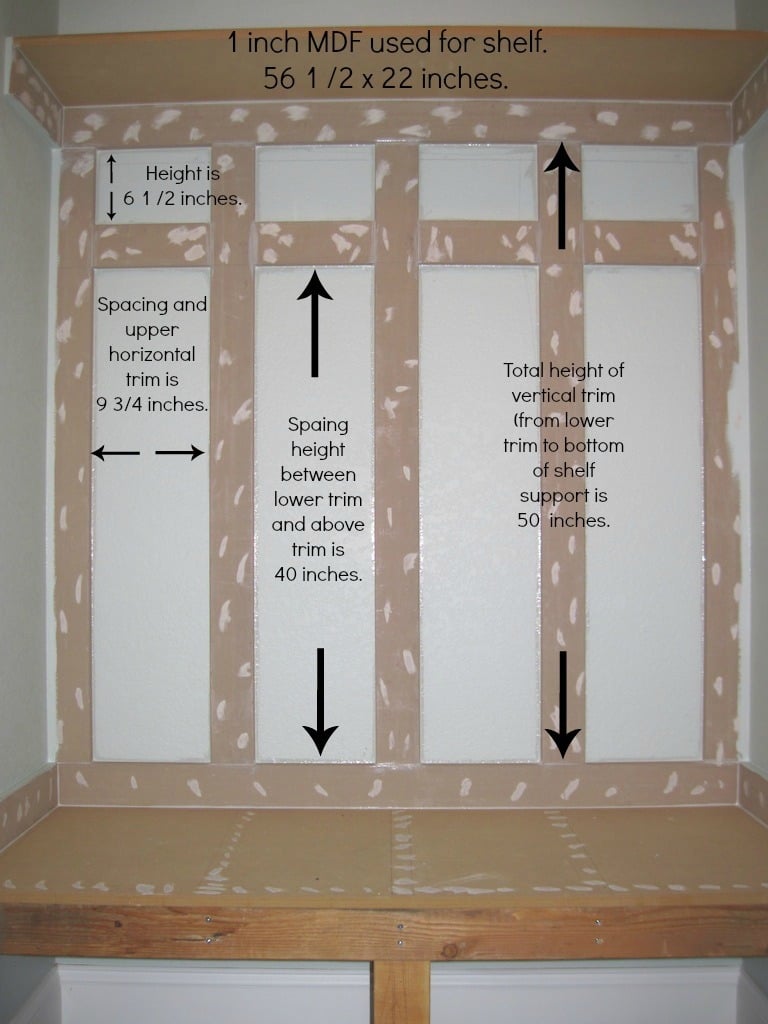
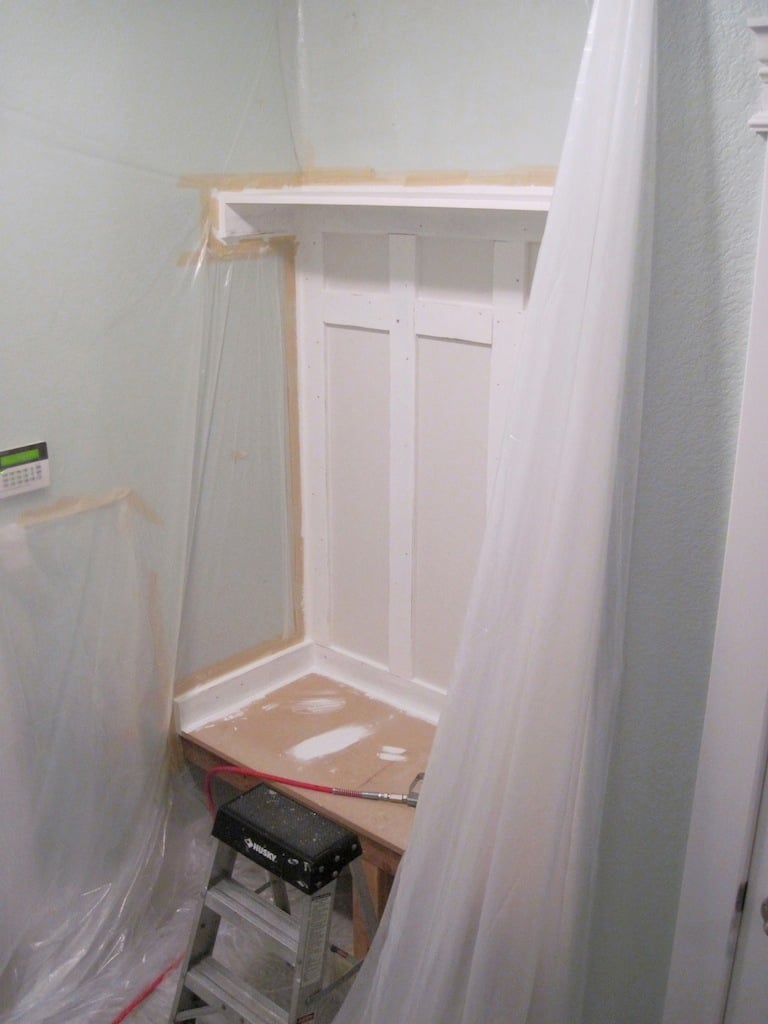
With much needed seating in the mudroom, an unused space (nook) was used to build a mudroom bench and shelf. No plans were used. I basically looked on-line and mentally drew up an idea of how I wanted the final product to look.  


There were some setbacks such as not like the knock down textured walls (after partially painting the bench). I ended up covering the textured walls with hardboard and repainted.


A bench cushion was made for added comfort and style.


Complete tutorial for the bench is here and the bench cushion tutorial is here.


Thank you.


Julie

Estimated Time Investment
Weekend Project (10-20 Hours)
Finish Used
Behr Ultra (paint and primer in one) in ultra white finish.
Recommended Skill Level
Beginner

Comments

Cleverly6

Thu, 05/16/2013 - 13:48

Thank you so much for the idea and plan. I used it to turn an extra laundry room that we have off of our garage into a much needed mudroom. The most challenging project I have ever done before is hanging blinds. But with your help and some from the Home Depot employees, I did it! Our family is more than happy with it. Thanks!!!

BeingHome

Sun, 08/25/2013 - 22:28

Thank YOU so much! I would love to see a picture of your new mudroom area. :) I am happy the plans helped and of course Home Depot. ;)

Sorry for my delayed response. :(

BeingHome

Sun, 08/25/2013 - 22:28

Thank YOU so much! I would love to see a picture of your new mudroom area. :) I am happy the plans helped and of course Home Depot. ;)

Sorry for my delayed response. :(

Small Pantry Renovation

Submitted by dcampnrtp on Sat, 02/27/2021 - 07:53

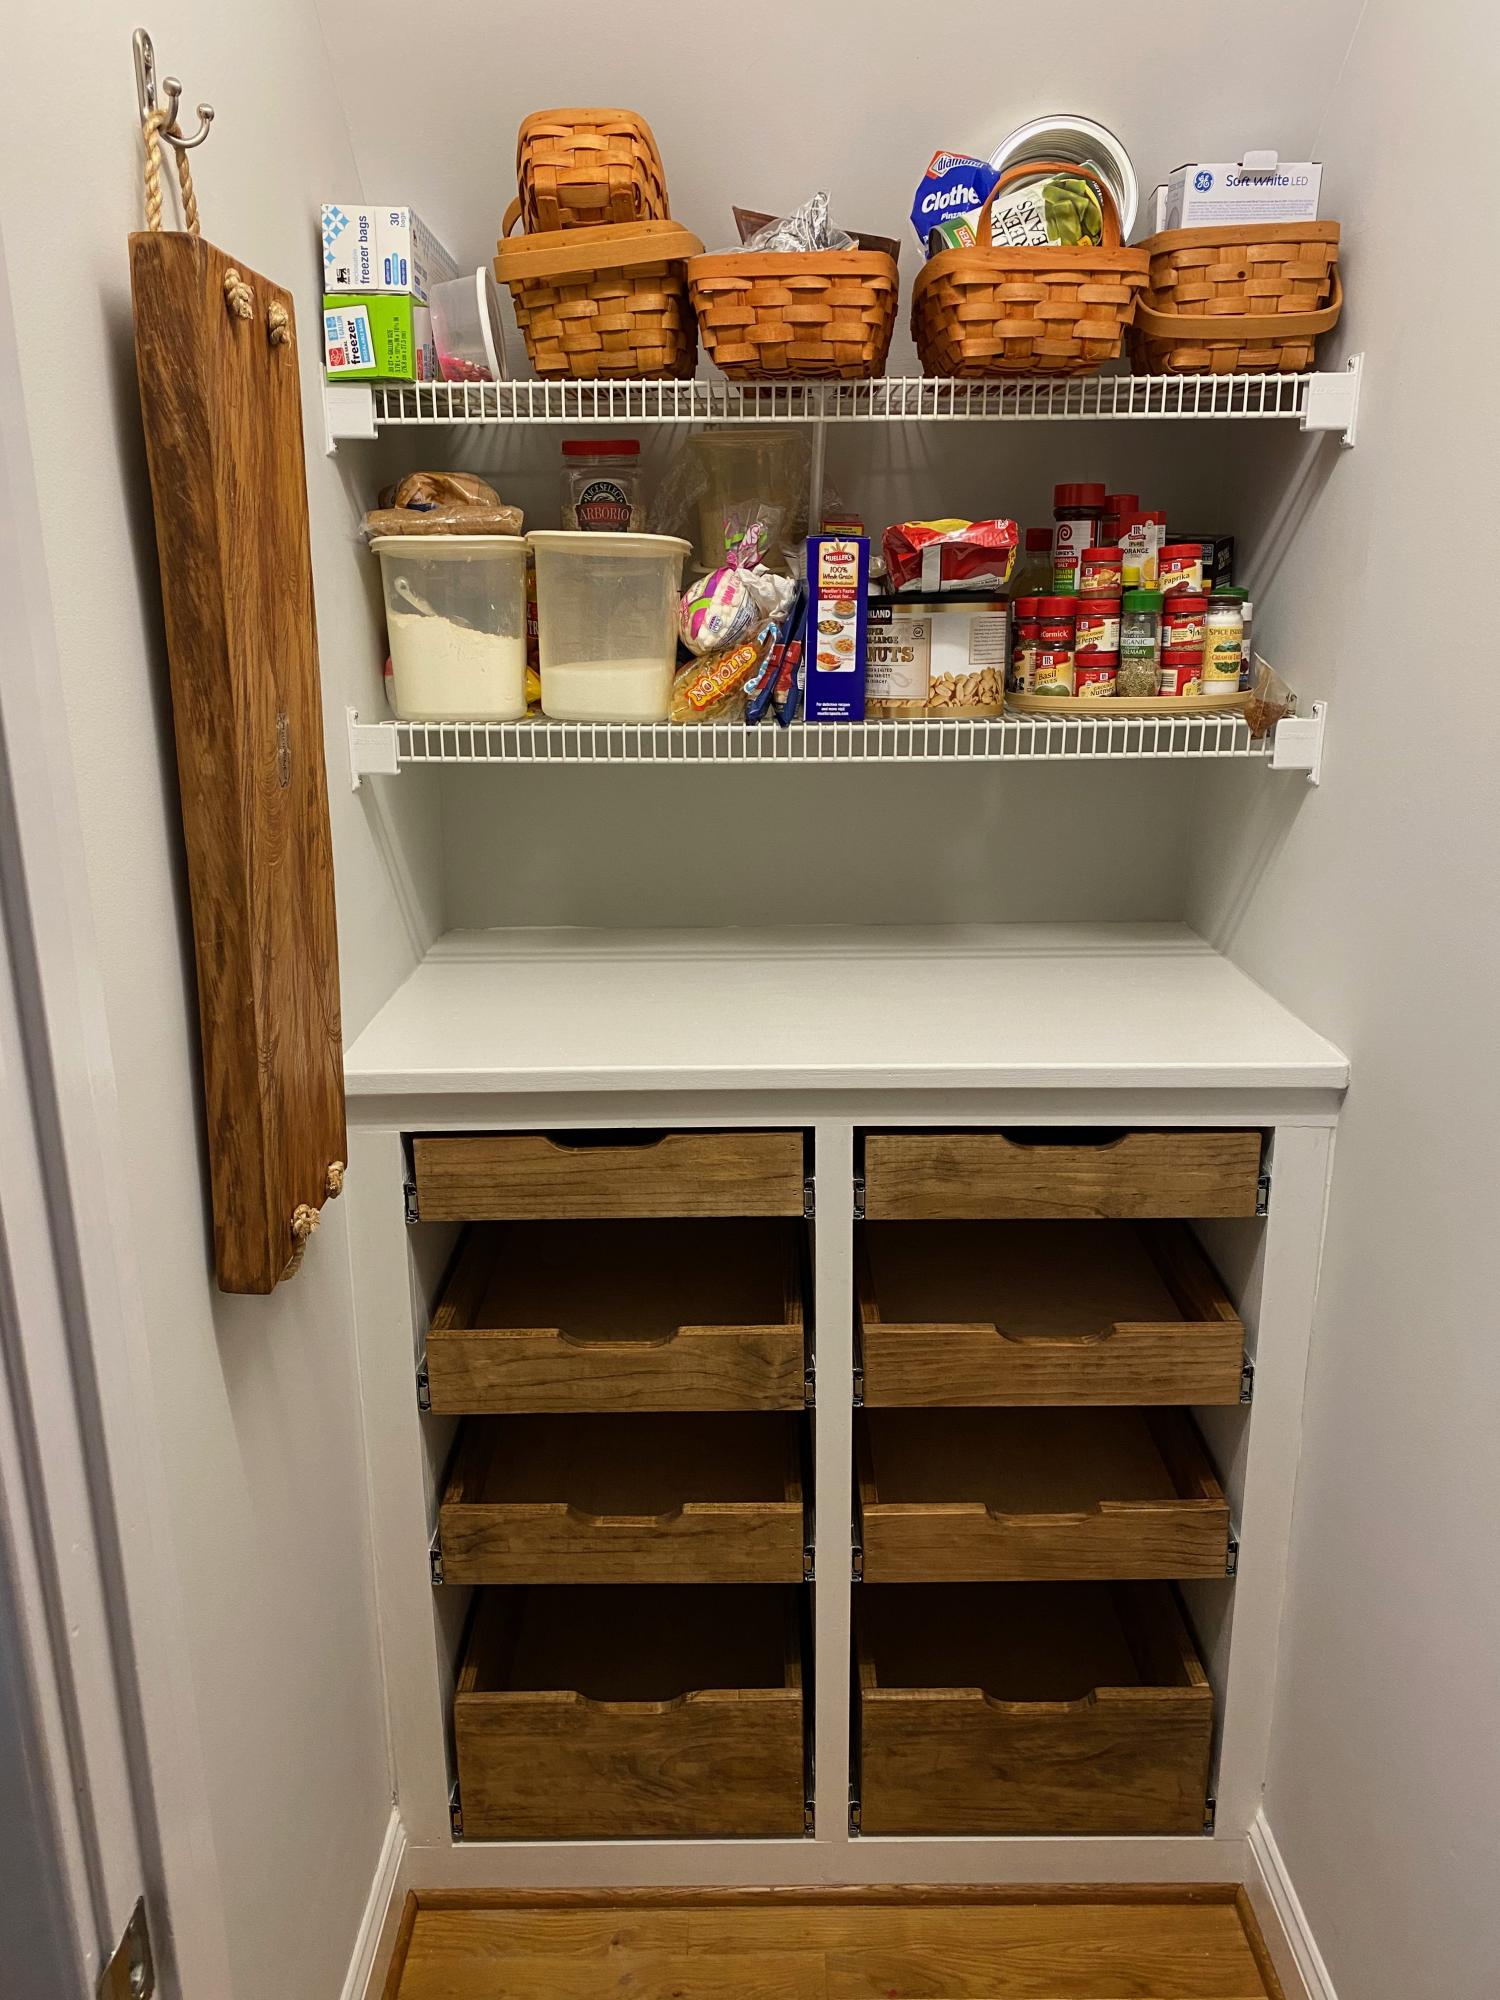
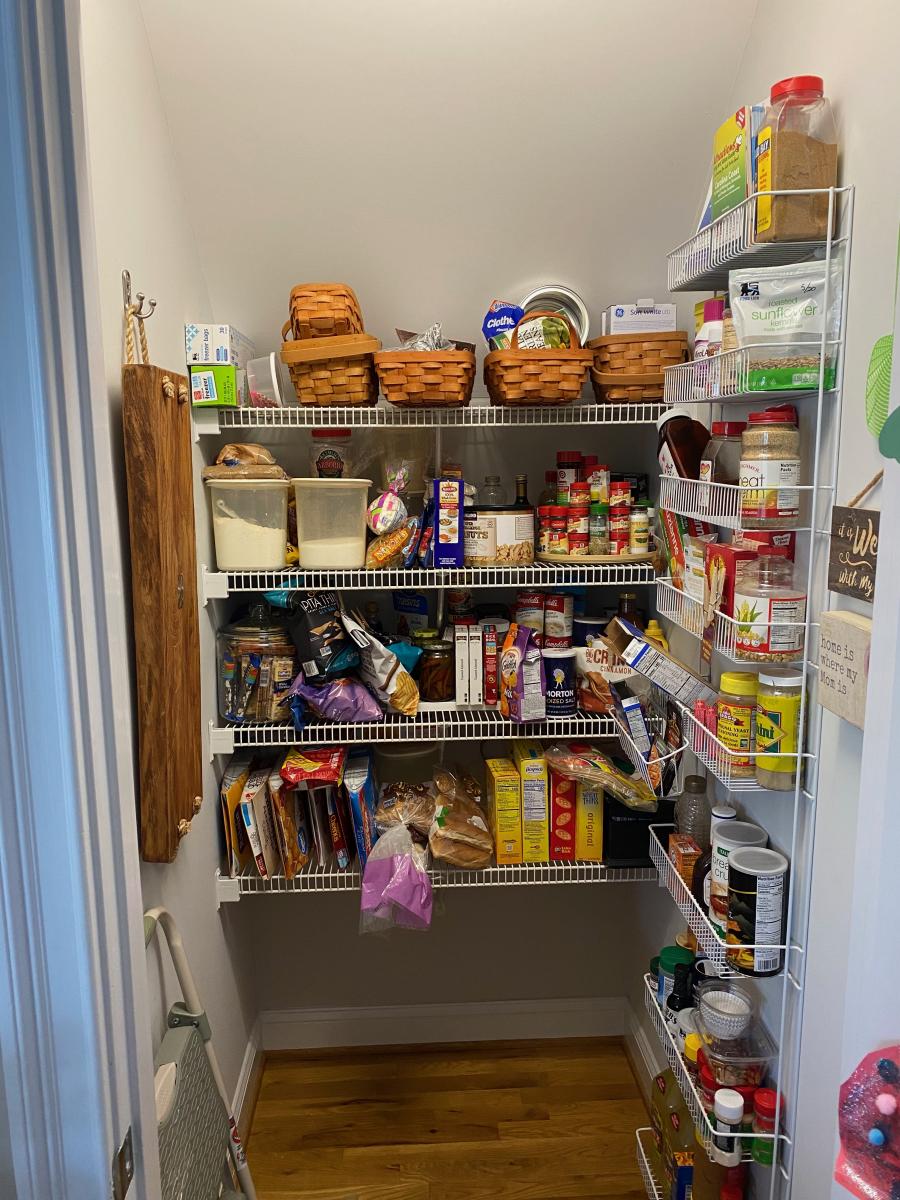
We had a small walk-in kitchen pantry with wire shelving. The shelves were packed.....and so was the floor! We lost things in the clutter and I built base cabinets that were 40" tall x 22" deep and installed full extension pull-out drawers. Bottom drawers are tall enough for canisters, tall boxes, etc. The top drawers contain all of our cooking spices so that we can see each and every item. The full extension drawers makes things easy to access and organized. Next step is removing the 2 remaining wire shelves. Pleased with the transformation with the base cabinet!

Related: How to Install Full Extension Drawer Slides

Estimated Cost
$350
Estimated Time Investment
Weekend Project (10-20 Hours)
Finish Used
White paint and Early American stain for the drawers
Recommended Skill Level
Intermediate

Comments

Custom kids closet

Submitted by Jon Moore on Sun, 04/07/2013 - 19:36

I was inspired by the custom closets on this site and decided to have a go at it. My daughter is in high school, so I wanted something functional with a bit of teenage flair.

Of all the designs I researched, I loved Kristen's design (from Pink Toes & Power Tools here: http://ana-white.com/2012/02/closet-organizer) the most, but wanted to add a substantial shoe section and not lose any rod space in the process. I also needed one rod section to be longer than the other two to hang her dresses.

All in all a fun project where I used just about every tool I own:

Circular saw to rough out the plywood shelves and supports.

Table saw with a cross-cut sled (http://wnwoodworkingschool.com/5-cuts-to-a-perfect-cross-cut-sled/) to make the plywood pieces all perfectly square & an extra long rip fence.

Router (with jig) for the dovetail joints, detailing on the drawer fronts and rounding the leading edges of the shelves.

Power drill for mounting the drawers, drawer fronts and handles

Compound Miter saw for the various face framing pieces and the shoe moulding

Pipe cuter to cut the rods (also made a jig to both hold the rods in place while I mounted the supports and set it at the correct height and distance from the wall--used a planer in making this)

Orbital sander

Brad nailer during assembly (also made a jig here to set the plywood pieces on during the tower assembly to keep the back square while I used 90 deg clamps on the fronts).

Airless paint sprayer (I have learned that my wife does not like brush marks!)

Washers for spacing the drawer fronts (found this trick online and it works like a charm!)

Lots of clamps!!!
Estimated Time Investment
Week Long Project (20 Hours or More)
Finish Used
White paint
Recommended Skill Level
Intermediate

Comments

My First Greenhouse

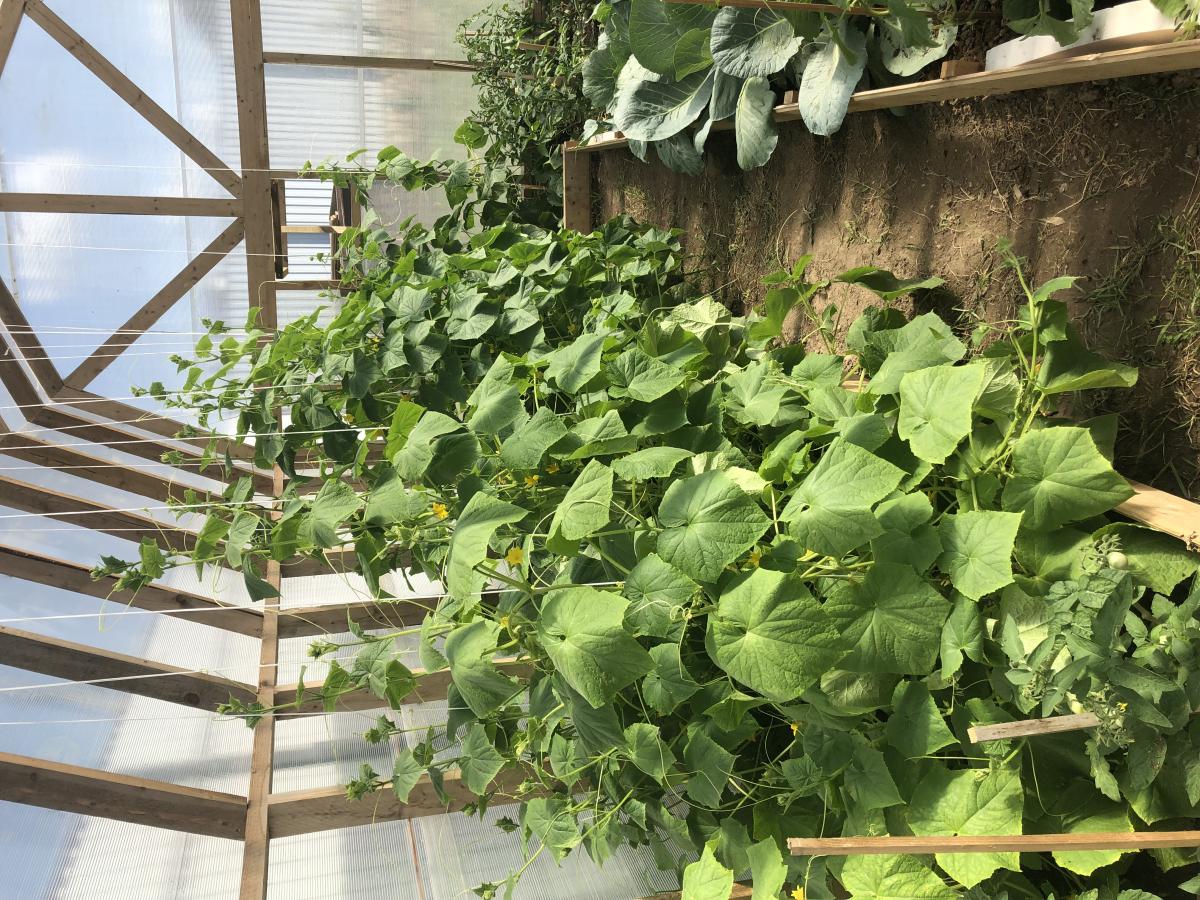
This was my first attempt at building a greenhouse. I wanted my cucumbers to be able t climb high so I made the house higher than the plans showed. It's also a little larger too. Since I am in Europe my dimensions are in meters. The overall size is 3 x 6 meters. I also built it on top of 100mm x 100mm lumber (the equivalent of 4x4's). It took 5 sheets of 6mm thick polycarbonate in 2 x 6 meters.

Built from Plan(s)
Estimated Time Investment
Week Long Project (20 Hours or More)
Recommended Skill Level
Intermediate

Comments

Square Picnic Table

Submitted by frmoody on Tue, 08/10/2021 - 07:05

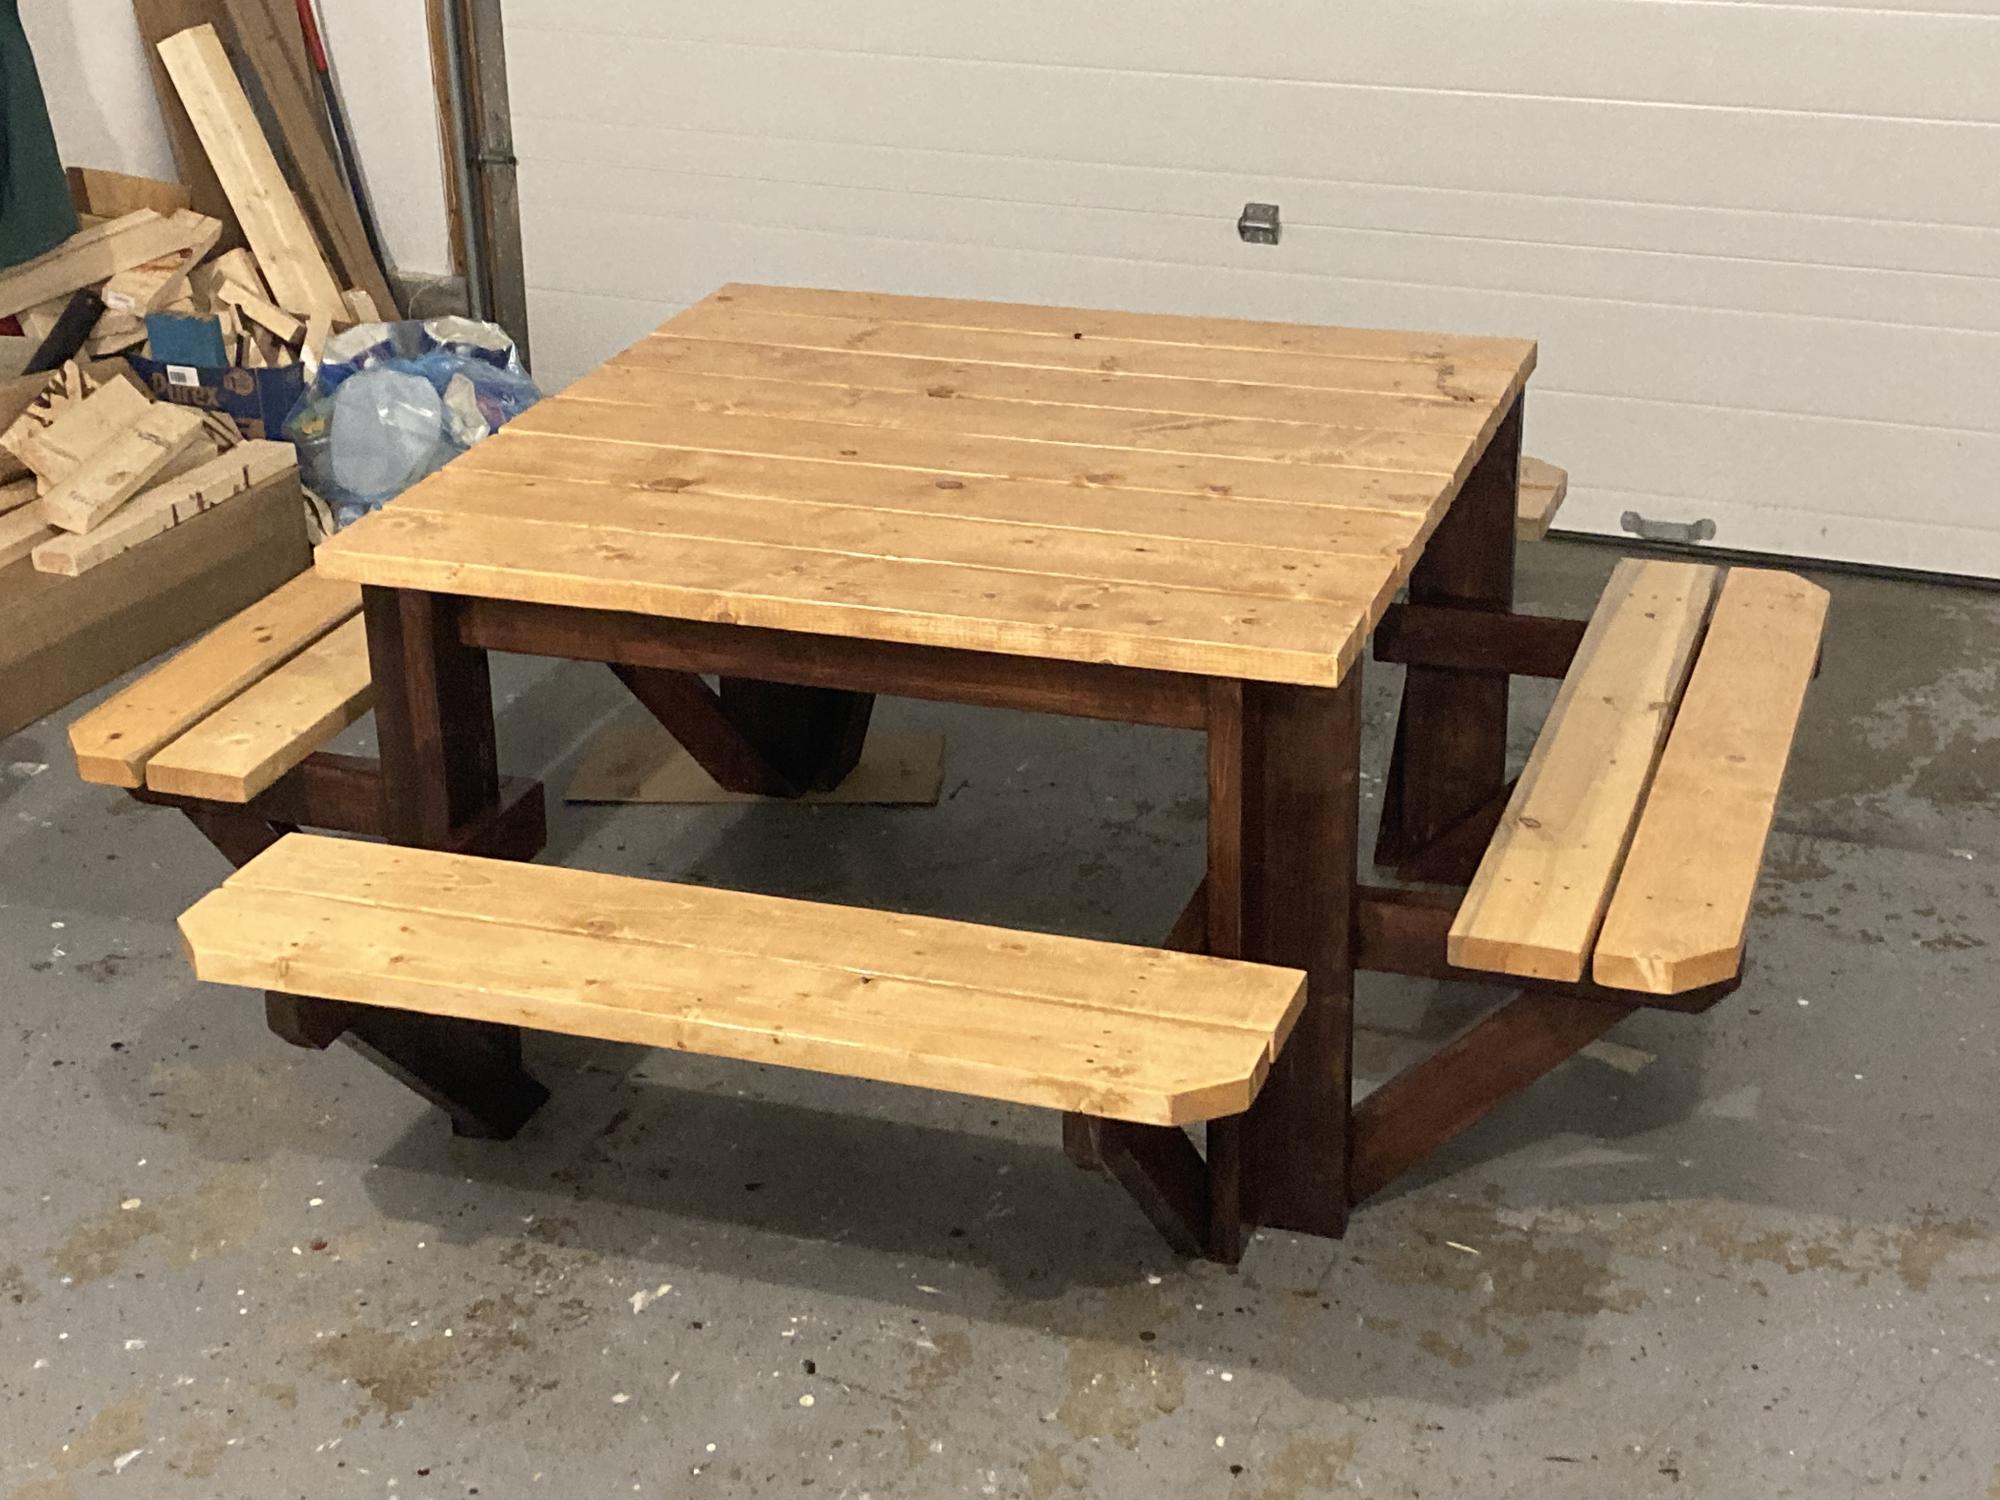
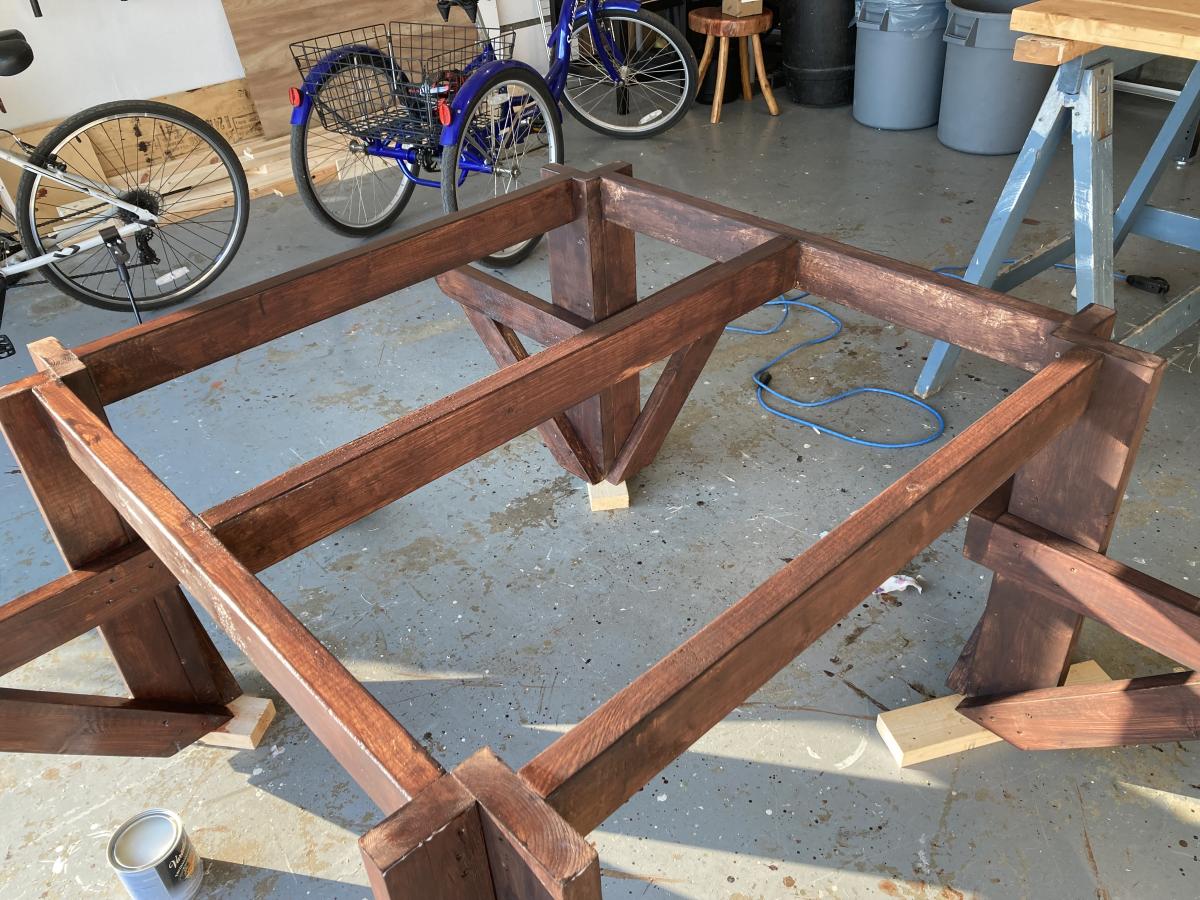
Enjoyed this project although with the price of lumber it was a little expensive to build. The only modification I made was to put a cross brace in the centre of the table top. That allowed me to attach the top boards a little more securely as some of them were a little bowed. I'll add a better photograph once I get it out of my garage and on to the back deck. It is a little heavy.

Built from Plan(s)
Estimated Cost
$240
Estimated Time Investment
Weekend Project (10-20 Hours)
Finish Used
I stained the dark part of the table with Behr water based English Chestnut and the seat and top with Minwax Ipswich Pine followed by four coats of Varathane Exterior Gloss.
Recommended Skill Level
Intermediate

Comments

Adirondack Chairs

Submitted by Anonymous (not verified) on Mon, 10/04/2021 - 12:57

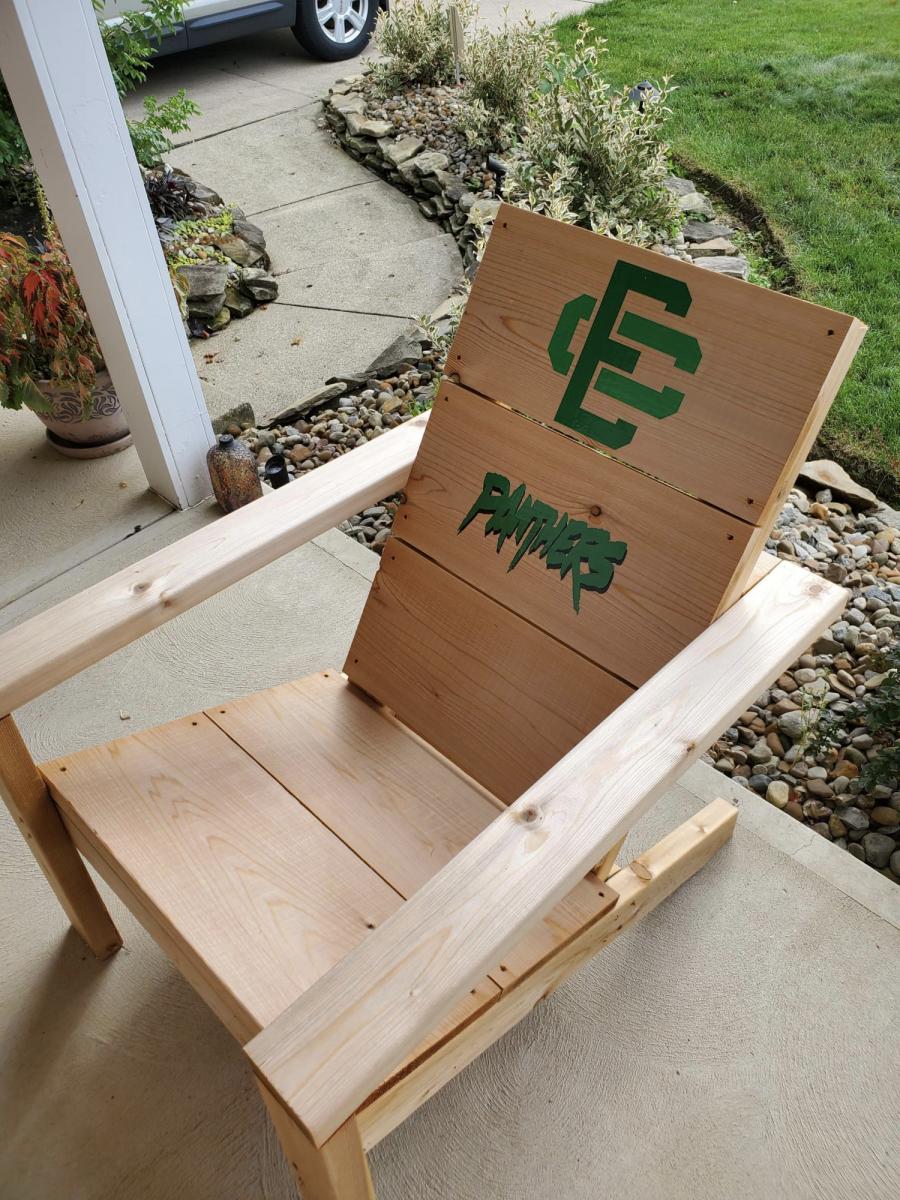
The first is a modern adirondack chair mad3 of cedar and I added some vinyl stickers for my son's high school logo.

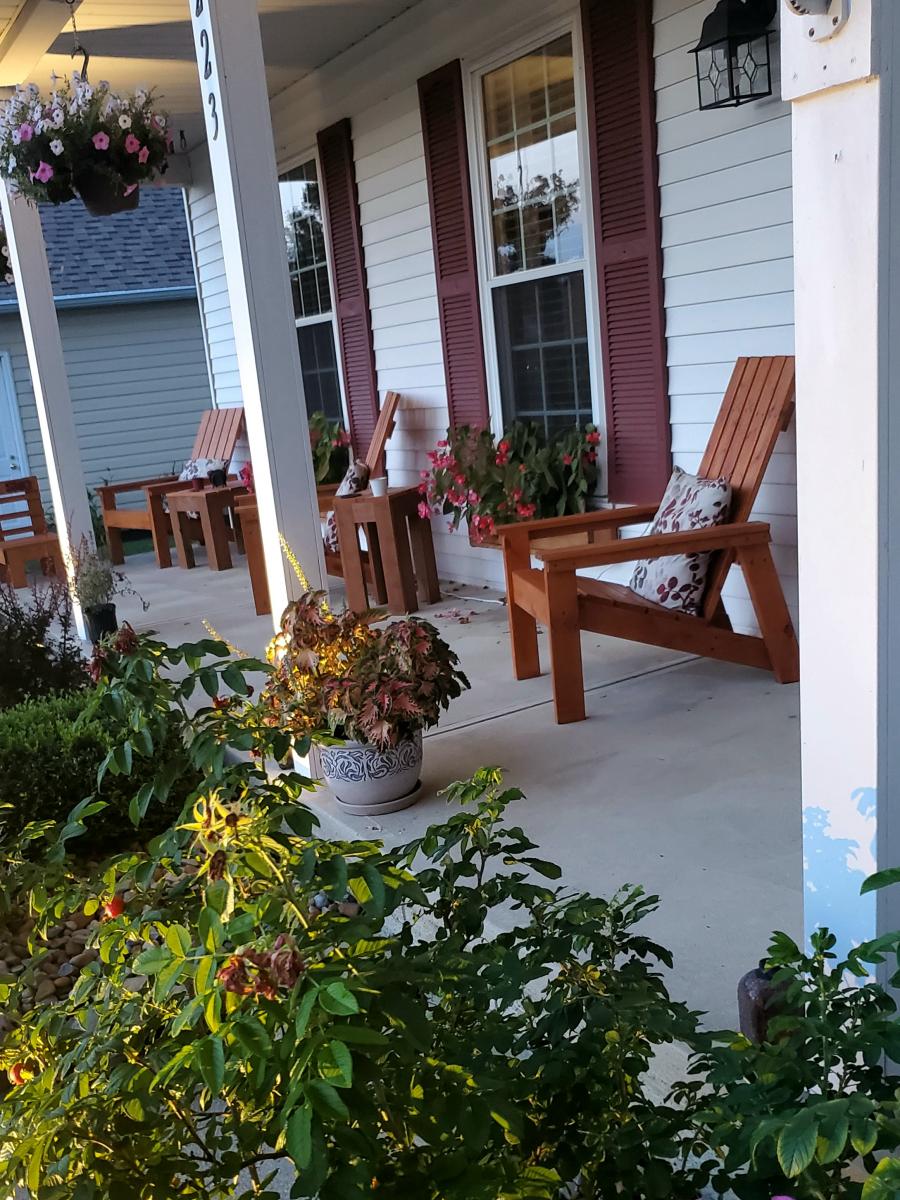
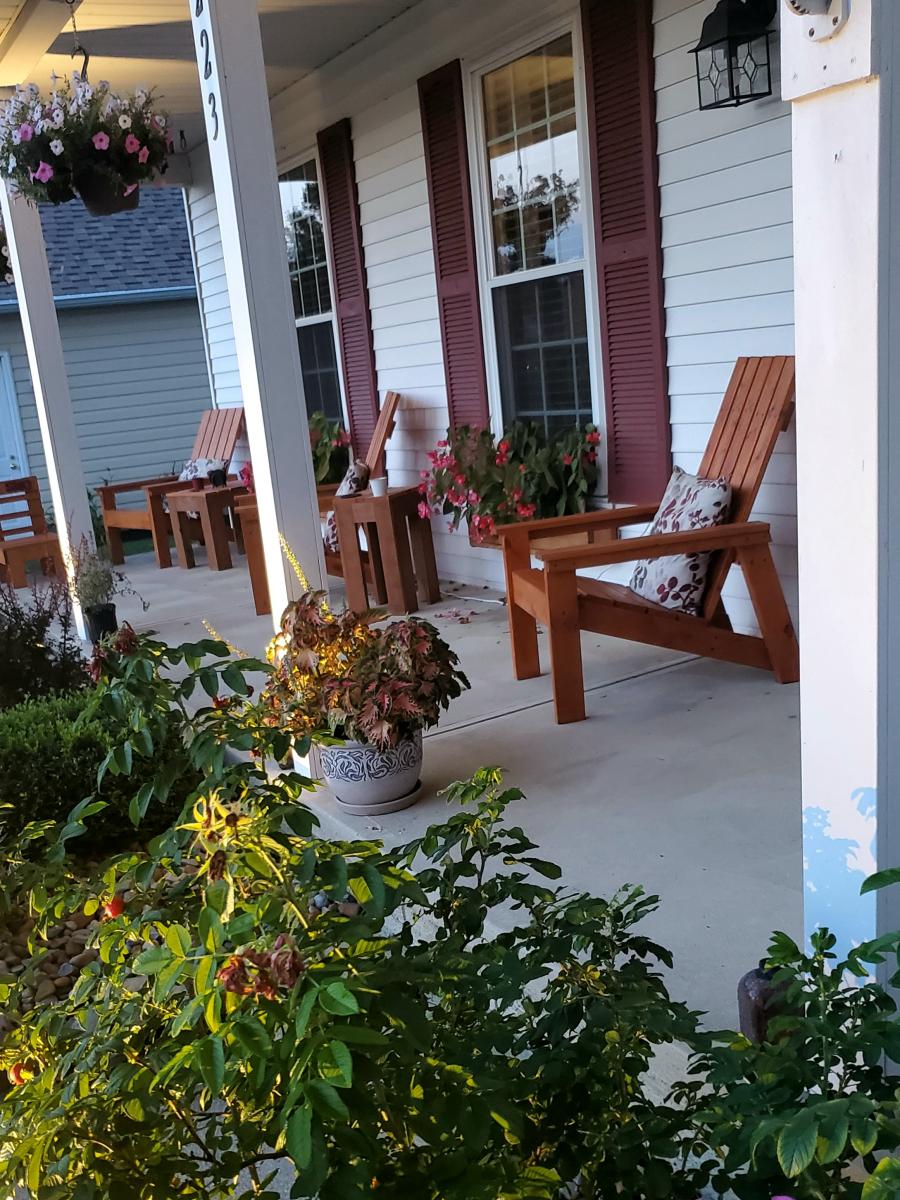
The second are a set I made using just pine and stained with cedartobe stain. They stay under the cover of the porch and are in excellent condition after 4 years.

Comments

Seasonal And Holiday

Three Story American Girl or 18" Dollhouse

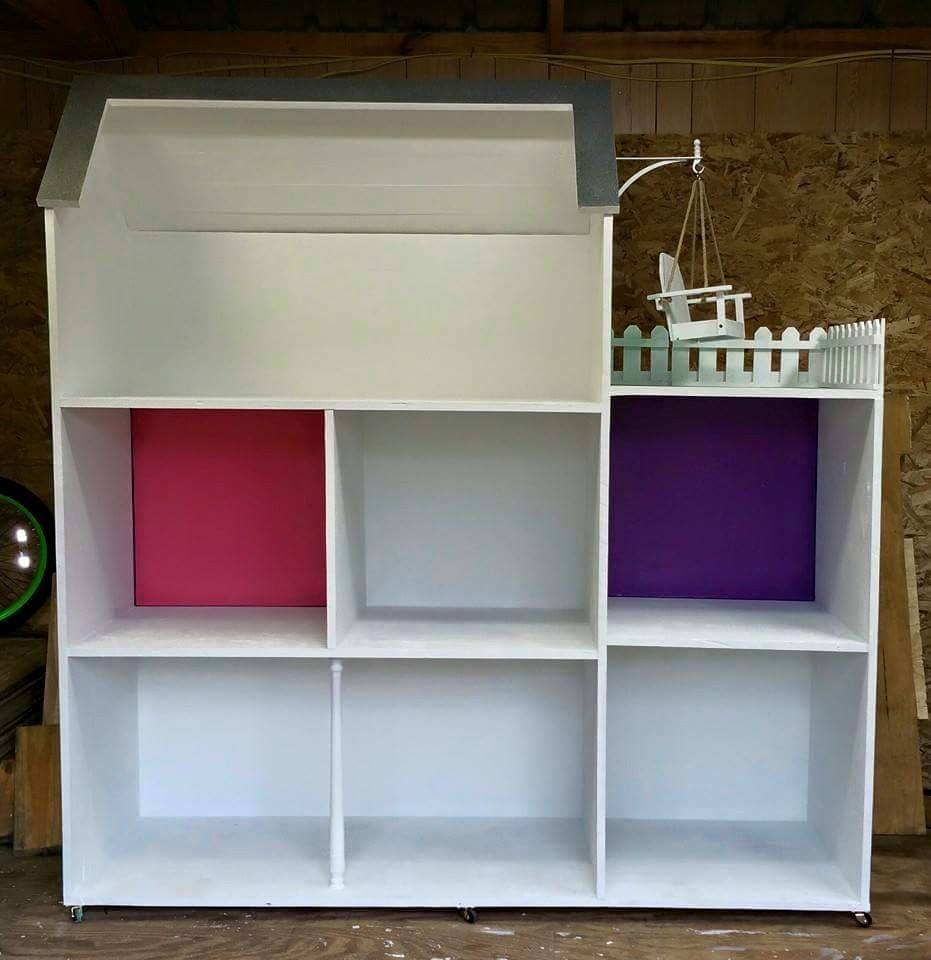
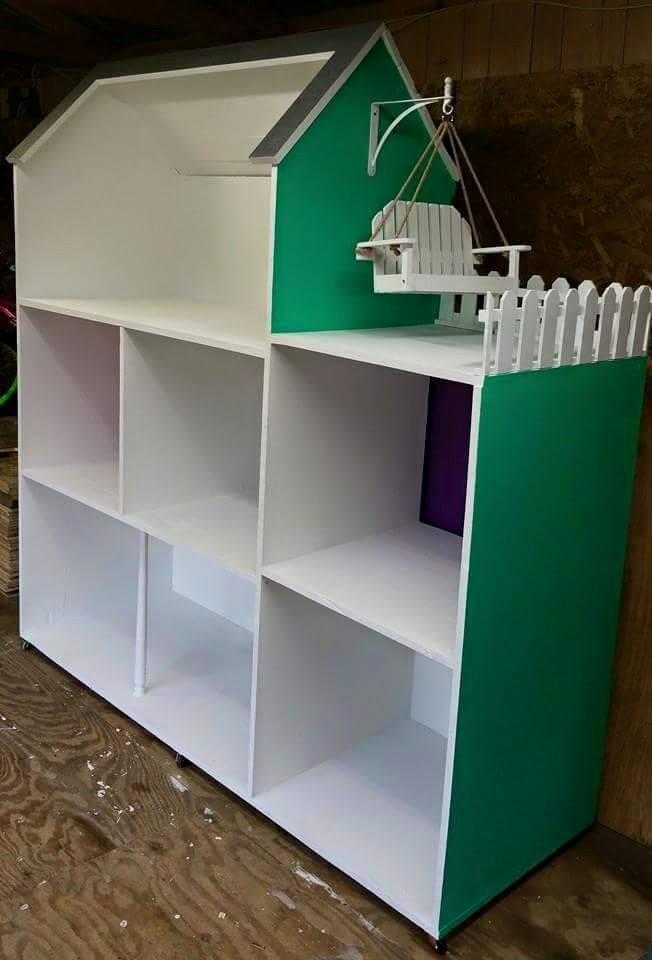
This was a blast to make, we added 2 roooms and a swing but every thing else was the same!
Finish Used
Paint/Primer
Recommended Skill Level
Beginner

Comments

Cedar Raised Garden Planter

Submitted by Tamila on Wed, 03/09/2011 - 21:48

This was my first building project ever! It was so easy to do...the only problem was that we didn't have enough room for all the veggies we wanted to plant in our garden because we only built two! The plan is to build at least two more this summer!

Estimated Time Investment
An Hour or Two (0-2 Hours)
Recommended Skill Level
Starter Project

My first attempt at making furniture.

Submitted by MikeA on Sat, 04/11/2015 - 18:48

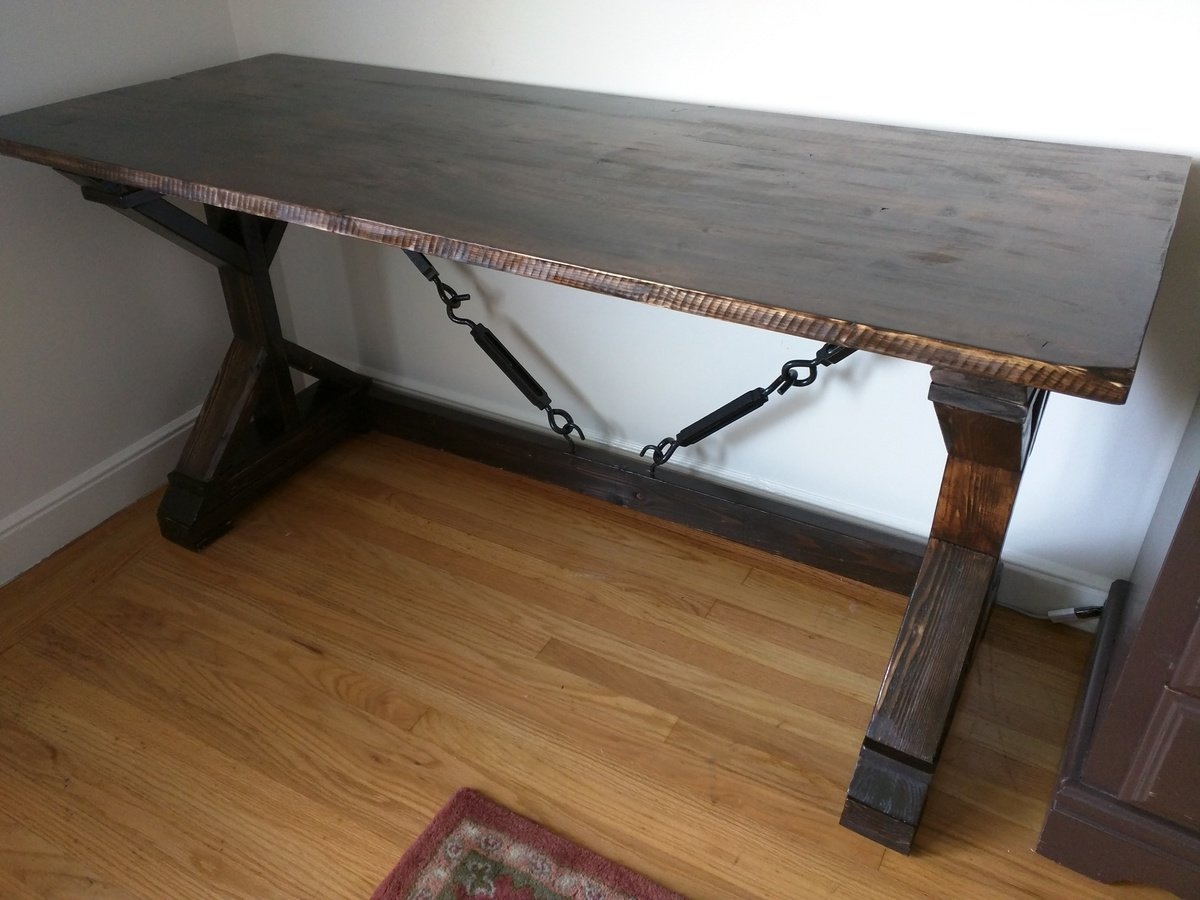
This is my first DIY furniture build.  Had some issues with the Poly, but it turned out better than I thought.  I used a couple of Turnbuckles with black hammer spray paint instead of the back slant supports.  Made some mistakes, but learned a lot.  Thanks Ana for the great site and all of the great posts.

Built from Plan(s)
Recommended Skill Level
Beginner

Comments

MikeA

Fri, 05/29/2015 - 22:51

Actually it was a pristine pine project board that was very easily dented and marked. If you notice the corner, that's from shortening it and roughly cutting with a circular saw. The end of the cut chipped the corner off and I just sanded it down with a rotary sander. Same sander for the edges gave me the tree ring look. I also went with cheaper 2x4 that had some blemishes and then sanded them down to give it a more lived in look for the side legs.

DIY Herringbone Barn Door

Submitted by susanshamp on Fri, 05/01/2015 - 22:25

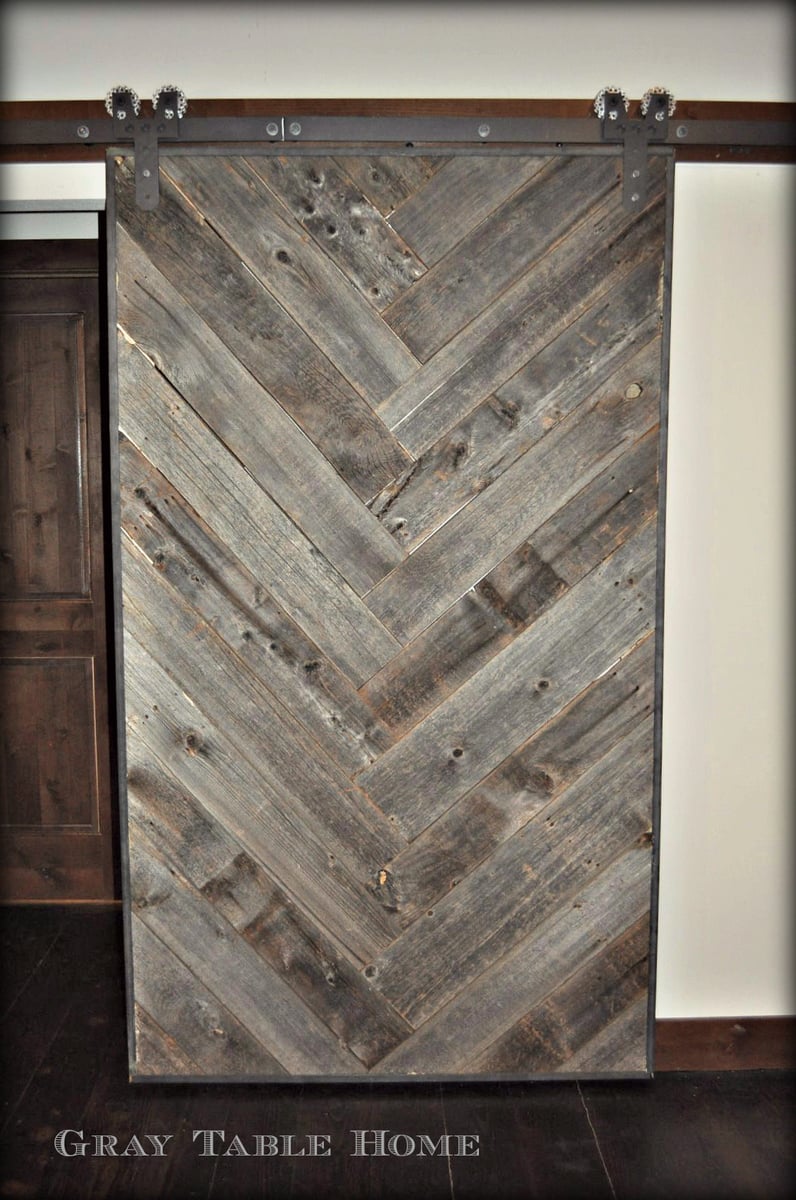
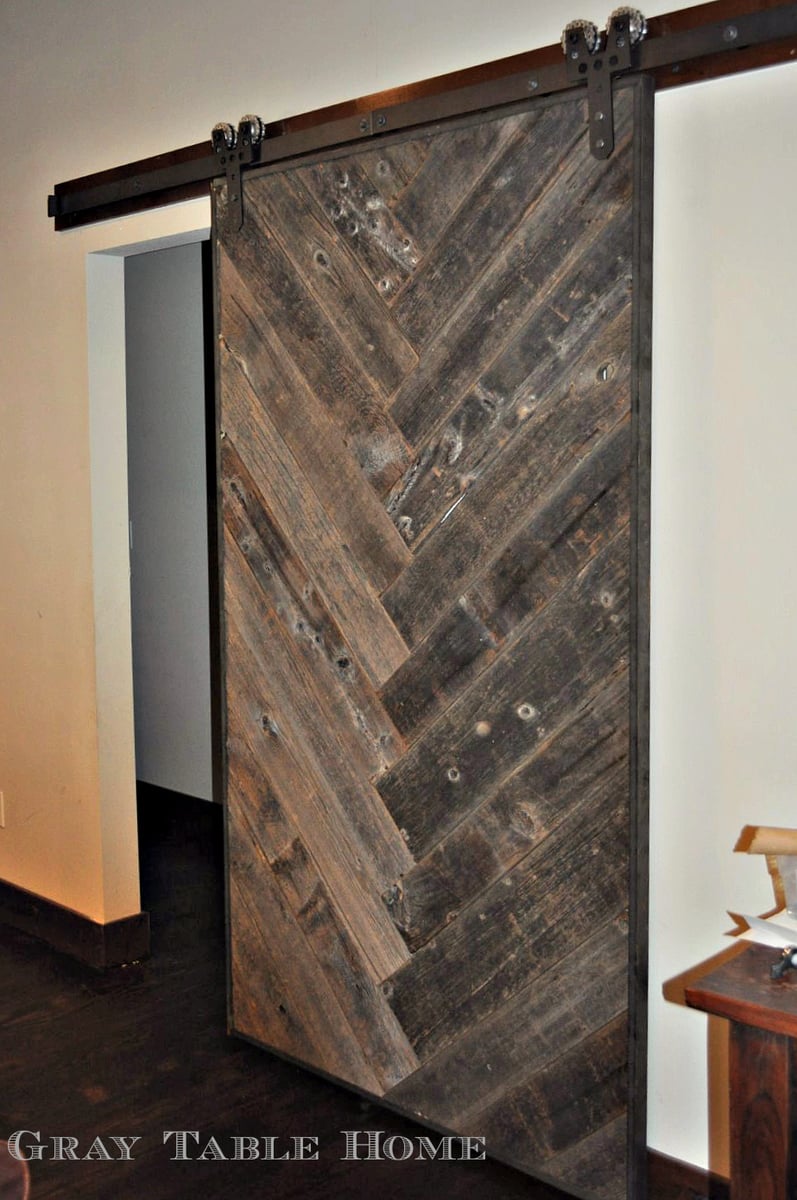
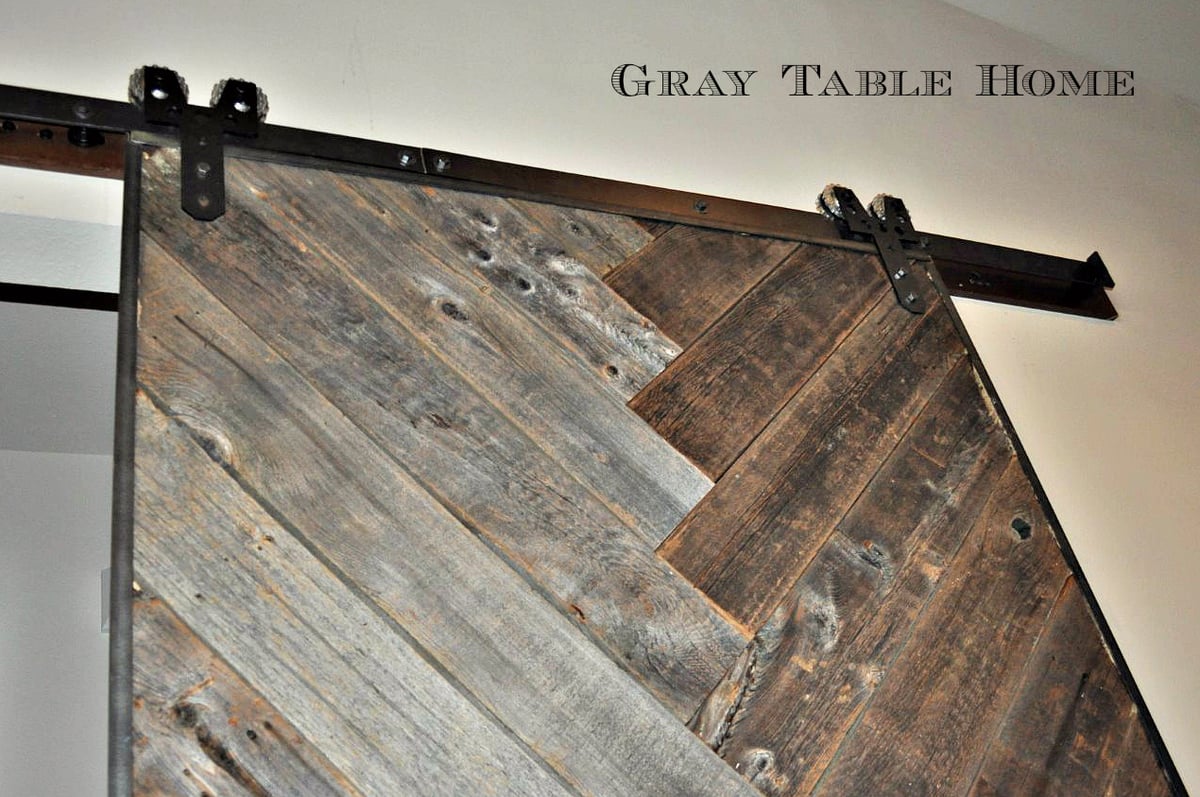
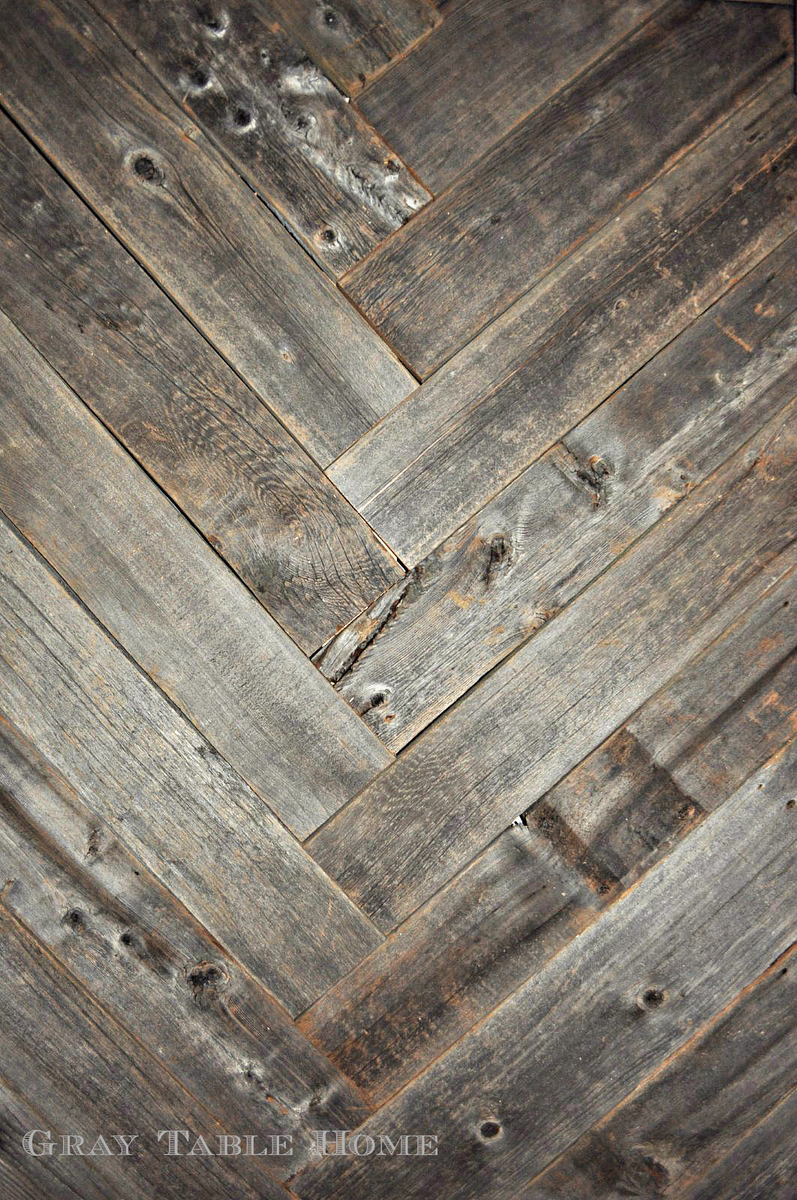
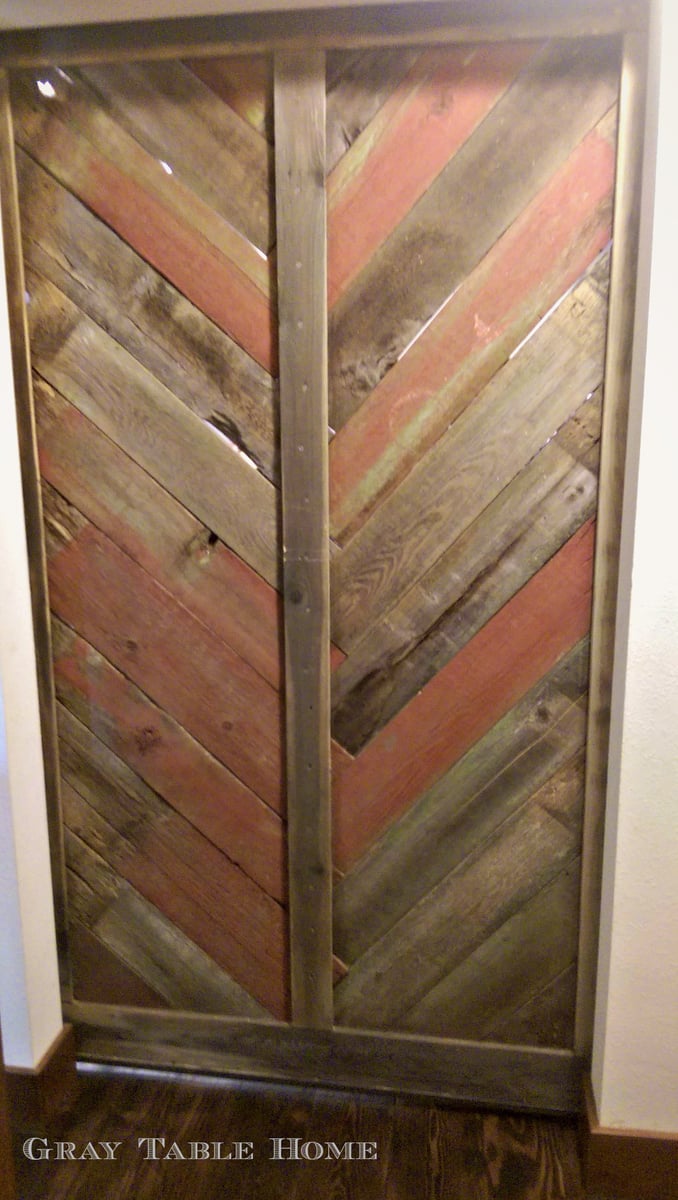
This DIY Herringbone Barn Door is used over a simple hallway opening to separate the maing living space from the kids' bedrooms. I searched this site and Pinterest for inspiration, and loved the herringbone and chevron patterns that I found. This door was made of reclaimed barn wood and wrapped in raw steel channel iron. Hope you enjoy!

Estimated Cost
$150 for the wood and steel, not including the rolling hangers and track
Estimated Time Investment
Day Project (6-9 Hours)
Recommended Skill Level
Intermediate
Back