Community Brag Posts

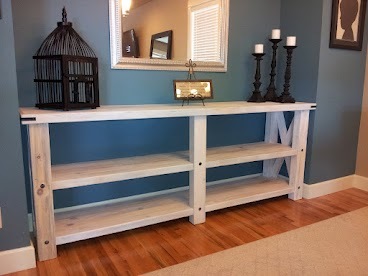
Rustic X console

Submitted by ussreddawg on Sat, 07/07/2012 - 11:54

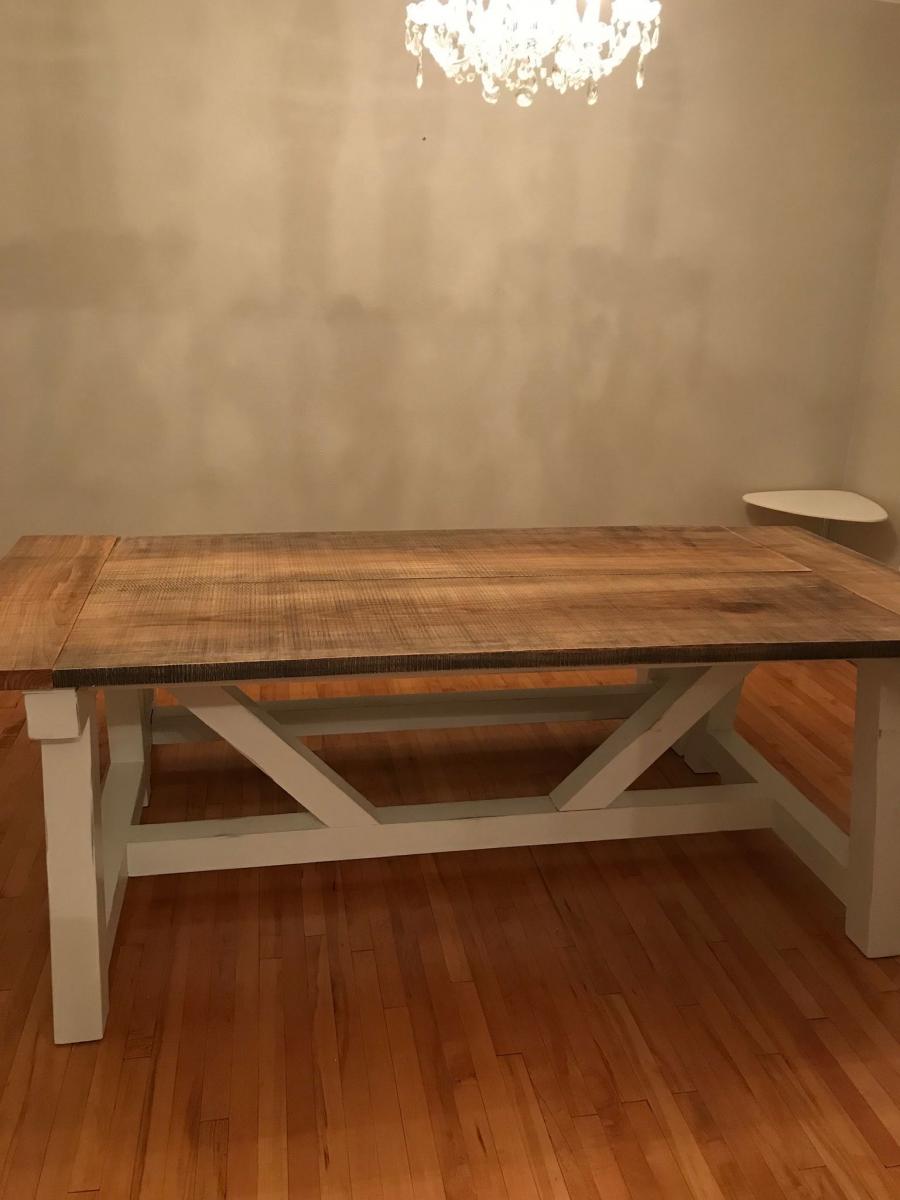
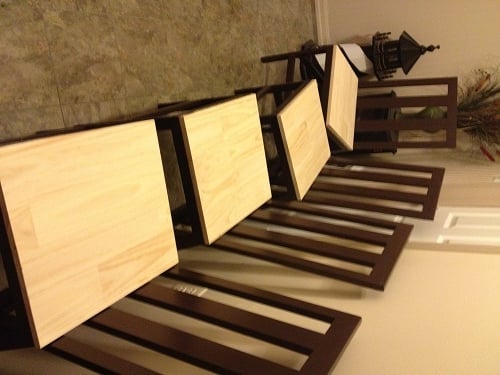
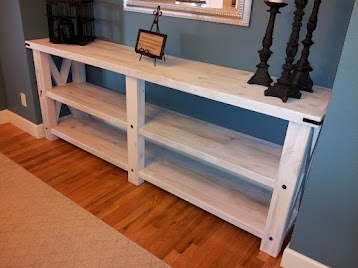
A x console table made to fit in recessed area near dining table. This was made out of scrap and left over blue pine. Top, middle and bottom shelves were joined with biscuits and kreg screws. In order to get more dimension out of legs I made out of 1x that were ripped at 45 and then the 4 pieces were joined with biscuits. Was stained with white mini wax

Estimated Cost
$50
Estimated Time Investment
Weekend Project (10-20 Hours)
Finish Used
white wash mini wash
Recommended Skill Level
Beginner

Comments

sarahwilley2

Sat, 09/01/2012 - 10:04

So instead of using the 1x12 for the shelves, you make them with (looks like) 2x3 or 2x4? I'm trying to figure out how to make mine deeper than the 16 inches it's drawn up for.

ussreddawg

Tue, 09/04/2012 - 14:01

I ripped 1x12's down to 1x4 and then used biscuits to edge join. I used a 1x2 for the edges (face plate) to add strength. I ripped them down because I like the look of smaller width boards and also my 1x12 were a little warped. If you have autocad I can send you my plans.

sarahwilley2

Tue, 09/04/2012 - 15:51

I unfortunately don't have autocad. I did some sketching and drawings and came up with that I'm shortening the length of the table and making it deeper. It'll be 46 inches wide and 24 inches deep. I'm using 2x6 for the bottom shelves and 2x4 for the top. Where I want to put it is limited space. Thanks for the advice!

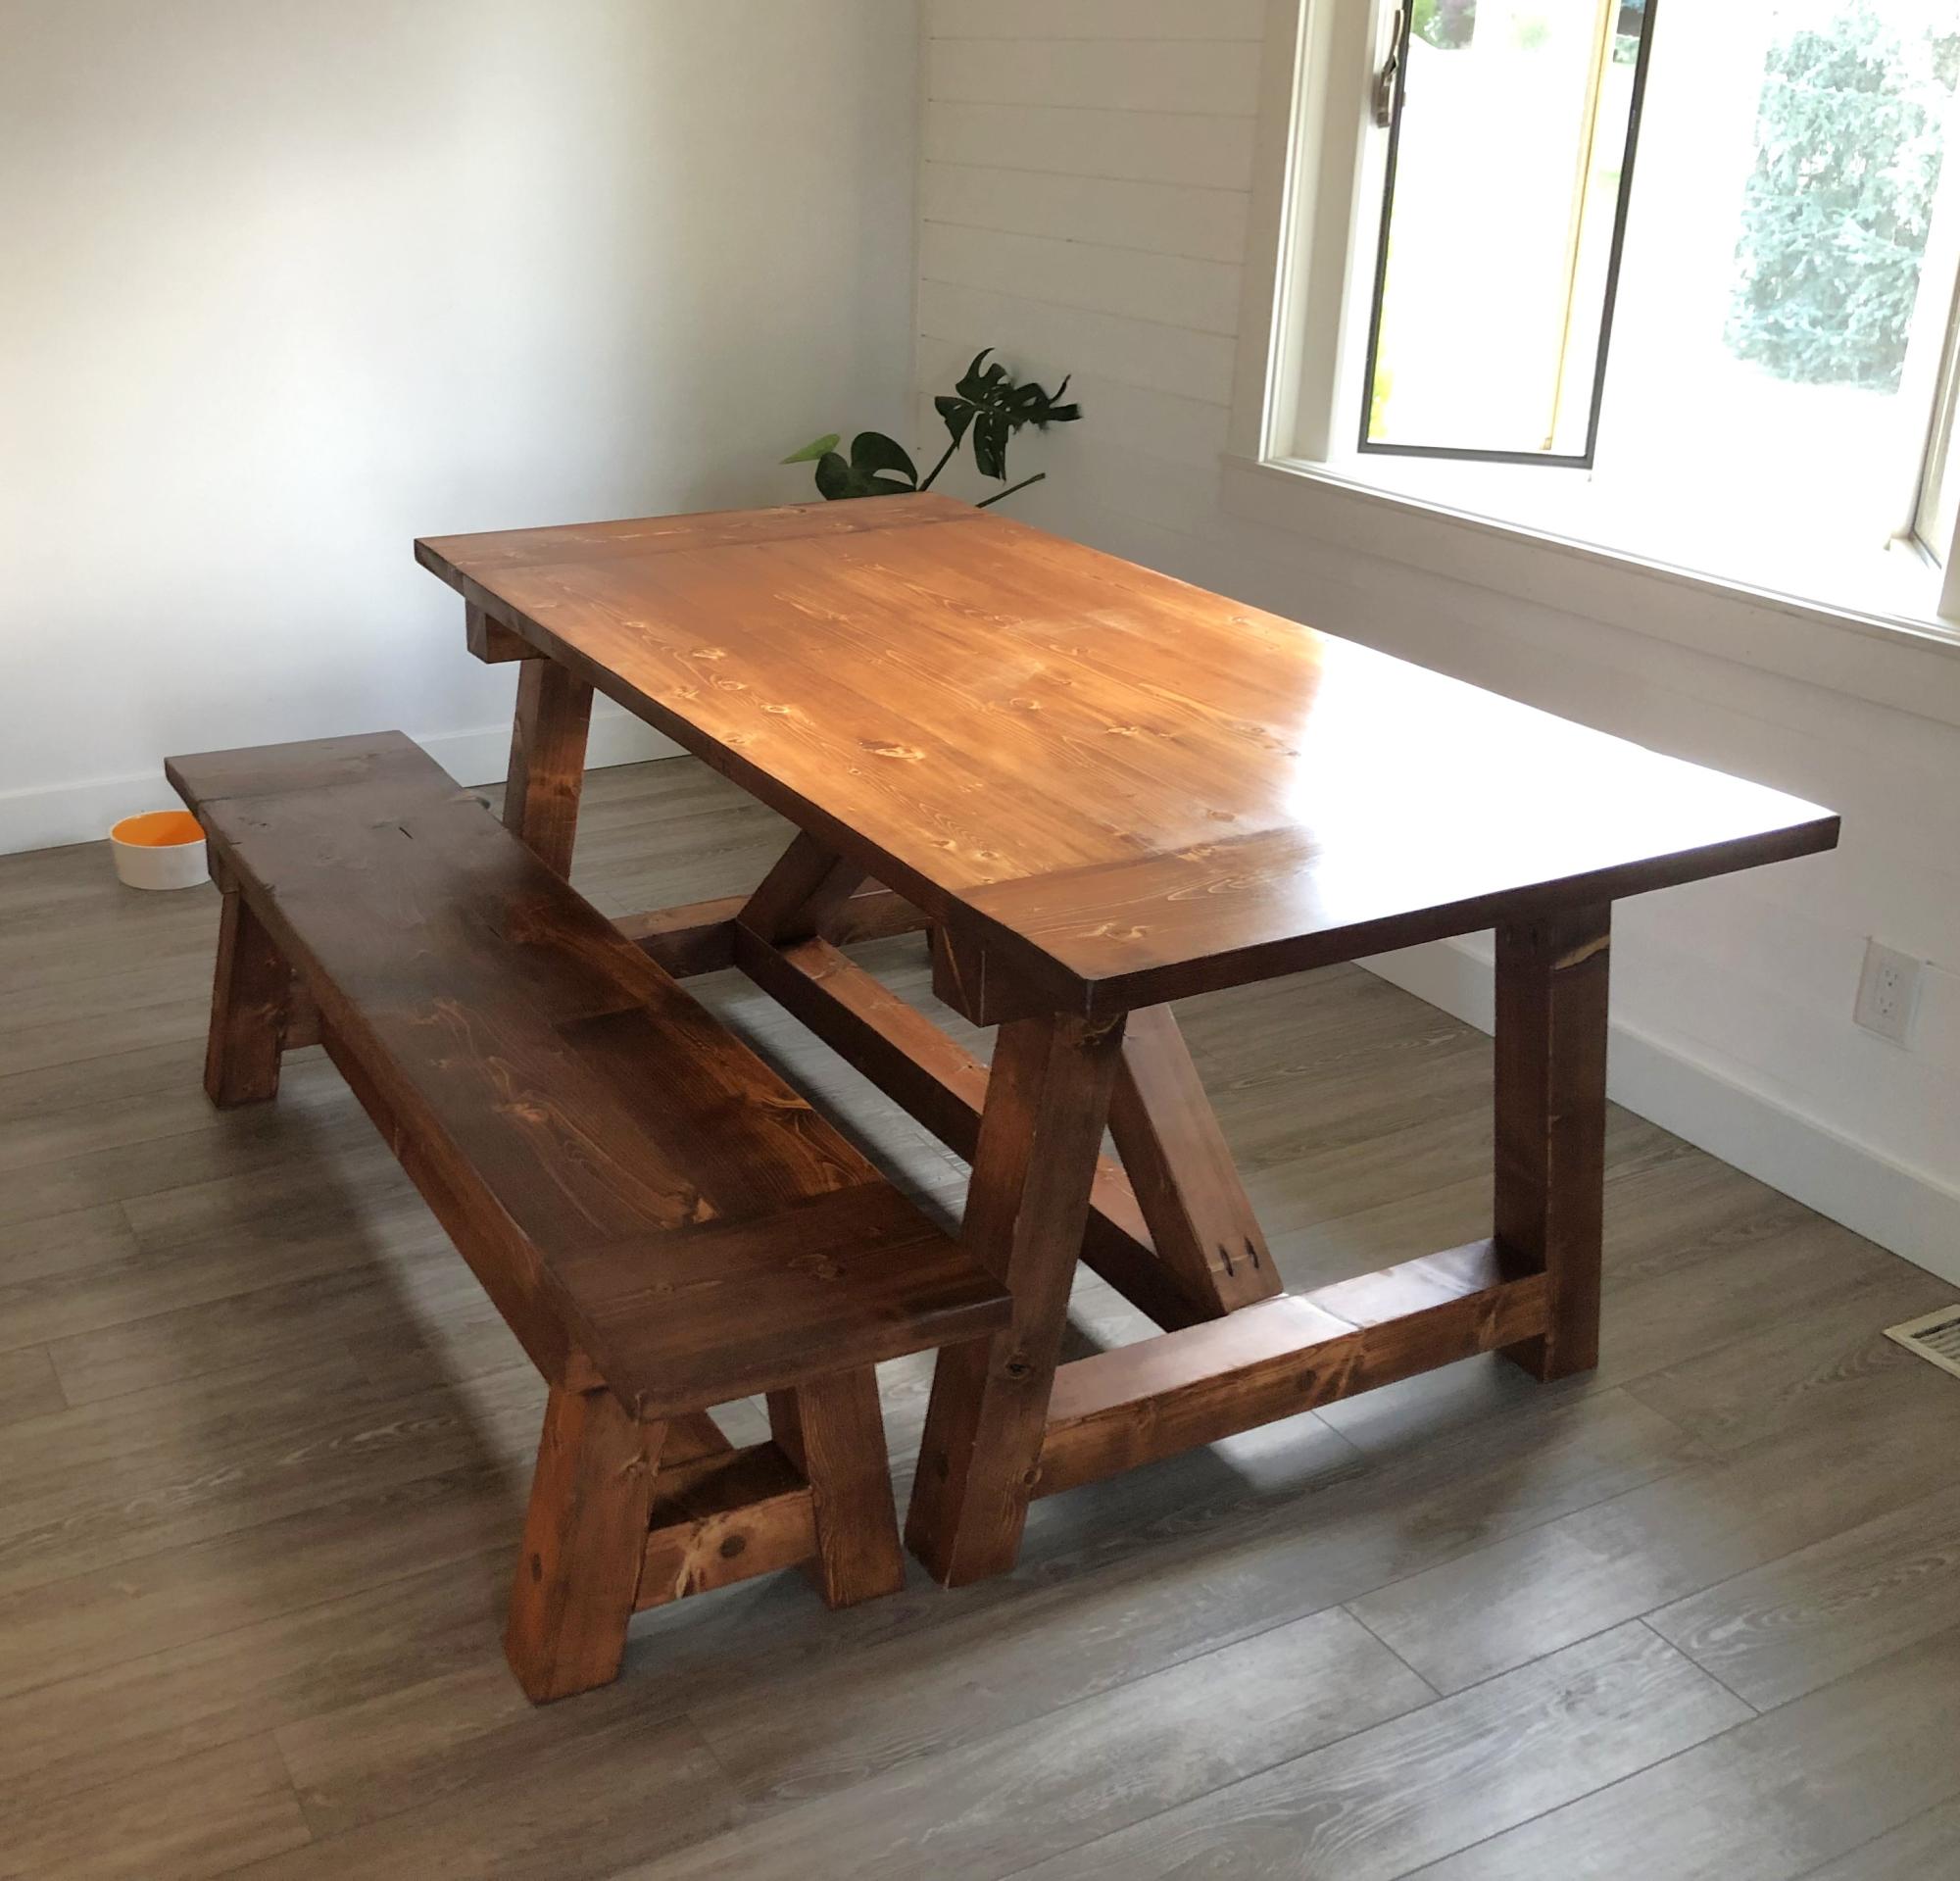
Tryde Counter Height Table

I took Ana's beautiful Tryde Coffee Table plan and readjusted it to fit my needs for a kitchen table. It measures approximately 32" x 32" x 48" and I followed the plans provided almost to the tee. I didn't include the 2x2 table supports since the table seemed sturdy enough, and drilled straight into the top of the table and just covered the screws with Elmers stainable wood filler. I kind of rushed the project due to lack of time, and only really did one coat of stain of the Dark Walnut. It actually turned out really well, and had some of the texture of the wood show through the stain.

Built from Plan(s)
Estimated Cost
$100
Estimated Time Investment
Day Project (6-9 Hours)
Finish Used
Minwax Dark Walnut (Use foam brush)
Minwax Polycrylic Protective Finish (Use foam brush)
Recommended Skill Level
Starter Project

Furniture for the Deck

Submitted by Adevney on Mon, 07/25/2016 - 10:05

 I followed the plans to build the counch.  My wife liked it so much she requested the love seat and chairs.  The chair plans were not up on the site yet.  That said, the plans were so easy to follow, I was able to adjust the loveseat plans to make the chairs with ease. Thank you very much!  

Estimated Cost
Couch, Loveseat, and 2 Chairs - Wood, Screws, Stain - $500.00 - Cushions were another $420.00

Each piece took about two to three hours to cut and assemble. The sanding and staining took another two hours per peice
Estimated Time Investment
Weekend Project (10-20 Hours)
Finish Used
Minwax Mission Oak
Recommended Skill Level
Beginner
Seasonal And Holiday

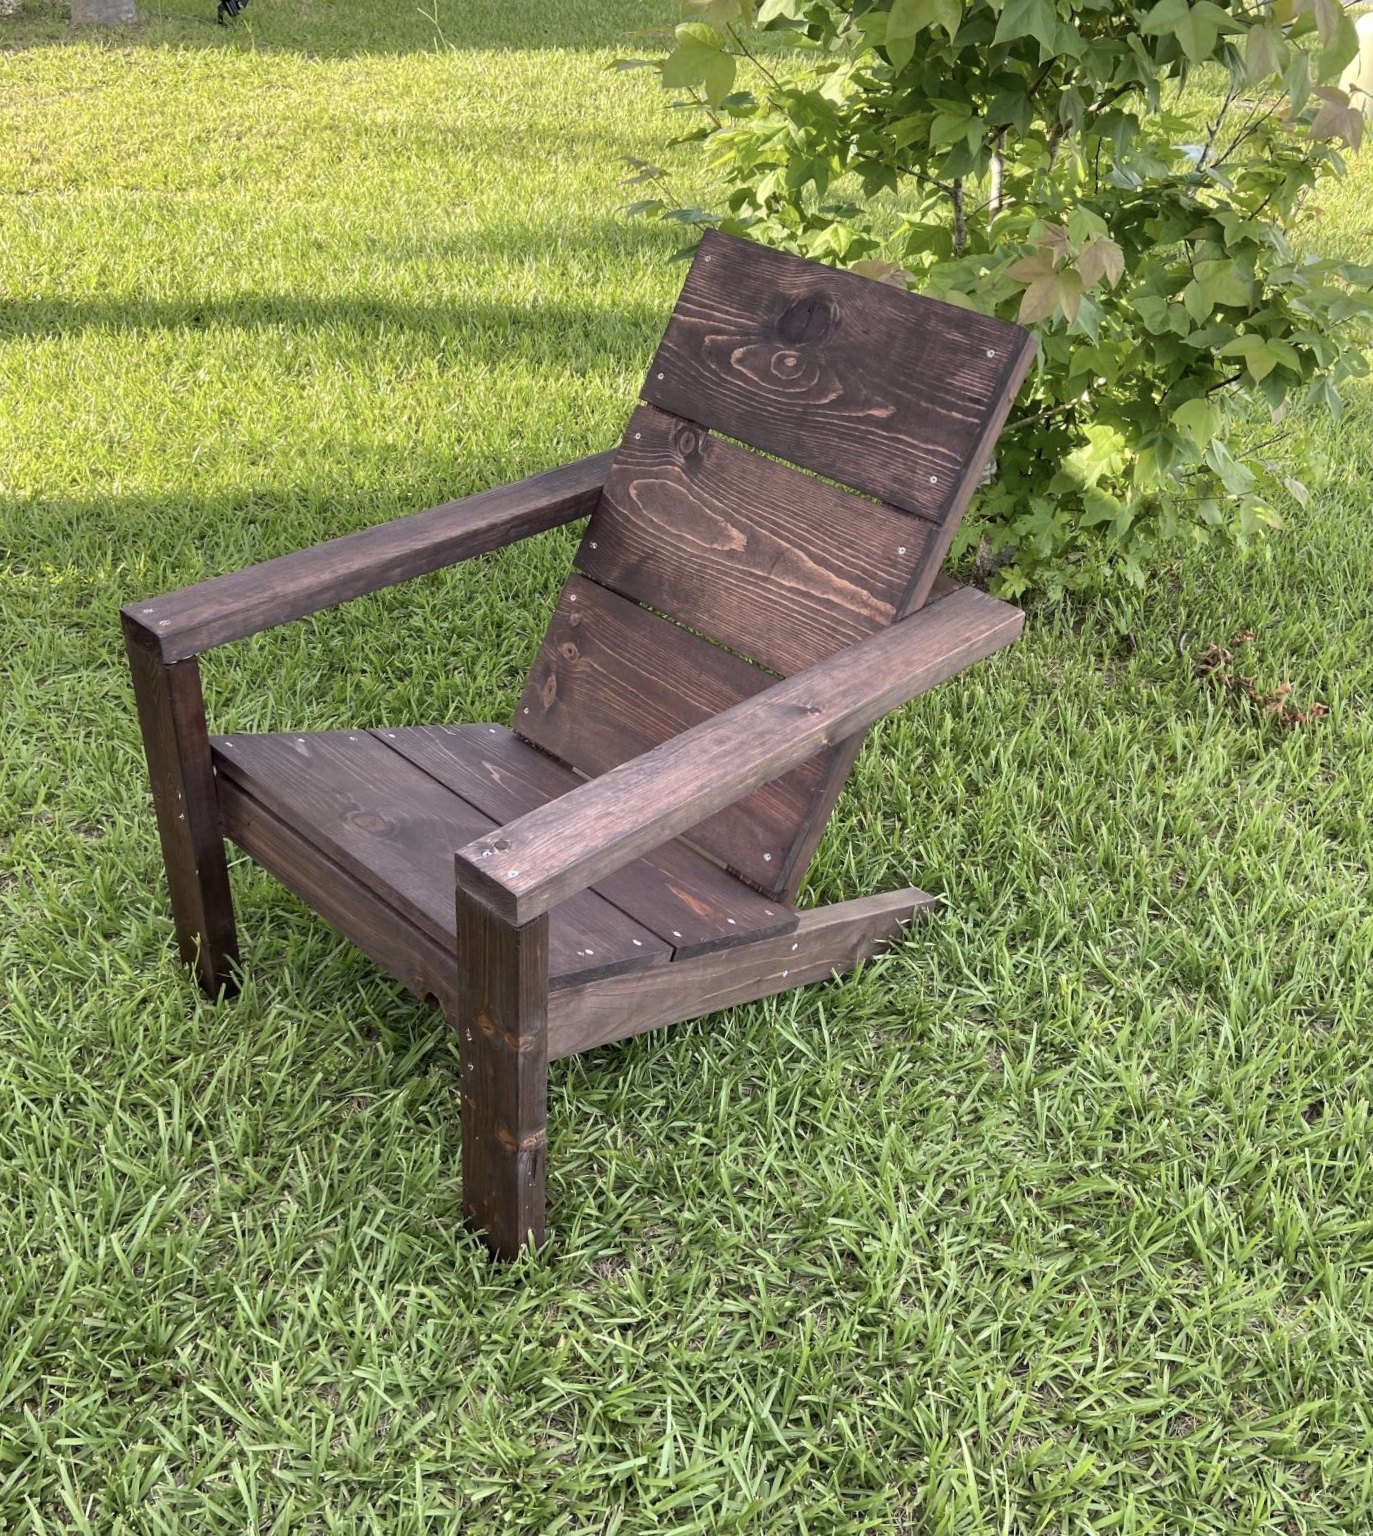
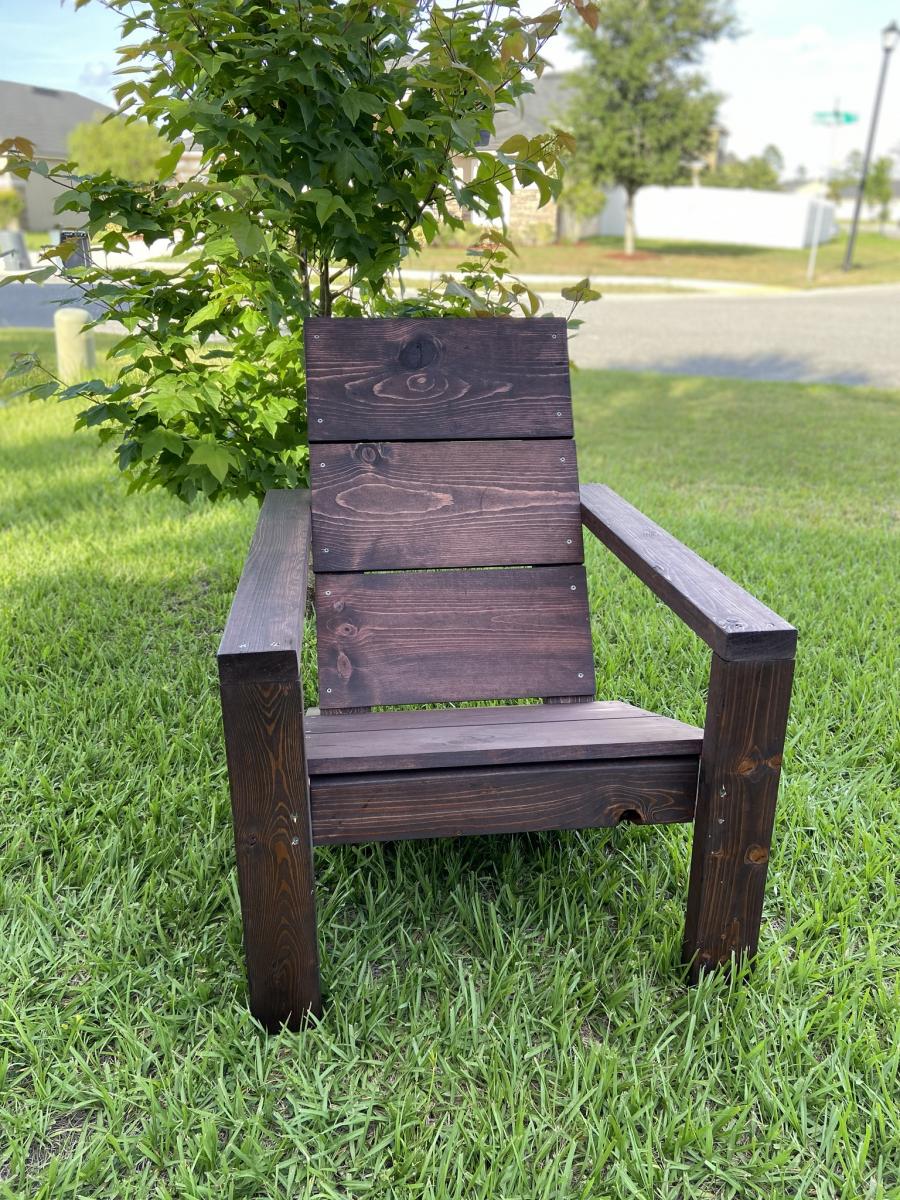
2x4 Modern Adirondack Chair

Submitted by Anonymous (not verified) on Sat, 05/16/2020 - 06:52

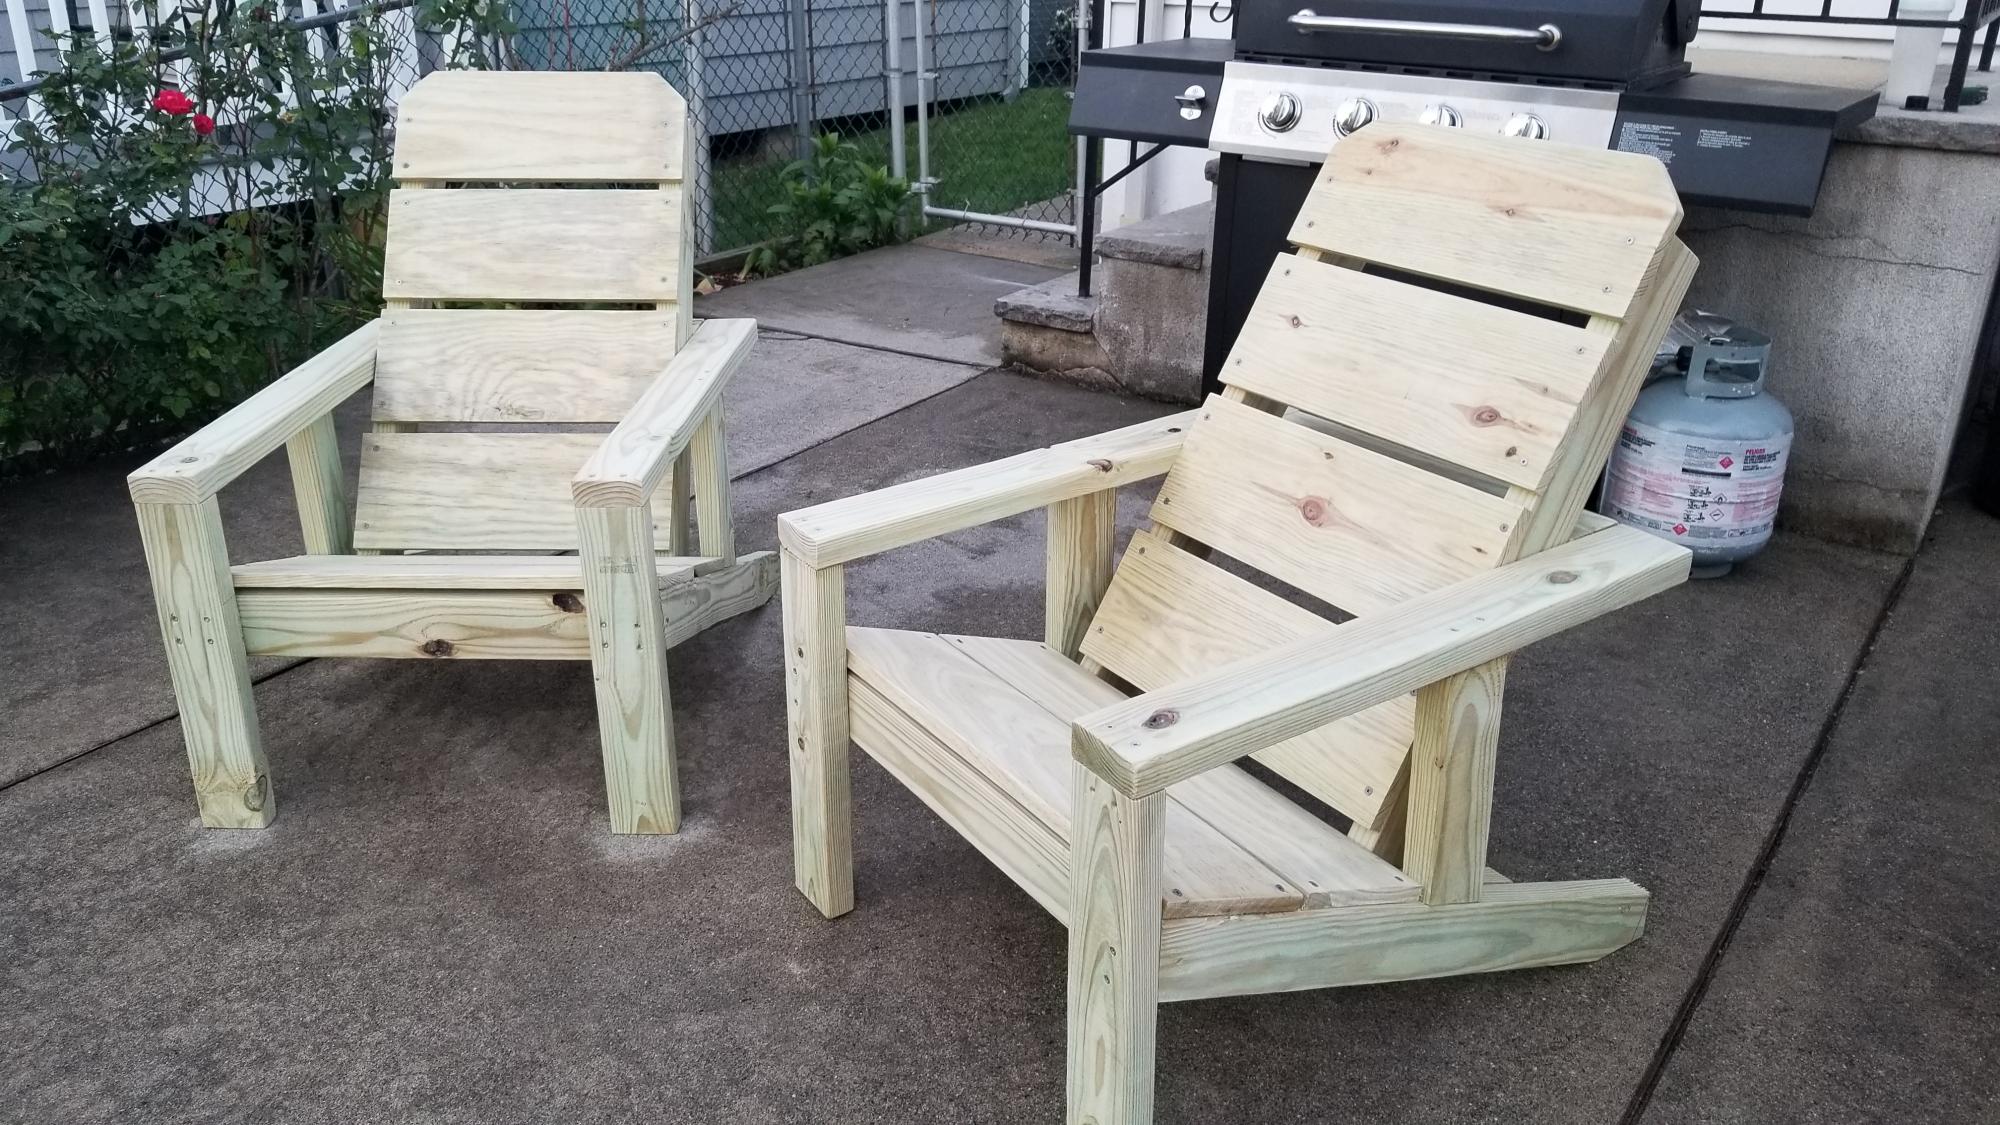
This was my first project.....my husband does woodworking projects all of the time but this one I picked out and he helped me. I really love how it turned out. We love the darker stain and can’t wait to do our second one!! We only had to purchase the wood for seat and back. We already had screws and 2x4’s.

Estimated Cost
$22
Estimated Time Investment
Afternoon Project (3-6 Hours)
Finish Used
Red Mahogany
Recommended Skill Level
Beginner

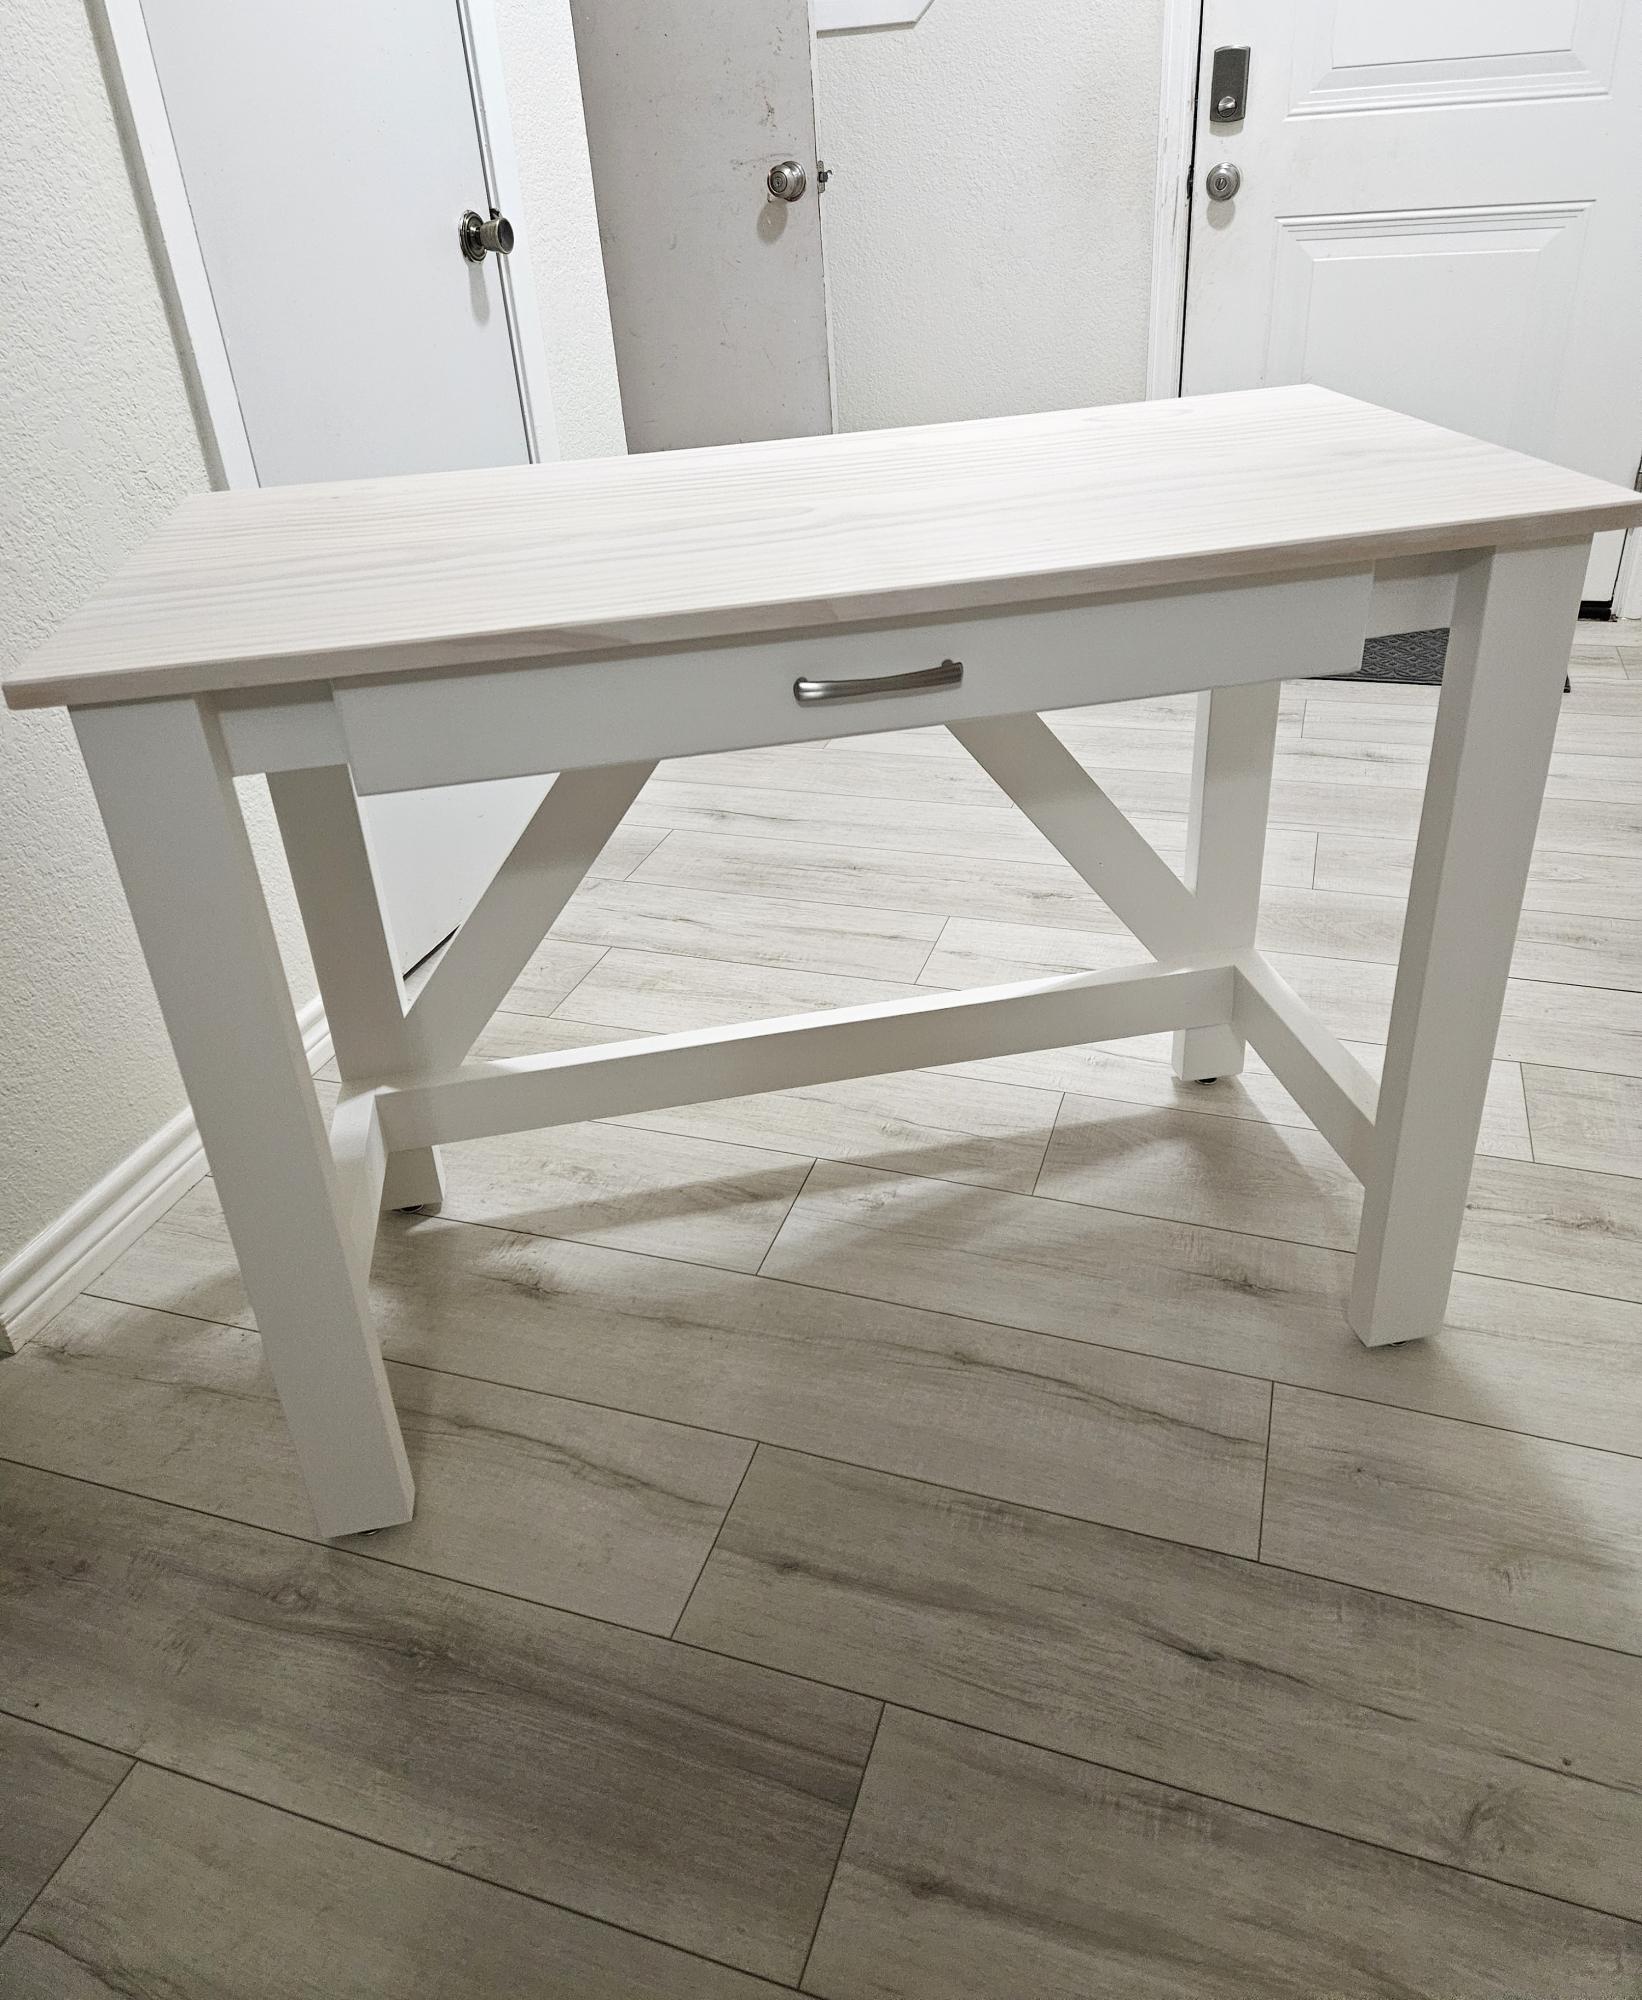
DIY Kids Farmhouse Desk

Submitted by Anonymous (not verified) on Mon, 01/15/2024 - 18:10

Thank you so much for your design plans for the Brookstone desk! Made it a tad smaller to fit my daughter's needs but overall kept with the same design as yours. White paint used on the bottom with an antique white stain and poly used on top.

Chad H

Built from Plan(s)
Seasonal And Holiday

Scooter

Submitted by tylerdr on Mon, 07/09/2012 - 00:04

Pretty simple to build. I would suggest when notching the main body and the front piece, to notch the main body only about 1/2 an inch and the front about 3 1/2 inches. The body is very thin, so having it notched all the way down can, and did, cause it to break. Just a suggestion though.

Also the plan does not include the braces for the body to attach to the rocking legs. I just measured the base of the scooter wheels and added about 1/2 inch. I cut that width off the end of the remaining wood.

Built from Plan(s)
Estimated Cost
$15
Estimated Time Investment
Afternoon Project (3-6 Hours)
Finish Used
Red, blue, and black spray paint.
Recommended Skill Level
Beginner

Vintage Doll Cradle

Submitted by Anonymous (not verified) on Wed, 07/27/2016 - 09:59

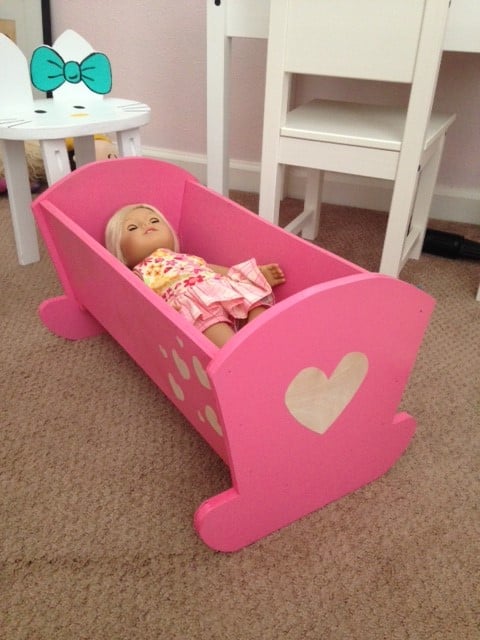
I used leftover plywood (1/4 inch) instead, but would only recommend it, if you plan to paint the cradle (due to splintering when you make your cuts). I also used my nail gun instead of screws, which worked fine since the wood is a lot thinner and lighter. The cradle is very sturdy and my 4-year-old loves it. Thanks for the awesome plans!!

Built from Plan(s)
Estimated Time Investment
An Hour or Two (0-2 Hours)
Recommended Skill Level
Beginner

Book or Magazine Ladder Shelf

I made a more narrow version of this bookshelf. I needed a place for the thicker books to go, so I left the top shelf open. This bookshelf has made it so simple for the boys to clean up after reading. Even my four year old knows to put his books back!!! YESSSSS!

Built from Plan(s)
Estimated Time Investment
Afternoon Project (3-6 Hours)
Finish Used
Special Walnut
Recommended Skill Level
Beginner

Our first build!

Submitted by Crabby85 on Mon, 04/28/2014 - 19:27

This was our first project yet, and we plan to do many more! We did the bulk of this project in one weekend, and took our time with the finishing touches. We added trim to frame the outsides, using solid 1x2 pieces, and added just 4 feet to the bottom so Roomba can fit under there and do his job! The stain we used was used in other projects by Ana, and we love the rustic feel!

Estimated Time Investment
Week Long Project (20 Hours or More)
Finish Used
Minwax charcoal grey with satin finish poly
Recommended Skill Level
Beginner

Adirondack chairs and 2 x 4 couch

Submitted by Anonymous (not verified) on Sat, 07/30/2016 - 12:09

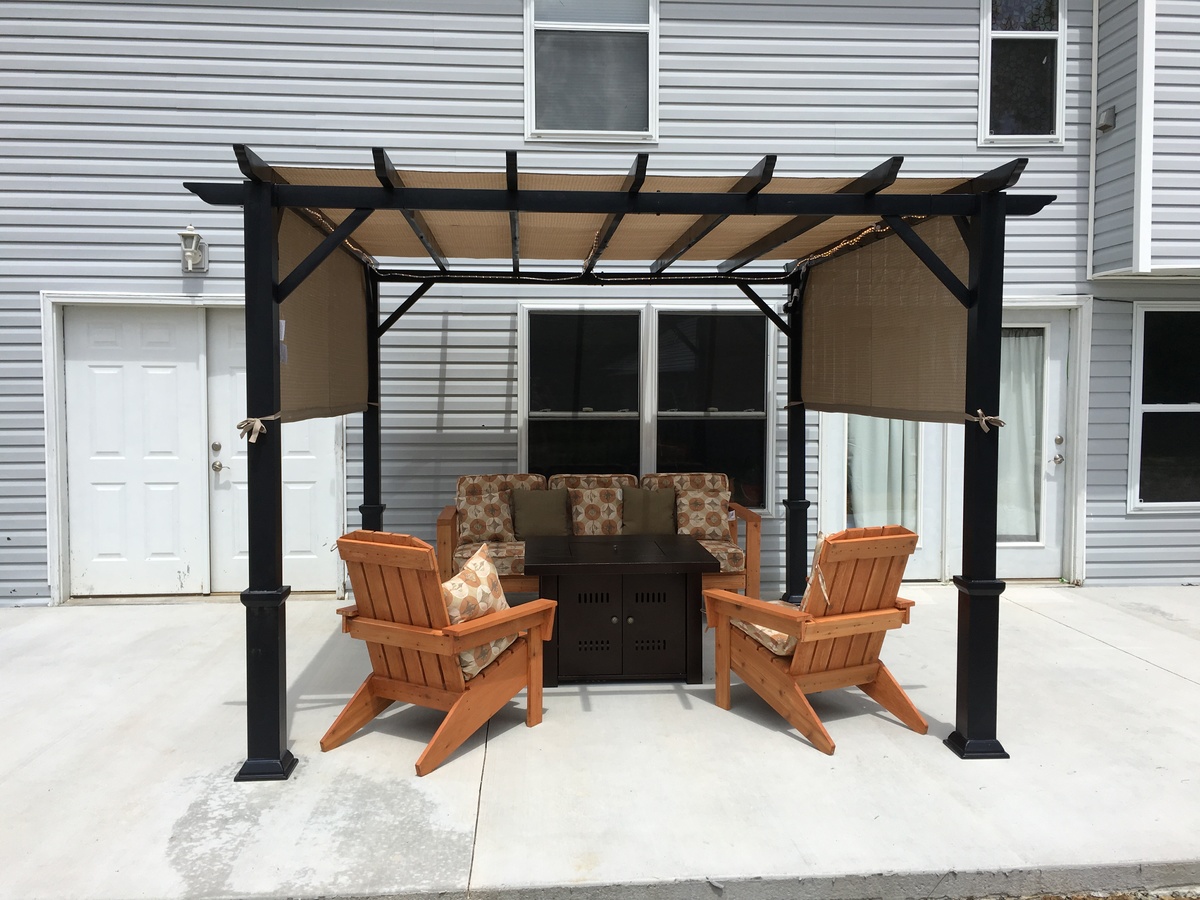
I made this couch and chairs using Anna's instructions. I think they turned out nice.

Estimated Time Investment
Weekend Project (10-20 Hours)
Finish Used
Thompson's water seal.
Recommended Skill Level
Beginner

Modern 2x4 Adirondack Chairs

Submitted by Anonymous (not verified) on Thu, 05/21/2020 - 10:27

I'm pretty happy with this build being that I had no experience and I modified the plans a bit to add more support for the arm rails and only had access to 1x8x8 and not 1x10x8 lumber. Very comfy chair, my neighbor saw the build and offered to buy 4 if I would make them for him!

Estimated Cost
30-40 a chair
Estimated Time Investment
An Hour or Two (0-2 Hours)
Finish Used
none
Recommended Skill Level
Intermediate

Harriet Chairs

Submitted by JoanneS on Sun, 07/15/2012 - 07:44

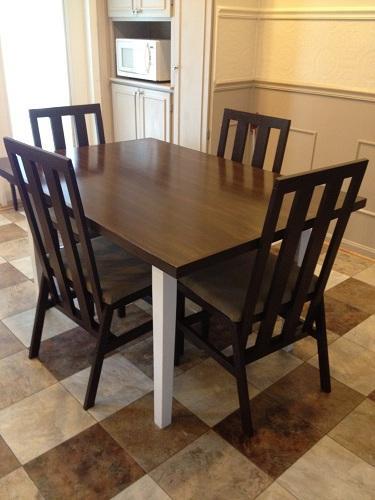
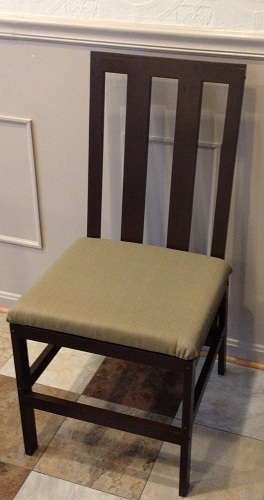
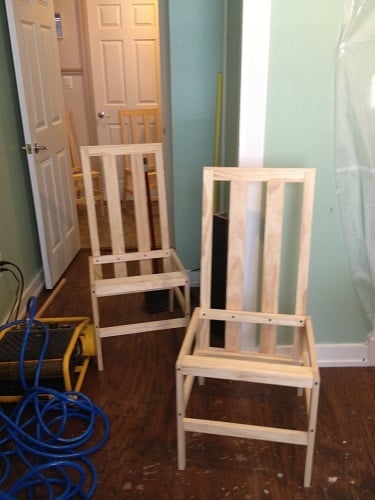
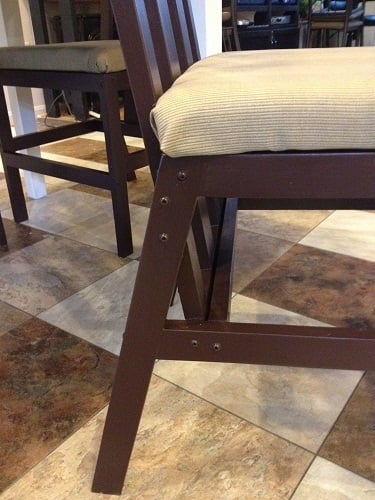
Finally I was able to replace my wobbly little dining chairs with solid wood chairs, thanks to Ana’s Harriet Chair plan. For this build, I made a few mods from Ana’s plan: added a padded seat, made the chair 2” wider, and substituted a slatted back. Used select pine 1x2 instead of 2x2 (really liked that look in the inspiration chair) and used 1x3 for the 2 inner slats on the backs. Also added a few more cross supports. Instead of predrilling pocket holes and hiding the screws, I chose to use the round washer head self-tapping screws and left them visible. This saved time on having to pre-drill and fill screw holes, but also thought the exposed screw heads made a nice decorative element. The seats are covered with 1” thick high density foam, batting, and outdoor fabric. The first of the 4 chairs took longest to make (I made and corrected all my mistakes on that one). The remaining 3 went a lot faster (took about 11 hours total for building the 4 chairs, and 12 hrs total for finishing them). The changes/steps I used are documented in a .pdf file in the second plan post linked above. Ana, thank you for all your wonderful plans. You rock!!!

Estimated Cost
Cost: $230 for 4 chairs, which came to about $58 per chair. For 4 chairs: $127 for lumber & screws, $28 for paint, and $70 for chair fabric and foam. (fasteners, glue and sandpaper not included in cost, those were already on hand). I was able to build all 4 chairs for the price it would have cost for just one from the furniture store.
Estimated Time Investment
Week Long Project (20 Hours or More)
Finish Used
Finished with Benjamin Moore Aura satin, in Wenge, 3 coats . Rubbed down all the chairs with Pledge after the paint dried. (I had attempted waxing one of them, but that took way too long for me!) The seat is covered in outdoor fabric (all the fabric and the foam were on sale for half-price @ Joann fabrics – score!!!).
Recommended Skill Level
Intermediate

Comments

JoanneS

Sun, 07/15/2012 - 17:26

Thank you so much! I just posted a plan of the modifications, which includes a .pdf file of the full plan with the steps and photos (still haven't learned sketchup yet). I sure hope it worked! The .pdf file is located about 2/3 of the way down through the plan post, right below General Instructions. Let me know if the .pdf opens for you? :)

JoanneS

Wed, 07/10/2013 - 02:31

Thank you! We still love them and they are holding up great! I made a storage bench to go with these, but it still needs a few tweaks before blogging that one.

JoanneS

Mon, 11/11/2013 - 10:58

Hi AdamR, Thank you very much for the nice comment! Yes, we did the table also. Here's the brag post:

http://ana-white.com/2011/05/my-new-almost-farmhouse-table

This was done under my original username JES. I had locked myself out of that username and had to create a new one ;)

We used our existing table and painted the legs, and added a new top. The tabletop finished dimensions are 56" long x 38 1/2" wide.

Joanne

AdamR

Mon, 11/11/2013 - 19:38

This is what I have been looking for. I know my wife doesn't want any indents or grooves but it seems like everyone build tables out of boards. I don't have a jointer or planer to even the boards out.

Question 1 - the 1x2 trim...to be clear you attached the 1 inch side to the table right?
Question 2 - how has the 3/4 thickness working out? Thick enough?
Question 3 - anything you would have done differently?

Thank you so much for your help. I build some small custom shelves for my son's room, found this site and now got a major bug to build stuff we have been looking for. I actually joined the site just to ask you about the table so thanks again!

Adam

JoanneS

Tue, 11/12/2013 - 07:07

Thanks again for the nice comments, Adam!

On the 1x2 for trim, I attached with the 2" side to the edges of the plywood (the 1x2's were actually 1 1/2" wide and 3/4" thick). This gives the illusion that the table is 1 1/2" thick. On this one I used finish nails and glue to attach the trim. If I had it to do over again, I'd have attached the trim boards to the plywood edges with pocket holes from under the table, so there would be no nail holes to fill.

3/4" thickness for the table top works fine. Our original table had a top thinner than 3/4", so we attached this new top directly on top of it. I didn't think I could get the leg assembly off that old table without damaging it.

If you wanted a more 'beefy' feel to the whole table top, you could stack 2 pieces of plywood, glued and fastened together from the bottom with screws. The 1x2 for the edges would still cover it.

Once you catch the wood working bug, you'll want to build everything you see! :) I hope you post a brag picture when you build this. I'd love to see pictures! :)

Joanne

AdamR

Wed, 11/13/2013 - 06:02

First off thank you for all the info! I see now why you picked the larger trim, I didn't catch it the first time around that you put the new wood right on top of the old table. My kitchen table has the exact opposite problem the legs are weak (plus my wife hates the top too) hence why I will be doing both top and legs. Still debating on one 3/4, two 1/2 or two 3/4 inches for table thickness.

I am going to build the kids trestle table this weekend first. Just the get a project under my belt besides some book shelves. lol

http://ana-white.com/2011/09/kids-trestle-style-play-table

My Kreg Jig will be here Friday, picking up wood on Sat....hopefully I will have a unfinished kids craft table ready to roll by Sunday then the Kitchen table will be my Thanksgiving weekend project.

Thanks again for all of your help.

Adam

DIY Planters/Easter Baskets

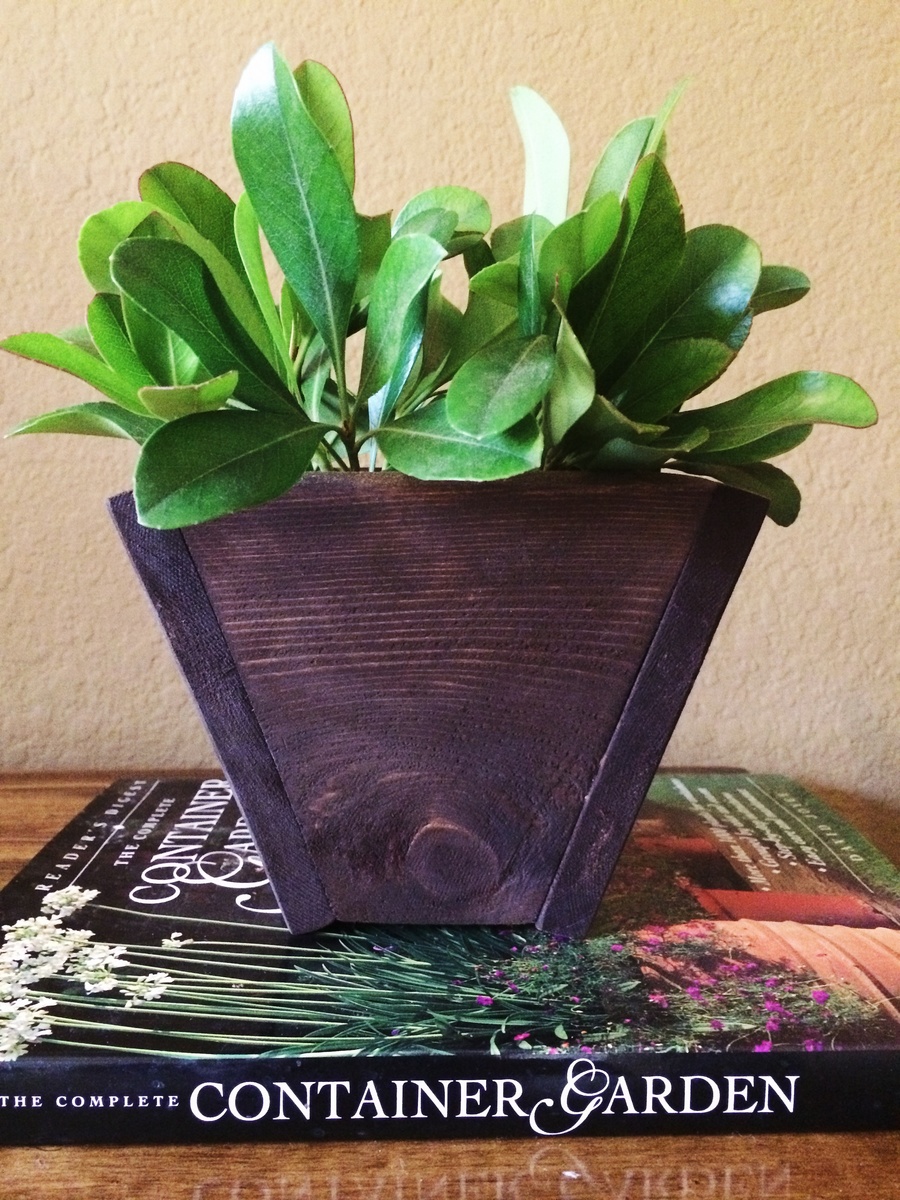
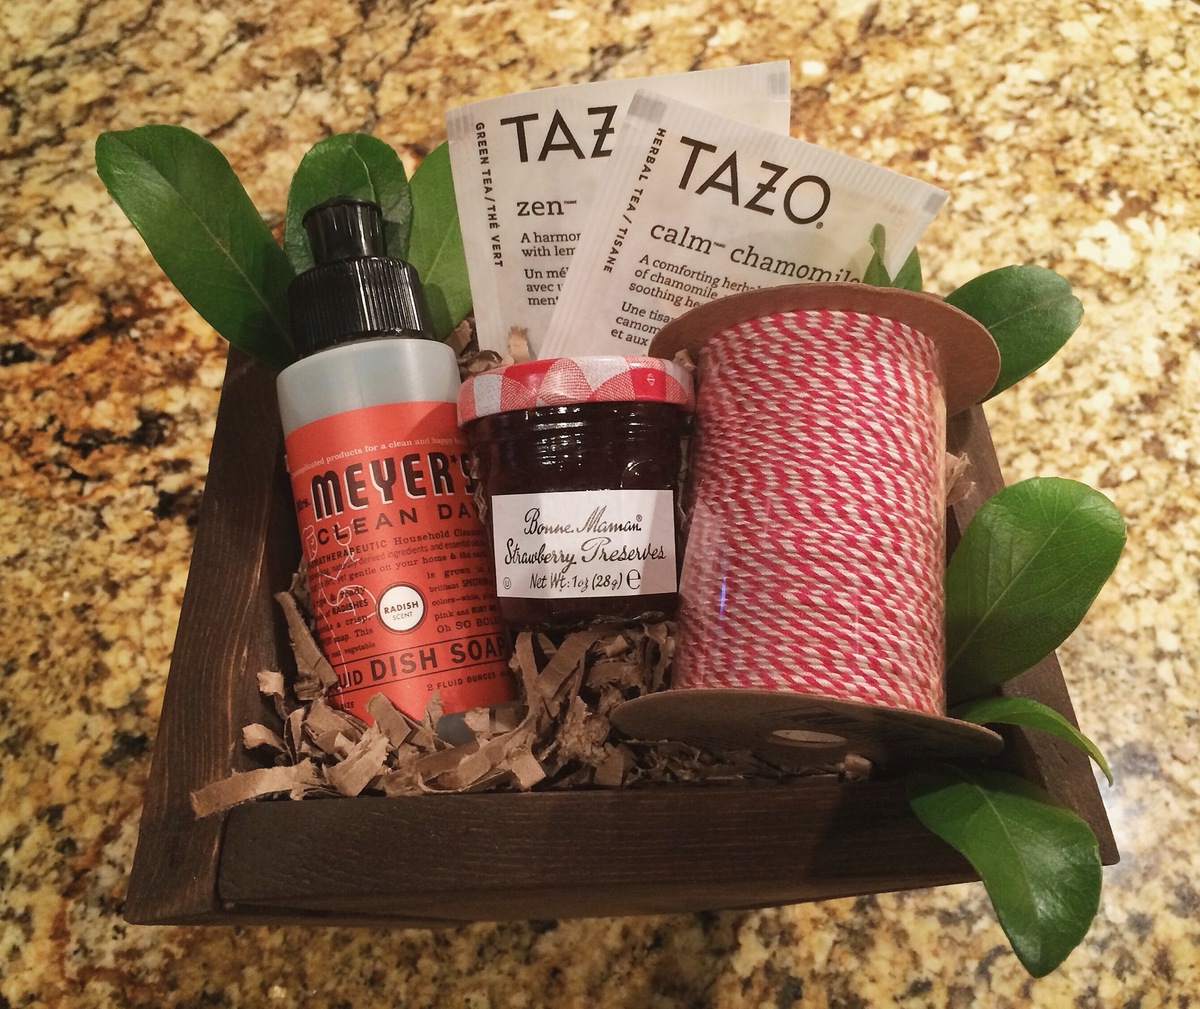
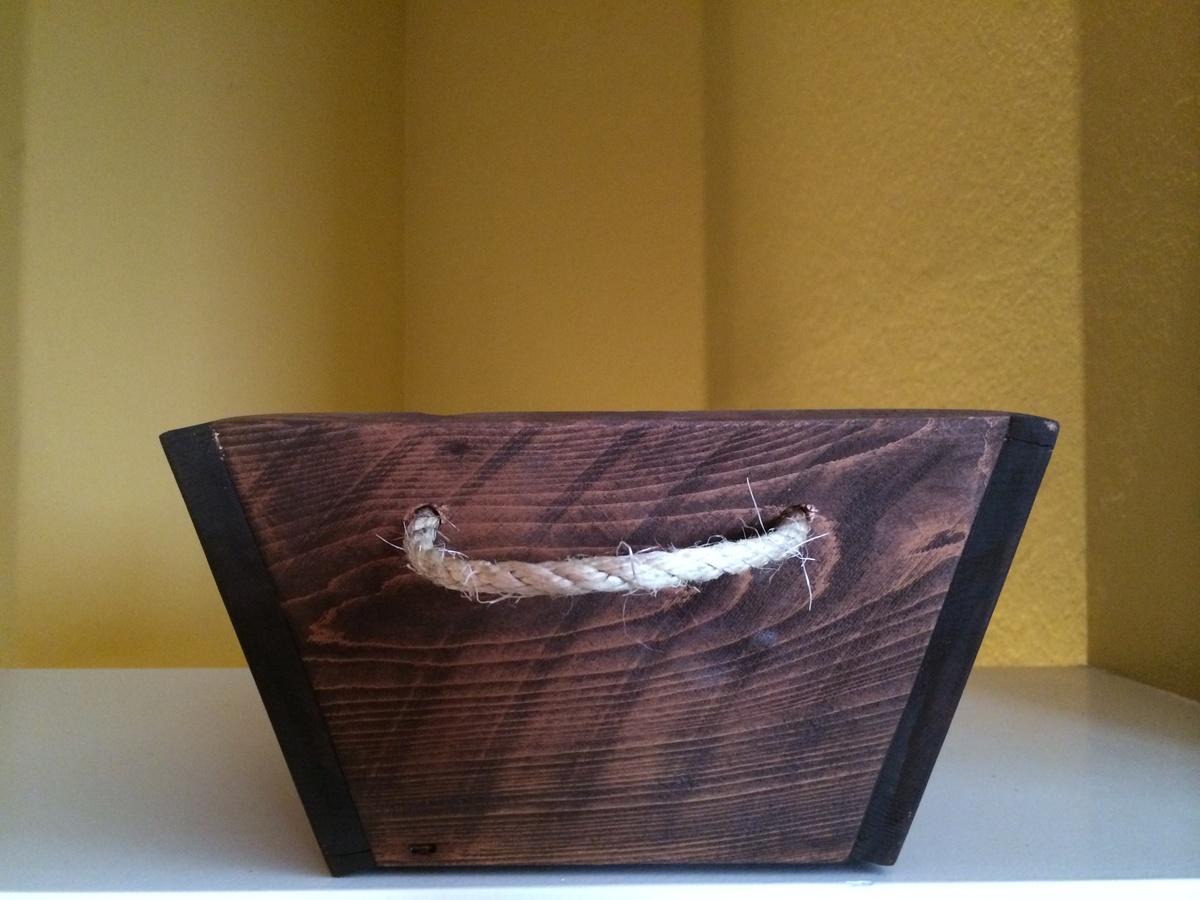
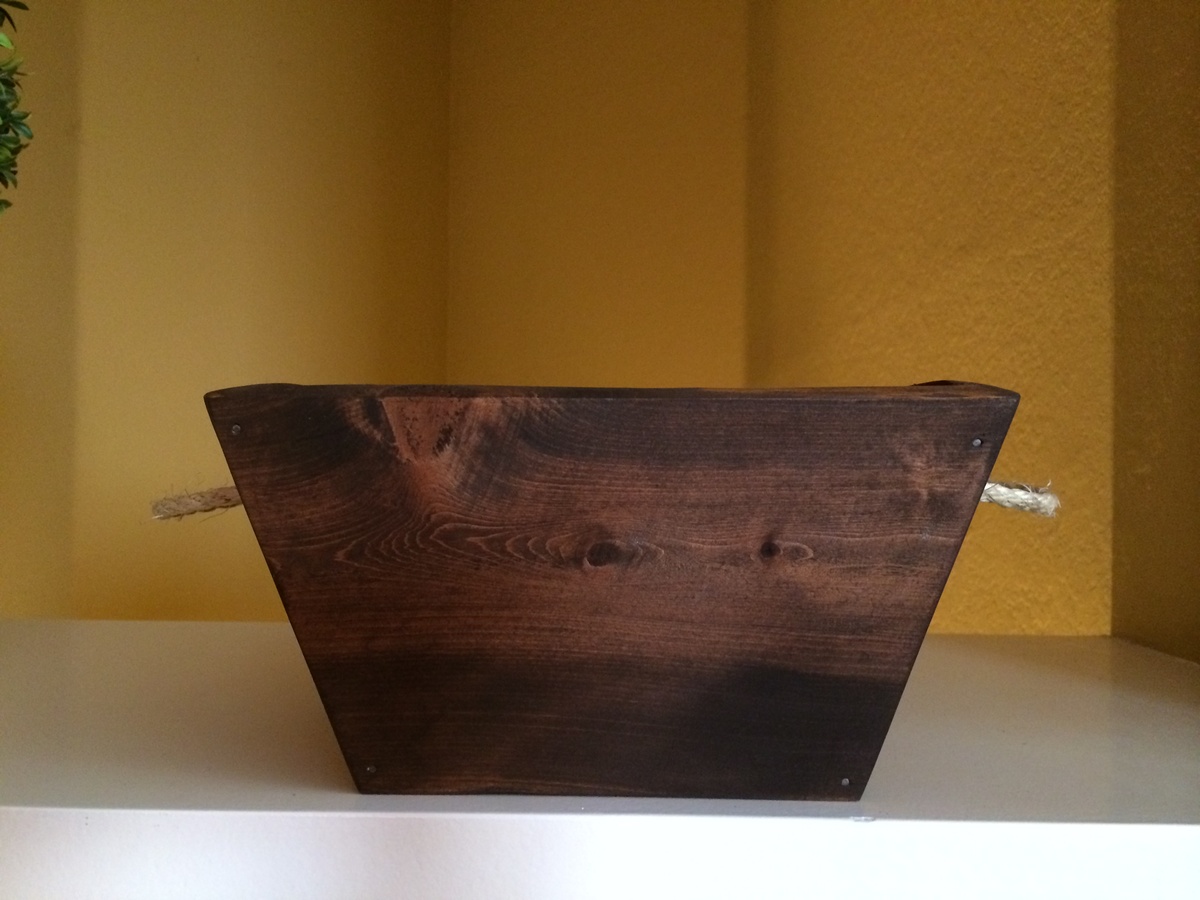
This was a super fun and simple project, and the planters can be used for anything!! Thank you Ana! I followed Ana's plans and used mine as an Easter Basket gift that could then be used as a planter. I also modified the plans to be the size I wanted for a smaller planter that I also gifted as an Easter Basket. I believe I made the smaller one measuring each side out to be 2 or 3 inches. Next, I measured the bottom opening and made a custom fitting removable piece for it. Like Ana mentions, I also did not attach the bottom piece as it already allows some room for drainage and simplicity for changing out soils. To attach the pieces together, it was not as quick of a project as it was for Ana because I currently don't own a nail gun. Owning one would definitely make this project a breeze! For the finish, I did sand the cedar posts with 80 grit as I didn't want anyone to get splinters (also because I was applying stain with a sponge and rough wood makes it sort of difficult). The stain is Rustoleum's Dark Walnut. I did not leave the stain on very long as the wood is very porous. This is one of my favorite projects thus far because it made gift giving and our Easter Baskets much more unique!

Estimated Time Investment
An Hour or Two (0-2 Hours)
Finish Used
Sanded with 80 grit
Rustoleum Dark Walnut
Recommended Skill Level
Starter Project

Redwood 2x4 outdoor sofa

Submitted by Anonymous (not verified) on Wed, 08/03/2016 - 09:16

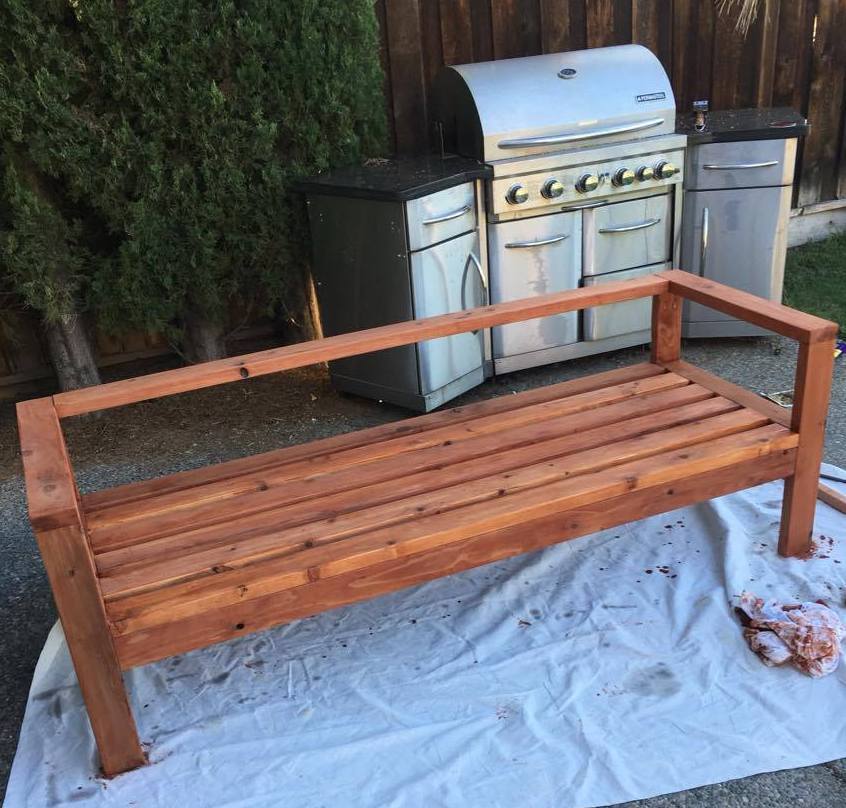
This is my attempt at the 2x4 outdoor sofa.  The entire sofa is made out of 2x4 Redwood, so the cost was a little high at $150 for the wood.  I'm still waiting on cushions, but I went overboard and bought them custom made so the total for those came out to $520.  Overall, I could have easily bought a complete set online but hey, this is more fun!


My one concern is the back support.  I'm thinking of building something angled in, but haven't thought of the best approach yet, that will still look good.  


Estimated Cost
$670
Estimated Time Investment
Afternoon Project (3-6 Hours)
Finish Used
Redwood stain (still need to finish with a gloss sealer).
Recommended Skill Level
Beginner

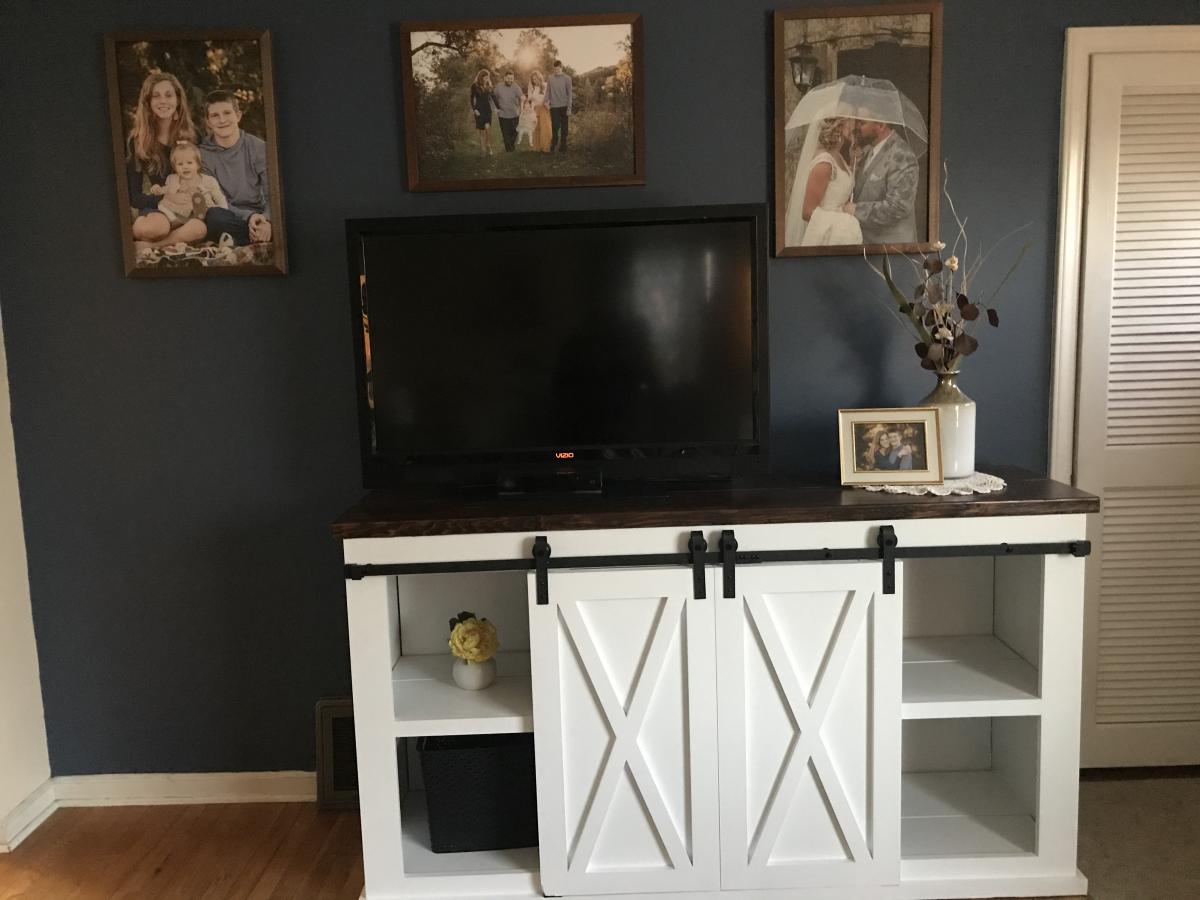
Grandy Barn Door Console

Submitted by RGWood on Sun, 05/24/2020 - 07:48

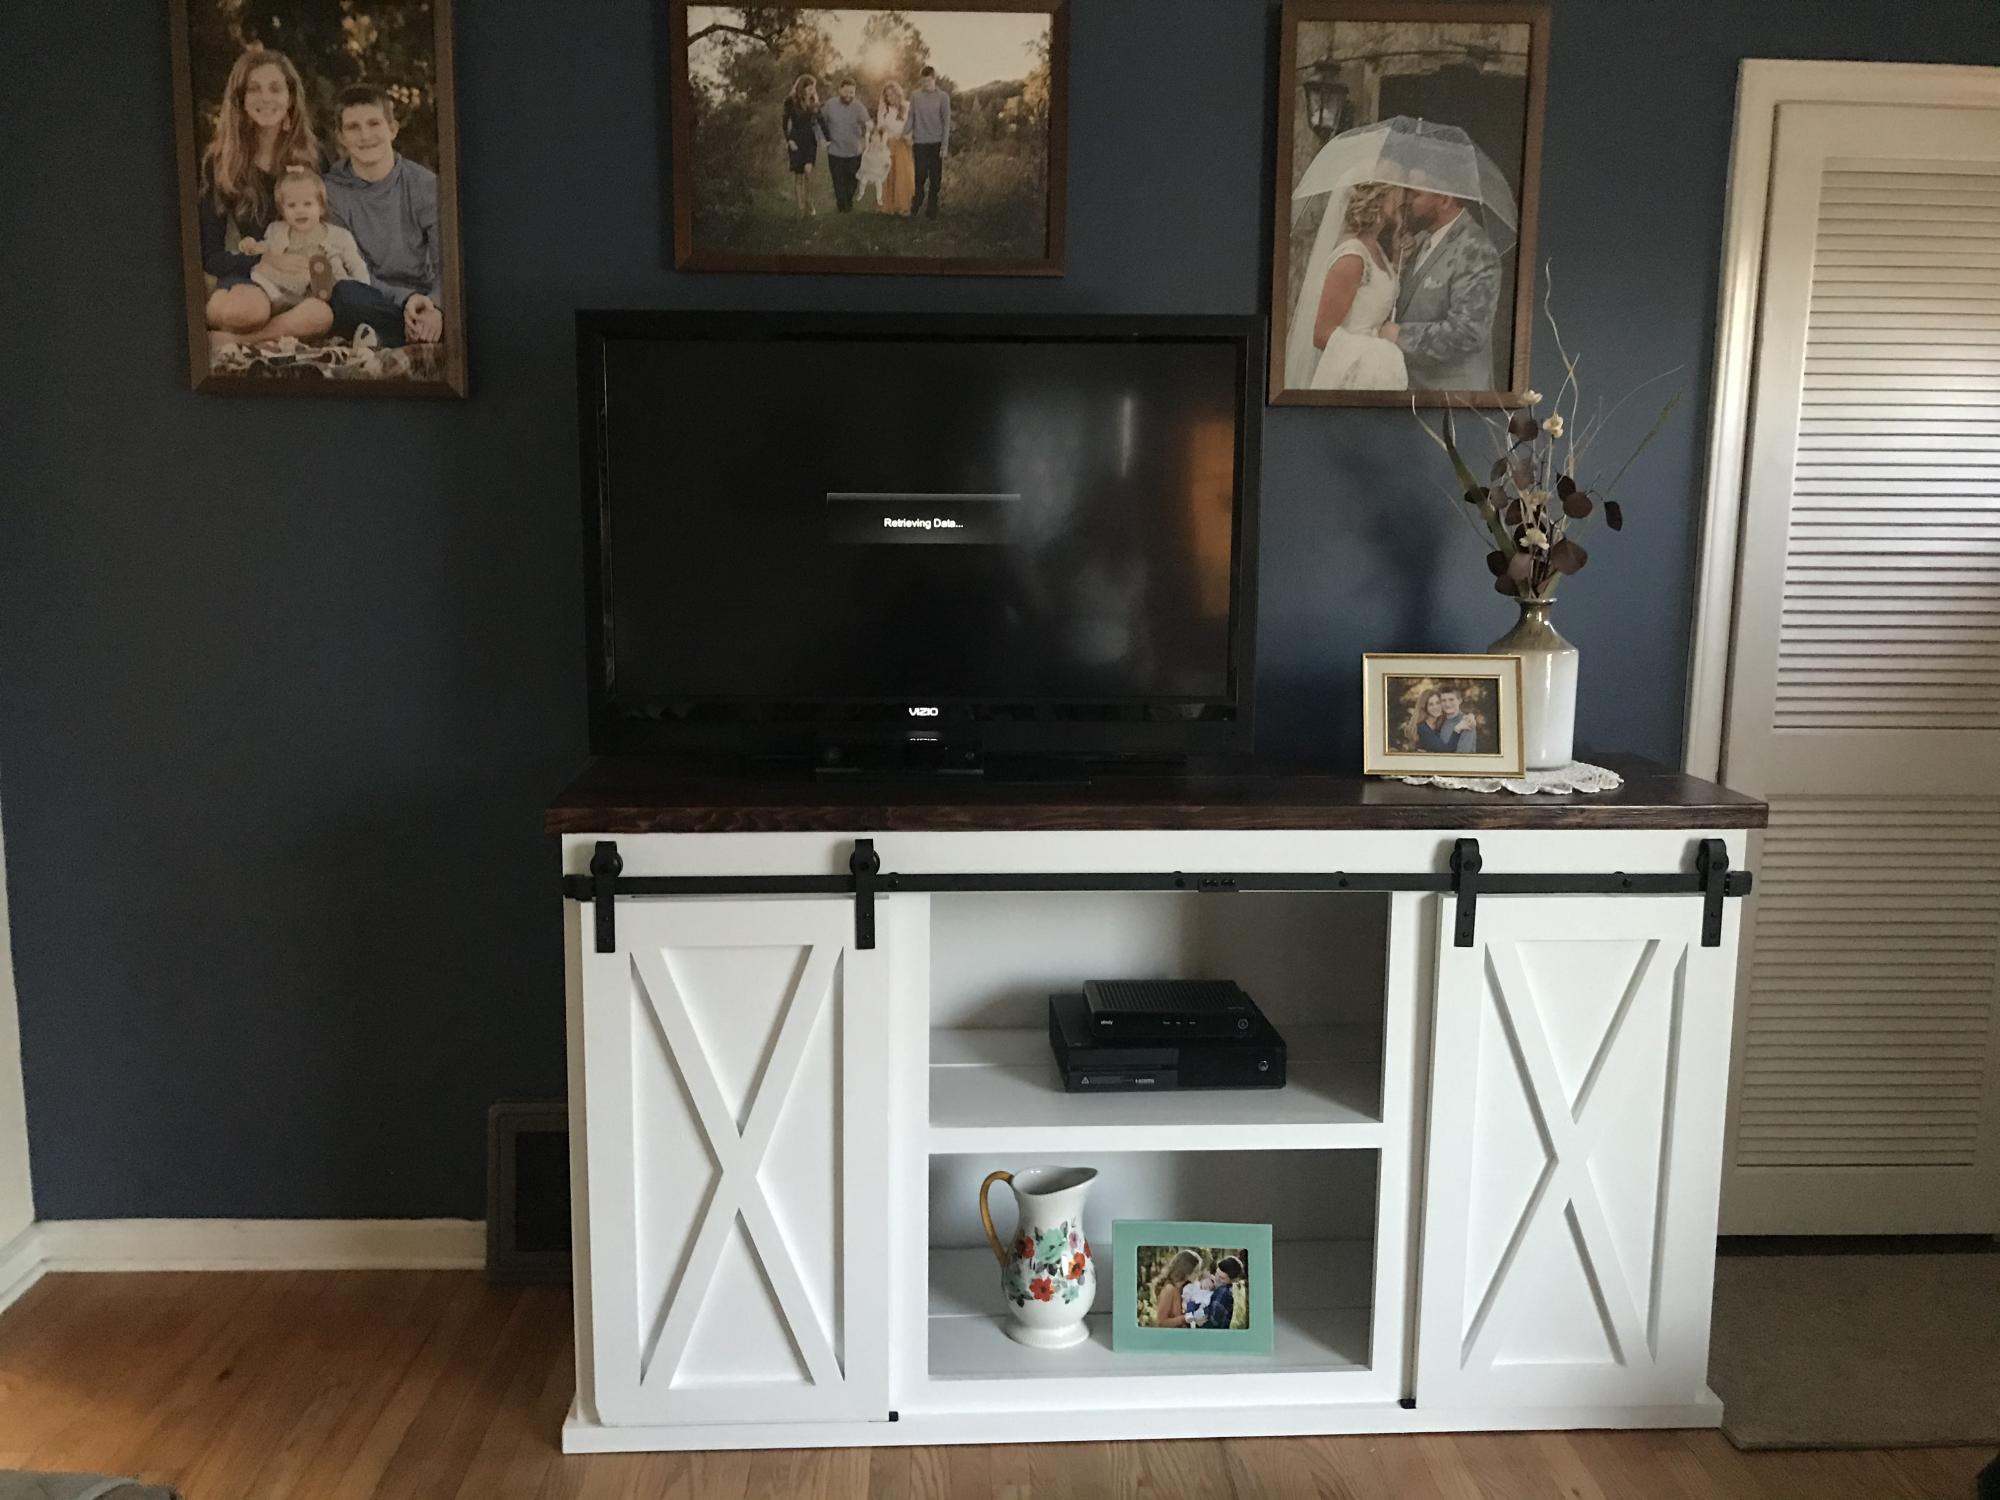
I built this unit based on the Grandy Barn Door Console plans. I adjusted it down to 66”. The top is Dark Walnut with Satin Poly. All lumber was purchased at Menards.

Built from Plan(s)
Estimated Cost
$350.00
Estimated Time Investment
Week Long Project (20 Hours or More)
Finish Used
Satin oil based polyurethane
Dark Walnut Stain
White paint
Recommended Skill Level
Intermediate

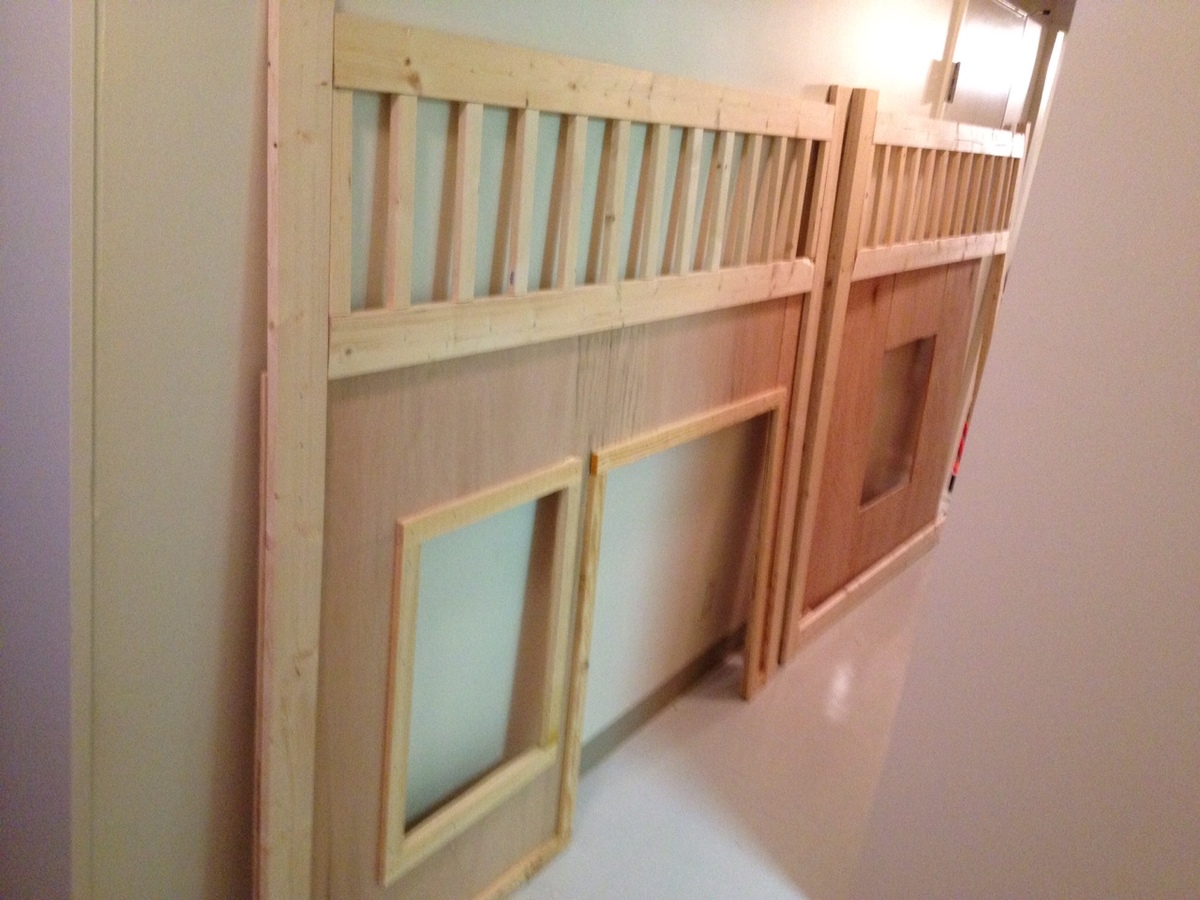
Playhouse Loft Bed

So living in Japan makes some of these projects interesting. 1) The largest pieces of plywood are 36"x48". 2) Paint is only sold in pre-mixed colors, so choices are limited. 3) Everything is expensive. 4) Packaging is impossible for me to read. That being said, I set out to make a playhouse loft bed for my daughter's birthday. My wife and daughters were in the states so I had nothing else to do in the weekends and evenings. I modified the plan for a full size bed and did not follow the sizes of windows and doors exactly since I was actually piecing it together since the plywood is not the full size.

That is not exactly true, I did climb Mt. Fuji one Saturday. Also found some interesting Wasabi Kit Kat at the store.

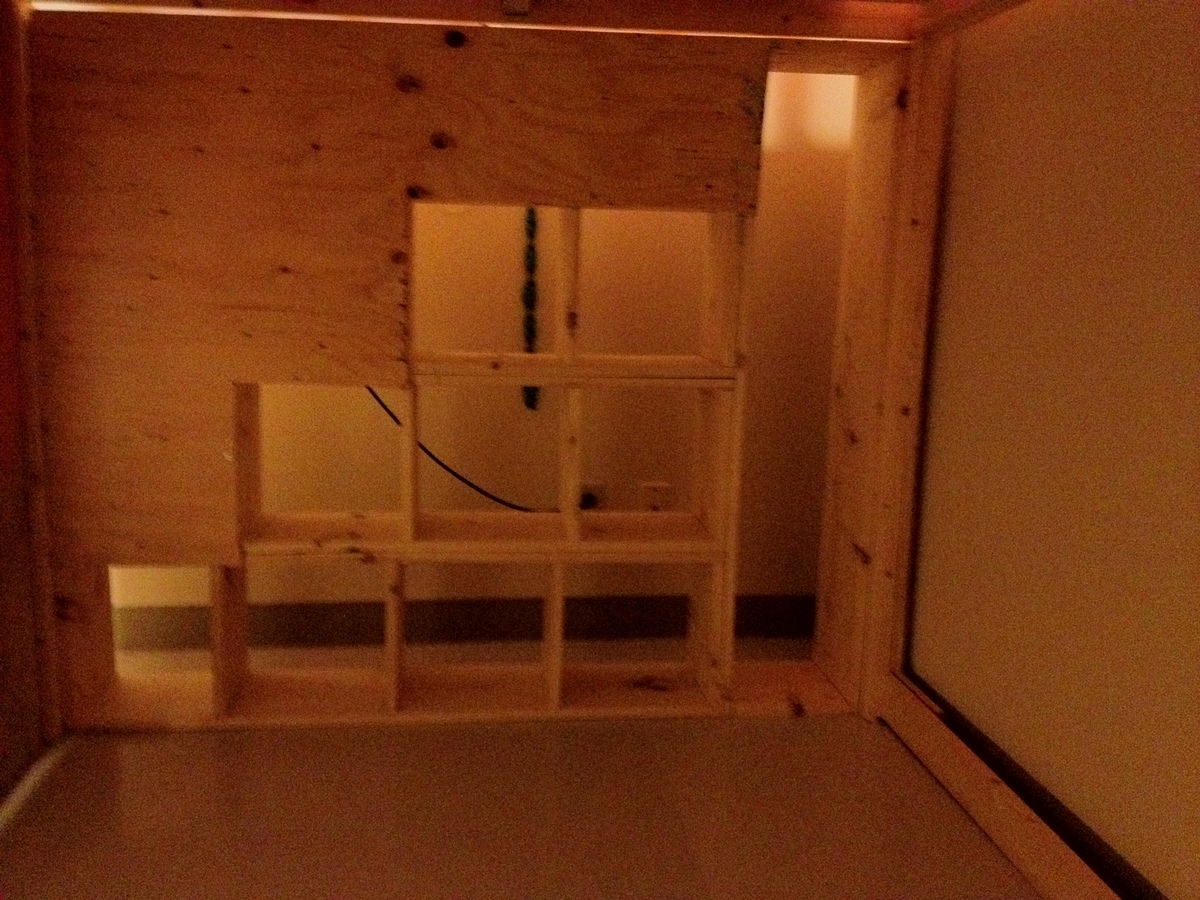
So this took a little over a week to complete, working whenever I could. I painted the inside pink, and the best color they had at Homes was basically pepto bismol. My daughter won't mind, but I did not want to see that on the outside everyday. The outside is purple and trim is white. The purple was an oil-based paint that smelled worse than any paint I have ever used before. I decided to make cubby storage stairs so that my daughter could get to them from the inside. I just finished this last night, and my family returns today for the surprise.

Estimated Cost
$300
Estimated Time Investment
Week Long Project (20 Hours or More)
Finish Used
Hapio Select water-based pink and white paint, Different Japanese brand awful smelling oil-based purple paint
Recommended Skill Level
Intermediate

Farmhouse Queen Bed

Submitted by Byanrabeu on Tue, 05/06/2014 - 10:50

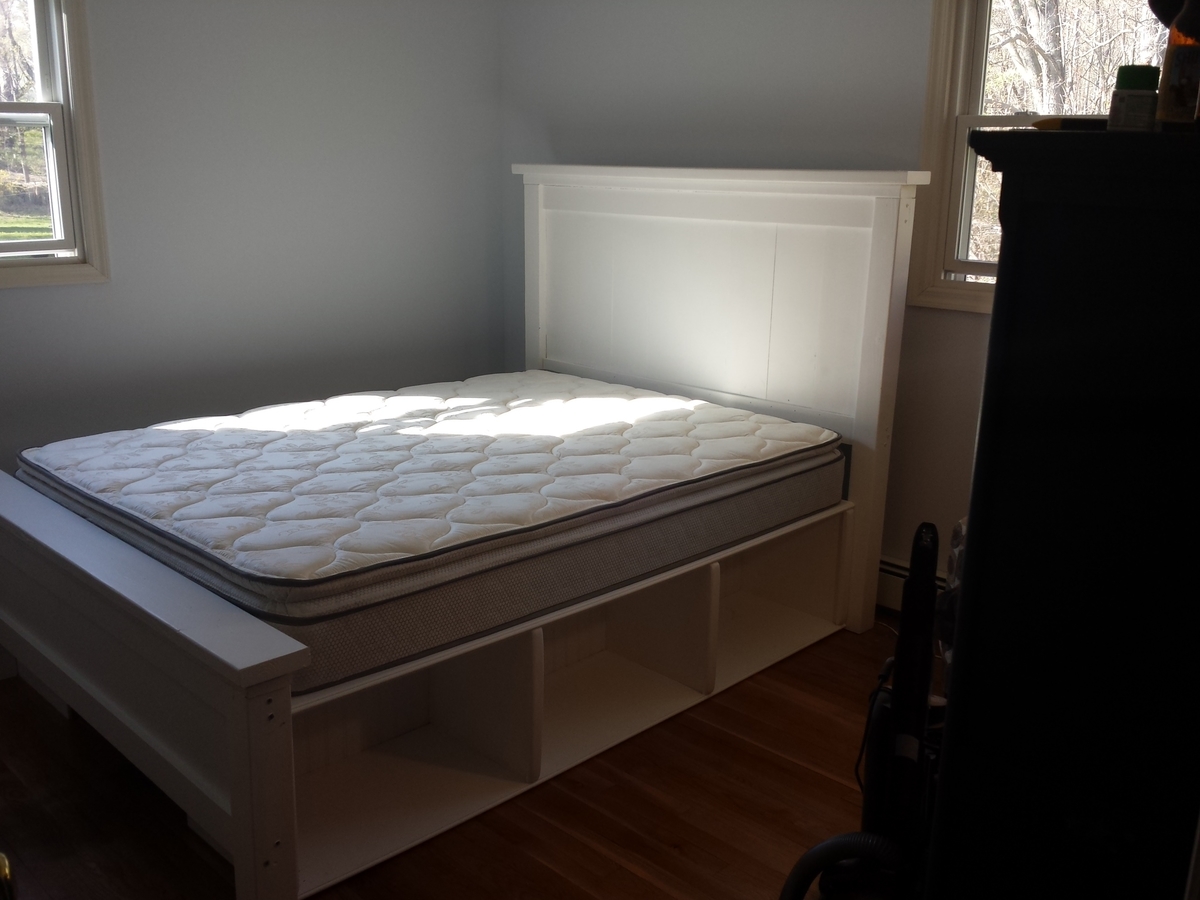
I began looking for creative ways to combine storage with a bed for our new guest room. My old office used to take up this room, we needed a Cat free guest room.

I have never really built anything. I figured why not start with something large to give me to confidence to try other projects. My rationale was; the bigger the project, the larger room for error without it being too noticeable. I assumed I would have some trial and error periods throughout this project. I was right.

I have a table saw I inherited from my grandfather. I quickly realized how many more tools were required to build a bed frame. I need a hobby so I bit the bullet. I purchased a brad nailer, circular saw and sander.

I decided to make this project during the spring time, I don't have a garage to work with so I was moving a lot of tools outside for cutting and sanding and then back into the basement for paint. It was a lengthy process and took me a good month with my free time (an hour or two every couple days) to get this project complete.

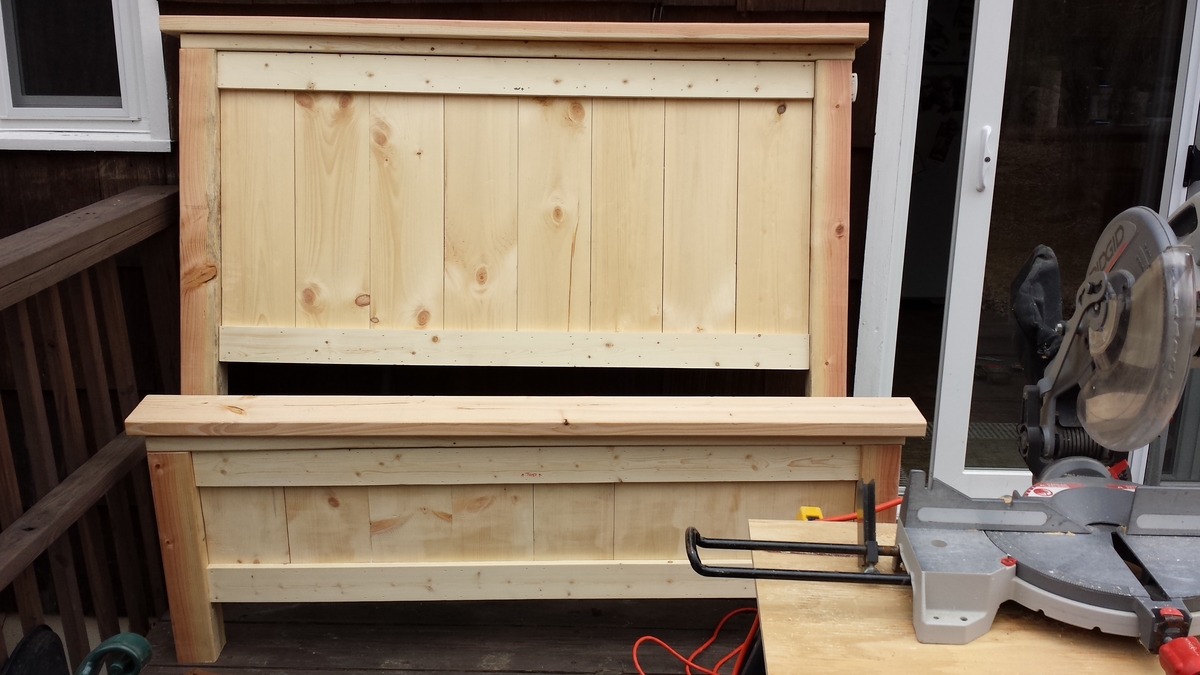
I followed the original Farmhouse Queen Plans and also a post from another helpful member BirdsandSoap which was labeled Farmhouse storage bed with hinged footboard.

The boxes that rest on the floor were actually my biggest challenge. It was not easy cutting the plywood to size by yourself without the proper instruction. I figured it out and made it work. The main issue I found was when I put on the side panels and middle inserts, the wood was not completely level... again perhaps I should have been a little more patient and careful with my construction but I had no assistance so keeping everything exactly where I needed it to stay was difficult. You cannot tell in the photo but the box bows up a little on either end... maybe a quarter inch at most.

The headboard and footboard where a breeze. After my box issues, I made sure to pick out some of the best Pine wood I could find. I bracketed the headboard and footboard to the boxes with no issues.

The most time consuming part was the sanding and painting. My wife wanted it white, I would have probably preferred to have it stained. Either way, for my first project, I believe it came out well (enough).

I think for my second project I will pick something smaller in order to give my self a second shot at leveling and being a little more precise with my cuts.
Built from Plan(s)
Estimated Cost
$200
Estimated Time Investment
Week Long Project (20 Hours or More)
Finish Used
Primmer and Medium Gloss White Paint
Recommended Skill Level
Intermediate

Comments

Back