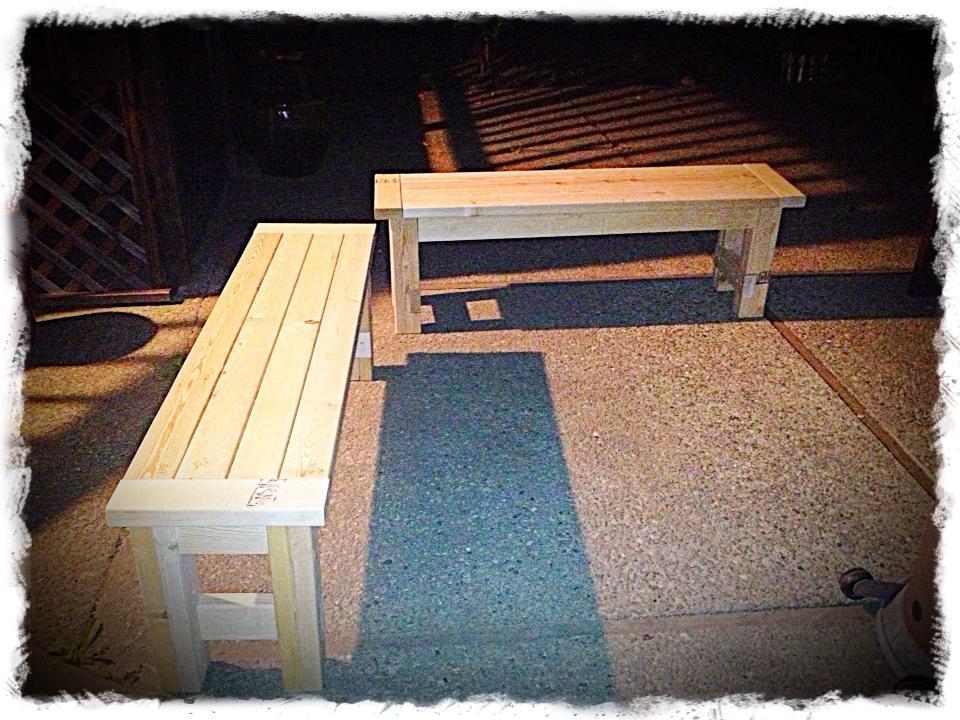
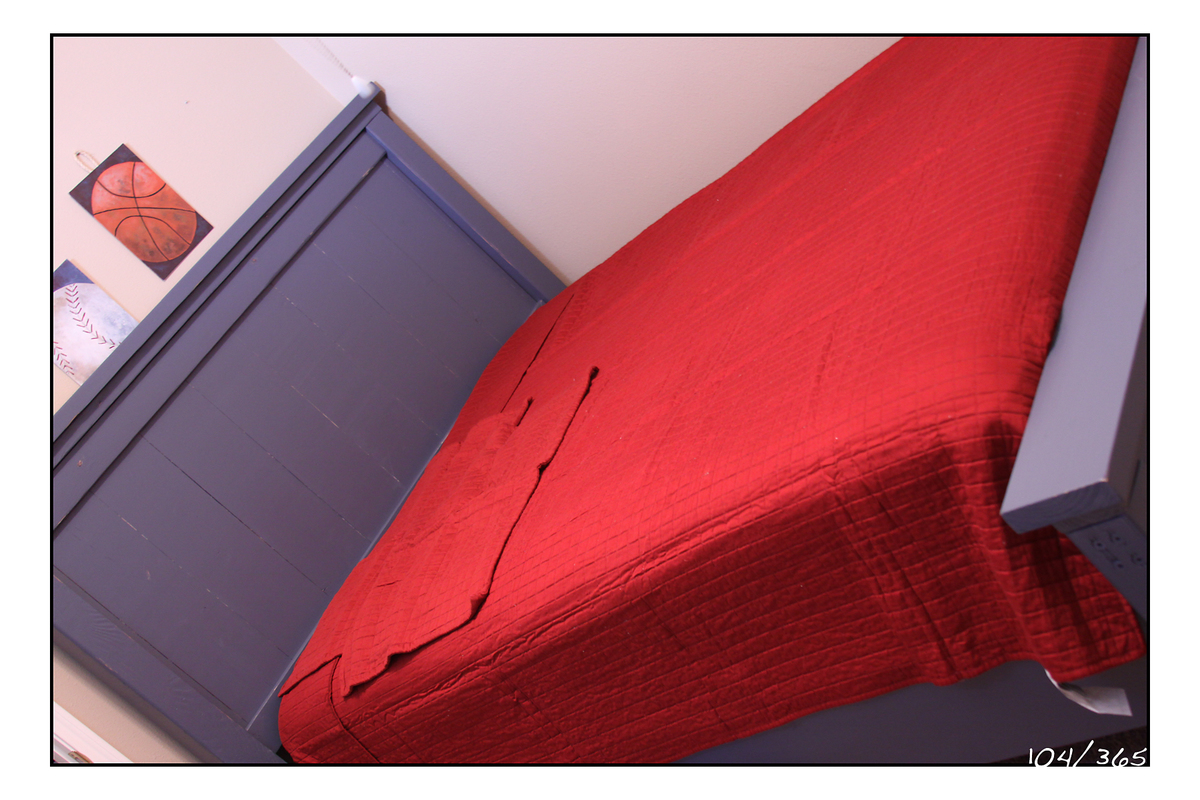
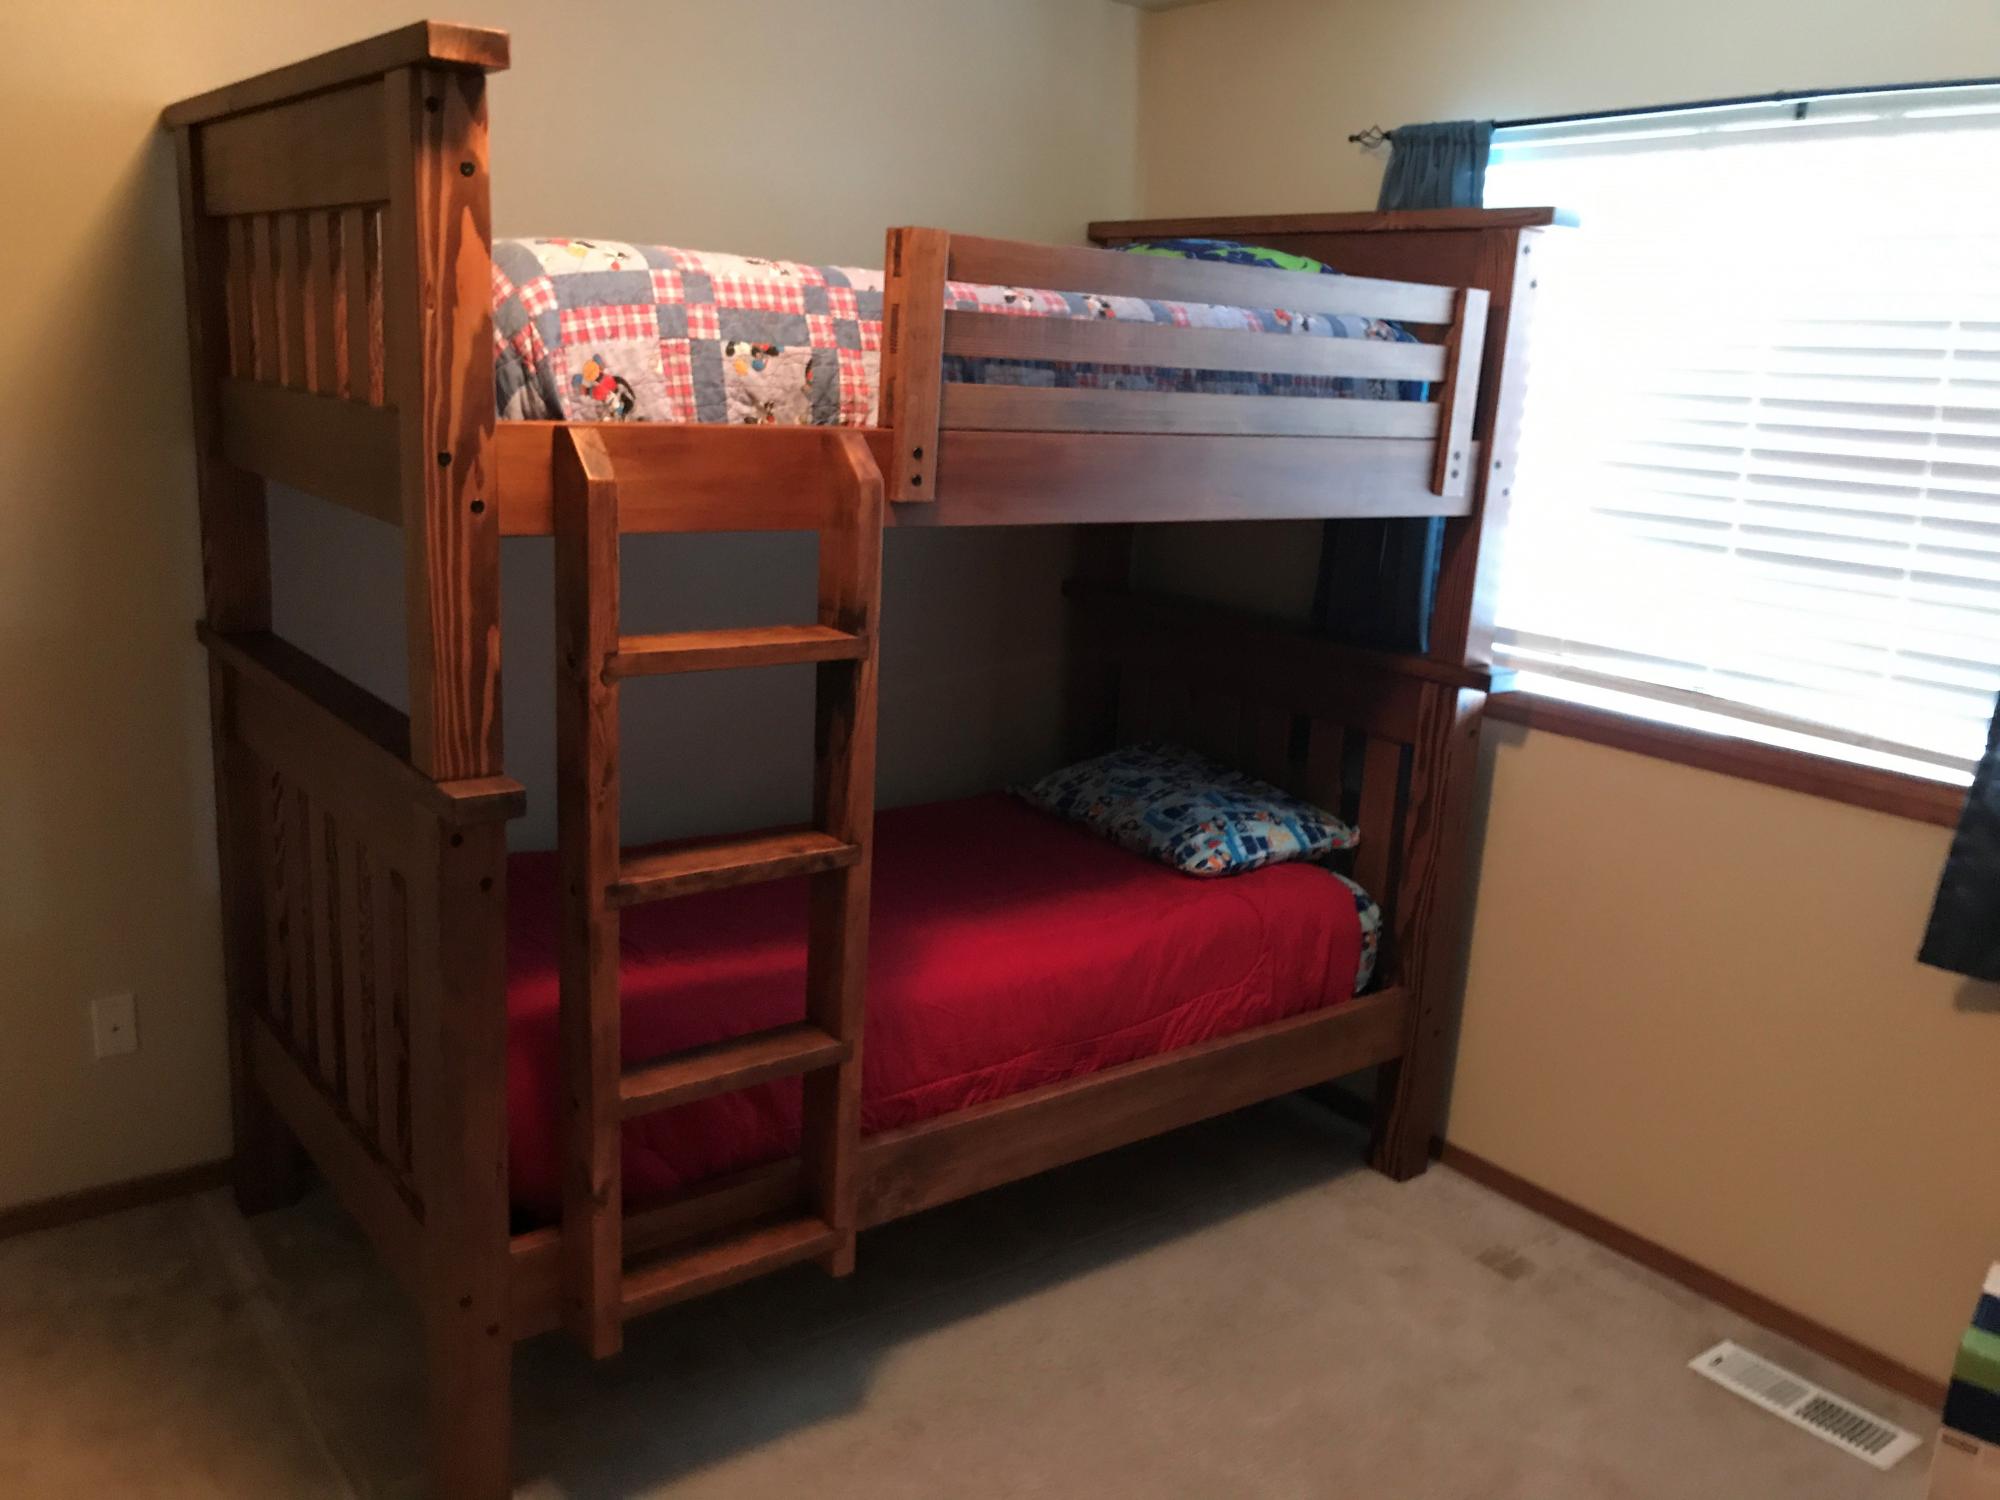
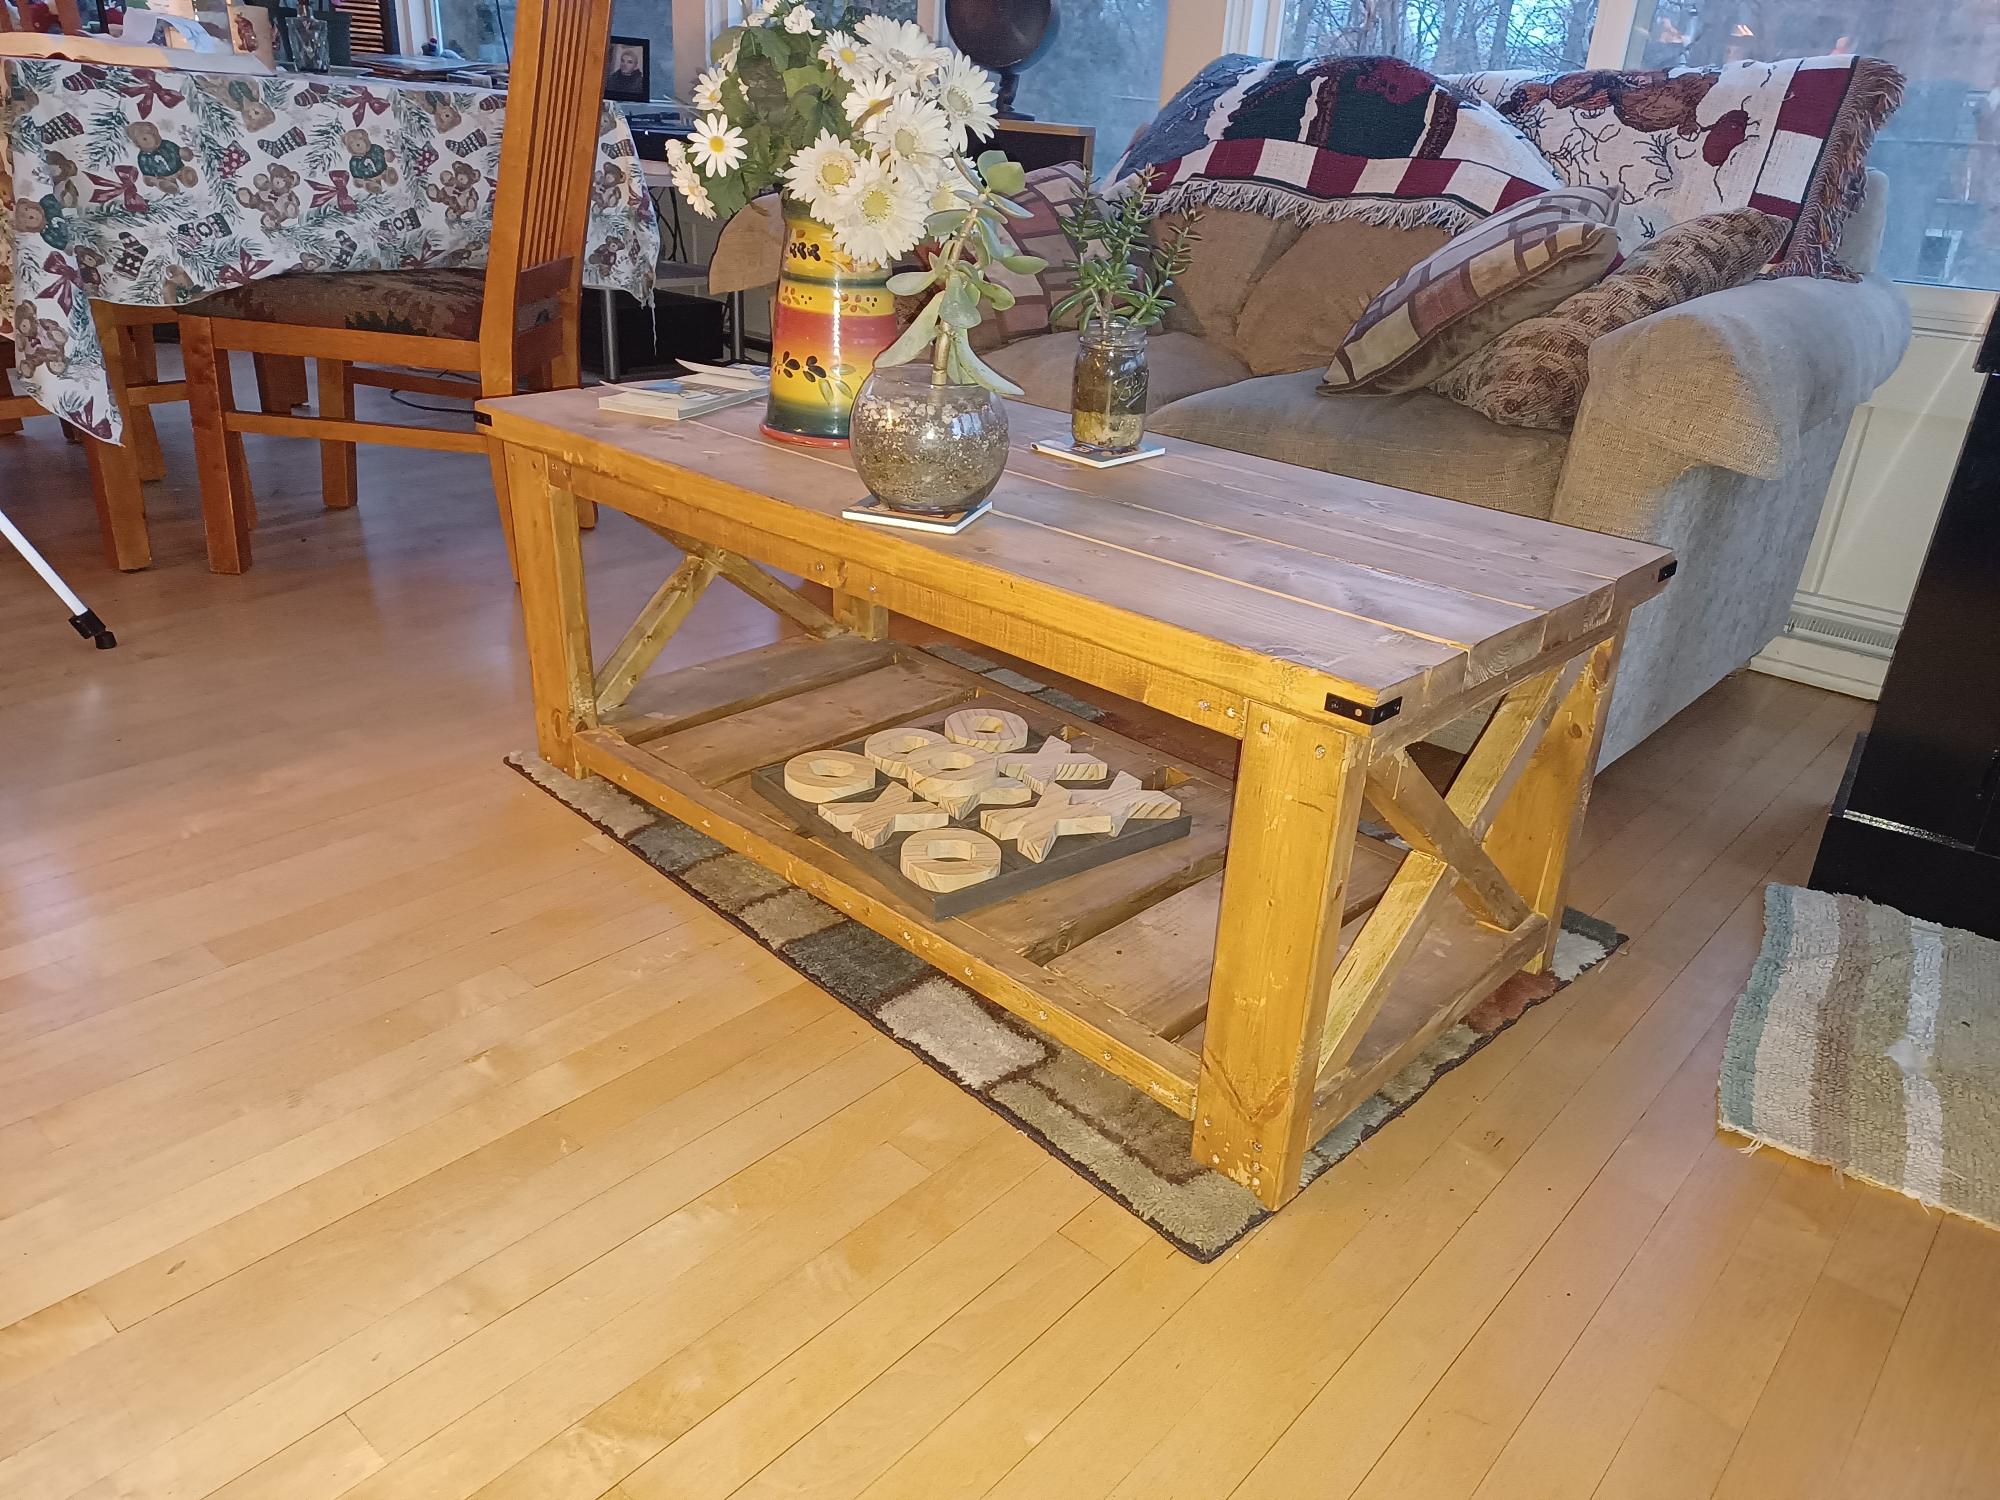
Community Brag Posts

My 1st project

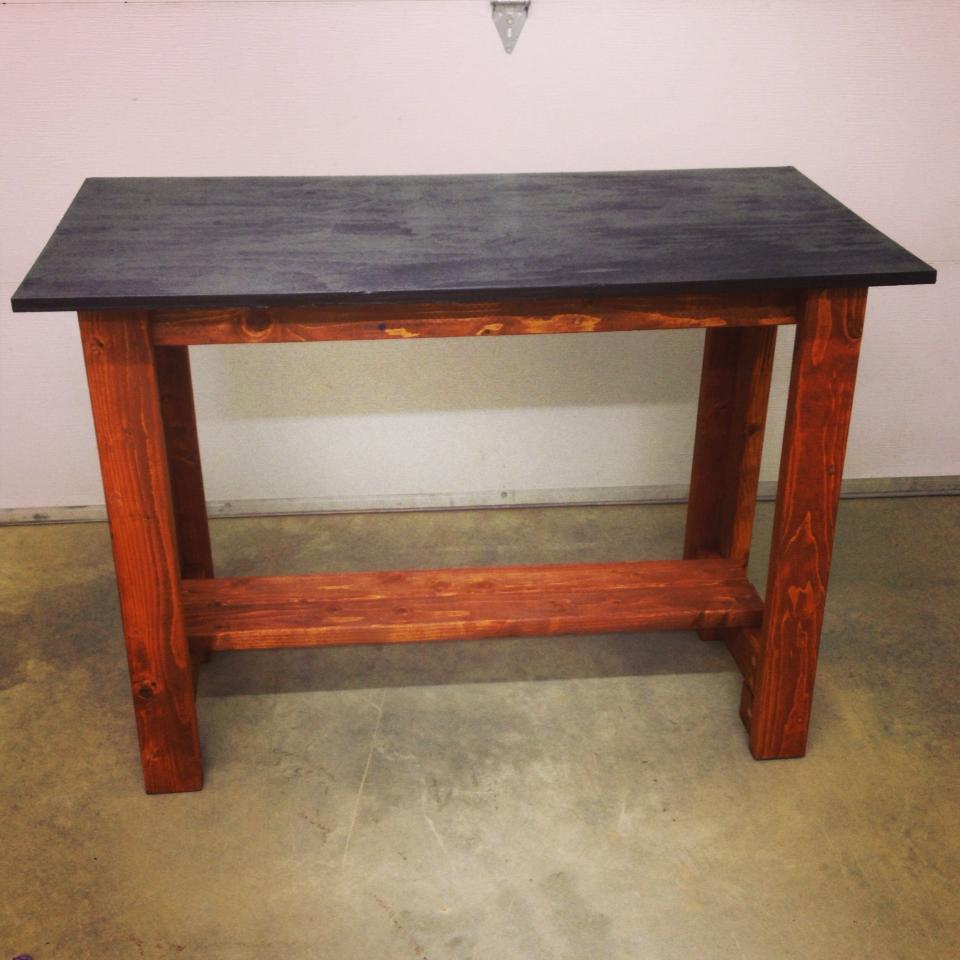
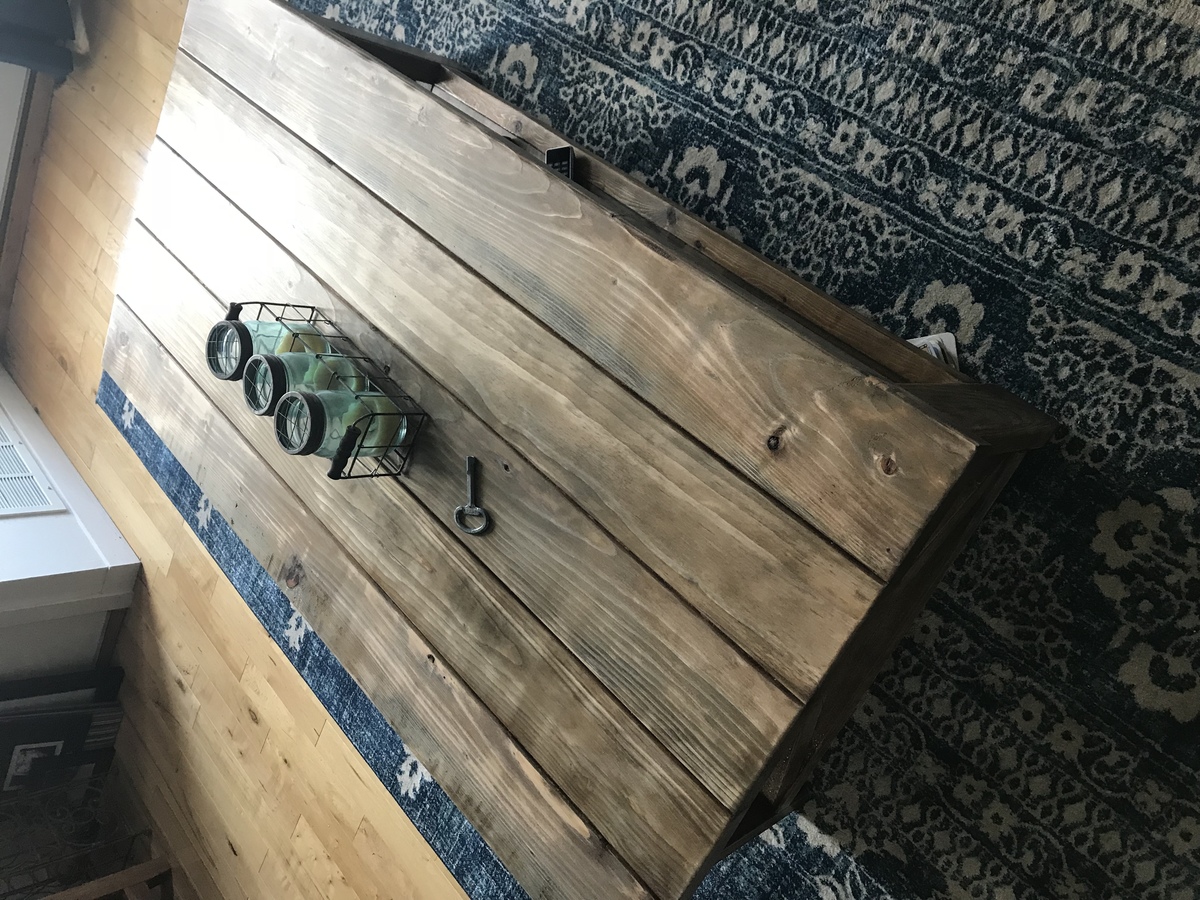
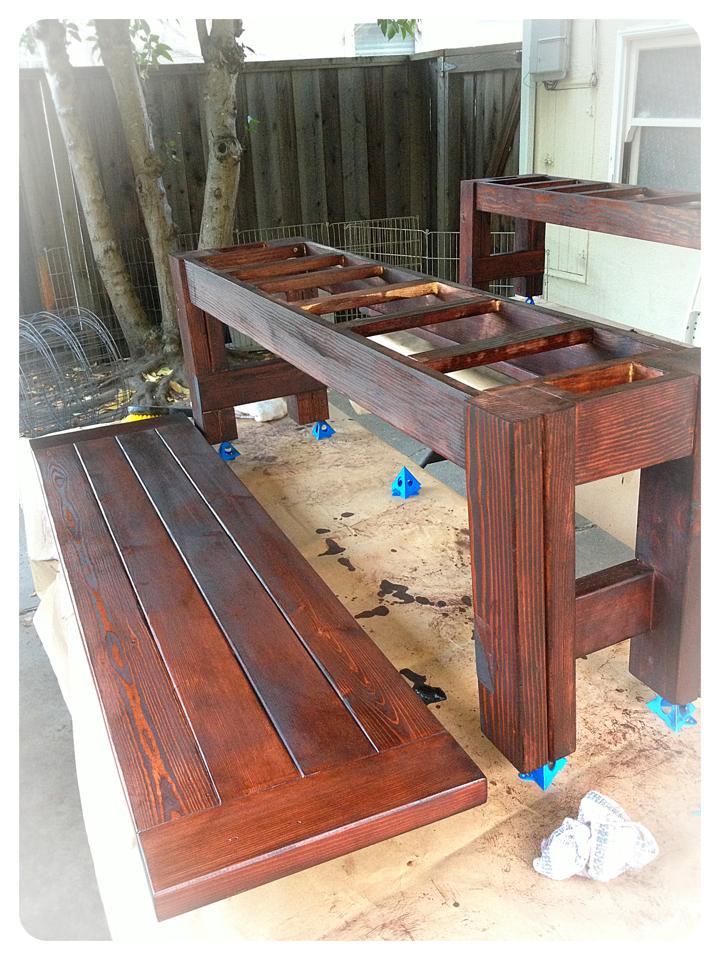
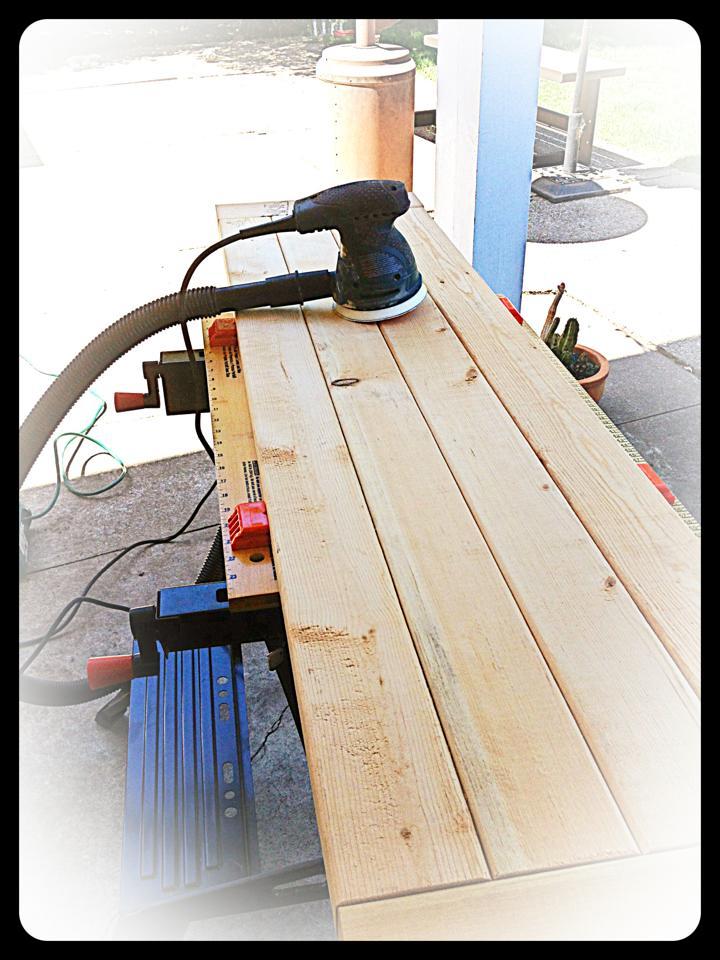
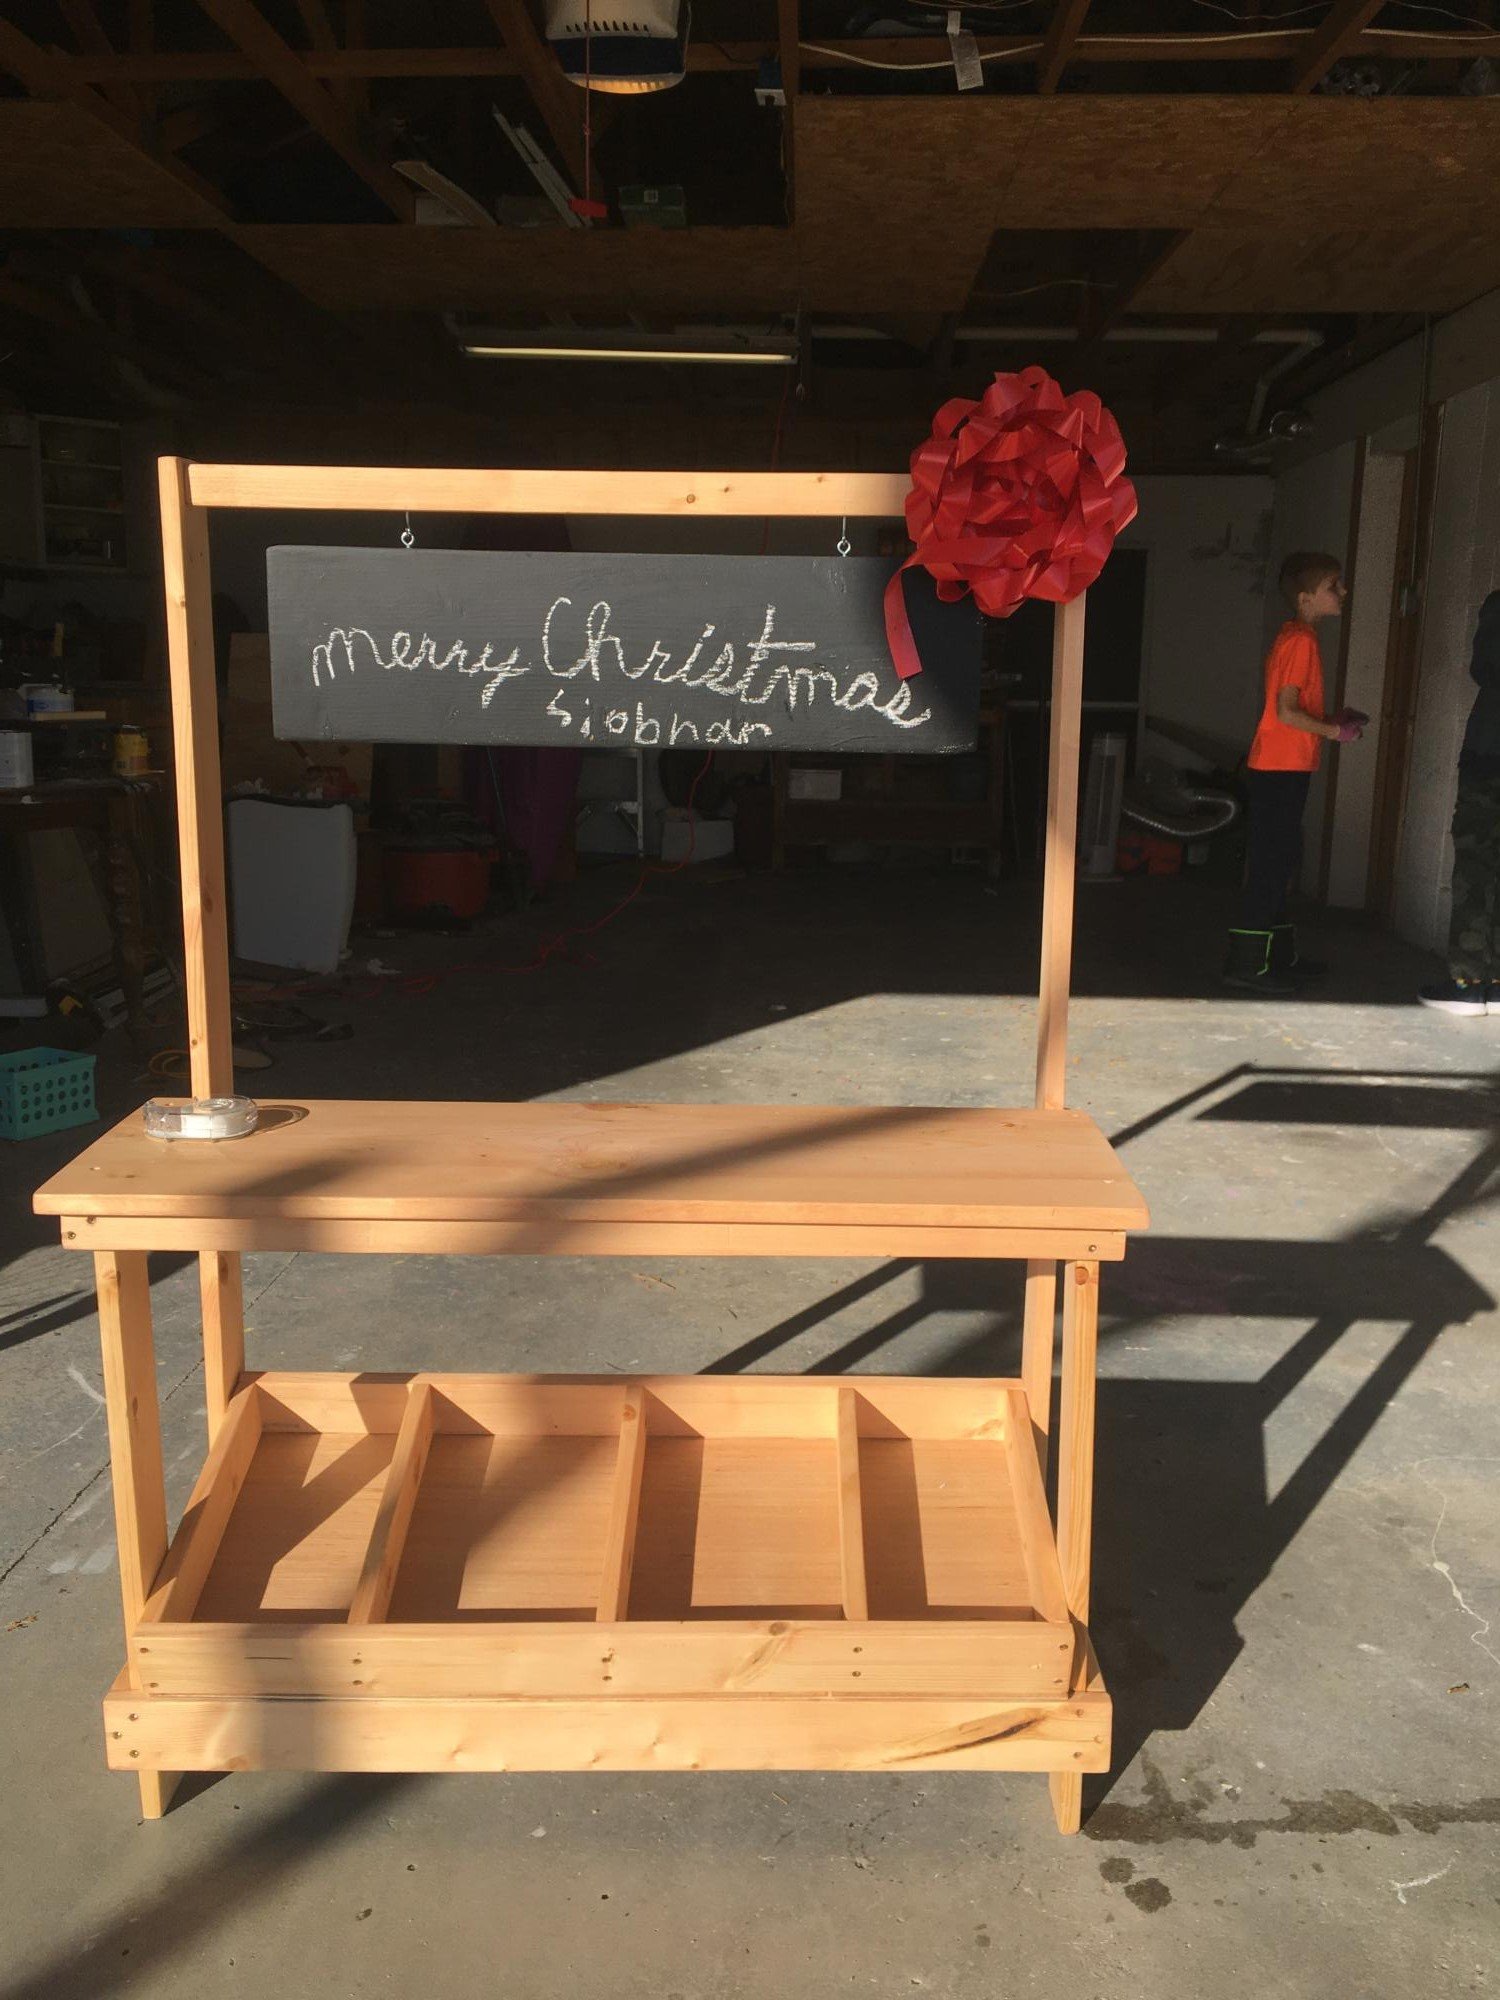
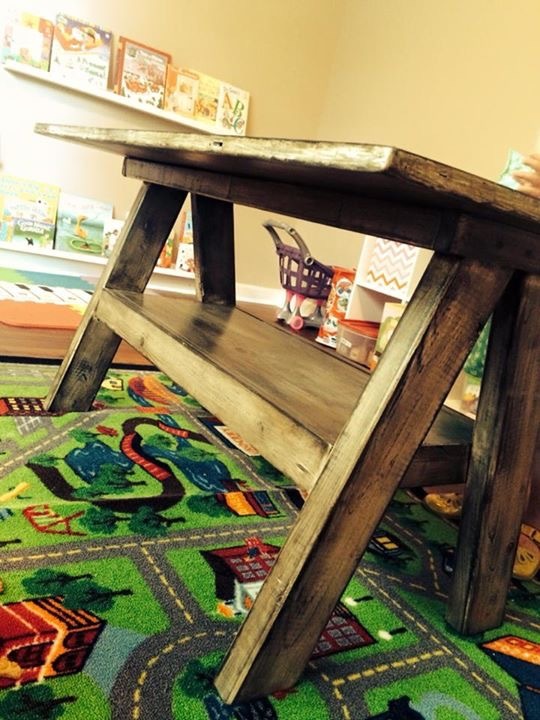
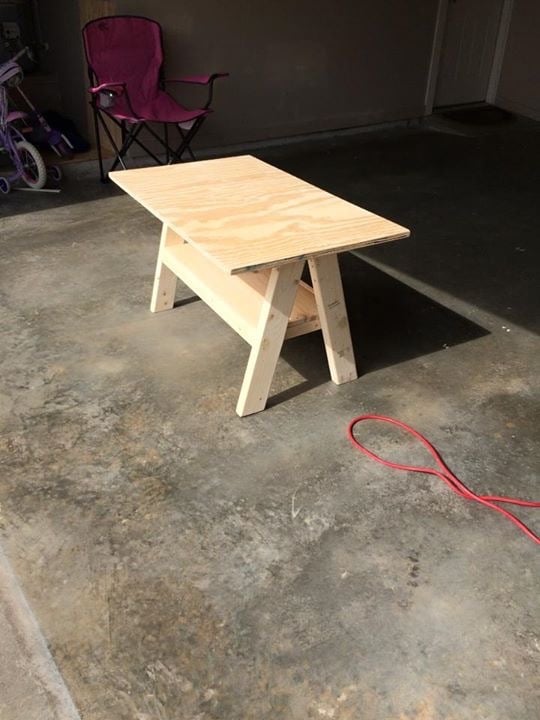
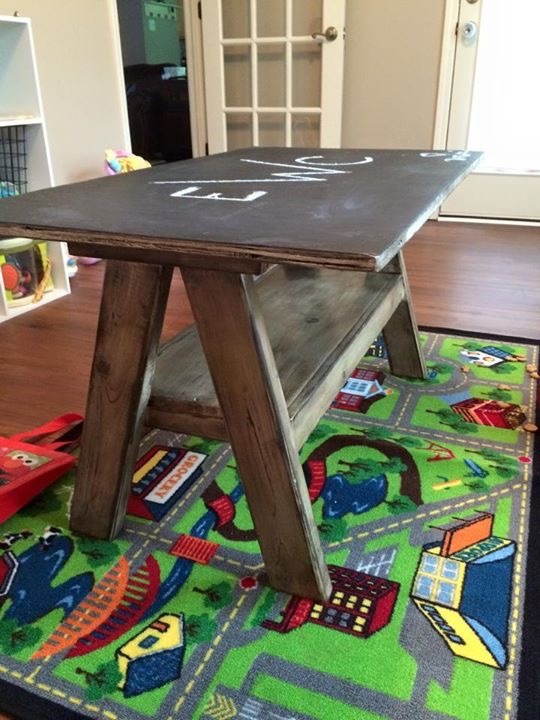
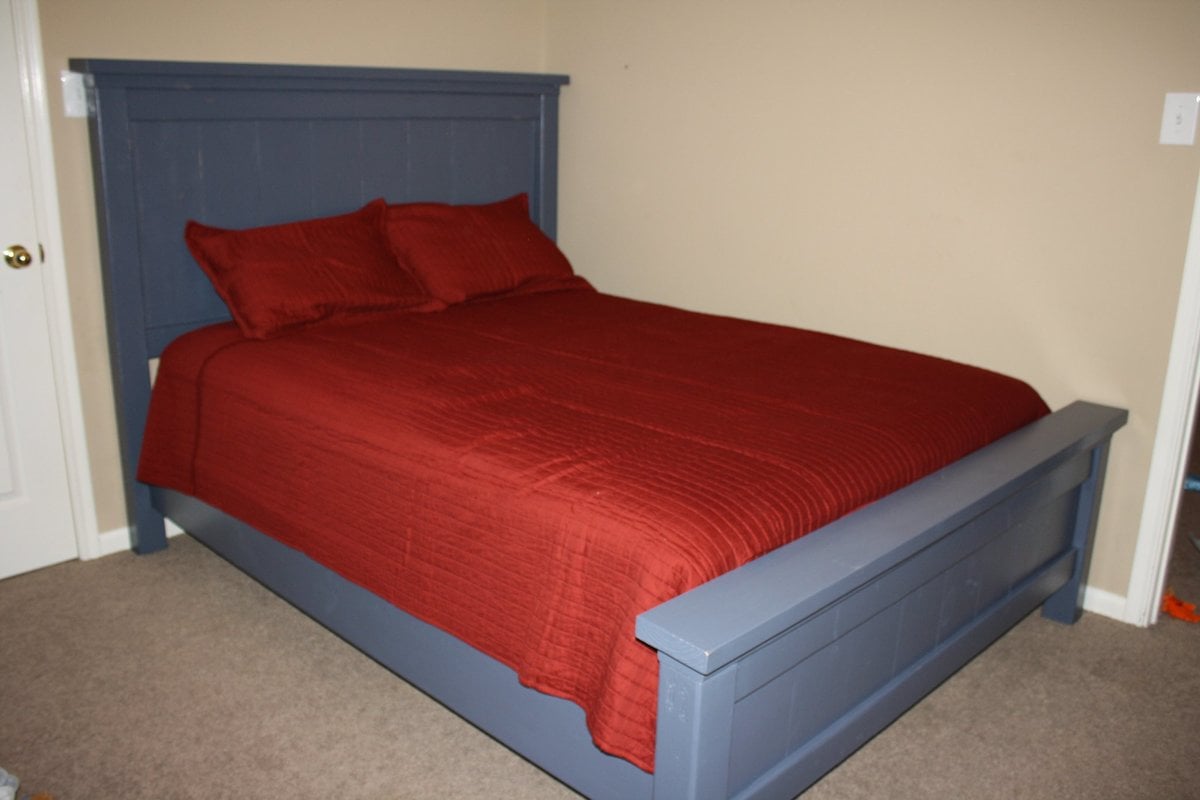
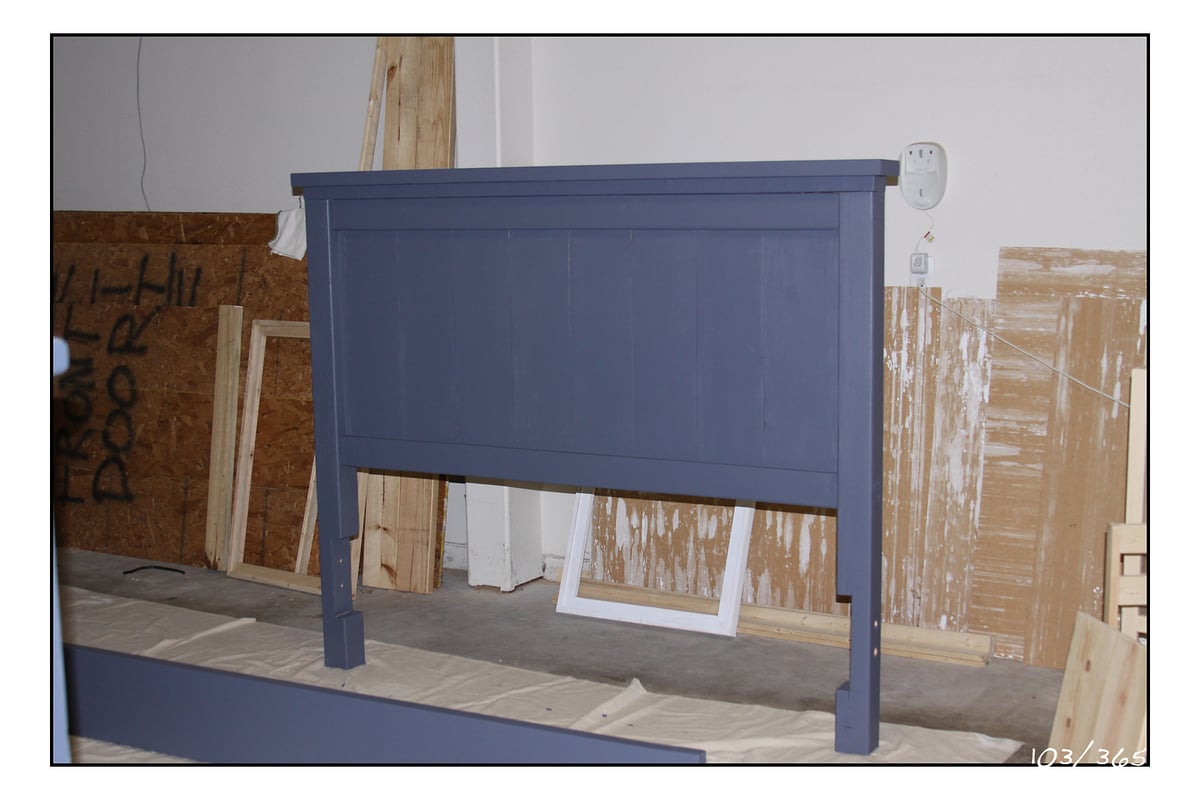
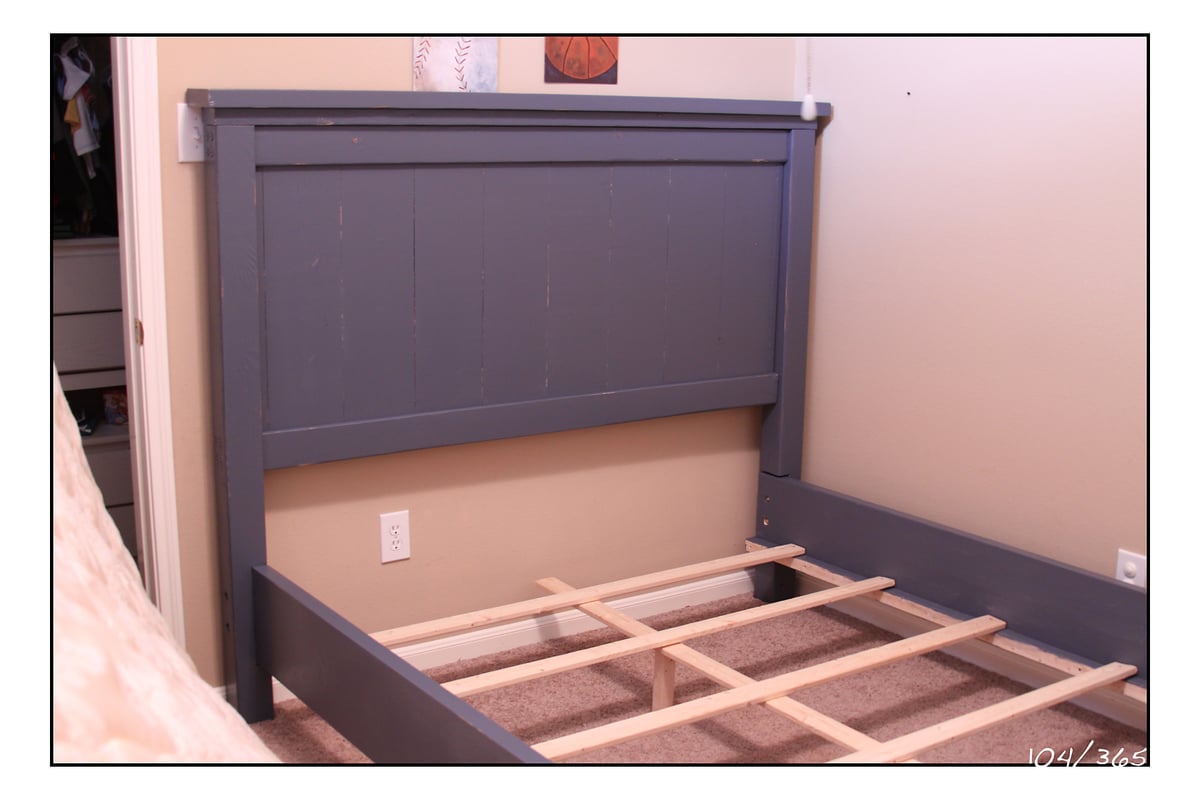
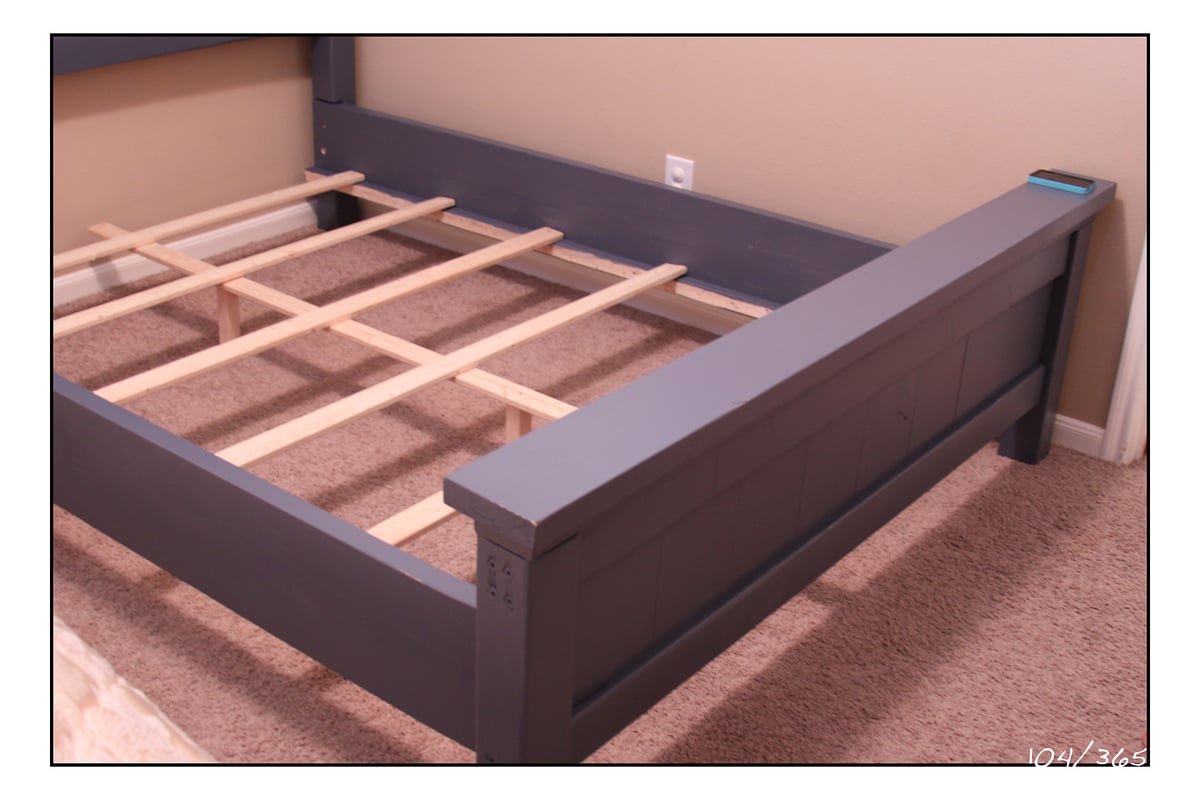
Like many others have posted, it made sense to start out by building a workbench. This took me about 3 hours to construct, but it would have been a lot quicker if I hadn't had to put in so many screws by hand (my drill needs a new battery). I stained the base and painted the top with a high-gloss black paint. My total materials cost was about $42, plus an additional $15 for small cans of paint & stain. I can't wait to start a new project!

Built from Plan(s)
Estimated Time Investment
Afternoon Project (3-6 Hours)
Finish Used
wood stain, high-gloss black paint
Recommended Skill Level
Starter Project

Comments

Rustic X Coffee Table

Submitted by nellybean on Sun, 12/17/2017 - 09:14

 I built this in my studio/loft apartment. Great beginner weekend project. My first of many. 

Built from Plan(s)
Estimated Cost
$60
Estimated Time Investment
Weekend Project (10-20 Hours)
Finish Used
Vinegar/steelwool oxidation with Vermont Natural Coatings poly-whey clear satin
Recommended Skill Level
Beginner

Farmhouse Queen Bed

Submitted by Anonymous (not verified) on Sun, 12/05/2021 - 06:07

I saw the Ana White Farmhouse king bed and used it as inspiration. I made a few modifications and adjusted the measurements to fit a queen bed.
Thanks for the inspiration!

Comments

Upholstered Toddler Bed - Little Boy Style

I used as much reclaimed wood as I could to make this project as inexpensive as possible...and since it was going to be covered, you can't tell.  What I couldn't get from scrap or the pallet I tore apart, I bought at Orange...only to discover that they do not sell untreated 2x6s in Hawaii.  So I improvised and screwed a couple 1x6s together, and it worked just fine.  The only real problem I ran into was that reclaimed wood isn't really all that straight...so some of it went together by sheer force of will!  :)  It was my first build completely without my husband...and at 8 months pregnant, I definitely got a workout!

Estimated Cost
$35 - including fabric, but also using some reclaimed wood.
Estimated Time Investment
Day Project (6-9 Hours)
Recommended Skill Level
Beginner

Book Caddy

Submitted by JeneF on Mon, 06/17/2013 - 20:11

This book caddy was just what I needed...a small shelf to store the books that the girls are currently reading, so I am not constantly returning books to the bookshelf. Now we can keep a bunch of books at ready access, without them stacked around the room.

I shortened it to 18", but otherwise followed the plan as written. Some of the spaces/angles were a bit tricky to get into to with my tools, but the concept was straightforward. I did it myself, but a second person would have been handy to help hold the pieces while I fastened.

Built from Plan(s)
Estimated Time Investment
Weekend Project (10-20 Hours)
Finish Used
Valspar paint samples (Satin): Putting Green (6004-8B) and Rushing Stream (5005-10B). Minwax Fast-Drying Polyurethane.
Recommended Skill Level
Beginner

Sliding door entertainment center

Submitted by Steckhome on Wed, 12/20/2017 - 02:17

Used the plans from here and the plans for the sliding door hardware to create this for my wife for Christmas.

Built from Plan(s)
Estimated Cost
$200
Estimated Time Investment
Weekend Project (10-20 Hours)
Finish Used
Clear matte minwax
Recommended Skill Level
Intermediate

Farmtable

Submitted by Anonymous (not verified) on Wed, 12/15/2021 - 12:29

Top is 2x10 KD spuce. Finish is Varathane cherry stain and Varathane semi-gloss poly. This was my first intermediate project. Learned a lot.

Built from Plan(s)

Comments

Turning the Loft Bed into a Bunk Bed

Submitted by mommabutts on Thu, 04/14/2011 - 10:20

We adapted the loft bed plans so we could put our sons' current twin bed underneath it to make "bunk" beds for our boys.  It turned out perfectly!  The loft is very sturdy, even with 2 adults and a child on the top bed.

We made it taller and longer, and added an additional row of 1x8s to increase stability.

Built from Plan(s)
Estimated Time Investment
Day Project (6-9 Hours)
Finish Used
Minwax Polyshades
Recommended Skill Level
Intermediate

Trash Bin

I couldn't find any plans on here for a simple outside trash bin so I drew these up and it turned out great
I used 12 1x6x6 fence pickets like you use for privacy fences they were 1.75 each and one 16 foot 2x4 and 1 10 foot 2x4 the trash bin is 3 foot tall and a 3 foot square

Estimated Cost
$35
Estimated Time Investment
An Hour or Two (0-2 Hours)
Recommended Skill Level
Beginner

Comments

Farmer’s. Market Stall

Submitted by Cockroach on Wed, 12/22/2021 - 13:31

I made this for my daughter this year for Christmas. I’m pretty proud of how it turned out.

Built from Plan(s)

Comments

Recycling Center

Submitted by mac226 on Mon, 04/18/2011 - 12:41

We modified Ana's Recycling Center plans to make this piece.  It's made of MDF and painted to match the kitchen cabinets.  I had the pieces cut at the lumber yard so they'd be straight, but didn't have the plans quite correct.  My poor plans resulted in the build being quite fidgety and took ages to complete (and I ended up having a handyman help get it right), but I'm happy with the result.   I used drawer runners for the drawers and made a box inside, cutting out a hole for the plastic liners.  Thanks so much for the help!

Built from Plan(s)
Estimated Cost
$100
Estimated Time Investment
Week Long Project (20 Hours or More)
Finish Used
Cupboard Paint for MDF
Recommended Skill Level
Beginner

Kids Trestle Table

This was my first attempt at a project from the site here, and I am hooked! this was well thought out and the fact that you have the cut sheet and materials list ensures you get what you need and help to keep cost down. This will not be my last build from this site! Thank you for the great information and how-to you guys have provided.

Estimated Time Investment
Afternoon Project (3-6 Hours)
Finish Used
Common white paint then sanded to expose wood grain. Applied dark stain over that to "age" everything and finished with poly over the top!
Recommended Skill Level
Starter Project

Castle loft bed

Submitted by chazbandy on Wed, 12/27/2017 - 09:34

Took different plans from this site and combined them to make this princess castle for my daughter. 

Estimated Time Investment
Week Long Project (20 Hours or More)
Finish Used
Industrial grade Paint variety
Recommended Skill Level
Intermediate

my brothers hickory blanket chest

Submitted by Anonymous (not verified) on Sun, 12/26/2021 - 12:36

ana here is a picture of a solid hickory blanket chest i made my younger brother the chest is made from 1x8 hickory i used walnut and aromatic cedar trim and for the side trim i used elm the chest features in the top hickory red oak walnut and white oak with walnut side trim and the front of the chest features exotic hard to find mexican bocote lumber i i built the whole chest using plugged kreg screw construction and i used aromatic cedar for the floor and for the finish i used minwax antique oil finish 3 coats this is by far my most 2nd favorite project to come out of my shop over my 20 plus yrs woodworking not bad for simple tools a humble shop and a outdoor rated cord for power hope you enjoy let me know your thoughts n i would be glad to share more pics of my work

Queen Farmhouse Bed

Submitted by ralarid on Thu, 04/21/2011 - 11:28

I just completed the Queen Farmhouse Bed from Ana's plans for a friend of mine. She needed a "big boy bed" for her son that could double as a guest bed when family is in town.
I made a few modifications to the plan for the frame. I realized after the headboard and footboard were completed that I wanted the box springs to sit inside the side rails on slats so I had to notch out the post on the headboard to accommodate the extra width. 
I finished the bed with paint, "Blue grey slate", distressed it a bit, and gave it a coat of polycrylic.
Overall, I am extremely happy with the result. I have made some chairs and frames before but this was my first BIG project. It was a lot of fun for me and I love being able to stand back and see what can be built in your own garage!

Built from Plan(s)
Estimated Cost
$180
Estimated Time Investment
Weekend Project (10-20 Hours)
Finish Used
I gave it a good sanding, then applied Blue Grey Slate paint & primer in one. Two coats of that. Then slightly distressed with a sanding block and a screwdriver between the panels. Last, I gave it a coat of polycrylic to protect it.
Recommended Skill Level
Beginner

Doll Farmhouse bed revisited

Submitted by justqltin on Fri, 06/05/2015 - 10:03

We did another Farmhouse bed for Anna's dollhouse. Modified this version to be "twin" size (used 3 1x3's across instead of 5) Added some painted wood medallions to fit the theme....

Estimated Cost
$6 maybe. Most of the wood we had but had to buy a can of spray paint. Time includes time for glue to dry and paint to dry.
Estimated Time Investment
Weekend Project (10-20 Hours)
Finish Used
Krylon Maxx satin bright white spray paint. Krylon gloss black to do the medalions.
Recommended Skill Level
Beginner

Comments

Simple Bunk Beds

A variation of the simple bunk beds made with old growth lumber stained with "honey" minwax stain and topped with 2 coats of satin minwax polyurethane .  Each step on the ladder made with dado cuts, glued, and screwed and secured to each bed to add strength and take up less floor space. Used 8 inch HeadLOK screws to attach head and foot boards to posts and 2 7/8 inch to secure steps on the ladder as well as top boards to the head and foot boards. I cut down x4 HeadLOK bolts to 2 inches to secure rail to top bed so they didn't go through other side. Utilized non mortise bed rail brackets for easy assembly and disassembly; holds strong with no wobble even before ladder and plywood bottom. 3/4 plywood bottom screwed to the rails to better support mattress and add ridgidity. I screwed them so the bottom child doesn't push up on the mattress for the top child. All screws with the exception of the HeadLOK were counter sunk for a flush finish. All to say? This thing is strong and turned out beautifully. 

Estimated Time Investment
Week Long Project (20 Hours or More)
Finish Used
Bunk Beds
Recommended Skill Level
Intermediate

Farmhouse table

Submitted by Anonymous (not verified) on Sun, 12/26/2021 - 14:23

The directions on all of Ana's projects are great. This farmhouse table is in my sunroom and is a perfect addition.

Comments