Community Brag Posts

Drink Station - Variation on Laundry Basket Dresser

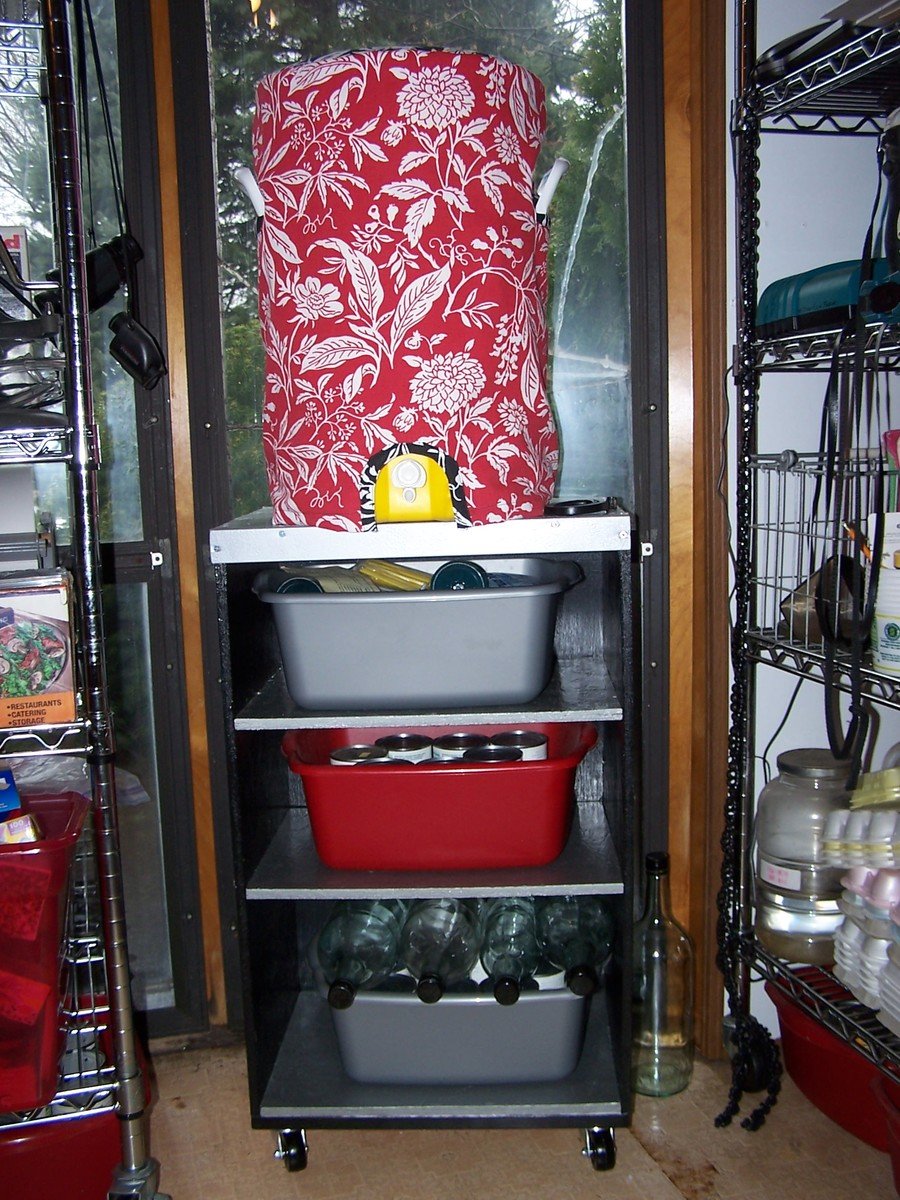
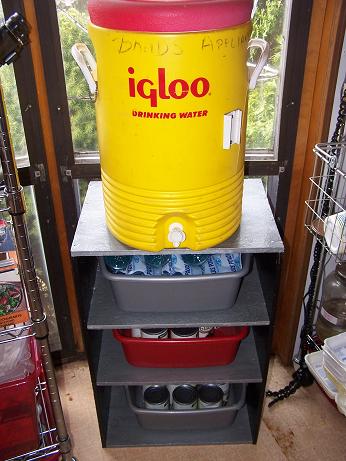
We are slowly remodeling our kitchen bit-by-bit. Our house is less than 1000 sq. ft. so storage space is at a premium. We keep five gallons of emergency drinking water (for when the power goes out during tornadoes or ice storms) in an Igloo cooler that sits in our kitchen at all times. I wanted an attractive stand to put the cooler on and thought a smaller version of the Laundry Basket Dresser would work well with the plastic tubs I use to store juice pouches and bottles of gatorade that I buy in bulk. (Please ignore my yucky floor in the pictures. We won't be replacing the 23 year old vinyl flooring until the rest of the remodeling is done.)
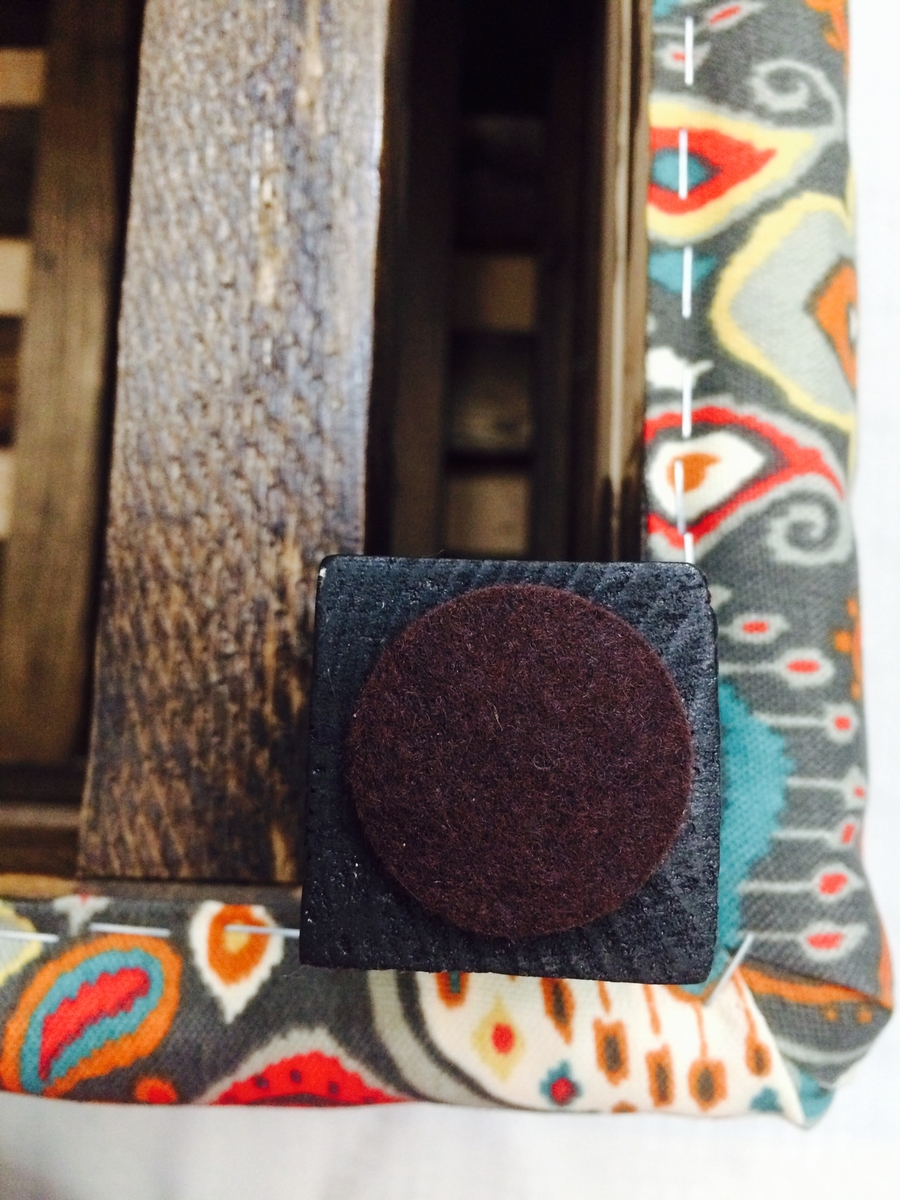
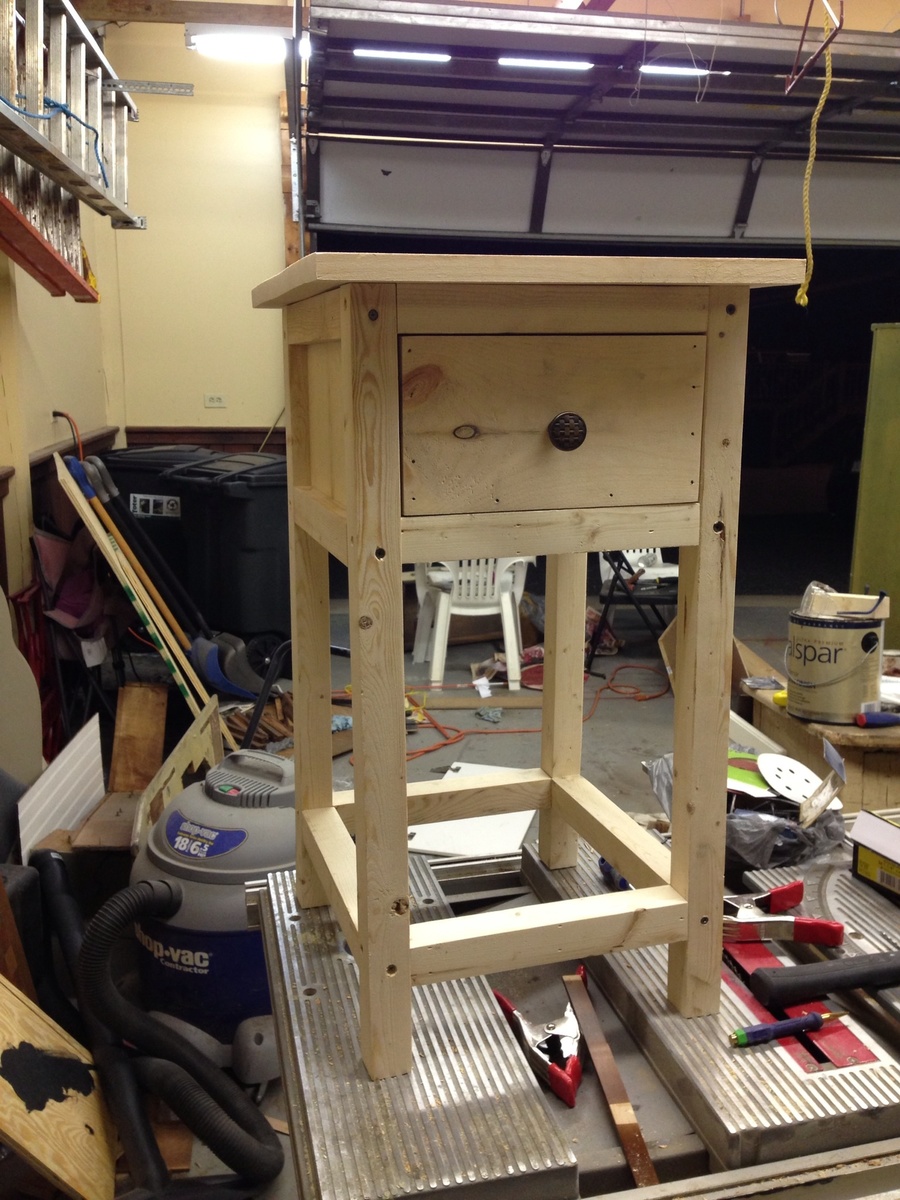
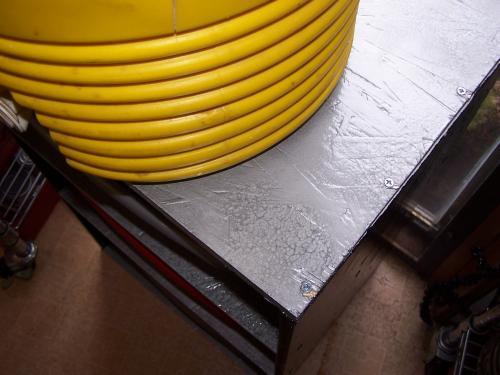
I built this stand using scraps of OSB from building goat houses for our goat herd so the wood was basically free. I wouldn't use 1/2" OSB again, though, because it split so easily even though I drilled pilot holes for all my screws. I also wasn't real thrilled that there is no way to sand it smooth. I did the best I could and hoped the primer would smooth it out some more. It didn't, but my husband says he really likes the texture of the hammered metal paint on the shelves and top mixed with the texture of the OSB because it looks really distressed.
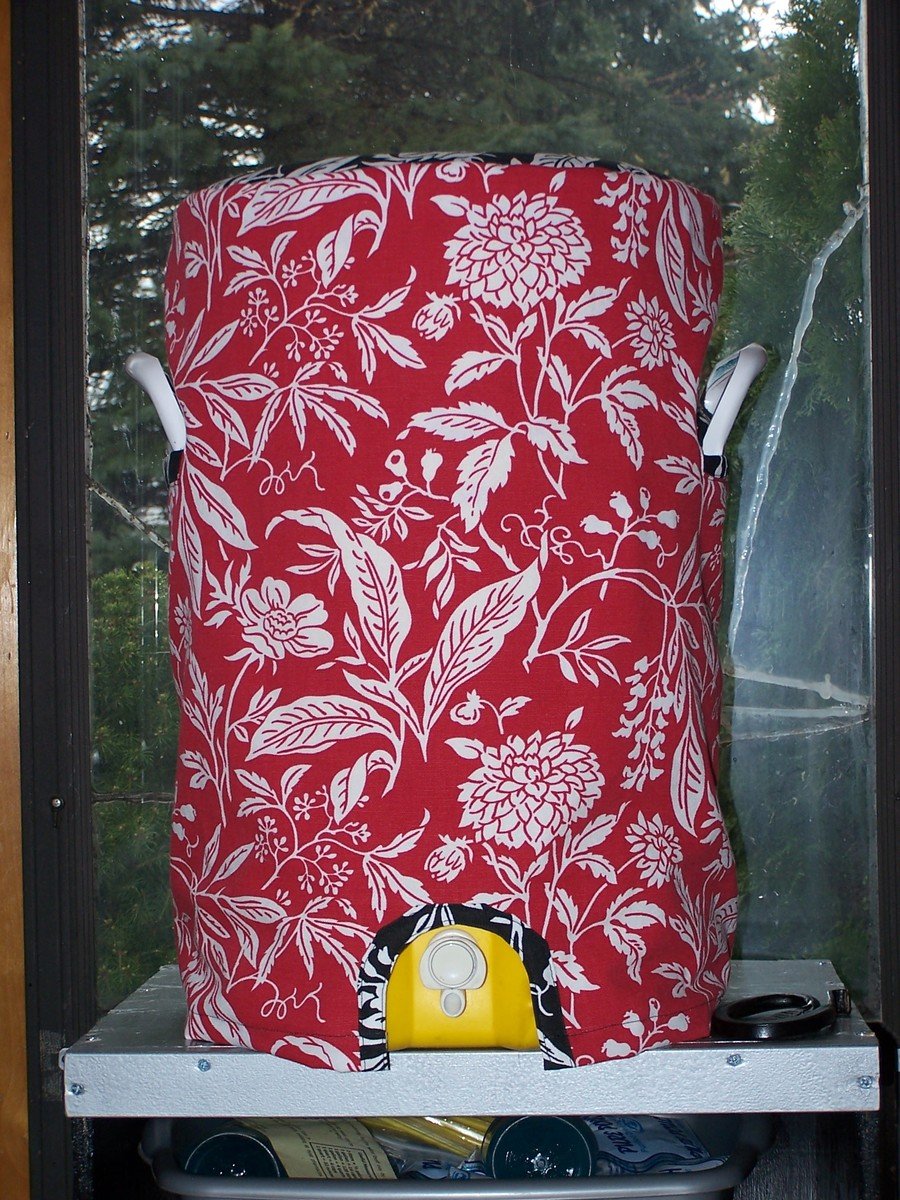
I plan to buy some wheels to put on it so it will eventually be countertop height and I want to be able to move it around if needed. I also will be sewing a cover for the cooler so it matches my kitchen decor and looks a little spiffier than the dinged-up former soccer team beverage carrier that it has been in the past.
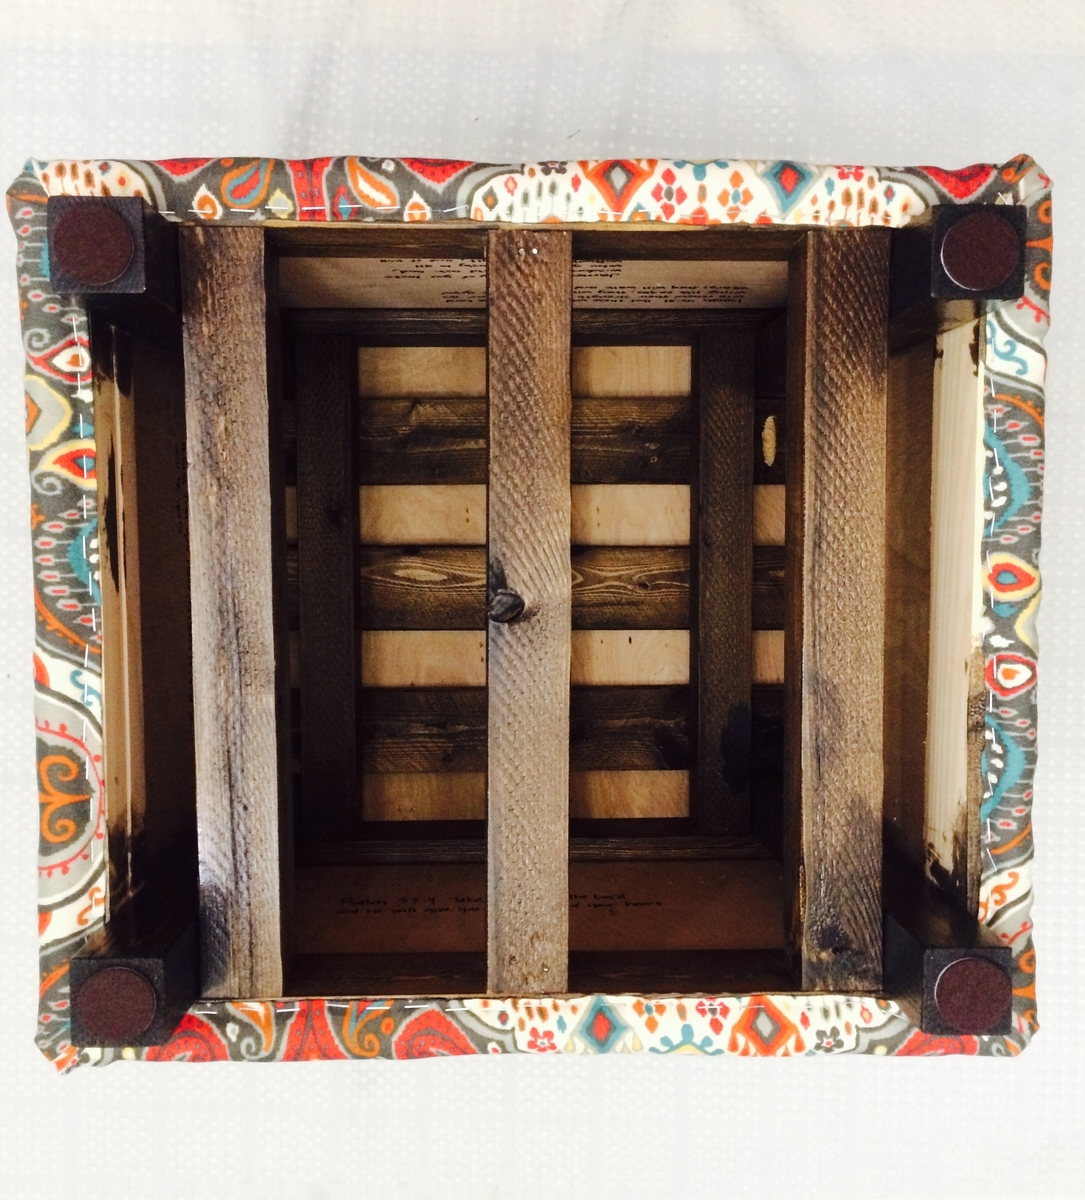
The biggest challenge of this project was keeping everything square while screwing the pieces together. I kept a framing square with me throughout the entire assembly.
My next project is going to be building a hutch using a variation on the plans for Grace's Bookcases.
(Updated pictures to show the cover I sewed for the water cooler and the added wheels.)

Built from Plan(s)
Estimated Cost
less than $10 because I used scraps of leftover wood and paint from other projects
Estimated Time Investment
Day Project (6-9 Hours)
Finish Used
2 coats BINZ Primer - 2 coats Silver Hammered Rustoleum Spray Paint - 2 coats Black semi-gloss Rustoleum Brush-on Paint
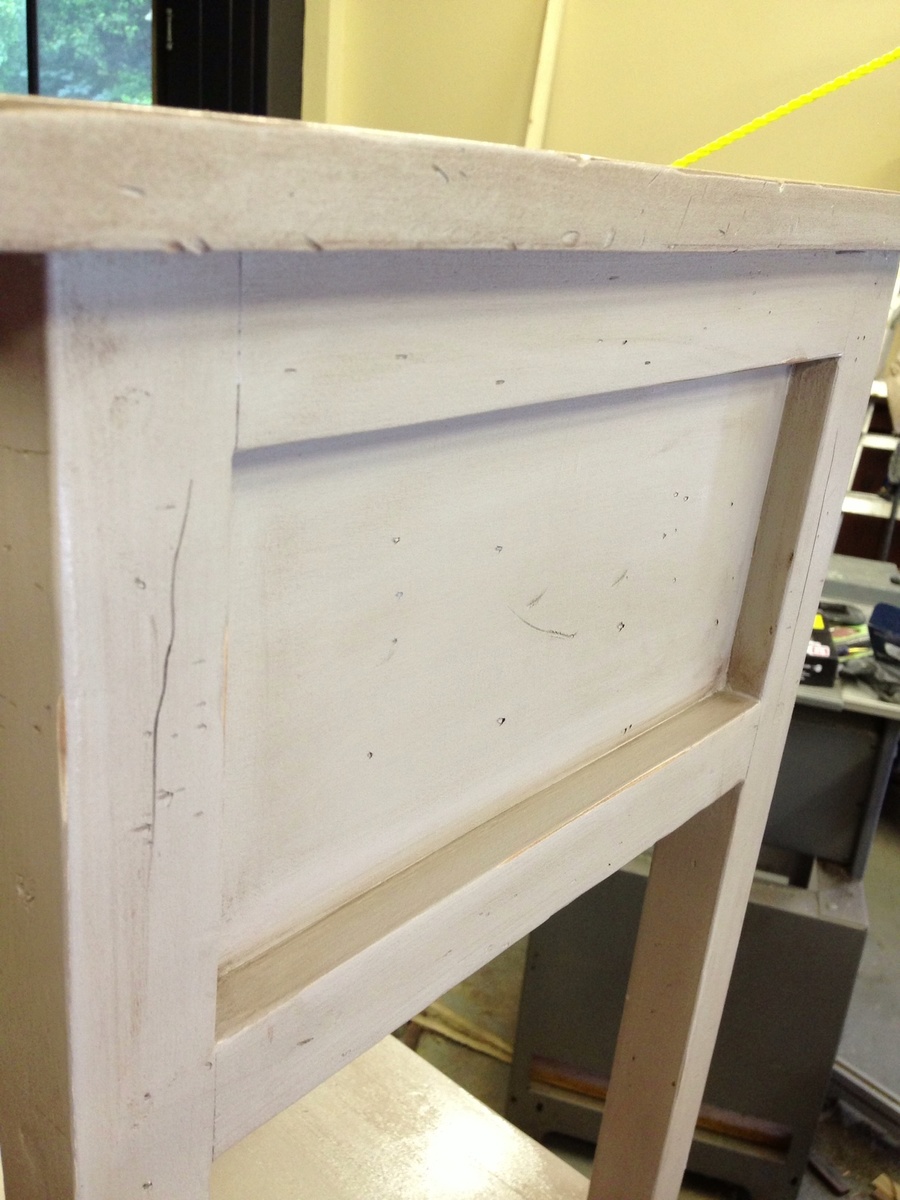
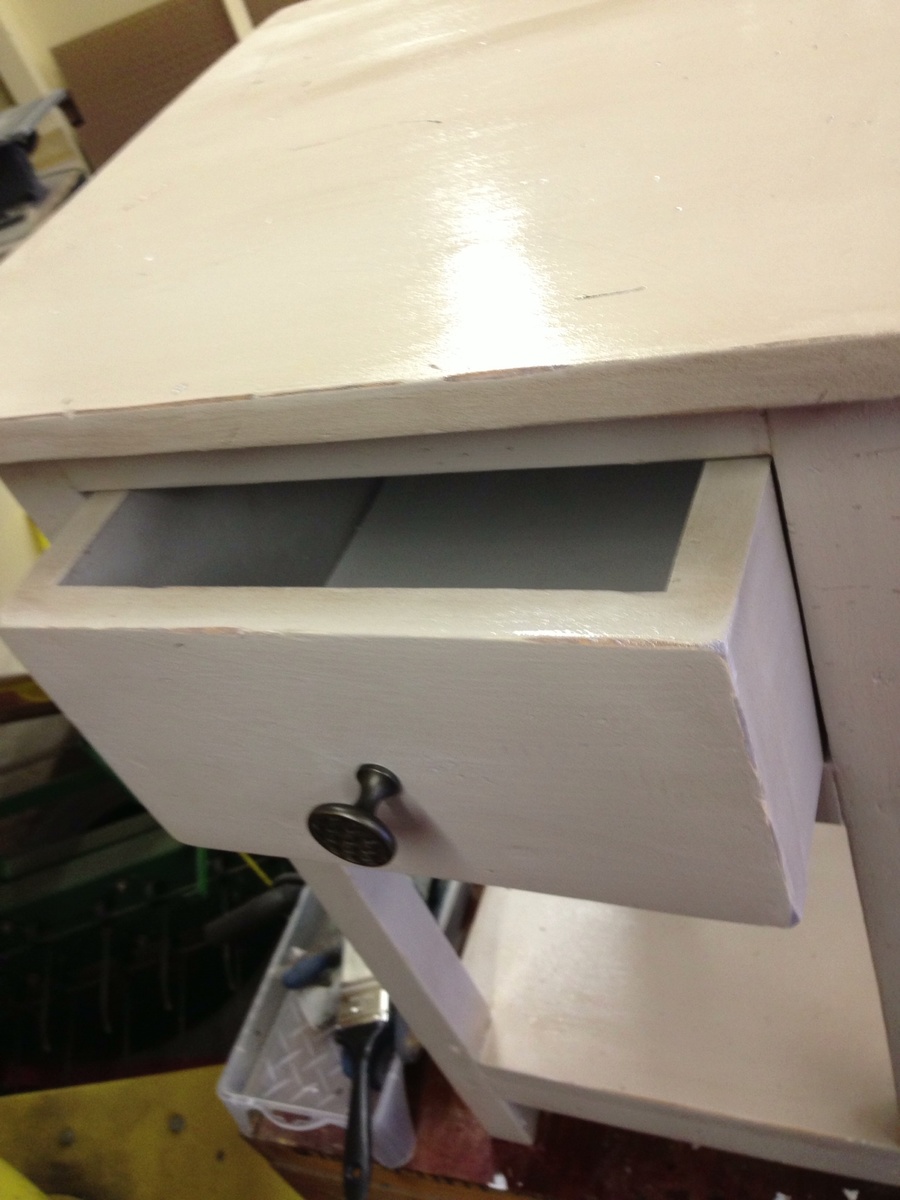
I primed and painted all the pieces before assembling them to make it easier. The parts that were going on the inside got 2 coats of paint over the two coats of primer before assembly. The parts that were going to be on the outside only got one coat of paint over the 2 coats of primer before assembly. Then after I screwed it all together the sides where the screws went into got the final coat of paint to cover the screws, too.
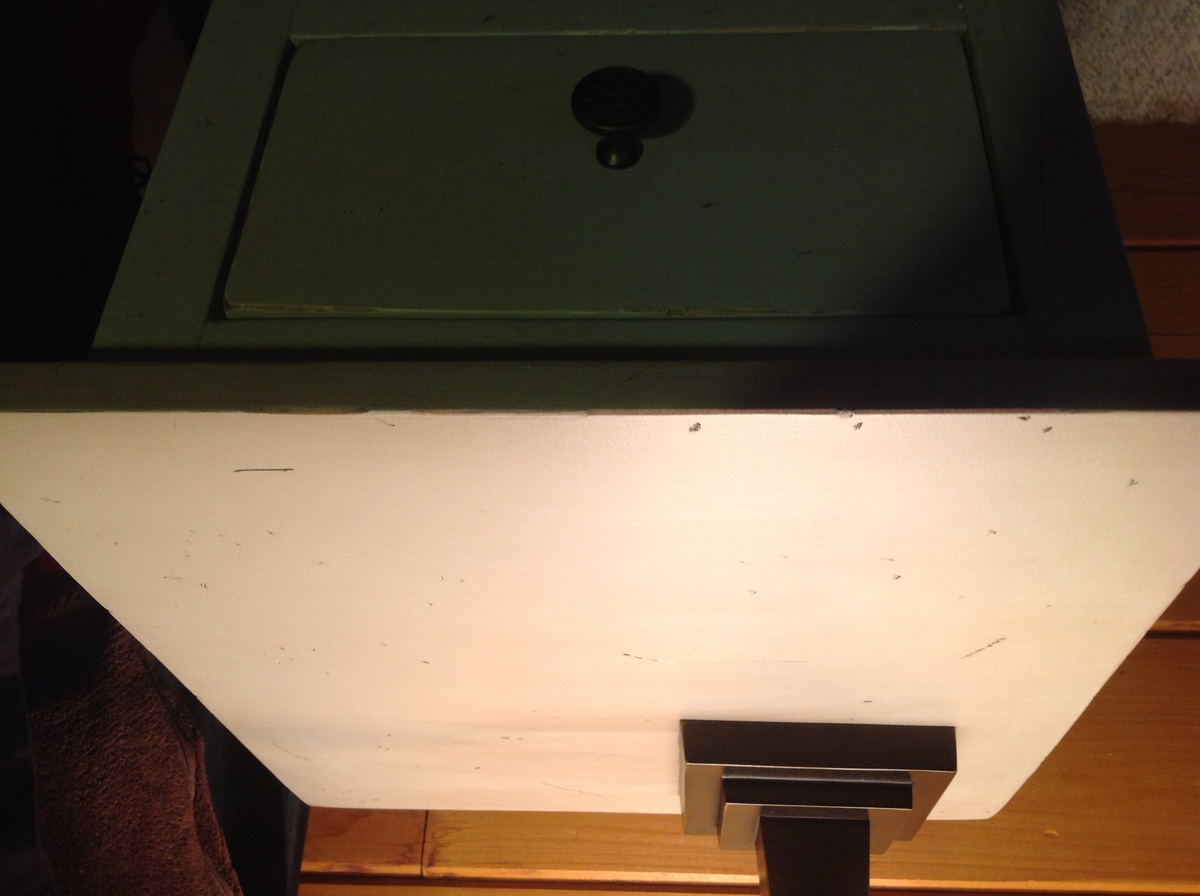
I didn't paint over the screws on the top because they sort of match the hammered metal finish and I didn't want to have to spray paint just the top while trying to not get silver paint on the black sides.

Recommended Skill Level
Beginner

Adorable Outdoor Chair

This was such a fun and easy project using 1x3s and 1x4s, (scraps on hand) along with pickets that were less than $2 each, my Mom loves it, a gift for her birthday!


Estimated Cost
$20
Estimated Time Investment
An Hour or Two (0-2 Hours)
Finish Used
White outdoor enamel with poly finish just to be sure it's weather resistant
Recommended Skill Level
Beginner

Modern Coffee Table

Submitted by Malka on Wed, 09/13/2017 - 00:52

Really liked the design of this, but I just prefer the look of wood over concrete. Used 2x6 rather than 2x4 for the base, as it gives it a more sturdy, modern look. Used 2x10 and 2x6 for the tabletop, which was biscuit joined and then given artificial seams with a router. Stained in Jacobean, and given a gloss poly finish.

Estimated Cost
$60
Estimated Time Investment
Weekend Project (10-20 Hours)
Finish Used
Minwax Jacobean stain and Minwax Fastdry Poly
Recommended Skill Level
Intermediate

Doll X picnic table and bench

Submitted by Anonymous (not verified) on Thu, 10/07/2021 - 12:53

Using the plan,I used (3)1x3’s for the top and (3) 1x2’s for the top so would have a similar look. I also opted for Select pine boards. This table I left plain. I have also made them and painted them. Love the plan. I typically glue and use a Brad nailer to finish.

Dog Kennel

Submitted by Tamila on Wed, 03/16/2011 - 22:57

I am so excited to post these pictures of the dog crate I built for my boxer. I was a little nervous about beginning this project. It was my first project - aside from the garden boxes. I bit the bullet and bought the Kreg Jig, and I'm glad I did! It is so easy to use. The project was easy enough, I did make a few mistakes along the way, but I was able to fix them easily enough. The pictures show the dog crate without the door, (we were getting our puppy used to the crate before putting the door on). As you can see, the kennel is big enough for a big dog, my niece and my nephew had fun playing in the kennel.

Estimated Cost
$80
Estimated Time Investment
Weekend Project (10-20 Hours)
Finish Used
none yet ;)
Recommended Skill Level
Starter Project

Platform bed for my toddler

Submitted by Livvyhill on Mon, 06/03/2013 - 05:10

This is the first thing I've ever built!! My 2.5 year old son was ready to move out of his crib, so I wanted to build him a bed low to the ground. He loves it!! I'm very proud of myself for being able to do this:) Perfect plans!!! If i can do this, anyone can:)

PS I made the headboard from plywood and screwed planks in, stained them with the same stain (used vinyl letters for a stencil when staining) and attached to bed-- really easy.

Estimated Time Investment
Day Project (6-9 Hours)
Finish Used
Dark Walnut Rustoleum
Recommended Skill Level
Starter Project

Upholstered Stool

Submitted by Anners on Wed, 09/13/2017 - 18:30

I followed the plans with 3 modifications.

Modification #1: To add more structural support, I used 6 more 2x2s. 3 of them went directly under the 1x3s that made up the seat. 3 of them went at the bottom, flush with the lower 1x3s at the base, right by the legs. I did not pre-cut these! I measured the lengths and did the cuts as I needed them because they needed to be a snug fit-had to use the hammer to lightly tap them into place before securing with 2 in nails. For the middle 2x2s, I tonailed in a couple of 1 1/2 nails to keep the 2x2 from twisting/spinning (because I didn't use 2 nails to attach it the first time!) See the pictures for closeups. 

Modification #2: I stained and polyurethaned the legs.  Stain color is MInwax Jacobean (The other stained parts of the stool don't need staining, but mine are because I used scrap wood for this build and they were already stained.)

Modification #3: Padding and wrapping and slipcover - I purchased a 15x17x2 inch foam pad for the top of the stool. I had some 1/4 batting in my craft room. I used an upholstery stapler ($10 at Hobby Lobby + an extra box of staples) to attach the batting. I wrapped it around the sides and top, securing it along the sides of the cube with the stapler. I used a spray adhesive to glue down the foam pad. Then, I wrapped 1 more layer of the batting over the top of the foam pad, securing along the cube edges. I flipped the whole stool over, trimmed the batting edges, leaving enough to fold over and staple onto the base frame. I made the slipcover as instructed in the link provided in the plans, but I had to take the measurements from my stool NOT their measurements, due to the extra bulk created by the batting and foam pad.  I used 1/2 in seam allowances on all seams, leaving 2 extra inches at the bottom. After making the cover and fitting it, I turned the stool upside down and stapled the cover to the frame, making sure that it all looked neat and secure. Tip: Some of the staples didn't fully sink into the wood so I had to use a hammer and a nail set to get them really secure.  I added a felt slider to each leg.

Finished dimenstions are 19 in high, 18 in (long sides), 16 in (short sides).

Enjoy your build and hope it turns out great!

Built from Plan(s)
Estimated Time Investment
Day Project (6-9 Hours)
Recommended Skill Level
Intermediate

Mountain Bar

Submitted by Anonymous (not verified) on Sat, 10/09/2021 - 02:10

My covid time build . I piece quilt so the mountain seemed natural. The top is a 2’ thick pine with a resin coat. I didn’t have a pattern

Farmhouse Vanity - pretty easy

This was a pretty easy project! It took my husband about 2 hours to cut and assemble and really required very little wood and materials. The long part was sanding, staining, and sealing it as we wanted to make sure it can withstand being in use in the bathroom. Looks great and we're really happy with how it turned out! We'll probably add the slats on the bottom sometime later.

Estimated Cost
$150
Estimated Time Investment
Afternoon Project (3-6 Hours)
Finish Used
Minwax Red Mahogany
Recommended Skill Level
Beginner

First Project

This was my first project and I loved it!!  Can't wait to do more!!

Built from Plan(s)
Estimated Cost
$50
Estimated Time Investment
Weekend Project (10-20 Hours)
Finish Used
Started with Kona stain, then lightly added white acrylic paint. Used steel wool to get an older look. Then I went over that lightly with Weathered Gray, and scratched that up with steel wool again. Three coats of satin poly later...and here we are.
Recommended Skill Level
Beginner

Fancy Arch and Storage Bed

My little girl needed an upgrade from her toddler bed.  I've made a few benches and factory coffee table (all from this site and yet to be photographed), but I needed to step out of the comfort zone and handle a "big" project. 

I made a few modifications with the headboard:  I lined all the pieces of wood vertically and connected them using three horizontal boards.  After nailing the bottom and middle boards, I then cut the shape of my headboard and then attached the final board on top.  I also decided to round the edges of the front boards.  I wanted the stain to "pop" on each edge.  I attached the headboard with bolts, washers, and wing nuts.

Things learned from this project:
1.  A little glue goes a long way.  You really don't need too much.
2.  Nail guns are the BOMB!
3.  Don't chinz out on sanding.  We all have parts of a project that we just don't like doing.  Sanding the inside of cabinets is mine.  But if you don't, the stain will make all the scratches your wood received at the warehouse make themselves known.
4.  Stain (or paint) at least 4" in from the top of the cabinets.  The storage part of the bed is made to be a little bigger than the mattress so your little one has someplace to step to get into bed.  You don't want the raw wood to show.
5.  Make sure to "dry run" your boxes. You want the side boxes to line up with the bottom box.  You want the horizontal measurement to be the same all the way down.  Once it measures the same, THEN screw in the slats.
6.  Enjoy making your furniture.  If you're having a rough time, walk away and come back another day.  Sometimes seeing the project with fresh eyes is all you need.

Built from Plan(s)
Estimated Cost
$150
Estimated Time Investment
Day Project (6-9 Hours)
Finish Used
Minwax Walnut gel stain.

Gel stain is AWESOME. I only needed one coat.
Recommended Skill Level
Beginner

Twin Emme Bed in "magical Merlin"

Submitted by jesse1066 on Fri, 05/08/2015 - 10:35

Lots of kreg jig work, but remarkably easy to do when following the plan. This was my first "big" carpentry job and it went very well. I asked my 3-year-old which color he wanted, so "Magical Merlin" blue it is!

Estimated Cost
c. $200 including paint
Estimated Time Investment
Week Long Project (20 Hours or More)
Finish Used
Painted
Recommended Skill Level
Beginner

Comments

Farm House Table

Submitted by LisaSwen on Thu, 09/28/2017 - 12:50

This was a fun and unique project. I've always wanted a farm house table. But to make this project so special my Father gave me Oak wood from the land that I grew up on. There is a small "accent" trim of Iron wood. I remember that tree before it was cut down. Being that all the boards were rough cut; I had to plain them all to equal thickness. But not one board was exactly equal width. So we made the outside "bread board" ends all the same, then let the inner boards remain slightly uneven in width. So the table ended up being 71" x 61" Iwas going for a very large square table and came close. But it fits our space perfectly! The other unique element of this table is that we designed it so the top of the legs show as part of the table top. The legs are 4 x 4 oak posts that came from the white fence in the front yard of my childhood home. We had to take them down to 3 x 3 and they even have some nails still in them. So much characher in this table. It is rock solid and doesn't move! And my daughter has already claimed it when it gets passed down. It will out live me for sure! :)

Chairs are next ;)

Estimated Cost
Almost free!
Estimated Time Investment
Week Long Project (20 Hours or More)
Finish Used
Pre-stain, Early American and Poly
Recommended Skill Level
Intermediate

Desk / nightstand combo

I took the plans for the Farmhouse X Desk and combined it with a (slightly) modified nightstand since I liked the 1x4’s better than the plywood base and also wanted a drawer instead of 2 shelves.

Also, I milled the side and took about 1/8” off the rounded 2x4 edges so that the squared sides fit together MUCH tighter. The joints were a lot easier to sand putty and sand seamlessly flat/smooth.

Very happy with the results and my brother and wife both want me to build them one now!

Built from Plan(s)

Comments

Bitty Bench modified for Clara's Table

Submitted by rhilborn on Thu, 03/24/2011 - 18:12

This was an easy and satisfying project! It took about 2 hours to make 2 benches. Our son LOVES his benches. He has employed for sitting in all manner of places as well as a handy bridge for vehicles to crash off of:).

Estimated Cost
$6+scrap wood
Estimated Time Investment
An Hour or Two (0-2 Hours)
Finish Used
Leftover Behr Ultra paint, Minwax Wipe On Gloss Poly. Imperfections were filled with wood fill and sanded with 120. After the table was painted and before it was clear coated I sanded again with 120 and knocked off some finish on the edges and lifted some color. I really liked the bright green color that showed up in spots.
Recommended Skill Level
Starter Project

Mini farmhouse bedside table

Submitted by FlygirlTRE on Sat, 06/08/2013 - 17:13

My very first furniture piece from scratch! It isn't exactly square or level, but my 19-yo loves it and he says I am the best "cooker, sewer, and can do anything!" I think that's reward enough. I made this with 2.5" screws, but after completing this I immediately went out to buy a kreg jig. I made it out of pine because I knew I would be painting it. I look forward to many more projects in the future. My husband said to me the other day "can I ask you a question?" And I said "yes, I will build our kitchen cabinets one day." All he could do is laugh.

Built from Plan(s)
Estimated Cost
$30
Estimated Time Investment
Day Project (6-9 Hours)
Finish Used
Distressed painted finish. I primed it, which I would not do again because a sample I made without priming gave a more translucent look to the paint that I like better. I gave it two coats of gray paint. I used a sample that you get in a plastic cup with a lid at Lowes and that was enough to paint this easily. I used a color called linen coach I believe and it was on clearance; $2!

I distressed it with a flat-head screw driver and my orbital sander as well as a couple hits with a hammer. Rubbed dark walnut rustoleum stain and wiped off a couple minutes later. Finished it off with two coats of rustoleum poly in as matte finish, which I absolutely love.
Recommended Skill Level
Beginner

Comments

Cabinet Made From an Old Window

I needed a cabinet for my $300 bathroom remodel that fit in with the rustic, handmade vibe. I sort of hoard old windows so this was a perfect opportunity to use one. The full details and tutorial are on my blog- http://OnBlissStreet.com

Estimated Cost
$15
Estimated Time Investment
Afternoon Project (3-6 Hours)
Finish Used
Minwax Provincial and light sanding
Recommended Skill Level
Starter Project

Fancy X table

Submitted by Lukilla on Thu, 10/28/2021 - 17:01

We had a good time building this table. We made it smaller (6 feet) than the original plans, and also changed up the breadboard a little bit. We are a military family so made it so it assembles/disassembles with carriage bolts instead of screws. Hopefully that helps it hold up over time with frequent moves.

Varythane golden oak stain on the top and rustoleum charcoal chalk paint for the base. Sanded lightly and a light touch of the paint on the tabletop to create a distressed look.

Built from Plan(s)

Comments