Printers table
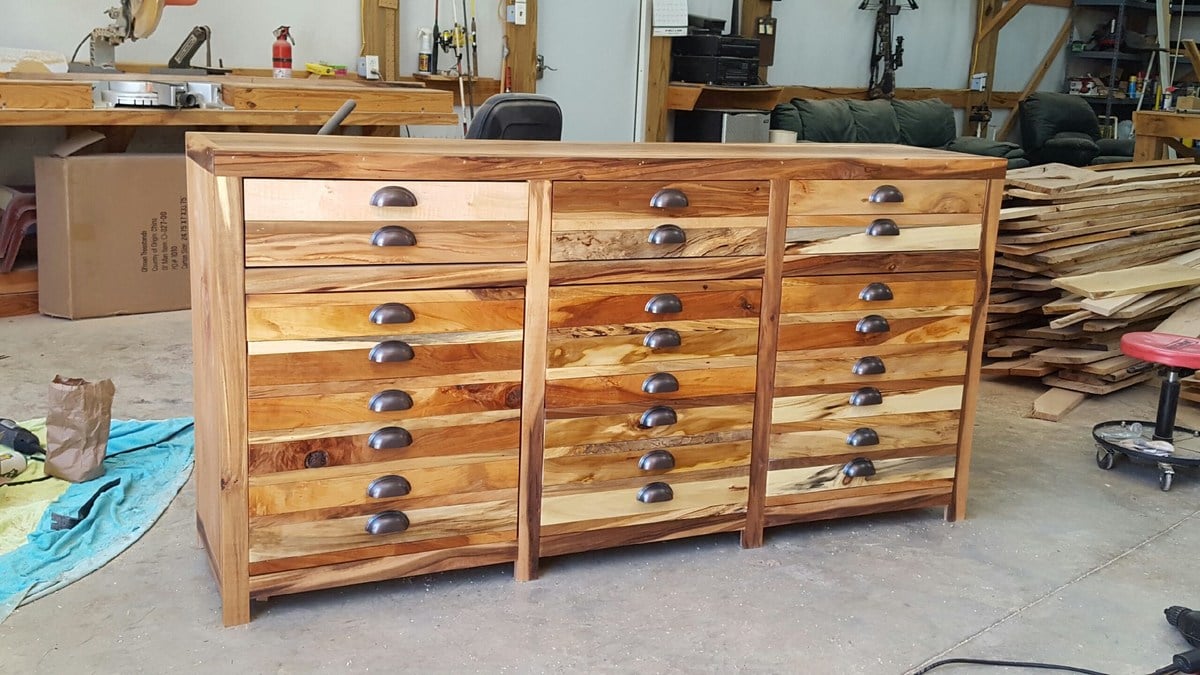
I used your printer cabinet plans however altered them a bit. Wood is various including gum, cherry,pine, etc. Enjoy and thanks

I used your printer cabinet plans however altered them a bit. Wood is various including gum, cherry,pine, etc. Enjoy and thanks

Inspired by Ana White's Farmhouse Counter Stools. I contoured the seat tops and added supports just below the the seat. I used dowels and glue for joinery rather than using pocket screws.


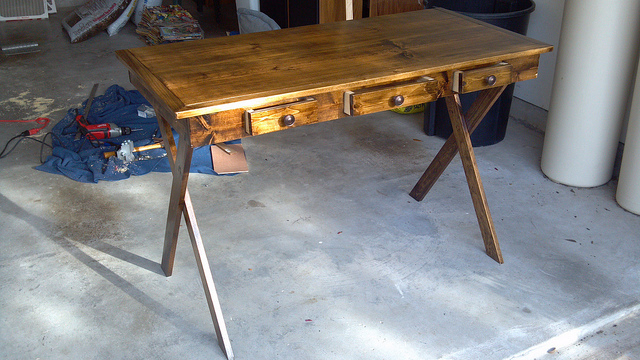
I was looking for a desk with sort of a "campaign furniture" style feel to it, and came across Ana's plan for the X Desk with Drawer.
I made a lot of changes from that starting point, some of which worked well, some of which didn't. In the end, my desk varies pretty drastically from the original, but I definitely have to give credit for lots of helpful tips and inspiration from Ana's plan!
It's a little rough, but it's one of my first real builds, so I'm pretty happy.
Note: picture does not show spreader on back legs, added afterwards. Drawers are out while guides dry, they normally sit flush with front face.
Made from pine, with poplar edging on front. Mostly pocket hole joinery. Finish is a light version of the Minwax Dark Walnut (looks lighter in picture than real life.) Lacquer coating. Pulls are from Home Depot.
To give it an antique, campaign look, the edges are roughed up a little, the finish is left a little streaky/worn, and the holes for the drawers were cut out of the board by hand, and then hand-fit to the drawers.
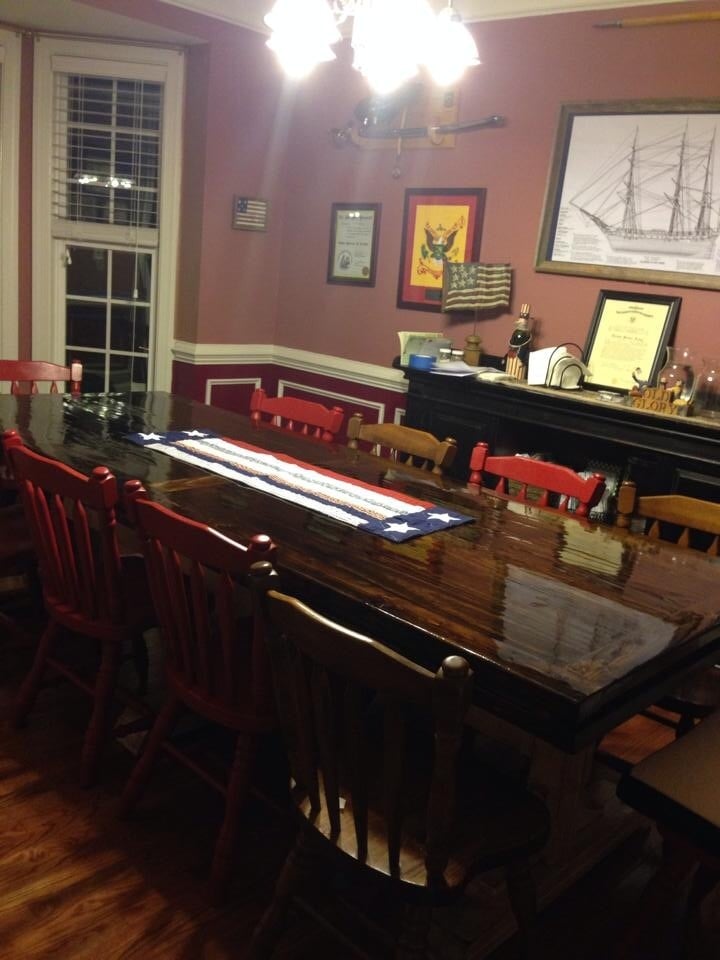
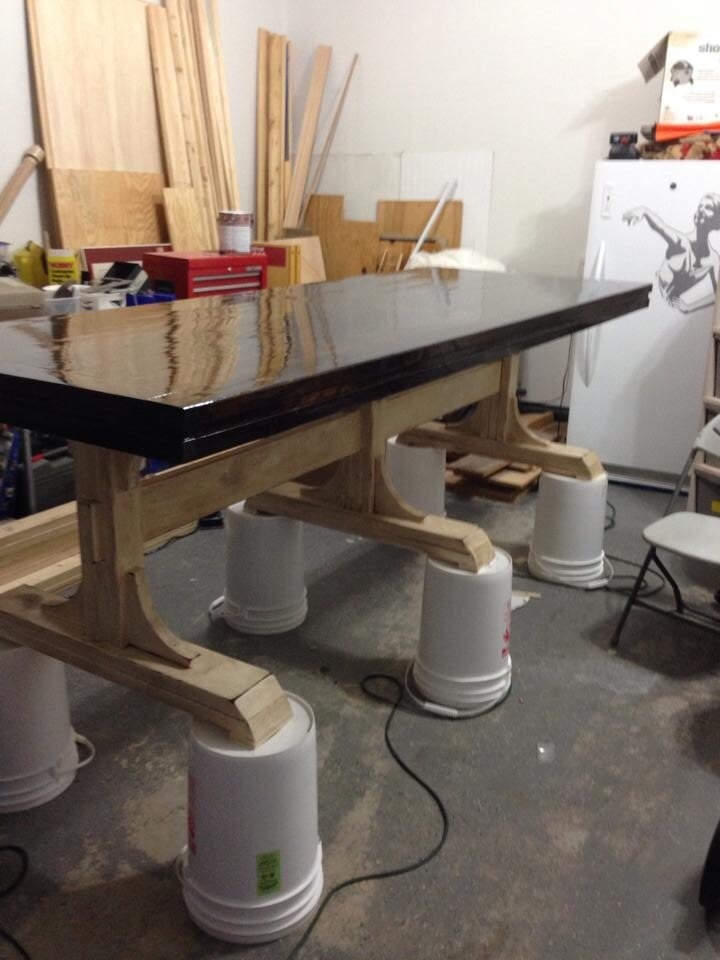
First project built using plans from Ana White. Loved completing it. Take the time to sand and prep for finish. Makes it sooo much better.
My glossy finish adds a lot of luster to the project. I trimmed the inside edges of the 2x4 peices on the outside trim to make a smooth surface.
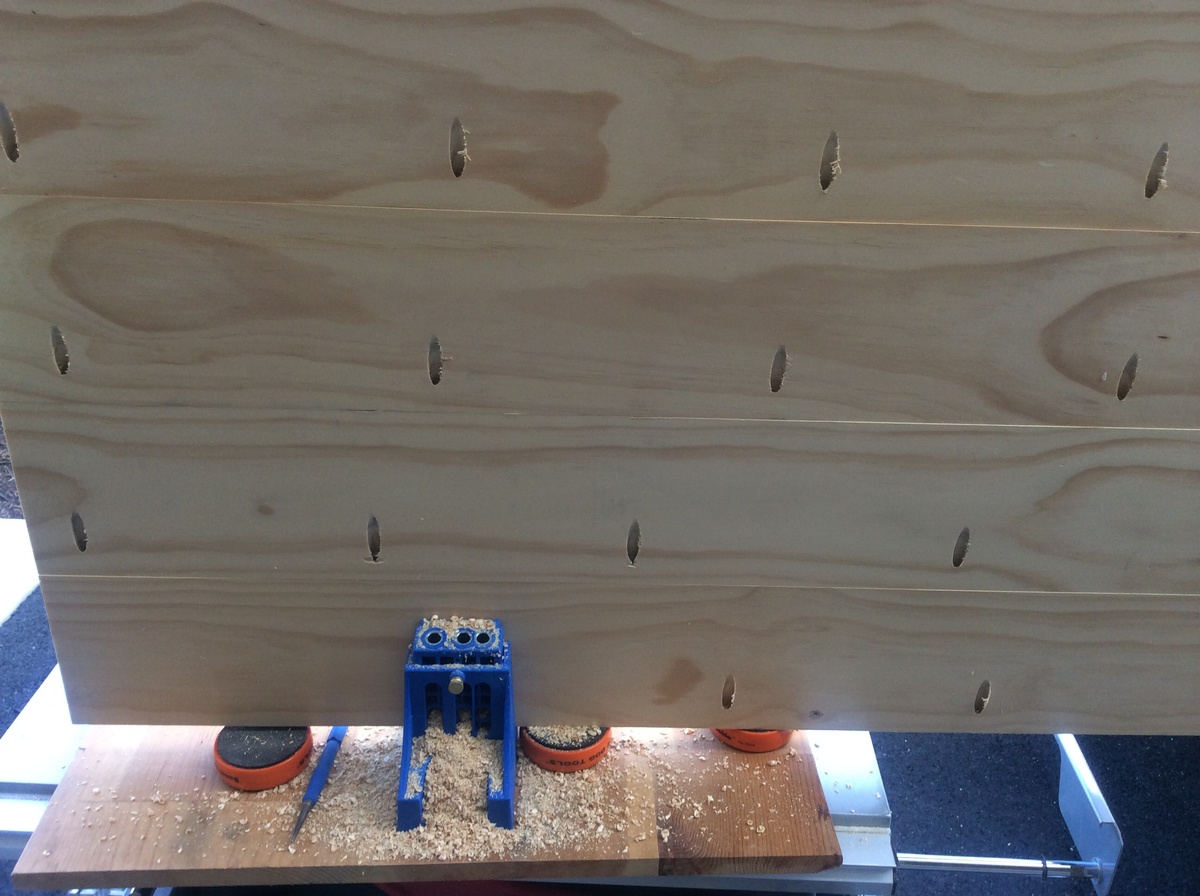
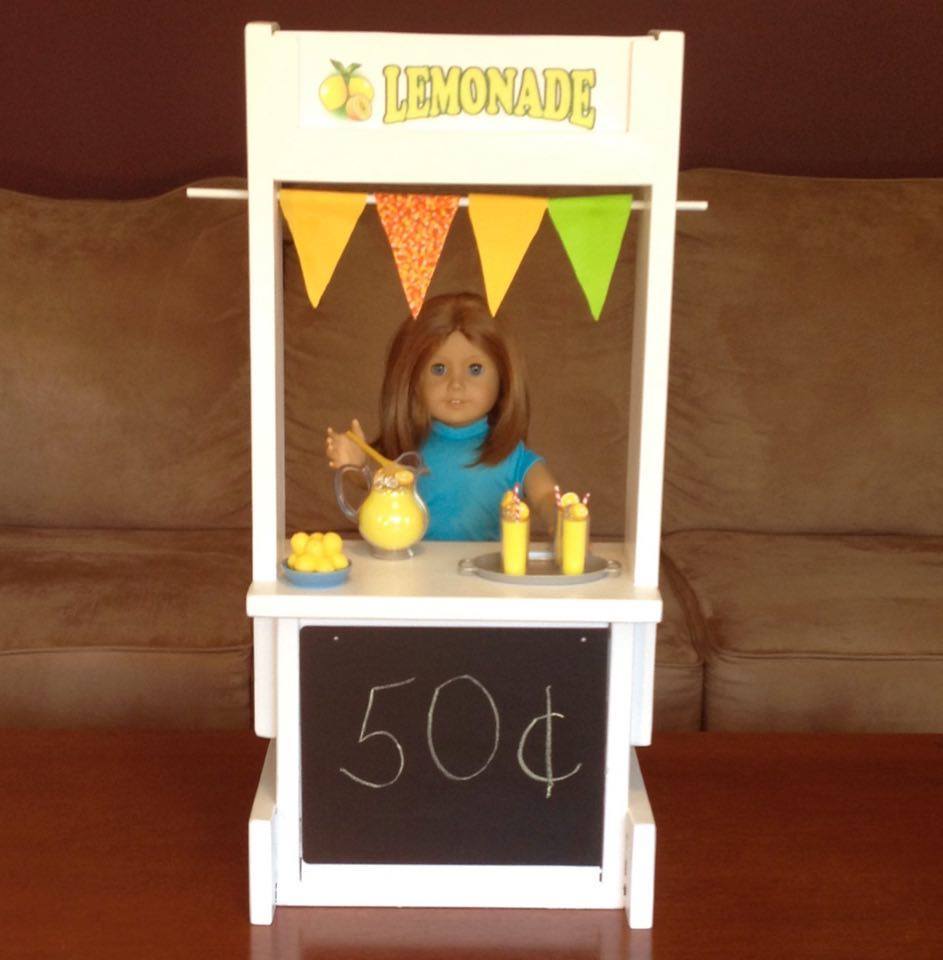
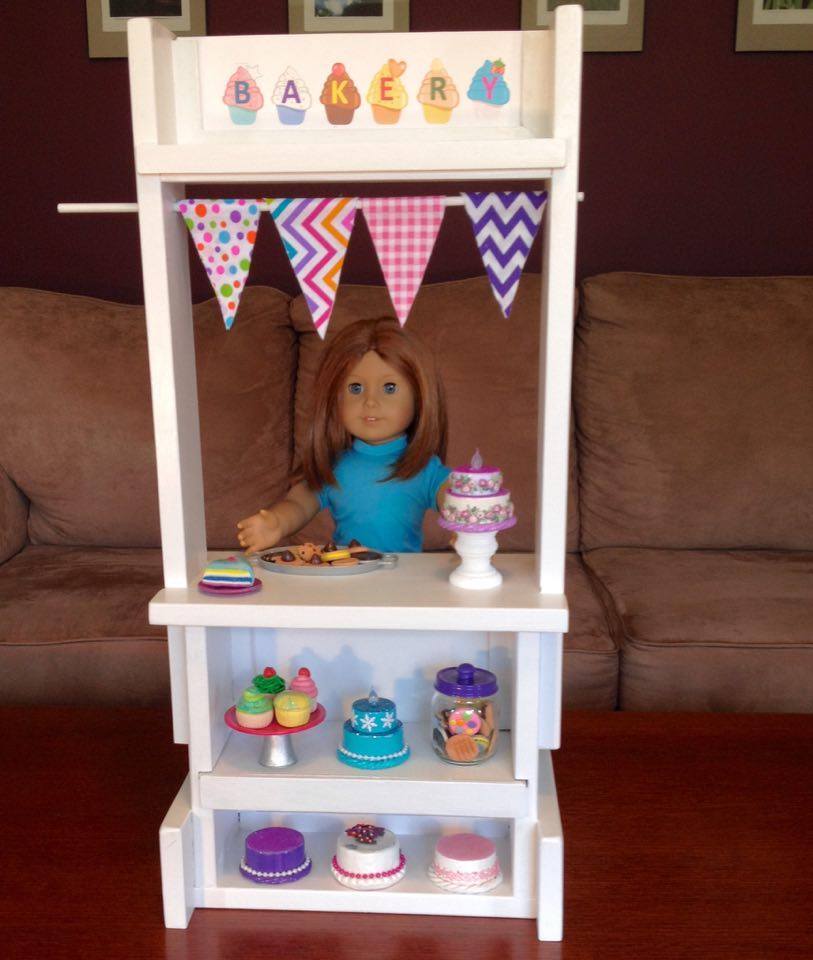
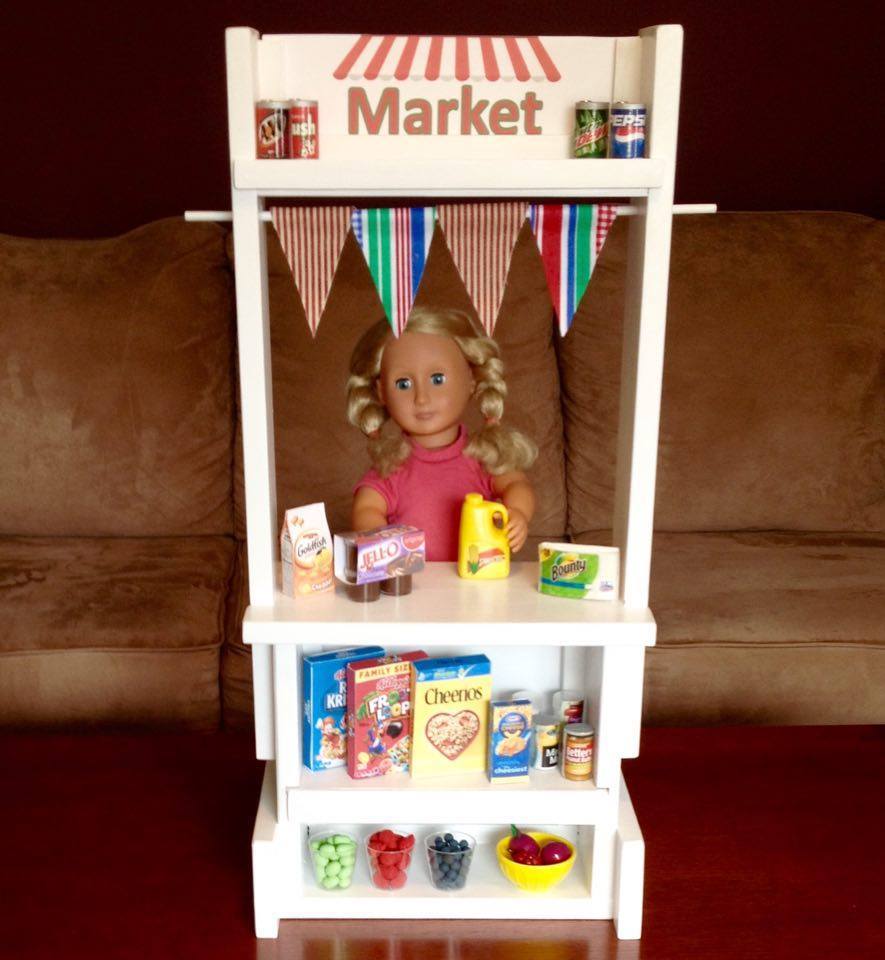
I fell in love with your stand, and showed it to my husband (who is not a carpenter, but holds his own with making doll furniture). I forgot to mention to him it was for real girls, but he figured it out quicky when he saw the size of wood pieces, hah! So I begged him to use the basic idea, and so he tweaked a plan and this is what he came up with. The signs are laminated, and 8 signs fit into the slot he made on top. We have a lemonade stand, a market, a theatre, a boutique, a candy shop, a bakery and a frozen treat shop. Our granddaughter is beyond delighted! We don't have a blog. We craft and sell 18" doll items and have Facebook page.

Hi,
I made these planter boxes from Ana's plans. The plans made it an easy project and we also decided to paint them white.
Cheap and very effective in the garden.
Thanks Ana...


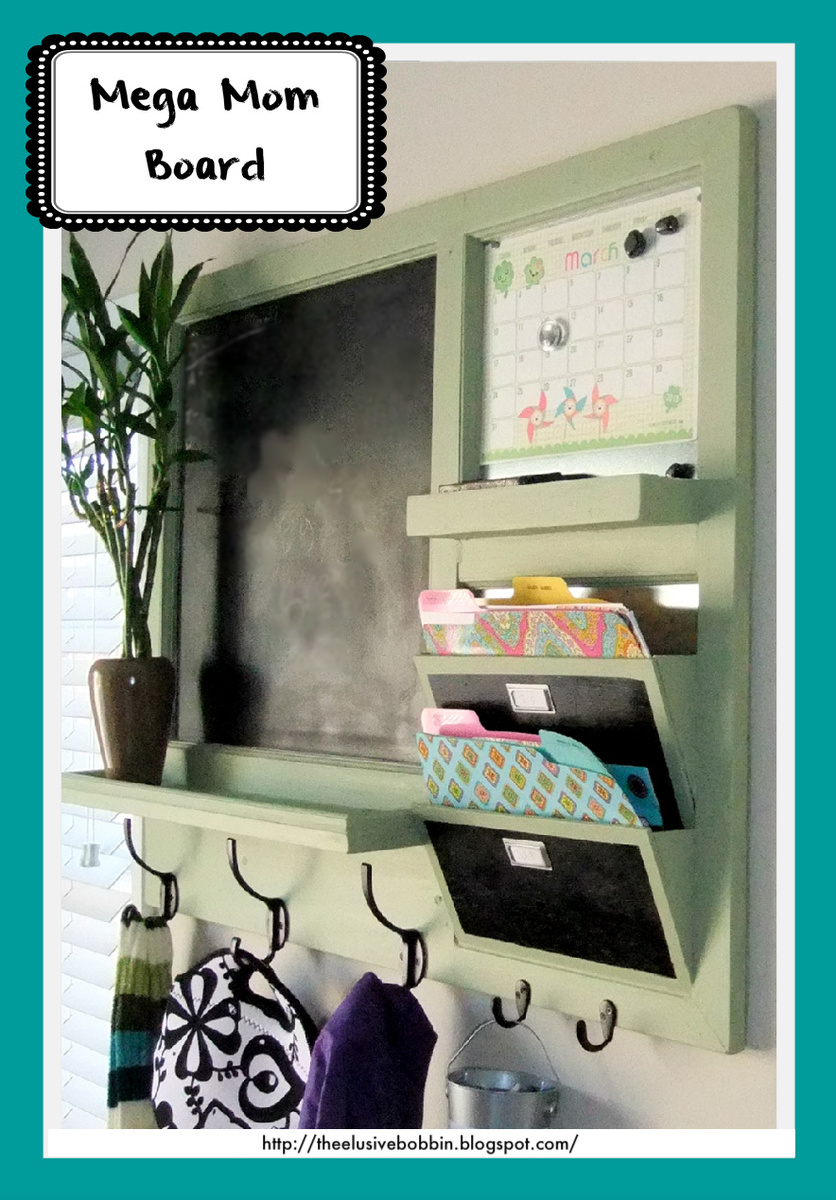
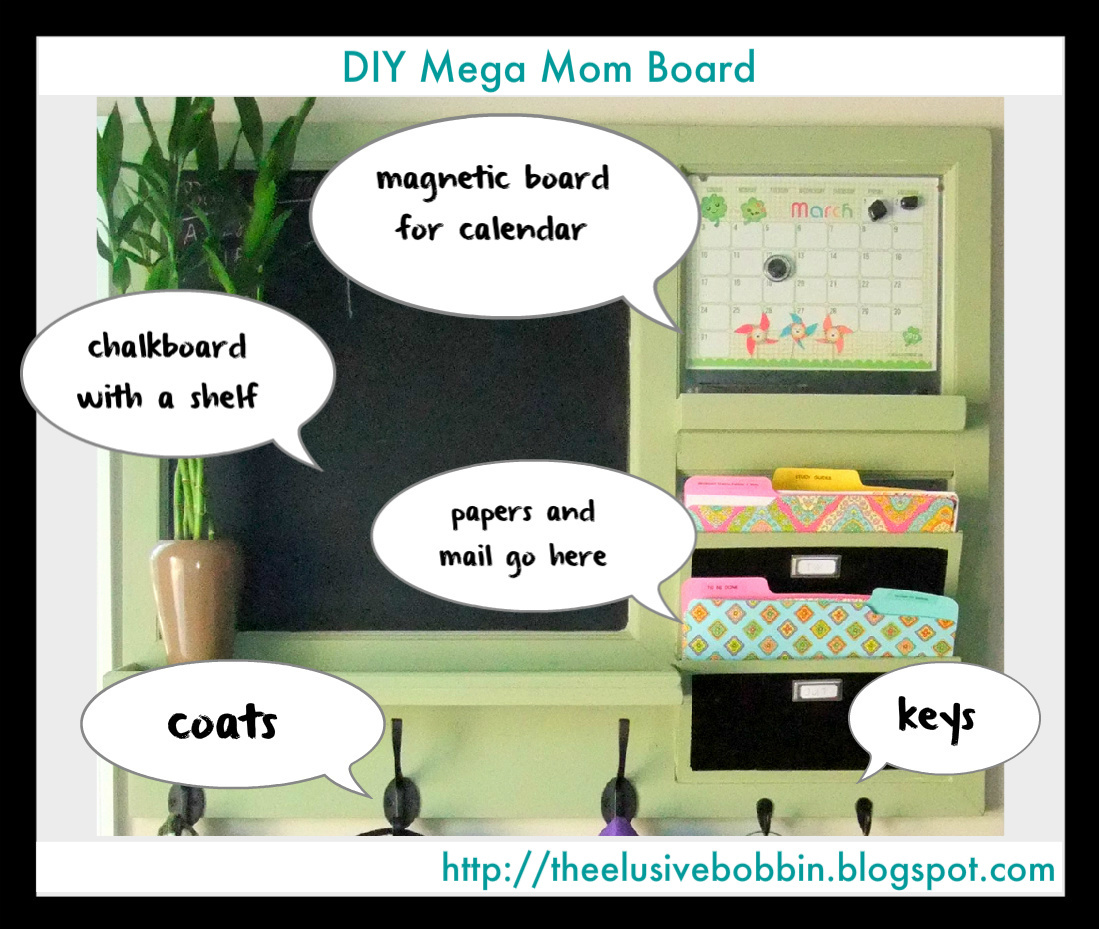
Inspired by many projects here on Ana's page, my "Mega Mom" board is not just a pretty face, it's also great at multitasking. It helps calm the chaos and juggle the daily influx of papers with the same ease that it manages a quick message or coats.
The "Mega Mom" board has a chalkboard, shelf, and hooks for coats. It also has letter bins for important papers, a magnetic board to hold the family calendar, additional hooks for keys and a bucket to hold chalk or loose change. Our ceilings are 9' and I'm 5'10", so I made it big and hung it high to make the best use of the space. The finished board measures 37 1/2" wide by 30 1/4" tall. If you like what you see, you can find a materials list and more detailed drawings on my blog http://theelusivebobbin.blogspot.com/2013/03/plans-for-mega-mom-board.h…
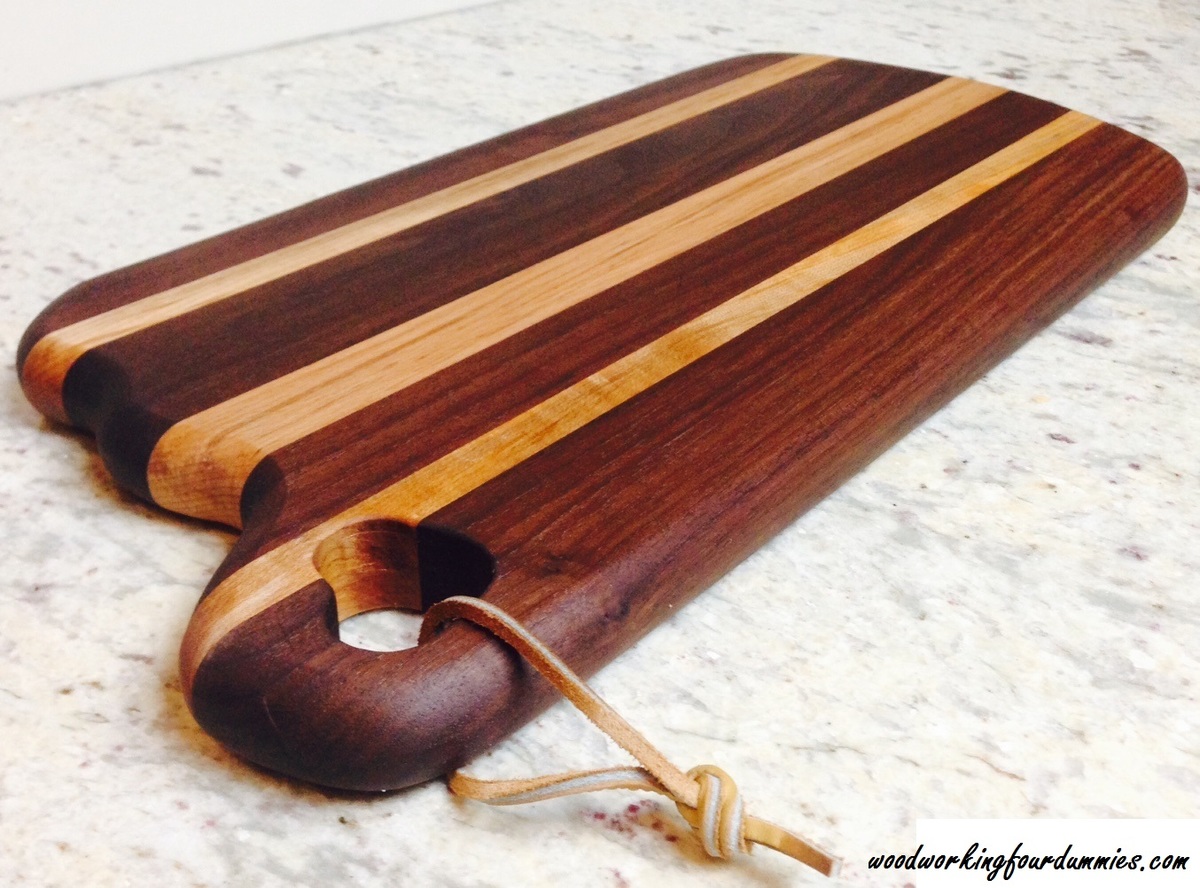
My Dad made a few cutting boards for christmas. I've added a few additional photos and tips on my blog - http://www.woodworkingfourdummies.com/blog/more-cutting-boards.
thanks for looking.
Ian
Tue, 01/13/2015 - 04:28
Hi Ana! Love your site!!!!!! Please tell me, did you use just mineral oil in order to make this non-toxic finish? I guess you would have done some posts including this kind of information, but I can't find it. Regards from Argentina! =)
Thu, 01/15/2015 - 09:45
Only mineral oil was used, it is food safe grade and can be ingested. Mineral oil isn't a durable finish like polyurethane but it is safe.
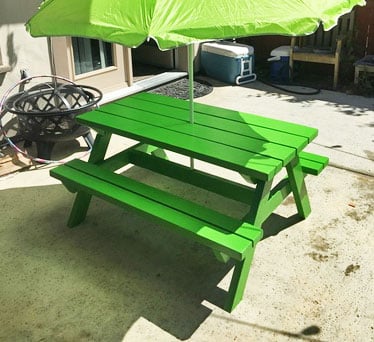
I followed the plans to a T with this one. I wish I had made the seat supports longer so I could have the seats sit a little further from the table for bigger kids. I drilled a hole for the umbrella in the table top and the cross support. Sanded for hours, primed, and painted 3 coats. I will add feet to the legs so the legs aren't sitting flat on the ground, with the potential to rot.
Took 2 hours to build, 2 hours to sand, and many hours to paint multiple coats. Very solid and should last a long time!
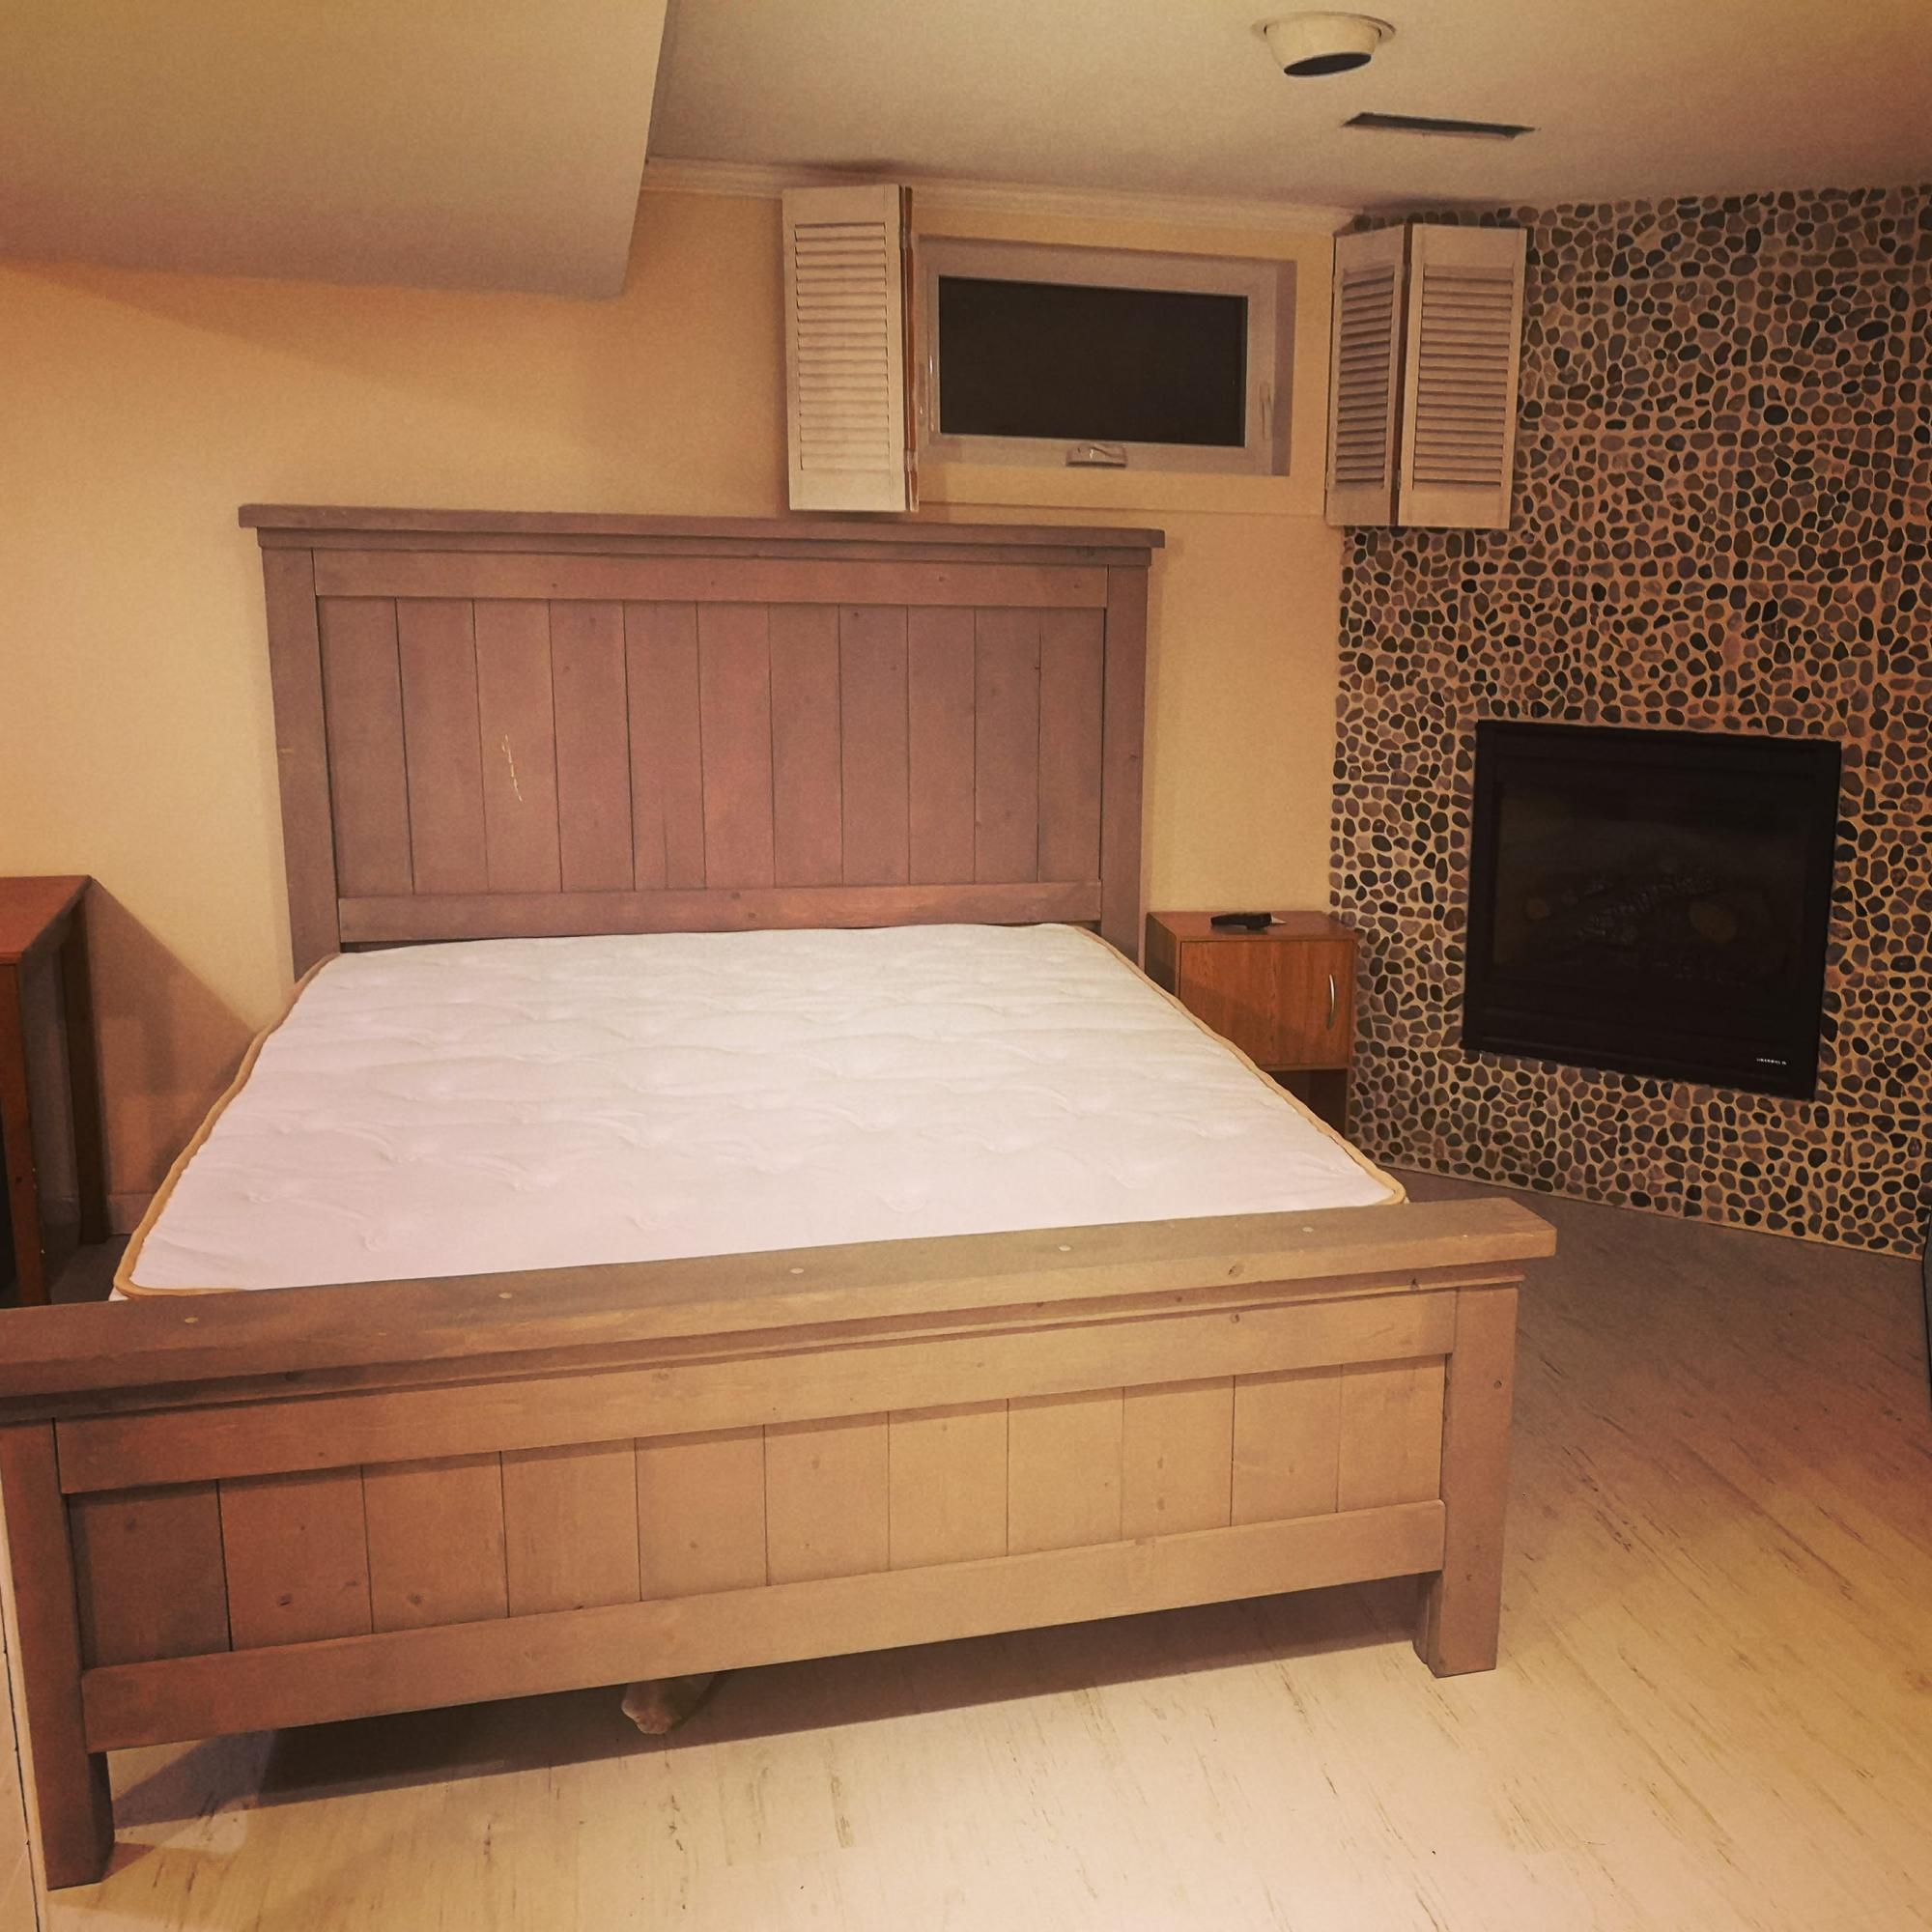
I got this bright idea that we should change the basement into a master suite. However, we could not get a box spring down the stairs. This gave me the perfect opportunity to take on the biggest project of my woodworking life. I absolutely love how this bed frame turned out and it looks so great lined up here next to the fireplace!
In reply to Awesome! by Ana White Admin
Thu, 03/18/2021 - 11:38
Awww, thanks!!! I do absolutely love this site!! You guys rock!!
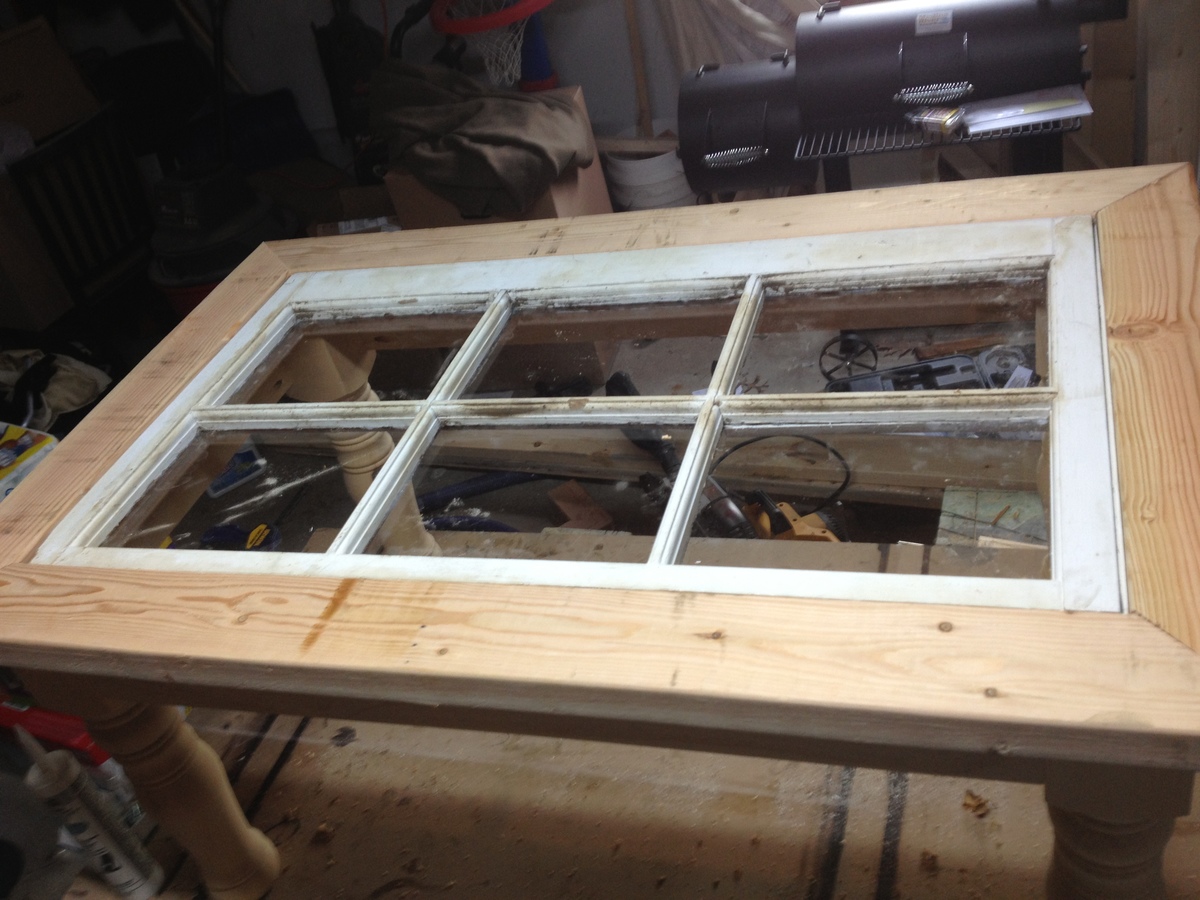
We needed a new coffee table in the family room, one that went with the ever changing decor. One of my neighbors threw out a rather nice, but older wooden framed window that they had been holding onto for who knows how long. My wife actually grabbed it out of the garbage with both the kids sitting in the car while she loaded it into her SUV in dress clothes.
Anyway, I broke down the window into two sections and used one of the sections to build this table. The area around the window is made out of 2x4 and the table skirt is 1x4. I bought the turned legs from www.osbornewood.com (colonial coffee table leg). This project was made a lot easier by using my kreg jig to attach the skirt to the table legs as well as the top to the skirt. Knowing that I would have two young kids playing around and setting things on the table I placed the glass panes with plexi that I bought from Lowes. This will be safer as well as more durable in the future.


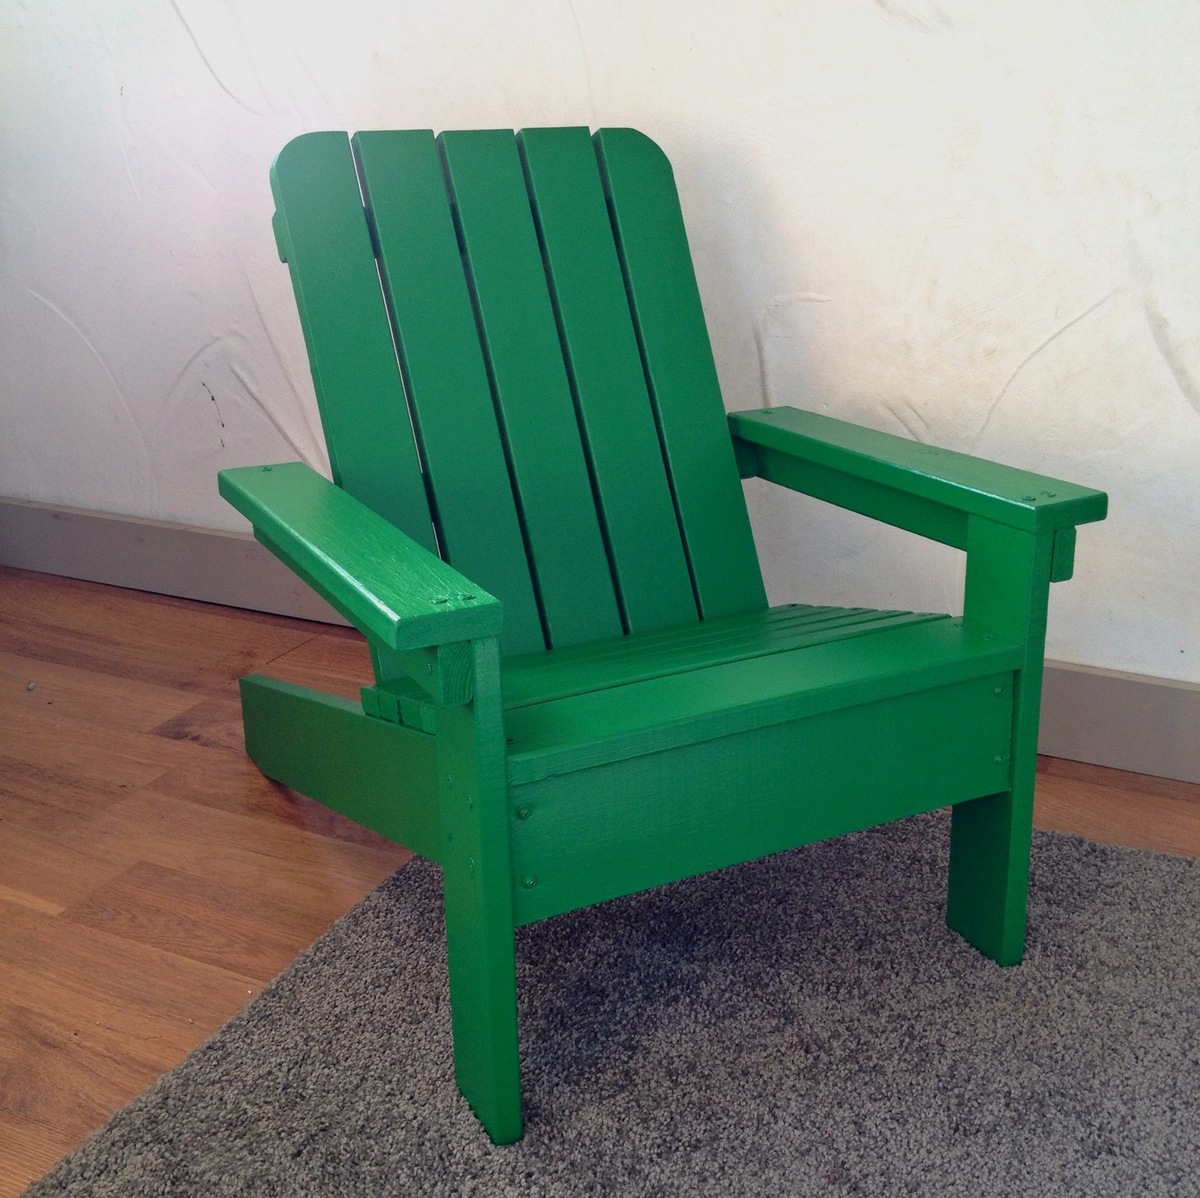
This chair is for my son and is a first build. The plans were super easy to follow and the whole thing went very smoothly. I used my jigsaw to round off the top edges just a bit and I really like how it turned out. Thanks for the free plans!
I have a gambrel style barn roof in the house I built. Space is tight and the double pitch of the roof made for having to get clever. Saw the plans for grandy sliding door console got out the graph paper and went to work. There were lots of cuts and had to rip some wood with a table saw but was not terribly difficult just time consuming.
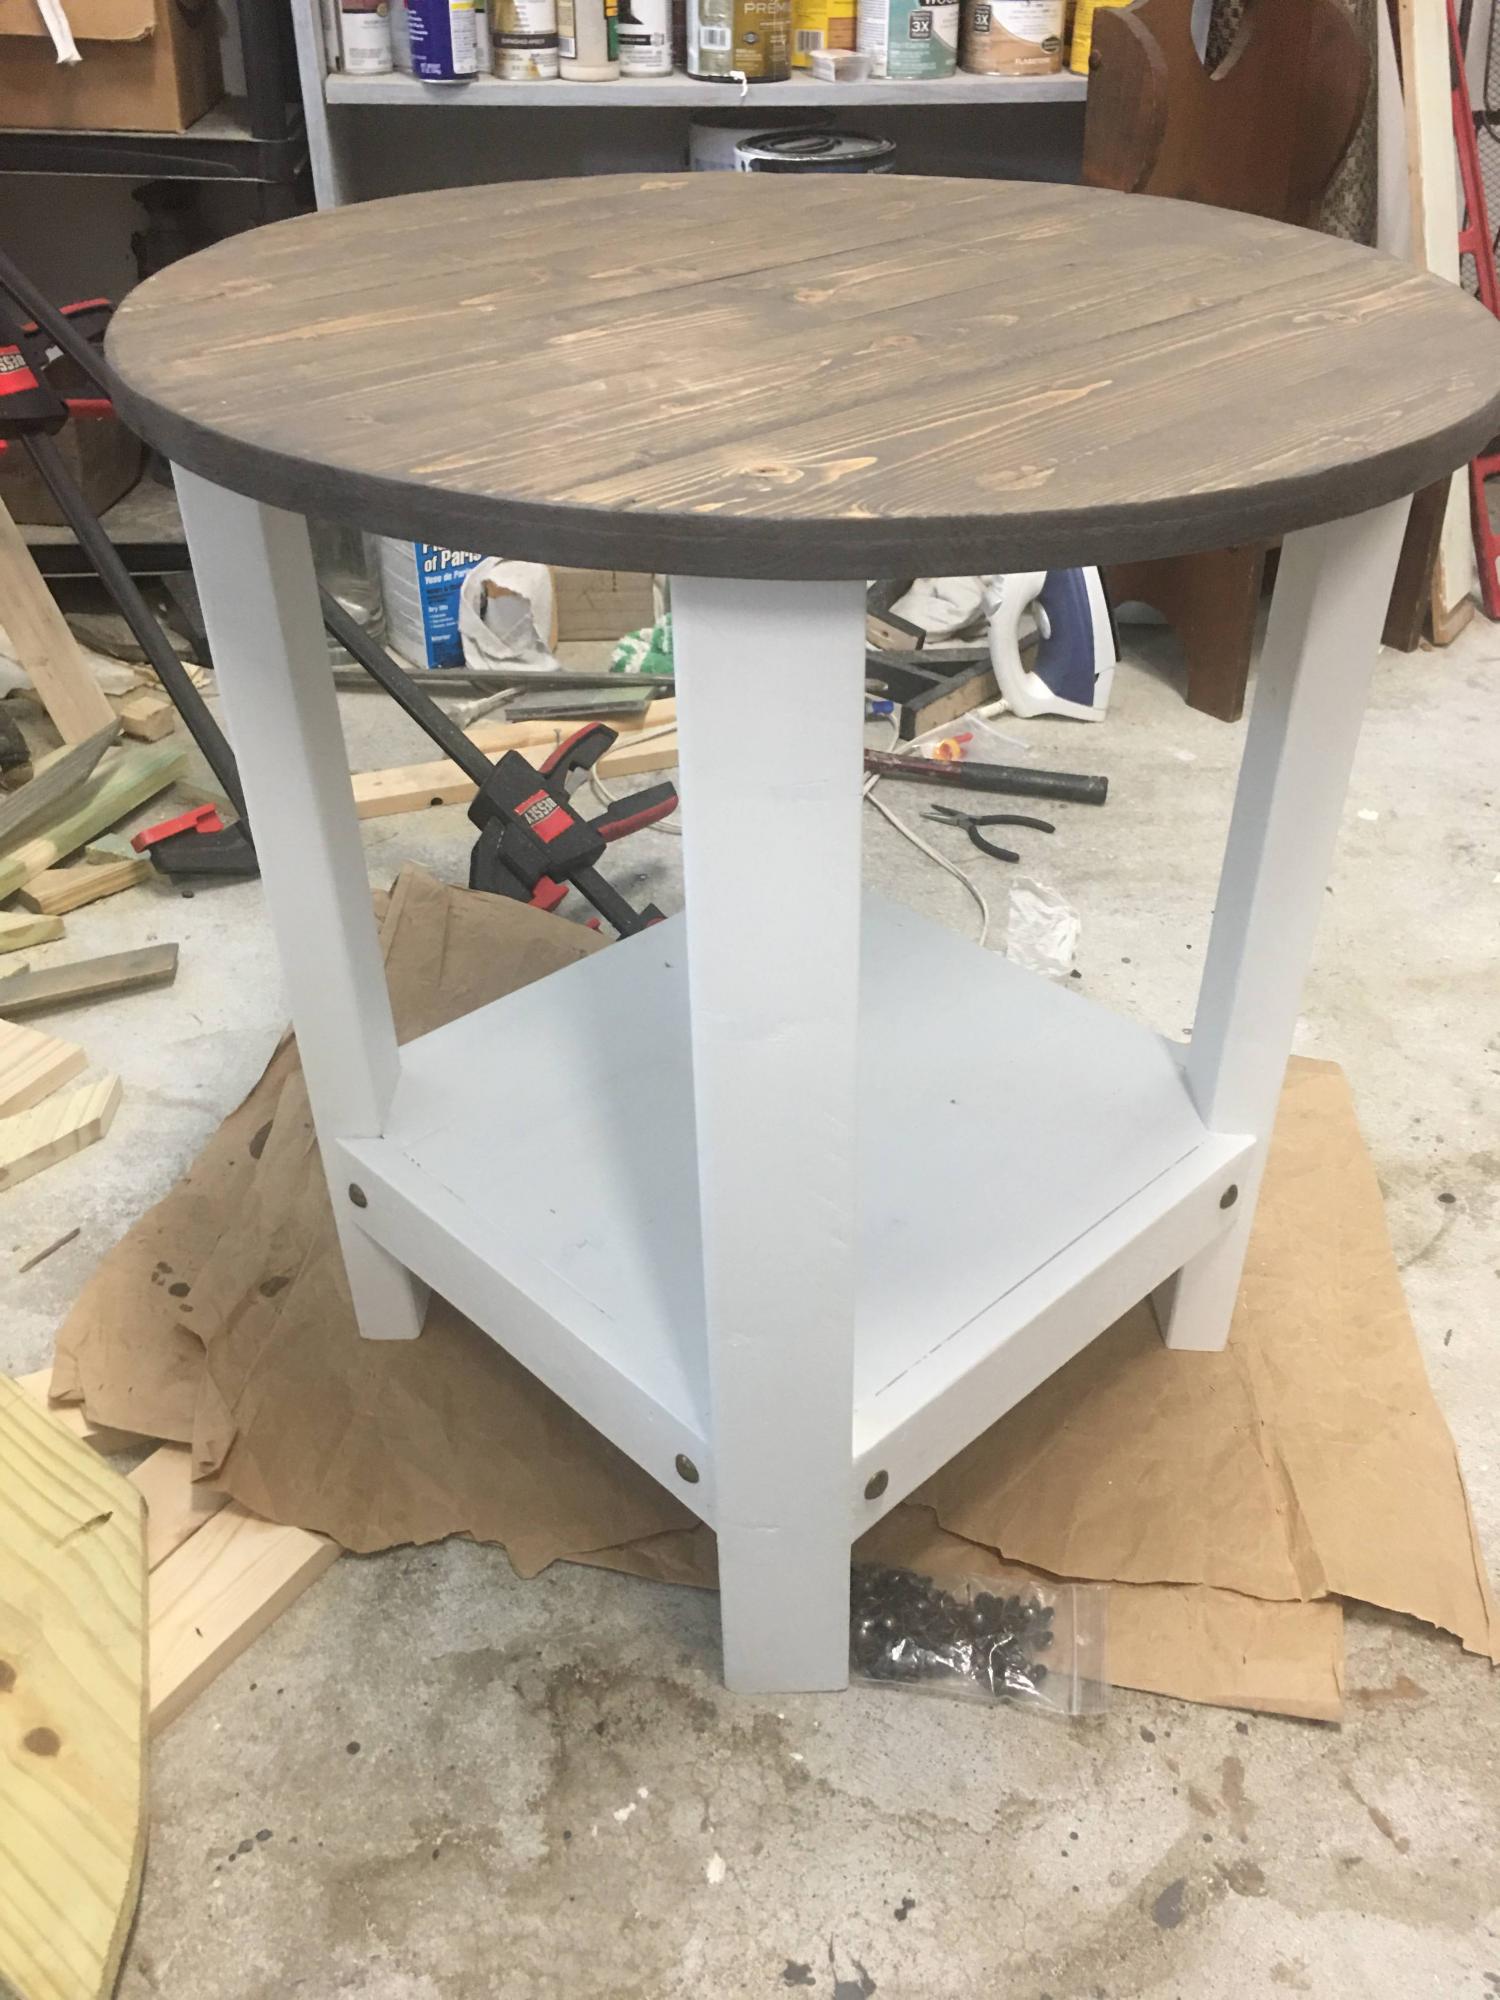
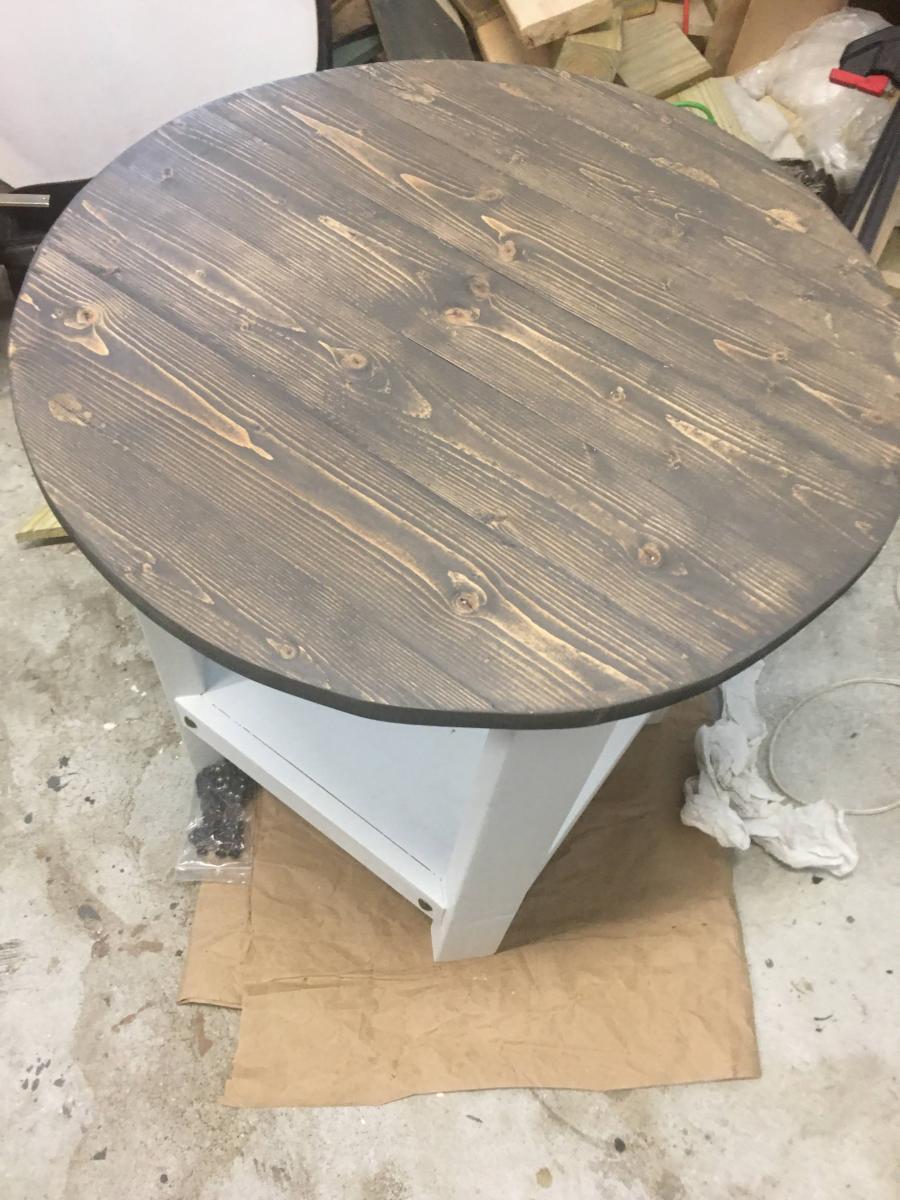
My daughter and son in law needed a small table for the babies room and this ended up being the perfect solution!! Absolutely love it!!
Fri, 03/19/2021 - 05:50
Needed a small table for the grand baby’s room.. this was the perfect solution
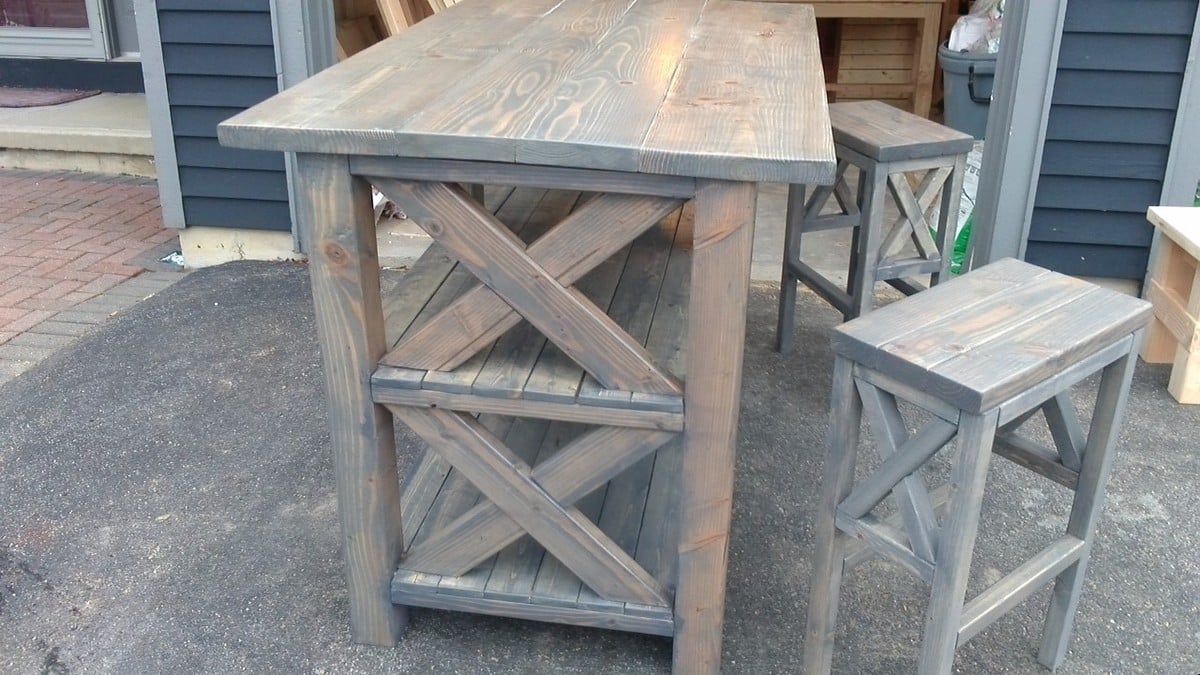
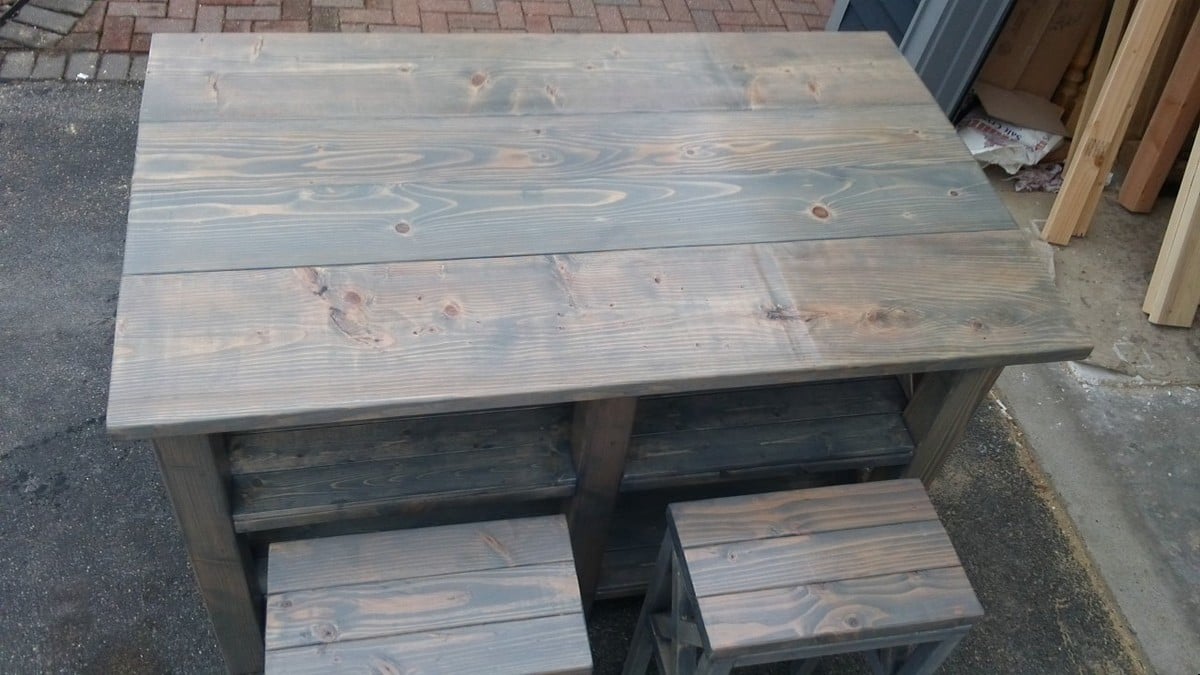
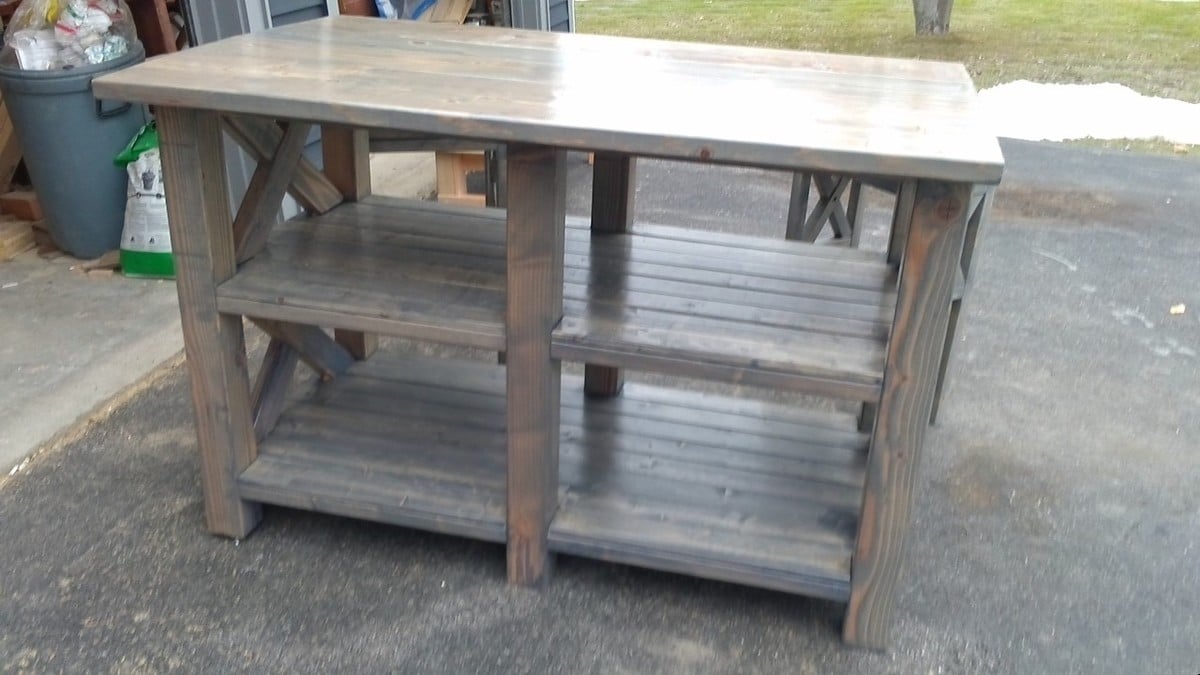
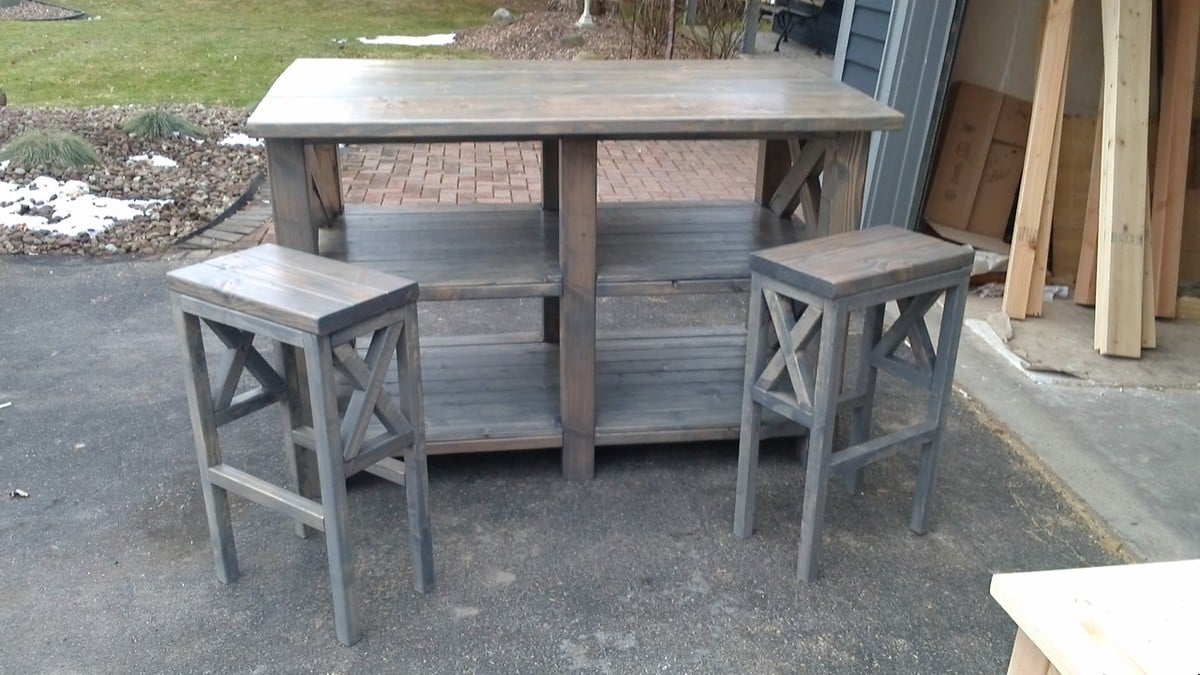
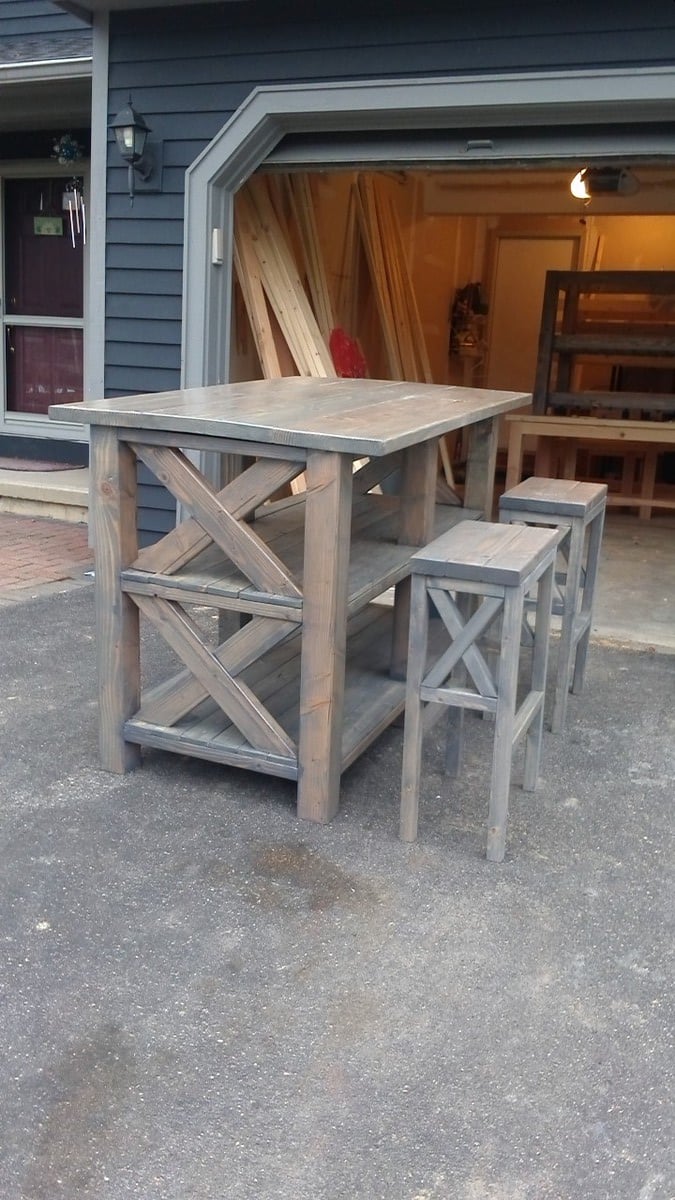
cross between a kitchen island and the x frame console table. LOL
Cross breeding furniture, gotta love it! :0)
Thu, 08/04/2016 - 13:03
how do I get the plans for this? I'm ready to get started already
Tue, 08/20/2019 - 00:05
I love this, a mix of some of our favorite plans! I'd love to do a plan like this!
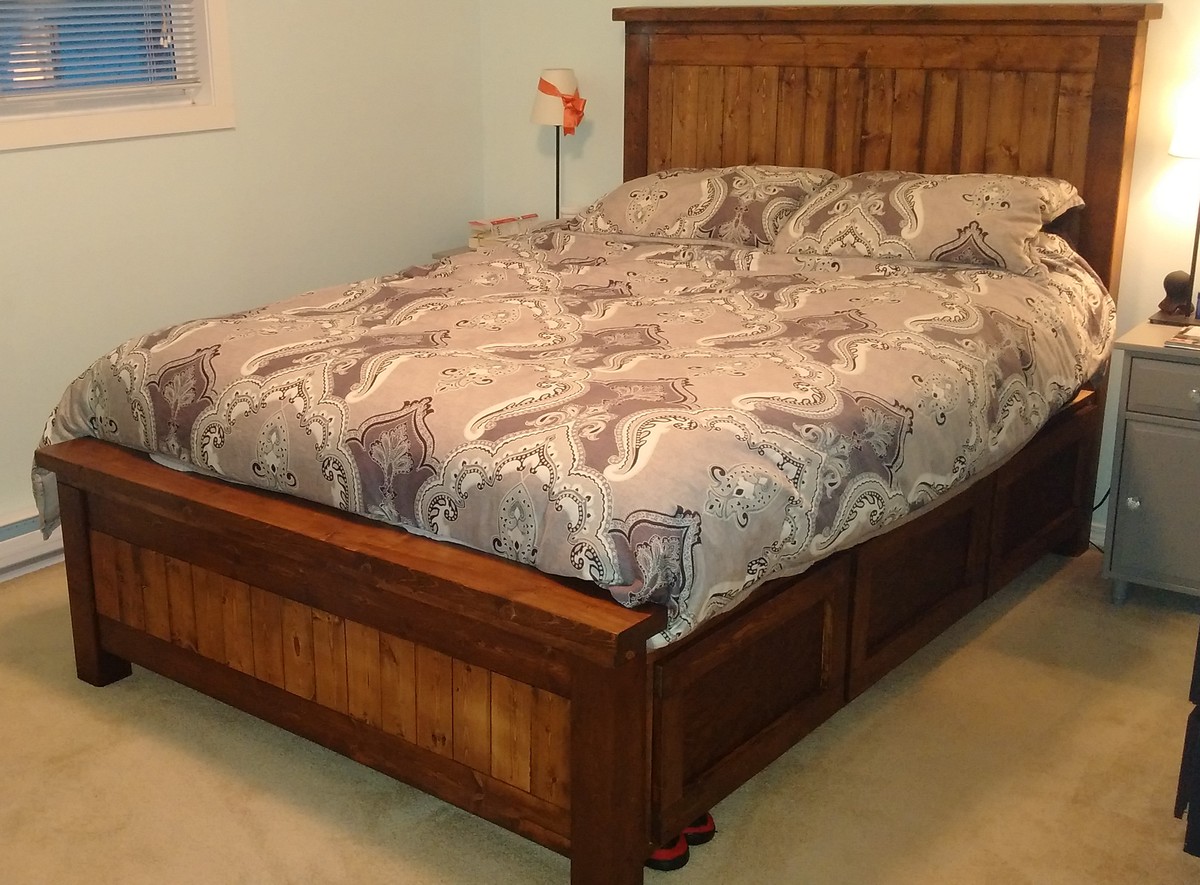
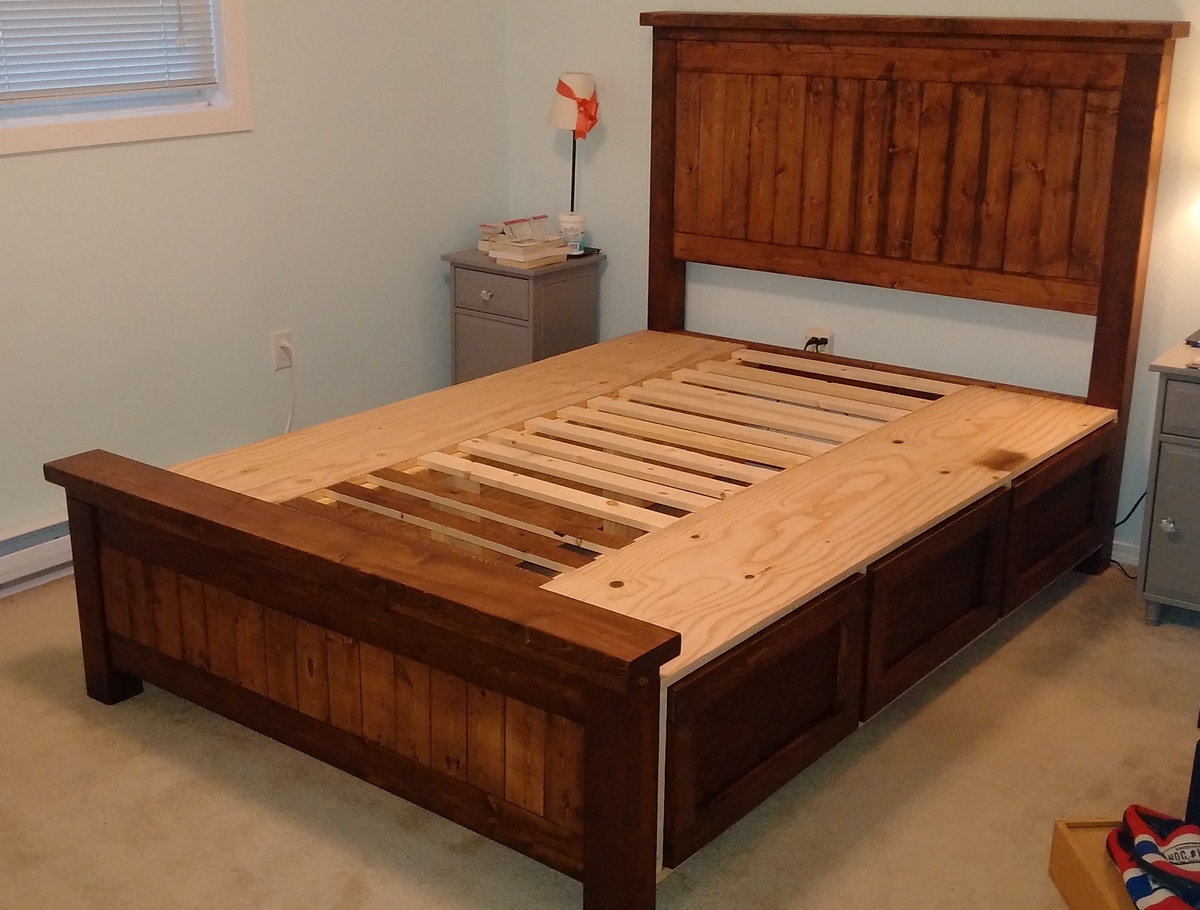
This was my Christmas present for my wife for 2014. Took about two days for me and my brother, with another 4 hours of staining and assembly. Could have been done quicker, but we took our time and enjoyed it! I have a good knowledge of tools, as does my brother, but I haven't done a woodworking project since Junior High School.
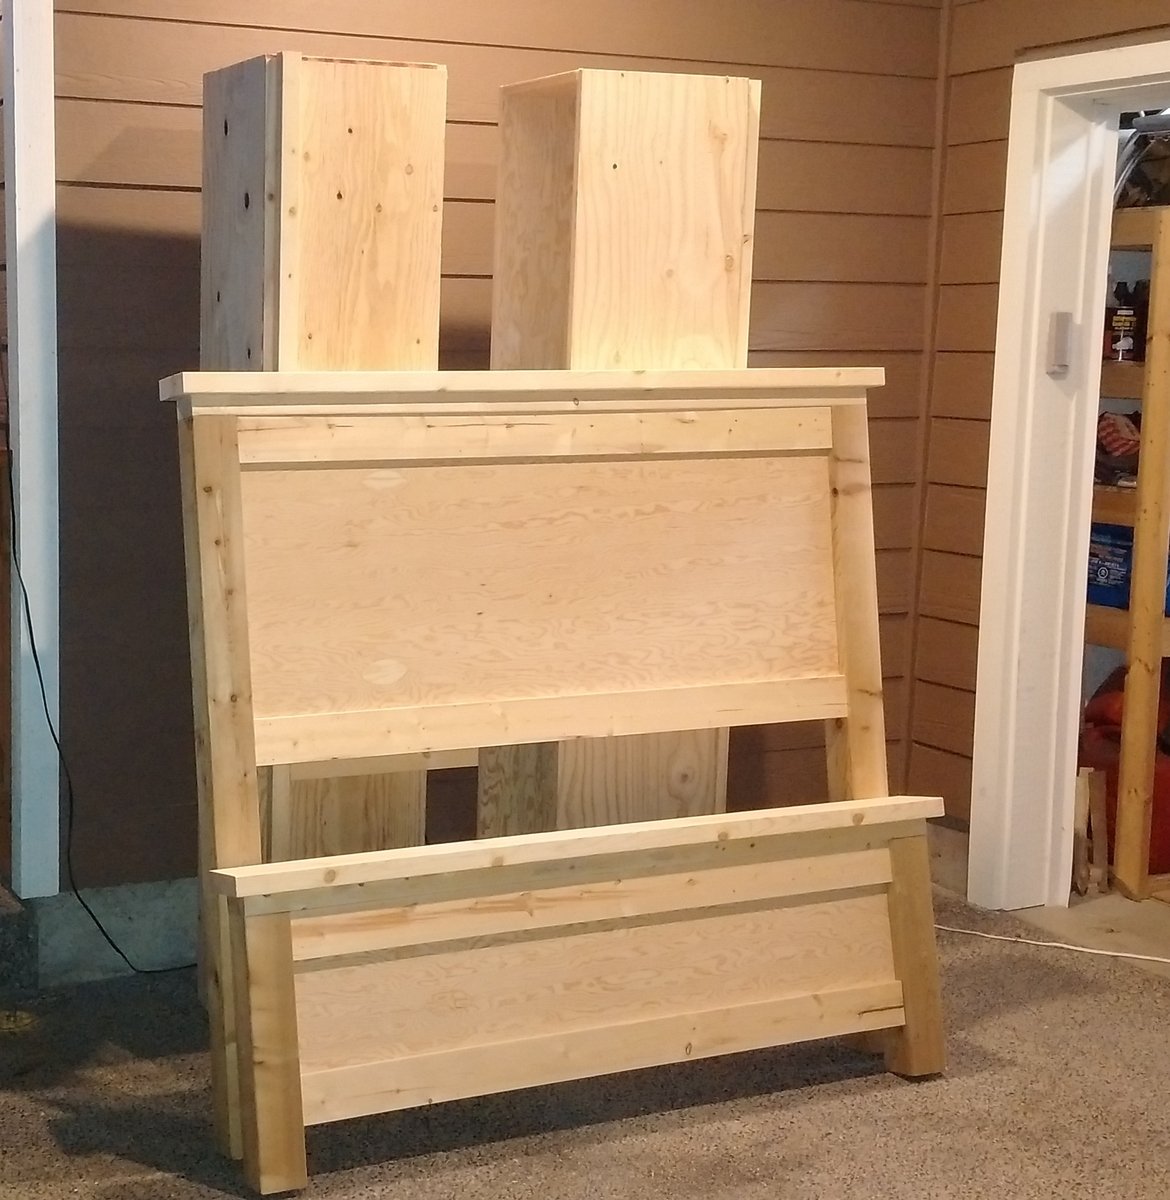
All in all, it was great and the result is perfect. I highly recommend using a pocket hole for the headboard attachment if doing the plywood - I didn't use one and it was tricky  . You can't see the plywood because I decieded to add slats to the headboard and footboard in the end (wanted to stain the wood, not paint it as planned originally).
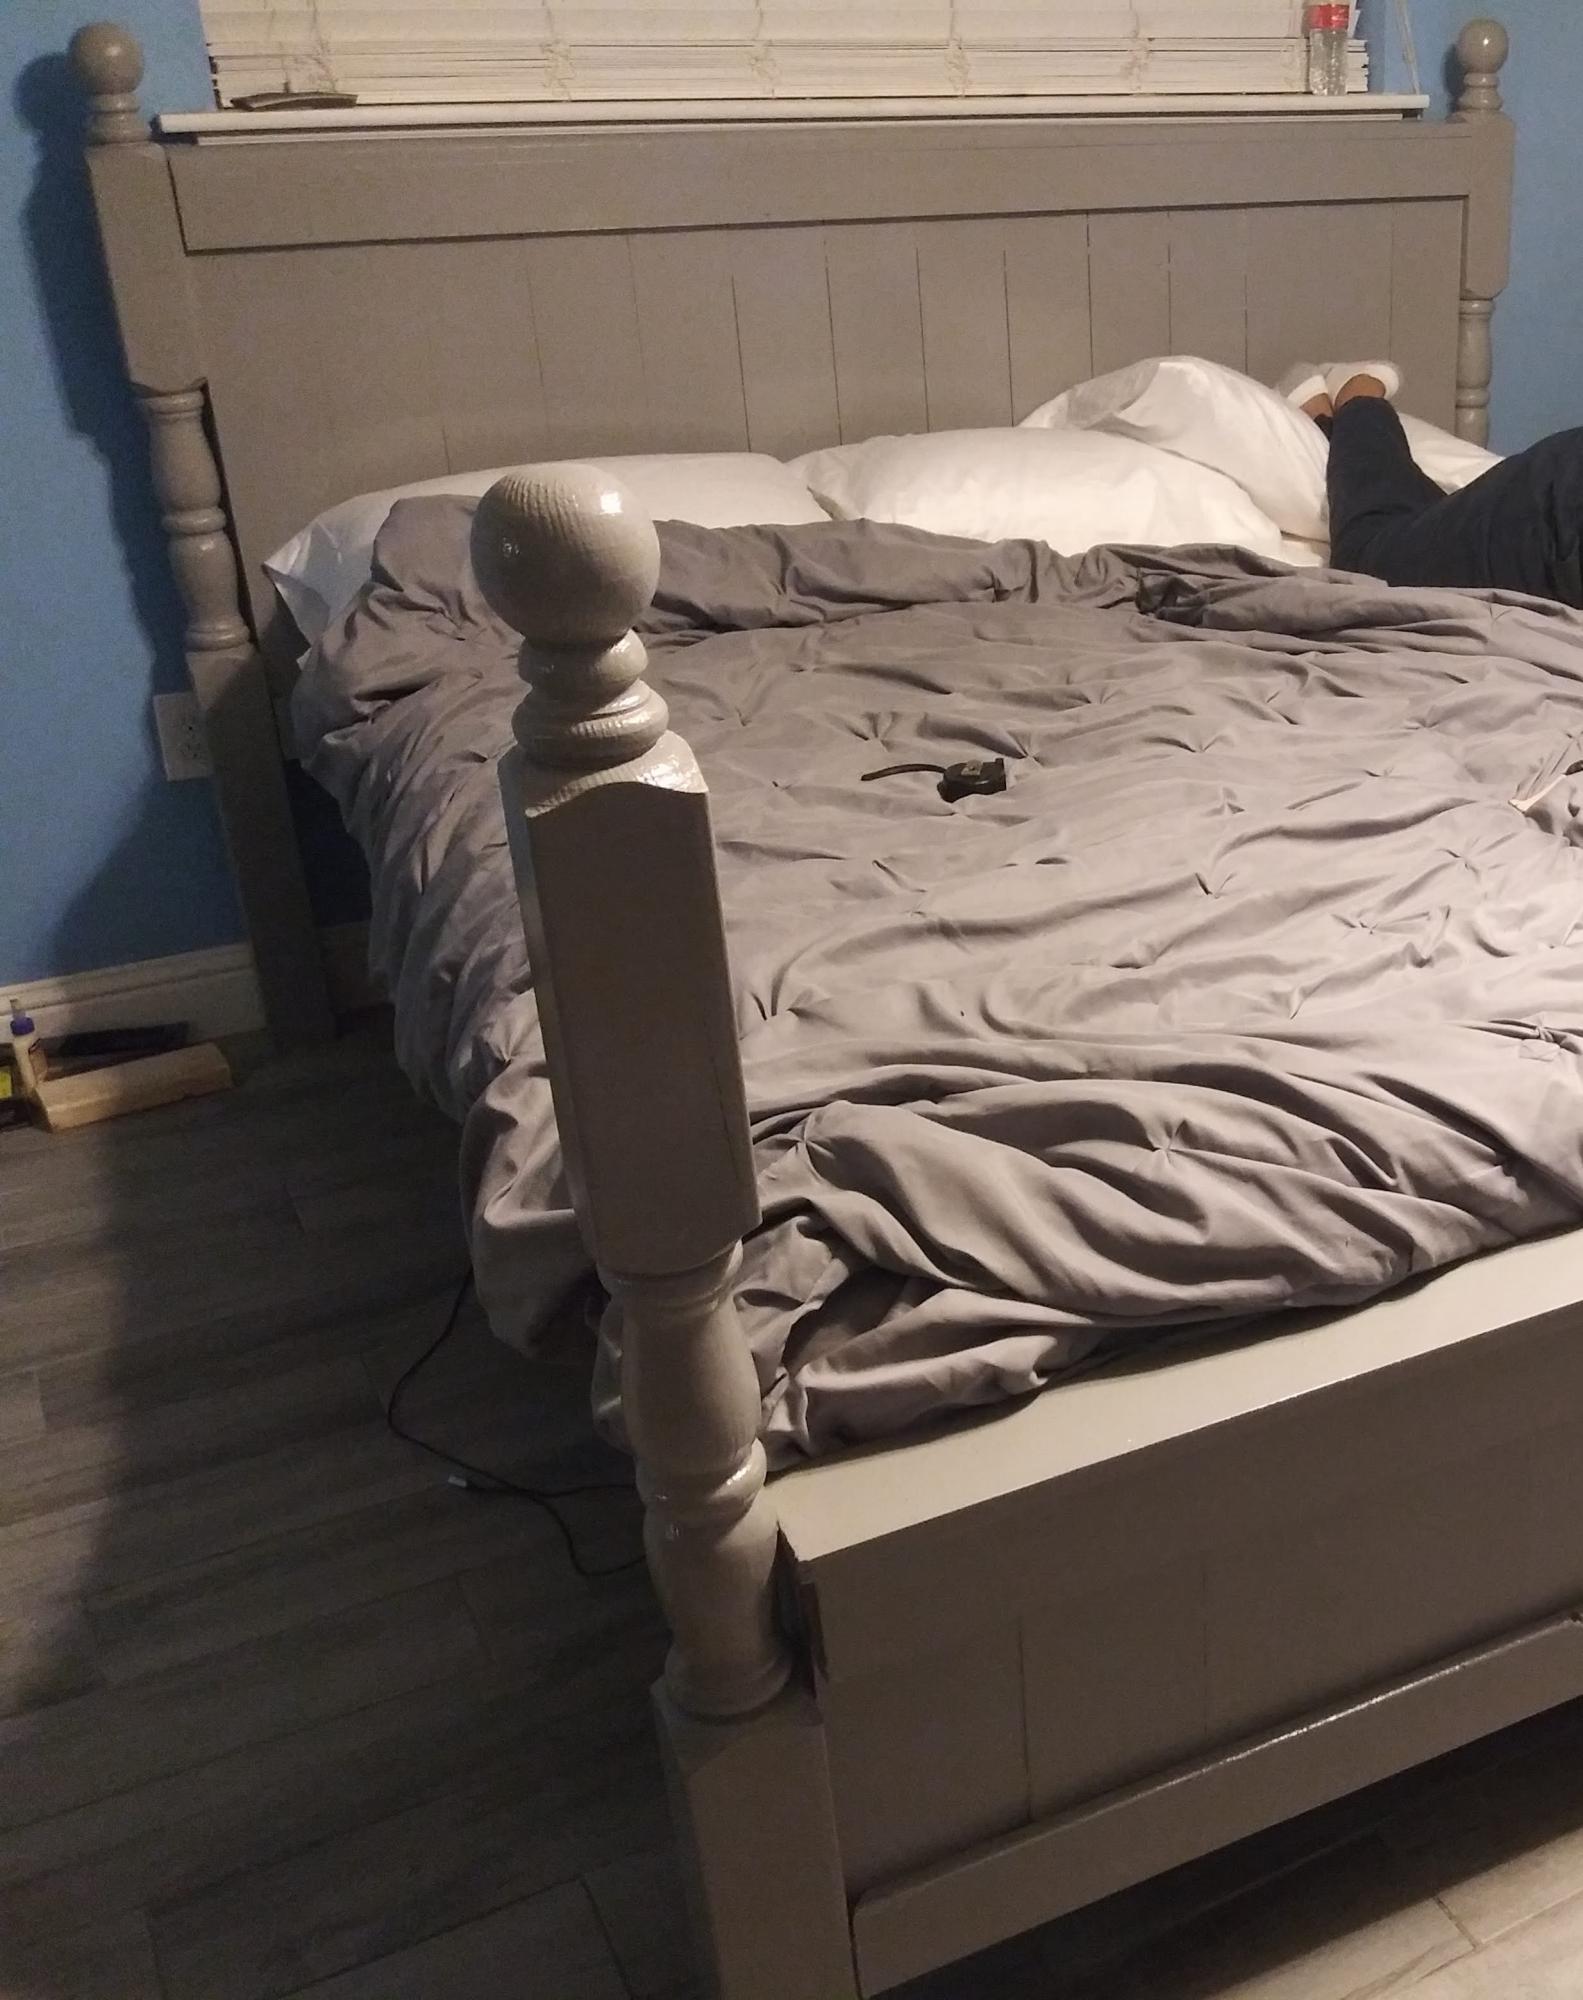
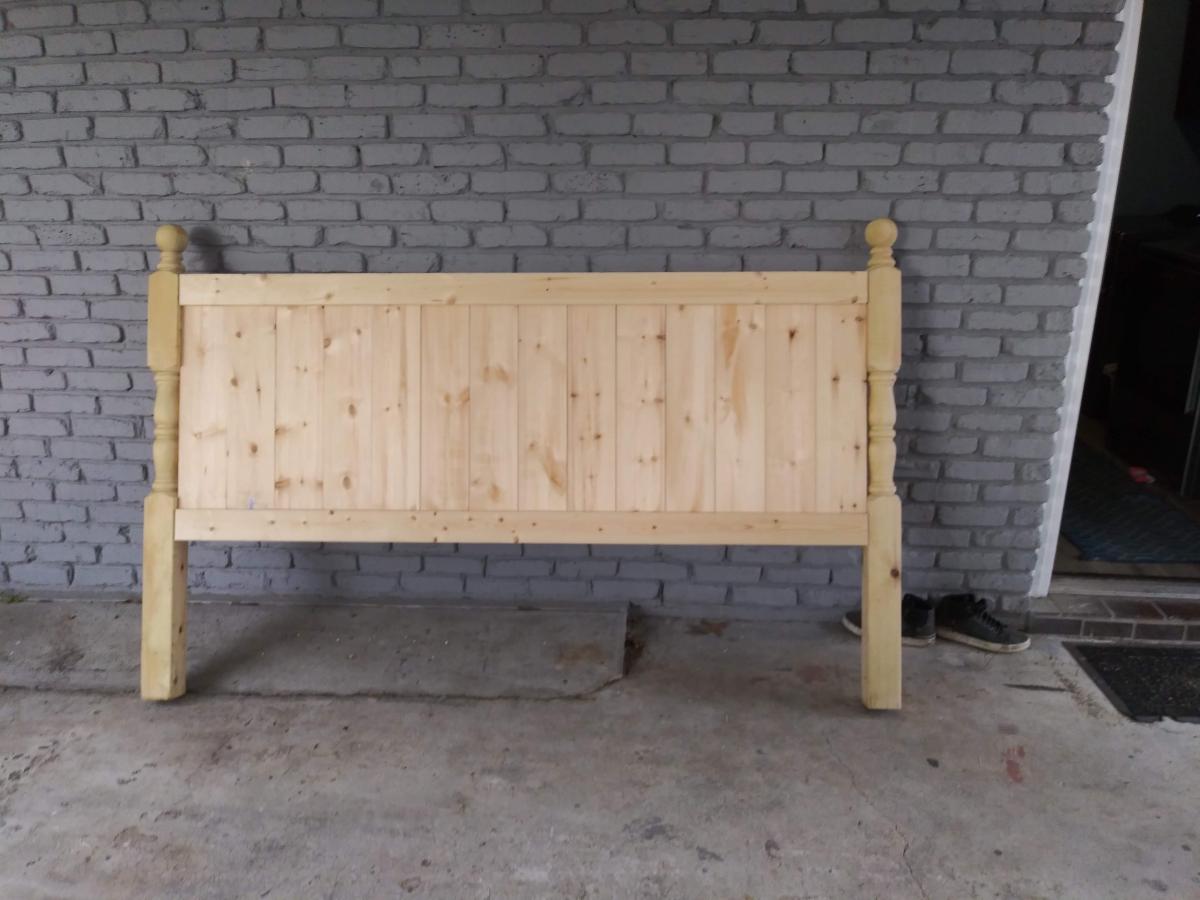
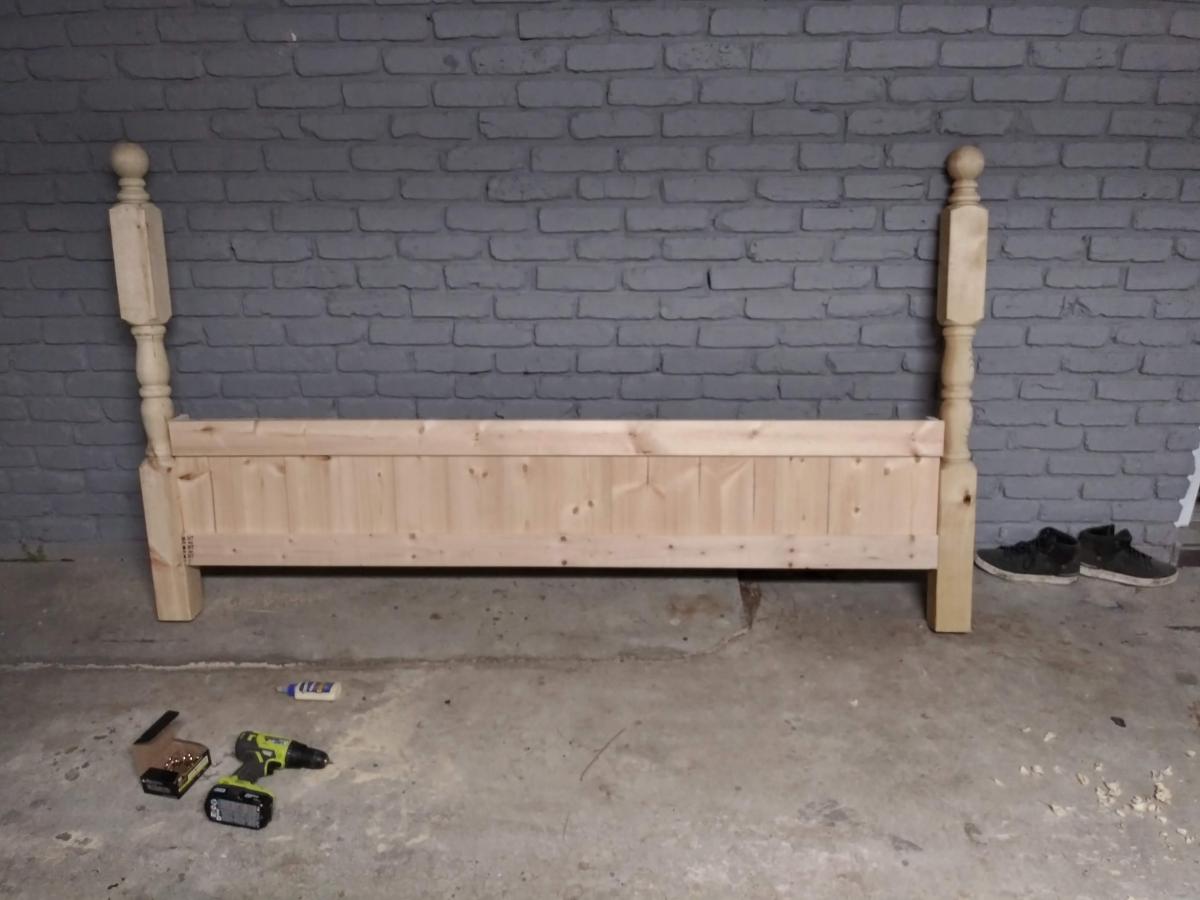
I ran across your website and decided to build my first ever extra long king size bed. I followed the plans of the farmhouse king size bed. Instead of using the square 4x4 post I used porch post and cut them down to size plus I stretched the bed to 88 inches long. My wife is super happy I did because we saved a bunch of money doing so and got a more durable bed.
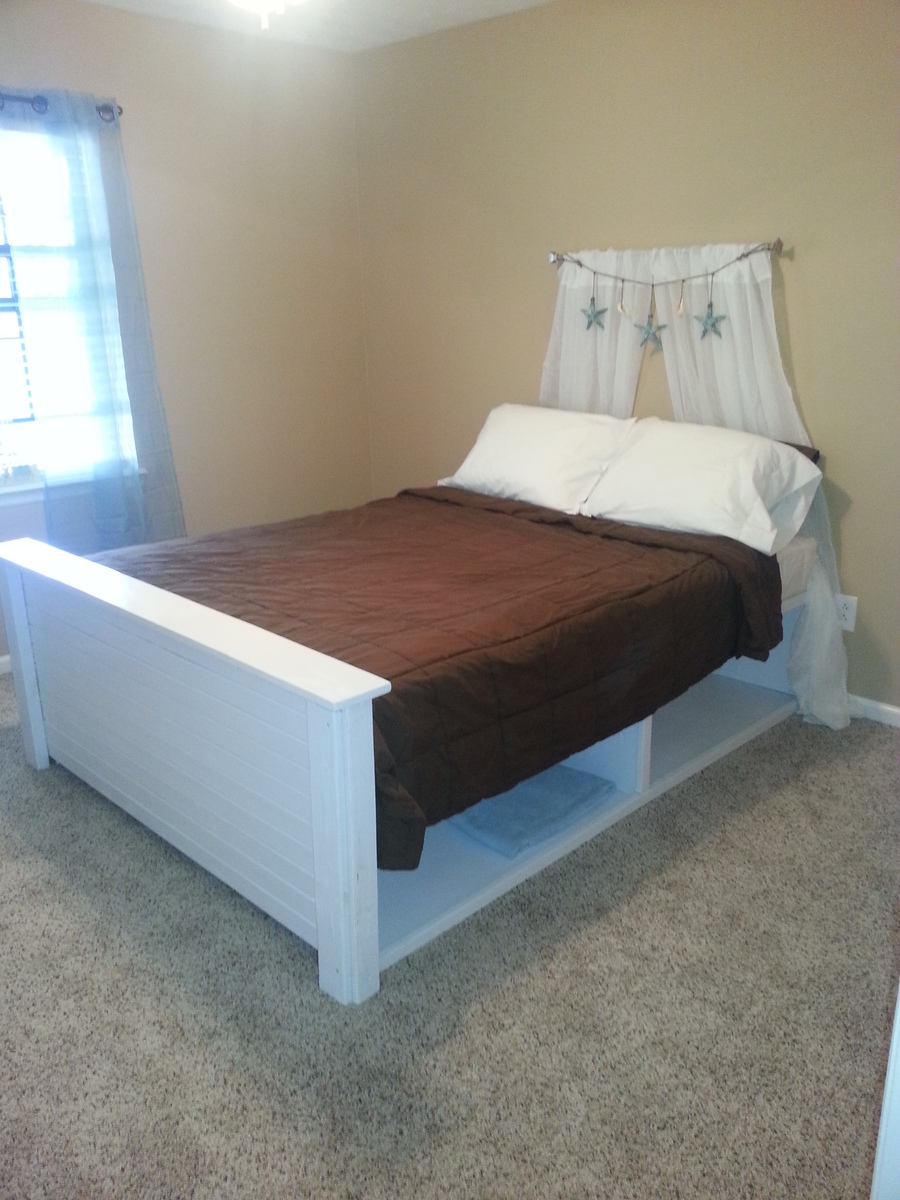
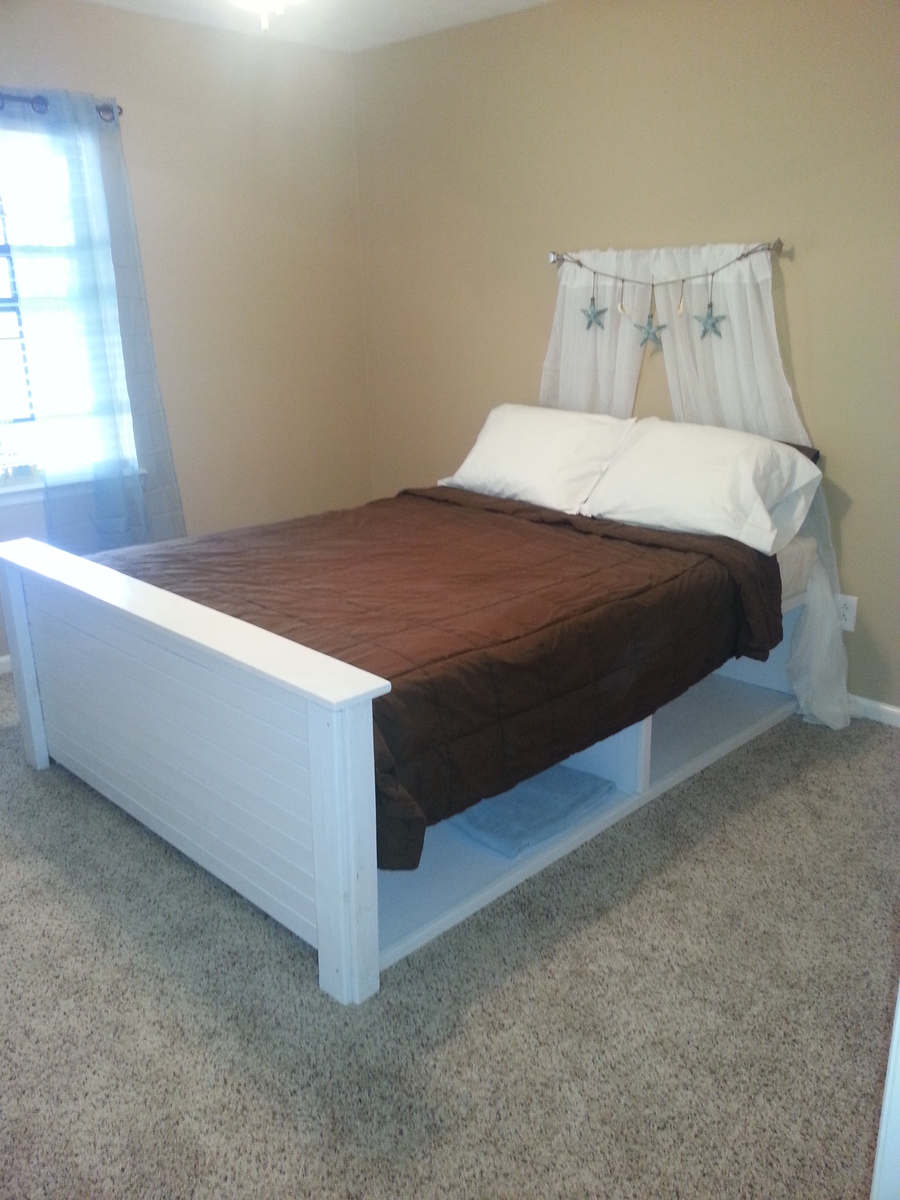
We needed a guest bed for our guest bedroom. So I built the storage areas under the bed out of plywood and boxed them up. The bed would probably look better with a headboard, but we decided to just do that curtain style headboard.
I had seen different beds similar to this, and I just had those in mind when I started. I didn't follow any specific plan except for what I had in my head.
It was painted with an oil-base white paint.
I could have sworn this project was inspired by a stool I saw on here but I just spent way too long trying to find it. I wanted these to match our bed frame, which is really tall combined with our mattress. We needed stools that could be comfortably stood on with two feet, but could also slide under the bed when not in use. This was my first "finished" DIY project besides a dog house I made from plans from Lowe's. This was the first time I planned it and created it myself. They are very sturdy and look like they came with the set. I am very happy with them. I took my time on them because I was doing a lot of learning and wanted to get it right. I distressed the wood with chisels, files and carving knives.
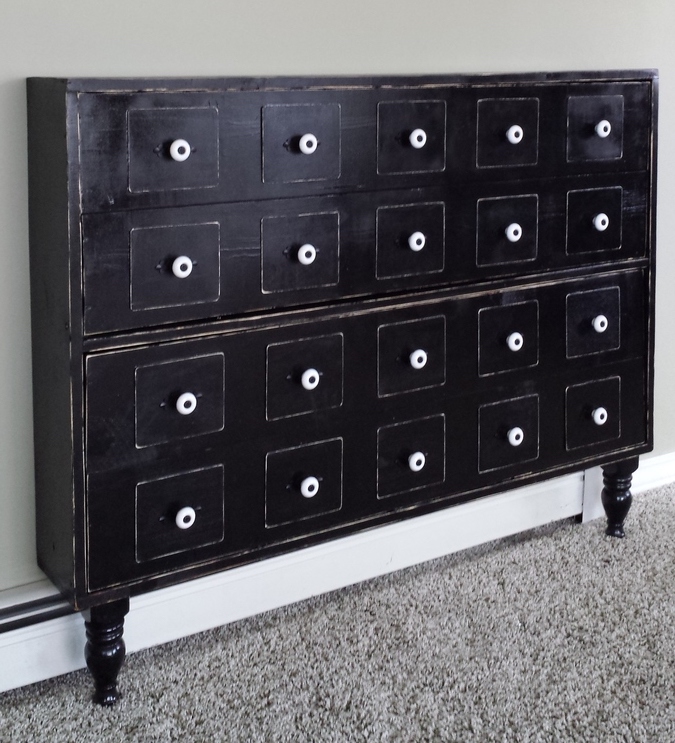
Loved this project! We had an old headboard so my wife came up with the idea to cut off the top posts and use them as legs.
Comments
Ana White Admin
Fri, 04/07/2017 - 14:33
Gorgeous!
Love the look, thanks for sharing!