Farmhouse Hall tree
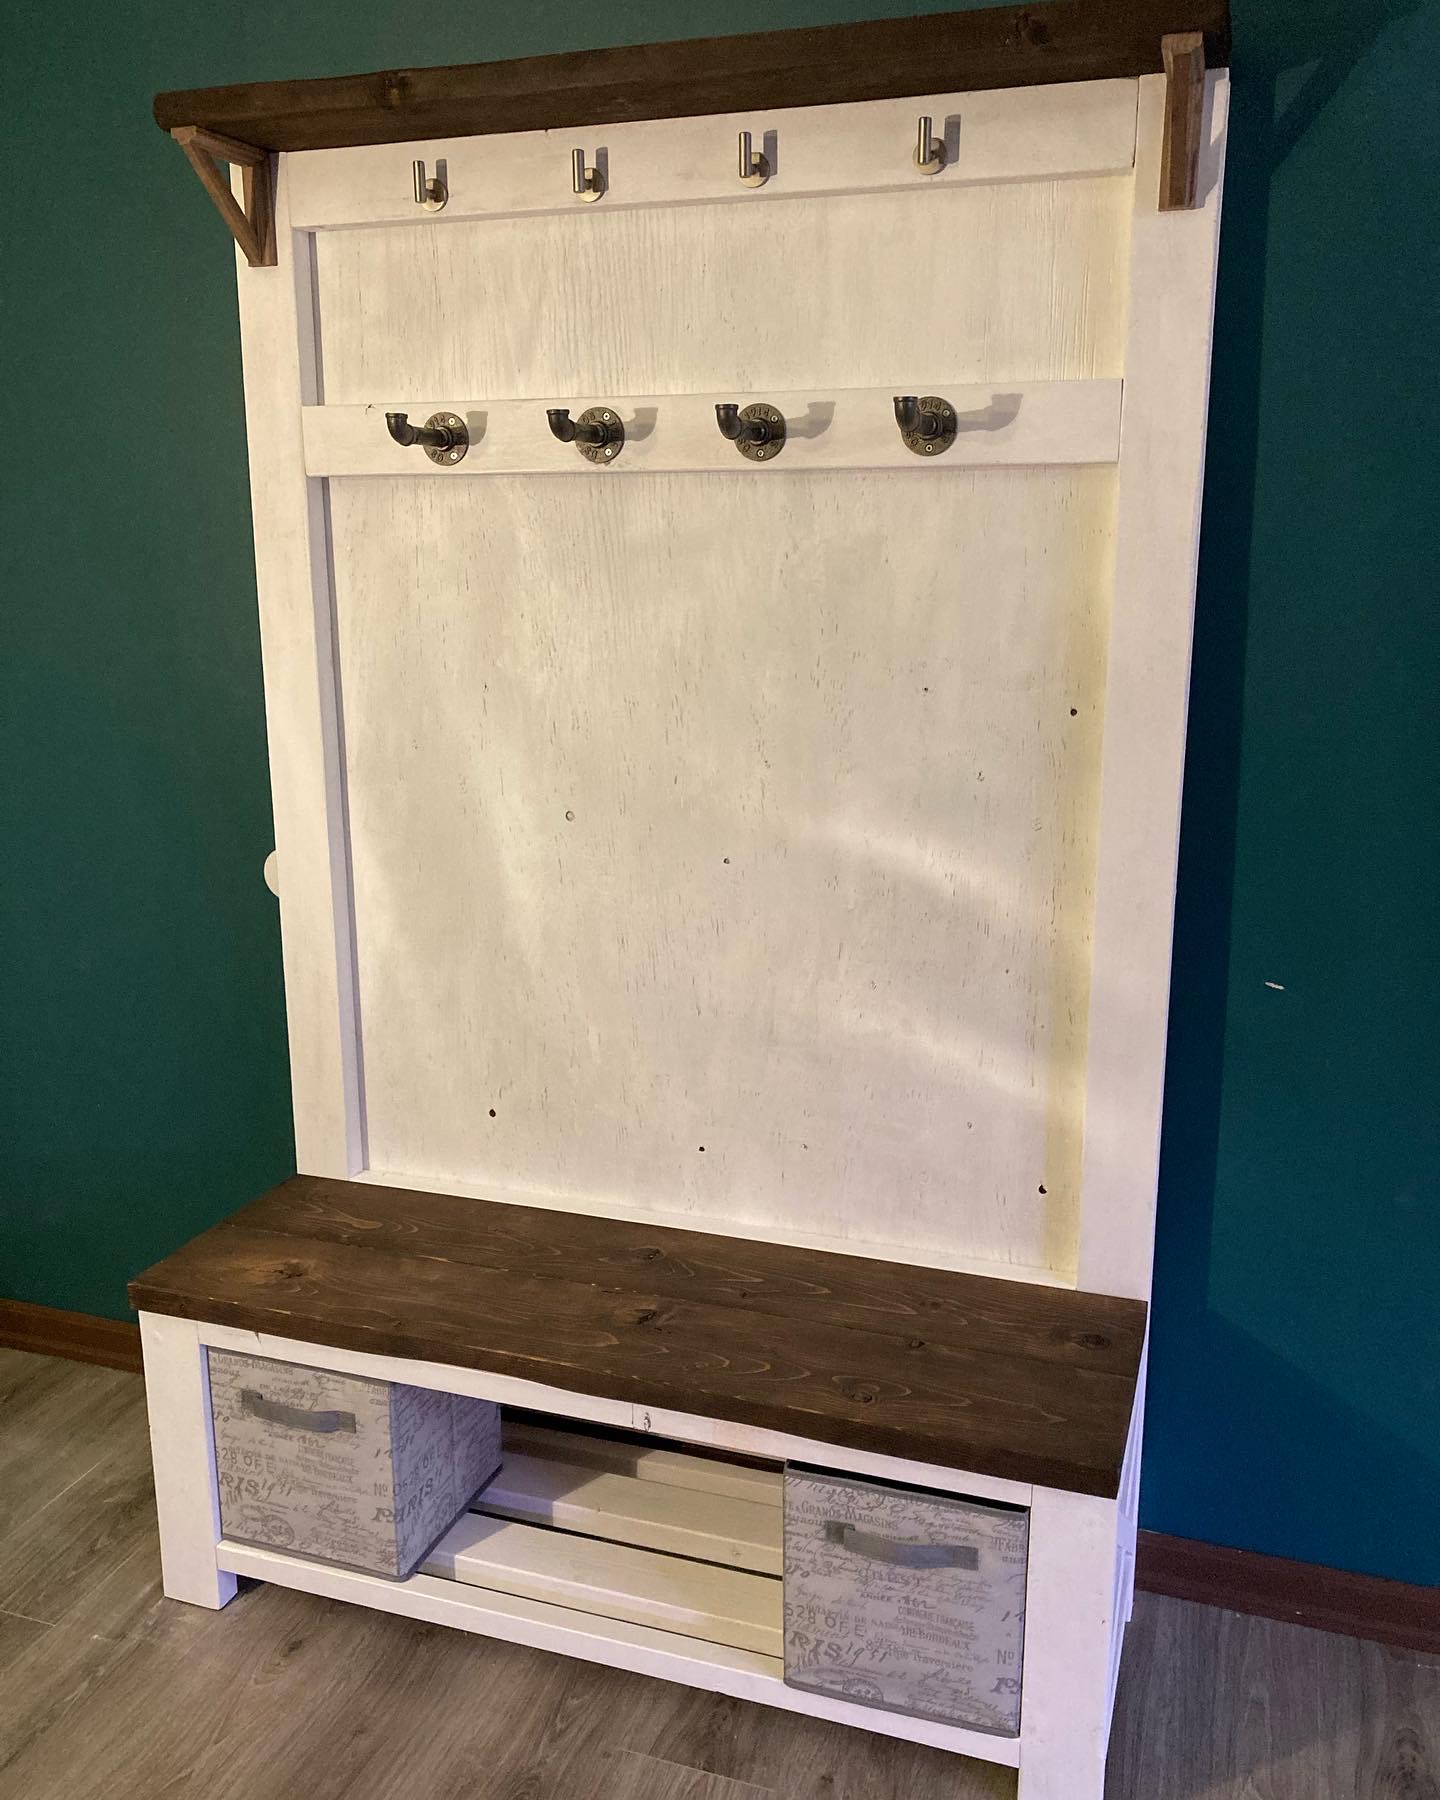
Had fun making this one! Kept it rustic and added something other than white. Thanks for the great plan!

Had fun making this one! Kept it rustic and added something other than white. Thanks for the great plan!
I saw this bed and just had to have it for my daughter. She loves it so much and it looks great in her room. It was easy to make, but very heavy. We were very meticulous to hang, we might have spent more time hanging it than building it :) There is more info on my blog.
Sat, 05/19/2012 - 01:31
Thu, 08/04/2016 - 18:45
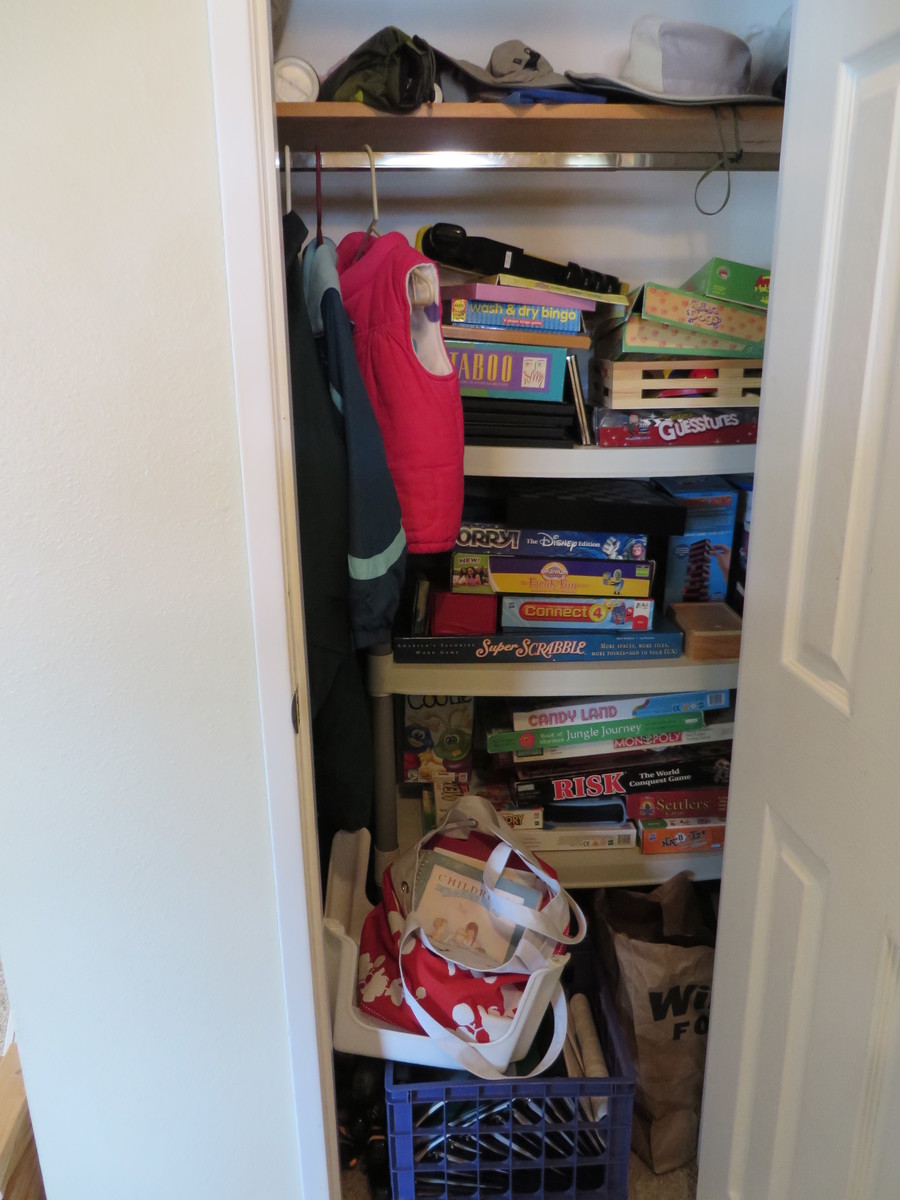
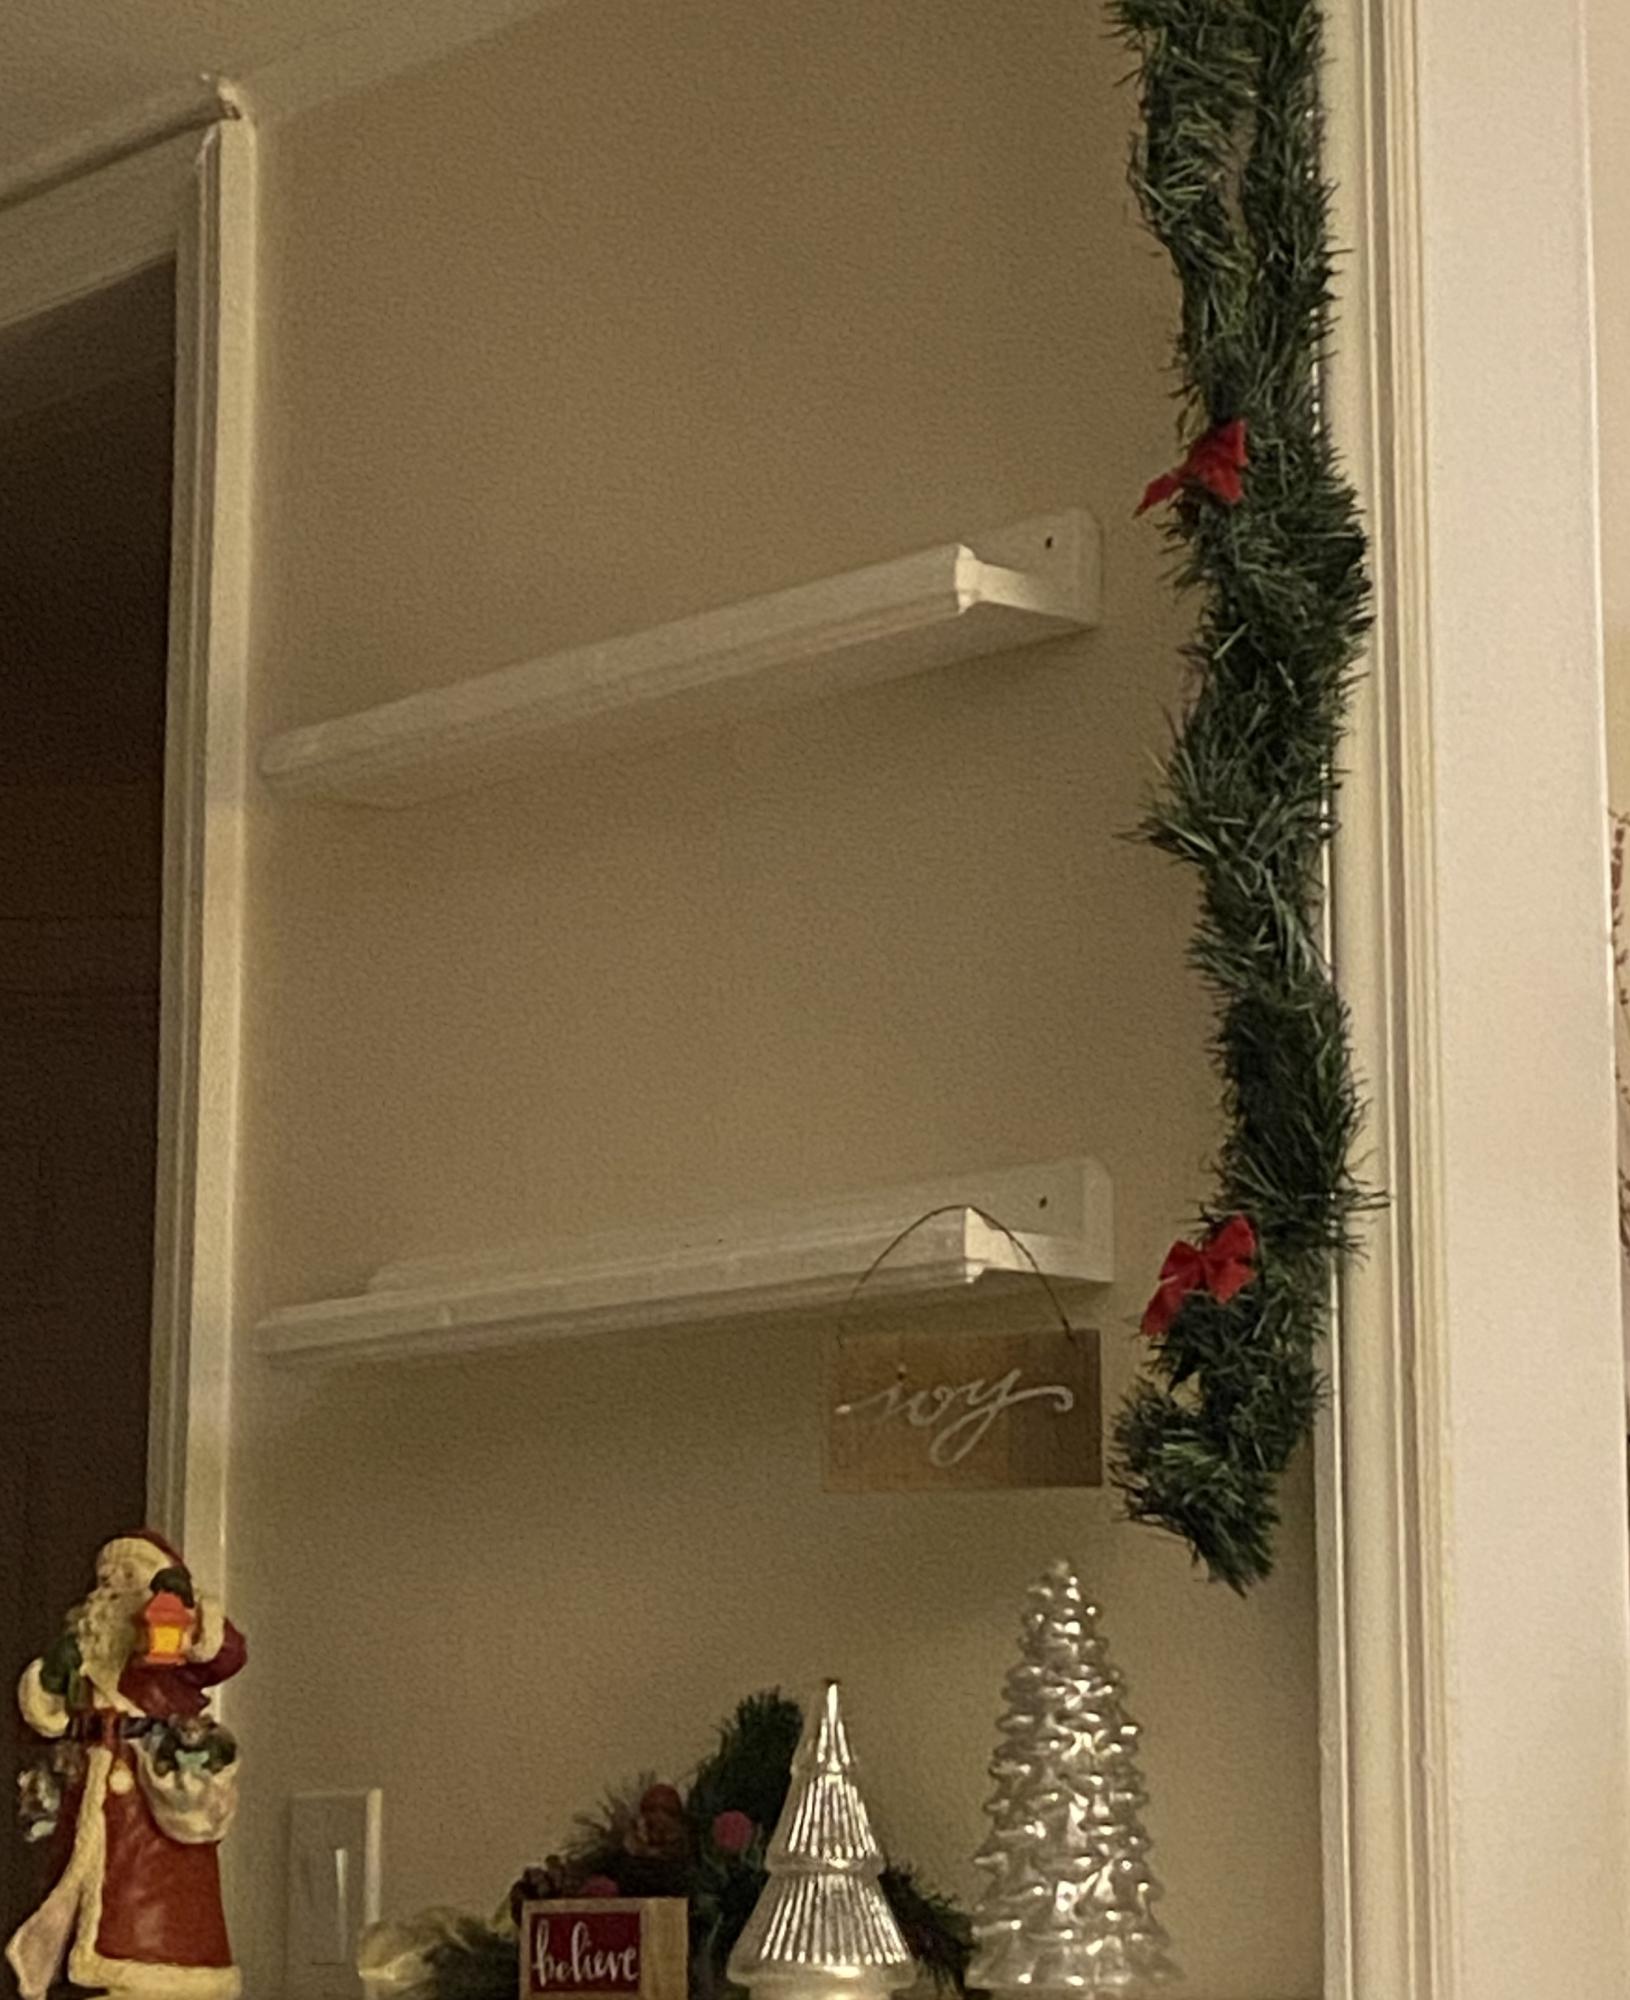
I needed to use my small coat closet more efficiently (observe the disaster in the before picture!), so I installed built-in shelves along a side wall for all our board games. Not a plan really, but just a simple solution. Measure the height you want your shelves to be, install a 1X3 at that height on either side wall, making sure they are level and secured to studs or anchored (Mine are 1 foot apart up to 5 feet). Then install plywood or solid wood shelves across the supports. Screw in to secure and you've got functional, inexpensive shelving, built to fit your unique space.
Our version of the Brandy Storage Bed in king size. Added a headboard made from from weathered wood leftover from building our house. The "scrap wood" pieces used to cover the bottom are a mixture of rough cedar, old wood from a grain bin and general 1X scraps.
Thanks so much for the plans Ana, we love our new bed!!
Thu, 11/26/2015 - 09:26
Gorgeous, absolutely gorgeous! Love the hardware and finish choice, great build!
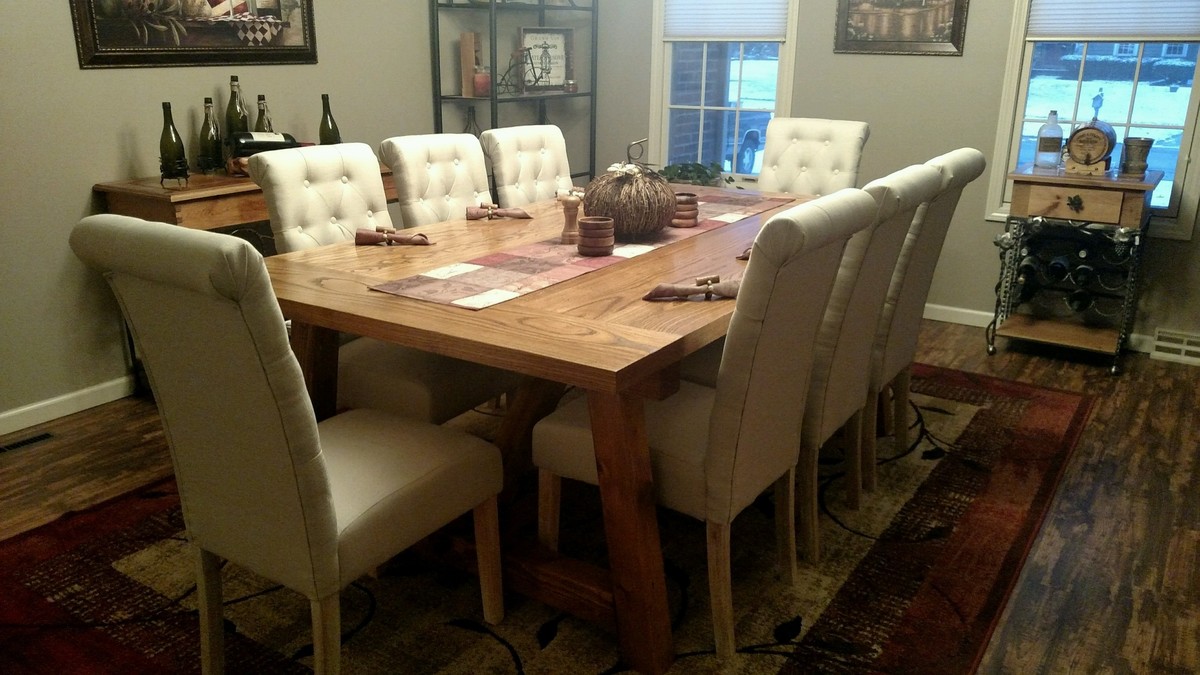
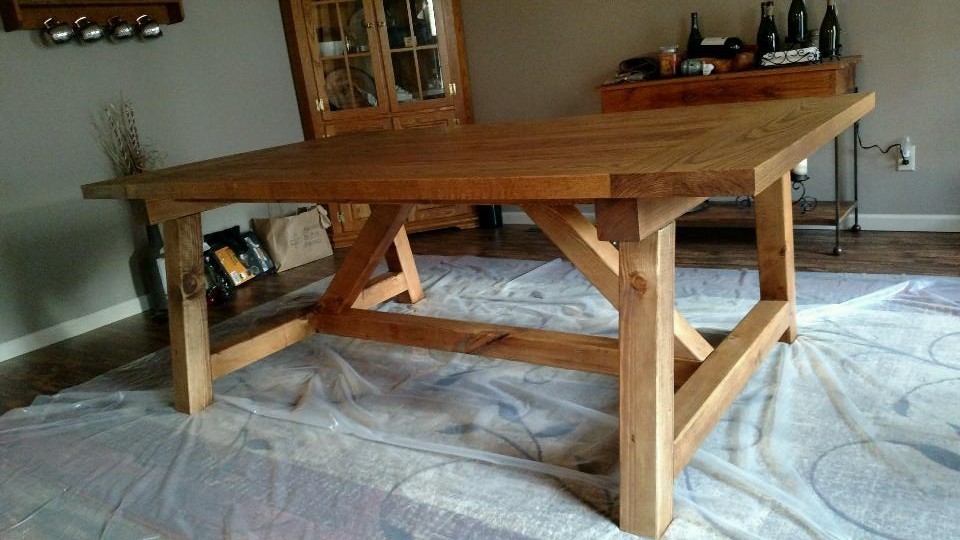
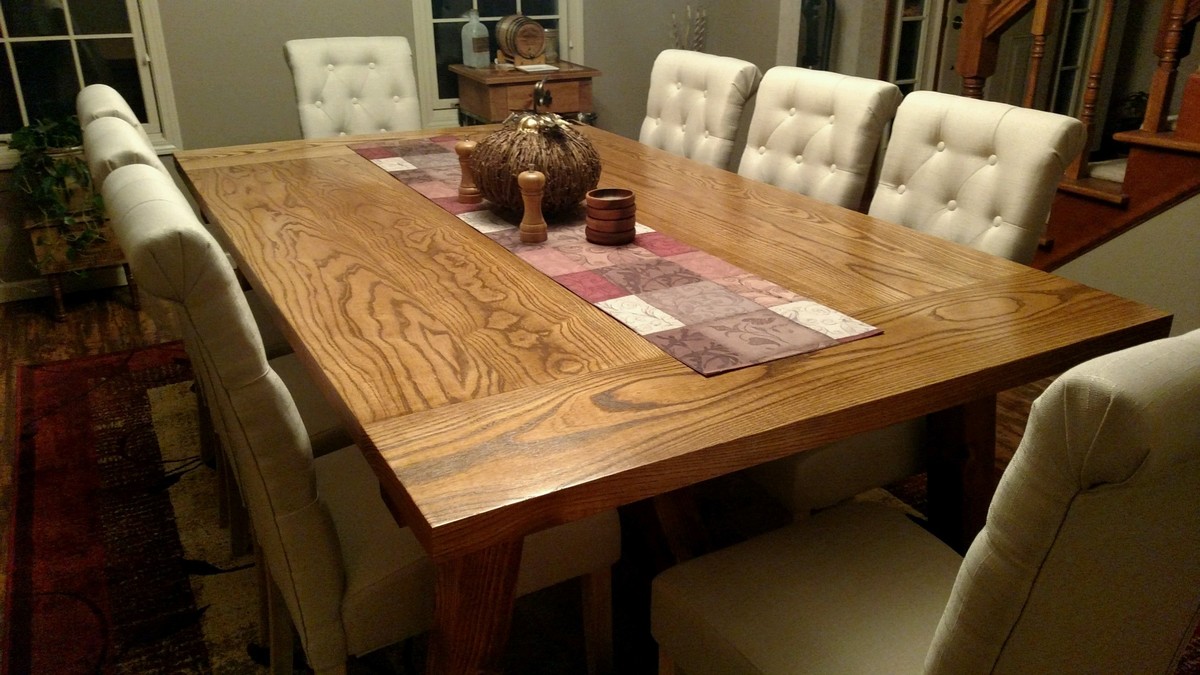
Fell in love with this table! Couldn't wait to build it. Found a great mill that had raw stock of a variety of woods. I chose White Ash because if the hardness and beautiful grain. They planed it to 1-3/4" thickness. Modifed the width to 50" and turned the truss supports underneath to add extra support for the table top due to the weight of the White Ash. Finished with provincial stain and 6 coats of hand rubbed poly. Used wood bleach on the 4x4's to take the red tint out before staining. Worked great!
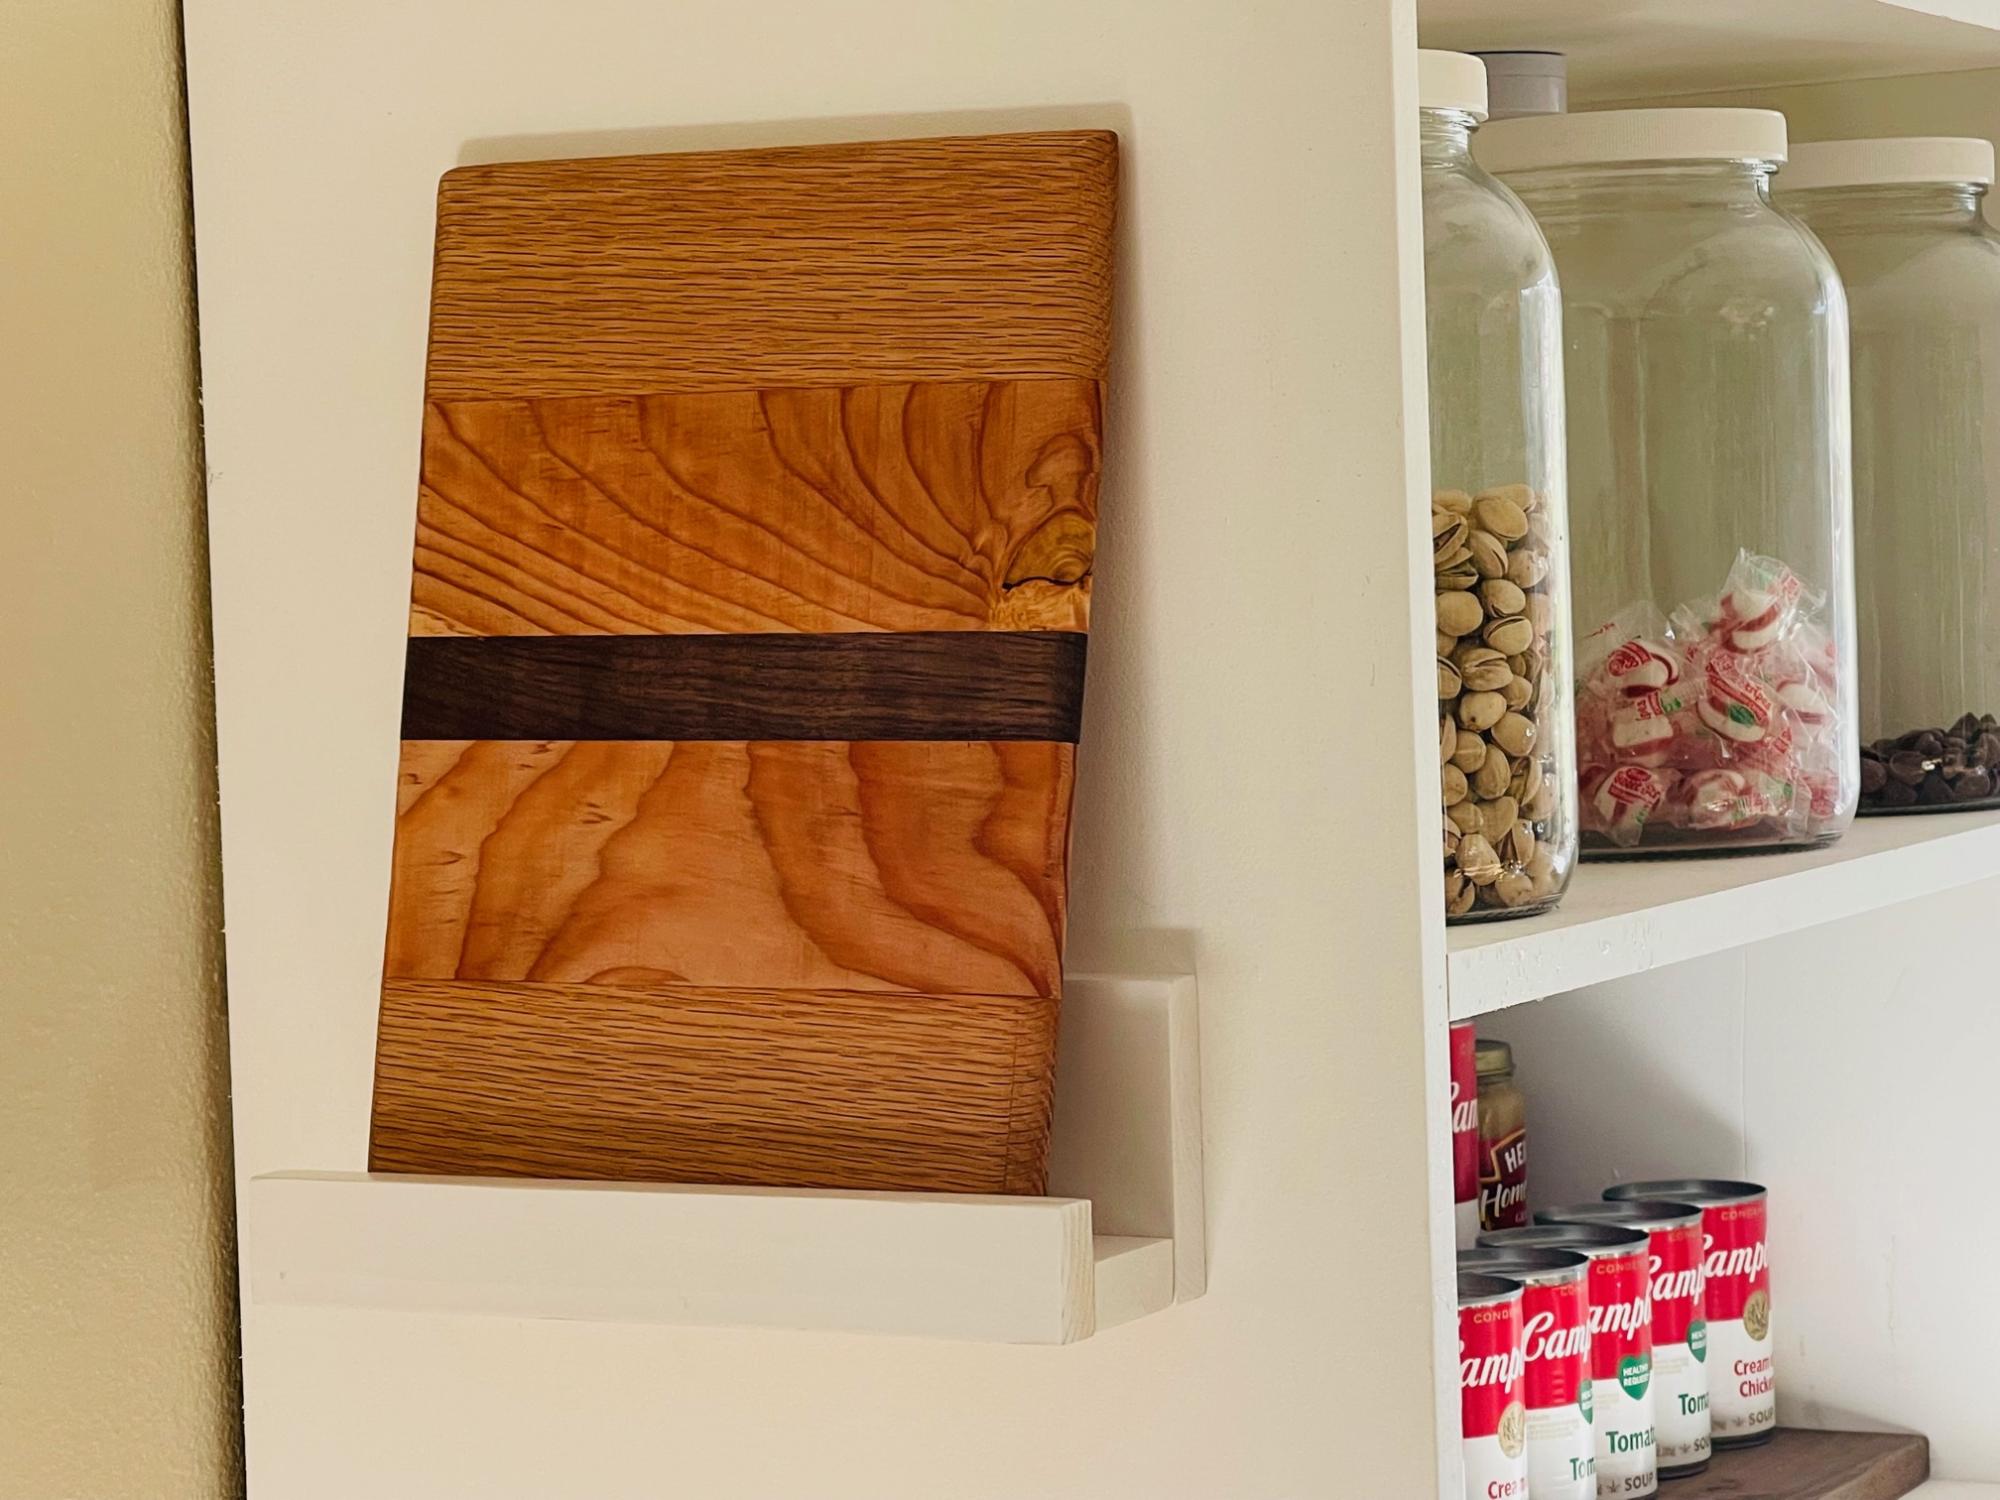
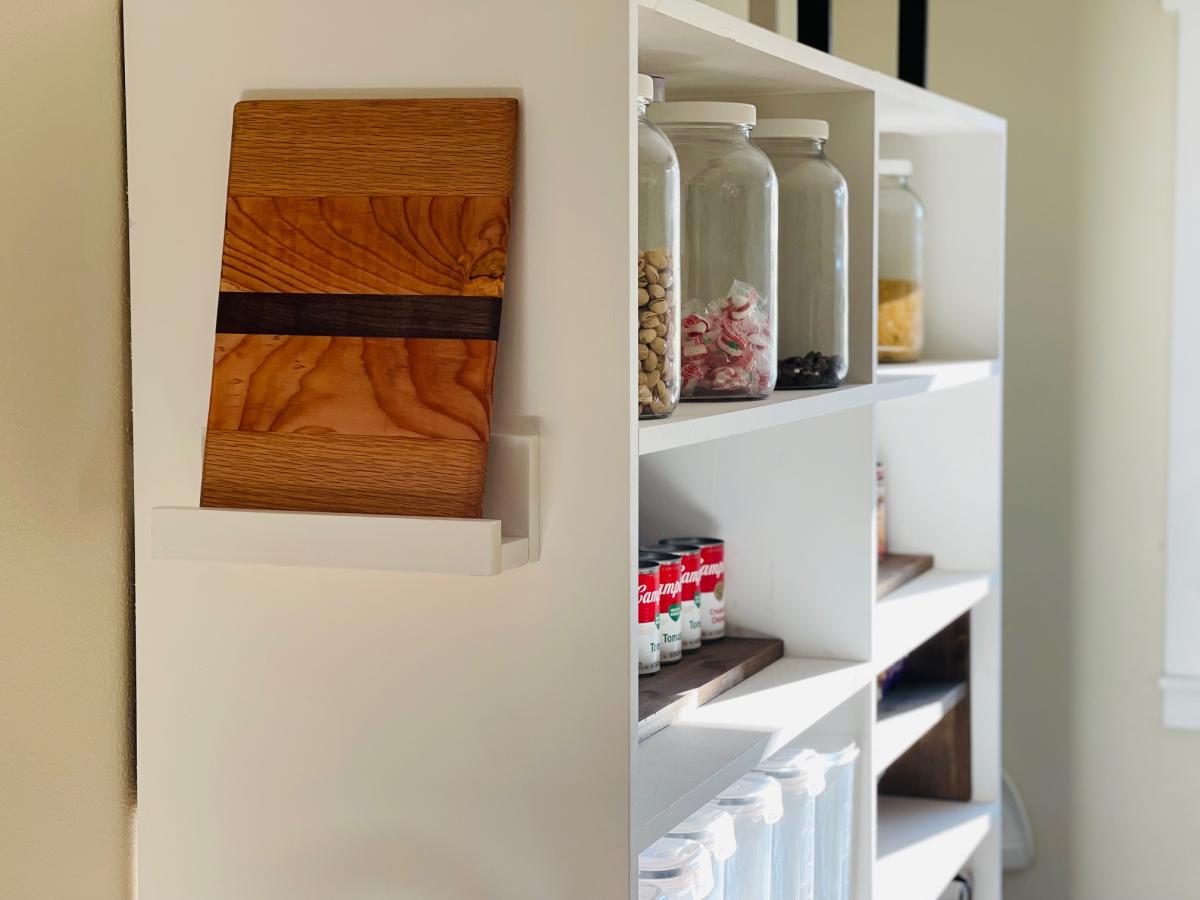
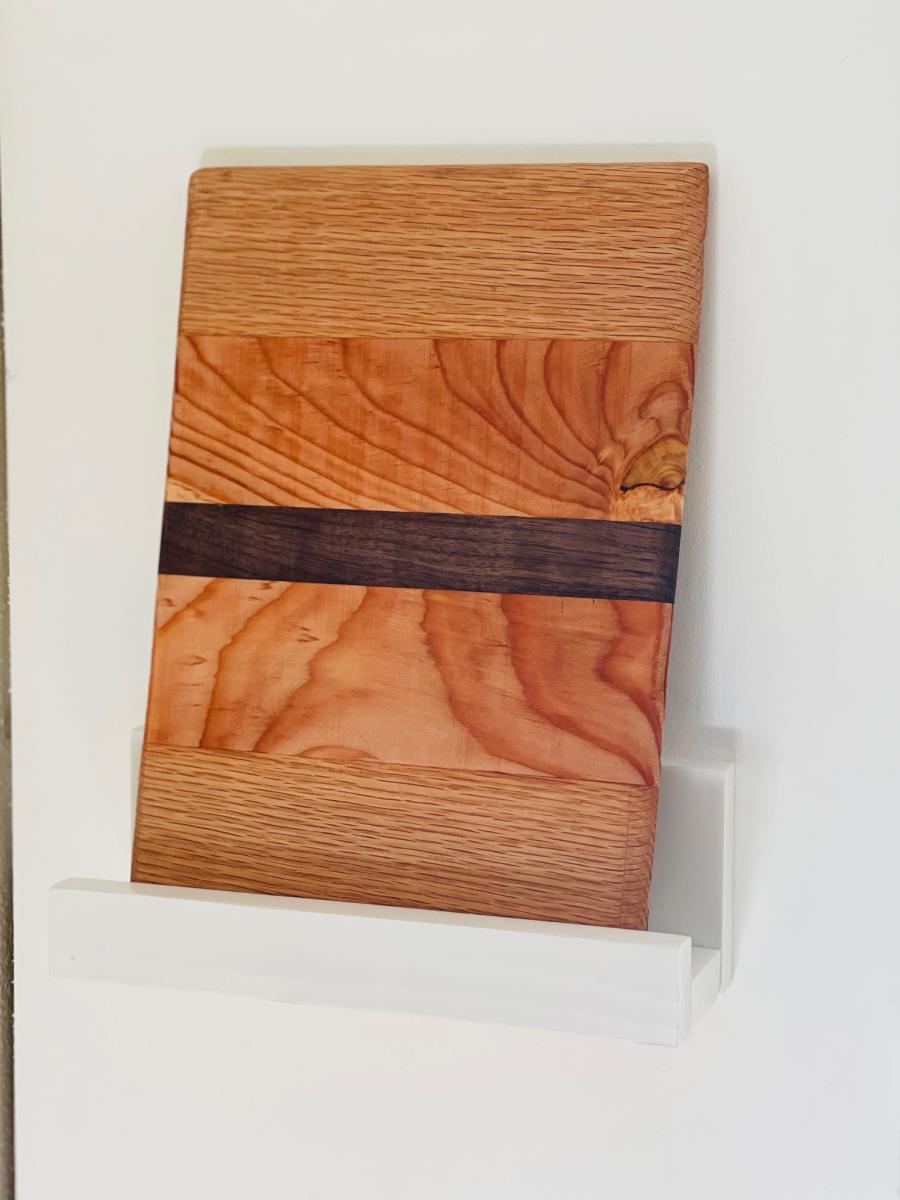
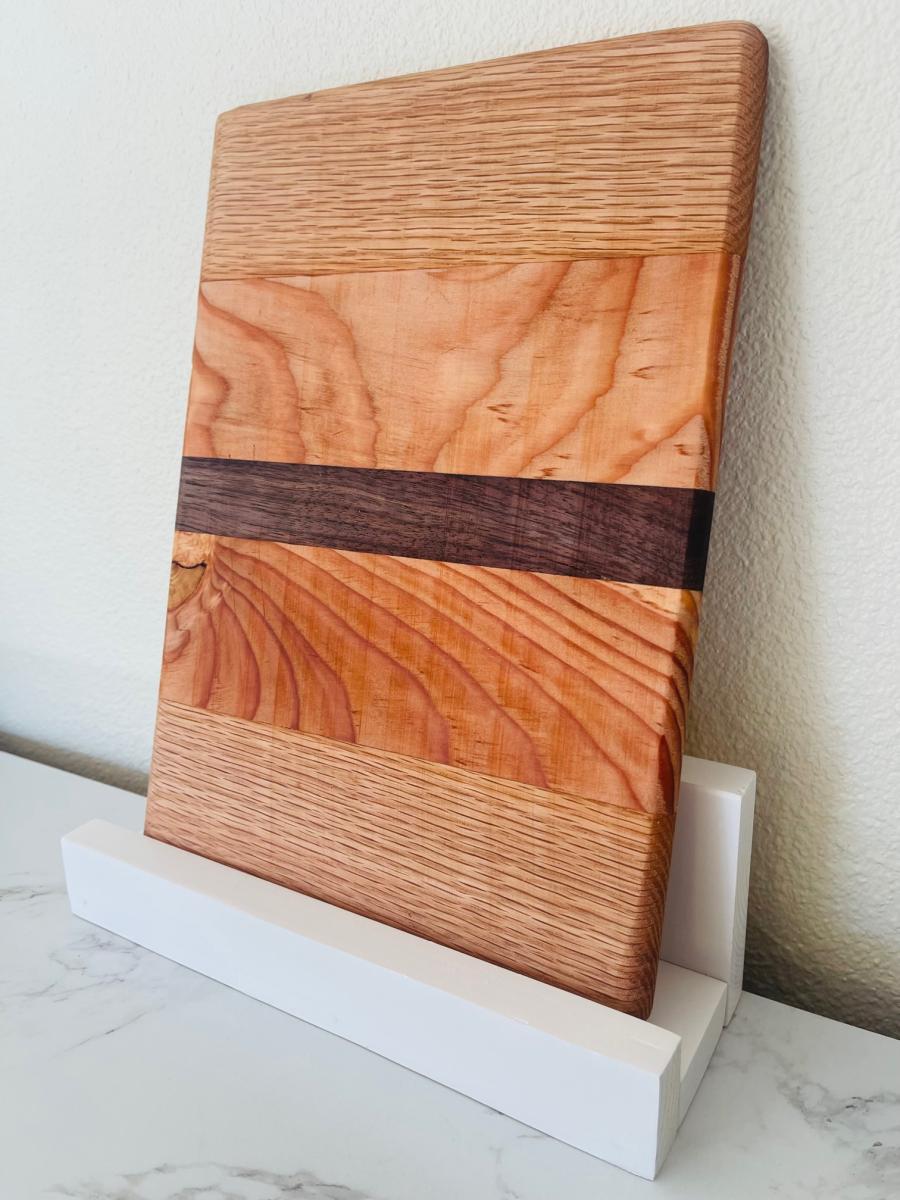
My sophomore daughter built a cutting board in woodworking class. She did a beautiful job, so I wanted to display it. Took me about 10 minutes to build this little shelf. Can be used on the counter, or attached to a wall or pantry shelf. I decided to attach to the side of my DIY freestanding pantry that I built using Ana's Shelf Help service. I'm happy the whole family is able to enjoy her beautiful cutting board and this makes it easy to use and put up when not in use.
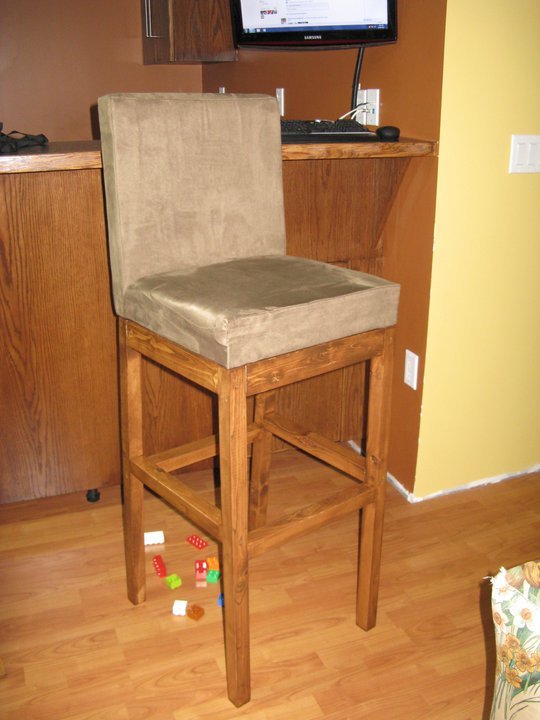
My sister needed an extra tall stool for the bar her husband built, so I adjusted the Parson Chair plans to make them fit. I included the Sketchup model that I used in my blog post.
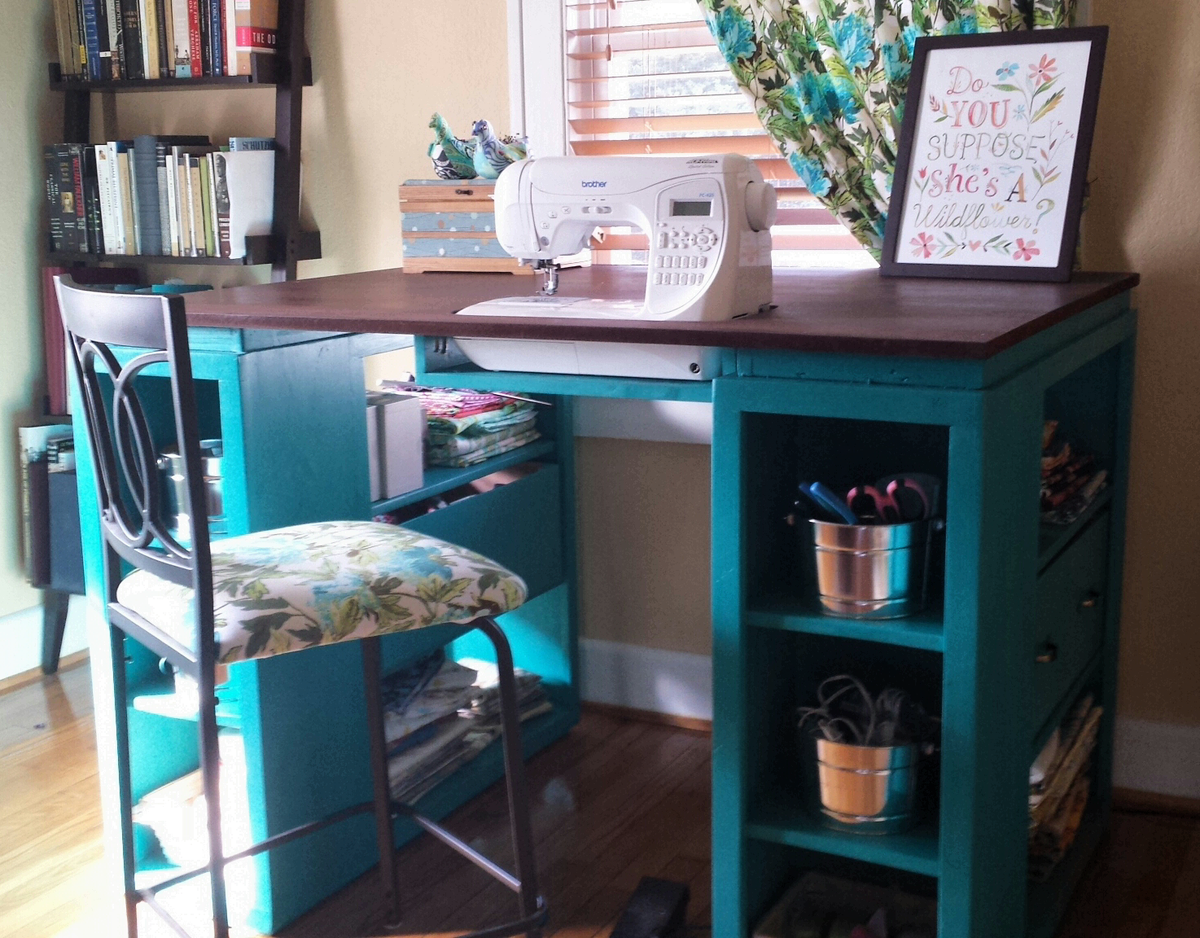
I have been looking at sewing furniture for years, but the prices always made my jaw drop. I have a small craft room, so I needed a table that could also triple as a cutting table and fabric storage. Thank you so much to Ana White for this plan! I built exactly to the plan in The Handbuilt Home, and it's the PERFECT size.
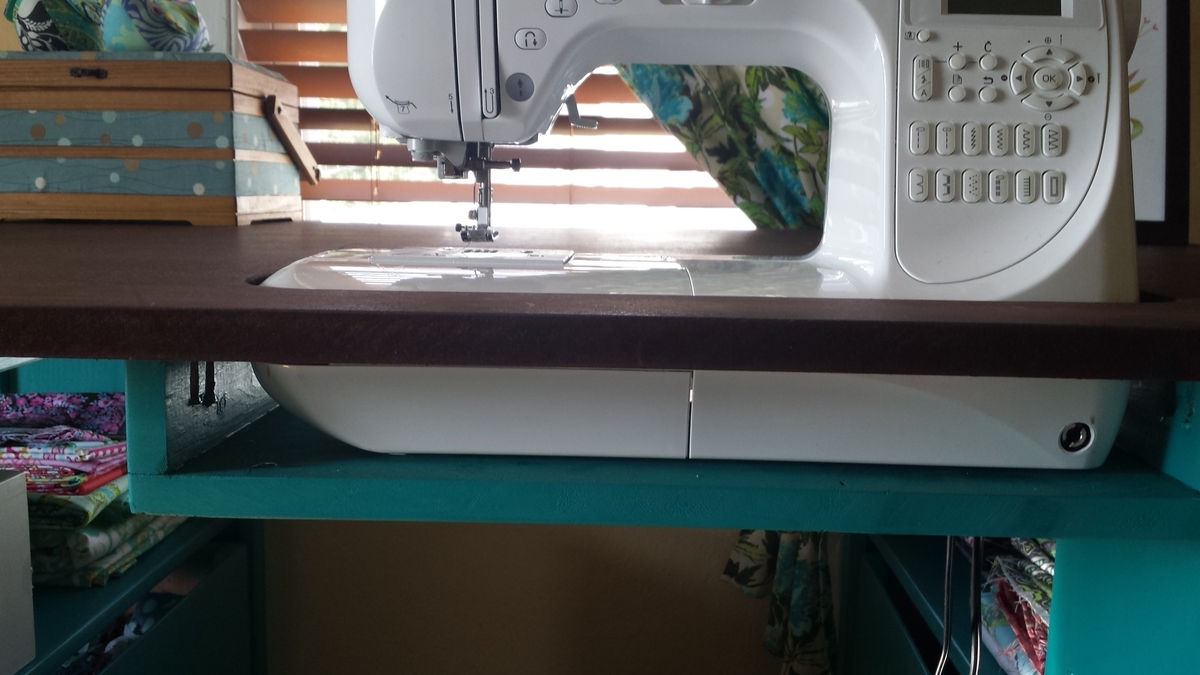
So the sewing machine can sit flush with the top, making working on big sewing projects way easier, I traced the outline of my machine on the MDF and cut it out with a jig saw. Then I built a small shelf using a 1x12 scrap and 2 1x3 scraps. Putting the 1x3s on top of the 1x12 made the shelf 3.75 inches deep, which is exactly the depth I needed. I attached it to the underside of the tabetop using a pockethole jig and screws.
I built 2 boxes using 1/4 inch plywood, and installed drawer pulls on them, giving the illusion that the table has 2 drawers built in. This is where I keep my ugly stuff--interfacing and fabric scraps.
I got the color scheme for the table from the entryway console plan in The Handbuilt Home. In order to make the MDF top look like it had a wood grain, I applied mahogany gel stain with an old washcloth in very thick strokes that spanned the length of the tabletop. It soaked in and lost the "grain" look in some places, but the majority still looks like wood. I did have to apply several coats of polyurathane over the stain; the MDF has a prickly texture that grabs fabric and makes it hard to feed through the sewing machine.
My only complaint is that I didn't quite think through the fact that seating is bar height and I'm 5'7". It's a little difficult to reach my sewing machine pedal. I may build a small stool for the pedal to sit on so I don't have to half sit/stand to sew.
This is the first woodworking project I've done alone from start to finish: from going to Lowe's and picking out the wood, to cutting the wood with a circular saw, assembly, and finishing. (My fiance did carry it up the stairs for me. :) )
I'm so in love with this table! And now to finish the quilt I started 6 months ago....
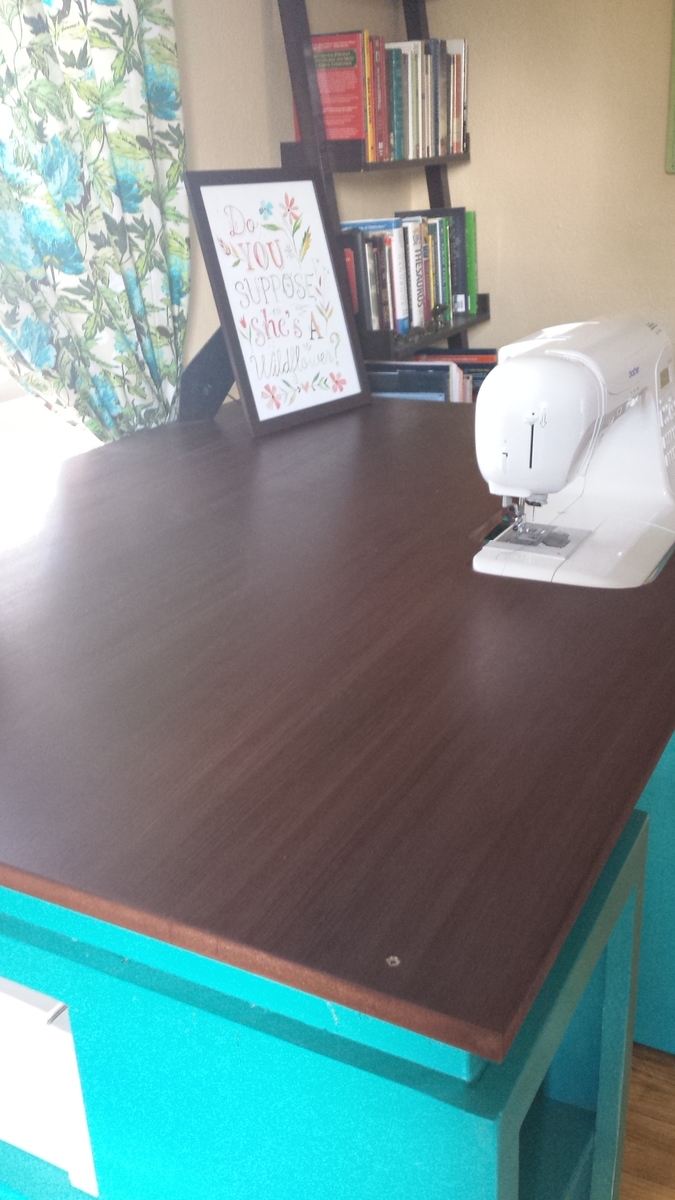
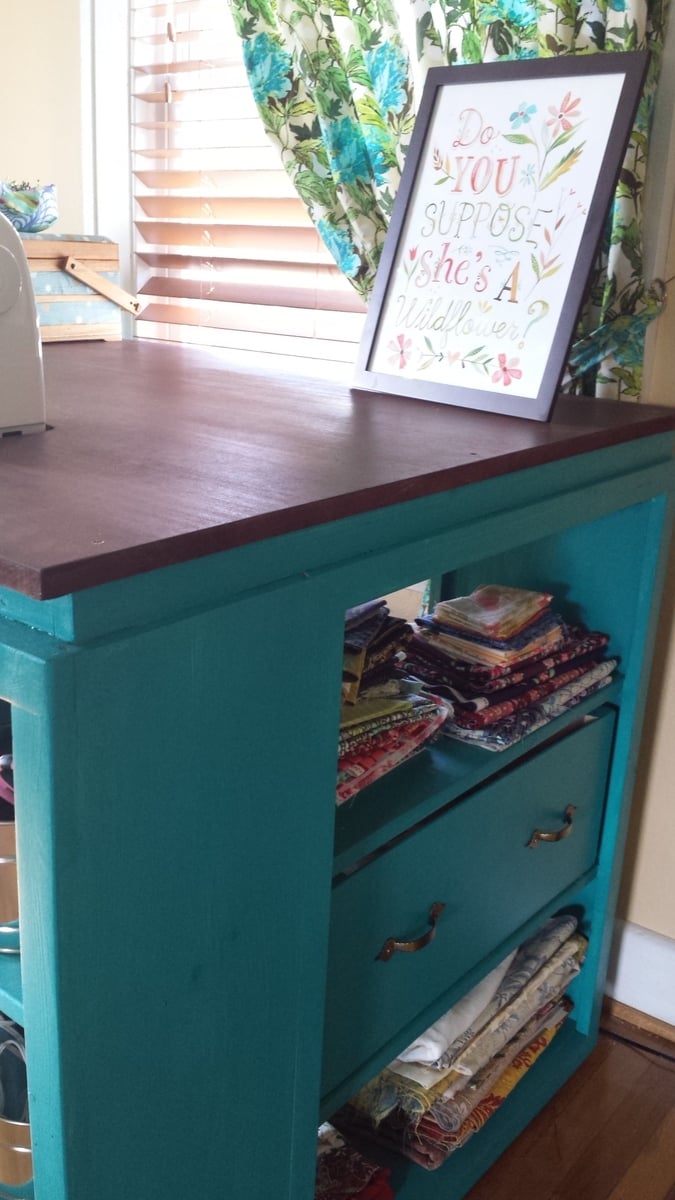
Mon, 09/23/2013 - 07:40
I really like your colors! And that drawer idea is so clever! Nice work!
Val
artsybuildinglady
Mon, 09/23/2013 - 15:22
I love this idea!! I too have wanted a sewing table for a long time but the prices of them take my breath away. I may have to make myself one! Thanks for the inspiration!!
I made this Christmas tree shelf using the plans here.
I modified it by adding on two shelves so that it could accommodate the 6 hooks I needed for my family's stockings. I also hot glued a string of lights to the perimeter. This is serving as our Christmas tree due to space constraints, so I wanted it to be "fancier" and more like an actual tree.
I think I did ok for my first real build and my family seems to really like it.
Sun, 12/06/2015 - 18:37
You did awesome!!! It looks great and I love how you just made the tree larger to accommodate your needs. Great job! Love the lights!
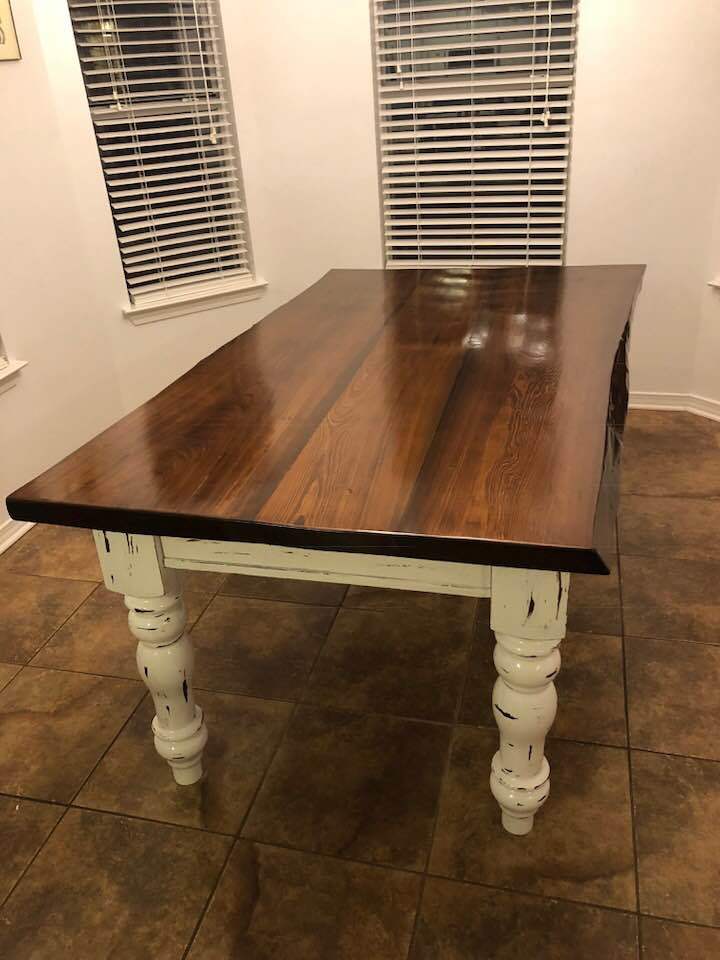
I used the basic plan as described on the website. I did differ on the tabletop and the legs. I used 3 slabs of 300+ year old cypress grown and milled locally here in Mississippi. I also kept the live edge on the outside boards. I bought my legs from 59Design. They were identical in everyway but about $15 cheaper per leg. :)
I used my router and router Ed the edges. Love this!!
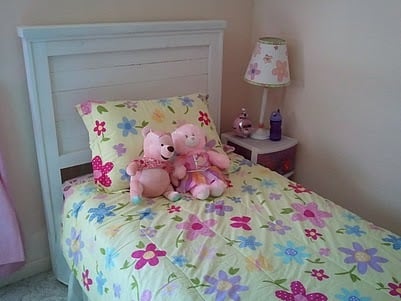
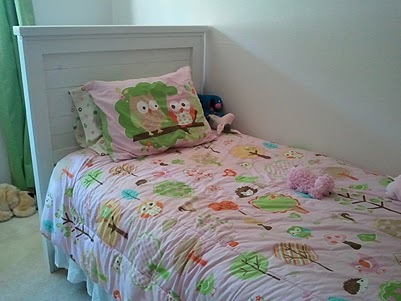
I built two of these headboards over Labor Day weekend for my girls.
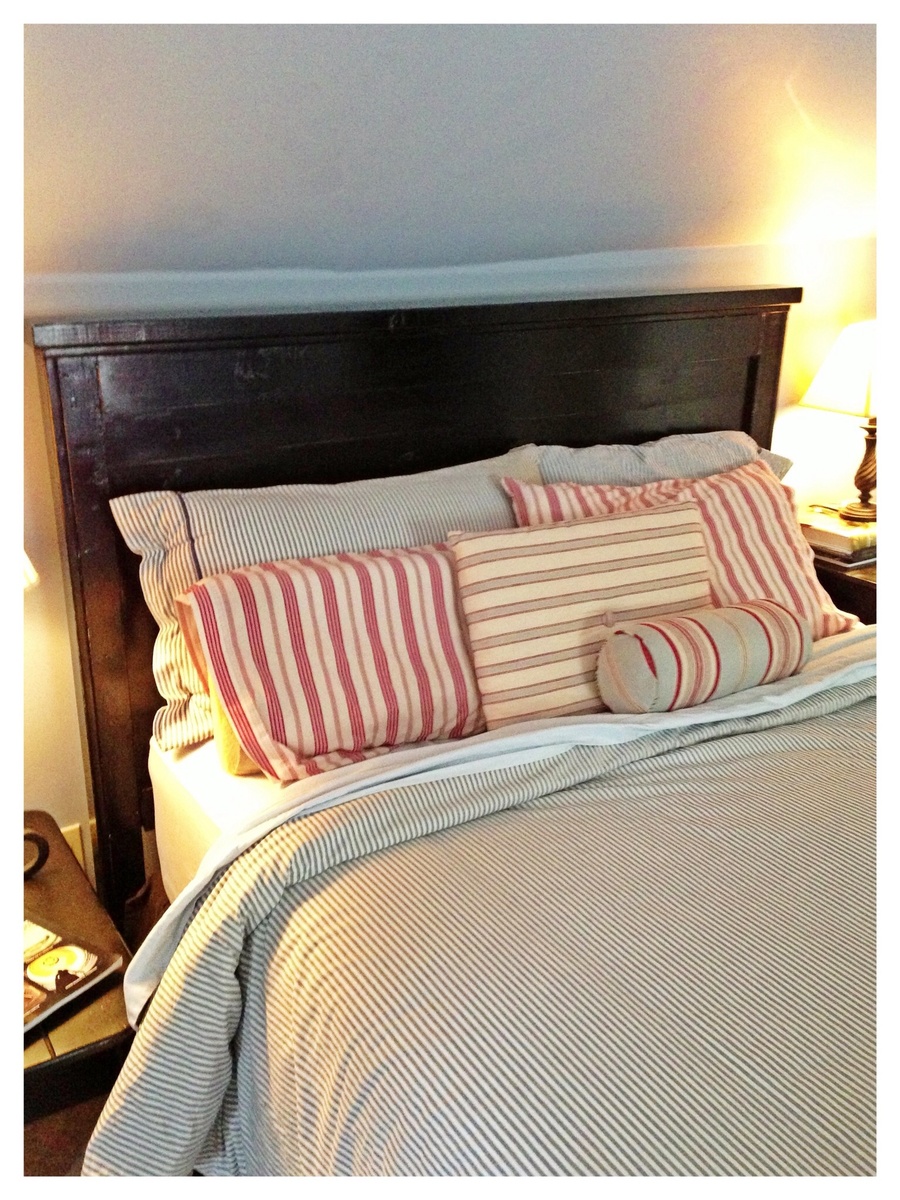
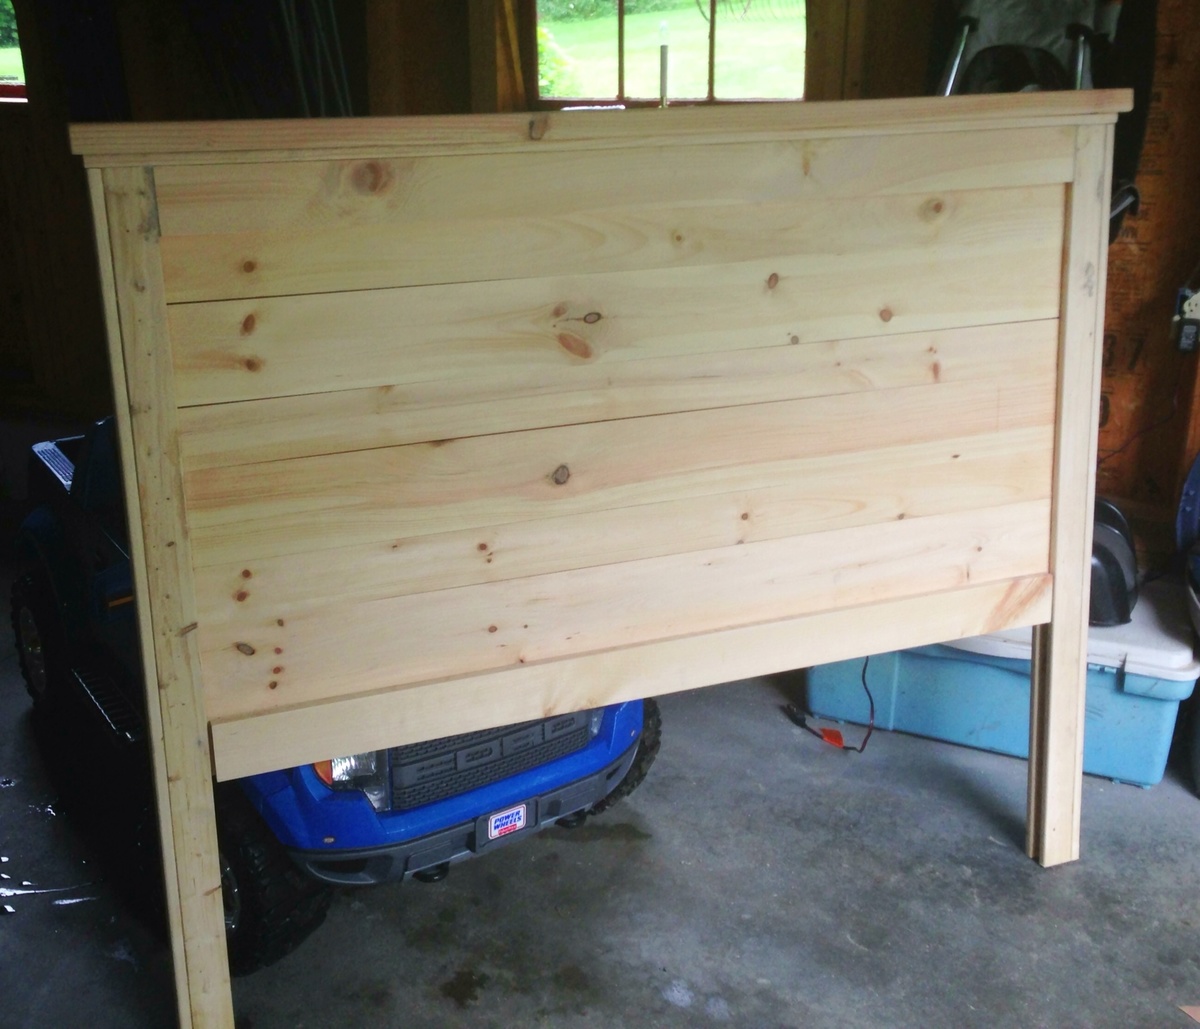
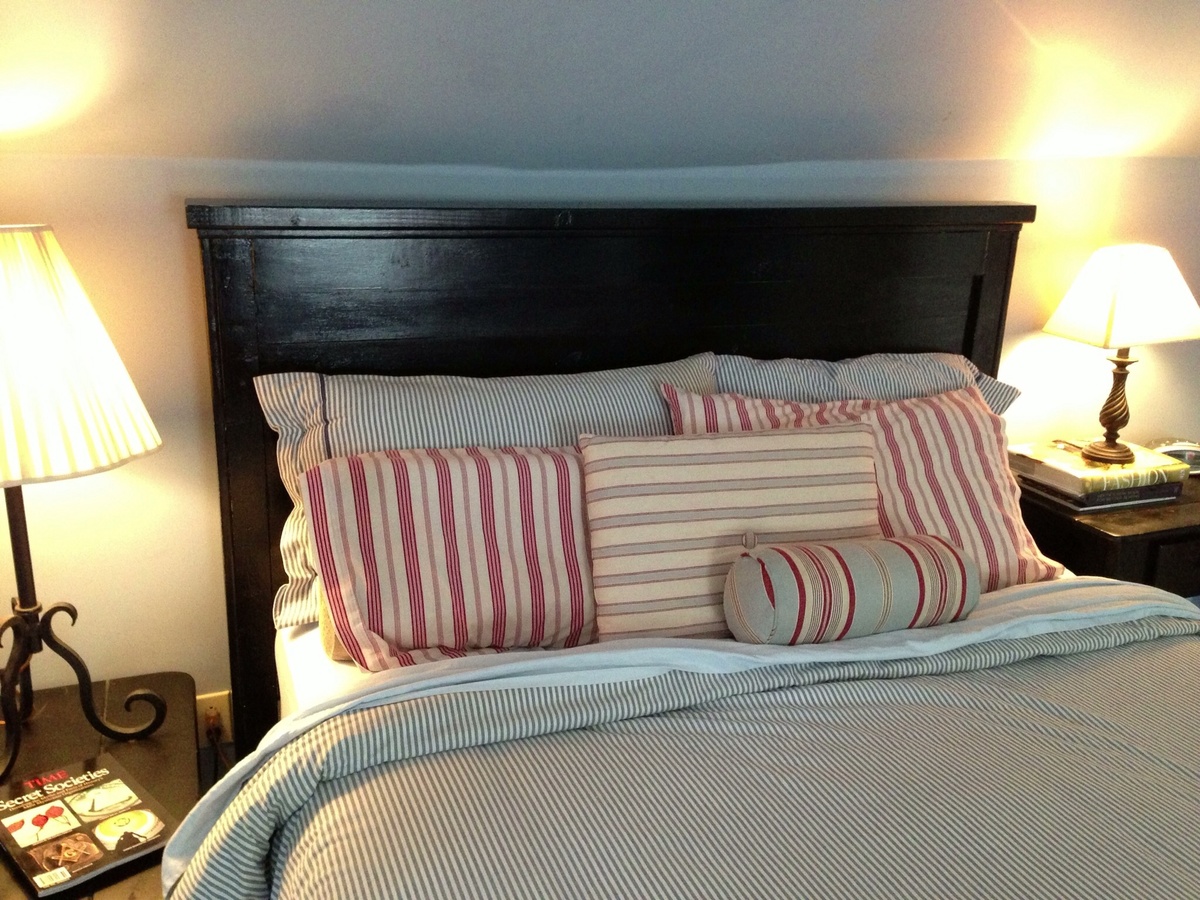
After looking through the Handbuilt Home longingly many times, I took the plunge with this simple headboard. I've never built anything from wood, but my main hobby is sewing so I'm good at following directions. I followed the plans exactly and I love how this came out! I used a nailer and glue for all the construction. I recommend this project for beginners! I chose to paint my headboard black to blend with my other furniture.
Now I'm already onto my next project, with a Kreg Jig in hand, the modern craft table from Ana's book. Thank you, Ana for sharing your plans and inspiring people to try building! I feel my skills and confidence increasing with each project!
Wed, 09/25/2013 - 11:06
I've got the wood in my garage, marked for cutting this project out! Yours looks fantastic. You will love your Kreg Jig! It's one of my all-time favorite tools.
I'm a better plumber than a carpenter.
Comments
Ana White Admin
Wed, 11/02/2022 - 11:08
Beautiful hall tree!
Thank you for sharing, love it!