Modern Outdoor Patio Table with Alt Stain
Followed the plan exactly, with the exception of the stain. I mixed a walnut and rosewood stain to give it a little more warmth/red.
Followed the plan exactly, with the exception of the stain. I mixed a walnut and rosewood stain to give it a little more warmth/red.
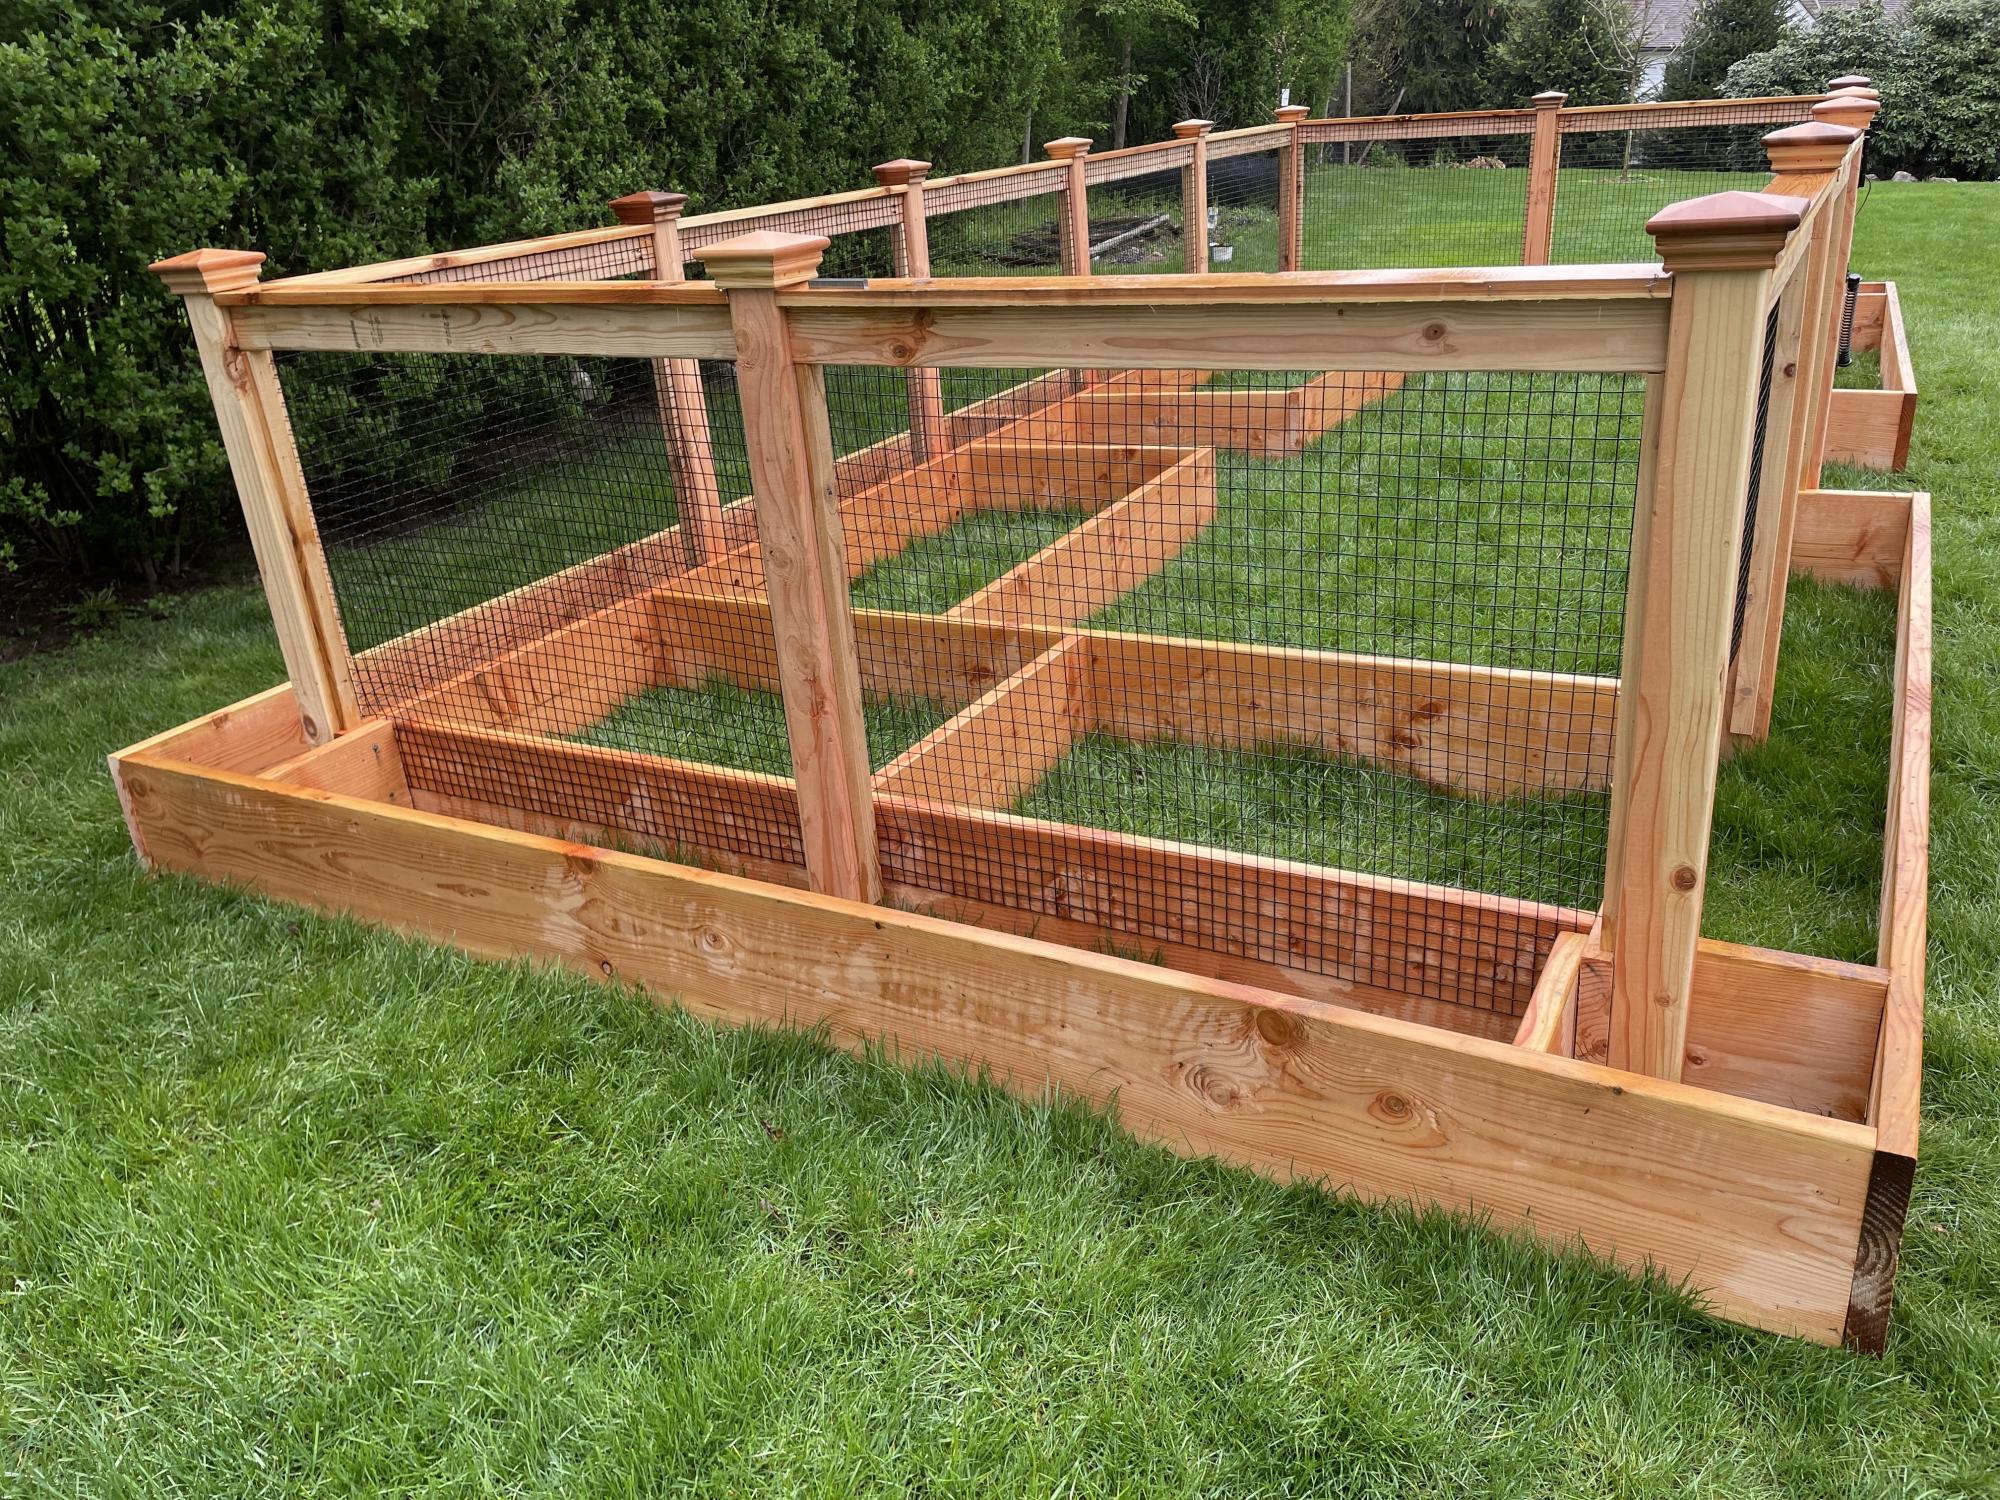
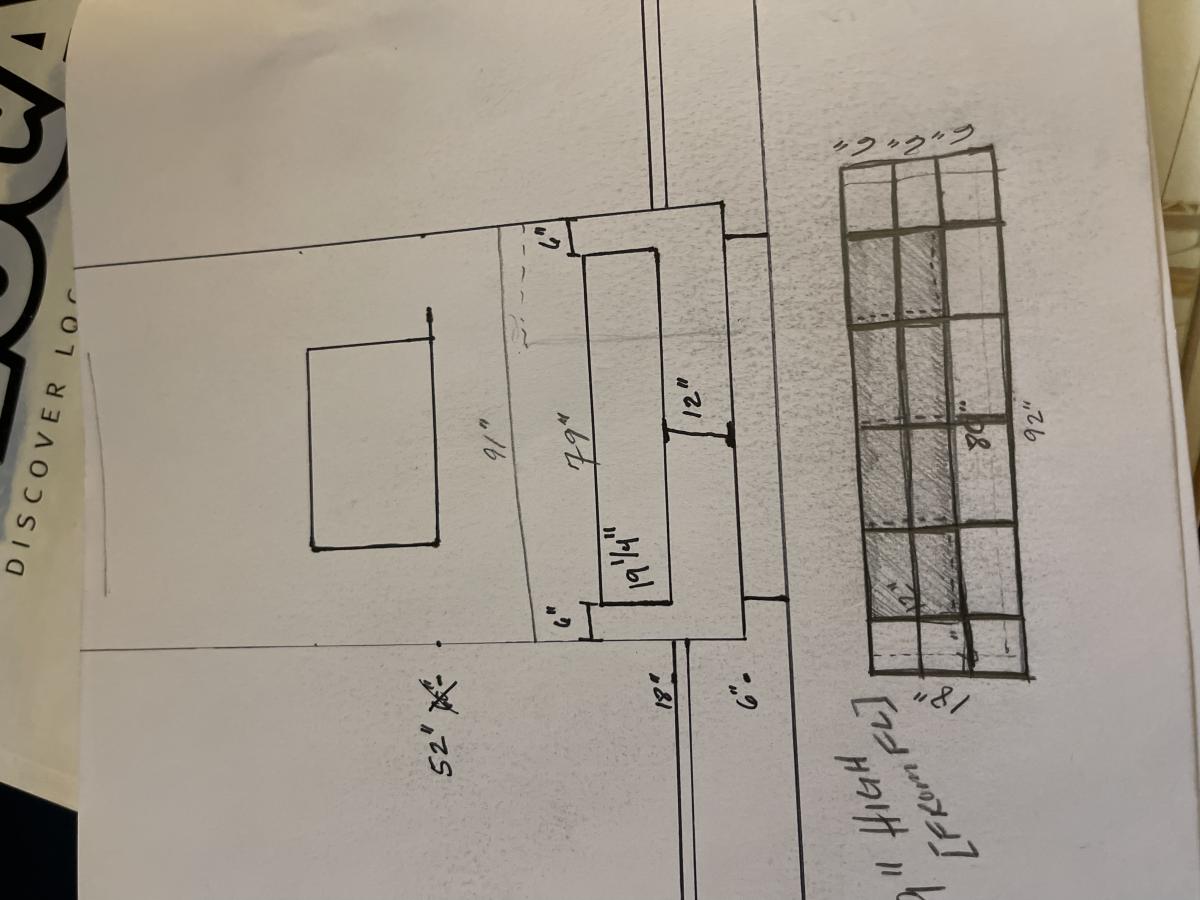
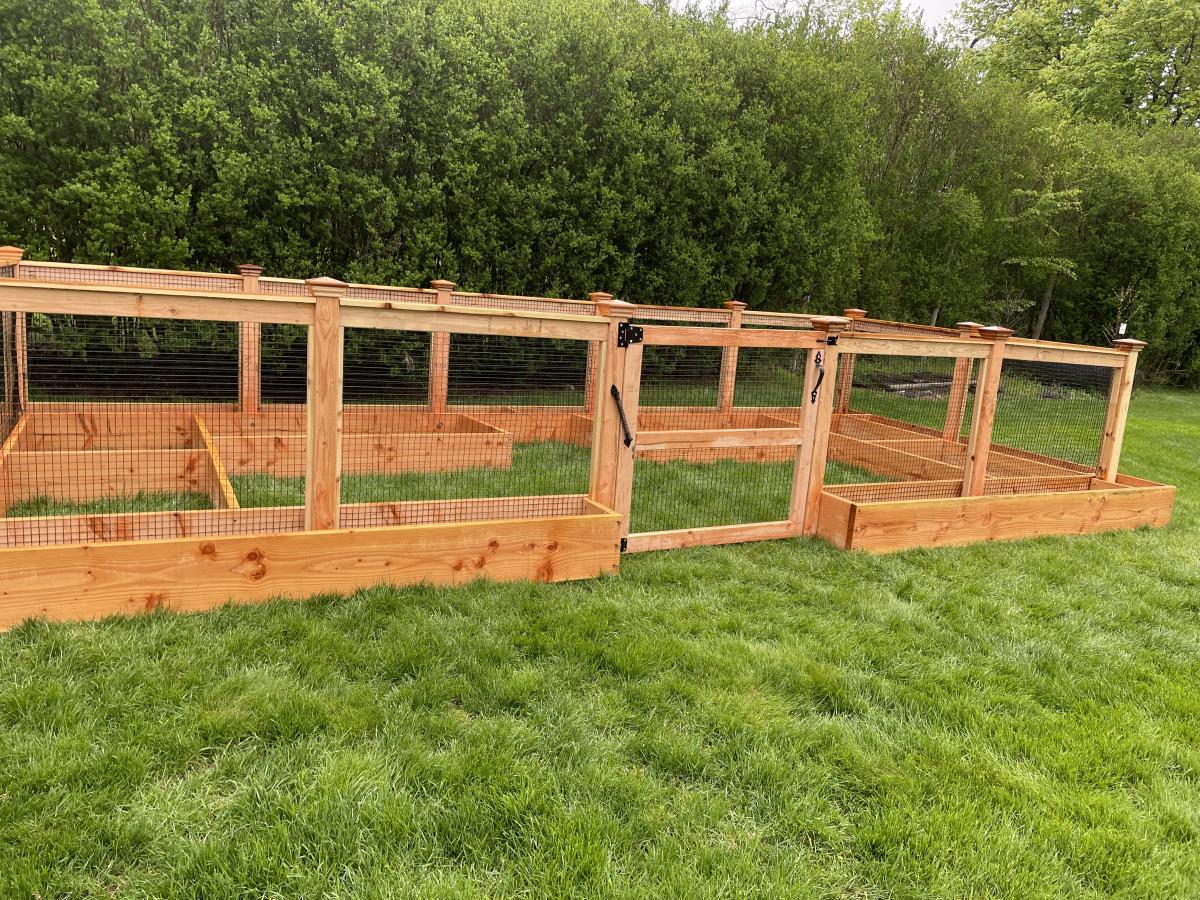
A vegetable garden with an outside ring to plant marigolds to keep deer away.

Hi Ana and Family,
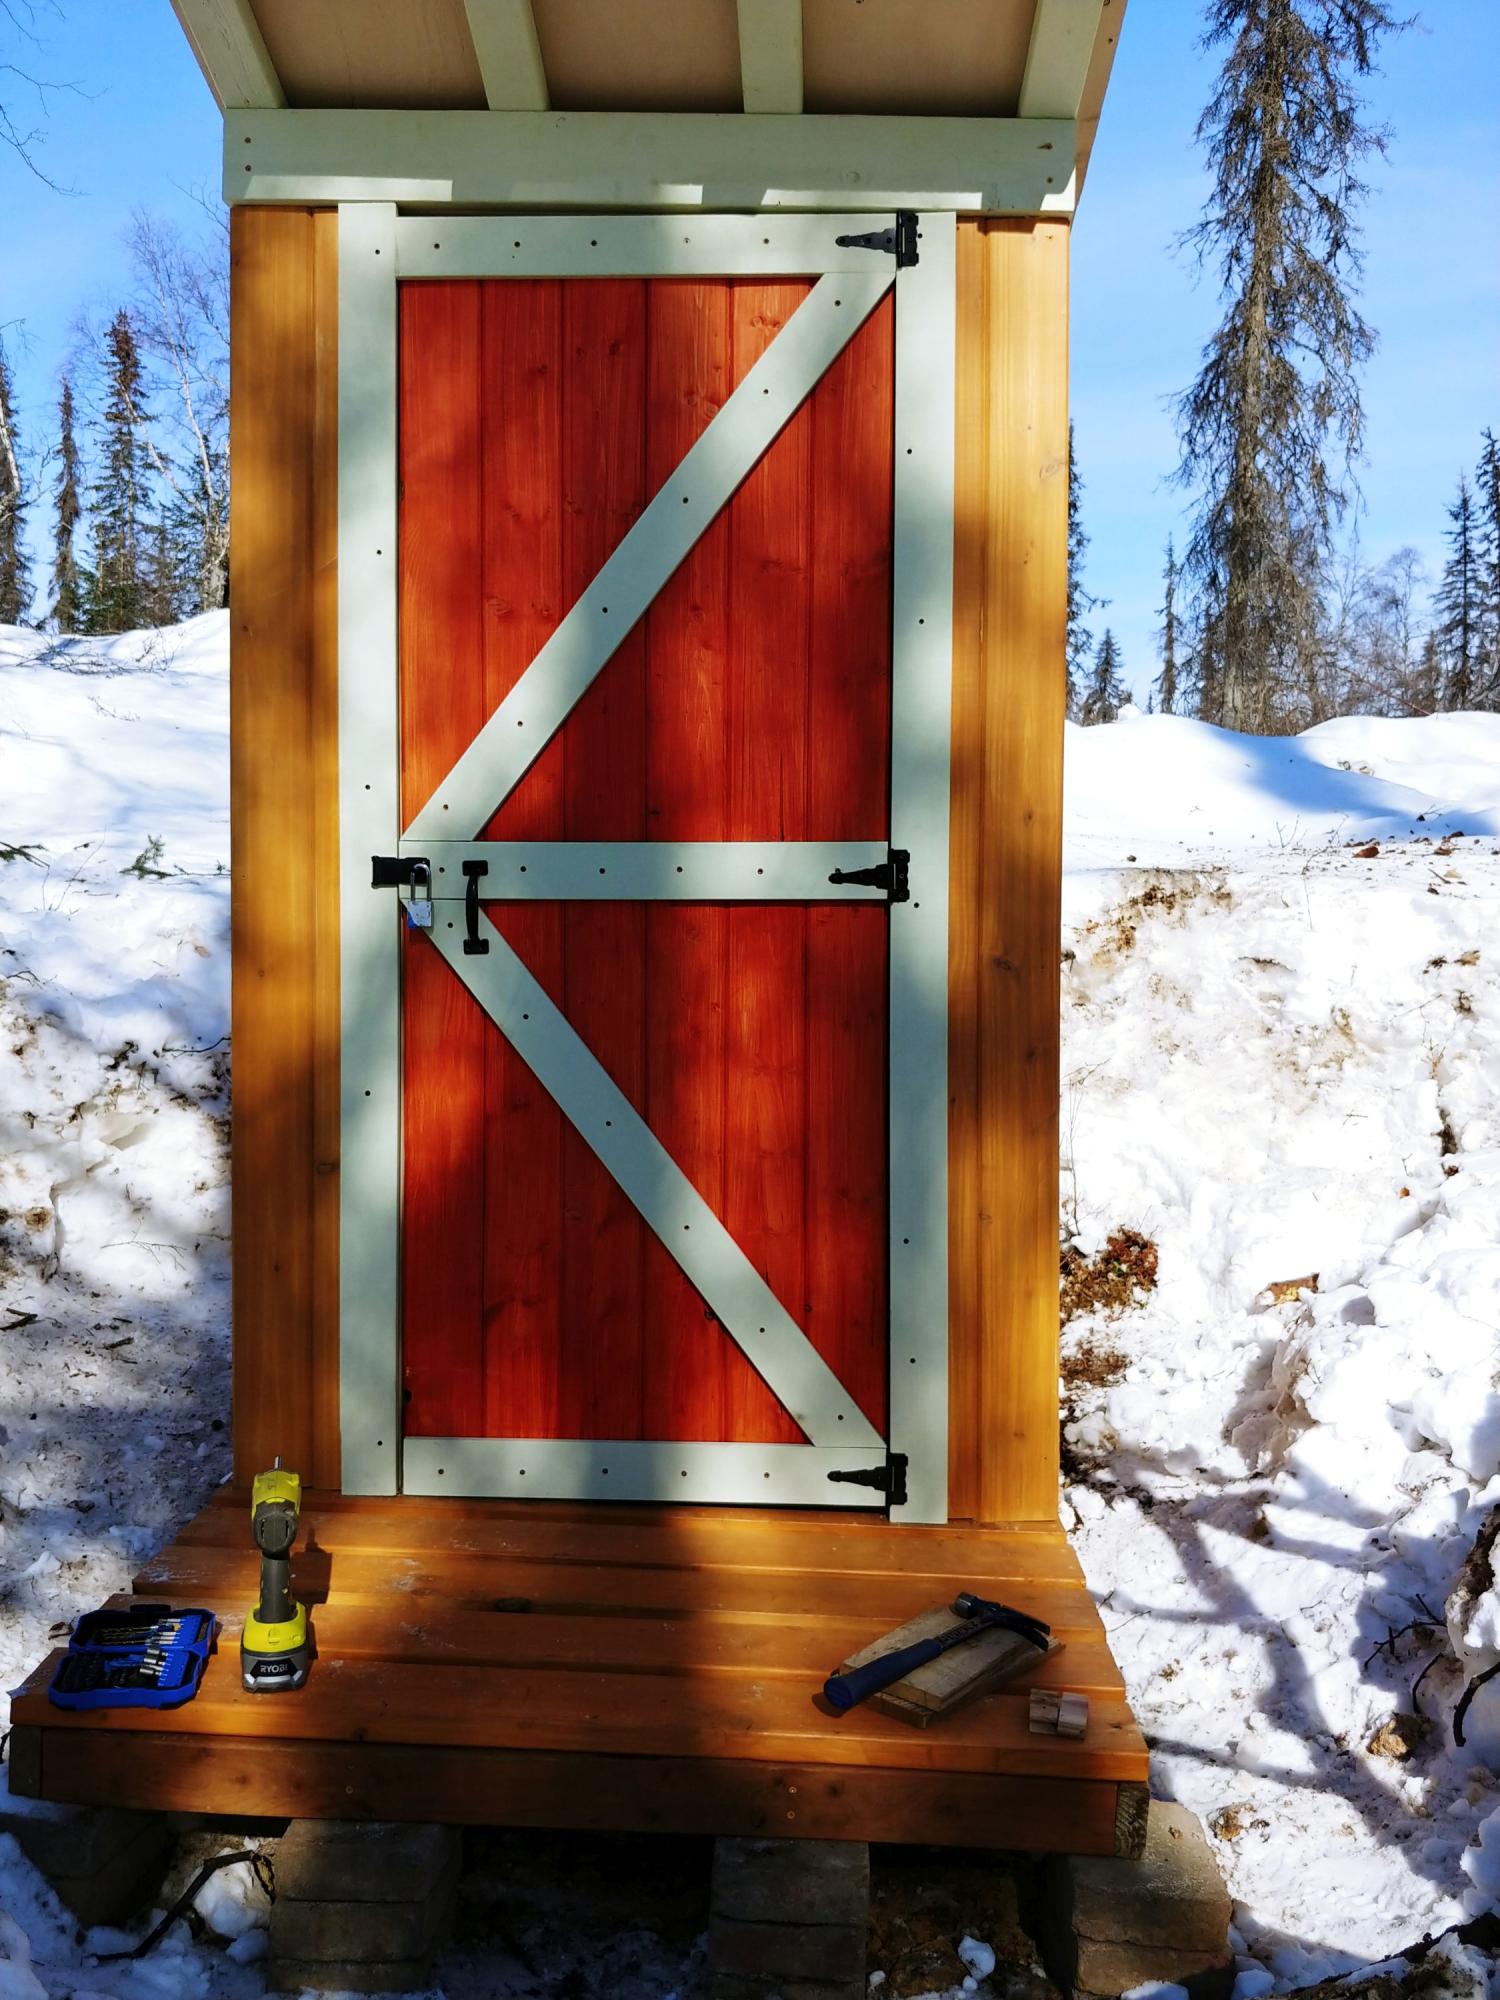
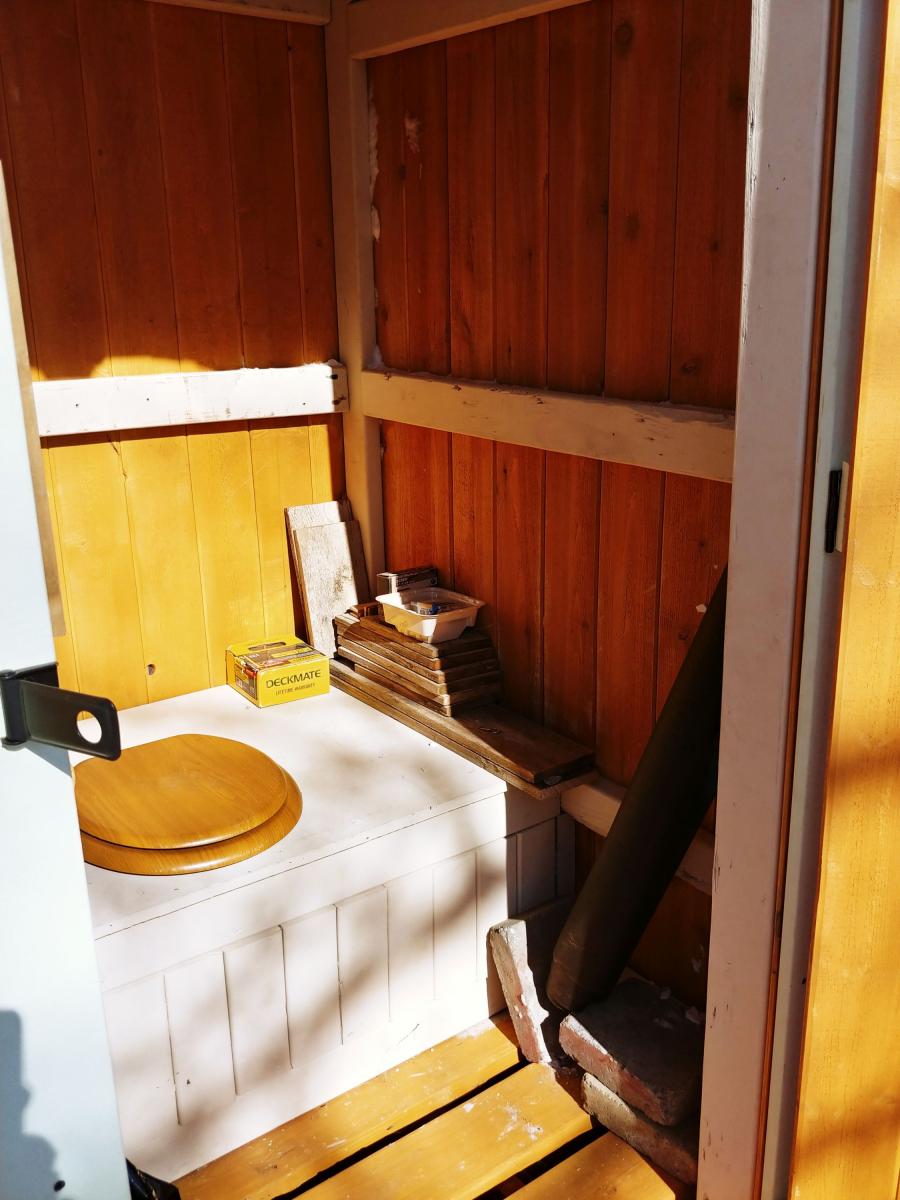
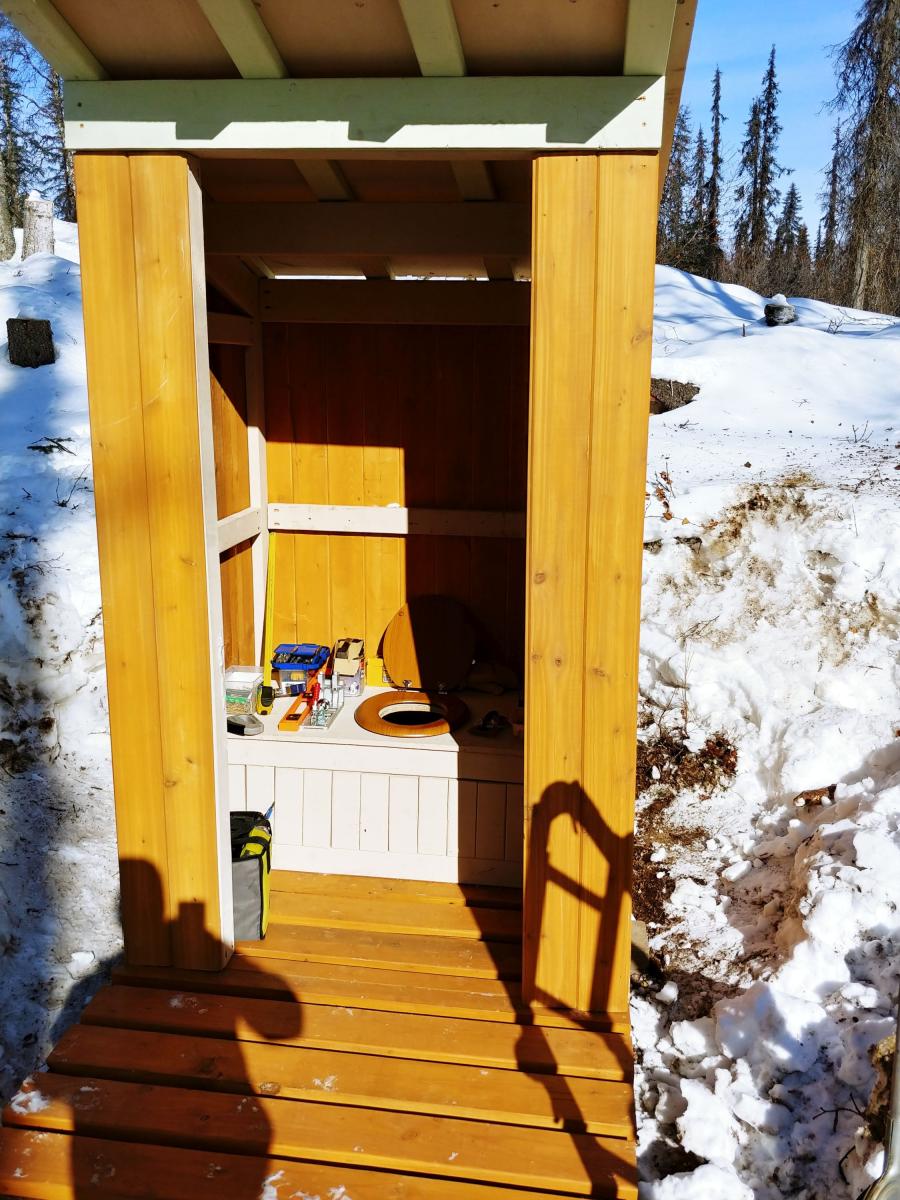
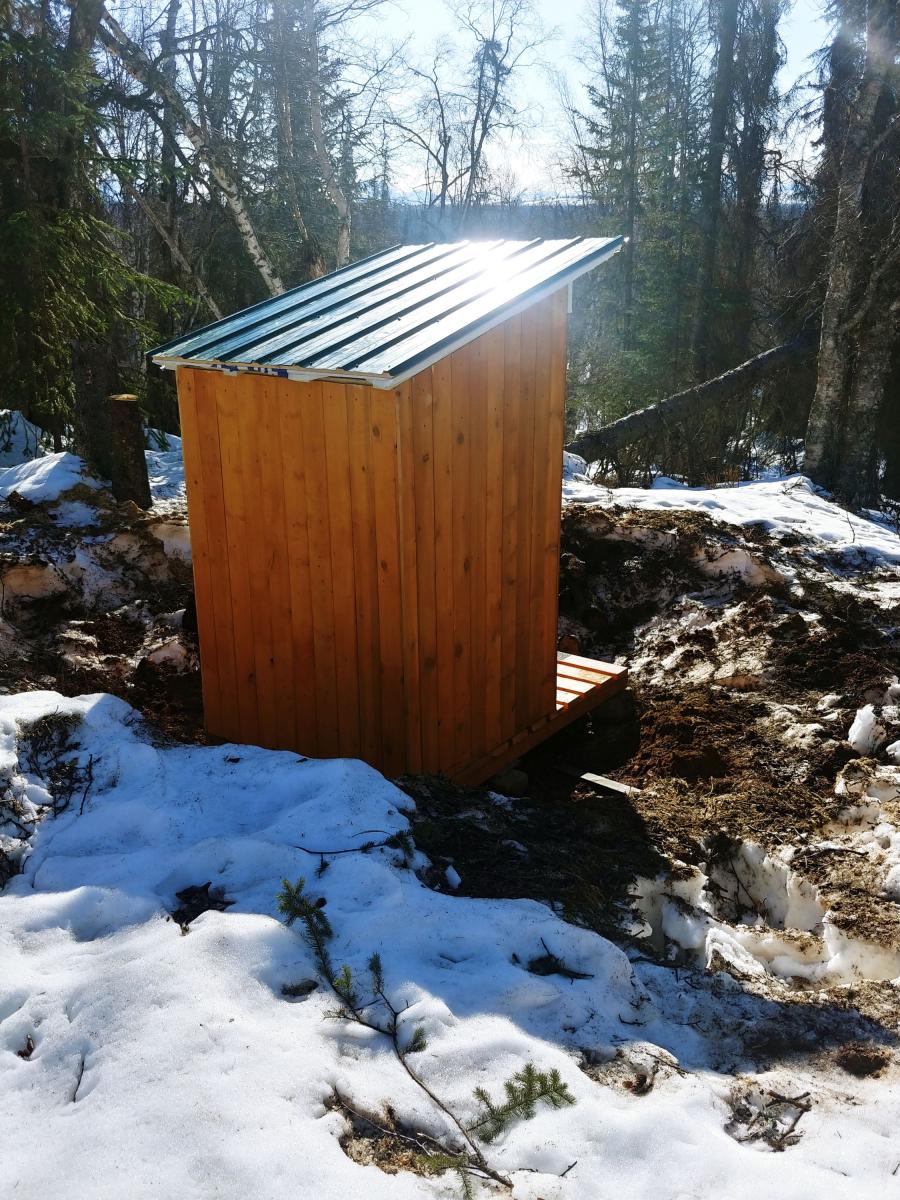
I mostly followed your plans for my remote Alaska property outhouse build, with slight modifications. Our property is 7 miles from any road (and 2.5 hr drive from Anchorage) and I typically go there in the winter via snowmobile (December-April). I built this on my back deck in Anchorage and then took it apart and transported it in sections (back wall, 2x sidewalls, floor parts, door, roof parts, seat parts). It took me 5 trips to get it all up to my property from the truck at the trailhead via snowmobile!
The hardest part was digging the hole under 5 ft of snow! I cut several dead spruce trees in the area I planned to situate the outhouse and started a big fire (really big). We kept that going until we had melted out about a 15ft wide area down to bare soil. The next morning, while the ground was still warm from the previous evening's fire, we dug the hole (only about 3.5x3.5ft). Then I cribbed in the hole with old cedar fence slats to help prevent the inevitable ground cave-in that we often see with soil melt and rains in Alaska. Then, I pieced the outhouse together, with the frame sitting on small pavers.
I used a combo of T&G pine and cedar for the walls. I used metal for the roof. As I built this in January and February over several weekends (in Alaska), it was very cold and I would take the pieces inside and paint/stain them. As such, this basically took me all winter from start to finish. It doesn't take that long if you build it on site in warm weather. Once transported to the cabin site, it took parts of 3 weekends to get it in place and useable, including site prep. I've still got a little touch-up work to do (e.g., window for light in winter and bird block to keep the spring and summer nesters out). I put some anti-slip tape on the frame so that I don't slip on the frame base.
There is some waste wood if you follow the plans directly (especially 2x6), but I am using that to build a small firewood cover at home. This was not an inexpensive outhouse even without pandemic prices (I could have chosen a less expensive siding), but I wanted a nice outhouse and I'm very pleased with the outcome, so it was money well spent. Great plans! Thanks.
Tue, 06/07/2022 - 15:29
Snow always makes everything more challenging! Thank you for sharing, this looks great:)
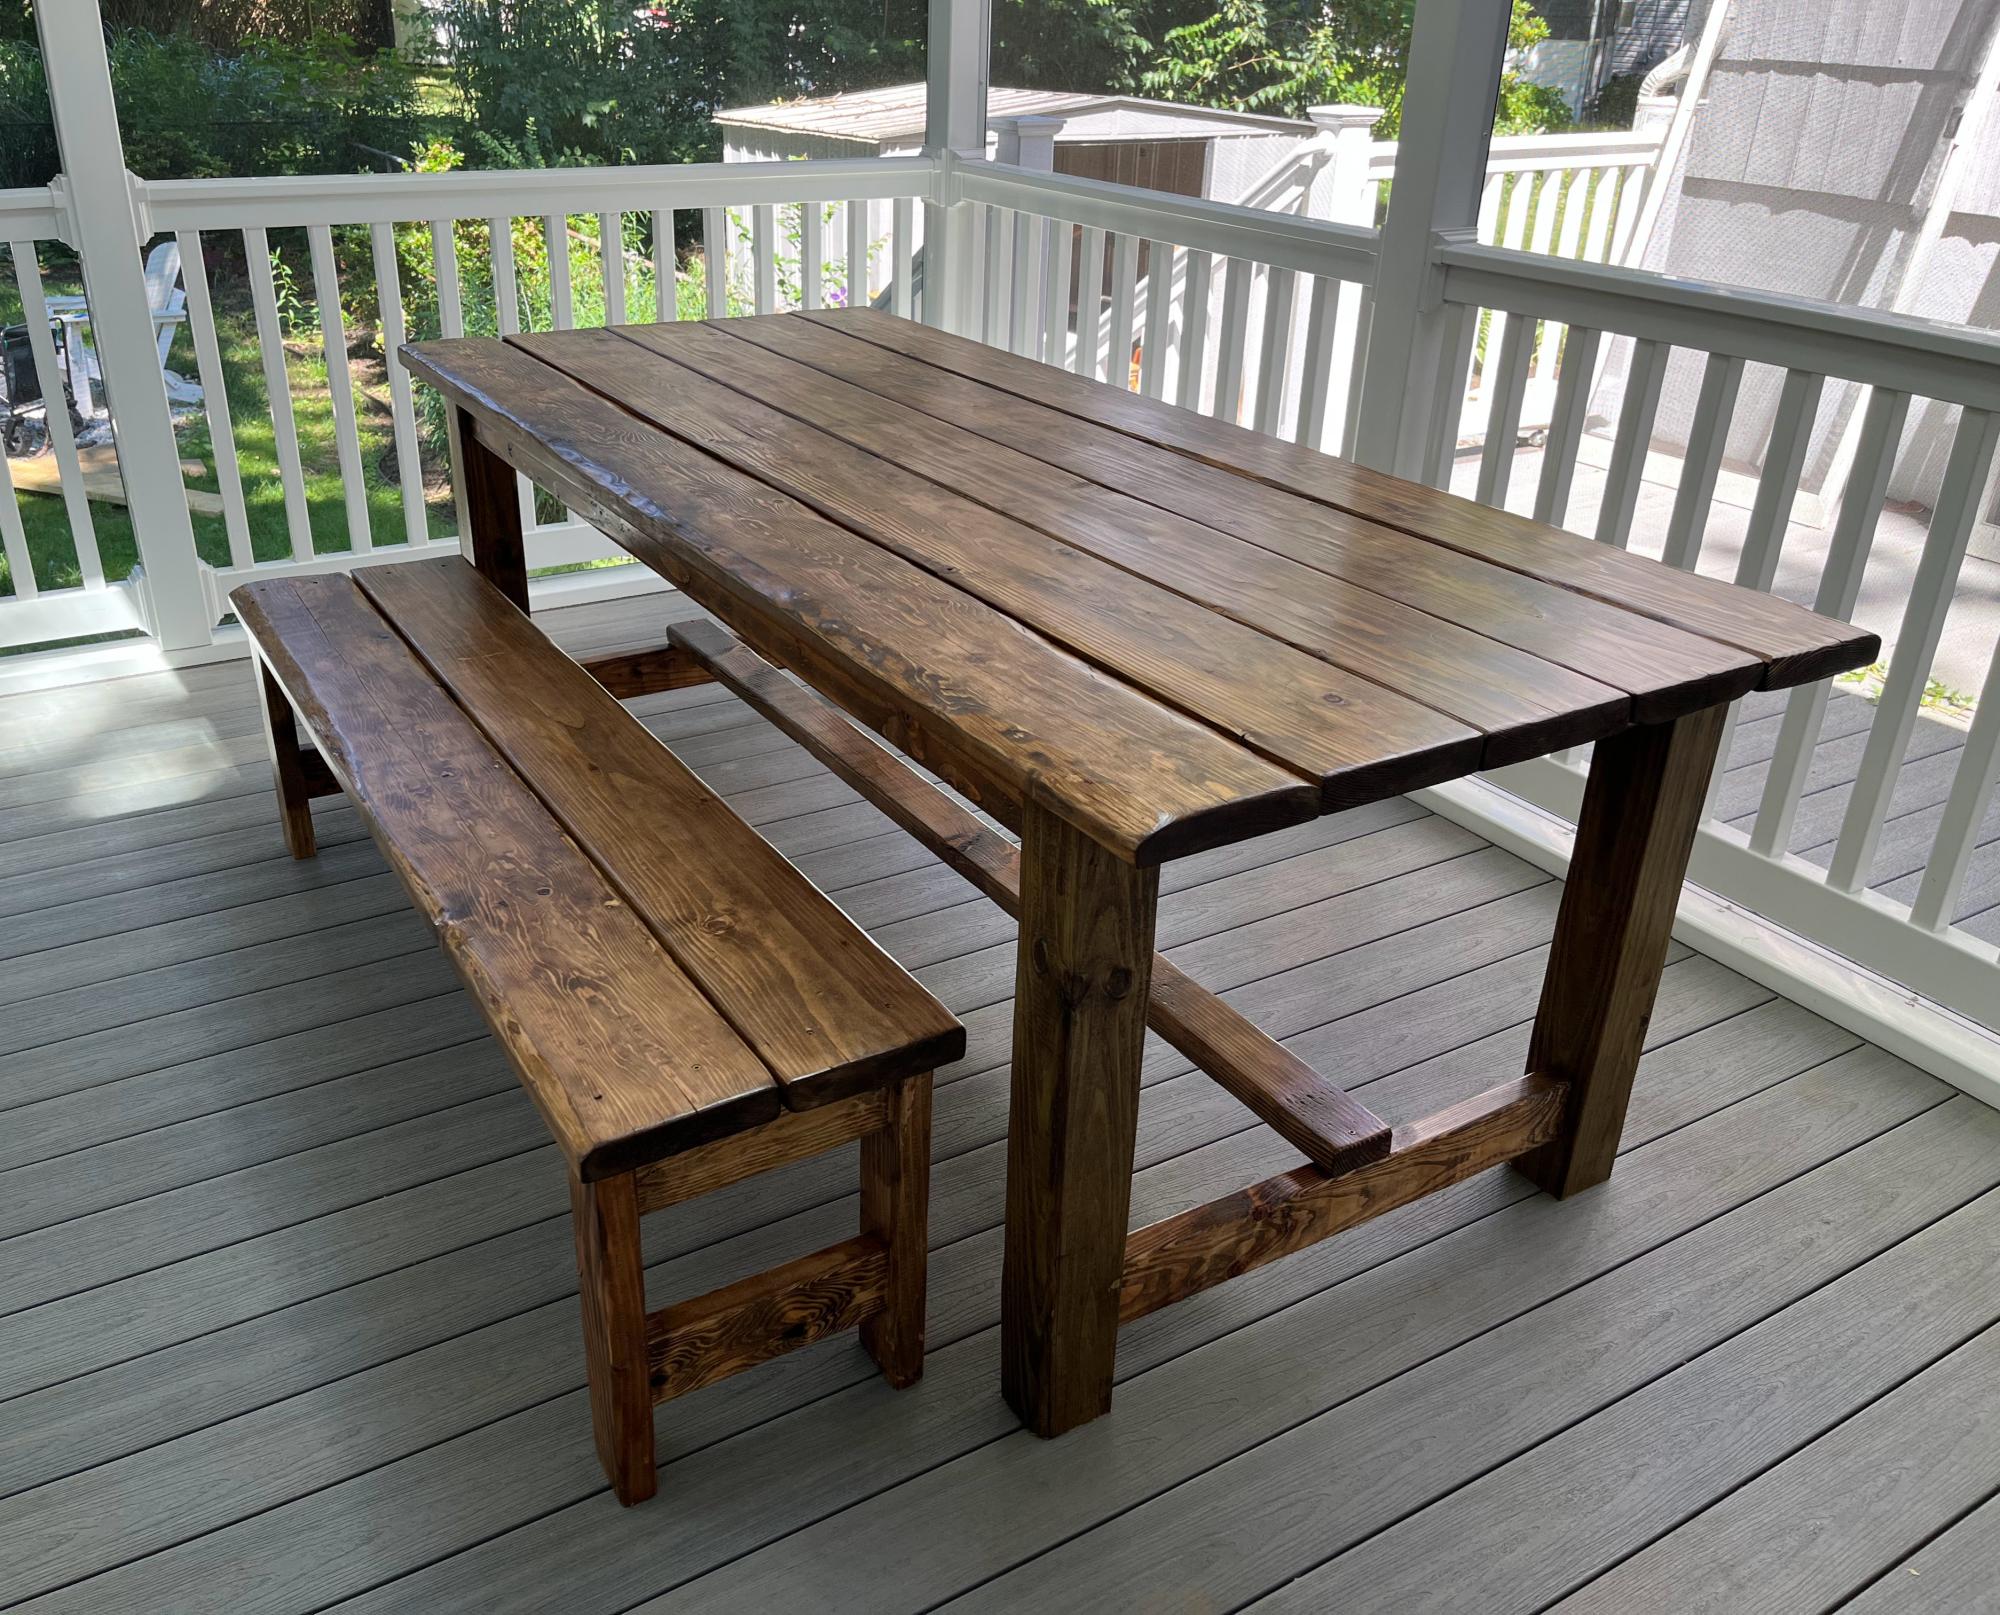
Altered the Beginner Farm Table plans to use 2x8s for the top and 4x4s for the legs. I used pocket holes for the table. I followed the bench plans almost exactly, adjusting slightly for the 2x8 tops. I am a beginner and I did it myself! The table and bench are beautiful and sturdy! Thanks Ana!
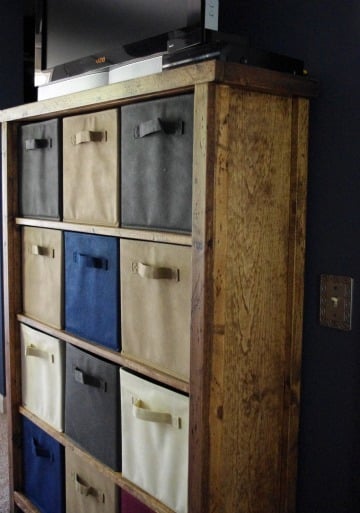
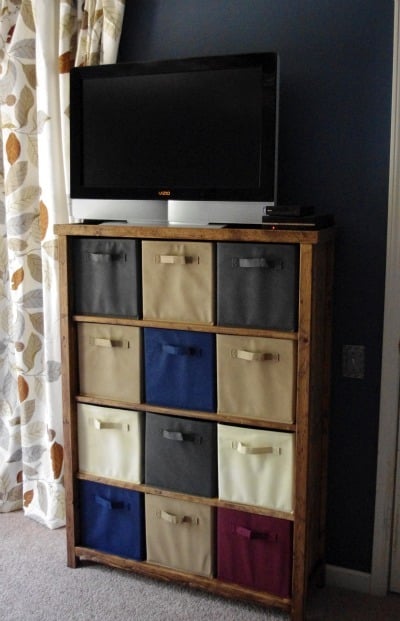
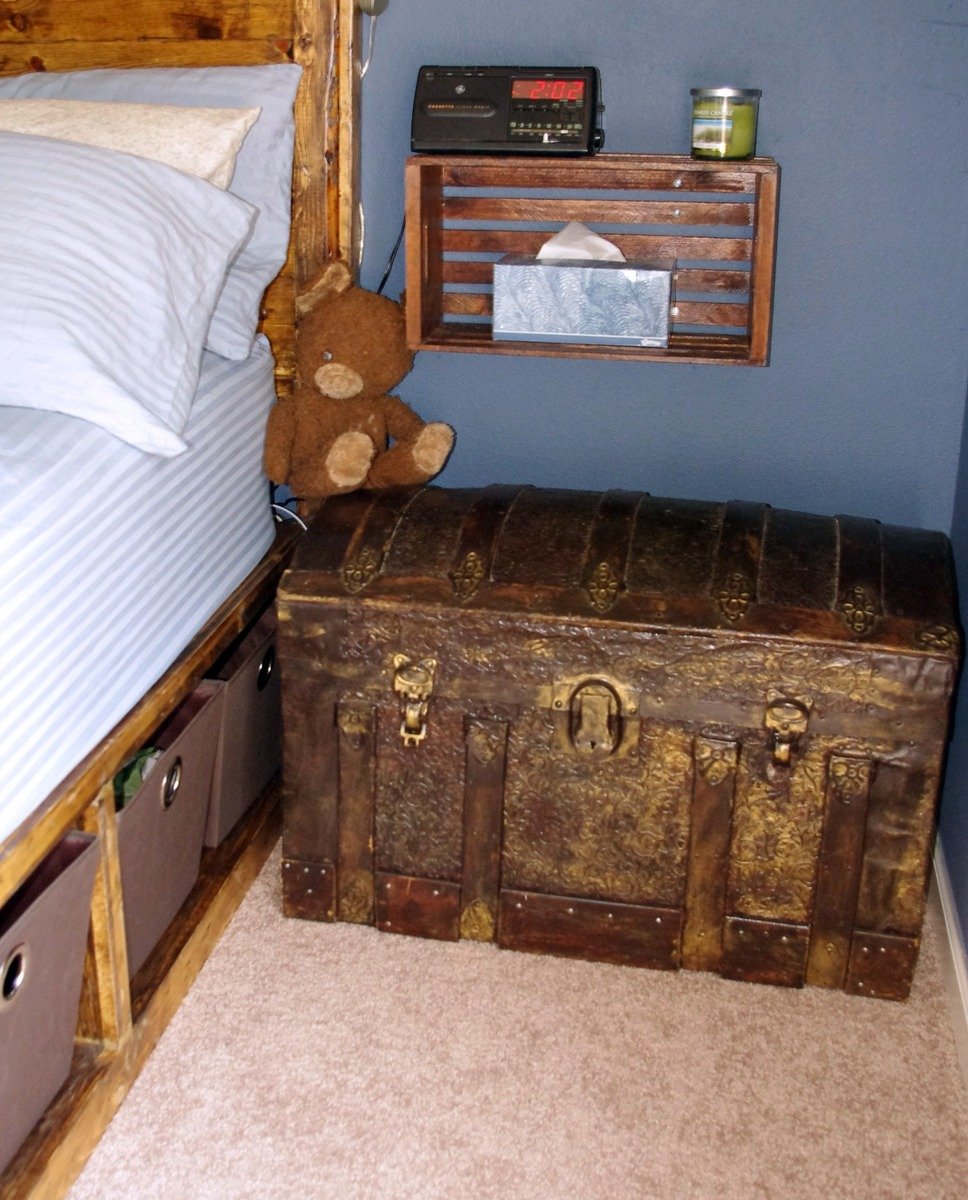
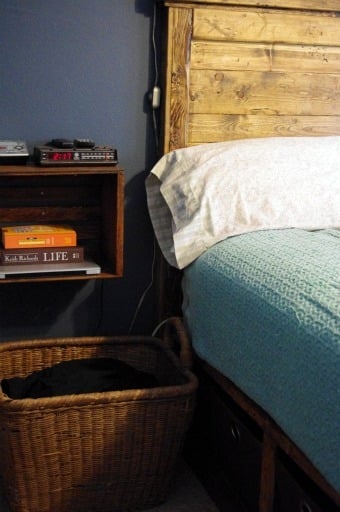
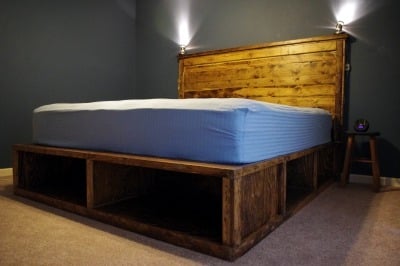
This is inspired by pieces I've seen here, though I sketched it out on paper myself to make sure it would suit the limited space in our room. I built the simple piece to match our bed (made from Ana and her reader's plans, see my photos below).
Originally, I planned to include cabinet doors, but with the limited space we have, this is better for us.
For nightstands, I stained plain wooden crates I had in the basement. Still working on how to hide the cords.
The baskets under my bed are from Bed Bath Beyond. The baskets in the "dresser" are from Target.
Sorry about the poor photo quality.
Wed, 07/27/2011 - 14:23
I see that they all go together, and they look great! I'm especially loving that dresser, it is beautiful.
Sat, 12/10/2011 - 07:41
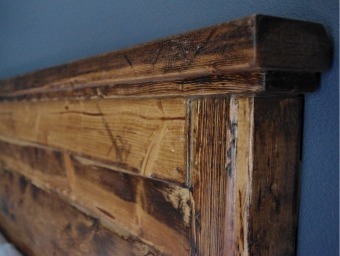
Sorry I haven't logged in in so long--the bed follows plans for the king Stratton, combined with the reclaimed wood headboard. The headboard is attached to the wall. We can slide the foot bench part out to hide presents behind, which is really handy (though heavy) to do.
I used the Rustic Bench plans, but adjusted the length to make it smaller, since my plywood top was a bit wider and shorter than the top on the plan. It was the last remnant from our incredibly versatile plywood sheet. I also had to cut out the two cross supports, because 1) they’re too difficult for me to figure out (they’re not right in either of my benches) and 2) I didn’t feel like buying a board just for those. I had just the right amount of spare lumber lying around, and I was going to maximize it!
At first, I wanted to just build a bench for my sister for Christmas, and paint it like our island. But after visiting my parents over Thanksgiving and taking home some reclaimed tile from their old outdoor bar, I knew this bench had a better destiny than mere paint. When I laid down the tile scraps and they fit perfectly, I knew serendipity had spoken.
This was the first time I’d ever worked with tile. I did a little research (aka grilling my husband’s best friend, who is a tile guru), and discovered I didn’t really need any fancy materials to lay the tile down on. As it’s just a bench, and in no need for mold-prevention or cement board like bathroom walls, all I needed to do was rough up the plywood top with my grinder and a steel-wool like disk. With the bench already sanded and painted, I started the tiling process. I bought a bucket of tile adhesive and grout all-in-one, and went to town. I didn’t have a trowel, so I made do with my putty spatula. I just had to make the grooves in the adhesive one-by-one as opposed to one quick stroke. I spread the adhesive, laid the tiles, carefully washed off any overspread on the sides, and let it sit for 24 hours. Then I spread in the grout (it’s all the same stuff, just different application), washed the overspread off again, and let it sit for another 24 hours. Then I had a gorgeous top!
First woodworking project!
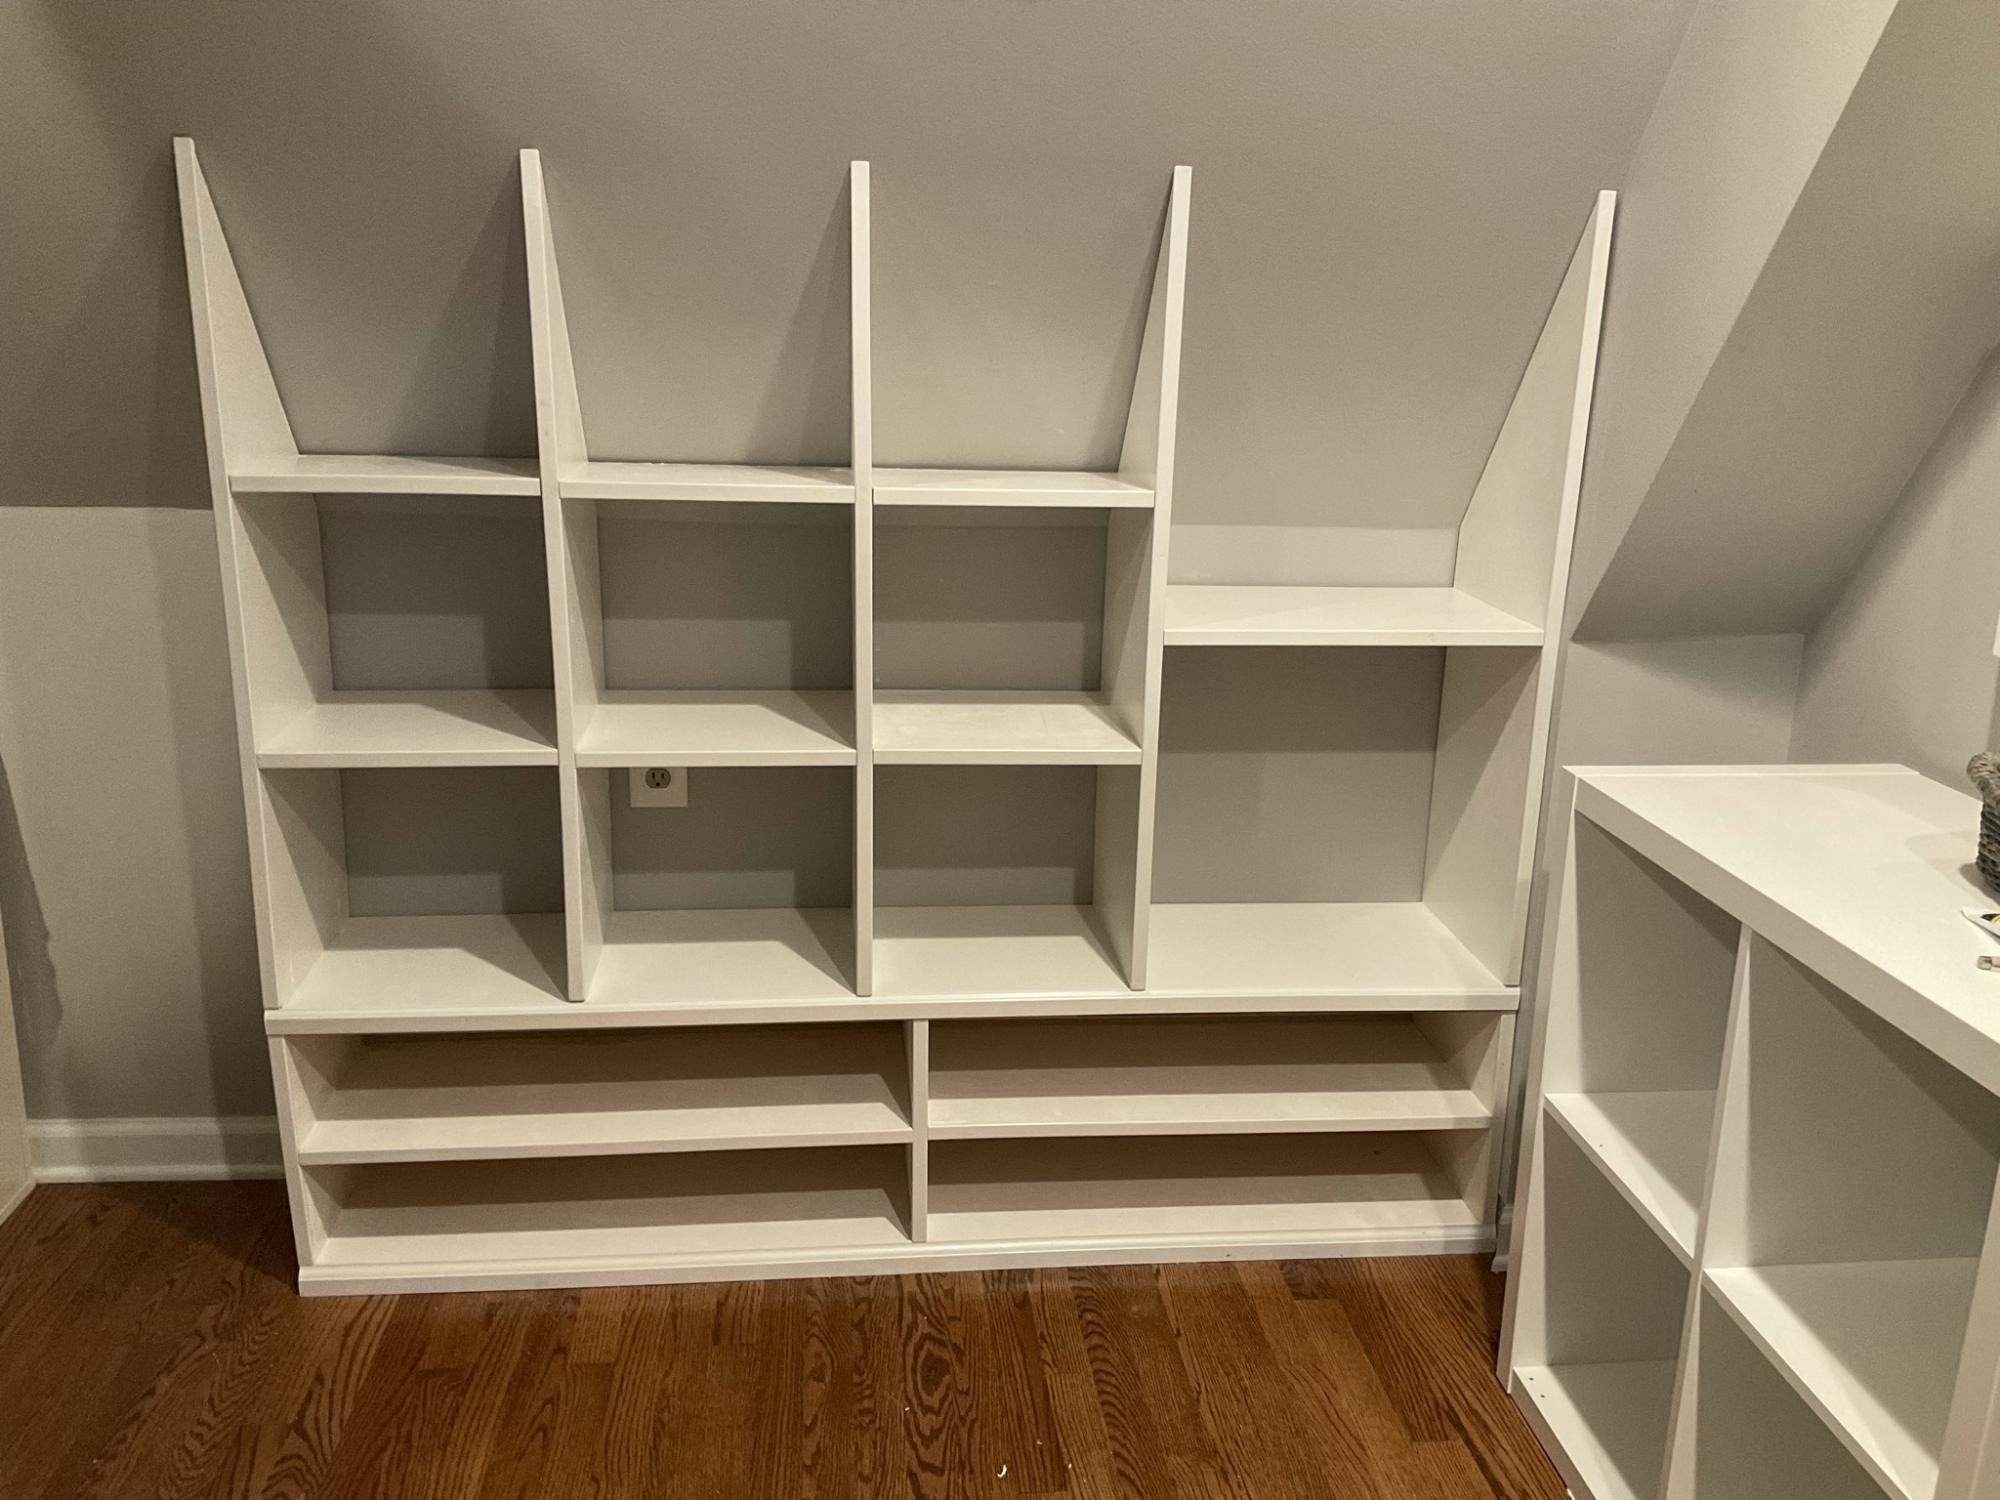
I used Ana’s Shelf Help Configurator to build these shelves for a deeply sloped ceiling. None of those well known Closet Organizer Companies could come up with a decent plan for this closet and they charge a small fortune.

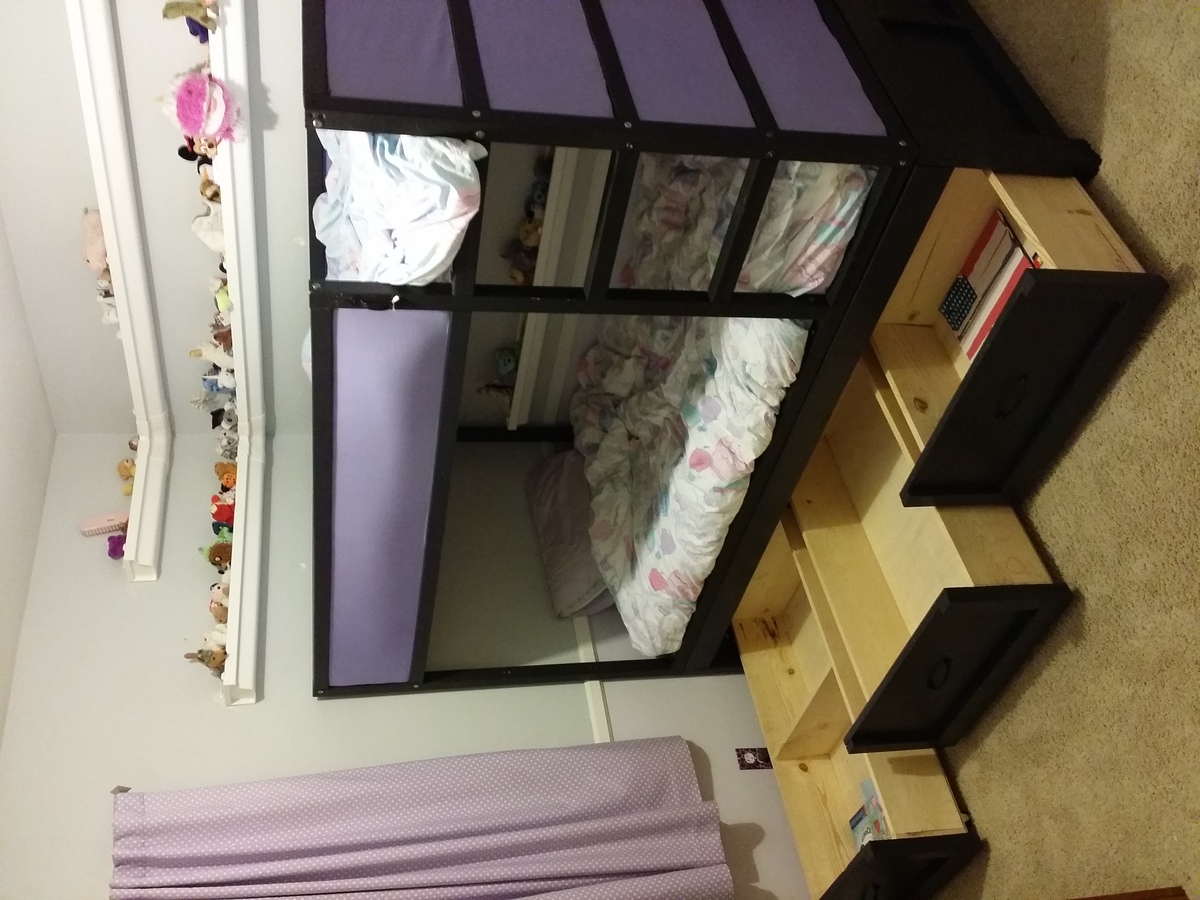
We wanted to add some storage to our Ikea Kura bunk bed. We needed to adjust the size of the day bed by a couple of inches but worked awesome. Looks like one finished bunk bed.
Wed, 02/03/2016 - 12:43
Hi i just purchased the lumber to make this following the plan from thw original day bed. Would you happen to still have the changes that you made to put it under the ikea kura bunkbed?
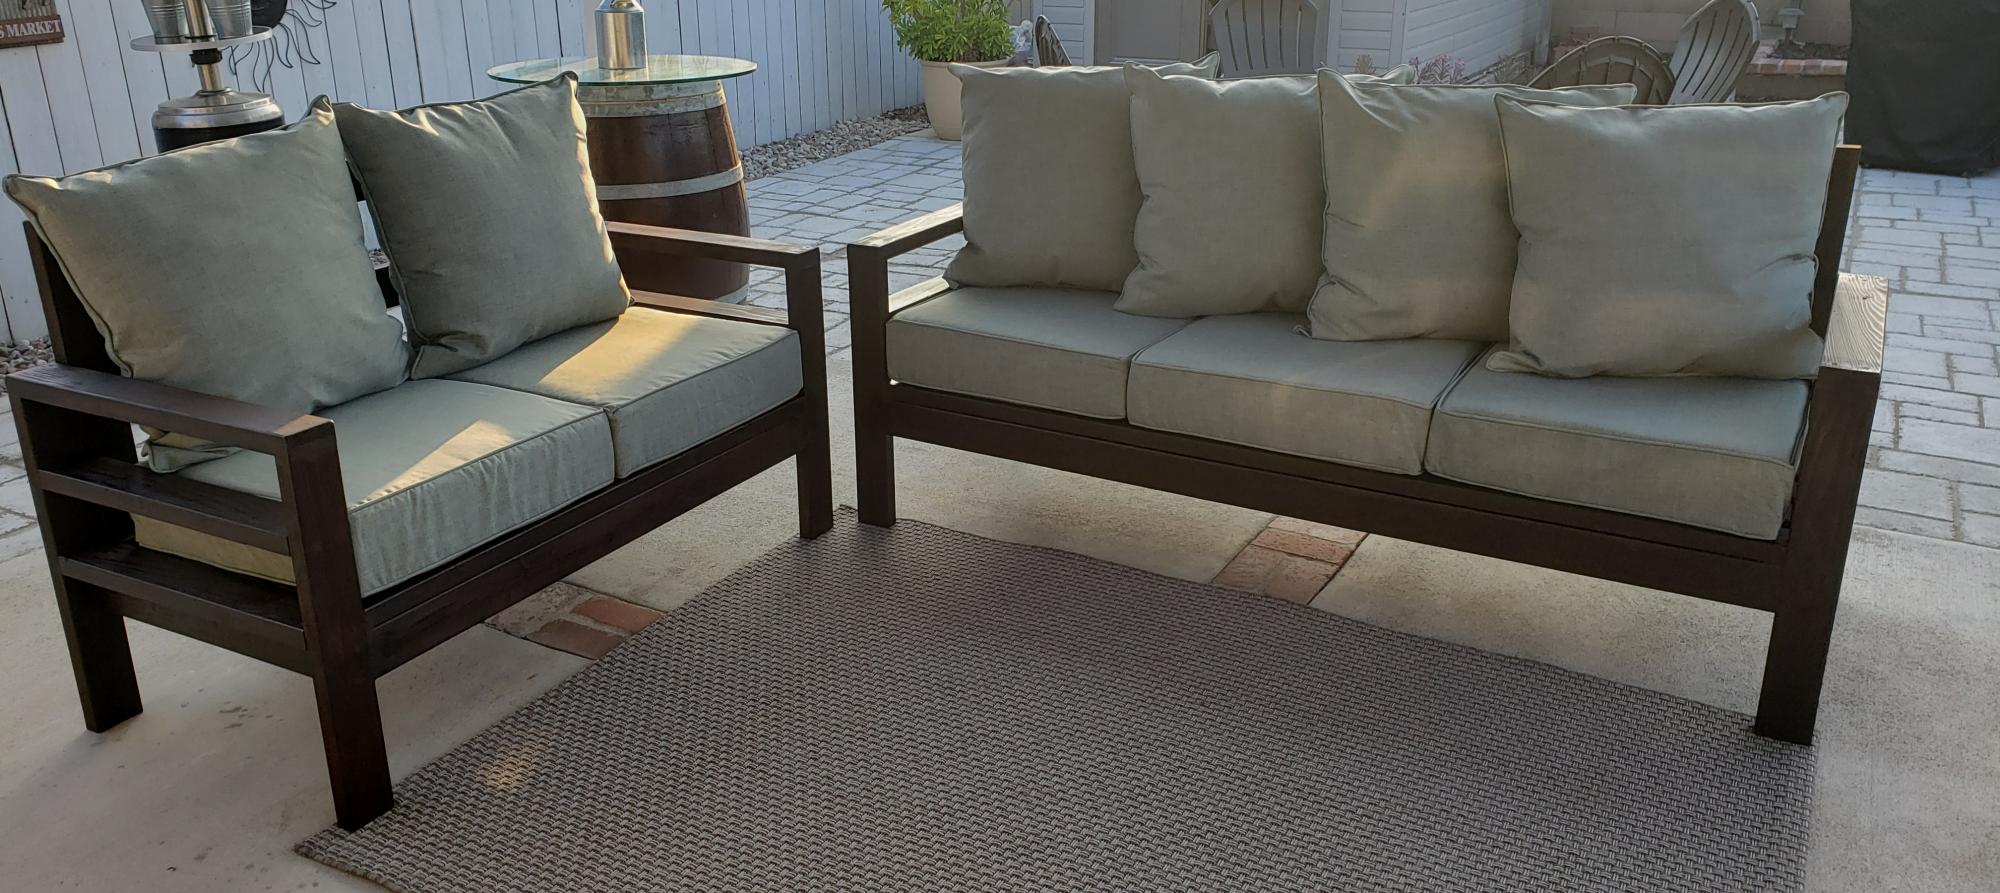
Used Redwood and Kona colored stain. This is my first wood project and Ana really inspired me in being able to complete this. Thank You Ana all the way from California! The Love Seat was easy to modify from the original 3 seat plan.
Wed, 06/05/2019 - 08:48
Hi this looks great! I was wondering where you purchased your cushions?
Thu, 06/06/2019 - 11:40
hard to believe, we found them on the Big Lots website...$40 a set back and cushion. We looked everywhere for an affordable option. These look great and are really comfortable..!thanks for the compliment : )
Jerry
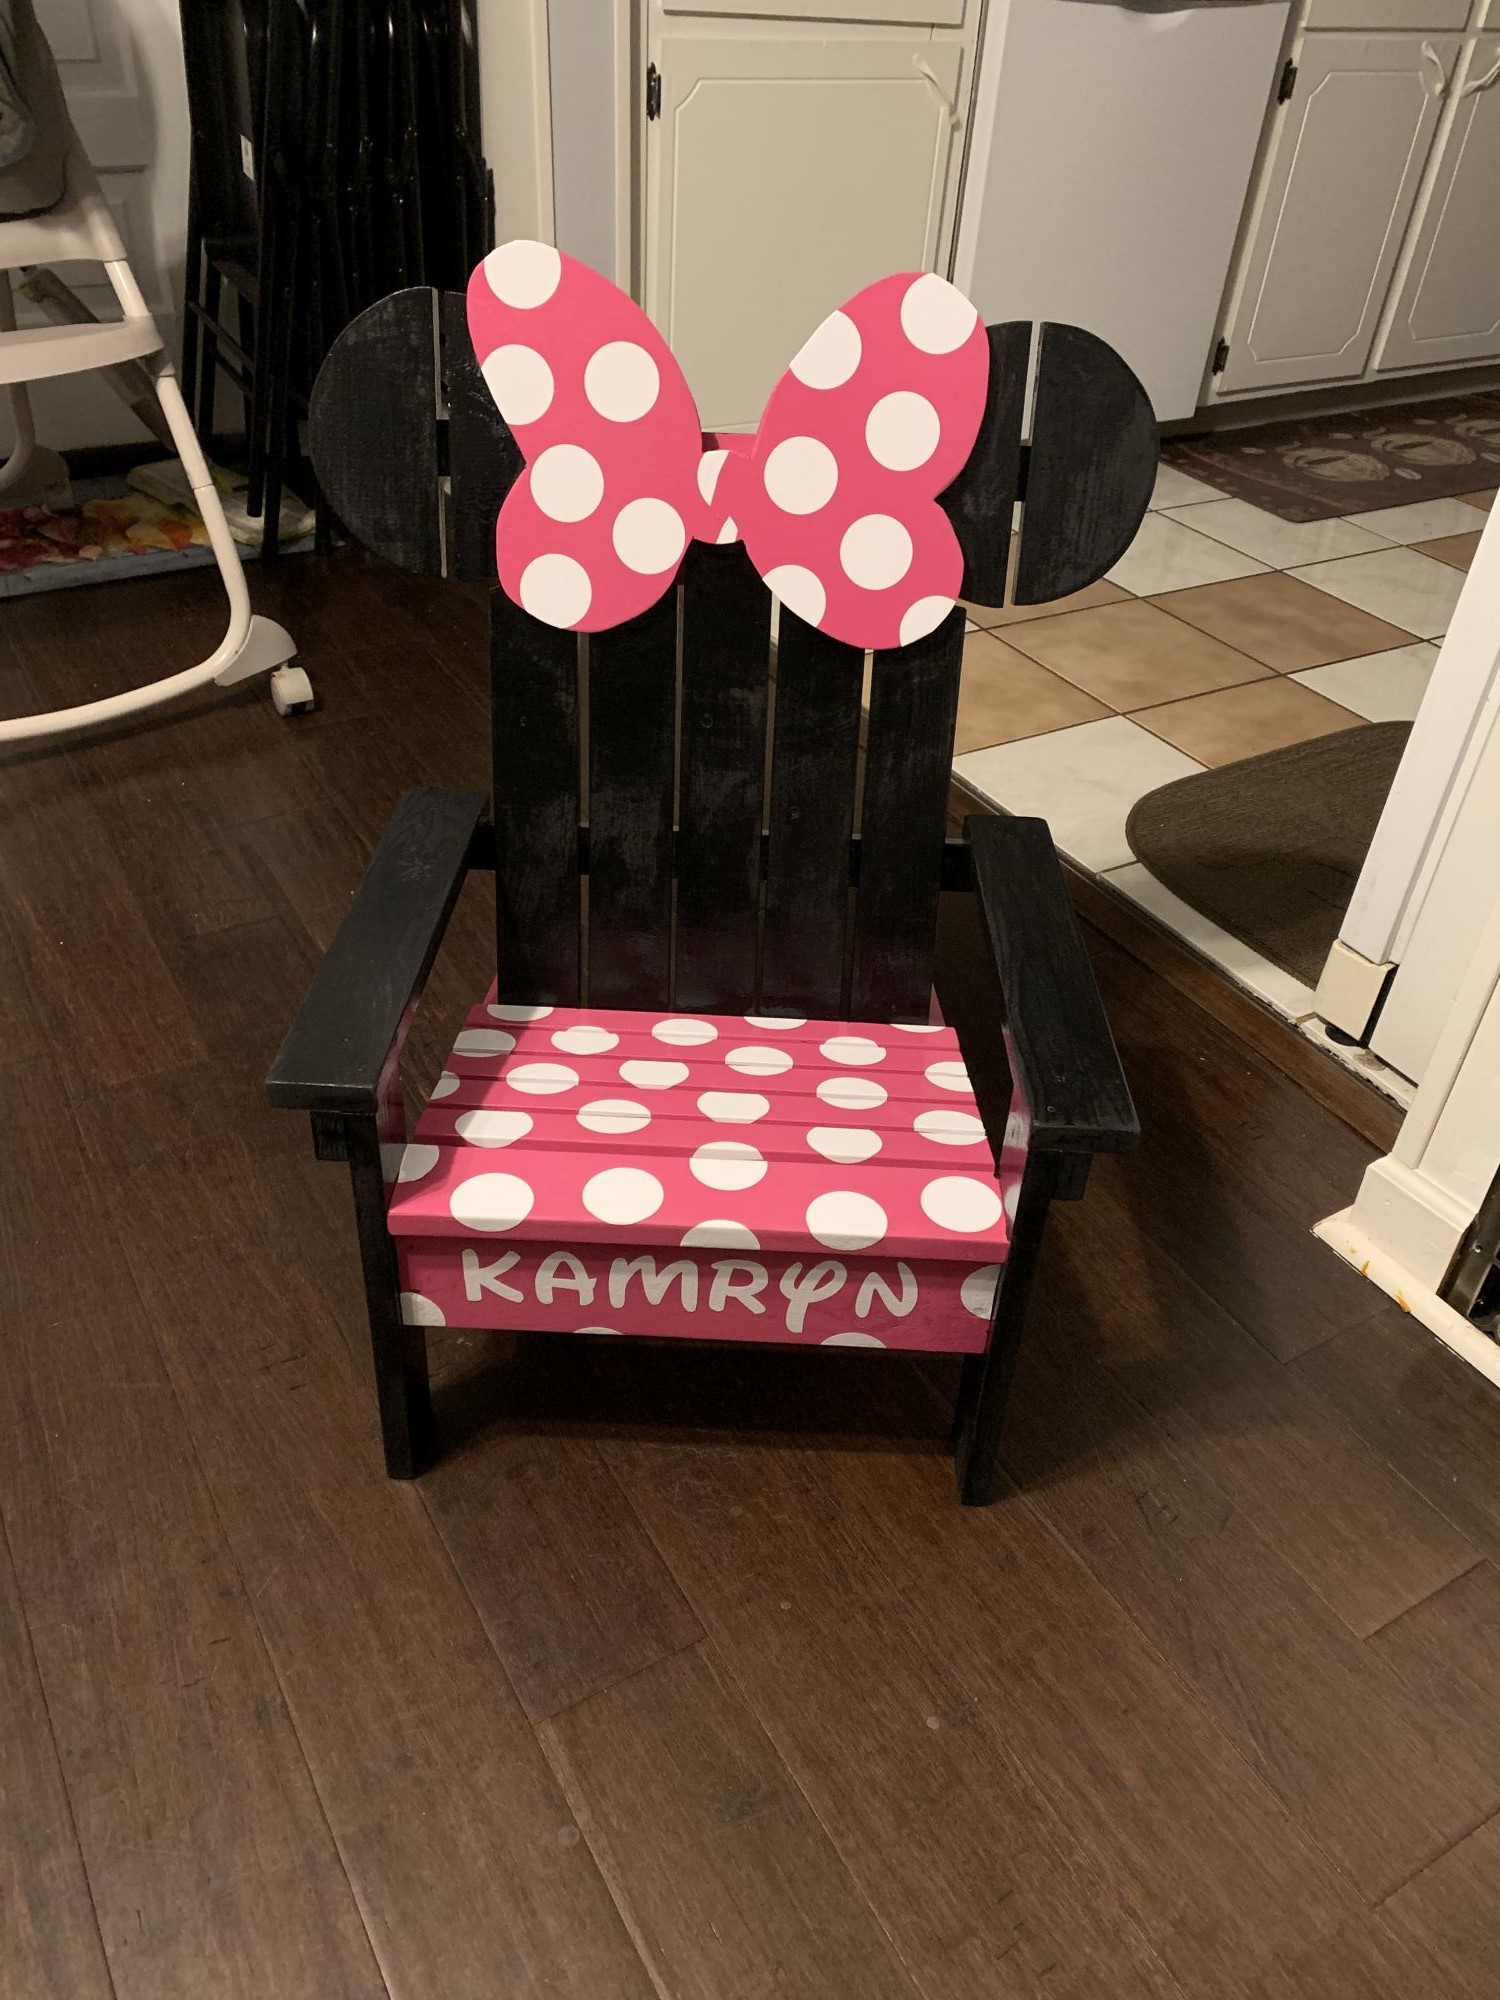
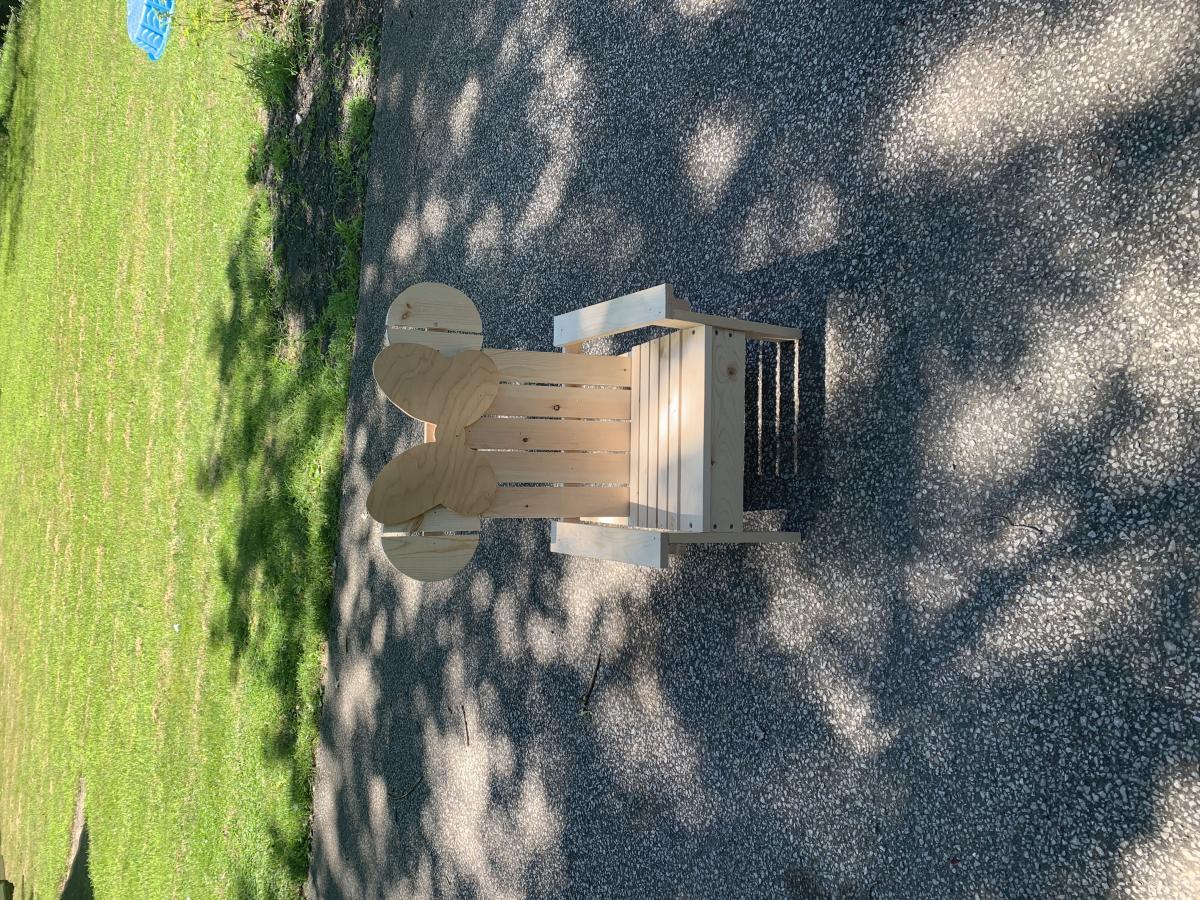
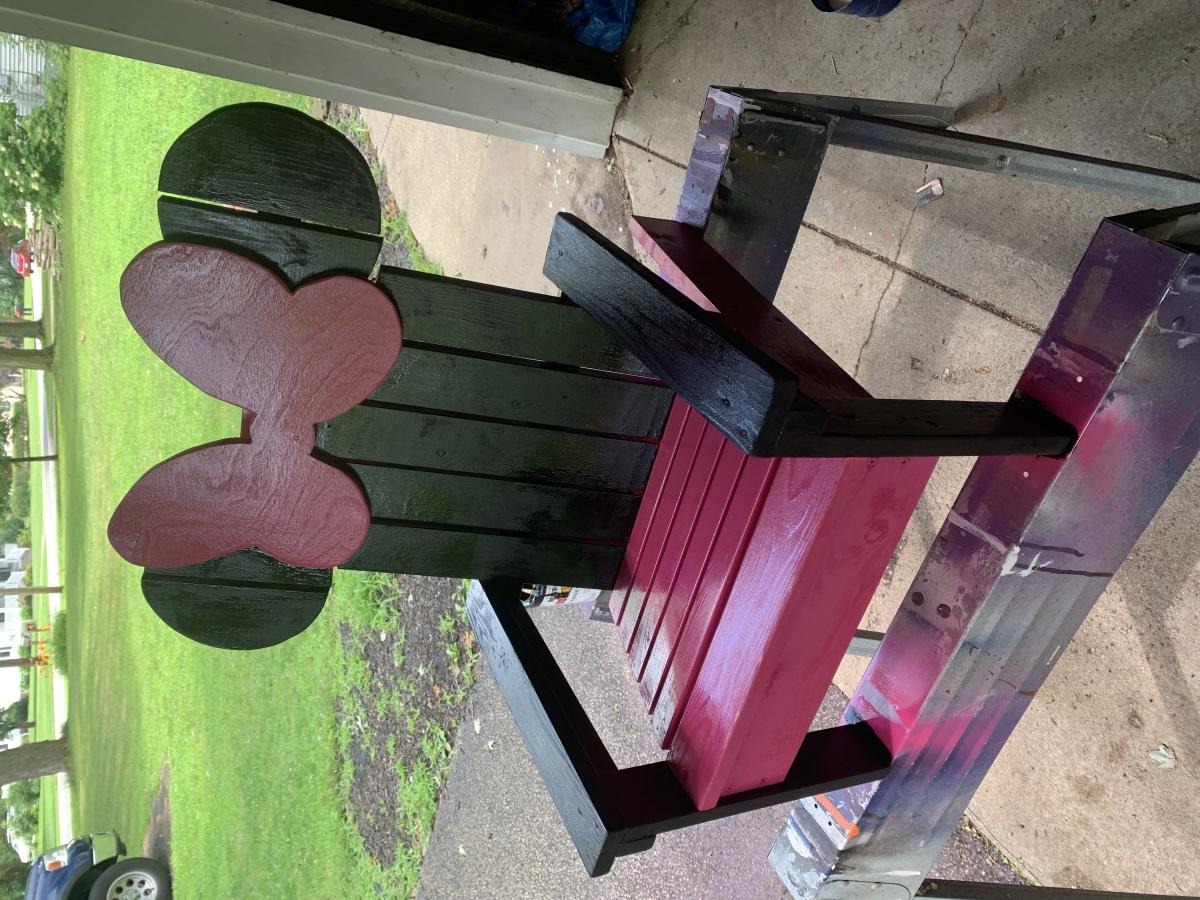
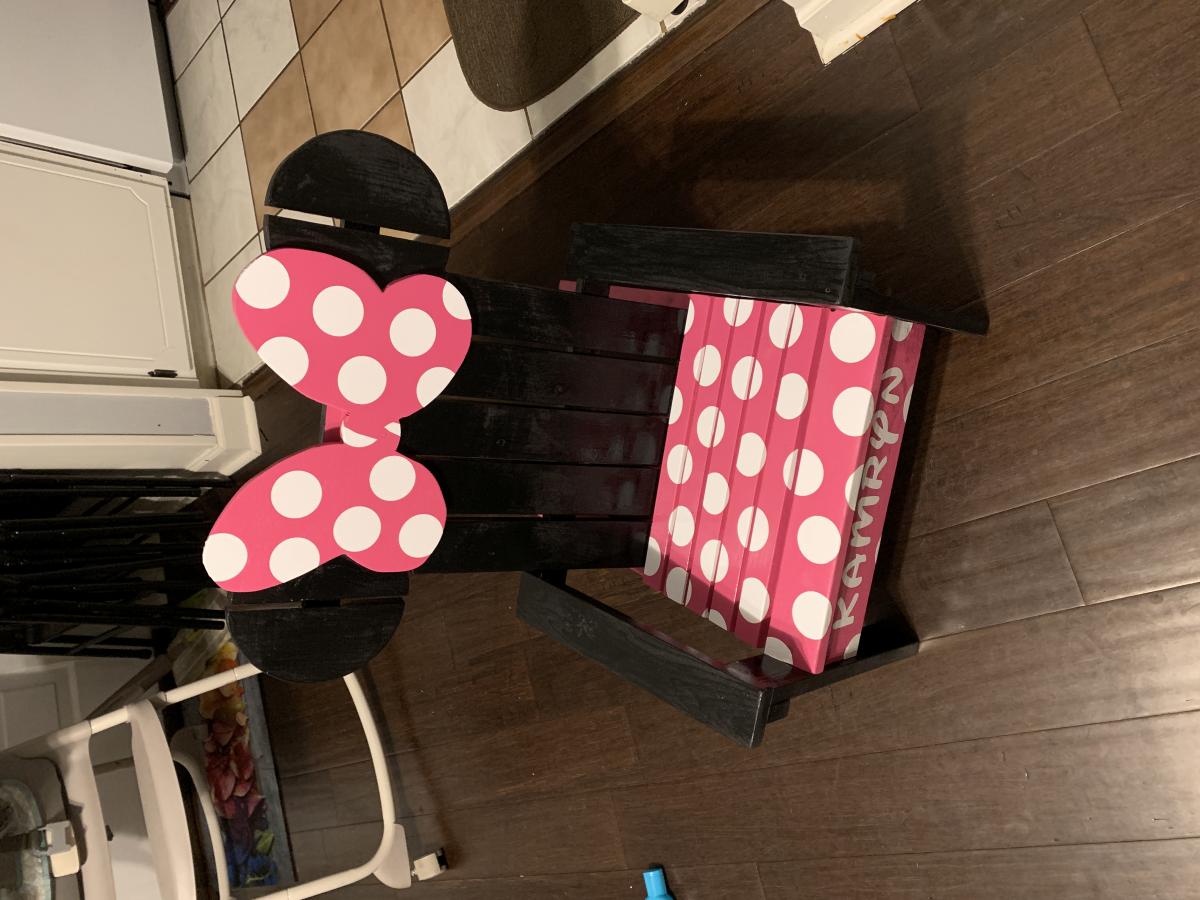
I took a shot at the Minnie Mouse Adirondack chair for a birthday present.
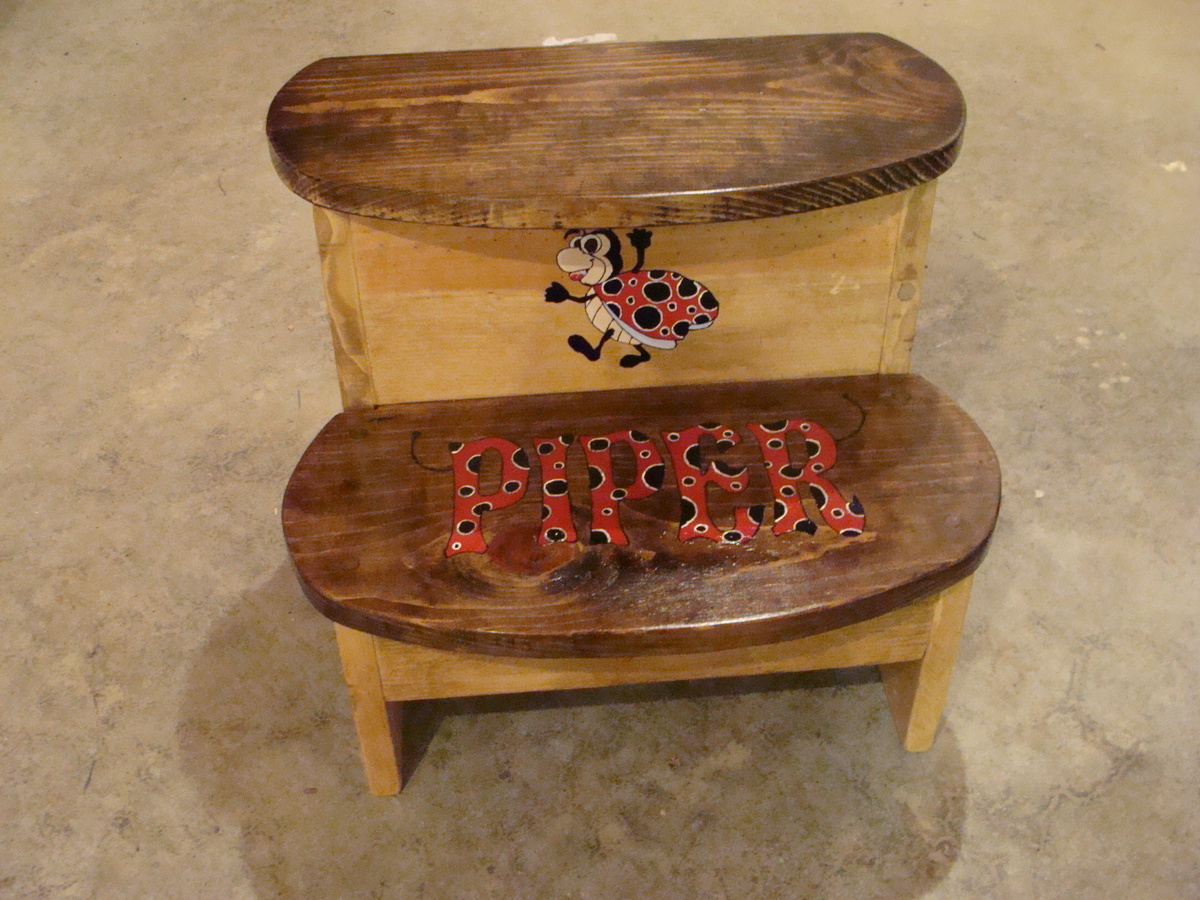
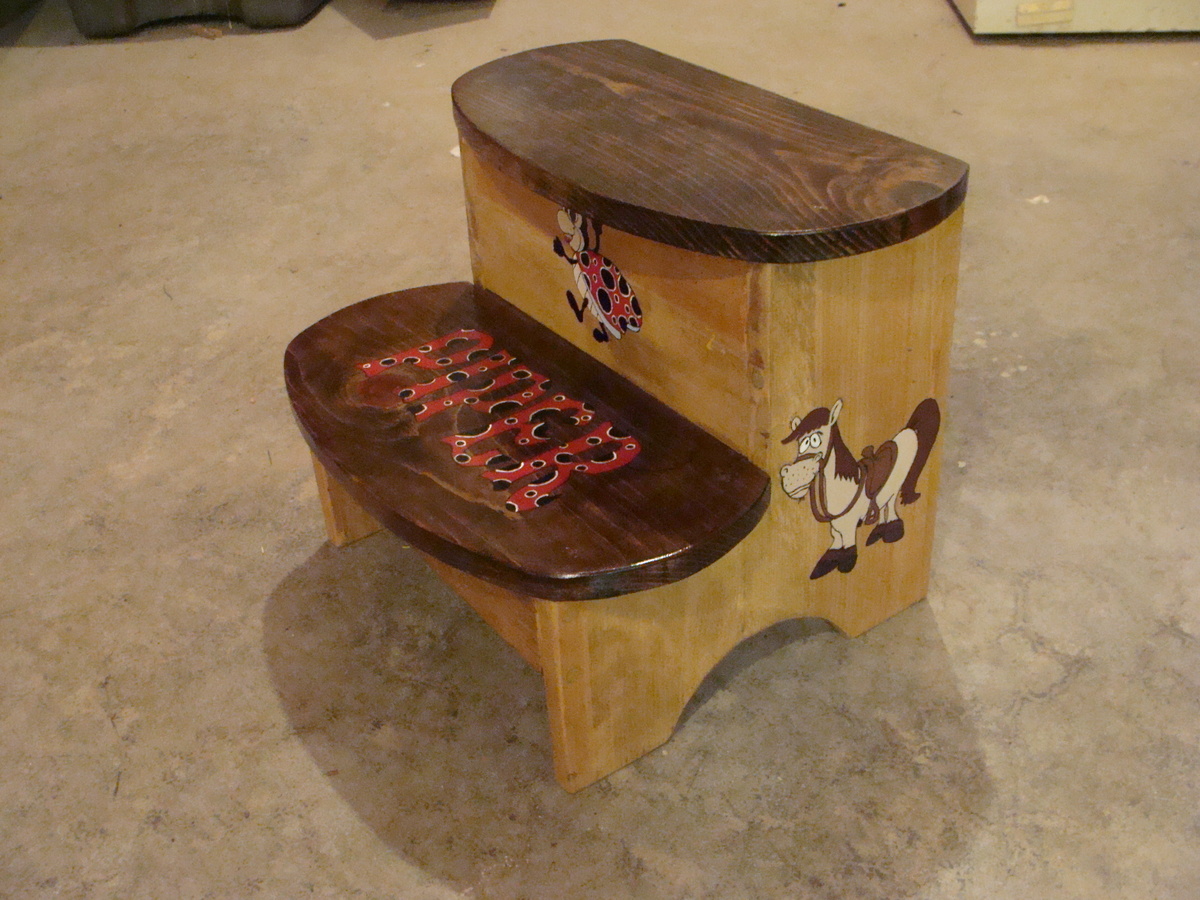
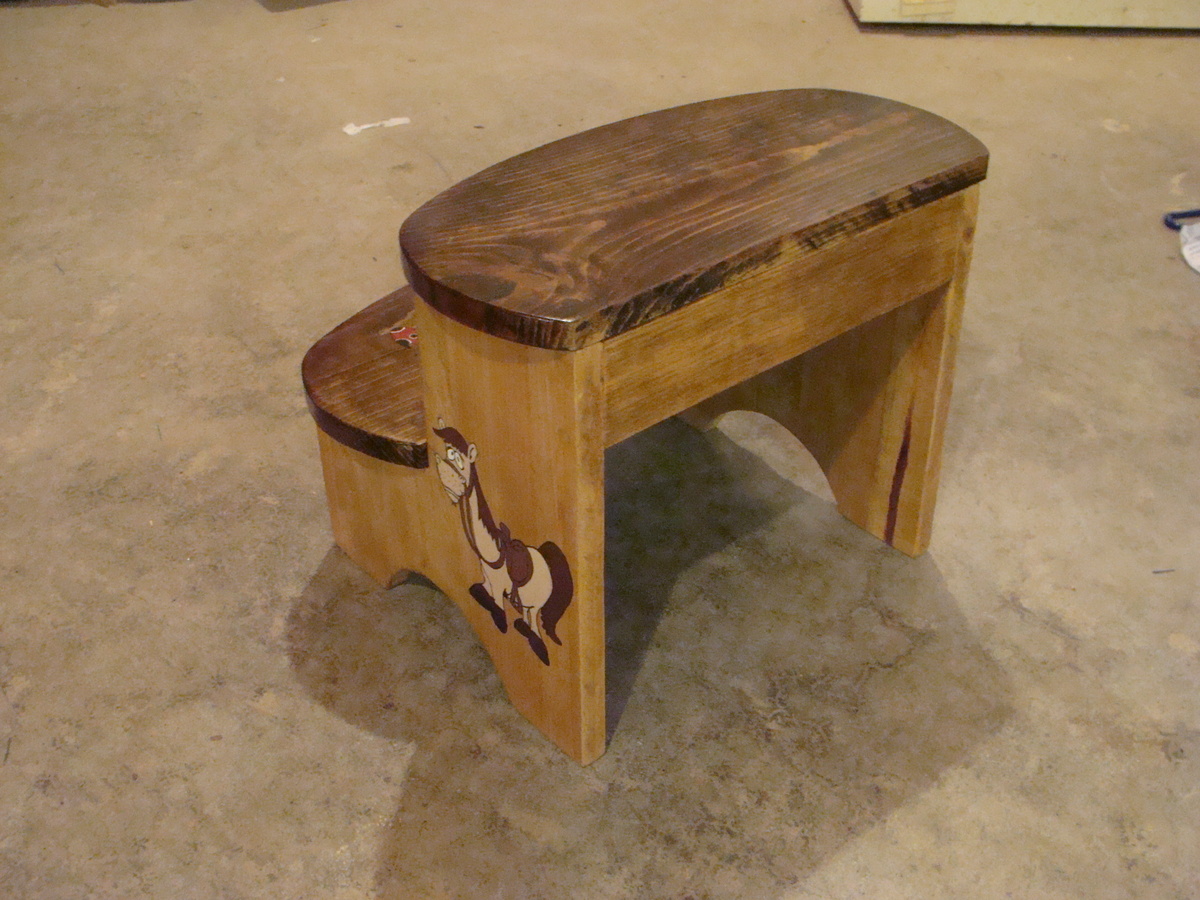
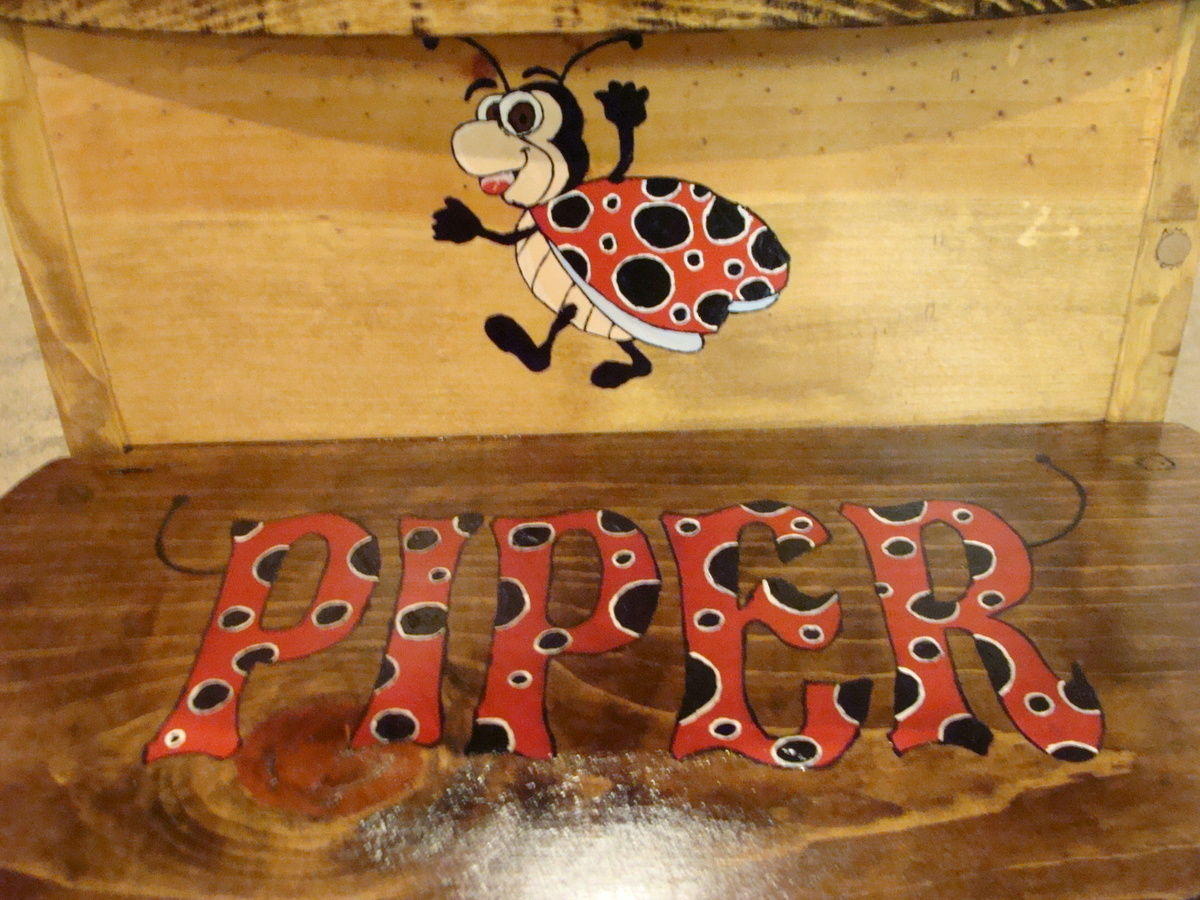
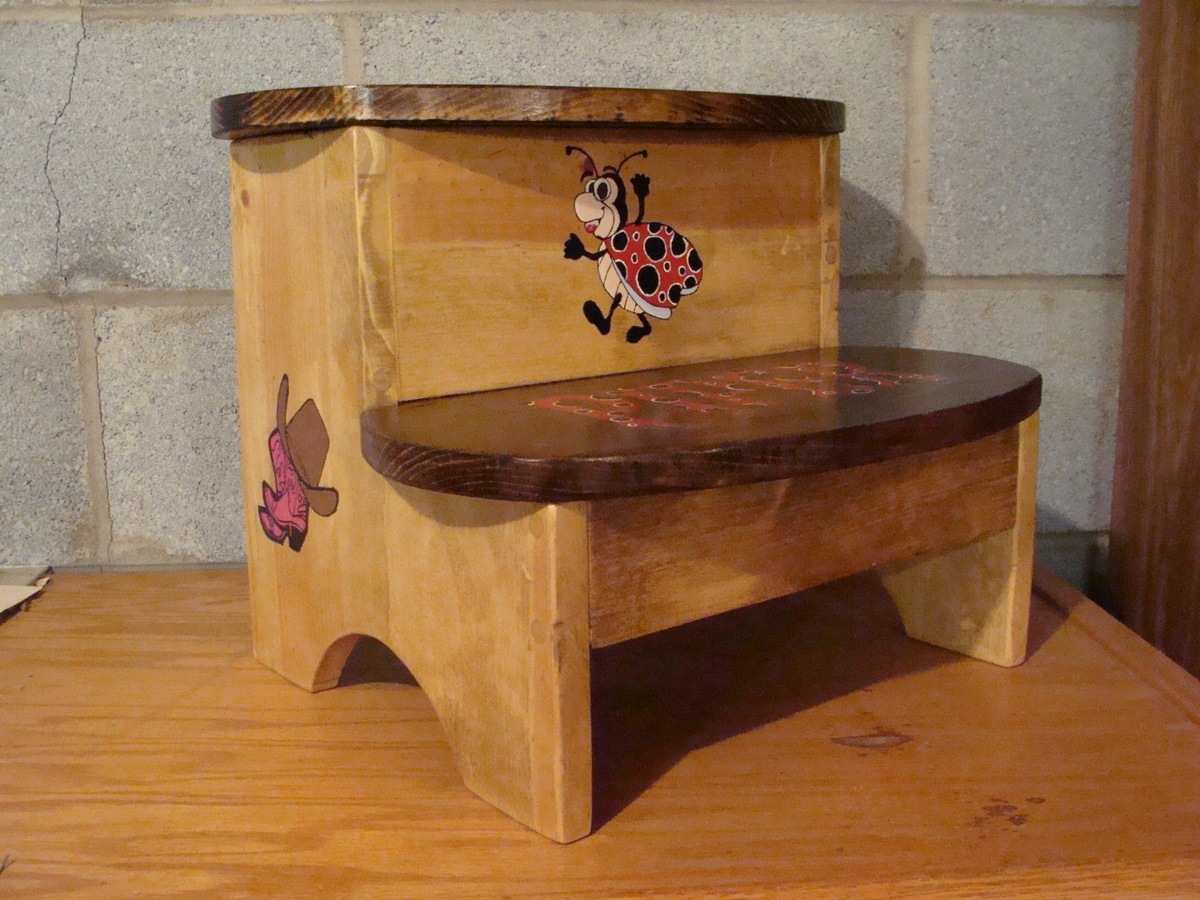
My sister wanted a step stool for her grand-daughter via her daughter-in-law. Like our mother and grand-mother before us, we stood by the sink with our hands in the wash water "helping" with the dishes. She asked it I could build a stool. After searching through several plans, I came across this vintage step stool and changed it up a little for the personal touch. I added the cartoon characters to fit with my great-nieces theme and she now has something that she can "brag" about as she grows.
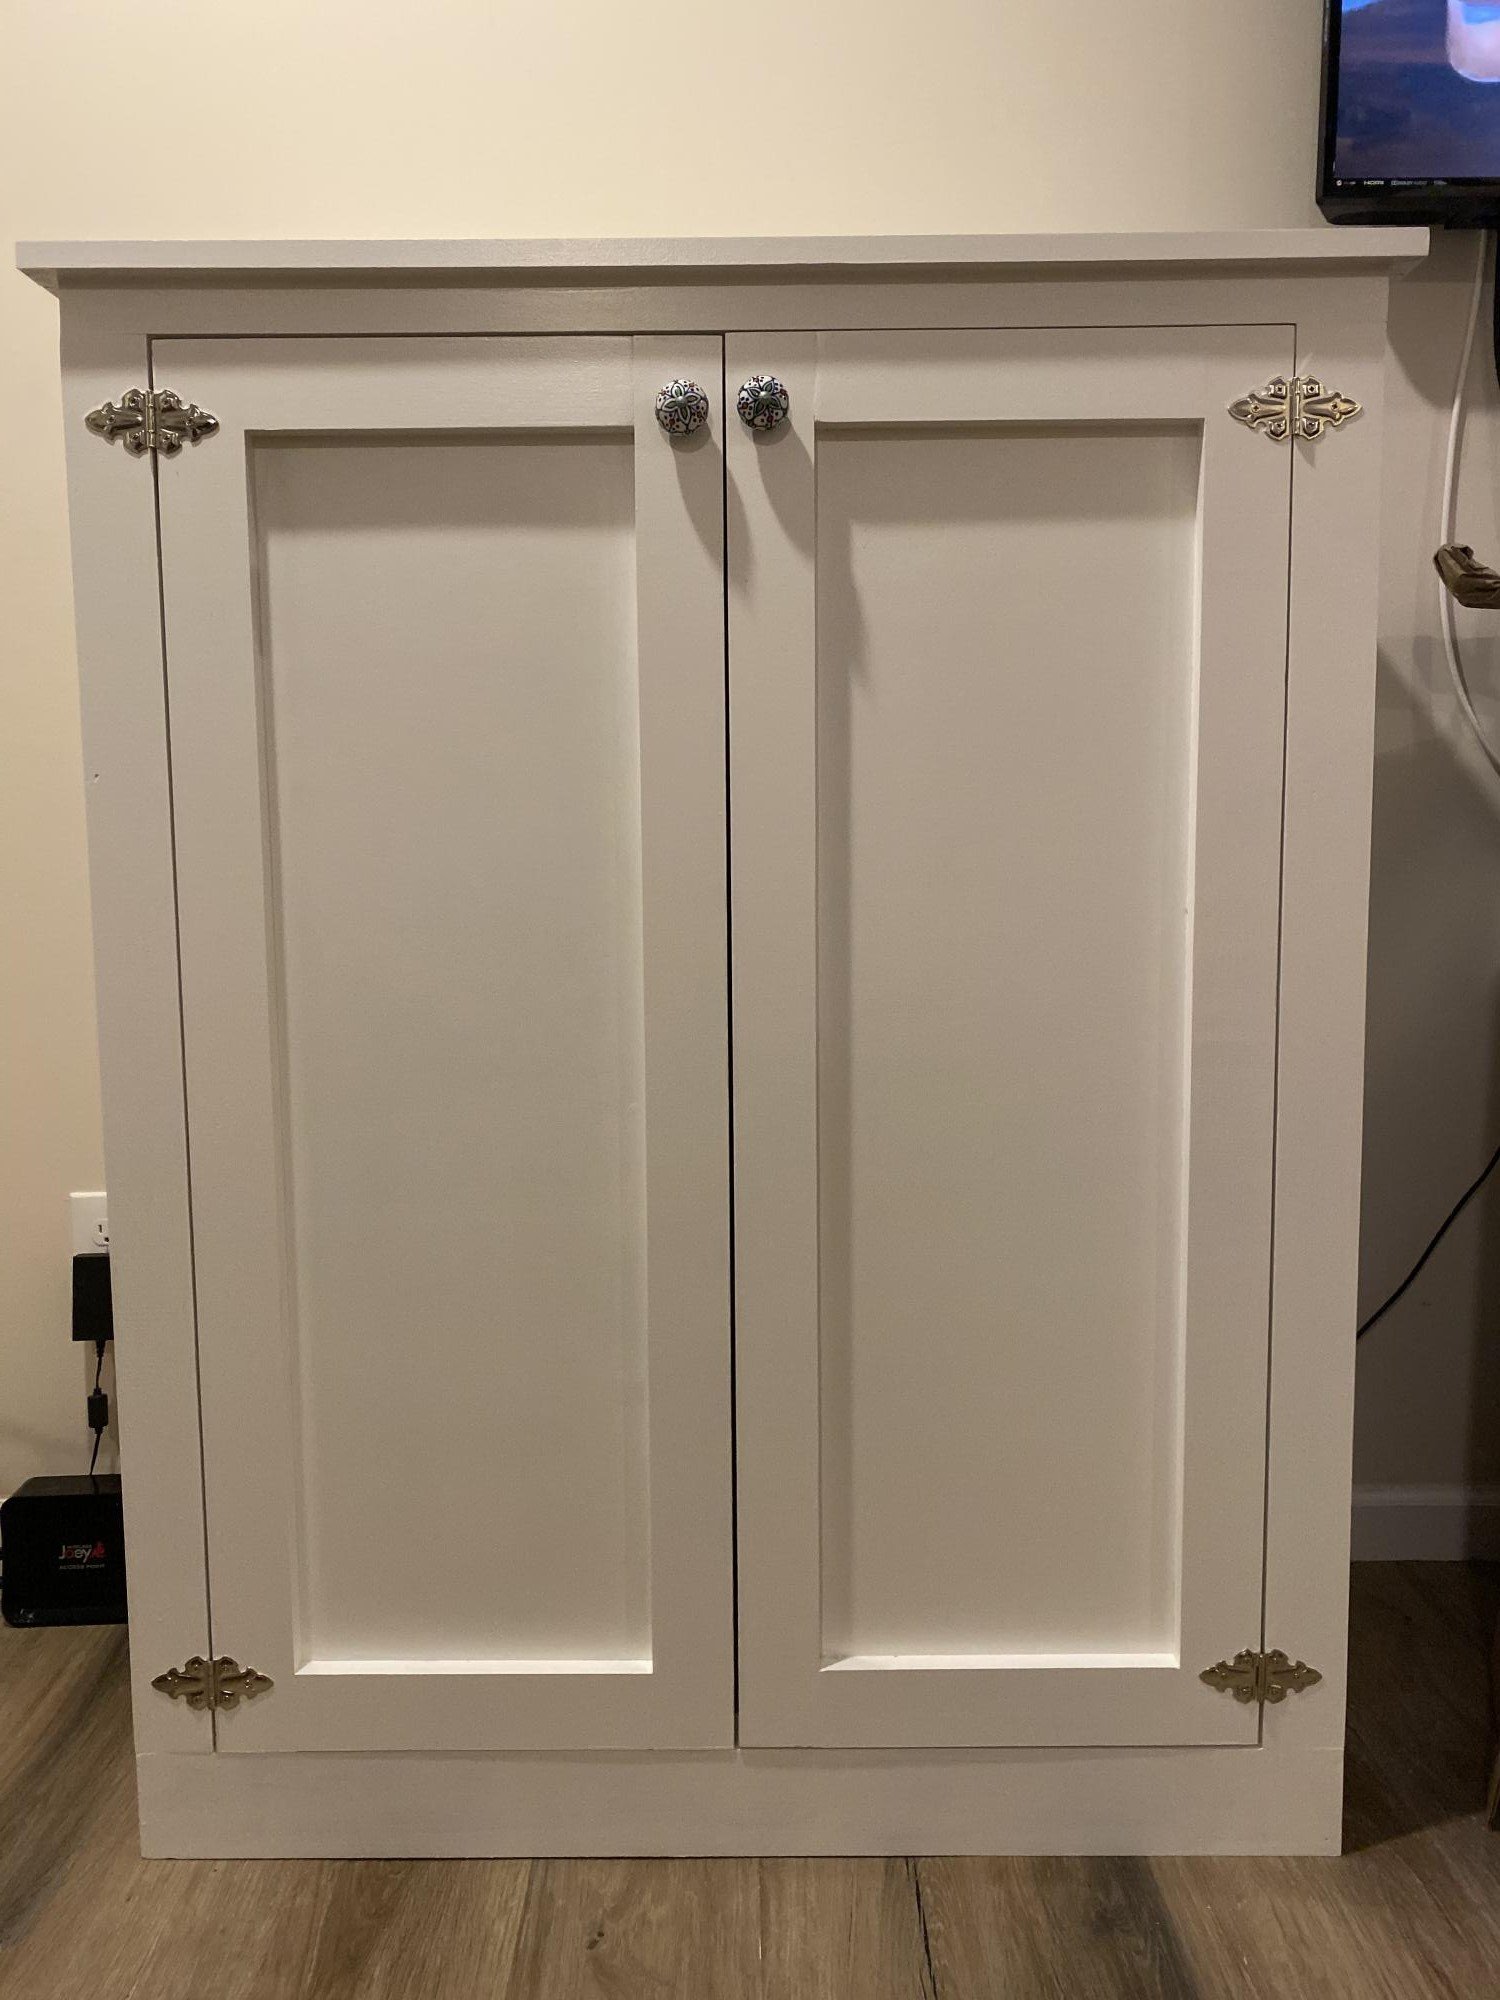
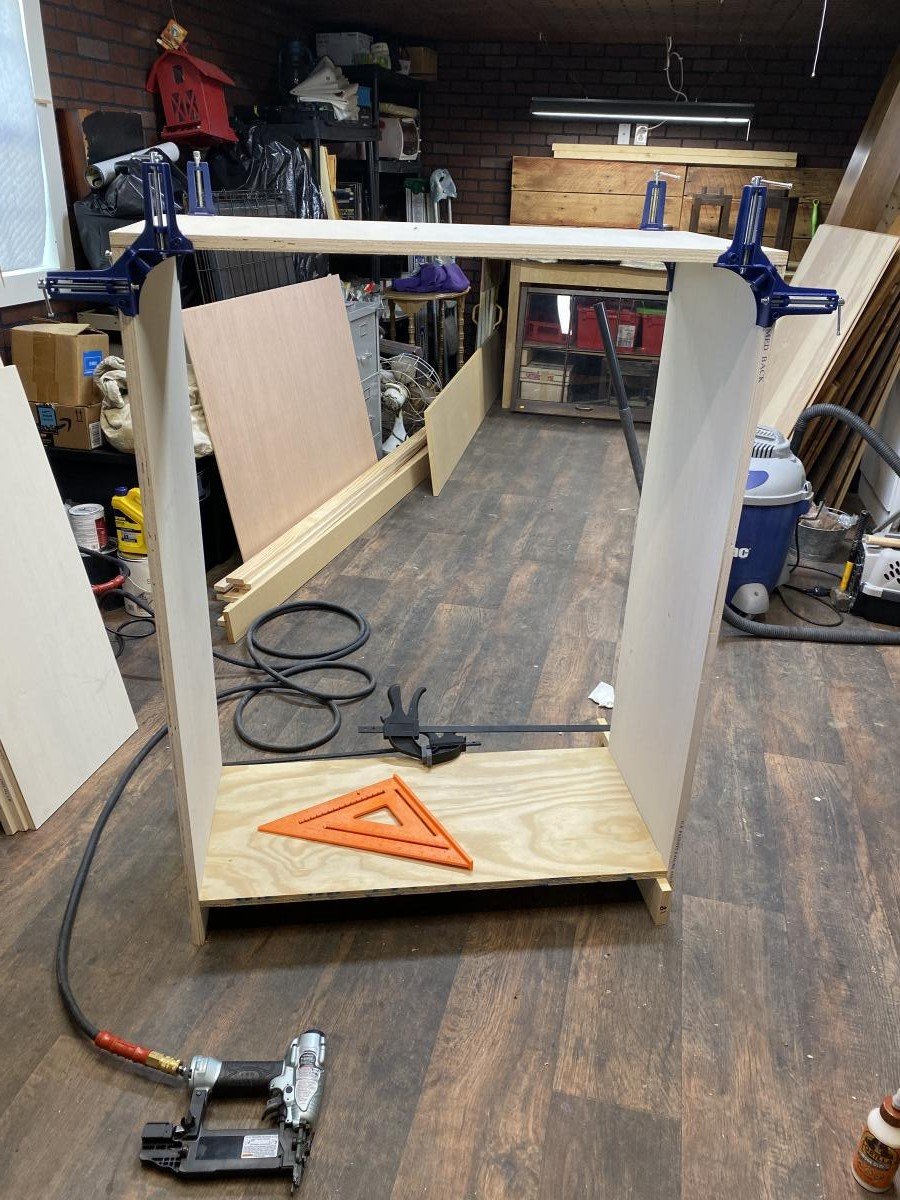
We needed extra storage in the living room and I didn’t want to pay mega bucks for our cabinet guy to make something I thought I could do.
Its four ft tall, 3 ft long and 16 inches deep. I added 1x3’s to the sides and 1x4’s to the bottom.
I bought the Kreg shelf pin jig and it was super easy to use. Plan to use it again on a bigger project.
Next is a fireplace and TV surround.
Thanks Ana for the easy to follow plans!
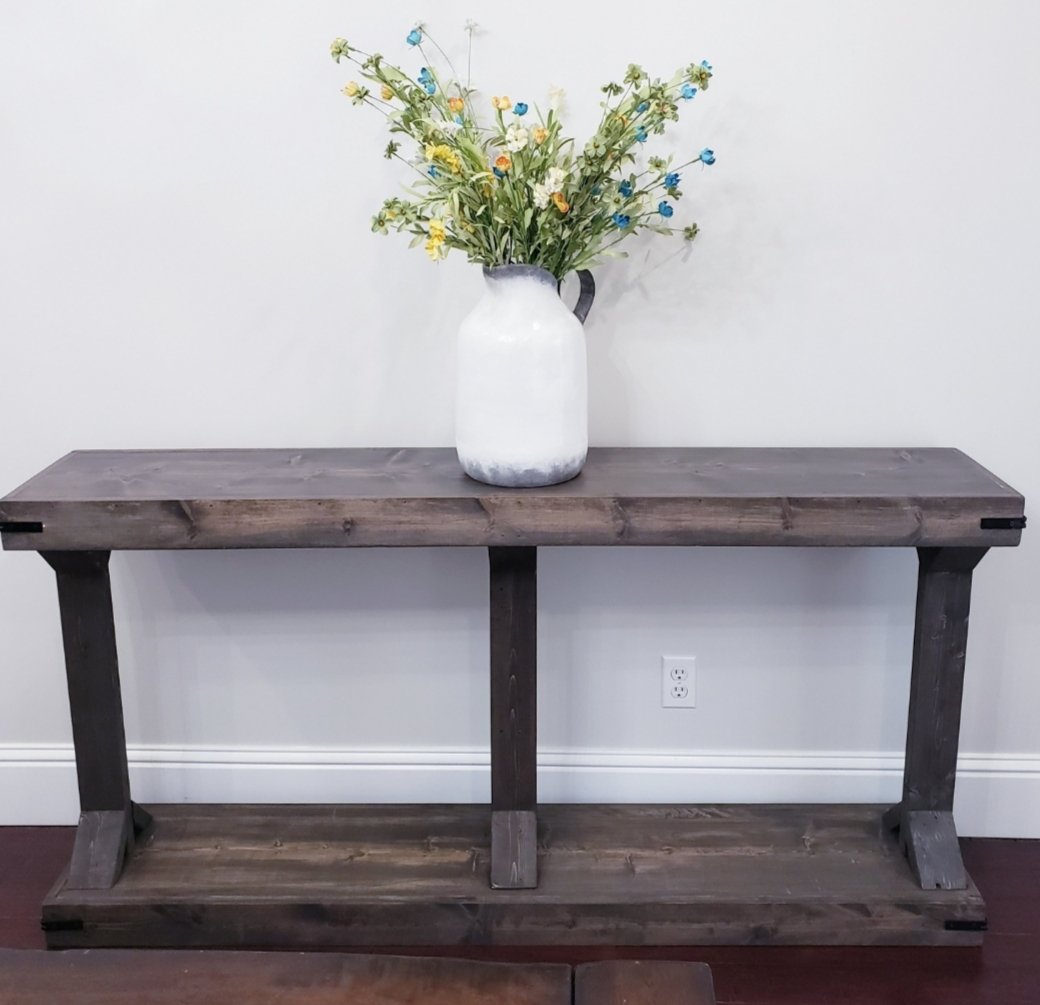
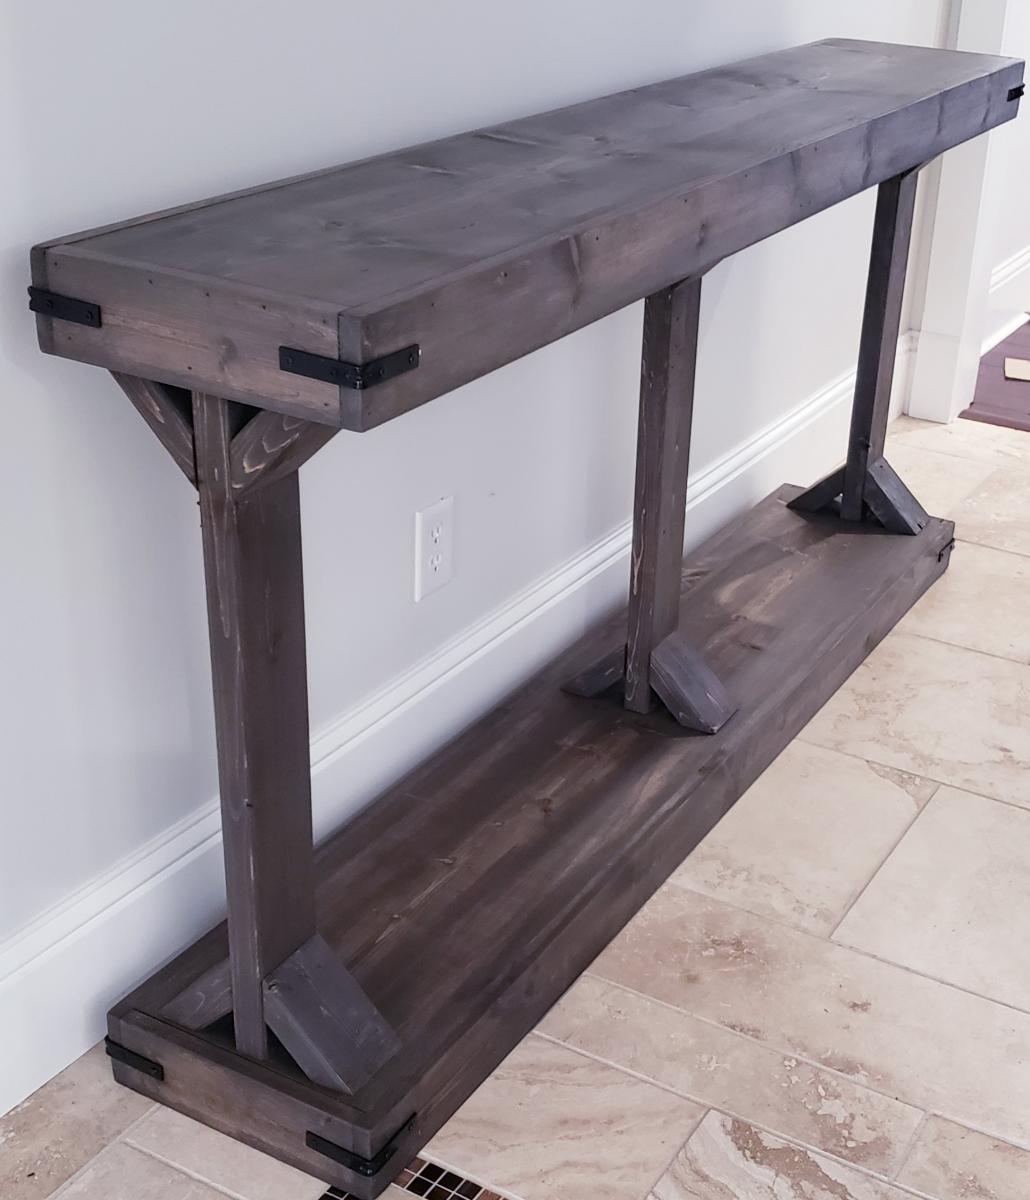
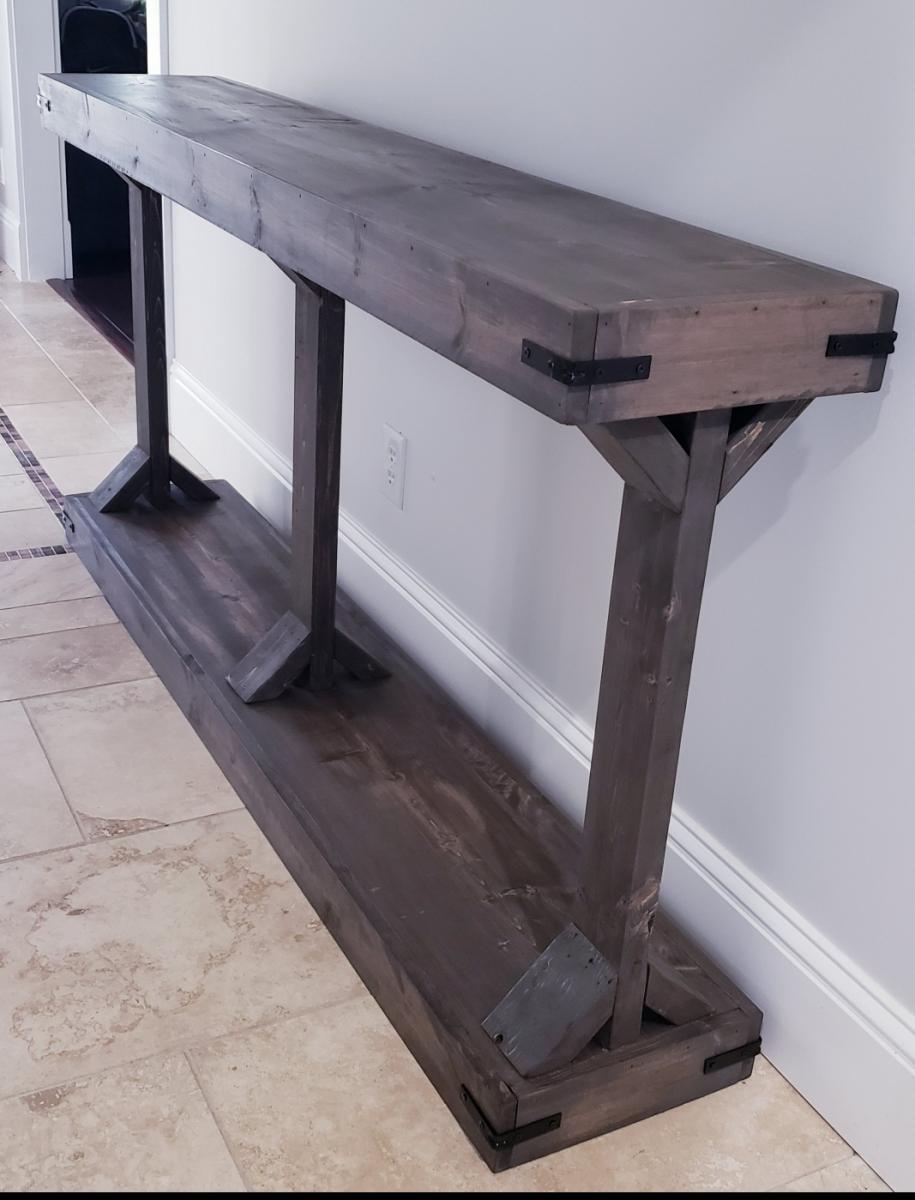
This is a beautiful console table built using the Narrow Console Table (Modern Farmhouse) plan. This is modified to be slightly wider, longer, and taller than the original plan. The dimensions are 68" long, 34" high, and 12.75" wide. The plan was very easy to follow and it was simple to adjust the measurements.
I used Varathane Dark Walnut Stain and once that was dry, I went over that lightly with Varathane Classic Gray stain. The final finish is Minwax Dark Wax and buffed.
More photos available on my facebook wood shop page at the link below.
Thu, 12/05/2019 - 12:06
Beautiful! I really like the finish you did on this table, thanks for sharing the details. I may need to try this myself.
Tue, 02/02/2021 - 19:09
Great color. I have never gone over color 1 with color 2 - I will now try it. Great look!
Tue, 02/02/2021 - 19:13
How do you wipe paint 2 over paint 1? Do you use a cotton cloth?
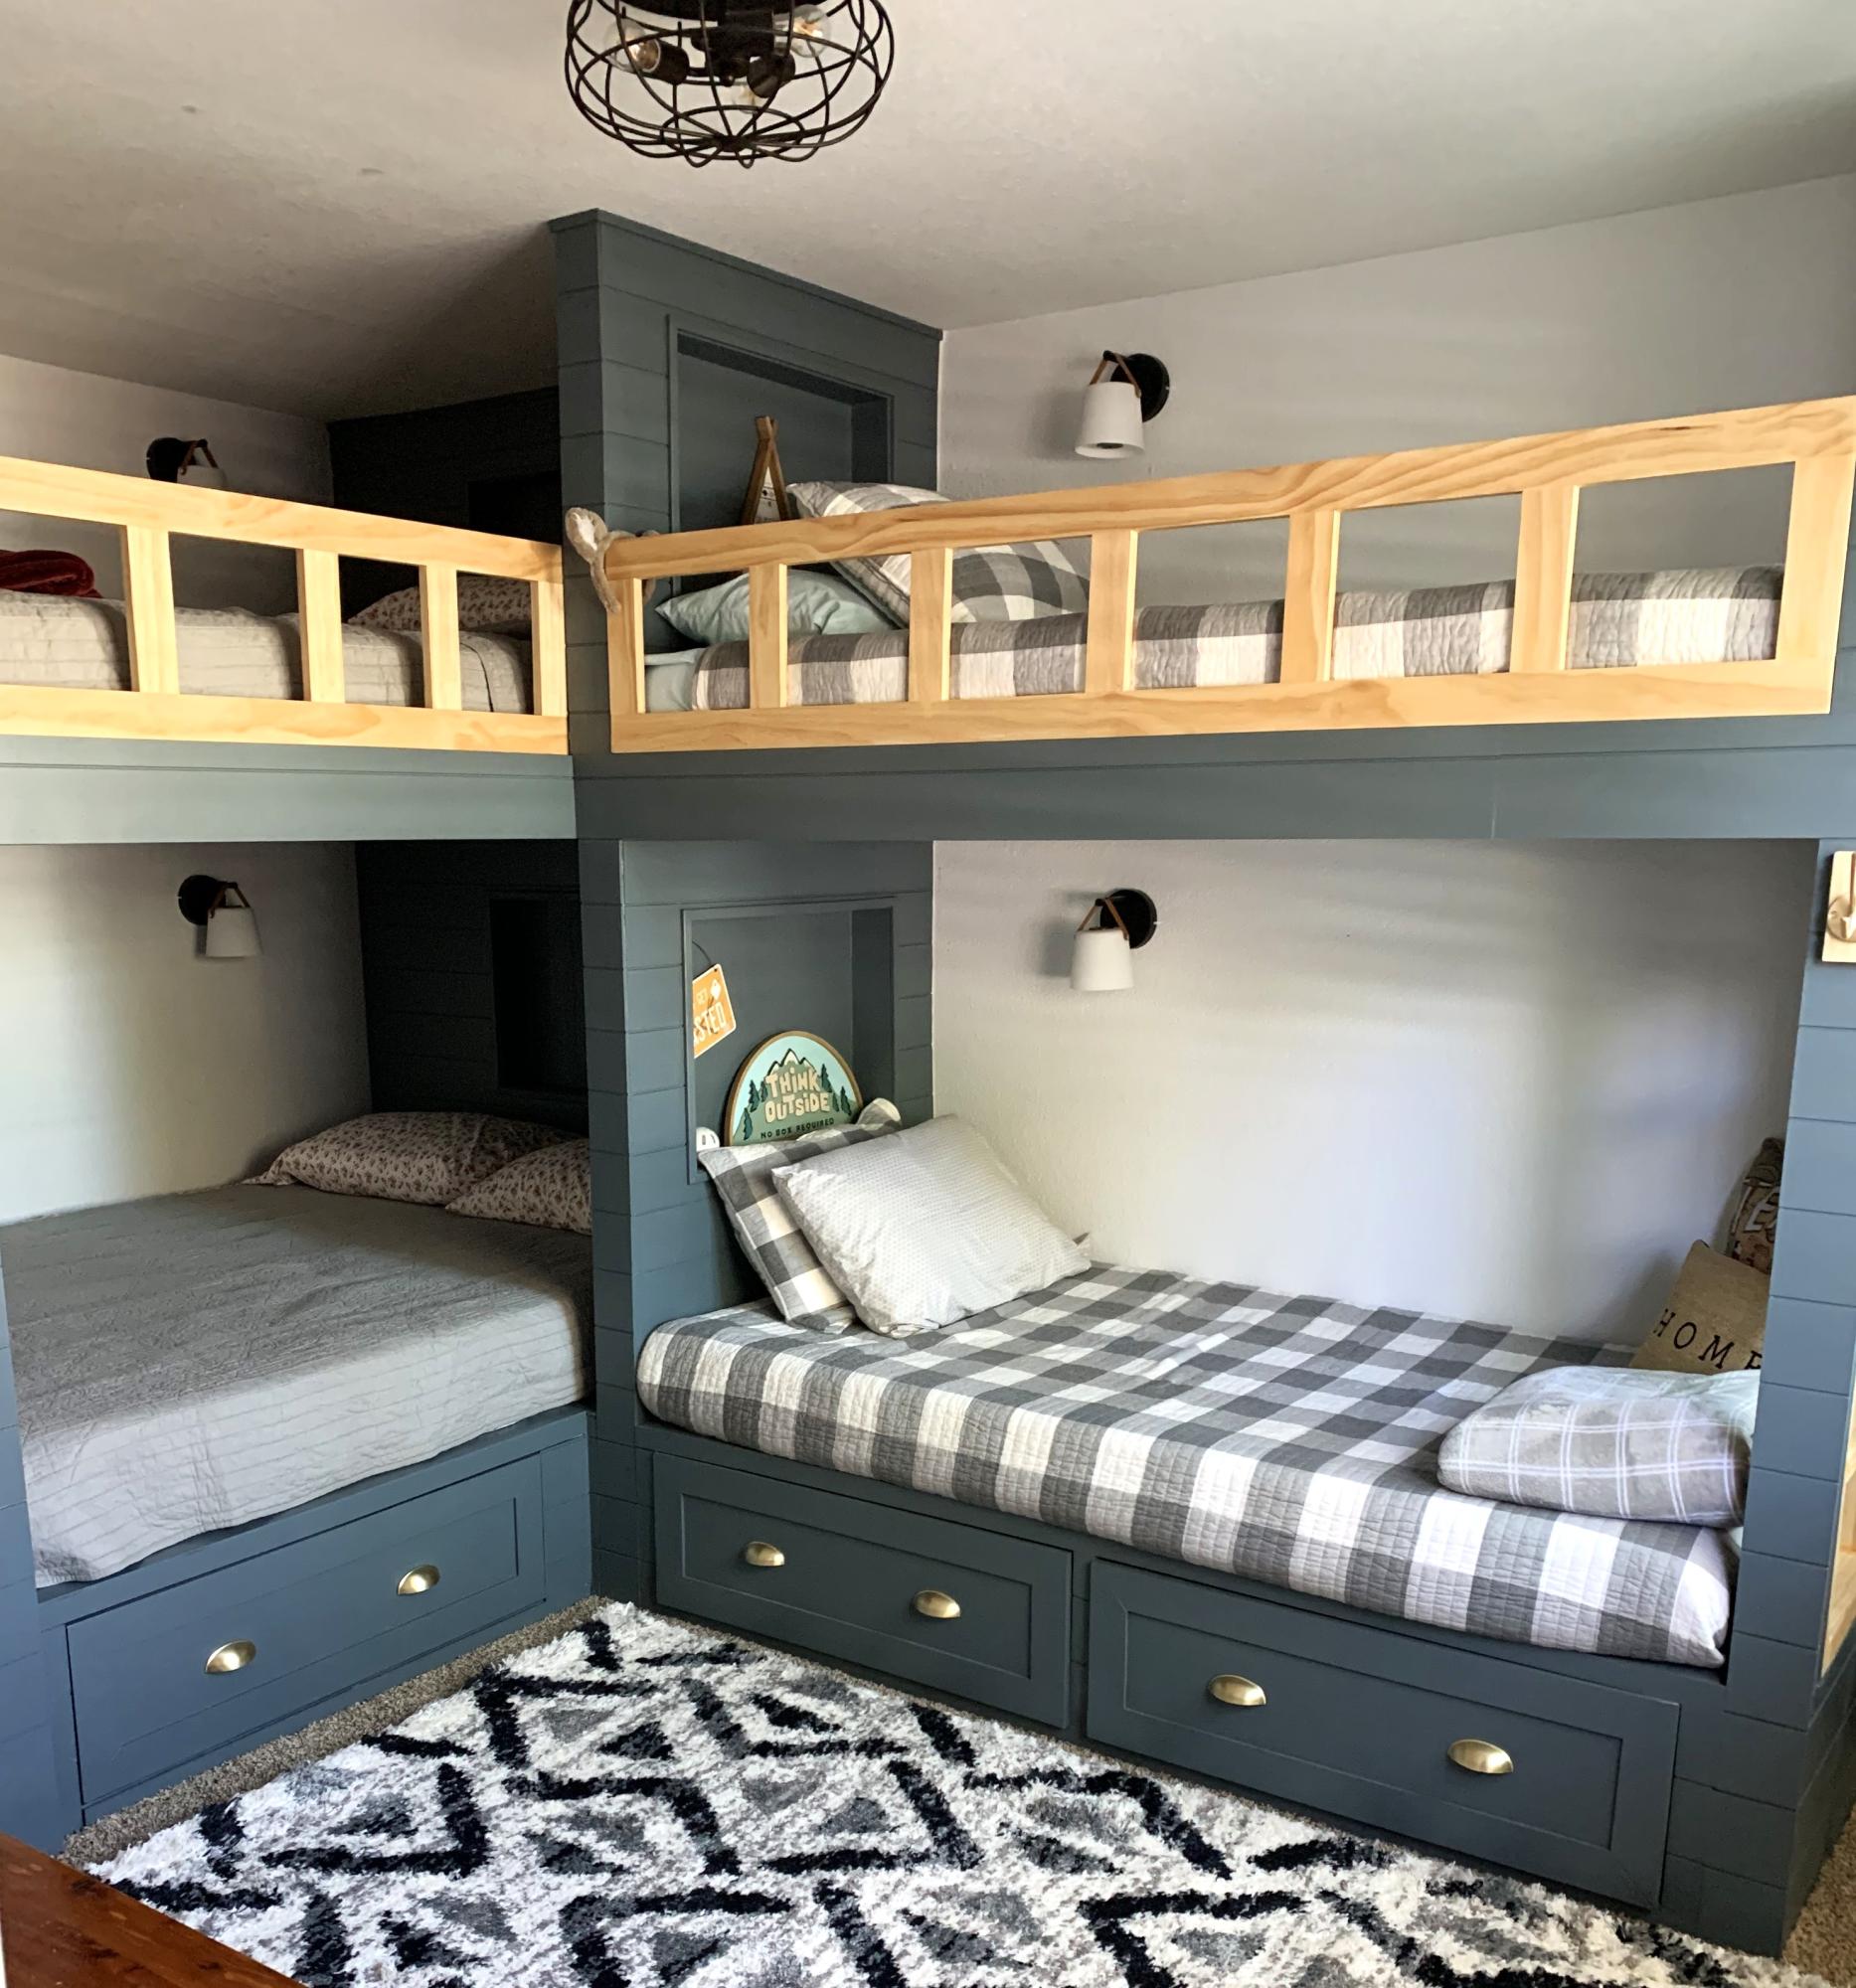
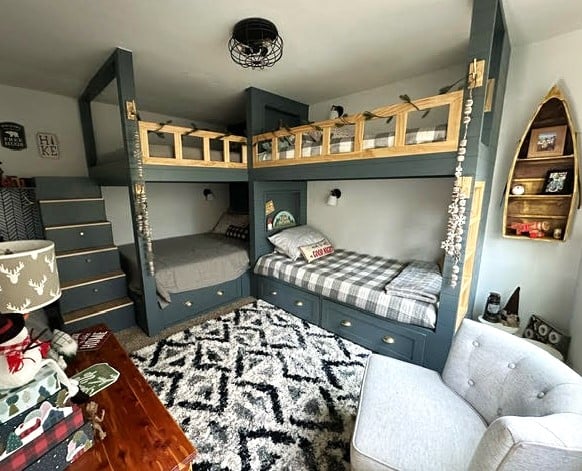
The queen and twin bases were base on your twin bed with storage. Pretty easy to do. This is my first time doing anything this big. I live in a four season resort town and needed beds for heads for ski season.
Debbi H - IG - callintn
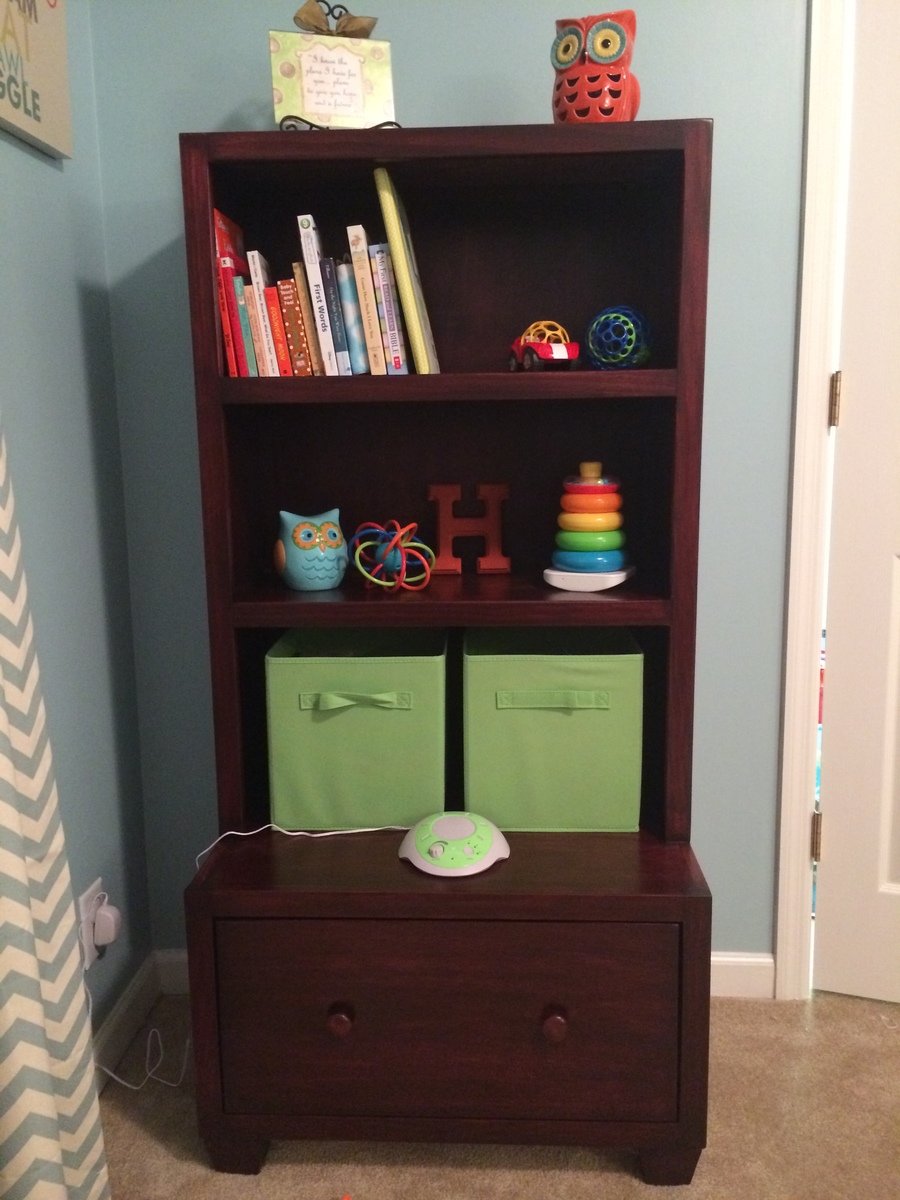
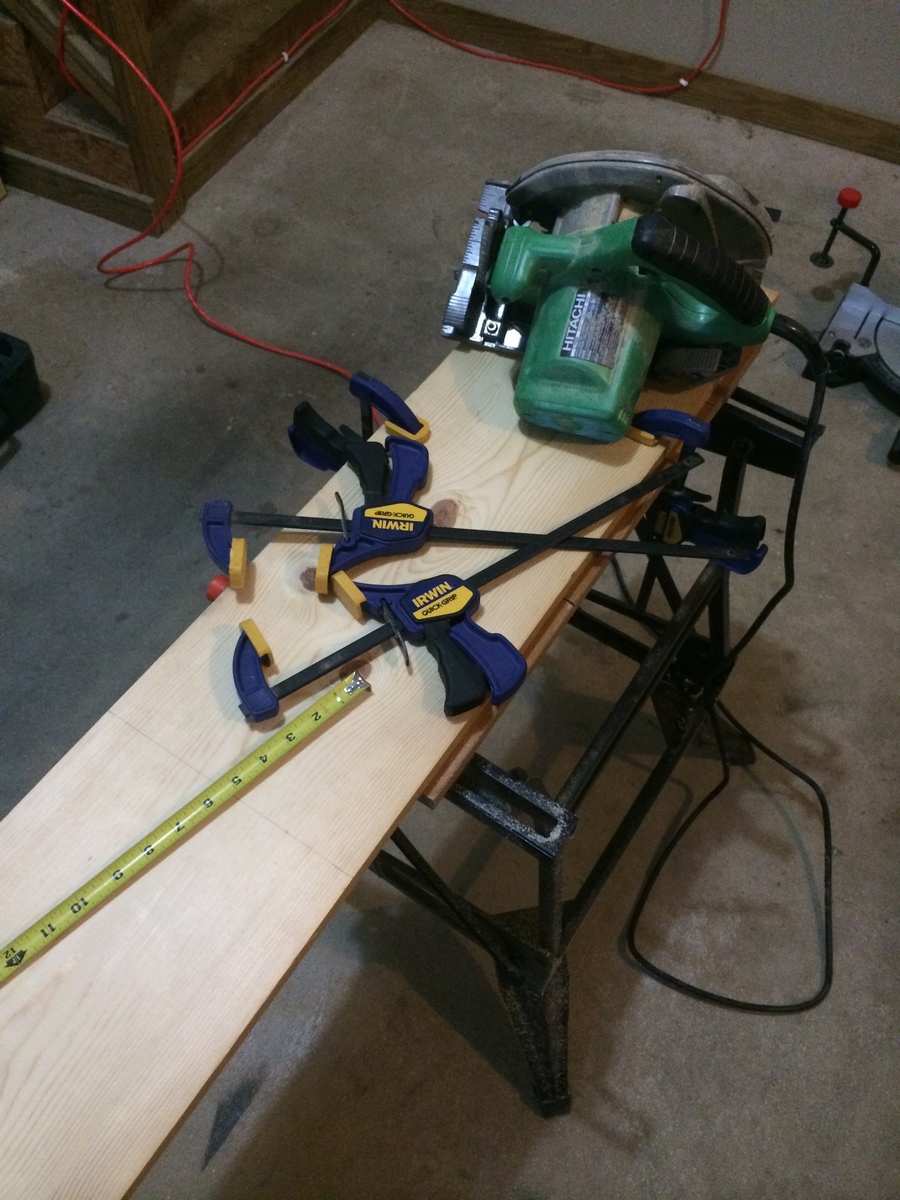
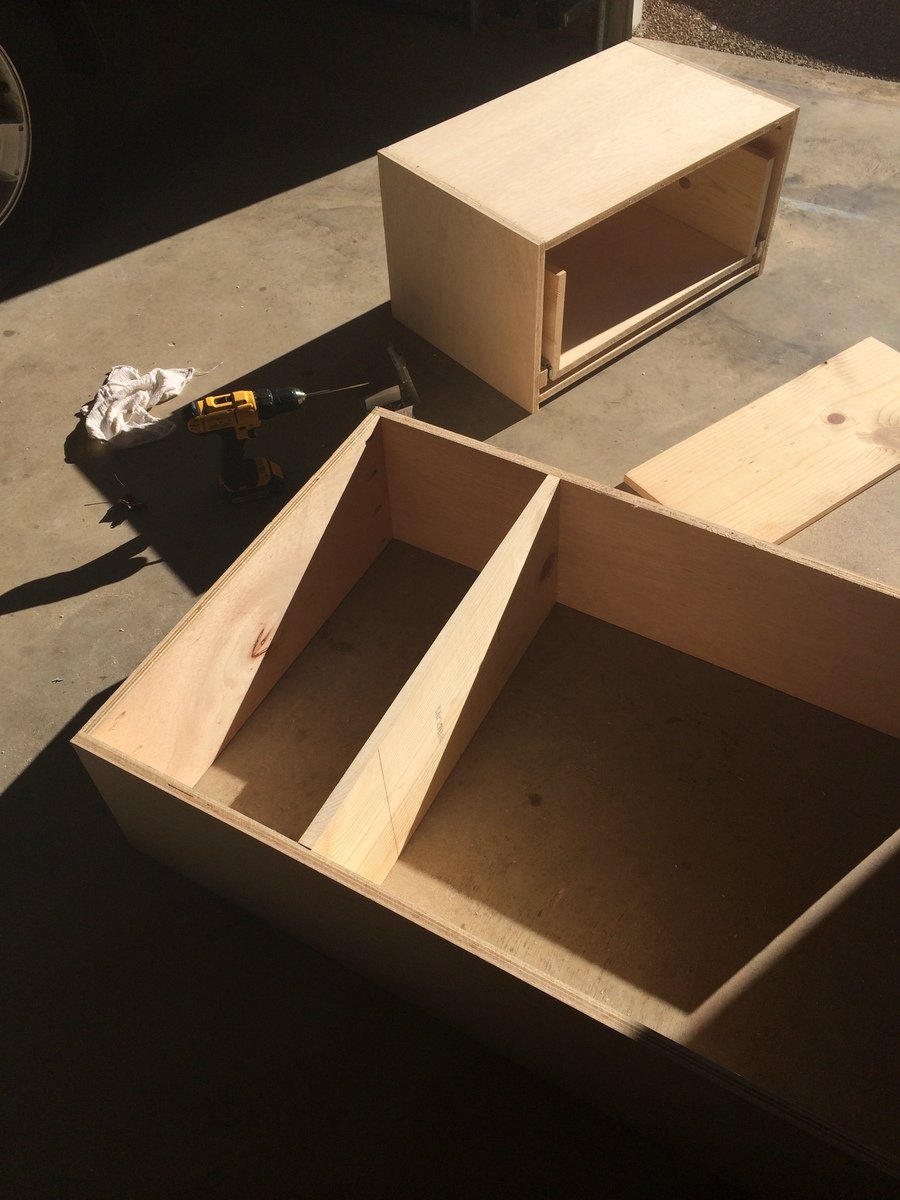
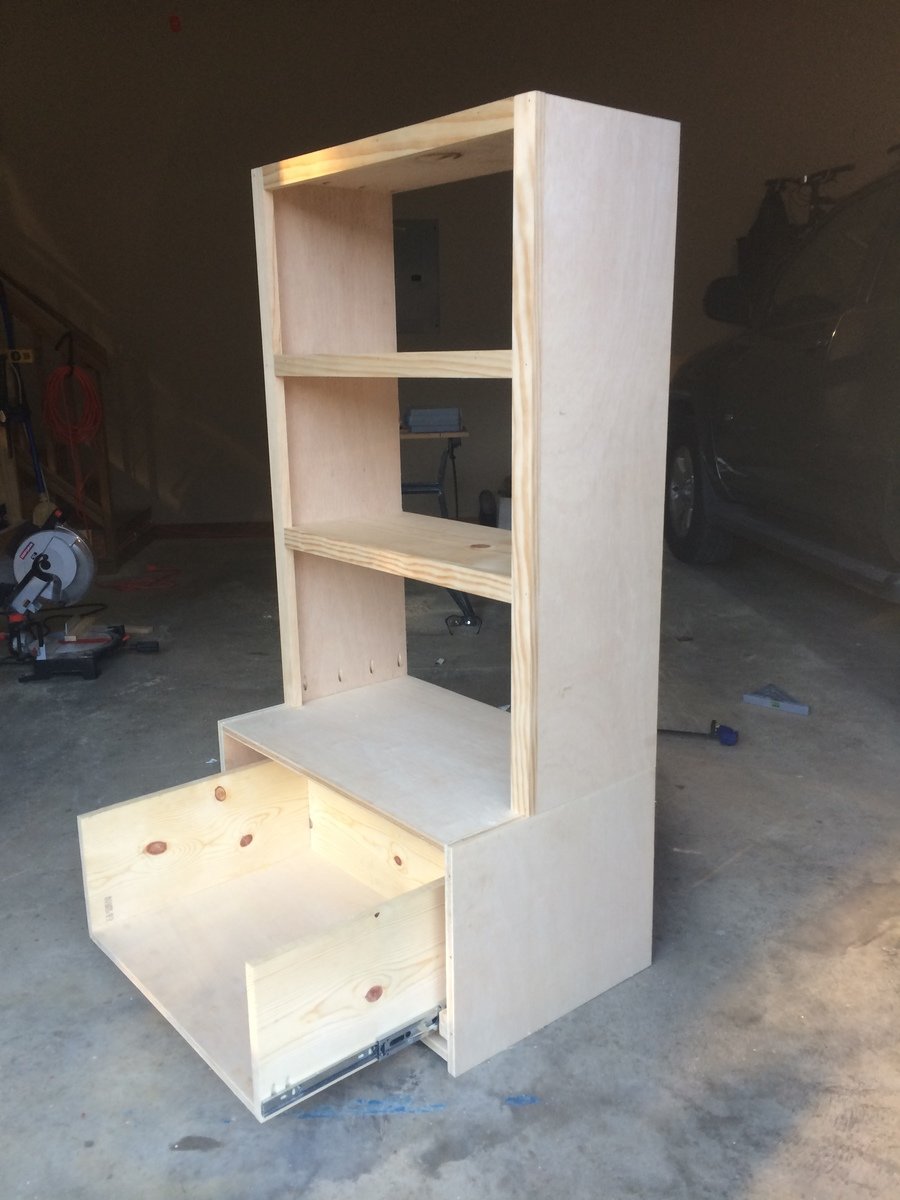
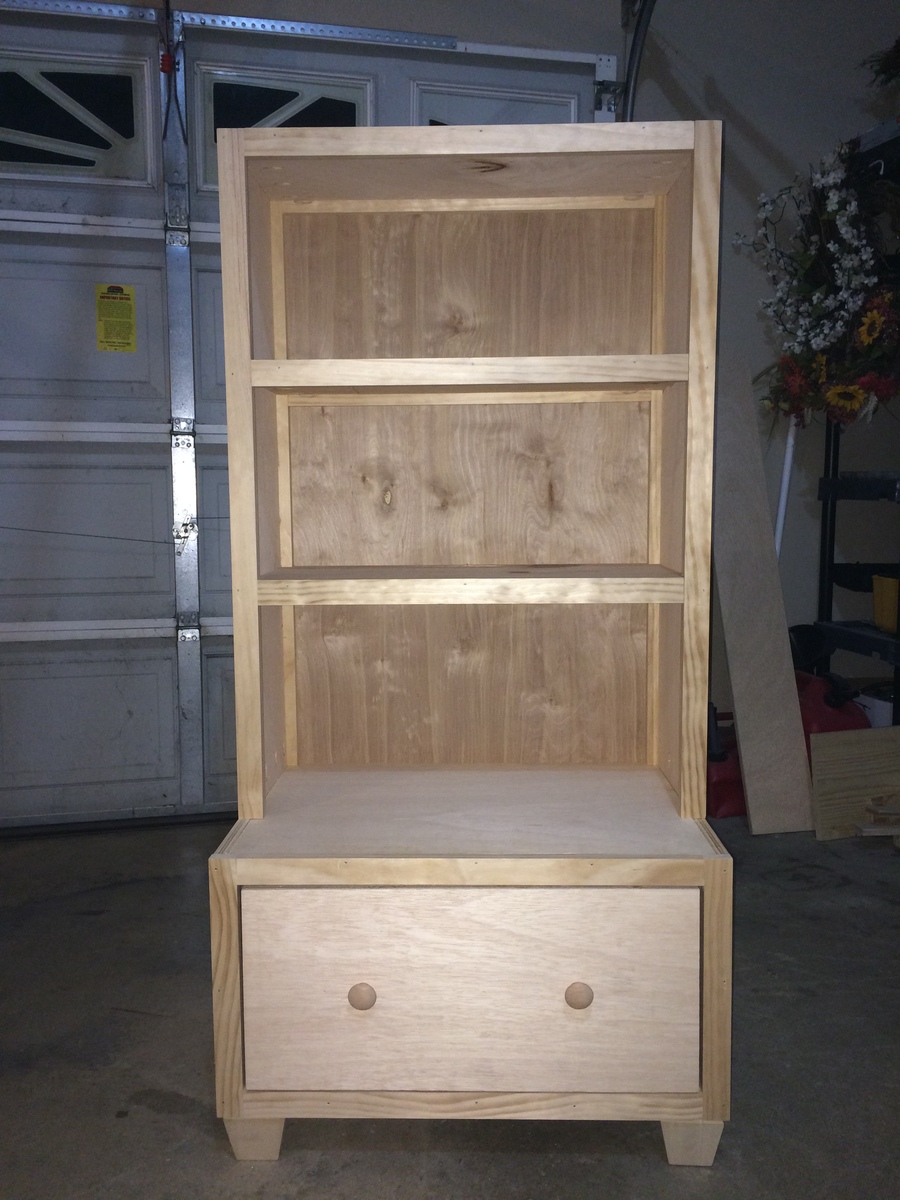
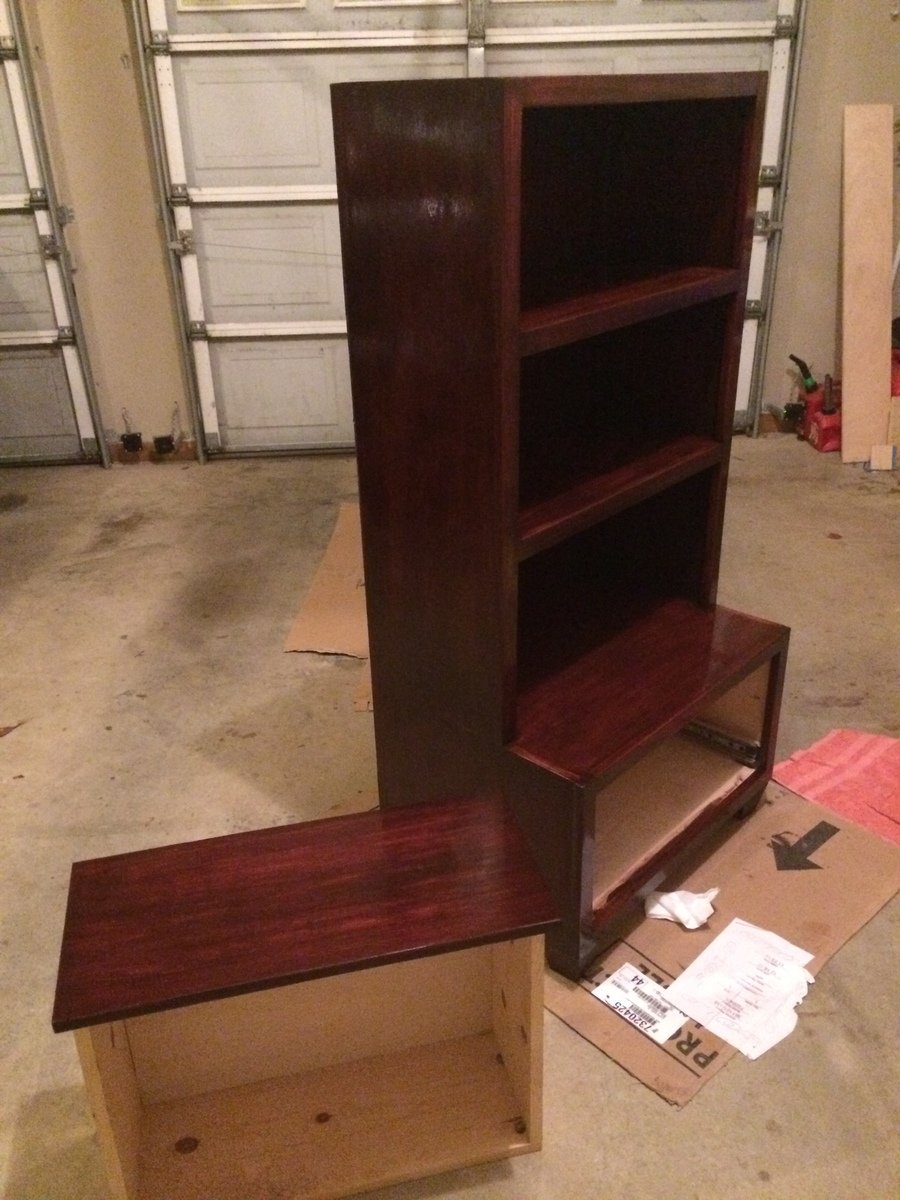
I built a bookcase with a large drawer beneath for my son's nursery. This build was based on Ana's plans for the Cube Drawer Bench and Hutch, but I changed a few things to make it my own. This was my first real attempt at making any kind of furniture, or anything else, really, and I'm fairly happy with the way it turned out. More importantly, my wife loves it.
I learned a TON from all the resources on this website. Thanks Ana!
Mon, 02/10/2014 - 15:59
It looks really great! One question, how did you attach the hutch to the bench?
Mon, 02/10/2014 - 16:54
Thank you!
I attached the hutch to the drawer by drilling 4 pocket holes on the inside of the bookcase where the bottom meets the top of the drawer. I also used wood glue. I was concerned about the hutch moving around, and the possibility of it tipping over, so I decided to go ahead and build the two components as one piece, essentially.
Also, in order to add some additional strength and stability, I combined the frames on both components so that I would have vertical 1x2's going down the entire length of the backside of the piece. I also added horizontal 1x2's on the backside of each shelf. All these things combined really gave it a lot of extra strength.
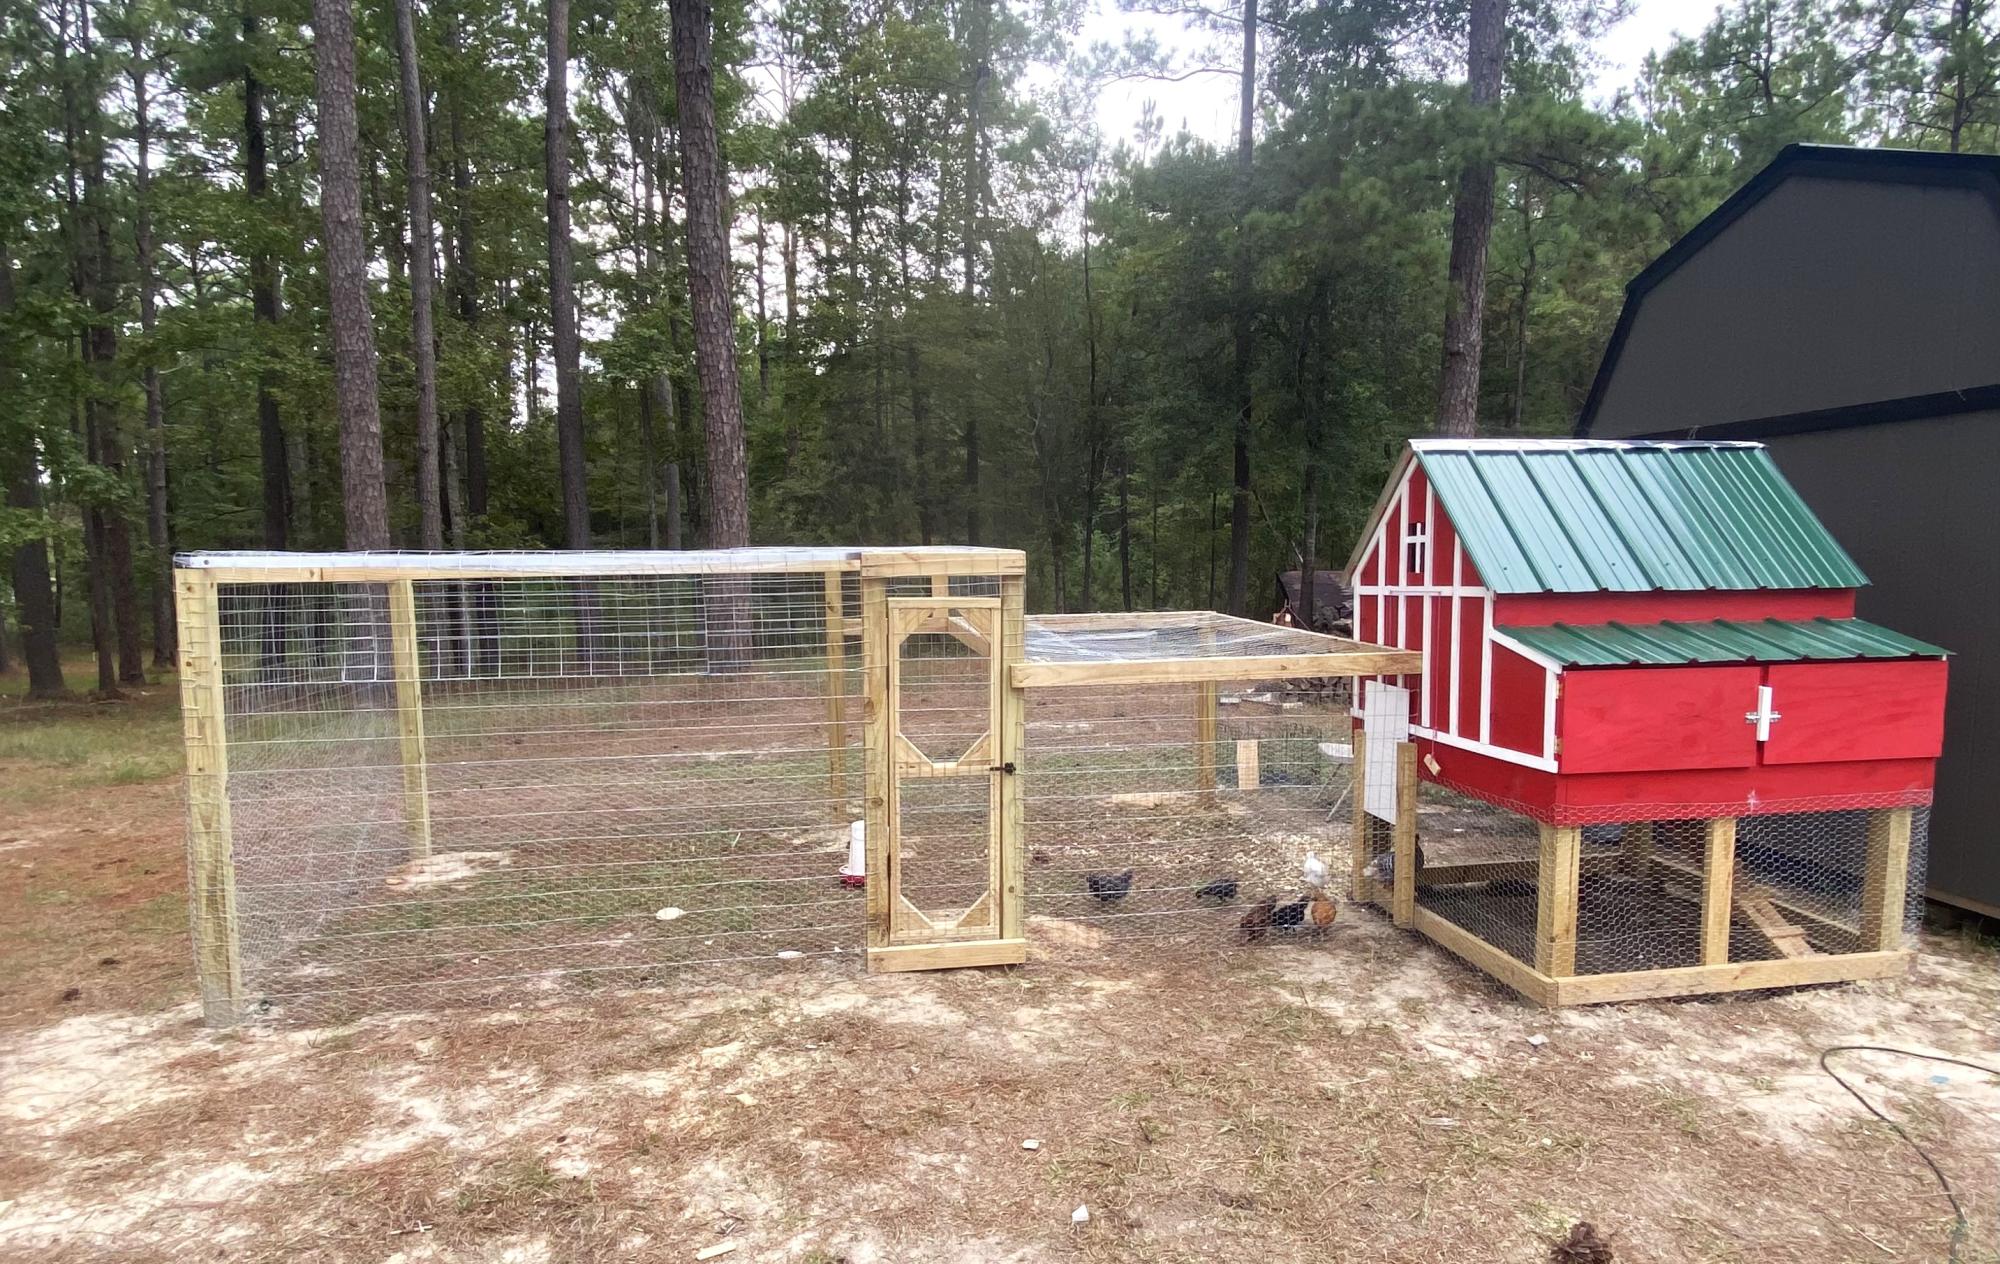
Small coop with run. Awesome plan.
Jinks hill farms
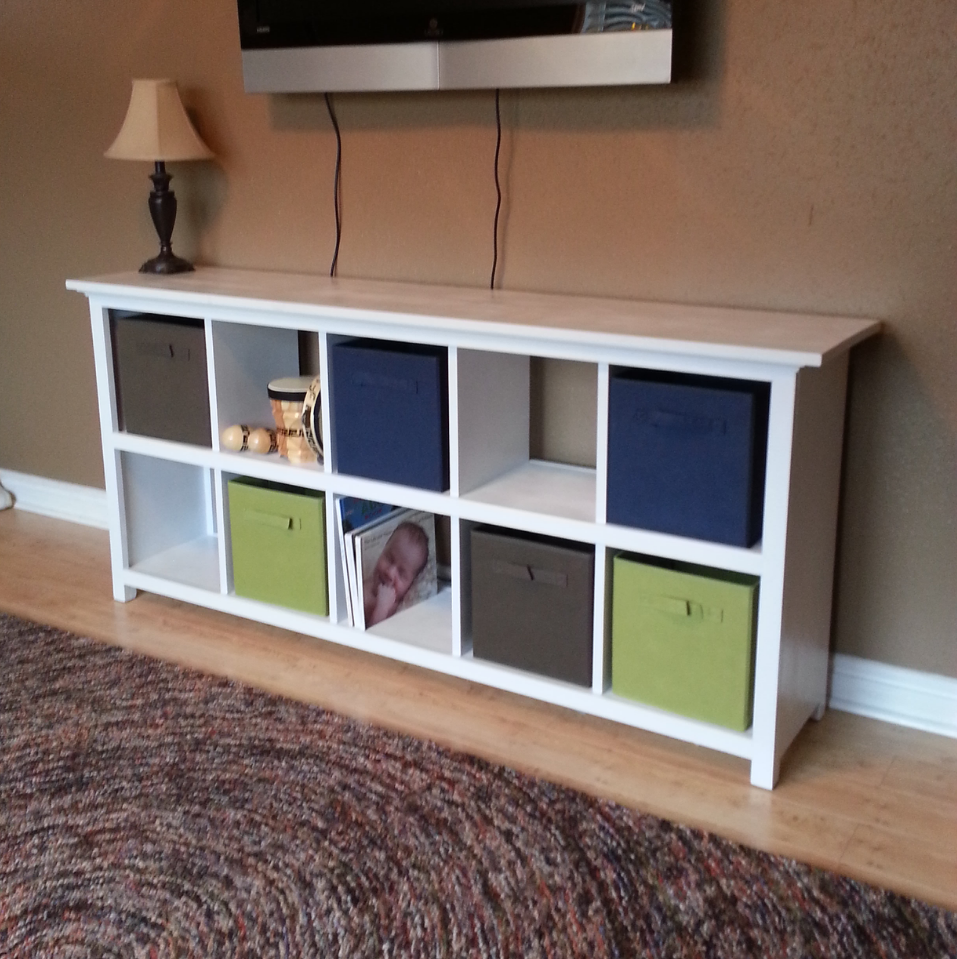
Expanded the 6 cube shelf to 10 cubes, beefed up the feet a little and fancied up the top to more closely match the picture in the plan page. Just joined a couple 1x8's and cut to length for the top.
Used the Kreg Jig to make the shelf box and face frames - biscuit joiner for top.
Wed, 11/26/2014 - 05:32
Hi John- this is exactly what I'm looking for- did you by any chance save your modification measurements and cut list? Also- I'm considering putting a 50 inch tv on the unit- would you recommend additional support? Thanks for any help.
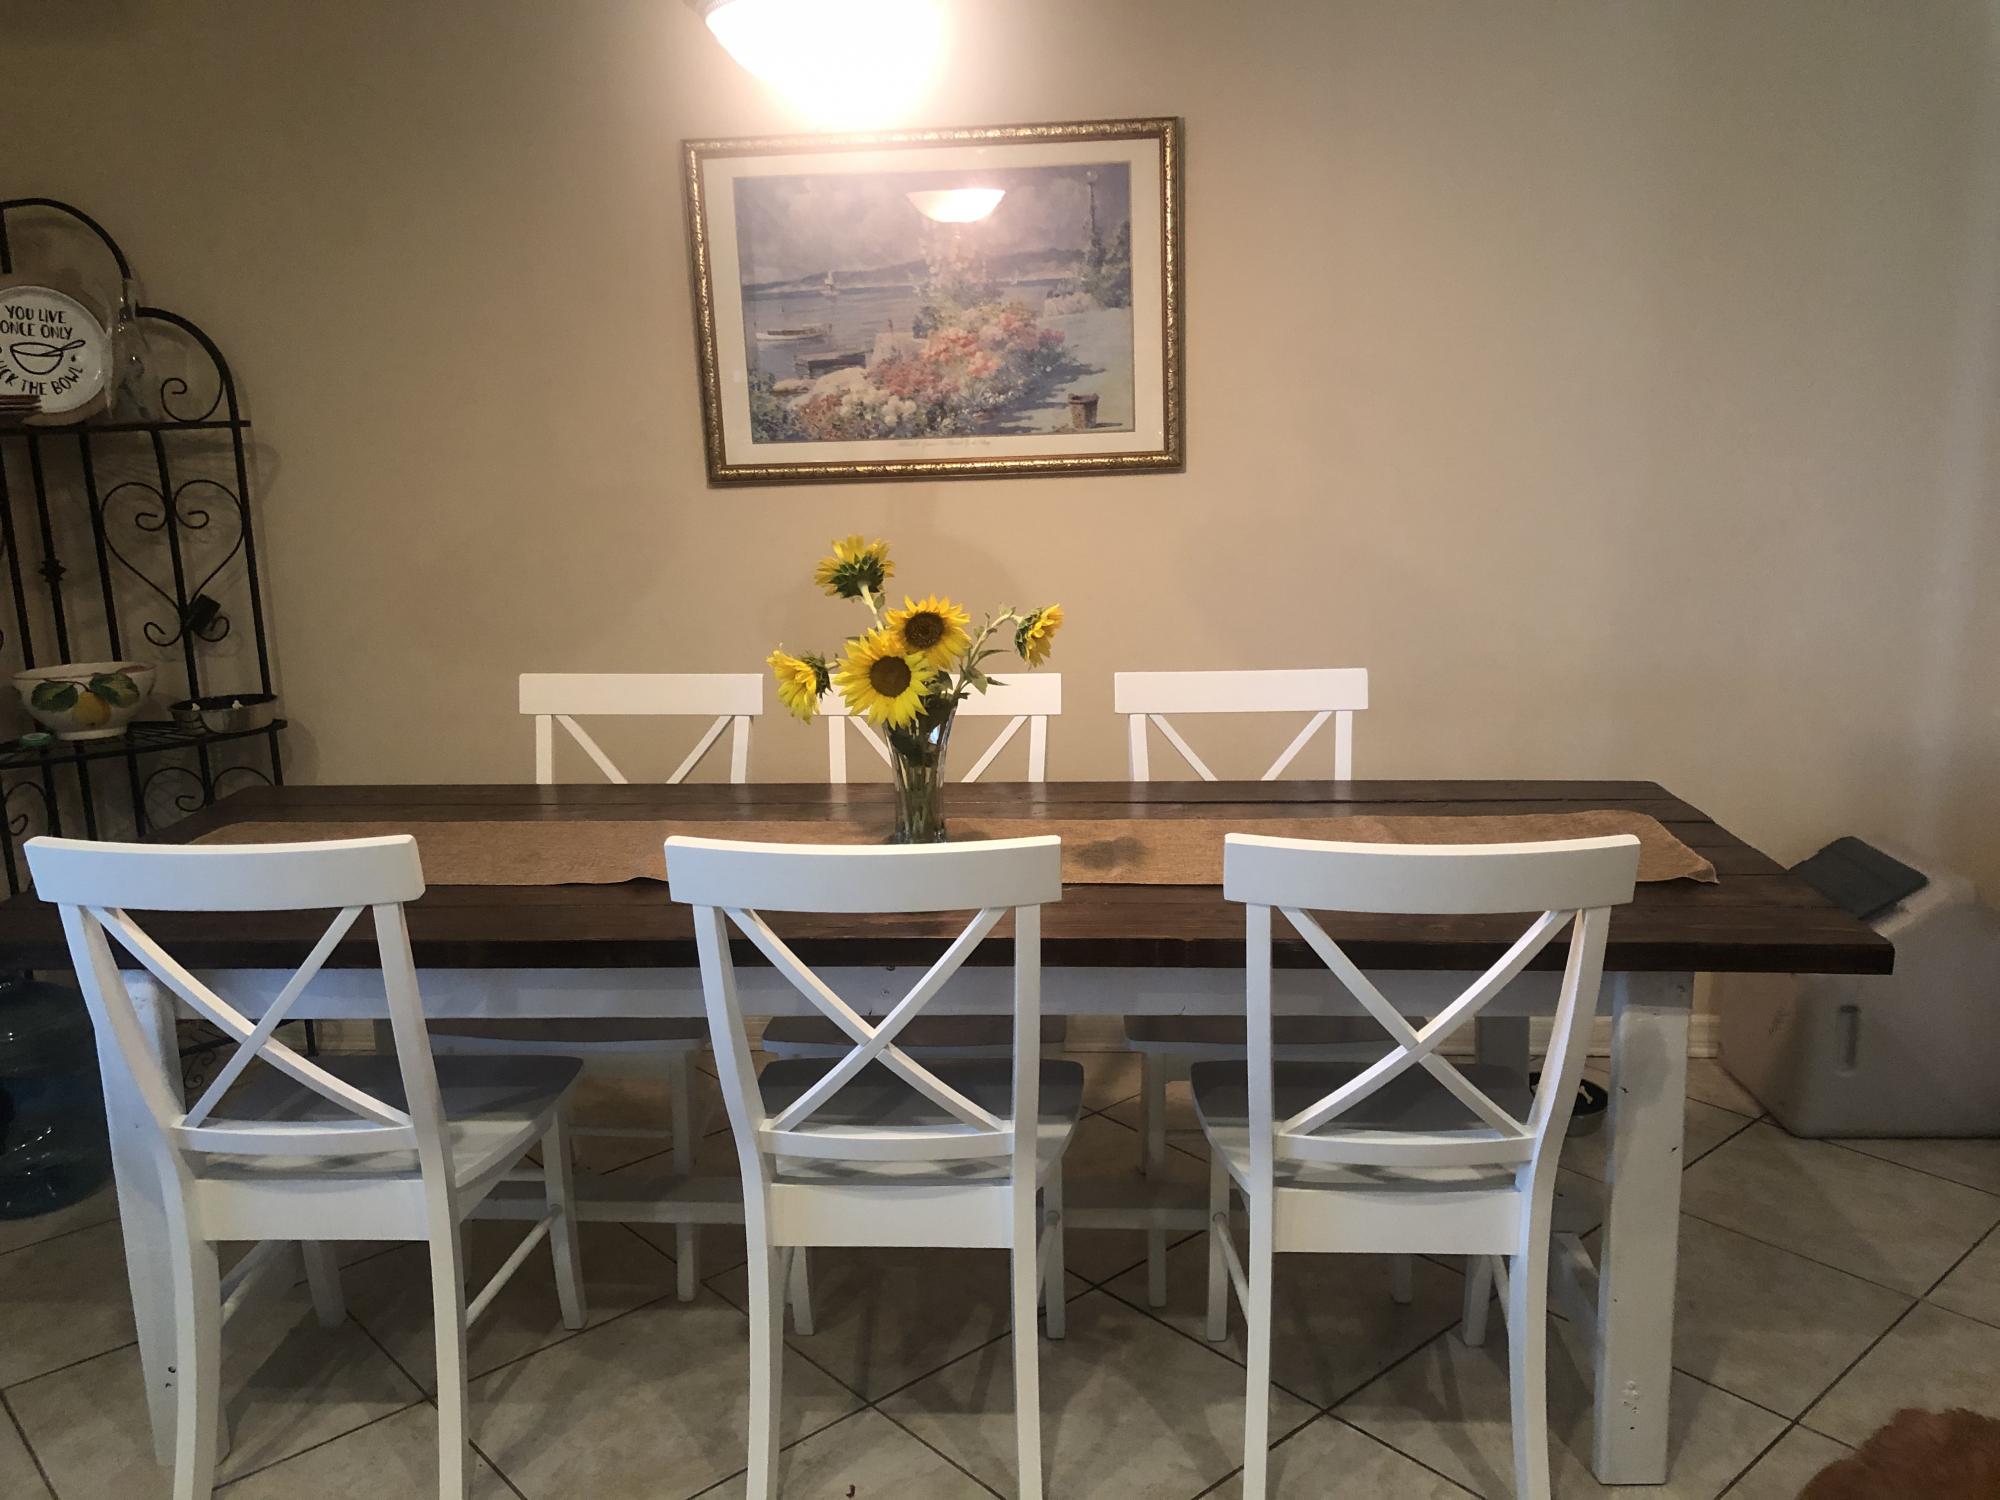
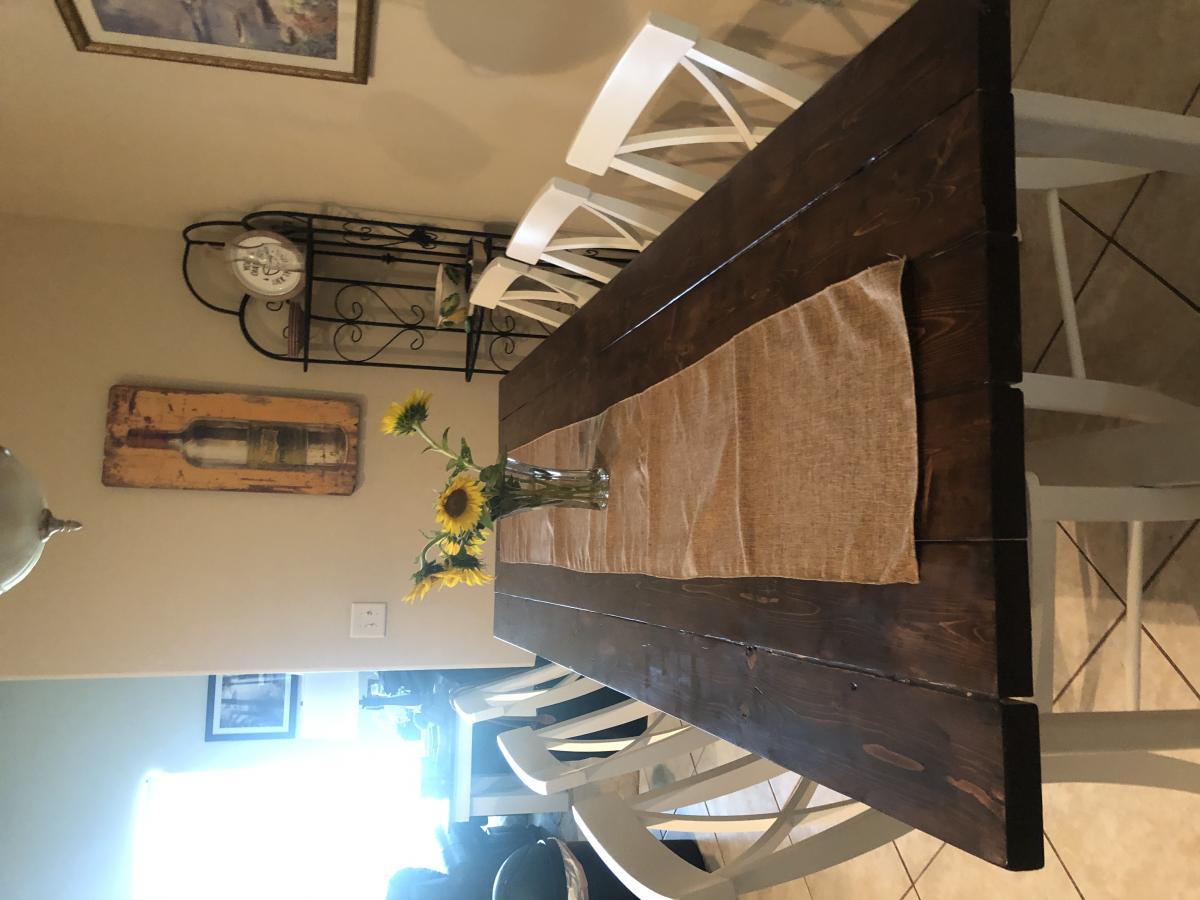
Prior to making this table I had never used a power drill in my life, and I was scared to death. I was intimidated by the power and scared to death to mess up, and in making this table I messed up A LOT! It was a big undertaking but I was determined. It’s rustic and authentic and full of mistakes and I LOVE IT!! Thank you Ana for modeling how to make such wonderful things. Up next is the raised flower bed.

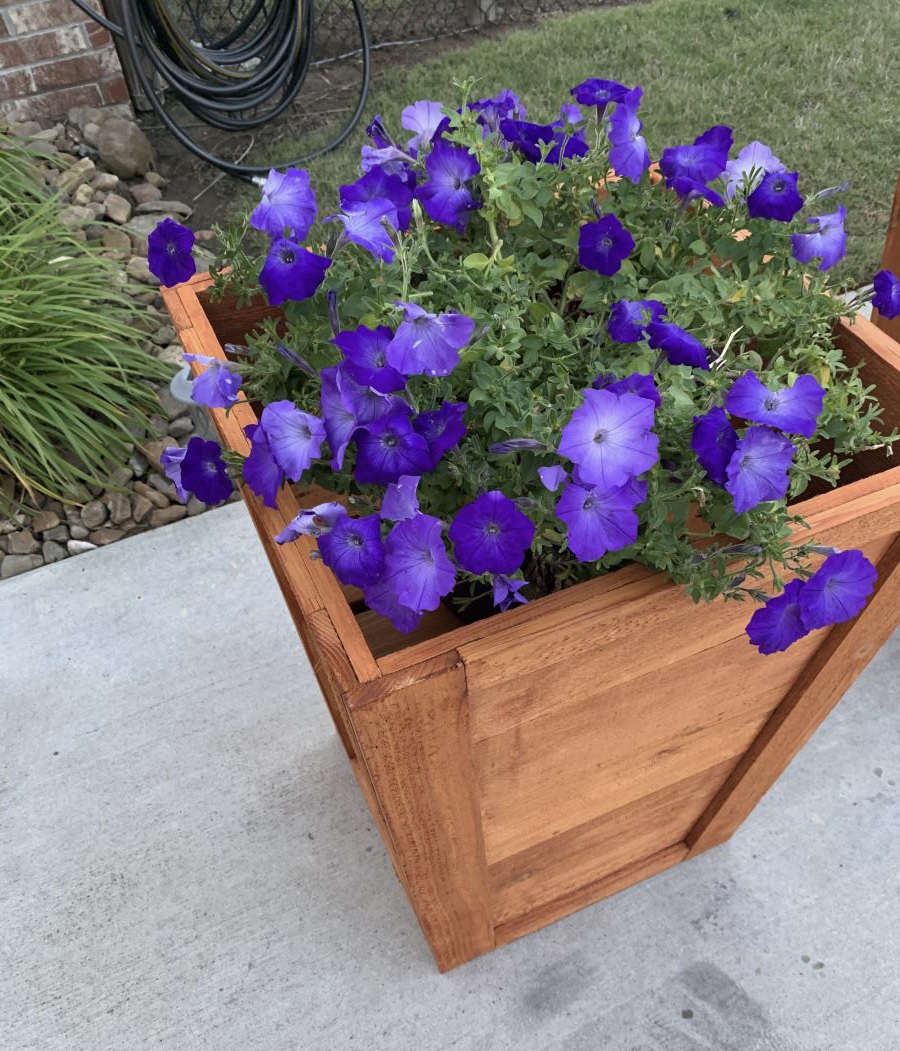
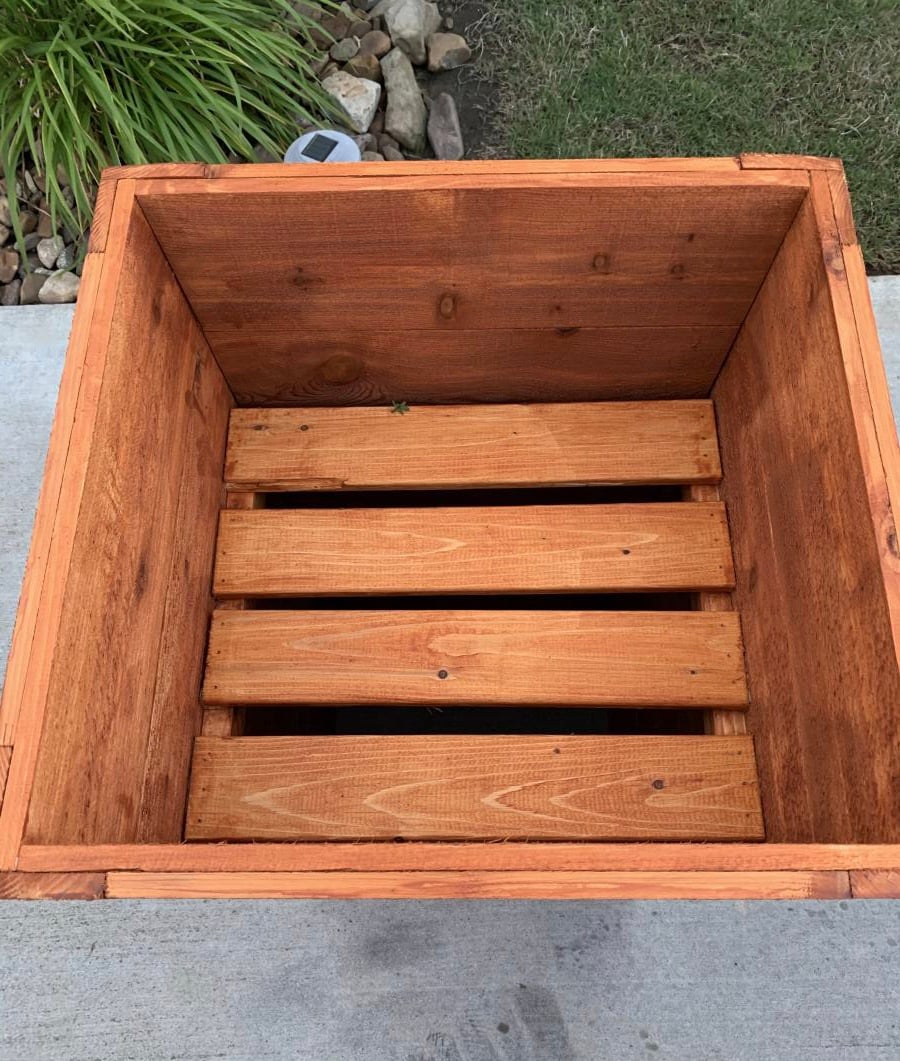
Added some extra trim pieces to finish it out. turned out really nice!!
Mon, 05/18/2020 - 17:25
These look great! Did you use the cedar tone water proofing?