Vintage Step Stool
![](/sites/default/files/4dd5c593eddc6c06490047ab.jpg)
I loved making this! The depth and width of the treads are great. It is sturdy, safe and roomy. My little guy loves it!
When we bought new couches for our new house, we realized our existing rectangular coffee table would no longer work. We searched for larger, rectangular shaped tables in all the major furniture stores. We became disappointed in the limited selection as well as the high prices. The ones we found that could work were typically in the $800 to $900 range. I suggested to my wife that I could make something better and less expensive, which took her by surprise since I had never made anything before. That's when I stumbled unto Ana-White.com and found the tryde coffee table plans. After searching the brag post, I found where a few had modified the plans to the size and shape we were looking for. The plans and build were very straight forward and much simpler than I expected. The table came out great and fits in well in our new den with our new couches.
We made a few changes to fit our needs but love the design. Way better than any kit you can buy!
Love this sofa! Shown primed and in the process of painting a chocolate brown now. Super easy to make!
I used 5 inch wheels as I wanted the wagon to sit a little higher. http://www.harborfreight.com/5-in-polyurethane-heavy-duty-swivel-caster-69852.html and http://www.harborfreight.com/5-in-polyurethane-heavy-duty-rigid-caster-61757.html We bought these metal pieces for the straps http://www.lowes.com/pd_44138-37672-11662 Our Lowes didn't have snow blower parts in July. But we were able to find a shear pin in the draawers where much of their specialty hardware connectors are located. . I opted to screw everything together and not use nails. Thanks so much for plans that include a seperate shopping list and cutting list and easy to follow directions. The wagon was a huge hit with the birthday boy.
Sun, 07/19/2015 - 18:34
The color is beautiful and it looks solid...definately grandma's heirloom wagon.
I made this for my son; he loves it! I don't have the tools to bevel edges so I did my angles with a cheap jigsaw and I think they turned out just fine. Thinking of adding a narrow shelf on the bottom.
Super easy and inexpensive build!
OMGSH ... I'm in love with this project!! My brother had given me some left over lattice that he had, and I was wondering what project I could use it on. This turned out so precious. However, I must say that drawers aren't for the faint of heart. Feeling defeated, I took the cabinet over to my brother's workshop and he helped me (or maybe he just did it for me). Anyway, as with all of my projects, it's going in the annual church auction and I can't wait to see how high it goes!!
Again, thanks Ana for your blog ... you're such an encouragement!!!
Thu, 02/17/2022 - 08:35
WOW, all the details and color choice are spot on! It will definitely be a big hit at the auction!
This is my first ever wood working project. I had a blast learning how to use the Kreg Jig. I learned a lot!! I finished it in about 6 hours, then sanded it and painted it the next day. It is not perfect, but I like it.
When we moved to our new home, our three boys wanted to share a very small room so we came up with this combination. The daybed is actually two stacked beds because we needed more storage space. We plan to create the desk/shelves under the loft bed soon!
The Ash for this table was sitting at a friends house out in a field for years. There were several 8/4 x 8' boards with various widths laying in the dirt. After many hours of planning and sanding I brought the Ash back to life.
My daughter's books never seem to end up on her book shelf in a way that she can easily see them. They are usually laying on their sides and stacked in heaps. We needed a way to keep them organized and easy for her to find the books she's looking for. I made two shelves in less than 20 minutes total.
I absolutely love this sectional! It is a little awkward for my pregnant wife to get up and down from because of how low it is but when you are down it is really nice and you can just kick back and relax.
It has its flaws but for my second ever attempt at building something I am very proud. And out of this project I found a great local lumber mill with excellent straight boards for great prices, learned when it comes to something like a counter sink drill bit spend a little extra learned this after snapping both kobalt and ryobi brand and buying the sturdy dewalt that is in my garage now.
After sanding I used Rust-oleum spray paint and sealed it all with two coats of Cabot spar varnish.
Added bonus our Wal-Mart had cushions on sale for 50 + percent off!
Fri, 07/19/2013 - 06:33
Very nice design. Love the cushions (and bargain) you found.
Really great and easy plans to follow. The only thing I would do different is replace all the 1x3's with 1x4's.
Sun, 07/26/2015 - 10:03
The bed looks great, and so does that nightstand! Thanks for sharing!
We used the plan from the basic open base collection. I attached four and left two unattached.
I have to give a massive shout out to Anna White and to all the other folks who did their own variation on the Salsa Console Table.
I started this project before my daughter was born, and needless to say, that turned it from a "couple of weeks" project to a "most of the year" one!
The good news is that in taking my time, I was able to think and re-design and that made the final project so much better! I kept the original idea of a 'criss-cross' wine rack, elevated the drawer/cabinet design with shaker-style joinery, and laminated the top myself (sooooo happy with how that turned out). I made the extra bits of trim around the mid-section and base myself with a router and scraps from the drawer faces (since trim is so expensive at box stores)
Lastly, the finishing involved two of my very favorite products: Benjamin Moore Advance for the body(expensive but diamond-hard finish) and Varathane Poly Stain and Seal (there is just no substitute for slow-drying oil finishes on tabletops - so smooth and rich in colour)
All in all, the project cost me around $600 (high prices of wood during Covid to blame) but there is just no substitute for doing it yourself, and since most solid wood buffet tables run $2000+ I still came out ahead.
Cheers fellow woodworkers!!!
Fri, 04/01/2022 - 09:35
WOW, you did amazing, love the finish choices and all the little details! Thank you for sharing:)
I am going to be making more of these, but I just loved how they turned out. The cushions were ten bucks at Target.
I built this for my daughter, and she loves it! Looks great and feels even better to relax in. Now I'll have to build one for me, 'cause she's not sharing
So thankful for these plans! My daughter requested a cabin loft bed that could double as a "crafting nest". I only had to make a few architectural modifications, but I built this by myself in five days, so I would say it's a very DIY-friendly build! My daughter loves it and it adds functional and aesthetic appeal to the room!
I used the 2x4 modern Adirondack chair plans. I made it entirely from old treated lumber that came from a deck I tore down. All decking boards and 2x10 beams that I ripped to size. The finish is burned.
I built two of these benches for under $30 of lumber and supplies. They were great Mother's Day gifts that thrilled my mom and mother-in-law. I will have to upload pics of the other one soon. It's already at the lake house and painted a beautiful barn red.
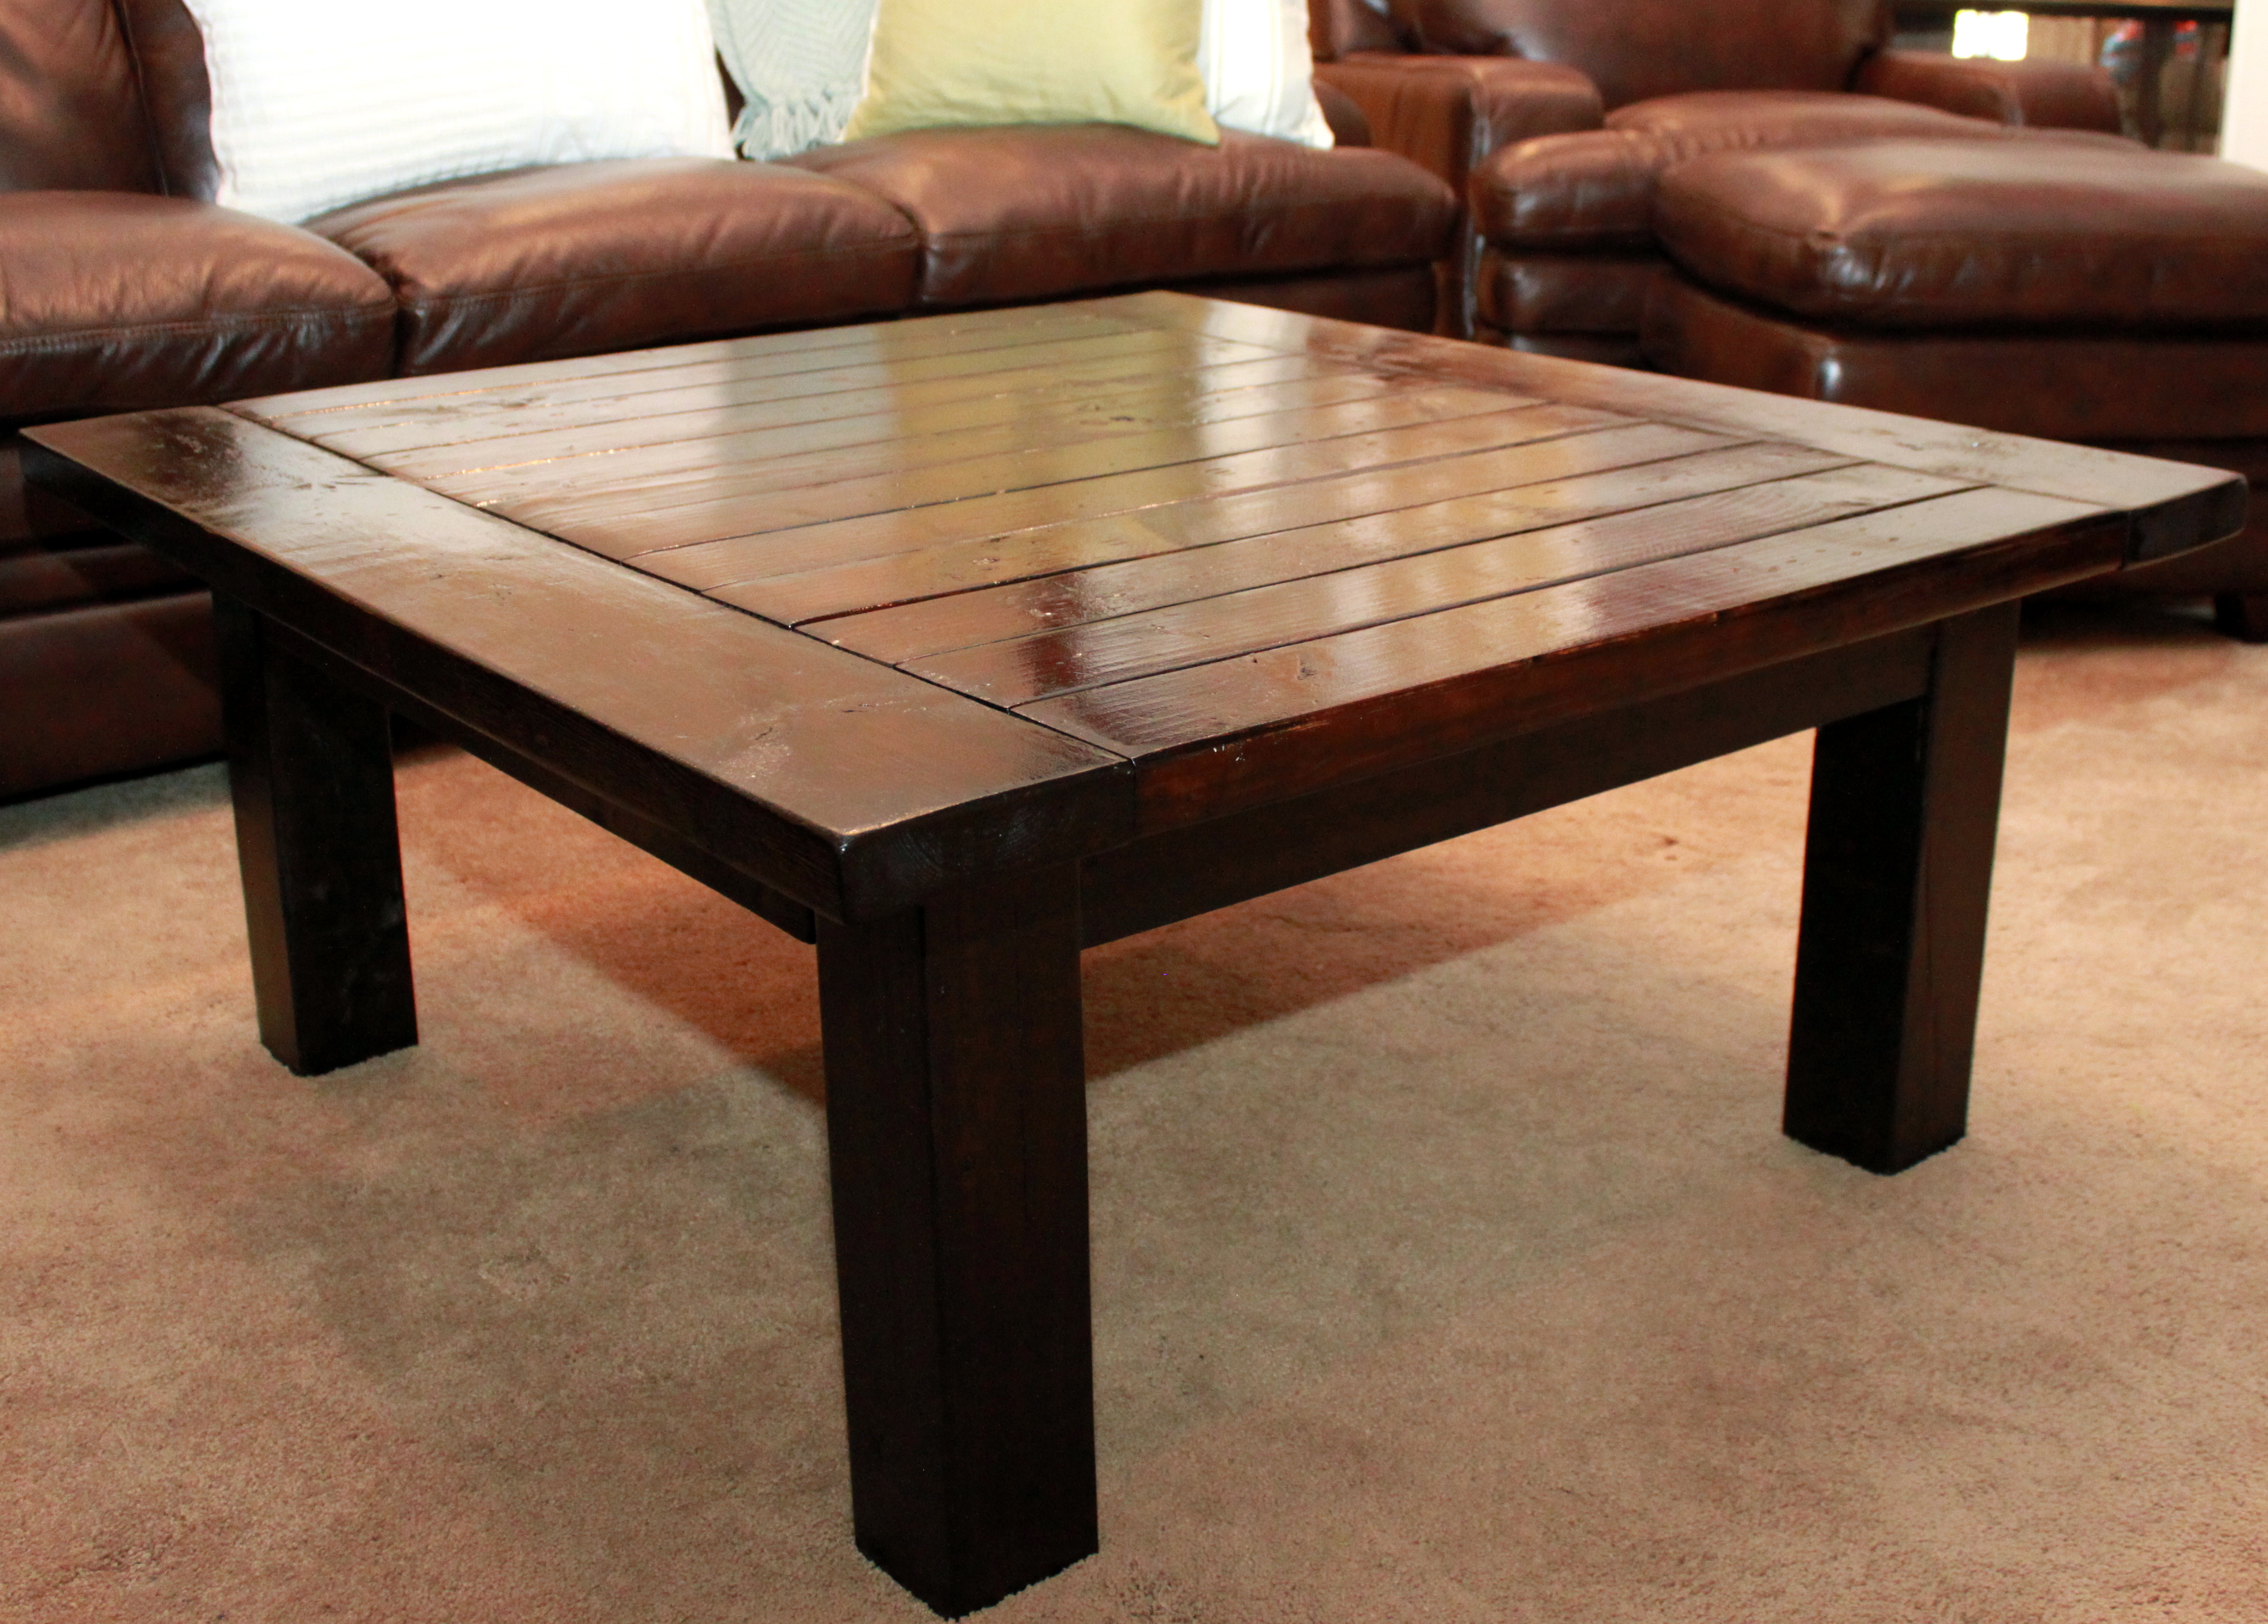
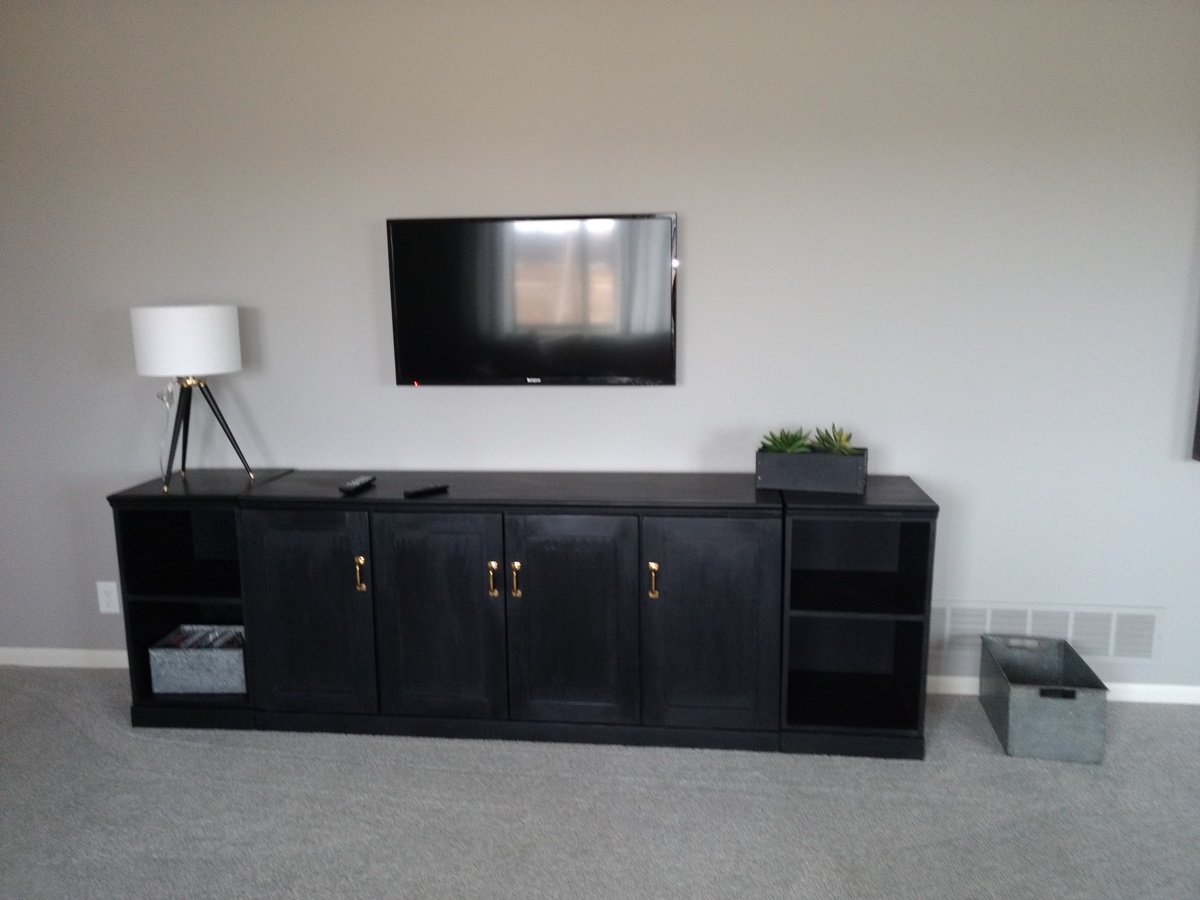
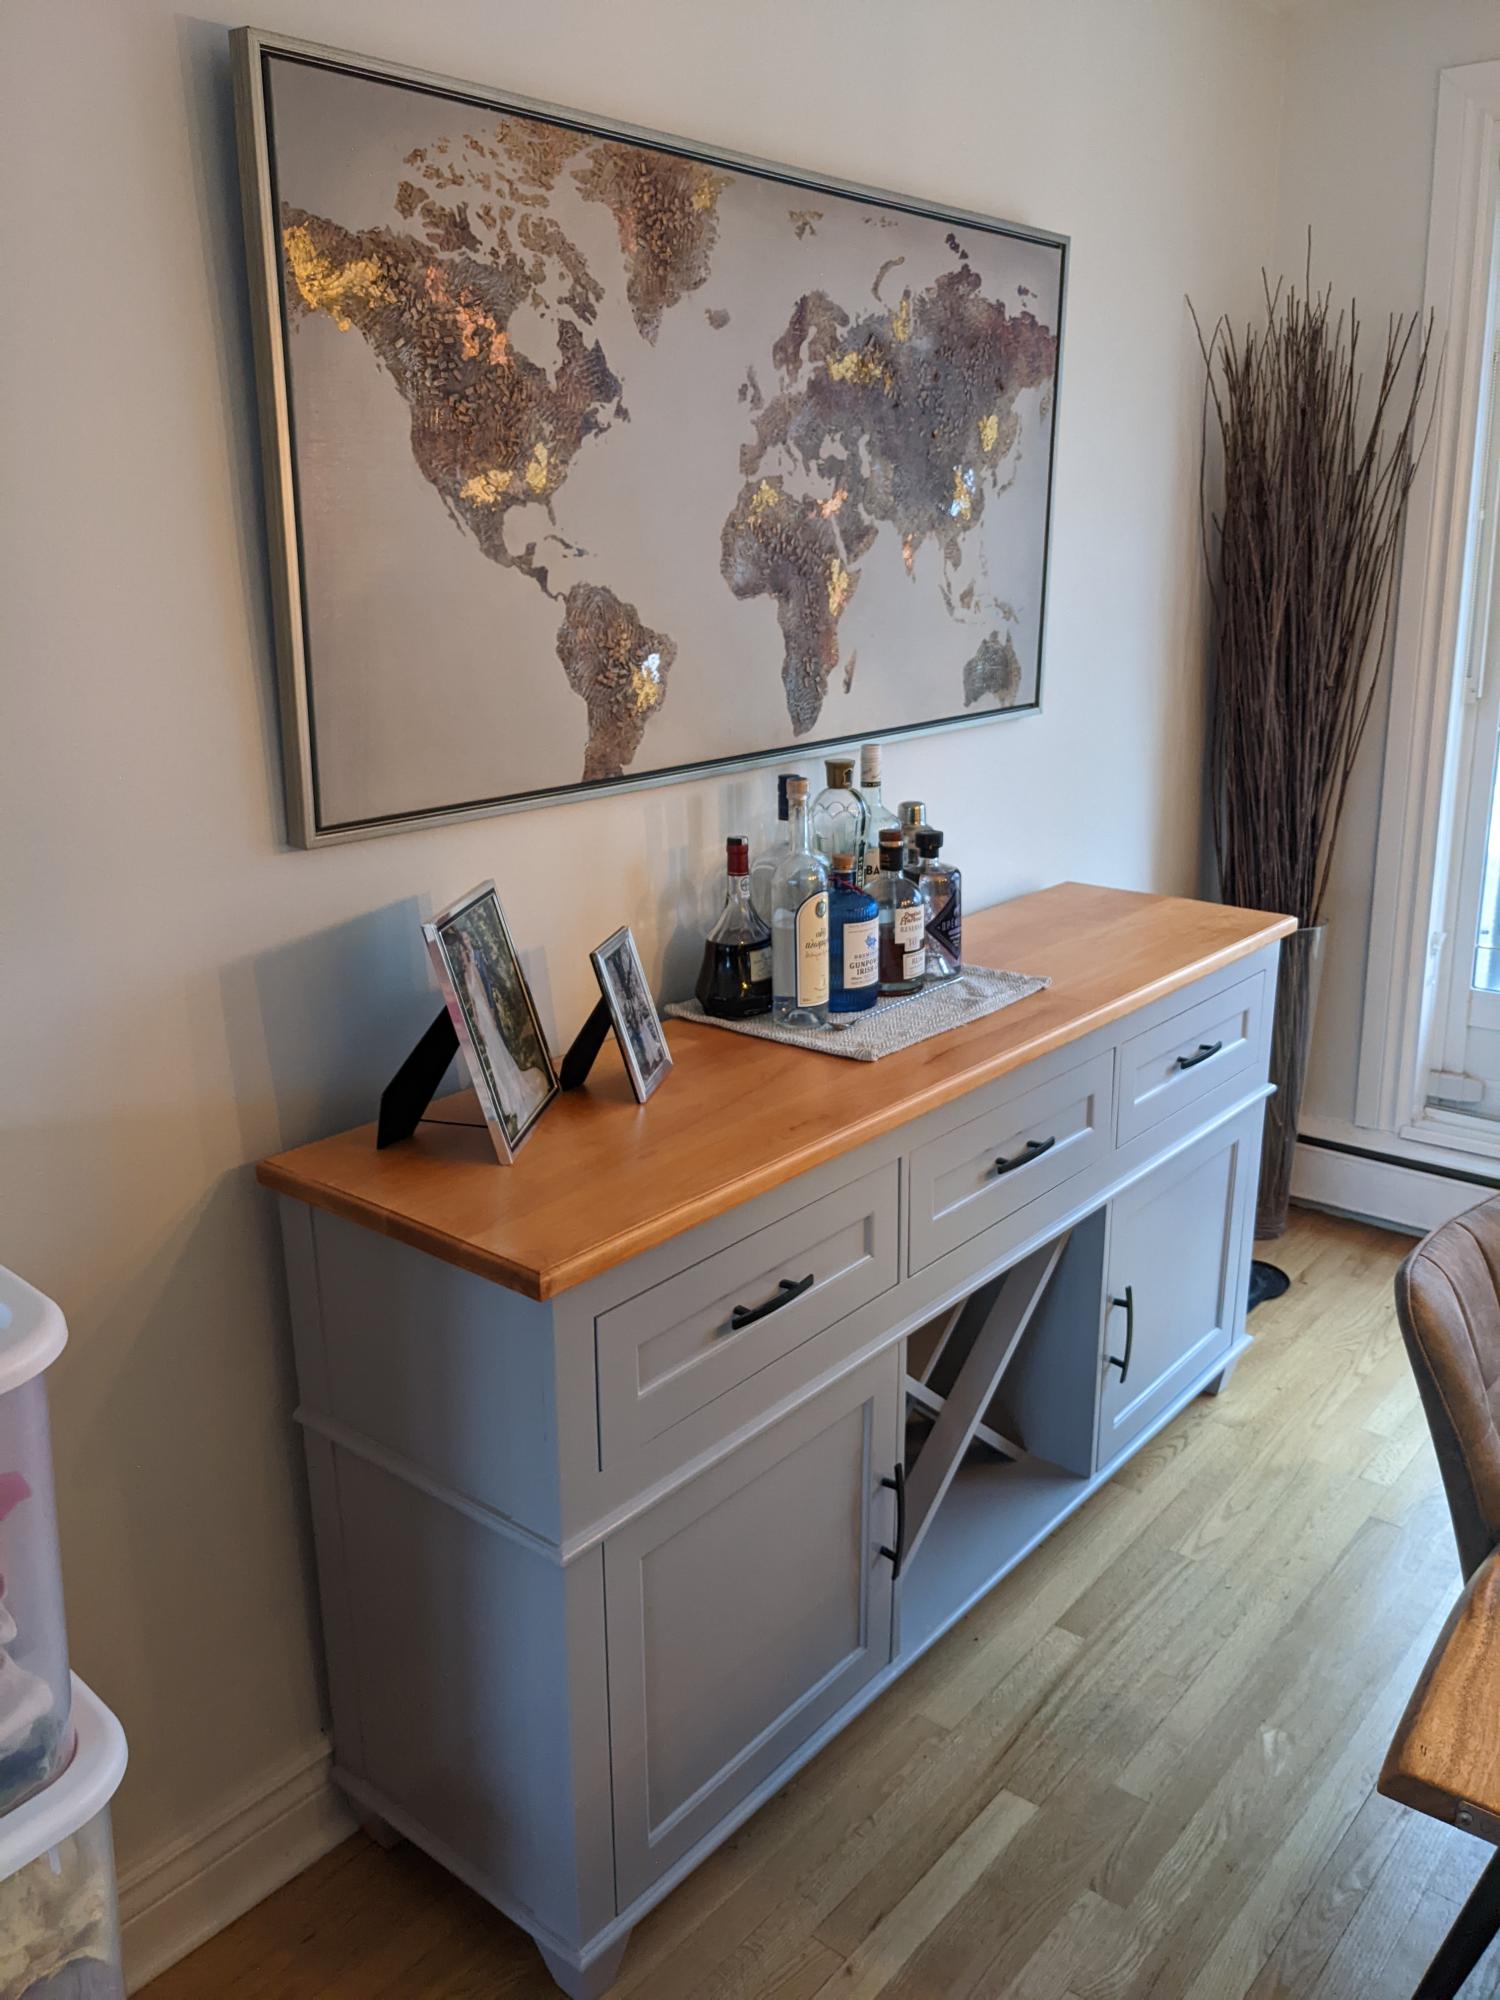
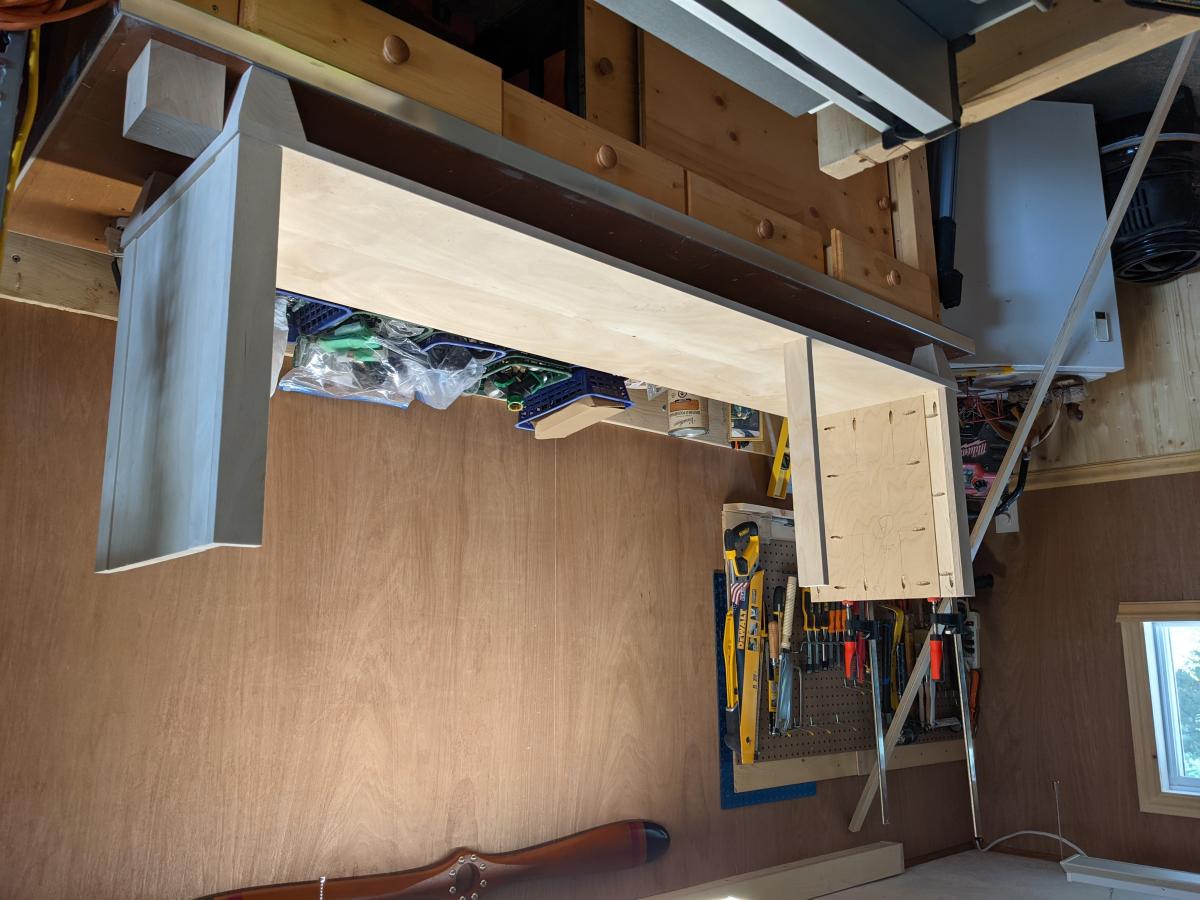
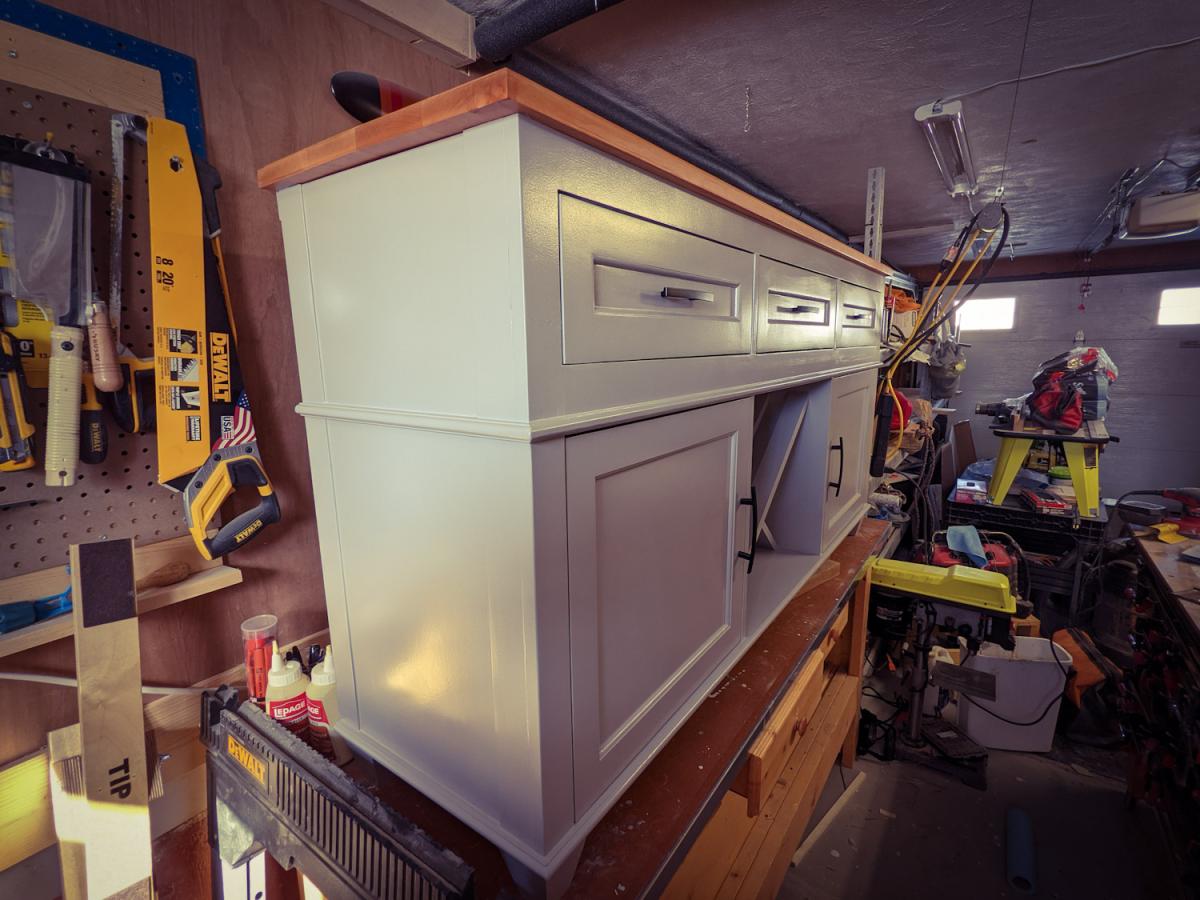
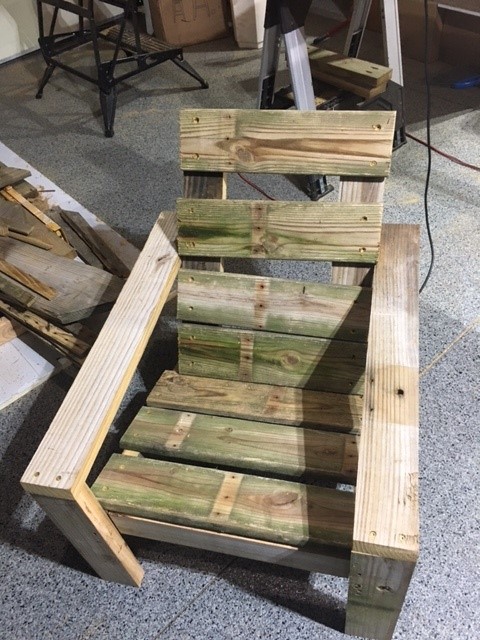
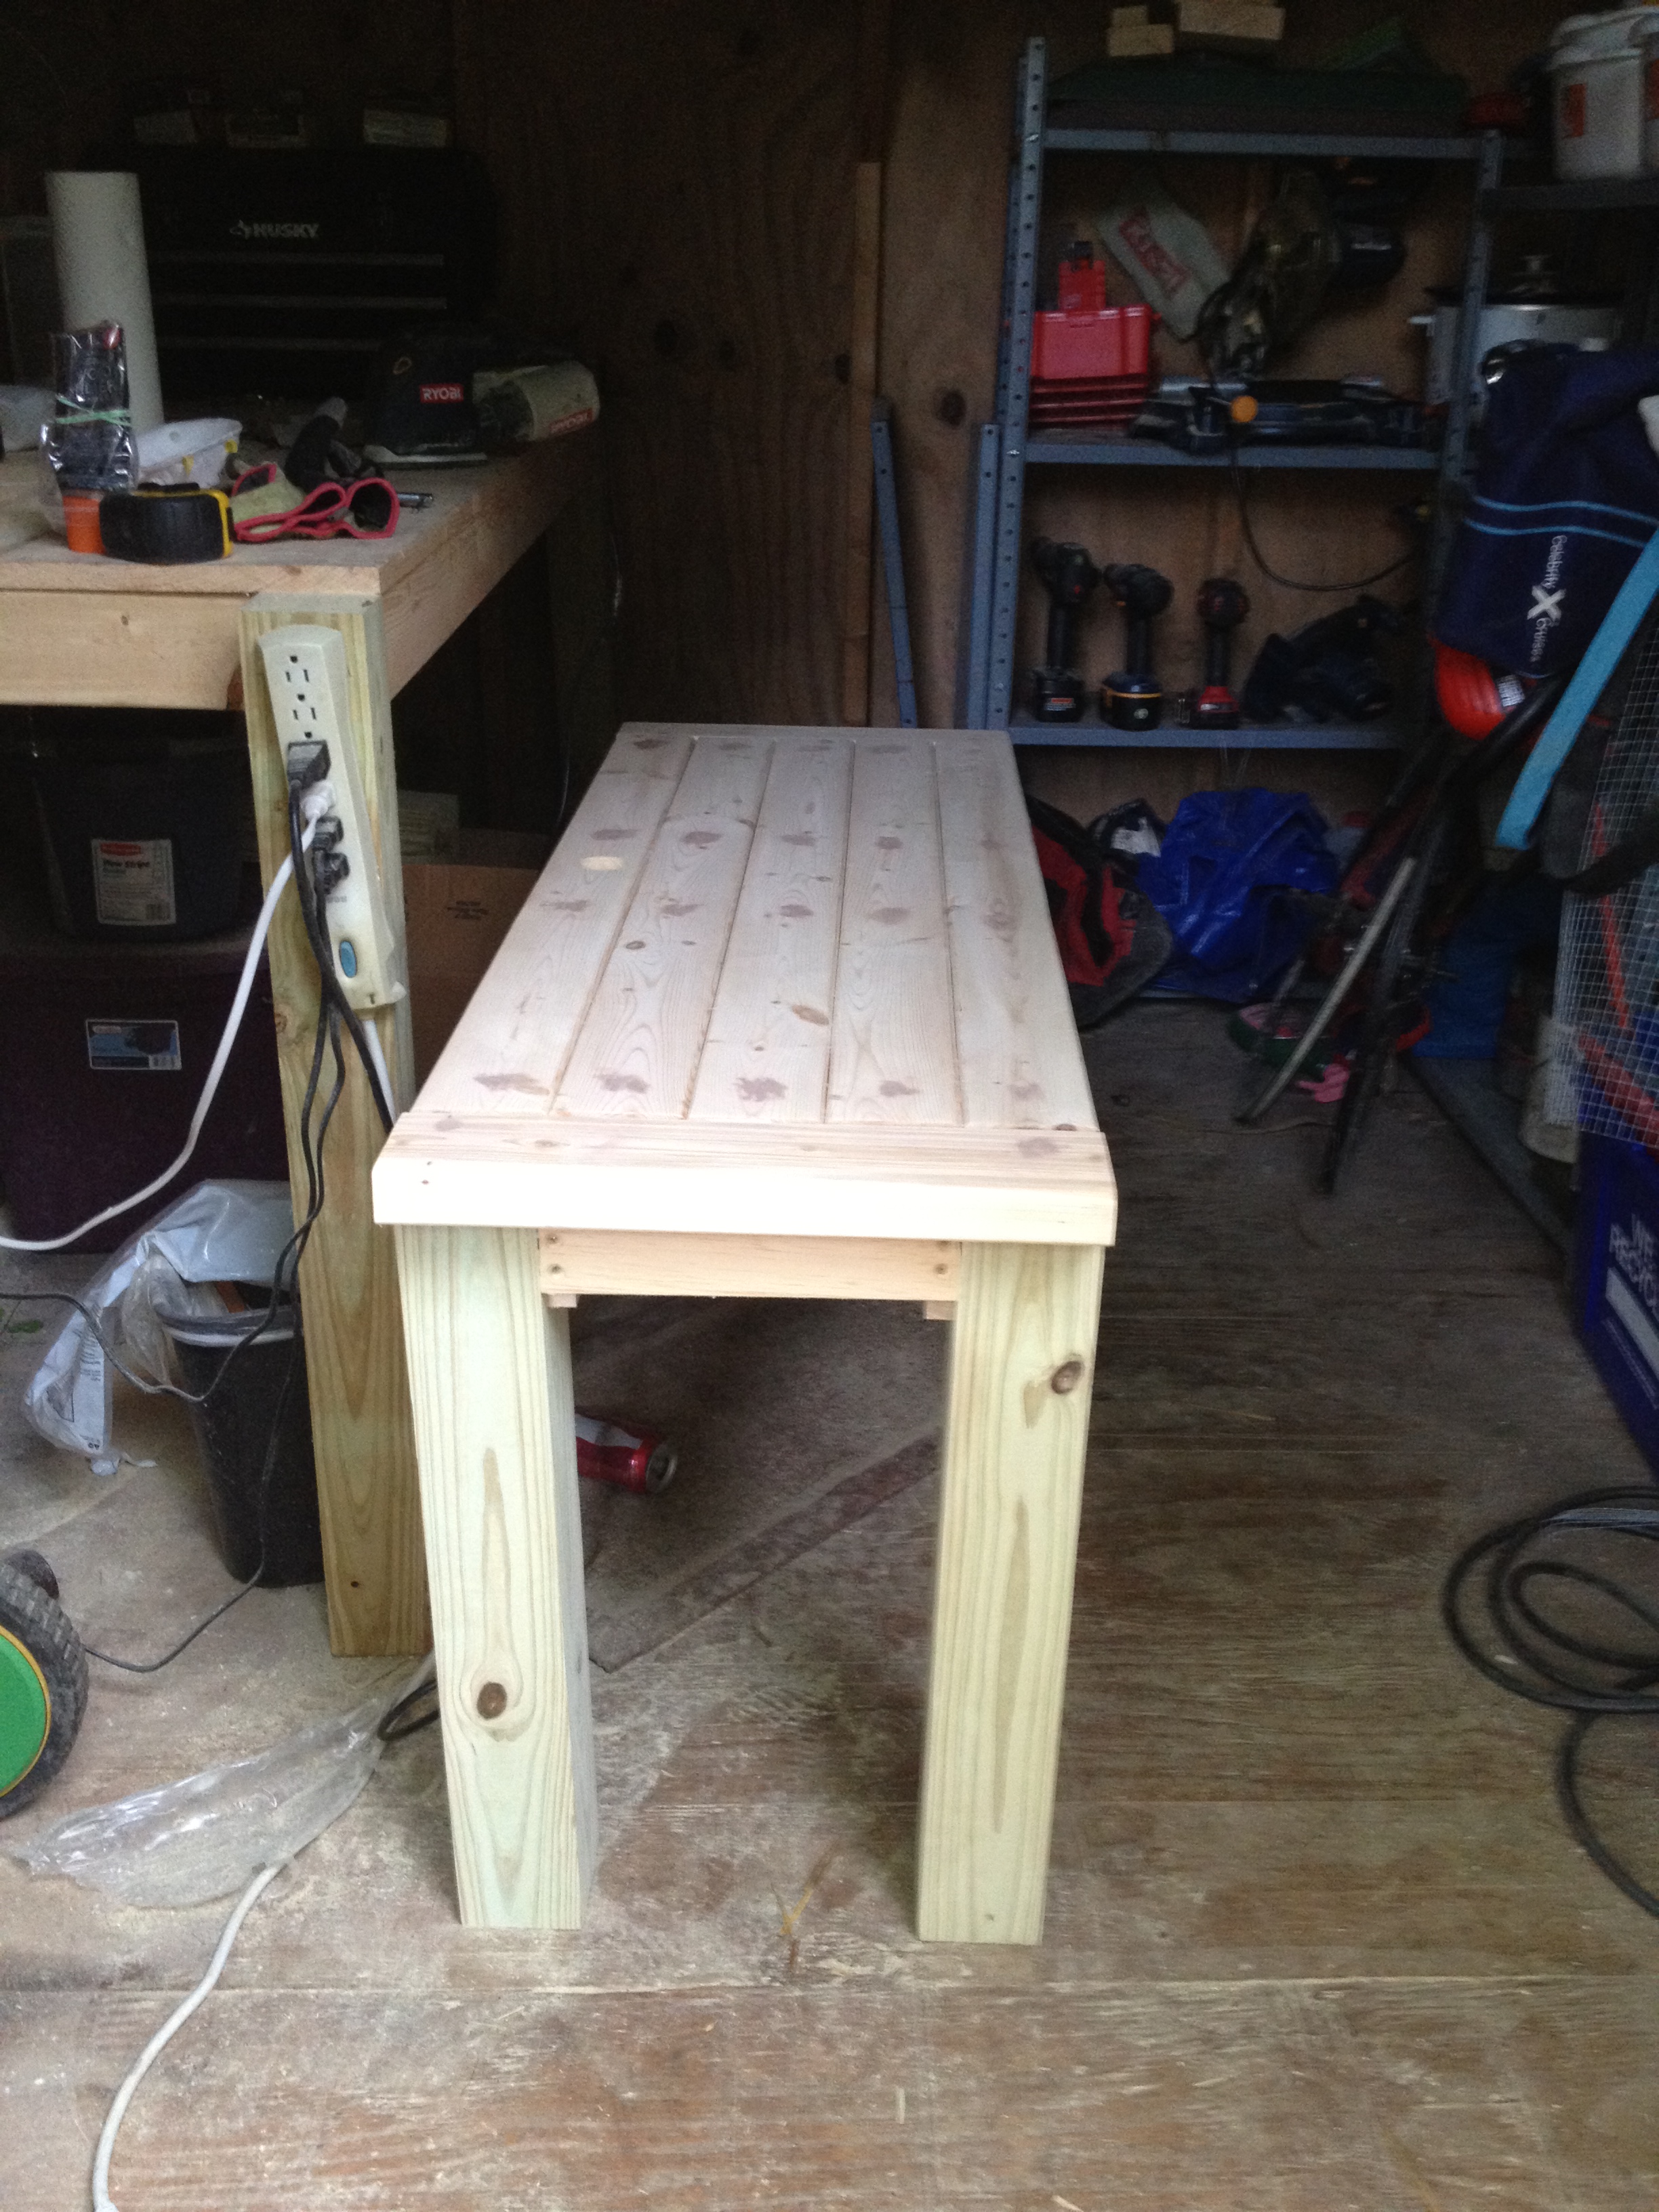
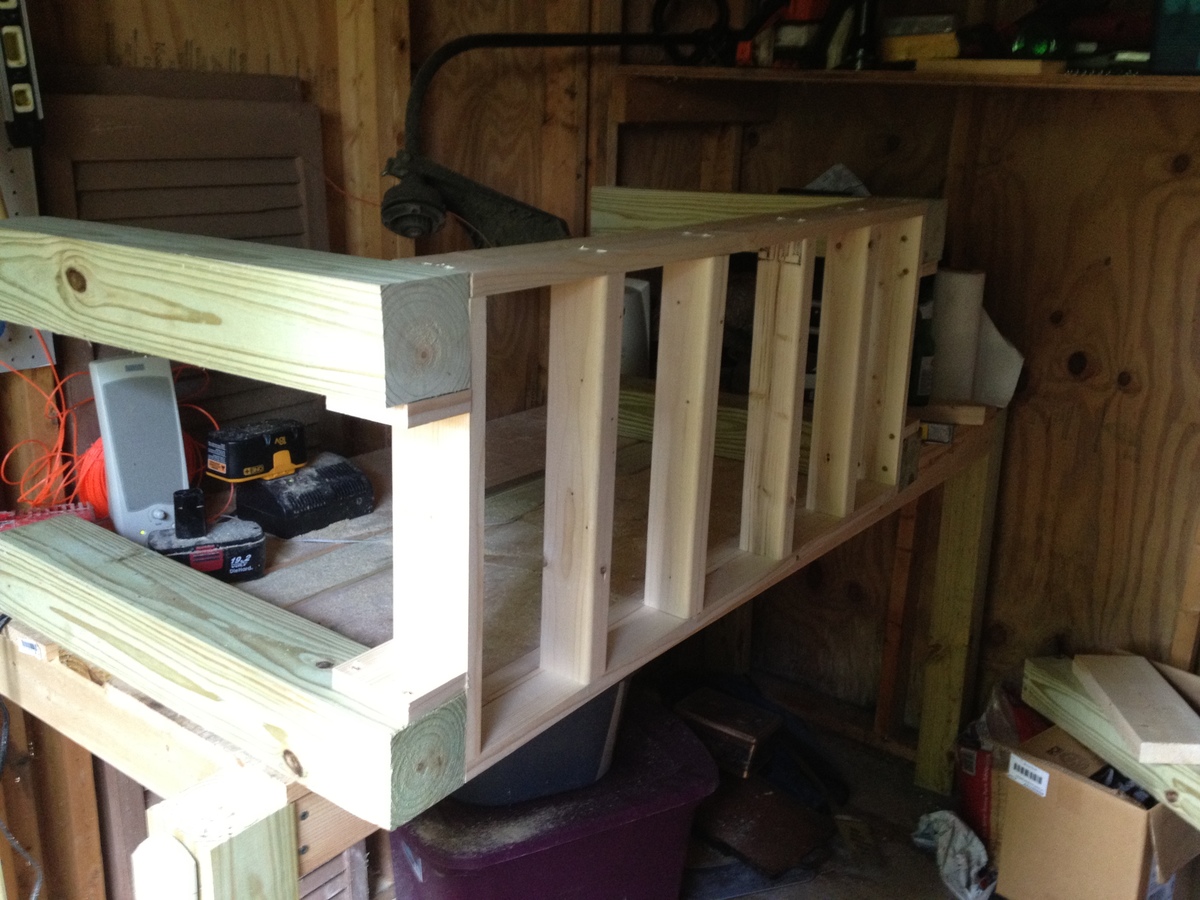
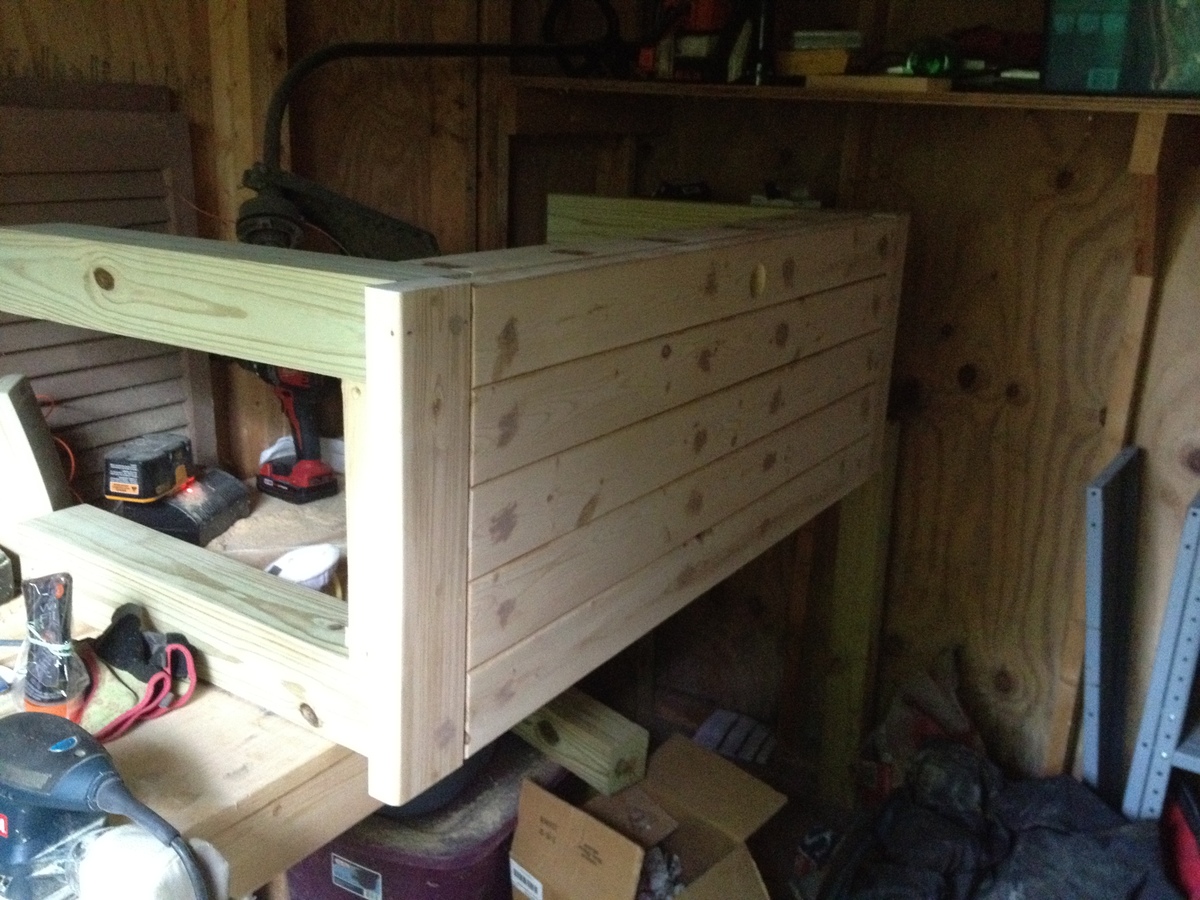
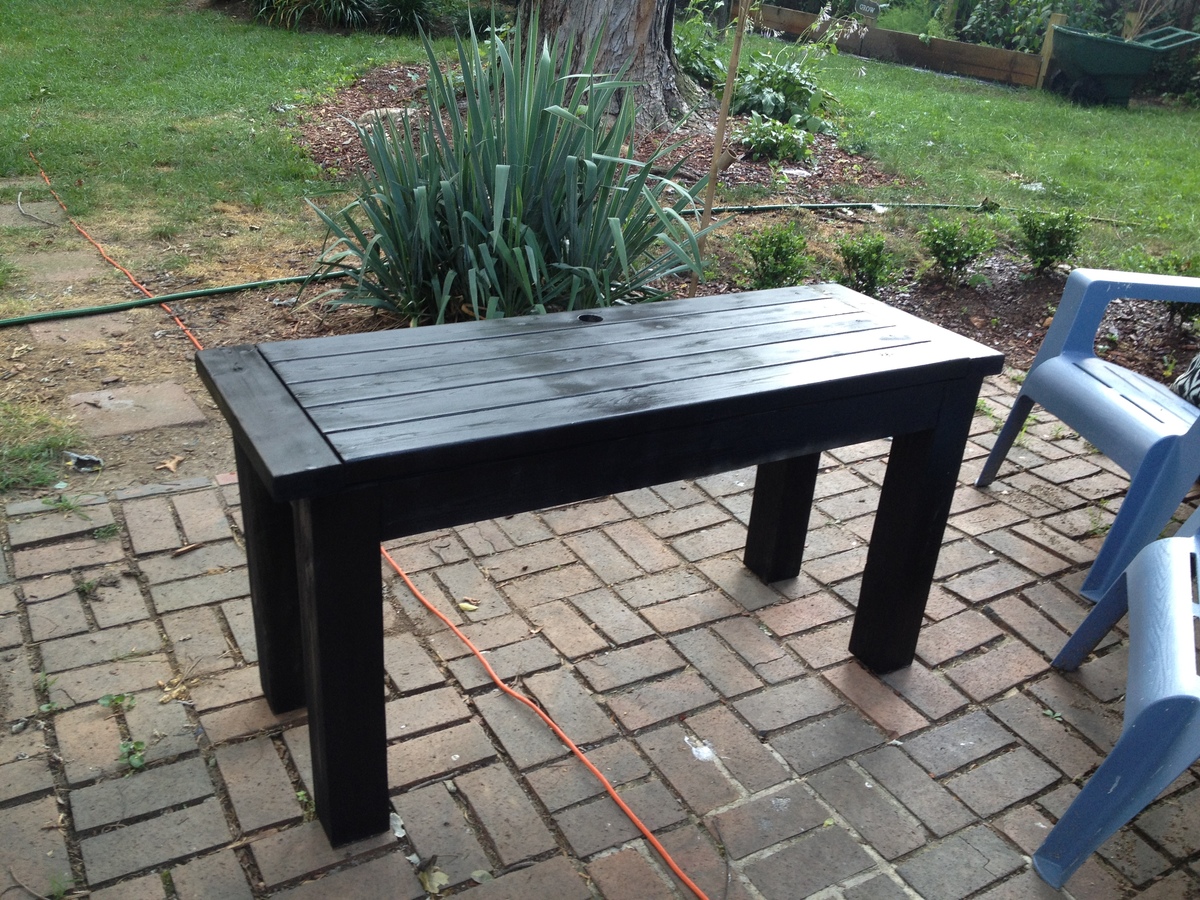
This is my first real project that I took my time on. Actually my first real project ever. I wanted to replace my Ikea console table because it has started to bow (Ikea furniture does not fend well on moves). I modified the measurements and this is now 24" wide 18" tall - same length. Solid piece of furniture. I could not find all the lumber, but I improvised. Since this was my first project, I could not get the boards to match up all too well, and I do not have a chop saw that would cut a 2x6 - when I placed the 2x6 I did not like the look so I swapped it out with 2x4's.
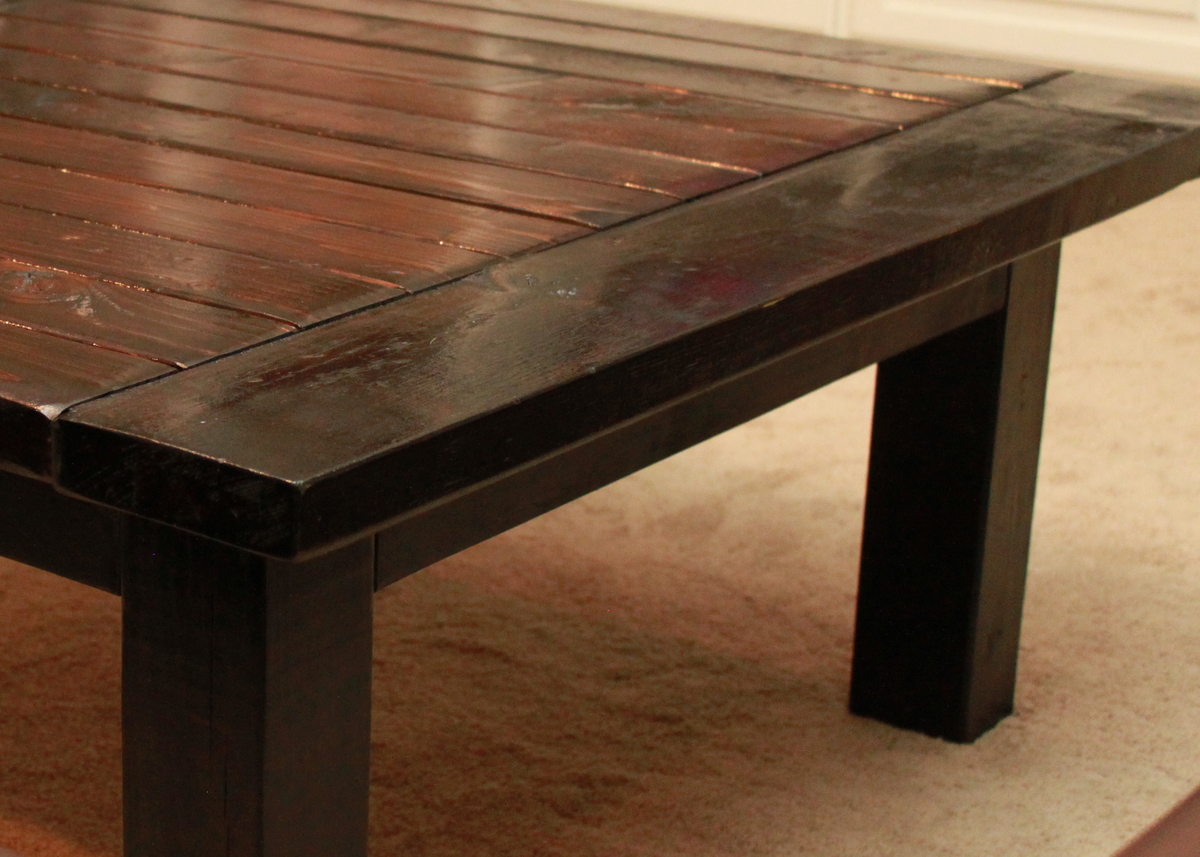
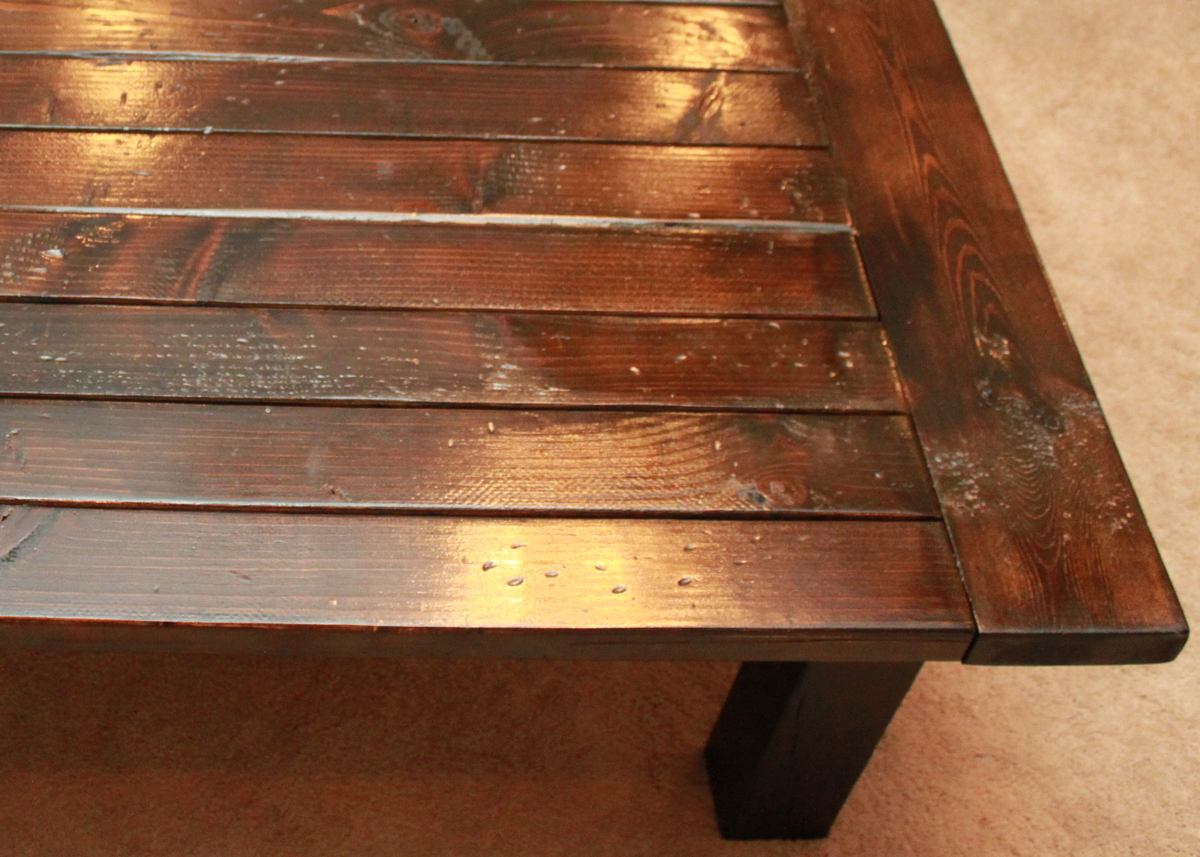
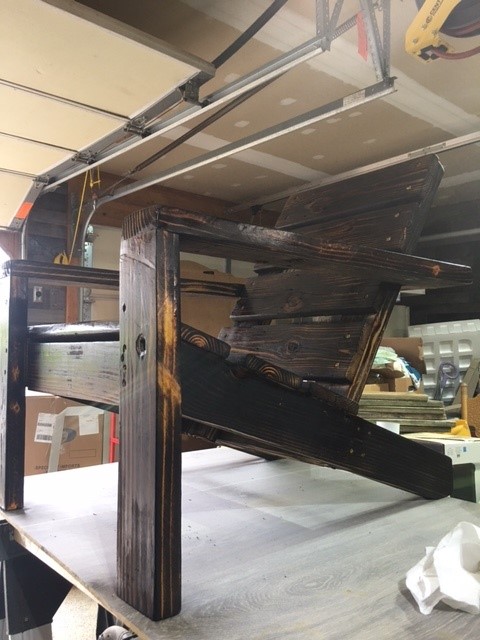
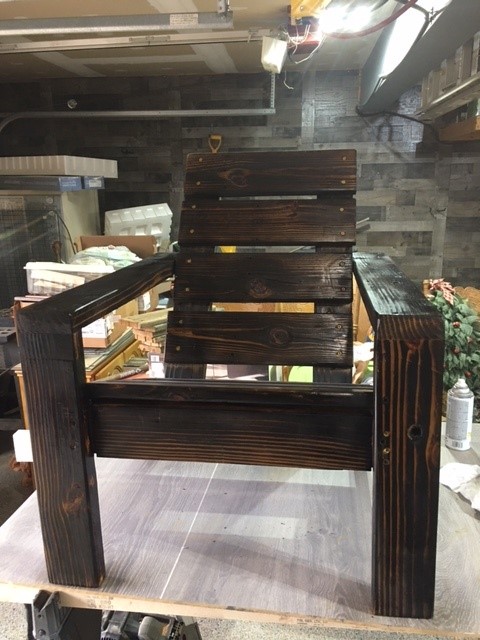
I used Rustoleum black lacquer spray paint. I like how the grain came out, however, it took way too much spray paint. I will consider using black latex paint next time.
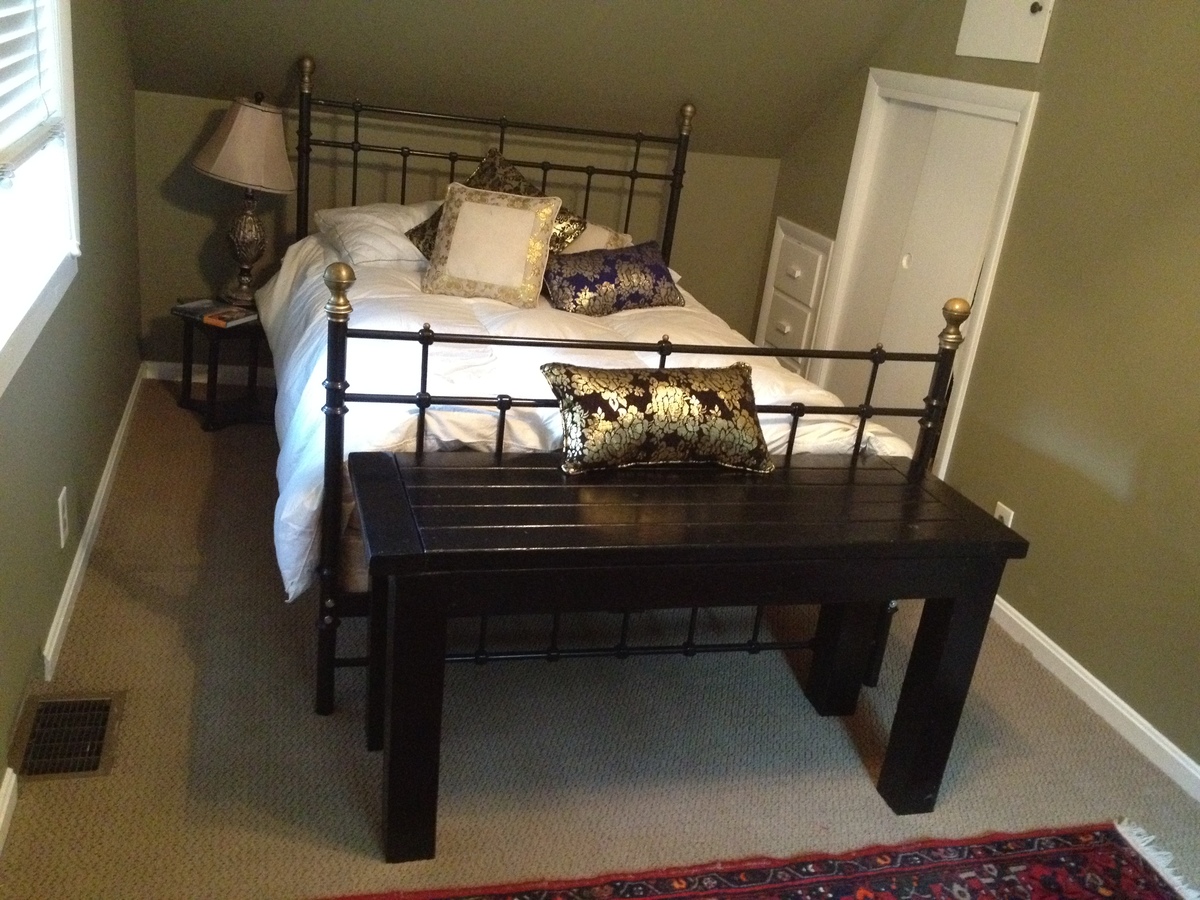
I have since applied 2 coats of poly and sanded it down and steel wooled it - and finally a coat of paste wax to preserve it. If I do not like the imperfections, I just might make it an outside patio table.
Thank you so much for these plans, I spend 3 hours at work looking through all the plans on you site. I even have bought the lumber for my next project - an outdoor table (same design) so that I can use it next to the grill as a counter surface and wire baskets.
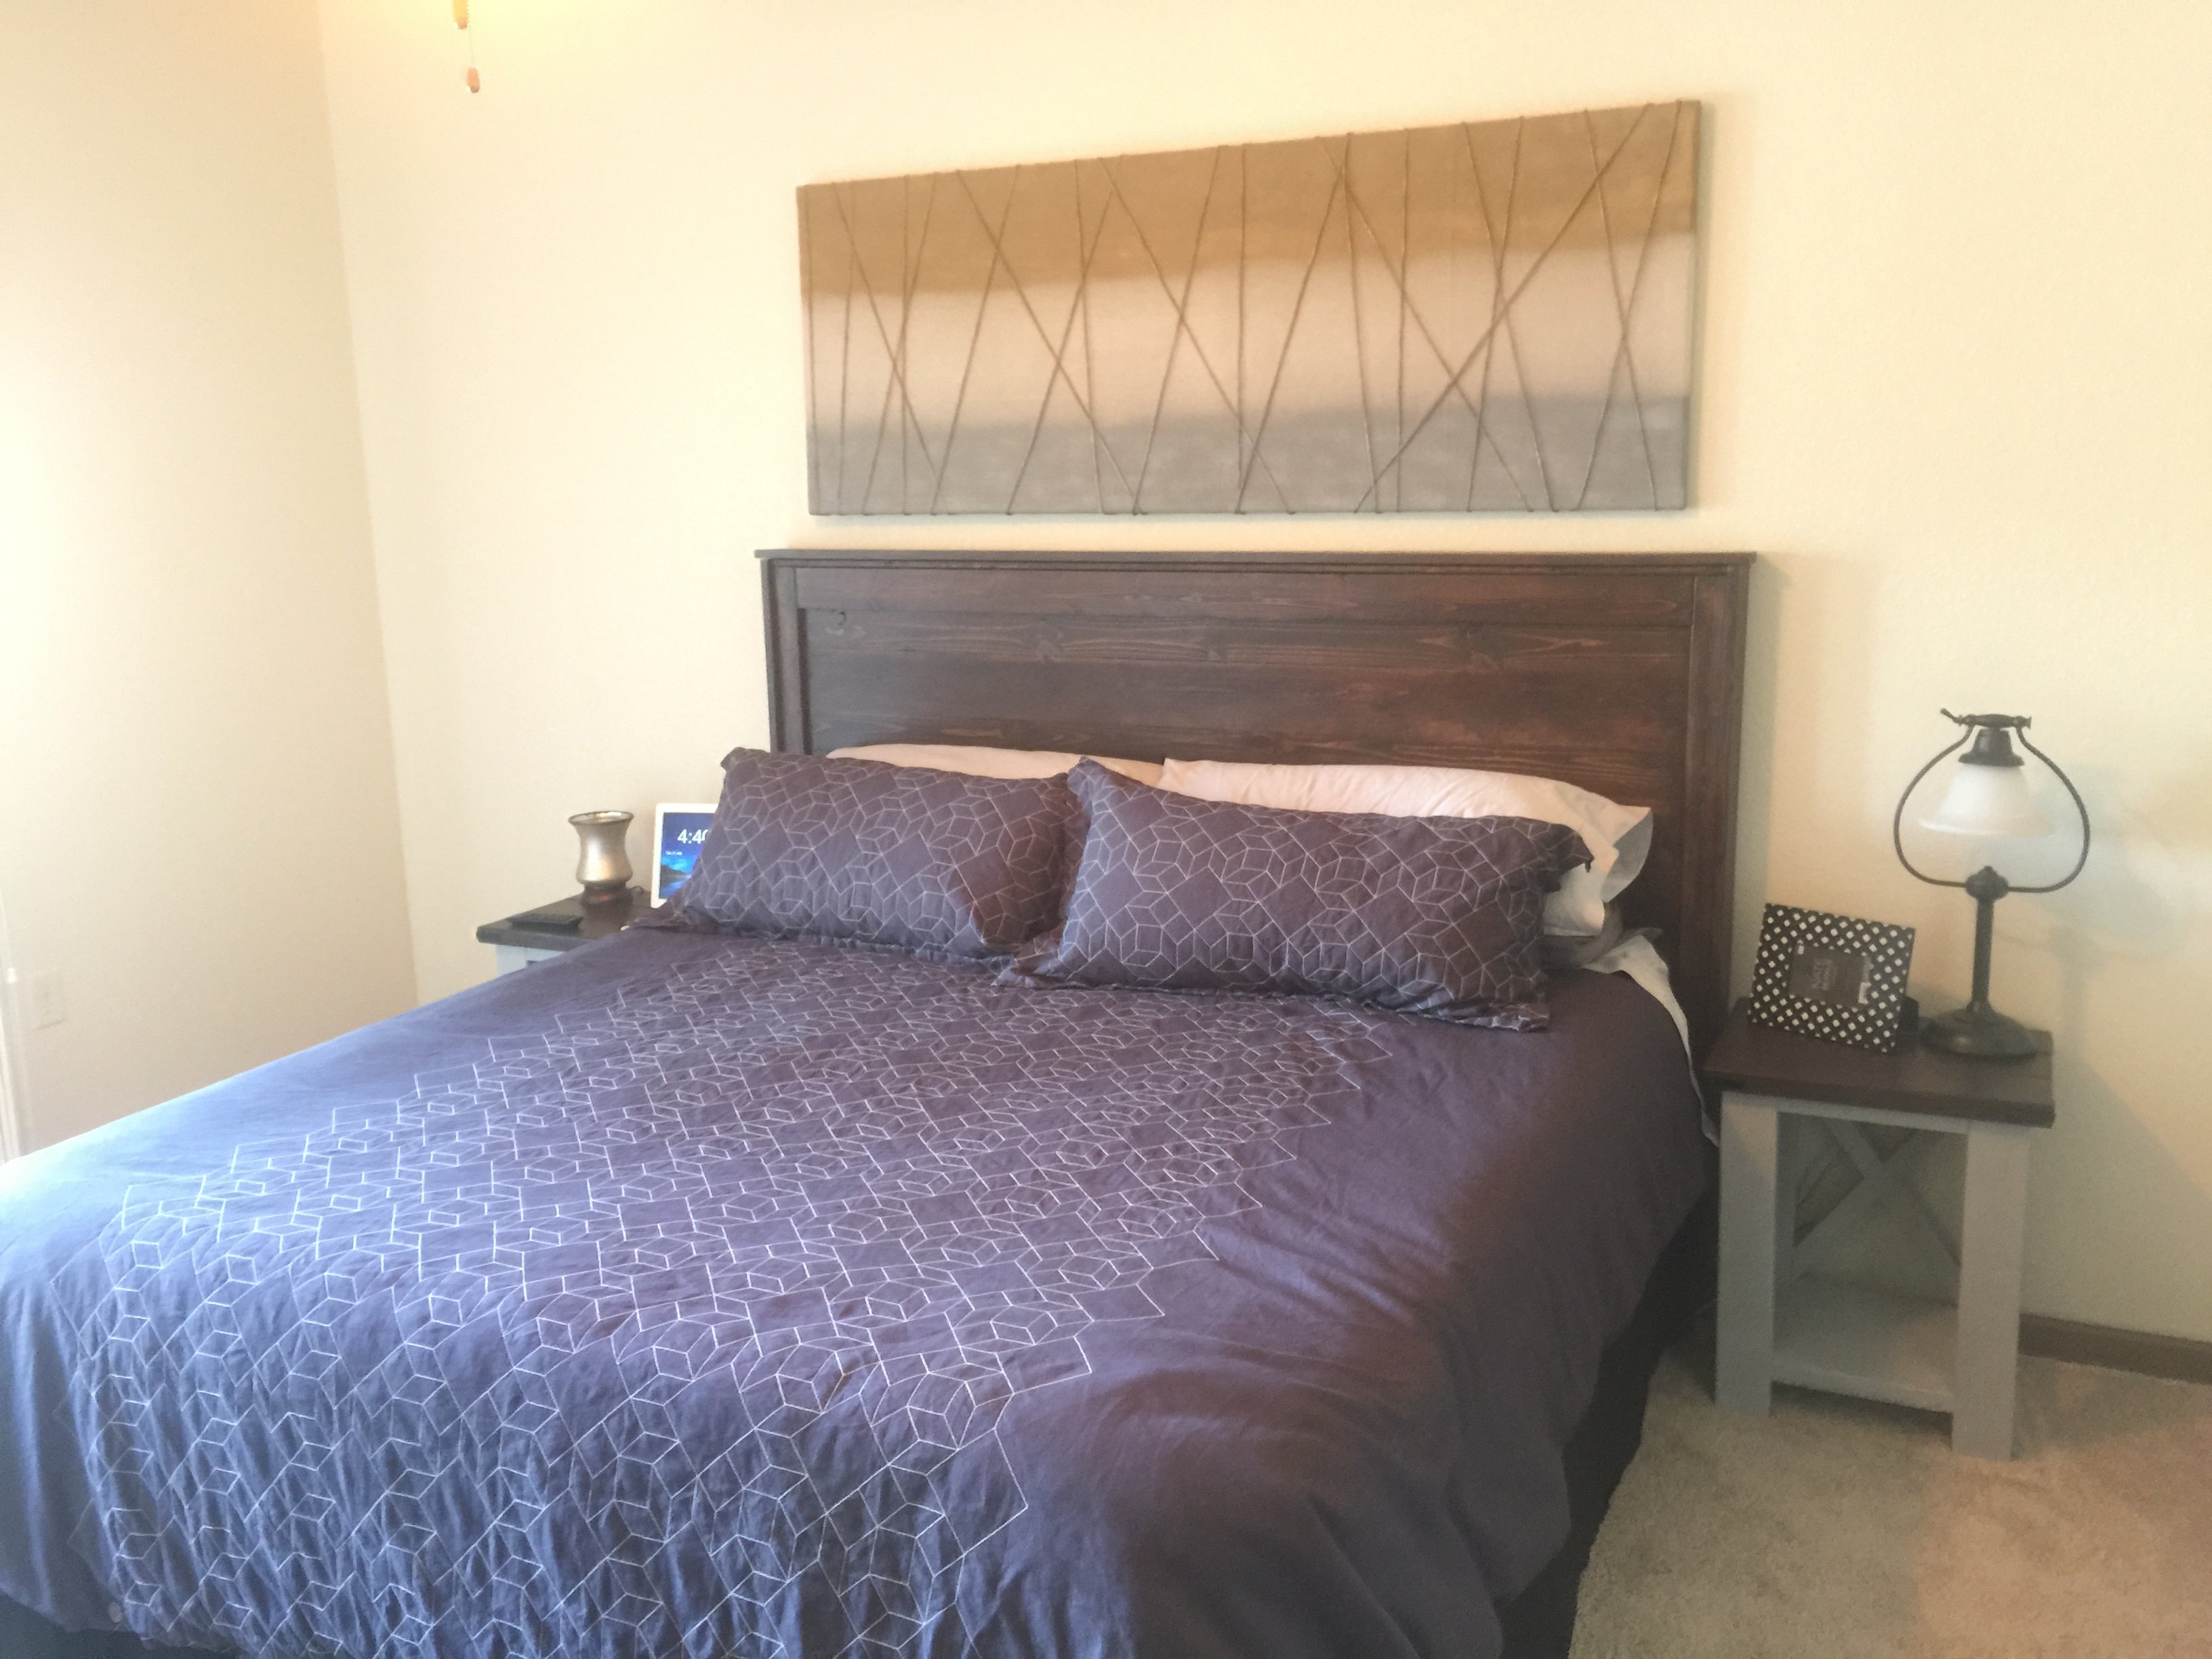
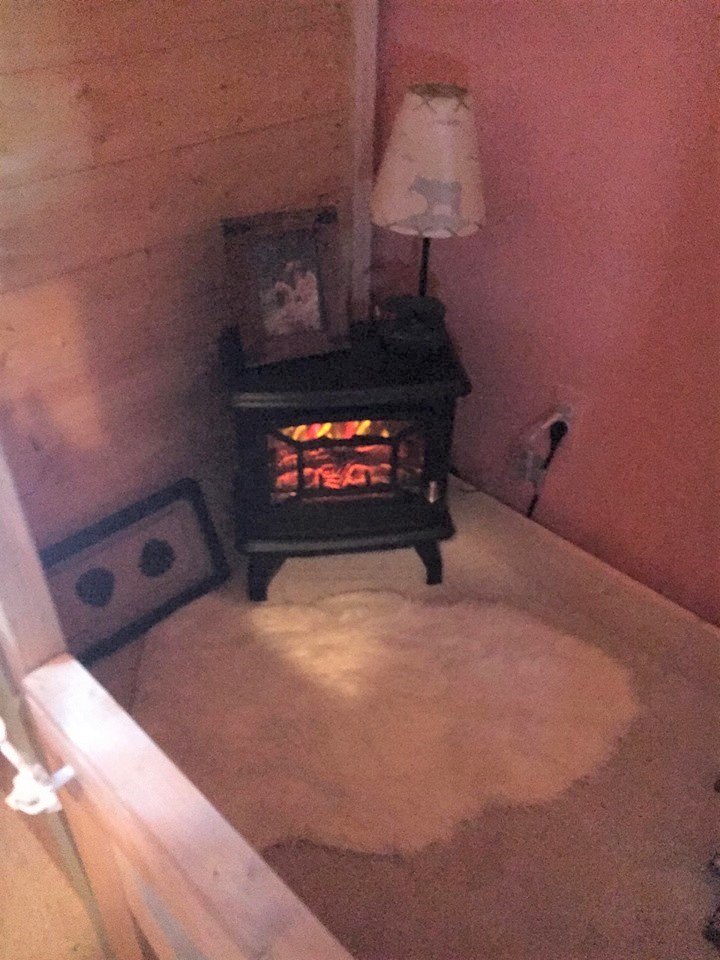
***UPDATE*** - I finished the table, however it came out 4" less wide than the old table, however I was able to re-purpose it and use it as an end table for one of the guest bedrooms. The table could have come out a little better, I guess I can only get better!
Again thank you!