Loft Bed
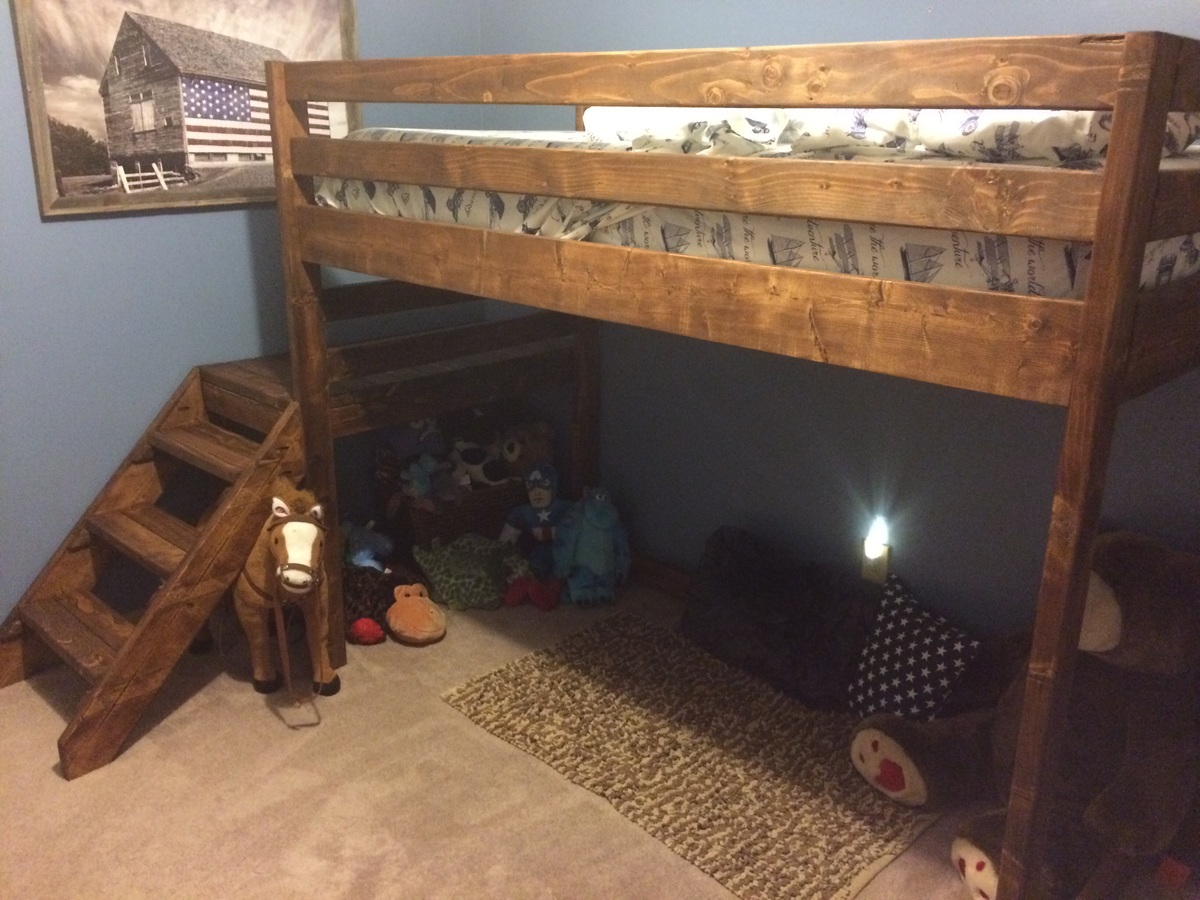
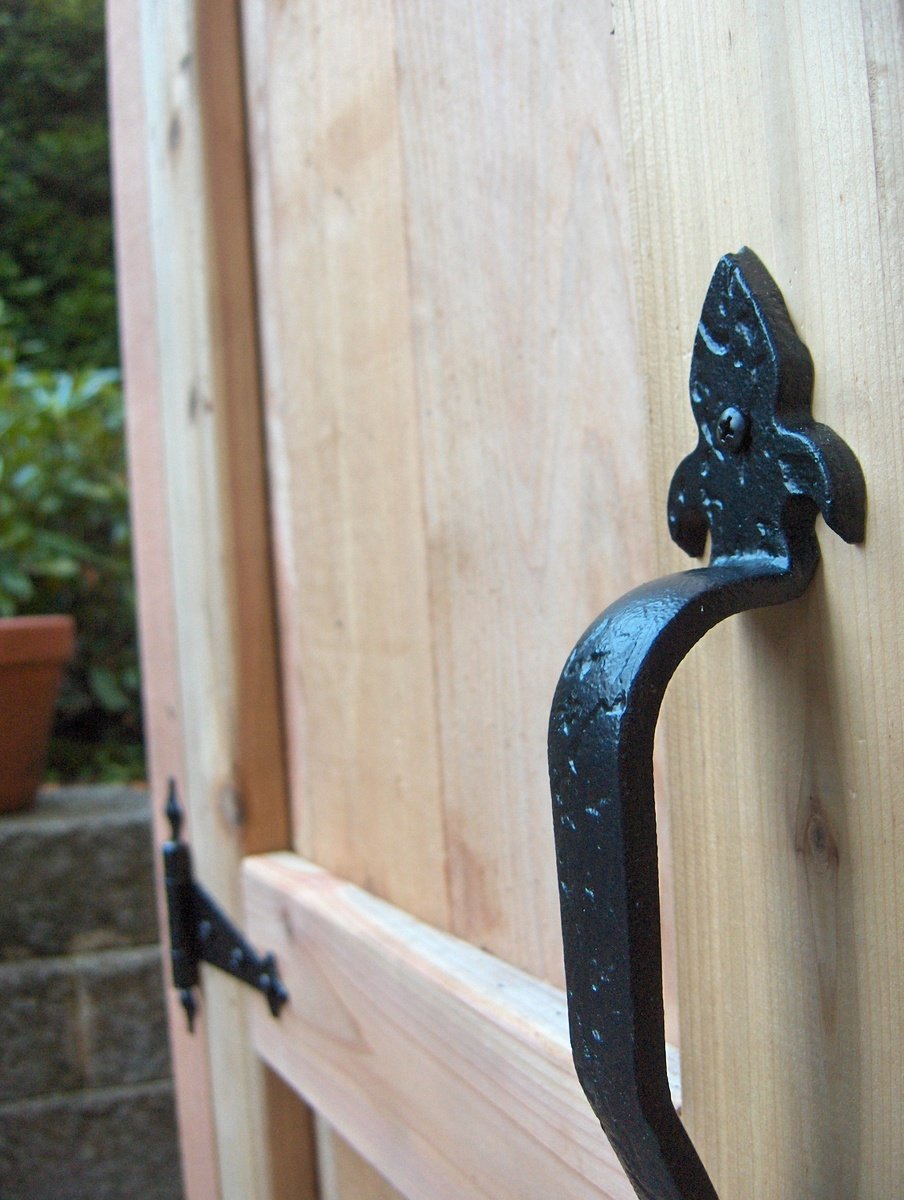
My first build, easy and fun. Finished in a weekend . Added handles to help my little man. He loves it, and so do I
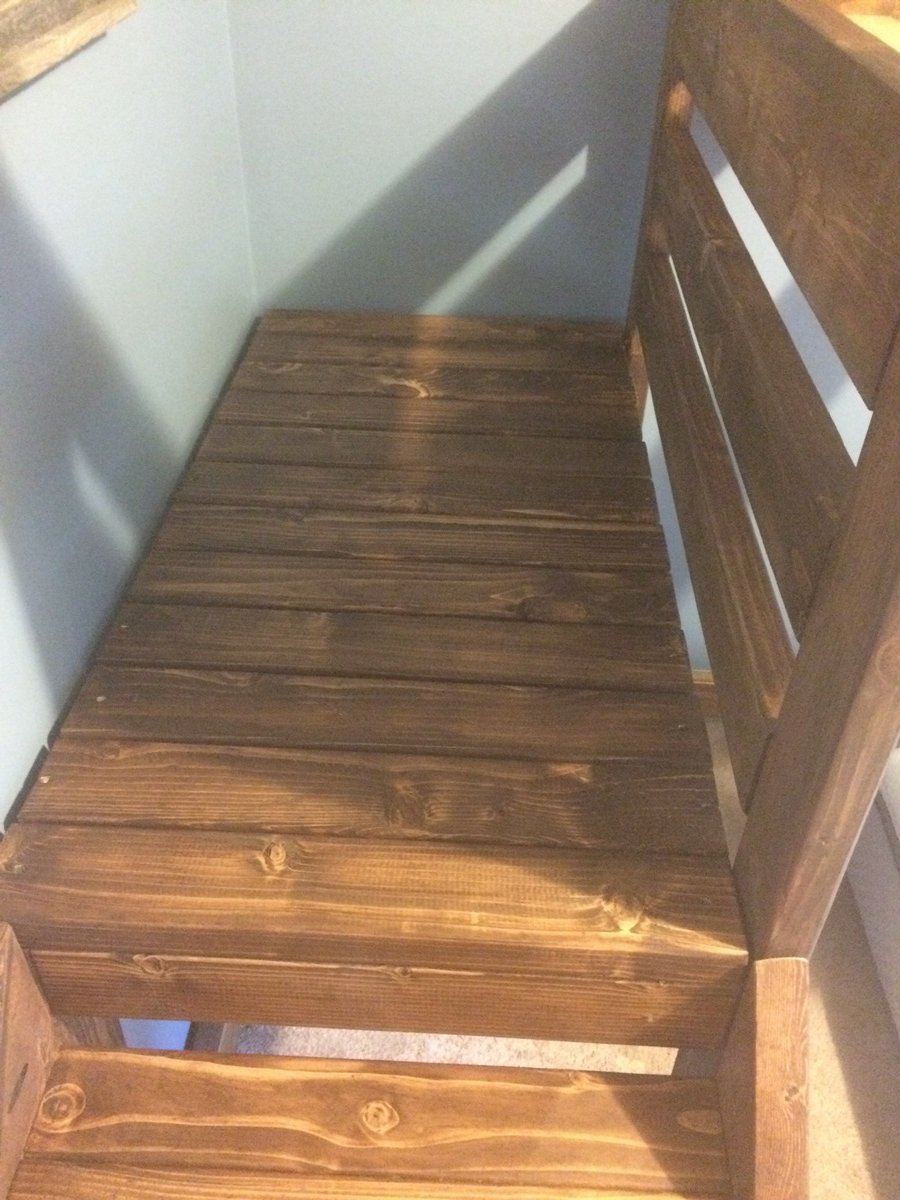
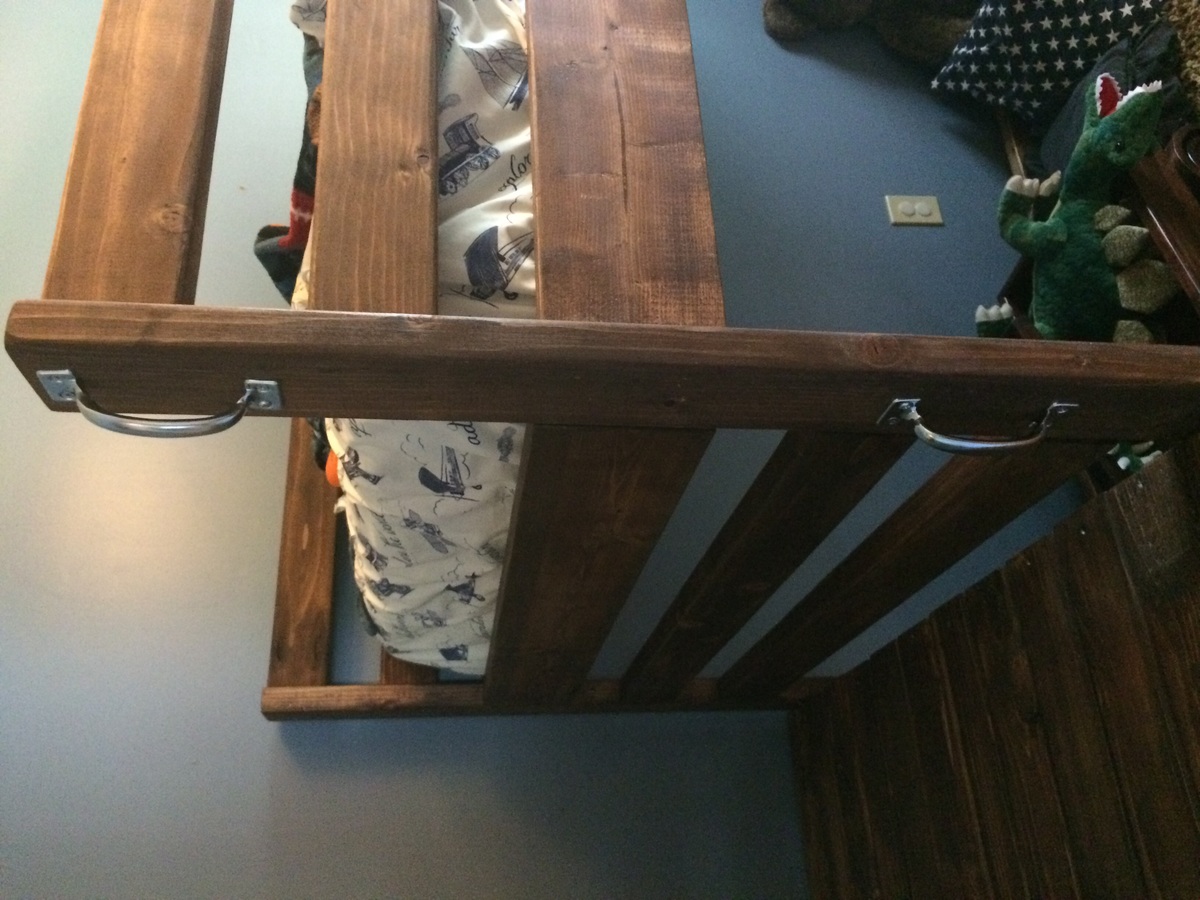

My first build, easy and fun. Finished in a weekend . Added handles to help my little man. He loves it, and so do I


Ana white.com

I live in a smaller rental with limited garage space, so I needed a place for my kids bikes. This is what I came up with. It required minimal screw holes in the treated fence posts and I attached a rail system(rubbermaid fasttrak) for the bikes to hang from. I used Ana's easy shelves plan for the upright supports and then just added some corrugated roofing and cedar fence pickets (which I had on hand) to finish off the top.
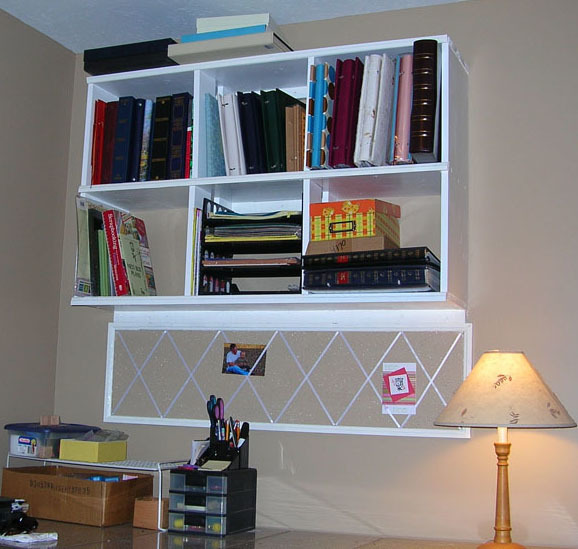
I needed something to hang above my scrapbook table to hold alot of heavy albums and supplies. I got instruction from Ana's General Store Cubbies plan but I modified it to 48" long since the boards were already 48" long. I went with 30" tall so it would hold the 12"x12" format scrapbooks comfortably. I hadn't bought my pocket jig at this point yet so I just used glue and screws stratigically so they are mostly hidden. I already had some trim so I threw some of that on there to cover a couple flaws.
I then made the bulletin board hanging below it. It is a ceiling tile cut in half and painted the wall color. I used the miter saw (yikes!) and even made some awesome 45 degree joints for the frame! Before I added the frame, I fastened some ribbons criss-crossed to tuck things behind. This picture doesn't show the final addition: some undercabinet lighting.
Now I just need to build a new TABLE to go under it!

This was my first build and I definitely learned alot about the new pocket hole techniques. Nothing too technical about it except I made things more difficult by adding a metal bedframe kit because I was in a hurry to finish because of some company arriving. The only issue is that you can see the support legs of the bed frame kit so I'm sure I will dissassemble it once the company leaves and build a lumber frame and remove the metal one.
Otherwise, the only two variations from the Ana White plan was that I added the Arch trim board and I also used 1.25" sheetmetal screws on either side of the pocket holes that attach the verticle boards. I pulled the boards up tight to the horizontal trim boards and made a cleaner line. I also learned to sand and prime every board before assembly next time, there are several hard to reach areas that need sanding once it is assembled.
This bed is built like a tank and is beautiful.

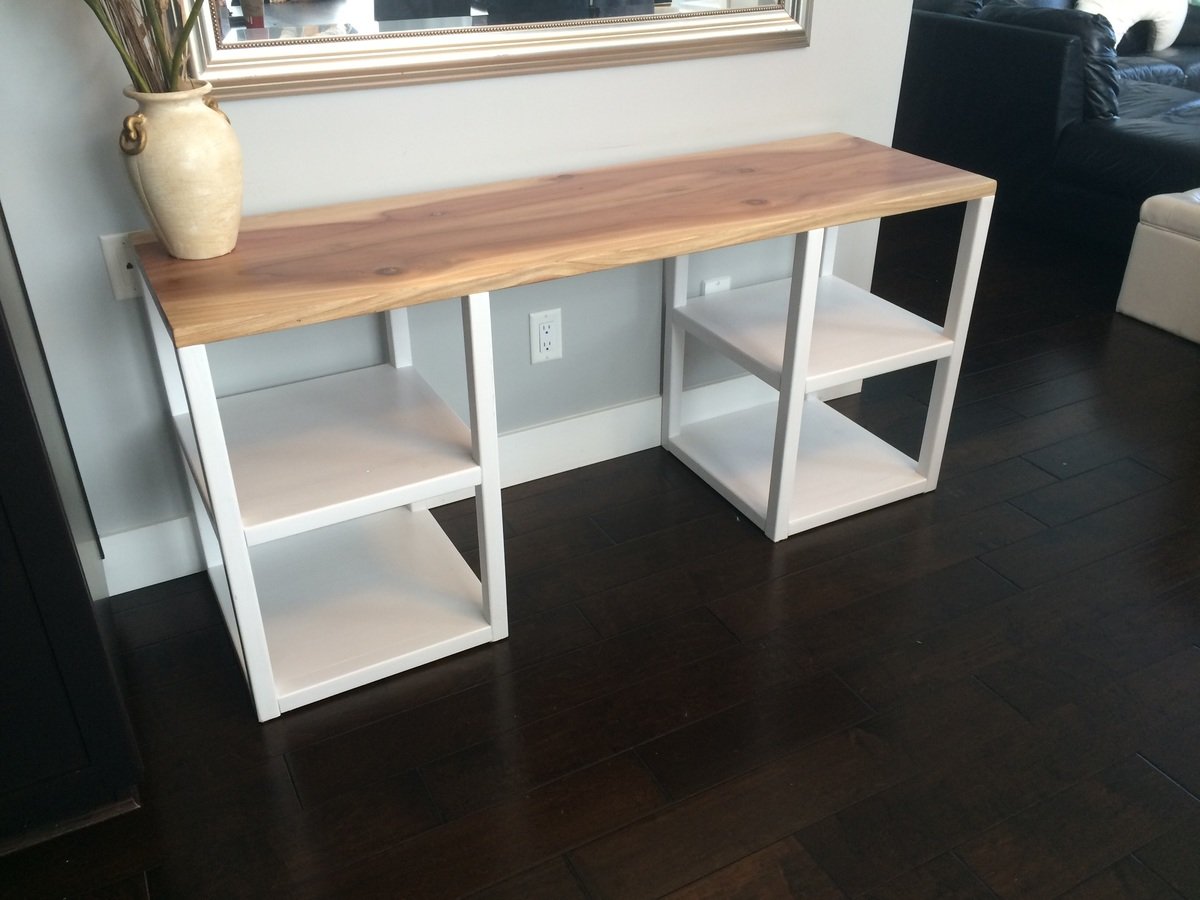
Wanted a new computer desk, fits the space perfectly, clean and simple lines with a beautiful natural wood and white finish. LOVE HOW IT TURNED OUT
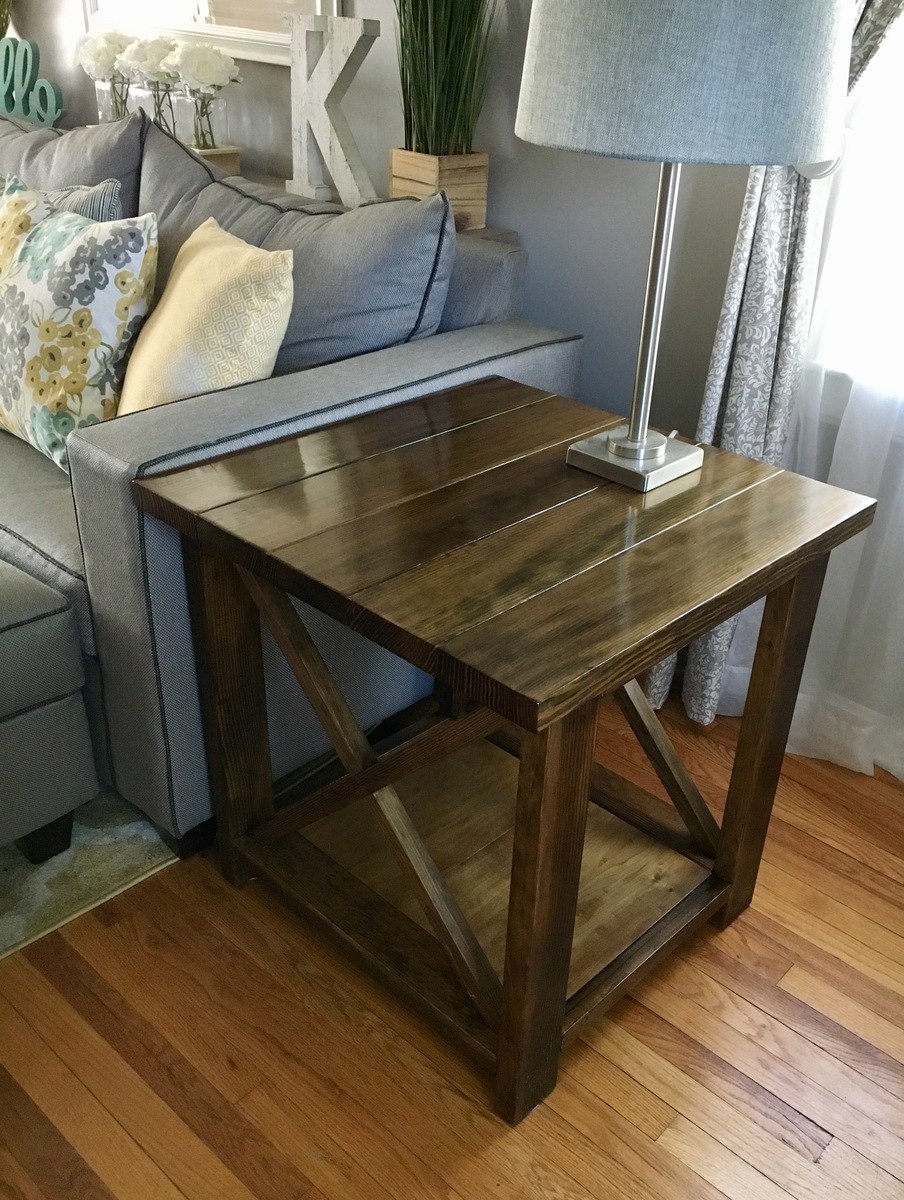
This is my take on the Narrow Cottage End Tables. Painted the bottoms and stained the tops. Added the shelves towards the bottom for added storage and stability. The bottom shelf is 'let in' around the inner legs. The shelf boards rounded over to give them a batten look.
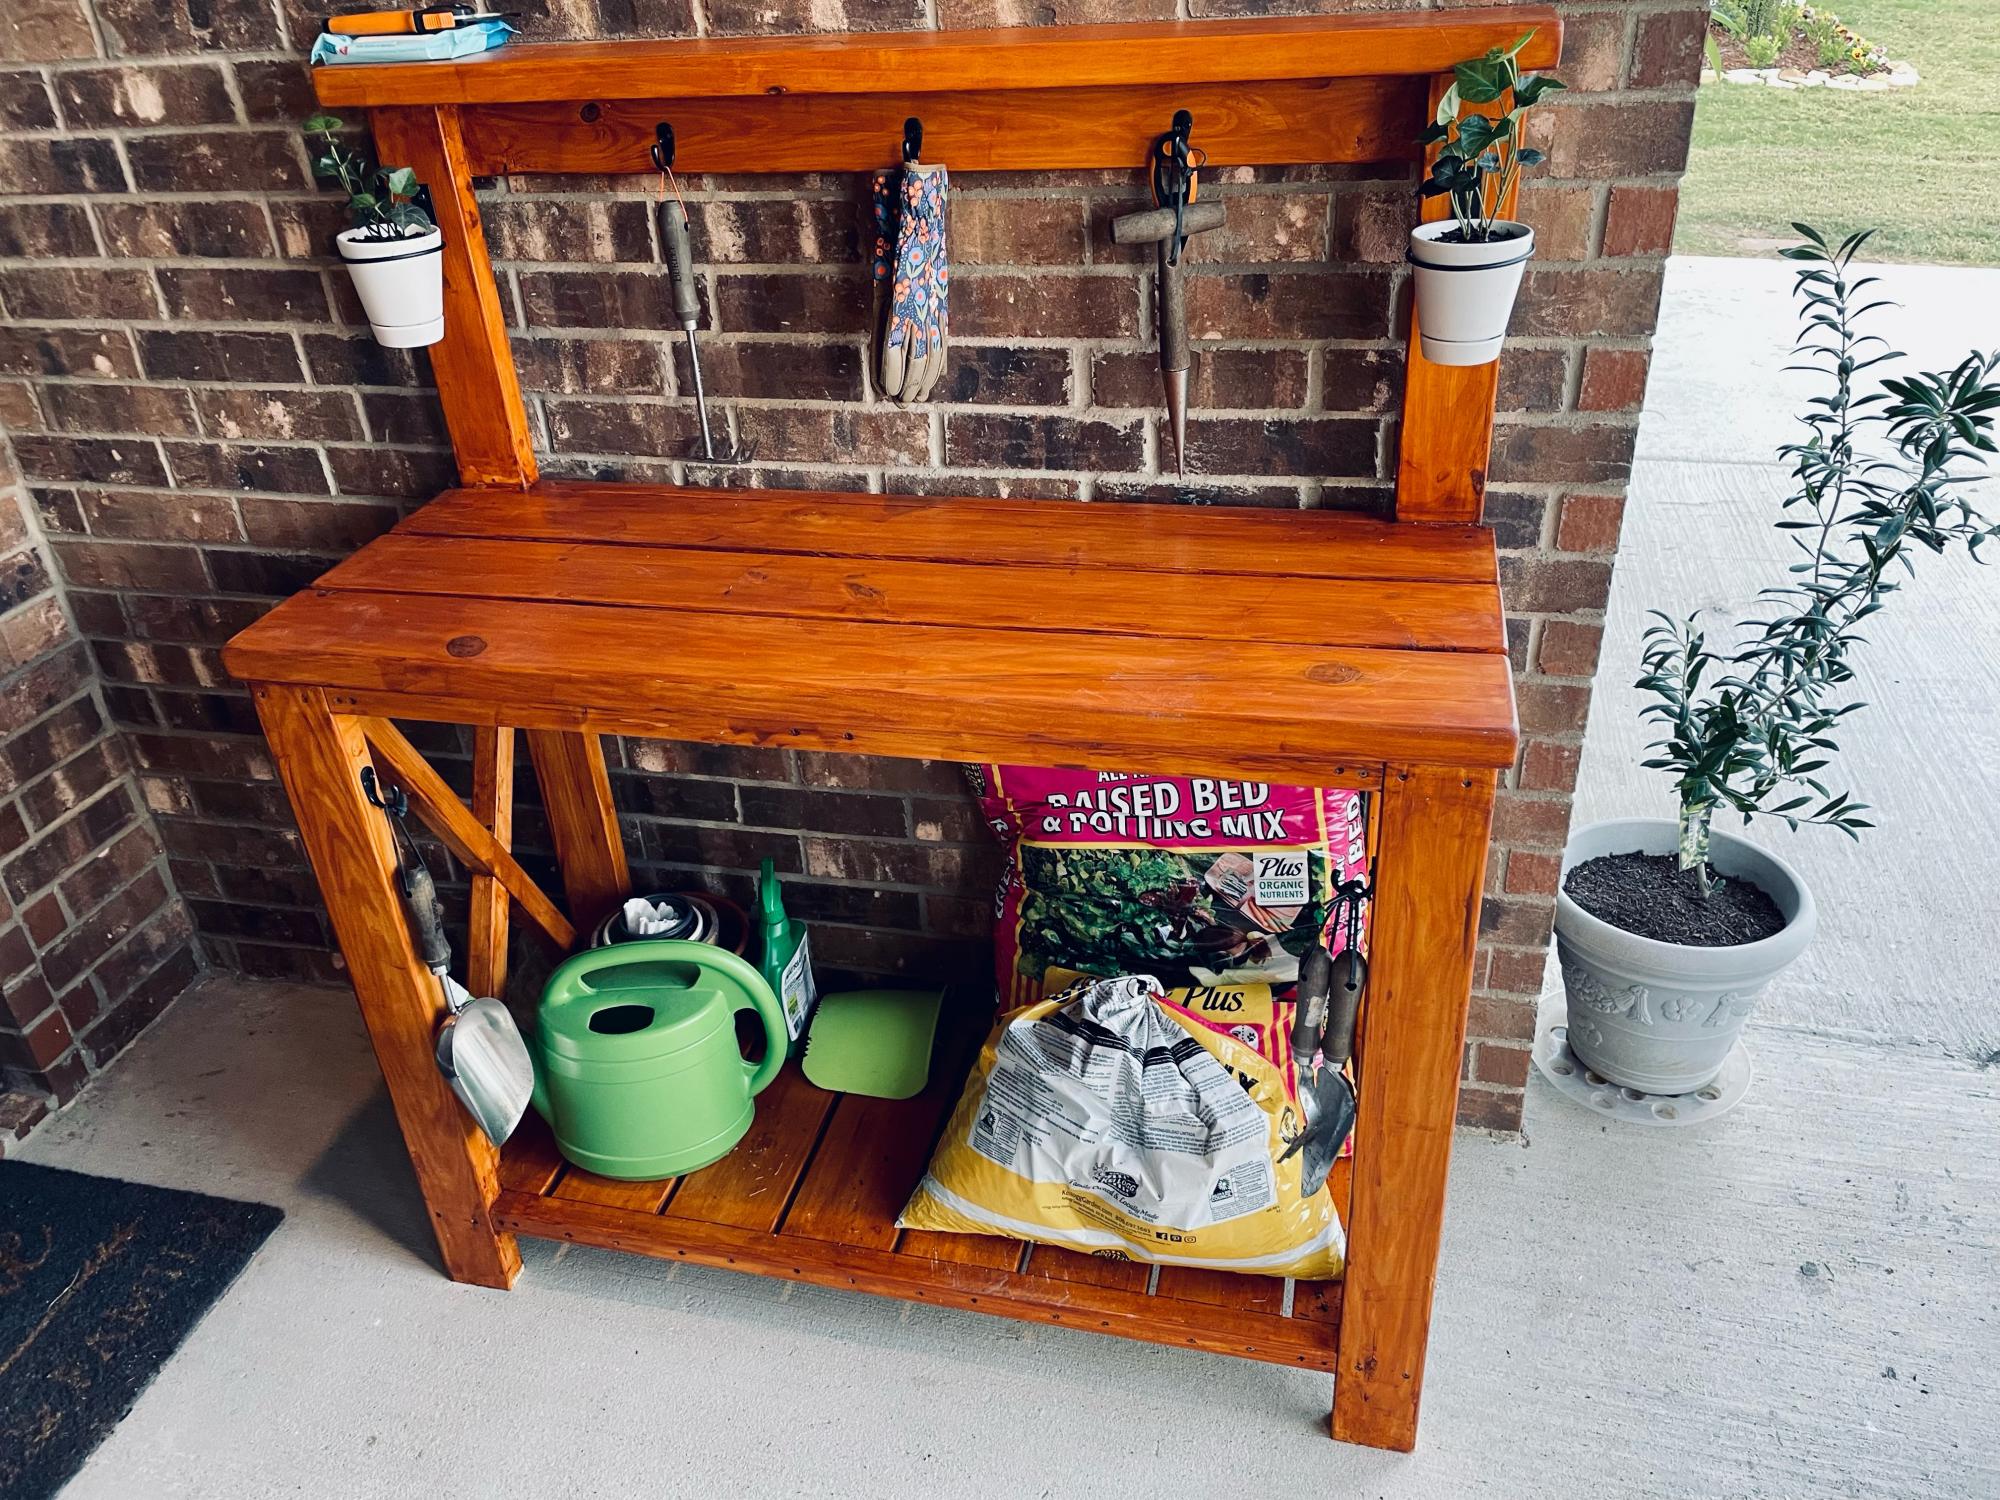
Birthday present for the fiancée. I think it was a hit! :)
Thanks for the plans!

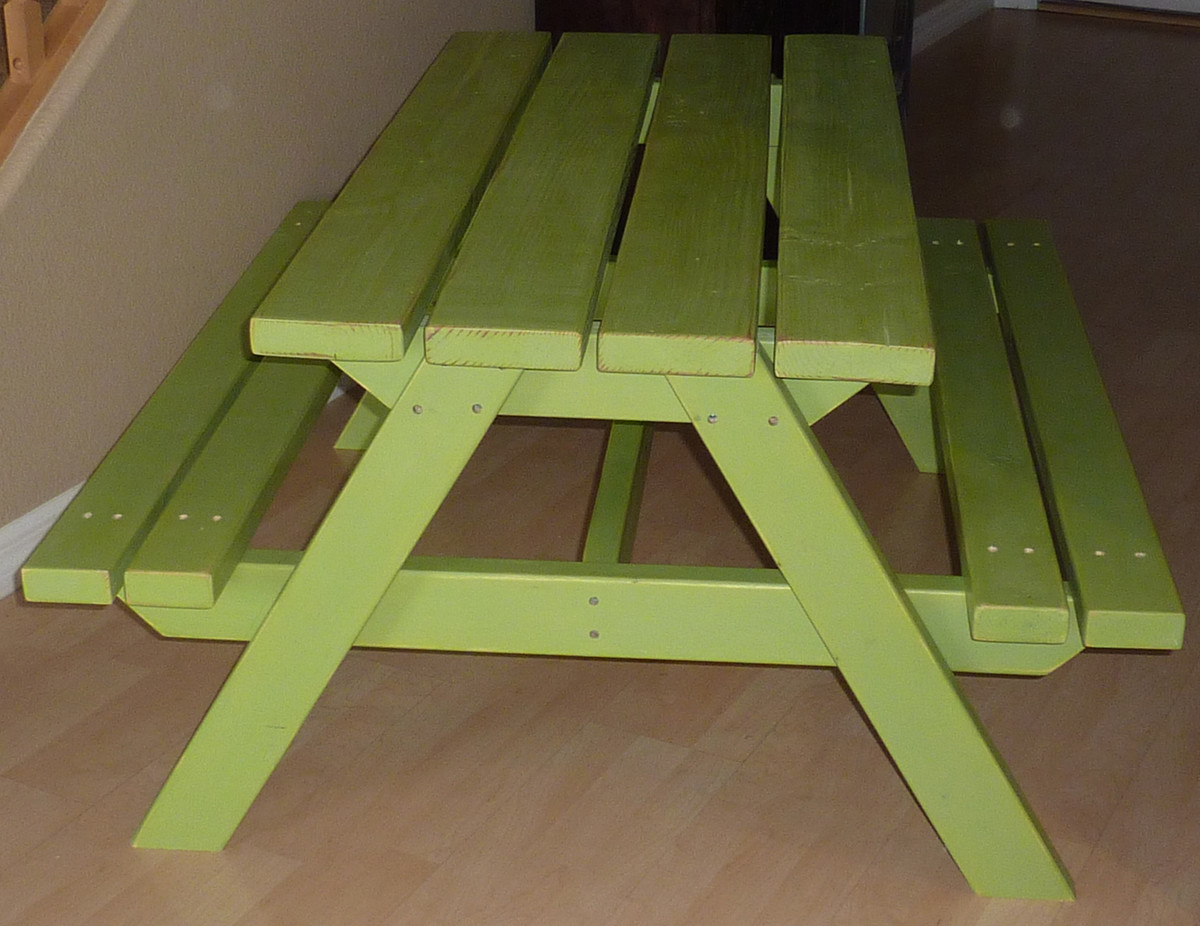
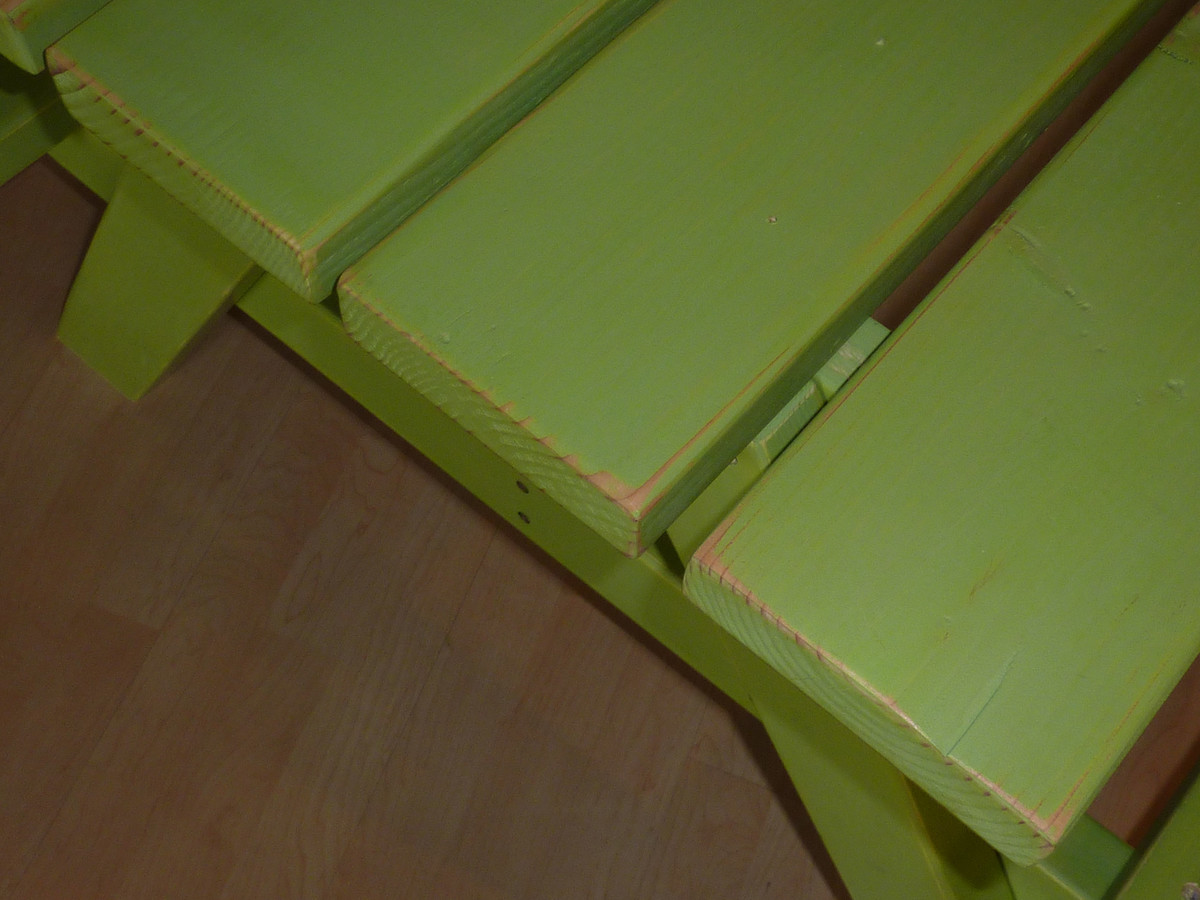
I cut my pieces and spent hours sanding to get a smooth finish on each board. After the paint/finish I assembled the pieces in the house so I could use the floor as my flat even surface. I read quite a few comments on Facebook about the tables ending up with a wobble so here is how I avoided that.
Warning! When choosing the boards for this project, be picky. Make sure the 2 pieces in the middle of the table top are flat and not bowed or warped. These are the pieces that the legs are mounted against. With any variation the table will wobble. After screwing the table top boards to the table supports I attached the legs to the table support with ONE screw first. Next I flipped the table over onto a flat surface (top side up) to adjust the legs and then I secured them in place with the remaining screws. Note: I used my legs wrapped around the table legs to hold in place while I was putting in the rest of the screws. My table does NOT wobble, YAY! Everything else went smooth and I love the table.
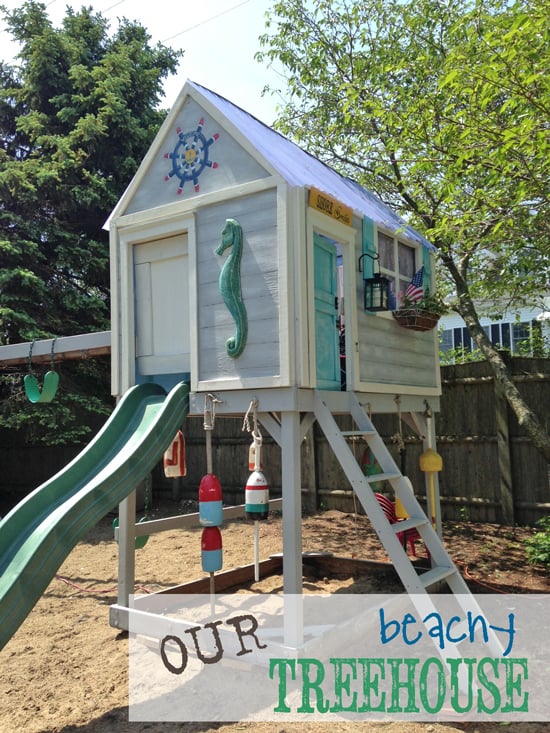
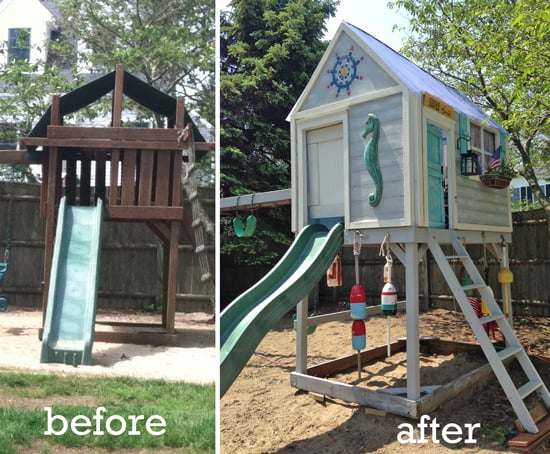
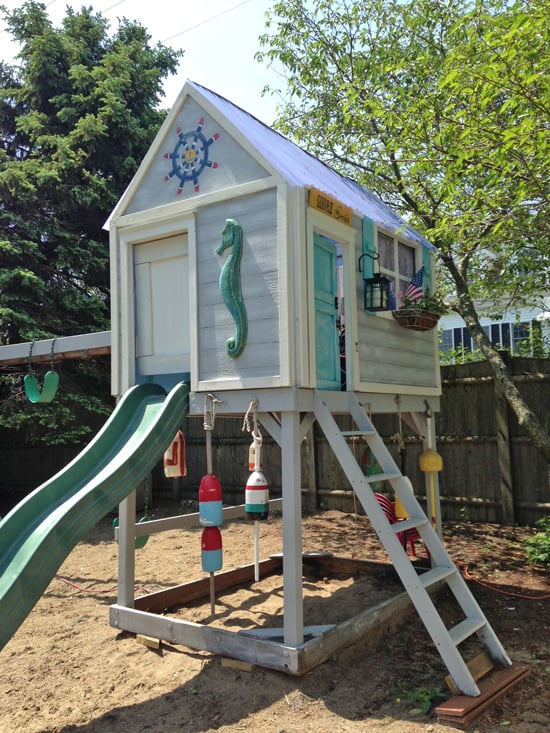
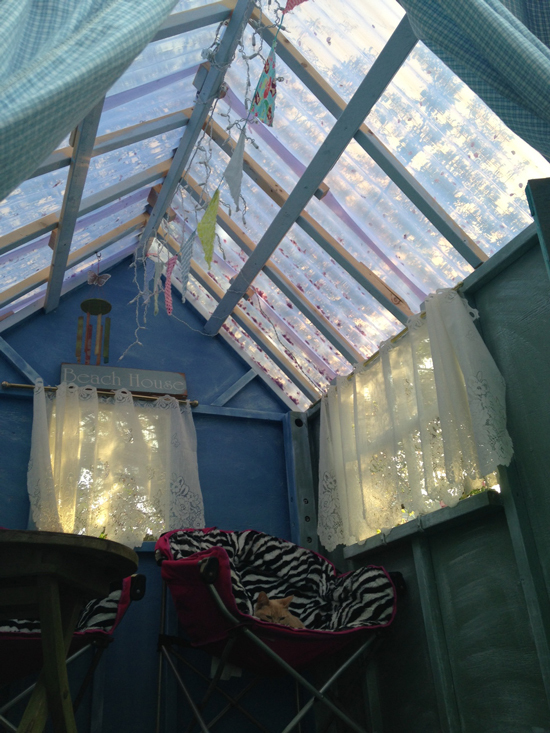
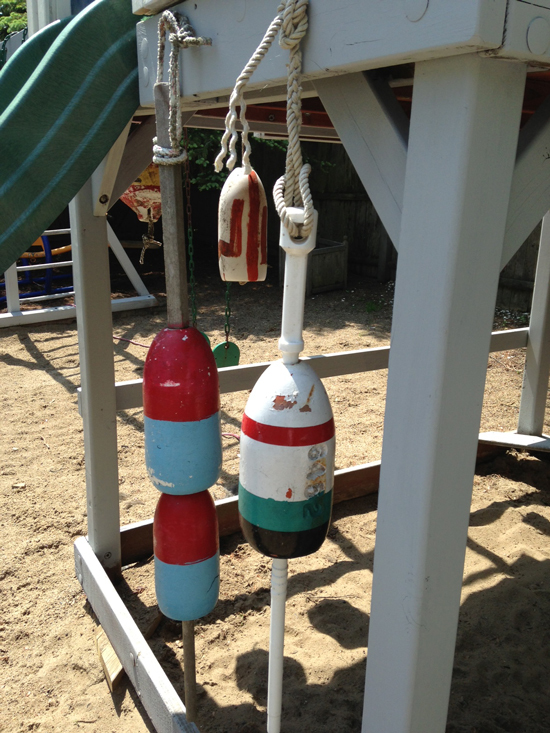
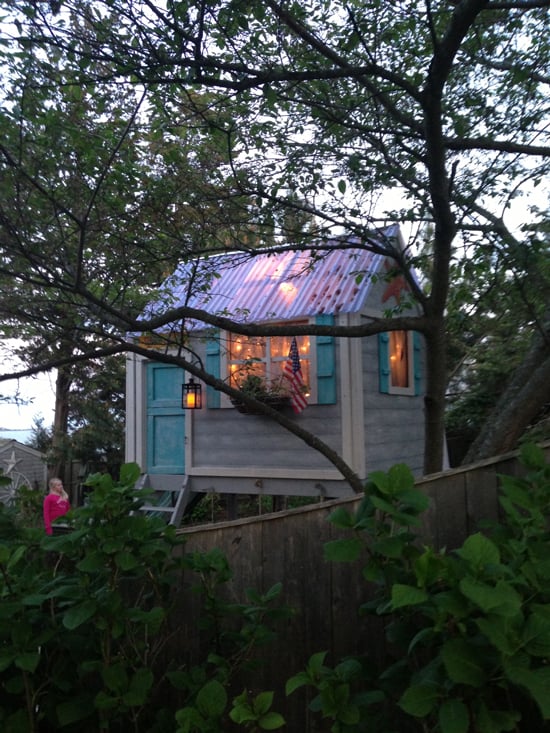
We had SO much fun turning our existing old play structure into a fun, beach-themed "treehouse". Without Ana's plans and brag posts from others who also built a playhouse, my husband and I would have never attempted this. We are thrilled with the outcome and our kids just adore there fun little home away from home. Thanks Ana!!
Sun, 06/09/2013 - 12:52
You did such a great job. I love all of the special touches for the beach theme.
Thecreativityexchange.com did such a great job with the original project, so of course I had to give it a try! I had only a few minor adjustments in size. I made this one 8ft X 8ft and only using one sheet of pegboard. My amazing wife stained it too with English Walnut!
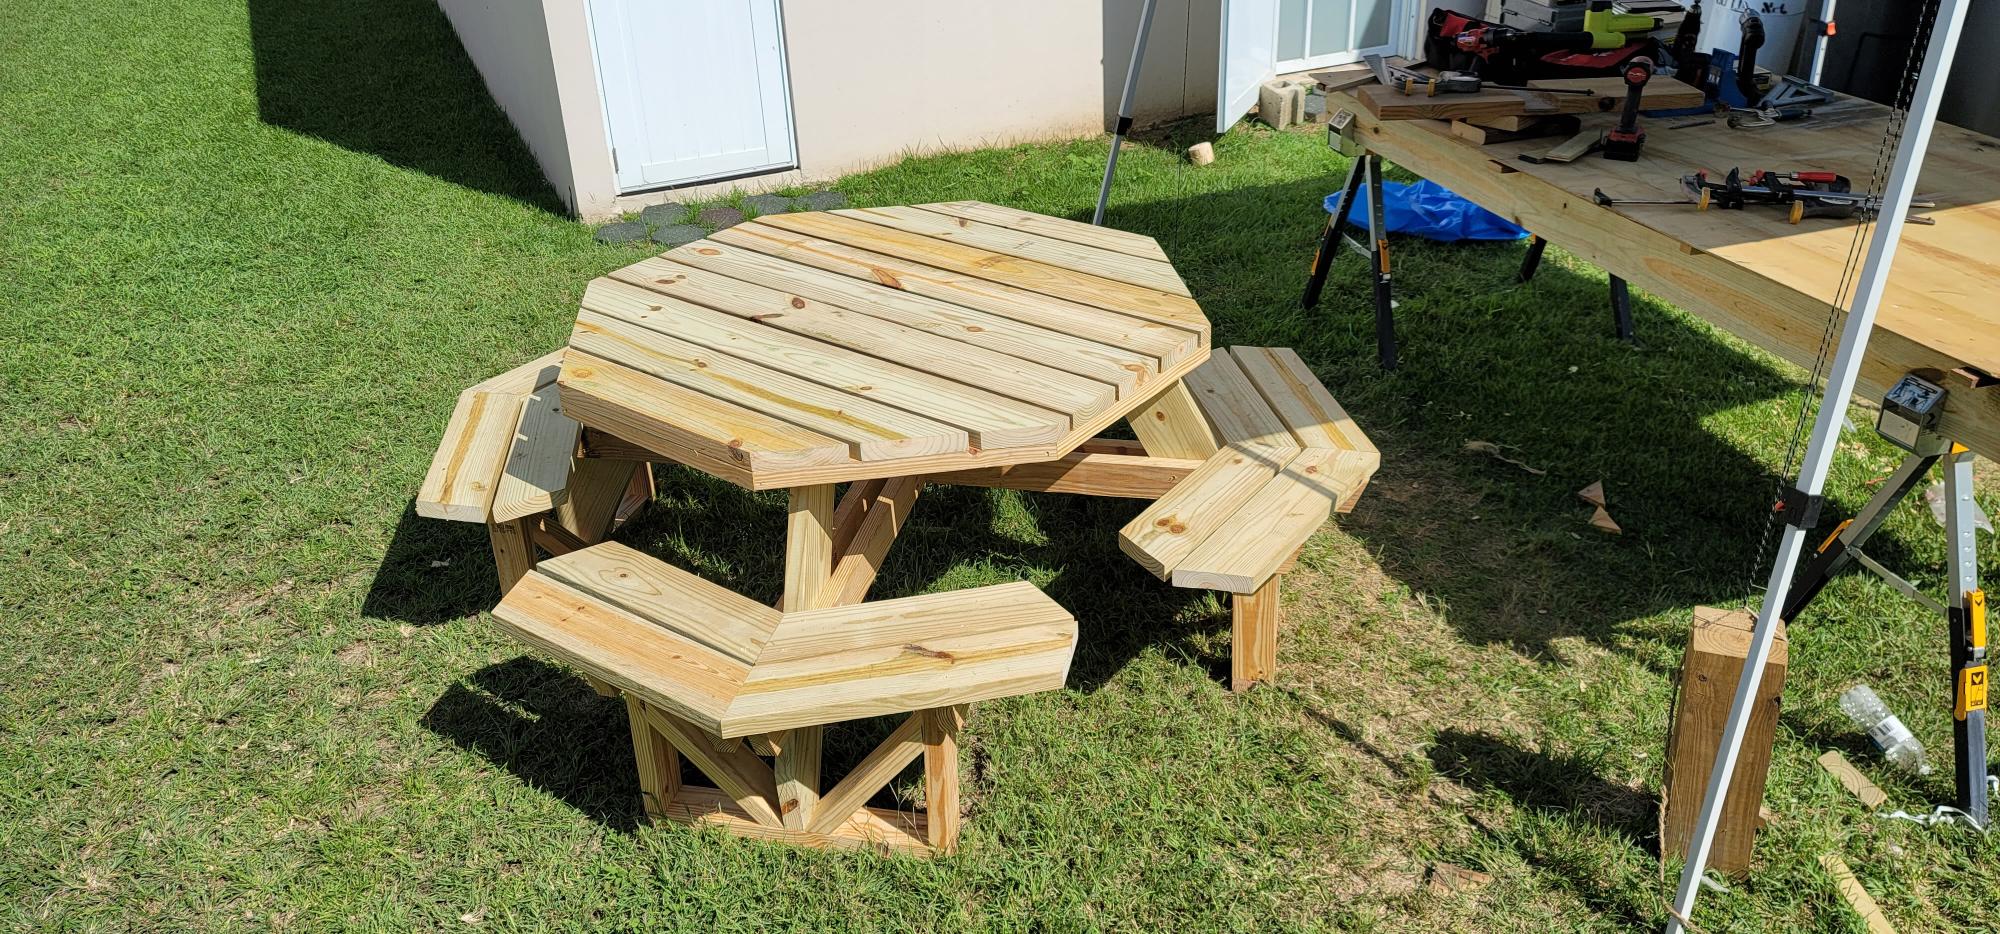
The easiest way to build the best octagonal table, Thanks for Your detail plans, and Greetings from Puerto Rico
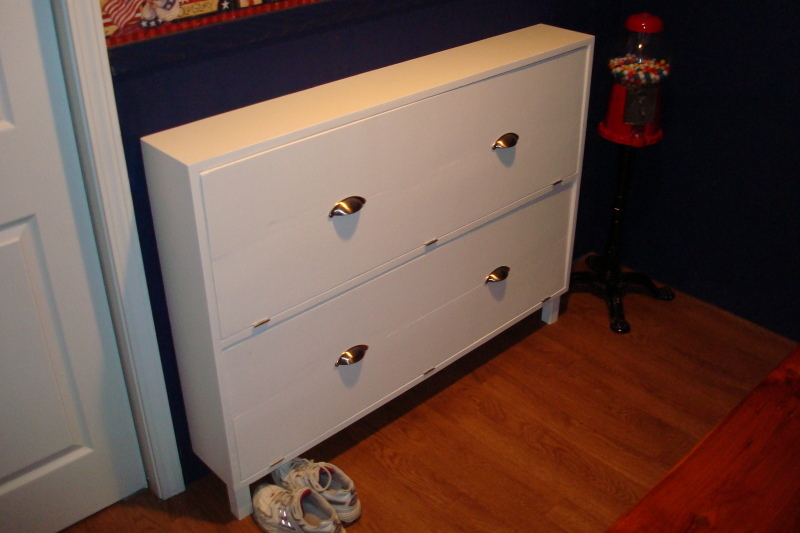
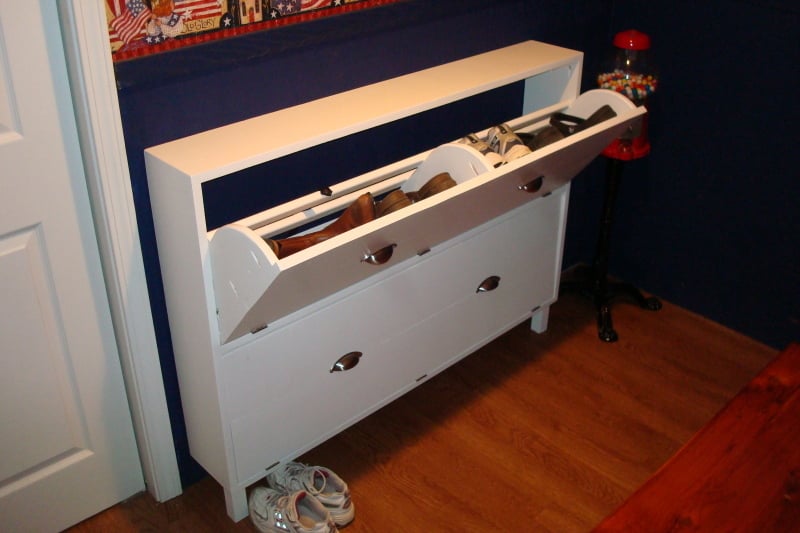
We needed away to organize the pile of shoes that occurs in the mudroom.
I built it in a little over a day, but priming and painting added several days to the project.


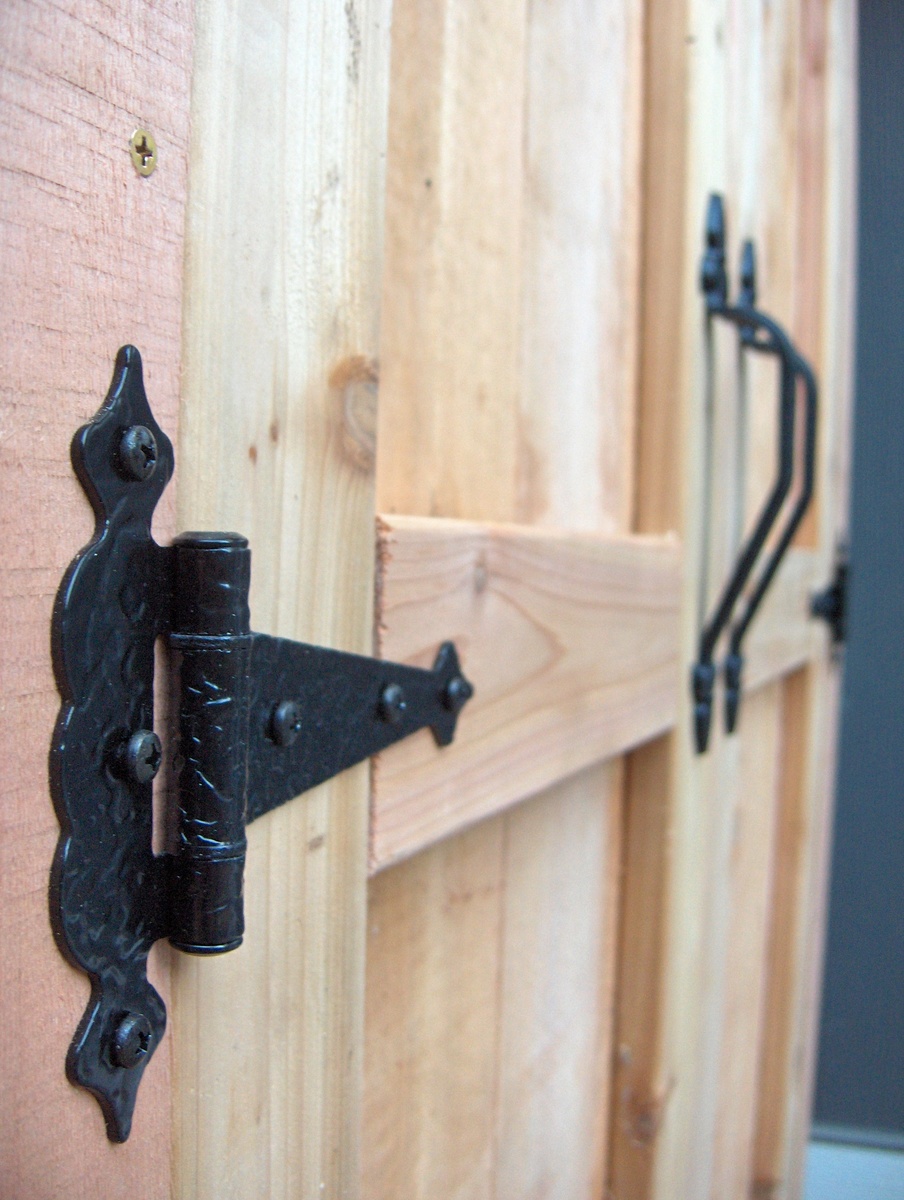
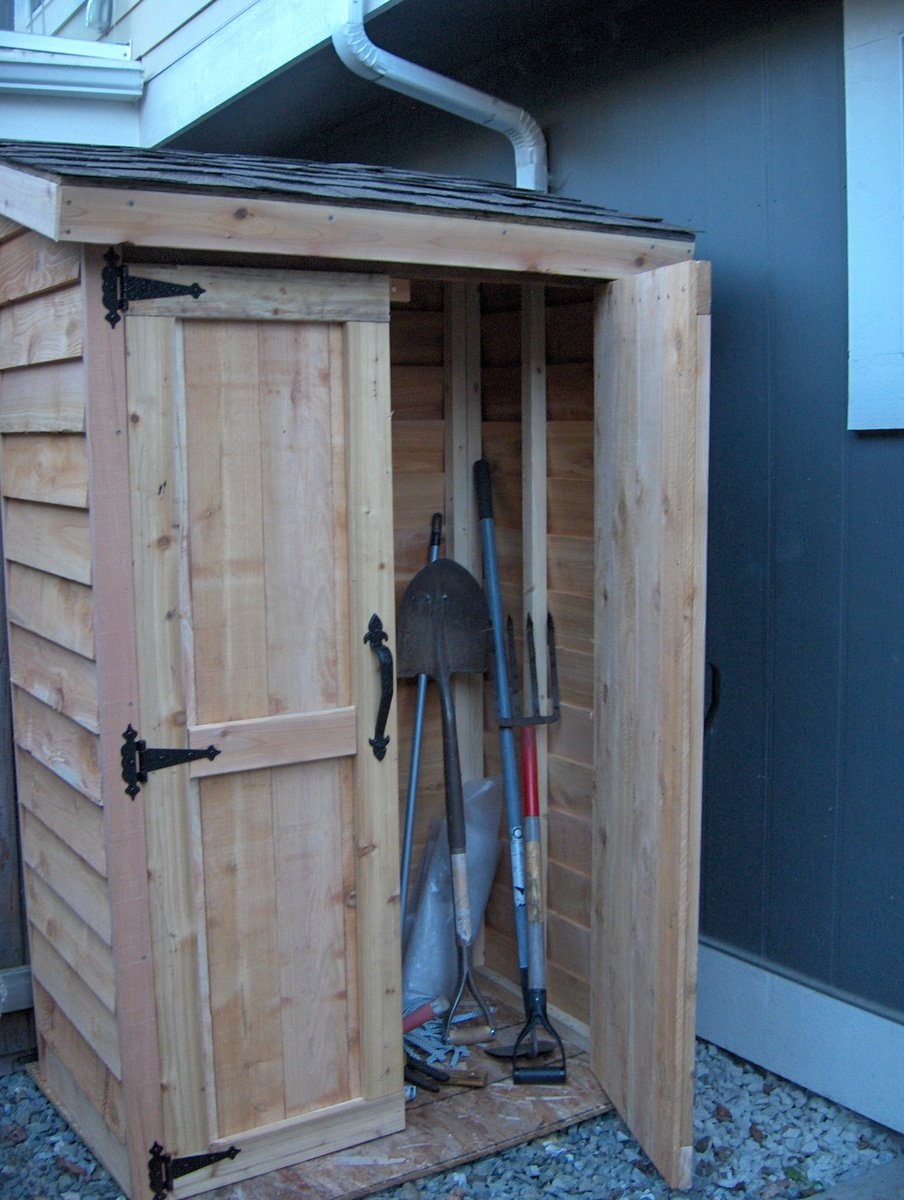
I loved the idea of re-purposing fence pickets as siding for a cedar shed, but the plans on the website were much too big for the space I have. I ended up modifying the design to make a smaller shed, with approximately a 4 foot by 2 foot footprint. It turned out beautifully! Cedar is expensive, but I was able to save money on the project by buying much of the material at local salvage and second-hand stores.
Sun, 03/29/2020 - 09:59
I'd also love to know what modifications you made to create the mini version. Did you just take out one of the sections of the back frame and adjust the side widths? Thanks!
Was looking for something to do with an old Radio Flyer wagon.. Saw some great pics on Ana's site for garden ideas and thought this might have the right shape to make a water feature.. beats making a flower potter out of it. -And it does in fact work.. The original plan was to use a simple chrome hook-style faucet but found a great brass antique on ebay for under $10 which really set the tone for its look.
The inside of the wagon is double-coated with Rustoleum clear sealant, over-layed with a red top coat. The wheels and handle are original and the hanging bar across the front is from conduit. The wagon is attached to the stand only around the drain by 2 1/2"x 1/4" machine screws. The brass handle on the right end is so the wagon can be tilted to drain settling water. The drain is a standard 1 1/4" sink kit that connects to a compression coupler. Both the feeder and drain line have hose connections.

This is my take on the classic Khun-Phaen puzzle.
Build Instructions: https://www.instructables.com/id/Knun-Phaen-Klotski-Puzzle/
In Motion: https://youtu.be/GYYeDpGqkjU
Solution: https://youtu.be/gEBZHhcm0o0

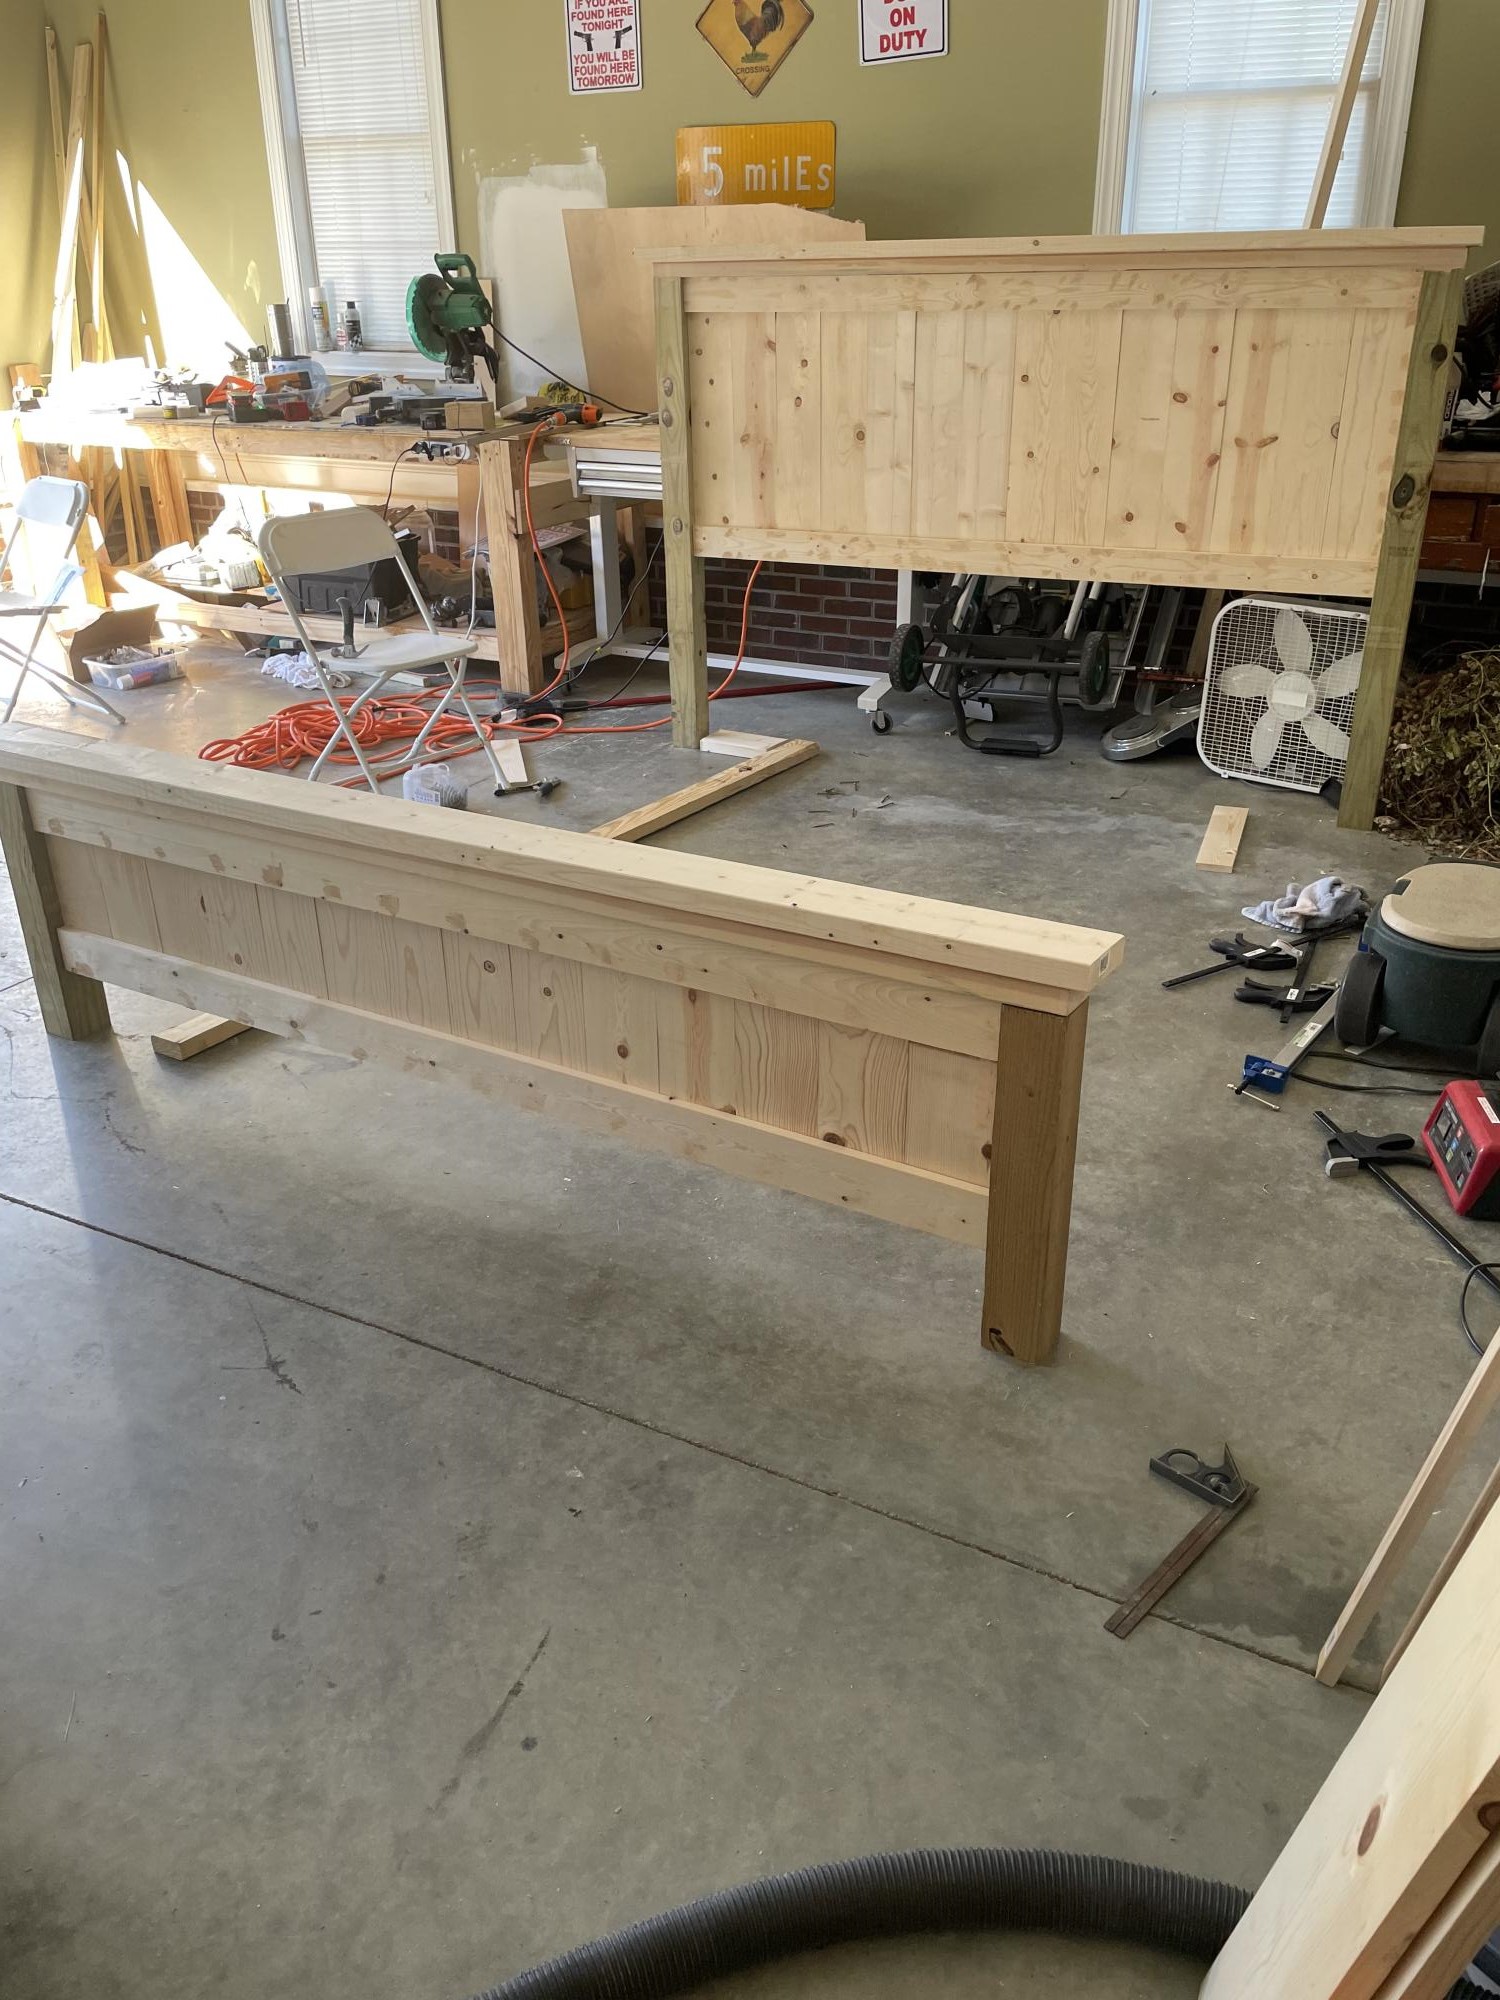
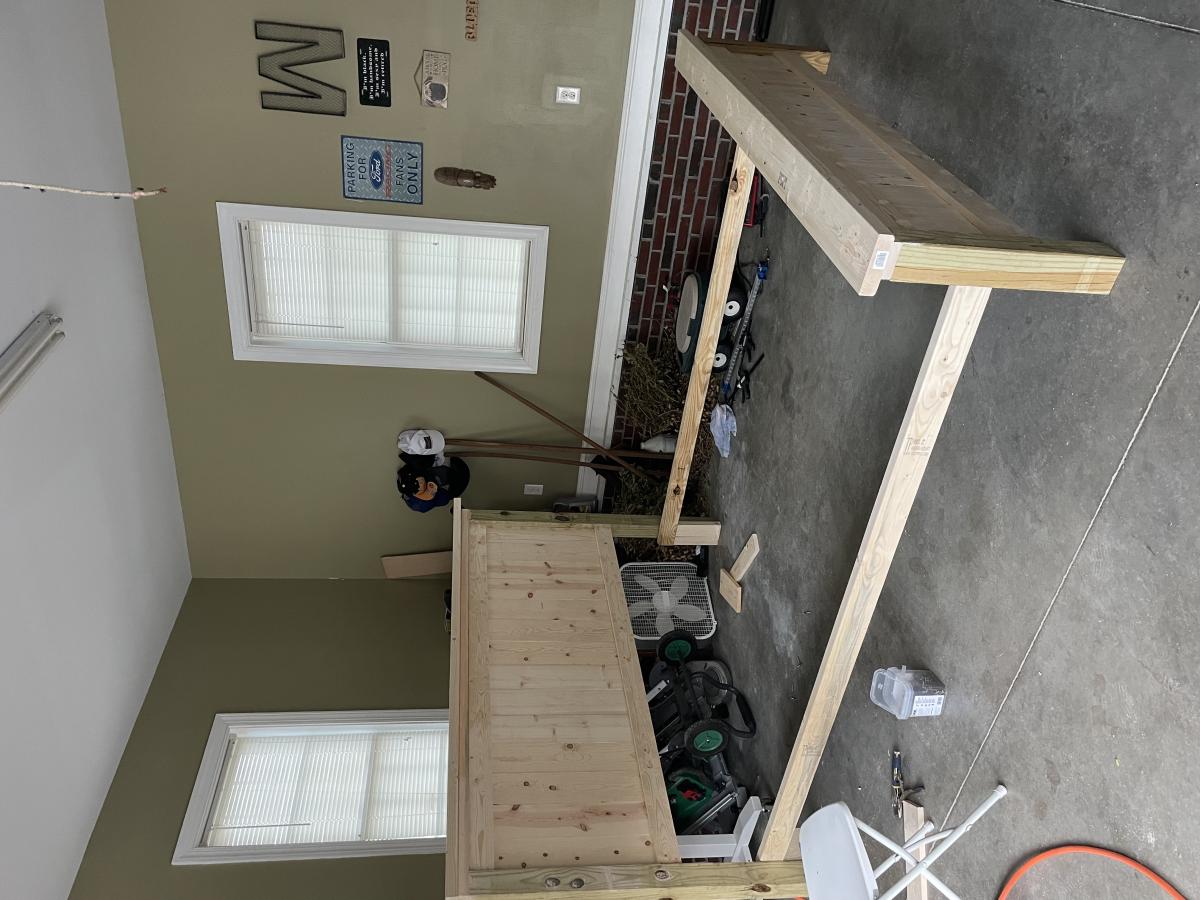
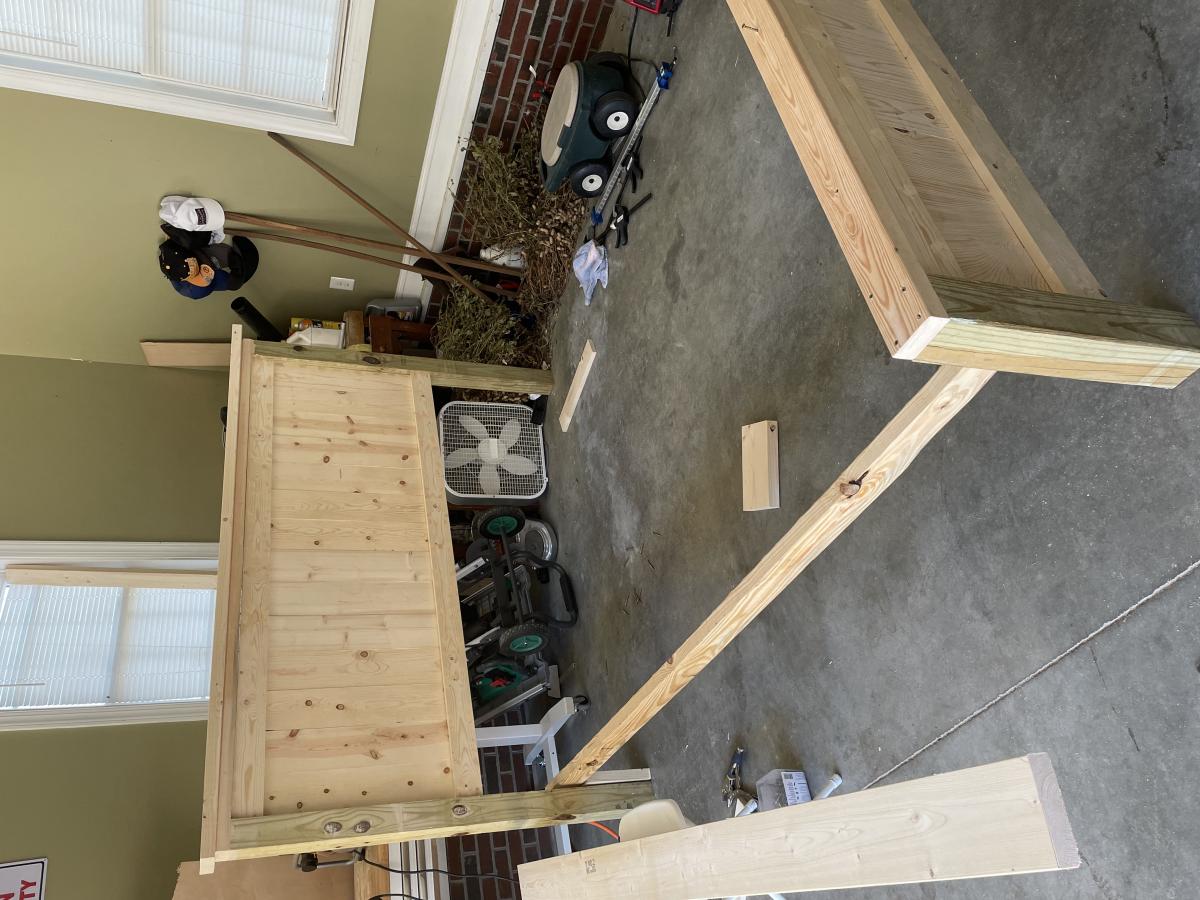
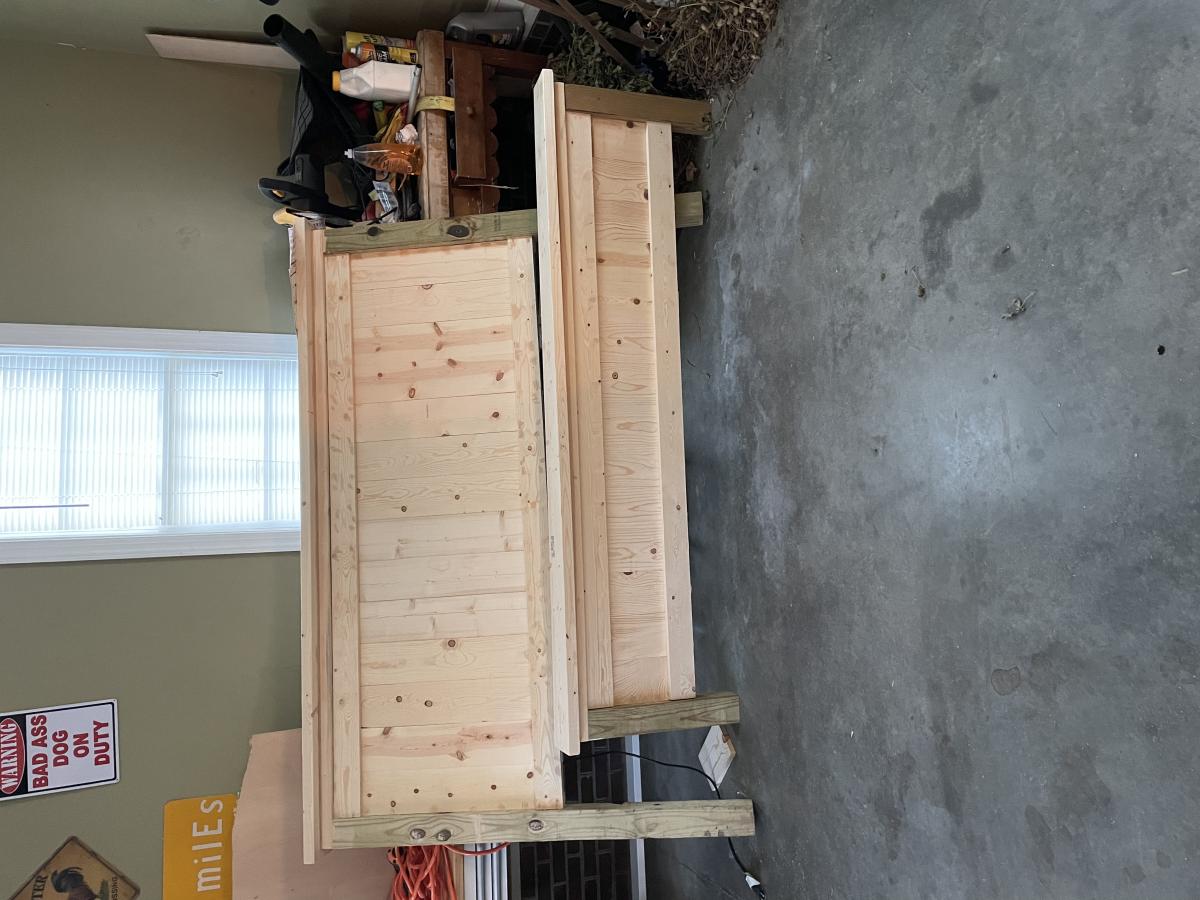
I built this bed for my son’s room. This is it in raw form. I still have to stain and paint it black before assembling inside. This is my 4th build so far. The plan is easy to follow just read in full and the reread before proceeding to next steps. Sometimes I get ahead of myself and have to undo and redo.
Sat, 11/06/2021 - 17:39
That is a wonderful build, can't wait to see it all finished and in the room! Thanks for sharing:)

This was a quick project but I am happy how it turned out.
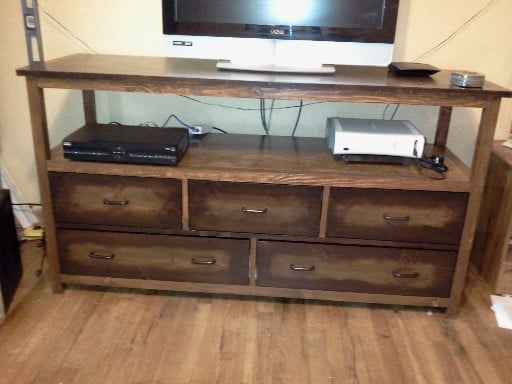
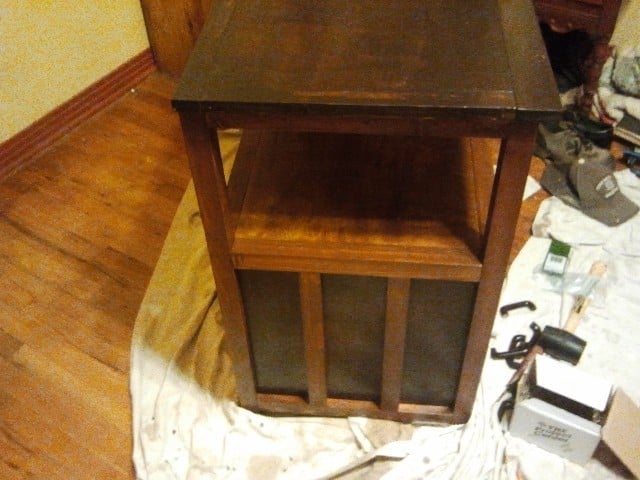
I modified the pottery barn inspired dresser to move the drawers to the bottom and the open shelf to the top so I could use this as a TV and game system console. I used all construction grade SPF, not a usual habit of mine but it turned out well. Wanted something that looked a bit rough around the edges. Stained it with Varathane stain, using Early American and Kona. The pic doesn't really do the drawers justice, the stain is a gradient with the Kona fading into the early american. The gradient really doesn't show up in the pic.
The piece compliments the Haley bed I built from Ana's plans and stained in a similar fashion
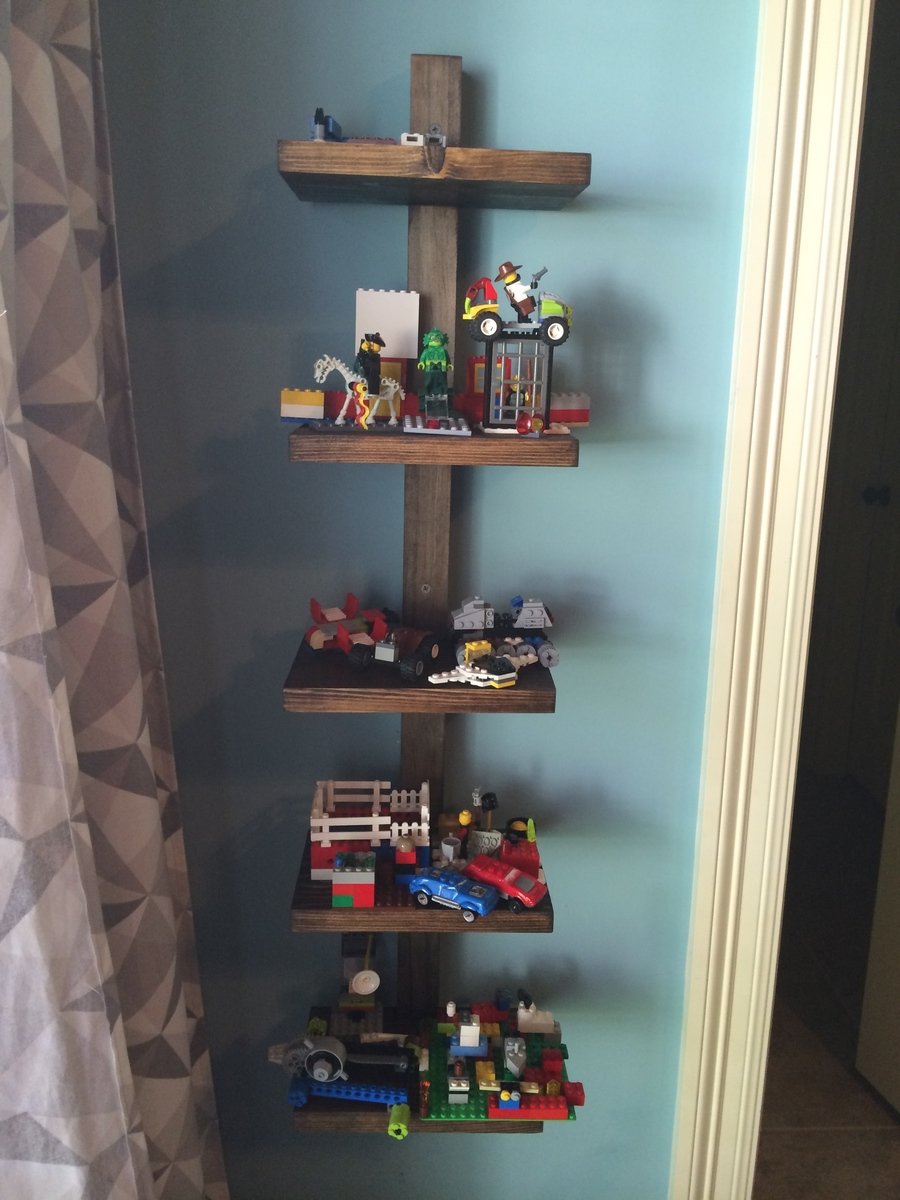
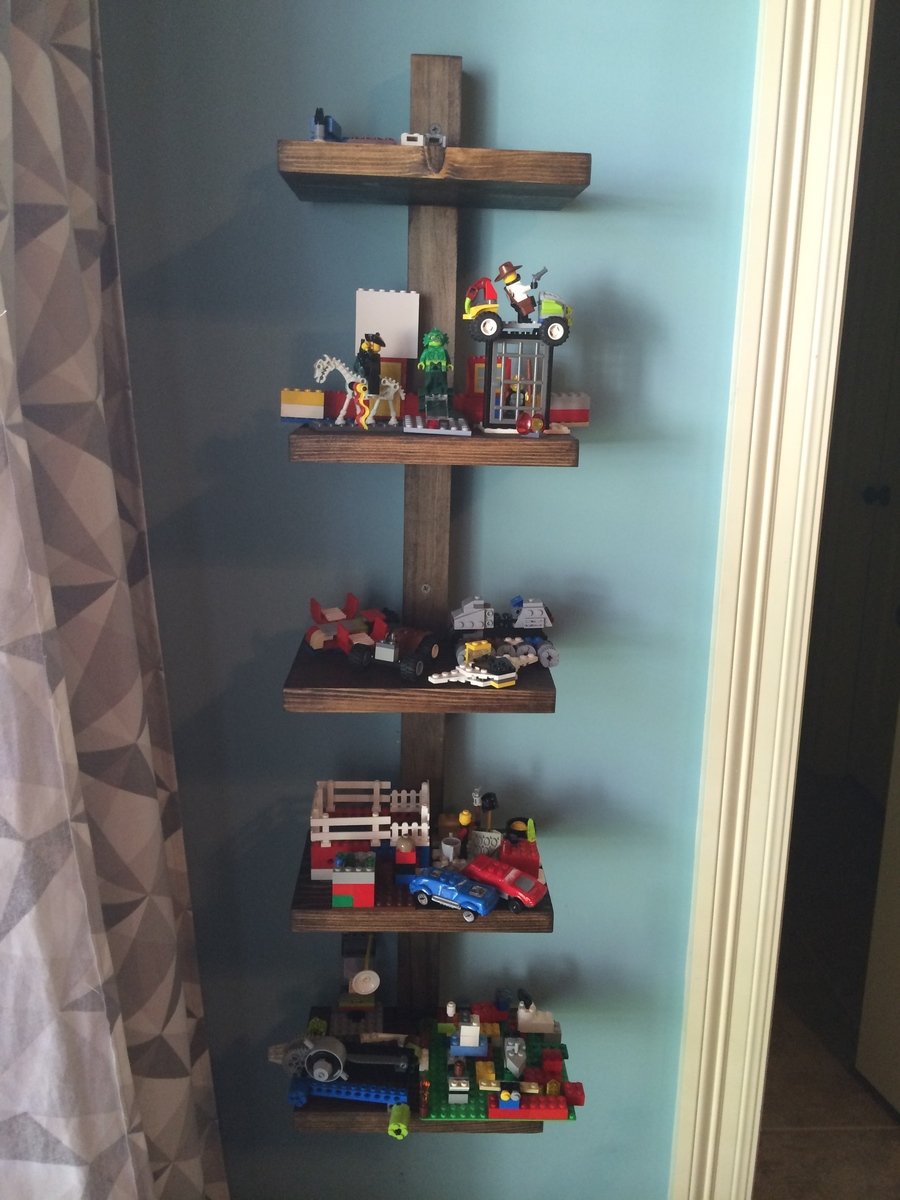
This was my first project that I built completely alone! My sweet husband has built a couple things from the site but I didn't have any help with this one. Nice to have a cleanish room and carpet now that all my son's legos are up on display. He loves it!
