Numbered-cubbies-wall
My first build from this fantastic site, but not last.
![](/sites/default/files/3154813055_1343651060.jpg)
My first build from this fantastic site, but not last.
Son's bed (age 9) first build and he loves it! I'm pretty psyched too!
Our version of your Fancy X Farmhouse Table for you best friend.
My boys share a bedroom and we were looking for some headboards to fit into our small budget. So we decided to build them matching headboards! It cost us around $40 for each headboard and I am SO happy with how it turned out! Check out more details on my blog post: https://practicalperfectionut.com/boys-bedroom-ideas/
I am loving the plans from Ana. I can’t wait to enjoy some time outdoors with family and friends.
I have tried submitting this 3 times and each time it got deleted... so forgive me if this is short.
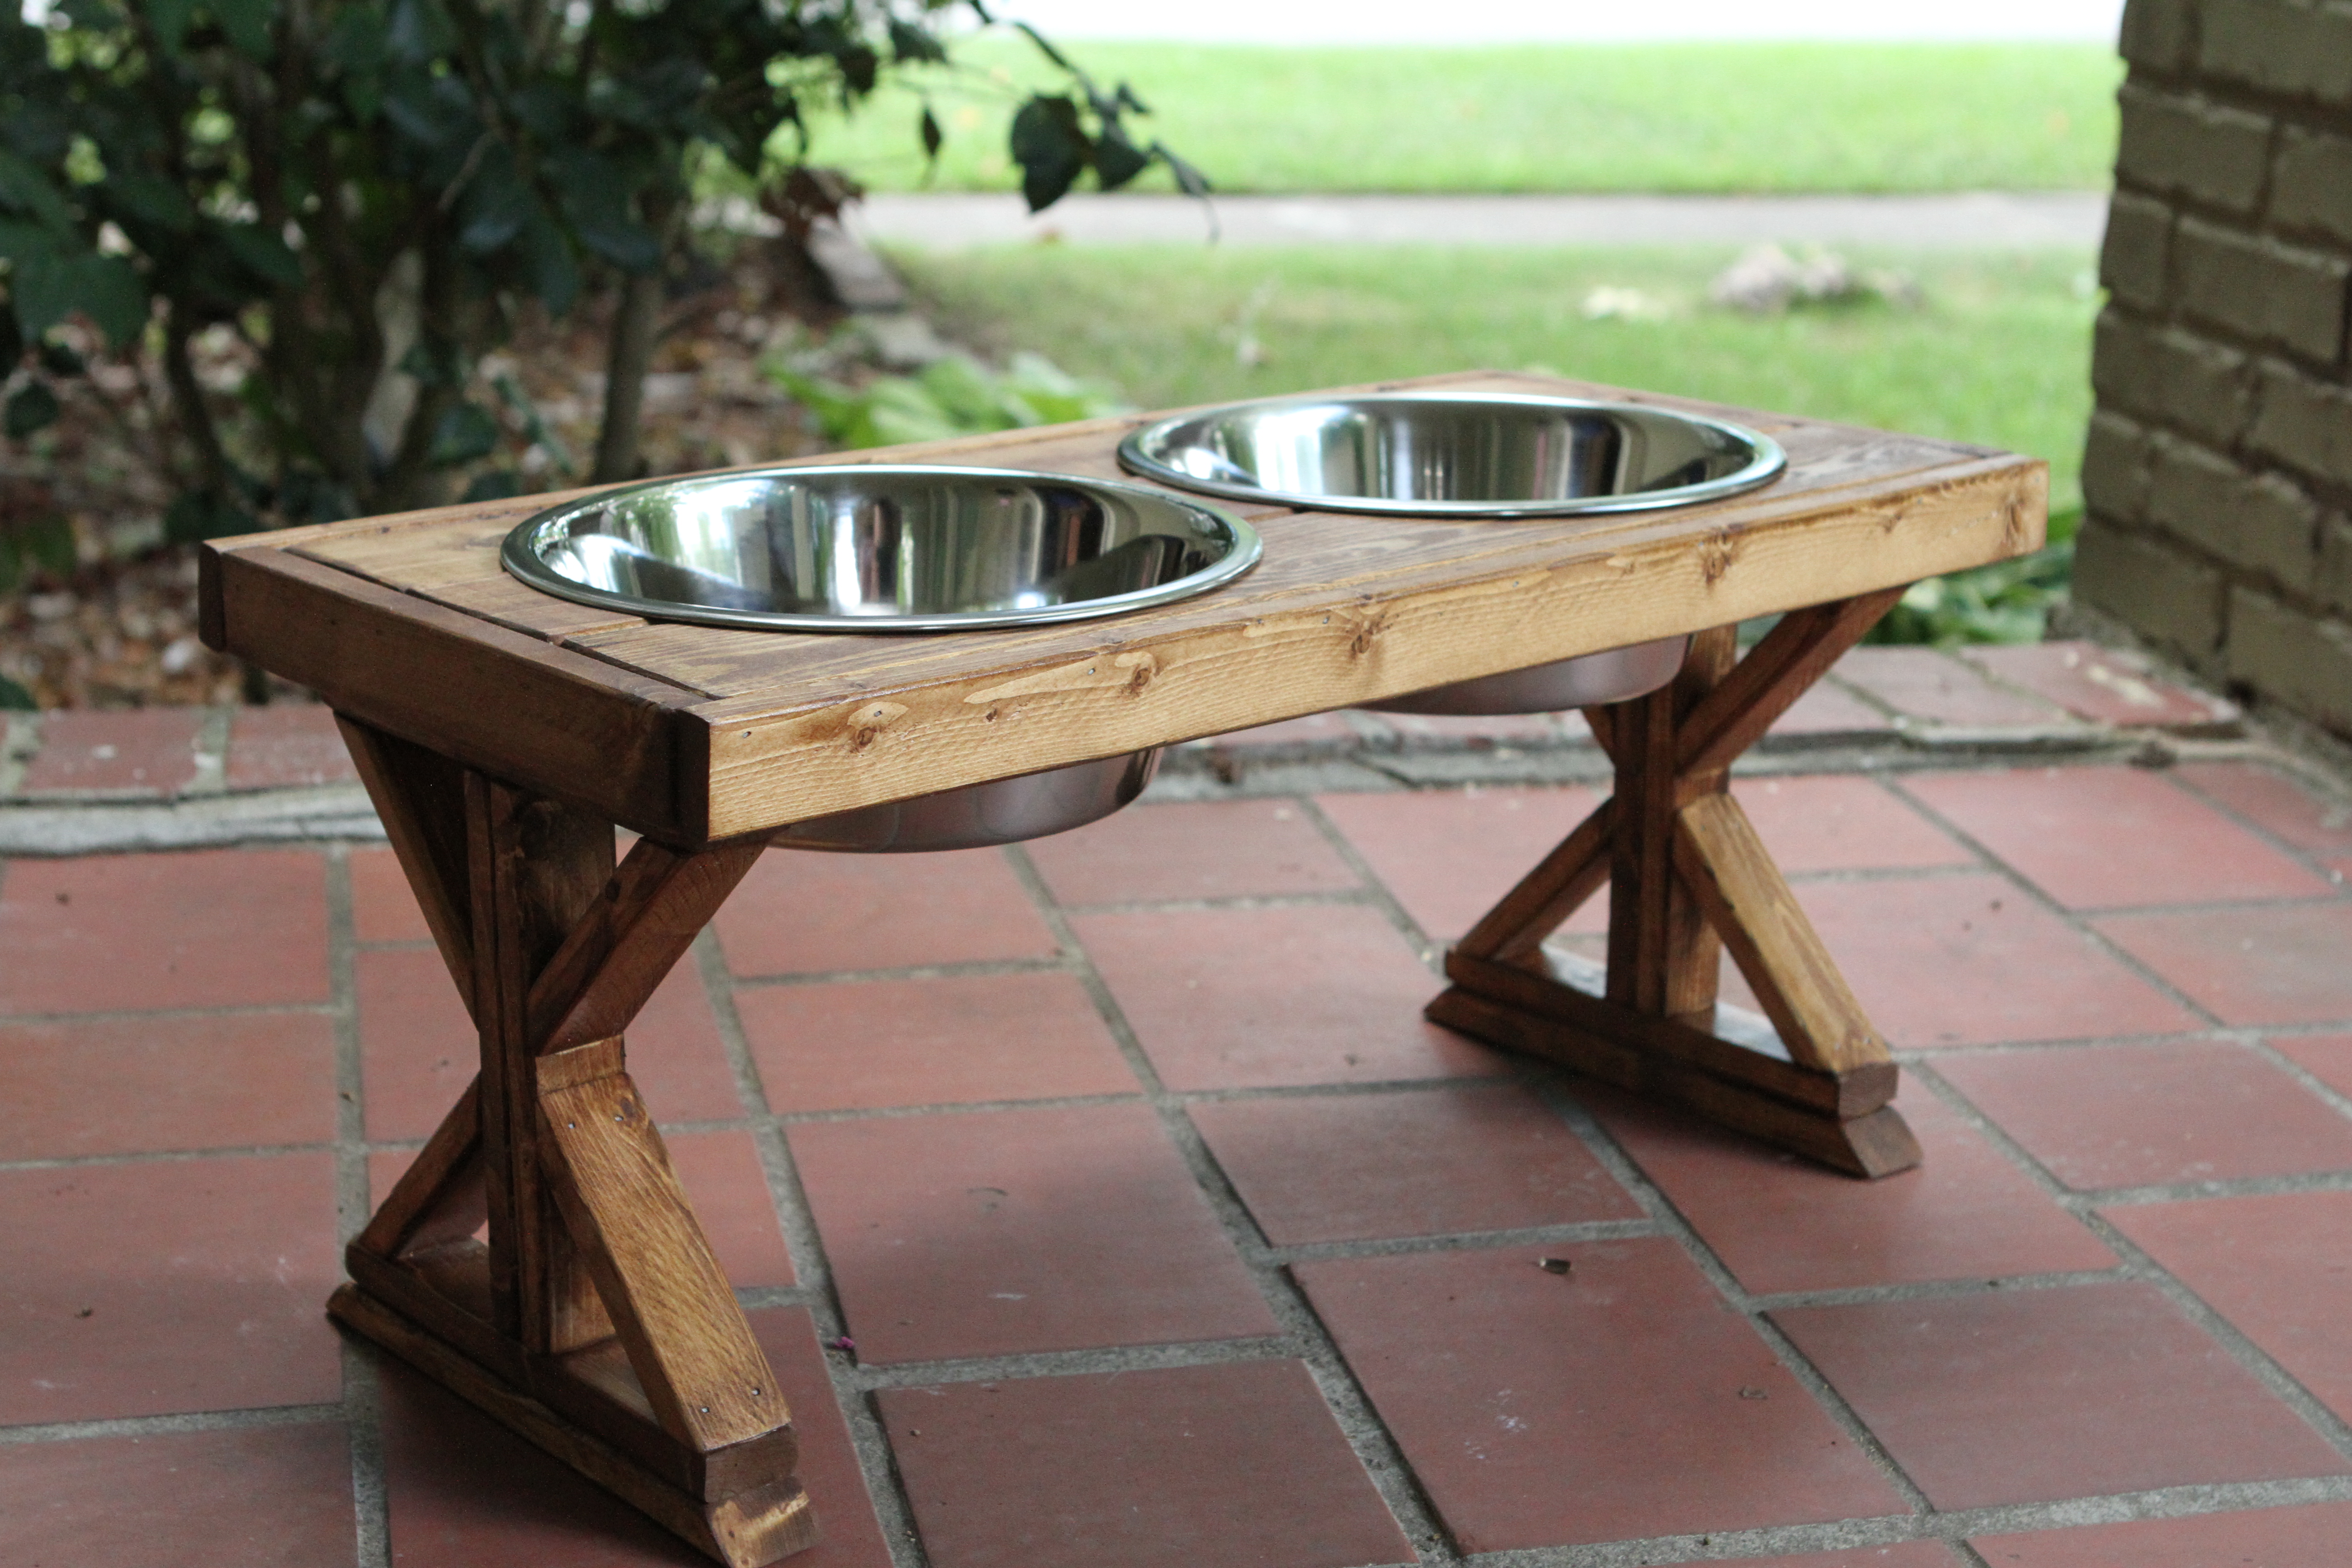
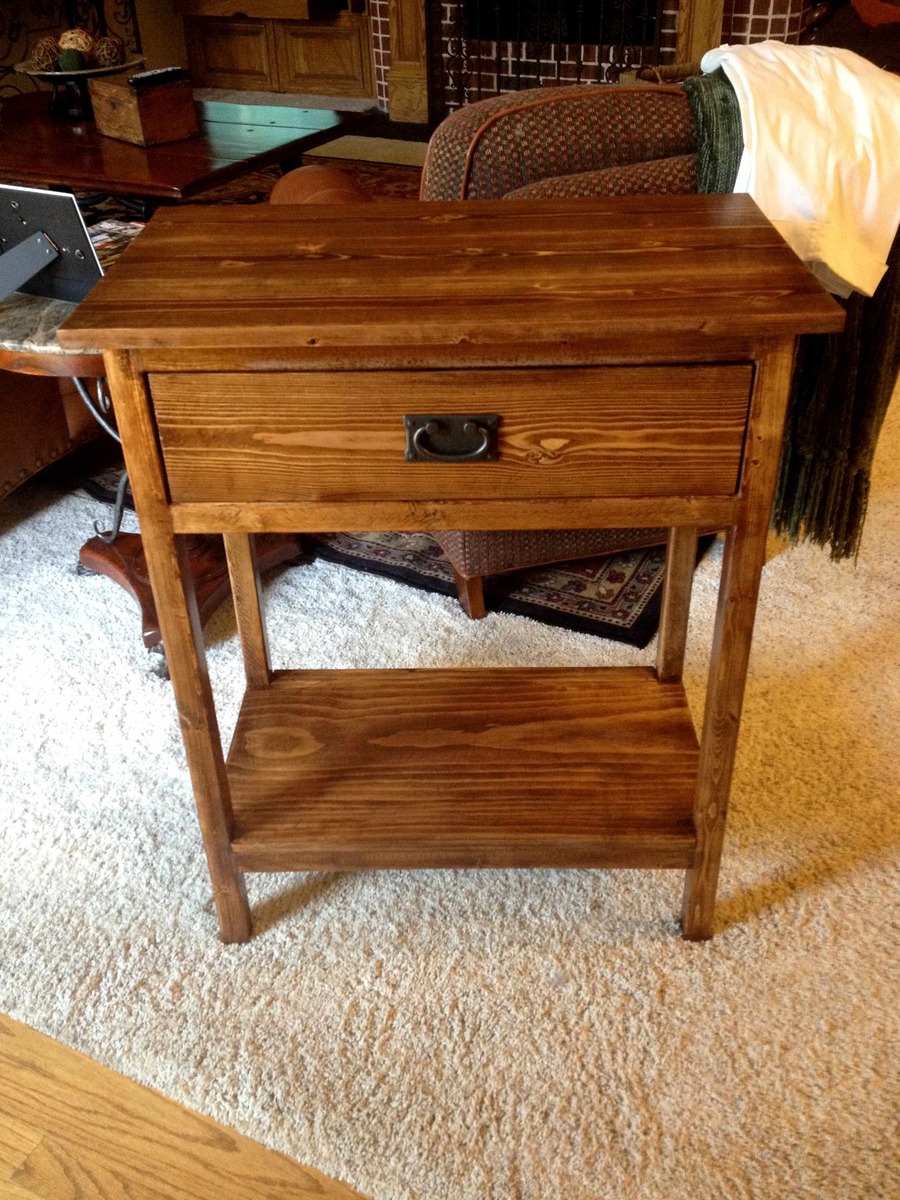
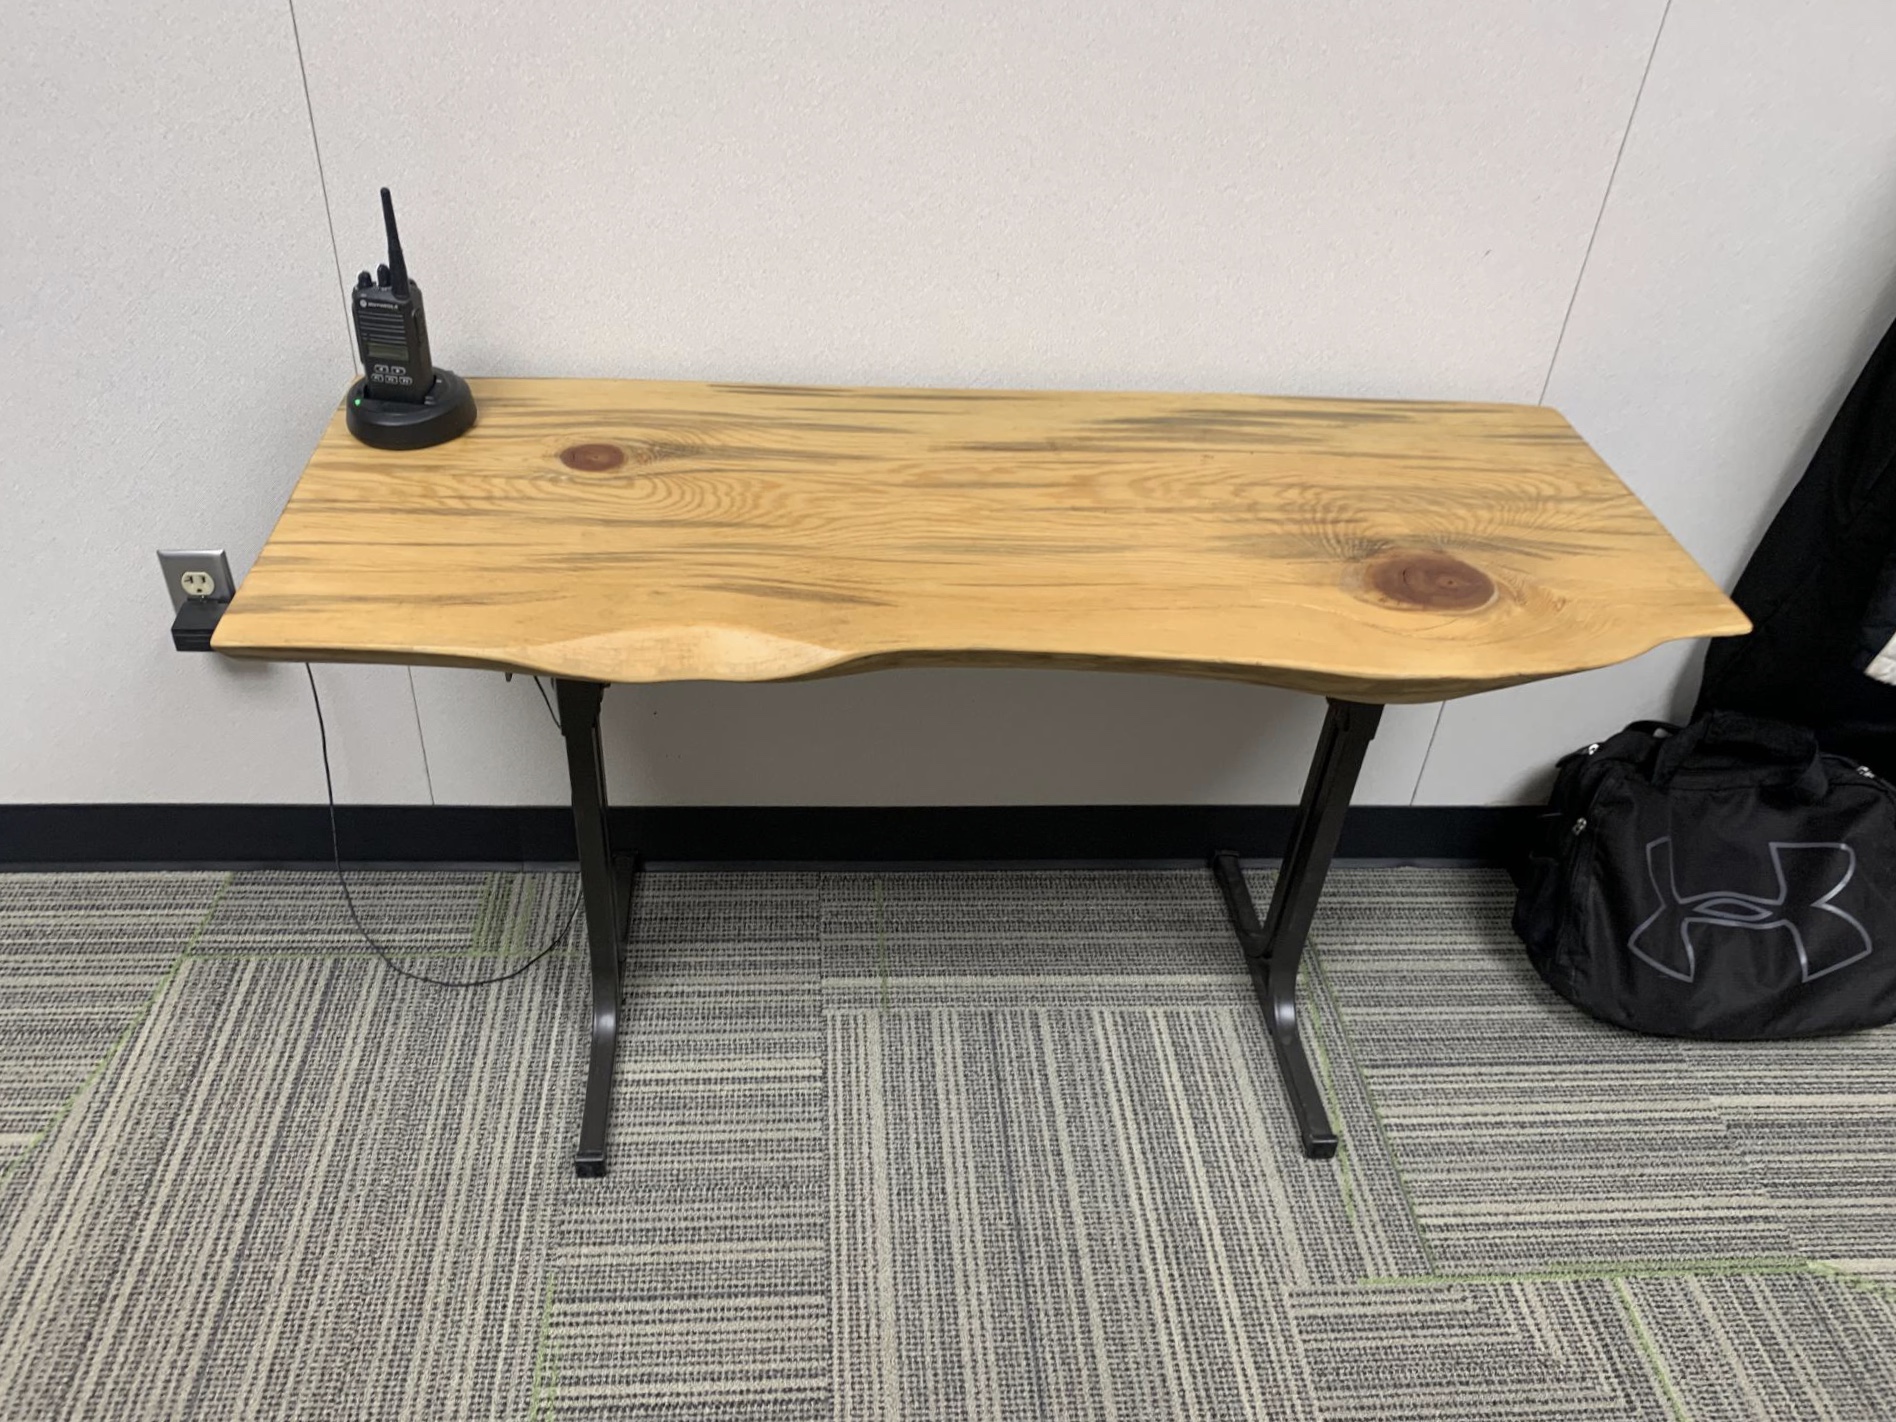
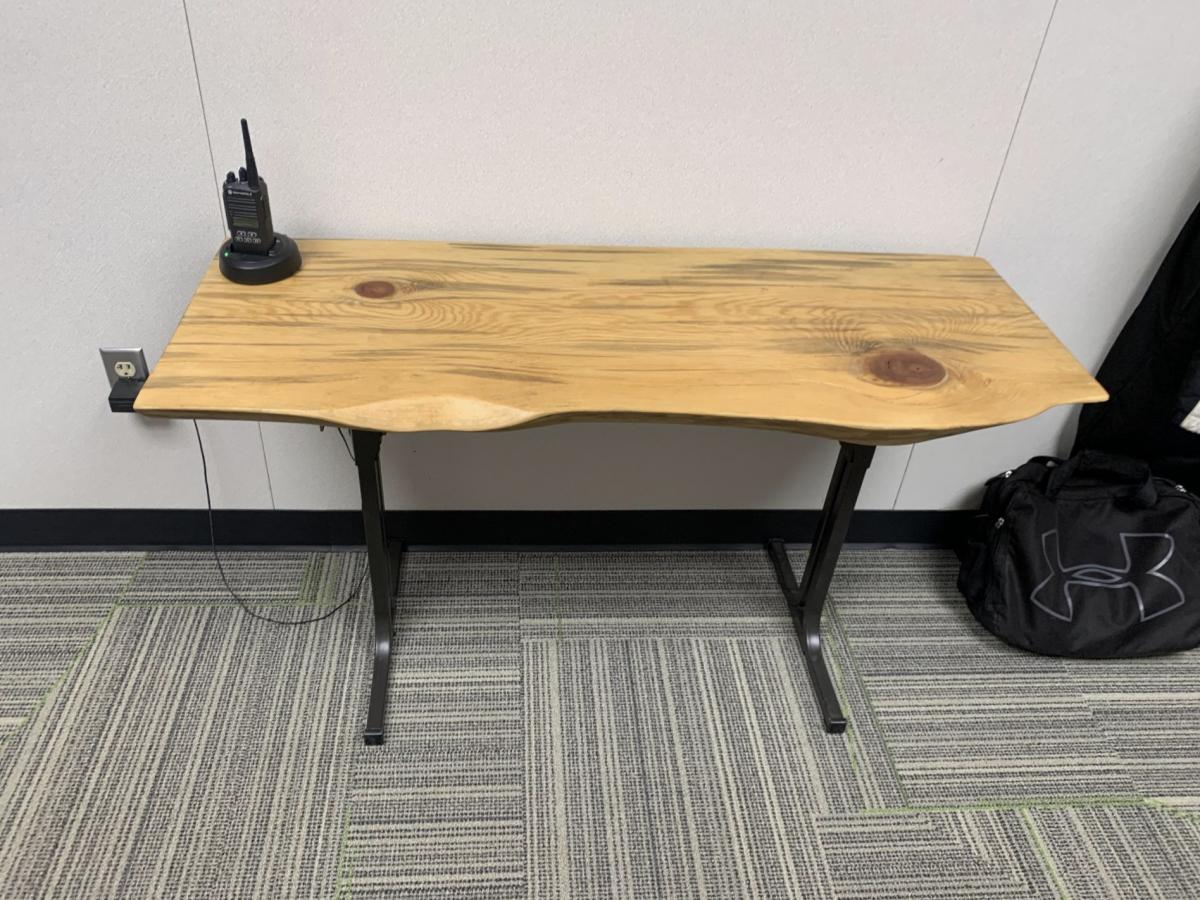
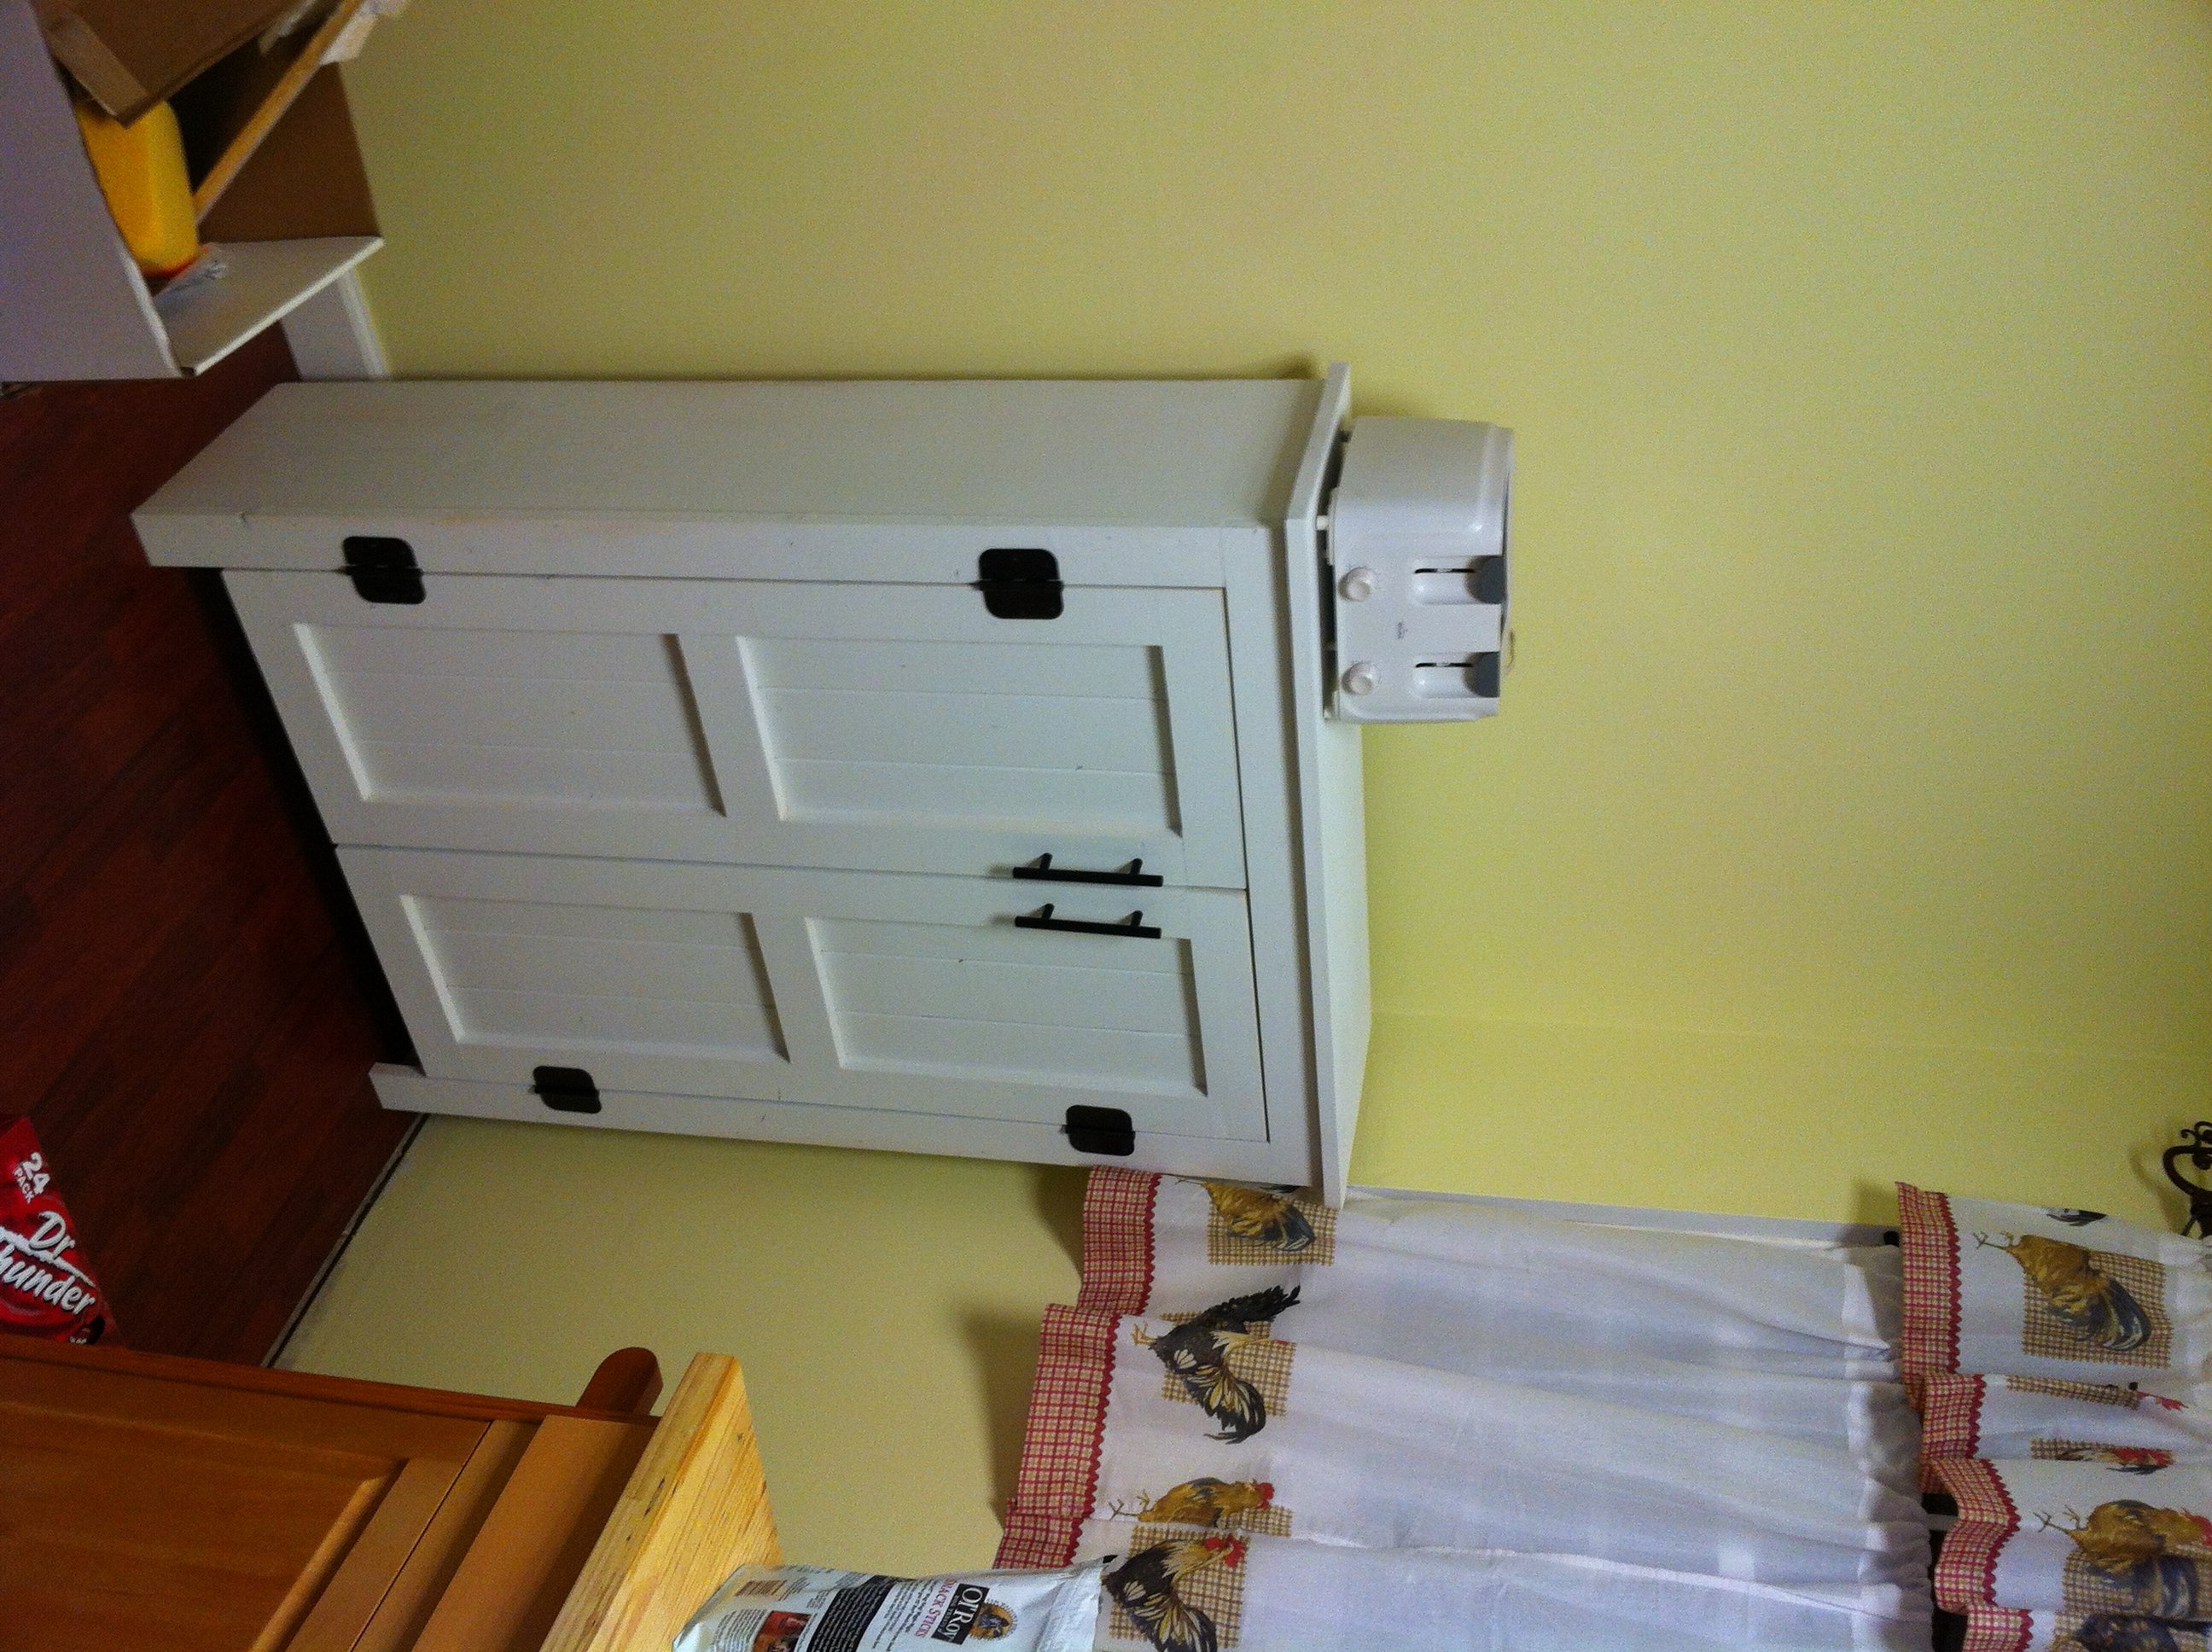
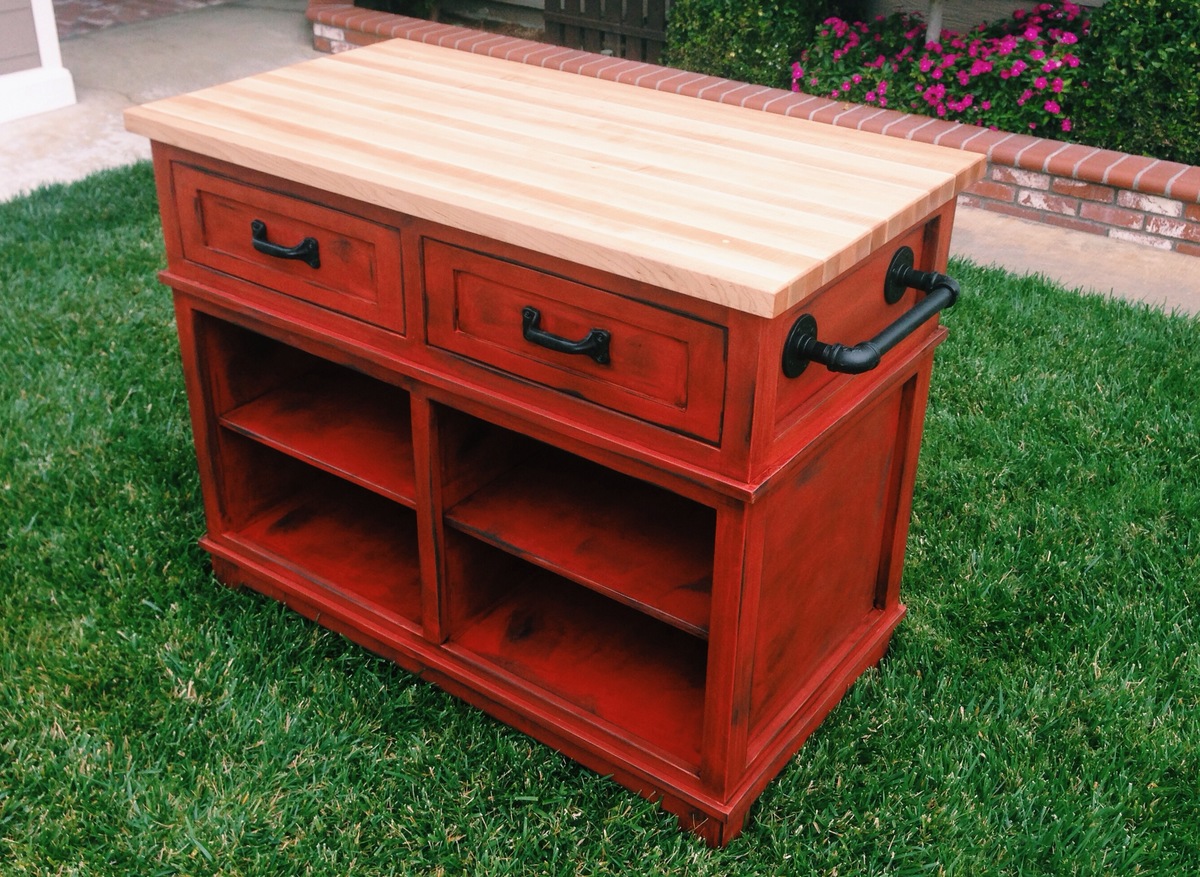
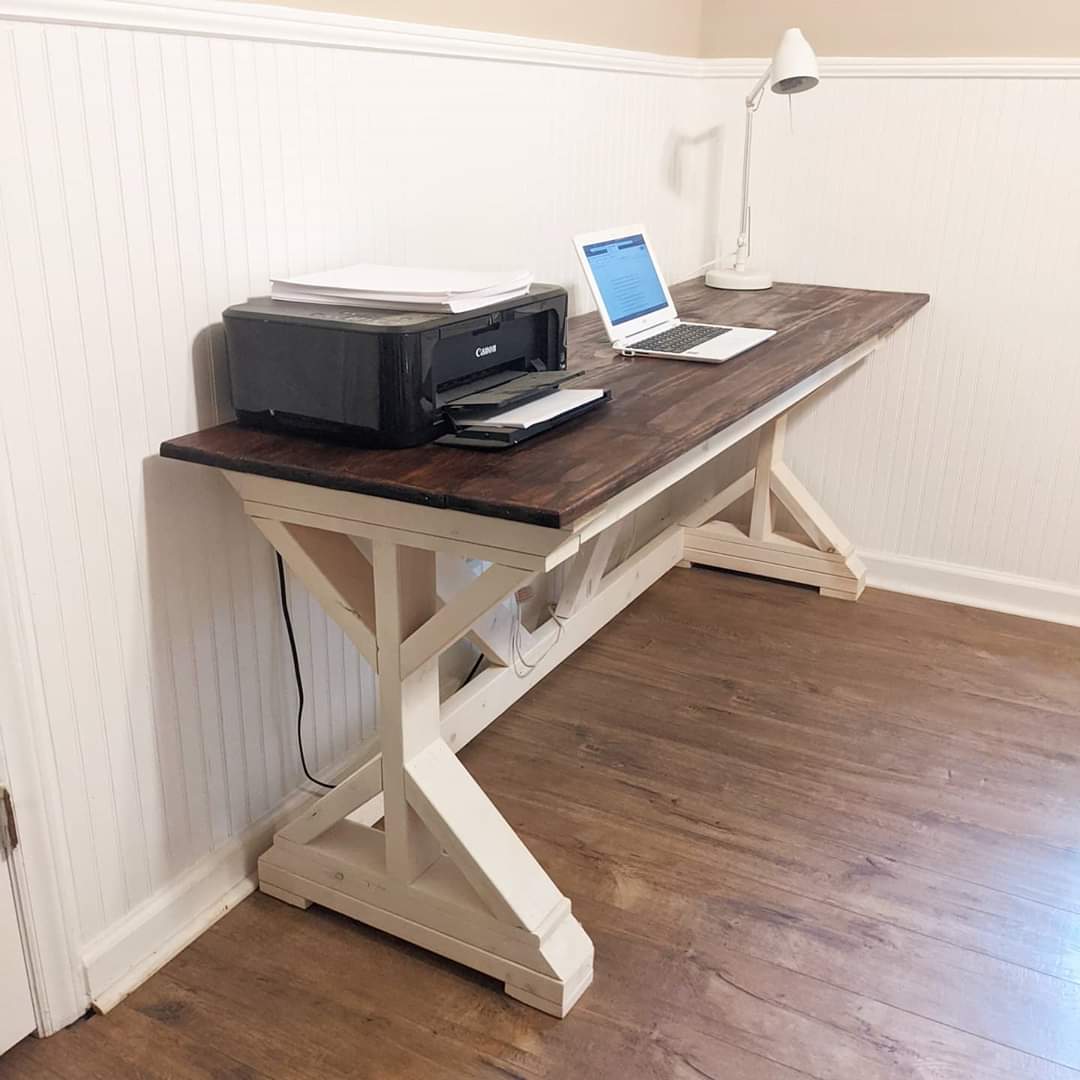
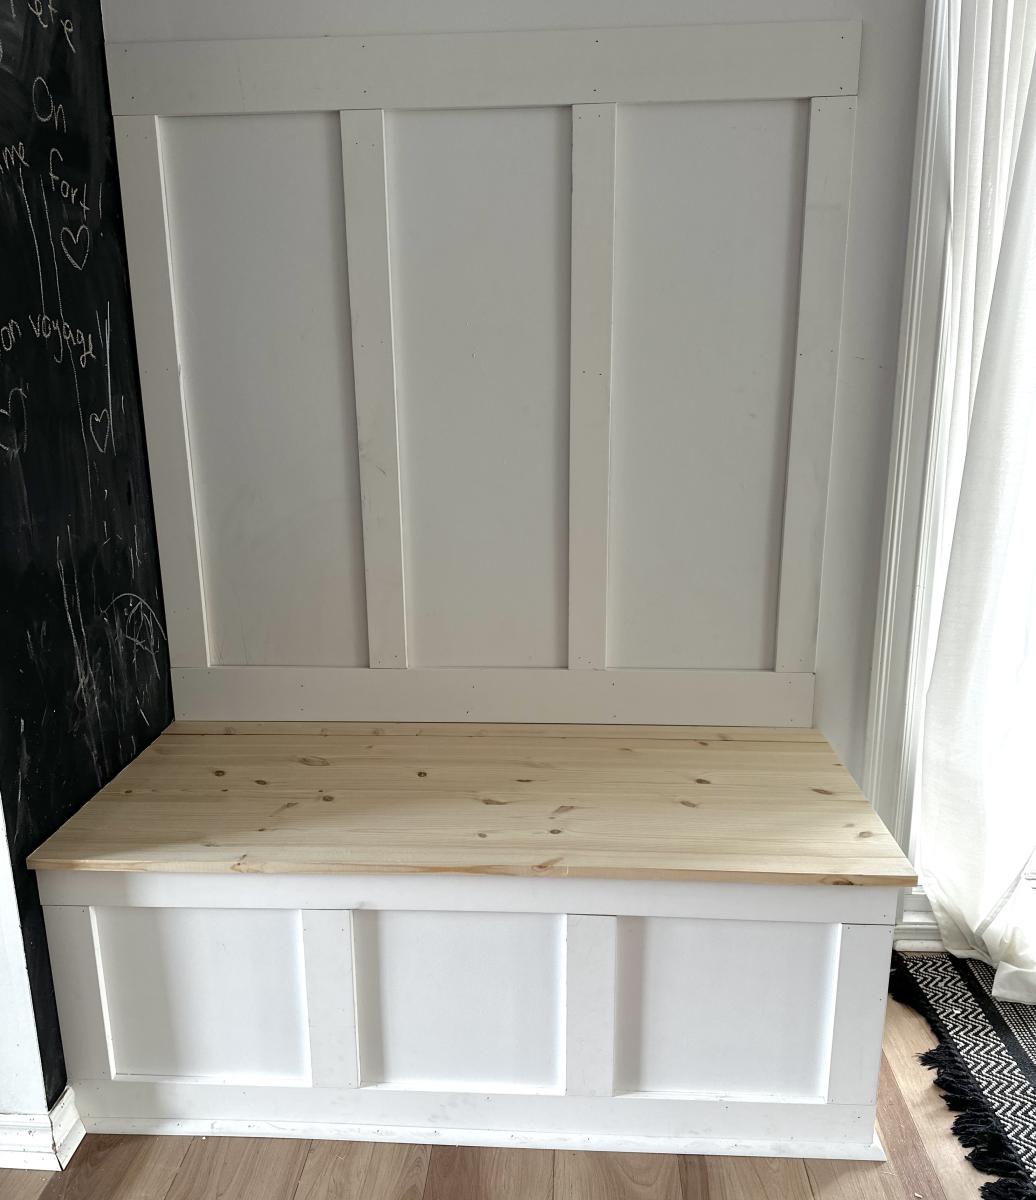
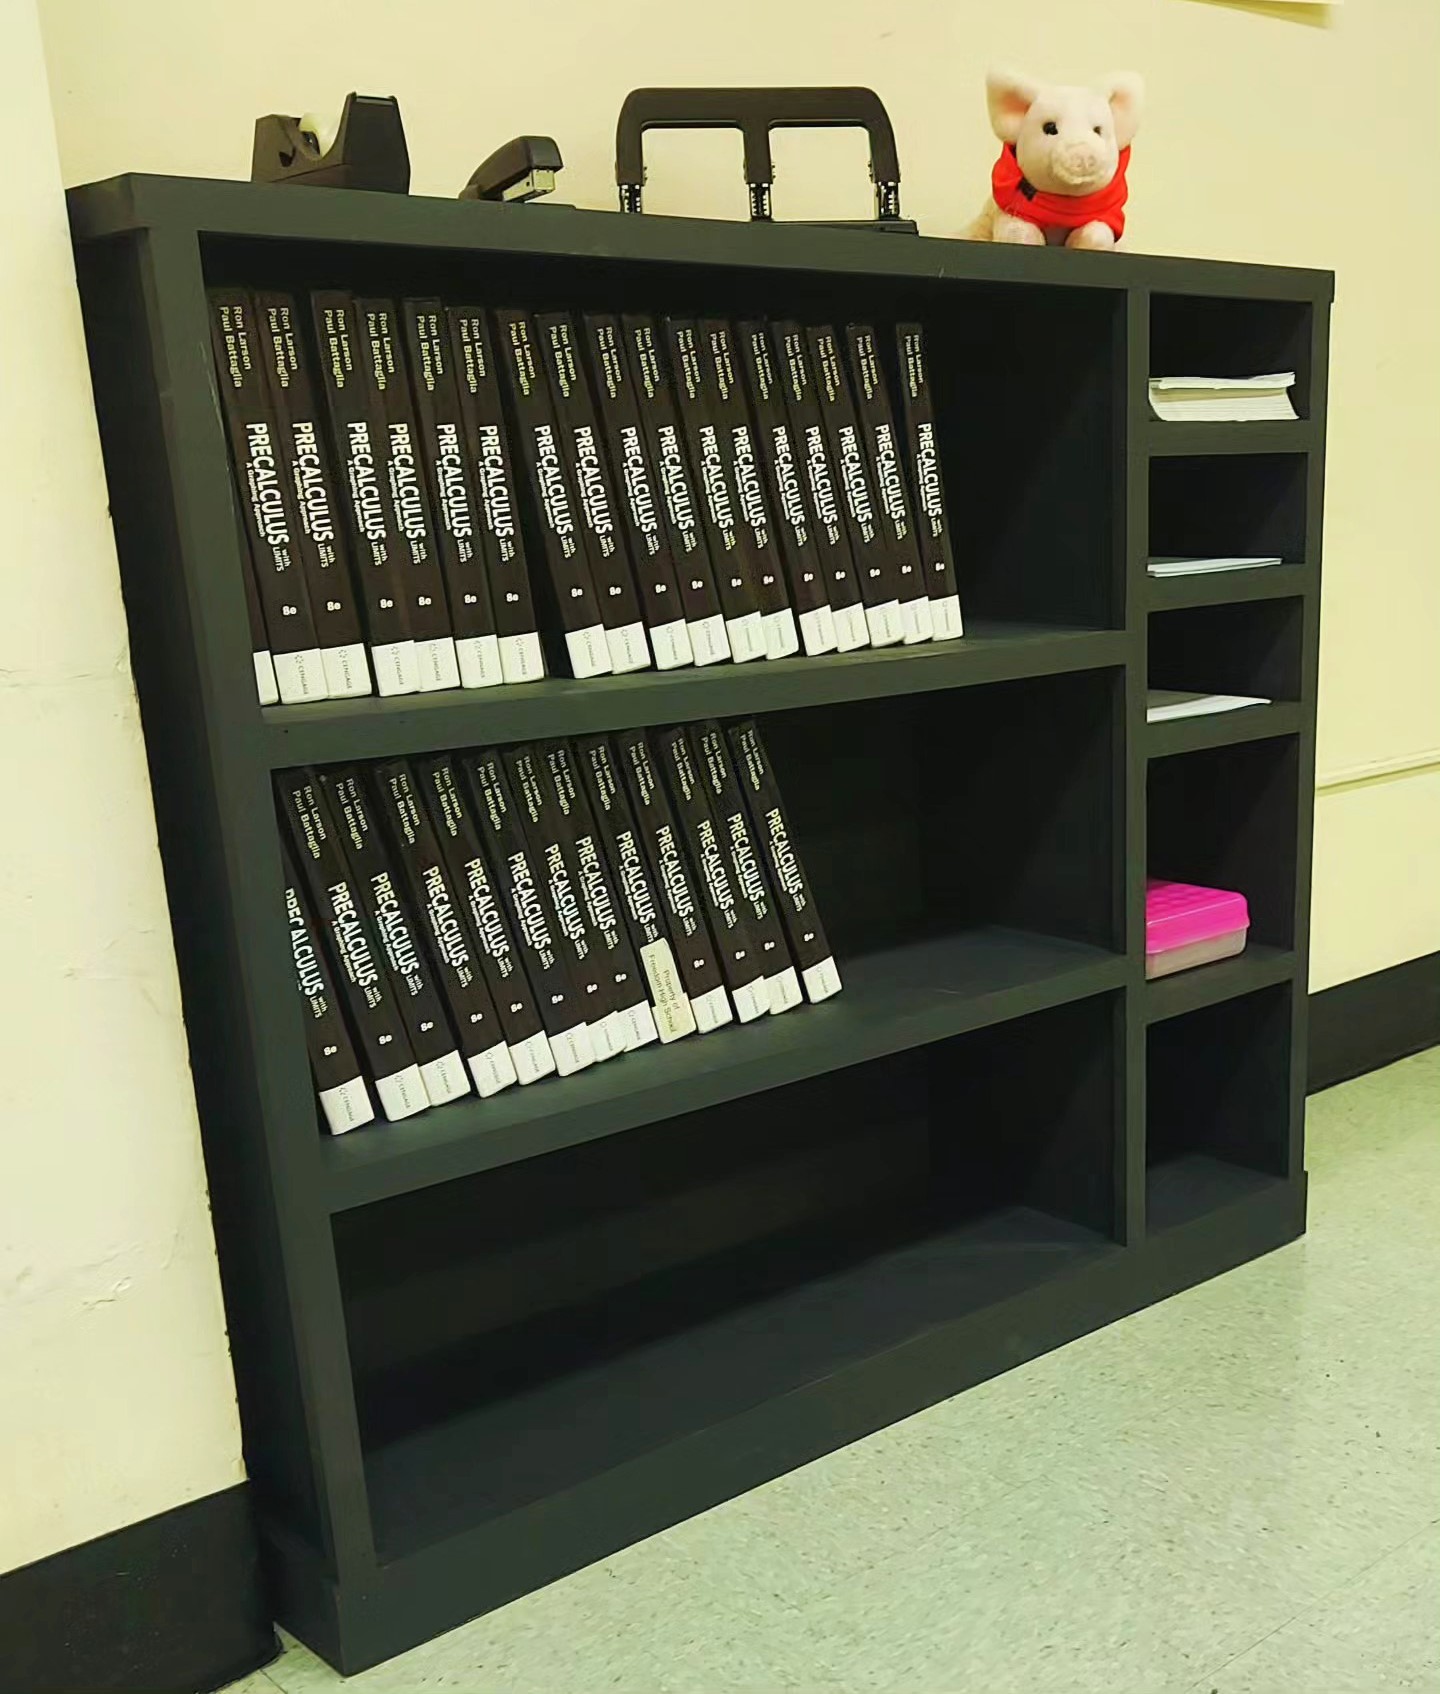
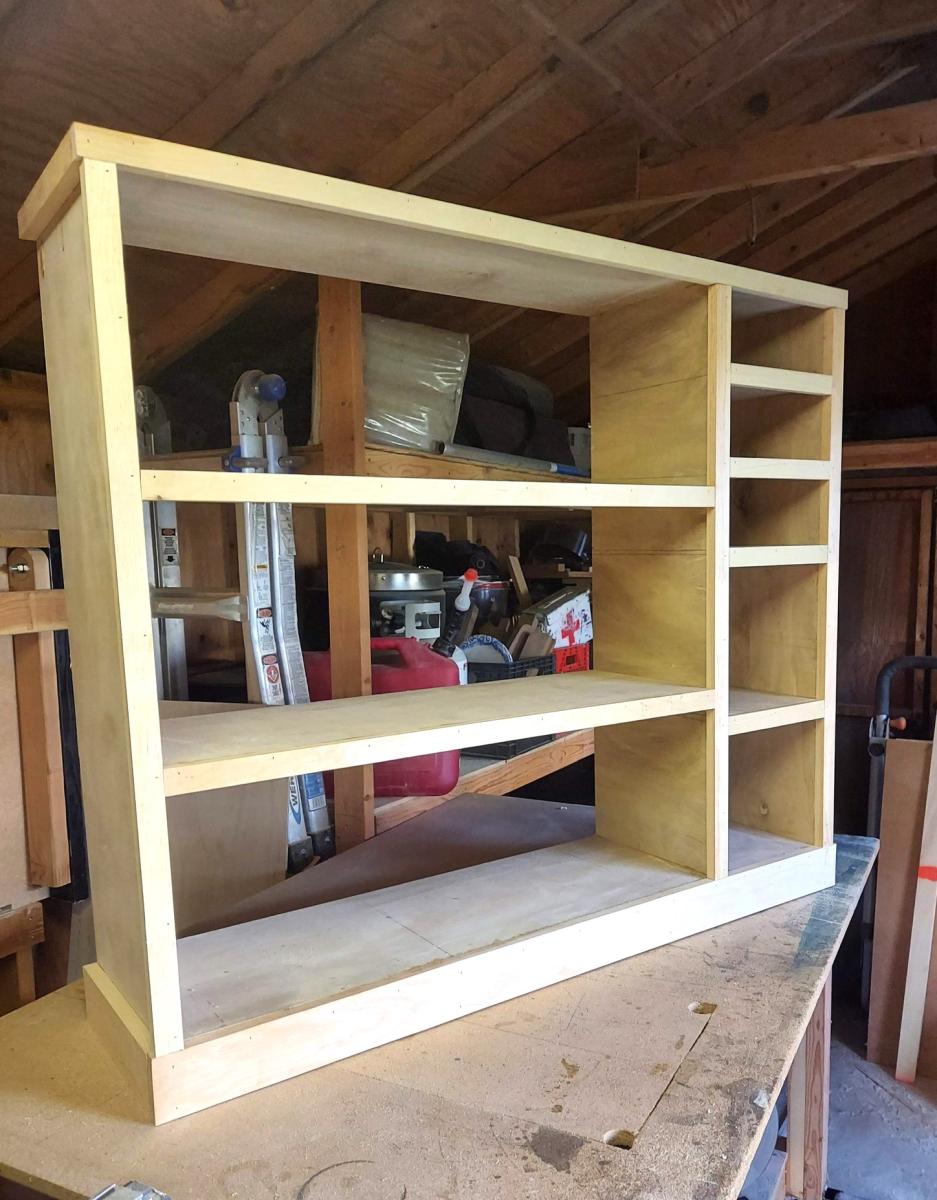
But for this table I followed the plan, only I left the legs about 7 inches longer to make the table taller. I did this because my plan was to use this in my bathroom for additional storage. Some things I will say about the project:
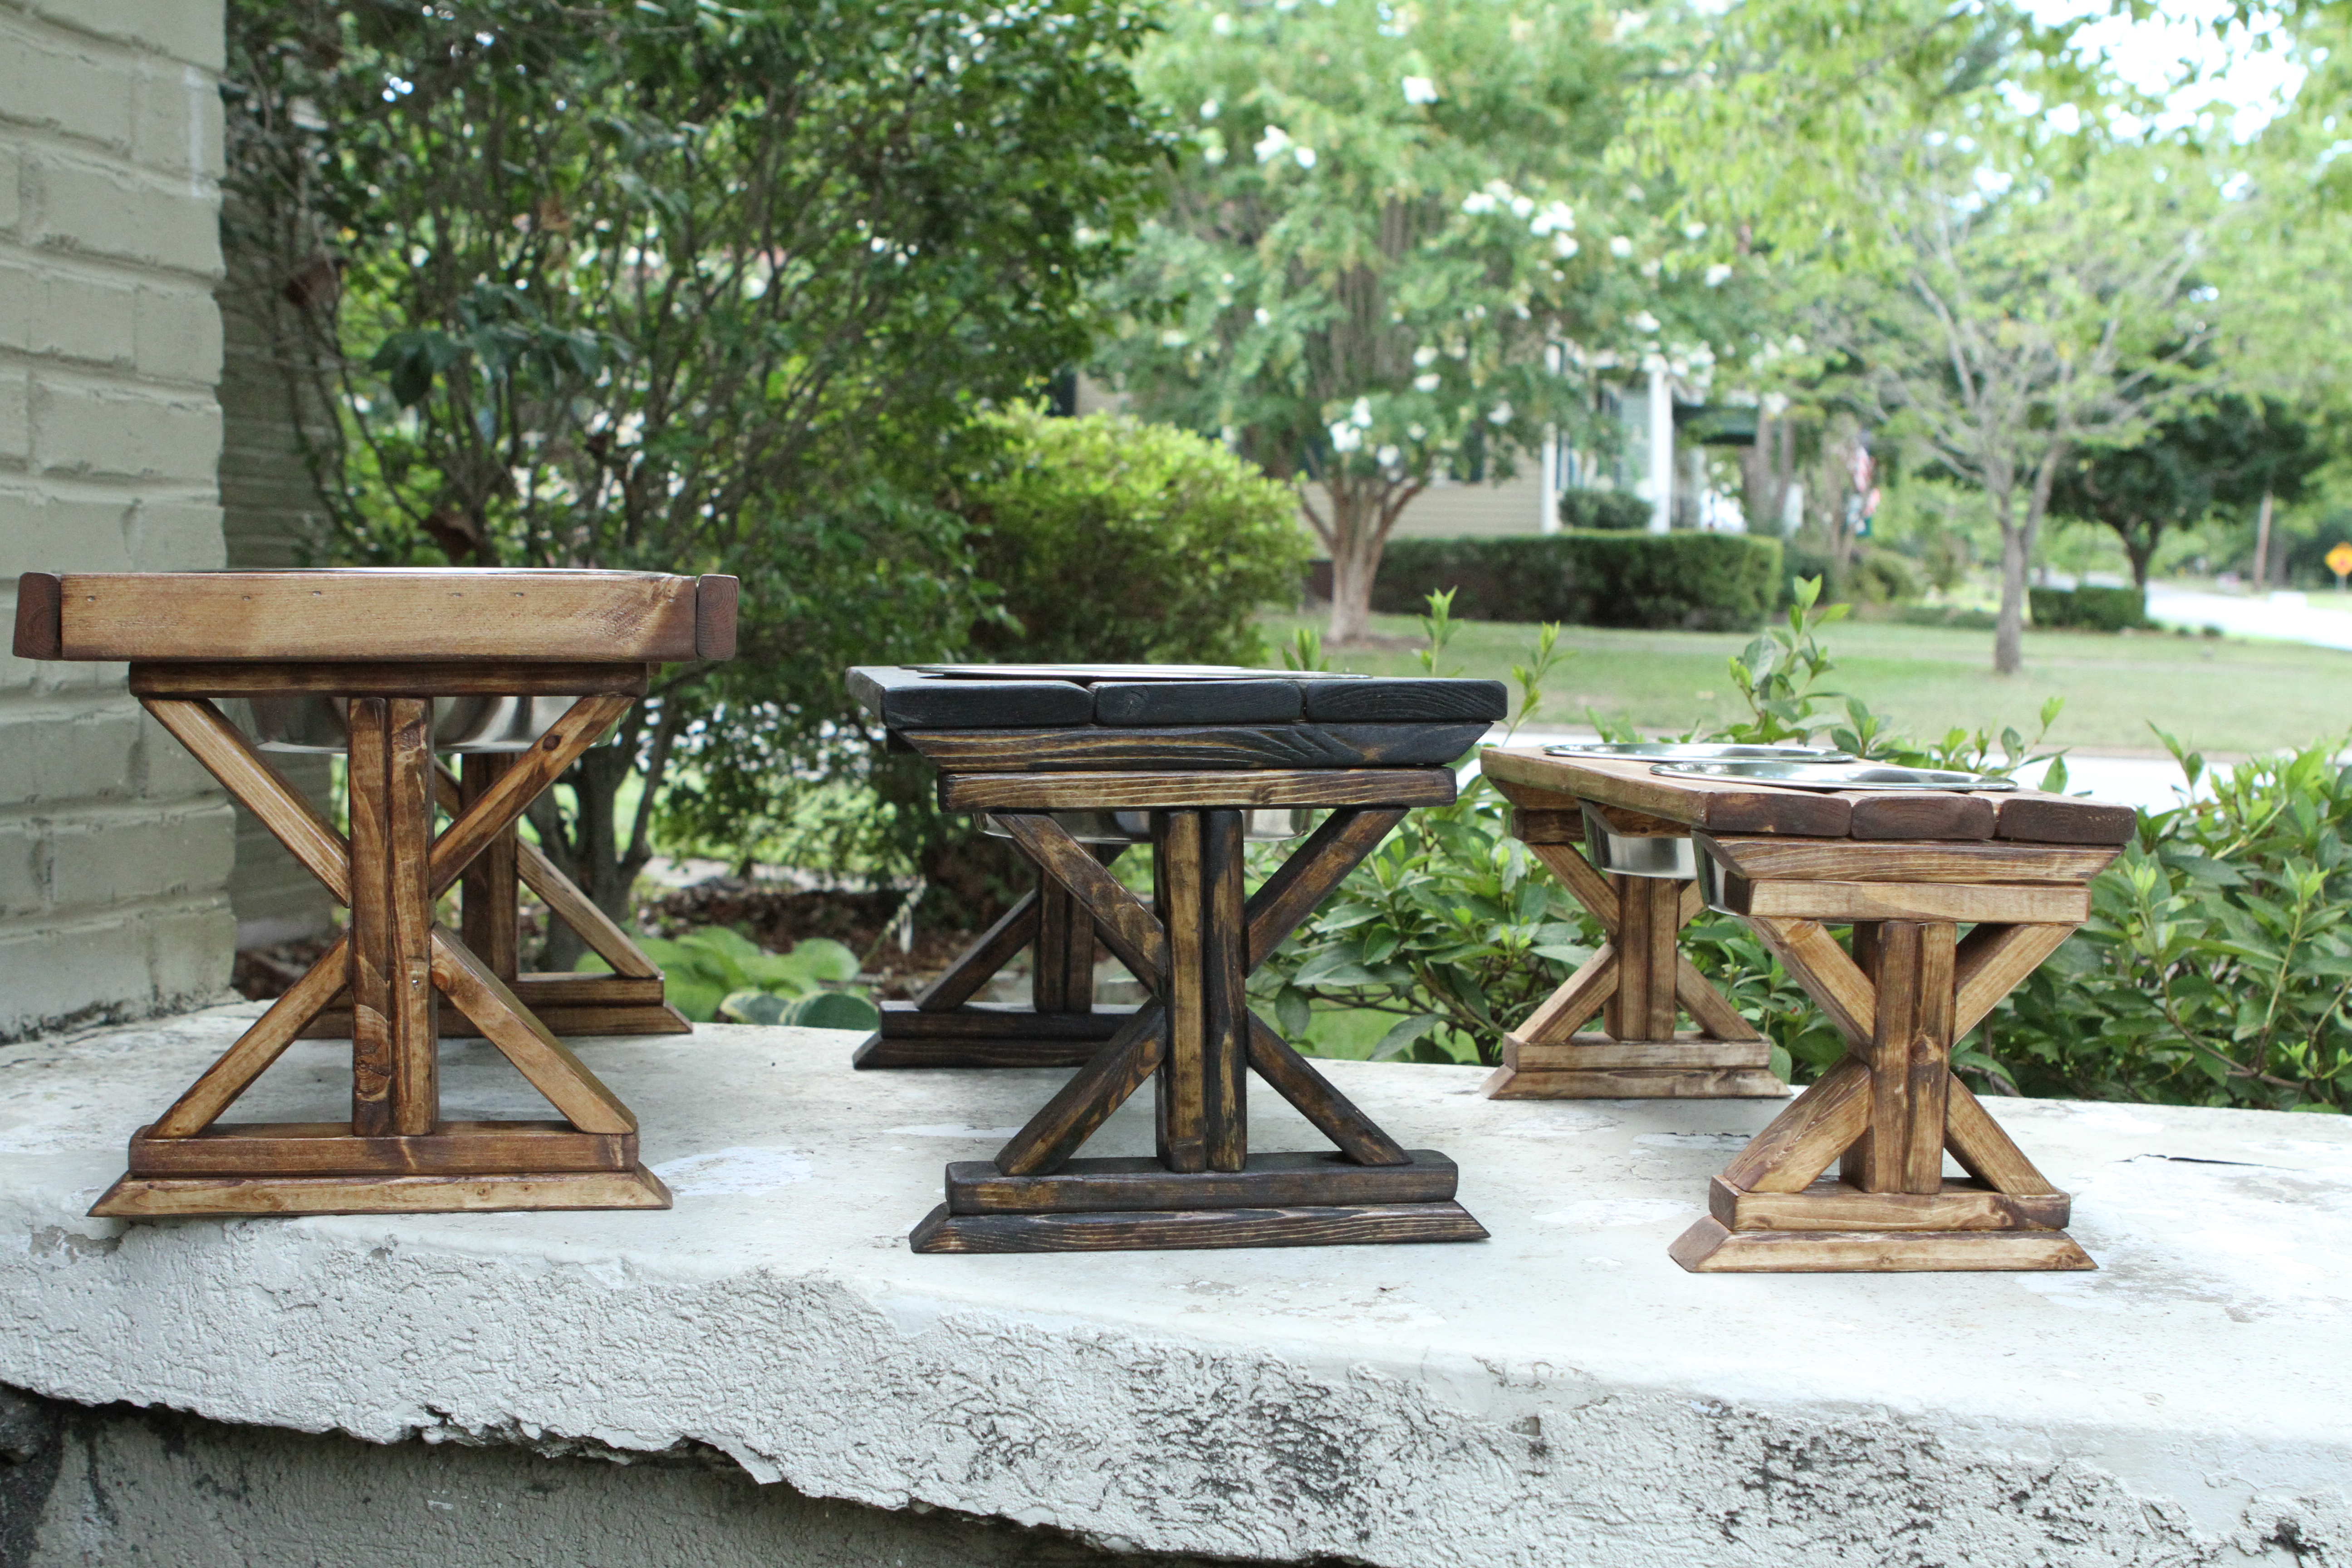
Make surre you get the straightest, flattest 2x2's possible. Most likely these will be furring strips, so pick them wisely. If you have access to better 2x2's or can cut your own I would suggest it. When you join them you will have little gaps because the edges are rounded, and they won't be flush. To counter-act this problem I filled them with wood filler in layers, and sanded it flush before I stained.
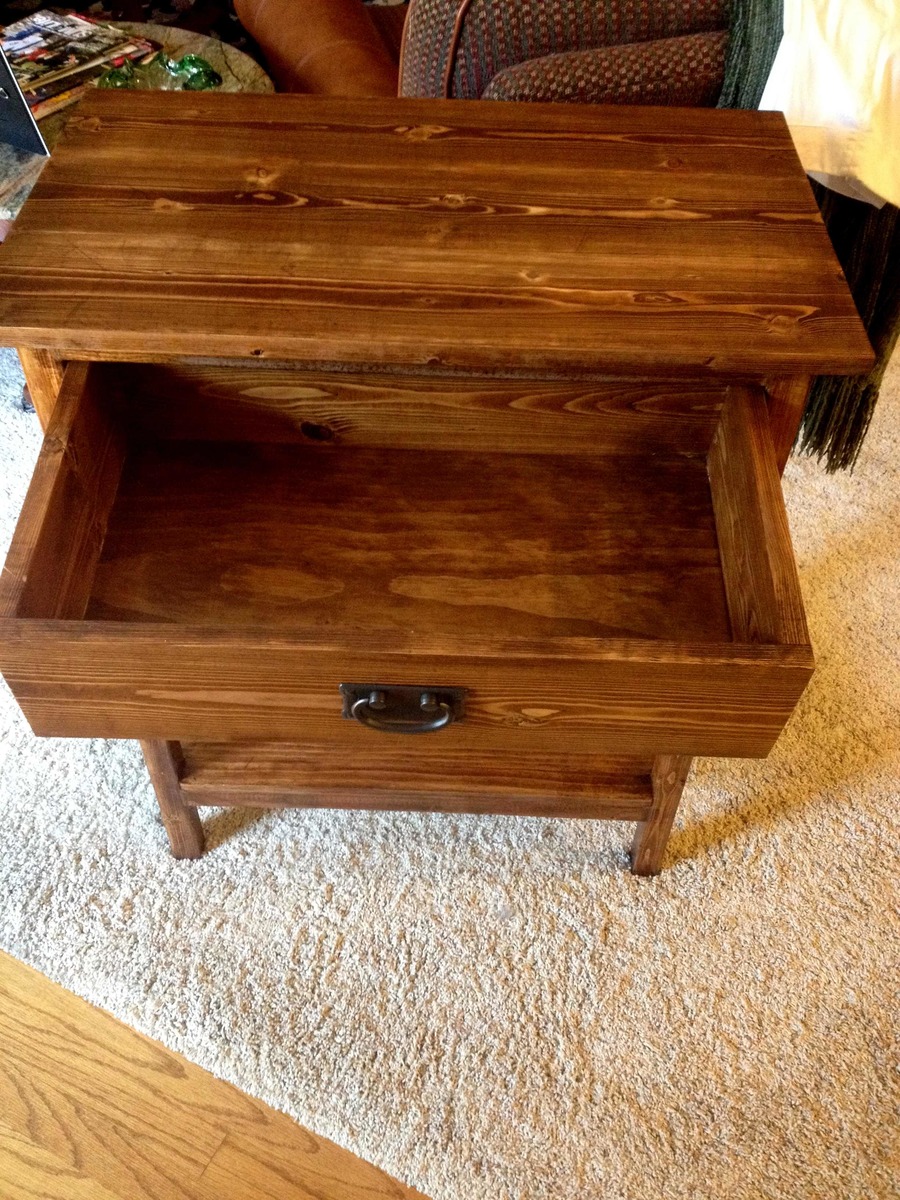
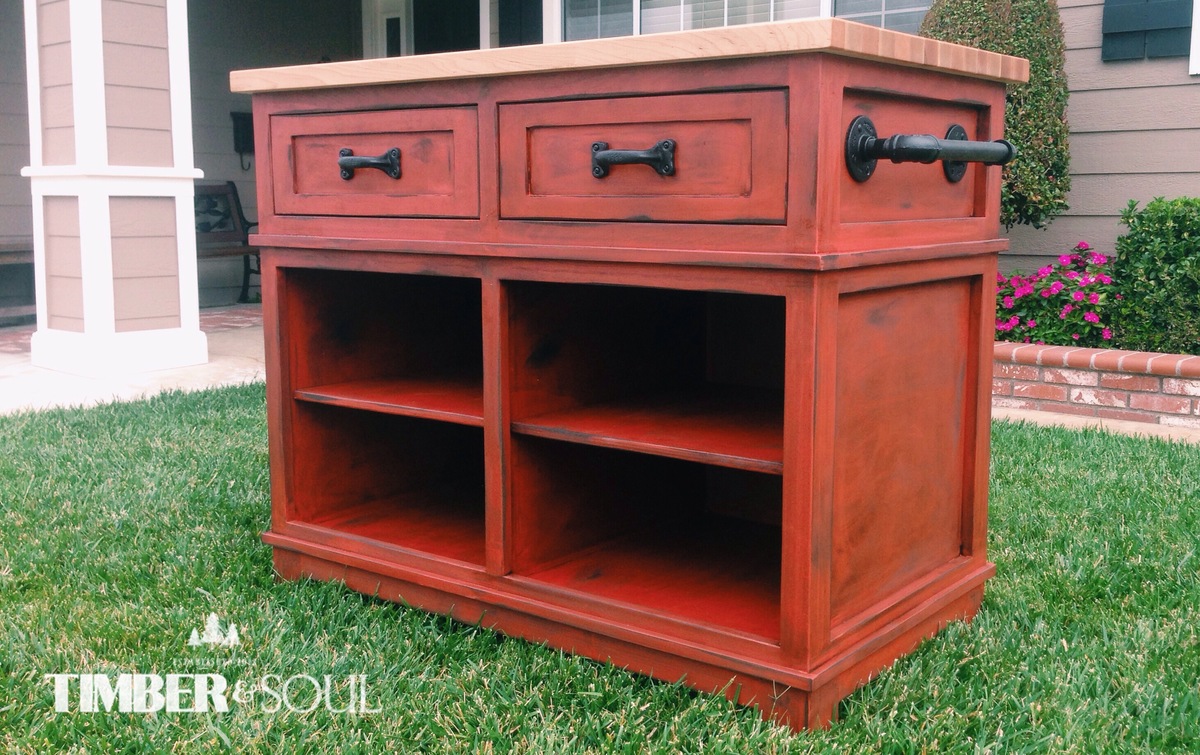
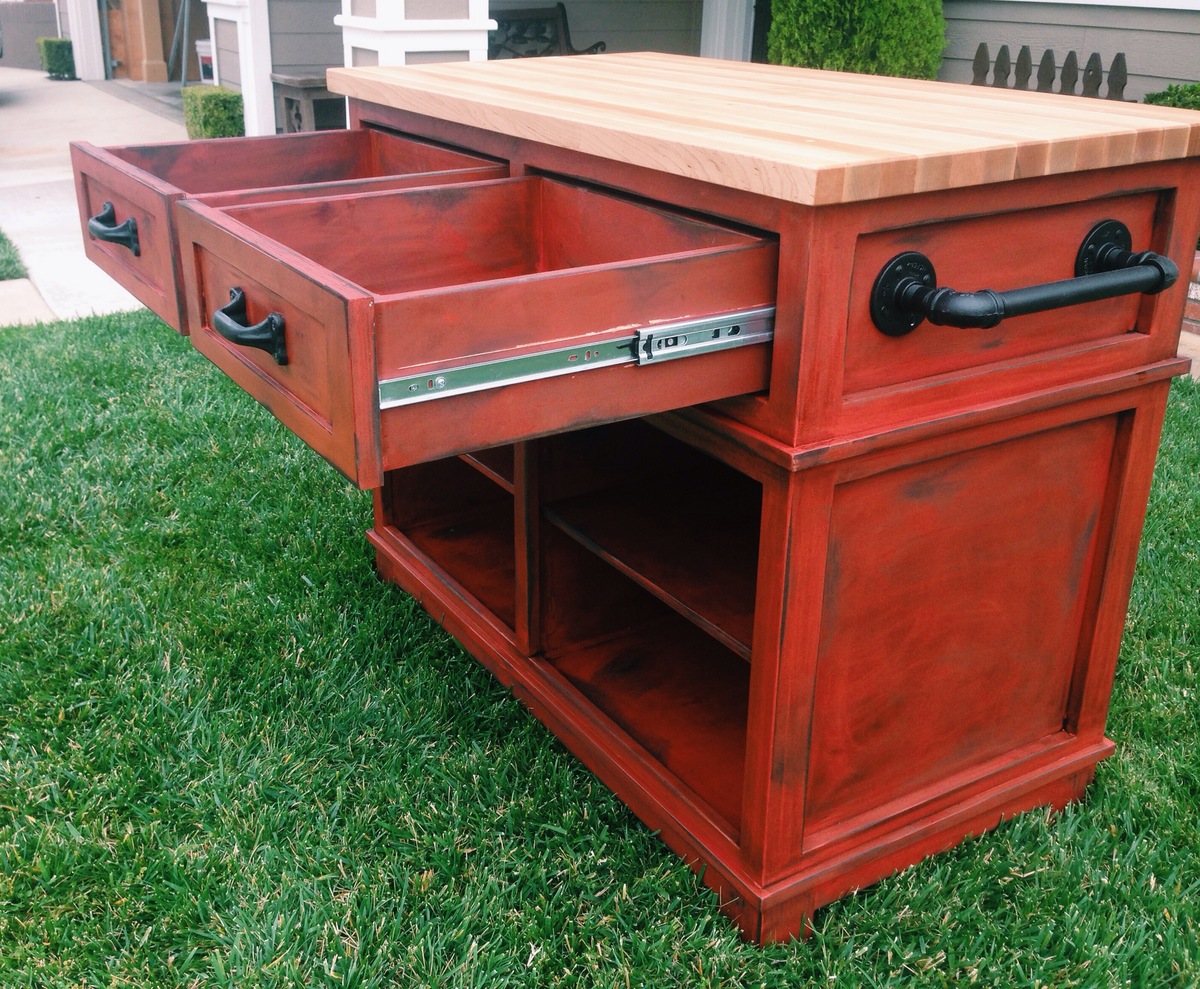
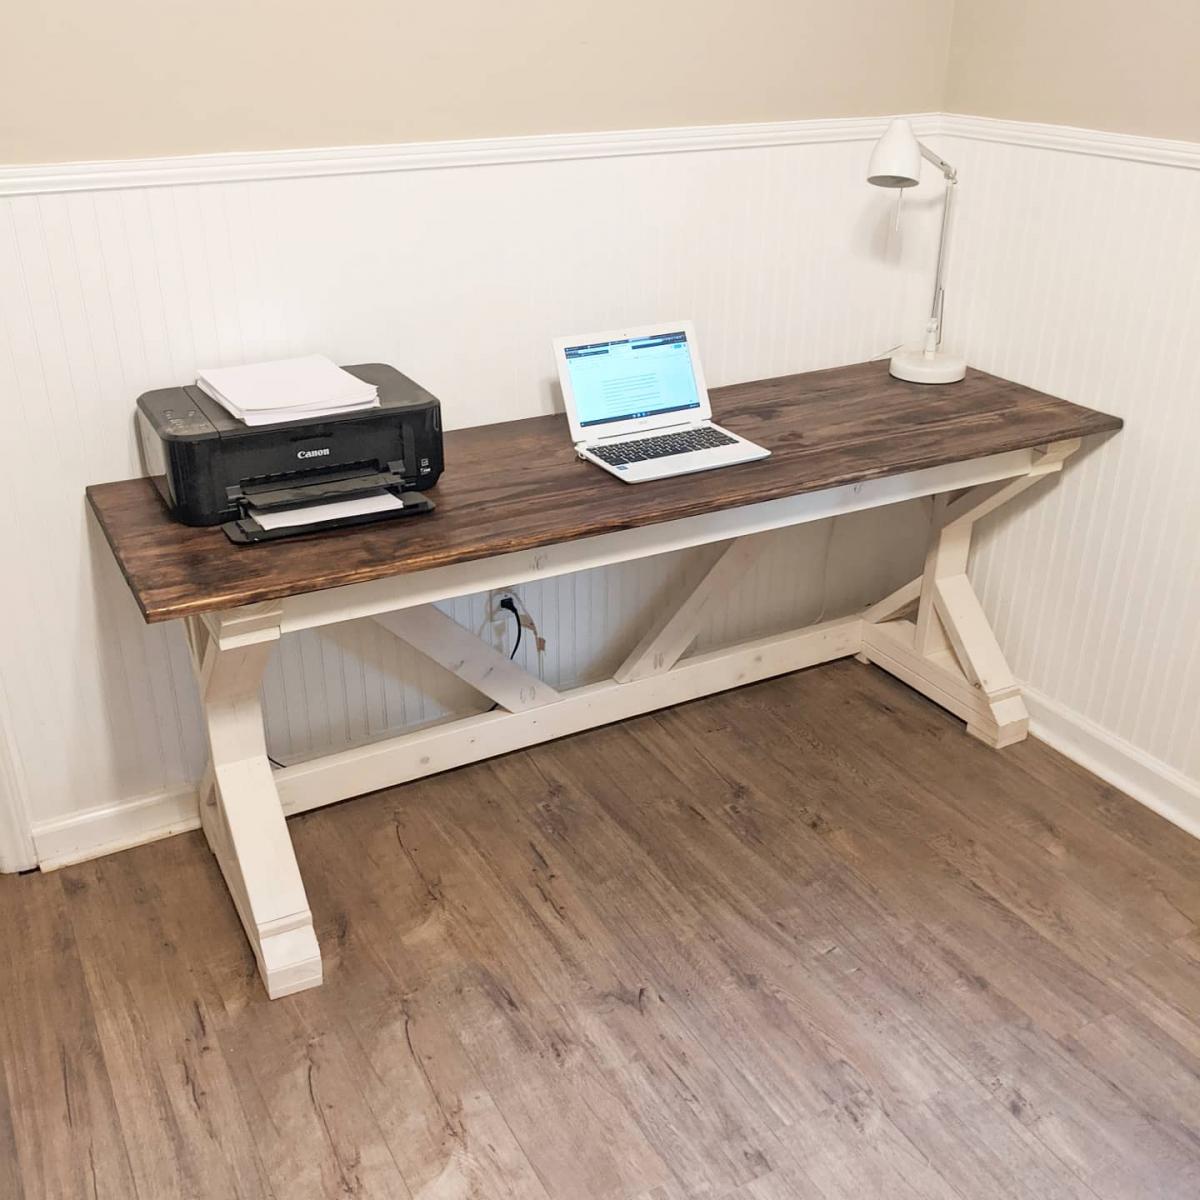
As for the finish I didn't stain the inside because I ran out of my mix, and I also didn't see a huge reason to because I knew I would be the only one opening the drawer. I did however seal the unstained area because it keeps the moisture content more consistent, which prevents warping. I used 3 coats of stain, keeping each on for a good amount of time. and gave a light sanding between the 1st and 2nd coats. I then applied Minwax wipe-on poly. This was VERY easy to use and I would recommend it for beginners.
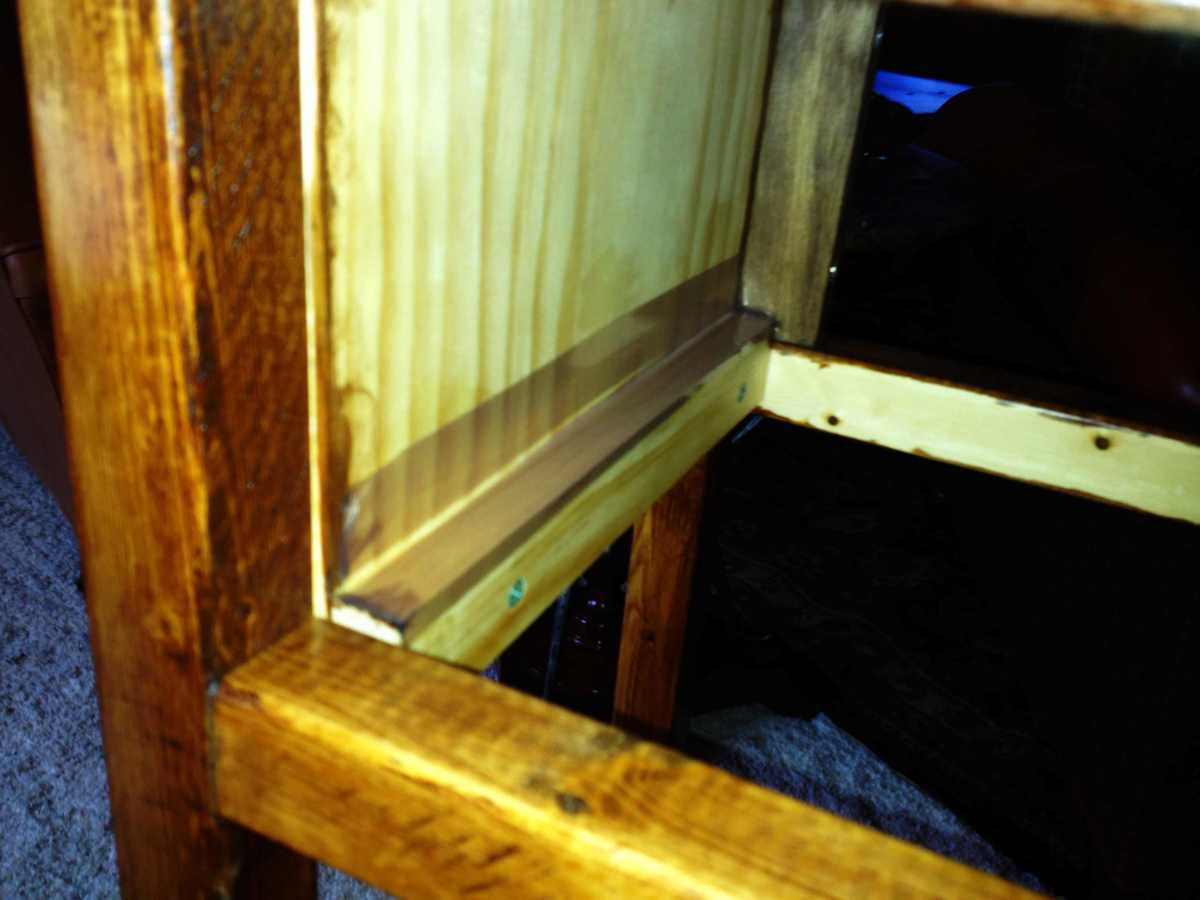
The last thing you might see is the tape on the slides. This is teflon tape. I put it on the inside and the drawer, and it makes the drawer slide like glass. It makes a huge difference, and I would recommend it to anyone.
Love this design! We had to adjust the plans to fit a different cushion from Restoration Hardware. The couches turned out great and we had a party the day after the paint dried! Thx Ana-white!
From the Fire Station Loft bed, this was modified to accomodate a full bed underneath; essentially making it a bunk bed. The bed underneath is an Ikea Fjellse. The footboard was made to look like a fire engine backing into the fire station.
Remodeled my office at work.
1x2 and 1x1 for picture holders
1x4 and 1x1 plus old white board painted in magnetic chalk paint
Old metal desk legs that were sanded and painted and added a wooden slab to the top
1x3 and 1x1 for magazine rack. Picked up basket at Hobby Lobby and had the Univ of Texas metal pieces
1x2 and nails for the clipboard holder
Sanded all wood and used teak oil.
Easy weekend project
I built this outdoor sofa out of Blackwood. I tweaked Ana's plan to include a backrest and a support in the front, as my planks are only 23mm thick.
Gordon Smith
This was my first project. I used wainscoting for the door backing. I was happy with it for a first project.
I built this butcher block kitchen island from Ana's shepard kitchen island plans. I did however modify the dimensions and design to fit my needs.
Instead of cabinet doors I wanted an open design so I built adjustable shelves. The drawers are slightly smaller than the plans give to allow extra shelf room. I used full extension drawer slides. The plans have the total kitchen island height at 42" which I felt was a little to tall for the average person so I built this island at 37" tall. The top is an edge grain butcher block top built out of hard maple and sealed with mineral oil. http://timberandsoul.wix.com/timberandsoul#
Thu, 05/29/2014 - 11:20
Love the finish and hardware on this one! Great job Timber & Soul!
In reply to Another Beauty! by Ana White Admin
Thu, 05/29/2014 - 18:06
Thank you Ana. We should collaborate.
I needed to fit seating for 6 into my small eating area in the kitchen, but store bought benches wouldn't work since I needed custom sizes. Ana White to the rescue! I created 2 of these benches to help my super vintage 1950's kitchen come alive. I also made cushions using mdf cut to size as well as 1" upholstery foam and fabric.
This was probably my favorite build yet! Love how it turned out
A nice bench with storage!
Built by Sylvie
Project: was great fun
Labor: 2 hours -- 15 year old son helped. He loved it.
For: Gracie/ age 4. Also, the rest of us.
Lumber: mostly 2 by 6 Why? Gracie needs a partner
Thanks: to Ana, and all
Level: just beginner.
Hope: to do more projects inspired by Ana and other
Tue, 09/04/2012 - 17:45
This Looks like a terrific teeter totter! Seems the kids are having fun on it! I would love to make this for my house. I love the blue and red together. Very nice!!!
Tue, 09/04/2012 - 17:47
This looks like a terrific teeter totter!! Very nice and it looks like the kids are having a ton of fun! Also love the blue and red!
Sat, 10/20/2012 - 06:37
I love it. Makes you want to jump on and have fun.
The kids are sure having fun. What a great gift for Gracie
and the whole family.
One of a kind. Great Job!
Sat, 10/20/2012 - 06:47
I Love it. Great gift for Gracie and the rest of the family.
The tennis balls are a great accent to the blue and red.
Makes you want to hop on and have fun.
Great Job Rodney
I've built a few projects from Ana's site, but this was my first try at something intended to hold people! It came out very well, and is living out on my deck. It's the only piece of deck furniture I have that's heavy enough to not blow around when it's windy. Thanks, Ana!
Shortened the legs to 17" and used 1x2s on the shelf because that's what we had on hand. Sealed with Thompson's aerosol clear waterseal.
Thank you! My wife loves it!
I needed a bookshelf for my classroom. I decided to make it multi-use by adding some extra storage shelves for classroom supplies. I used your design app to create the plans. I then used an online tool that allows you to input dimensions of parts and the size of the material you are working from to optimize layout and minimize waste. Total material was 1 4x8 sheet of 3/4 plywood for the frame and shelves and a 4x4 sheet of 1/4 for the back. I finished it with a 1" pine face frame.
Charlesh62
Sat, 07/06/2024 - 14:18
It's true that having a well-organized workspace for a student increases enthusiasm for completing assignments. A tidy and comfortable study area makes it easier to focus and be productive. However, it never hurts to have https://www.phdresearchproposal.org/ at hand. Their professionalism can help students completely eliminate writing stress. By using their services, students can manage their workload better and ensure high-quality work without feeling overwhelmed.
I used the Loft Bed design as a starting point but modified it to meet our specs. We used the Full Size version (added the 15 inches to the width and also made all the legs 8 inches higher. We felt like the plan was great but we wanted a little more headroom underneath. This did make figuring out the ladder dimensions a bit complicated, but with some common sense (and a little trial and error) we were very pleased with the results! We originally were going to just purchase an IKEA Stora loft bed. It was on sale for approximately $300.00 plus shipping, which would have been an additional $300.00! Instead we built this and kept the price around $250.00. This bed is extremely sturdy, doesn't squeak at all, and can easily hold a full size adult. Thank you Ana for the great plans!!