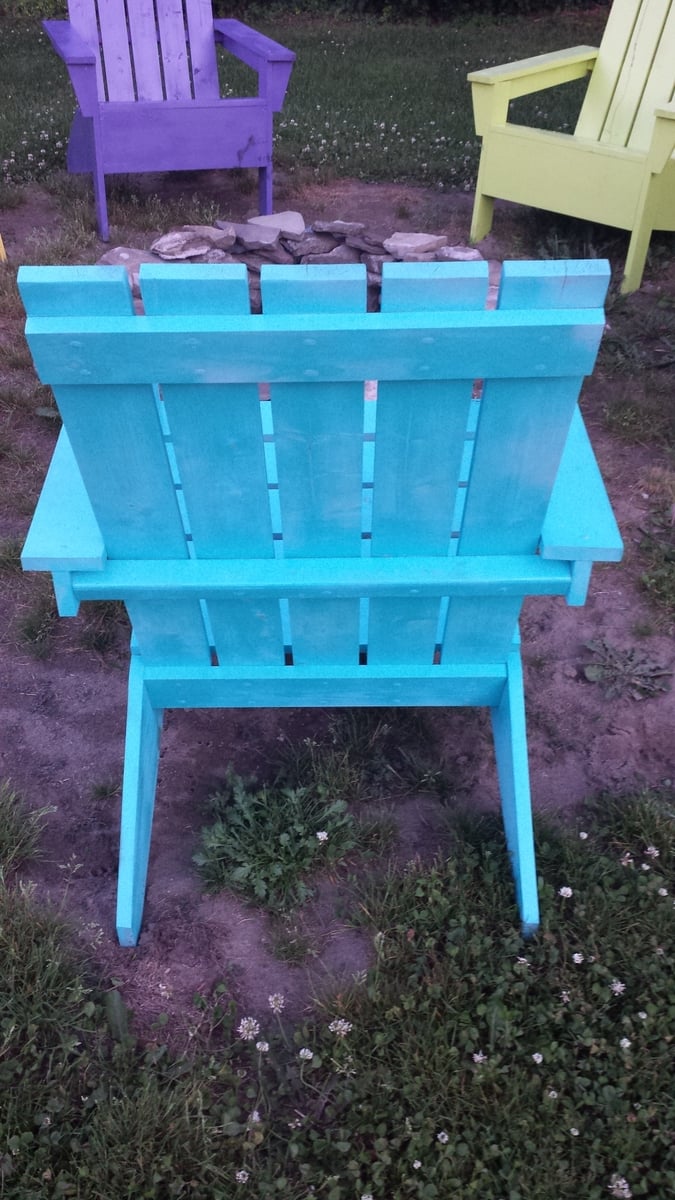
Adirondack Chair with Bottle Opener
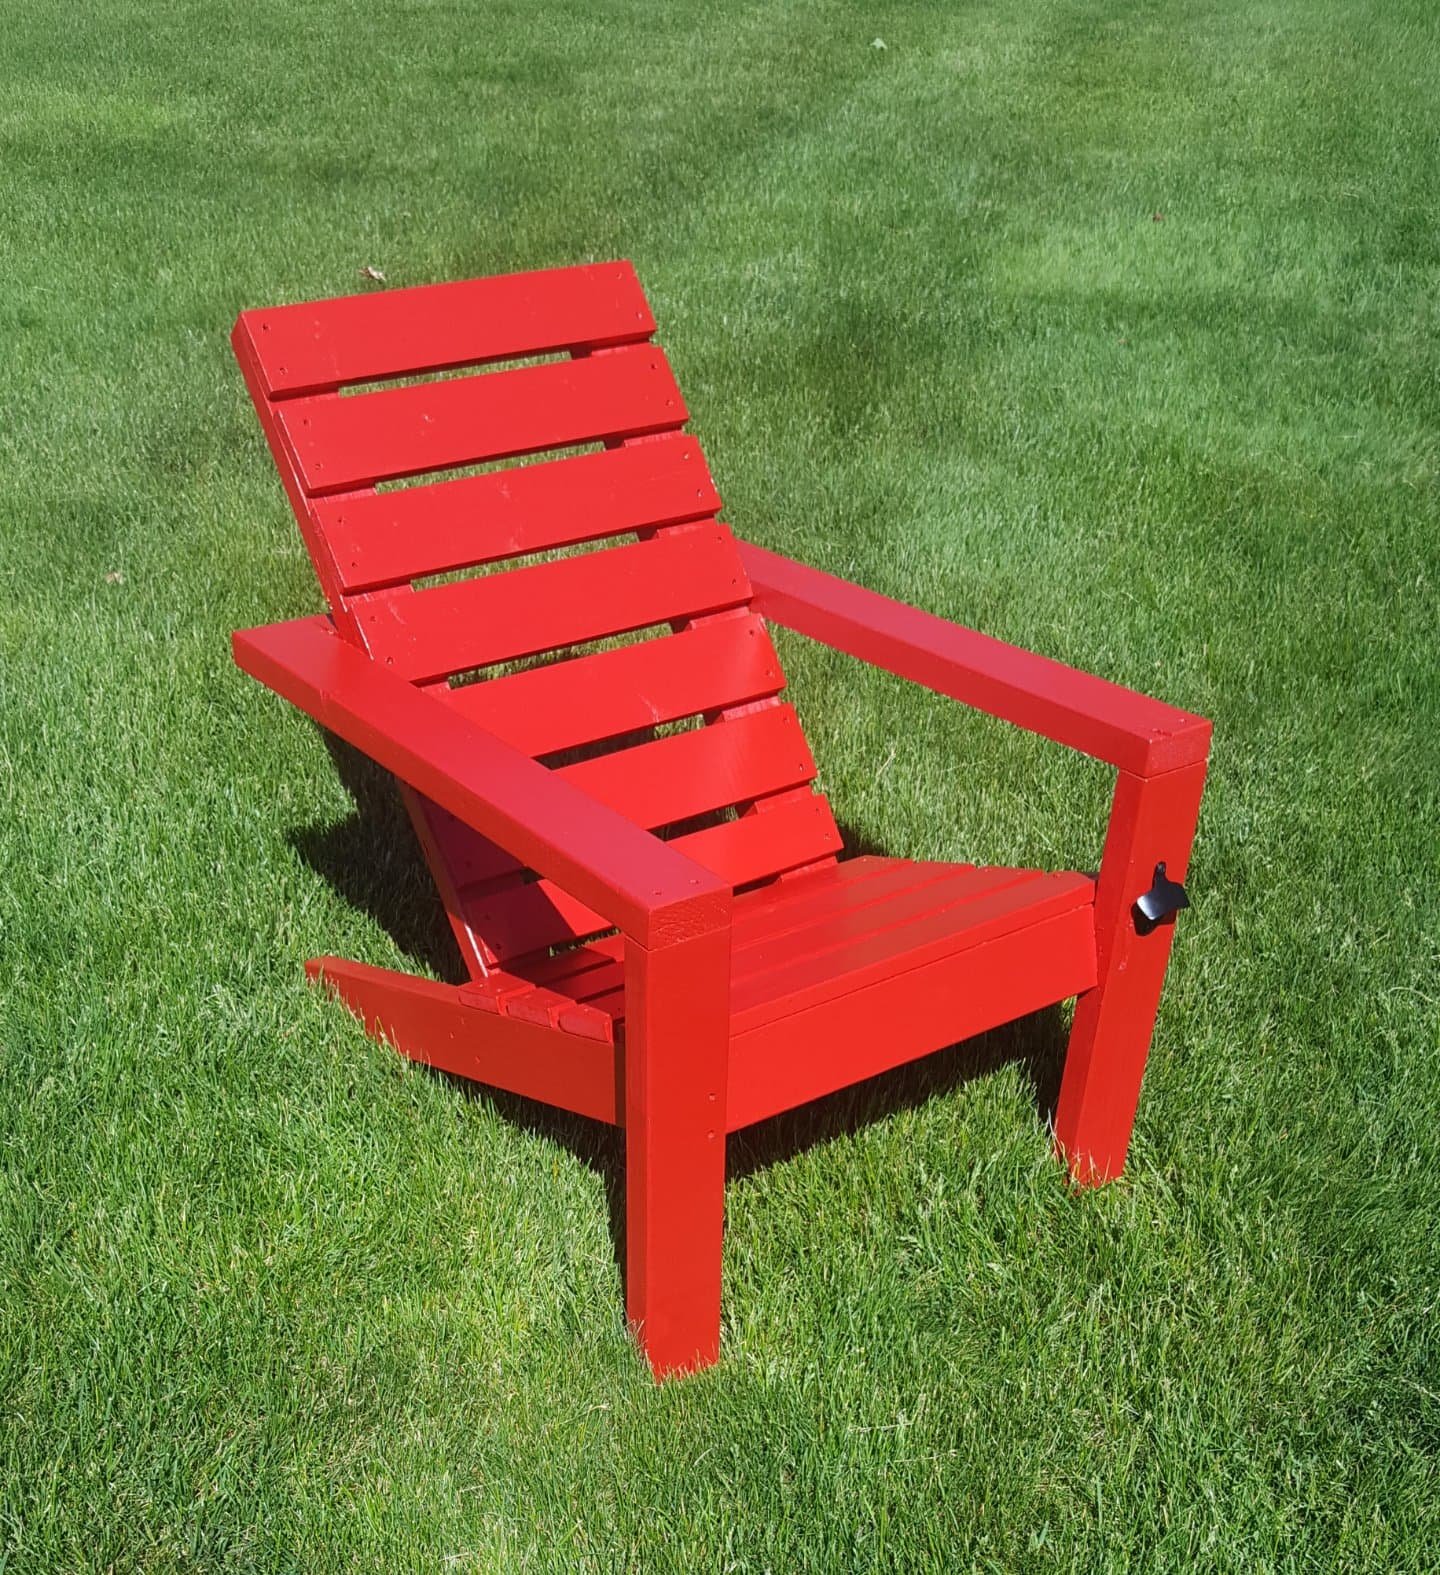
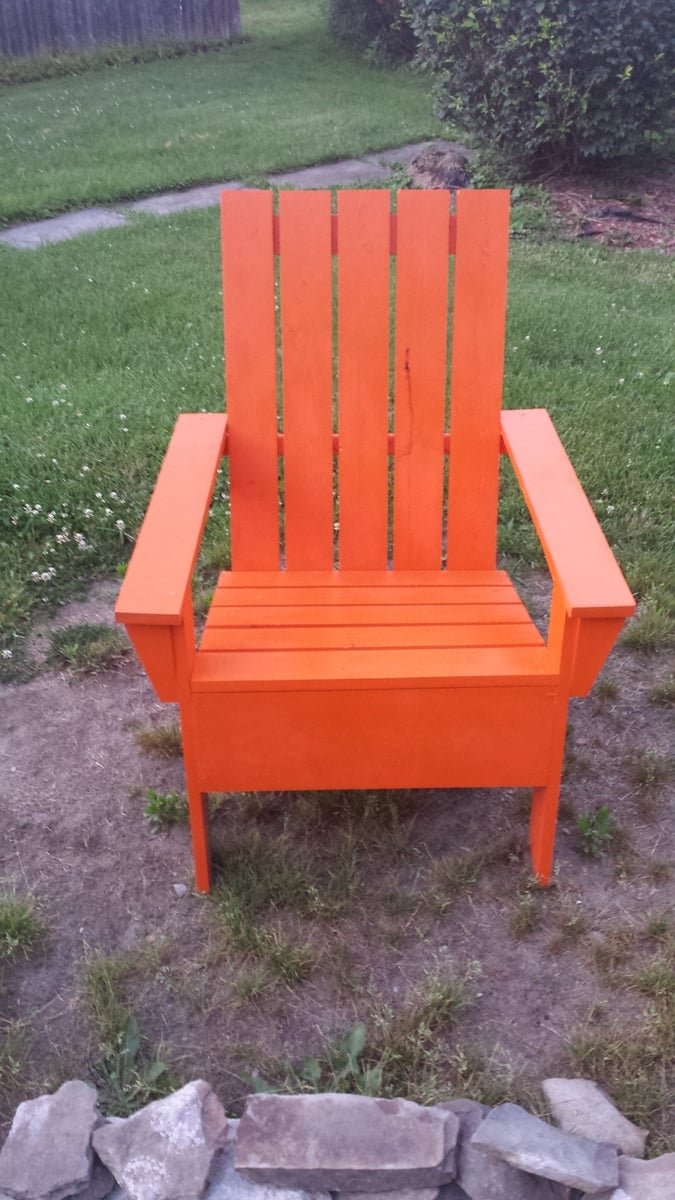
Went with the horizontal slats and added a bottle opener on the left leg.
Built from Plan(s)
Went with the horizontal slats and added a bottle opener on the left leg.
Took some liberties with this one and combined with another plan. My first stencil project.
Wed, 05/27/2020 - 08:28
I love this. Functional but also decorative. Would you mind sharing the plan for your version?
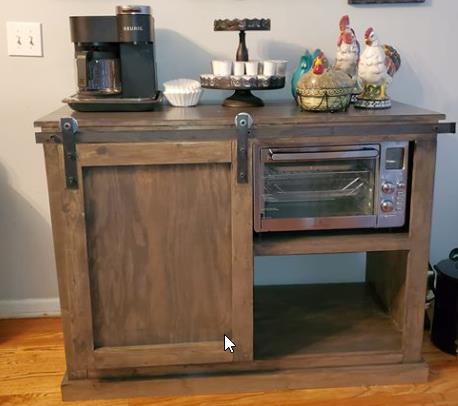
I built this from the plans on this site My wife wanted a coffee bar and I saw this plan and she fell in love with it. I love the Barn door hack and how everything came out.
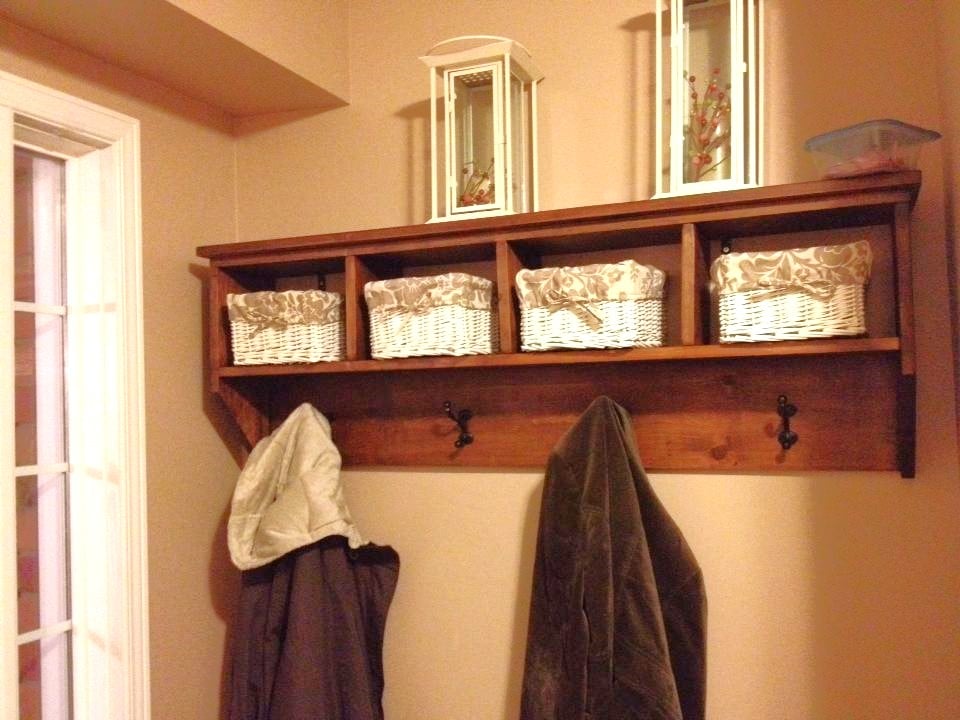
PErfect for smaller spaces or homes without mudrooms. Love the minimalist style!
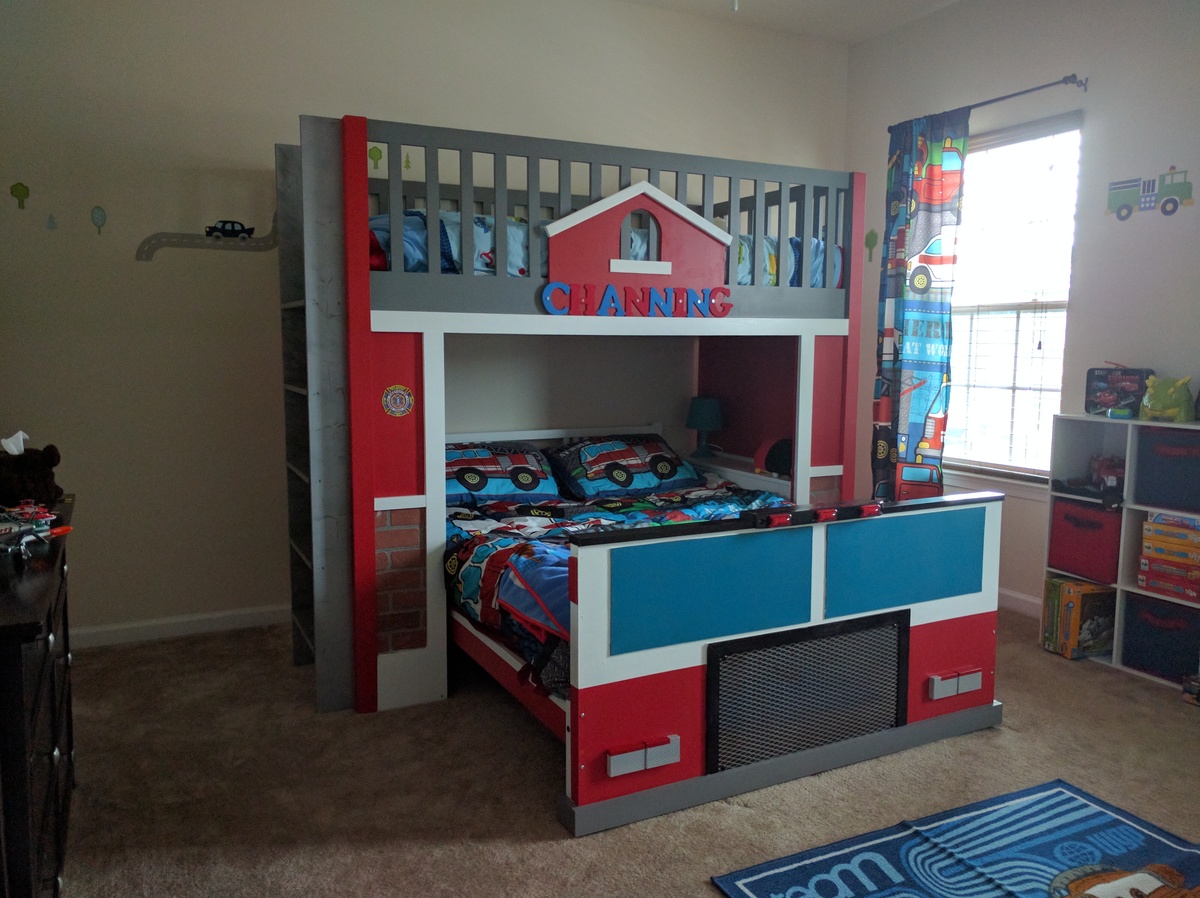
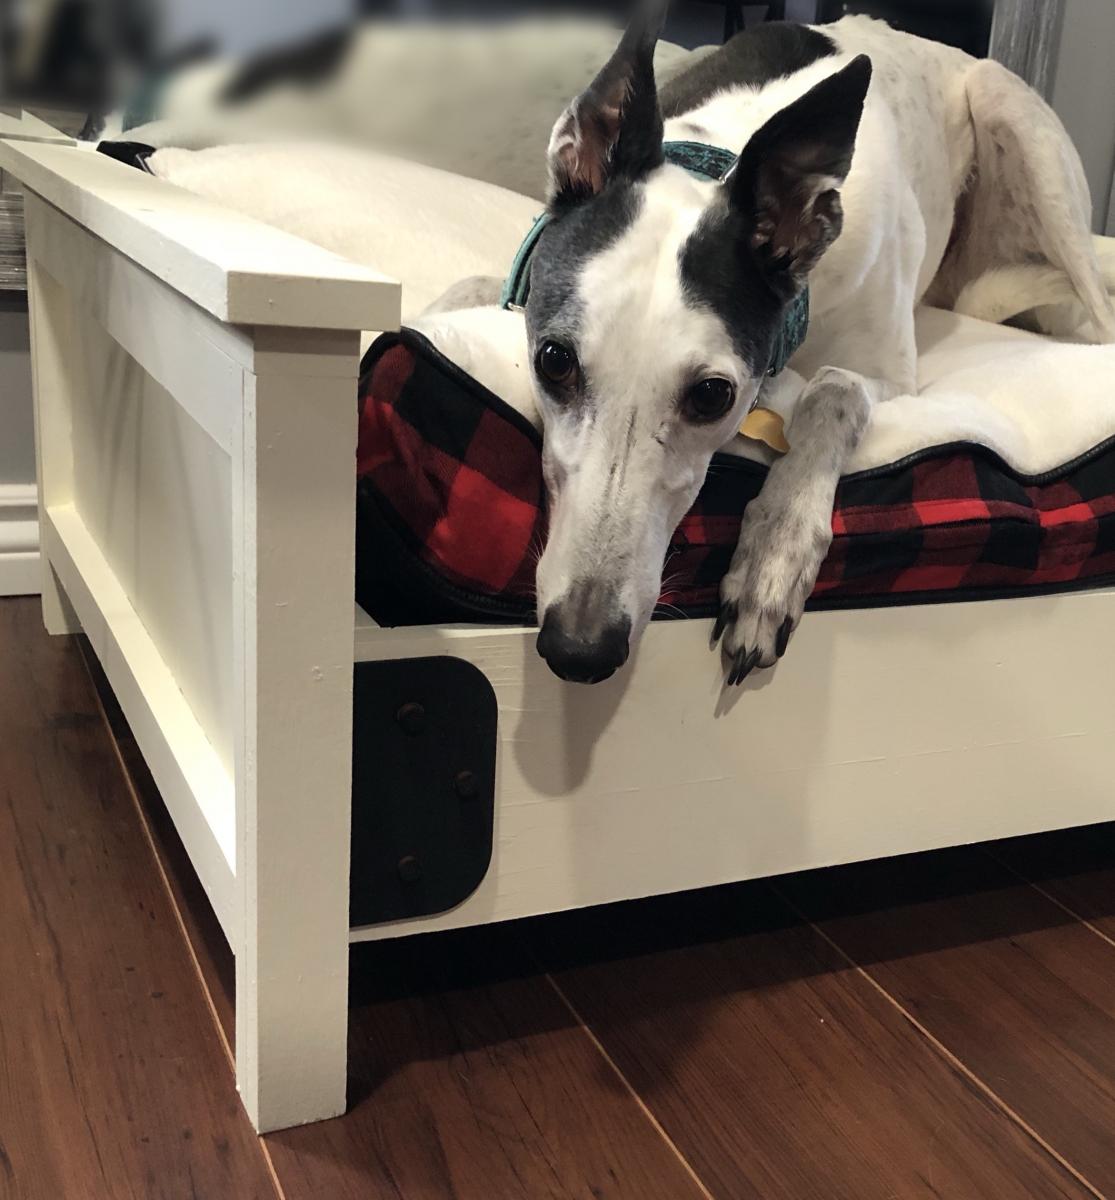
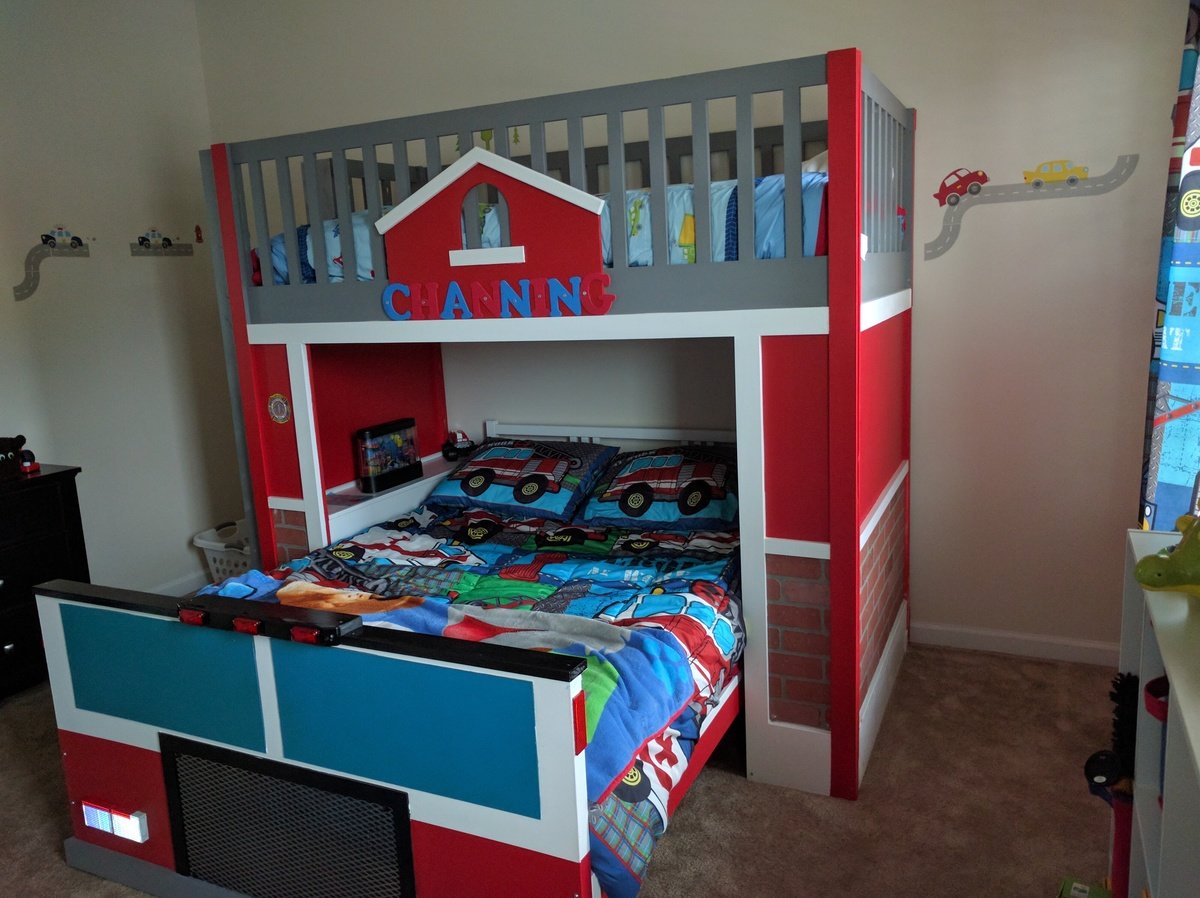
From the Fire Station Loft bed, this was modified to accomodate a full bed underneath; essentially making it a bunk bed. The bed underneath is an Ikea Fjellse. The footboard was made to look like a fire engine backing into the fire station.
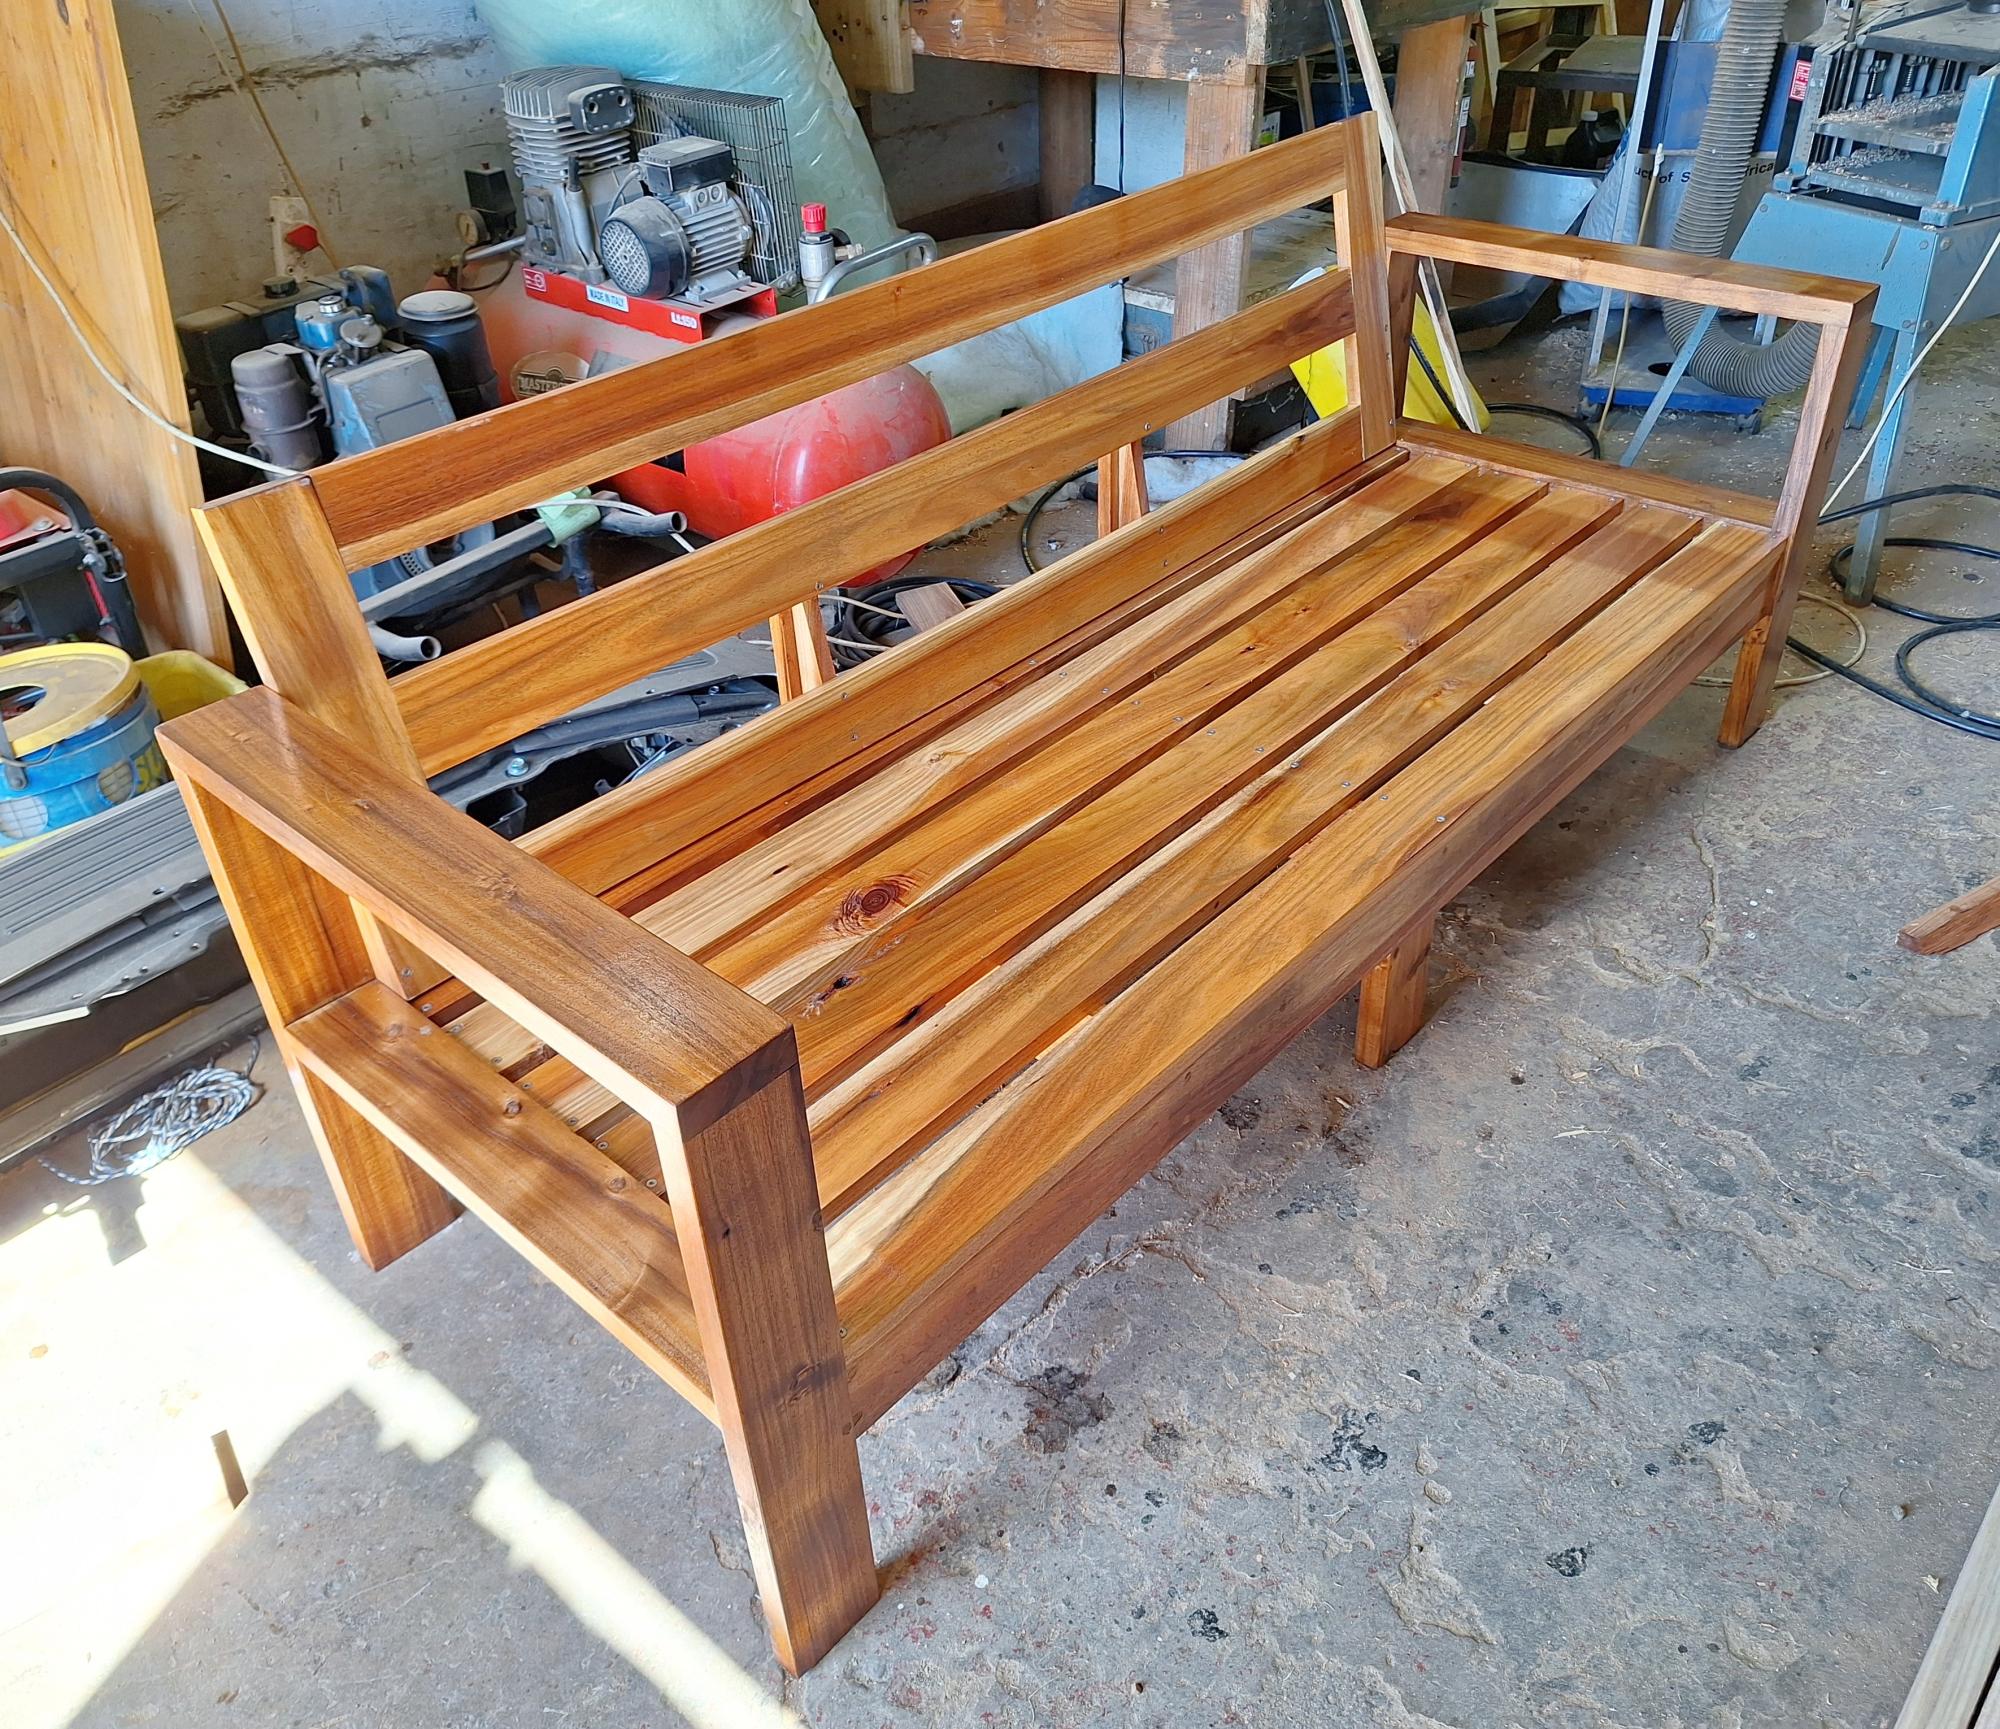
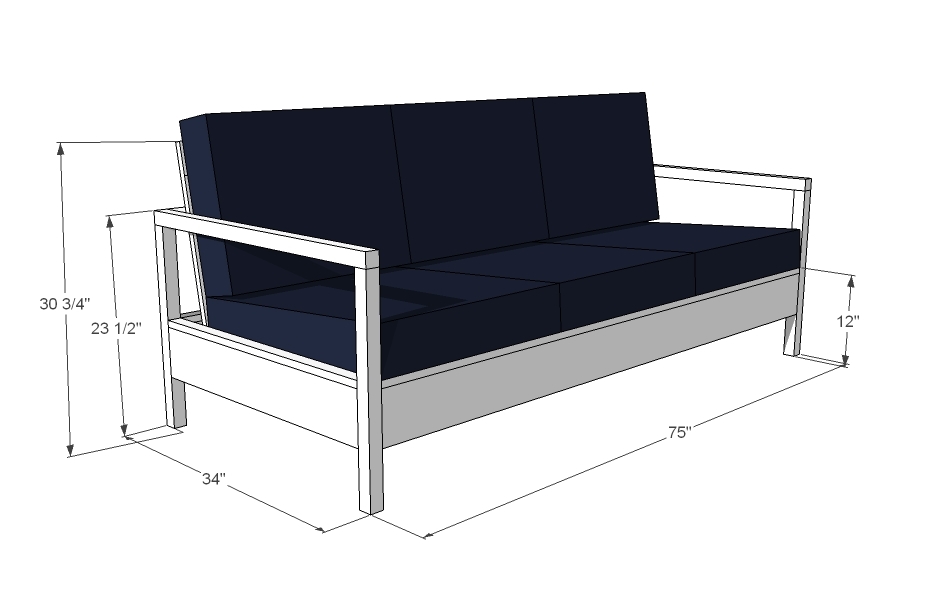
I built this outdoor sofa out of Blackwood. I tweaked Ana's plan to include a backrest and a support in the front, as my planks are only 23mm thick.
Gordon Smith
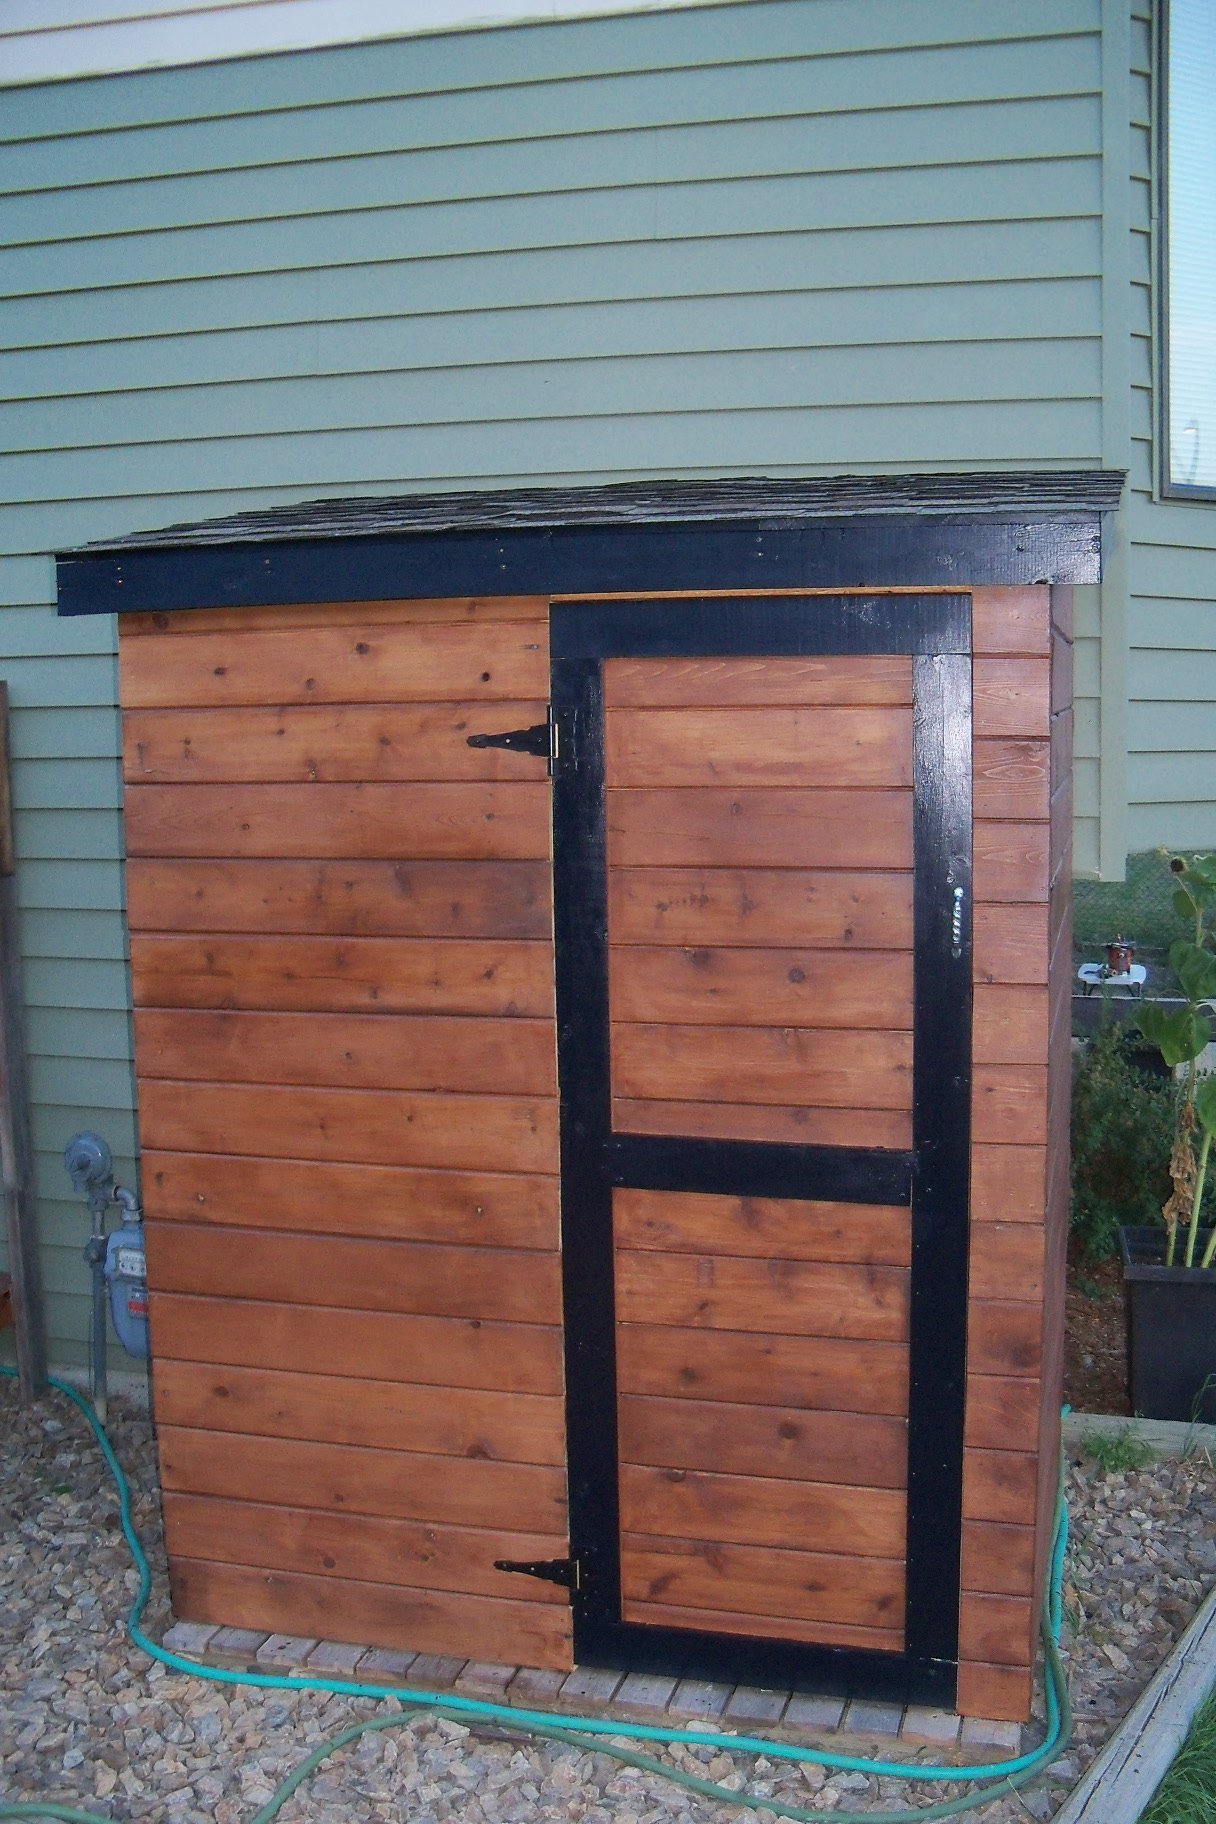
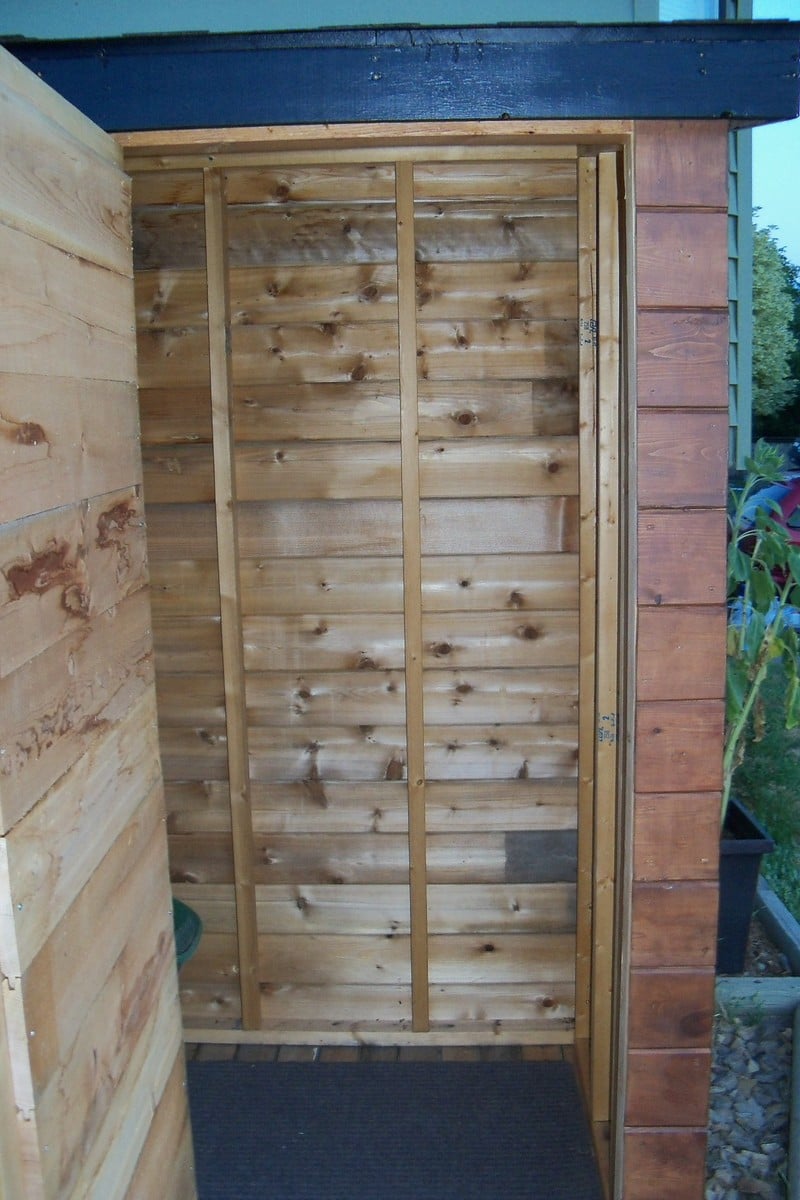
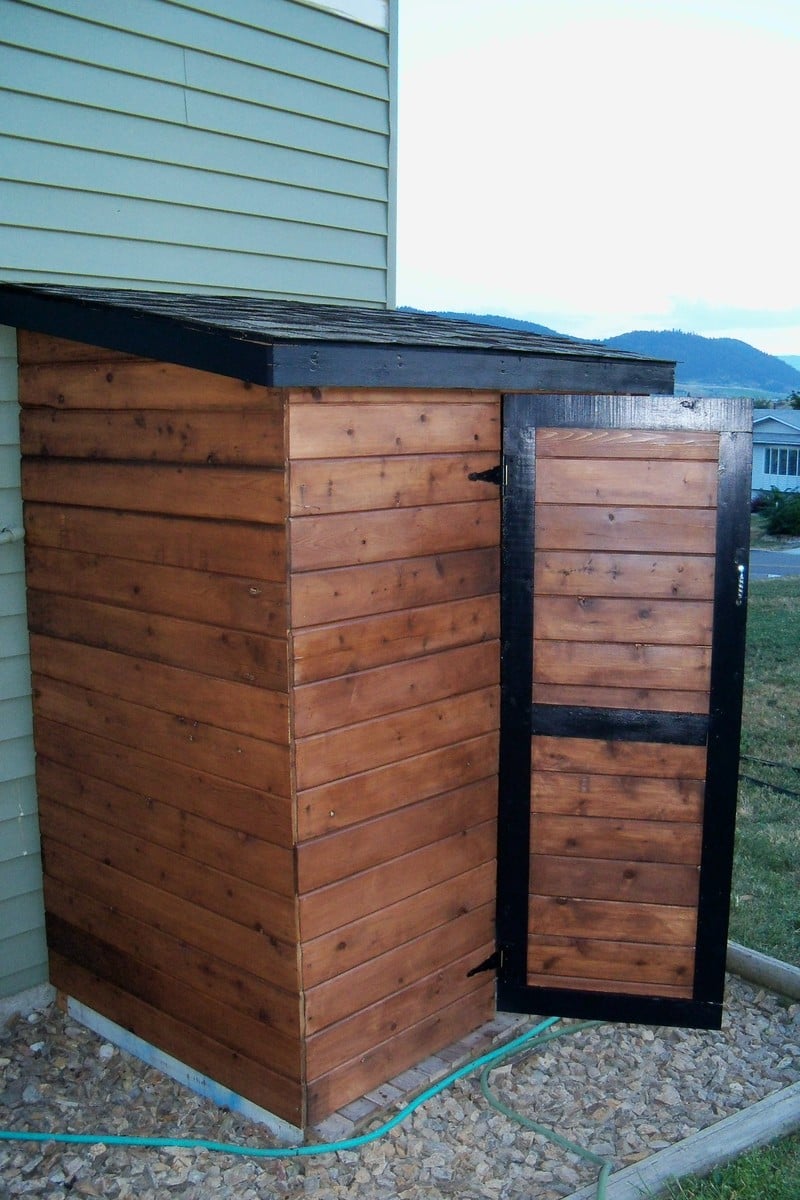
Built this as a garden shed so I had to modify the front into a small 26 inch door.
My shed size was 5 x 4 as I had limted space.
My roof is angled at 10 degrees.
I used my new Kreg jig for the door that was fun!
Frame is from 2 x 3's.
The total cost for me was under $70 as I salvaged the cedar, 1 x 4's, roof felt, and shingles.
Paint for the trim was a $5.00 oops.
I am more than pleased with the outcome.
I built the potting table first before this.
So this was my second item to build and I really enjoyed it.
Can't remember much more about how I built it as I started it a while back.
This site is really amazing.

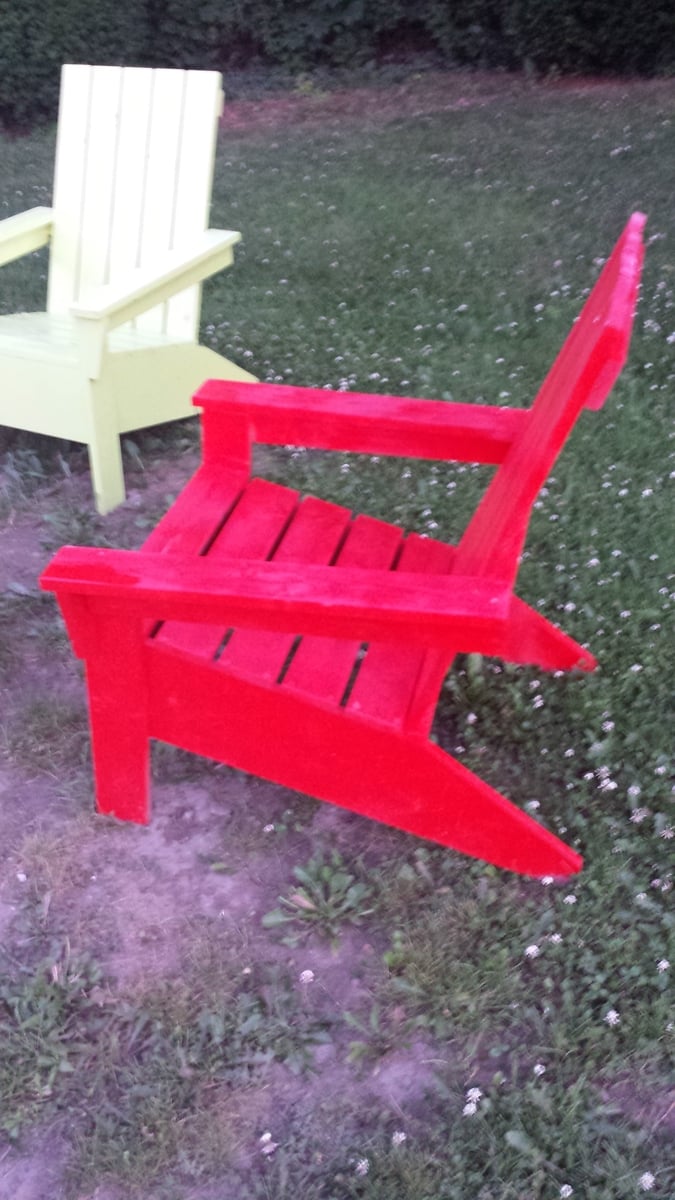
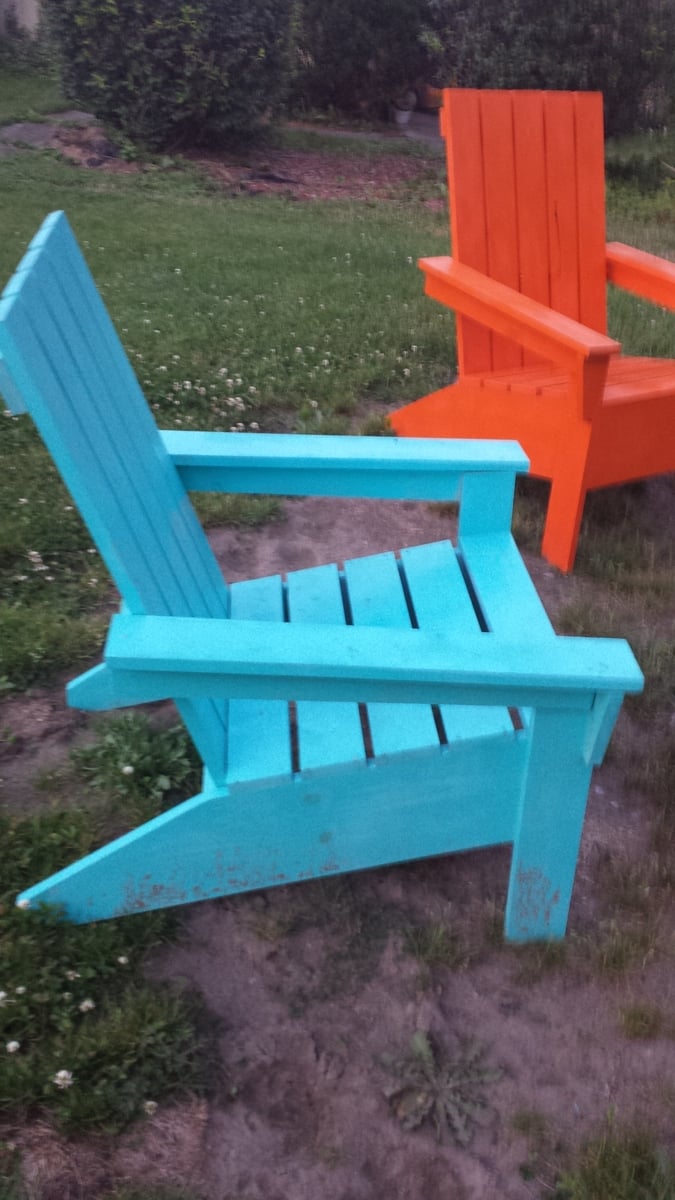
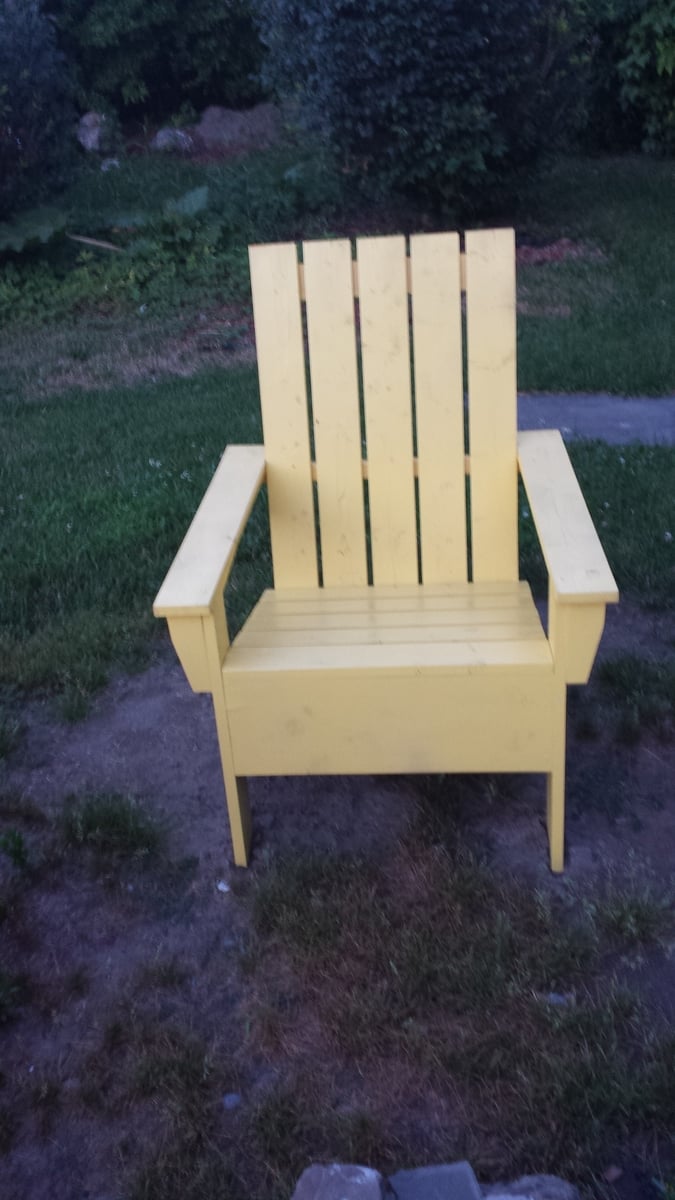
These chairs are fairly easy to make. The side boards were the hardest part.


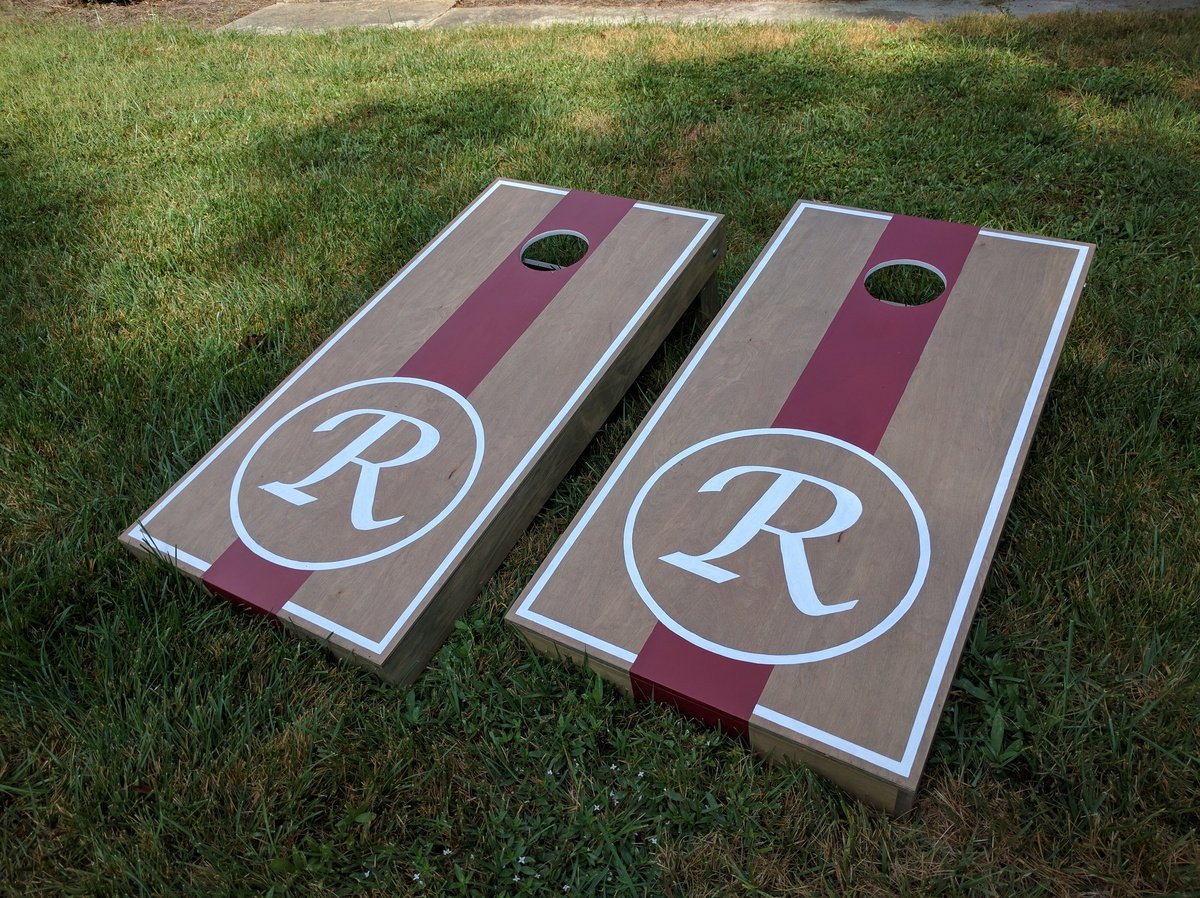
Cornhole boards for friends and family :) Used 1x4s for framing and legs, 1/2" ply for top.
"R" set: Birch plywood tops w/ (2) coats of Miniwax Weathered Oak oil stain. Red stripe is Behr 'Cherry Cola.' (3) coats of Polycrylic finish.
"AW" set: Regular plywood tops w/ (1) coat of Miniwax Special Walnut oil stain & Glidden 'Clemson Orange' stripe. (3) coats of Polycrylic finish.


Sat, 09/24/2016 - 10:16
Gorgeous! These would make such a fabulous wedding or house warming gift!
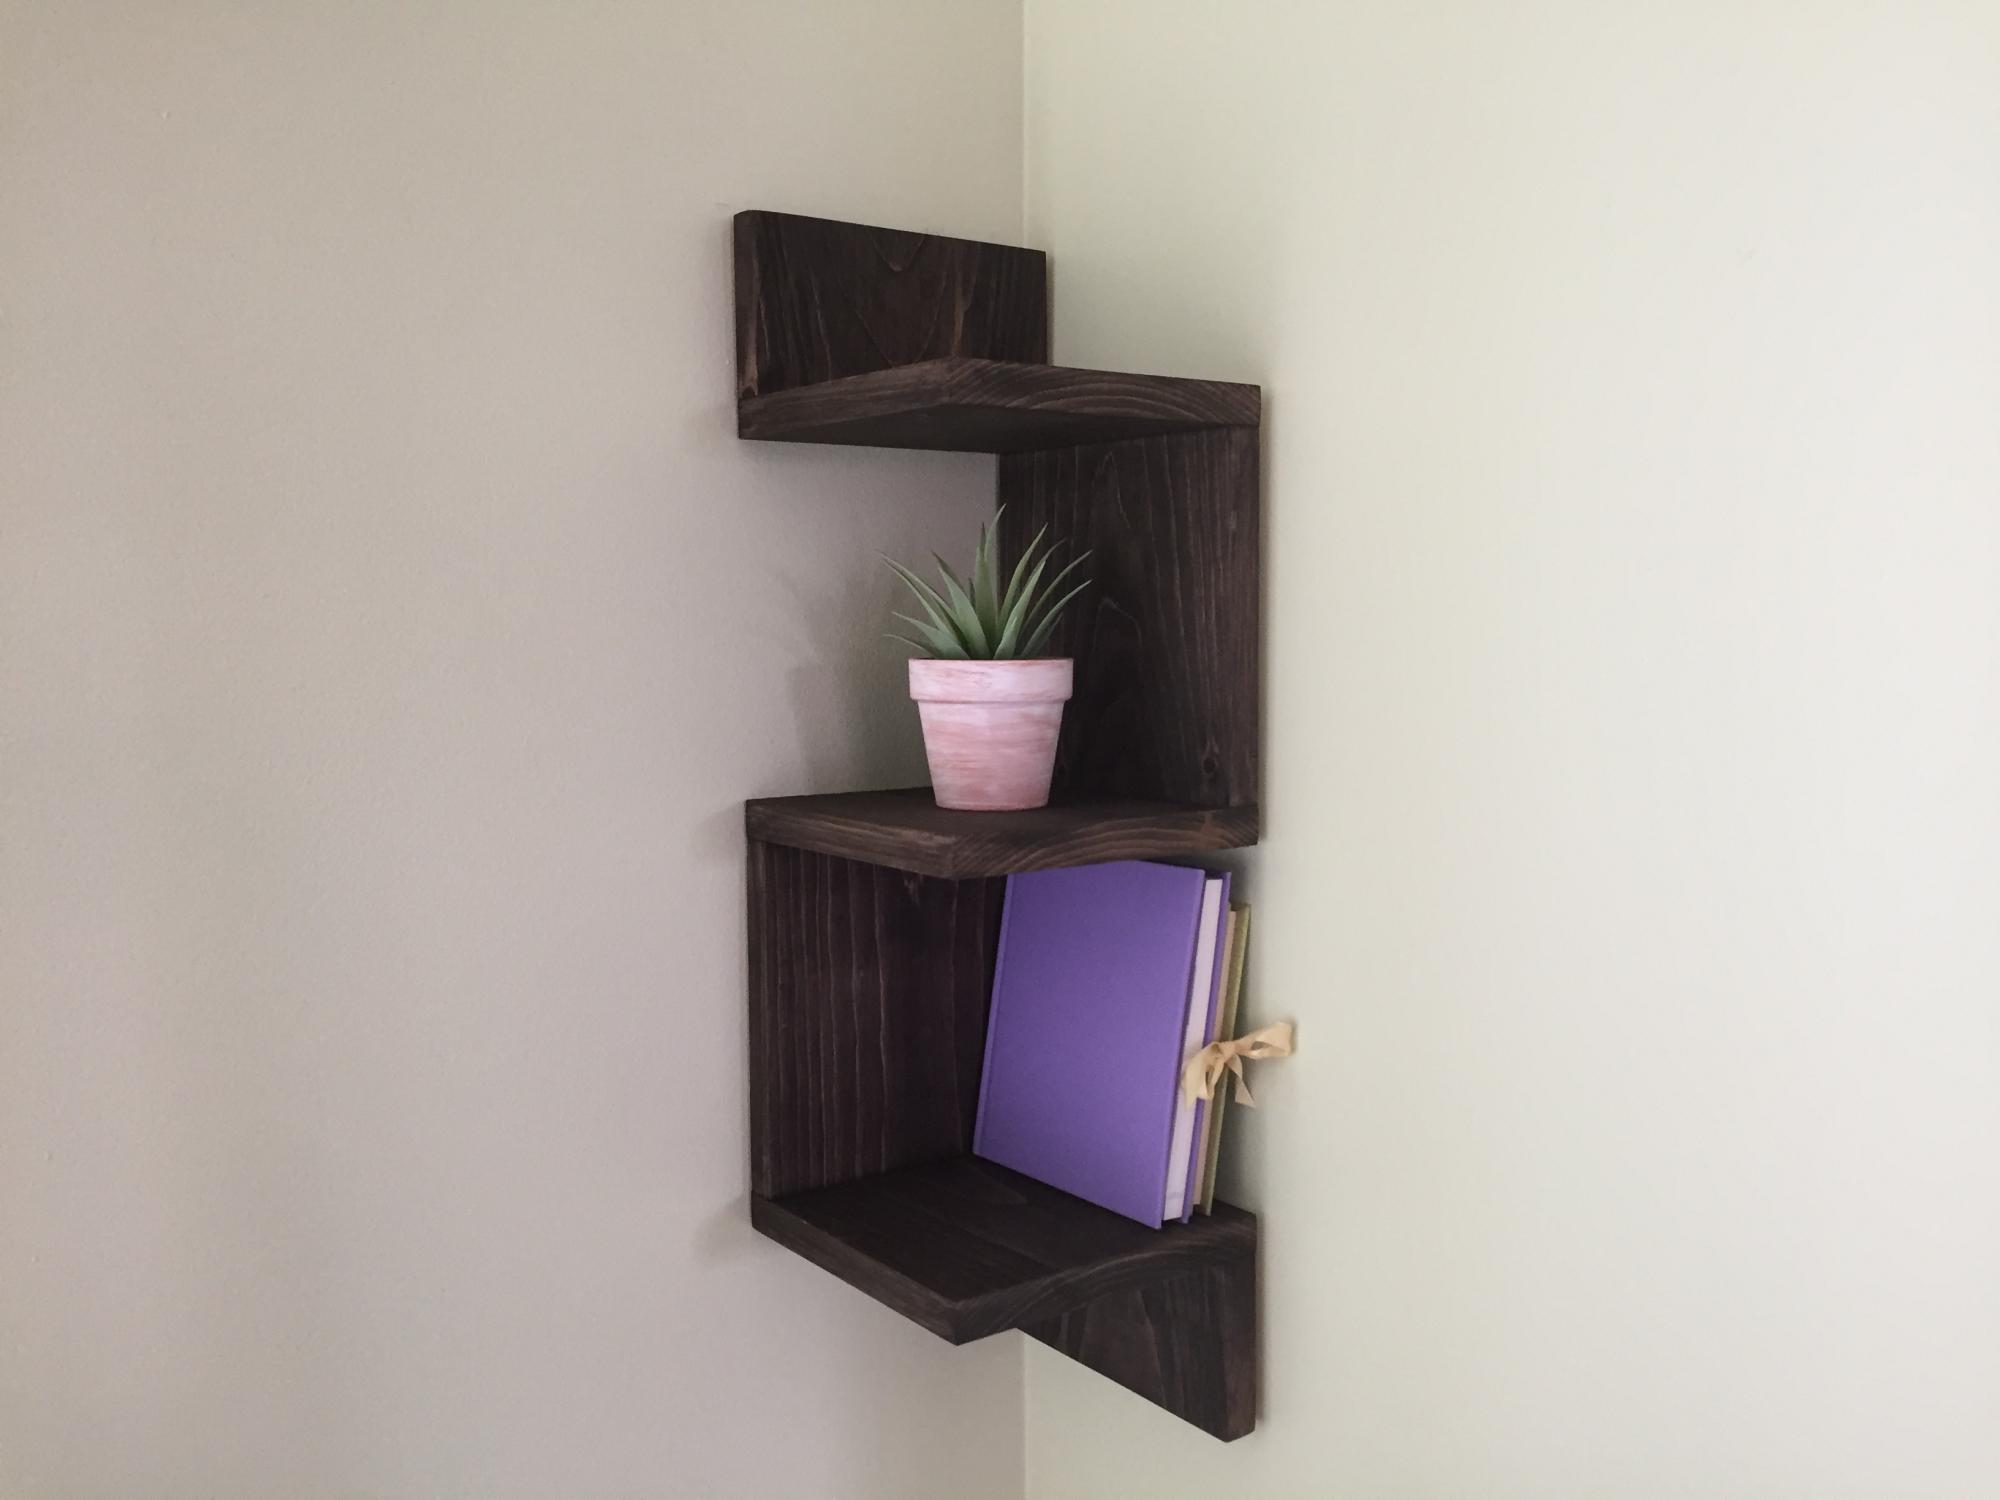
I built these beautiful corner shelves for a friend. It is a great beginner project. I used a 1x8 board but you could also use a 1x10 board. You could also build 5 shelves instead of 3. I used pocket hole joinery.
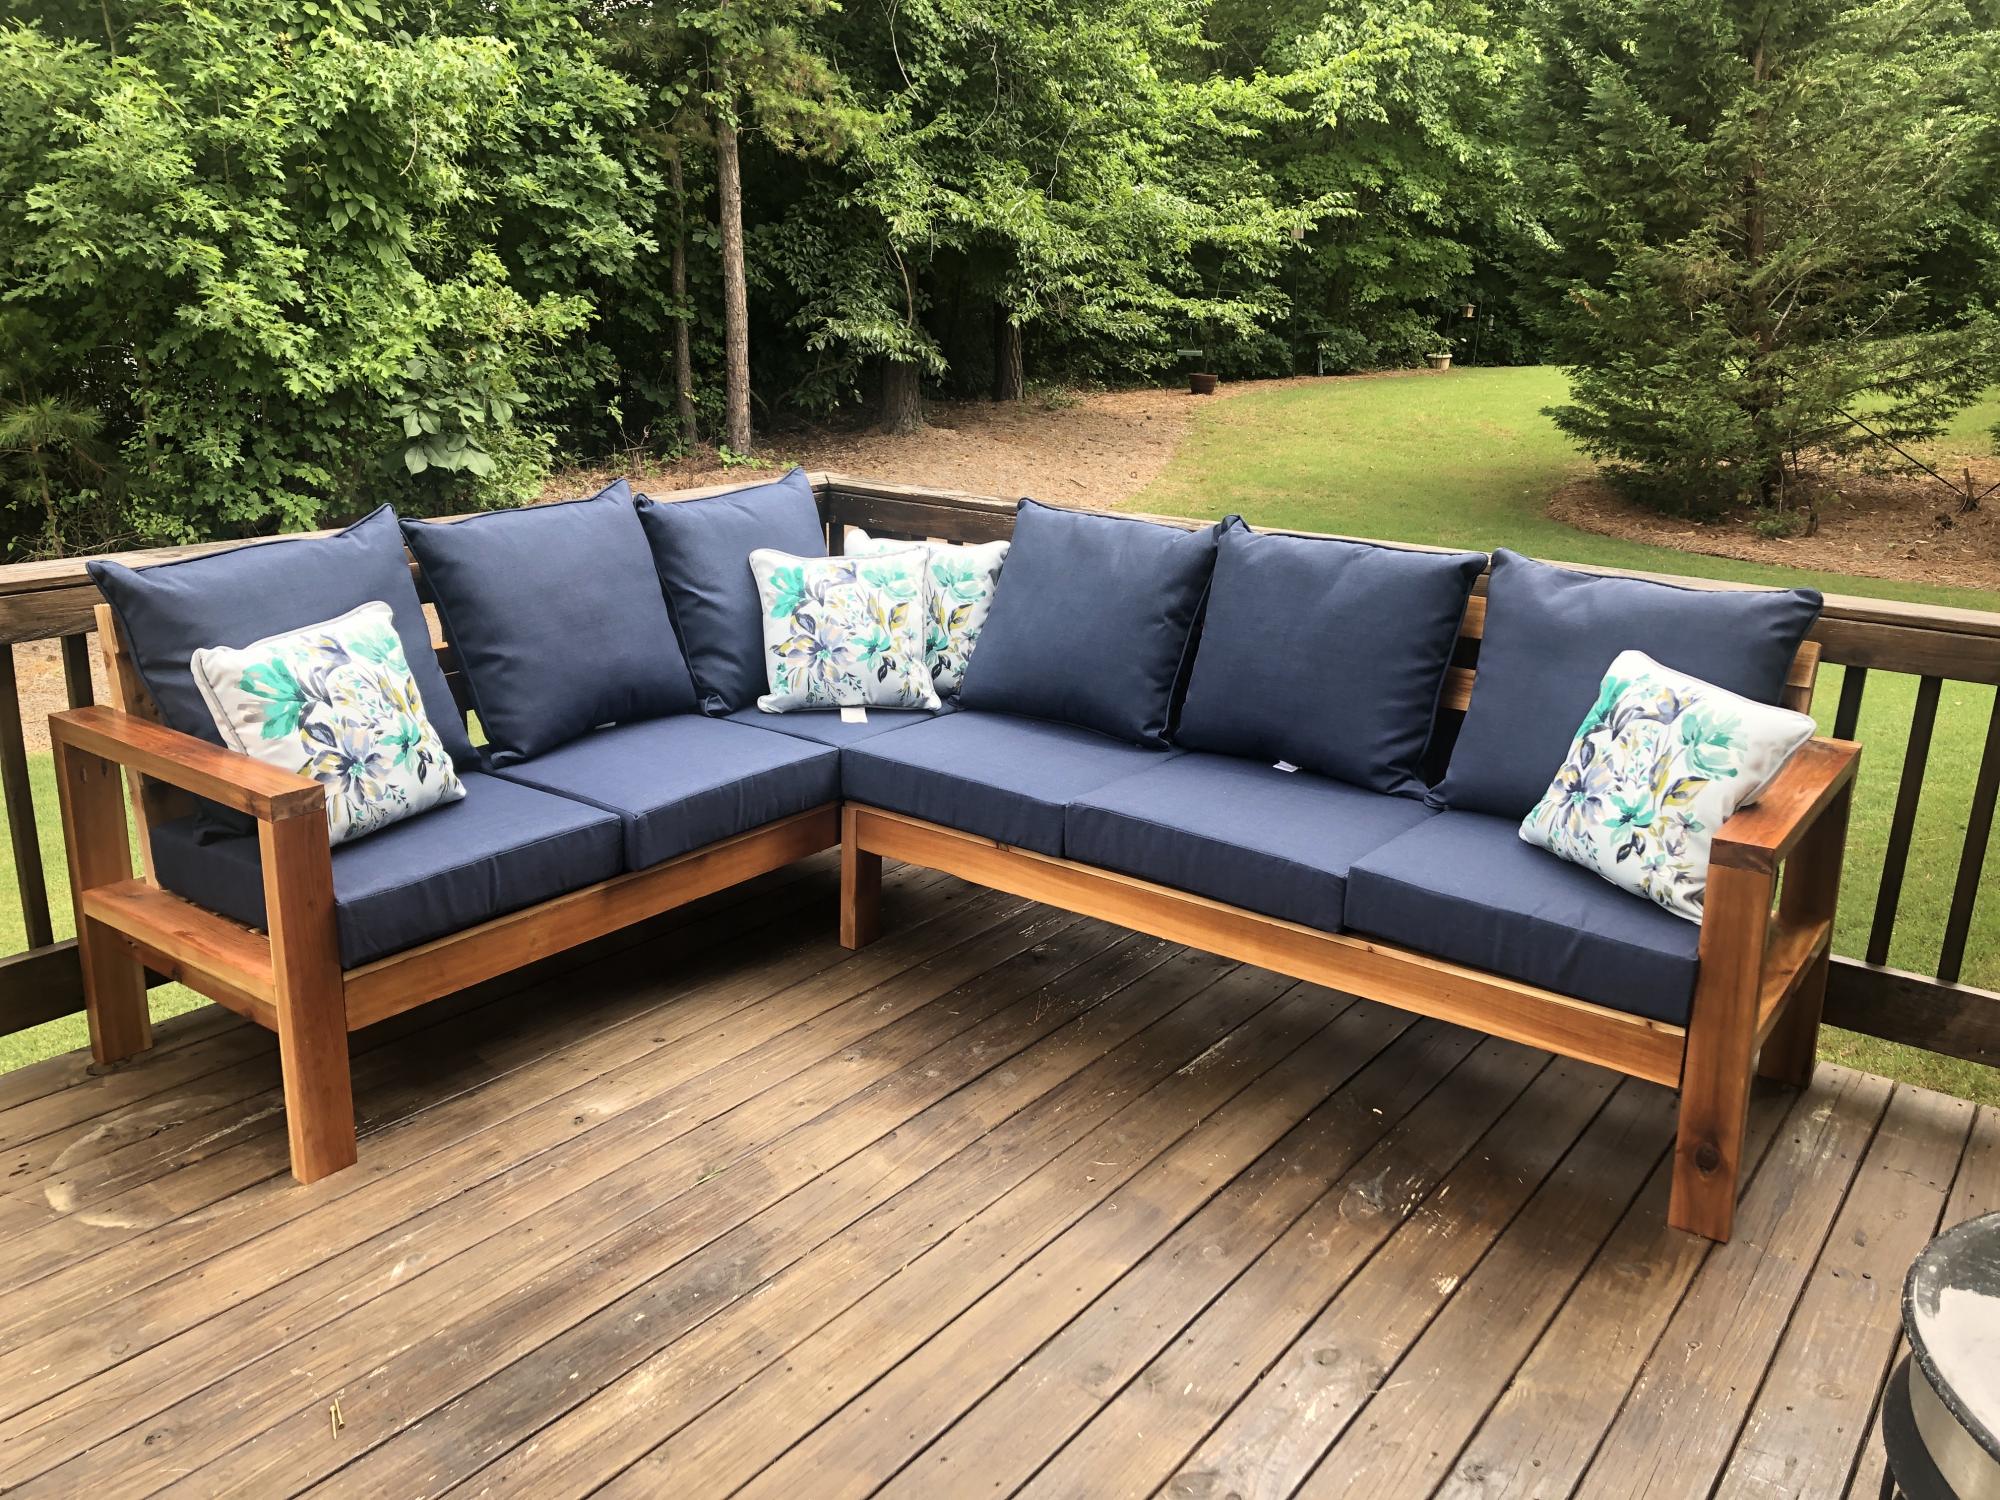
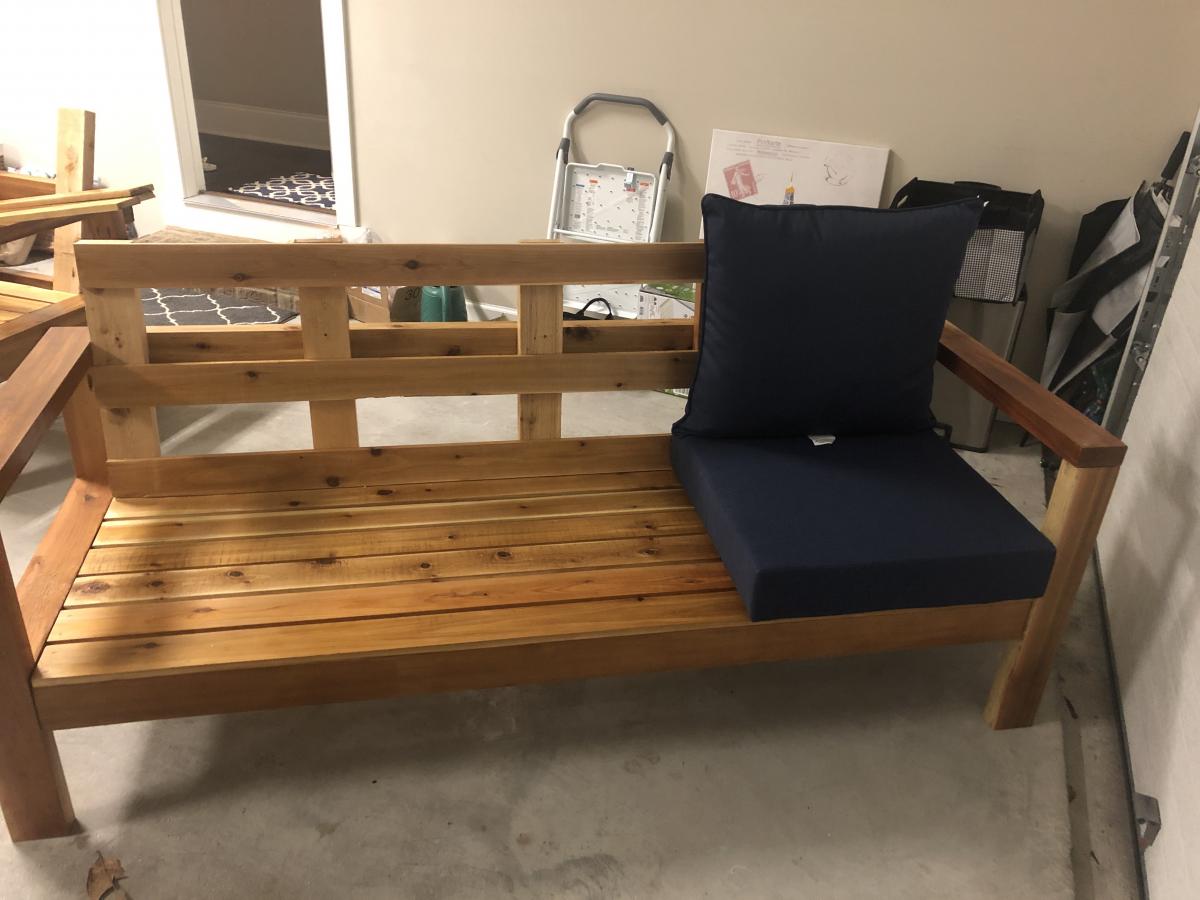
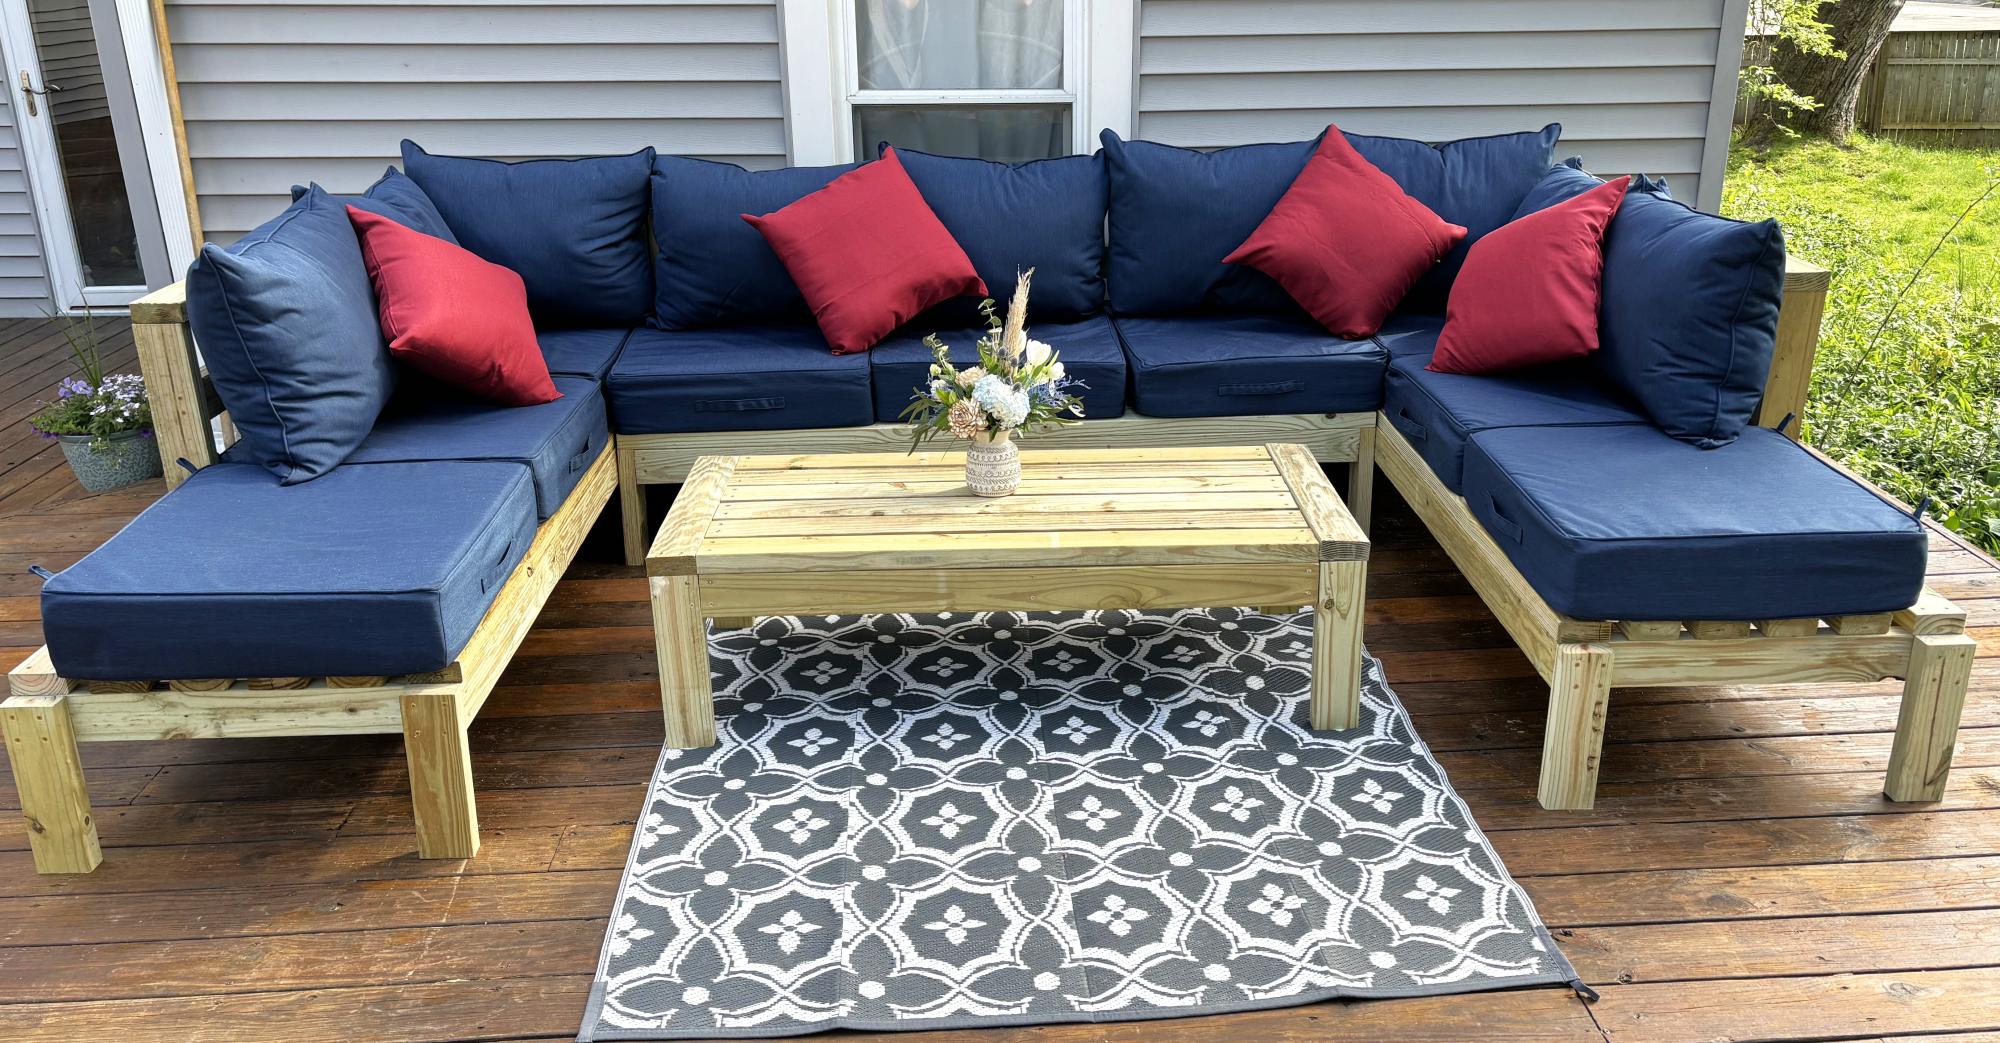
My sister needed new outdoor furniture for her deck and liked the look of the sectional. I used cedar with a clear varnish to creat this piece for her that was perfectly sized for her deck. The challenge to this one was getting it to her house about 3 hours from mine. Fully assembled it would have been tight getting it in my truck. I ended up cutting all of the boards and drilling all of the pocket holes in my shop and then assembling at her house. I have added backs to some of the pieces I have made fro others that want the extr support. I add a 1x4 laying flat across the back of the seat. The slats going up and down then have a slight angle to them which adds comfort and support. I attached the pieces to the 1x4 and the upper back rest piece in the plans.

Potting bench with a few modifications to fit our space.
Bill N
I used the armless chair plan, and altered the one armed plans to make two chaises. Then I increased the size slightly to accommodate the 25x25 pillows I bought. This took about 12 hours with one person working. I am super proud of it! Finished today, and will eventually stain after the wood has dried out a little. Thank you, Ana, for making straightforward plans that gave me the confidence to do my first woodworking project!
Andrea in Michigan
I built these chairs last summer, they came out amazing! Everybody loves them! Thank you Ana. I also built the sofa for my sun room. Pictures to come.
Sat, 05/04/2019 - 08:18
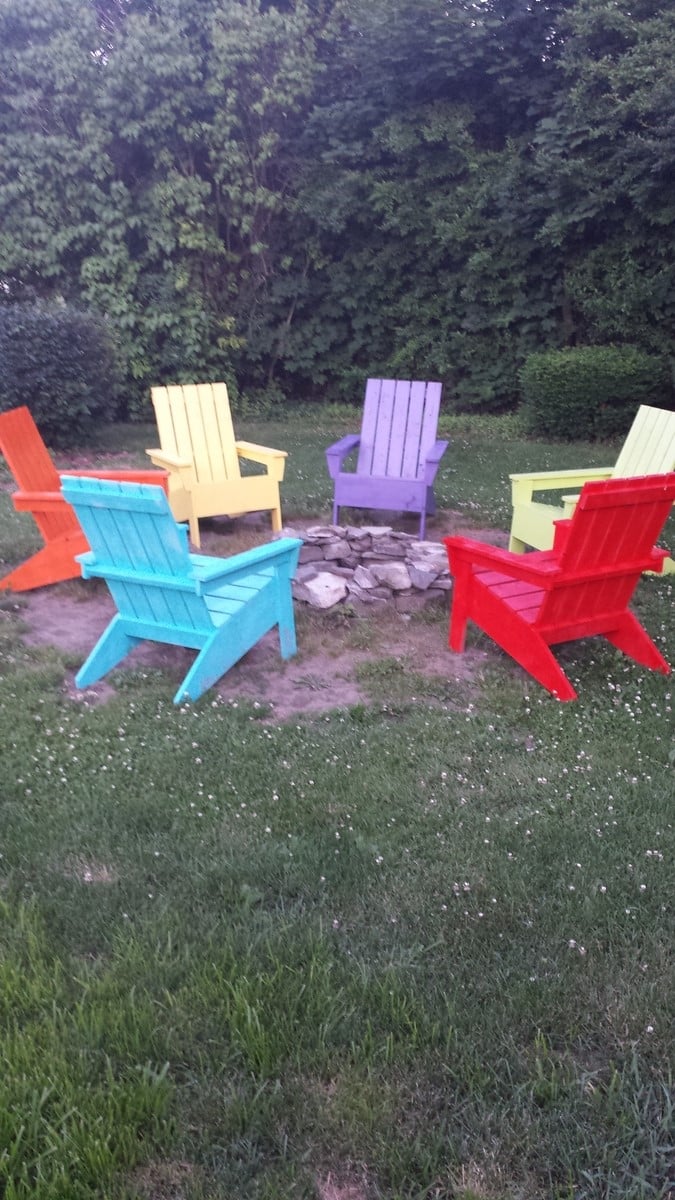
My husband made 4 of these with some slight modifications like rounded arms and back.
However the best function he added were 2 wooden wheels he attached to the back legs, we now can move these chairs easily on our deck.
Our goal was to make them look like well worn beach chairs, we used milk paint for that effect. It still lets the grain show through.
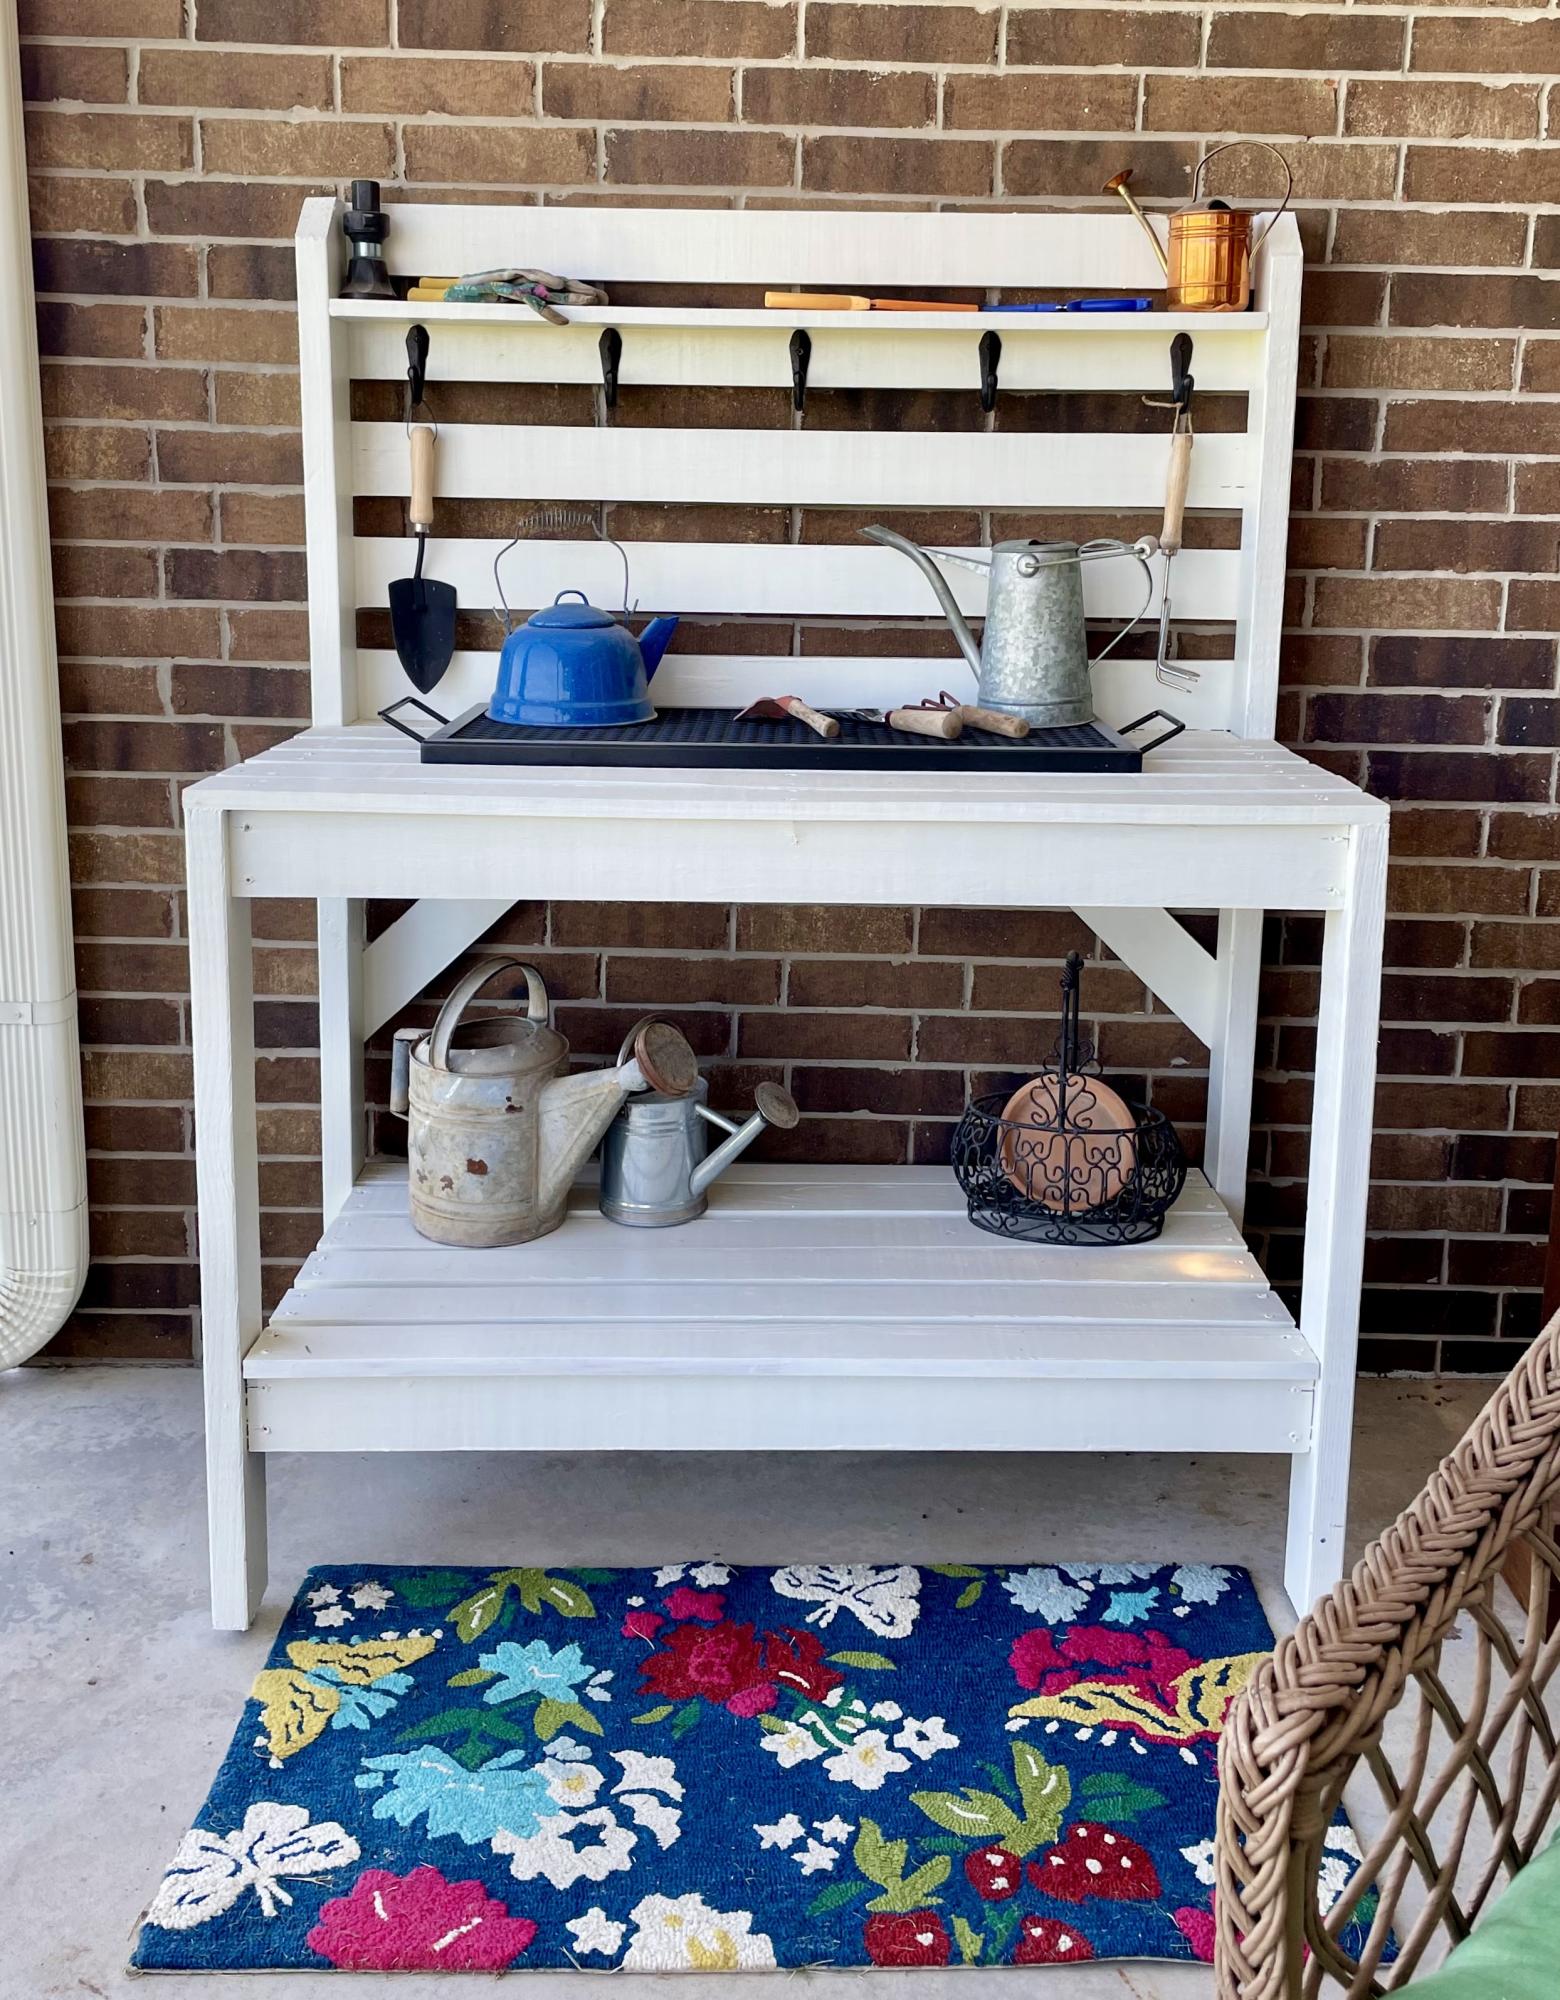
My husband built me a potting bench and I painted it with leftover house trim paint. We did make it several inches wider and added a middle 2x4” under the top surface slats to help with bowing boards. I added iron hooks for tools. Love it!
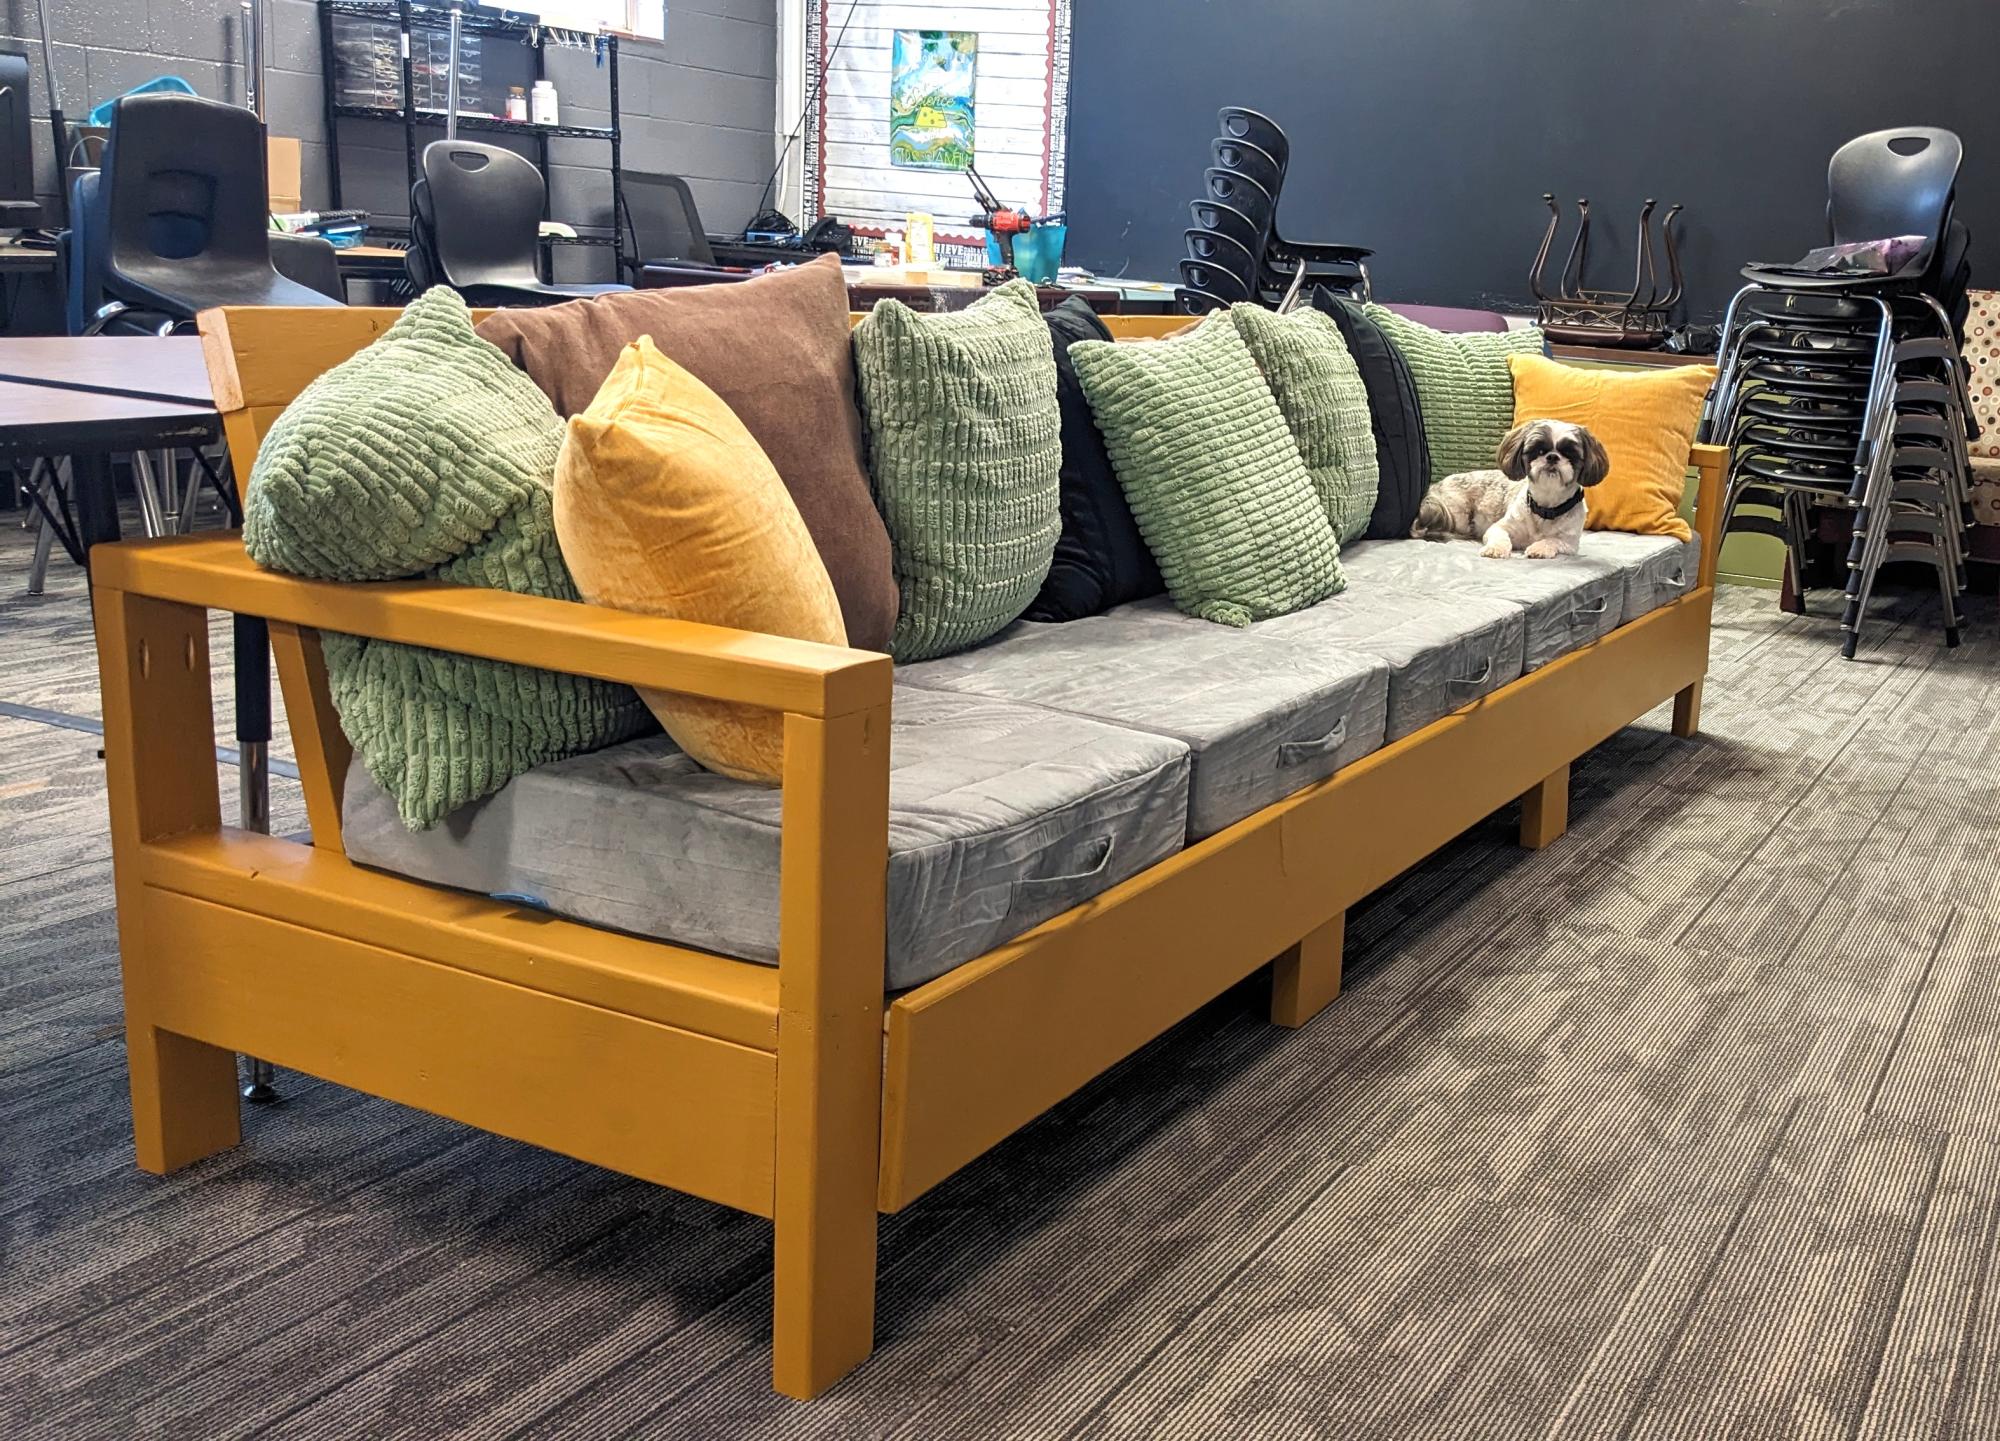
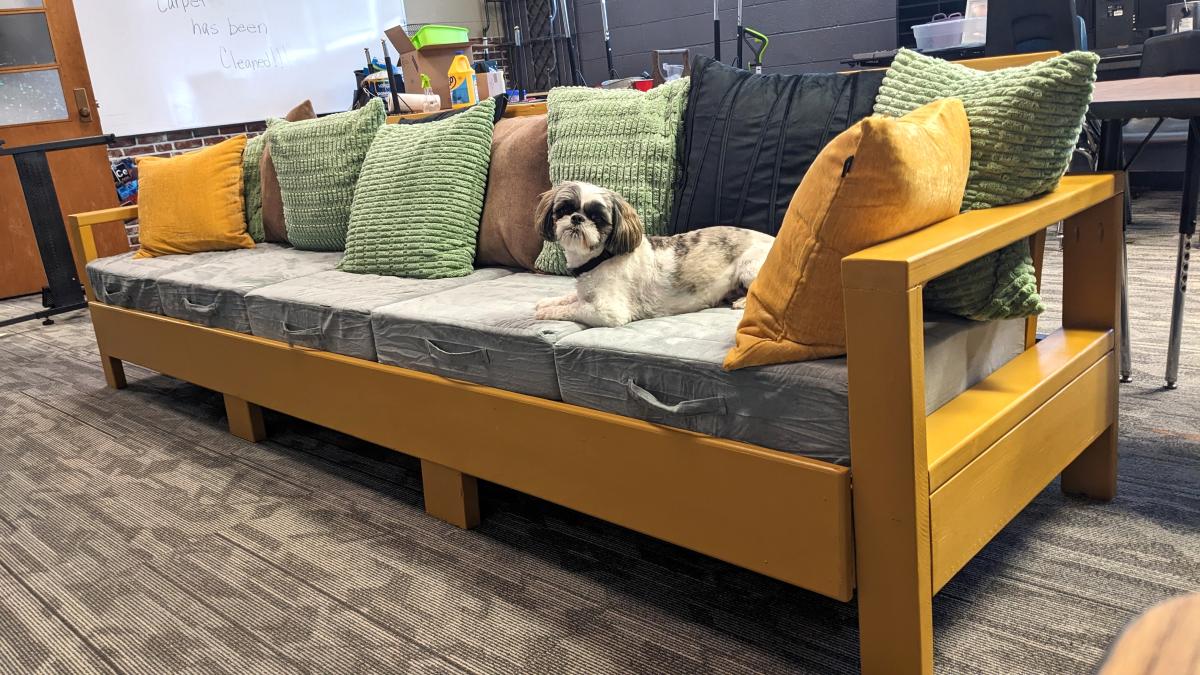
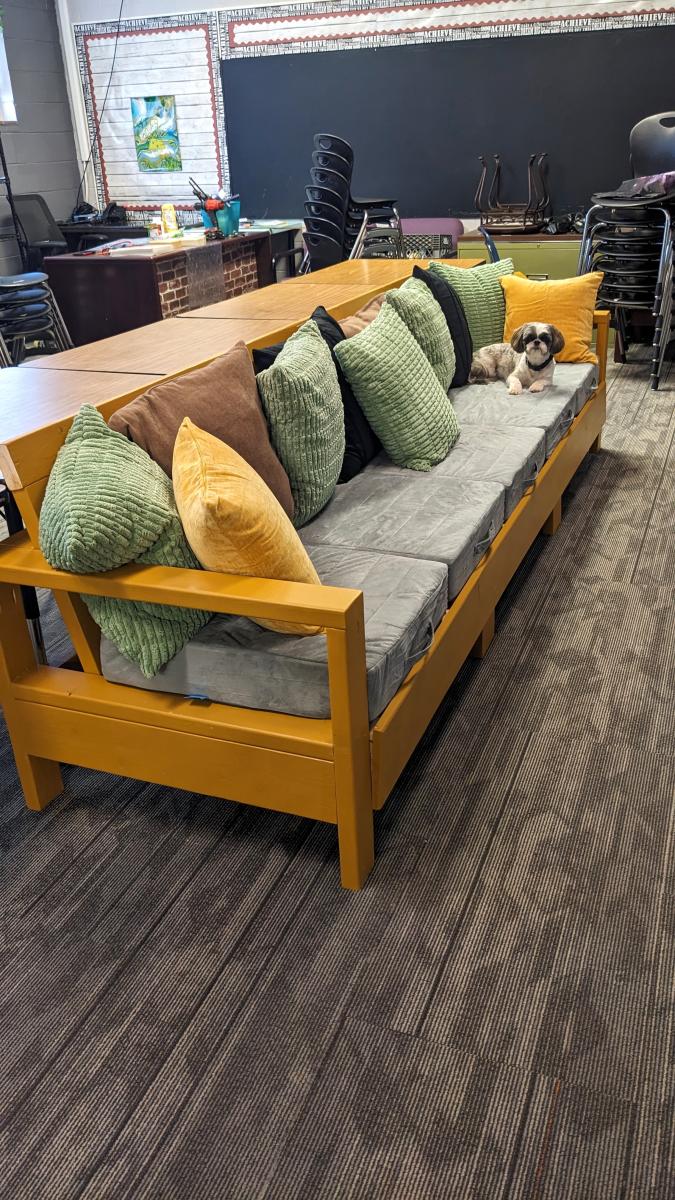
I'm a high school teacher and like flexible seating. I needed something that is very sturdy and can take a beating from teenagers. I used Ana's "2x4 Outdoor Sofa" plan, made it longer, added some extra braces, and here it is! My new classroom couch.
Julie Stanfill
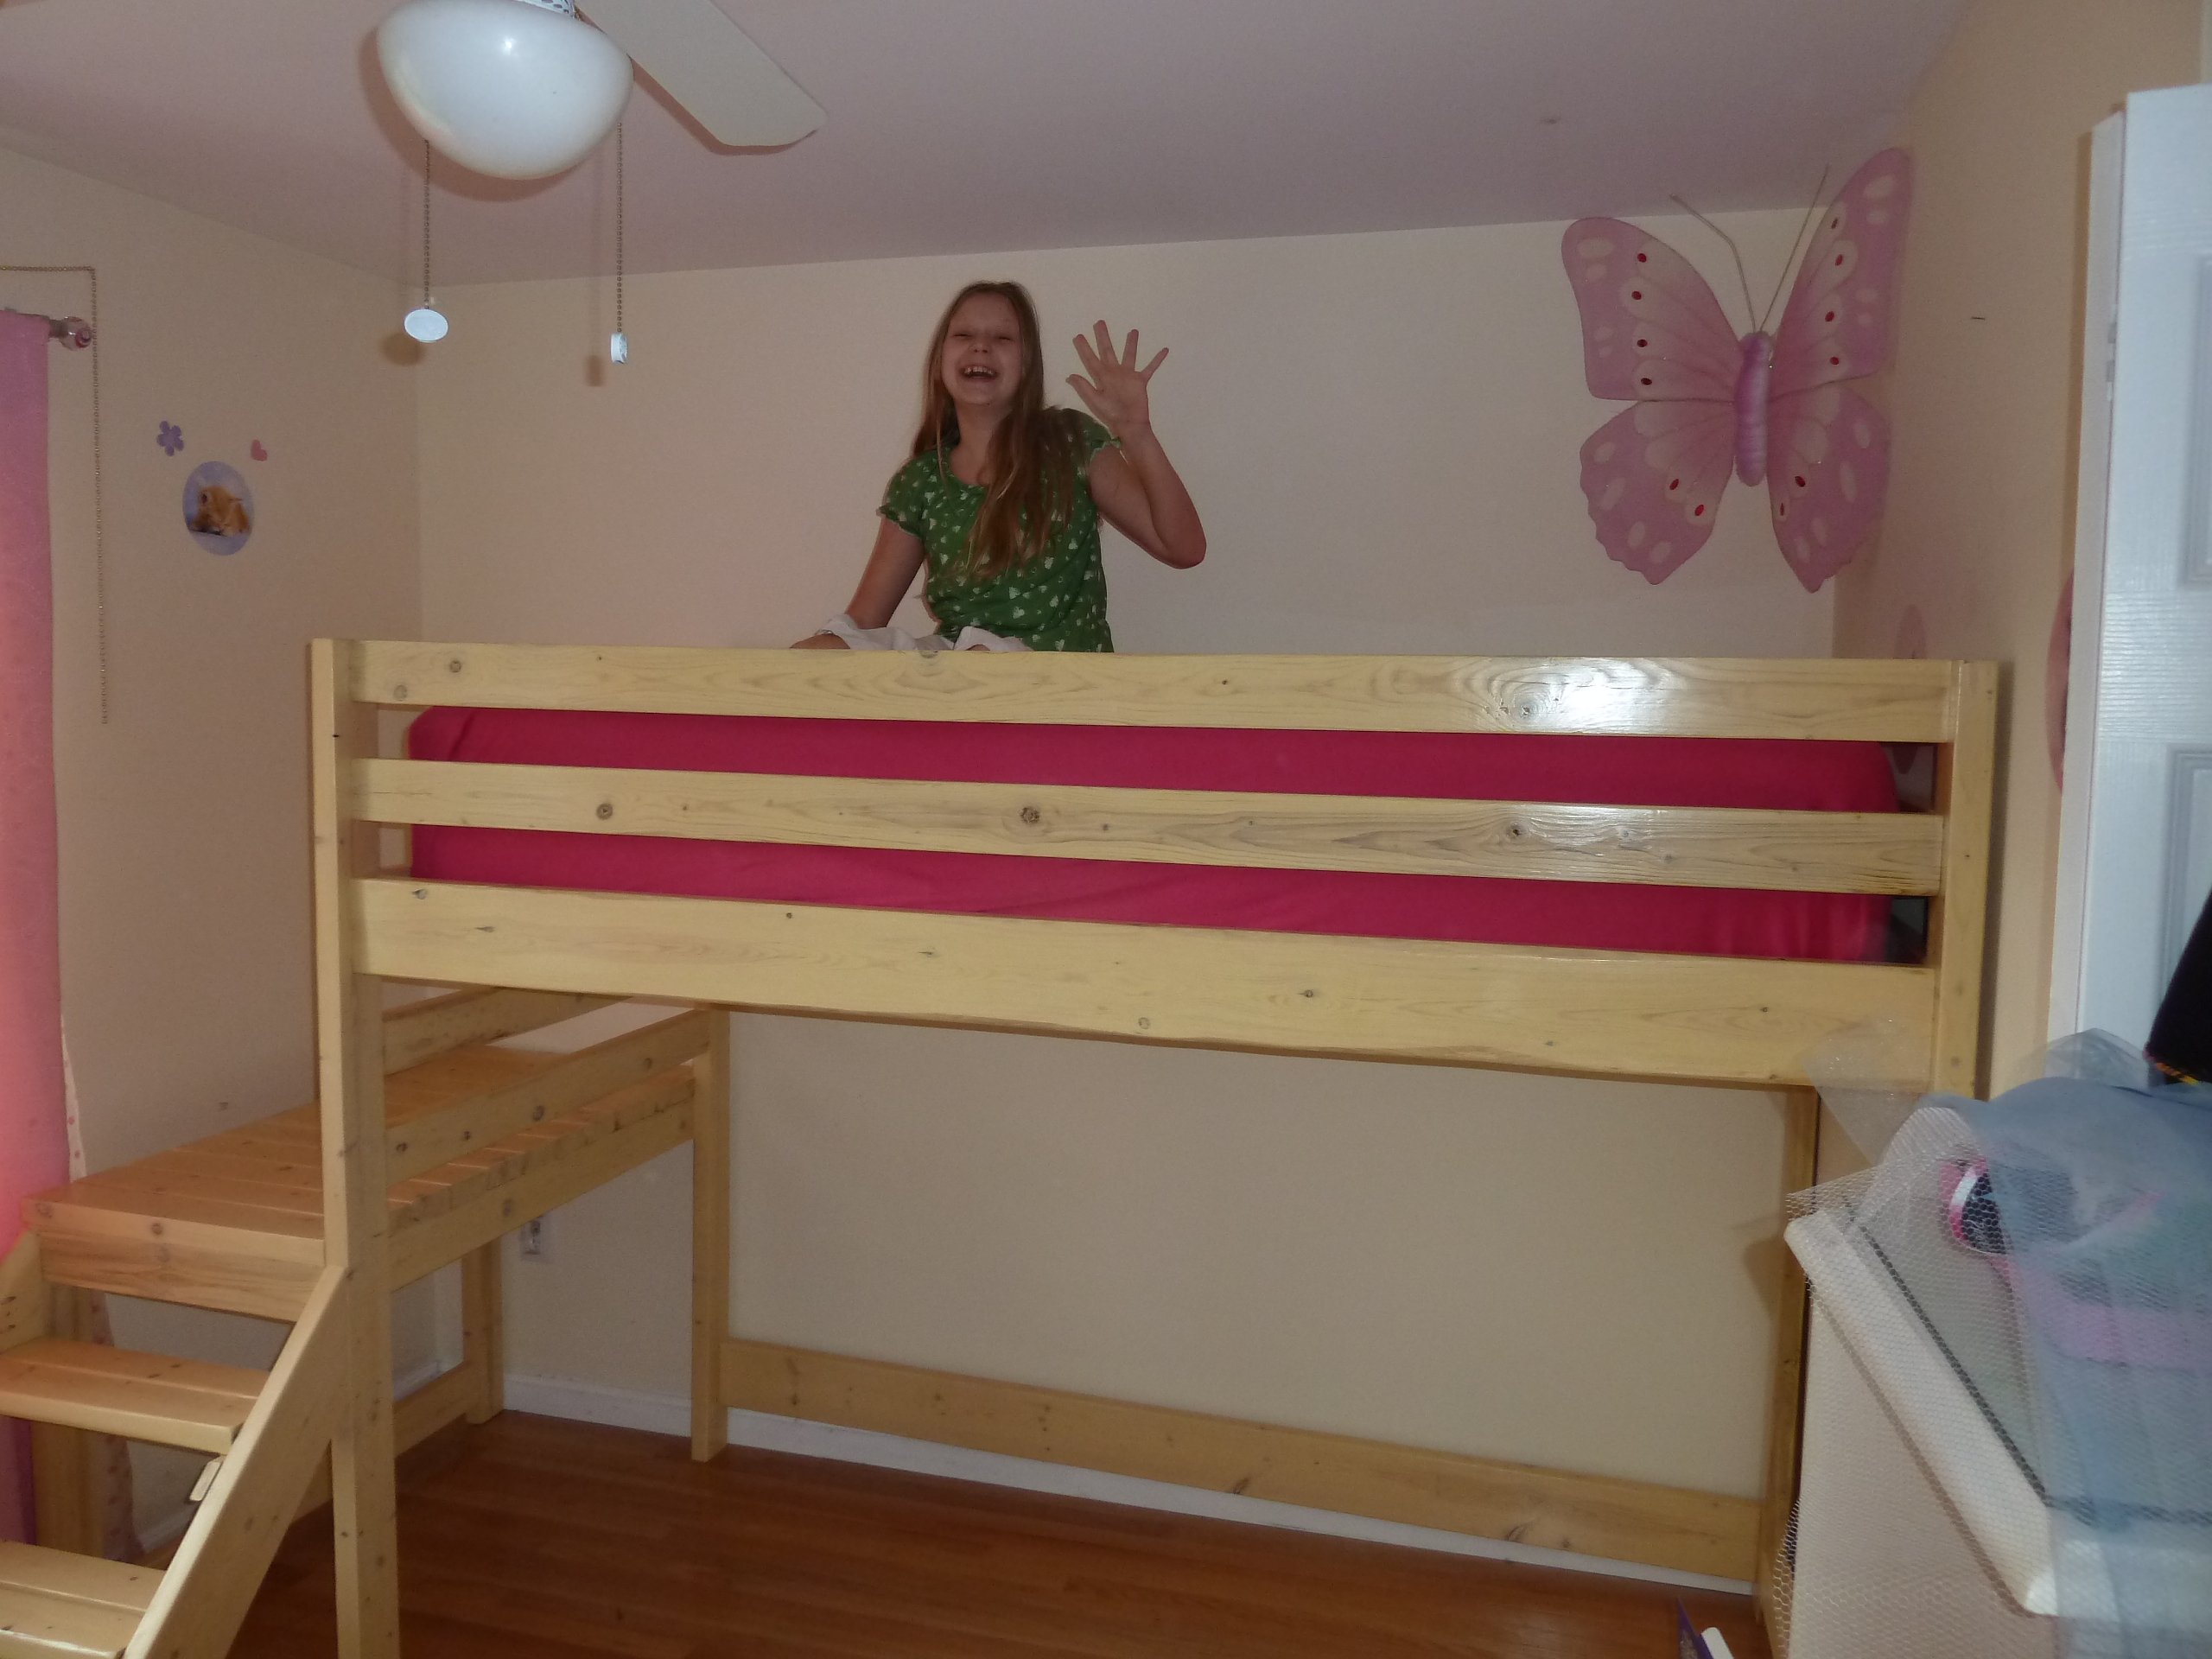
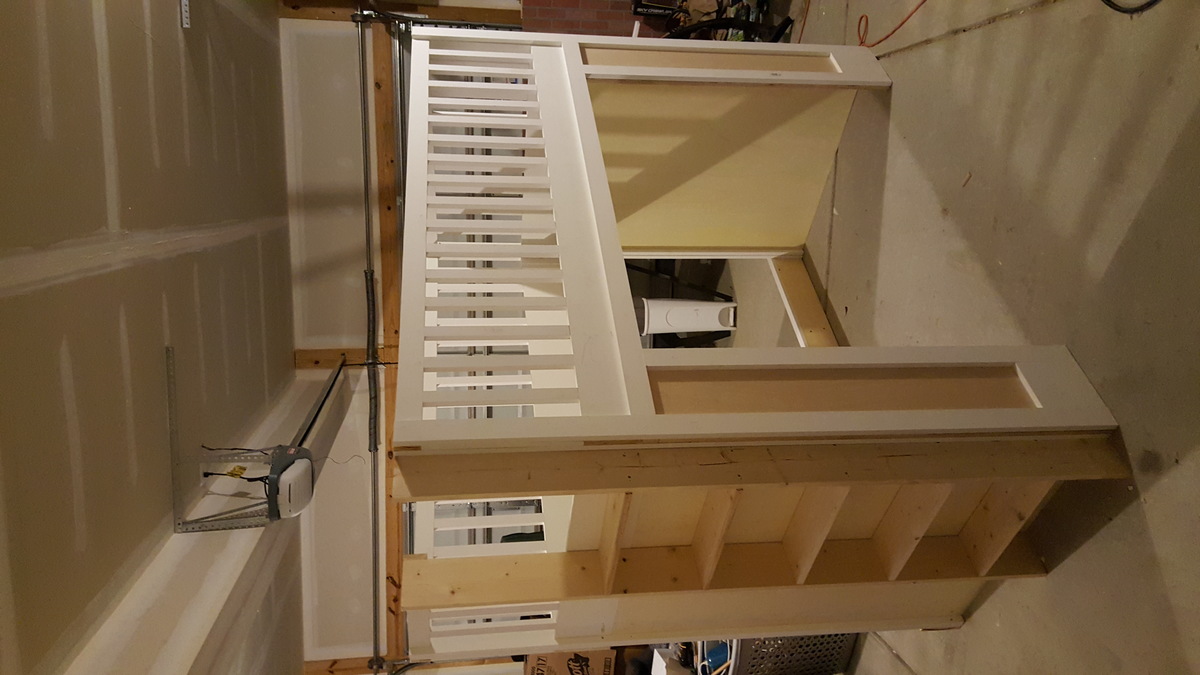
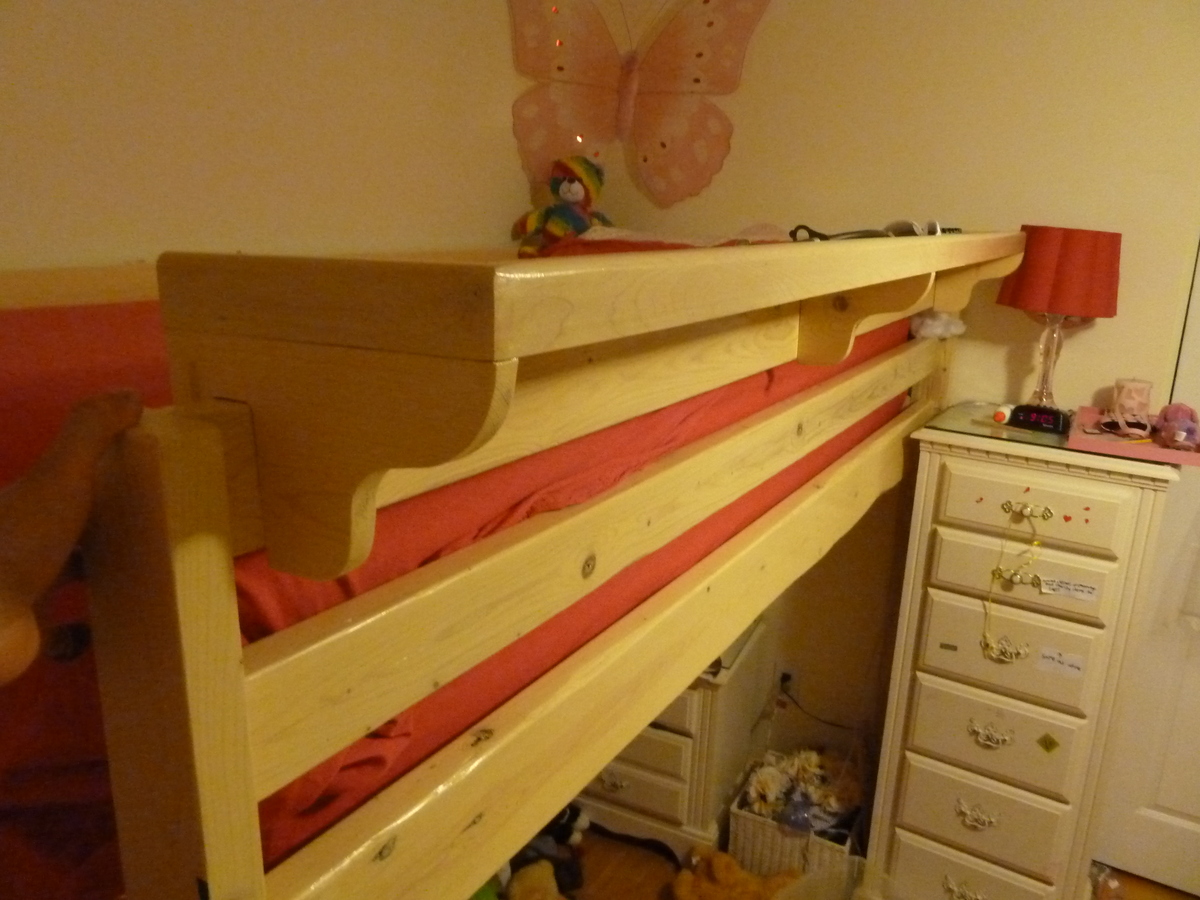
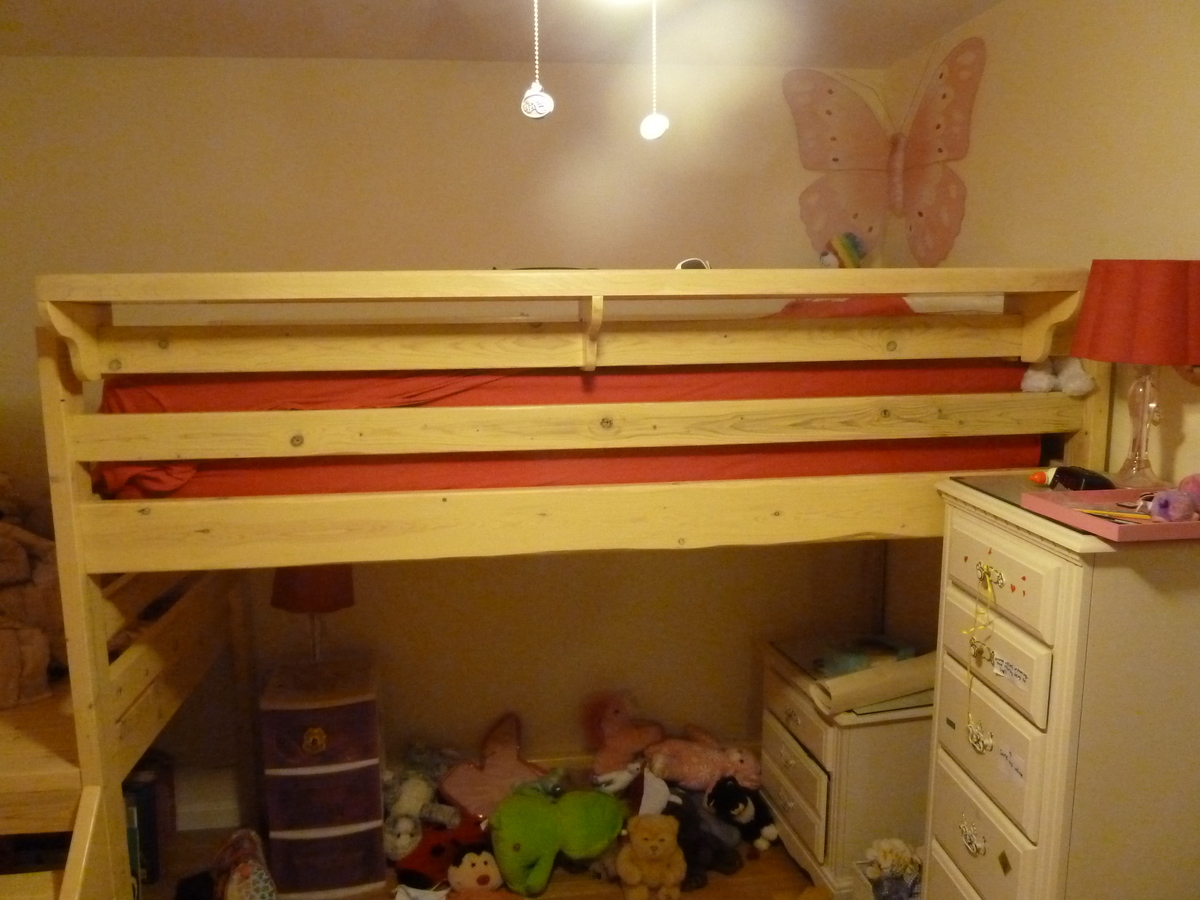
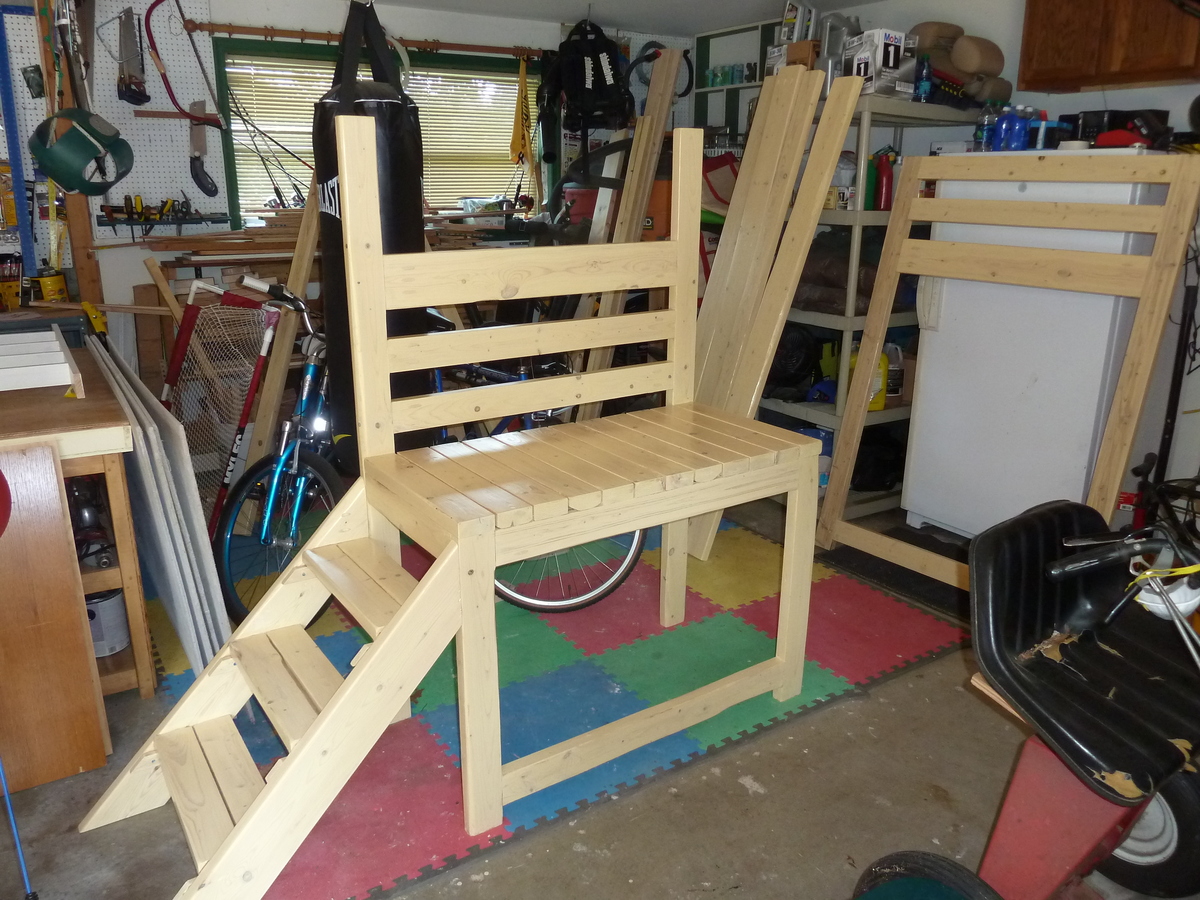
My daughter needed a loft bed to give her more floor and storage space in her bedroom. I modified the original plans to fit her twin XL bed, which is 5 inches longer than a regular bed. I also added an extra 2x6 across the back two posts for extra support.
Cutting and assembly was relatively easy; I glued every joint and used pocket holes per the instructions. I sanded using 80, 120 and 220 grit. The finish is a Minwax "parchment" water-based stain, with 3 coats of Polycrylic. All pocket holes were pre-drilled prior to finishing.
I assembled the platform and footboard in the garage and brought it into the house as a single unit; same with the headboard. I brought in the rails separately. To assemble, I marked 1 1/4 inches from the outside post edges, and used wood scraps/clamps to align and hold the rails while securing them with pocket hole screws.
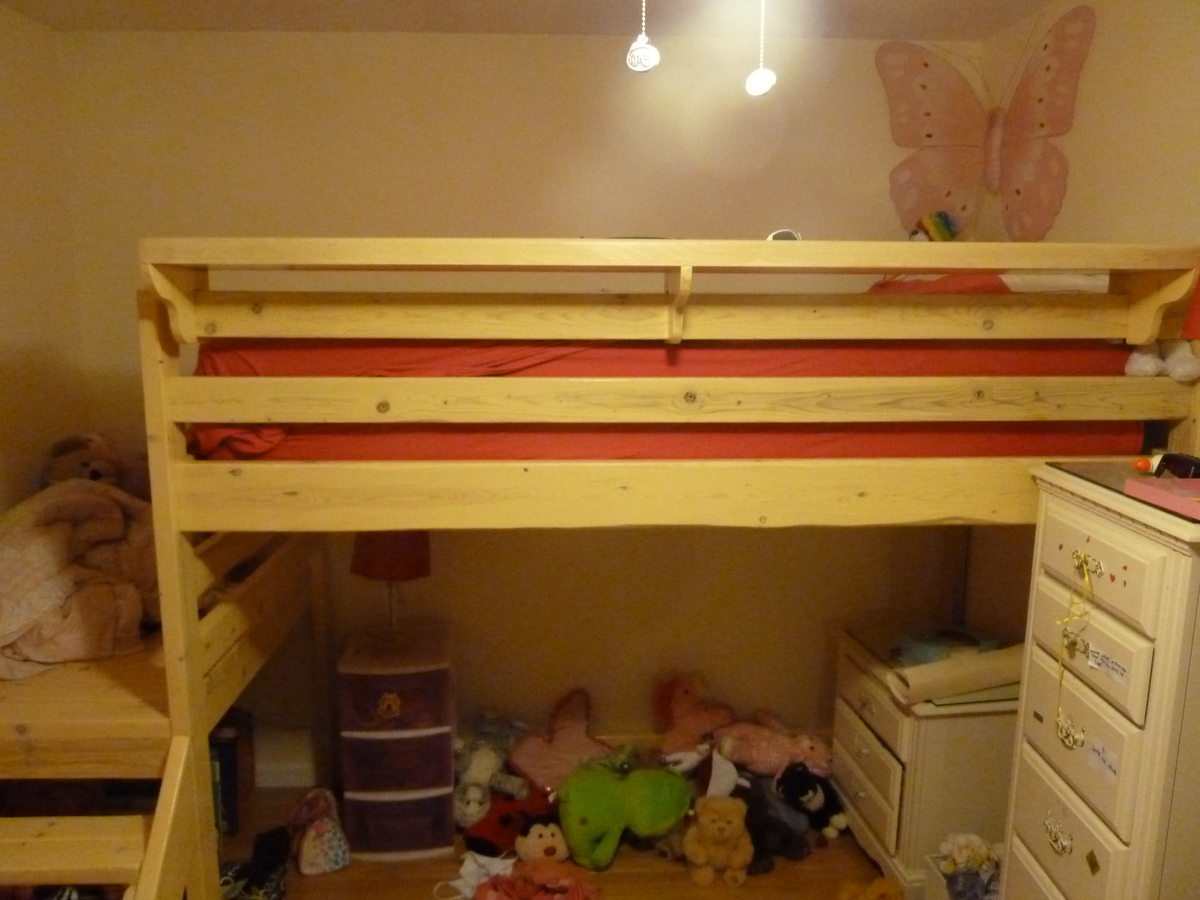
My daughter's mattress is very high; it rises only about an inch below the top of the top rail. So I build a bed-length shelf which also had the added benefit of providing a little more height/protection against her rolling out of bed in the middle of the night (see pics).
In all, I was surprised at how long this took me. Probably because I'm a novice and this was only my 2nd project. The totals are:
- Cut and assembly: 14 hours
- Sanding: 25 hours
- Finishing: 2 days
After finishing, I left all pieces in the garage for 5 days to air-out before bringing into the house.
Total cost the lumber was $125, 1 qt stain @ $13, 1/2 gal Polycrylic @ $50 per gal, and $20 hardware for a total of just over $200.

Tue, 03/15/2016 - 22:17
I am curious what your mattress size was here, please educate me as I think I will have a similar issue. I liked the shelf idea you did!
In reply to mattress size by mariad444
Wed, 09/23/2020 - 13:52
My mattress size was twin XL.
Thu, 04/09/2020 - 09:05
Nice job! Did you add just 5 inches to the length, making it 8'5"?
In reply to Nice job! Did you add just 5… by cmt2012
Wed, 09/23/2020 - 13:56
Yes, all I did was add 5 inches to the length. In hindsight I should have measured her room because the total length including the steps is about 3 inches short of the room... great, it fits, but alot of "things" drop through the slot like socks, candy wrappers, etc. Good luck!
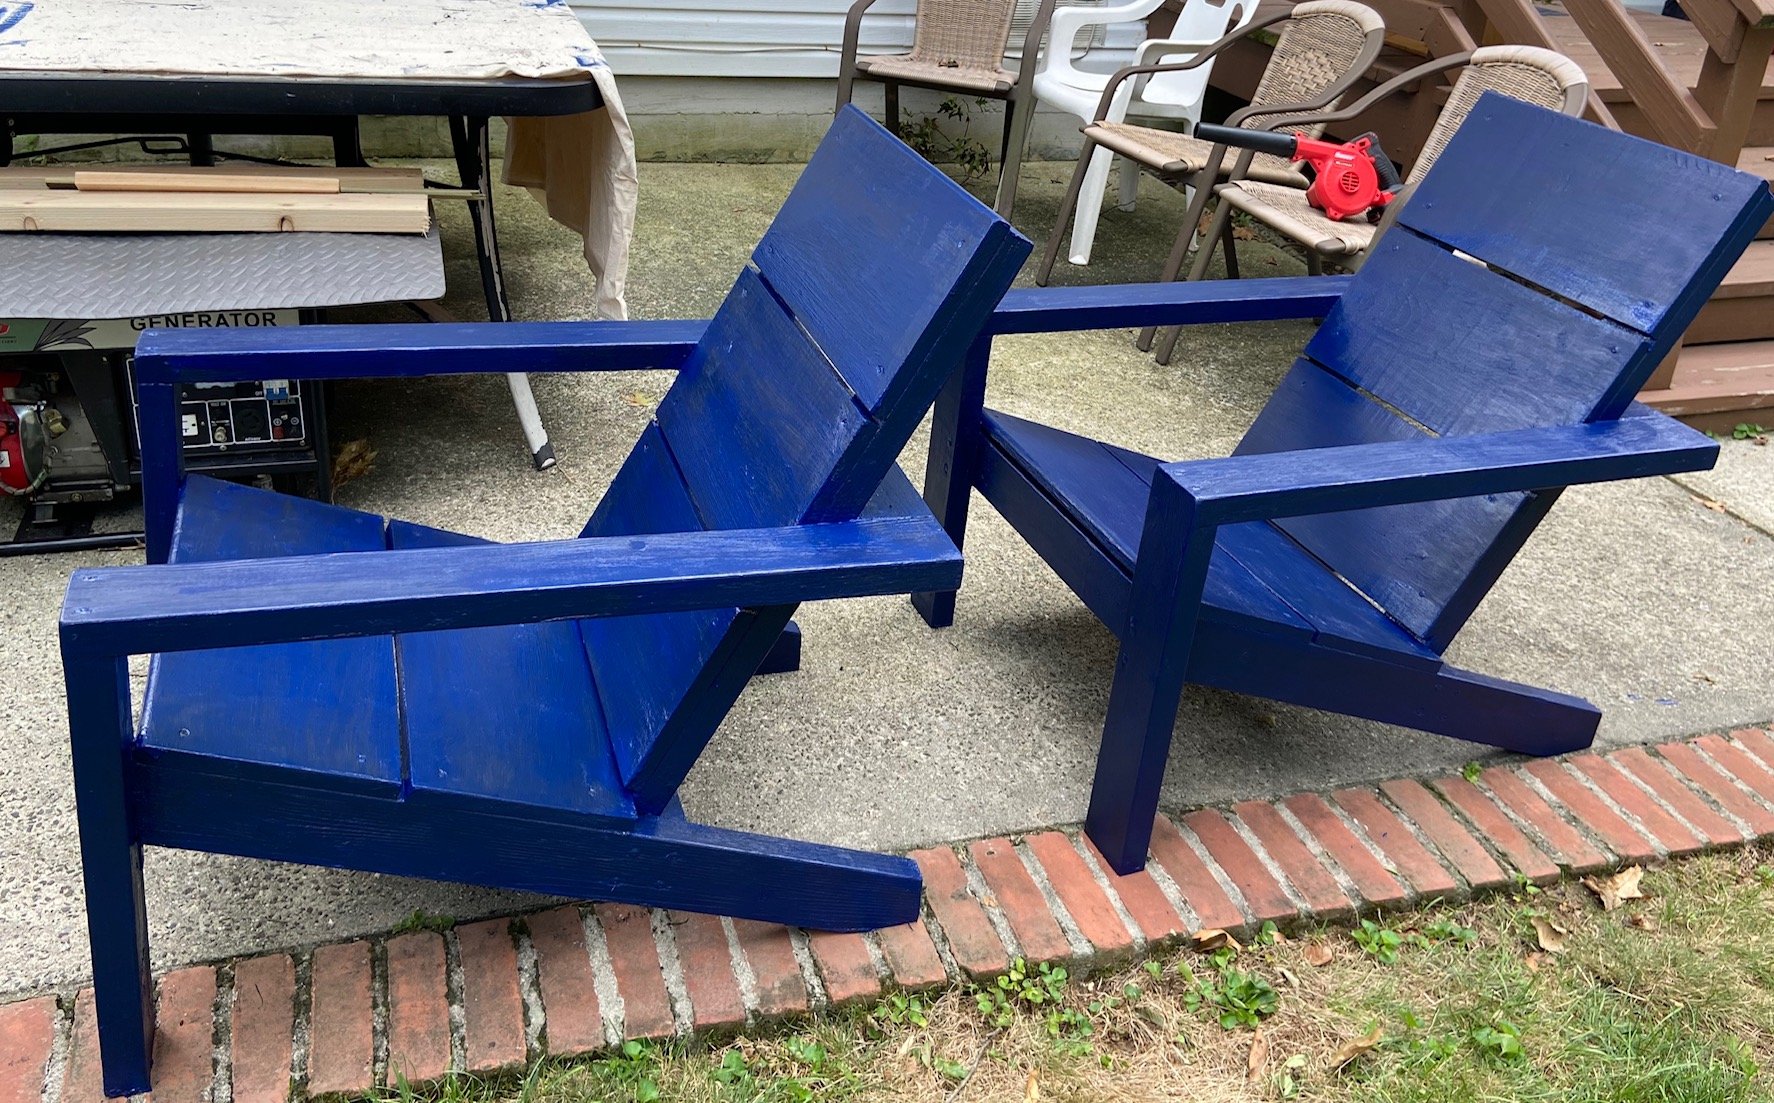
Since I didn't clean off all the lumber print prior to assembling, I decided to prime and paint the chairs.
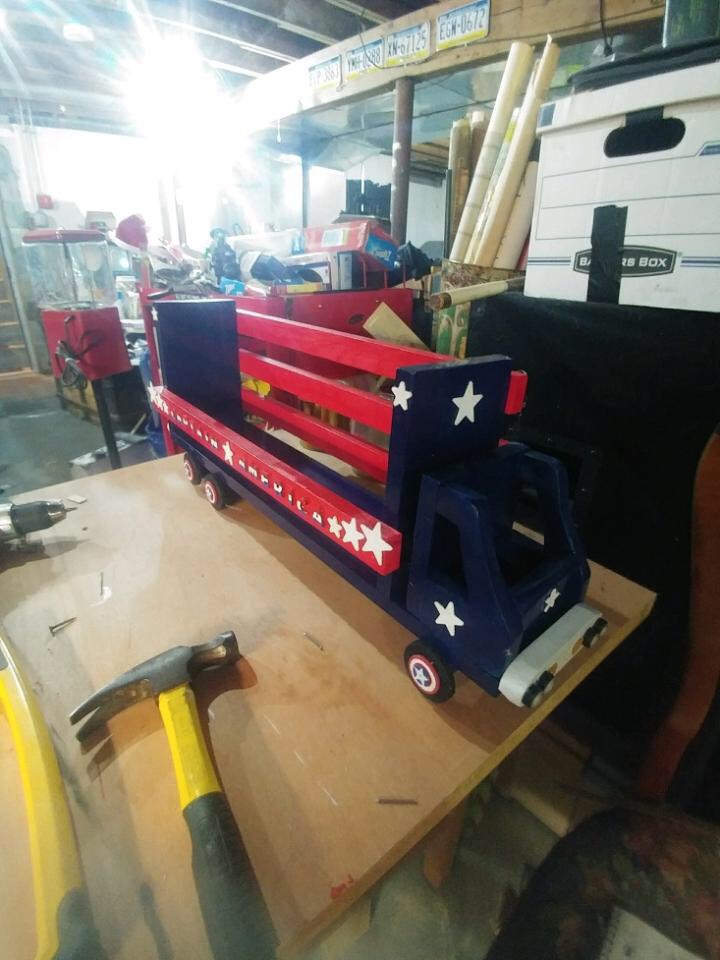
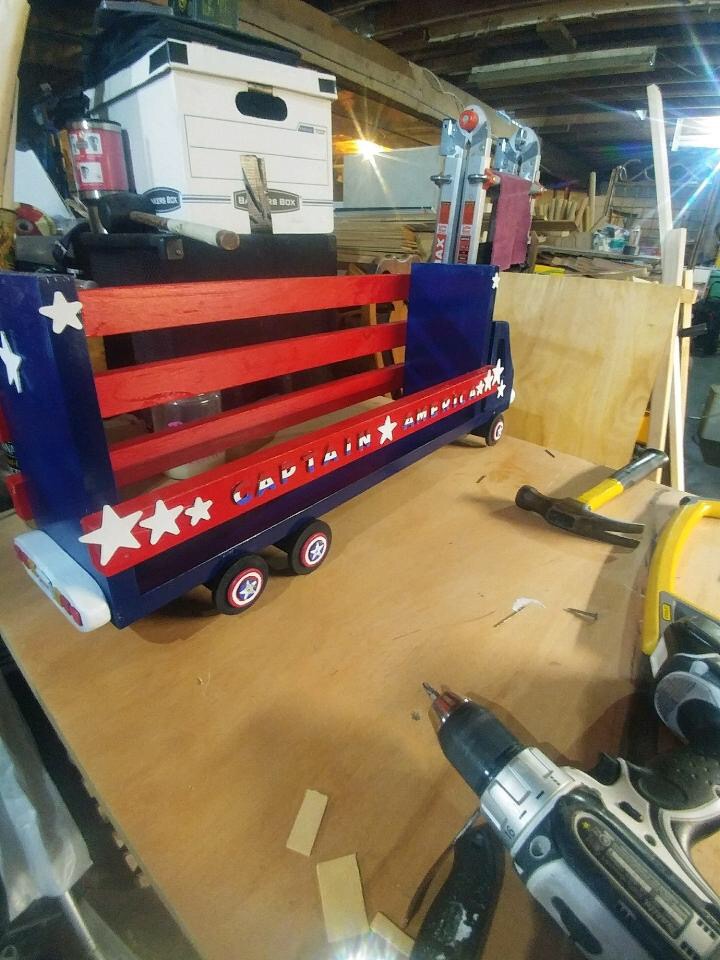
entryway shelf plans
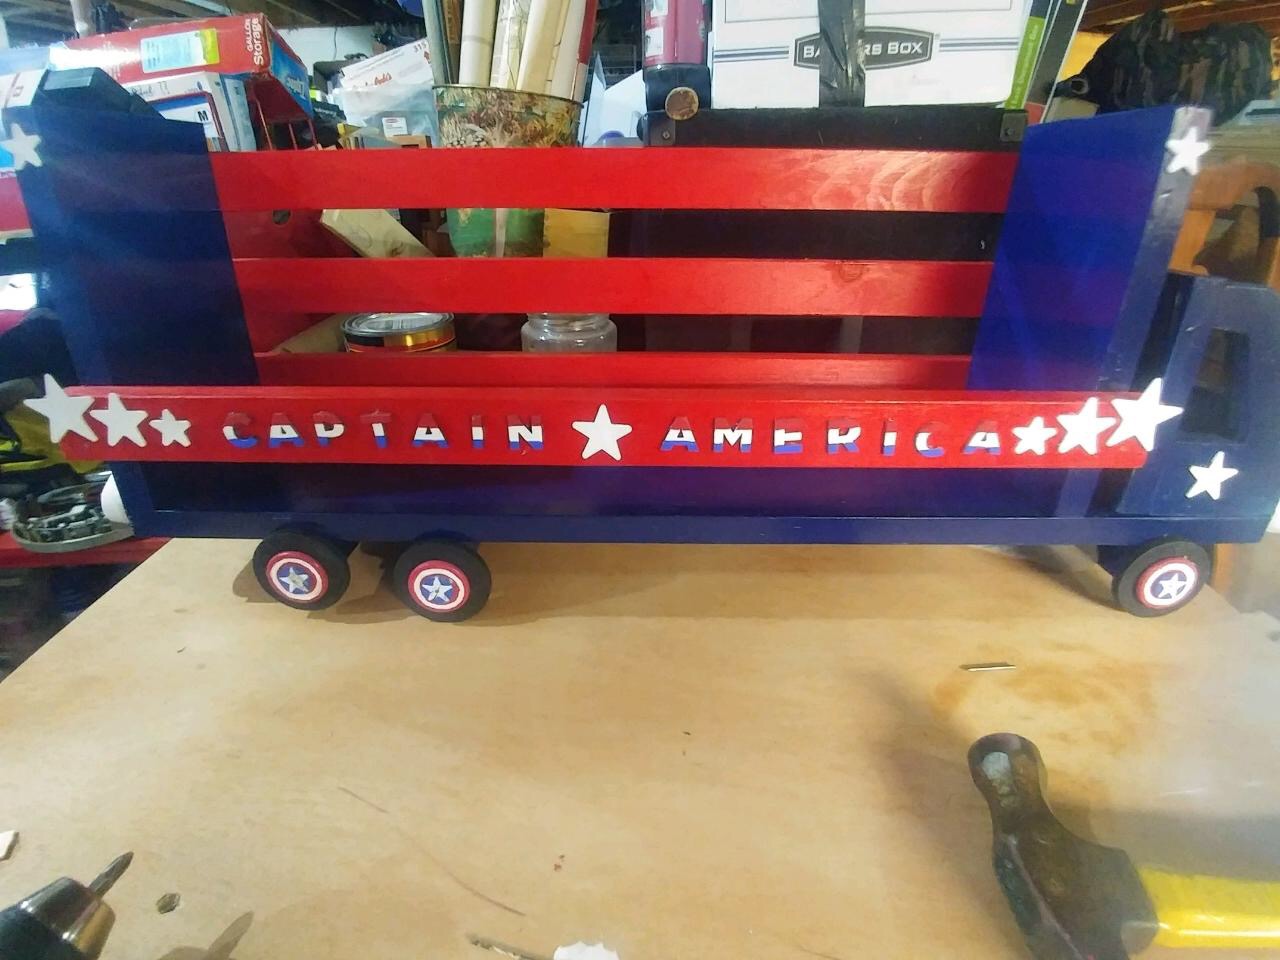
A fun project to make ending with a functional product to boot! I went all out making sure that each truck/shelf would coordinate with each grandson's theme/decor in their bedrooms. Chase, who will turn one next month, has a super heroes/comics theme for his room. Therefore, I selected Captain America as the star of the big rig shelf. Red, white & blue paints, some wooden shapes and some creativity and Captain America was ready for Mr. Smiles.

I changed the plan to match the mattress and it looks great!