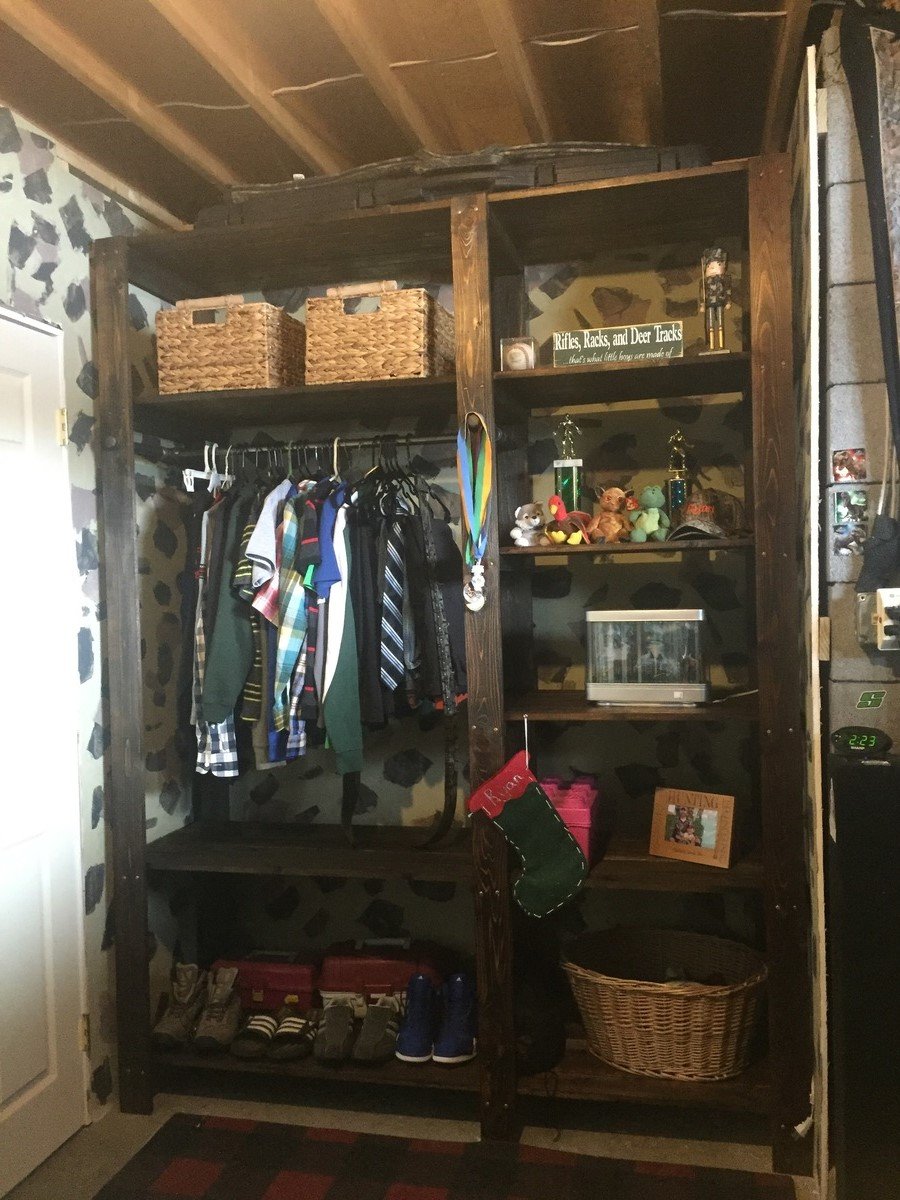
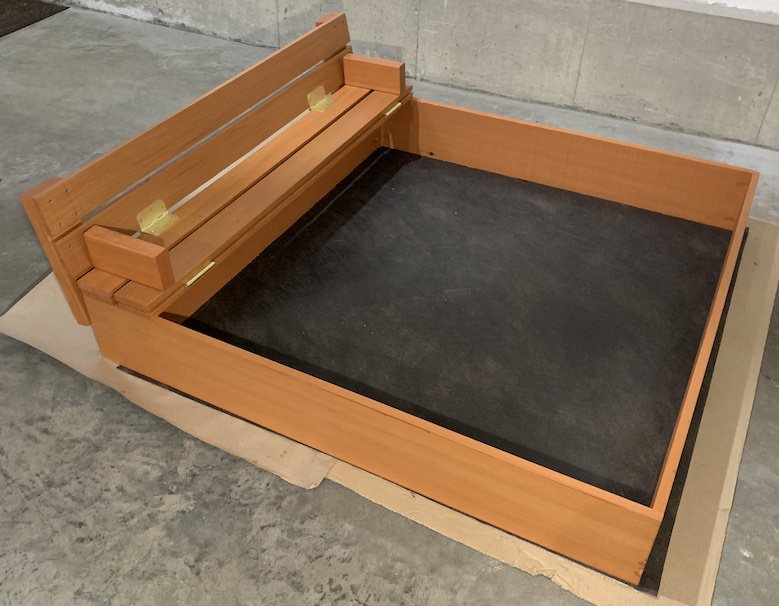
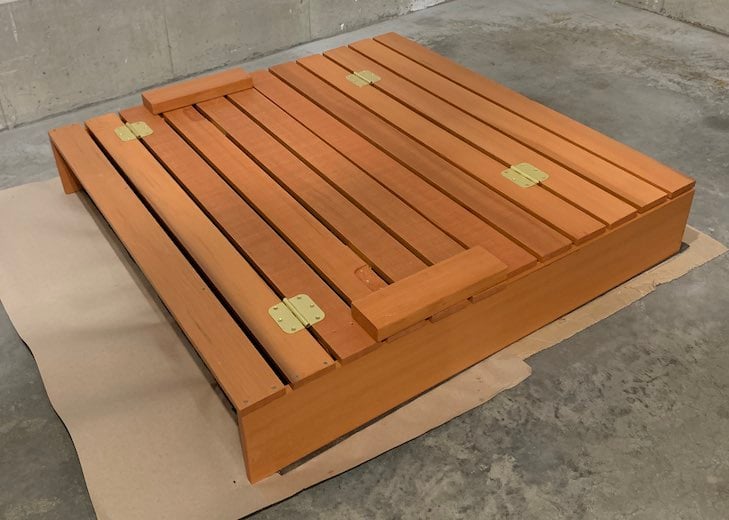
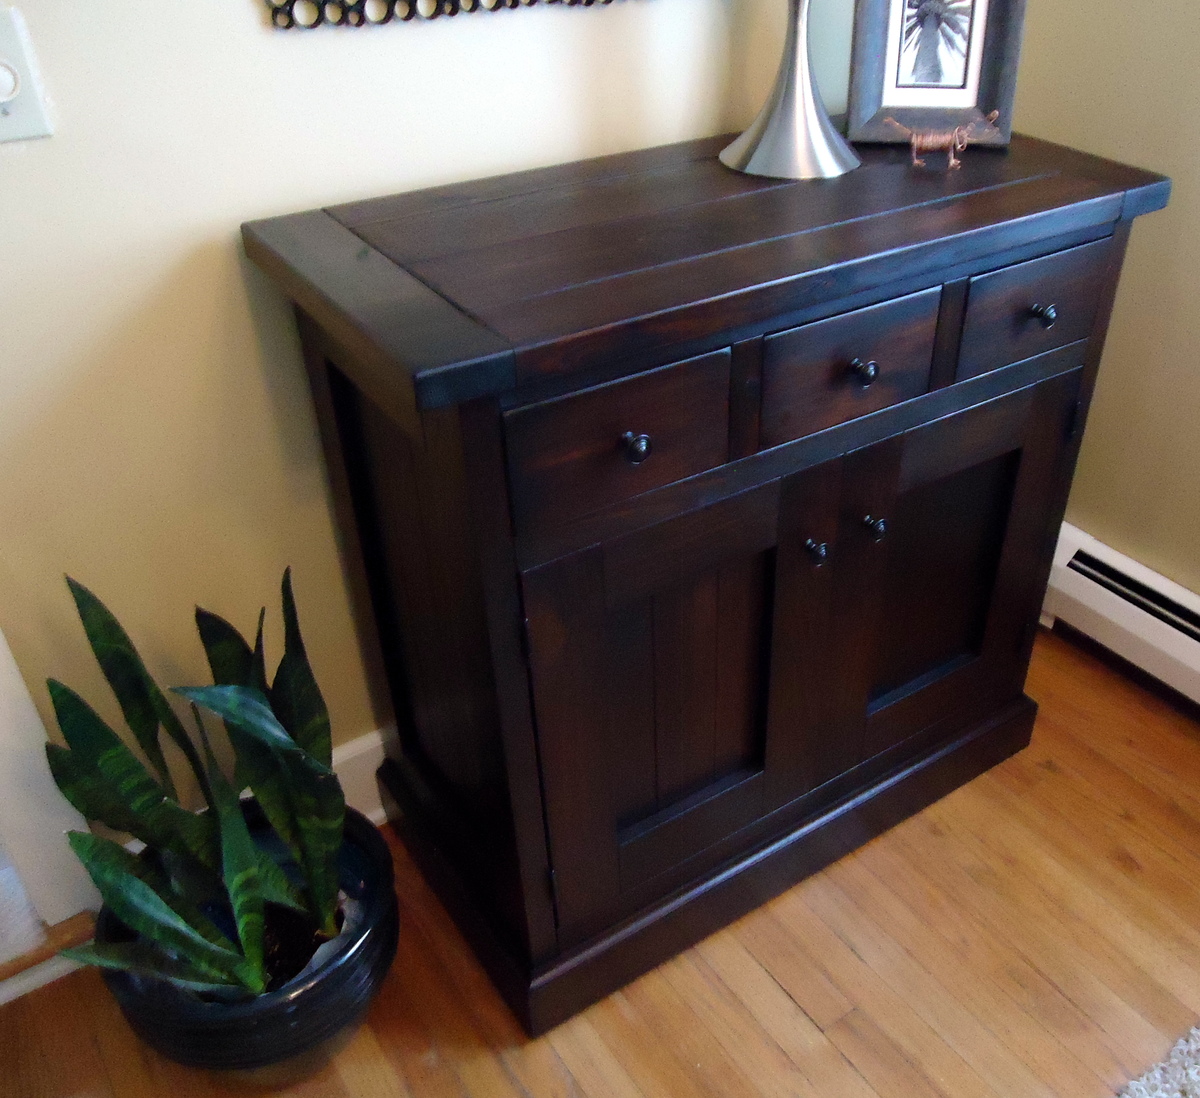
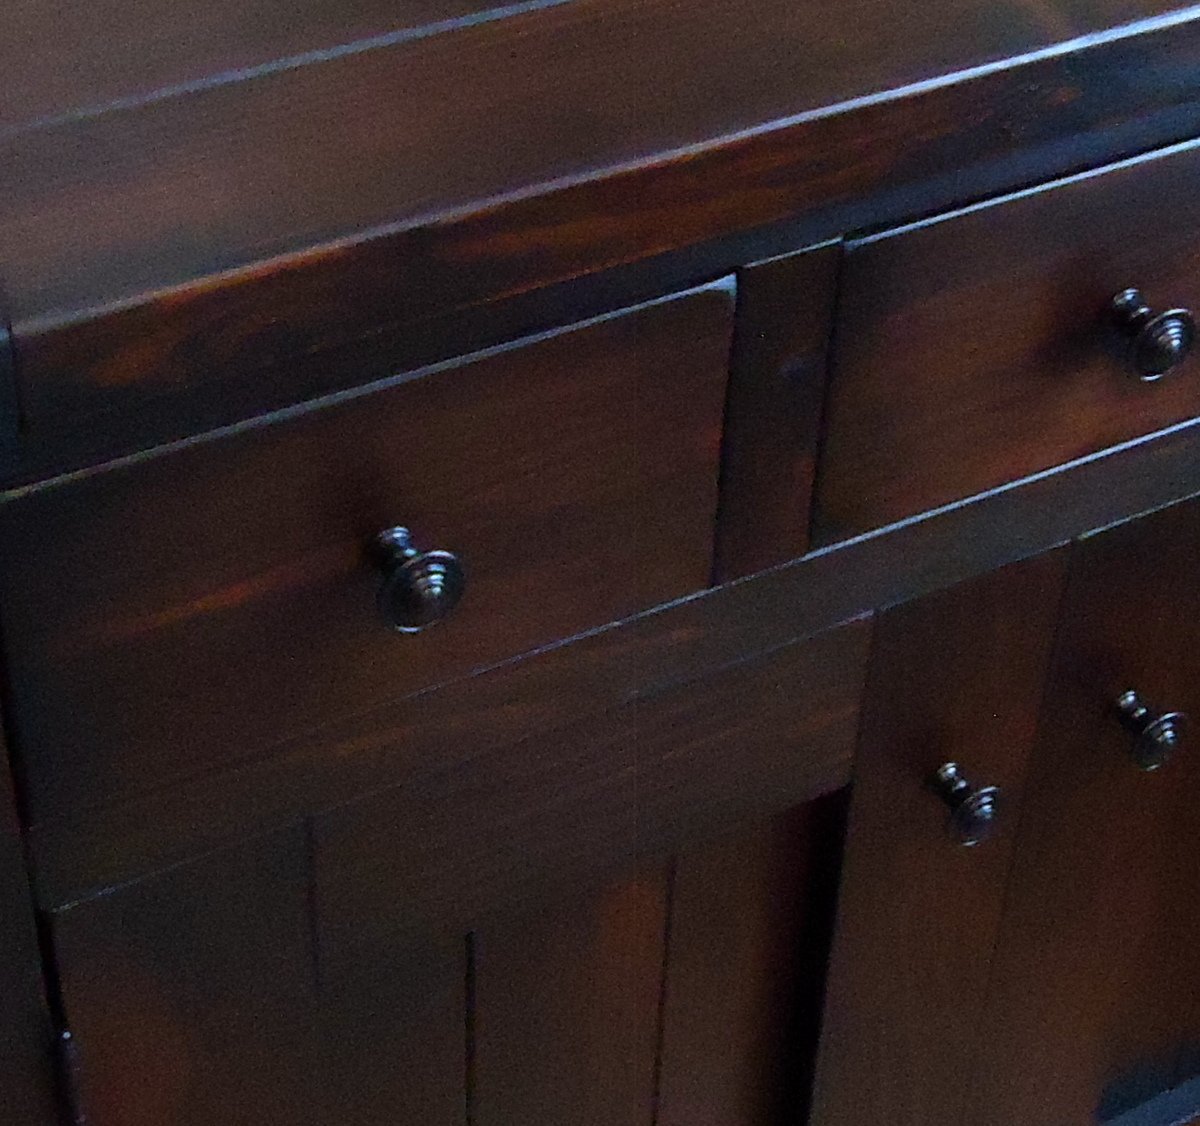
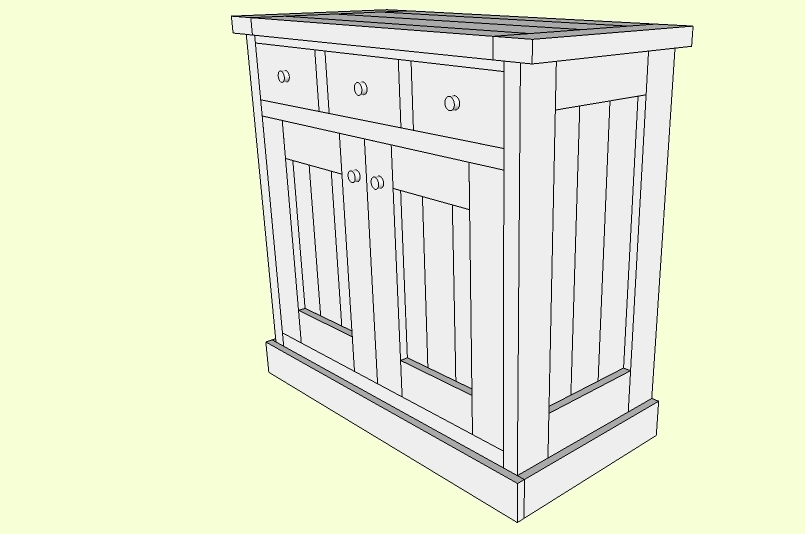
Modified Emerson Changing Table

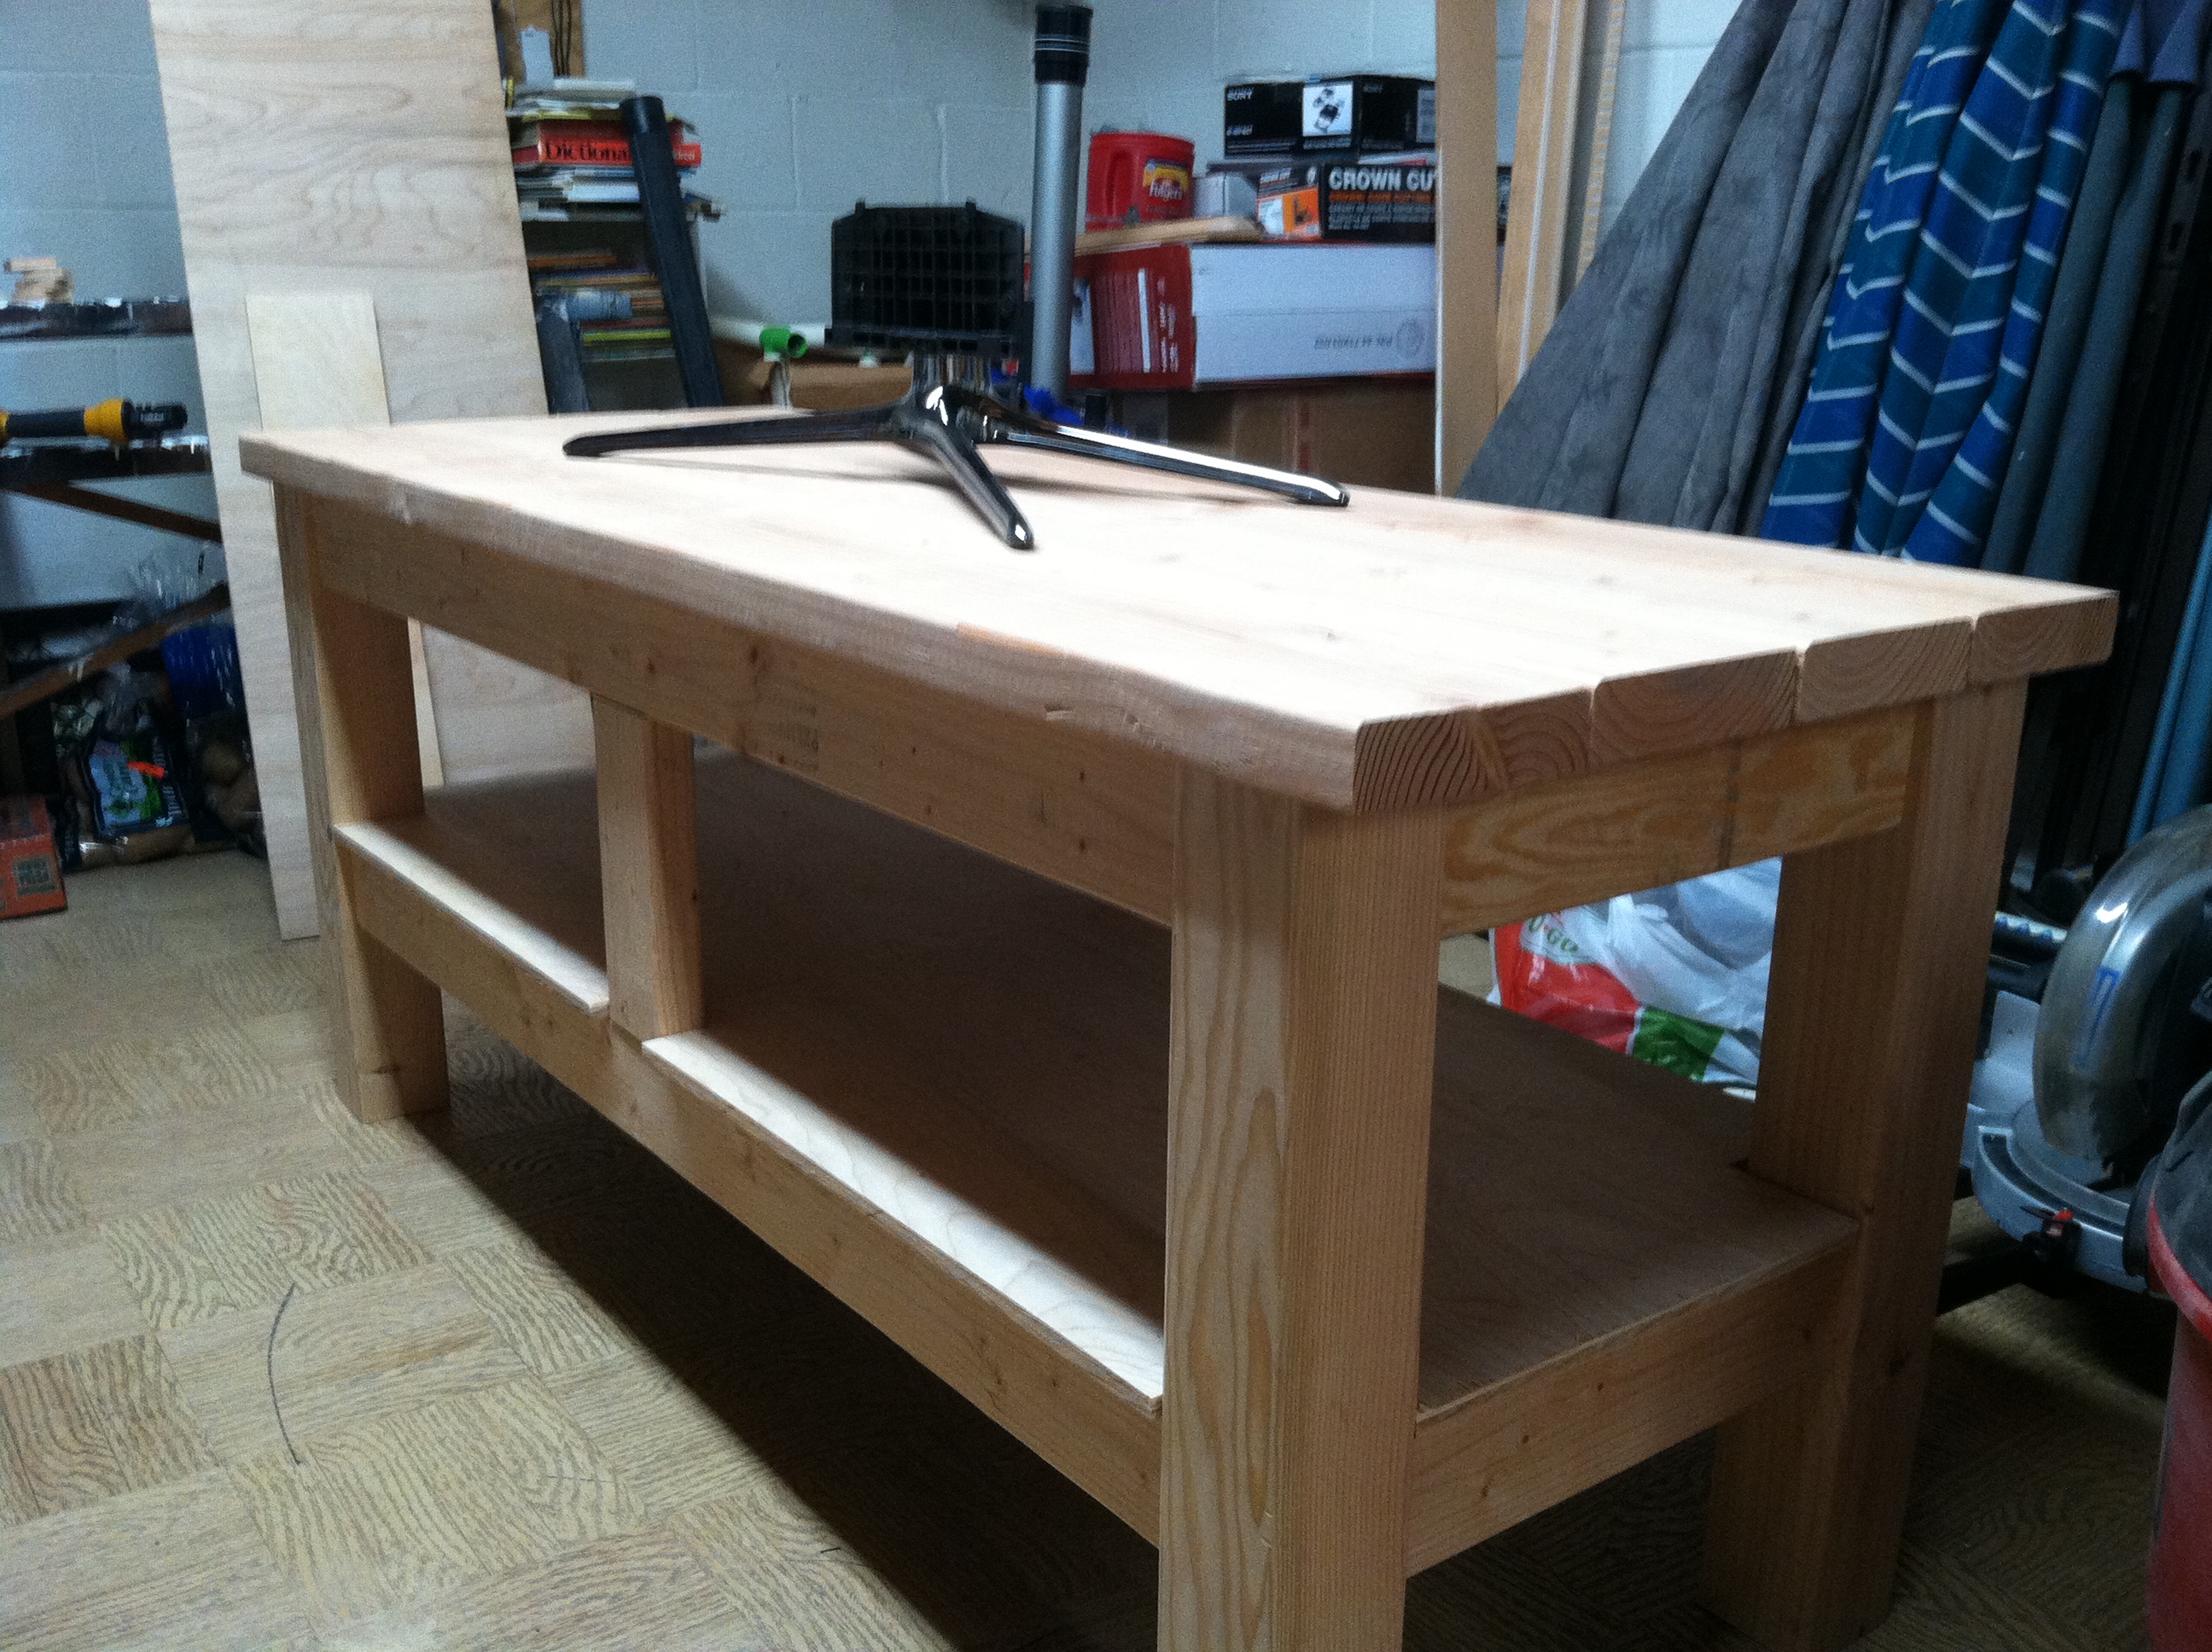
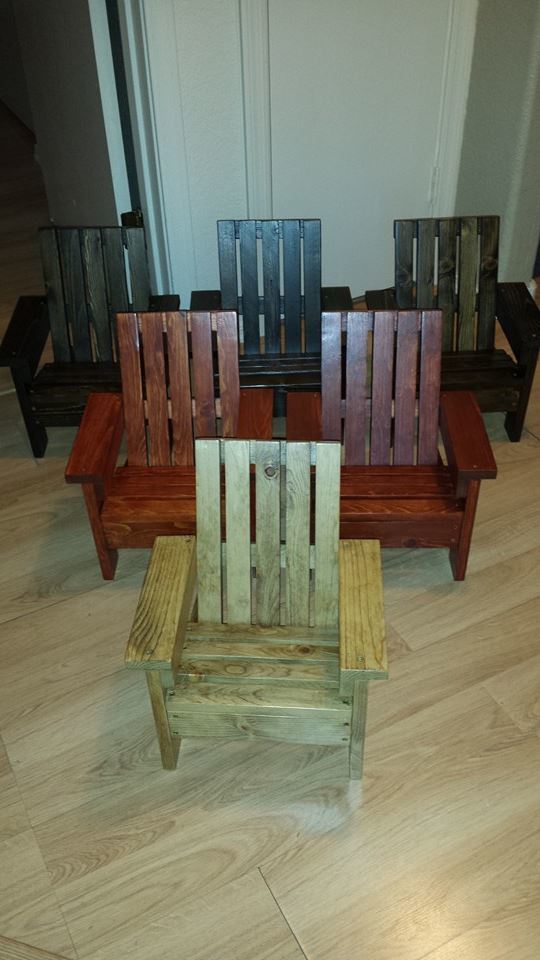
Emerson with extra trim and fancy feet. Also added a closet dowel and overhang. Built at 36 weeks for our baby Collin.


Built from Plan(s)
Estimated Cost
$70, fancy feet were about $10 each.
Estimated Time Investment
Day Project (6-9 Hours)
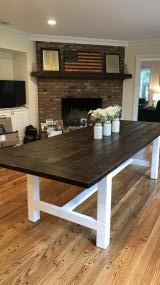
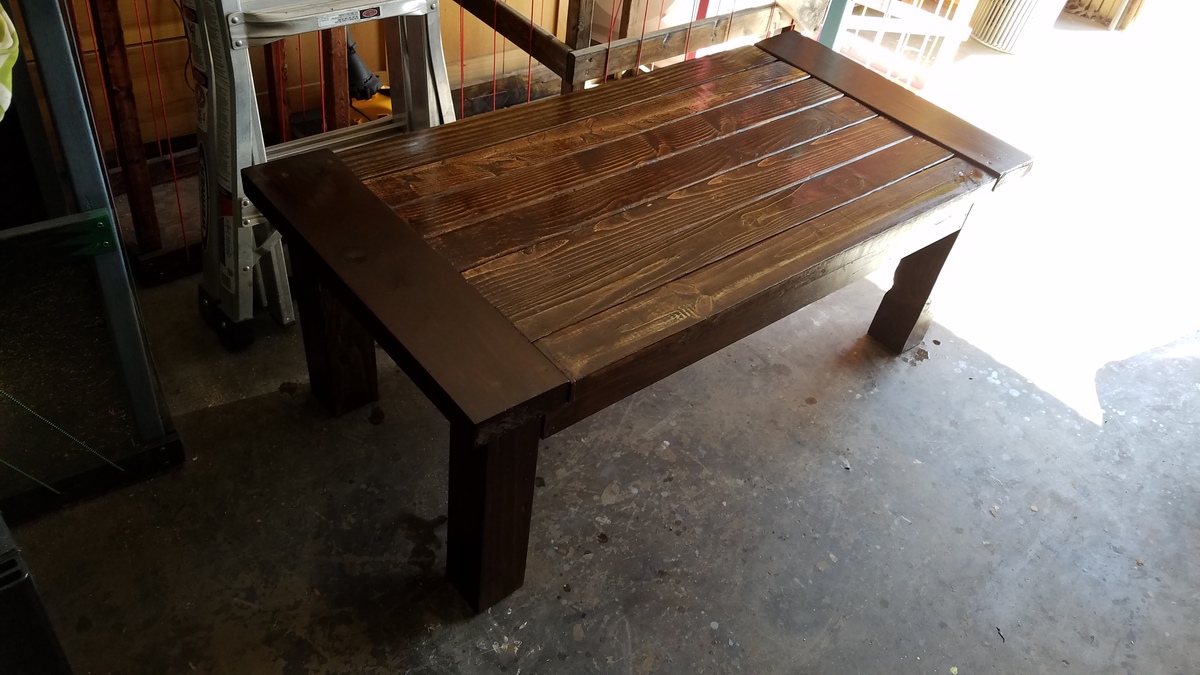
Finish Used
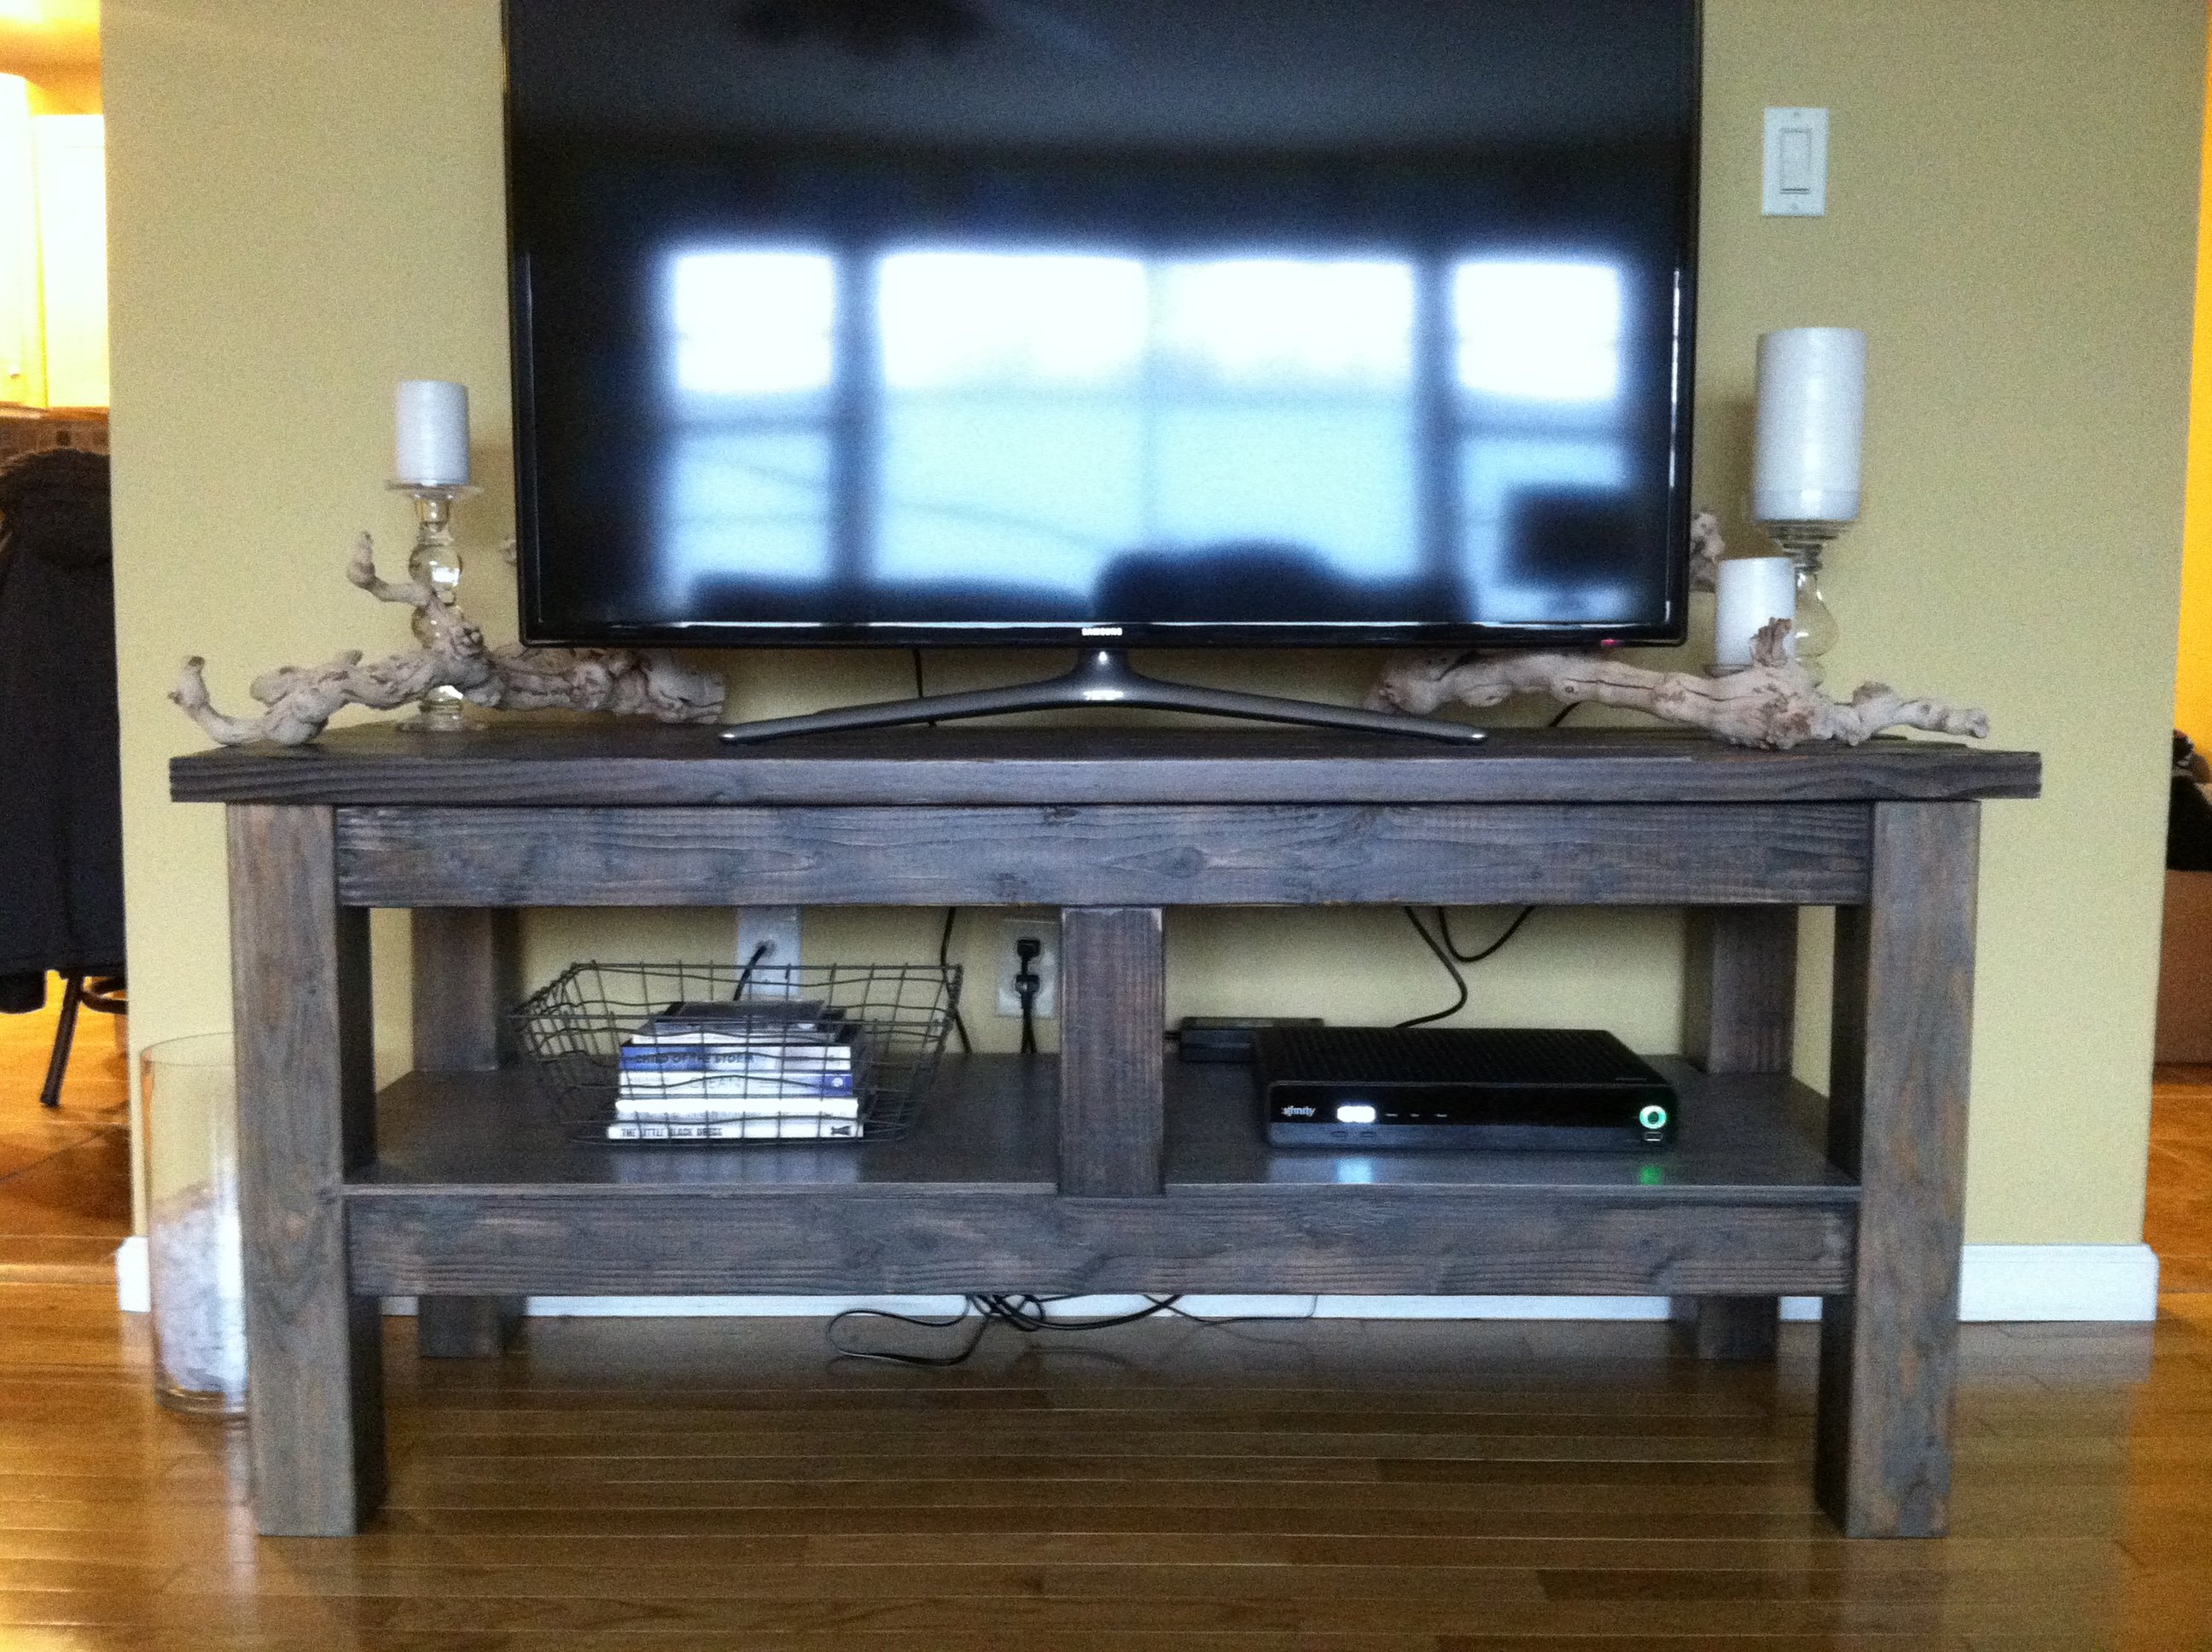
miniwax polyshades, tudor.
Recommended Skill Level
Beginner