Community Brag Posts

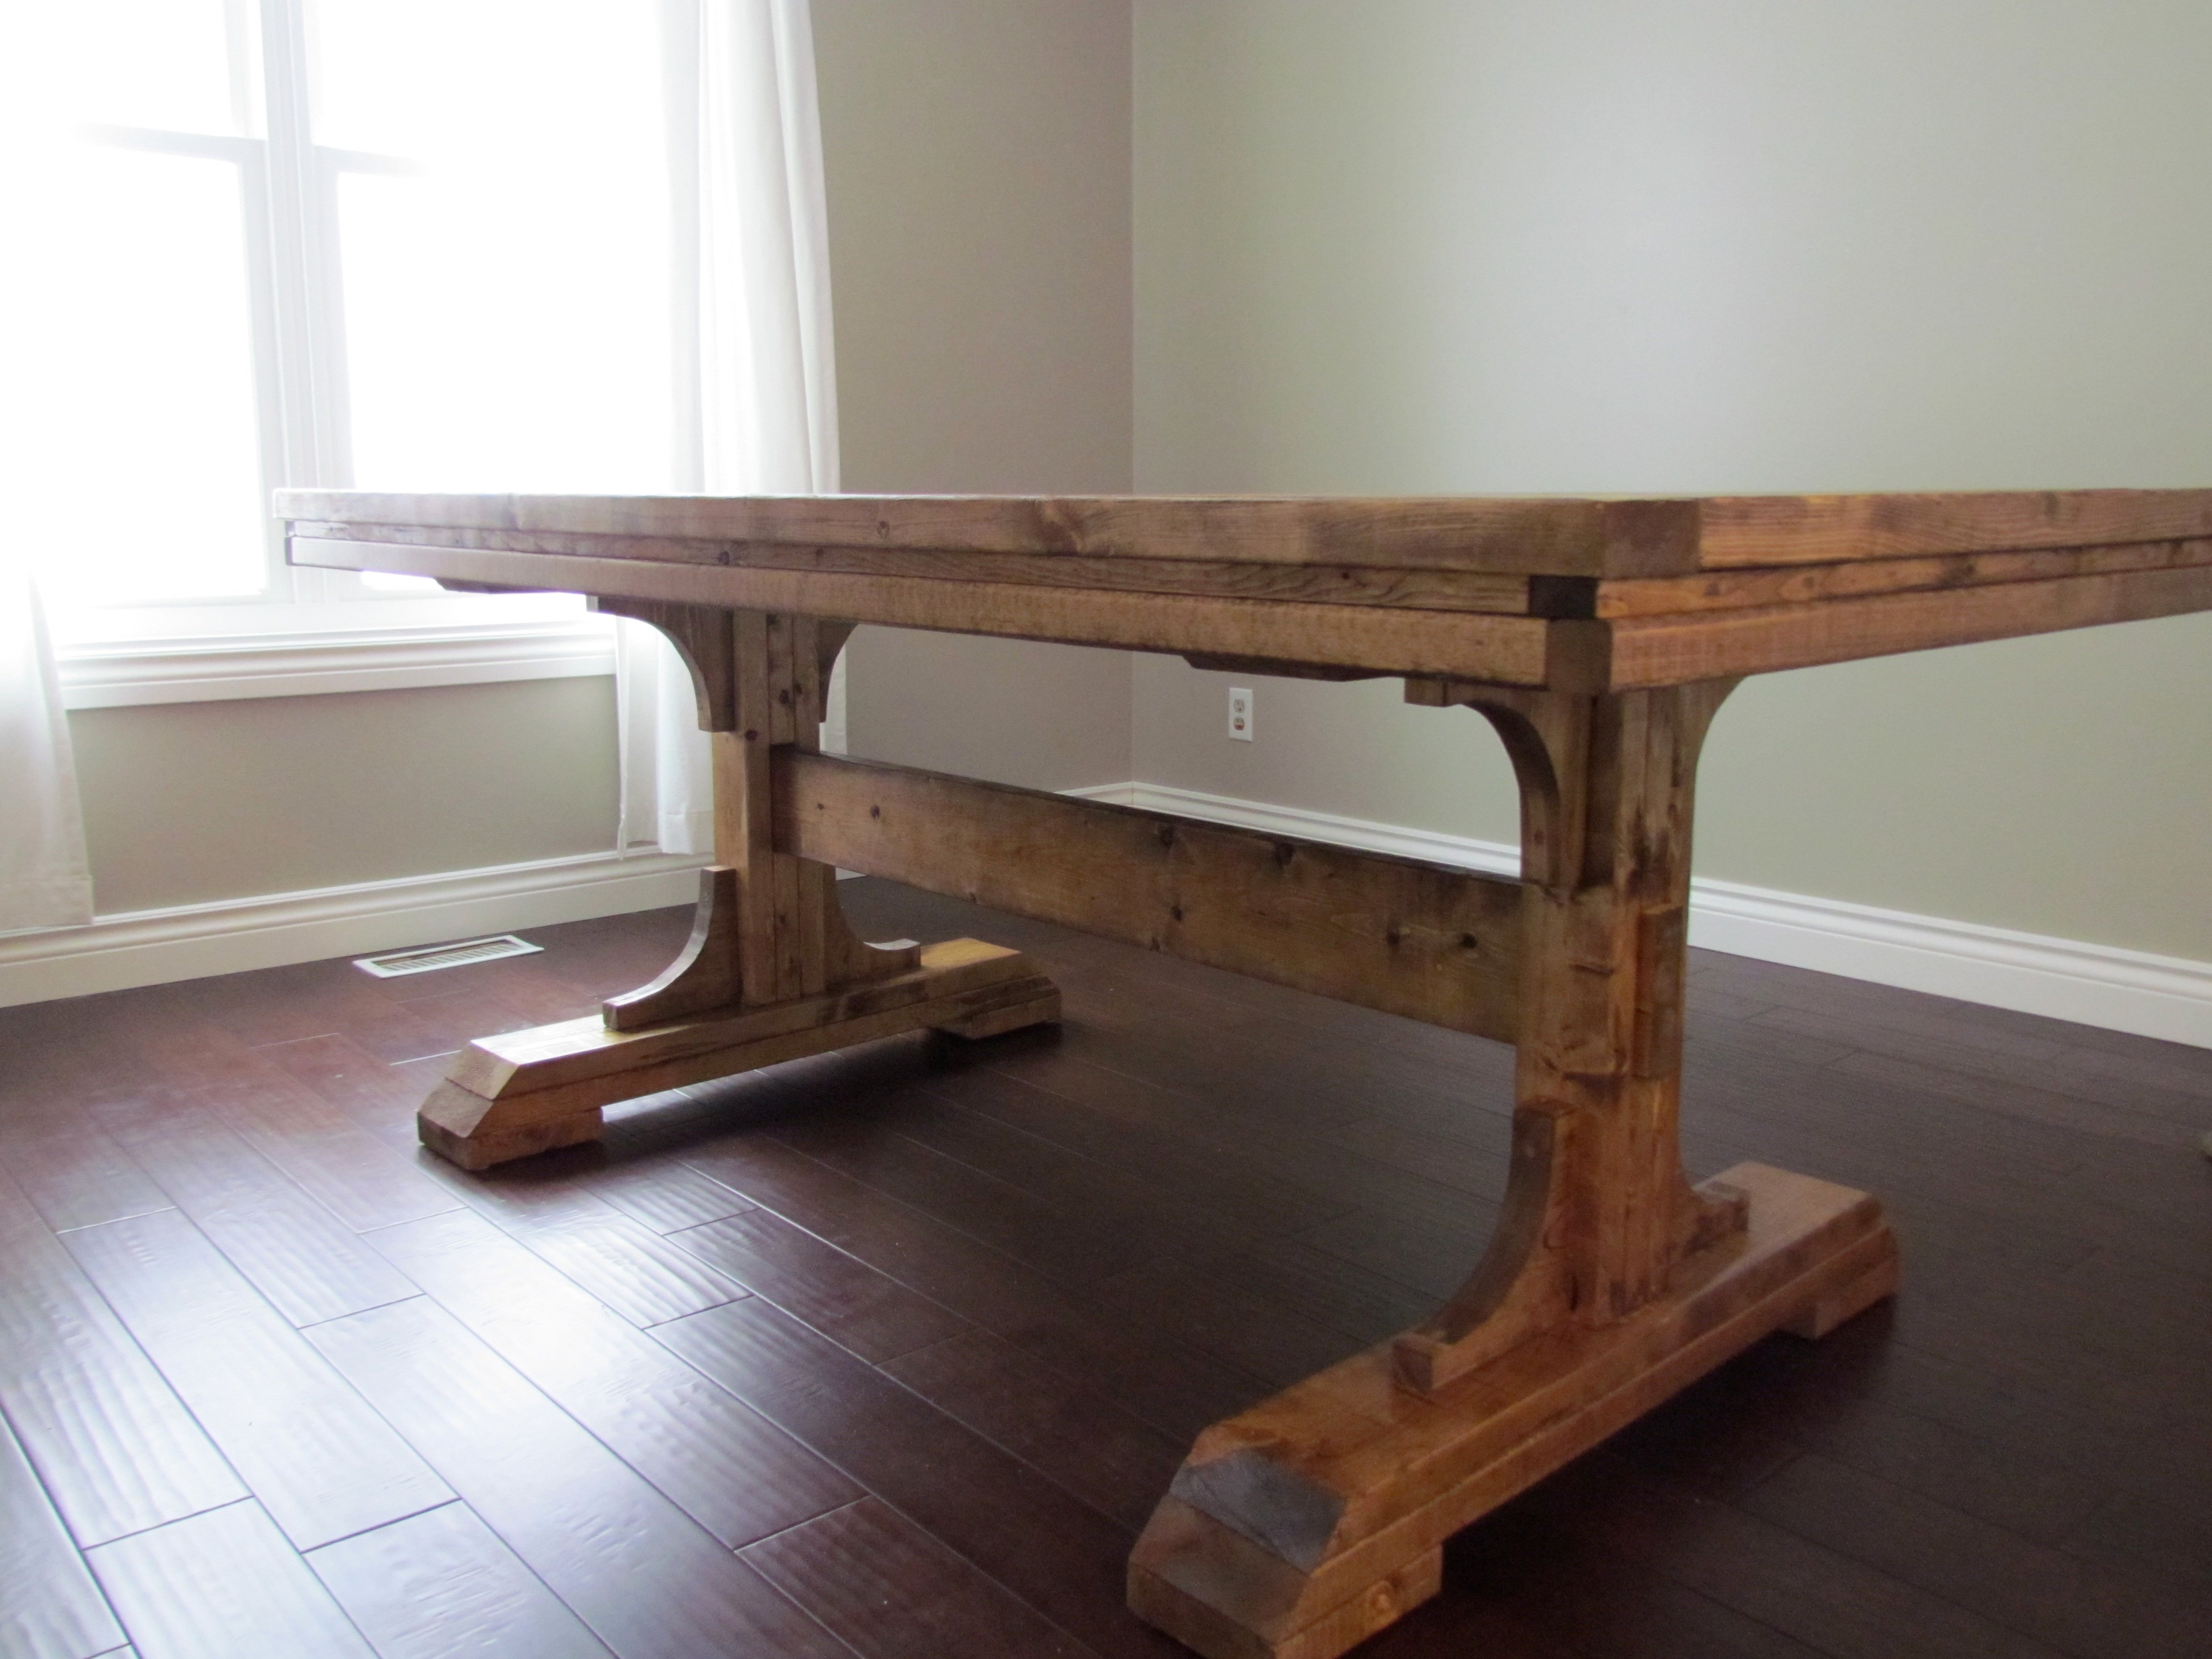
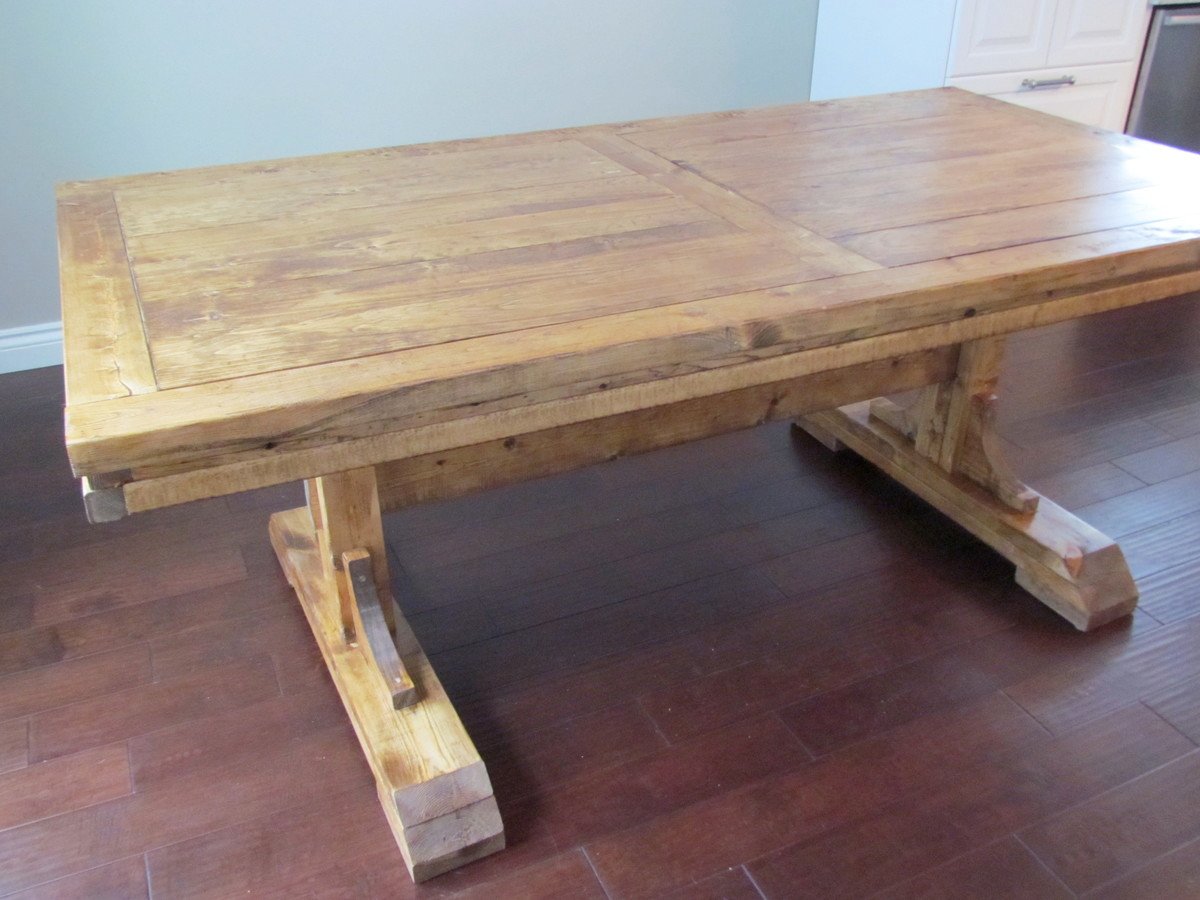
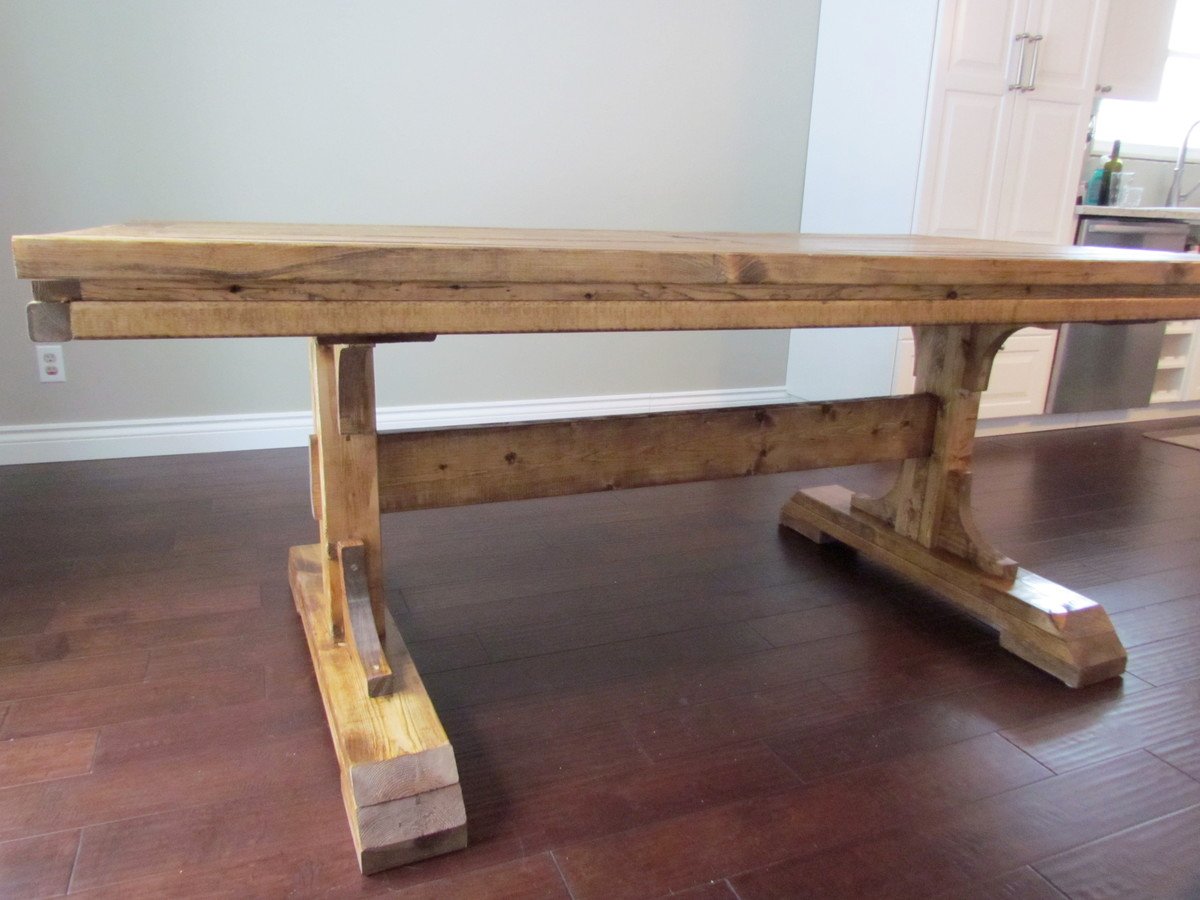
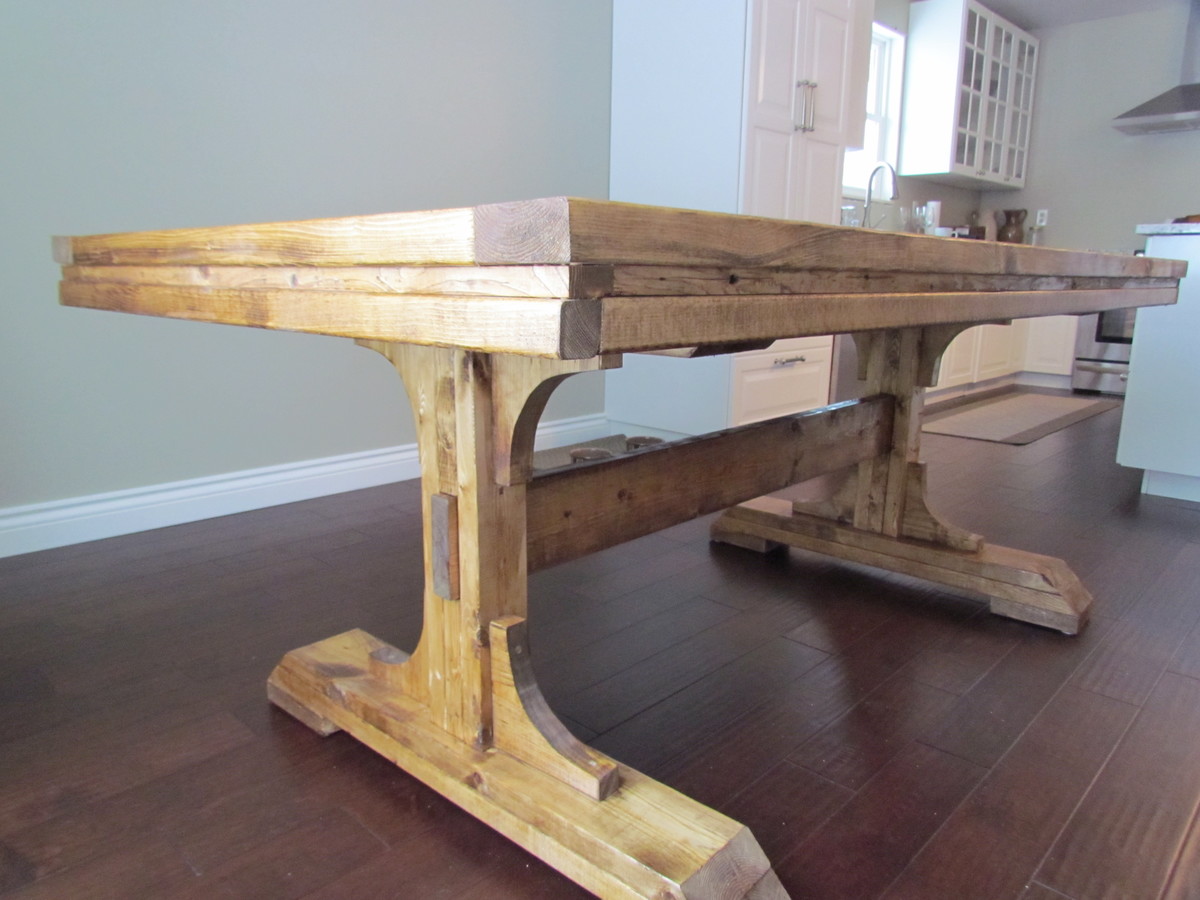
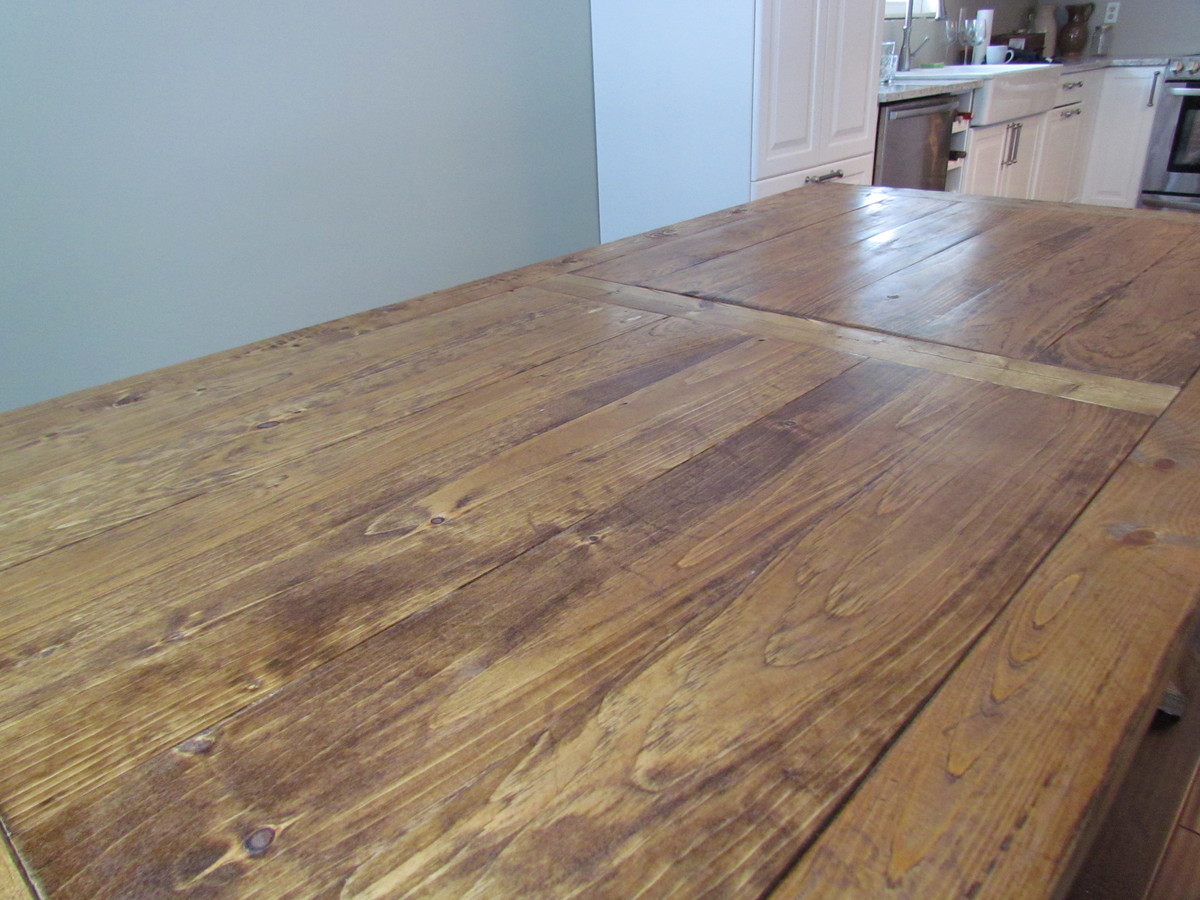
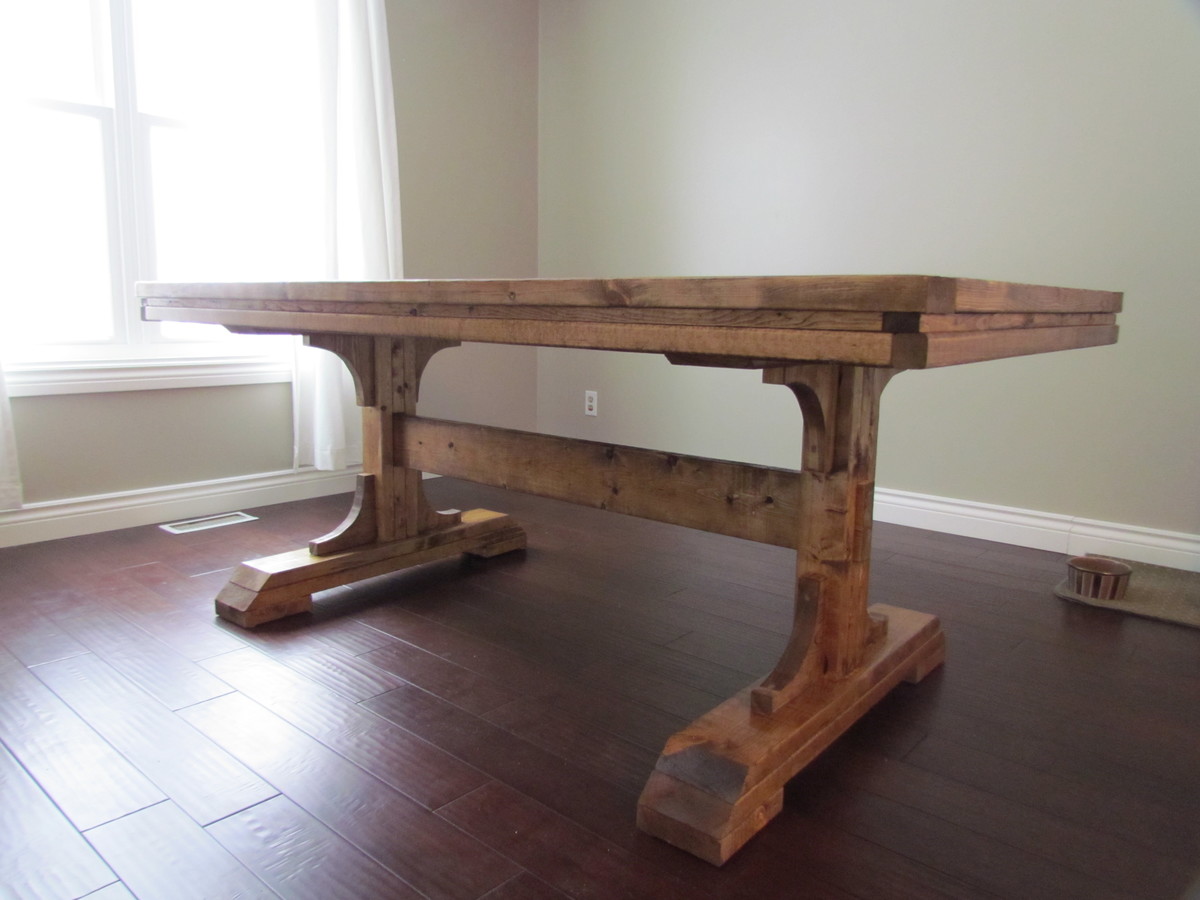
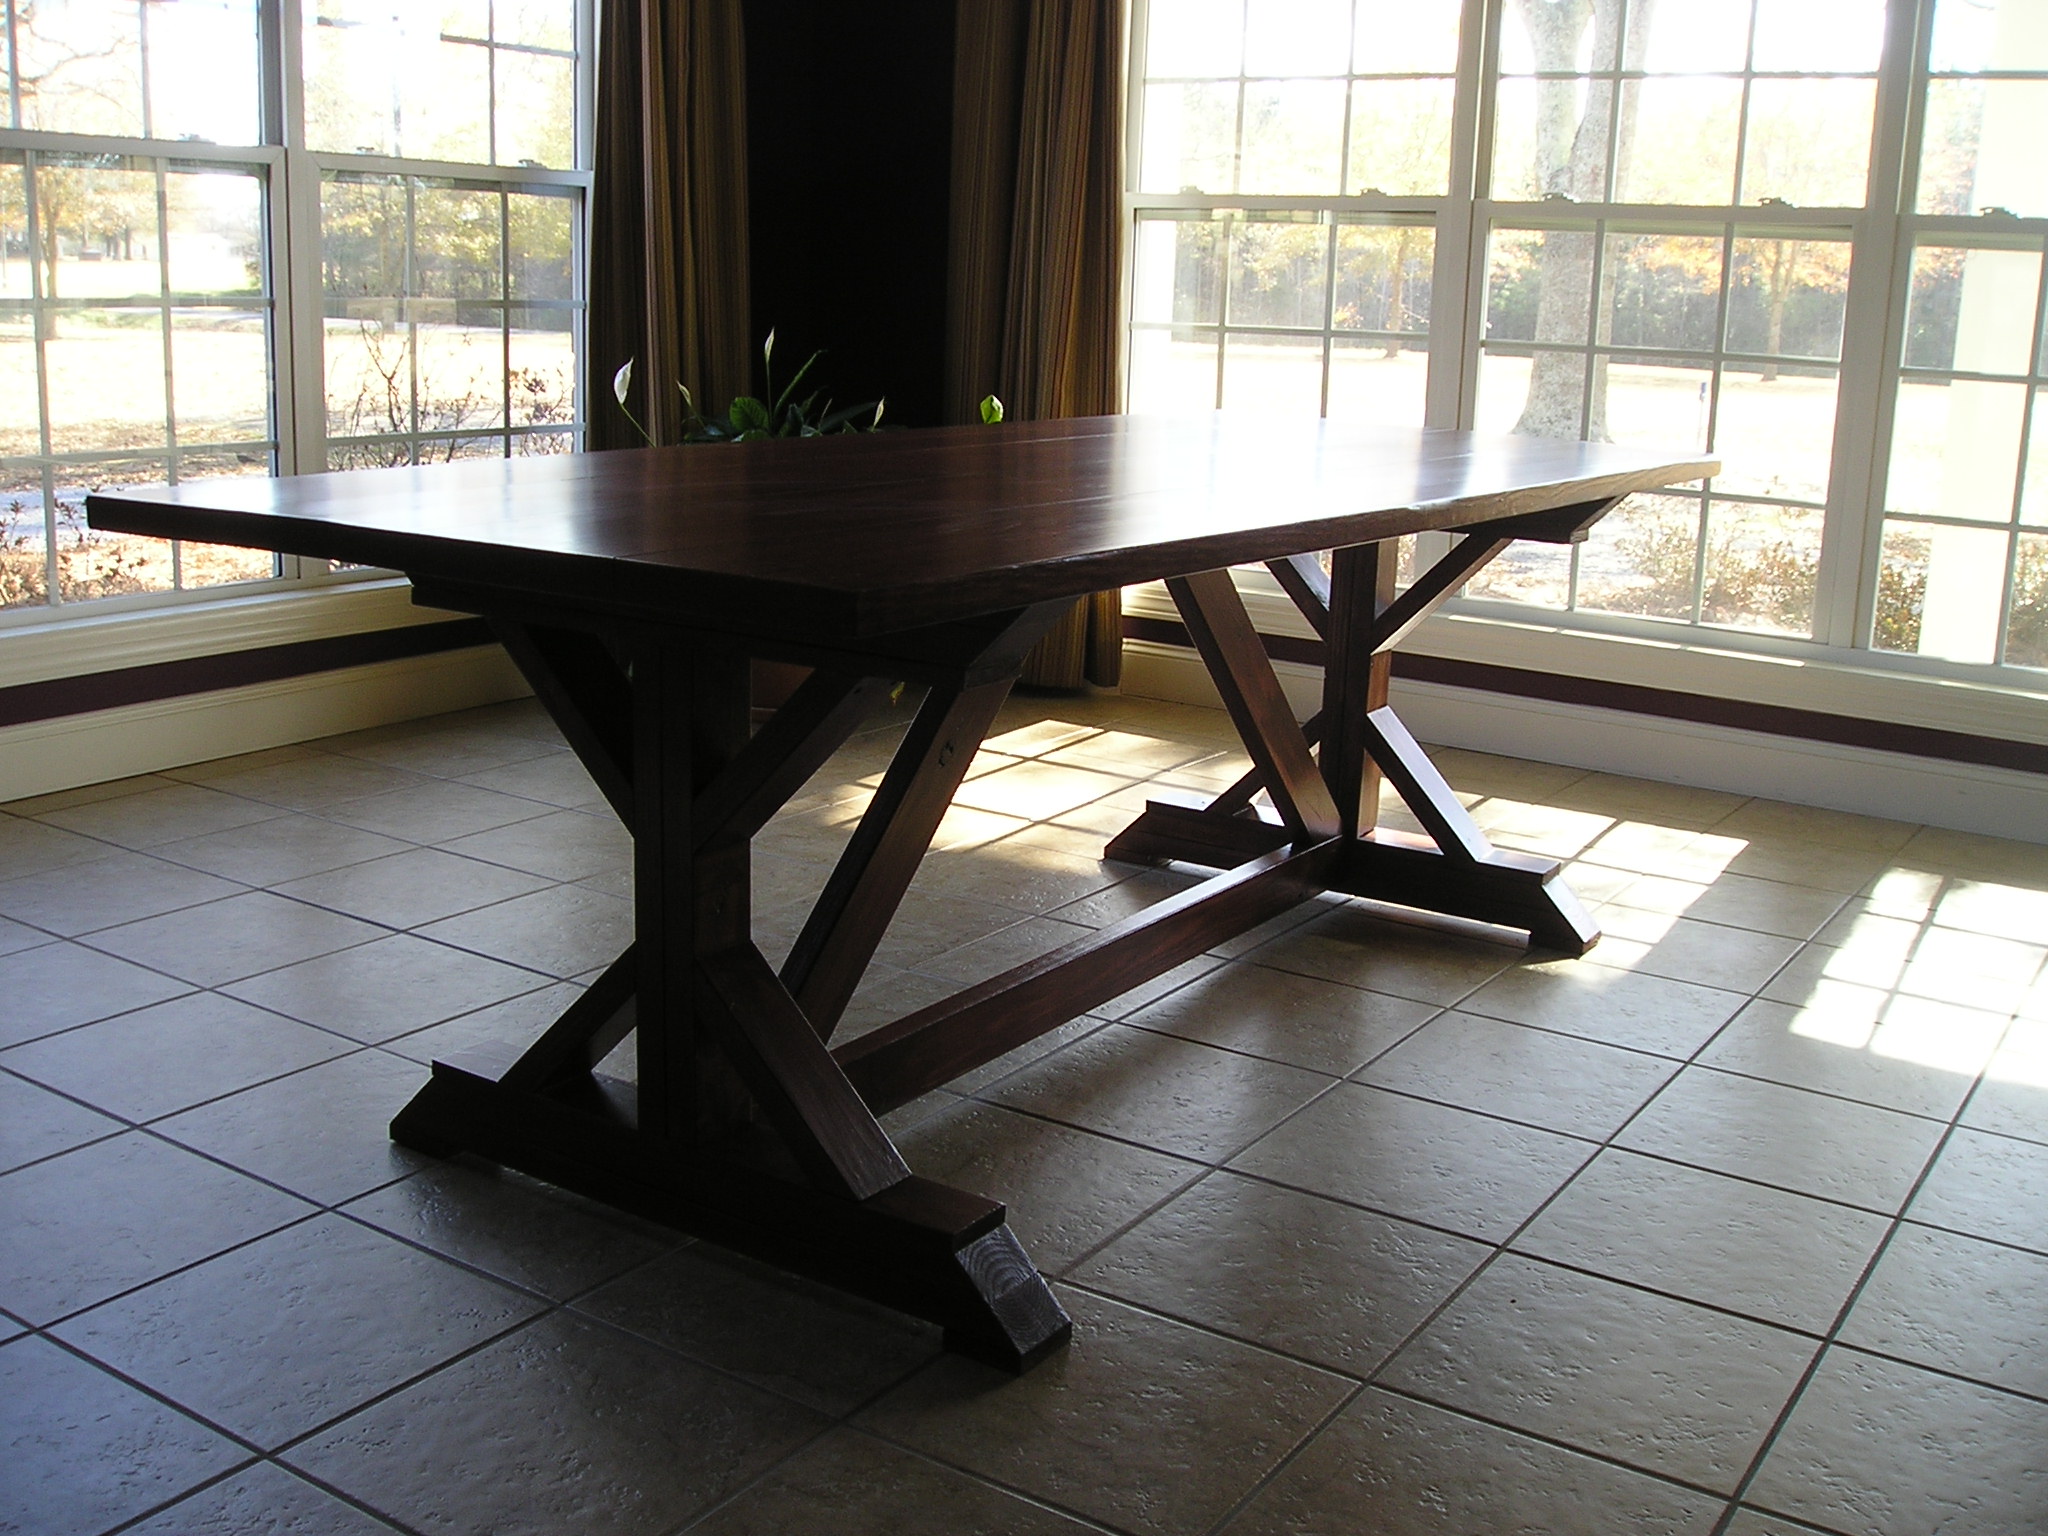
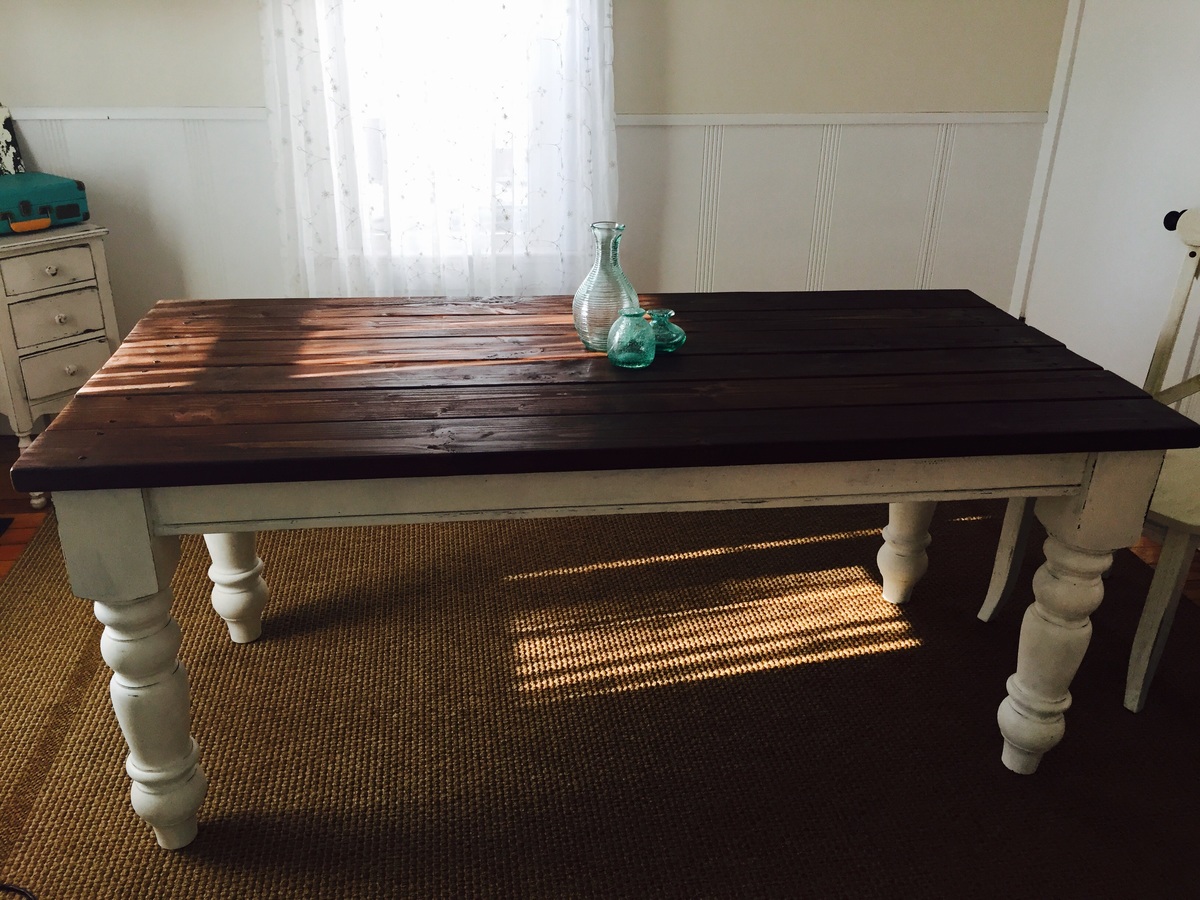
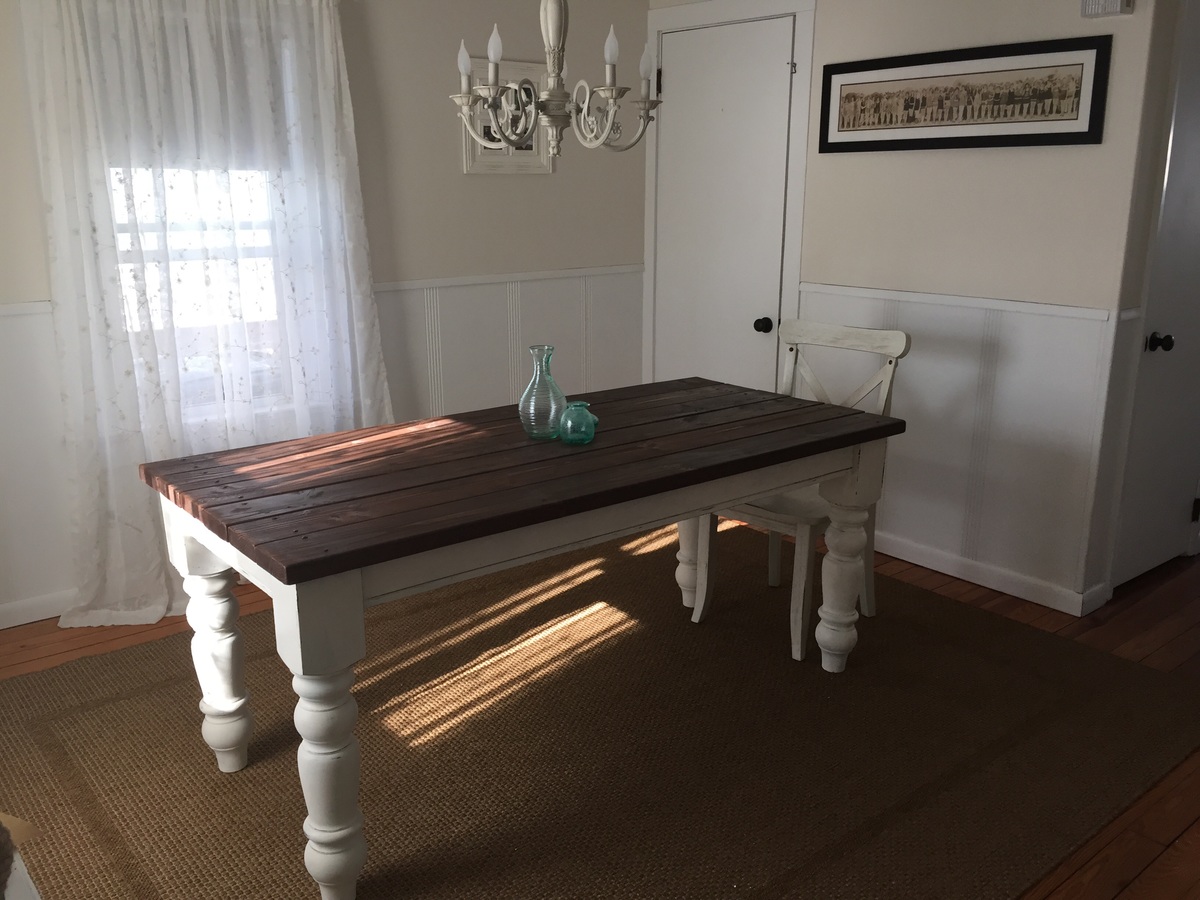
Drop leaf round storage table

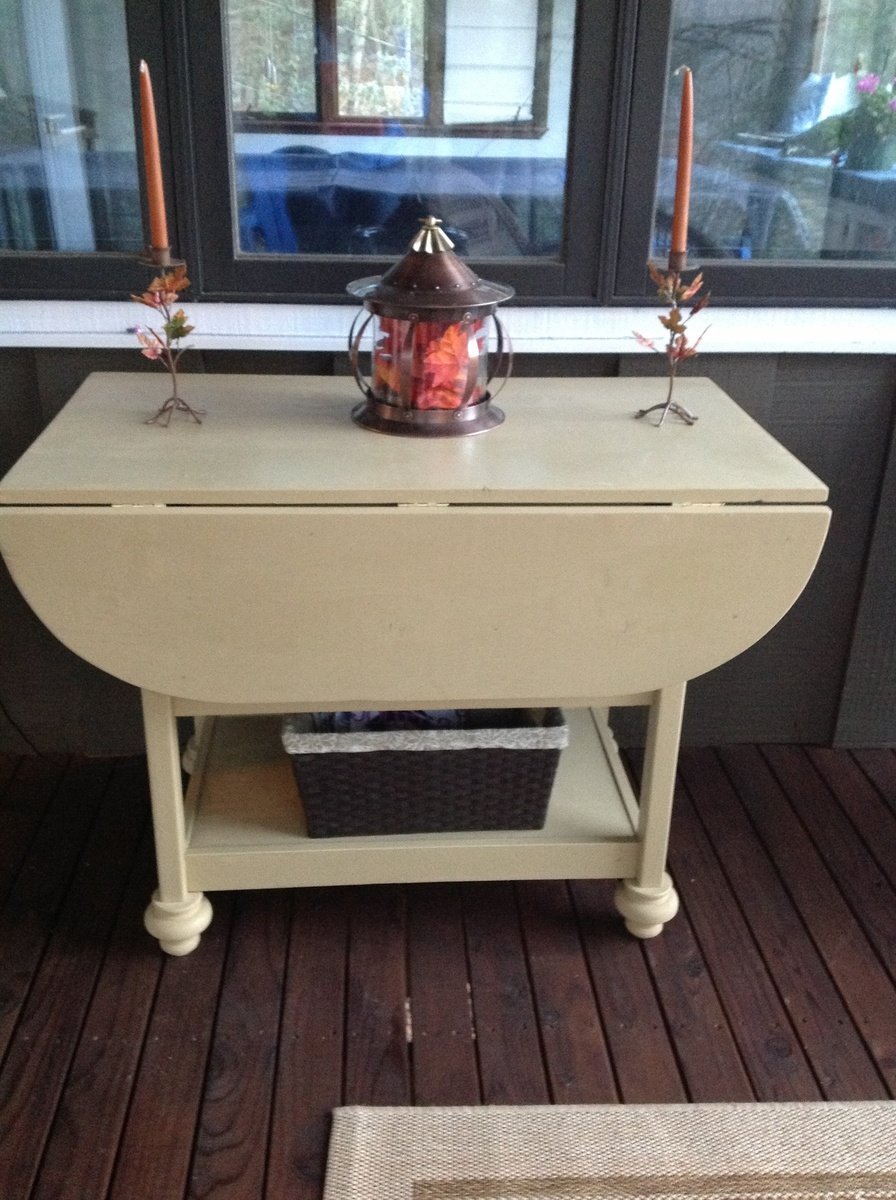
This table is perfect for our screened in porch at the lake house. Everyone seems to gather there so we have rockers and casual seating. When we want to eat out there we just open the table and move it to the center.

Built from Plan(s)
Estimated Cost
75.00
Estimated Time Investment
Afternoon Project (3-6 Hours)
Recommended Skill Level
Beginner

Comments

Jake

Thu, 11/29/2012 - 04:22

NCLimo...you do really excellent work. I shy away from curves because my jig saw has a mind and GPS of its own. And to build this table in an afternoon is amazing. I would probably take several days. Keep the projects coming and offer any advice you can throw my way.

Modified Emerson Cabinet

Made this cabinet to go between the fridge and stove in my kitchen. I based it on the Emerson plans (although heavily modified) because I love the looks of that buffet. Came out huge and quite square (its about the size of a washing machine), and it holds soooo much. Great to have that much extra storage in the kitchen.

Estimated Cost
~$100.00
Estimated Time Investment
Day Project (6-9 Hours)
Finish Used
Kona stain
Recommended Skill Level
Beginner

Large Porch Bench

Submitted by Anonymous (not verified) on Tue, 01/31/2017 - 23:45

We built 2 XLarge Porch Benches,they where easy to build & look fabulous! Best part was it was a fraction of the cost if I were to buy these new!!! Thank you Ana!!! 

-Sandra 

Estimated Time Investment
Weekend Project (10-20 Hours)
Recommended Skill Level
Beginner

Farm House Console

Submitted by DC_Idaho on Fri, 10/23/2020 - 07:21

I really liked the idea of making a TV console for our house. I used your plans as a guide and then added a few features to it. I made all of my rail system hardware vs. ordering a kit. I also added some Walnut accent inlays on the ends of the table top.

Estimated Cost
Materials alone roughly $550.00
Estimated Time Investment
Week Long Project (20 Hours or More)
Finish Used
Lacquer for the table top
Black under coat of paint
White top coat paint
Recommended Skill Level
Intermediate

Comments

Double Pedestal Farmhouse Table

Submitted by thesloans on Fri, 01/04/2013 - 11:06

My hubby took the plans from the Triple Pedestal Farmhouse Table and altered it to make it just over six feet. It is perfect and accommodates our smaller dining area space.

Built from Plan(s)
Estimated Cost
$70
Estimated Time Investment
Weekend Project (10-20 Hours)
Finish Used
Early American (1 coat), matte clear coat (2 coats)
Recommended Skill Level
Intermediate

Comments

freefromburdens

Wed, 10/09/2013 - 10:14

Hi. I went to martha.anna blog. This is the comment she posted on the dimensions.

From martha.anna:
I've had many emails and inquiries about the dimensions of this table. So, here's what I've been sharing with everyone...

Our dining room is 11 x 10 and there is a lot of room around it to fit in a hutch and still walk around easily. (Just for size reference.)

The overall length of the table is 6' 4.5". It is such an odd measurement so that the strips of board (1x6) on the tabletop would look in proportion. They are 33" long (the 1x6).

The beam across the bottom is 55.5" from outside edge to outside edge and my husband left 1/2" showing.

The pedestals are 10.5" from the end of the table.

Phew! I hope all of the information helps everyone out there! :)

Glittergrlss

Sat, 11/16/2013 - 09:27

Hi there what would the revised materials needed list be? Also did u notify the benches? Do u have the dimension on that? My step dad is building this for me it's my job to get plans and supplies. Thank you for your help I appreciate it!!

freefromburdens

Mon, 01/13/2014 - 14:20

Oh my. After several months I'm able to get all the material needed to do this table. I did the legs a couple of months ago. Now it's time to complete the rest. Hopefully, I can do it in a day's time - hopefully :).

tdkdpt

Fri, 01/12/2018 - 09:04

Ill be making this table whcih is in the same design as the original triple pedestal table but Ill be making it smaller. Are you able to give me the measurements for this modified table? Do I make my top first and then the pedestals? I feel like if I make the same pedestals, then Im forced to make this a 40" wide table, and I only want it about 35-37".


Thanks!

The Perfect Fit for our Little Girls Closet

Submitted by RBoesch on Sun, 11/16/2014 - 13:41

Thank you Ana! The Just My Size Closet was the perfect solution to my little girl's closet. I had recently found myself in a daily battle with my three year old. She wanted to be independant and dress her self. I desperately wanted her to stop getting a step stool and yanking her clothing off of the hangers. The yanking resulted in a dozen or so half handing shirts, a pile of broken hangers, and a mother daughter show down first thing in the morning and last thing at night. Enter the Just My Size Closet !!! The plans were super easy to follow, WAY less expensive than the ready made customizable units at the hardware store, and hubby had it whipped up in half an afternoon! The design is thoughtful and will grown as her needs change. :) We are all very pleased with the result. Instead of melt downs (both her's and mine), my little girl is taking pride in being able to hang up her clothing and dress herself. She makes everyone who visits come in her room to see her new closet. It is adorable :) Thanks Again!! 

Built from Plan(s)
Estimated Cost
<$100
Estimated Time Investment
Afternoon Project (3-6 Hours)
Recommended Skill Level
Beginner

Christmas Stocking Stand

Submitted by Eddie A on Fri, 12/11/2020 - 16:28

My wife was upset that we didn’t have a mantle in the living room of our new home a d I said, “no problem!”

Built from Plan(s)
Finish Used
Minwax Dark Walnut and Dark Walnut Danish Oil

Mud room Bench

I mimicked one of the brag post on this webpage. I used 1x4s and luan for my back. The seat is 2x4s with a project panel stained and polyurethaned. I am grateful for people sharing their wonderful projects on this site for inspiration.

Estimated Cost
140
Estimated Time Investment
Weekend Project (10-20 Hours)
Recommended Skill Level
Intermediate

Fancy X Farmhouse Table

Submitted by mbnewman on Sun, 12/07/2014 - 05:31

This project was so easy and it looks awesome!!!!

Built from Plan(s)
Estimated Cost
It only cost about $100!
Estimated Time Investment
Weekend Project (10-20 Hours)
Finish Used
We used all Minwax water-based products because I hate cleaning brushes with mineral spirits. The color I used was Rosewood with the satin Polycrylic finish.
Recommended Skill Level
Intermediate

Comments

Plant Stand

Submitted by Farmer Kim on Tue, 12/09/2014 - 14:46

I loved this plan when I first saw it.  I did make mine with metal that was 36 inches for the legs, it was the length available at my local hardware store and it also allows me to have plants on two levels and still be high enough for sunlight (unplanned bonus).

Estimated Time Investment
Afternoon Project (3-6 Hours)
Finish Used
Weathered Gray Stain
Recommended Skill Level
Starter Project

Greenhouse

Submitted by Anonymous (not verified) on Tue, 01/05/2021 - 08:08

We made some modifications to the greenhouse to include a bench with three levels, a working bench and a square foot garden. We also put it on concrete to keep all the weeds out from the bottom as well.

Built from Plan(s)
Estimated Cost
2500.00
Finish Used
We start our own seeds and plan to grow 15 different varieties of vegetables inside this greenhouse all year long.
Recommended Skill Level
Intermediate

Comments

Wood Wagon

Submitted by tnaudio on Thu, 12/18/2014 - 06:52

This is a variation of the wood wagon design http://ana-white.com/node/13430. I wanted old 2 year old to be able to use it in the lawn so I changed the wheels and steering over to a more traditional wagon wheel. We will be giving to him for Christmas. I had a lot of fun building this for my son. I hope he loves it.

Built from Plan(s)
Estimated Cost
75 dollars
Estimated Time Investment
Weekend Project (10-20 Hours)
Finish Used
Minwax Early American
Minwax Satin Polyurethane
Recommended Skill Level
Beginner

Comments

Joey Oc

Mon, 12/14/2015 - 12:41

Love the plans. I would, however, like to follow the modified plans to make it suitable for outdoor/grass areas. If any one could help me with that I'd be very grateful. 

Tack Box

Submitted by Evandgc on Tue, 12/30/2014 - 16:21

I made this box for my wifes christmas present. She has been riding horses for sometime and is planning on doing some shows. I built this box from Mimi's storage bench design, made it bigger, added a deeper box top and created the rest from looking at pictures online. Its all made of pine plywood and pine boards to keep it light. I added 4 castors to the bottom to make it easily moveable and hid them with the moulding around the bottom. Still has to be sanded and stained before it hits the barn. Its 39W X 24D X 29H. I used a piano hinge and routered the back to set the hing in. Added cove moulding around the bottom and to all the boxes around the front and side. Used a lot of pocket holes and finsh nails. Took me longer than it could have, because I planned everything as I went.  I will add more pictures when its finsihed. I would rate it intermediate to advanced depending on your skills with certain tools. 

Built from Plan(s)
Estimated Cost
Will all the hardware, wood materials, screws etc, I think it cost me around $250-$300
Estimated Time Investment
Week Long Project (20 Hours or More)
Finish Used
not finished yet
Recommended Skill Level
Intermediate

Comments

Beer carriers

Submitted by Anonymous (not verified) on Thu, 04/20/2017 - 15:23

I love the vintage look with old license plates.  @theshopbycecilia

theShop-woodwork and design

Estimated Time Investment
An Hour or Two (0-2 Hours)
Recommended Skill Level
Starter Project

Rustic Adirondack Bench (love seat)

I loved the Rustic Adirondack Chair so much I felt I needed to make a bench in the same style. I had to be a little creative with the chair plans and modify them to make my bench work. I am absolutely thrilled with how it came out! I already have a friend who has requested a chair and bench (love seat) for his son's wedding gift!

Estimated Cost
Material costs for the wood was $85-ish. Wood prices are nuts right now!
Recommended Skill Level
Intermediate

Comments

mjackson41995@…

Fri, 08/20/2021 - 16:37

You can make the 1x10 in any length you want. I’m planning on making a loveseat too and The measurements I chose for the seating area will be 48” long (which is the size for 2 seat cushions).

The Step 1 in Ana’s plan, all measurements will be the same.

Step 2: The two 2x4 horizontal supports will be cut at 48”.

Step 3: the two 1x10 seat panels will be 3 inches longer than the horizontal supports. So you will cut the 1x10 seat panels at 51”.

Step 4: Instead of two, you will need THREE seat supports. So cut three 2x4’s @ 32 3/4”. The third seat support will go in the middle of the other seat supports, drilled to the horizontal back support.

Step 5: Attach your back bottom horizontal support which will be a 2x4 at 48”.

Step 6: Attach the 1x10 seat back panels. You will cut (3) 1x10 @ 48”.

Here is the cut list for the loveseat version of Ana’s Adirondack plan. These are the lengths I chose. So with this cut list your loveseat should be big enough for two 24x24” seat cushions. I plan to add cushions for extra comfort.

My cut list:
(2) 2x4 @ 31 3/4”
(2) 2x4 @ 19 1/2”
(2) 2x4 @ 33 1/4” Cut at 20 degrees as per Ana’s plan.
(3) 2x4 @ 48” Horizontal supports. One goes behind your calves.
The other connects the end frames/arm rests at the back.
(2) 1x10 @ 51” Seat panels.
(3) 2x4 @ 32 3/4” Vertical supports for the back panels.
(3) 1x10 @ 48” The back panels.

Milk- painted ash dog crate

Submitted by JoshMonroe on Sat, 03/23/2013 - 09:55

This project was based on your plans and dimensions, with a few modifications. I created more slats (41 in all!), and spaced them a bit differently. I also added a pull out tray on the bottom, lined with thick plastic, to ease cleanup if necessary. The crate was painted with soldier blue milk paint and finished with two coats of boiled linseed oil. Finished off with brass barrel bolts and hinges. Our schnauzer loves it!

Built from Plan(s)
Estimated Cost
$60
Estimated Time Investment
Weekend Project (10-20 Hours)
Finish Used
Boiled linseed oil over milk paint
Recommended Skill Level
Intermediate

Kitty Outhouse

My first Ana White project. Built Ana’s awesome small cedar shed as an outhouse for our many cats. The have access to it from inside the house. Great way to keep litter boxes and the mess out of the house. It is stand alone, and attached to the house, in front of a bedroom window. There are two ‘entrances’ as well as two, one-way, escape hatches, if a cat in the outhouse is interrupted by another cat (I.e. a male cat comes in and the female feels trapped) they can exit to the outside (one way so no critters can come inside!). Ana has easy to build plans, great site! I plan on making the square table just posted today for my newly refurbished deck. Keep in mind, my estimated costs and time reflect a LOT of additional features on the inside. The shed itself, very easy, simple, inexpensive. Very little waste with Ana’s projects as well.

Built from Plan(s)
Estimated Cost
$500
Estimated Time Investment
Week Long Project (20 Hours or More)
Finish Used
No finish, at least not yet.
Recommended Skill Level
Intermediate

Comments

Husky Farmhouse Table

We saw the plans for this table and I had to have it. We followed it to a T! The only thing we did different is made it a foot shorter and added rustic nails on top. 

Built from Plan(s)
Estimated Time Investment
Weekend Project (10-20 Hours)
Recommended Skill Level
Starter Project

Window Cornice

Submitted by BeingHome on Thu, 04/04/2013 - 01:46

I have been wanting to build a window cornice for the laundry / mudroom and decided it was finally time. This project was very easy and inexpensive. Luckily, I was able to use some leftover MDF and only had to purchase and 8ft piece of trim. Everything things else I already had. 1. Using left over MDF the front and sides of cornice were measured, mitered and glued together using Loctite power grab (very strong glue). 2. Once glue dried, L brackets were placed on the corner insides for additional reinforcement. Probably not necessary since Loctite power grab is some super strong glue, but I did it anyway. ;) 3. Attached top piece of cornice using nail gun and #18, 1 3/4 inch nails. 4. Mitered trim pieces and glued on using Loctite power grab. 5. Paint cornice. 6. Attach L brackets onto top window frame. 7. Mount cornice onto L brackets. Once in place, I used #6, 1/2 inch wood screws to secure the cornice onto the L brackets. Again, this was an easy and a fun starter / beginner project. :) For more info, please check out my window cornice blog post. Thank you.

Estimated Cost
$8.00 and using supllies I already had. Otherwise this project could probably be done for about $20.00.
Estimated Time Investment
Afternoon Project (3-6 Hours)
Finish Used
Behr Ultra (paint and primer in one) in ultra white.
Recommended Skill Level
Starter Project

Comments

Outdoor Sofa Build

Submitted by Anonymous (not verified) on Mon, 05/15/2017 - 11:33

Im so proud, this was my first big proyect. The instructions are just perfect like a nice recipe :)

Built from Plan(s)
Estimated Cost
Wood 50$,screws 10$, Stain 8$
And the cushions some that i have at home and few from IKEA.


Estimated Time Investment
Afternoon Project (3-6 Hours)
Finish Used
Stain minwax 211. I sand it first.
Recommended Skill Level
Beginner