Deck Gate
With grandchildren and pets we decided to put a gate on the deck.
The gate is made from 2 X 4's and 2 x 2's. I used brass hinges to prevent rust and smooth operation
With grandchildren and pets we decided to put a gate on the deck.
The gate is made from 2 X 4's and 2 x 2's. I used brass hinges to prevent rust and smooth operation
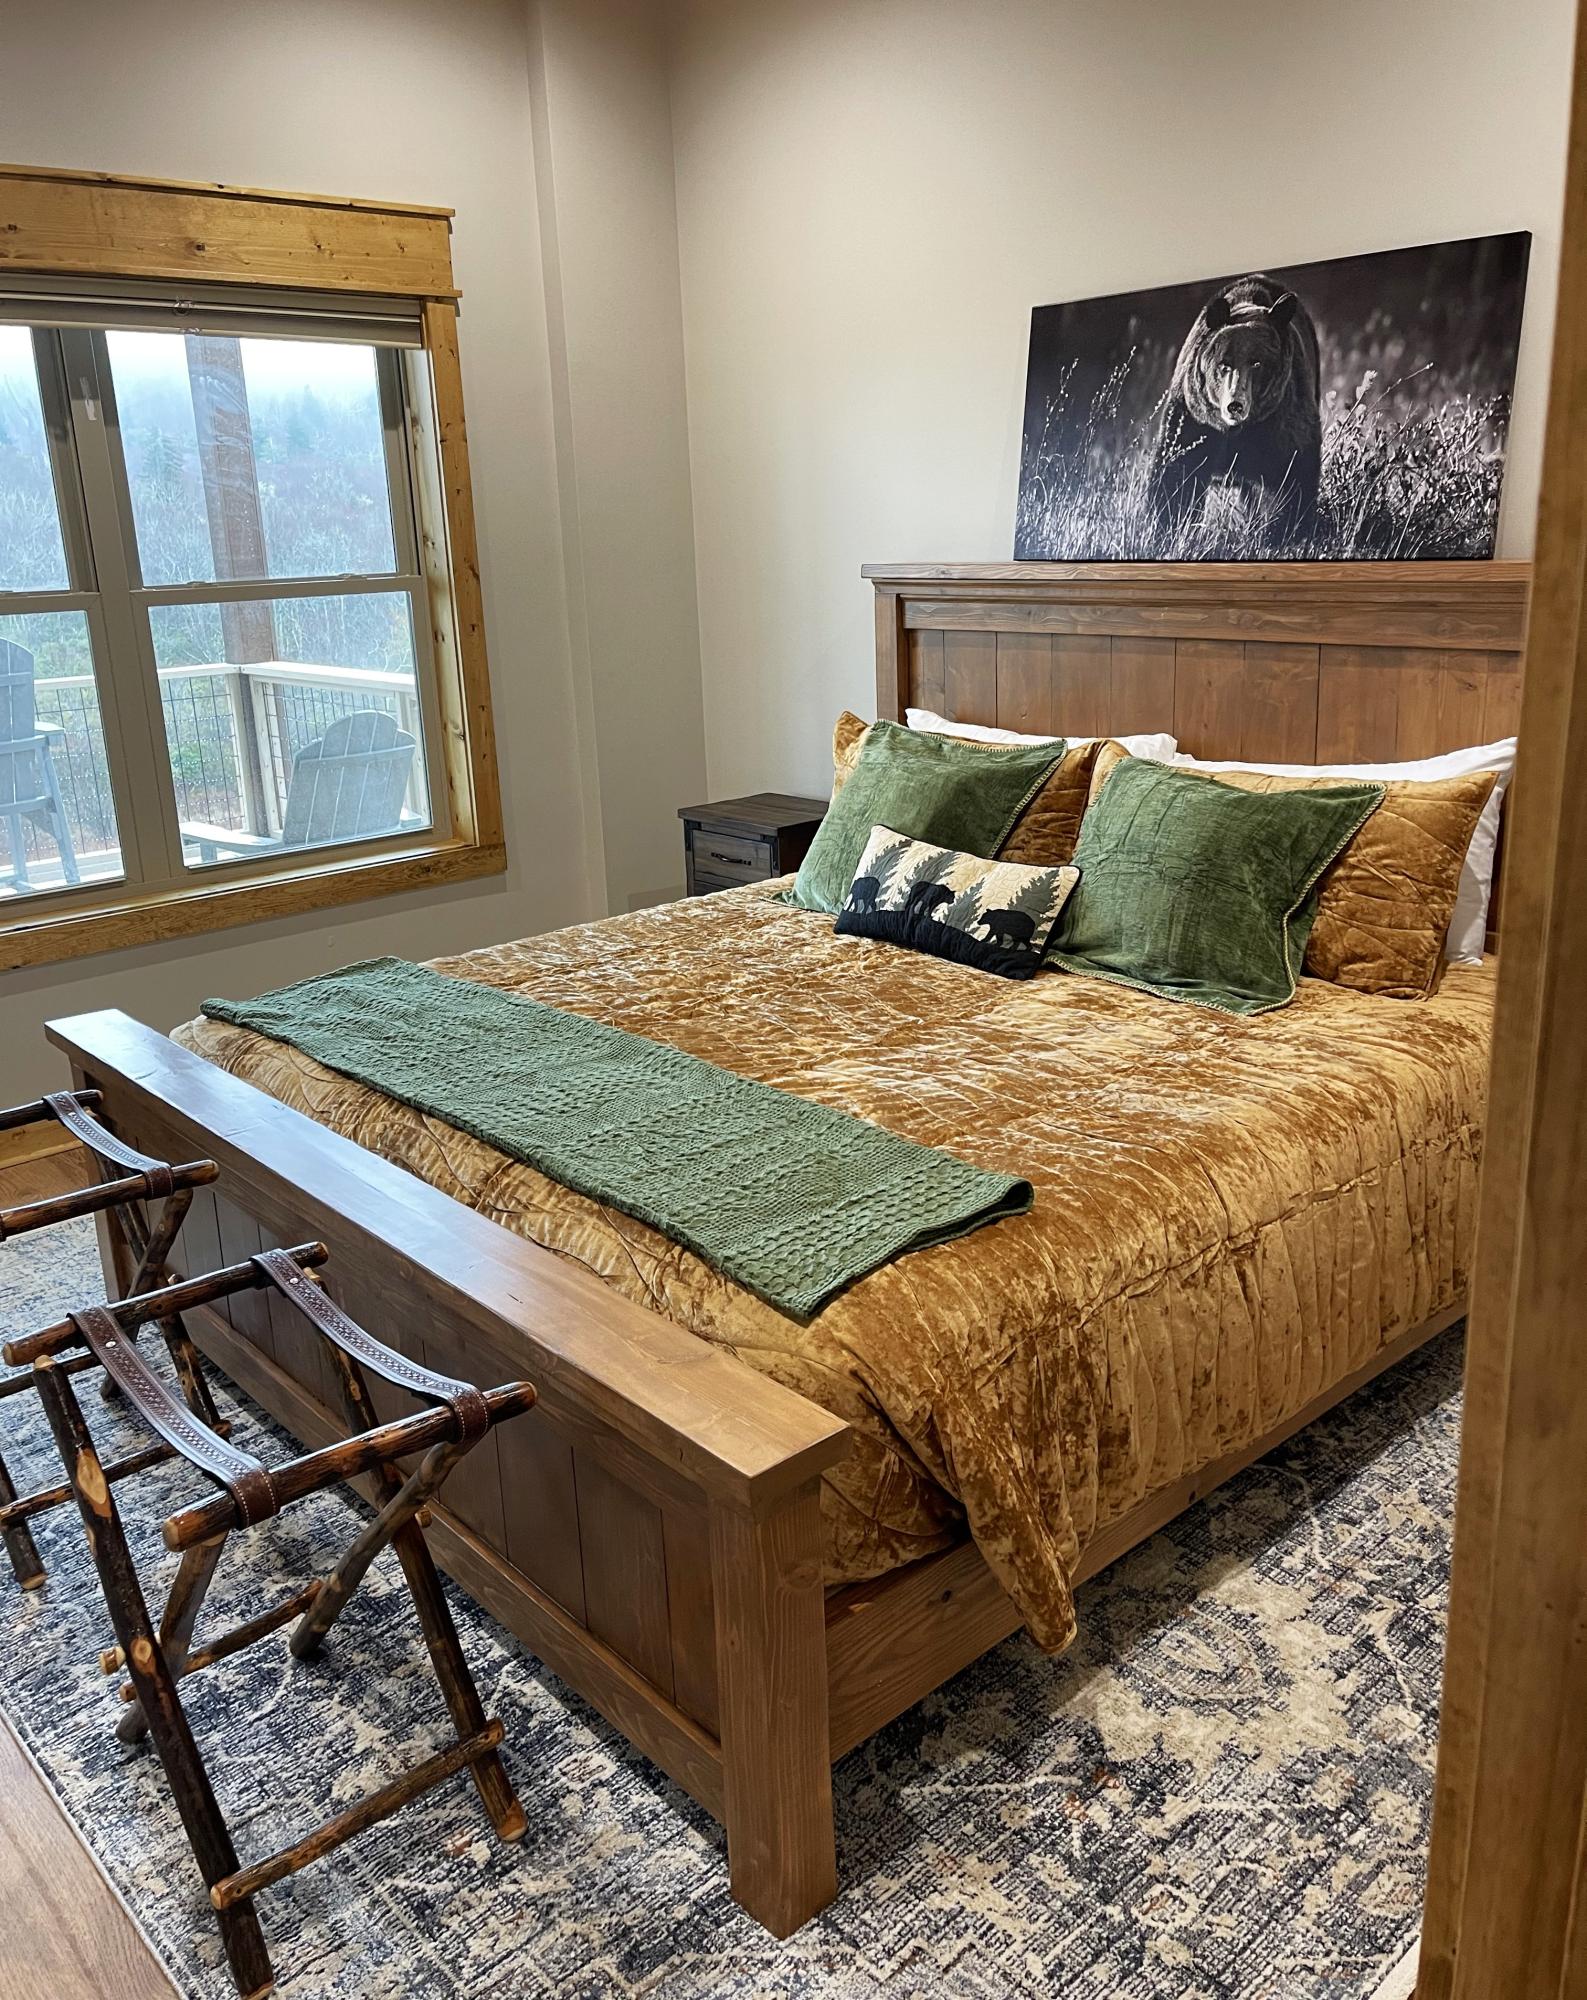
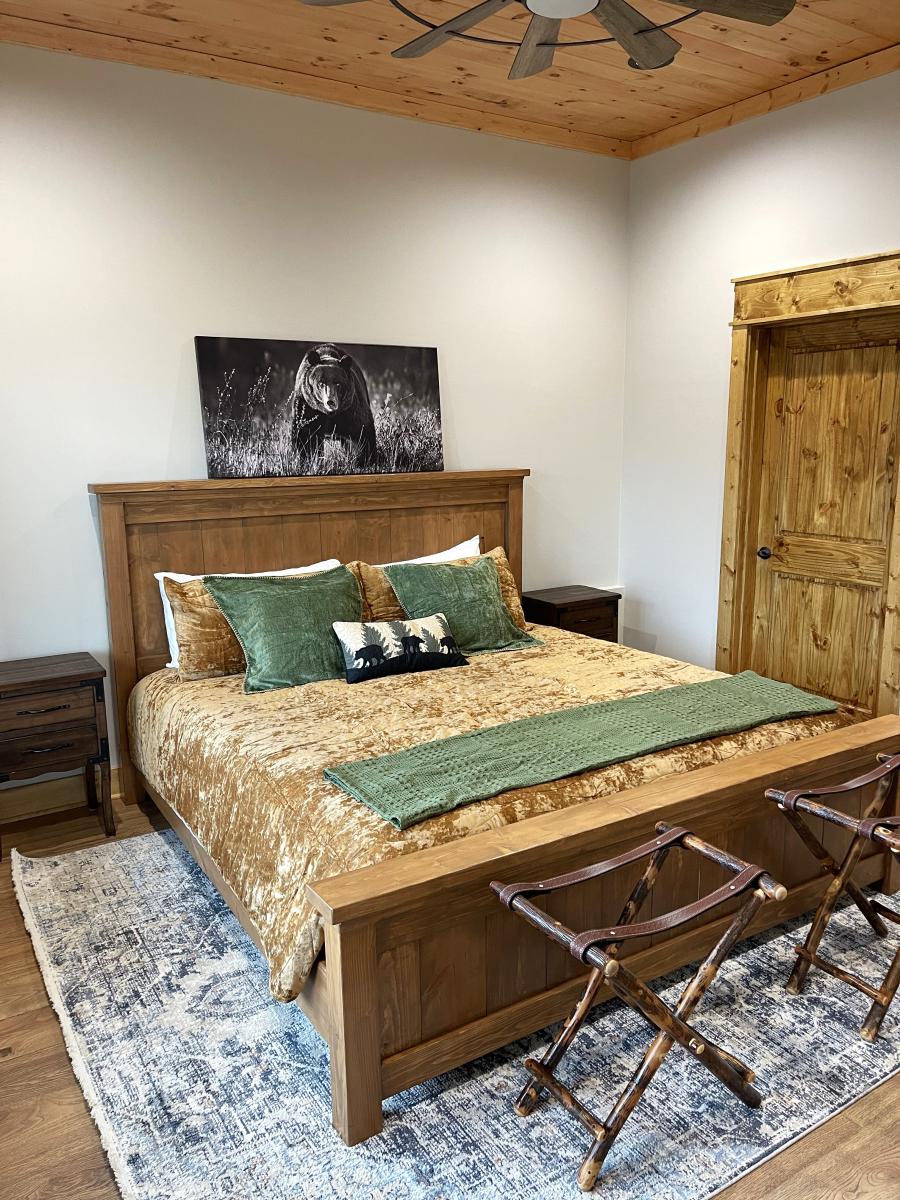
This is Ana’s Farmhouse king bed. We just built a mountain Cabin and I thought I could save a few bucks by making a couple beds. I only made one because just the ability to get the wood transported and moving it all was a bit more than this 50++ lady was counting on. BUT, I’m super proud of how it turned out. The stain was a mixture of 4-5 Minwax samples that we had from the home build.
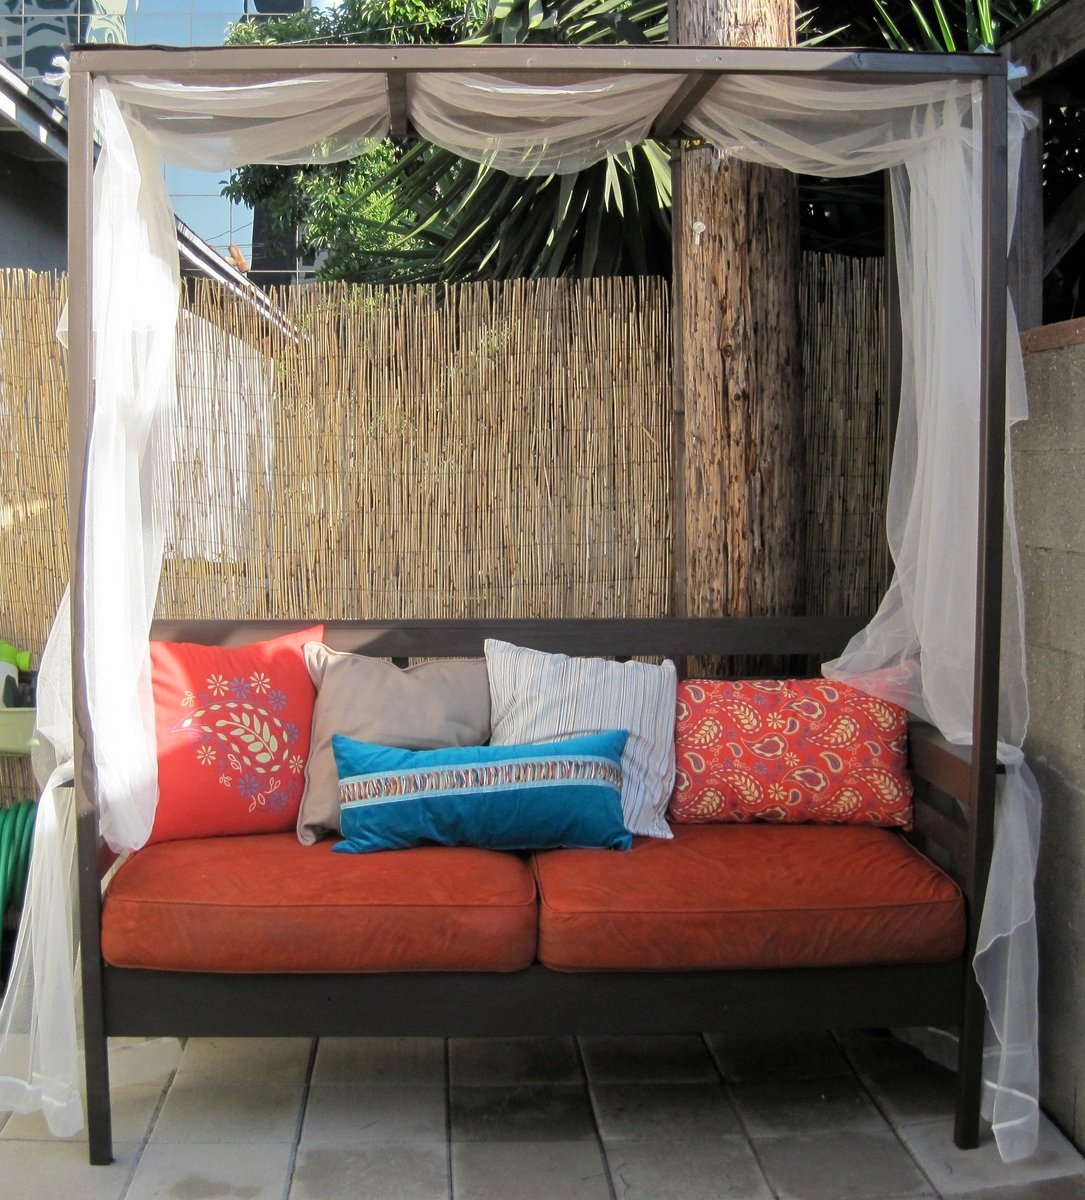
Thank you anawhite.com for this project! It was exactly what I was looking to build for my outdoor space. The outdoor daybeds with this look are WAY too expensive for us to buy and these plans were just what I needed!
My husband and I built (and painted) this project over one weekend. Not included in that time are 2+ hours shopping for materials on the friday night before and extra hours over the next few days to buy pillows, tie on the drapery, and finish the cushions.
We actually changed the plans to make more of a smaller 'daycouch' rather than a 'daybed' because we had some old cushions from a loveseat we just got rid of that I wanted to repurpose. It worked out great for our small space. If you do change the proportions keep in mind that a 1X3, 1X4, etc., are not exactly 3", 4", etc.
This project is totally doable, so go for it! The only things I would recommend are that you have some skills with power tools, know a little about carpentry (the directions are pretty spartan), and paint the pieces beforehand (if you have the patience; it really does cut down time on painting all those slats).
*Important note: the materials list is missing 2 2"X4"X8" (for the 2 cleats) that you need to complete the project.
Fri, 07/13/2012 - 23:26
Thank you! We are pretty happy with the way it turned out. If you do the project please post a pic!
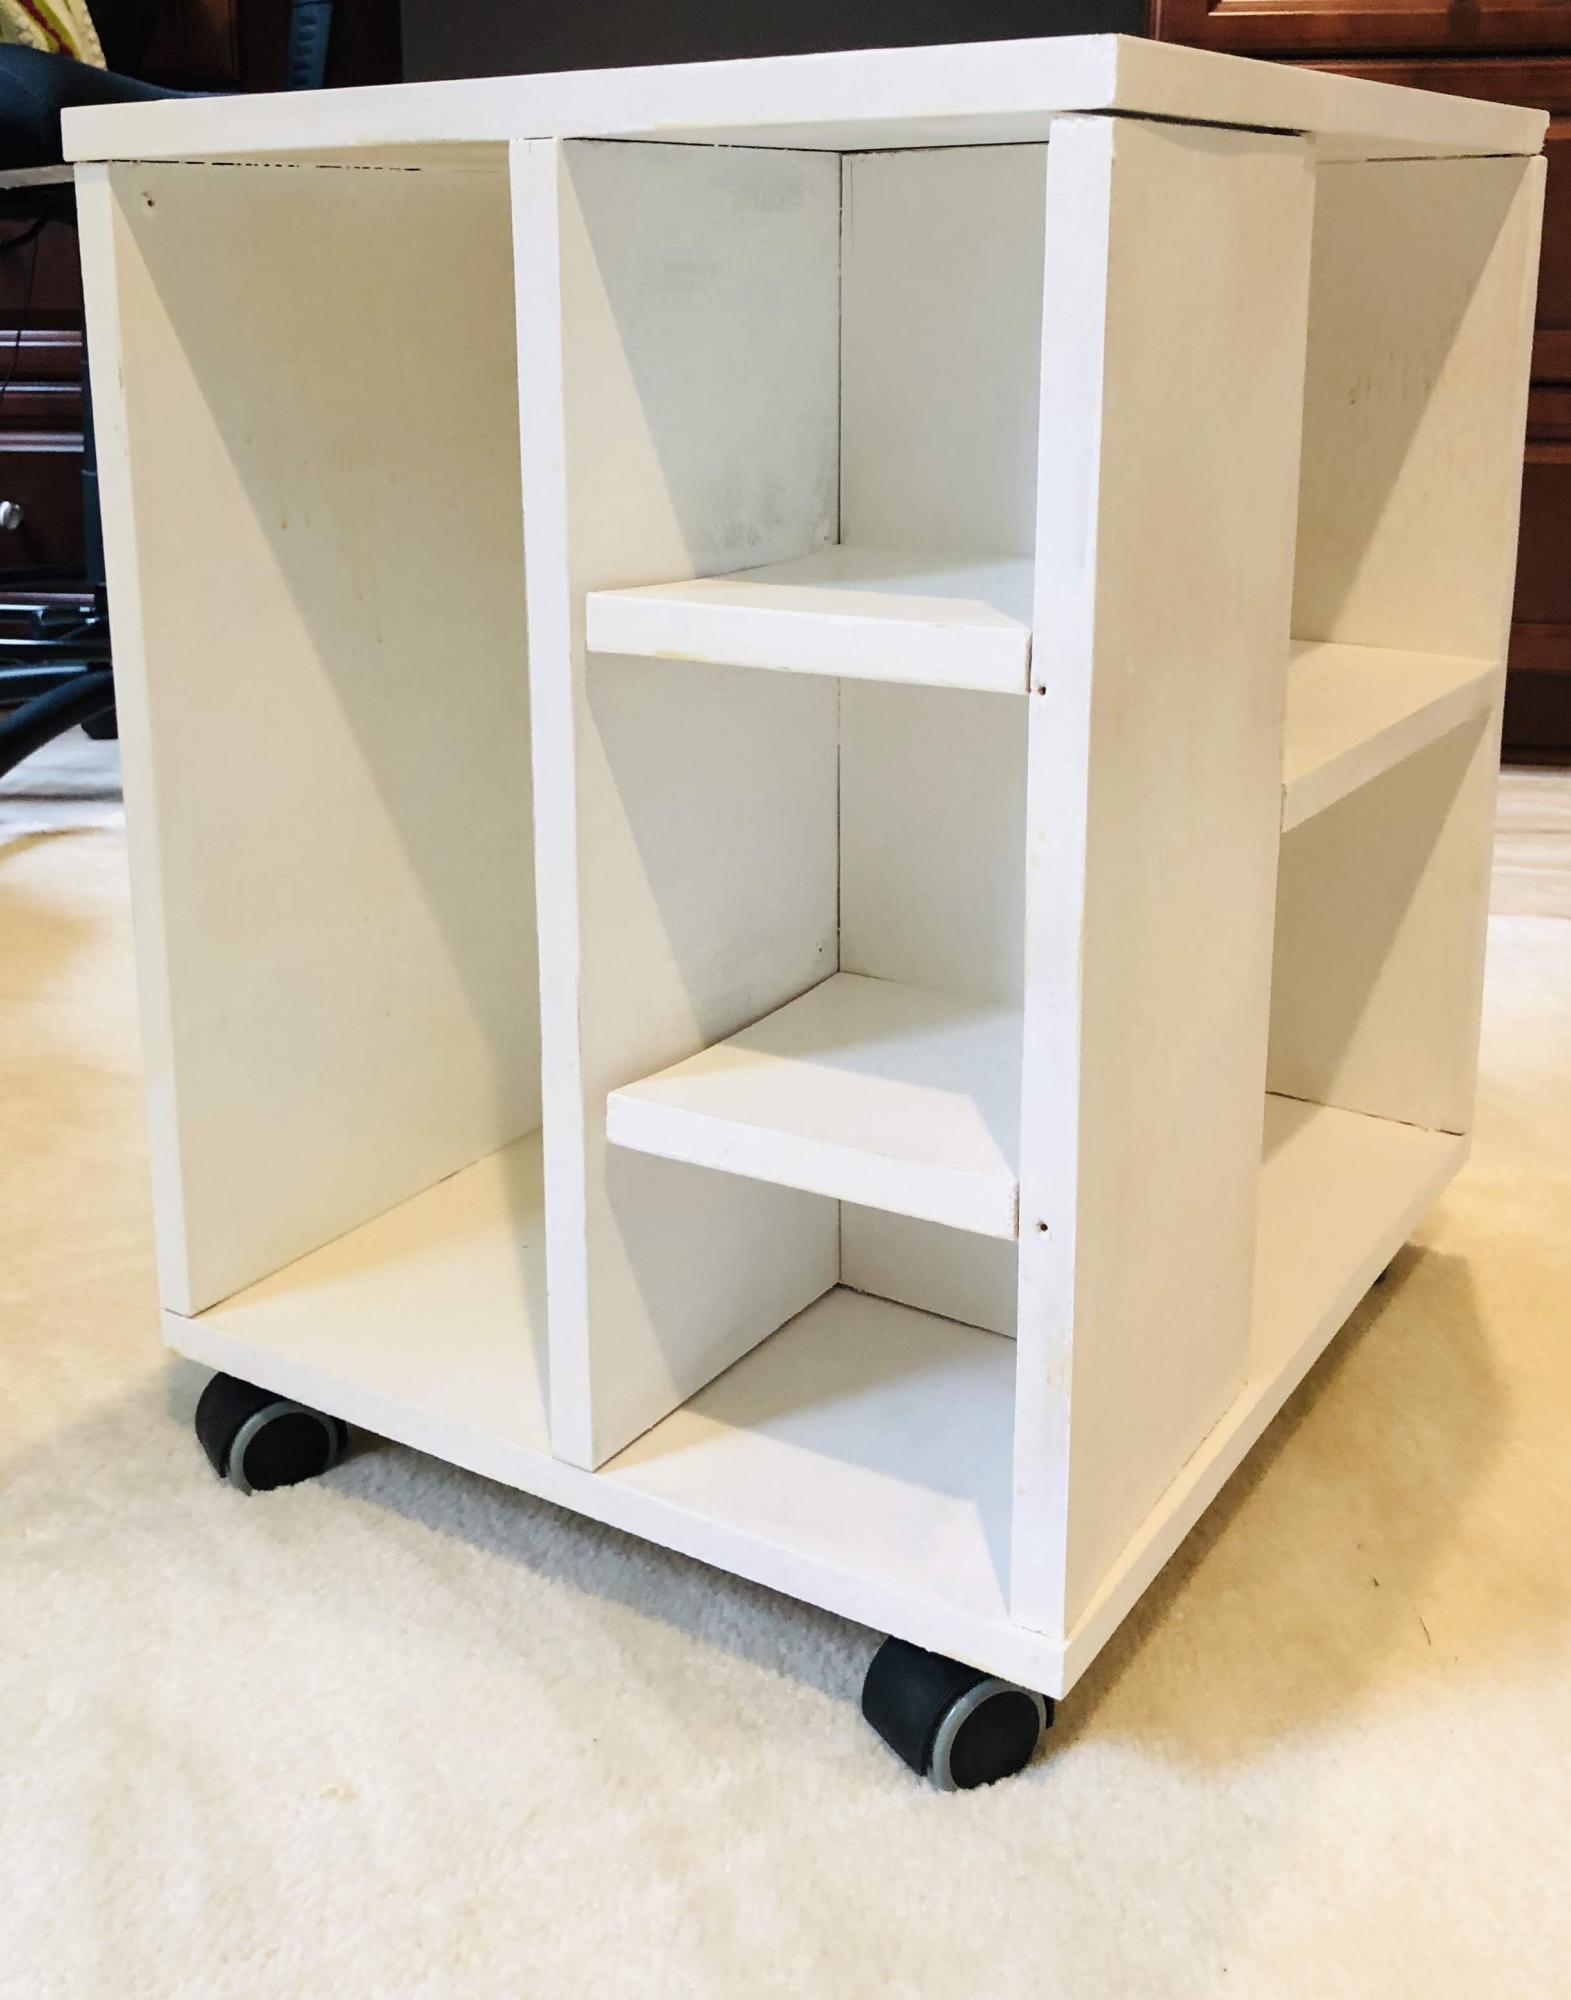
I built the Cube CPU Cart plan to make this cart for my wife's crafting materials. It was a good beginner project and my first working with MDF. The MDF was heavy and cutting it produced more sanding dust than sawdust. Finishing the MDF - sanding, painting, varnishing - was more involved than working with plywood or wood also, but the finish was much smoother - if you take the time to sand the primer, paint, and varnish. I purchased inexpensive 1x8" boards for the shelves. Next time, I'll invest in some better wood for the shelves though since the generic board I got didn't stay flat. Cutting and construction was a day project. Sanding and finishing took an additional 1.5 days to let coats dry. It was a fun project and now I have a request to make a second one for my daughter! Thanks for sharing the plan.
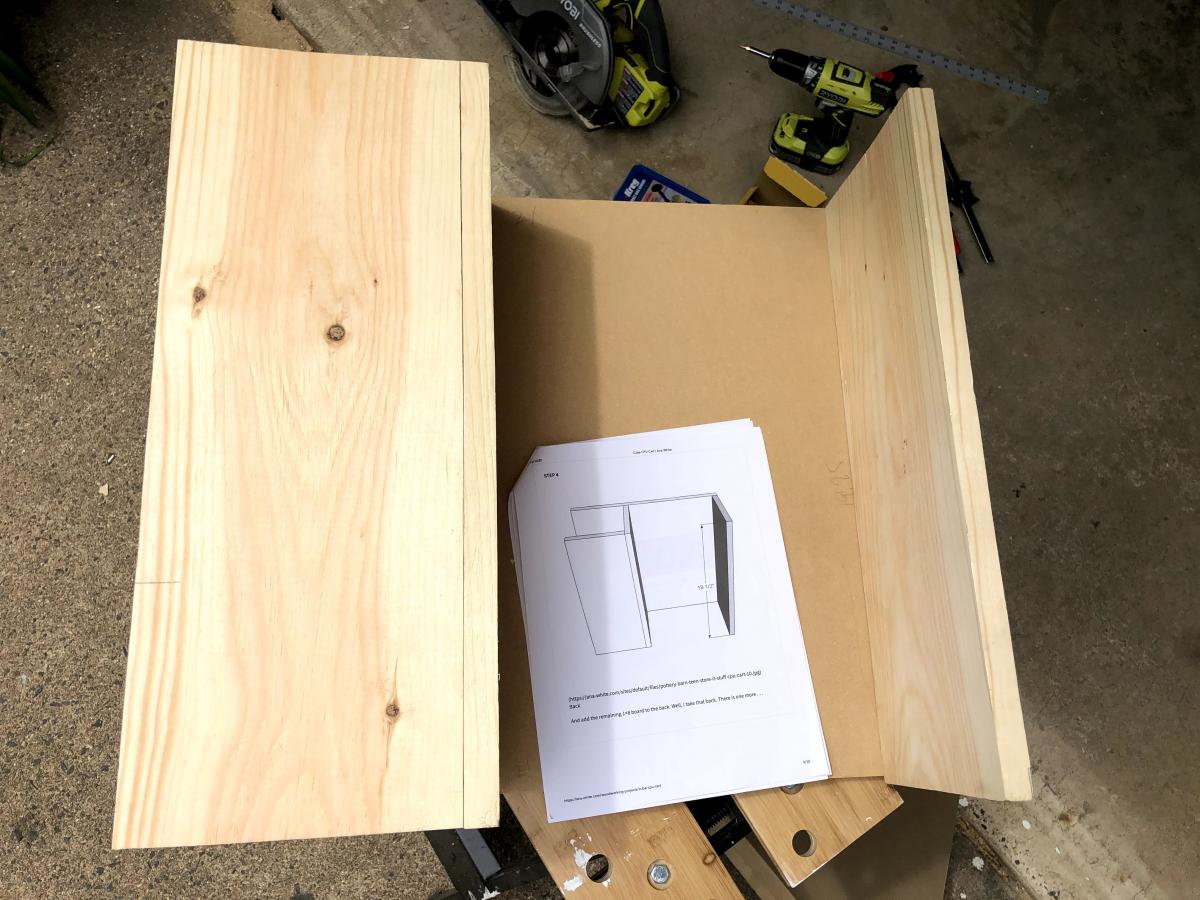
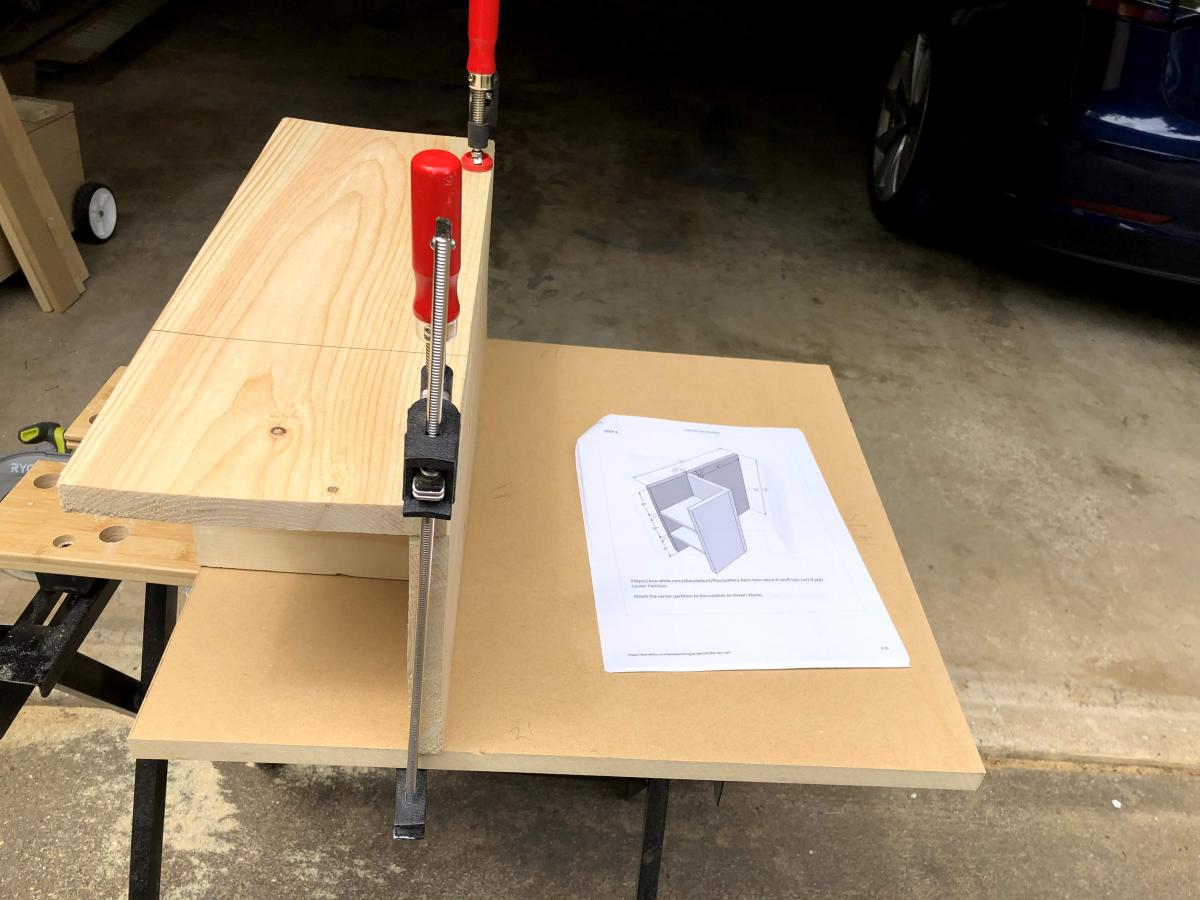
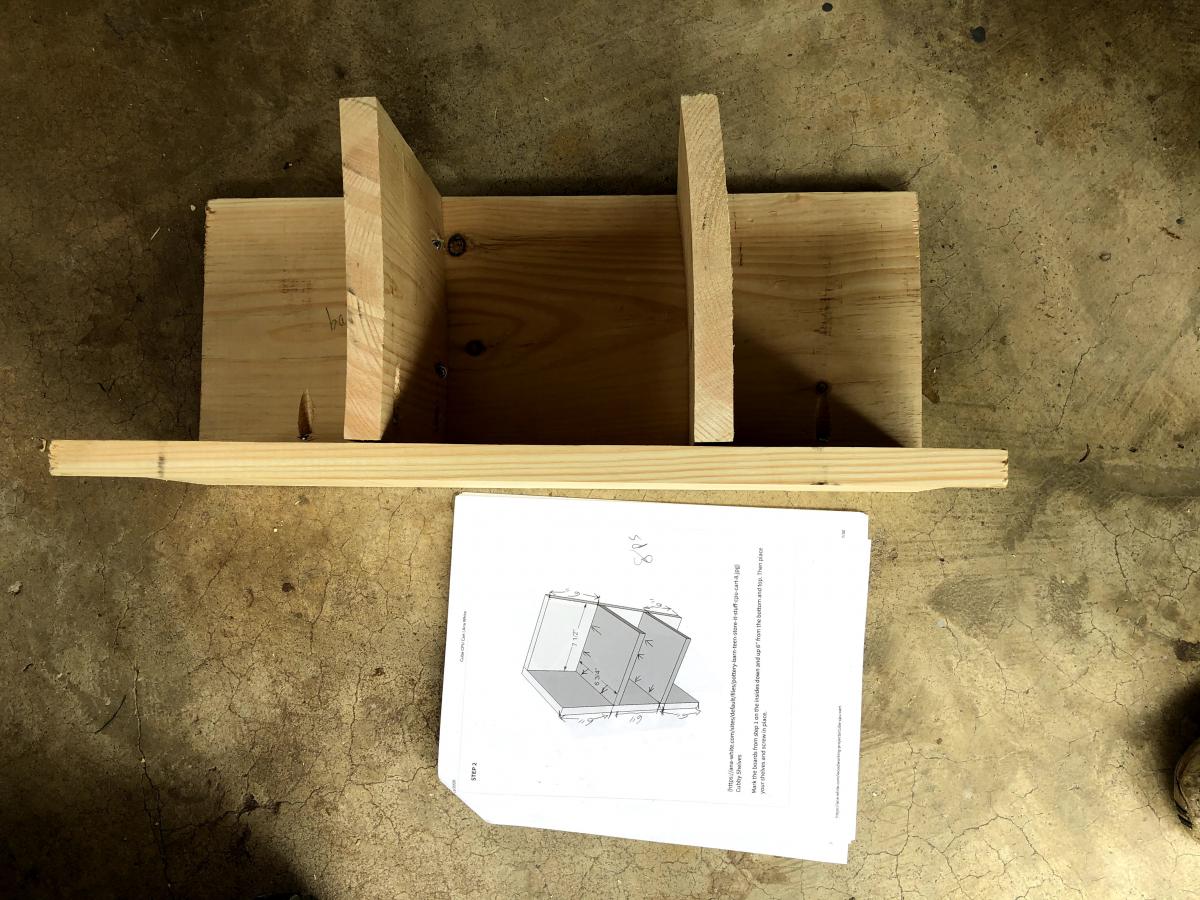
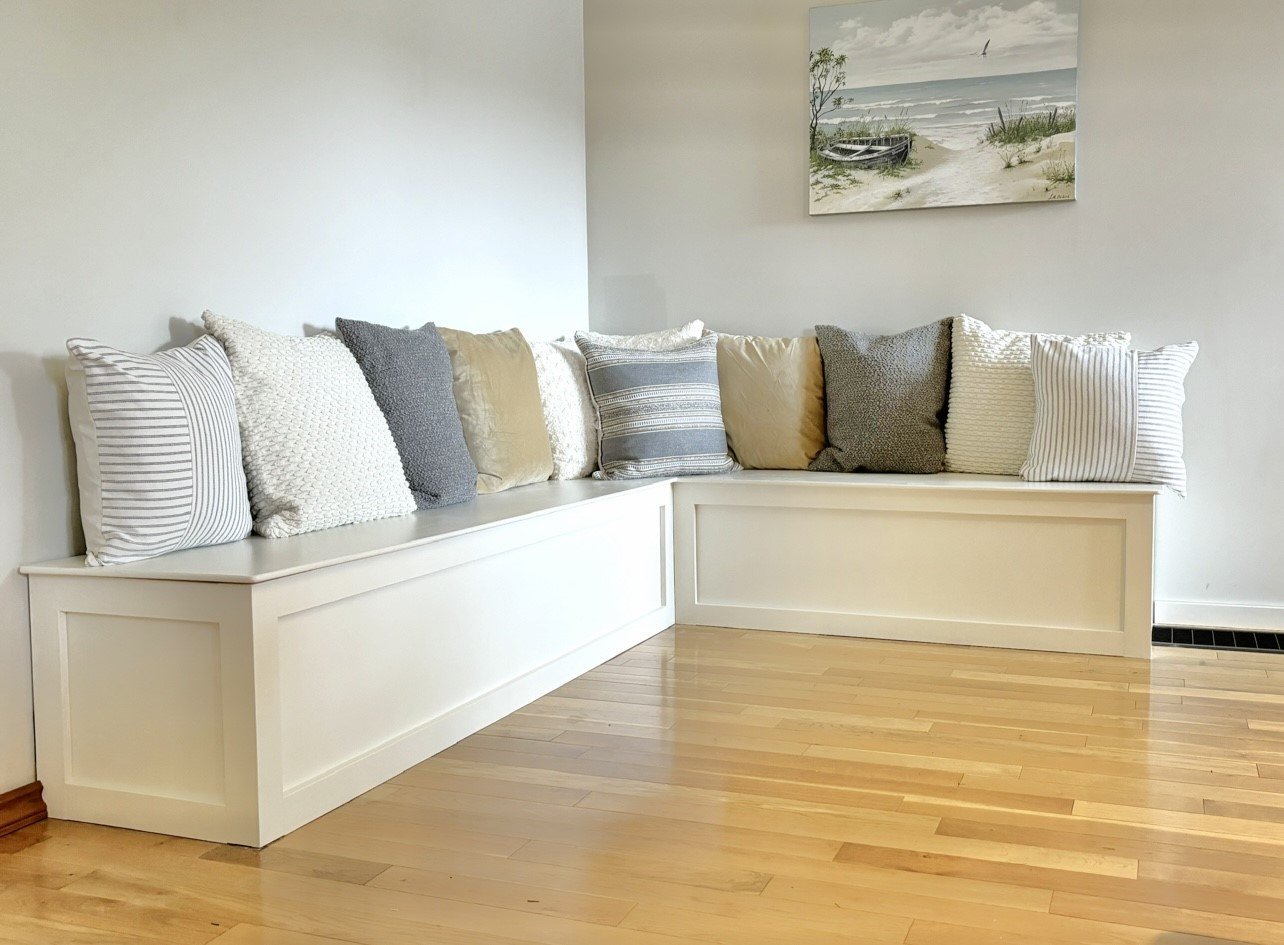
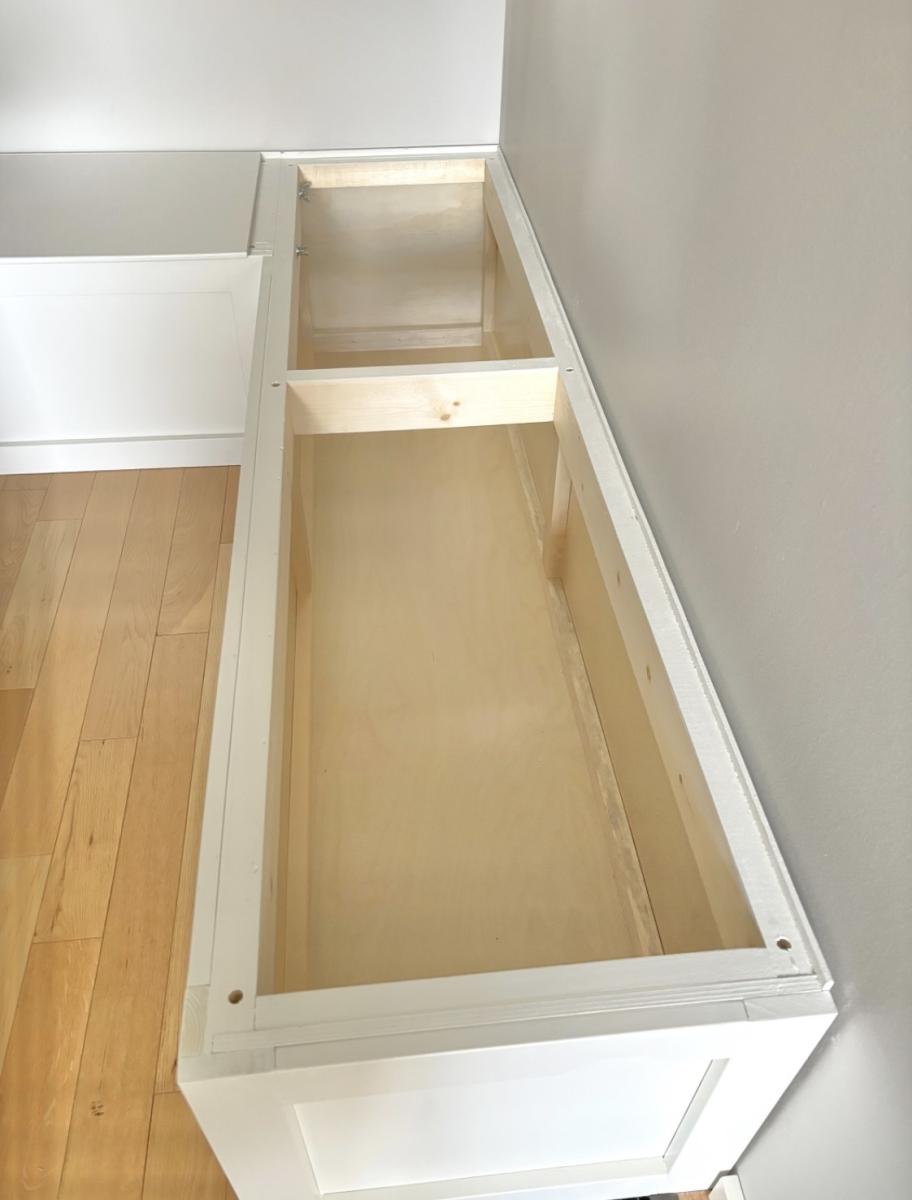
This is my banquette bench I made over the past few weeks after I saw your pictures and plans on your website. I absolutely love it. I am refinishing a table and chairs to use with it. Now I have room for lots of guest. Thank you for your great ideas.
The Flickr gallery for this project is at https://www.flickr.com/gp/akutz/86502i/.
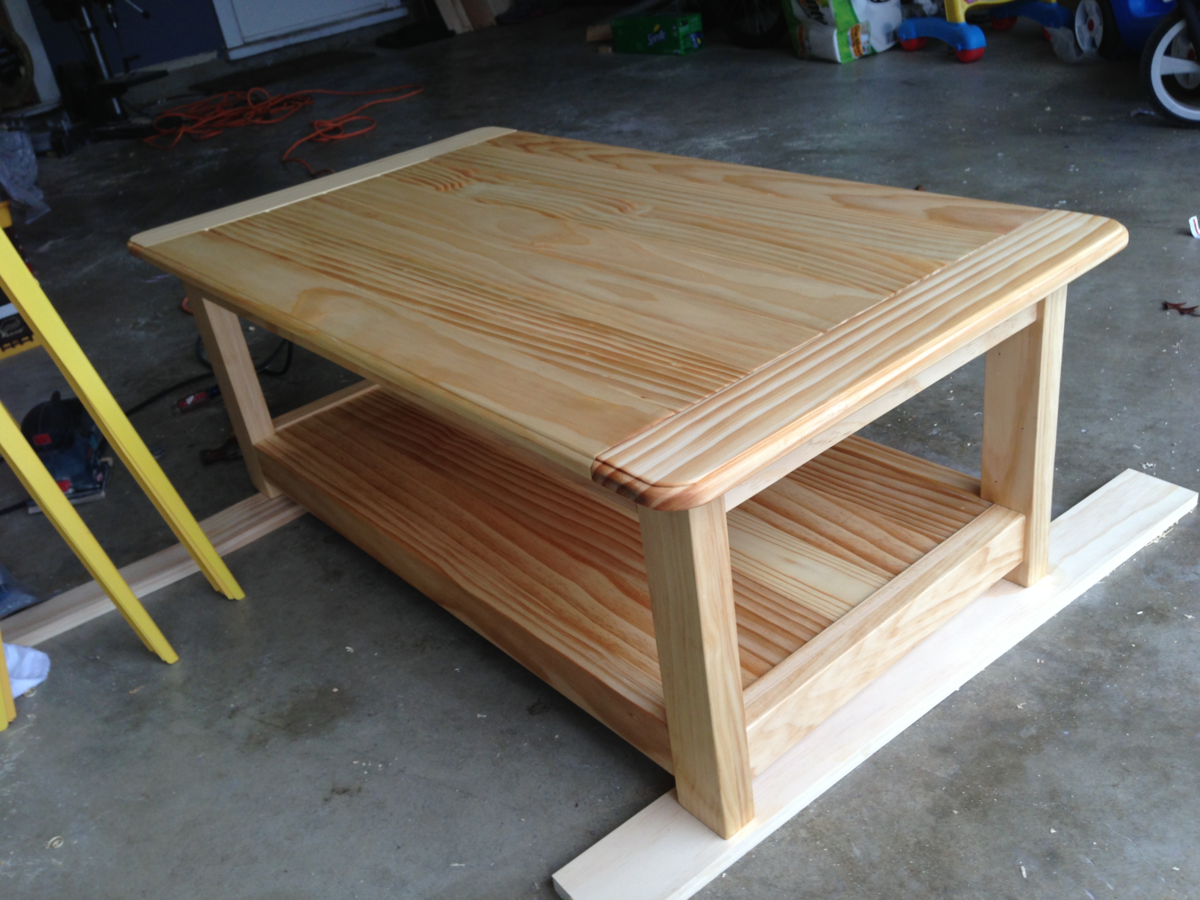
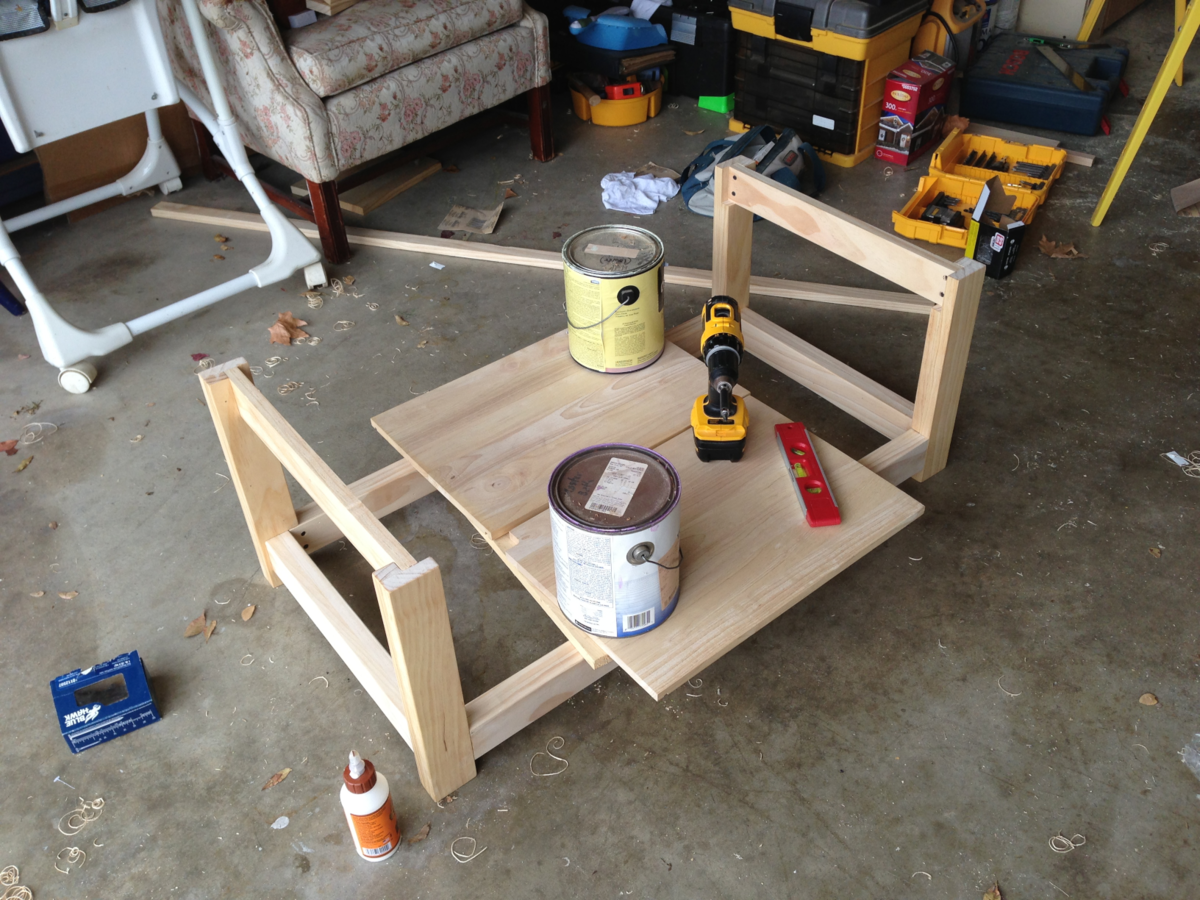
A friend of mine asked me if I'd build her a farmhouse table per the plans at http://ana-white.com/2009/12/plans-farmhouse-table-knock-off-of.html. Sadly I still haven't gotten around to building her one (sorry Jennifer!), and that's partly because even after practicing my skills on smaller projects, a full-sized table still seemed like a big job. Around the same time my two year old daughter was walking all over the house, and our coffee table presented a constant threat of head-banging and side-hurting danger. Then I realized I could build a miniature version of the farmhouse table as a coffee table, and in the process round the corners to make it baby-safe!
Unfortunately I'm not disciplined enough to write down the exact measurements, or at least not keep them since I never think anyone will be interested in these things later. I take pictures just to show friends and family. However, since these plans came directly from the aforementioned link of the farmhouse table, it should be easy to figure this out. The only differences were that I created the outer dimensions based on the space the unit would be taking up in my living room. And with a couch with a chéz, it was important to stick to those.
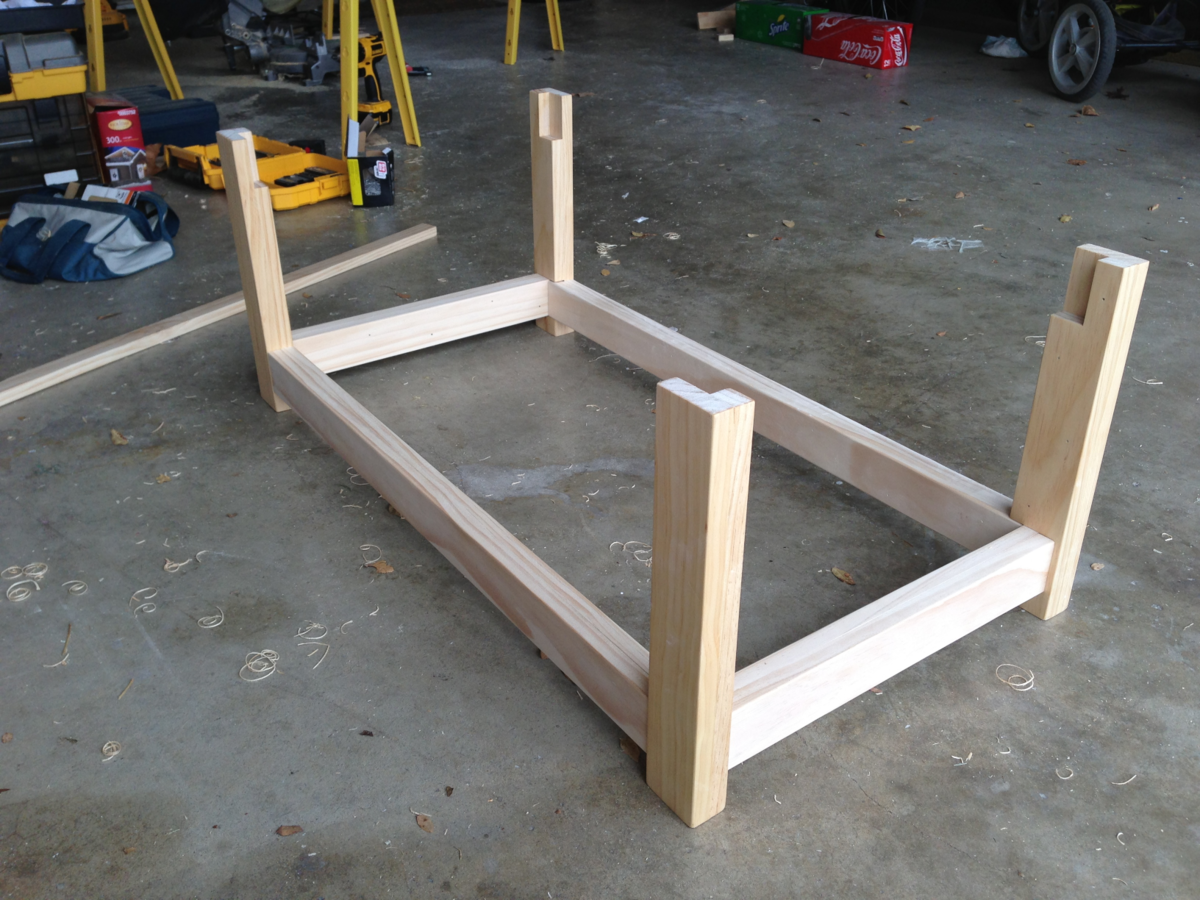
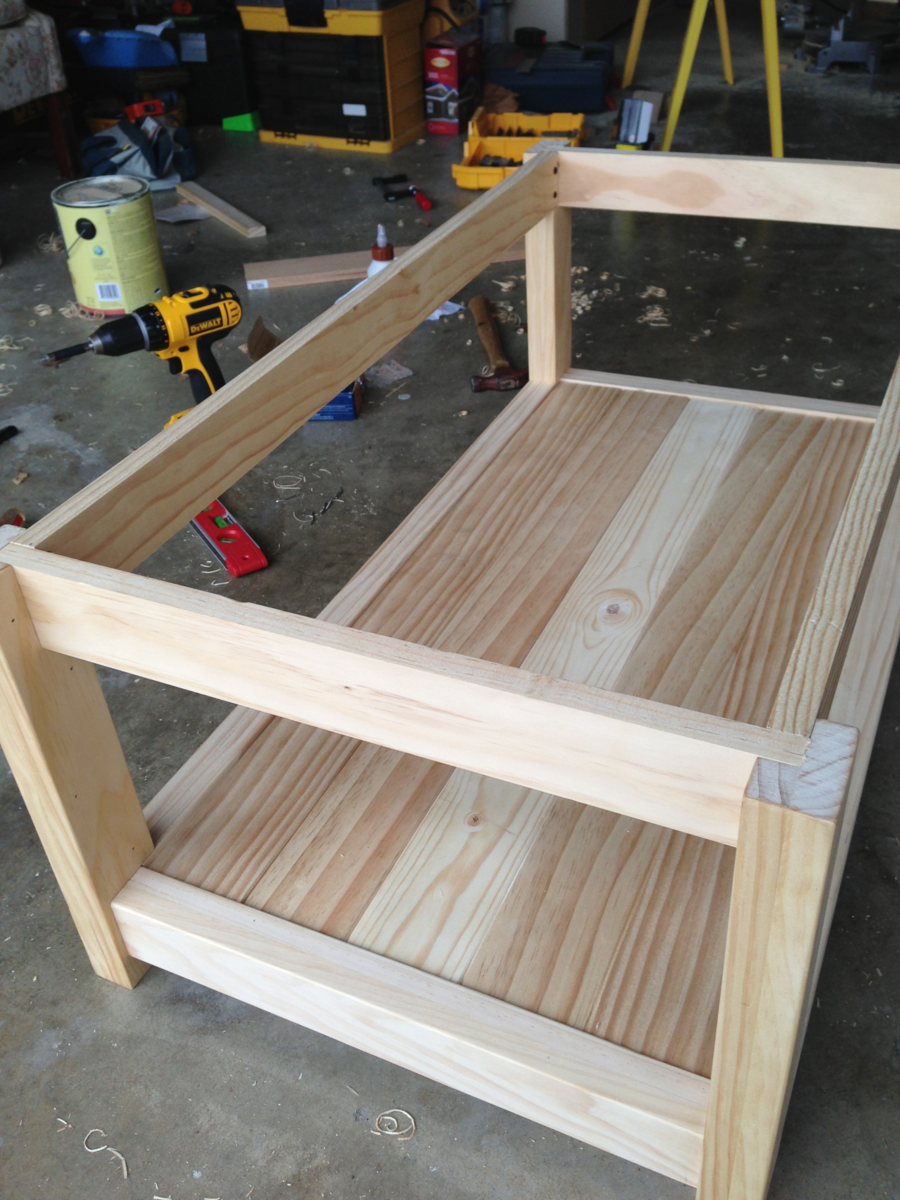
Also, as you can see, I added a second level to the table so that we could place things on it, but also for stability. This was not difficult to do since I just created an internal shelf to place the planks across the bottom.
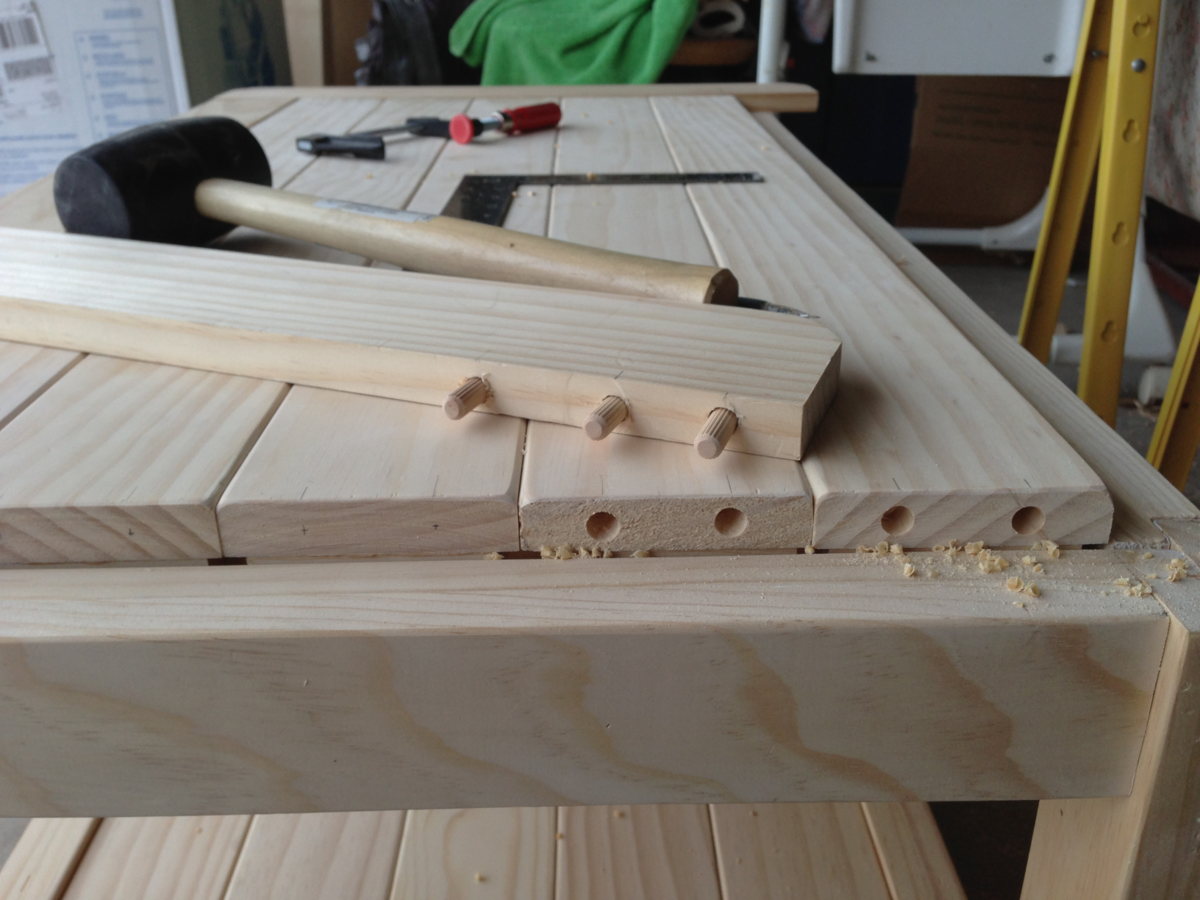
Since my father is a master carpenter, and I explained to him what I was doing, he also recommended that I not fasten the upper or lower planks to the outside with any single piece. He said that due to weather-caused expansion and contraction throughout the year, if I fastened the planks together at the ends with the bread boards, there would be much cracking. That's why you see the bottom supports fastened to the underside of each plank with an individual block of wood, and not with one long piece. That way the planks can move independently of one another. that's also why they're not fastened together long-ways.
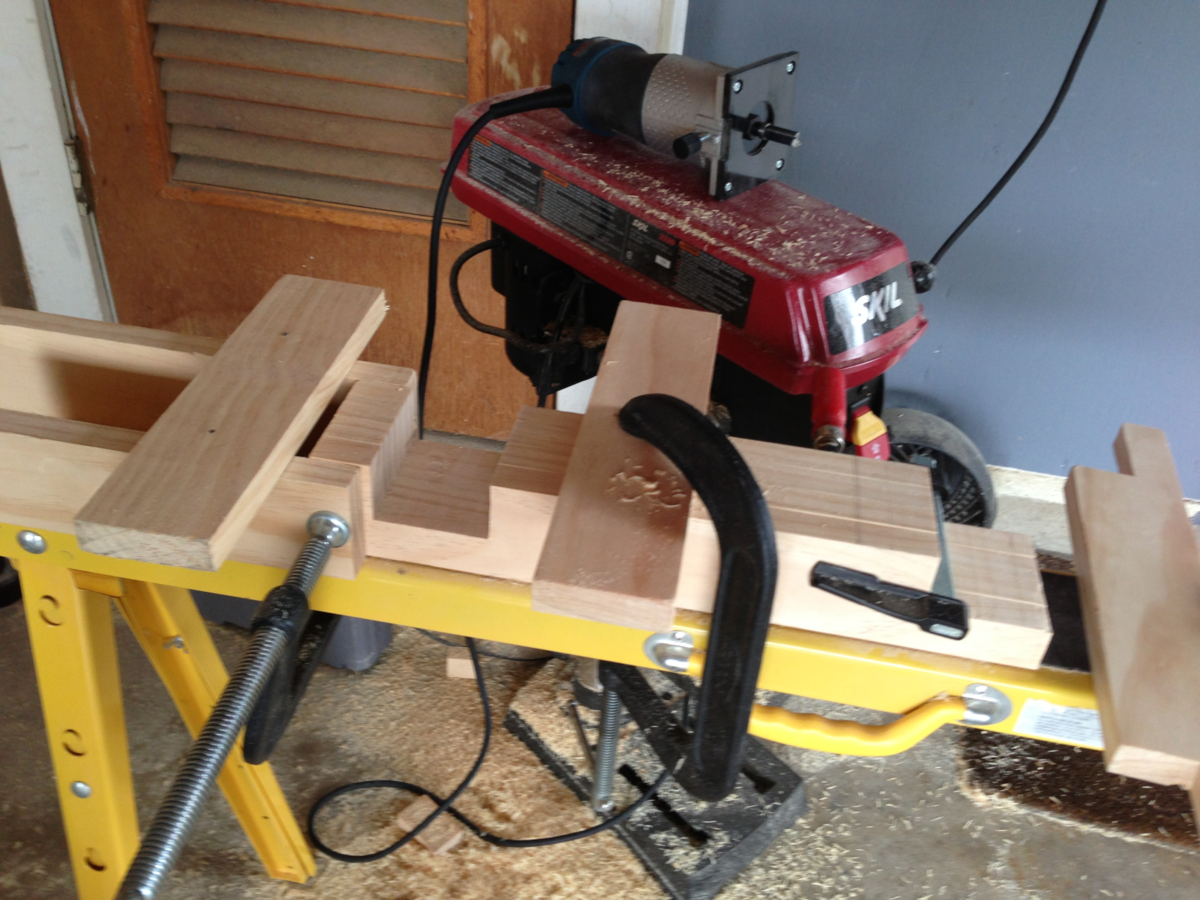
One last note. I built those legs several times. The only way I was ever able to get them correct is when my father told me to buy a long router bit, clamp the legs together, and route them all with guides. He said getting cuts in four separate posts even like that is one of the hardest thing to do if you don't make the cuts at the same time. He was right, and with his approach the table was perfectly level!
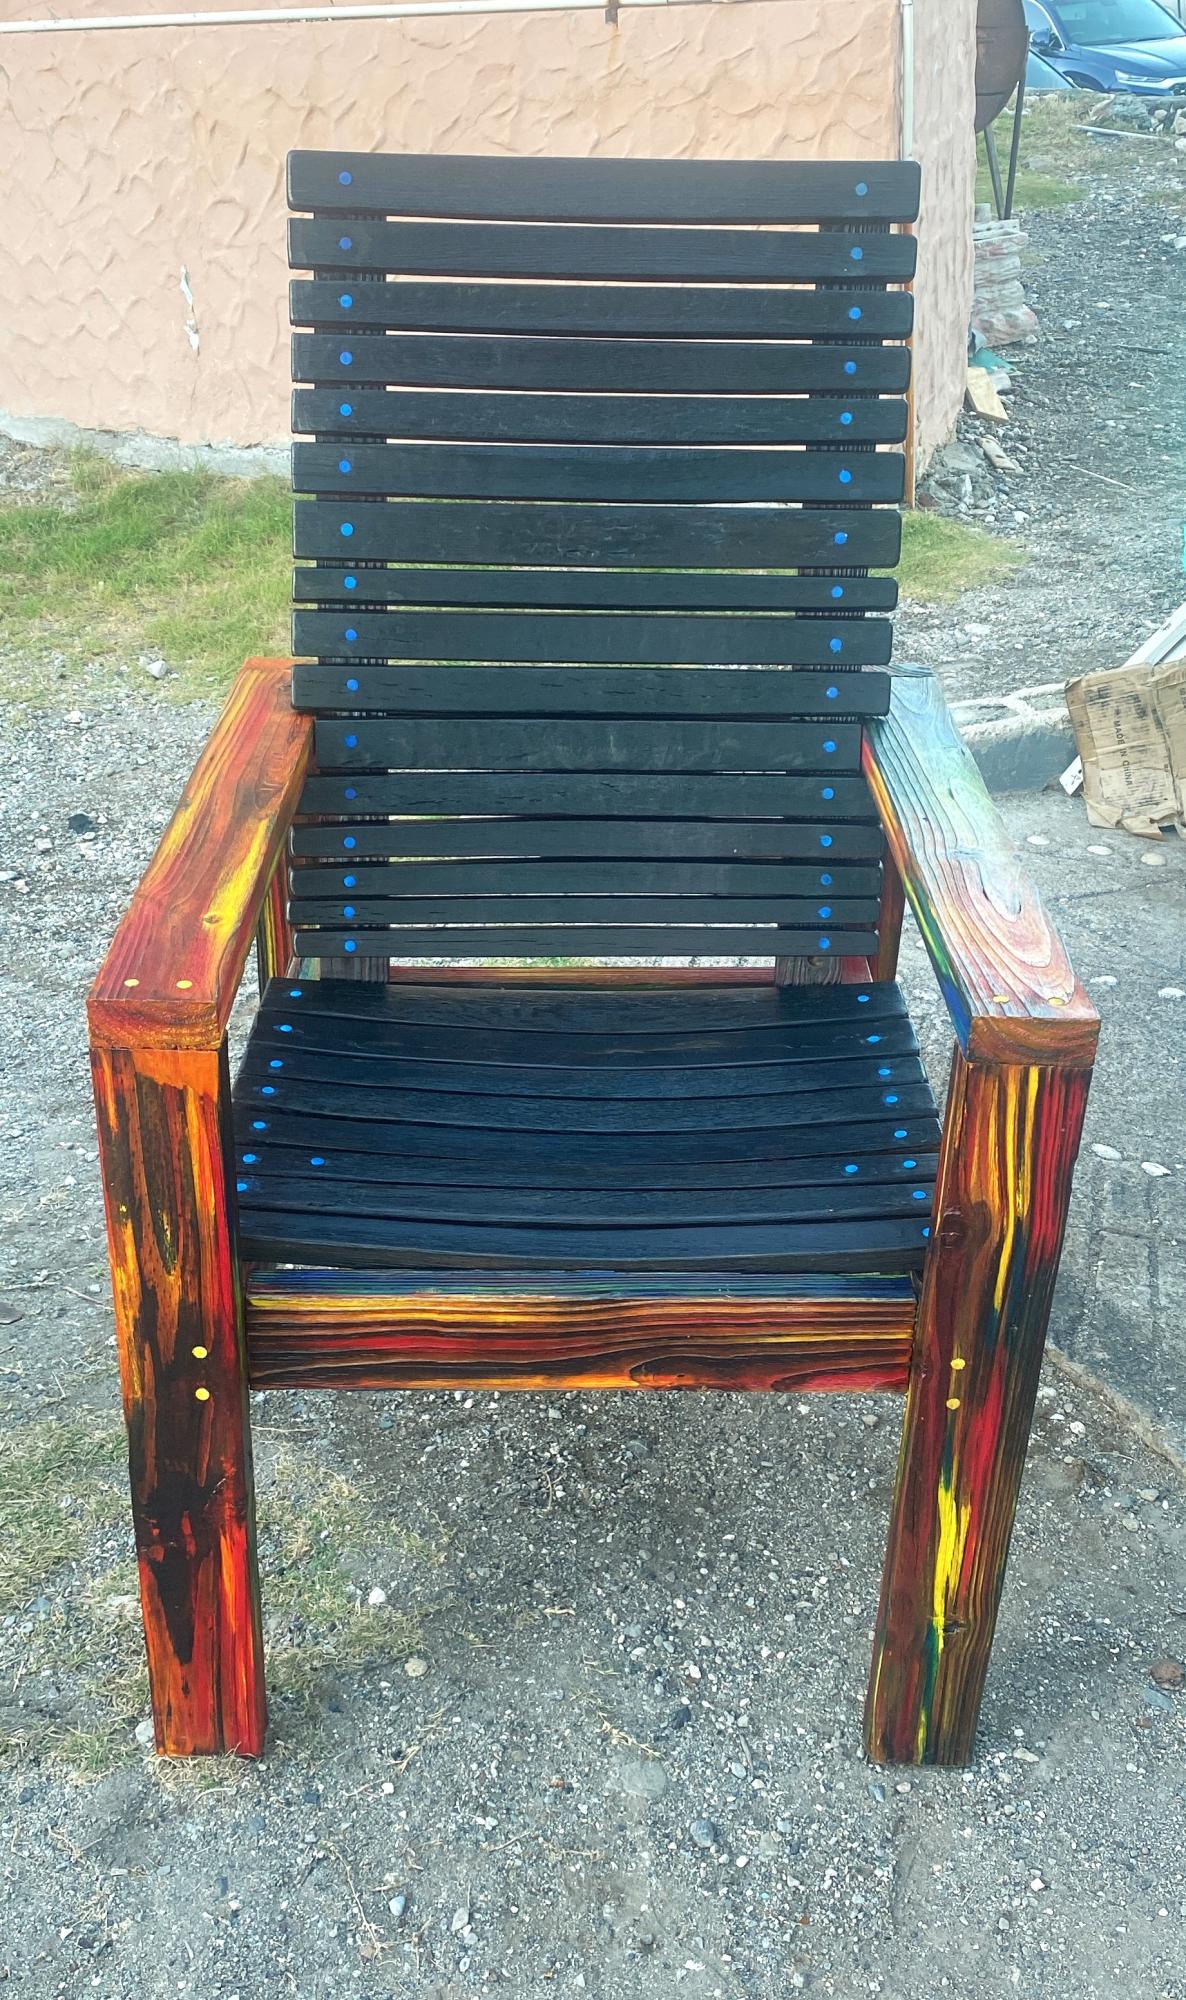
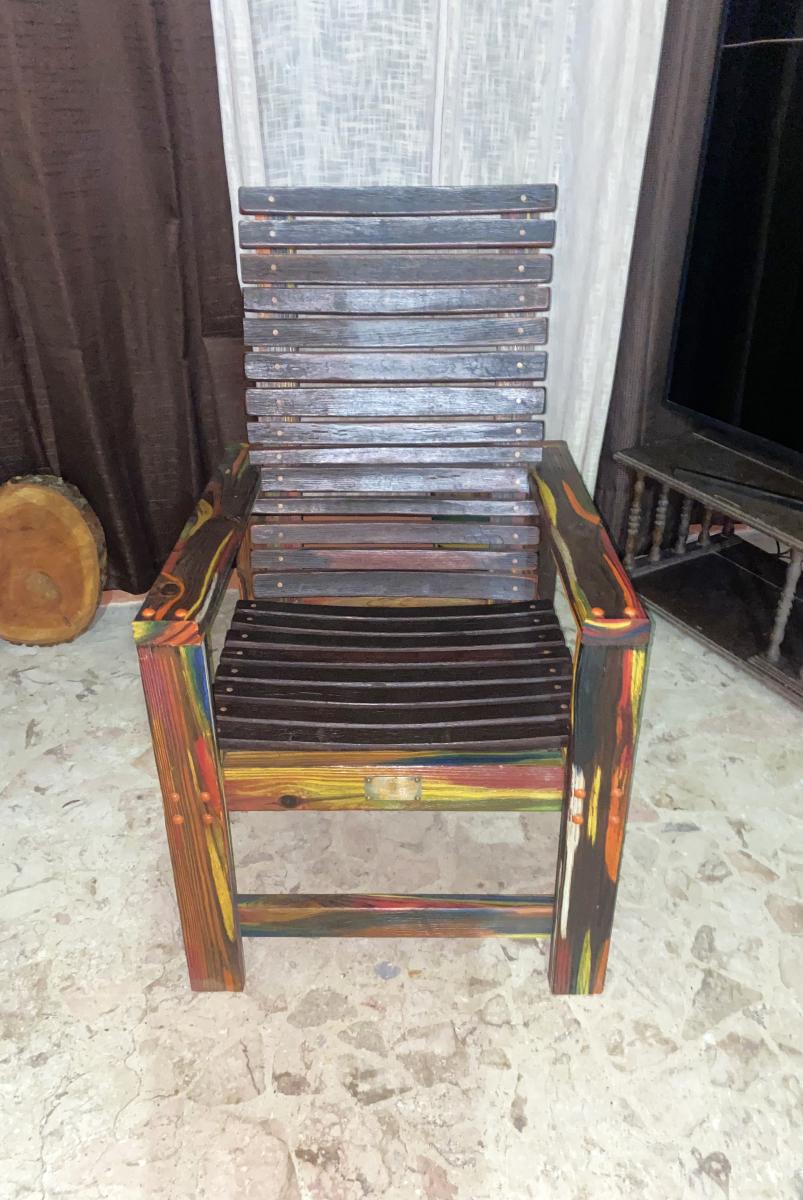
A modified version of one of Ana’s chairs. I widened it by a few inches and used the staves from a retired whiskey barrel for the seat and back. I then added a Sho Sugi Ban effect to the frame and then stained it using Unicorn Spit.
mcglashanpatrick
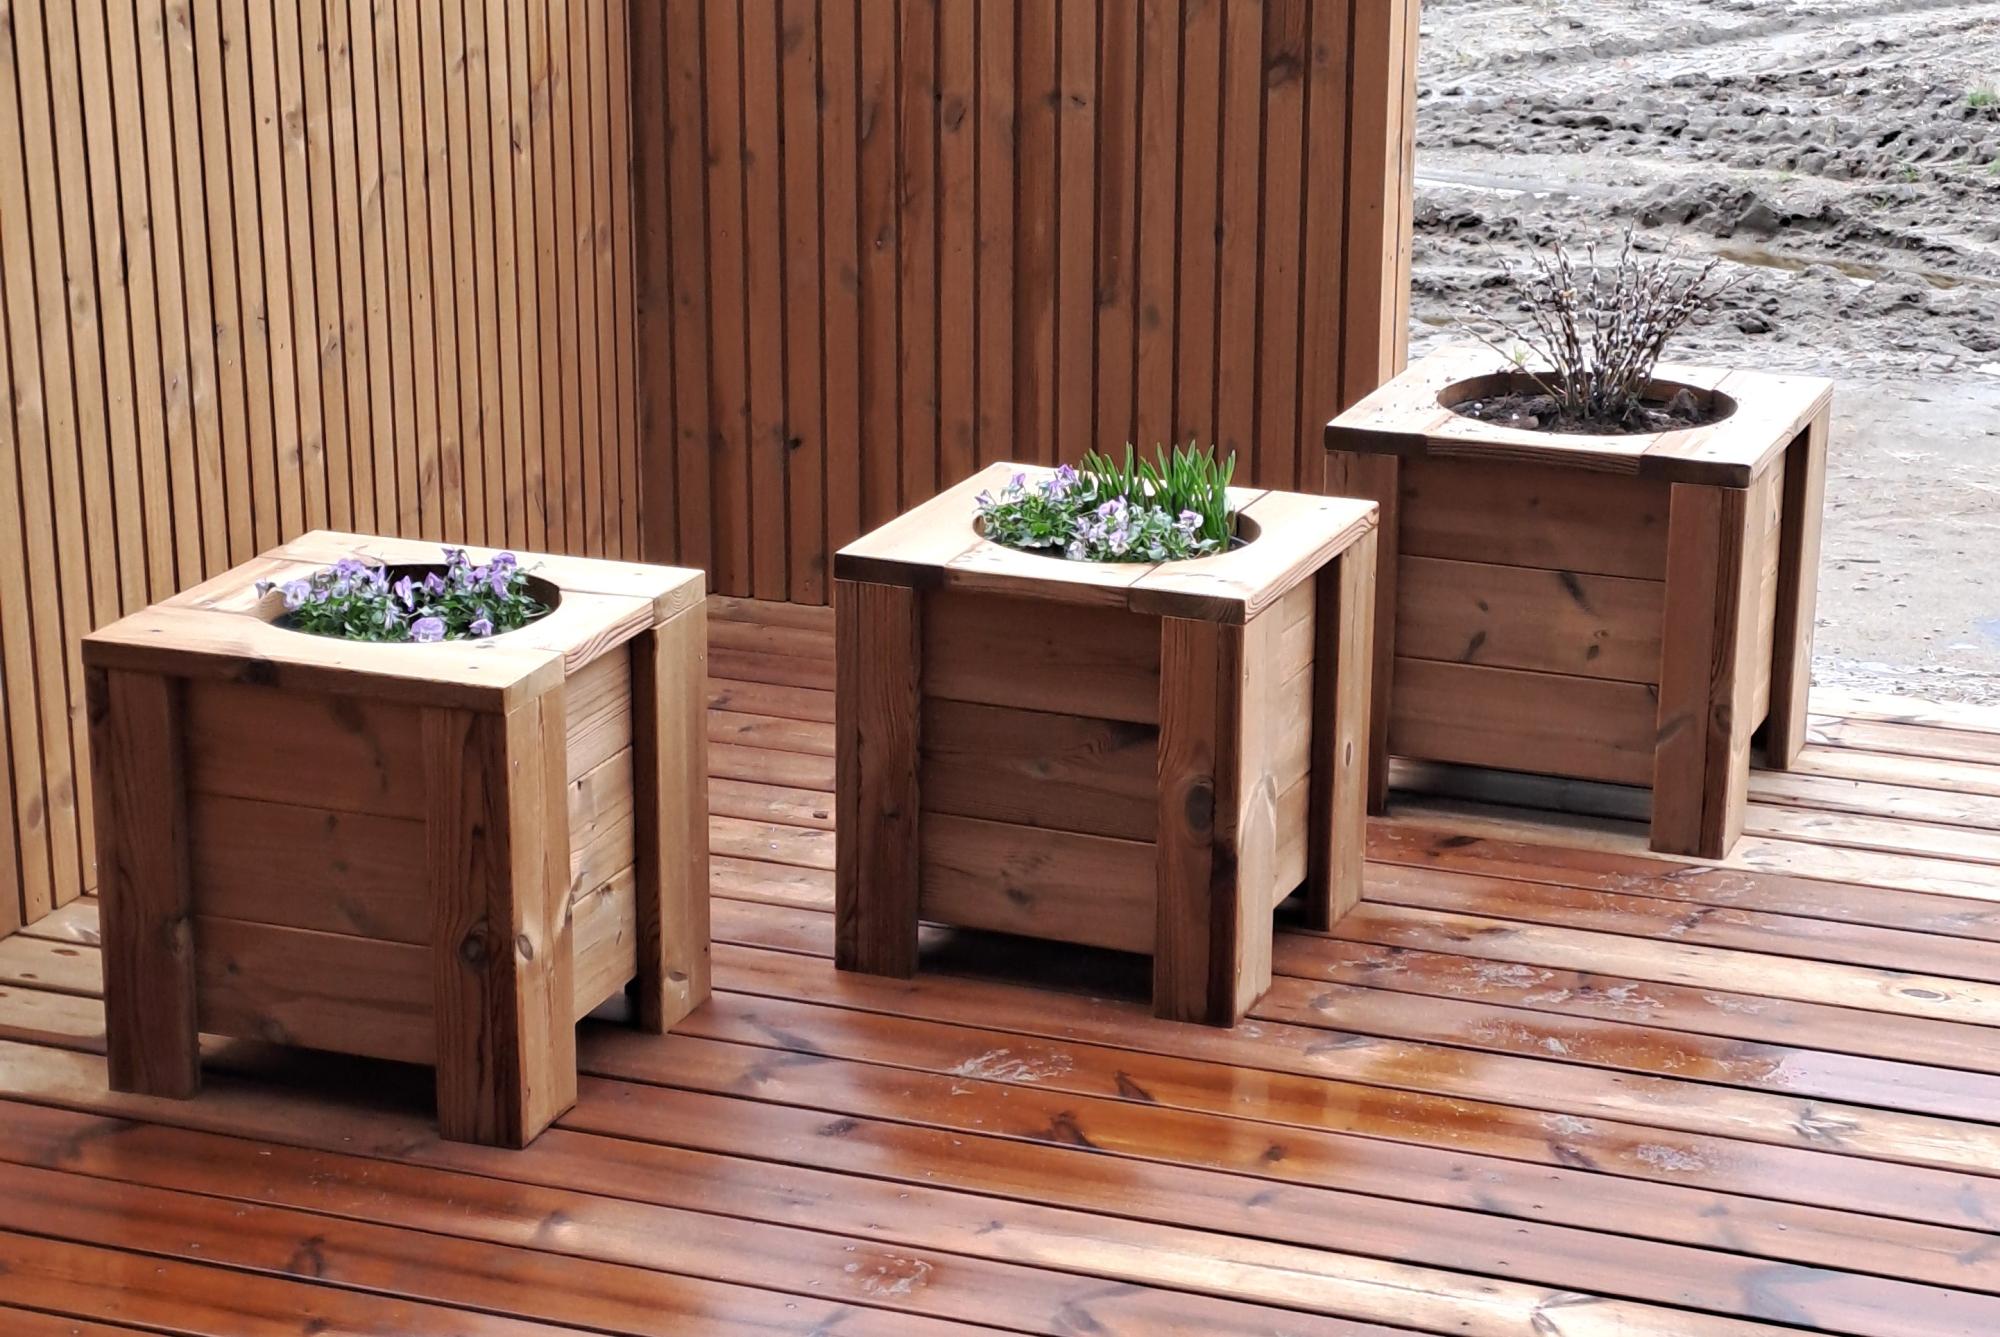
I build these planter boxes, from wooden remains from terrace building, inspired from Ana White planter boxes.
Søg
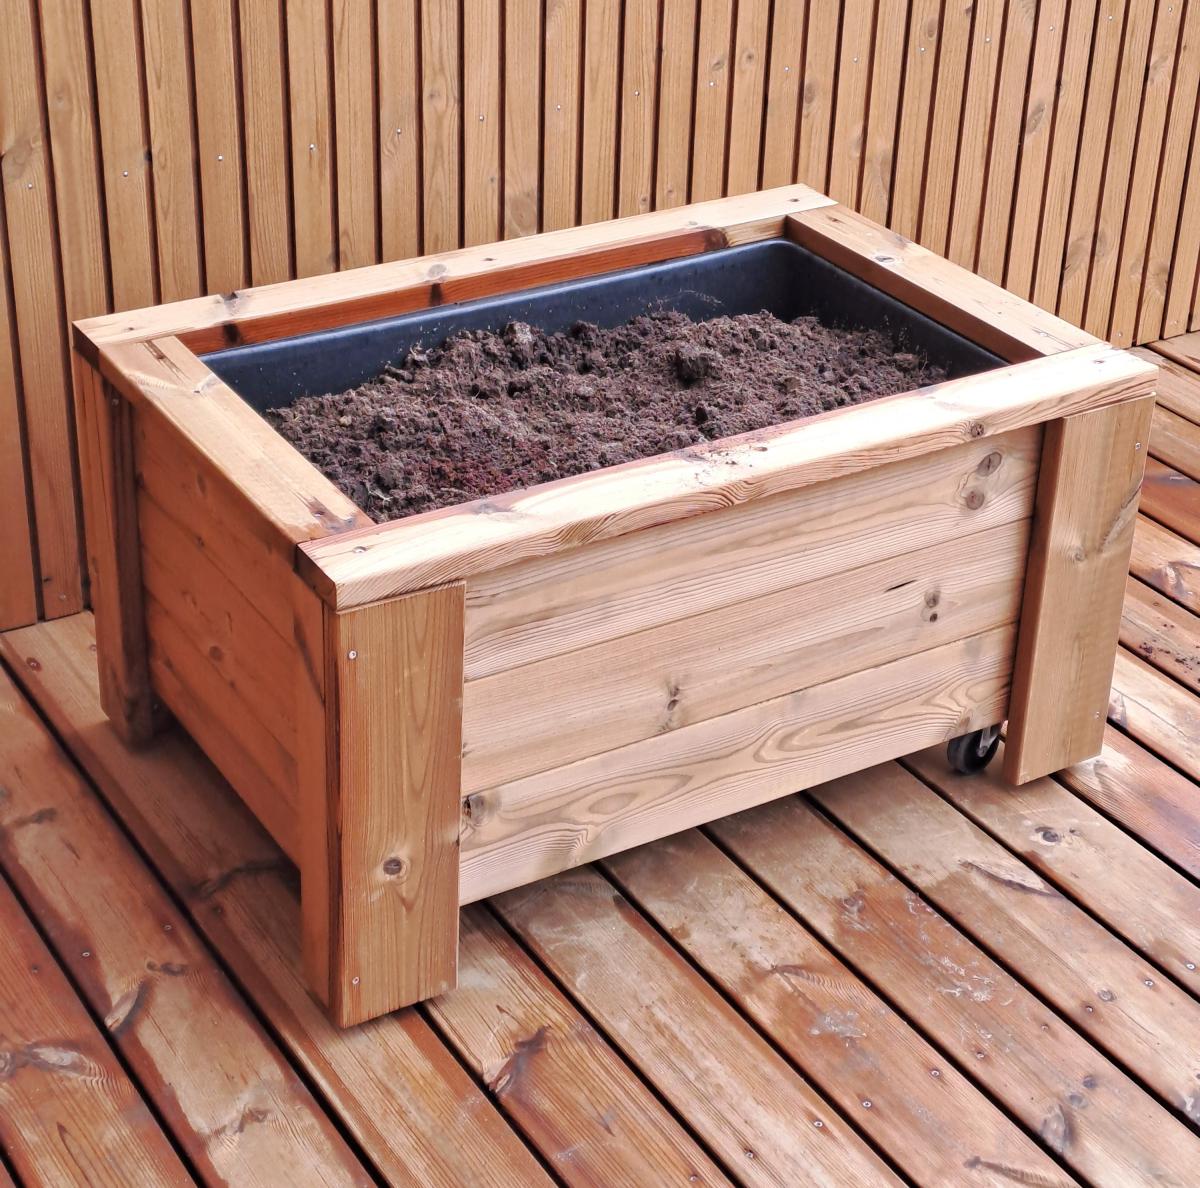
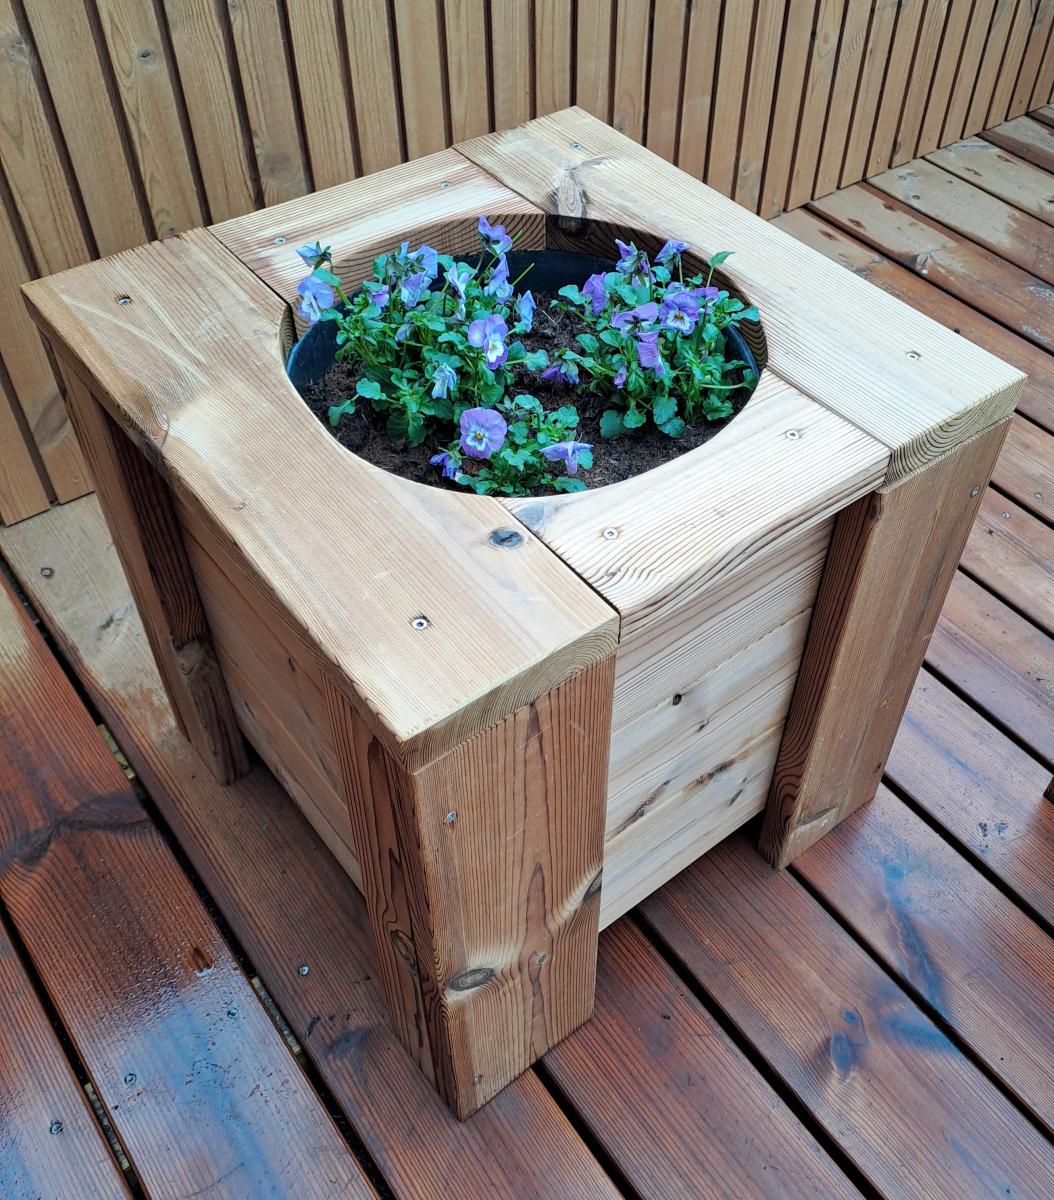
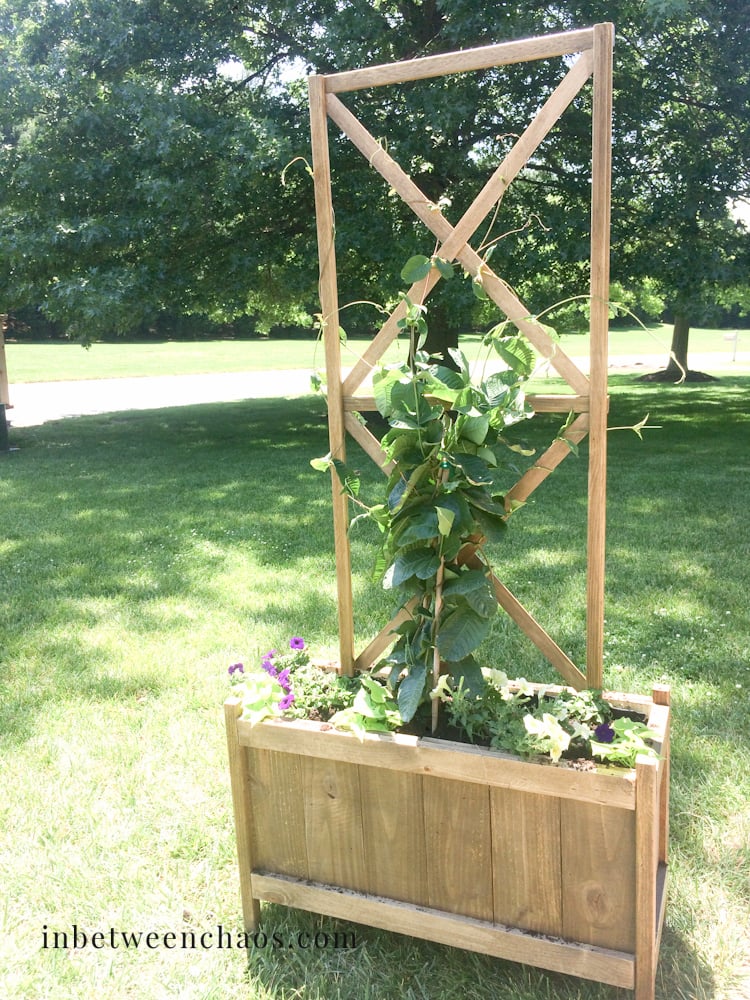
I made this project to add a little life to the front a flip house I just finished. I had an awkward spot, and I was able to easily modify this plan to fit the space. Thank you for the inspiration!


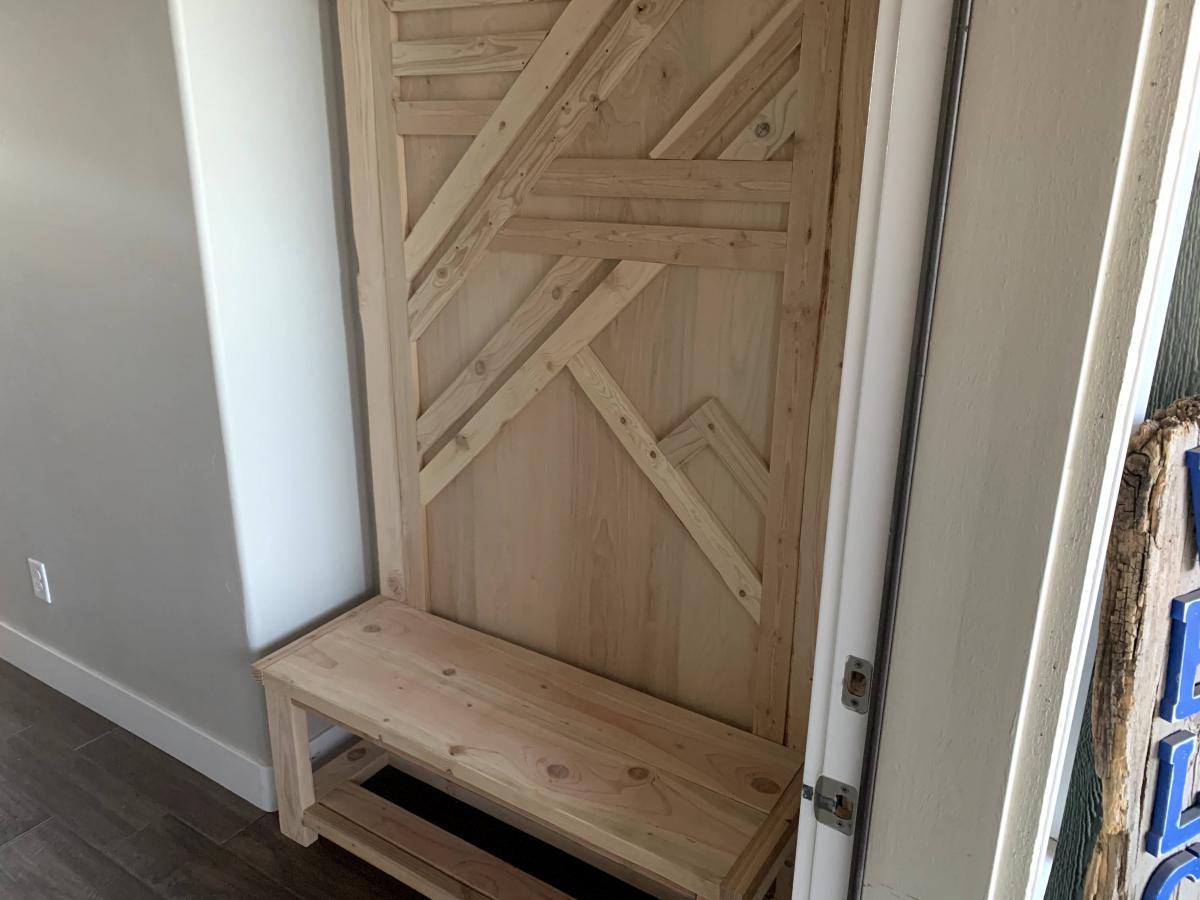
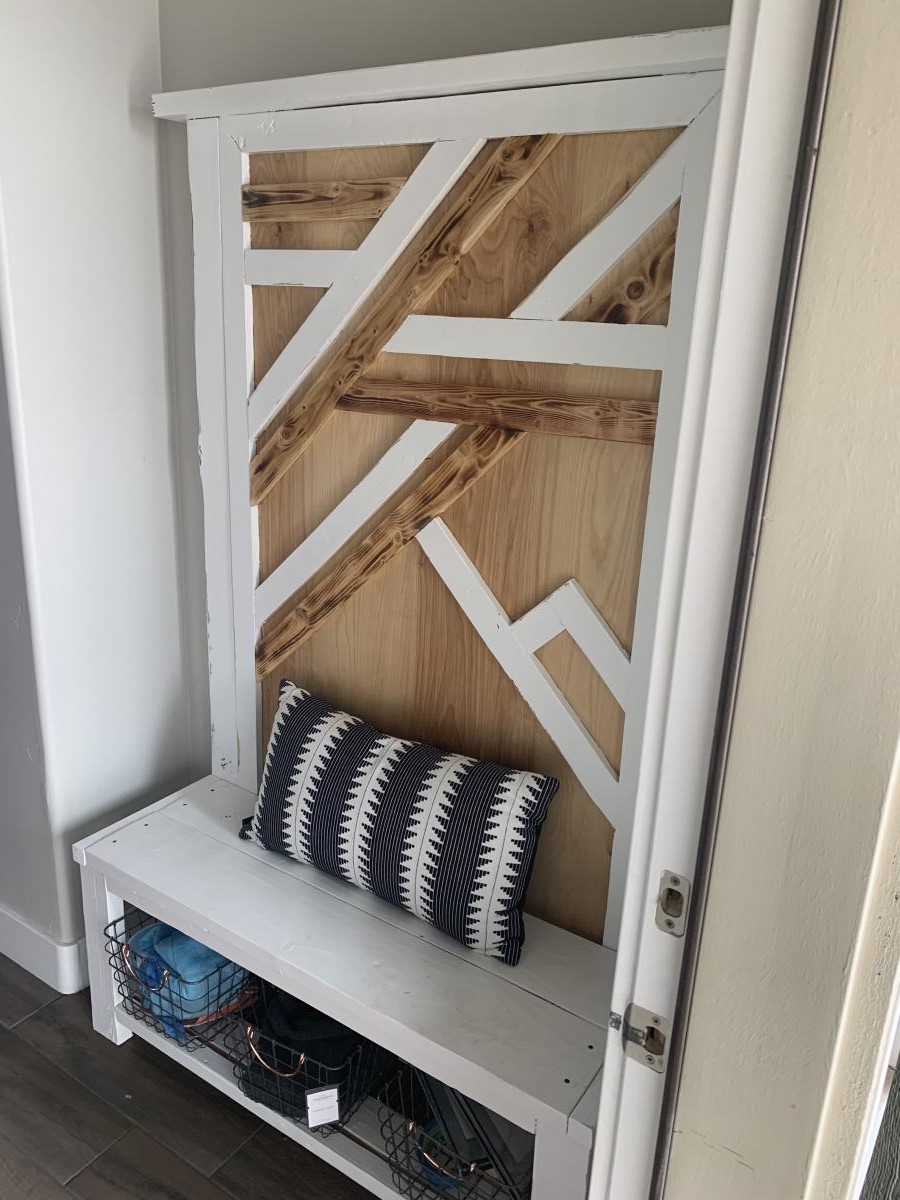
We utilized Ana's rustic x bench to fit our hall tree design. Love the bench.
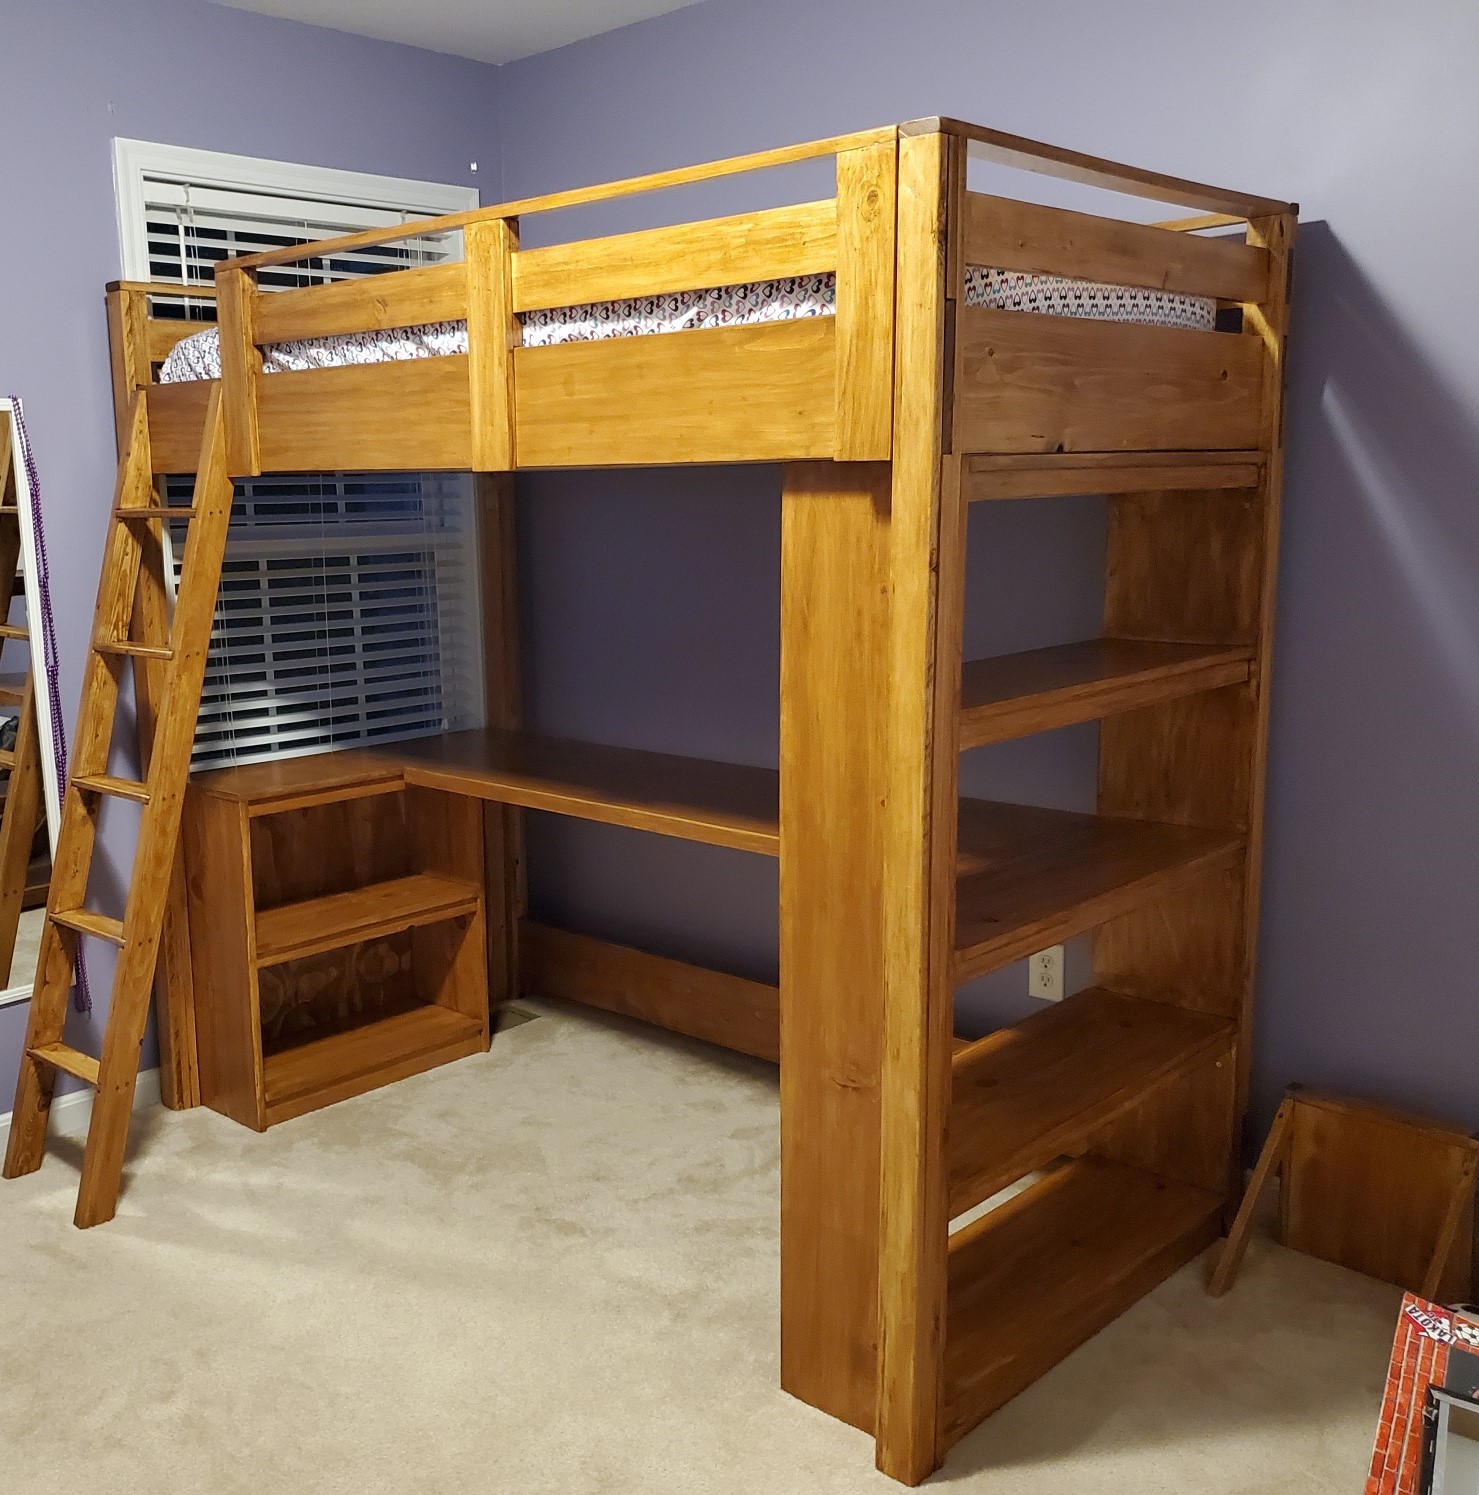
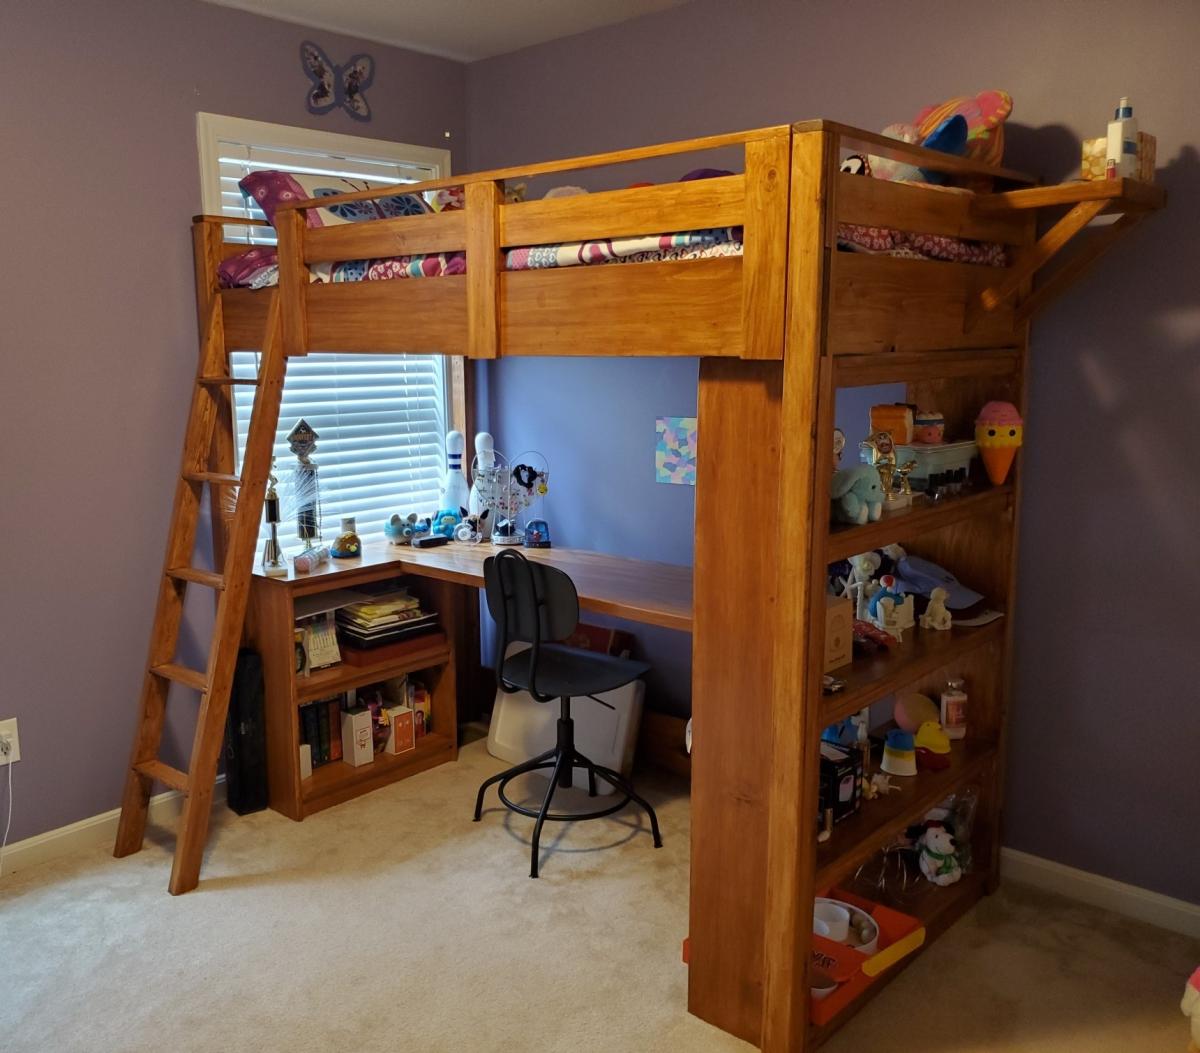
Combined two plans found on this wonderful site with our own revisions to provide a larger desk work area (20" deep). I also added a small shelf to allow for setting a book, water, whatever on it without getting out of the bed. As my first "indoor" project there were several lessons learned - one is to buy the higher grade lumber for the primary components including legs and beams. I did not do this and I had to spend more time than I should've finding good square, straight wood. Another lesson was that staining and polyurethane coating are a skill that requires a lot of practice and time. I and my daughter are thrilled with the final result but choosing to stain/poly it likely doubled the overall build time. Still no regrets, though. My 12 yo daughter just loves her new bed and thanks to this site for the spectacular ideas.
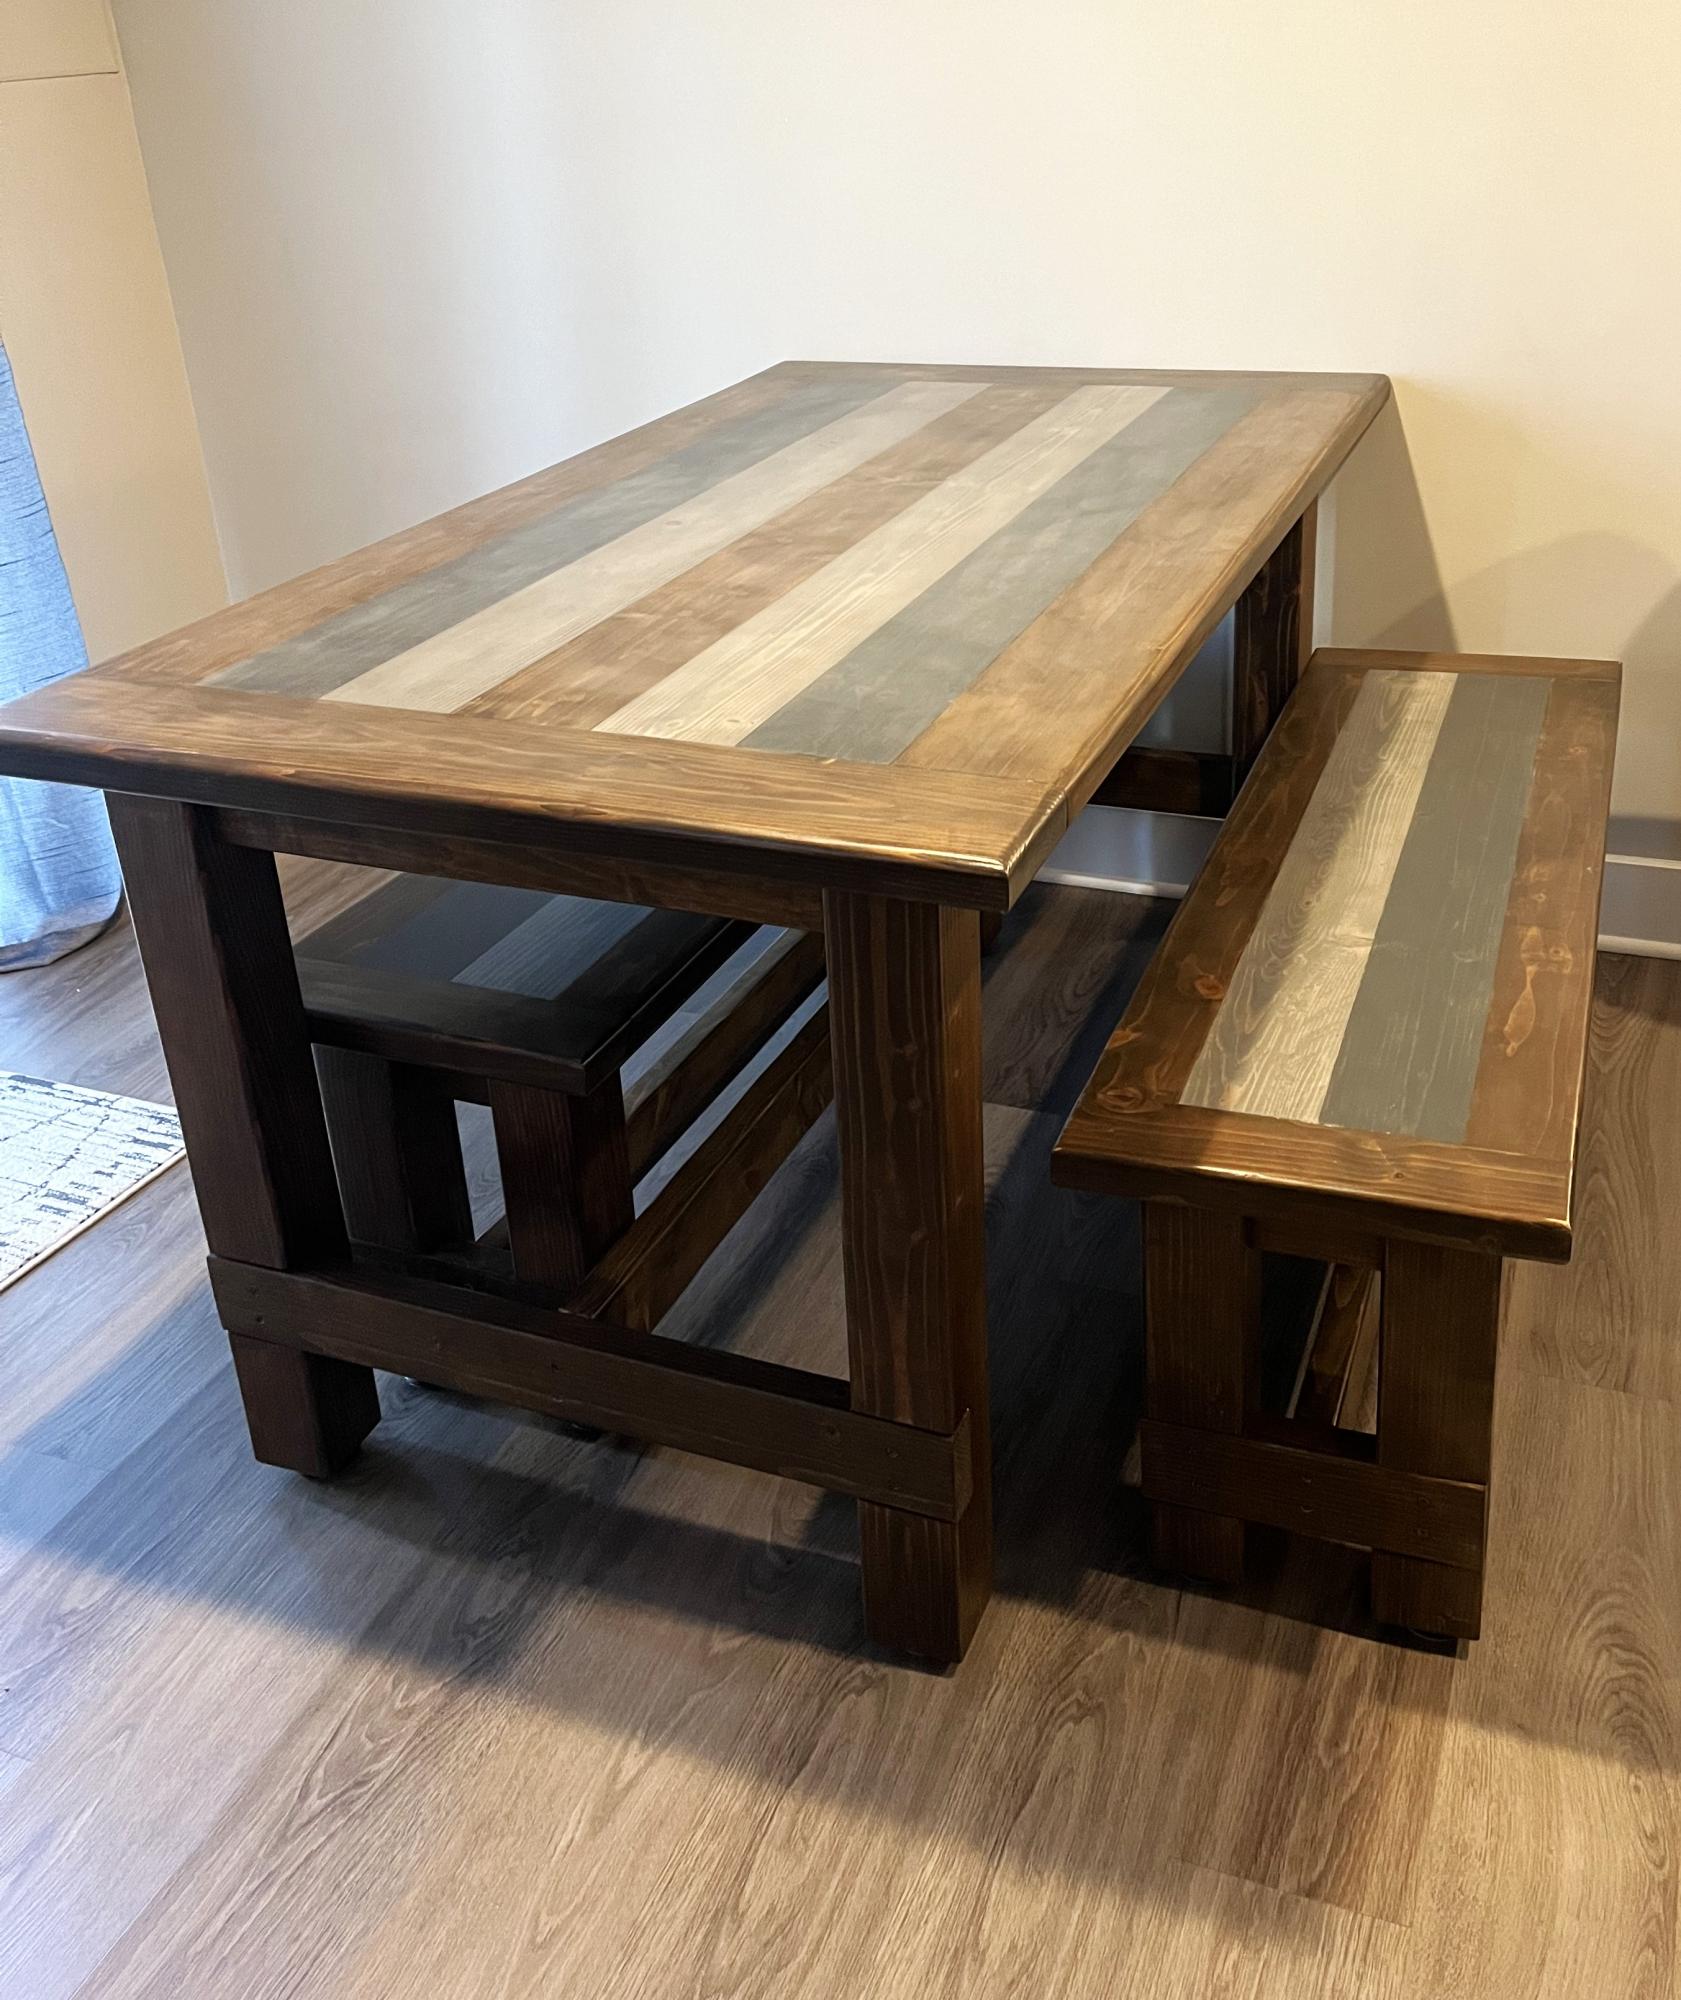
Made this farm table and benches from your plans. Son wanted the multi colored and wanted it epoxy coated. I put a couple top coats of satin poly over to tone down the gloss. He loves it.
Renee White @momanay
Have two boys who where in need of more floorspace to play. Saw the great plans for the Camp Loft and decided to make a double wide. One platform and two beds.
All in all went together as designed. Eliminated the stairs for a ladder. Works great if you have a long wall.


Thu, 11/29/2012 - 15:14
Really smart with the platform in the middle - I'm sure they love it!
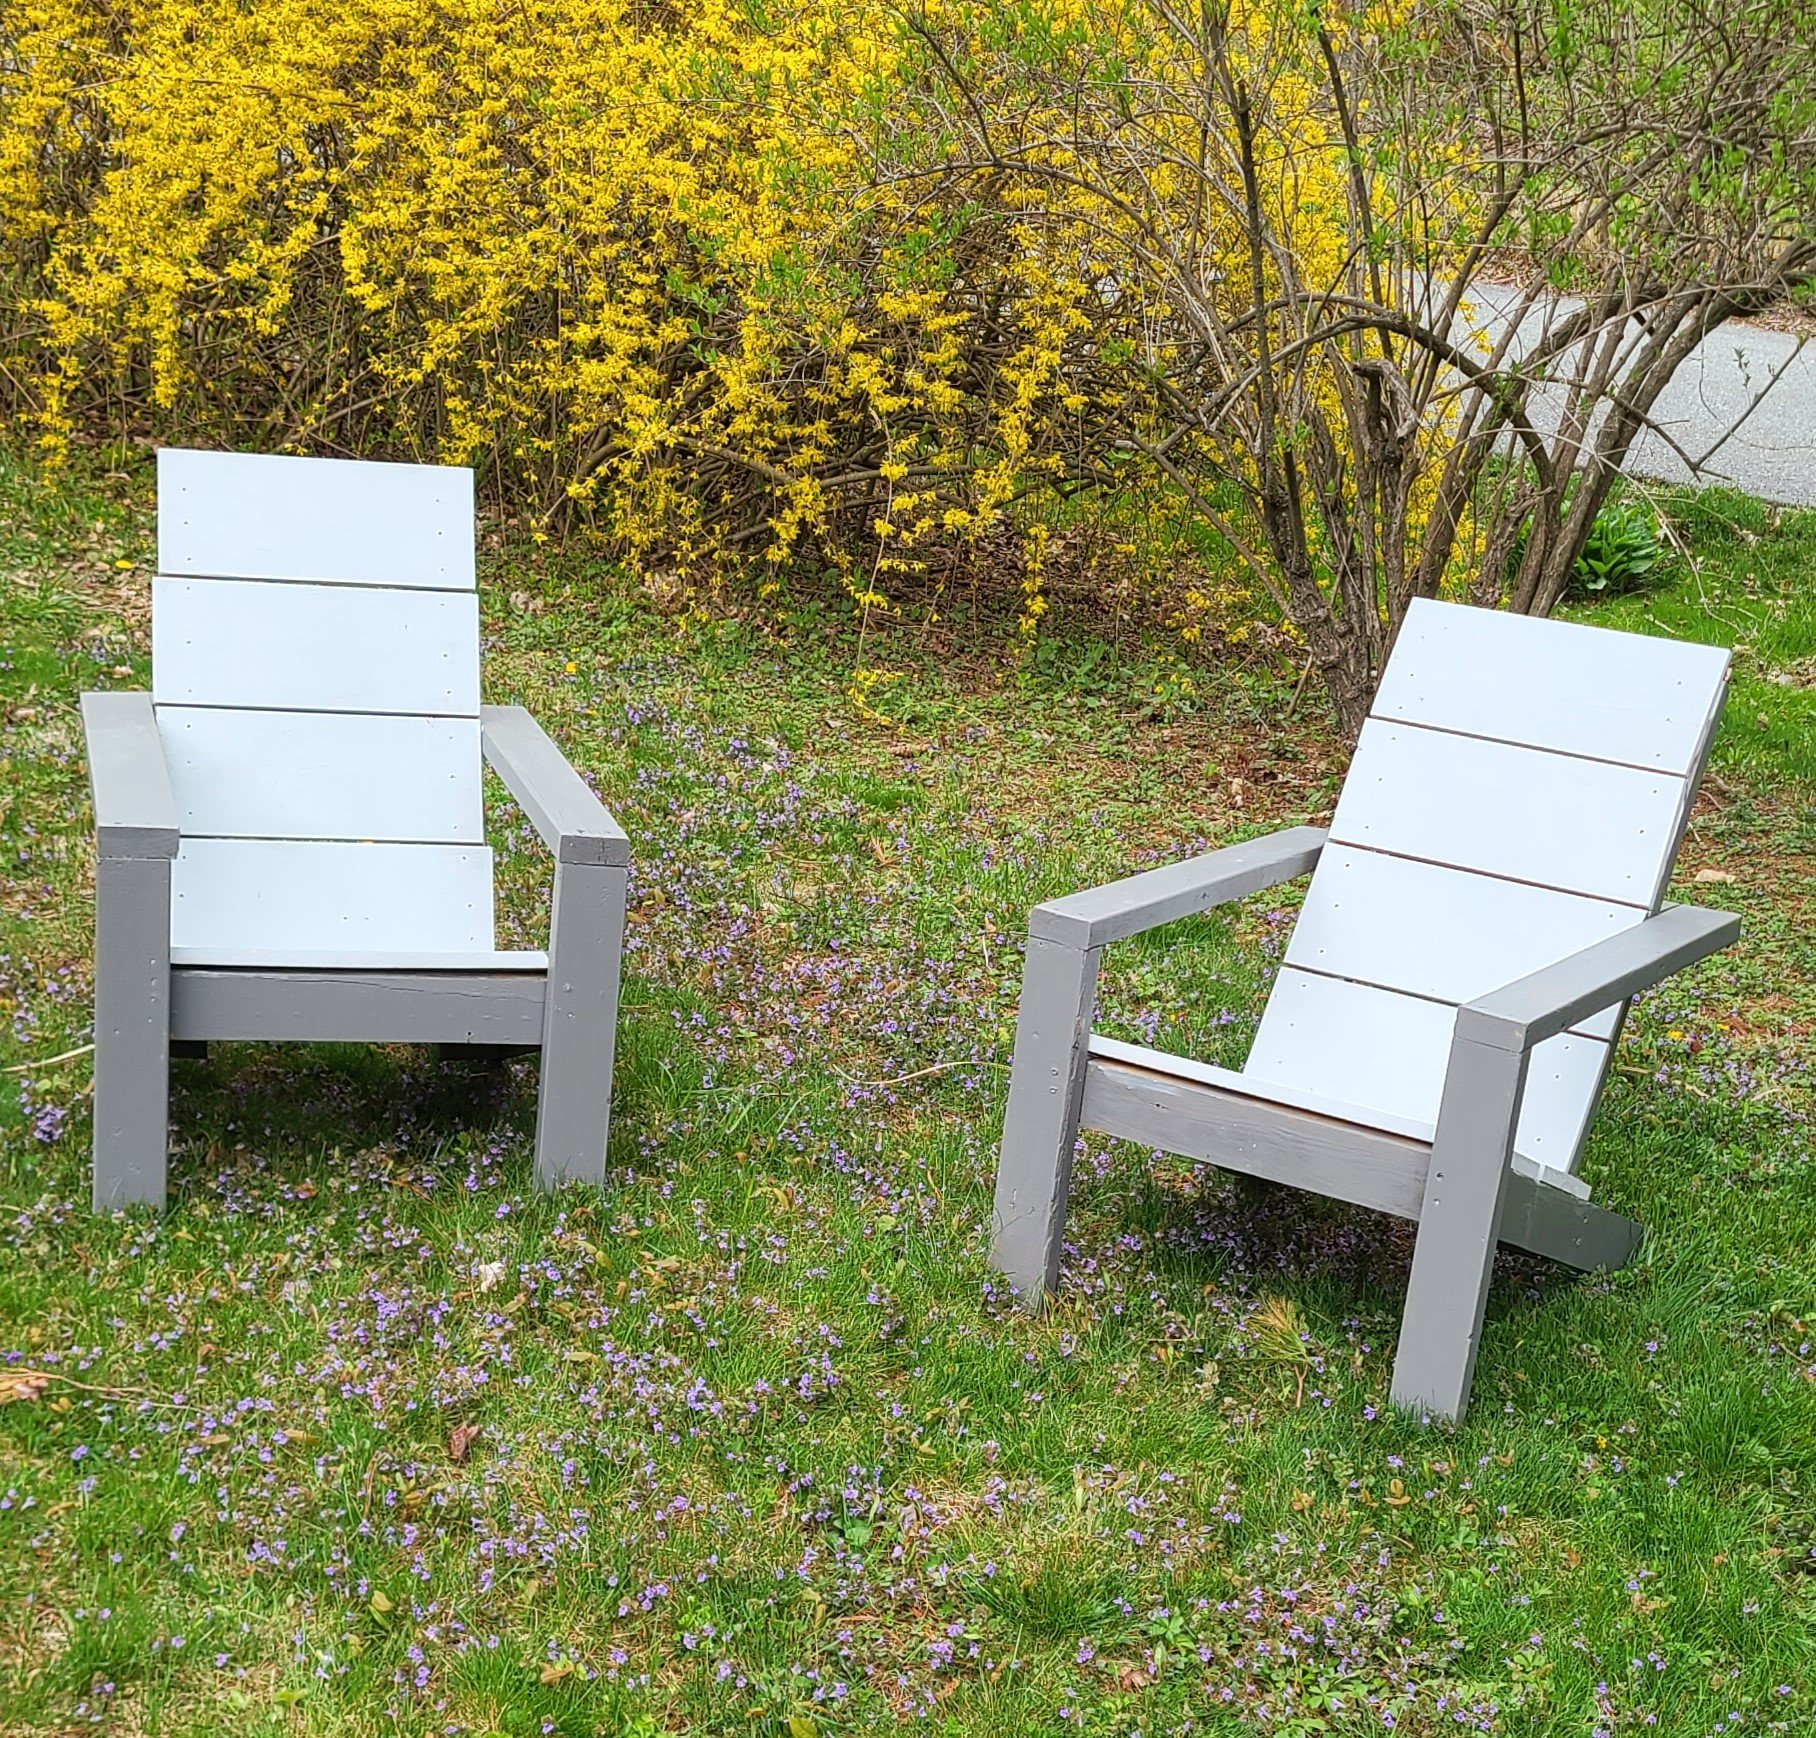
I made these two Adirondack chairs. I decided to put a deck stain on them (Cape Cod Gray and Pewter)
Greg Porpora
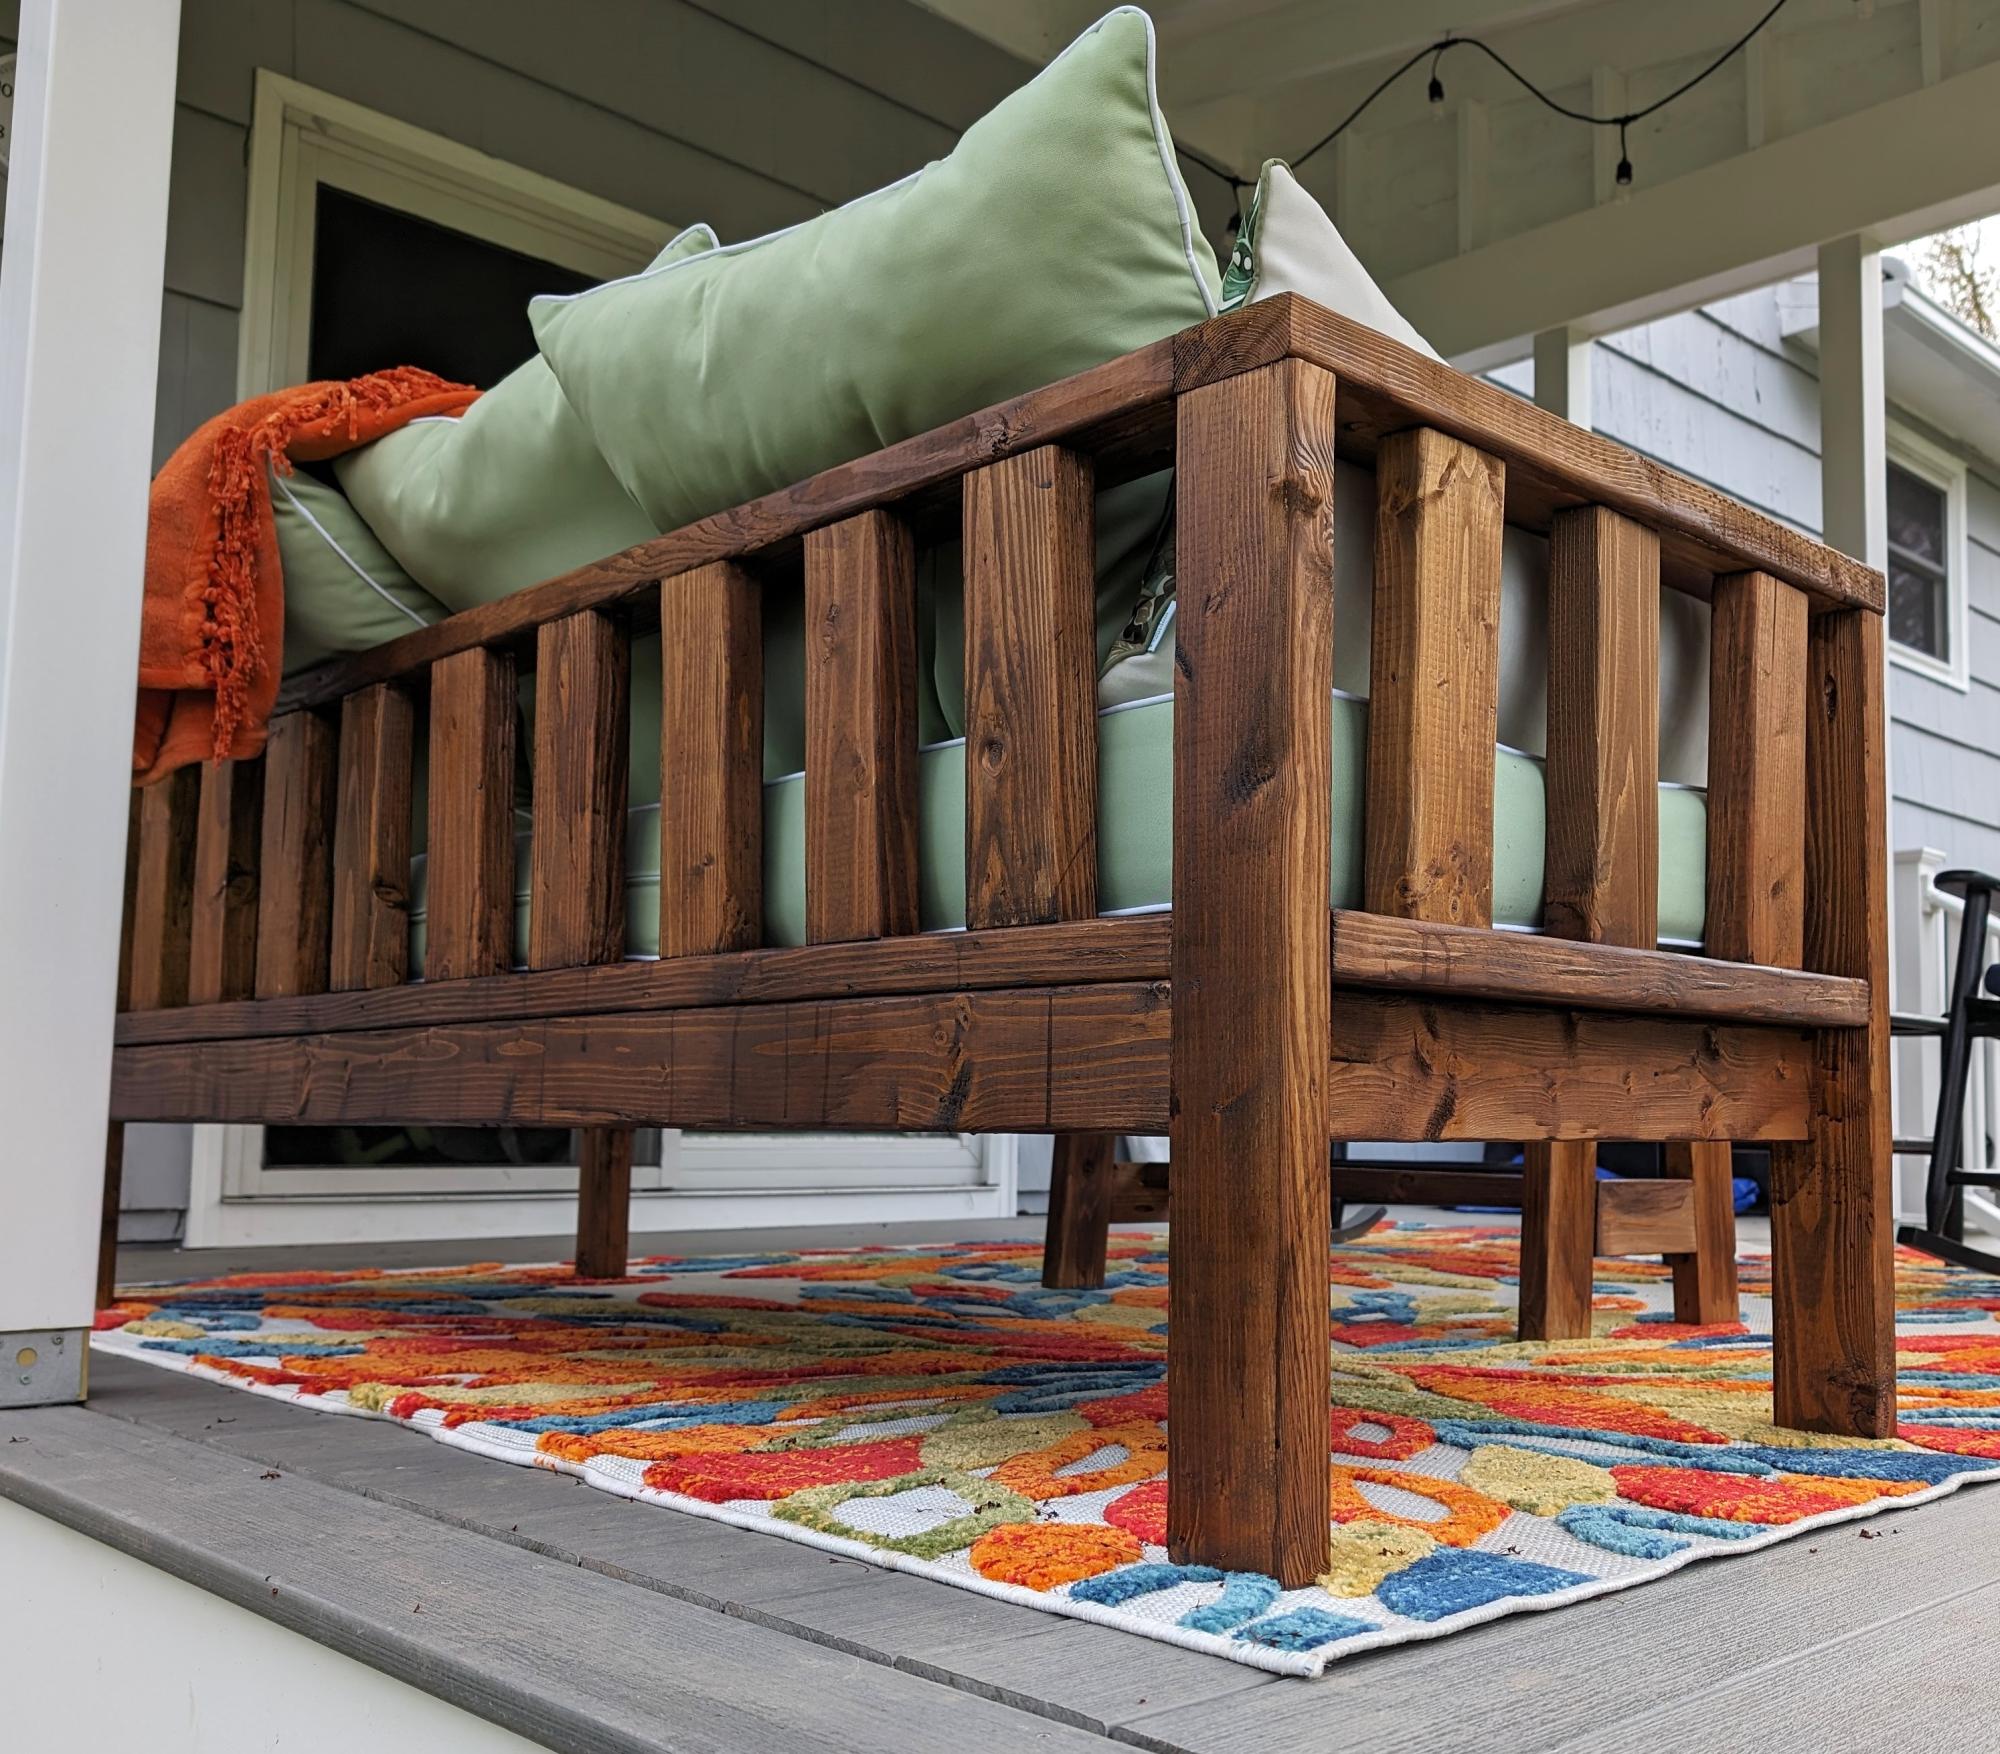
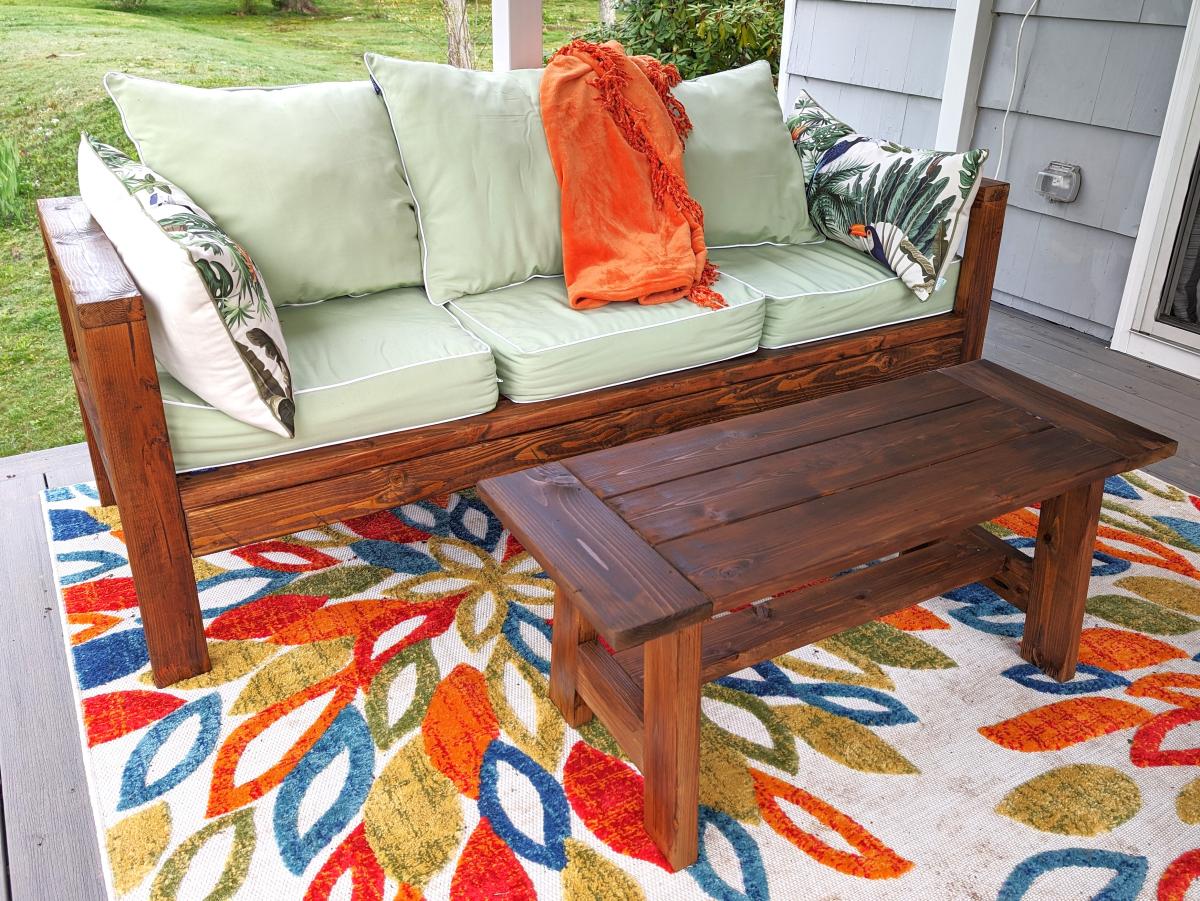
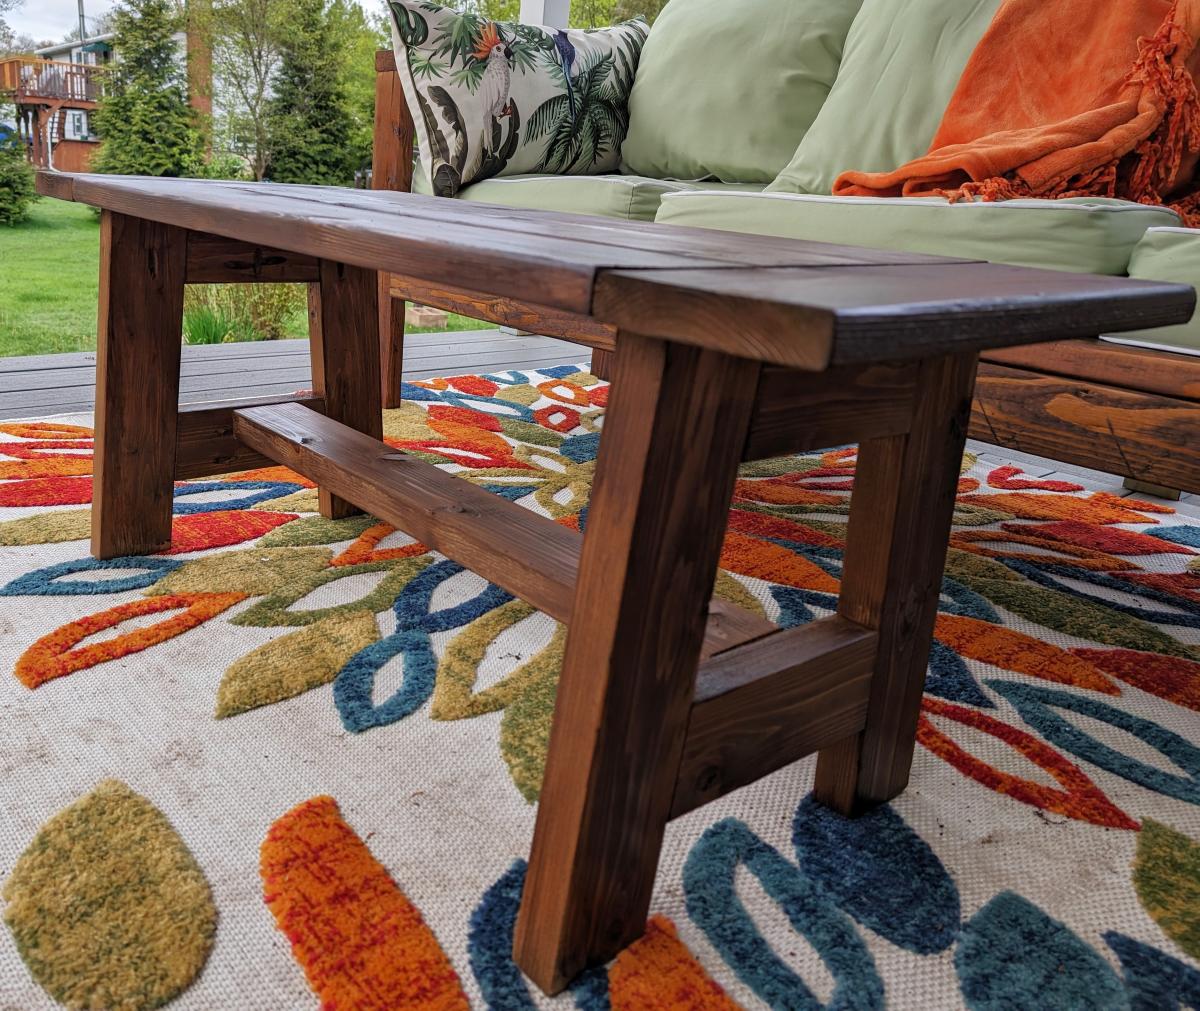
The sectional is based off the 2x4 outdoor sectional plans and the table is loosely based on the 4x4 truss beam table plans, although it's built out of leftover cedar decking boards and 2x4's. I made some additional adjustments to the sofa to keep the pillows in place and used the full 10' boards from the plan (and a few extra). Super happy with how it turned out!
Sarah E
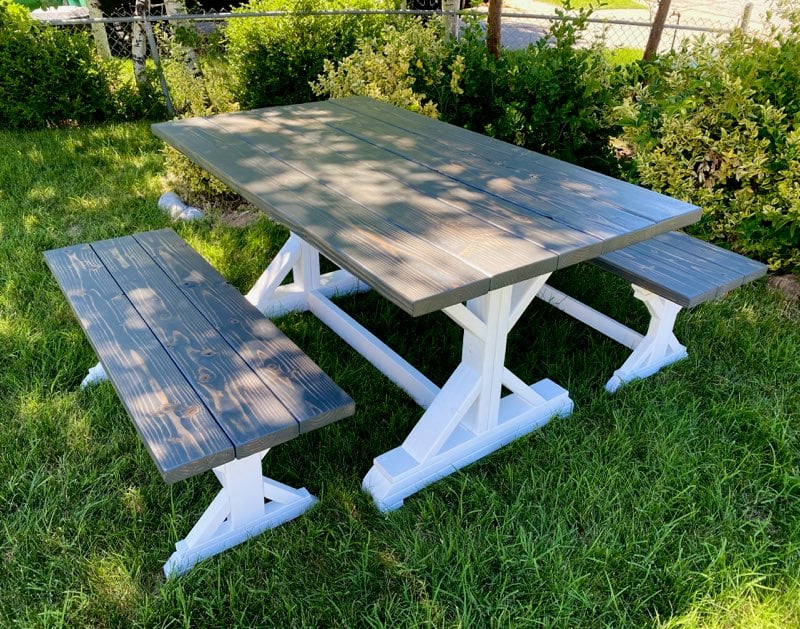
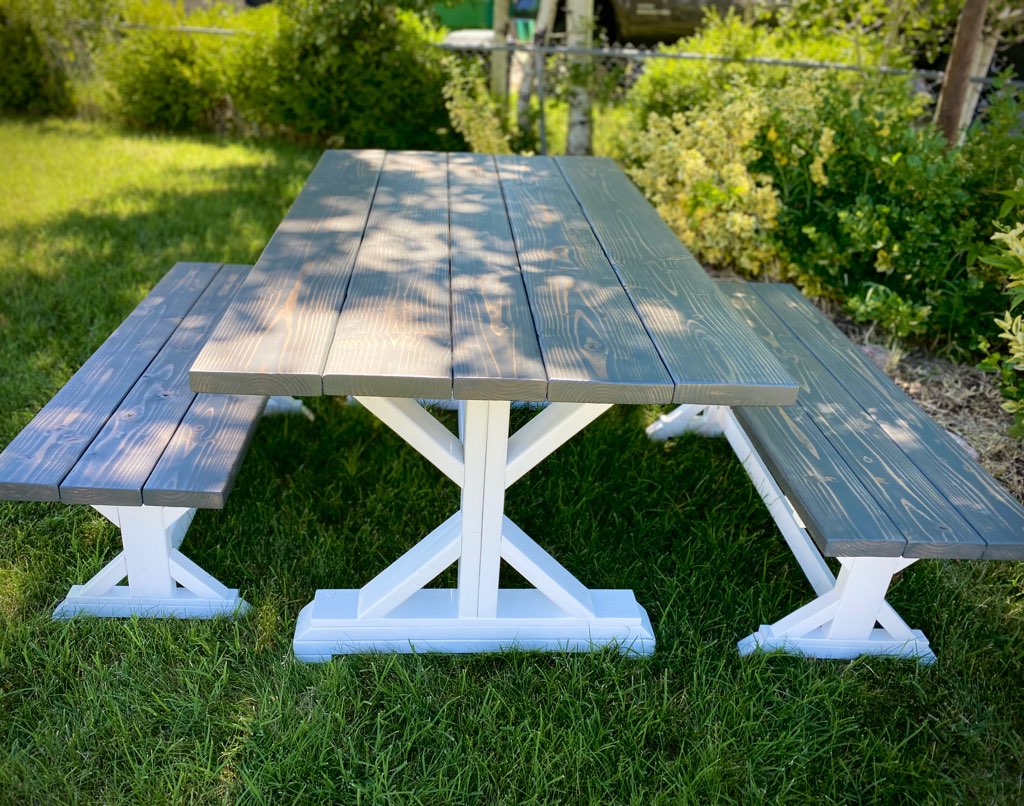
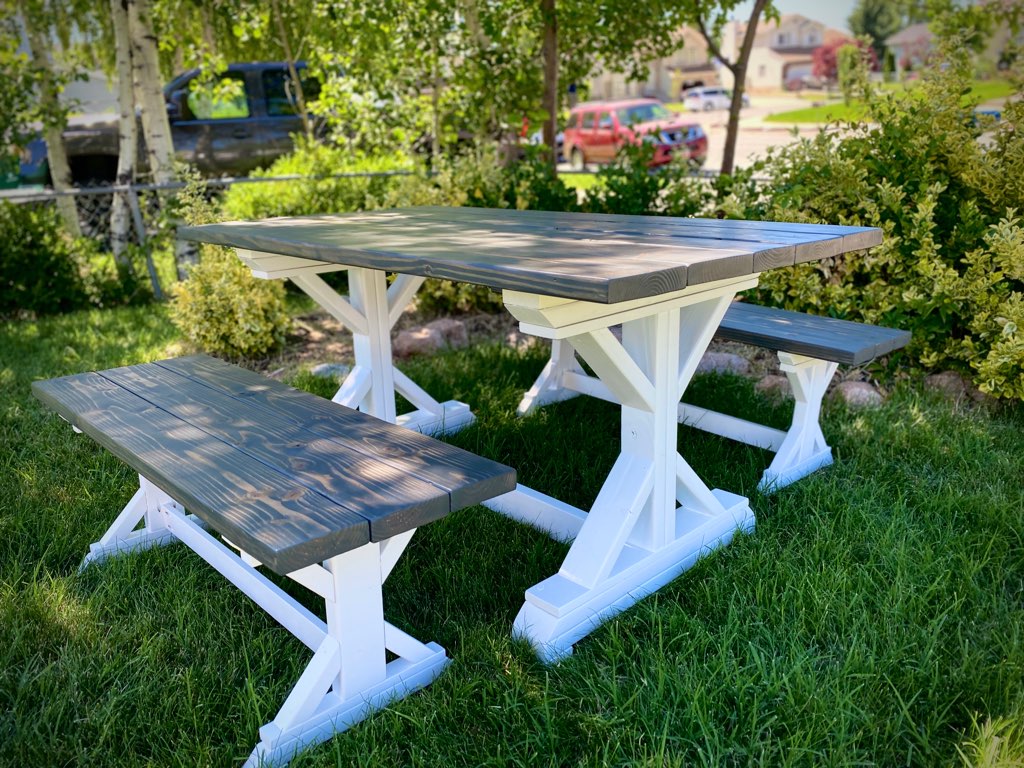
Modified the size of the Fancy X Farmhouse table, down to 34-1/2" x 60", and the benches to fit fully under the table.
The only thing I wish I could change with these plans is how you attach the tabletop. Because you are stacking wood for the base, and there are no aprons, you have to attach the top by going through the table top. But wood filler and stain hides them well enough, but I'm never the biggest fan of going from the top. I prefer to hide the screws on the underside.
Other than that, I love building this table.
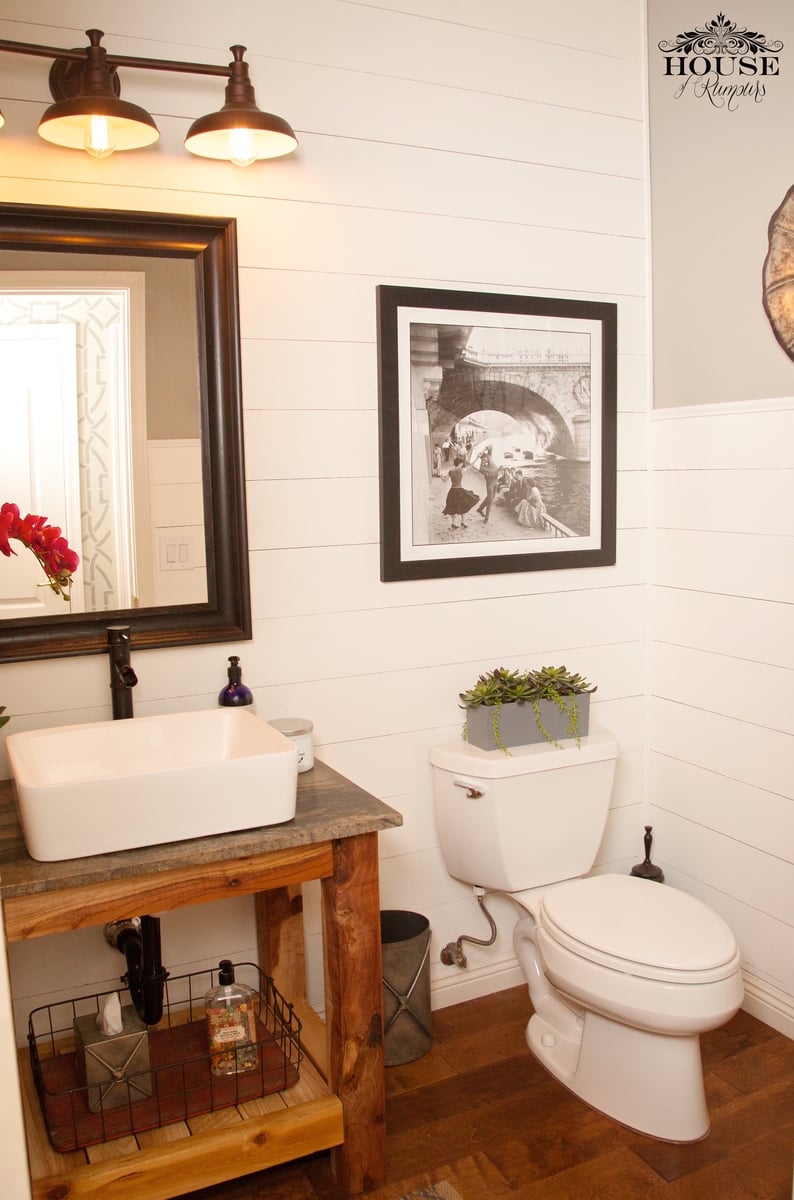
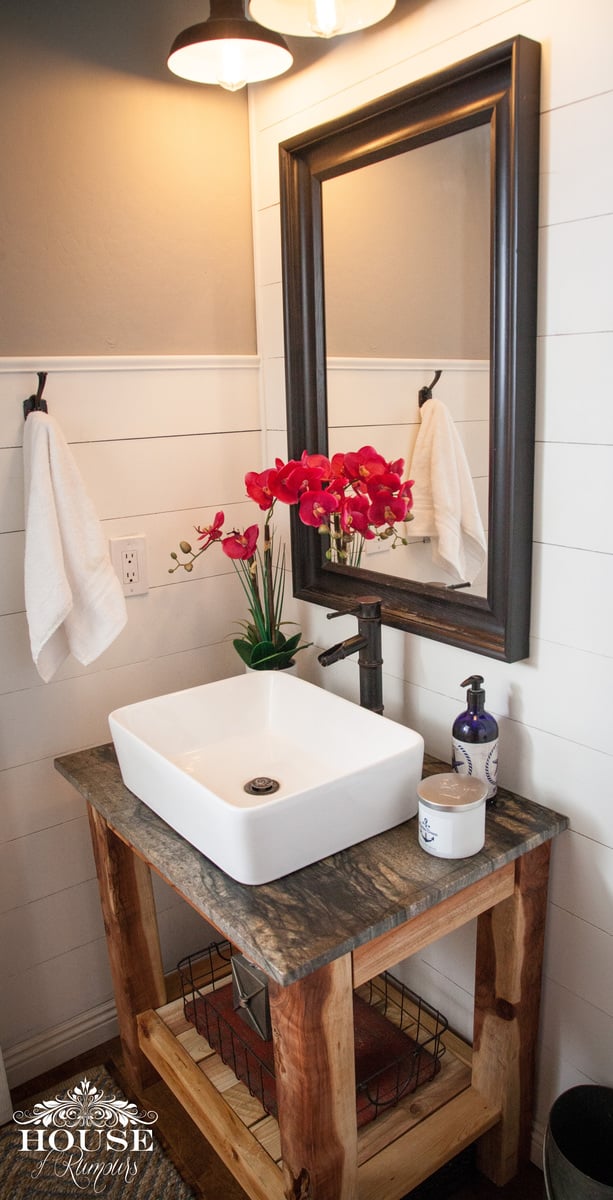
It had come time to renovate our powder room bathroom. We were on a tight budget so we decided to build our own vanity & add a little twist to it! We splurged on the granite countertop, vessel sink and faucet. Thanks to Ana White we built our vanity for less than $10! The plans were easy to follow . . . .we are so proud of our wood vanity! link to our blog: http://www.houseofrumours.com/shiplap-powder-room-diy-vanity/


A birthday present for my best friend. Turned out awesome!

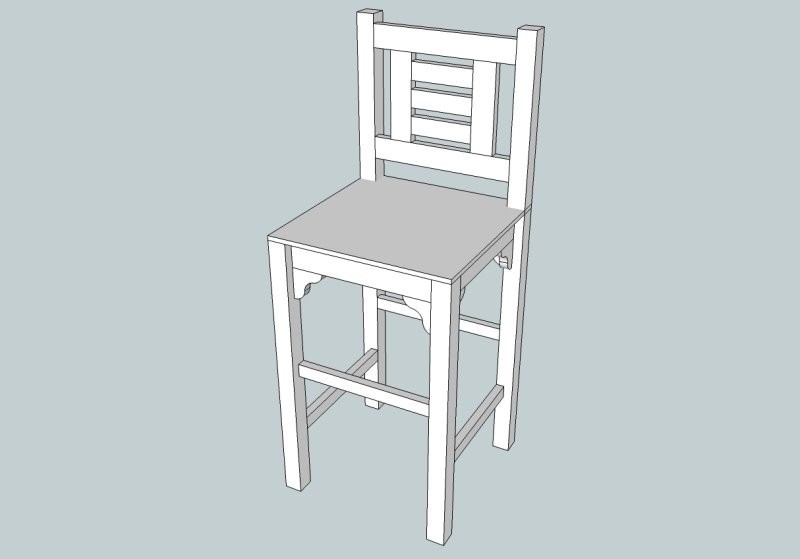
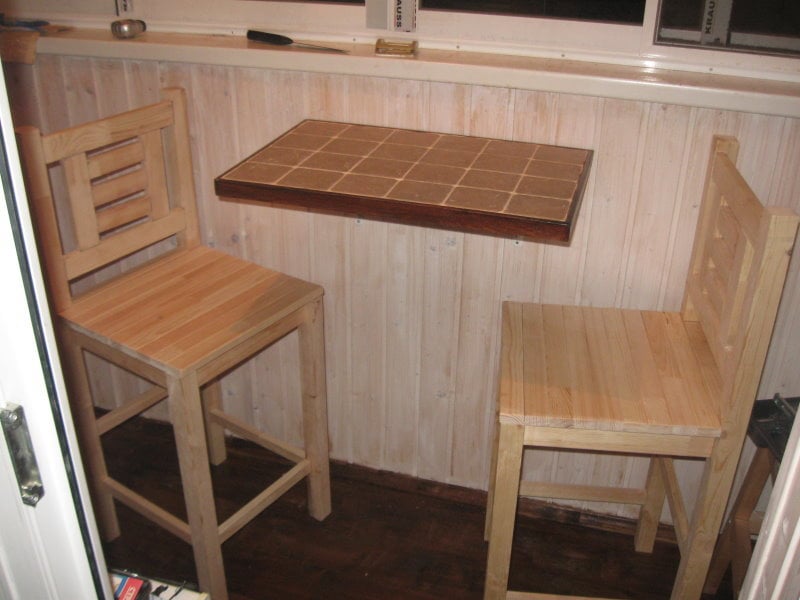
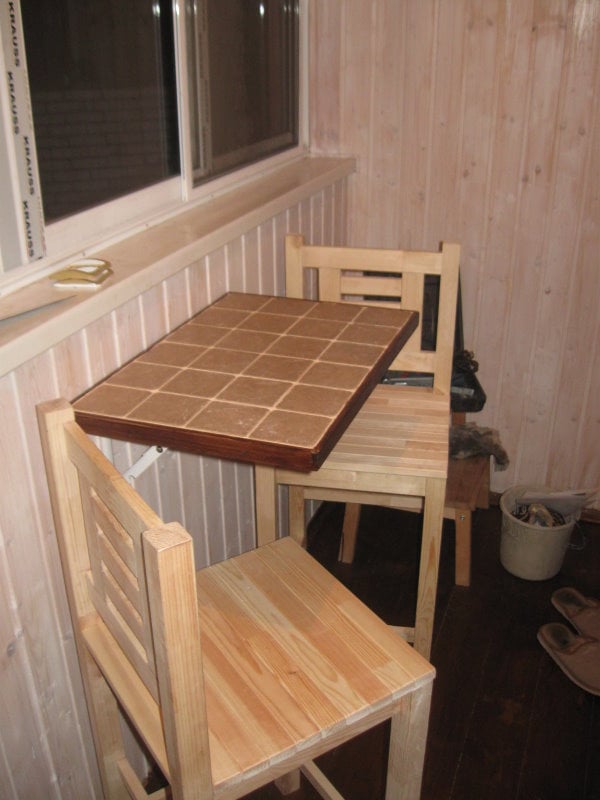
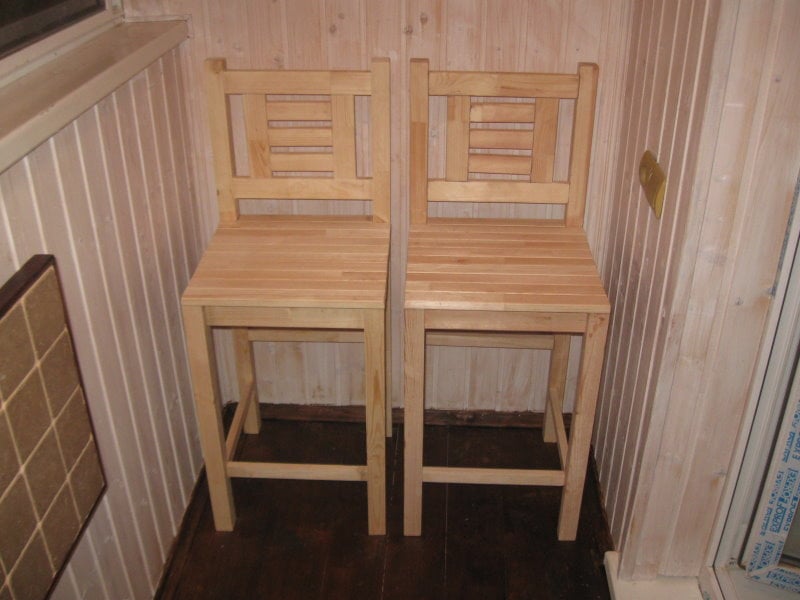
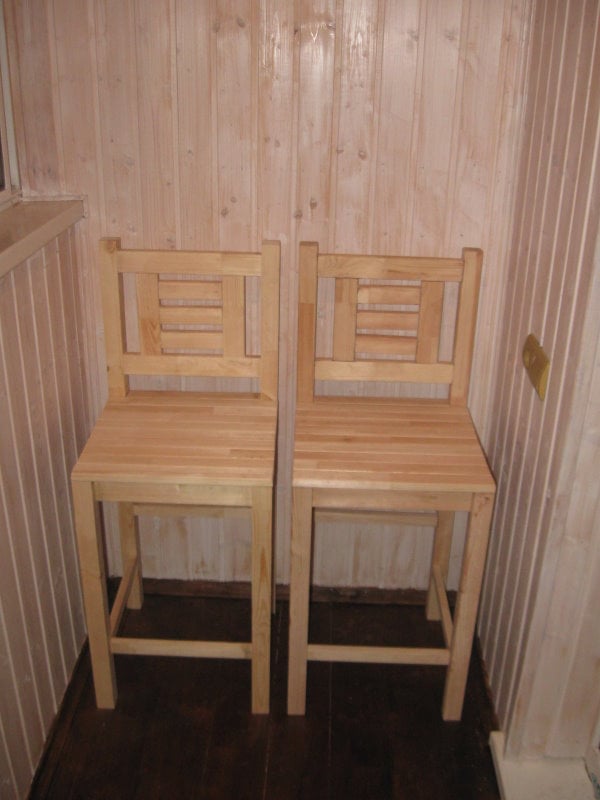
I tried to repeat the Vintage Bar Stool project from ana-white.com, modifying it to my place dimensions. I'm gonna use them on the balcony which has rather high fence, so the table you can see on photo is higher than the average table. So, the stool should be higher too. And than I saw the Vintage Bar Stool project and desided: here ir is!
You can visit my blog to see some photos of the process of the making these stools. Pls. note that English is not my native language. The blog link leads to the page in Russian.
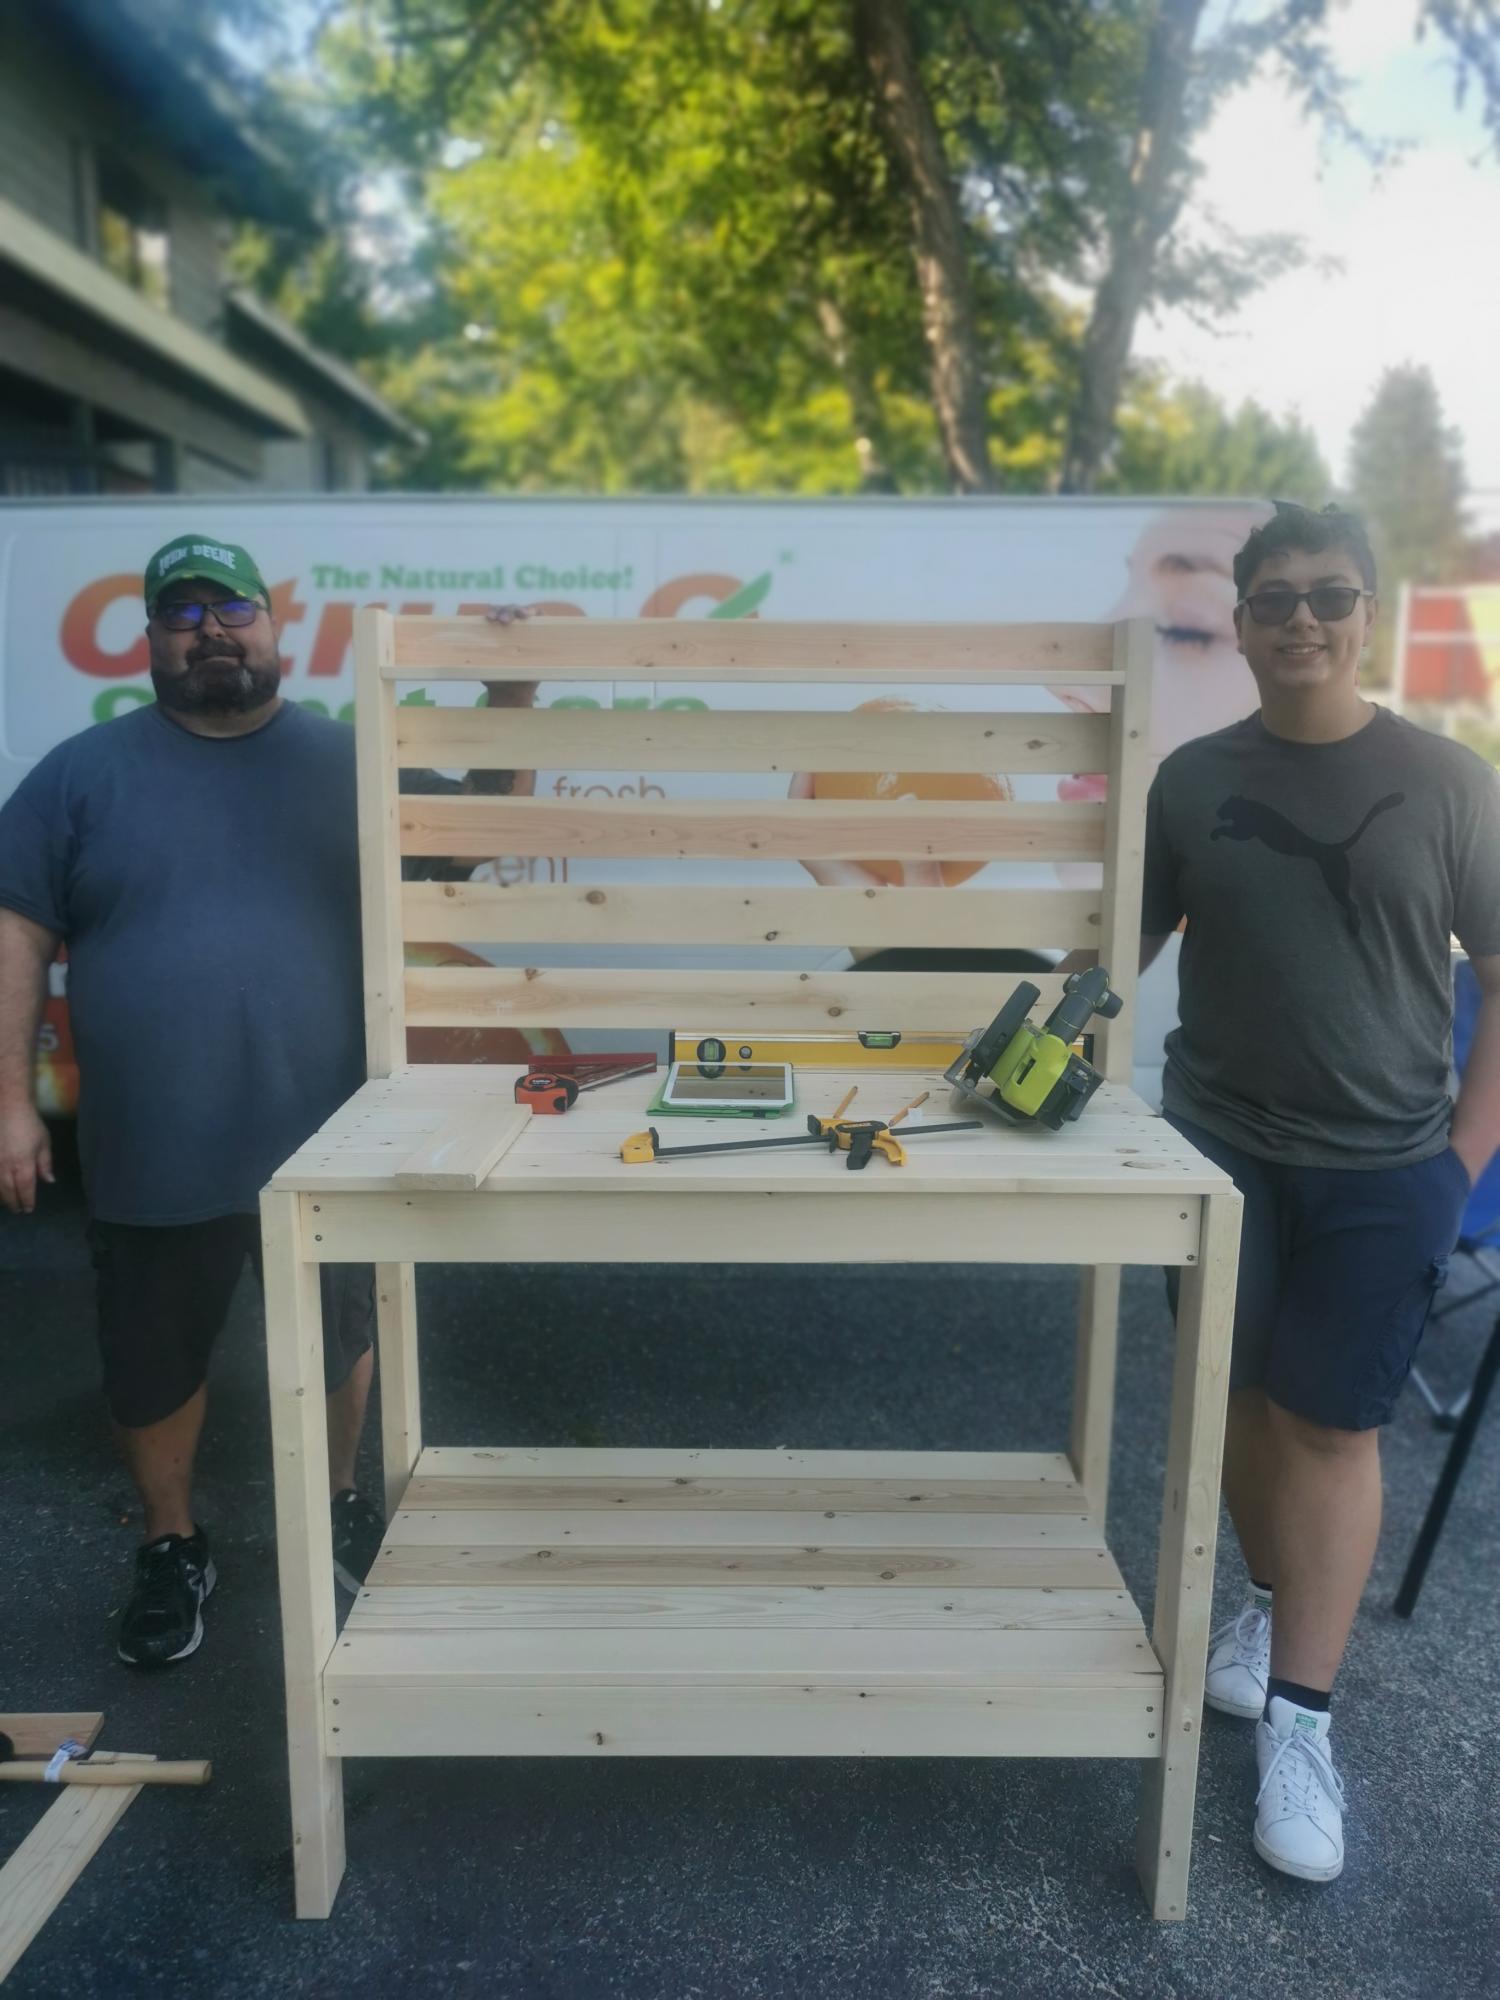
This was an amazing first project for us. Thank you for the plans and the step by step instructions
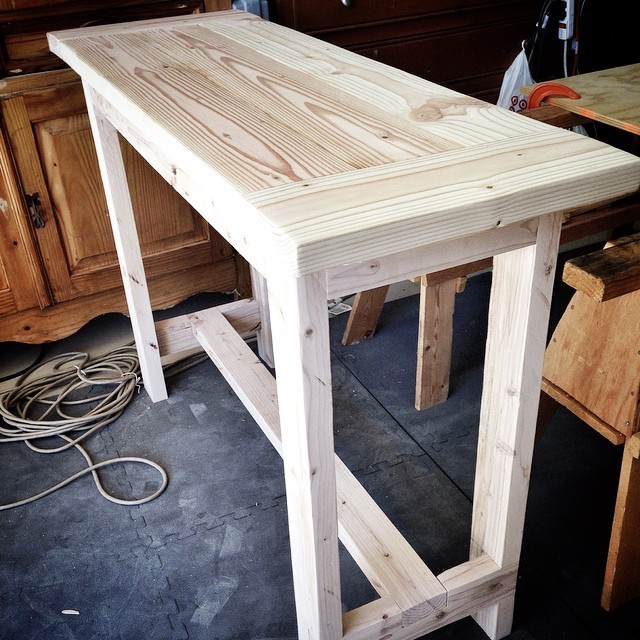
The Tryde Console table was the inspiration piece. Used kreg jig to join the top boards and connect the legs and aprons. The bottom stretchers were similar to the Farmhouse table plans. I plan on using this outside for a grilling table. I am not going to apply a finish - I want to see how the wood changes when exposed to the elements - hopefully it gets a nice Restoration Hardware-type finish.