Community Brag Posts

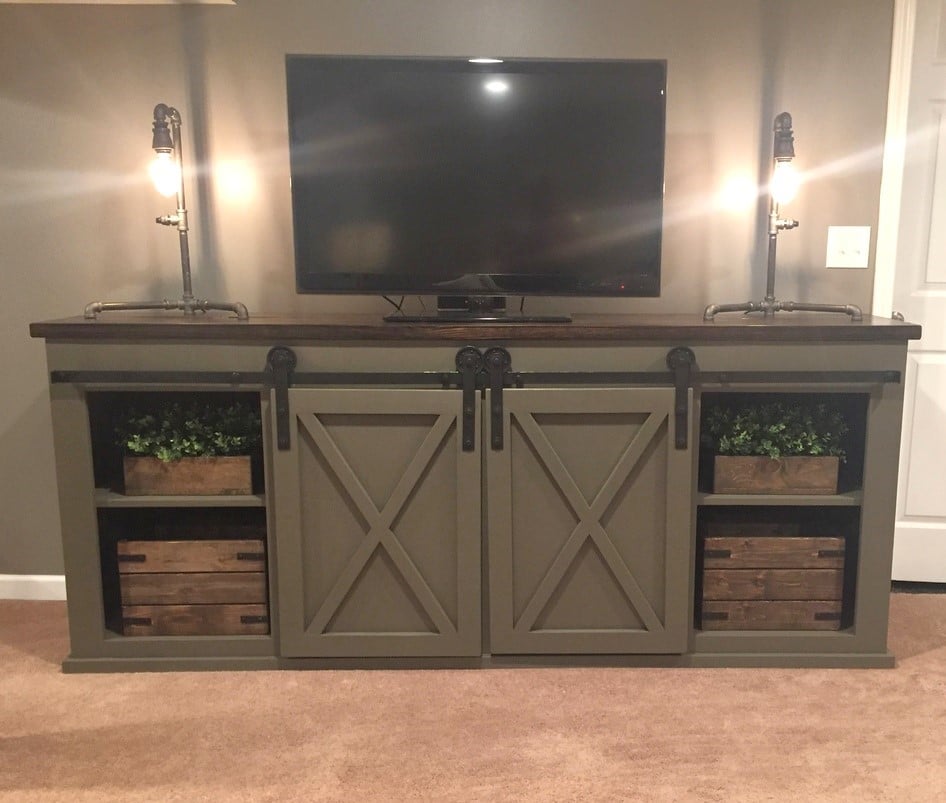
Grandy sliding door console

We needed a new TV stand, so me and my boyfriend picked out this plan. We worked on it together. It took us about a week. Barn door hardware is pricey, so we made our own hardware with steel stock and garage door pulleys.

Built from Plan(s)
Estimated Cost
$250-300
Estimated Time Investment
Week Long Project (20 Hours or More)
Finish Used
Dark walnut top
"Porpoise" by Sherwin Williams for base
Recommended Skill Level
Intermediate

Comments

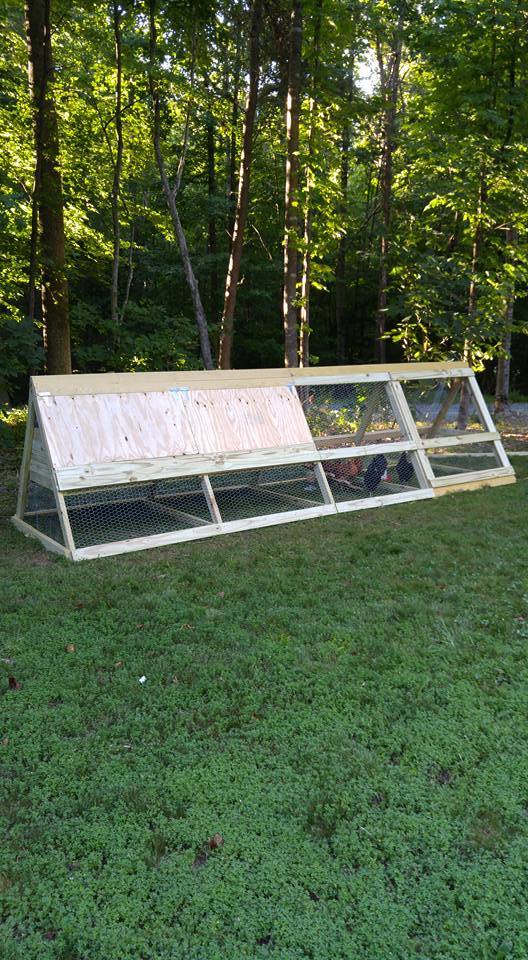
Coop and run for Six

Submitted by Anonymous (not verified) on Sat, 09/24/2016 - 08:10

We wanted our chickens to have plenty of room for when we ere not home and could not let them free range in the yard.  One of the six was a rooster-- and long story-- but we don't have him any more-- so 5 chickens now enjoy this coop/run.  It cost about $300 in supplies.  It is 16 feet long.

Built from Plan(s)
Estimated Cost
$300
Estimated Time Investment
Weekend Project (10-20 Hours)
Finish Used
unfinished
Recommended Skill Level
Intermediate

Comments

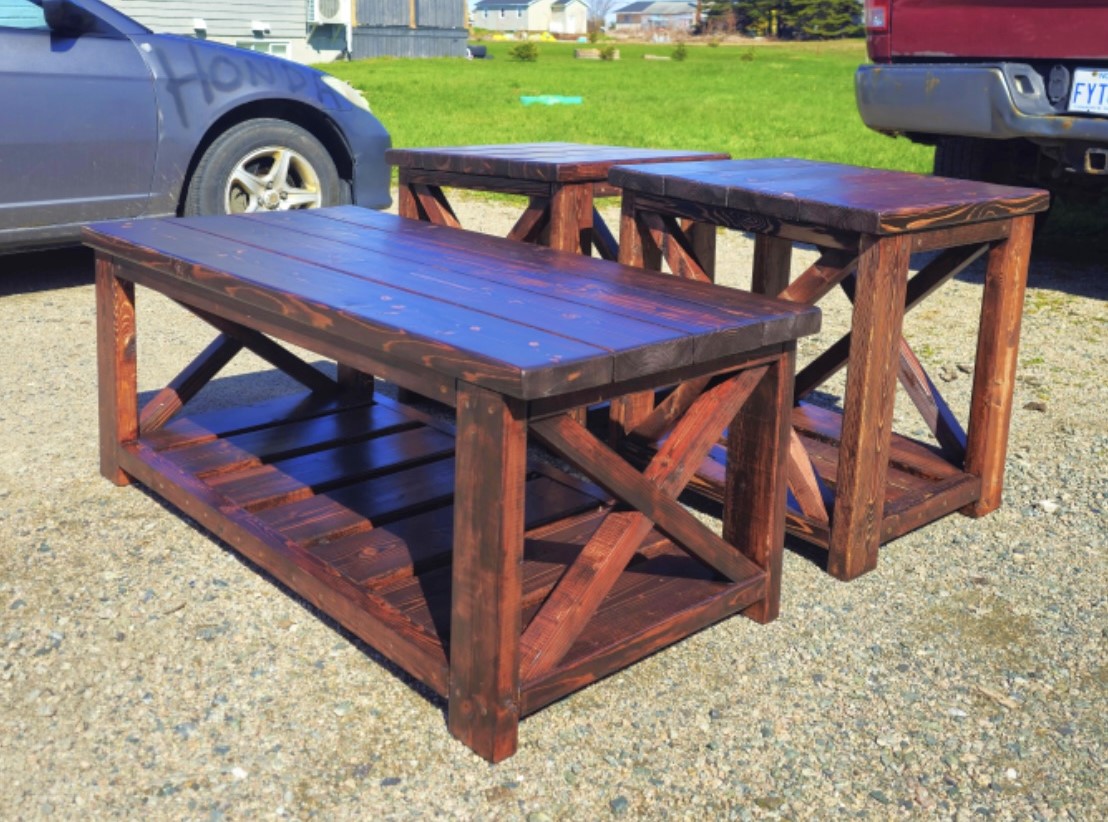
Farmhouse Tables

Submitted by Anonymous (not verified) on Wed, 05/15/2024 - 08:28

I used red mahogany 225 minimax stain along with 3 coats of diamond wood finish I gave it a very quick sanding with 600 grit sand paper right before the last coat of the diamond finish and it came out silky smooth and the color really pops. I am just a beginner and I thought this project was gonna be quick and easy because I'm used to having to plain all my wood and get it all ready before putting it together I slapped this together in no time but finishing it without a spray gun after it was all together was a very lengthy process.

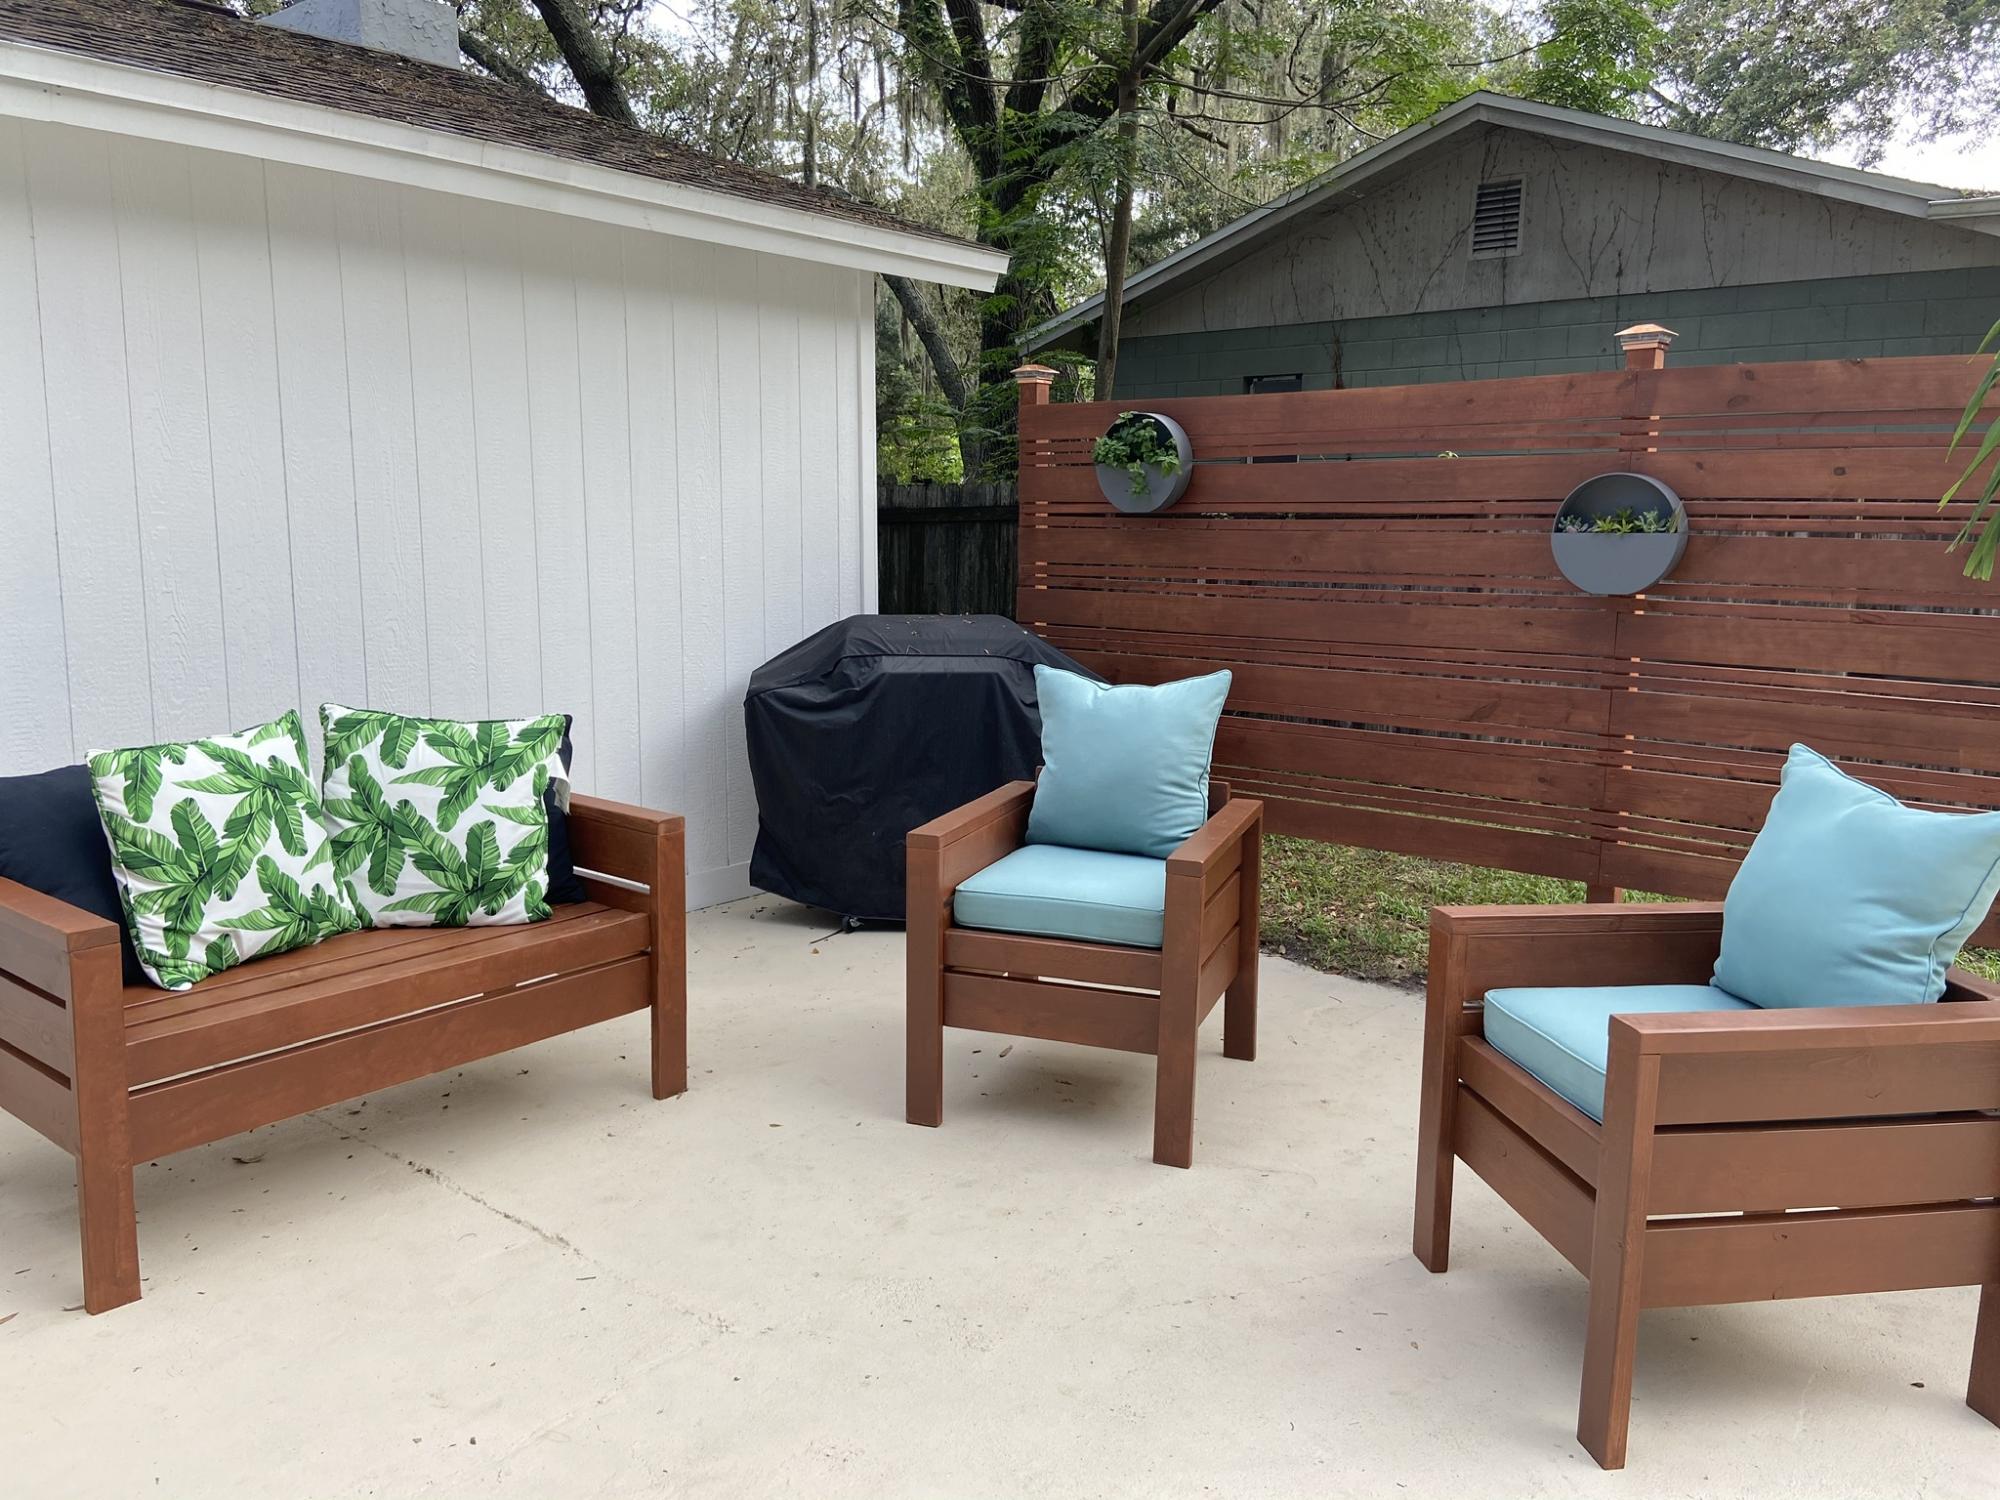
Outdoor Patio Set (Tall People Approved)

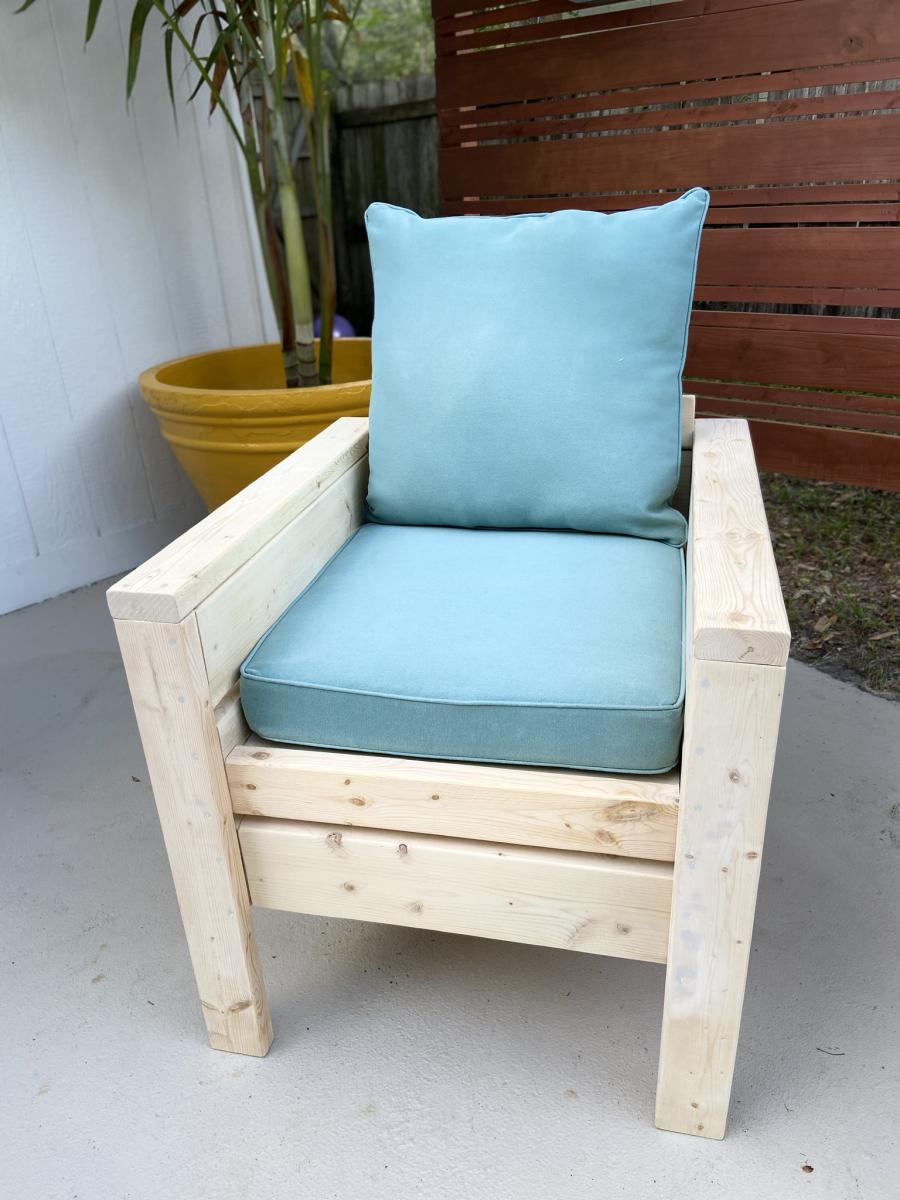
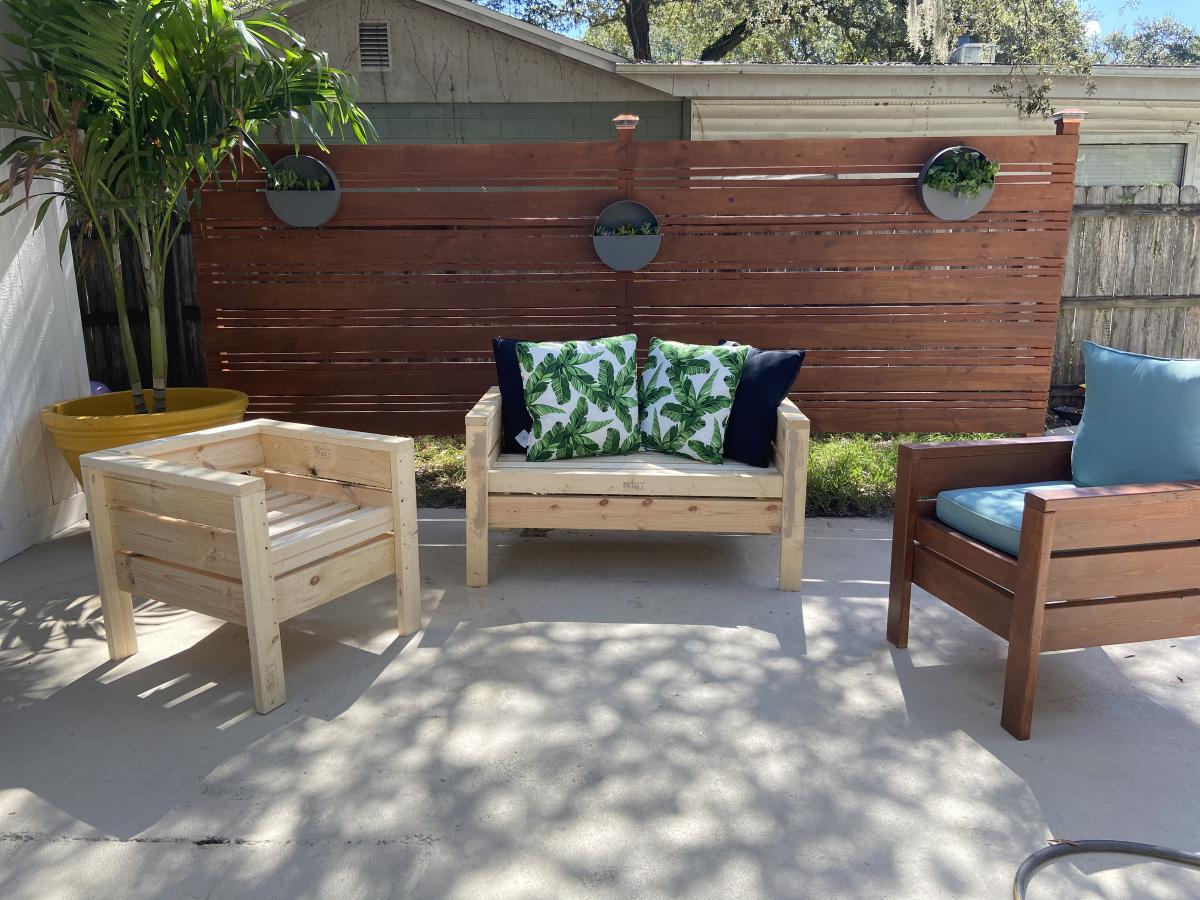
I was so excited to build this outdoor patio set! My husband and I looked high and low to find an affordable,“tall and sturdy people” outdoor patio set. The sturdy pieces we found were in the $600-$1000s... and I’m sorry.... we’re not paying that. Especially, since most of those sets were not built to hold up in the Florida rain and humidity. So my husband suggested... “ just build it!” I modified the leg length to 28 1/4”, since I have tall family. The cushions were found at Pier1 for a steal since they’re going out of business, so the chairs were modified to fit the cushion size 22”x 22”.

Estimated Cost
$250 with Cushions
Estimated Time Investment
Weekend Project (10-20 Hours)
Finish Used
Thompson Waterseal- transparent- Autumn Brown
Recommended Skill Level
Beginner

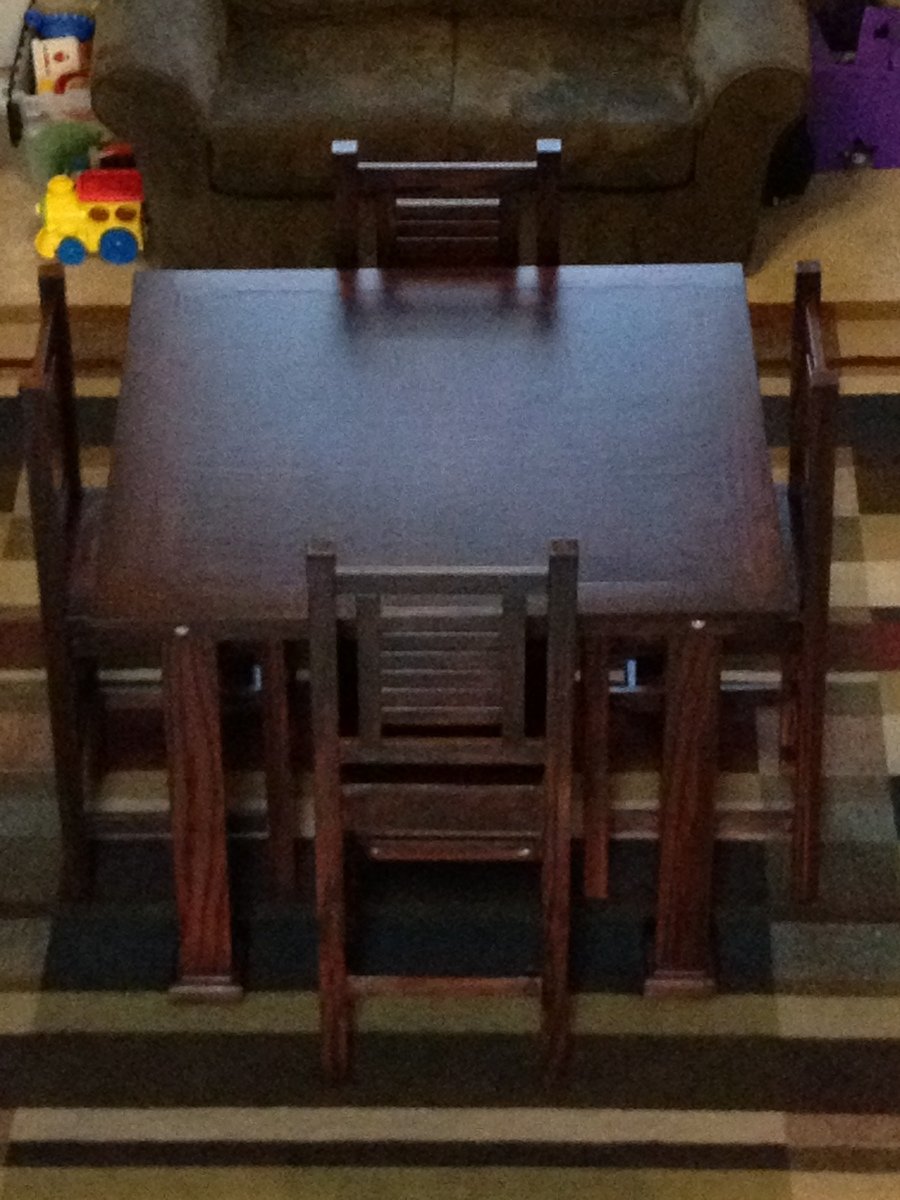
Square Farmhouse Table

Submitted by eddingsr on Sun, 01/08/2017 - 13:17

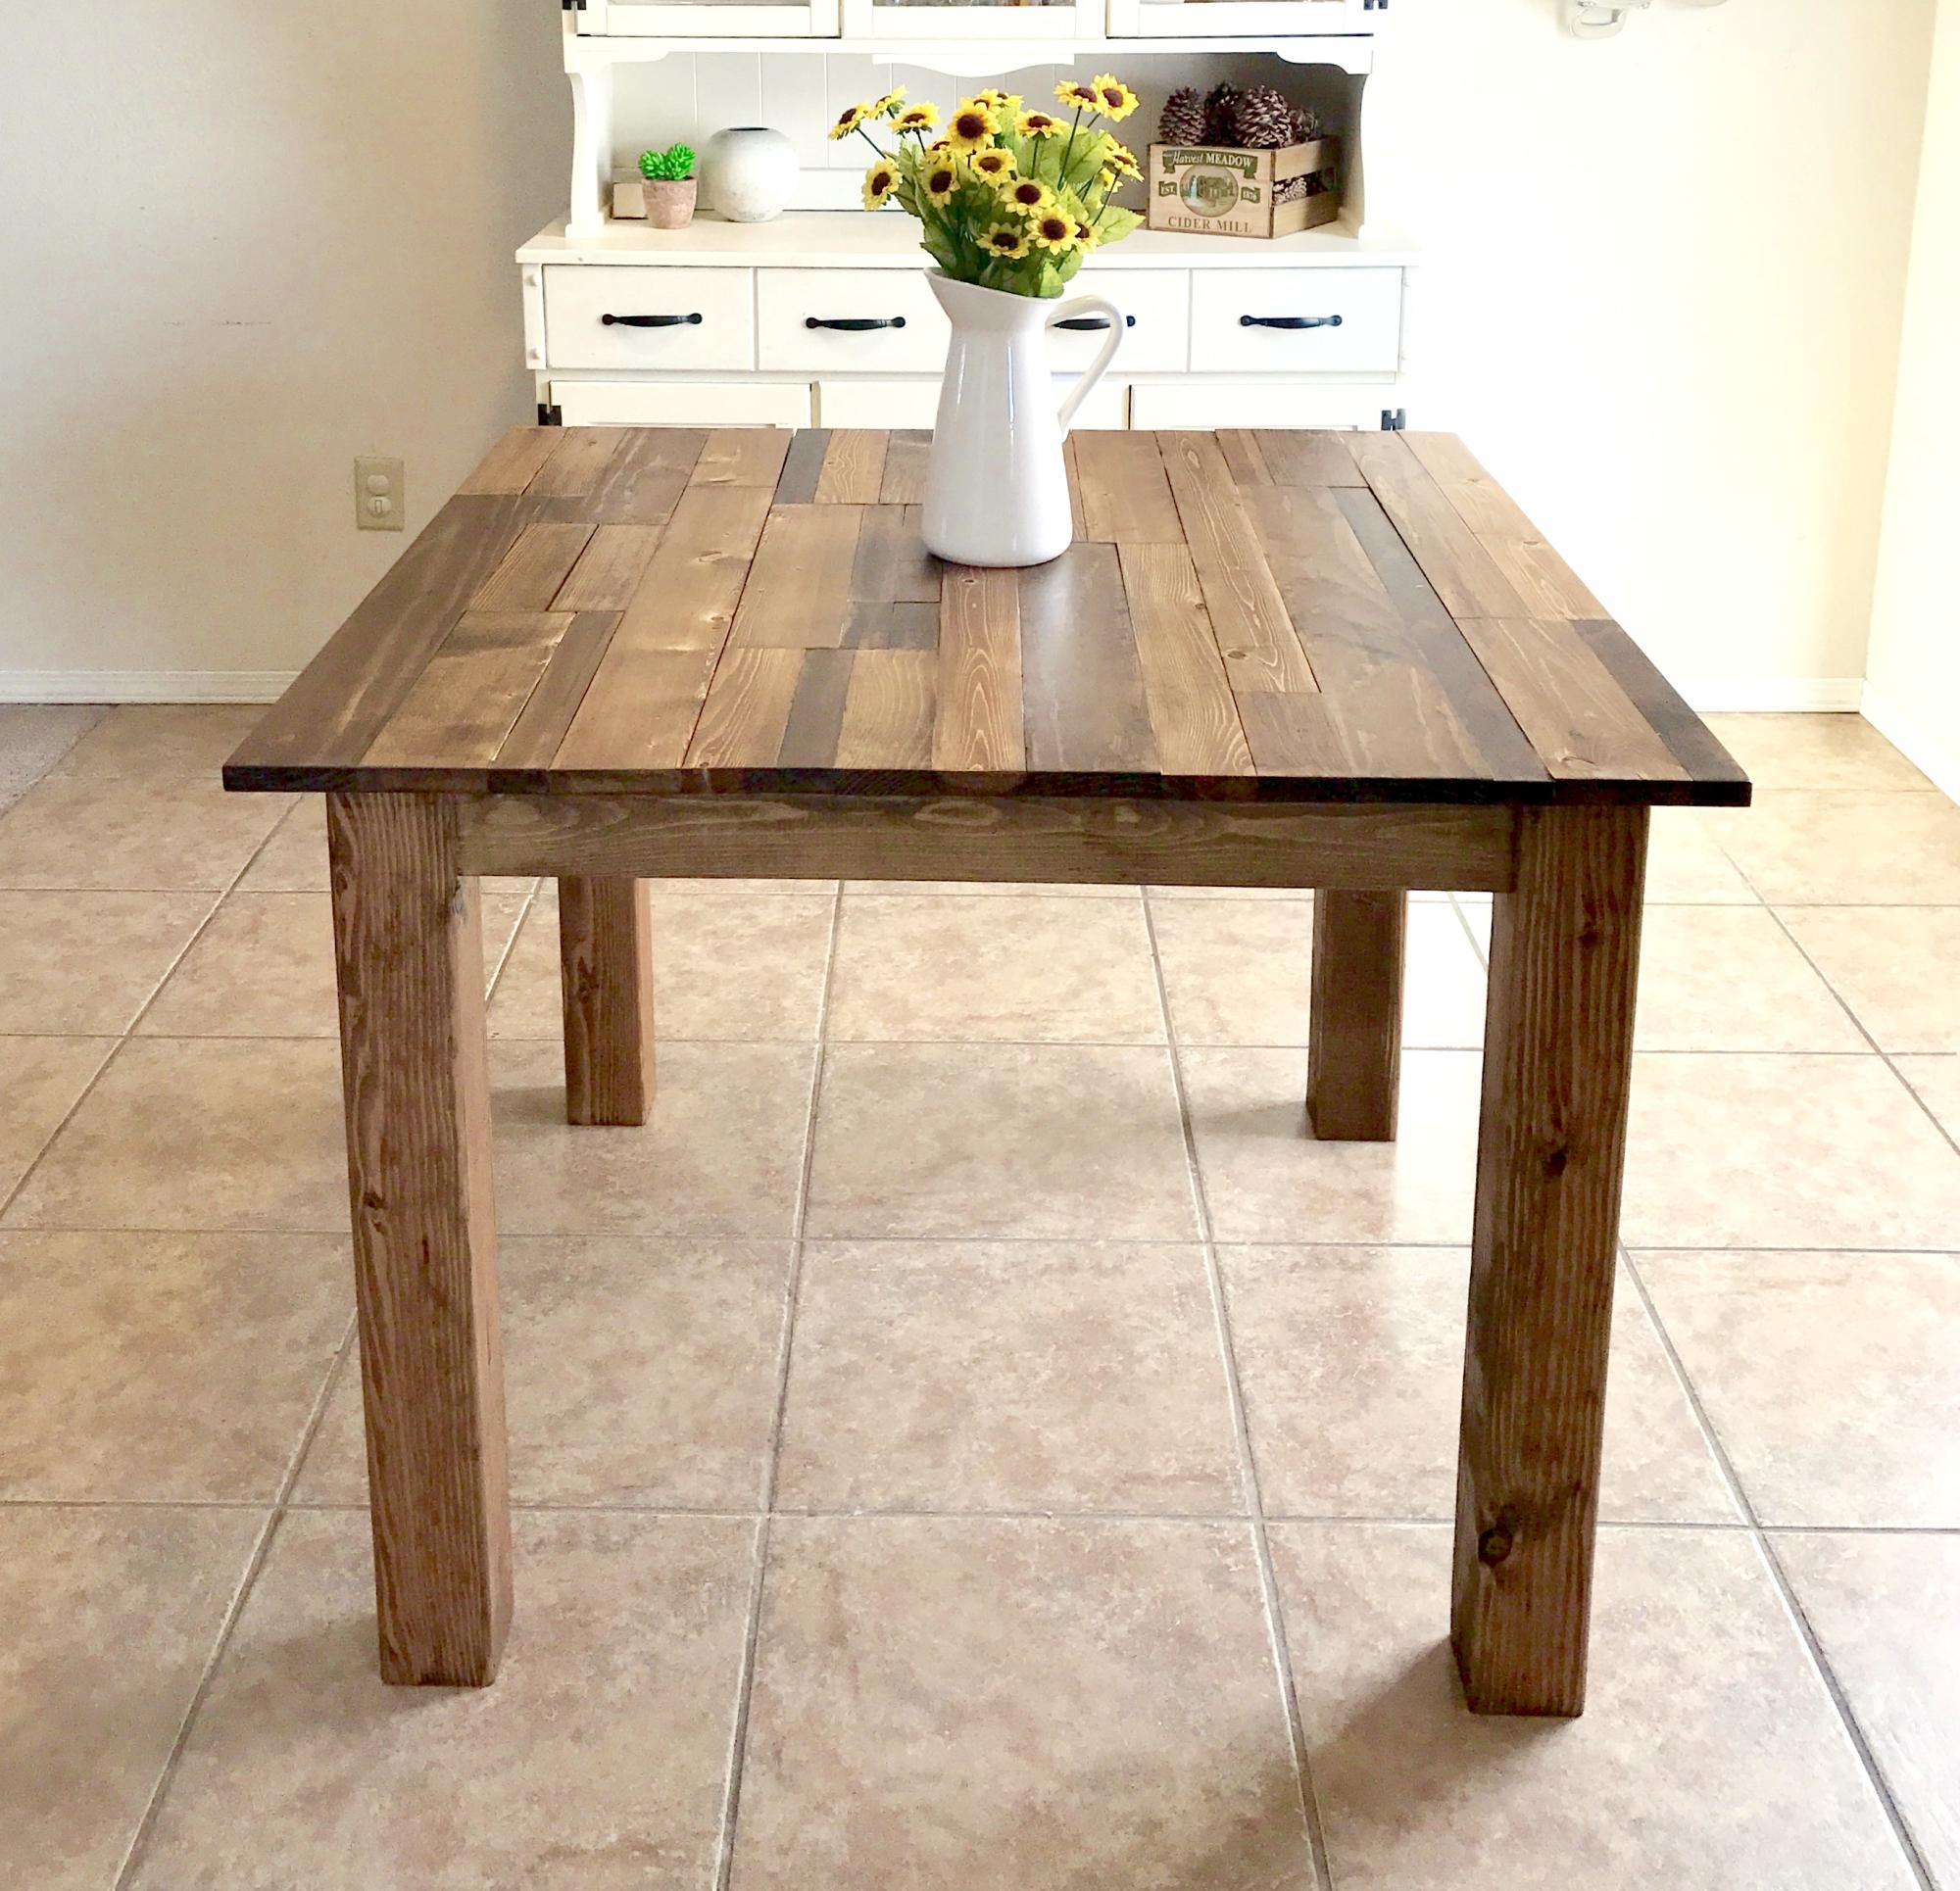
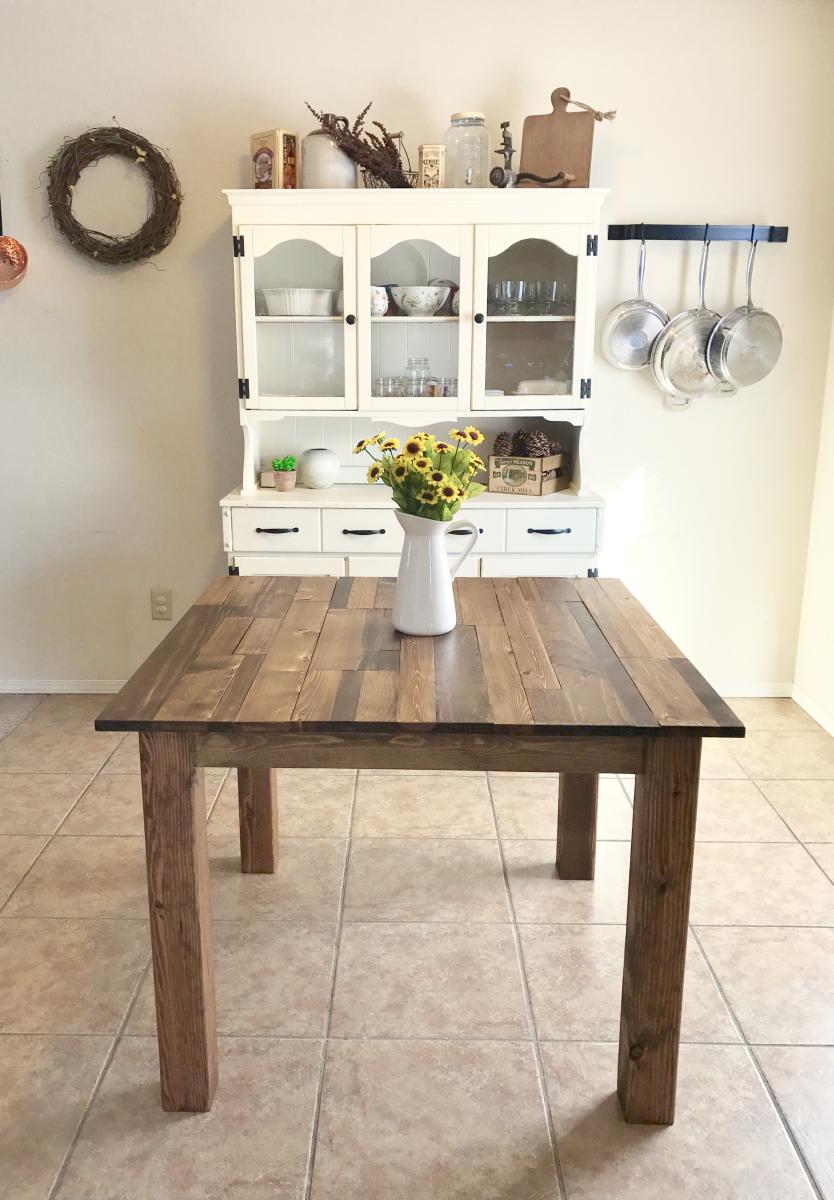
I built this table for a friend who wanted a rustic, plank-top kitchen table. She wanted a square table with 4x4 legs. Since I don't have clamps, I used pocket holes and wood glue for the table top. Also, I only have a 7&1/4" miter saw, which means the 4x4s were too thick to cut. So I made one cut in the legs, then flipped them and made another. It worked! :) I sanded down the sides of the table top with 80 grit. They needed to be evened up since some of the planks were a little longer than others. I back braced underneathe the top with (3) 1x3s. Then, I sanded all over with 120, vacuumed, then wiped it down with a damp towel. Fun build!! 

Estimated Cost
~$100 for lumber, screws, wood glue, sandpaper, and finishing products.
Estimated Time Investment
Week Long Project (20 Hours or More)
Finish Used
For the finish I used Minwax wood conditioner, then a coat of Minwax stain in Provincial. I went back and put a second coat of stain on a few of the premium pine pieces, because they soaked up the first coat really well, and I wanted some darker pieces on top. I let those soak for about 15 minutes. Afterwards I did 2 coats of Polycrylic all over, then a third coat for the top only. I dry sanded between coats with 600 grit sandpaper.
Recommended Skill Level
Intermediate

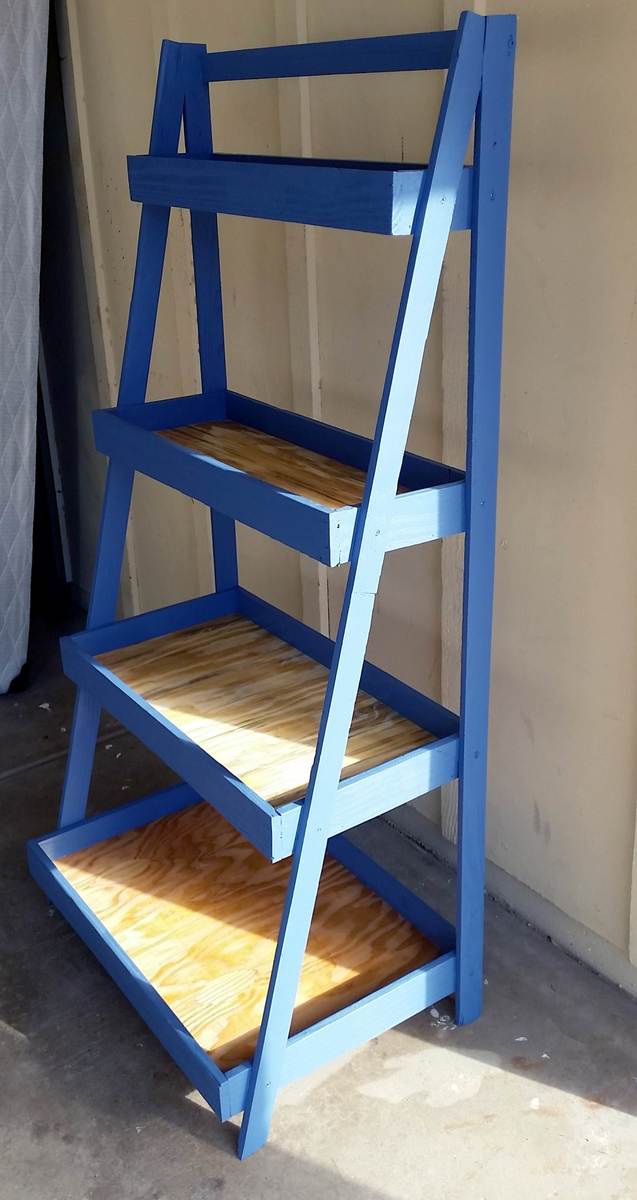
Painters Ladder

Submitted by Slappy on Mon, 01/09/2017 - 18:12

The legs and trim were made from 2x4 that I cut down to size with the table saw. Plywood from a chicken coup I made from Ana''s chicken coup plan was used for the shelf base.

Built from Plan(s)
Estimated Cost
Free, made from scrap wood.
Estimated Time Investment
Afternoon Project (3-6 Hours)
Finish Used
Clear gloss polyurethane and blue paint semi gloss, left over from the chicken coup.
Recommended Skill Level
Intermediate

DIY Glass Top Vanity

For anyone who is interested in building their own glass-top vanity with pull-out drawers :)

Estimated Cost
$150
Estimated Time Investment
Weekend Project (10-20 Hours)
Finish Used
Valspar Ultra White
Recommended Skill Level
Intermediate

Comments

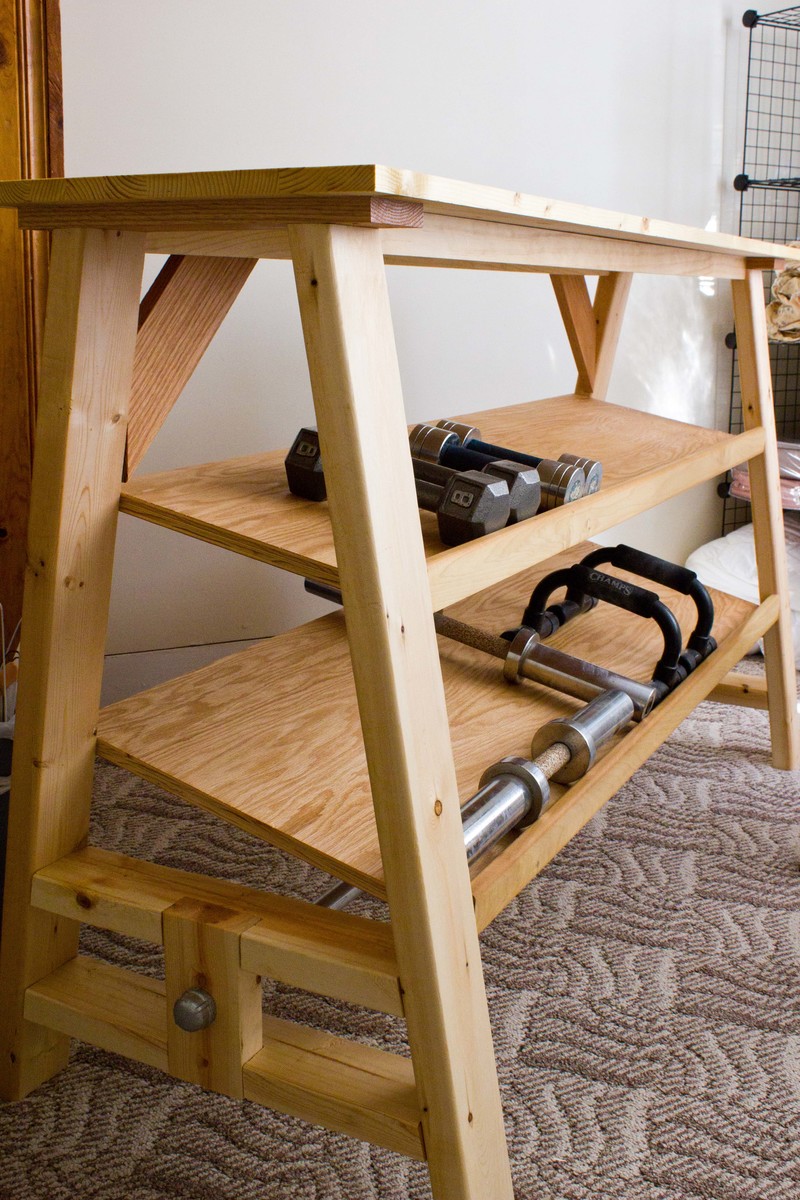
Dumbbell Table Desk

Submitted by romanweel on Fri, 01/25/2013 - 17:17

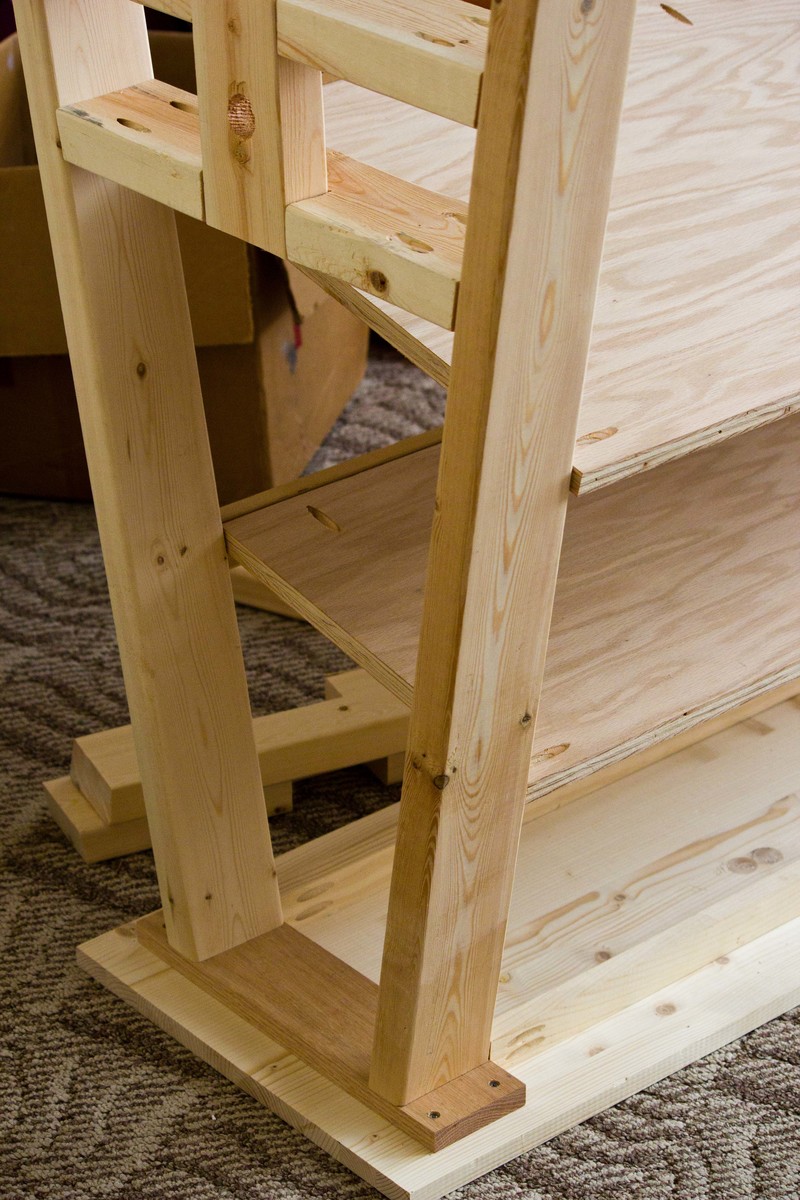
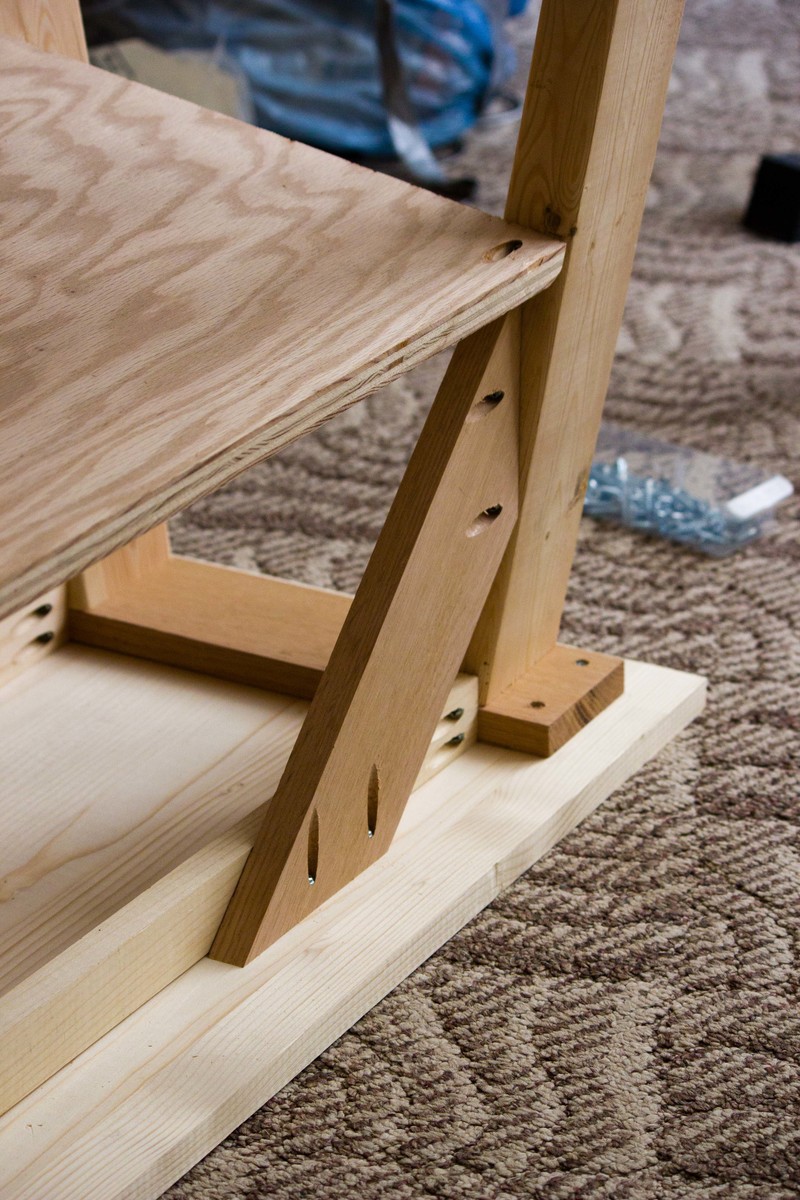
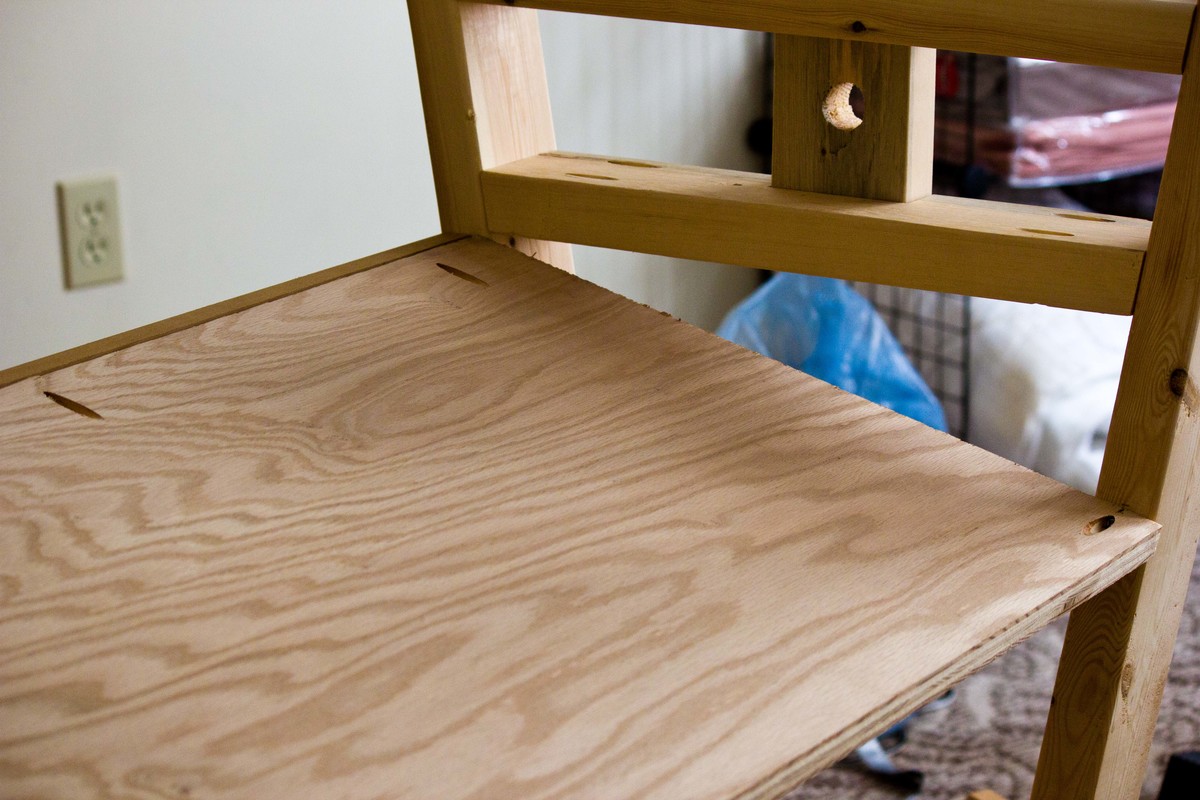
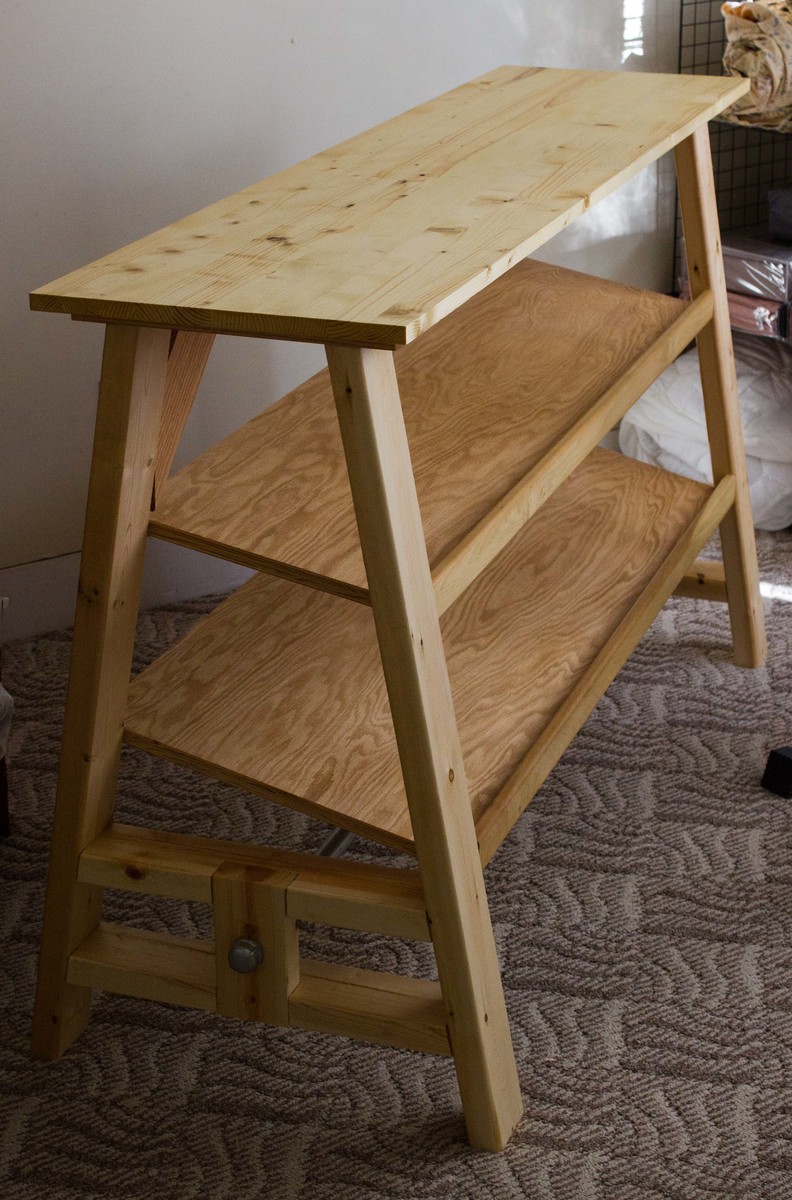
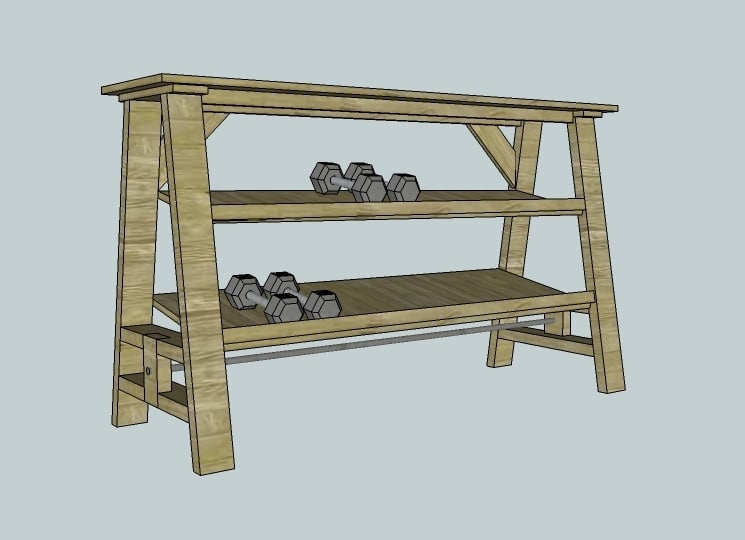
This table filled two needs at once for us: we needed a dumbbell or free-weight rack ($50 and up retail), and we needed some kind of desk-like surface for our home gym area that could withstand us two jump-roping fiends (um, maybe that's just my husband). Basically, it needed to be able to hold a lot (a Lot) of heavy metal stuff and take a beating while NOT Falling Over. The trestle desk was my biggest inspiration, and I guess I just stole the metal stretcher idea from that Pottery Barn dining table. It doesn't even really seem to need the metal stretcher, though...this table is beyond-my-wildest-dreams sturdy, even though it is standard counter height. The metal bar was about $17, so that's a big savings, if you leave it out. You MUST use a compound miter saw for this project. OR...you must be flexible about working with irregular cuts and joints. Also, I'm not sure I'd attempt butt-jointed 2x4's without pocket holes (or biscuit joints, I guess?), but that might just be me. I think this project could have taken only a single day if I hadn't screwed up just about every step of the way. I'm not the only one, right? You can read about a lot of those lovely embarrassments on my blog :) If you'd like the SketchUp model, it is available in the 3D Warehouse as "Dumbbell Table".

Estimated Cost
$50 - $100
Estimated Time Investment
Weekend Project (10-20 Hours)
Finish Used
Boiled linseed oil and a coat of furniture wax. Since this table will be taking some hard knocks, we decided against stain or paint, which will show the pine when dinged. The oil hydrates the wood, and the wax protects it - easy upkeep is a plus.
Recommended Skill Level
Intermediate

Comments

Kids Lounge Bench

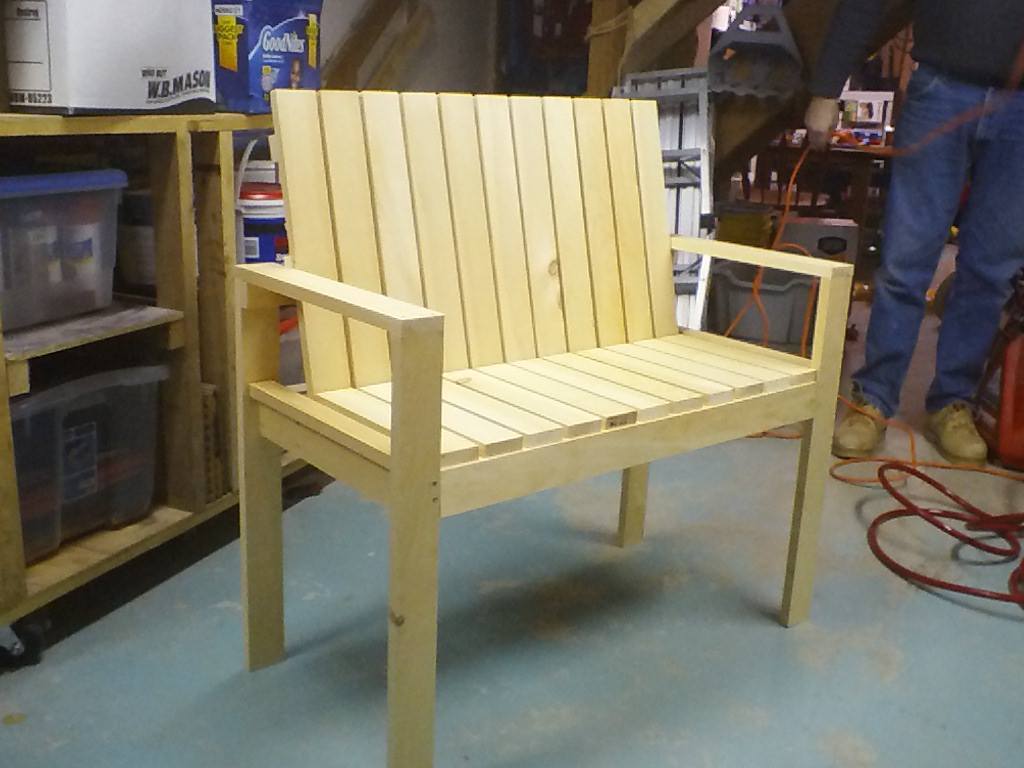
We made this in just over 2.5 hours with the kids "helping."  We made it a bit taller, with the seat at 19 inches, so the leg pieces were 25.25 inches instead of 18.25.  Because of this, we will probably add two supports across each side as it seems a bit wobbly when the kids all wiggle on it.  Now we finally have a seat where all 3 kids can sit together to play on the computer.  Thanks for the plans!

Built from Plan(s)
Estimated Cost
$54 for all the wood and #100 screws.
Estimated Time Investment
Afternoon Project (3-6 Hours)
Finish Used
for the kids
Recommended Skill Level
Beginner

Comments

My first dining table and chairs project

Submitted by Javata on Wed, 02/06/2013 - 17:19

We used carraige bolts to make the legs removable. Very happy with the results!

Built from Plan(s)
Recommended Skill Level
Beginner

Comments

Javata

Thu, 02/07/2013 - 05:16

Jake,
Thanks so much! I spent about two months working evenings and weekends as weather permitted, to complete this project. My daughter chose two stain colors and we mixed them together. I'm happy with the way the color came out.

Debbie440

Thu, 11/21/2013 - 18:27

I made the same 30" tall bar stools. I love the whole look of your set. Did you adjust the height of the table for the chairs? Or is the table high enough for these chairs? Also, did you make the table top smaller?

You did a great job!

Javata

Sat, 11/23/2013 - 18:13

Debbie,
Thanks so much for the compliments! My daughter didn't like the "plank" version of the table top so I used oak plywood and framed it with oak 1X4s. I believe the measurements of the table are 48" by 48". I don't think I adjusted the chair height but I did add a foot at the bottom of the table legs. That may have added an inch or so to the overall height of the table.

Chris22

Tue, 02/10/2015 - 13:22

I really like how you added the foot and removable legs to this table! I would like to make mine with removable legs as well. How did you modify the table to use the bolts?

velvetechos

Tue, 07/14/2015 - 06:31

Hello! This plan is EXACTLY what I am looking for except there is a huge difference.......it will be the ritual platform for a traditional Tibetan Sand Painting.  I am seeking a plan just like this for a square table that is 6' square and 3 1/2' high......is it possible to purchase a plan of that dimension or does anyone have a recommendation where I can find that.  THIS would be truly lovely in this design.  THANKS for any help!!!  

Javata

Thu, 07/16/2015 - 12:08

I really just followed the Ana White plans for the Pub Table but used one solid piece of plywood instead of the 1x4s for the top. Since plywood comes in 4x8 foot sheets, you might need to get creative to get it to 6 feet. Good luck, and don't forget to post pictures when you finish!

Crayola2

Sun, 06/21/2020 - 11:52

I really want to make there chairs too! Please post the link to the plans.

Rekourt Dining Table in Distressed Dark Walnut

Hey all my DIY friends!


This is my first build of the Rekourt Dining Table.  Big thanks goes out to Ana and Jen for providing these awesome plans.


I think I achieved this table quite well, except for a minor detail where I forgot to sand two pot holes.  It actually created a very rustik look to this table.  I decided to try the steel wool and vinegar solution combined with the black tea for the finish of this table.  I realized it adds so much richness to the wood, it's incredible.  The stain is Minwax's Dark Walnut and I topped it off with a Satin Oil-based Polyurethane.  The top and legs were also physically distressed using a variety of tools I found in my tool chest. Those included screw drivers, lag bolts, worm hole puch I created out of a leftover 2x4, chains, sanding disc, knife, hammer and much more!  That part, although tedious, was fun as it gave me the permission to bang stuff up intentionally :)


For the finish, I first started off by sanding very well, talking hours for the entire table. I then went out and distressed the tops in a very random fashion, trying to not repeat any patterns.  As I was doing this, I was waiting for my black tea to seep and be ready for application.  I poured boiling water in a large Mason jar and added 4-5 bags of black orange pekoe tea bags.  I waited about 2 hours before applying it with a foam brush, very liberally.  I allowed the tea to dry overnight and the following day, I applied the steel wool and white vinegar solution. My solution had been sitting for about 5 days, enough to start seeing a bit of rust in the Mason jar. The rusty solution ended up giving the wood an orangy/redish tone, which when seen under the dark walnut, added lots of depth and richness to the color.  Once dry and the wood had turned greyish/orangy/redish, I stained it using Minwax's Dark Walnut stain.  I did section by section, leaving the stain no more than 3 minutes before wiping dry.  I followed this (once the stain was dry) with two coats of oil-based polyurethane in satin (Varathane (Canada's version of the Rust-Oleum poly). I sanded the poly in between coats with 220-grit sandpaper using my orbital sander.


Since then, I have gone out to build about five of these, all in different lengths and sizes, including some with removable bases. The angles in the X's are a little tricky when you don't have plans for a specific size, but I have noted these down based on spacing between legs.  If any of you need andgles for specific table lengths, let me know and I may be able to help :)


Let me know what you think and happy building!
Estimated Cost
Table ($100) and bench ($30) in lumber.
Estimated Time Investment
Weekend Project (10-20 Hours)
Finish Used
Orange Pekoe Tea
Steel Wool (#0000) and White Vinegar
Minwax Dark Walnut Oil-based Stain
Varathane Pro Satin Oil-Based Polyurethane
Recommended Skill Level
Intermediate

Comments

Ana White Admin

Tue, 12/16/2014 - 12:22

I just clicked on your other images, boy would we love to see the turquoise island and that amazing rolling console up close:)!!!!

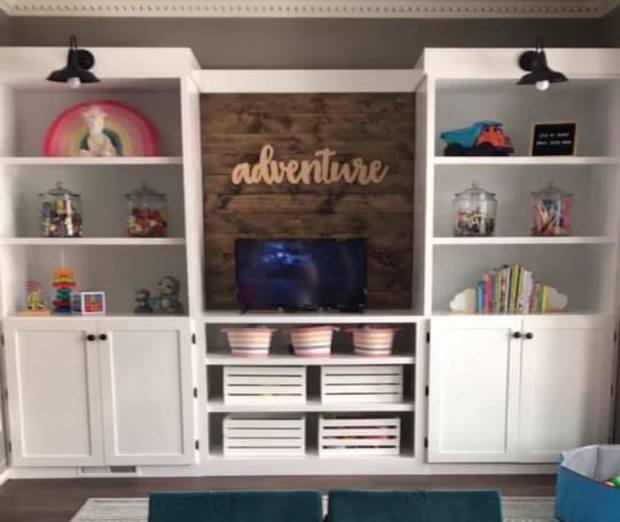
Family Project & Entertainment Center

Submitted by Anonymous (not verified) on Mon, 03/08/2021 - 16:30

My son and daughter in law had an unpurposed room in their home and wanted to turn it into a play area for their three kids. She came to me with an idea and it turned into their Christmas present. 8' tall and 140" wide. Now the kids don't want to come out of the room. Papa and Mimi helping them make memories

Comments

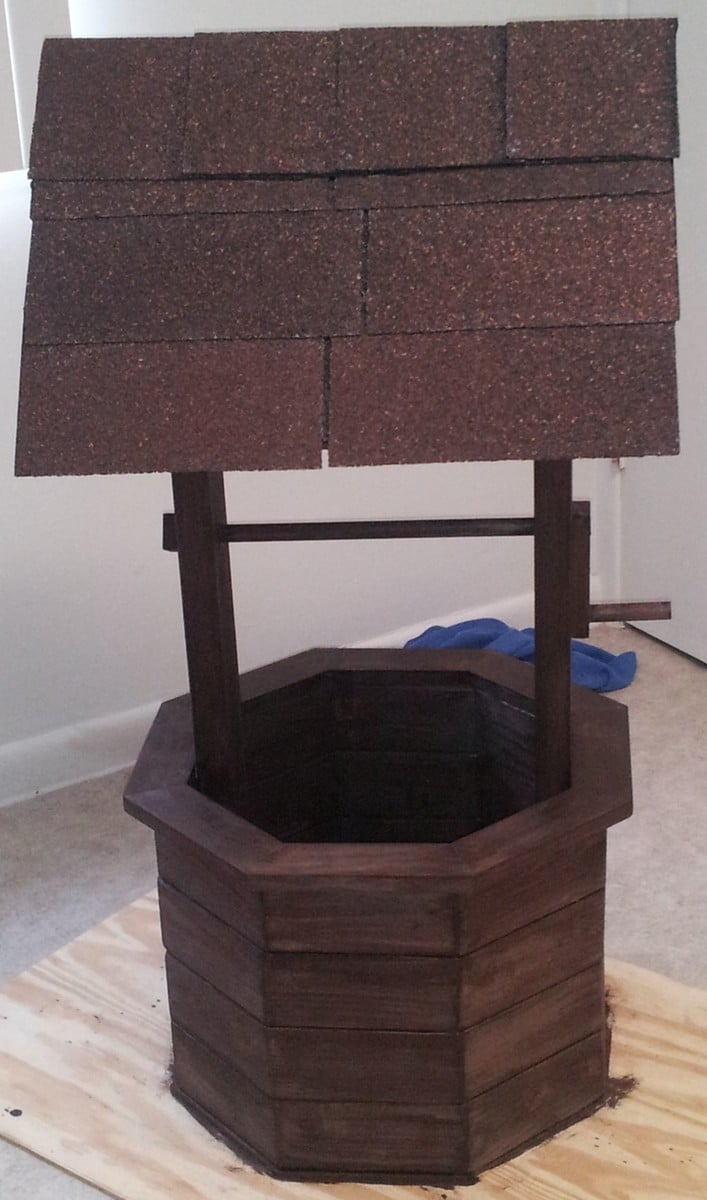
Wishing Well Planter

Submitted by RobKelly3 on Sat, 03/16/2013 - 16:57

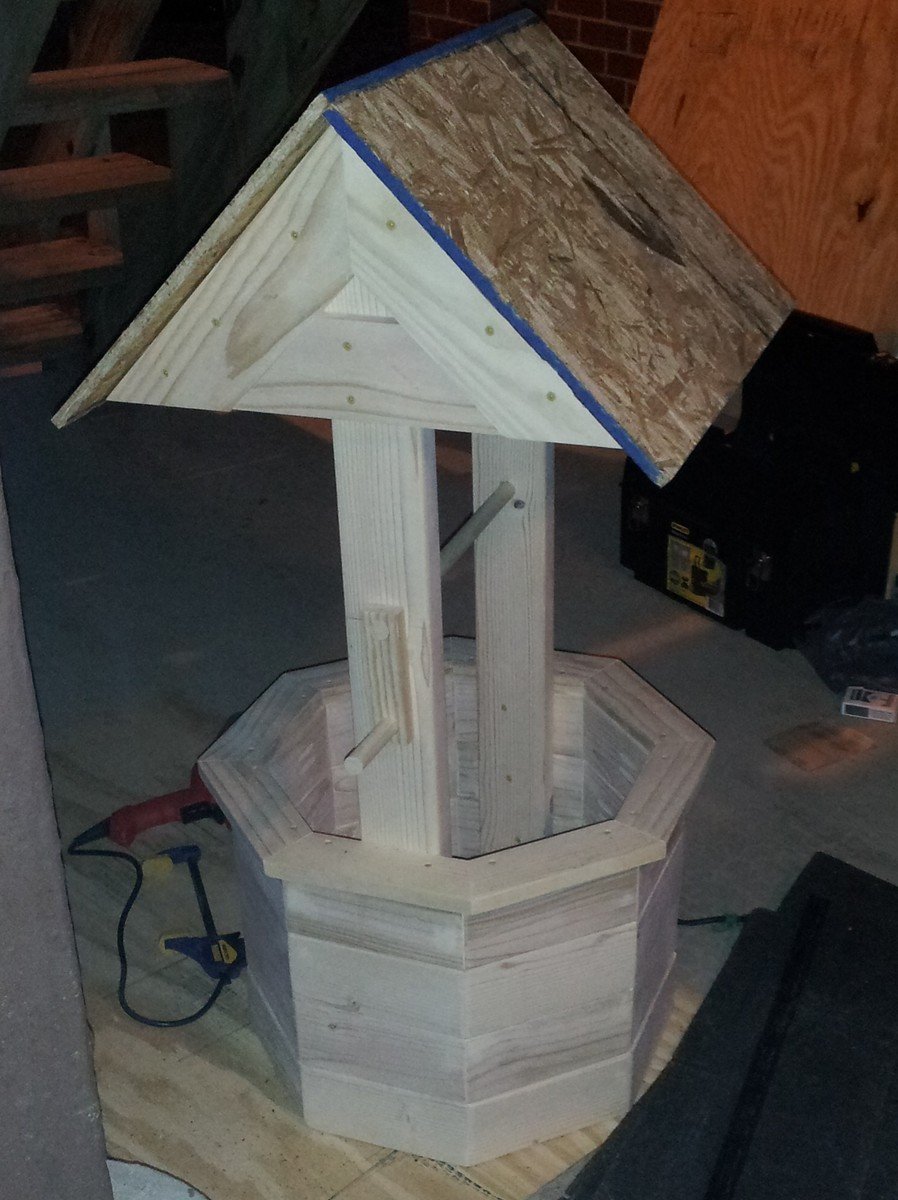
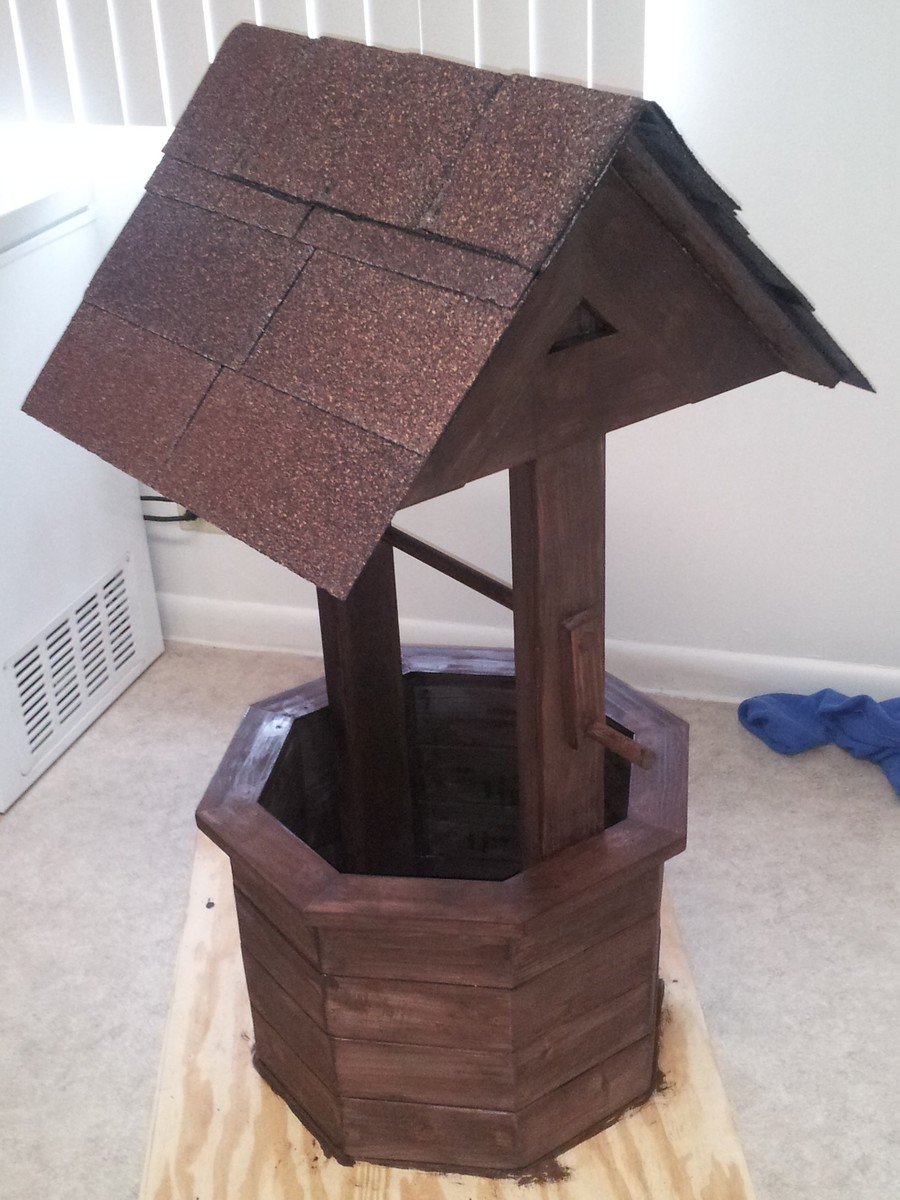
This is a wishing well I made for my sister for her wedding. It will be used during the wedding for people to drop "wish you well" cards into and afterward she can use it as a planter in her yard.
I followed ideas from multiple plans here on Ana-White.com, but I didn't follow any specific plan. Mostly I followed tips and instructions for cutting angles, drilling pocket holes and some finishing tips. This is the first "big" project I've done and I"m quite proud of it.

With everything, it measures 44.5 inches high. The well measures 21 inches across and 15 inches high. The roof measures 22.75 inches by 23.75 inches.

I hope y'all like it. I worked hard on this! :)

Thank you, Ana and everyone who contributes to this site. It's been so much fun and I've got lots of ideas for more stuff. If I was any good at all at Google Sketchup I'd put up the plans but I'm not. If anyone could help me with that, that would great. :)

Have a great day!

Estimated Cost
about $100
Estimated Time Investment
Weekend Project (10-20 Hours)
Finish Used
Olympic Maximum Stain and Sealant in One, Semi-Transparent, in Oxford Brown. Use 2inch stain brush. Used 100, 150, and 220 grit sandpaper before staining.
Recommended Skill Level
Intermediate

Comments

bellows86

Mon, 07/21/2014 - 20:04

Anyway you can please tell me the angle for the boards ont the walls. I reallly like your well, and would like to build this for my wife but im not sure on what angles to use thank you

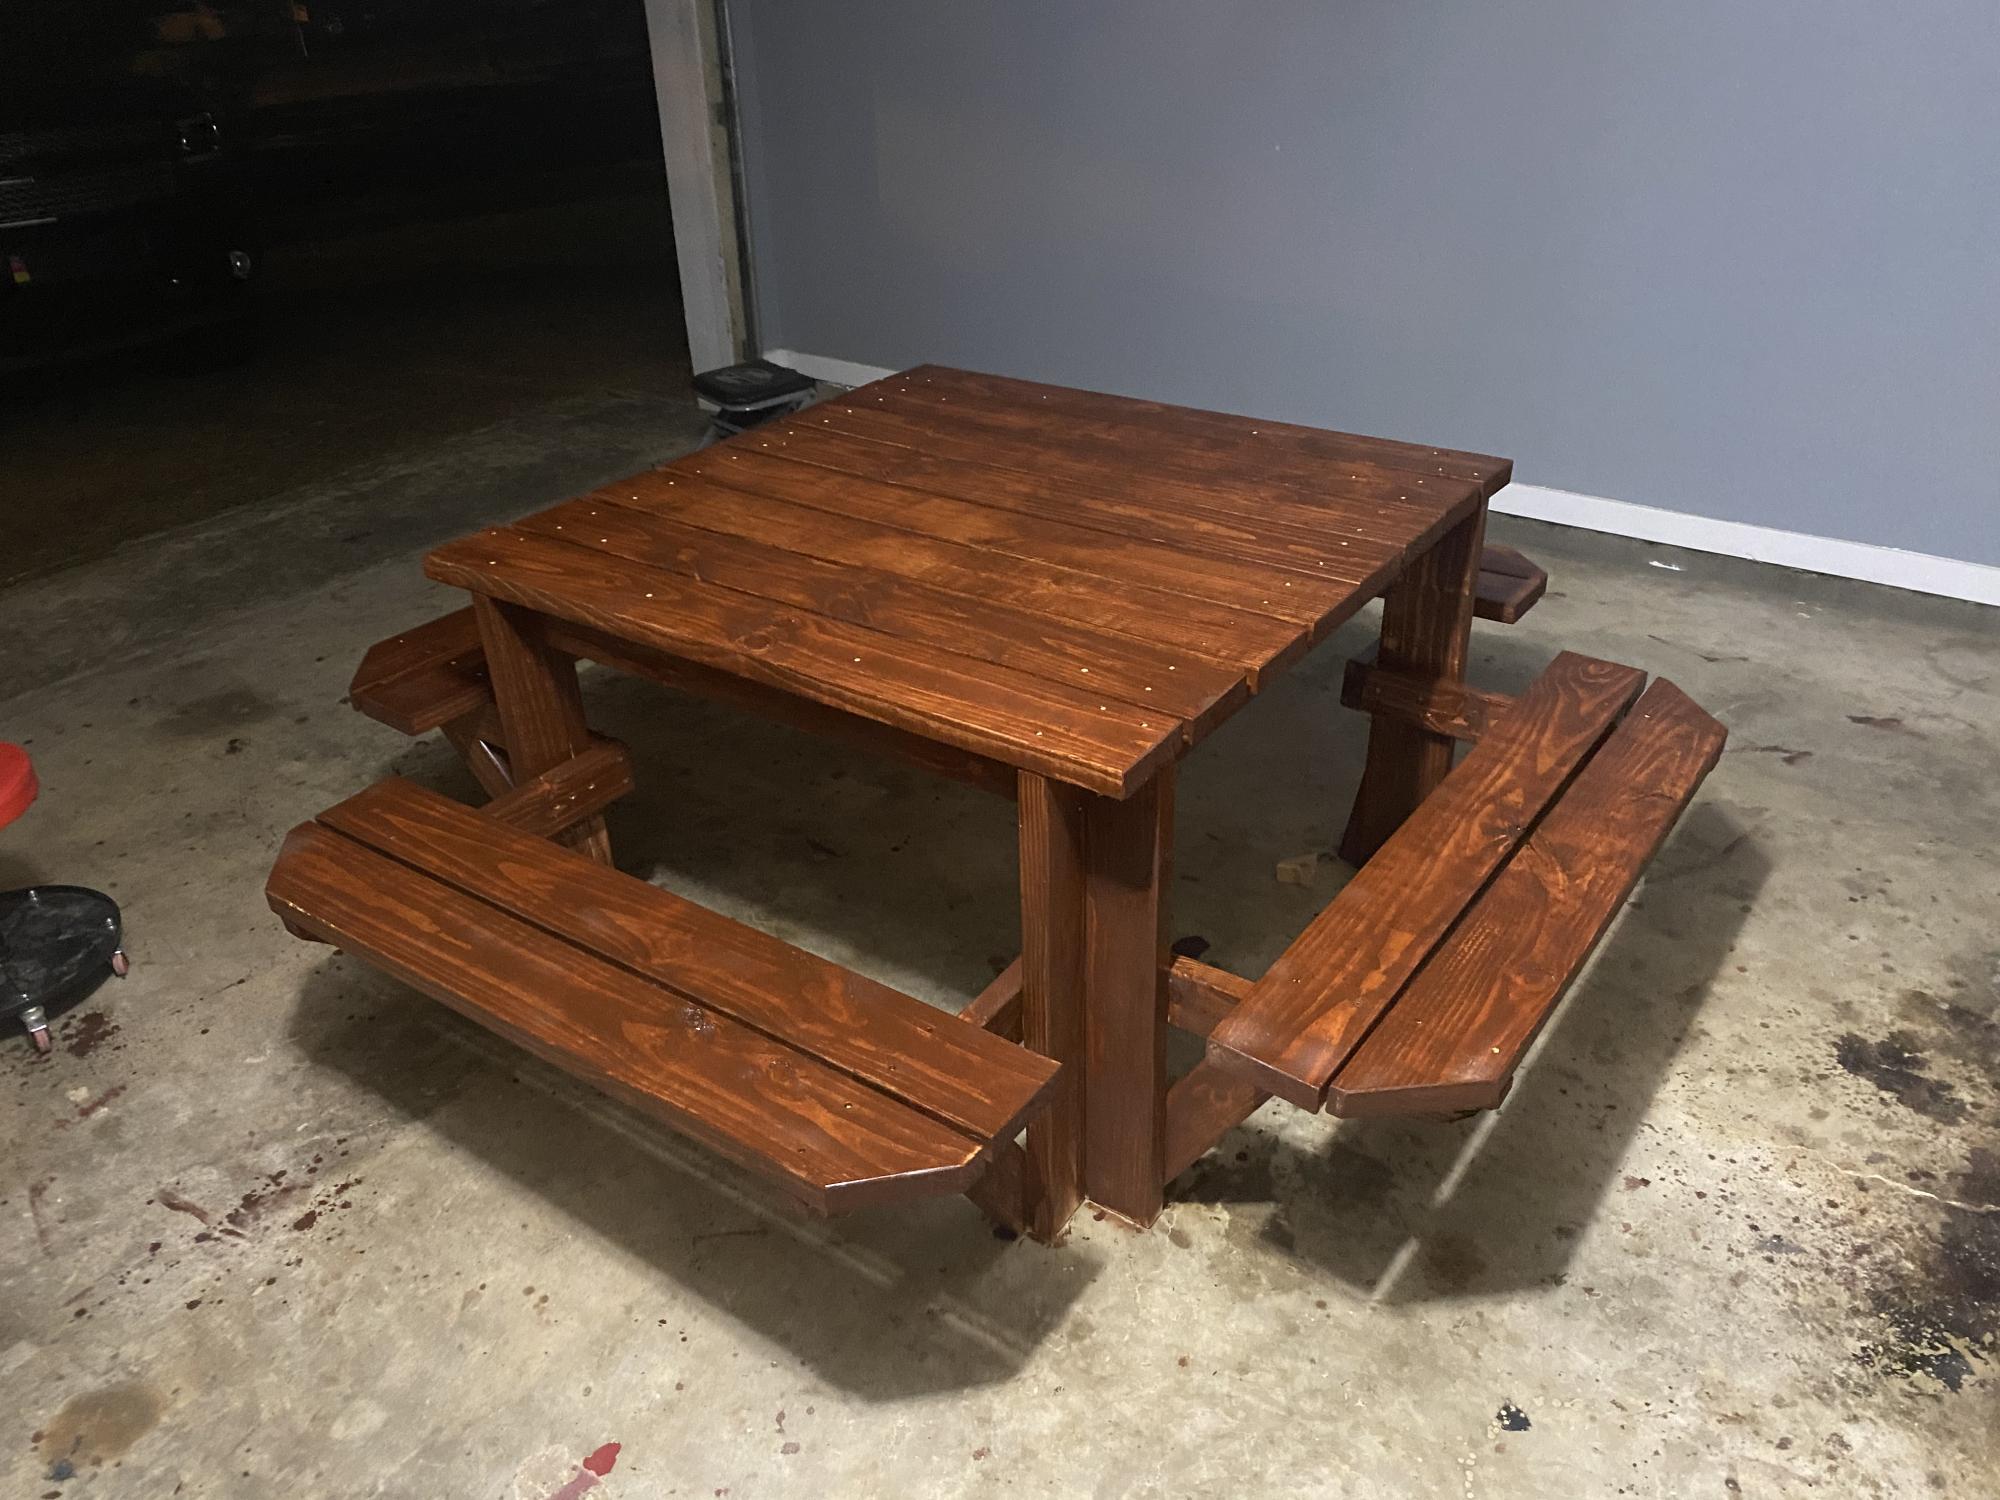
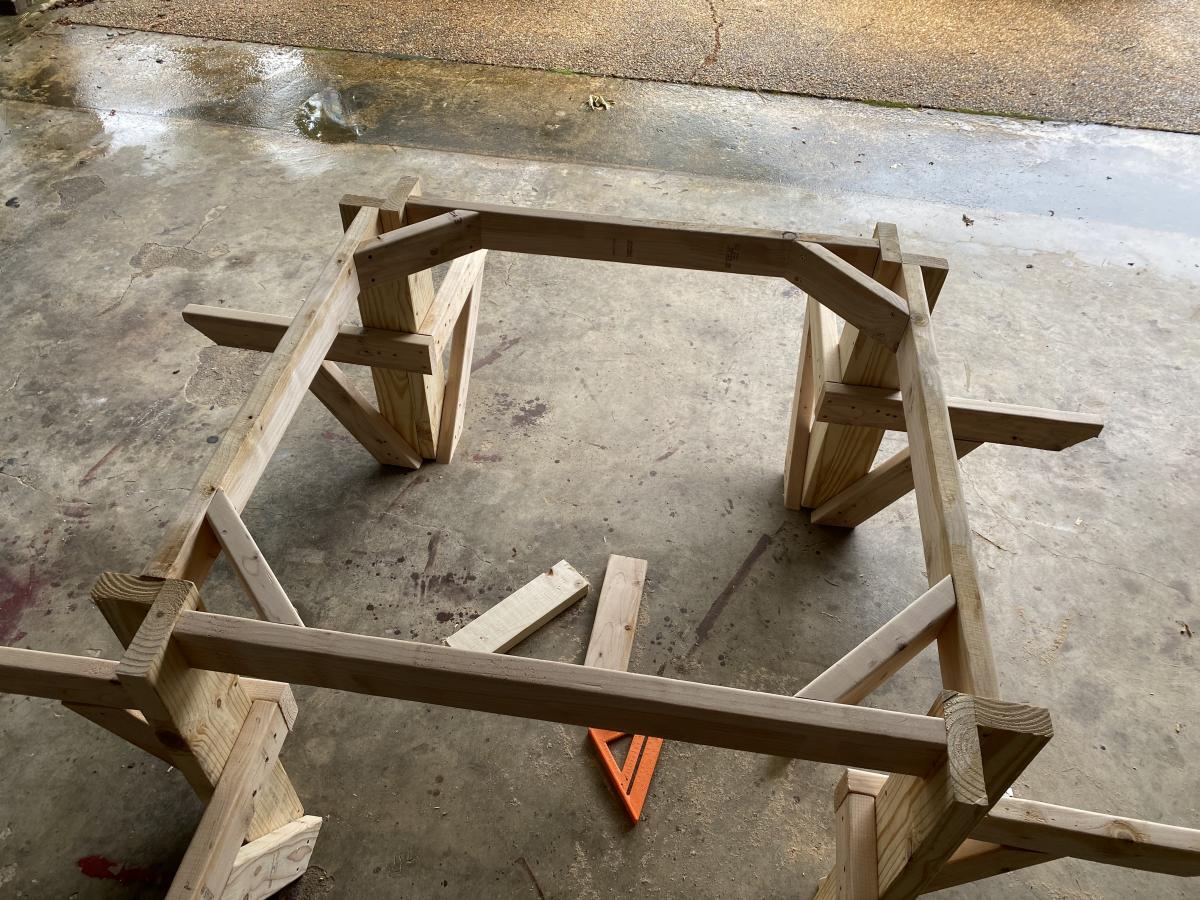
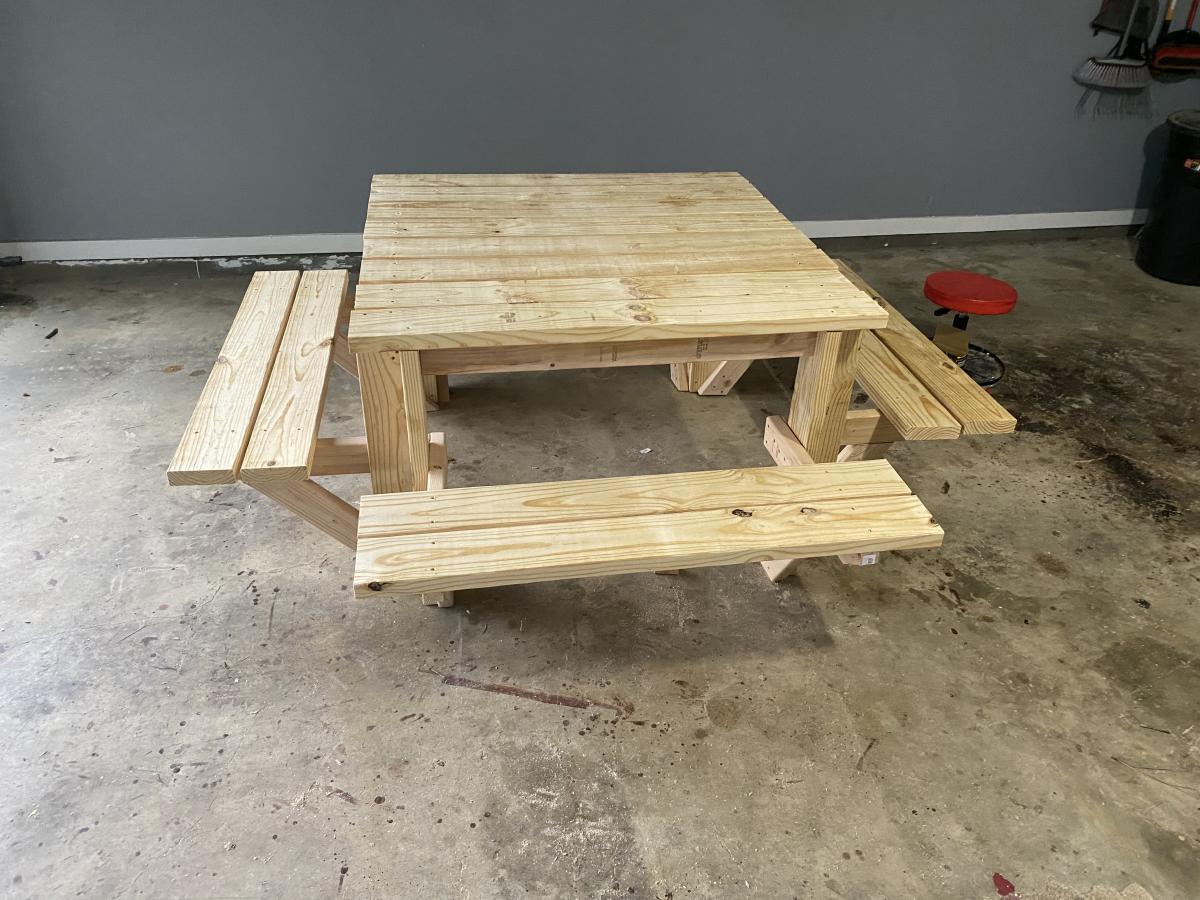
Square Picnic Table

Submitted by Bmorey67 on Mon, 05/10/2021 - 18:57

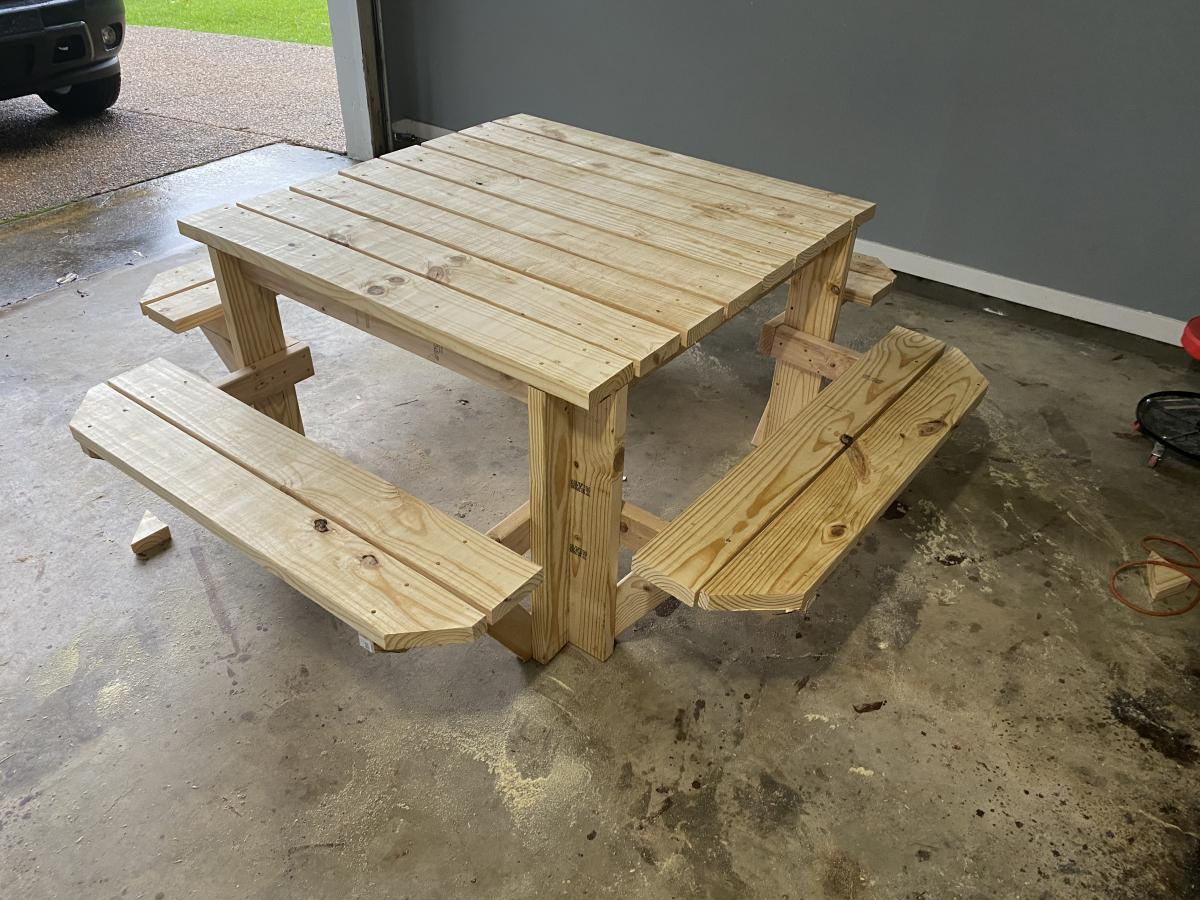
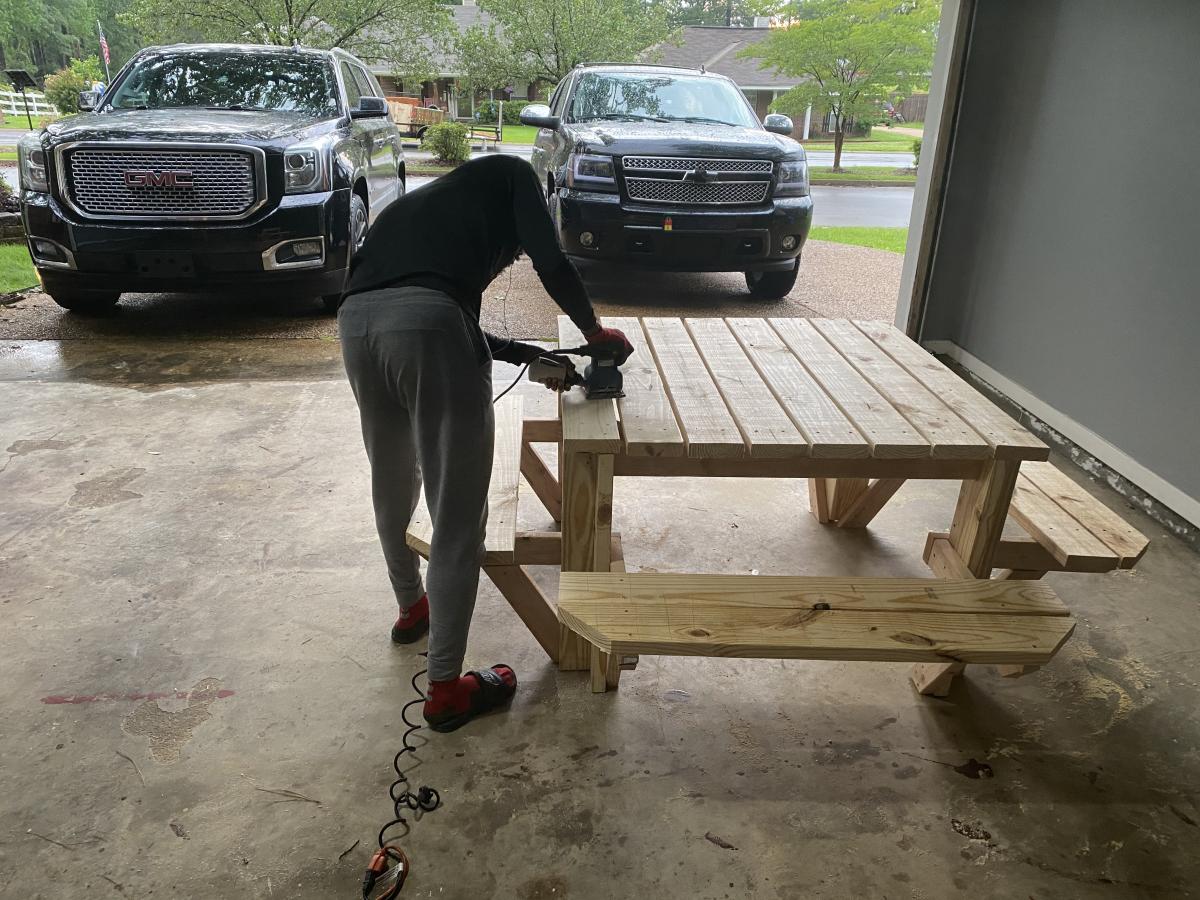
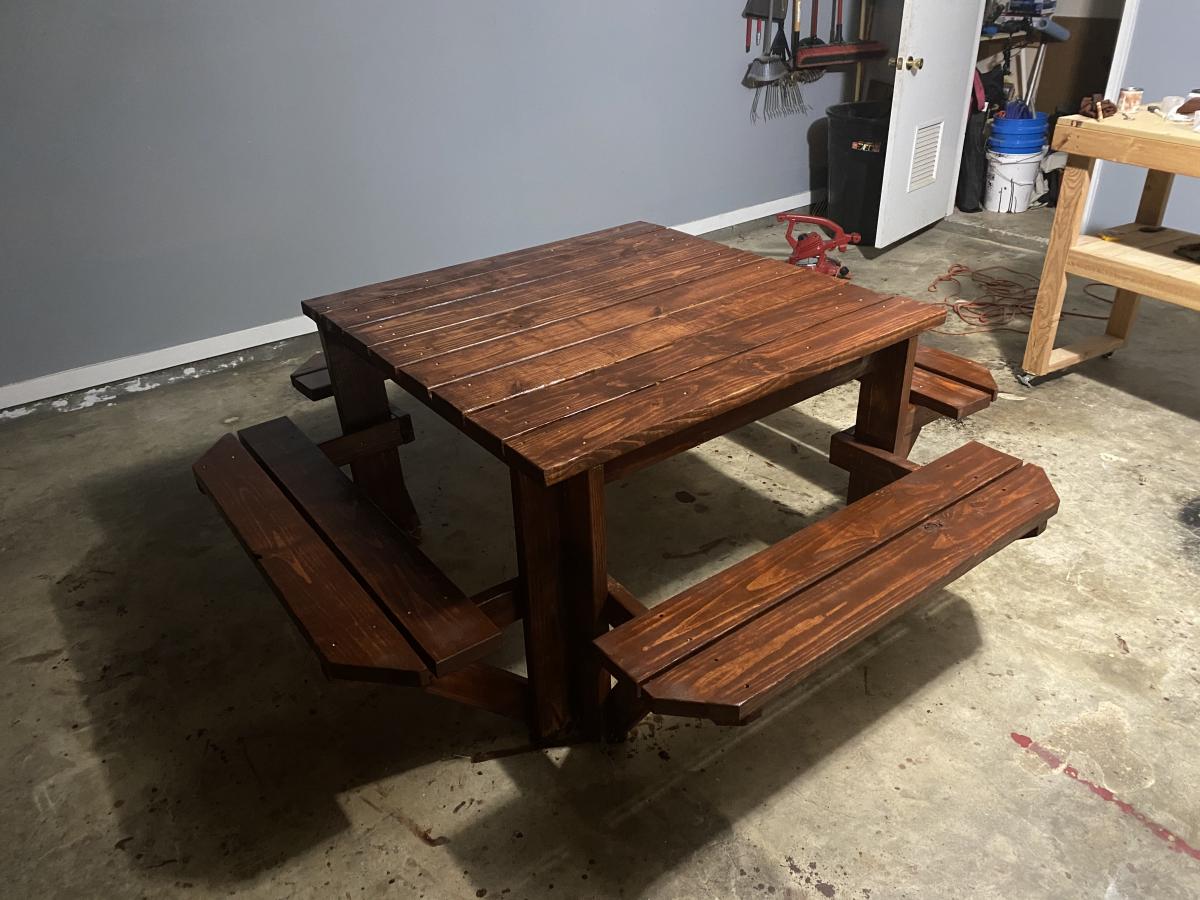
I built this picnic table for my mom’s Mother’s Day/Birthday gift. With the price of lumber being as high as it is I figured this table would be her gift this year. Fairly simple design. Ana was right about pre-sanding and staining. Would’ve made it a lot easier. I applied to coats of external poly for durability. Keep plans coming Ana!

Built from Plan(s)
Estimated Cost
$200
Estimated Time Investment
Weekend Project (10-20 Hours)
Finish Used
Cognac stain
Recommended Skill Level
Intermediate

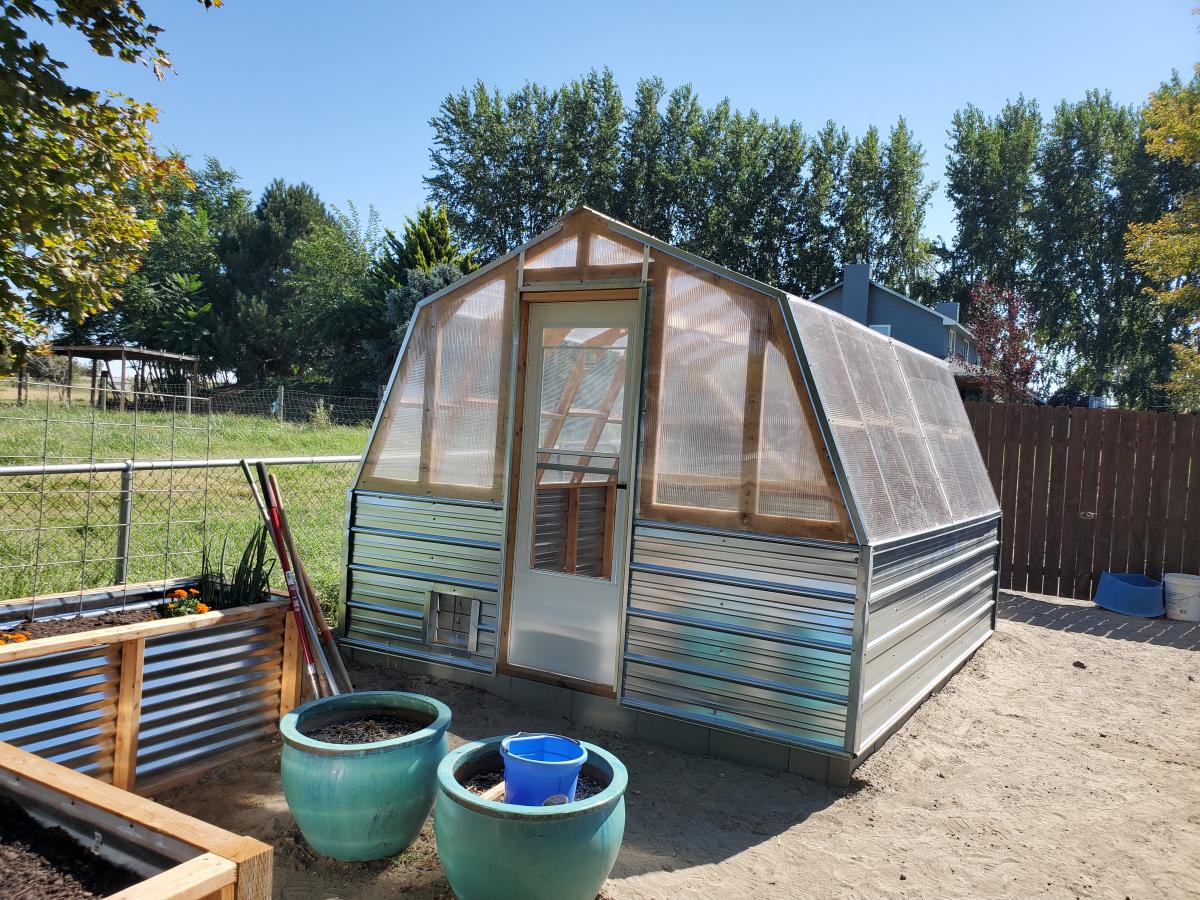
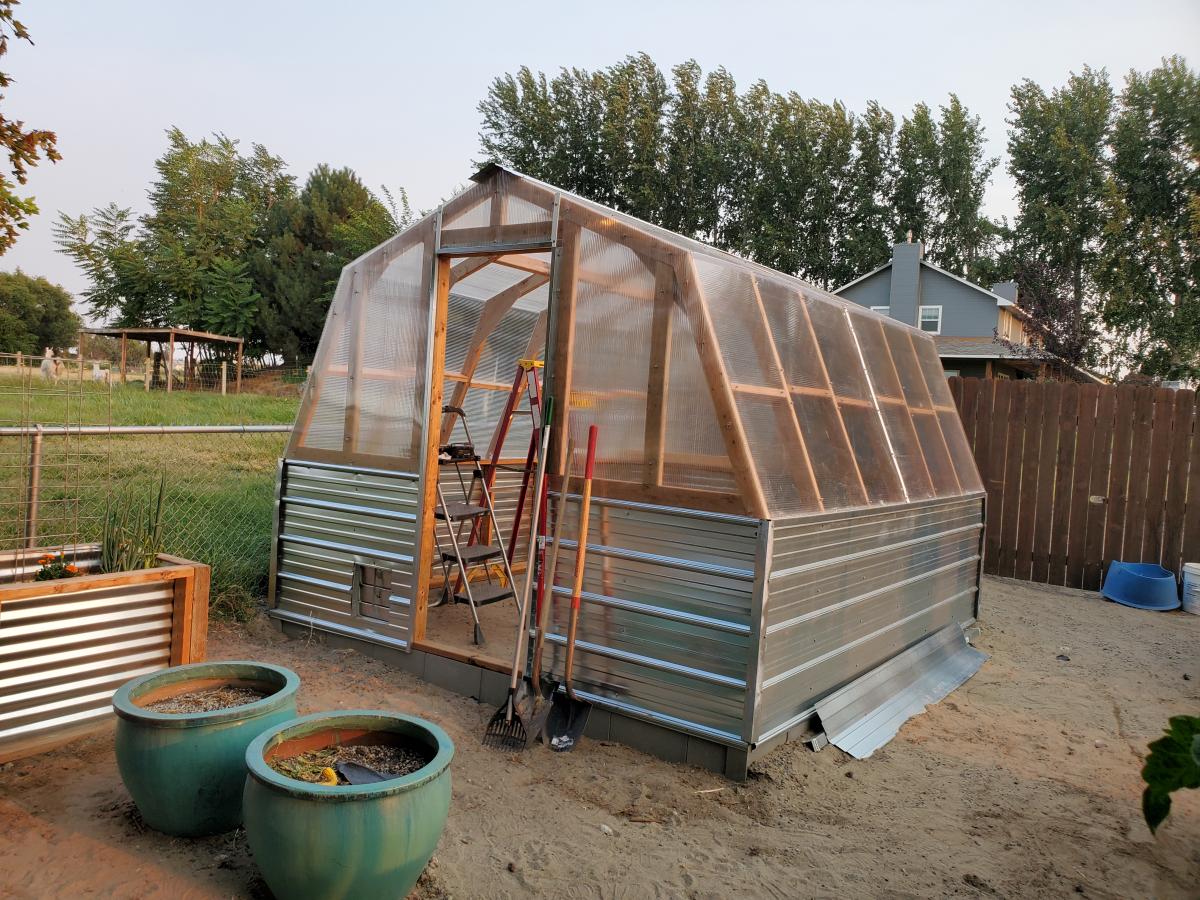
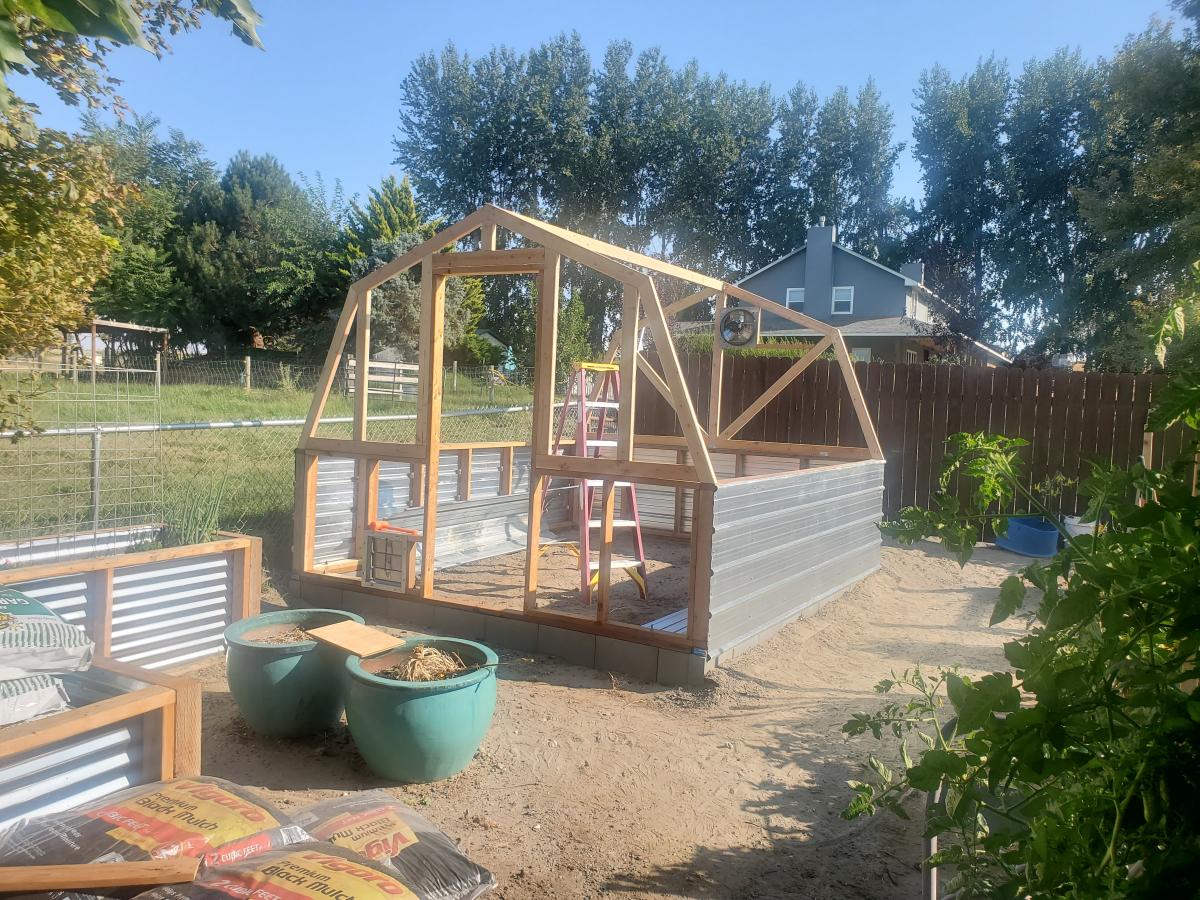
New Green House

Submitted by Anonymous (not verified) on Fri, 10/01/2021 - 06:26

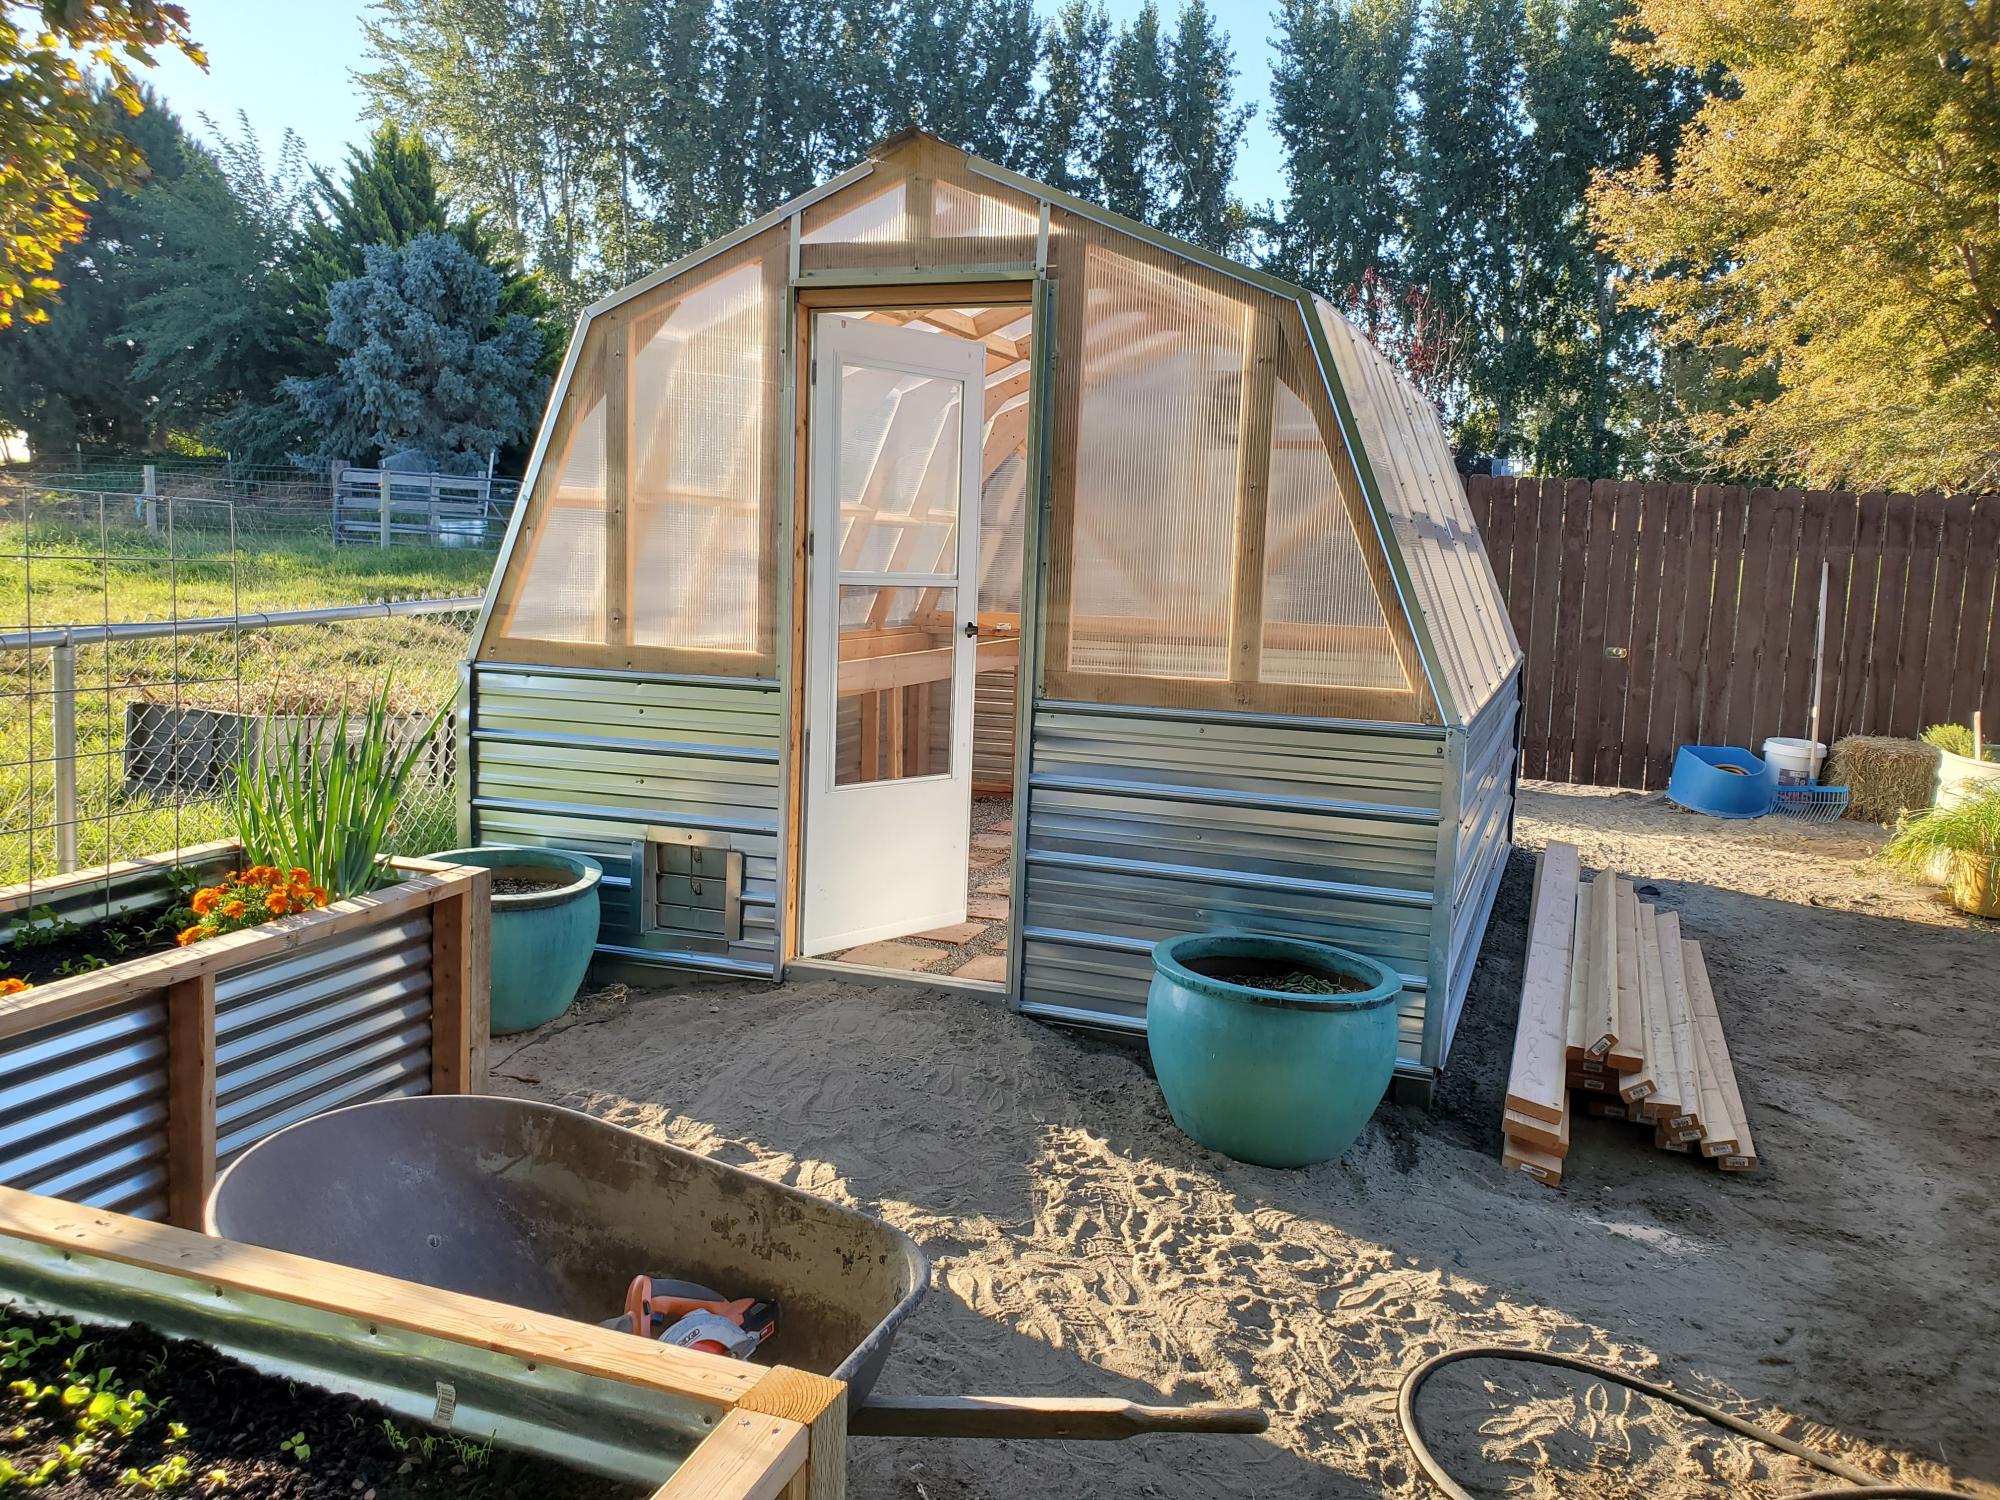
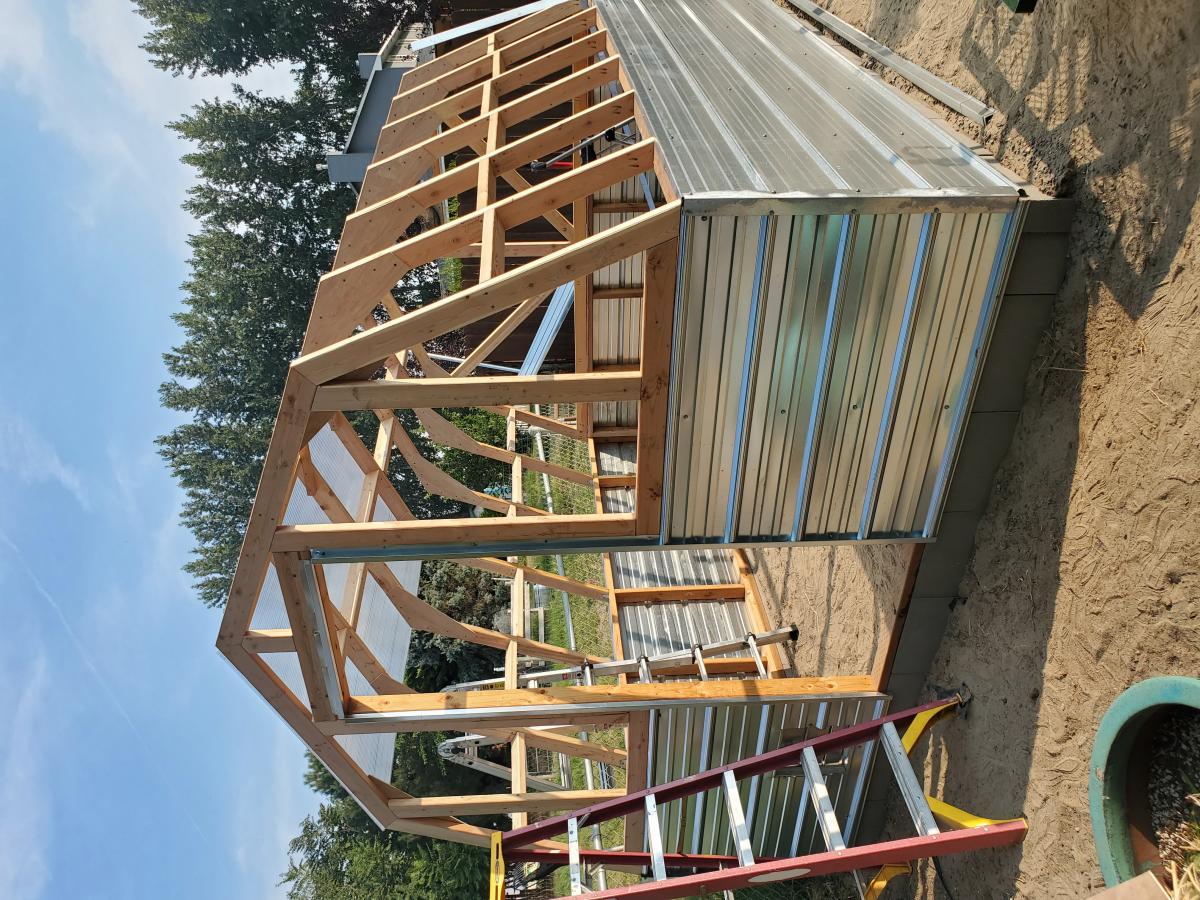
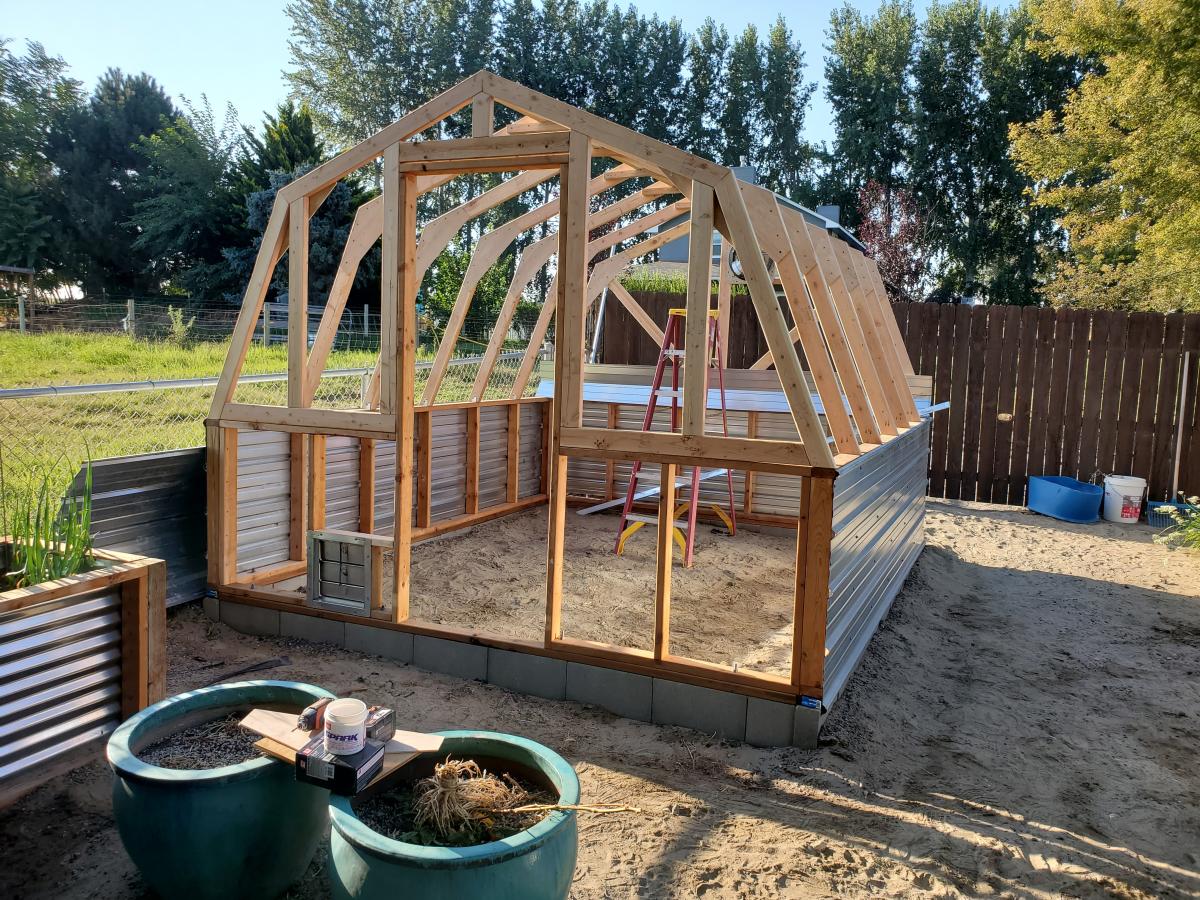
My wife and I built your green house! It is turning out awesome! I just want to take the time to say thank you for the plans. You are a great designer and generous with your sharing.

Built from Plan(s)

Comments

Tall Tapered Planters

These were exactly what we were looking for to dress up the front of our house.  They are a great size and went together pretty easily.  Getting the angle cuts right took a few tries, but once you get past that it's all pretty simple!  Also these are very forgiving for small errors and they look fantastic!  We made three for across the front of our house and painted them to match our front door.  For more details on our planters, please follow the link to our blog!
Estimated Cost
$30
Estimated Time Investment
Afternoon Project (3-6 Hours)
Finish Used
Olympic Exterior Paint - Ruby Lips
Recommended Skill Level
Beginner

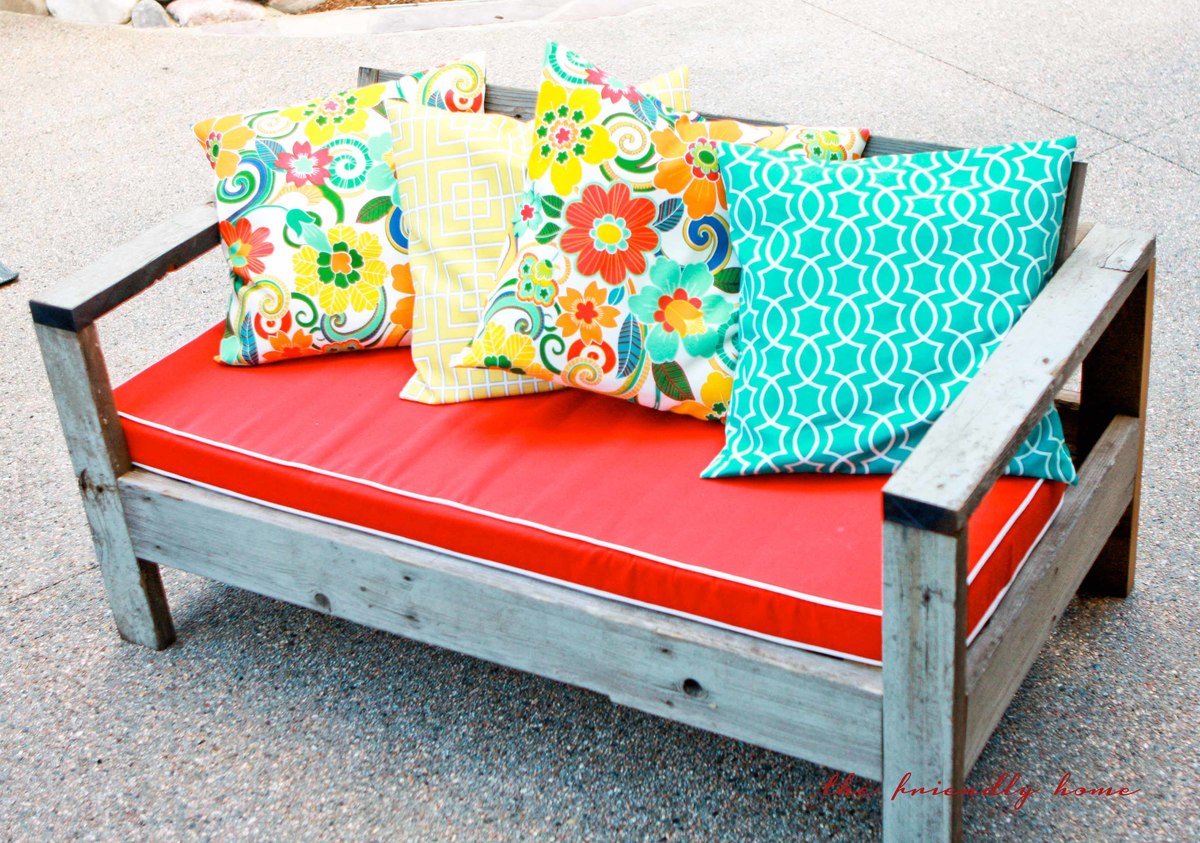
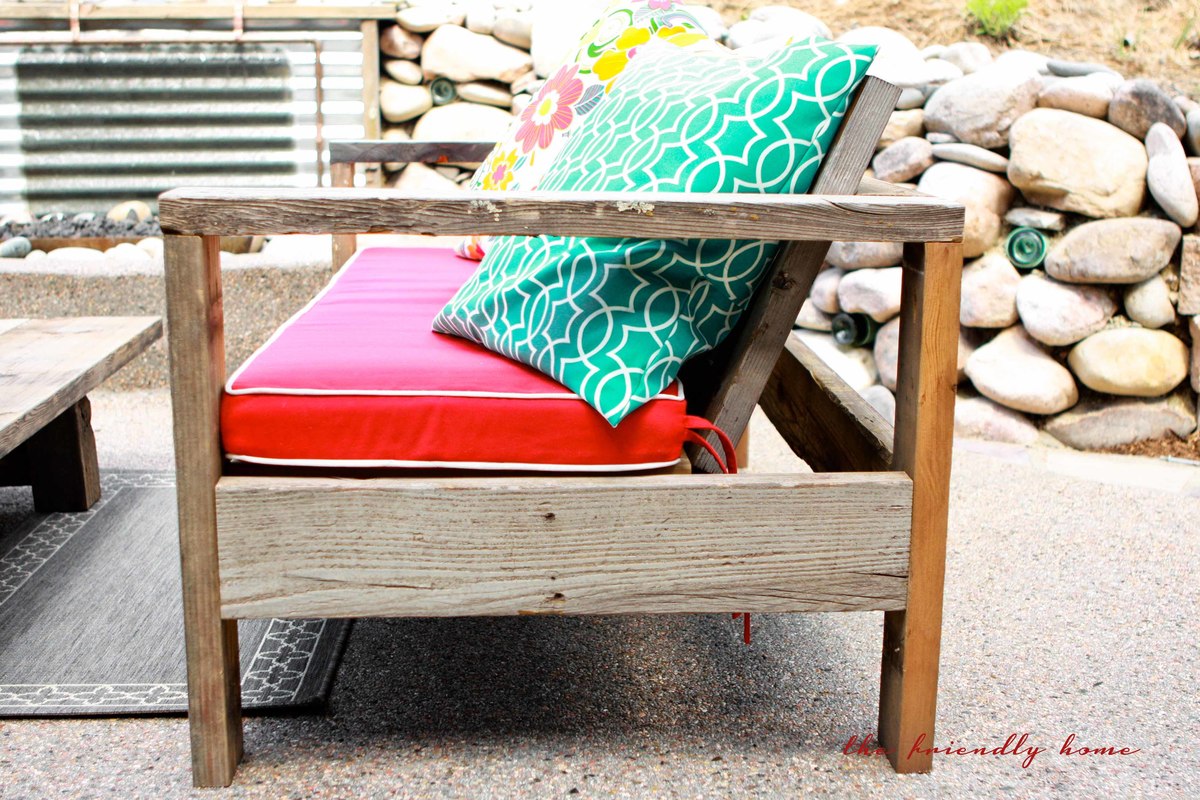
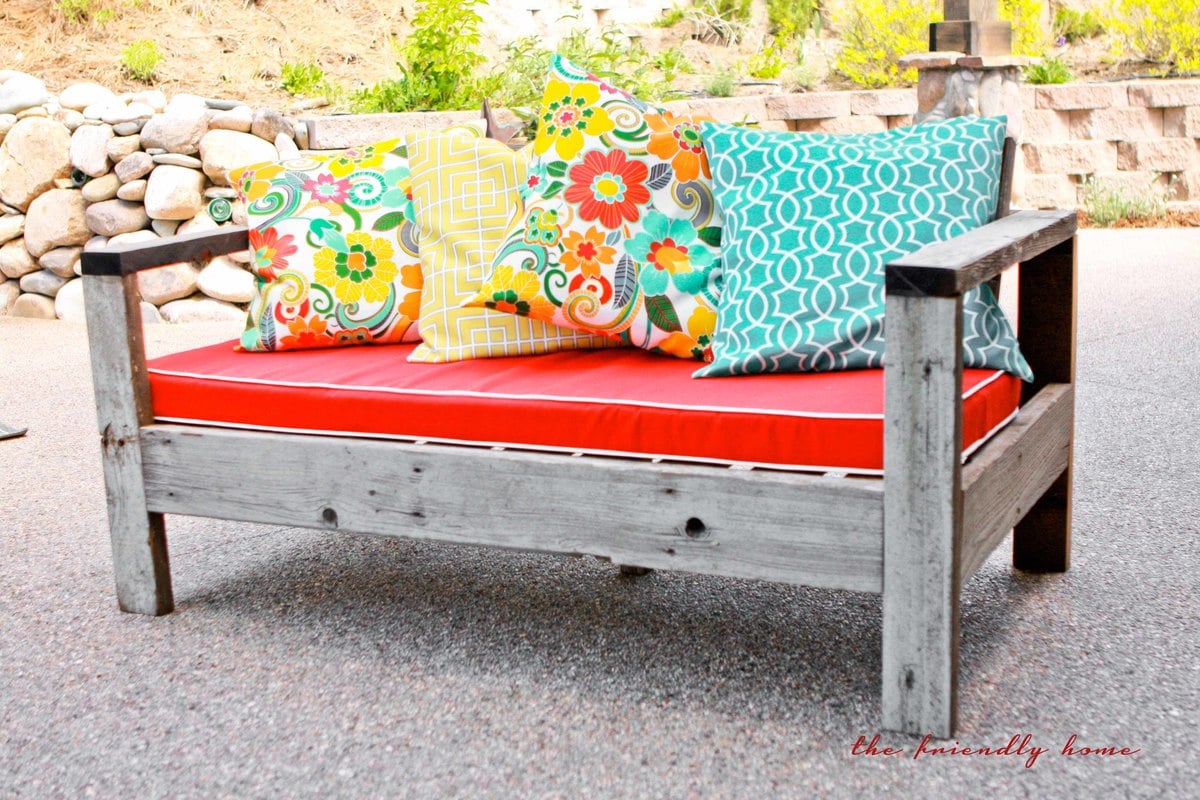
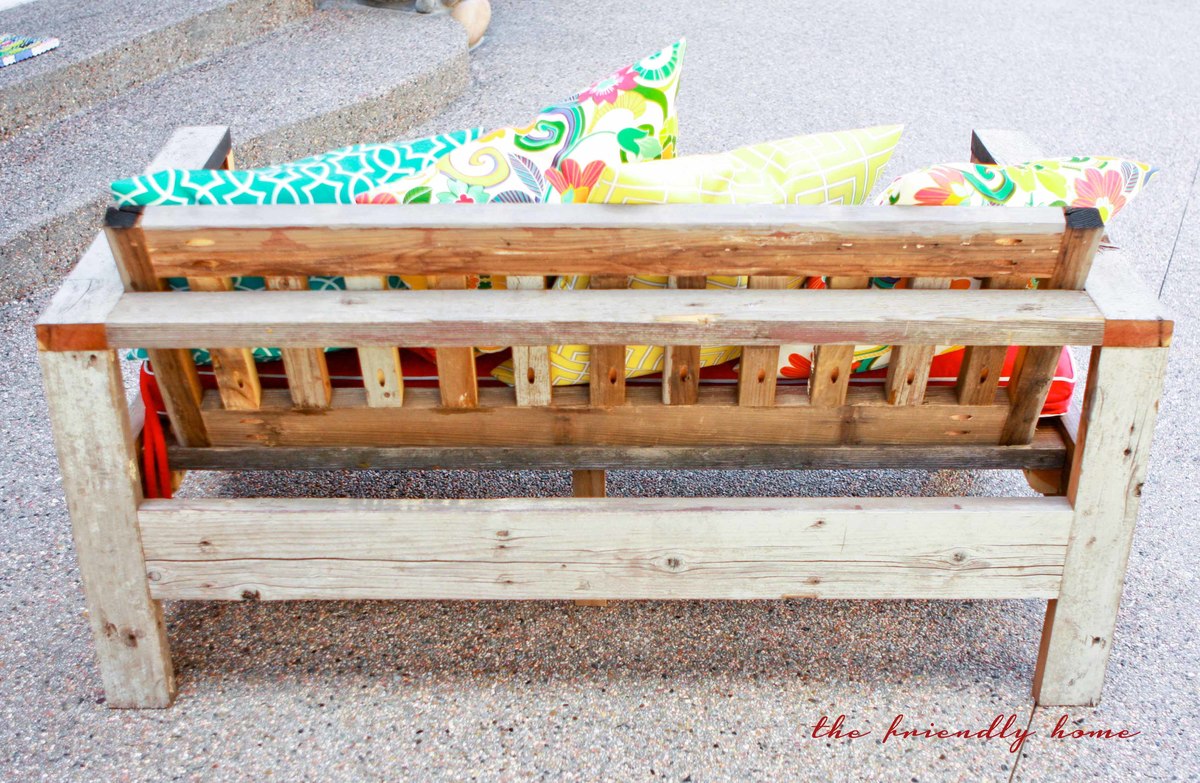
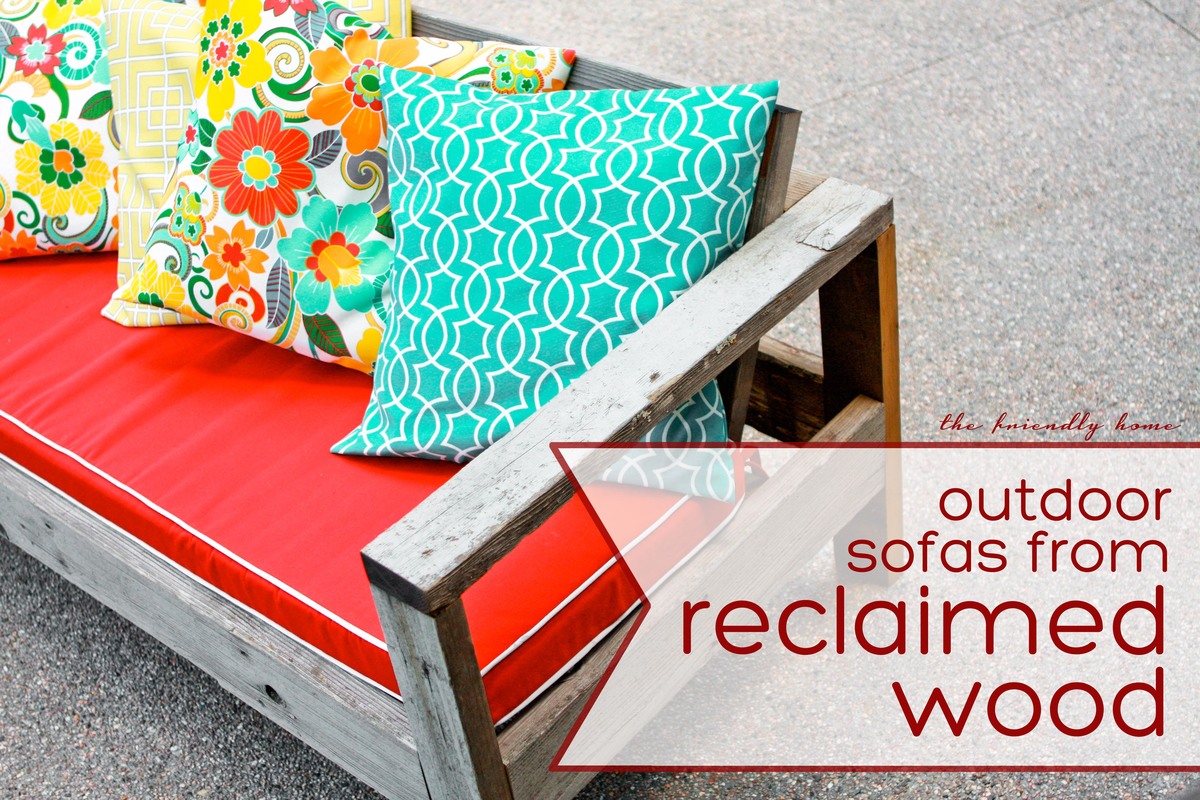
outdoor sofa from reclaimed wood

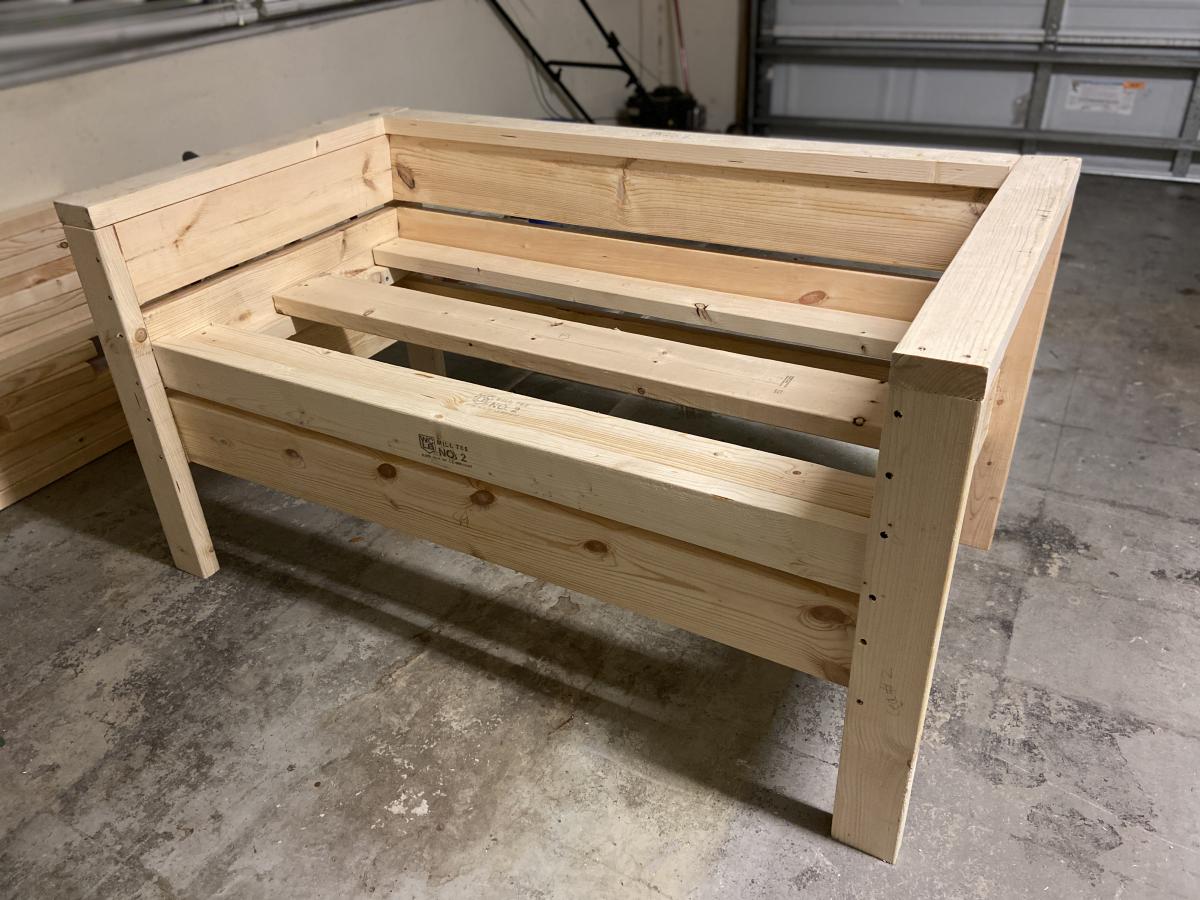
Using Ana's plan as a guide, I built two of these sofas to fit an outdoor cushion I already had. I used wood from our old deck -- a great way to re-use and save money, too!
Estimated Cost
$110/sofa (lumber was free)
Estimated Time Investment
Weekend Project (10-20 Hours)
Finish Used
None, although eventually I will probably seal it with outdoor PolyWhey by Vermont Natural Coatings.
Recommended Skill Level
Intermediate

Cedar planters

Submitted by mmarsha9 on Sun, 10/10/2021 - 14:08

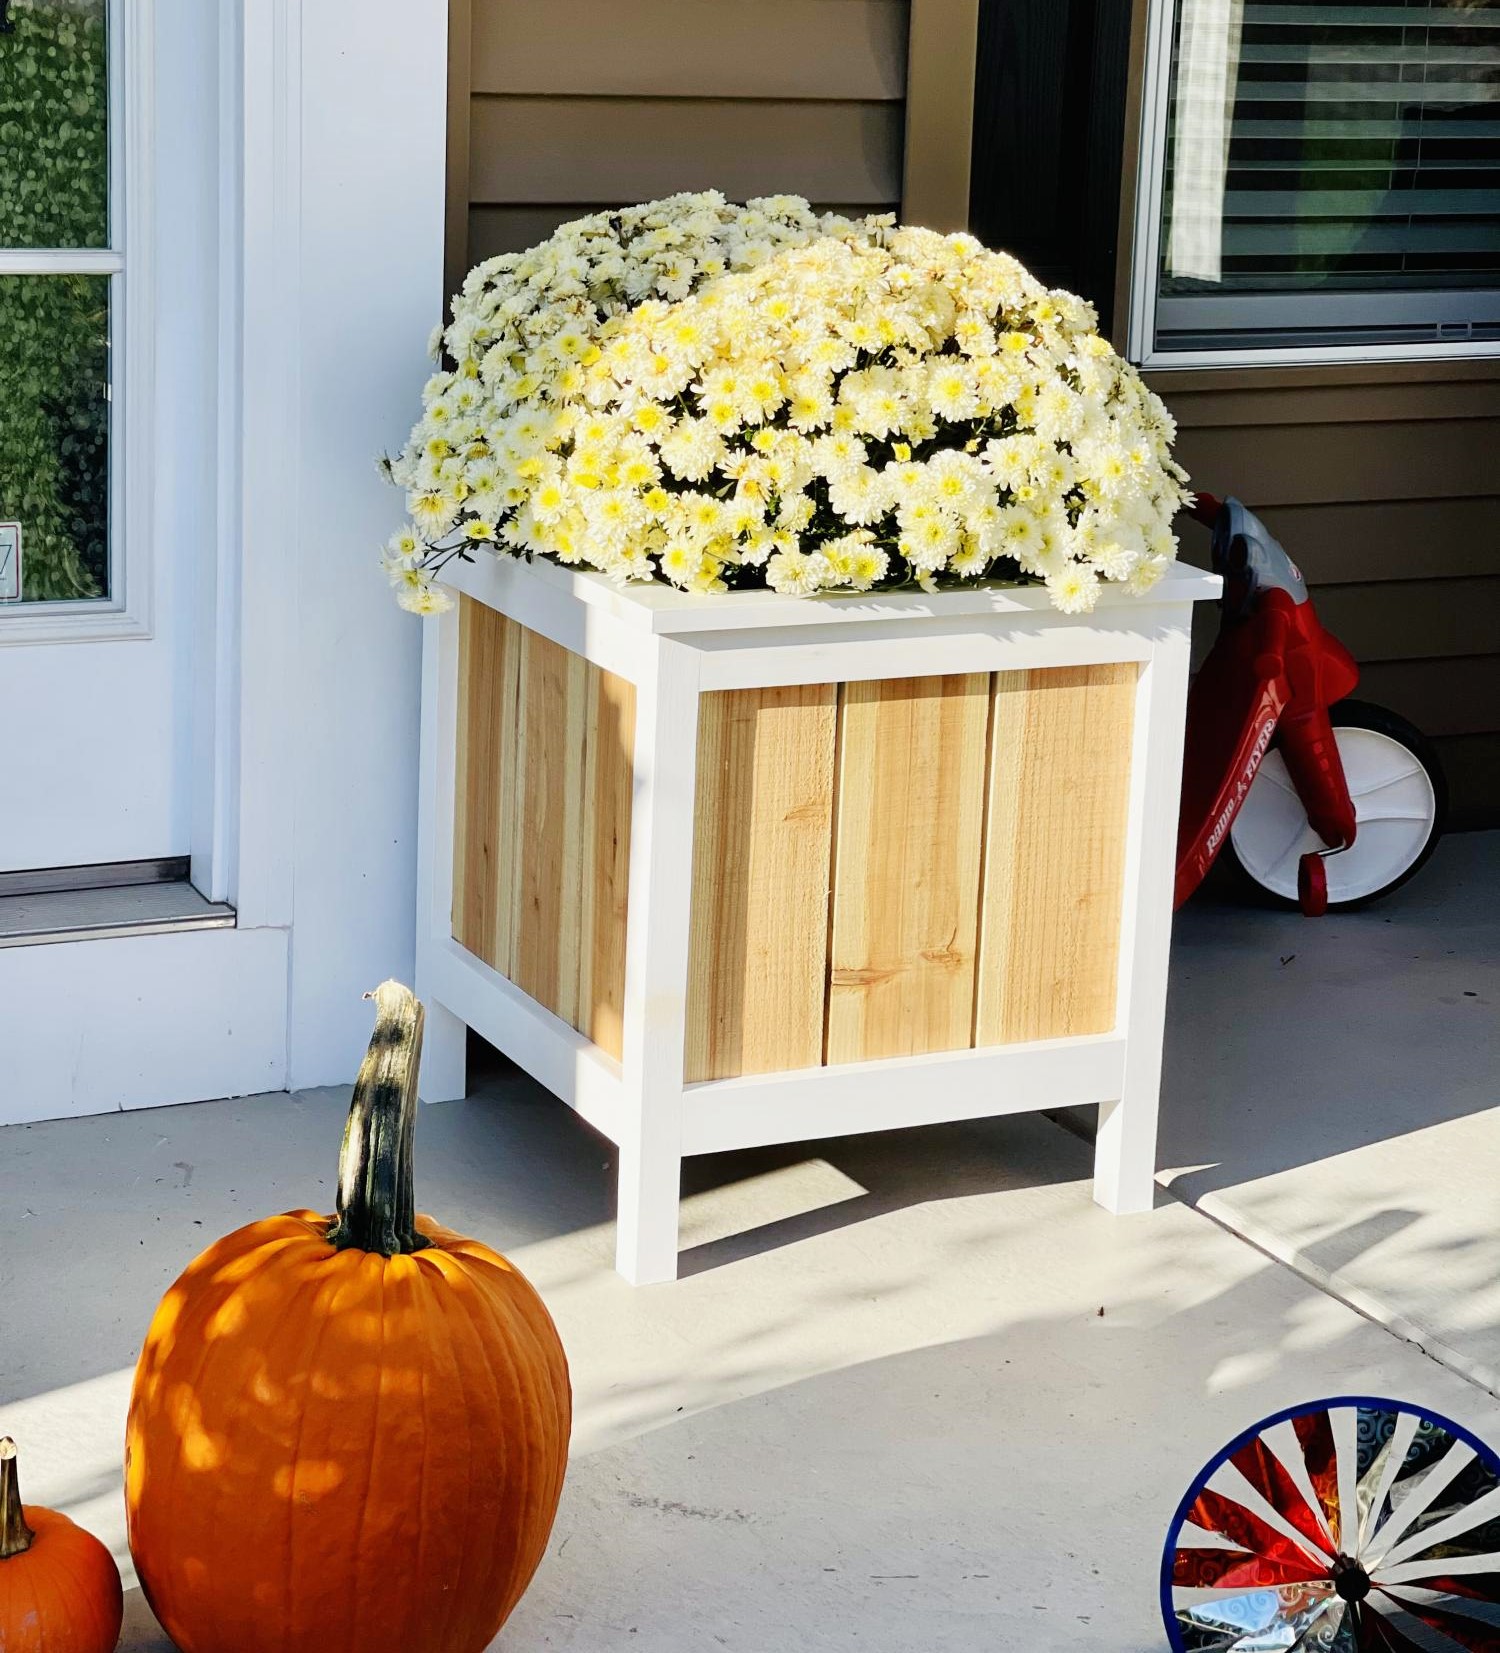
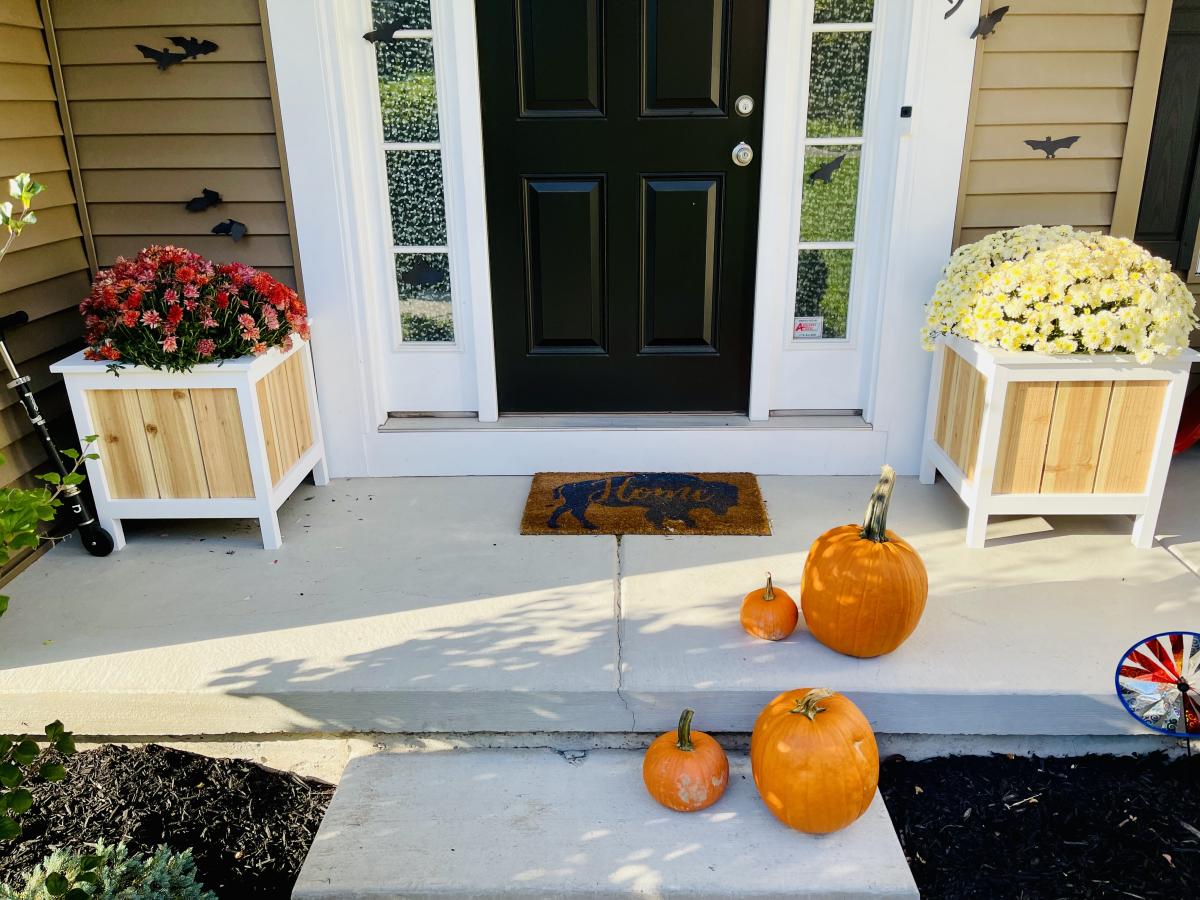
My wife wanted some planters for the front porch. Thanks to Ana whites page for these plans. Also loved the top modification that I think is a must.

Built from Plan(s)

Comments

Seasonal And Holiday

Gabriel Wall System Hanging Organizer

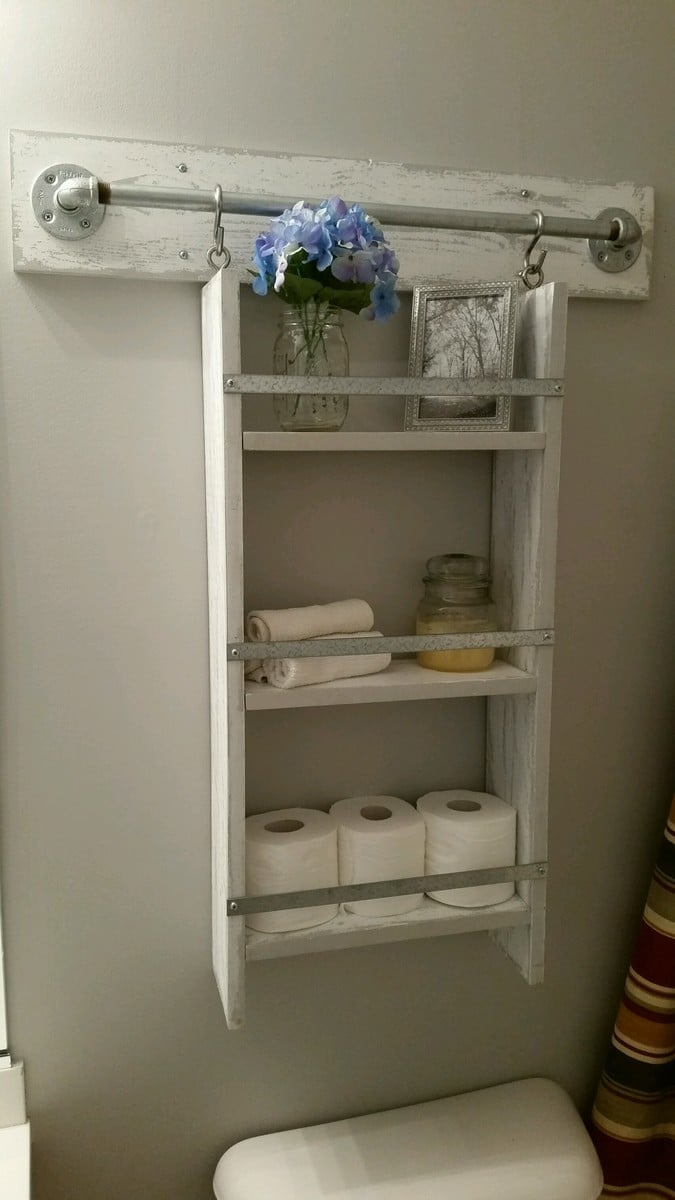
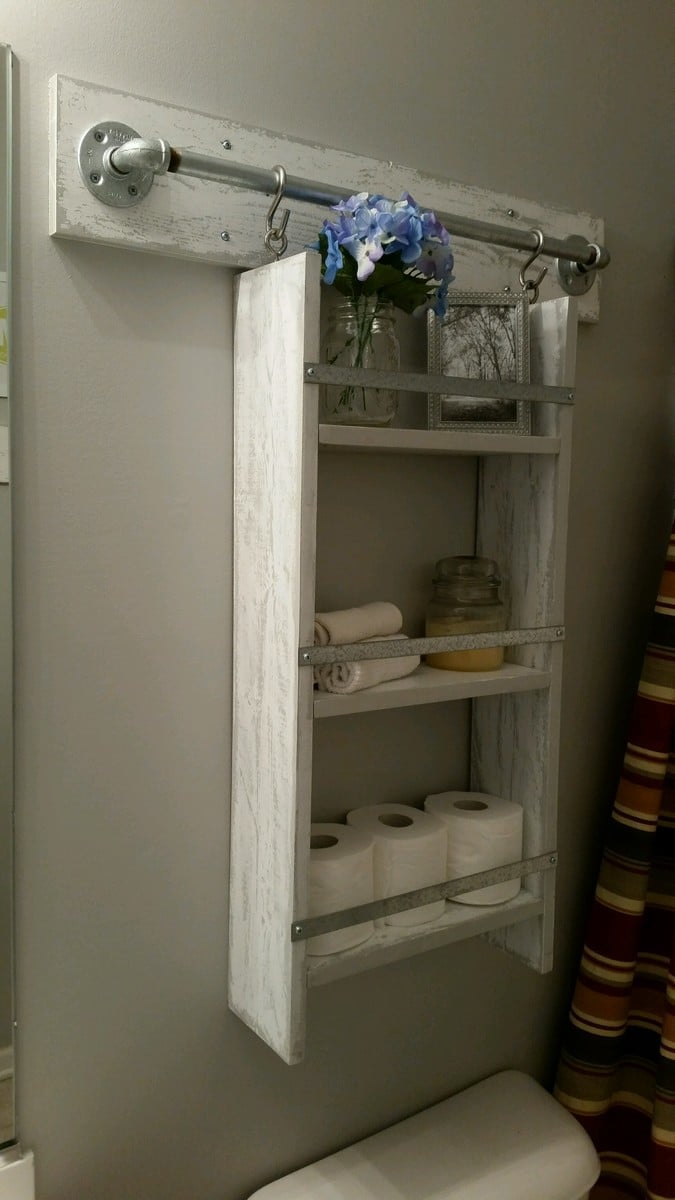
This was a very fun project to build. I pretty much followed the directions that were posted, but I used 1x6's instead of 1x4's because I wanted more storage space on the shelves. I also used 1/2" iron piping instead of 3/4" and am happy with how it turned out. Since the guest bathroom is gray, we didn't want to stain the wood and chose to do an easy to do "weathered" (directions below) look. Now all we need to do is replace the ugly shower curtain!

Estimated Cost
$40 (paint not included).
Estimated Time Investment
Day Project (6-9 Hours)
Finish Used
"Weathered" look – First, paint a gray undercoat of paint and let dry. Secondly, coat the piece with paraffin wax (especially the edges and corners). Next, paint a top coat of white and let dry. Lastly, scrape off the wax (with a razor blade), to your liking, to give it the "weathered" look.
Recommended Skill Level
Beginner

Comments

tgrott

Wed, 03/30/2016 - 06:41

Love the weathered/distressed look you did.  Can you share your technique for the paint job?

tgrott

Wed, 03/30/2016 - 06:42

I;m sorry!! I just noticed that you did share the paint job!  Thanks! :P

tgrott

Wed, 03/30/2016 - 06:43

I;m sorry!! I just noticed that you did share the paint job!  Thanks! :P

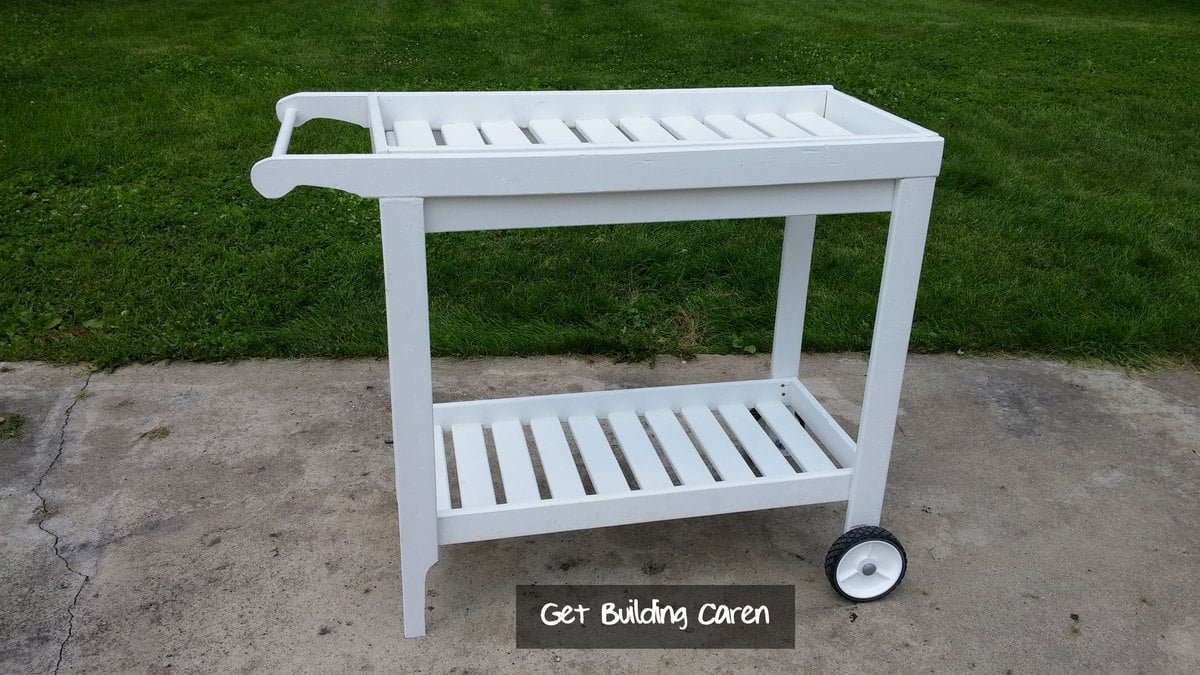
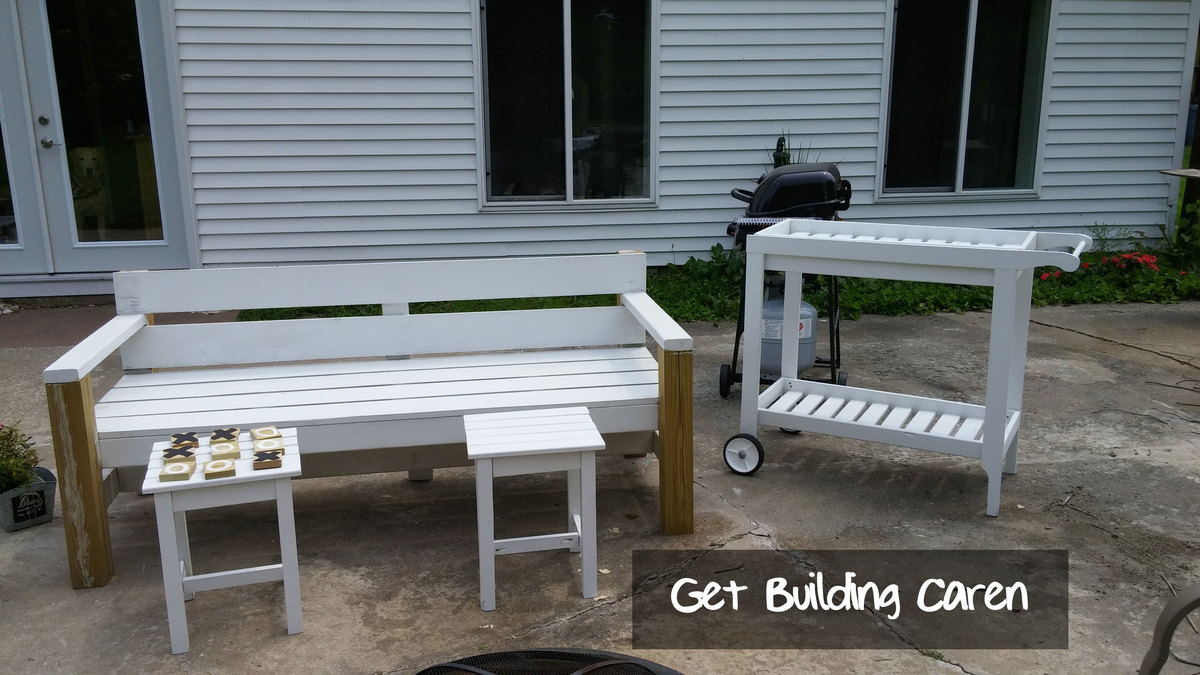
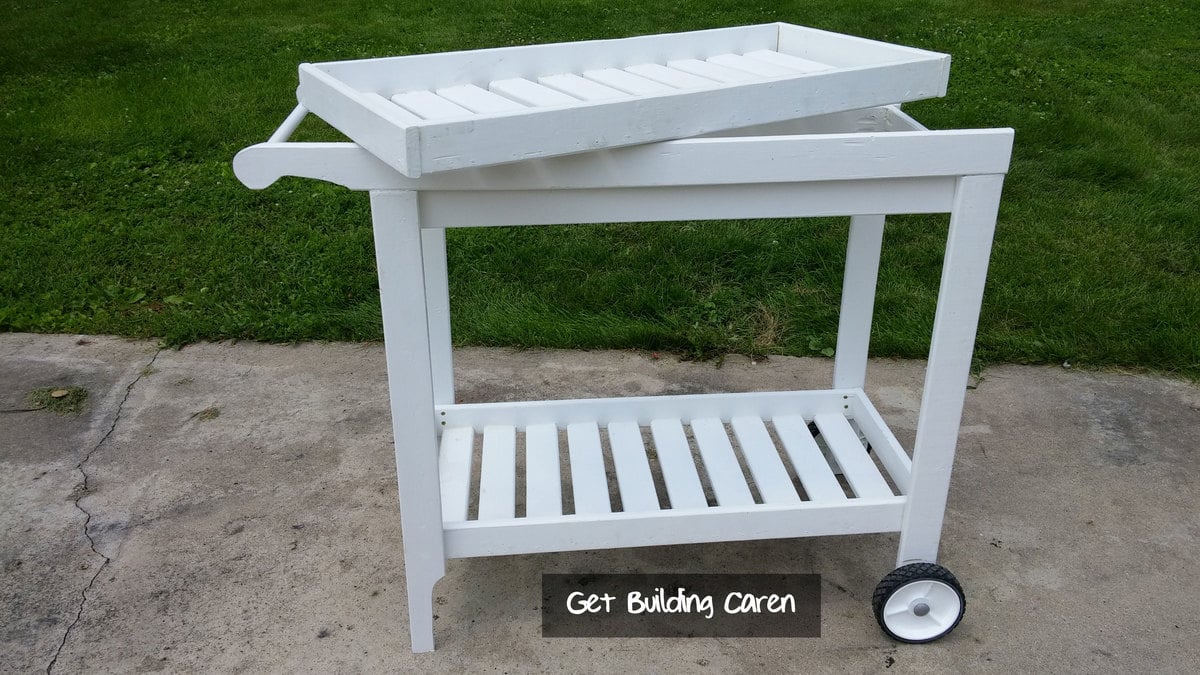
Bar Cart or BBQ Cart

The rolling bar cart (or BBQ cart) with removable tray is the latest addition to my suite of DIY patio furniture. This site has become a bit of a building obsession with me. Even with the detailed instructions, I still found ways to make this project my own: I added a 3/4" dowel and plastic wheels, instead of wood rounds. I painted all the pieces with primer and exterior paint before assembling it, because it's hard to get paint between the slats, unless you have a spray painter. The white slat design of the bar cart, park bench and matching side tables goes with the white siding of the house for my own patio picnic.

Estimated Cost
1x3's $20
wheels $10
dowel $4
Estimated Time Investment
Weekend Project (10-20 Hours)
Finish Used
White primer & exterior house paint
Recommended Skill Level
Beginner

File Cabinet based on Eco Office File Base Plans

Submitted by Anonymous (not verified) on Thu, 04/21/2022 - 08:22

I got tired of wrestling with my old filing cabinet and decided to build one that would stand up to regular use. Based on the AW plan noted, I build this out of 3/4" plywood. The drawer faces are 1/2" birch plywood and the hardware is salvaged from old kitchen cabinets. Overall dimensions are slightly modified to fit my space. Painted the cabinet box flat black and because the birch faces have such an interesting swirl, I used clear poly for the drawers. Fun project that works well and looks great.

Comments